Effortlessly Easy & Delicious Pumpkin Pie with Graham Cracker Crust: Your Perfect Holiday Dessert
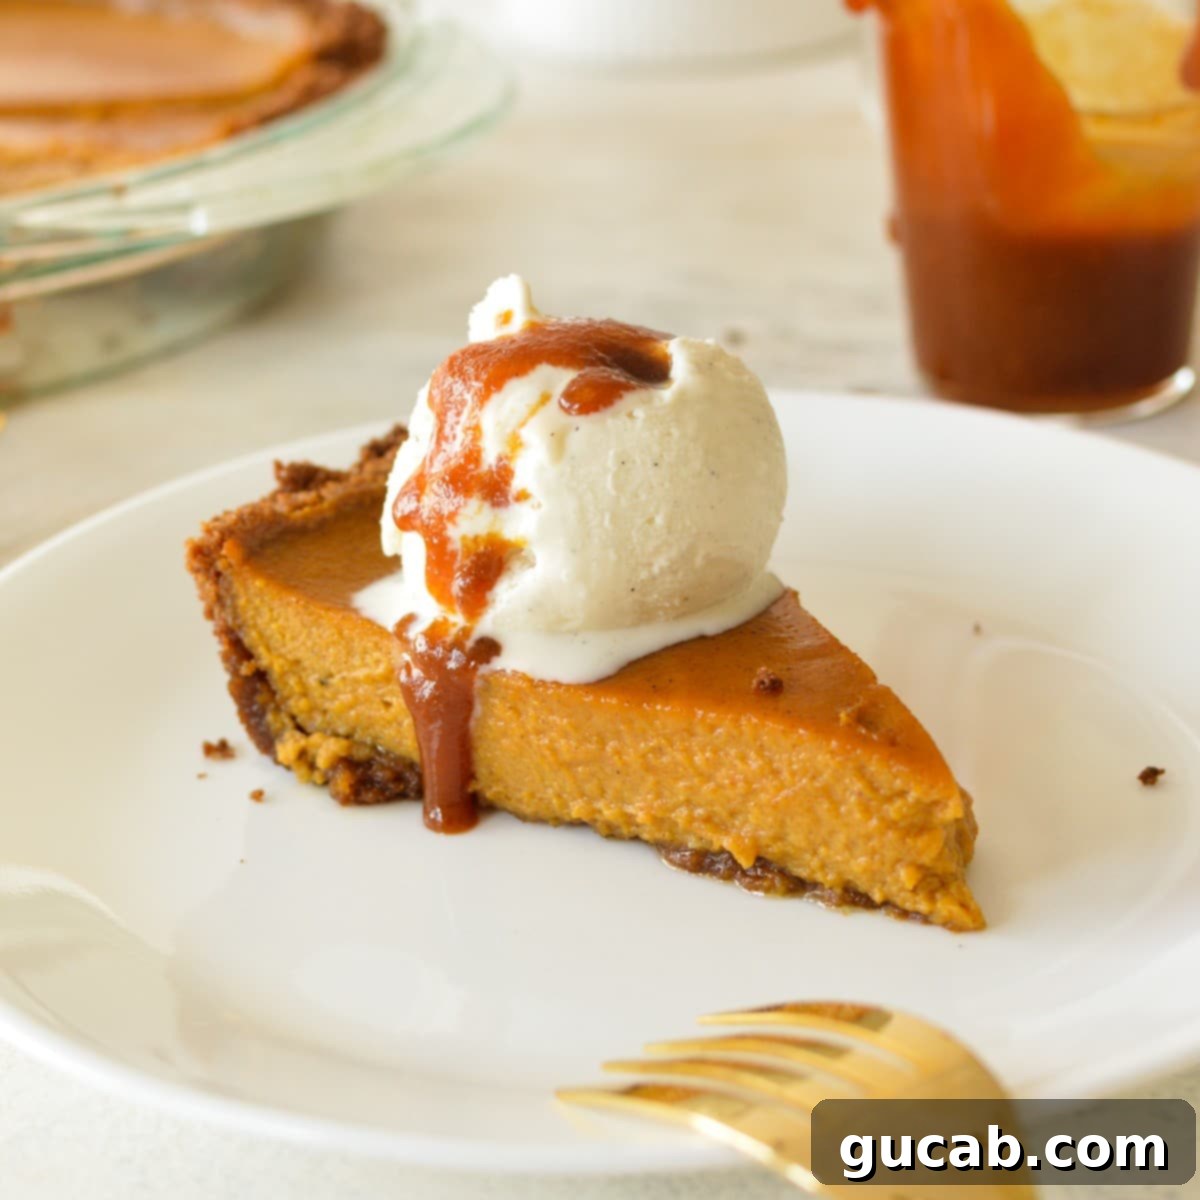
Skip the stress of tricky pie dough this holiday season! This incredible pumpkin pie with a graham cracker crust is not only super simple to prepare but also irresistibly delicious. It’s the ultimate hassle-free dessert, perfect for your Thanksgiving feast, Christmas gatherings, or any festive occasion. Imagine a velvety smooth, perfectly spiced pumpkin filling nestled in a buttery, crunchy graham cracker crust – a match made in dessert heaven that will impress your guests without requiring hours in the kitchen.
Why You’ll Adore This Easy Pumpkin Pie Recipe
There’s something truly magical about a classic pumpkin pie, especially during the festive autumn and winter months. However, the thought of preparing homemade pie dough can often feel daunting. It’s a culinary art form that demands time, precision, and a bit of finesse, involving chilling times, delicate rolling, and often blind baking. For many of us, especially when juggling holiday preparations, finding that extra time and energy isn’t always possible.
If you’ve ever found yourself wishing for a shortcut to deliciousness, this easy pumpkin pie with a graham cracker crust is your answer! This recipe takes all the stress out of pie making, allowing you to create a truly crave-worthy dessert with minimal effort. The pumpkin filling is luxuriously creamy, yet sets beautifully to a perfectly sliceable consistency. The best part? You simply pour the luscious filling into a ready-made (or easily homemade) graham cracker crust and bake. It’s a game-changer for busy bakers and holiday hosts.
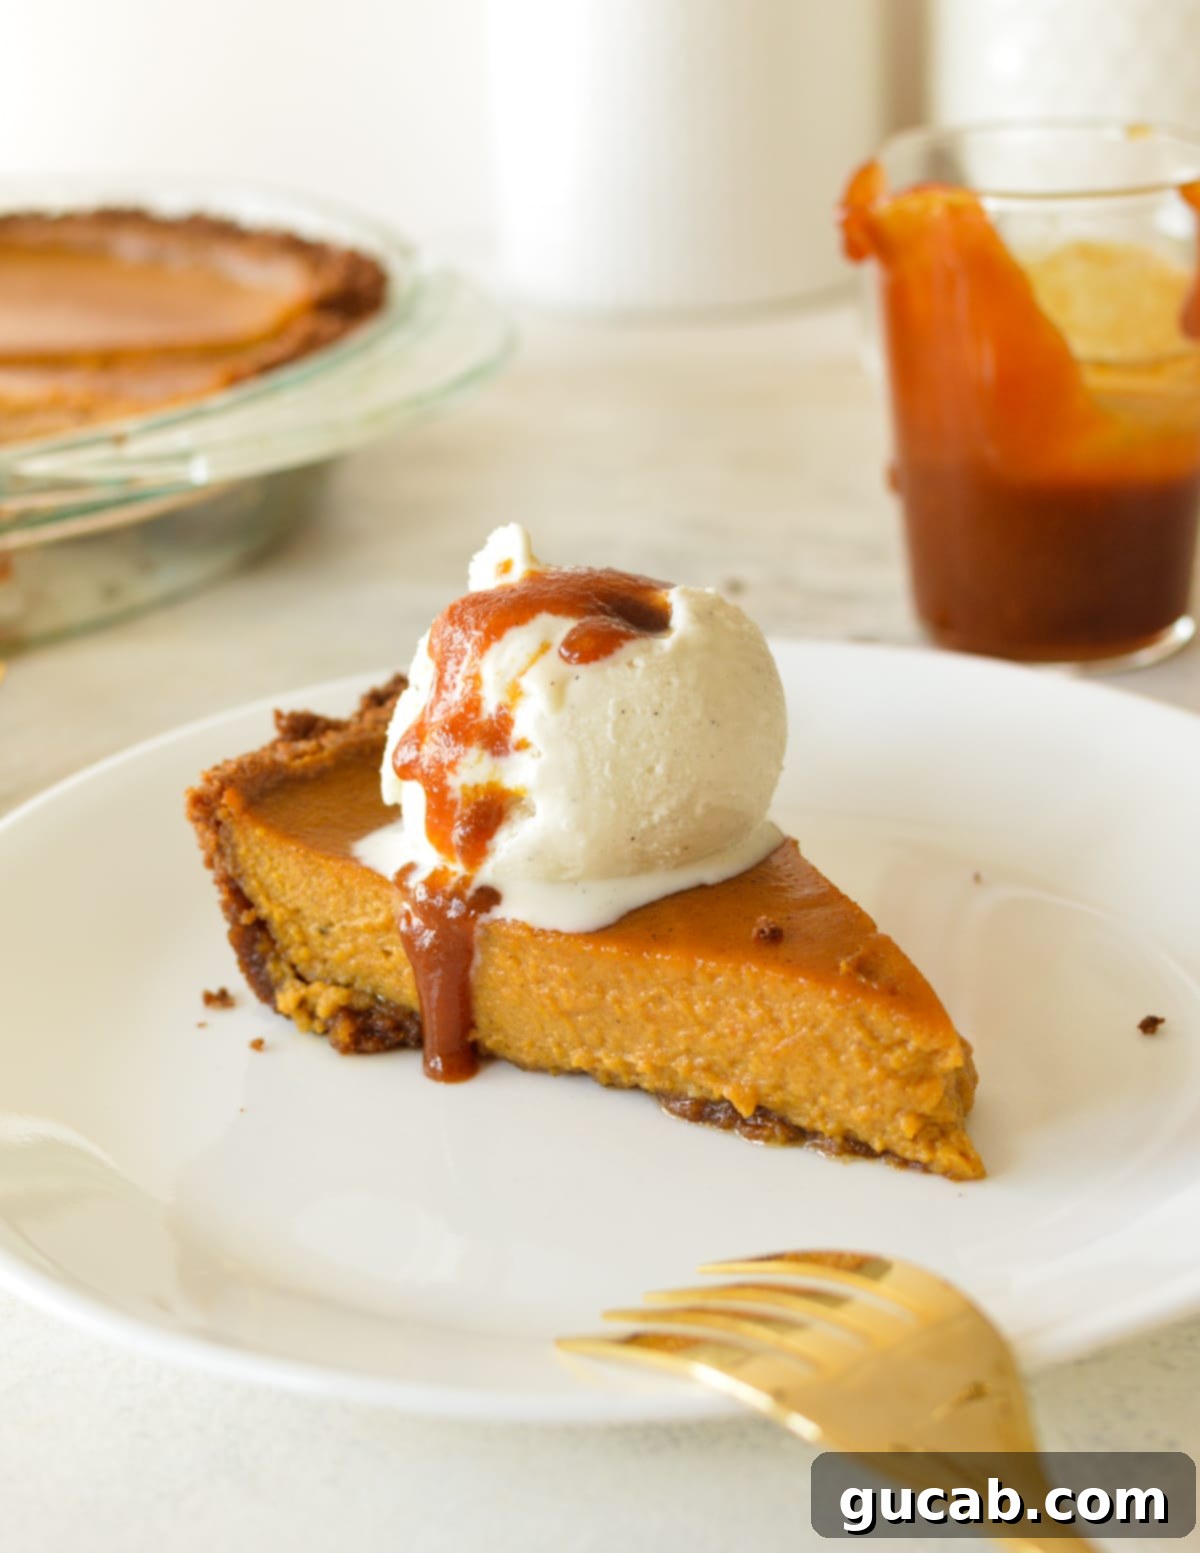
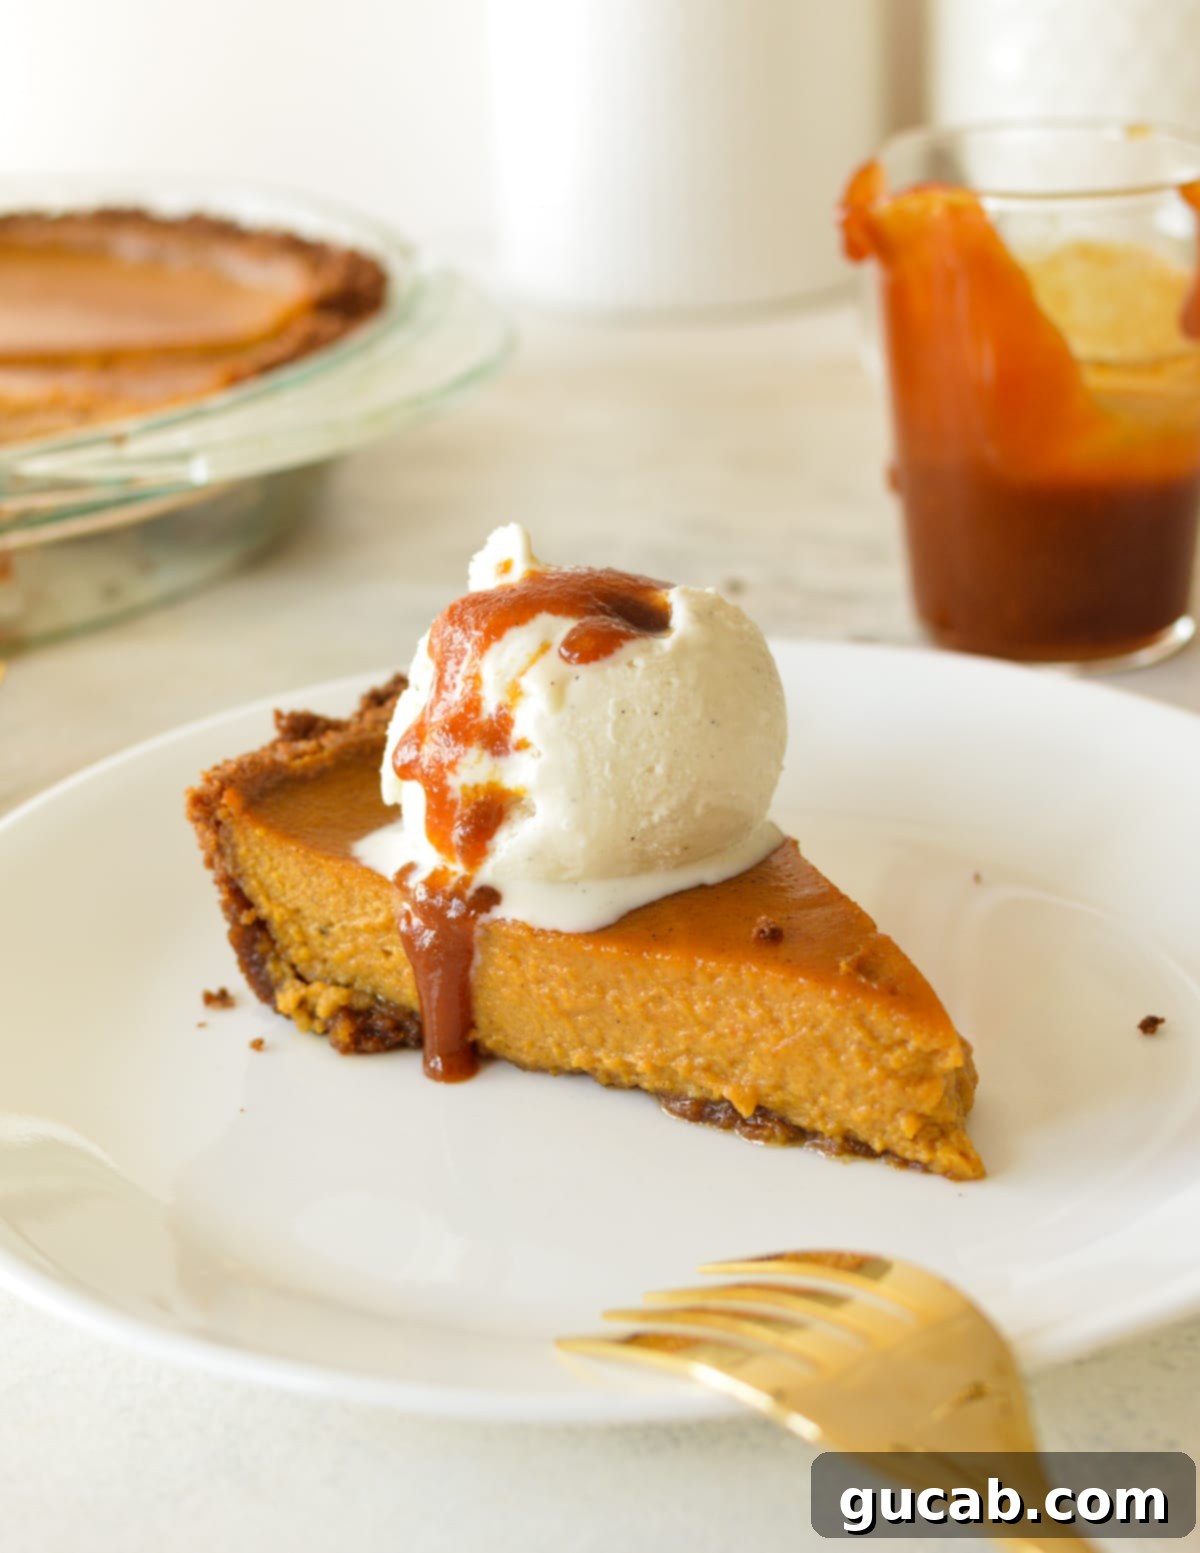
Beyond its simplicity, this pie offers a delightful flavor and texture contrast. The sweet, buttery crunch of the graham cracker crust perfectly complements the smooth, spiced pumpkin custard. It’s an ideal dessert to serve warm with a scoop of vanilla ice cream and a drizzle of rich caramel sauce, adding an extra layer of indulgence that will have everyone asking for more. This pie isn’t just easy; it’s a guaranteed crowd-pleaser that embodies the comforting spirit of the season.
Essential Ingredients for Your Simple Pumpkin Pie
Creating this delightful graham cracker pumpkin pie requires just a handful of straightforward ingredients, most of which you likely already have in your pantry or can easily find at any grocery store. Here’s a closer look at what you’ll need to achieve that perfect blend of creamy pumpkin and sweet, crunchy crust:
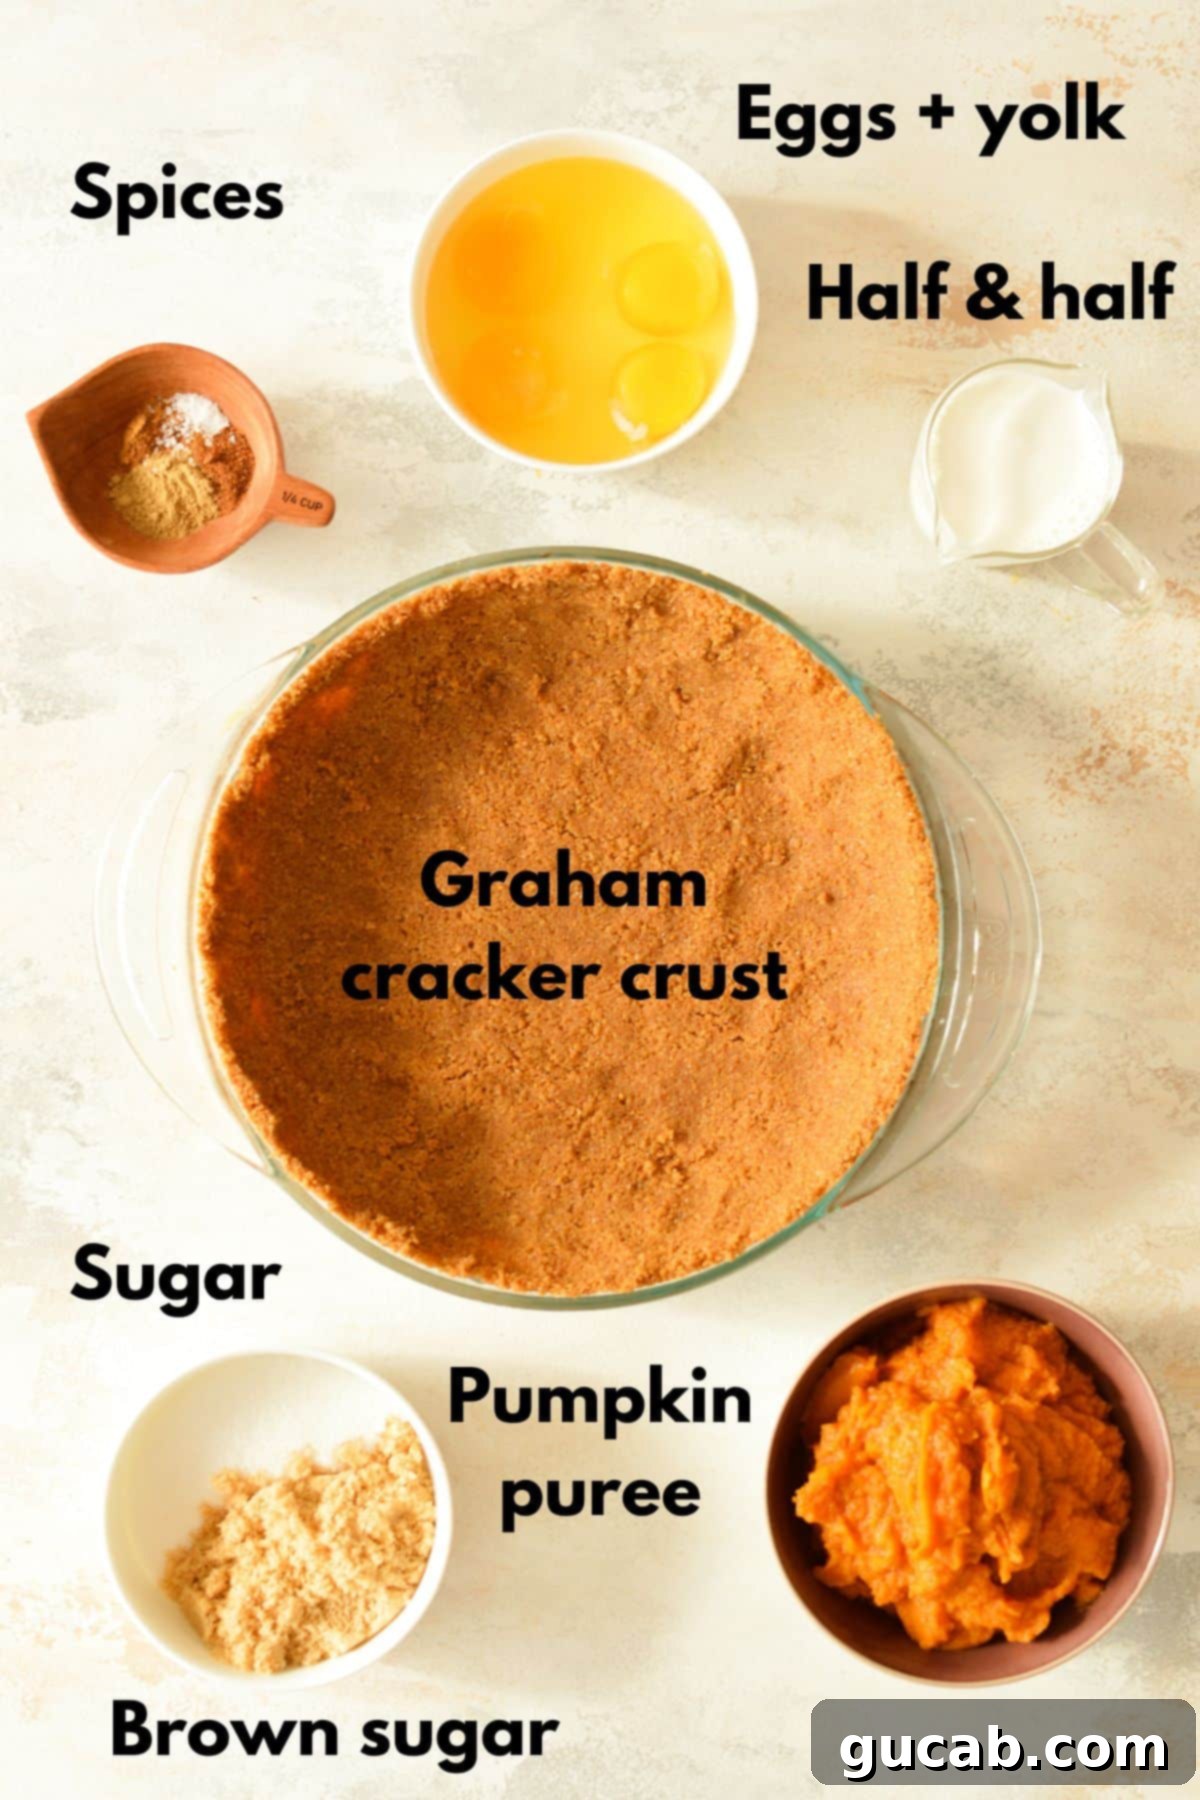
- Graham Cracker Crust: This is the star of our “no-fuss” approach. You can opt for a convenient store-bought 10-inch graham cracker crust, ensuring it’s the correct size to hold all the luscious filling. If you prefer a homemade touch, making your own graham cracker crust is surprisingly easy: simply crush graham crackers, mix with melted butter and a touch of sugar, then press into a pie plate. If you’re gluten-free, look for gluten-free graham crackers (like Pamela’s brand) to create a delicious and inclusive dessert. While this recipe highlights the graham cracker crust, the pumpkin filling is versatile enough for a traditional pie crust too!
- Pumpkin Puree: You’ll need one 15-ounce can of pure pumpkin puree, which is crucial for achieving that authentic pumpkin flavor. Be sure to use pure pumpkin puree and not pumpkin pie filling, as the latter already contains spices and sweeteners, which would throw off the balance of this recipe. If you only find larger cans (29 ounces), simply weigh out 15 ounces. While any brand works, many bakers find that well-known brands like Libby’s offer a thicker, more consistent puree, contributing to a better pie texture.
- Granulated Sugar & Brown Sugar: The combination of both white (granulated) and brown sugar is key to the pie’s balanced sweetness and depth of flavor. Granulated sugar provides clean sweetness, while brown sugar adds a wonderful caramel-like richness and moisture, enhancing the overall profile of the pumpkin filling. This duo creates that quintessential fall dessert taste everyone loves.
- Eggs + Extra Yolk: Pumpkin pie is fundamentally a baked custard, and eggs are what give it its structure and creamy texture. The eggs act as a binding agent, thickening the filling as it bakes, allowing it to set into a sliceable yet tender consistency. The addition of an extra egg yolk contributes to an even richer, more luxurious mouthfeel, making each bite incredibly satisfying.
- Half & Half: This dairy product is a perfect compromise for our pumpkin pie, offering a beautiful balance. It’s richer than milk, contributing to a wonderfully creamy filling without being as heavy as full-fat heavy cream. This ensures your pie is rich and decadent but not overly dense, providing that perfect go-between for a smooth, velvety custard.
- Warm Fall Spices (Cinnamon, Nutmeg, Ginger, Kosher Salt): These spices are essential for infusing the pie with those beloved warm, aromatic fall flavors. Cinnamon, nutmeg, and ginger are the classic trio that defines pumpkin pie. If you have a pre-made pumpkin pie spice blend, you can conveniently substitute all these individual spices with 2 teaspoons of pumpkin pie spice for a perfectly balanced flavor profile. Don’t forget a pinch of kosher salt; it subtly enhances all the sweet and spicy notes, ensuring the flavors truly pop!
How to Craft Your Perfect Graham Cracker Pumpkin Pie
One of the greatest joys of this easy pumpkin pie recipe is how quickly it comes together, especially since we’re bypassing the traditional pie crust preparation. With a store-bought graham cracker crust, your prep time is cut down to about 5 minutes, making it an ideal choice when time is of the essence. Let’s walk through the simple steps to create this delectable holiday treat:
First, begin by preheating your oven to a precise 350 degrees Fahrenheit (175°C). This ensures the oven is at the correct temperature for even baking as soon as your pie is ready.
-
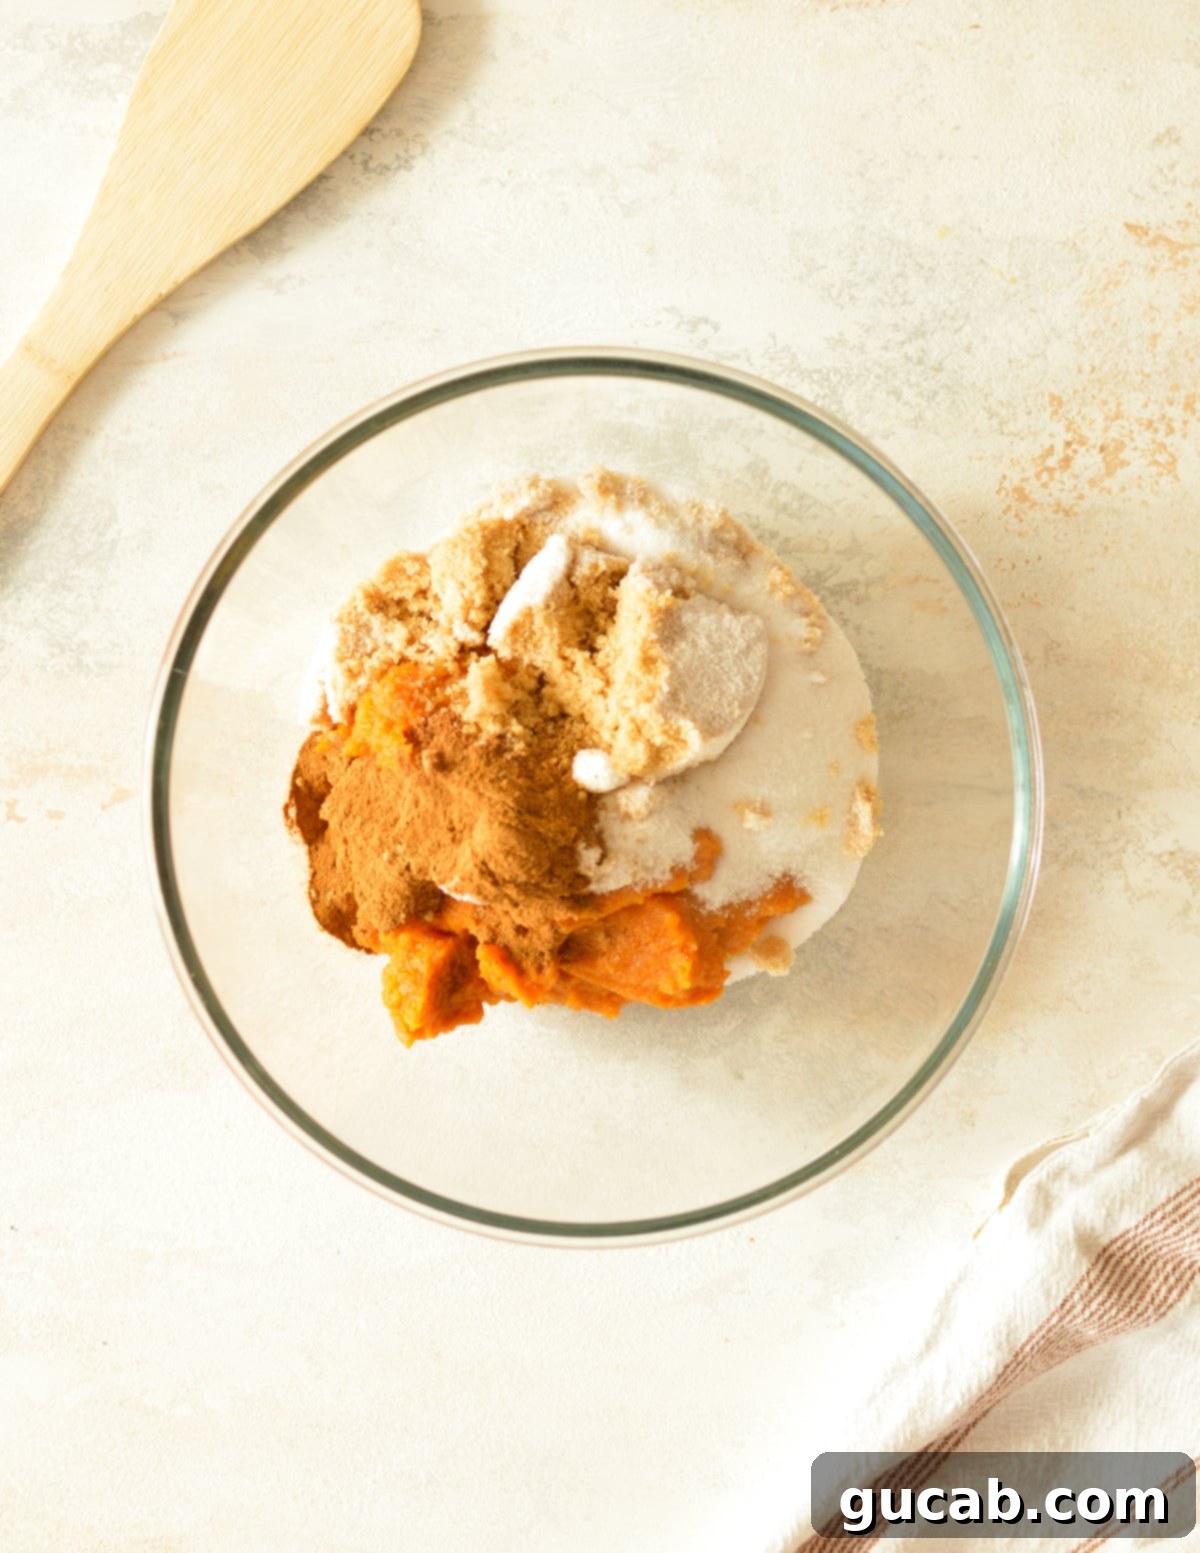
Combine Pumpkin, Sugars & Spices: In a large mixing bowl, the heart of our pumpkin filling begins to form. Add your 15-ounce can of pumpkin puree, granulated sugar, brown sugar, fragrant cinnamon, nutmeg, ginger, and the essential pinch of kosher salt. Use a whisk or a spoon to thoroughly combine these ingredients. Stir until the sugars are dissolved and the spices are evenly distributed throughout the pumpkin, creating a wonderfully aromatic and smooth base. This step is crucial for developing the pie’s signature flavor.

-
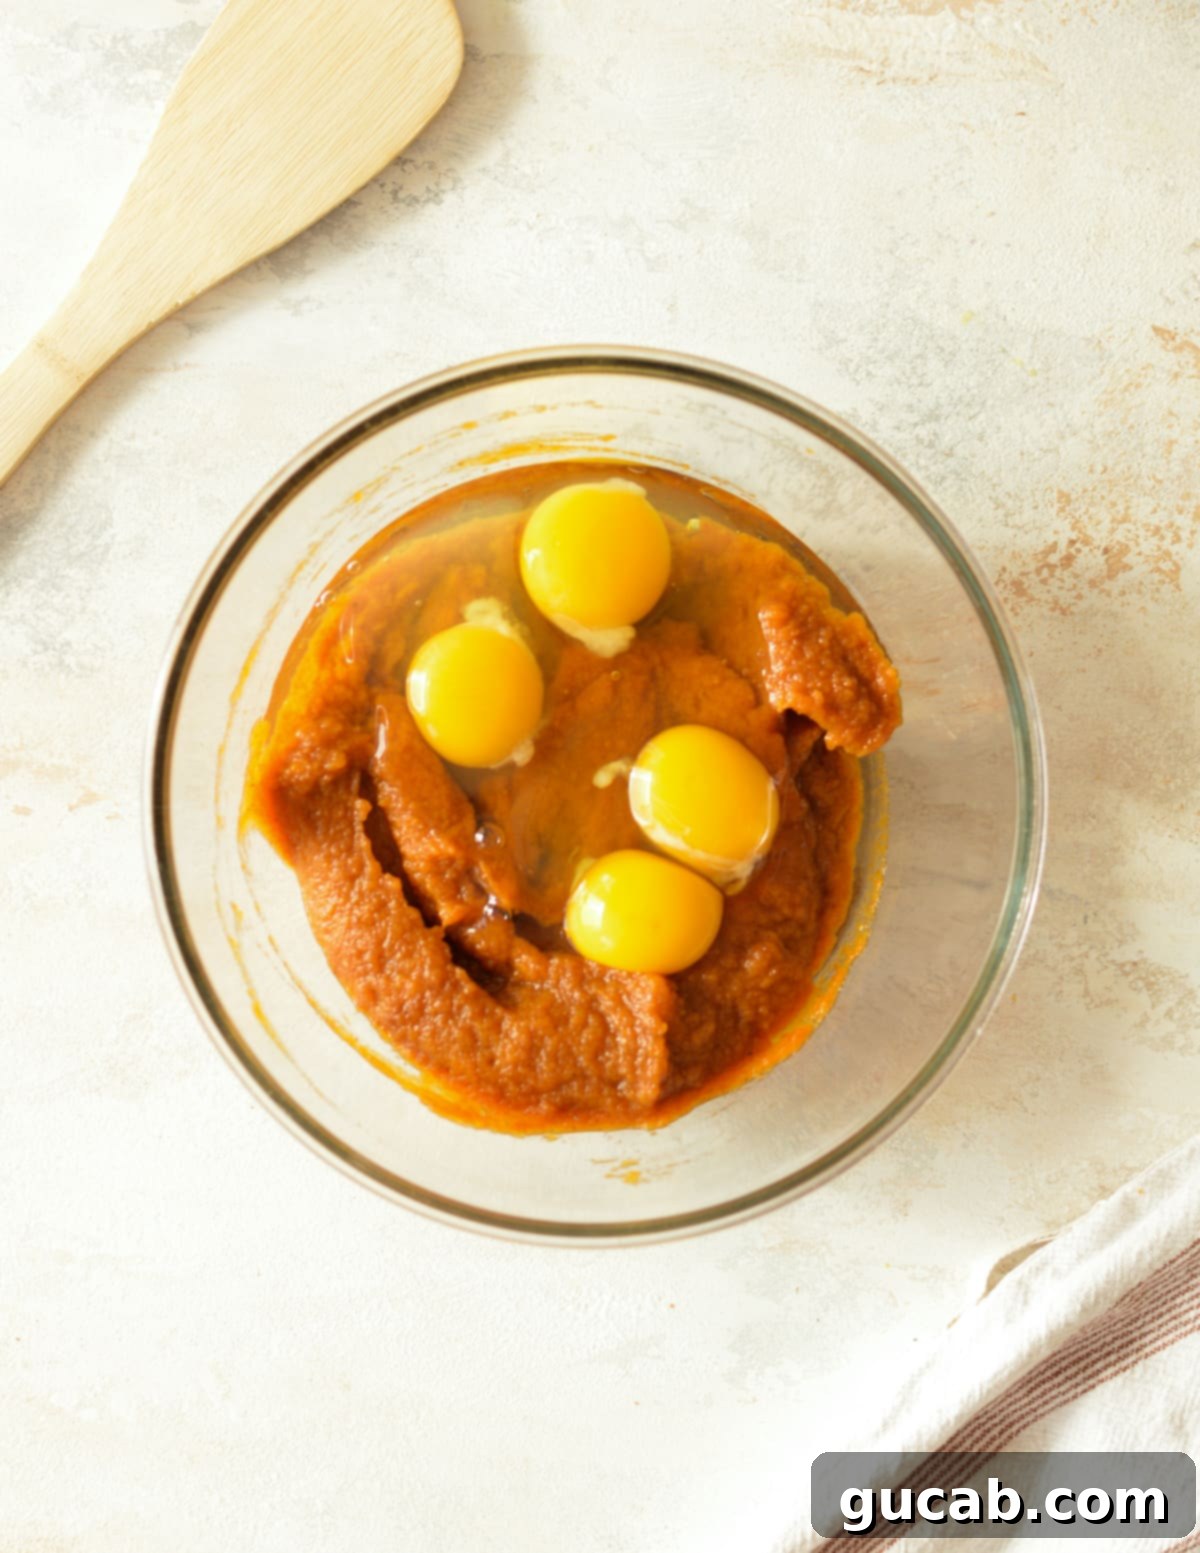
Add Eggs: Gently crack the three whole eggs and carefully separate the extra yolk, adding them directly to the spiced pumpkin mixture. Whisk these in until they are fully incorporated and no streaks of egg remain. The eggs are vital for the pie’s structure, transforming the liquid mixture into a firm, creamy custard as it bakes. Make sure not to over-whisk, as incorporating too much air can sometimes lead to cracking.

-
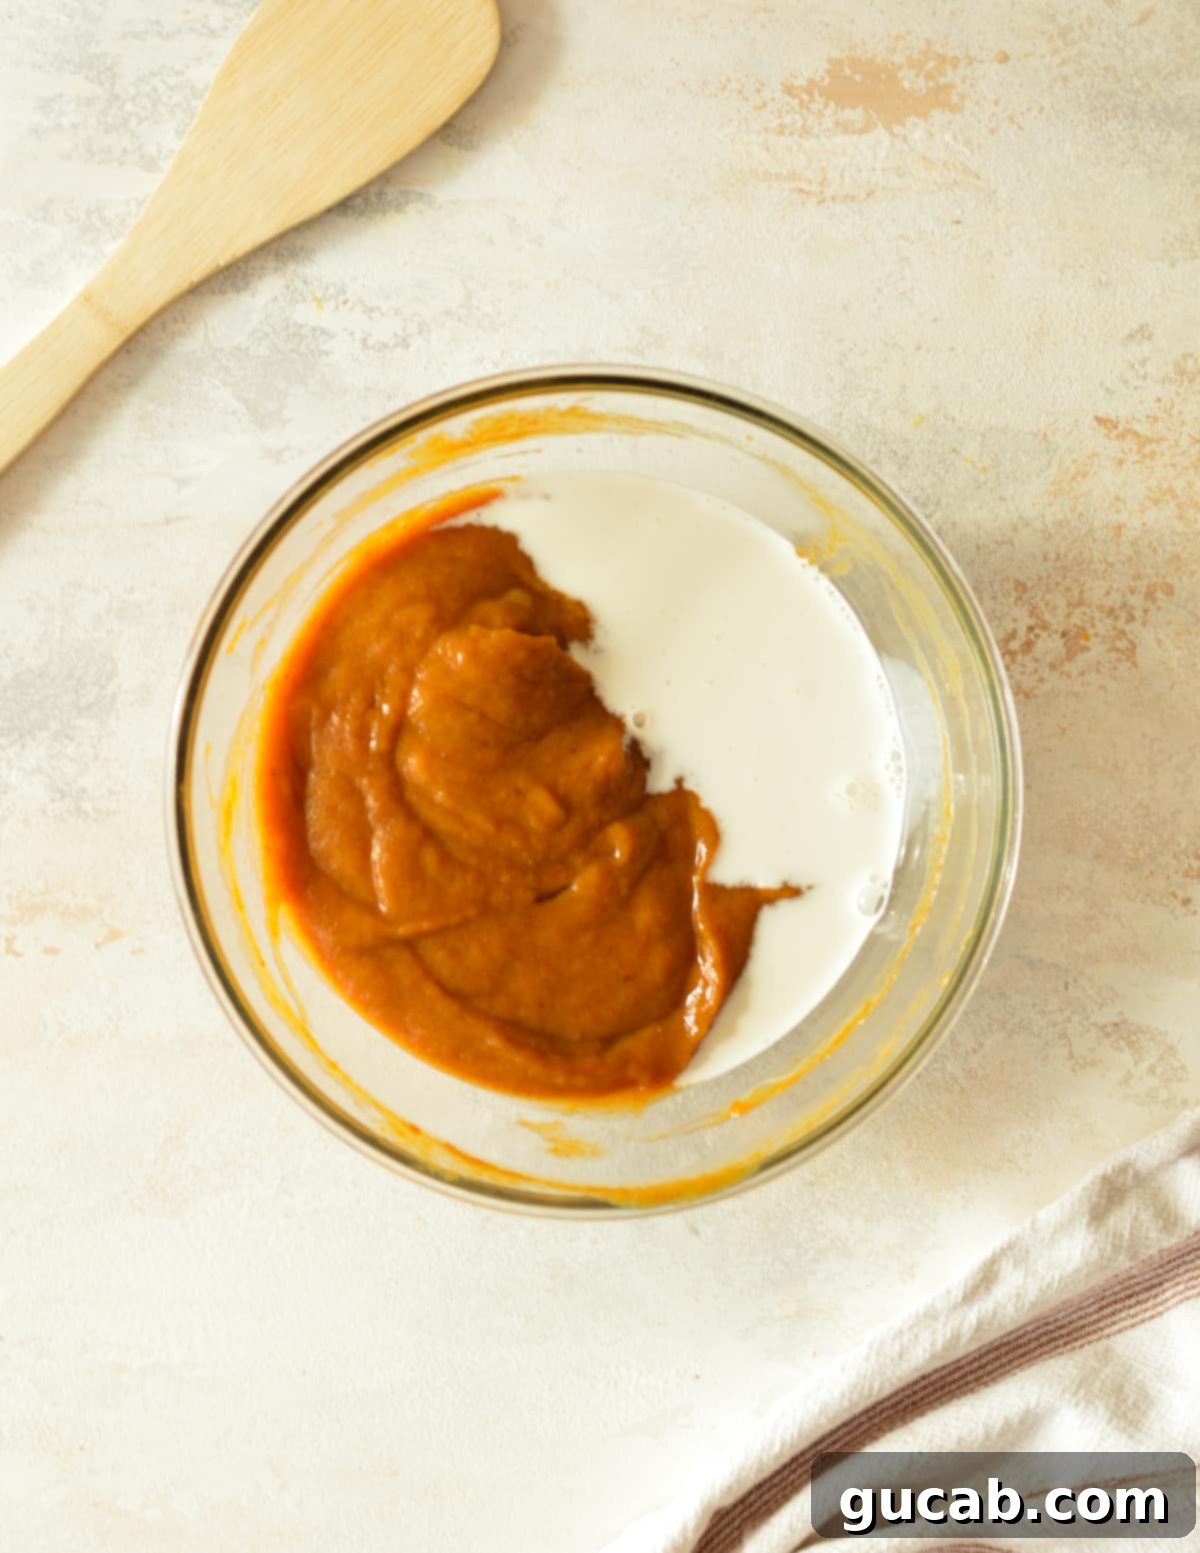
Add the Half & Half: Pour the half and half into the pumpkin mixture. With gentle, careful strokes, whisk it in until everything is thoroughly combined and the batter is smooth. It’s normal for the batter to appear quite thin at this stage; don’t worry! It will thicken wonderfully as it bakes in the oven, transforming into that iconic creamy pumpkin pie filling.

-
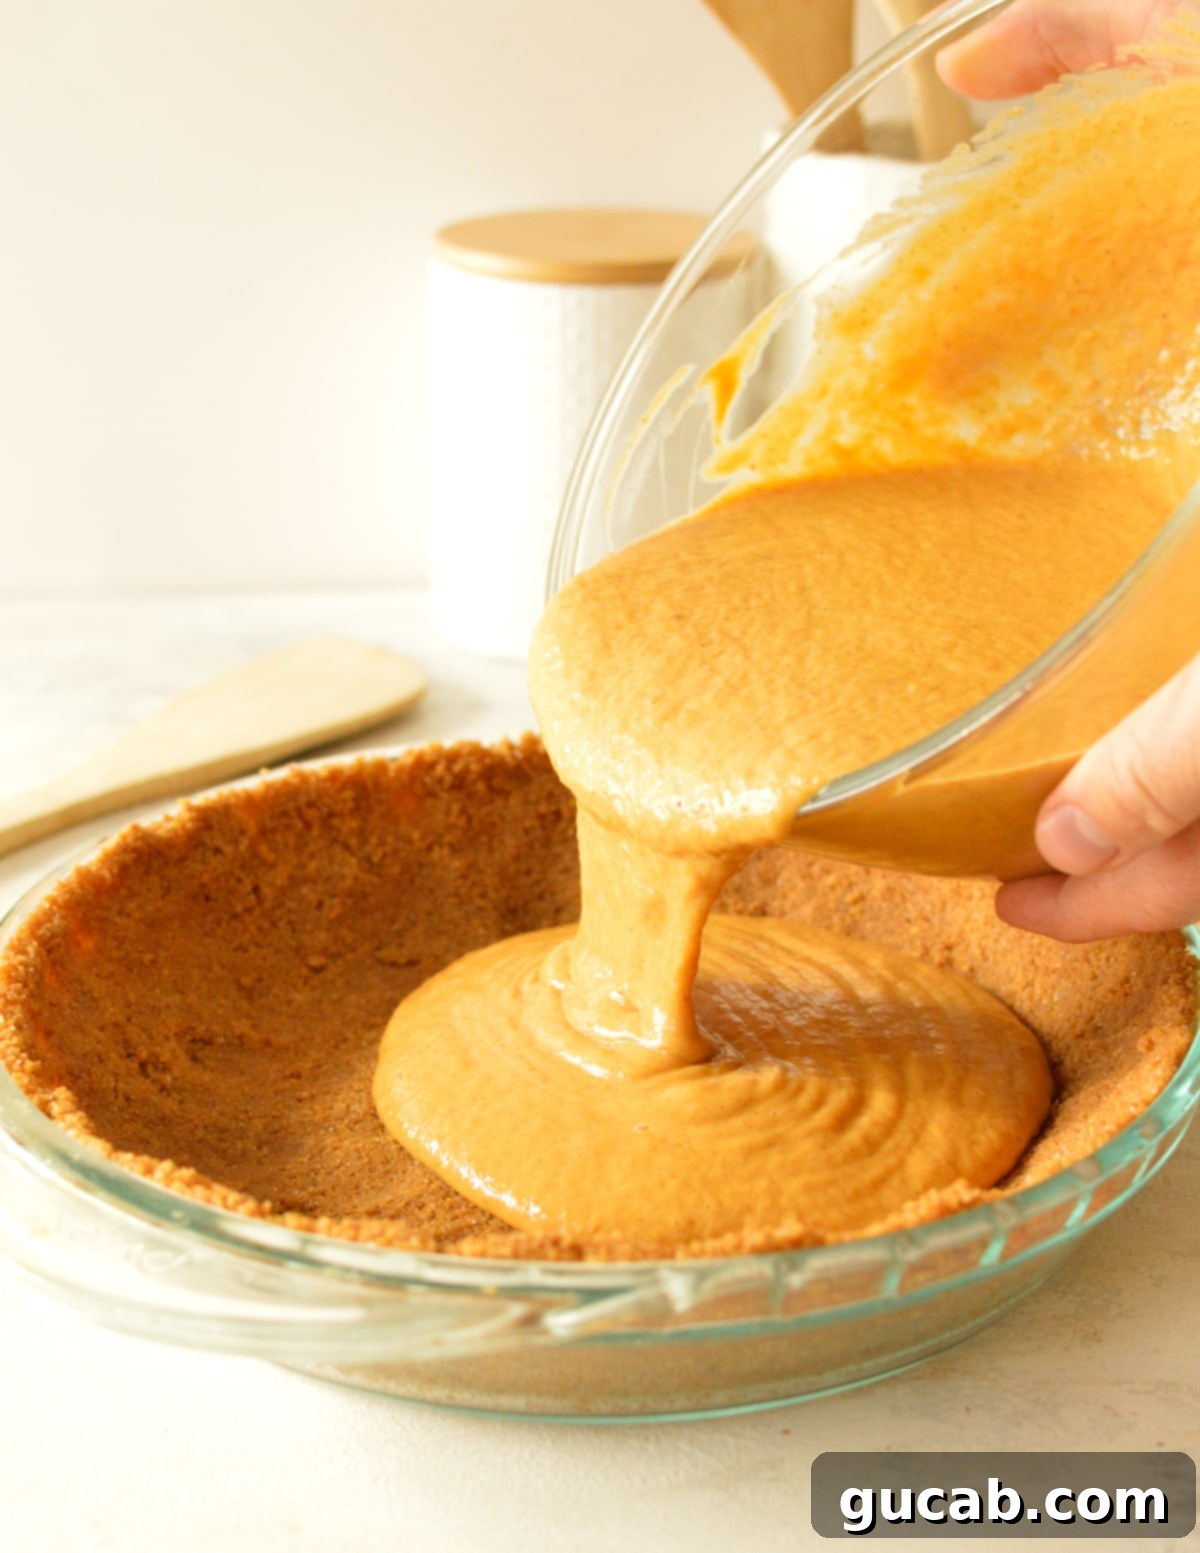
Pour Batter into Graham Crust: Take your prepared 10-inch graham cracker crust and carefully pour the pumpkin pie batter into it. Fill it almost to the top, leaving a small margin for expansion. Be gentle to avoid splashing or overflowing. Once filled, delicately transfer the pie to the middle rack of your preheated oven.

-
Bake the Graham Cracker Pumpkin Pie: Bake for approximately 45 to 50 minutes. The baking time can vary slightly depending on your oven. The pie is perfectly done when the edges appear set and slightly golden, and the center, when gently jiggled, moves only slightly, like a firm gelatin. A knife inserted near the center should come out clean. Avoid overbaking, as this can lead to cracks in the surface of your beautiful pie. You might want to shield the crust edges with foil if they start to brown too quickly.

-
Cool and Enjoy: Once baked, remove the pie from the oven and place it on a wire rack to cool completely. This cooling period is crucial for the custard to fully set and achieve its perfect sliceable texture. It’s best to wait at least 2 hours at room temperature, or even longer, before slicing. For the cleanest slices and best overall experience, chilling the pie in the refrigerator for a few hours (or overnight) after it cools to room temperature is highly recommended. Serve chilled or at room temperature, garnished with your favorite toppings!
Expert Recipe Tips for the Best Pumpkin Pie
Achieving a flawless pumpkin pie is simple with a few key tips. Follow these suggestions to ensure your graham cracker pumpkin pie turns out perfectly creamy, beautifully set, and utterly delicious every single time:
- Avoid Overbaking: This is arguably the most critical tip for any custard-based pie. Your pumpkin pie will still have a slight jiggle in the very center when you pull it out of the oven. This is perfectly normal and desired! The residual heat will continue to cook the custard as it cools, allowing it to fully set. Overbaking leads to a dry, cracked surface and a less creamy texture.
- Cooling is Non-Negotiable: Do not rush the cooling process. Pumpkin pie needs ample time to set up properly. Attempting to slice it while still warm will result in a messy, unset filling. Allow the pie to cool at room temperature for at least 2 hours, or even longer, before refrigerating. For the absolute best, most defined slices, chill the pie in the refrigerator for several hours or overnight once it has cooled to room temperature.
- Use the Middle Oven Rack: For even baking and to prevent the crust or top of the filling from browning too quickly, always place your pie on the middle rack of the oven. If you notice the crust edges getting too dark before the filling is set, you can loosely cover the edges with a strip of aluminum foil.
- Blind Bake a Homemade Graham Crust: If you opt to make your own graham cracker crust from scratch, it’s highly recommended to blind bake it first. Bake the empty crust at 350°F (175°C) for about 8-10 minutes. This step helps to solidify the crust, prevent it from becoming soggy once the filling is added, and ensures a wonderfully crisp base.
- Chill for Cleaner Slices: A cold pie is a firm pie! Chilling your pumpkin pie thoroughly in the refrigerator will make it much easier to cut into neat, clean slices. Warm or room-temperature pie tends to be softer and might crumble or squish when sliced, especially if the filling isn’t fully set.
- Prevent Cracking: Rapid temperature changes are often the culprit behind cracks in pumpkin pie. To minimize the risk, allow the pie to cool gradually on a wire rack at room temperature before transferring it to the refrigerator. Don’t move it directly from a hot oven to a cold fridge.
- Ensure Correct Crust Size: This recipe is designed for a 10-inch pie crust. Using a smaller 9-inch crust might mean you have leftover filling, or the pie could overflow during baking. Double-check your crust size to avoid any mishaps.
Delicious Variations to Customize Your Pie
While this easy pumpkin pie with a graham cracker crust is a stand-alone masterpiece, there are many ways to customize it and make it uniquely yours. Feel free to experiment with different crusts and toppings to suit your taste and occasion:
Crust Options:
- Beyond Graham Cracker: While the graham cracker crust is a highlight for its ease and complementary flavor, this rich pumpkin filling tastes fantastic in almost any type of crust. You can certainly use a store-bought regular pie dough for a more traditional look and texture, or indulge in your favorite homemade flaky pie dough recipe. If using a traditional pie dough, remember to blind bake it first if the recipe calls for it, which often helps prevent a soggy bottom.
- Cookie Crusades: Get creative with other cookie crumbs! A gingersnap cookie crust will add an extra layer of warm, spicy flavor that perfectly enhances the pumpkin. A shortbread cookie crust offers a buttery, crumbly base, while a crushed vanilla wafer crust provides a lighter, sweeter alternative. The possibilities are endless!
- Gluten-Free Graham Crackers: As mentioned, for those with dietary restrictions, using gluten-free graham crackers is an excellent way to enjoy this dessert without compromise. Many brands offer delicious gluten-free options that work wonderfully for a homemade crust.
Topping Ideas:
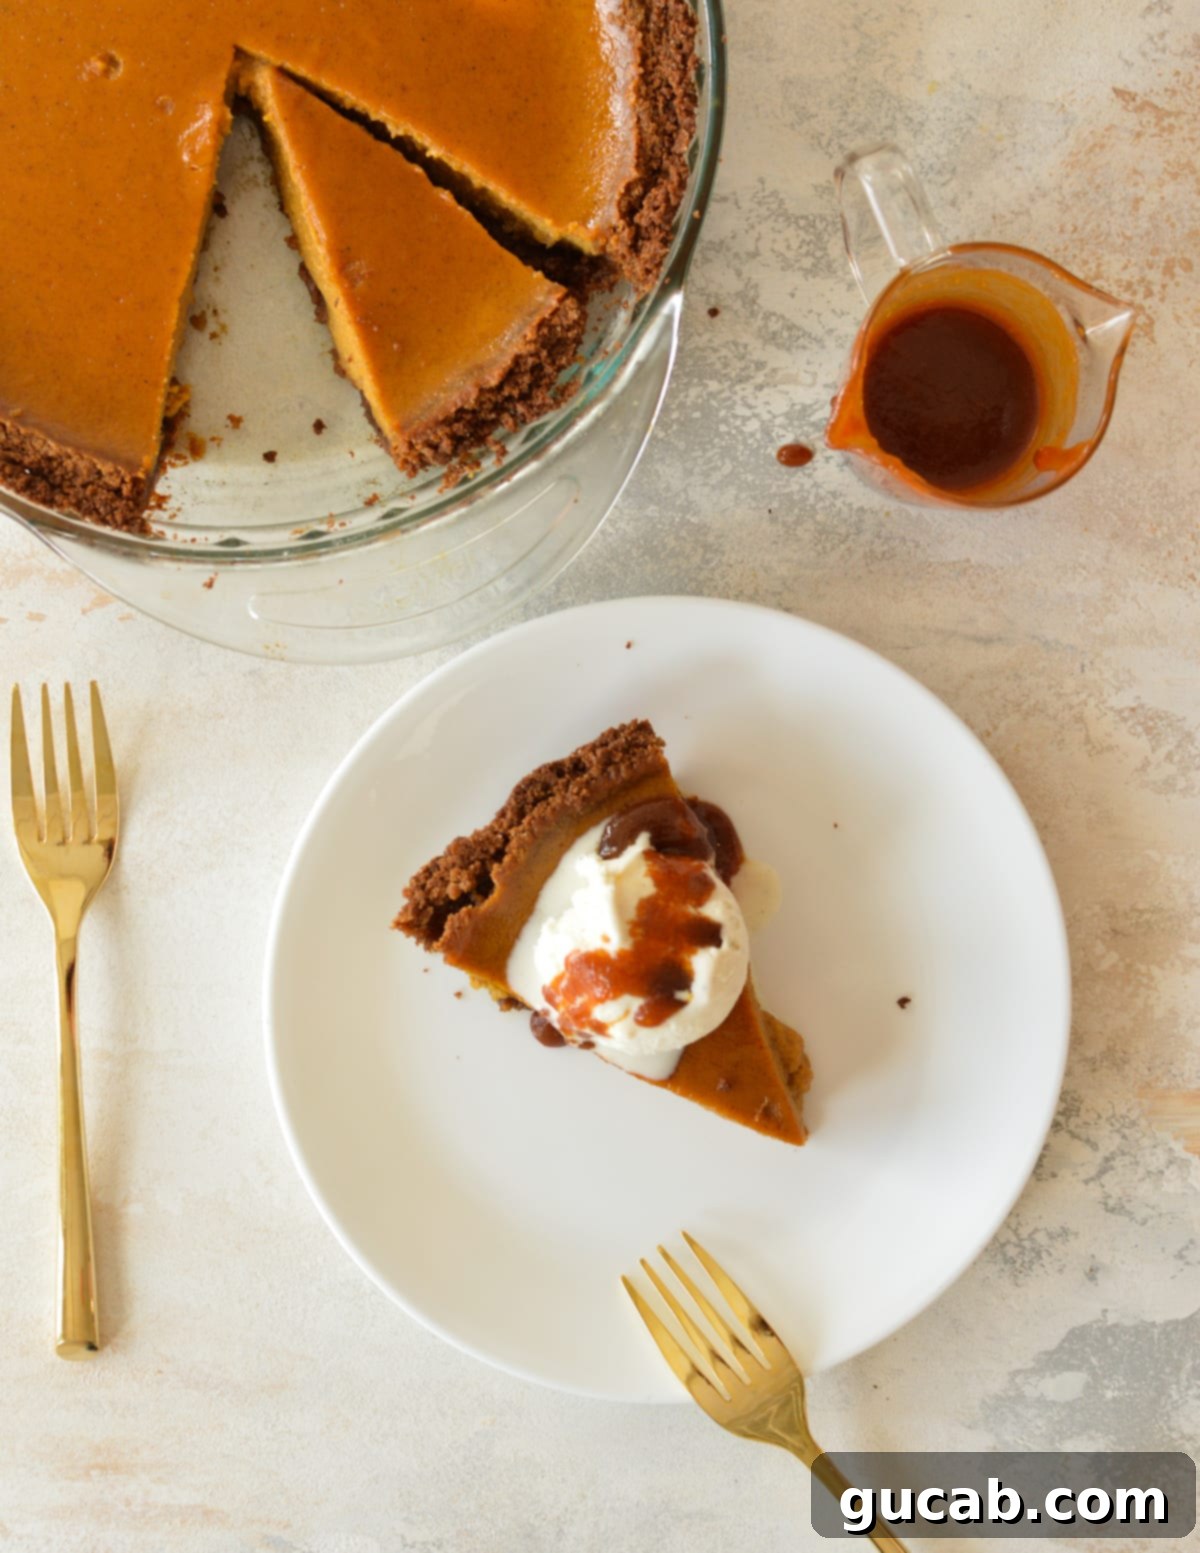
- Classic Pairings: My personal favorite way to serve this graham cracker pumpkin pie is with a generous scoop of creamy vanilla ice cream and a luscious drizzle of homemade caramel sauce. The combination of cold, smooth ice cream with the warm spices of the pie and the sweet, buttery caramel is simply heavenly.
- Whipped Cream Wonder: A dollop of freshly whipped cream is a timeless and elegant topping for pumpkin pie. You can enhance it with a touch of vanilla extract or a pinch of cinnamon for added flavor.
- Crunch & Texture: For an added textural contrast, sprinkle some candied pecans, toasted walnuts, or roasted pumpkin seeds over the top before serving. A light dusting of ground cinnamon or nutmeg can also elevate the presentation and aroma.
- Chocolate Love: For chocolate enthusiasts, a sprinkle of dark chocolate shavings or a drizzle of chocolate syrup can add a surprisingly delightful twist to the classic pumpkin flavor.
- Spiced Kick: For a more adventurous palate, a tiny pinch of black pepper or a whisper of cayenne pepper mixed into the filling can add a subtle, intriguing warmth that complements the traditional spices beautifully. A splash of bourbon or rum can also be added to the filling for an adult twist.
Storage & Freezing Instructions
Planning ahead or enjoying leftovers? This easy pumpkin pie is fantastic for both! Here’s how to properly store and even freeze your pie to enjoy its deliciousness for longer:
- Refrigeration: Since pumpkin pie is a custard-based dessert, it absolutely needs to be stored in the refrigerator. Once completely cooled to room temperature (this is key!), transfer the pie to the fridge. You can either loosely cover the entire pie with plastic wrap or aluminum foil, or for better preservation, slice the pie into individual servings and store them in an airtight container. Properly stored, your pumpkin pie will remain fresh and delicious for up to 4 days.
- Freezing: Good news for future cravings – pumpkin pie is surprisingly freezer-friendly! For best results, I recommend cutting the cooled pie into individual slices. Place these slices in a single layer on a parchment-lined baking sheet and flash freeze them for 1-2 hours, or until solid. Once frozen, transfer the individual slices to a freezer-safe ziplock bag or an airtight container, separating layers with parchment paper if stacking. This prevents them from sticking together. The pie can be frozen for up to 3 months, making it perfect for preparing ahead of time for holidays or unexpected guests.
- Thawing: To thaw a frozen slice of pumpkin pie, simply transfer it from the freezer to the refrigerator and let it defrost for several hours or overnight. If you’re in a hurry for a single slice, you can carefully microwave it in 10-second increments until just defrosted. Be very careful not to overheat it, as this can cause the custard to melt and lose its delightful texture. Always check the center to ensure it’s fully thawed before enjoying.
Frequently Asked Questions (FAQs)
Absolutely! When you’re looking for an easier alternative or a different flavor profile, a graham cracker crust is a fantastic choice for many types of pies. It works beautifully for cheesecakes, various custard pies like this pumpkin pie, cream pies, and even fruit pies such as apple pie! The sweet, buttery crumb adds a wonderful textural and flavor contrast to the filling, often simplifying the baking process significantly.
This is a crucial distinction! Pumpkin puree is simply 100% cooked, mashed pumpkin with no added ingredients. Pumpkin pie filling, on the other hand, is pre-mixed with spices (like cinnamon, nutmeg, ginger) and sweeteners, essentially a ready-to-use mixture for pie. For this recipe, you must use pure pumpkin puree to control the flavor and sweetness yourself. Using pumpkin pie filling would make your pie overly sweet and spiced, throwing off the intended balance.
The best way to tell if your pumpkin pie is done is by gently jiggling it. The edges should appear firm and set, while the very center (about a 1-inch circle) should have a slight, soft wobble. If the entire pie is liquidy, it needs more time. If there’s no wobble at all, it’s likely overbaked. You can also insert a thin knife or toothpick about 1 inch from the crust; if it comes out clean, the pie is ready. The internal temperature of the filling should reach 175°F (80°C) for food safety.
Pie cracking is a common issue often caused by overbaking or drastic temperature changes. When a pie bakes too long, the custard becomes too firm and expands, then contracts rapidly as it cools, leading to cracks. To avoid this, watch for the subtle jiggle in the center and remove the pie from the oven promptly. Also, allow the pie to cool slowly on a wire rack at room temperature before refrigerating; moving it directly from a hot oven to a cold fridge can also shock the custard and cause cracking.
Absolutely, making this pie ahead of time is highly recommended, especially for busy holidays! Pumpkin pie actually benefits from chilling, as it allows the flavors to meld and the custard to firm up perfectly. You can bake this pie up to 2-3 days in advance. Once it has fully cooled to room temperature, cover it loosely and store it in the refrigerator. This frees up valuable oven space and time on the big day, letting you focus on other dishes and enjoying your company.
More Crave-Worthy Pie Recipes
If you loved this simple and delicious graham cracker pumpkin pie, you’ll surely enjoy exploring other fantastic pie recipes that are perfect for any occasion. From classic flavors to gluten-free options, there’s something here for every pie lover:
- Pumpkin Pie without Evaporated Milk: A delicious twist on the classic, proving you don’t always need evaporated milk for a creamy, flavorful pumpkin pie.
- Apple Pie With Graham Cracker Crust: A wonderful alternative to traditional apple pie, featuring the sweet crunch of a graham cracker crust.
- Gluten Free Blueberry Pie: A delightful and berry-filled pie that caters to gluten-free diets without sacrificing taste or texture.
- Flaky Gluten Free Pie Crust: Master the art of a perfectly flaky pie crust, made completely gluten-free, for all your pie-baking needs.
Pumpkin Pie with Graham Cracker Crust
Carolyn
Pin Recipe
Equipment
-
Large mixing bowl
-
Measuring cups & spoons
Ingredients
- 1 10-inch store-bought graham cracker pie crust
- 15 ounce can of pumpkin puree
- ⅓ cup sugar
- ½ cup brown sugar
- 1 teaspoon cinnamon
- ½ teaspoon nutmeg
- ½ teaspoon ground ginger
- ¼ teaspoon kosher salt
- 3 eggs + 1 yolk
- ½ cup half and half
Instructions
-
Preheat the oven to 350 degrees Fahrenheit (175°C).
-
In a large bowl, combine the pumpkin puree, granulated sugar, brown sugar, cinnamon, nutmeg, ginger, and kosher salt. Mix well until thoroughly combined and smooth.
-
Add the three whole eggs and one extra yolk to the pumpkin mixture. Whisk until the eggs are fully incorporated into the mixture.
-
Pour the half and half into the pumpkin mixture and gently stir to combine. Ensure it’s well mixed without splashing. The batter will be thin, but it will thicken during baking.
-
Carefully pour the prepared pumpkin pie batter into a store-bought 10-inch graham cracker crust. Gently transfer the pie to the middle rack of the preheated oven.
-
Bake for 45 to 50 minutes, or until the edges are set and lightly golden, and the center is just slightly jiggly when gently shaken. Avoid overbaking.
-
Remove from oven and let the pie cool completely on a wire rack for at least 2 hours. For best results, chill in the refrigerator for several hours or overnight before slicing and serving. Enjoy!
Nutrition
