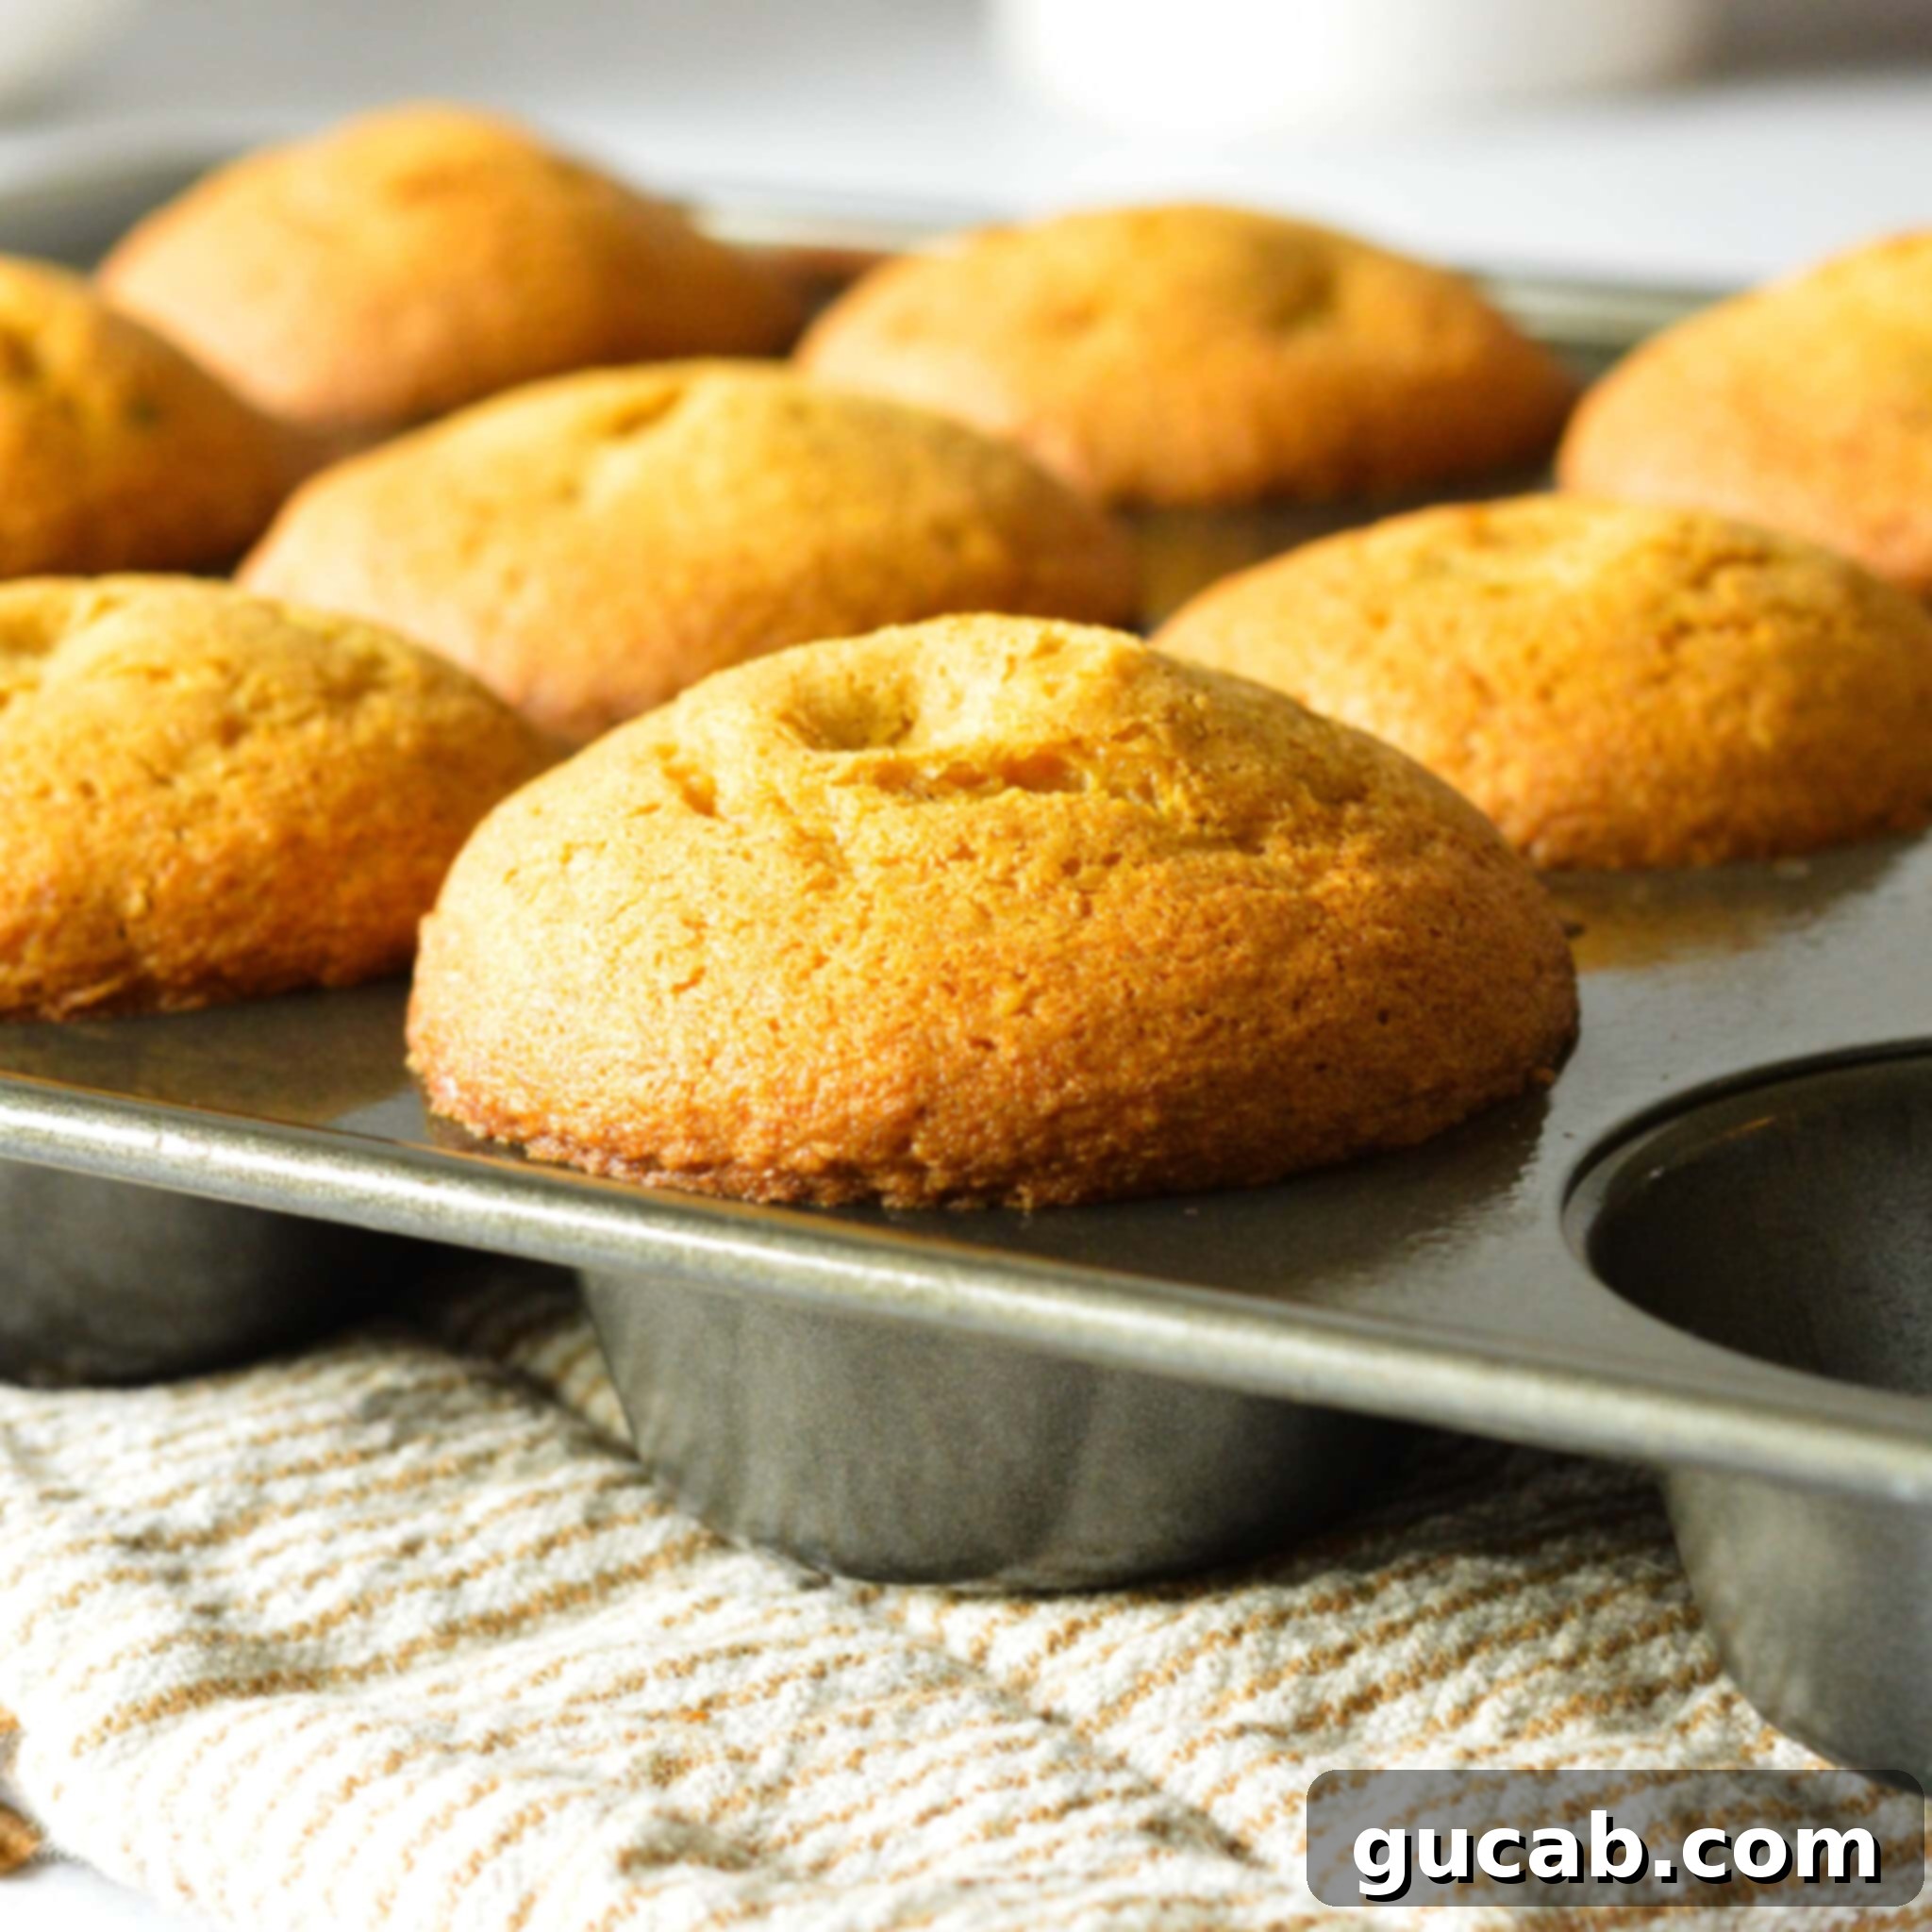
Deliciously Moist Gluten-Free Pumpkin Muffins with Chocolate Chips: Your New Fall Favorite!
Welcome the cozy flavors of autumn with these incredibly soft, moist, and flavorful gluten-free pumpkin muffins. Each bite is a delightful combination of warm pumpkin spice and rich chocolate chips, making them an instant family favorite. This recipe is not only quick and easy to whip up, but it’s also designed to be foolproof, ensuring perfect results every time. Whether you’re looking for a delightful breakfast treat, a comforting afternoon snack, or a simple dessert, these gluten-free pumpkin chocolate chip muffins are sure to become a staple in your fall baking repertoire. They capture the essence of the season in every tender crumb.
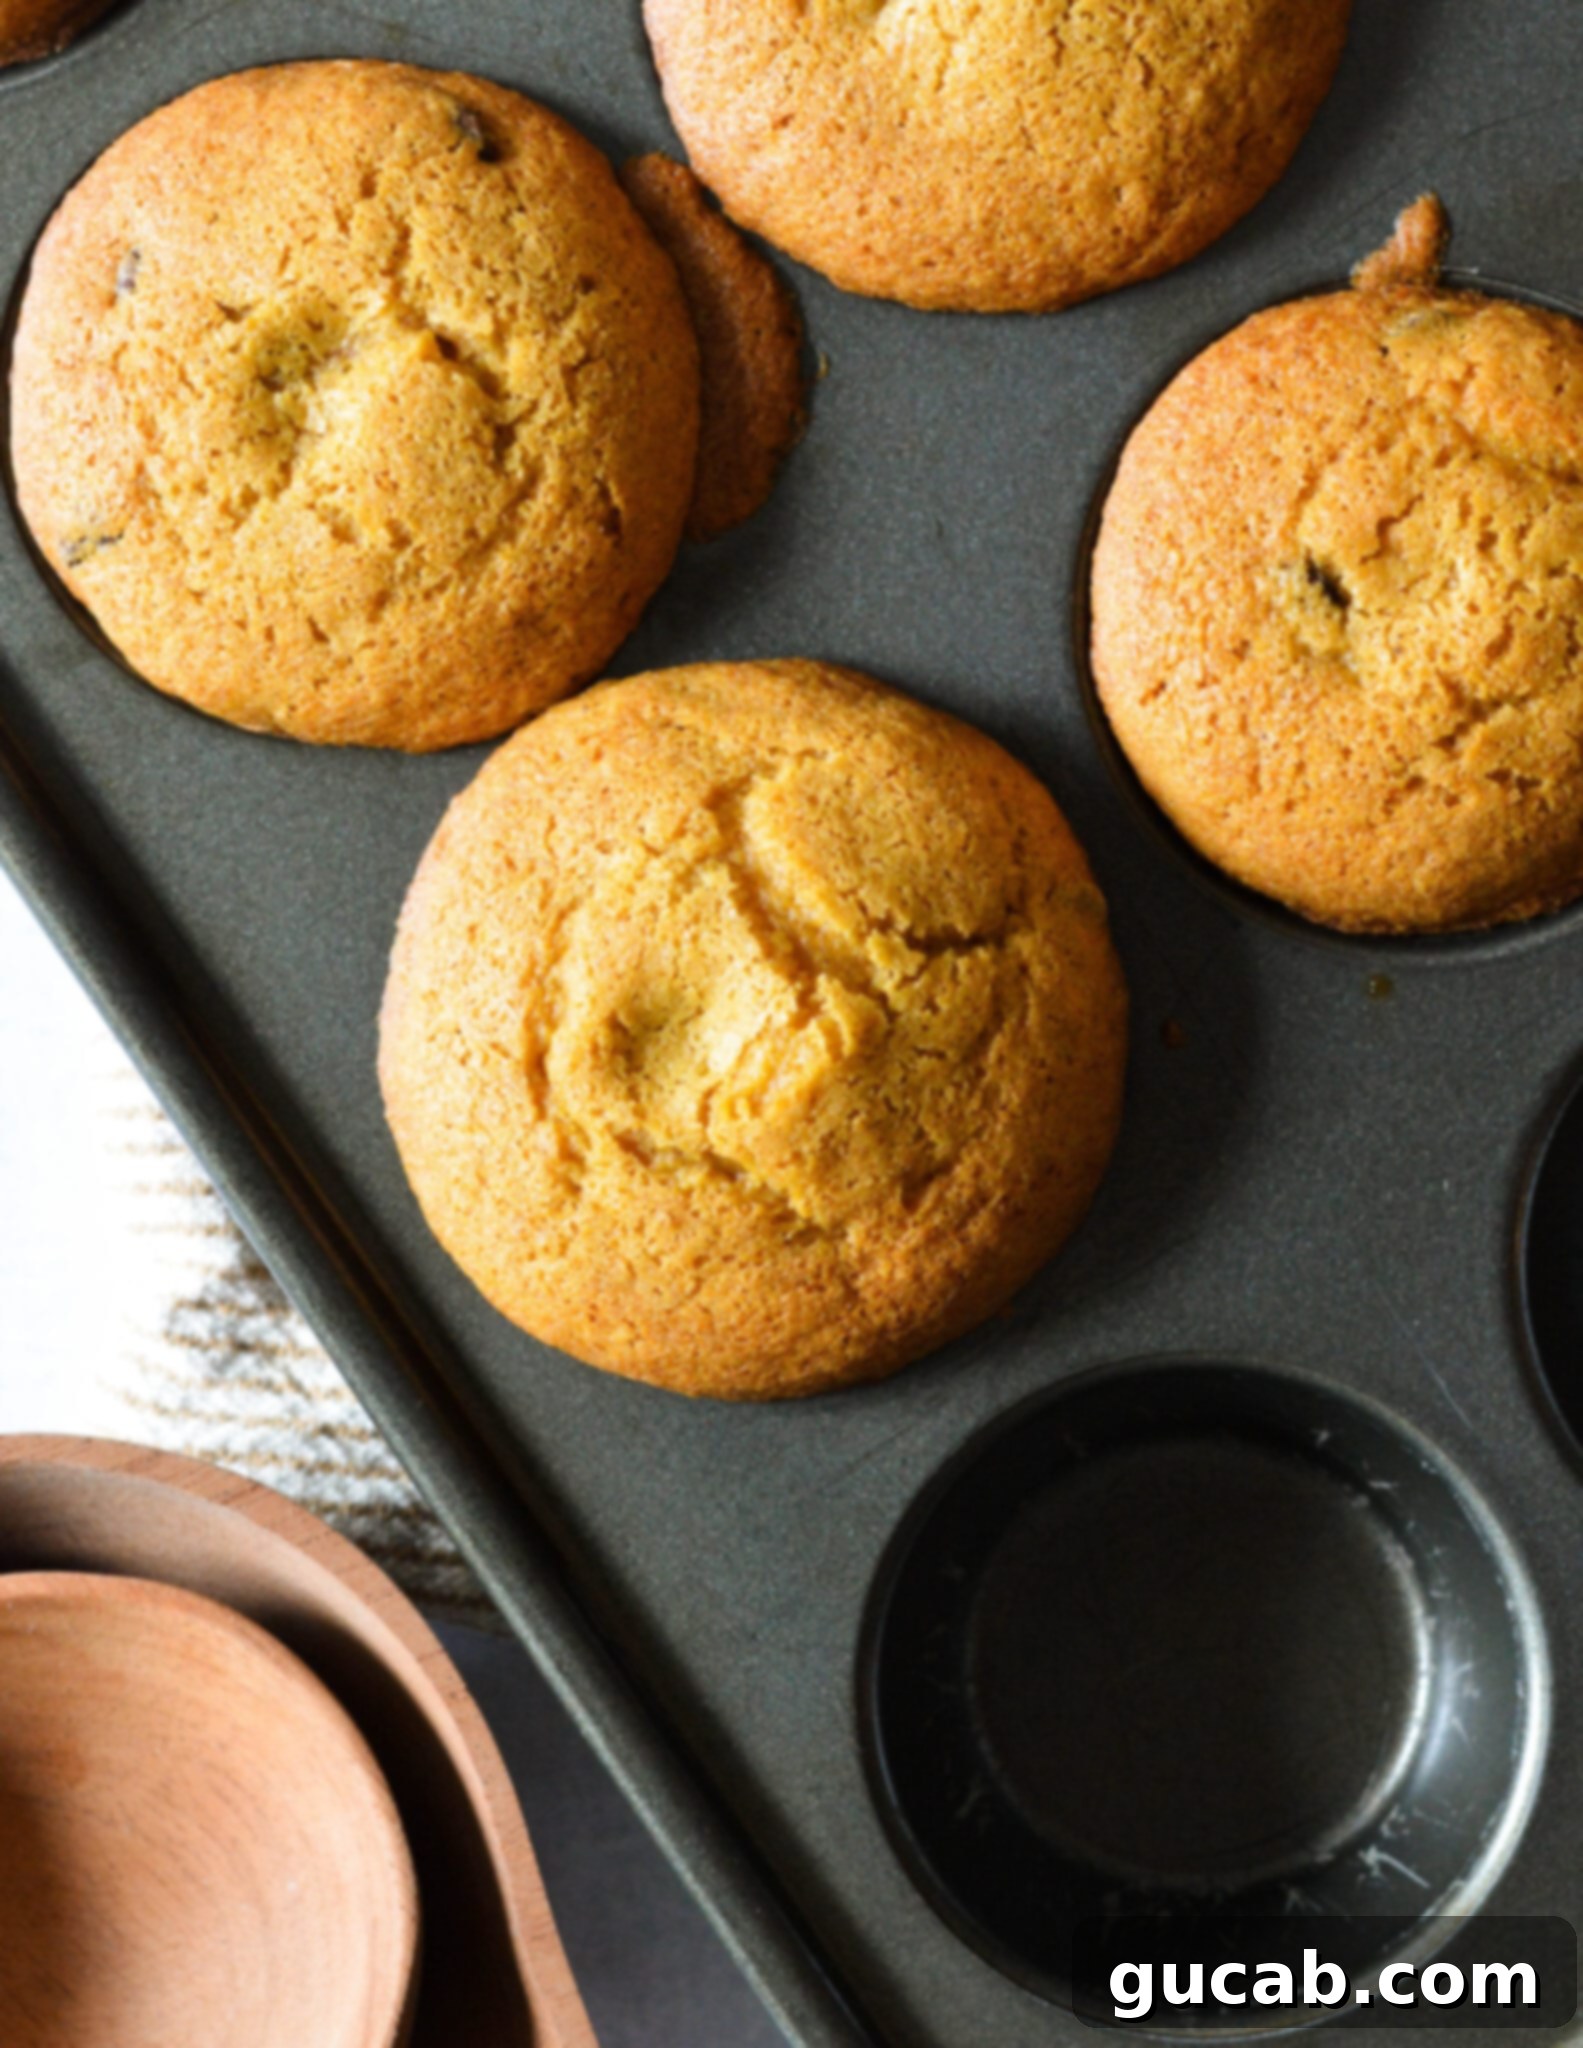
Why These Gluten-Free Pumpkin Chocolate Chip Muffins Are an Absolute Must-Try
If you’re a regular reader of my recipes, you’ll know that I have a deep appreciation for straightforward, no-fuss recipes that consistently deliver outstanding results. These gluten-free pumpkin chocolate chip muffins are a perfect example of that philosophy. They are incredibly easy to make, yet they taste like something you’d find at a high-end bakery. The soft, pillowy texture combined with the warm, comforting spices of pumpkin and generous pockets of melted chocolate makes them utterly irresistible.
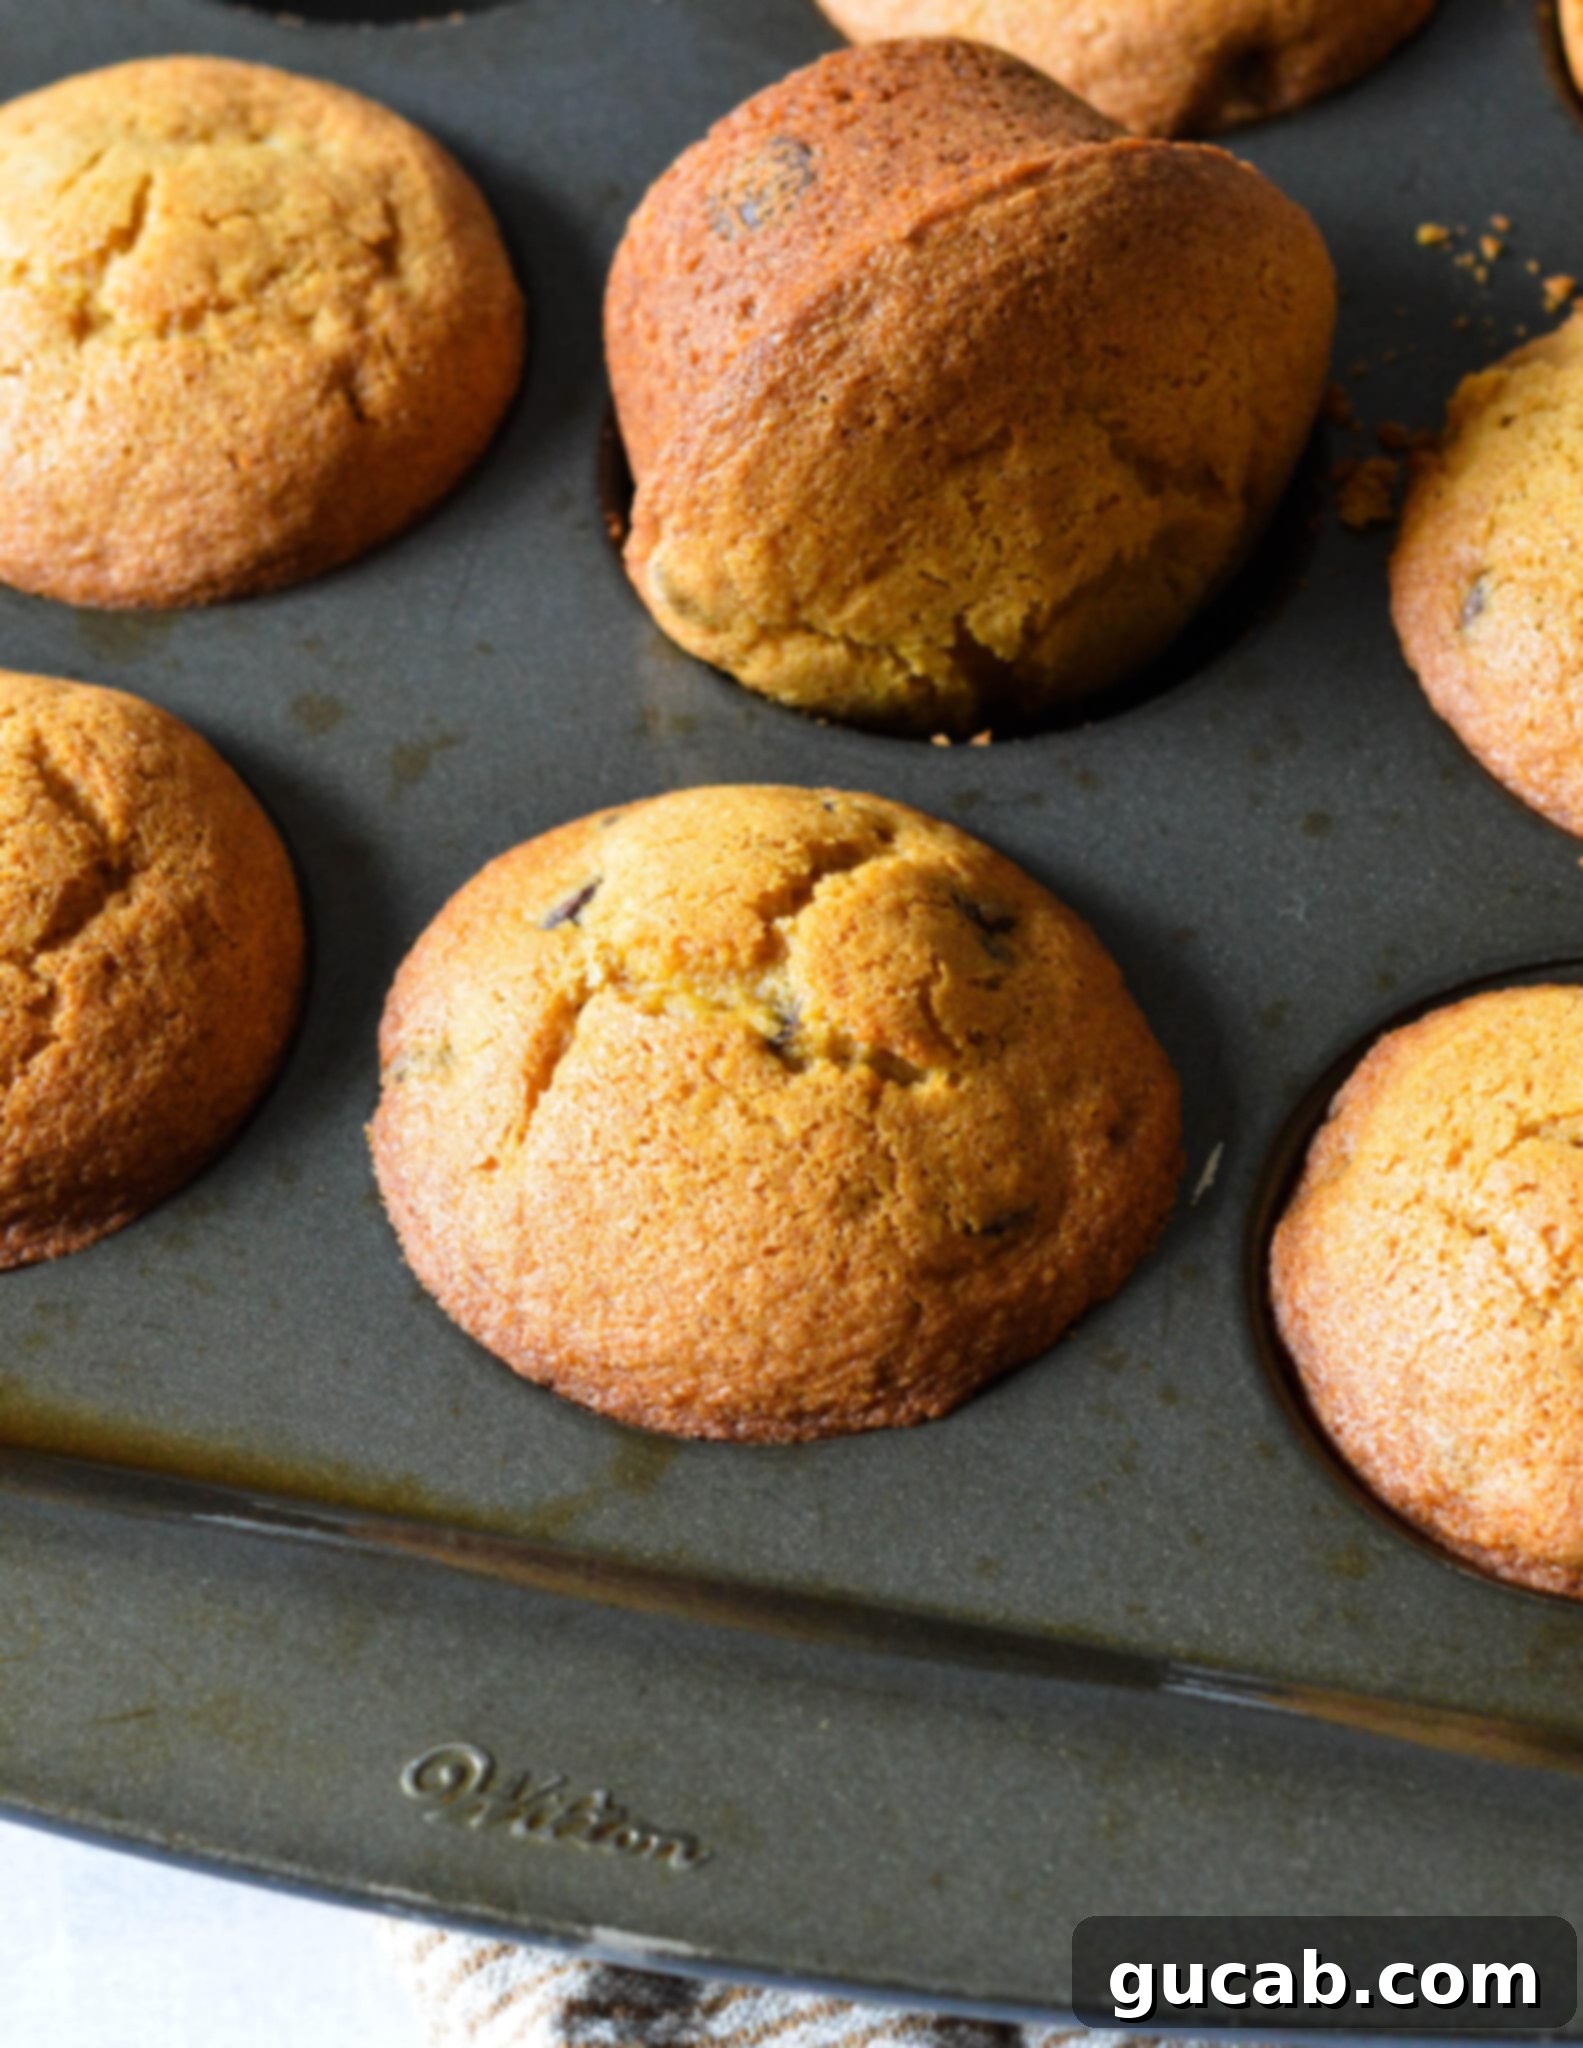
In fact, these muffins are so good, they rarely last long enough for me to capture a perfect picture! By the time I finally managed to find a spot with decent natural light, only one lone muffin remained. My “wee little monsters” (a loving term for my kids) and their enthusiastic cousins had already devoured the rest with gusto. This rapid disappearance is, in my opinion, the highest compliment any baked good can receive. The only way to truly resist their chocolate-studded, soft pumpkin deliciousness is to give them away (after you’ve had your fair share, of course!).
These gluten-free pumpkin muffins aren’t just for those with dietary restrictions; they’re genuinely delicious for everyone. They offer the classic taste and texture of traditional pumpkin muffins without any of the gluten, making them a fantastic and inclusive treat for any gathering or a simple indulgence at home. They’re especially wonderful during the fall season, bringing that cozy, autumnal feeling right into your kitchen with every batch.
Disclosure: This post may contain affiliate links. In other words, if you click a link and purchase something, I will receive a commission at no cost to you. I only recommend products I use and enjoy myself, ensuring they meet my standards for quality and performance.
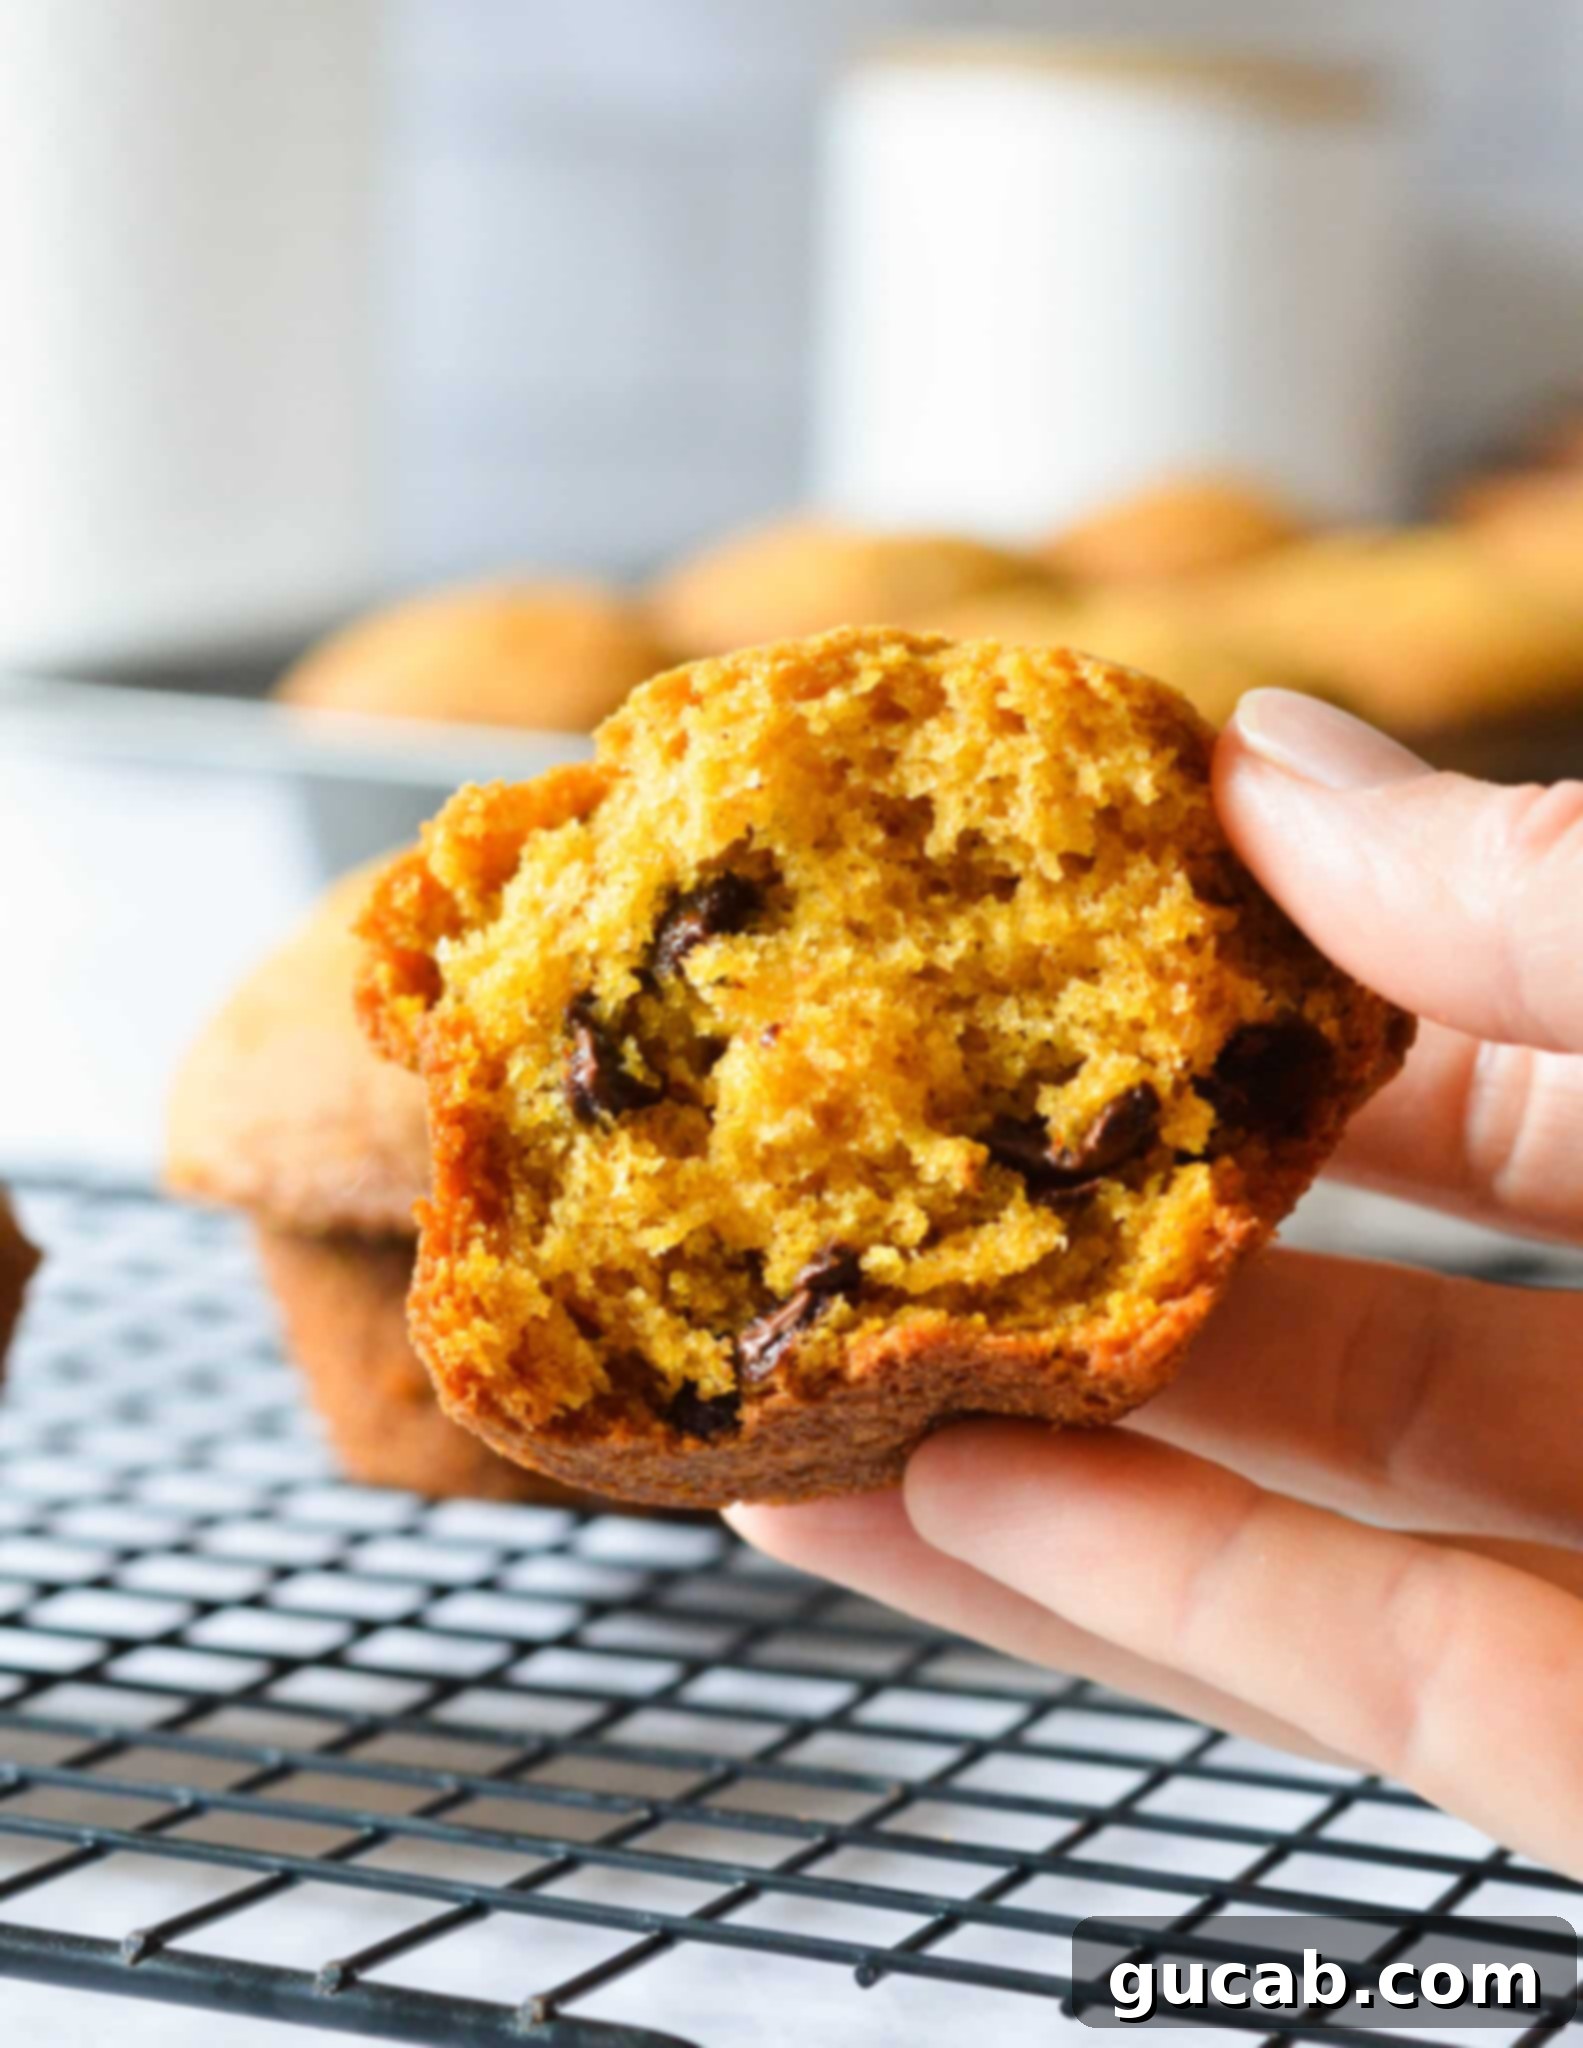
Essential Ingredients for Perfect Gluten-Free Pumpkin Muffins
Crafting these delectable pumpkin muffins requires a handful of common pantry staples. Each ingredient plays a crucial role in achieving that perfect soft, moist, and flavorful texture. Here’s a closer look at what you’ll need and why your choices matter for the best gluten-free pumpkin muffins:
- Vegetable Oil: The secret to incredibly moist muffins! Unlike butter, which can sometimes lead to a denser crumb, vegetable oil (or canola oil, which can be used interchangeably) ensures a consistently tender and light texture. It also contributes to keeping the muffins fresh for longer, thanks to its liquid fat content. You can also use other neutral-flavored oils like grapeseed oil or even a light olive oil if you prefer, ensuring the oil doesn’t impart a strong flavor.
- Canned Pure Pumpkin Puree: This is the star of our pumpkin muffins, providing both flavor and essential moisture. Always reach for 100% pure pumpkin puree, often found in the baking aisle. It should be just pumpkin – with no added spices, sugar, or other ingredients. Be very careful to avoid “pumpkin pie filling,” which contains spices and sweeteners and will drastically alter the flavor, sweetness balance, and moisture content of your muffins. Pure pumpkin adds natural sweetness, a beautiful orange hue, and, most importantly, unparalleled moisture to create that soft texture.
- Gluten-Free Flour Blend: The foundation of any gluten-free baked good! For this particular gluten-free pumpkin muffin recipe, I’ve had exceptional results using Bob’s Red Mill’s 1 to 1 Gluten Free Baking Flour. This blend is my absolute favorite because it’s specifically formulated to mimic traditional all-purpose flour, producing baked goods with excellent texture and no gritty or odd aftertaste. It’s widely available at major retailers like Target, Walmart, and Amazon, making it super accessible. Using a high-quality blend designed for a 1:1 substitution (and ideally containing xanthan gum) is paramount for success in gluten-free baking.
- Pumpkin Pie Spice: This fragrant spice blend is what gives our muffins that quintessential autumnal aroma and flavor. It’s typically a warming mixture of ground cinnamon, ginger, nutmeg, and allspice, sometimes with cloves. You can easily find pre-made pumpkin pie spice in any well-stocked grocery store, especially during the fall season. Alternatively, if you have individual spices on hand, you can make your own blend by combining a teaspoon of cinnamon with ¼ teaspoon each of ginger, nutmeg, and allspice. Feel free to adjust the amount to suit your personal taste preferences for a stronger or milder spice kick.
- Chocolate Chips: While technically optional, I cannot recommend adding chocolate chips enough! The pairing of pumpkin and chocolate is truly a match made in heaven. The slight bitterness of dark or semi-sweet chocolate perfectly complements the earthy sweetness of pumpkin, creating a depth of flavor that’s hard to beat. You can use semi-sweet, milk, or even white chocolate chips depending on your preference. For an extra touch and more even distribution, mini chocolate chips are a fantastic choice throughout the muffin batter.
- Sugars: A thoughtful combination of granulated sugar and brown sugar is used to provide balanced sweetness and contribute to the moist texture. Granulated sugar provides crispness, while brown sugar adds depth of flavor and extra moisture due to its molasses content.
- Leavening Agents: Baking powder and baking soda are the dynamic duo responsible for the muffins’ light and airy rise. They react to create carbon dioxide bubbles, ensuring your muffins are perfectly domed, fluffy, and tender.
- Kosher Salt: Often underestimated, salt is vital in baking. It enhances all the other flavors, bringing out the best in the pumpkin and spices, and balances the sweetness.
- Large Eggs: Eggs serve multiple purposes in these muffins. They bind all the ingredients together, add richness, and contribute significantly to the overall structure and moisture of the finished product. Using room temperature eggs allows them to incorporate more smoothly into the batter.
Baking These Irresistible Gluten-Free Pumpkin Muffins: A Simple Step-by-Step Guide
Let me prove to you just how incredibly simple and straightforward these gluten-free pumpkin muffins are to make. Even novice bakers will find this recipe a breeze, yielding delicious, bakery-quality results every time. Here’s a detailed breakdown of the process to ensure your success:
- Preparation is Key: Begin by preheating your oven to a precise 350 degrees Fahrenheit (175°C). A properly preheated oven is crucial for even baking and achieving that perfect muffin dome. Next, prepare your muffin tin. You can either spray each cup thoroughly with nonstick cooking spray or, for easier removal and cleanup, line each cup with paper muffin liners. In a separate medium-sized mixing bowl, combine all your dry ingredients: the gluten-free flour blend, baking powder, baking soda, kosher salt, and pumpkin pie spice. Whisk these ingredients together vigorously for about 30 seconds to ensure they are thoroughly combined and evenly distributed. This prevents any pockets of unmixed leavening agents or spices in your final muffins. Set this bowl aside for a moment.
- Cream Wet Ingredients: In the large bowl of a stand mixer (or a spacious bowl if using a hand mixer), add both your granulated sugar and packed brown sugar, the vegetable oil, and the canned pure pumpkin puree. Beat these ingredients together on medium-high speed for a full three minutes. This step is more critical than it might seem; it thoroughly combines the sugars and fats, creating a light, aerated, and fluffy base. This aeration is what helps achieve the muffins’ incredibly moist texture and beautiful rise. Do not cut this step short!
- Incorporate Eggs Gradually: After the initial wet ingredients are beautifully combined and aerated, add your large eggs one at a time. Beat well after each addition, ensuring the egg is fully incorporated into the mixture before adding the next. This helps create a stable emulsion, adding richness and contributing to the overall structure of the batter. As you mix, remember to periodically stop the mixer and use a rubber spatula to scrape down the sides and bottom of the bowl. This ensures that all ingredients are thoroughly mixed and no dry or unmixed components are clinging to the edges.
- Combine Dry and Wet Ingredients: Now, it’s time to bring it all together. Gradually add your prepared dry ingredients mixture into the pumpkin mixture in the stand mixer bowl. Beat on low speed only until the ingredients are just combined. This means mixing only until no streaks of dry flour remain in the batter. Be extremely careful not to overmix at this stage! Overmixing gluten-free batters can activate starches in a way that leads to dense, tough, or rubbery muffins, diminishing that desirable soft texture. A few small lumps in the batter are perfectly fine and often indicate a perfectly mixed muffin batter.
- Fold in Chocolate Chips: Once the batter is mostly combined, remove the bowl from the mixer and, using a rubber spatula, gently fold in your semi-sweet chocolate chips. Folding rather than beating ensures the chocolate chips are evenly dispersed throughout the batter without overworking it further. Your delicious gluten-free pumpkin muffin batter is now ready!
- Fill Muffin Tins and Bake: Distribute the batter evenly into your prepared muffin tin. For consistent sizing and those coveted, high-domed muffin tops, a portion scoop works wonderfully. Fill each muffin cup almost all the way to the top. This recipe is designed to yield 9 generously sized muffins. Place the muffin tin into your preheated oven and bake for approximately 20 to 22 minutes. The muffins are done when a wooden toothpick inserted into the center of one of them comes out clean (a few moist crumbs are acceptable, but no wet batter).
Boom, done. It’s truly that simple, and you’ll love the incredible results of these perfectly baked gluten-free pumpkin muffins!
Understanding Gluten-Free All-Purpose Flour: Why Your Choice Matters Significantly
I cannot stress this enough: in the intricate world of gluten-free baking, the quality and type of gluten-free flour blend you choose can make or break your recipe. Not all gluten-free flour brands are created equal. Some can produce baked goods that are disappointingly dense, gritty, dry, or have an unpleasant, noticeable aftertaste, leading many to believe that gluten-free baking is inherently difficult or produces inferior results. However, with the right flour blend, you can achieve results that are virtually indistinguishable from their gluten-containing counterparts in terms of texture, flavor, and overall enjoyment.
My unwavering recommendation, and the flour I exclusively use for recipes like these incredibly moist gluten-free pumpkin muffins (unless I’m truly in an unforeseen pinch), is Bob’s Red Mill 1:1 Gluten Free Baking Flour. This blend is an absolute game-changer for home bakers. It’s expertly formulated with a precise combination of gluten-free grains and starches (typically including rice flour, brown rice flour, tapioca starch, potato starch, and, crucially, xanthan gum) to provide the structure, elasticity, and desirable texture that gluten normally offers in traditional baking. The inclusion of xanthan gum is particularly important as it acts as a binder, preventing your gluten-free baked goods from crumbling apart and giving them a more cohesive crumb.
What I love most about Bob’s Red Mill 1:1 is its consistent and reliable performance. There’s no dreaded chalky texture, no weird lingering taste, just pure, wholesome deliciousness. It truly allows for a seamless 1:1 substitution in many traditional recipes, simplifying the gluten-free baking process significantly and opening up a world of possibilities for those with gluten sensitivities. You can find it readily available at major retailers across the country like Sam’s Club, Walmart, and Target, as well as conveniently online platforms such as Amazon. Look for the distinctive blue packaging – it looks exactly like this.
While other brands may offer their own 1:1 gluten-free blends, I always encourage bakers to stick with a trusted brand that has proven results, especially when trying a new gluten-free recipe. Experimentation is certainly part of the baking journey, but for a reliable and consistently delicious outcome with these gluten-free pumpkin muffins, using a blend known for its quality will significantly contribute to your success and enjoyment. If you must use another blend, ensure it explicitly states it’s a 1:1 replacement and, ideally, already contains xanthan gum. If your chosen blend does not contain xanthan gum, you will need to add it separately according to package directions (typically ½ teaspoon per cup of gluten-free flour for muffins). Be aware that different blends can absorb liquids differently, so minor adjustments to liquid content might occasionally be needed if you deviate from the recommended Bob’s Red Mill blend, but with that specific flour, you can proceed with confidence.
Storage and Freezing Tips for Maximum Freshness and Convenience
One of the many wonderful things about these gluten-free pumpkin muffins is how incredibly well they store, making them absolutely perfect for meal prepping, batch baking, or simply having a delicious, wholesome treat on hand whenever a craving strikes. You can easily make a batch (or even a double batch!) and enjoy them for days, or stash them away for future enjoyment.
How to Store Freshly Baked Gluten-Free Pumpkin Muffins:
- Cool Completely: This is arguably the most crucial step before storing any baked good. Ensure your muffins have cooled completely to room temperature on a wire rack. Storing warm muffins, even slightly warm ones, will create condensation inside your container, leading to soggy tops and a significantly quicker rate of spoilage.
- Airtight Container: Once fully cooled, transfer the muffins to a gallon-sized zip-top bag or any other sturdy airtight container. This is essential to prevent them from drying out and to maintain their delightful moistness and freshness.
- Countertop Storage: These delicious gluten-free pumpkin muffins will stay wonderfully fresh and moist at room temperature on your kitchen counter for up to 3 days. For optimal taste and texture, consume them within this timeframe.
- Refrigeration for Extended Freshness: If you live in a particularly humid climate, or if you simply wish to extend their freshness slightly beyond 3 days, you can store them in the refrigerator for up to a week. Just be aware that refrigeration can sometimes alter the texture of baked goods slightly, sometimes making them a little denser.
How to Freeze Gluten-Free Pumpkin Muffins for Enjoyment Later:
Muffins are truly fantastic candidates for freezing, and these gluten-free pumpkin muffins are no exception! Freezing them is a brilliant way to preserve their freshness, locking in that homemade taste, and having a ready-made snack or breakfast available on demand. Here’s how to do it effectively to prevent freezer burn and maintain quality:
- Flash Freeze for Convenience: After the muffins have completely cooled to room temperature, arrange them in a single layer on a baking sheet. Place this baking sheet in the freezer for about 30 minutes to an hour. This “flash freezing” step is important as it hardens the exterior of the muffins, preventing them from sticking together when you transfer them to a bag or container.
- Airtight Freezer Storage: Once the muffins are firm to the touch, transfer them from the baking sheet into a freezer-safe gallon zip-top bag or an airtight freezer container. Make sure to squeeze out as much air as possible before sealing the bag or container to prevent freezer burn, which can affect the texture and flavor.
- Freezer Life: These gluten-free pumpkin muffins will keep beautifully in the freezer for up to 3 months. Clearly label the bag or container with the date so you know when they were frozen.
- Thawing and Reheating: When you’re ready to enjoy a muffin, simply pull it out of the freezer. You can let it thaw naturally at room temperature for an hour or two. For a quick, warm, and freshly baked-like treat, gently warm it in the microwave for 20-30 seconds, or in a toaster oven at a low temperature until heated through. I absolutely love pulling them out for the kiddos when I want to surprise them with a special, yet effortless, breakfast or an after-school snack without having to bake from scratch!
Tips for Achieving Muffin Perfection Every Time
While these gluten-free pumpkin muffins are designed to be simple, a few expert tips can elevate your baking and ensure your muffins are consistently soft, moist, and utterly delicious with a beautiful domed top. Follow these guidelines for muffin perfection:
- Do Not Overmix the Batter: This is arguably the most important rule in muffin baking, and it’s especially critical for gluten-free recipes. Overmixing develops starches in gluten-free flour, which can lead to a dense, tough, or even rubbery texture. Mix the wet and dry ingredients only until they are just combined – a few small lumps in the batter are perfectly fine and often desirable for a tender crumb. Stop mixing as soon as you no longer see streaks of dry flour.
- Ensure Room Temperature Eggs and Pumpkin: Using room temperature eggs and pumpkin puree ensures they incorporate more easily and smoothly into the batter, creating a more emulsified mixture. This leads to a more uniform crumb and a lighter texture in your finished muffins. If your eggs are cold, place them in a bowl of warm water for 5-10 minutes.
- Measure Ingredients Accurately: Baking is a precise science, so accurate measurements are paramount, especially for flour. For flour, use the spoon-and-level method: spoon the gluten-free flour into your measuring cup until it overflows, then level it off with the back of a straight knife or flat edge. Never scoop directly from the bag, as this compacts the flour and can result in using too much, leading to dry muffins.
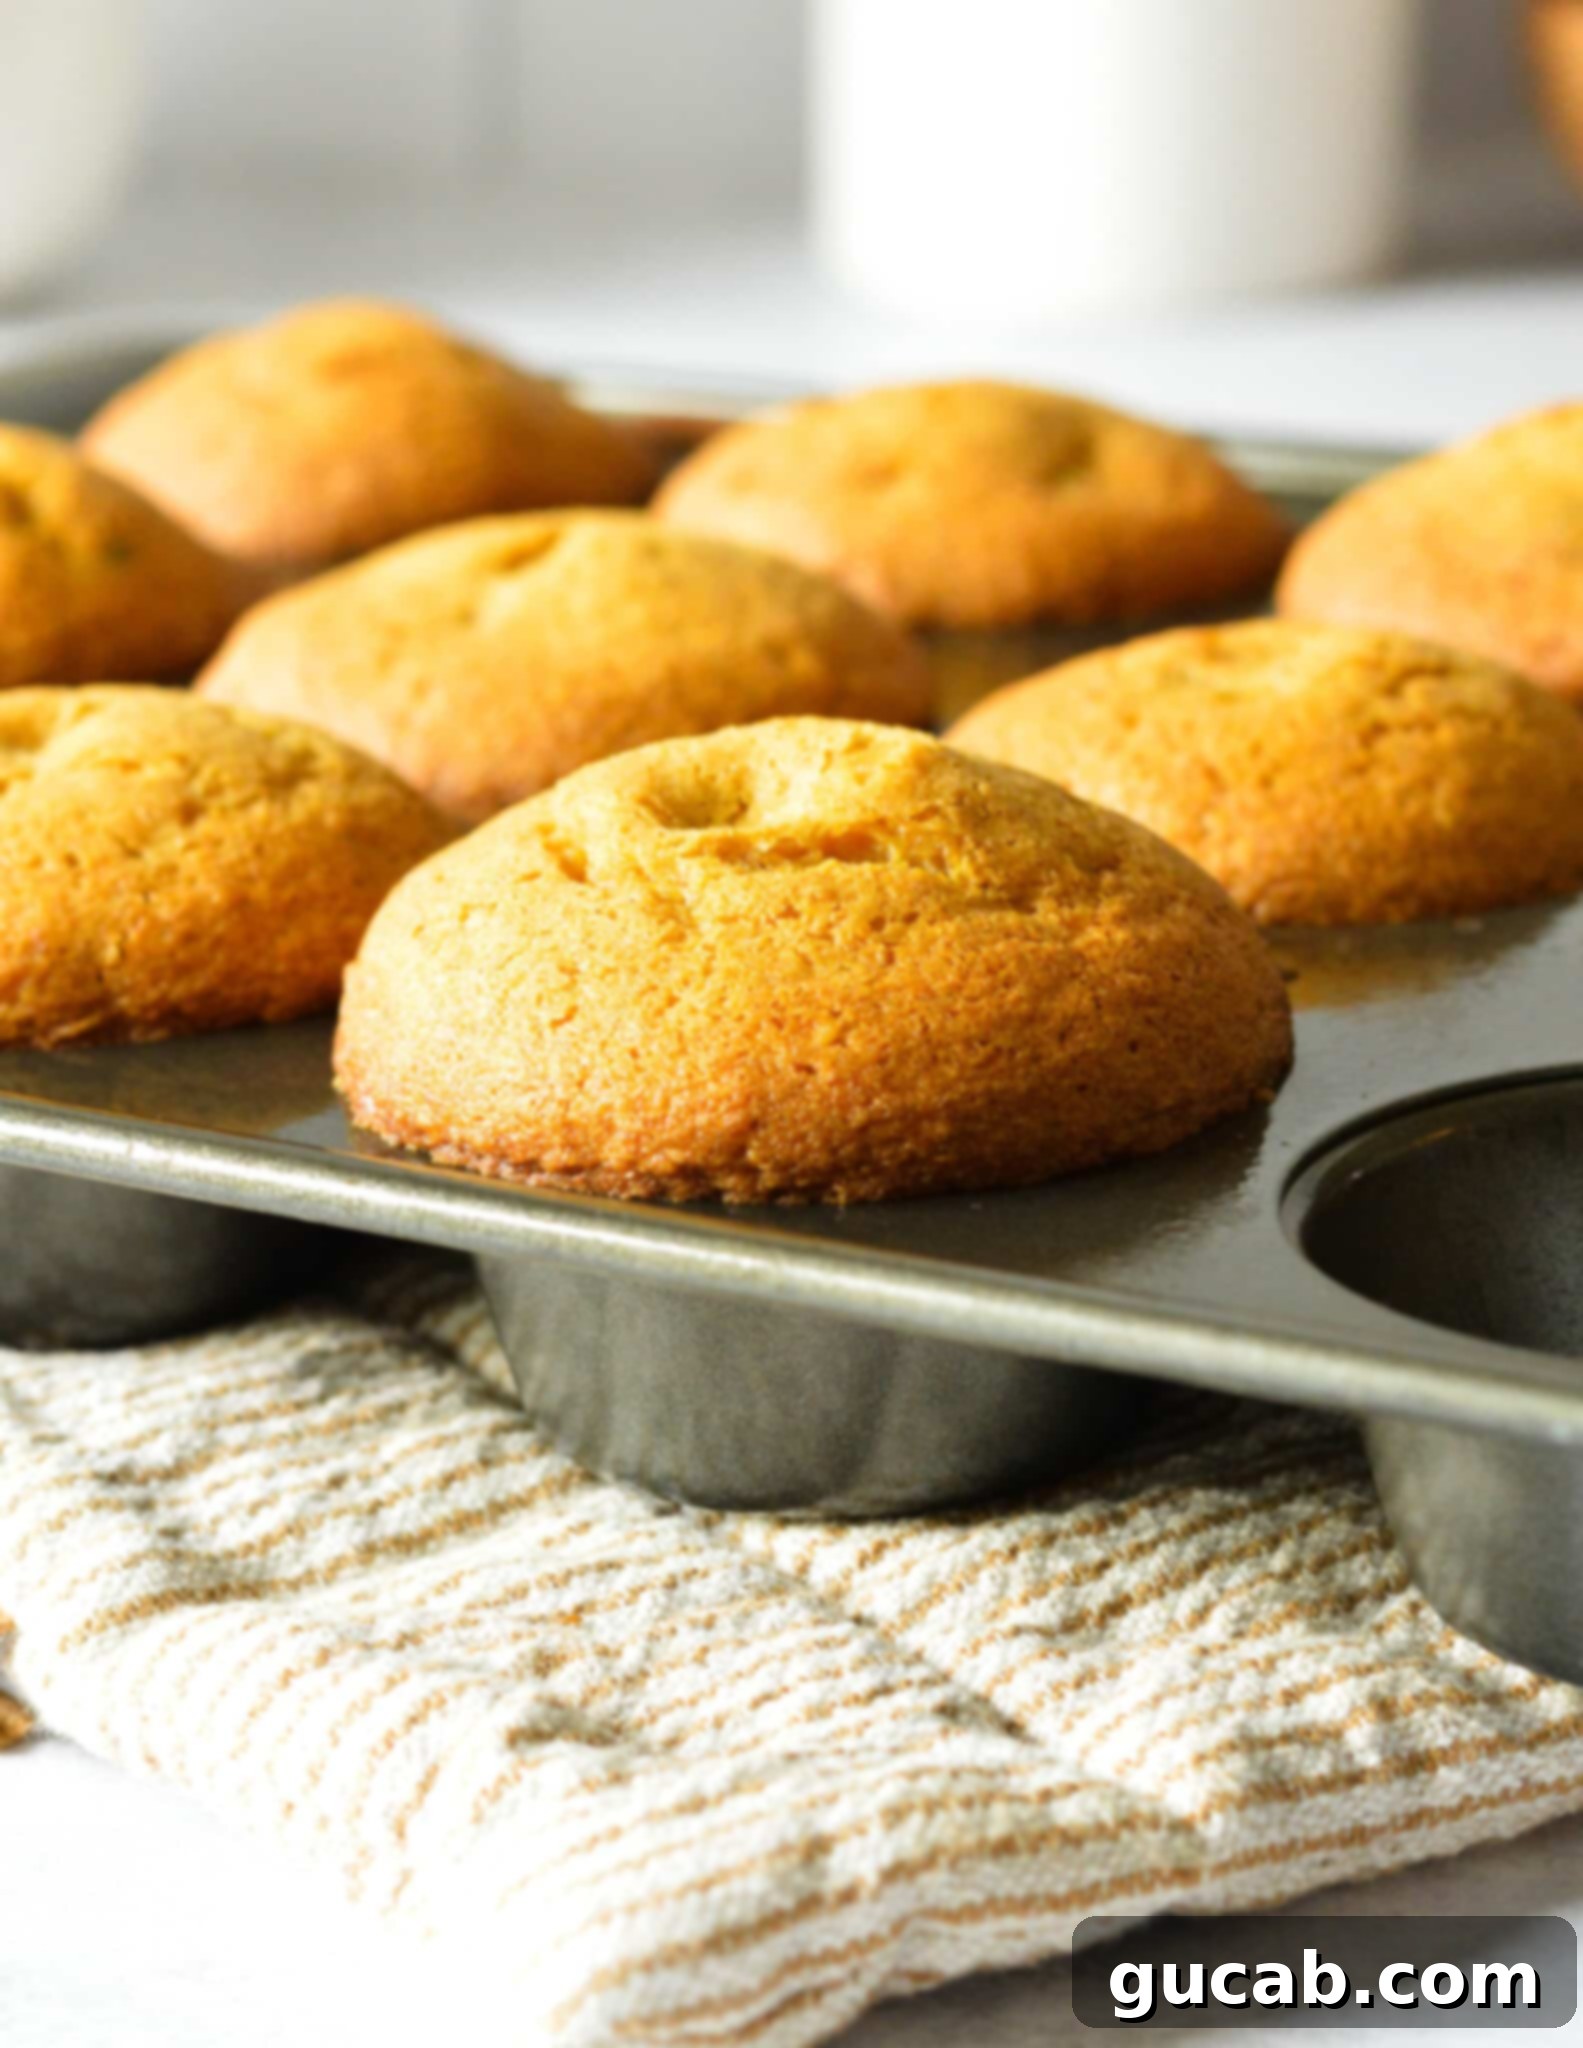
- Fill Muffin Tins Generously: For those desirable, tall, domed muffin tops that look like they came from a bakery, fill your muffin liners almost all the way to the top. This recipe is specifically designed to yield 9 generously sized muffins, ensuring each one has a substantial and appealing top.
- Avoid Opening the Oven Door Frequently: Resist the urge to peek at your muffins too often during baking. Each time you open the oven door, the temperature inside drops significantly, which can interfere with the muffins’ rise and lead to uneven baking or flat tops.
- Test for Doneness Reliably: The best way to check if your muffins are baked through is the toothpick test. Insert a wooden toothpick into the center of a muffin; if it comes out clean (or with a few moist crumbs clinging to it, but no wet batter), they’re ready. Overbaking, even by a few minutes, will lead to dry and less flavorful muffins.
- Cool on a Wire Rack: Once baked, let the muffins cool in the muffin tin for about 5 minutes before transferring them to a wire rack to cool completely. This prevents the bottoms from becoming soggy due due to residual heat and steam.
Customization and Delicious Variations for Your Pumpkin Muffins
While these gluten-free pumpkin muffins are absolutely spectacular as is, their simple yet robust flavor profile also makes them a wonderful base for customization. Feel free to get creative in the kitchen and tailor them to your personal taste preferences or whatever ingredients you have on hand:
- Nutty Goodness: For an added layer of texture and earthy flavor, stir in ½ cup of finely chopped pecans or walnuts along with the chocolate chips. Toasting the nuts lightly beforehand can enhance their flavor even more.
- Dried Fruit Delight: Fold in ½ cup of dried cranberries, golden raisins, or even chopped dried apricots for a chewy texture and a burst of tart sweetness that pairs wonderfully with the warm spices of pumpkin.
- Simple Streusel Topping: For an irresistible crunch and extra sweetness, prepare a simple streusel topping. In a small bowl, combine ¼ cup of gluten-free flour, 2 tablespoons of packed brown sugar, 1 teaspoon of pumpkin pie spice, and 2 tablespoons of very cold unsalted butter (cut into small pieces). Use your fingertips or a pastry blender to mix until crumbly. Sprinkle this mixture generously over the muffin batter in each cup before baking.
- Decadent Cream Cheese Swirl: For a truly decadent twist, create a luscious cream cheese swirl. Beat 2 ounces of softened cream cheese with 2 tablespoons of powdered sugar and a splash of vanilla extract until smooth. Dollop small amounts of this mixture over the muffin batter in each cup and then use a knife or a toothpick to gently swirl it through the batter before baking.
- Amplify the Spice: If you adore a bolder, more intense spice flavor, feel free to increase the pumpkin pie spice to 1 full teaspoon, or even add a tiny pinch (⅛ teaspoon) of ground cloves or cardamom for a more complex and aromatic profile.
- White Chocolate Bliss: For a different kind of sweetness and a lovely visual contrast, swap out the semi-sweet chocolate chips for white chocolate chips. The creamy sweetness of white chocolate is a delightful complement to pumpkin.
- Nut Butter Swirl: For a protein boost and rich flavor, swirl a tablespoon of your favorite smooth nut butter (like almond or cashew butter) into each muffin cup before baking.
More Delicious Gluten-Free Muffin Recipes to Explore and Enjoy
If you’ve thoroughly enjoyed baking and devouring these delightful gluten-free pumpkin muffins, you’ll be thrilled to discover that there’s a whole world of other fantastic gluten-free muffin recipes just waiting for you to try! Expand your baking horizons with these easy and incredibly delicious options, perfect for adding variety to your breakfast, snack, or dessert rotation:
- Gluten Free Gingerbread Muffins: Perfect for the holiday season, or anytime you crave that warm, spicy, and molasses-rich flavor.
- Gluten Free Banana Chocolate Chip Muffins: A timeless classic comfort food, these muffins are wonderfully moist, perfectly sweet, and always a crowd-pleaser for all ages.
- Gluten Free Blueberry Muffins: Bursting with juicy fresh blueberries, these are a quintessential favorite for breakfast or brunch, offering a bright and fruity experience.
- Gluten Free Blackberry Muffins: A delightful and slightly more unique twist on fruit muffins, offering a lovely balance of tartness and sweetness that’s simply irresistible.

Gluten Free Pumpkin Muffins
Carolyn
Pin Recipe
Equipment
-
Stand mixer
-
Muffin Tin
-
Rubber Spatula
-
Mixing Bowls
Ingredients
- ½ cup granulated sugar
- ¼ cup + 2 tablespoons light brown sugar, packed
- ½ cup vegetable oil
- ½ cup canned pure pumpkin puree
- 2 large eggs, room temperature
- 1 cup + 2 tablespoons Bob’s Red Mill’s 1 to 1 Gluten Free Baking Flour or another high-quality gluten-free all-purpose flour blend with xanthan gum
- 1½ teaspoons baking powder
- ½ teaspoon baking soda
- ¼ teaspoon kosher salt
- ½ teaspoon pumpkin pie spice
- ¾ cup semisweet chocolate chips
Instructions
-
Preheat oven to 350 degrees Fahrenheit (175°C). Spray a 9-cup muffin tin generously with nonstick cooking spray or add paper muffin liners. In a medium bowl, combine the gluten-free flour, baking powder, baking soda, kosher salt, and pumpkin pie spice. Whisk these dry ingredients well for about 30 seconds to ensure they are evenly distributed. Set aside.
-
In the bowl of a stand mixer fitted with the paddle attachment (or a large bowl with a hand mixer), combine the granulated sugar, light brown sugar, vegetable oil, and pure pumpkin puree. Beat for 3 minutes on medium-high speed until the mixture is light, fluffy, and well aerated. This step is crucial for the muffins’ moist texture.
-
Add the room temperature large eggs, one at a time, beating thoroughly after each addition until fully incorporated. Use a rubber spatula to scrape down the sides and bottom of the bowl as needed to ensure all ingredients are evenly mixed into the batter.
-
Gradually add the prepared dry ingredients to the pumpkin mixture. Beat on low speed only until just combined and no visible streaks of dry flour remain. Be very careful not to overmix the batter, as this can lead to tough muffins. A few small lumps are perfectly acceptable.
-
Remove the bowl from the mixer. With a rubber spatula, gently fold in the semisweet chocolate chips until they are evenly dispersed throughout the batter.
-
Use a portion scoop (or a large spoon) to scoop the batter into the prepared muffin tin, filling each hole almost all the way to the top. This recipe should consistently yield 9 generously sized muffins with beautiful domed tops.
-
Bake in the preheated oven for approximately 20 to 22 minutes, or until a wooden toothpick inserted into the center of a muffin comes out clean (a few moist crumbs are okay, but no wet batter). Let the muffins cool in the tin for about 5 minutes before carefully transferring them to a wire rack to cool completely.
Nutrition
