Irresistibly Soft & Chewy Peanut Butter Cookies: The Ultimate Homemade Recipe
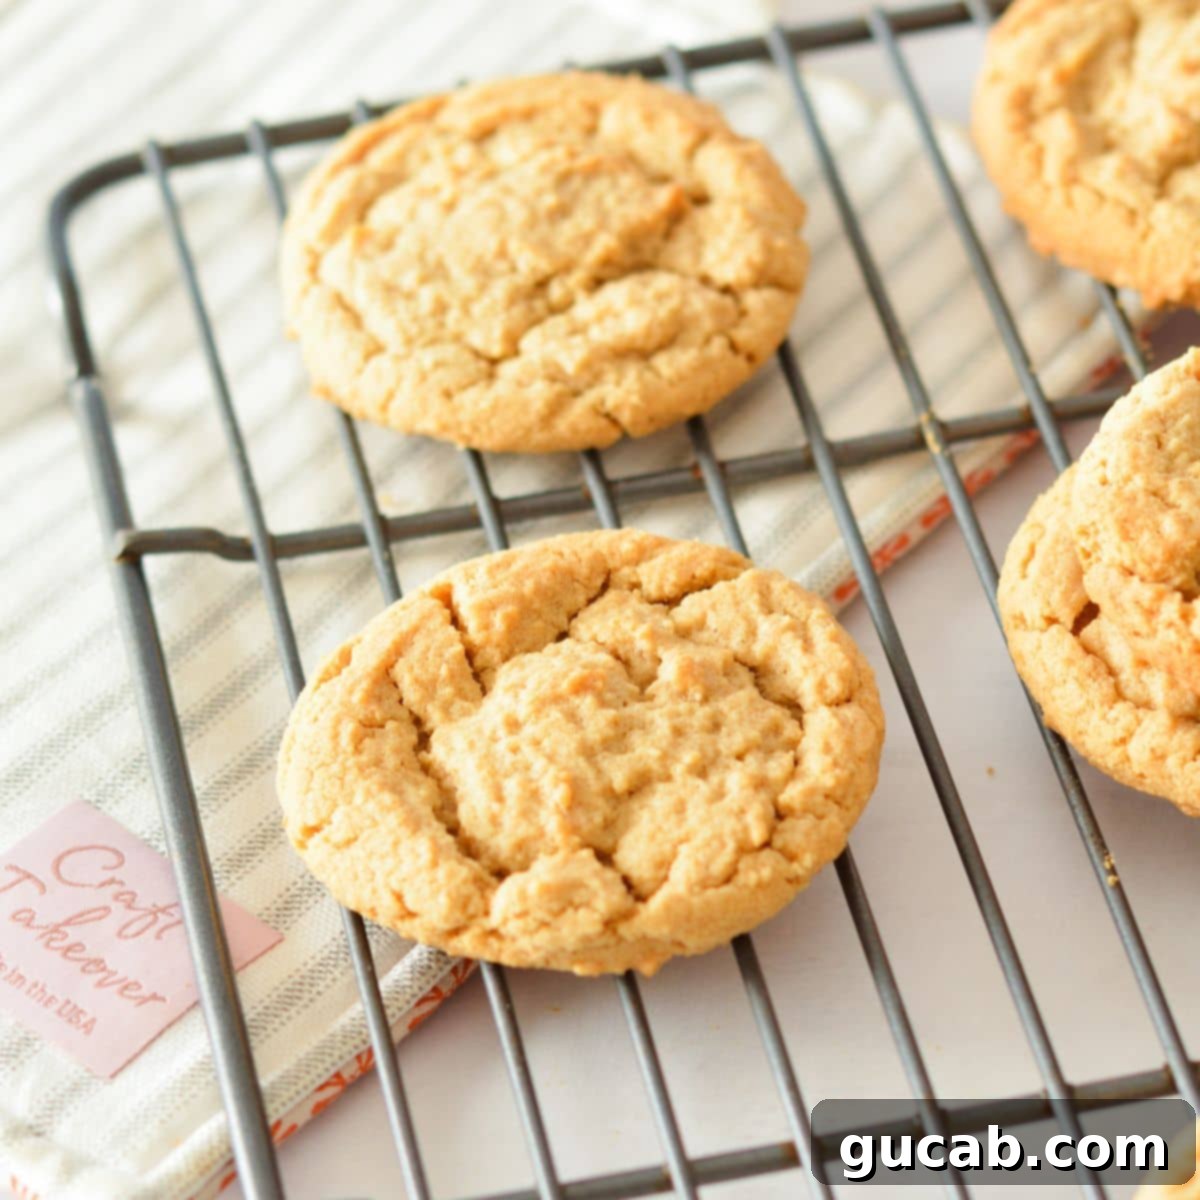
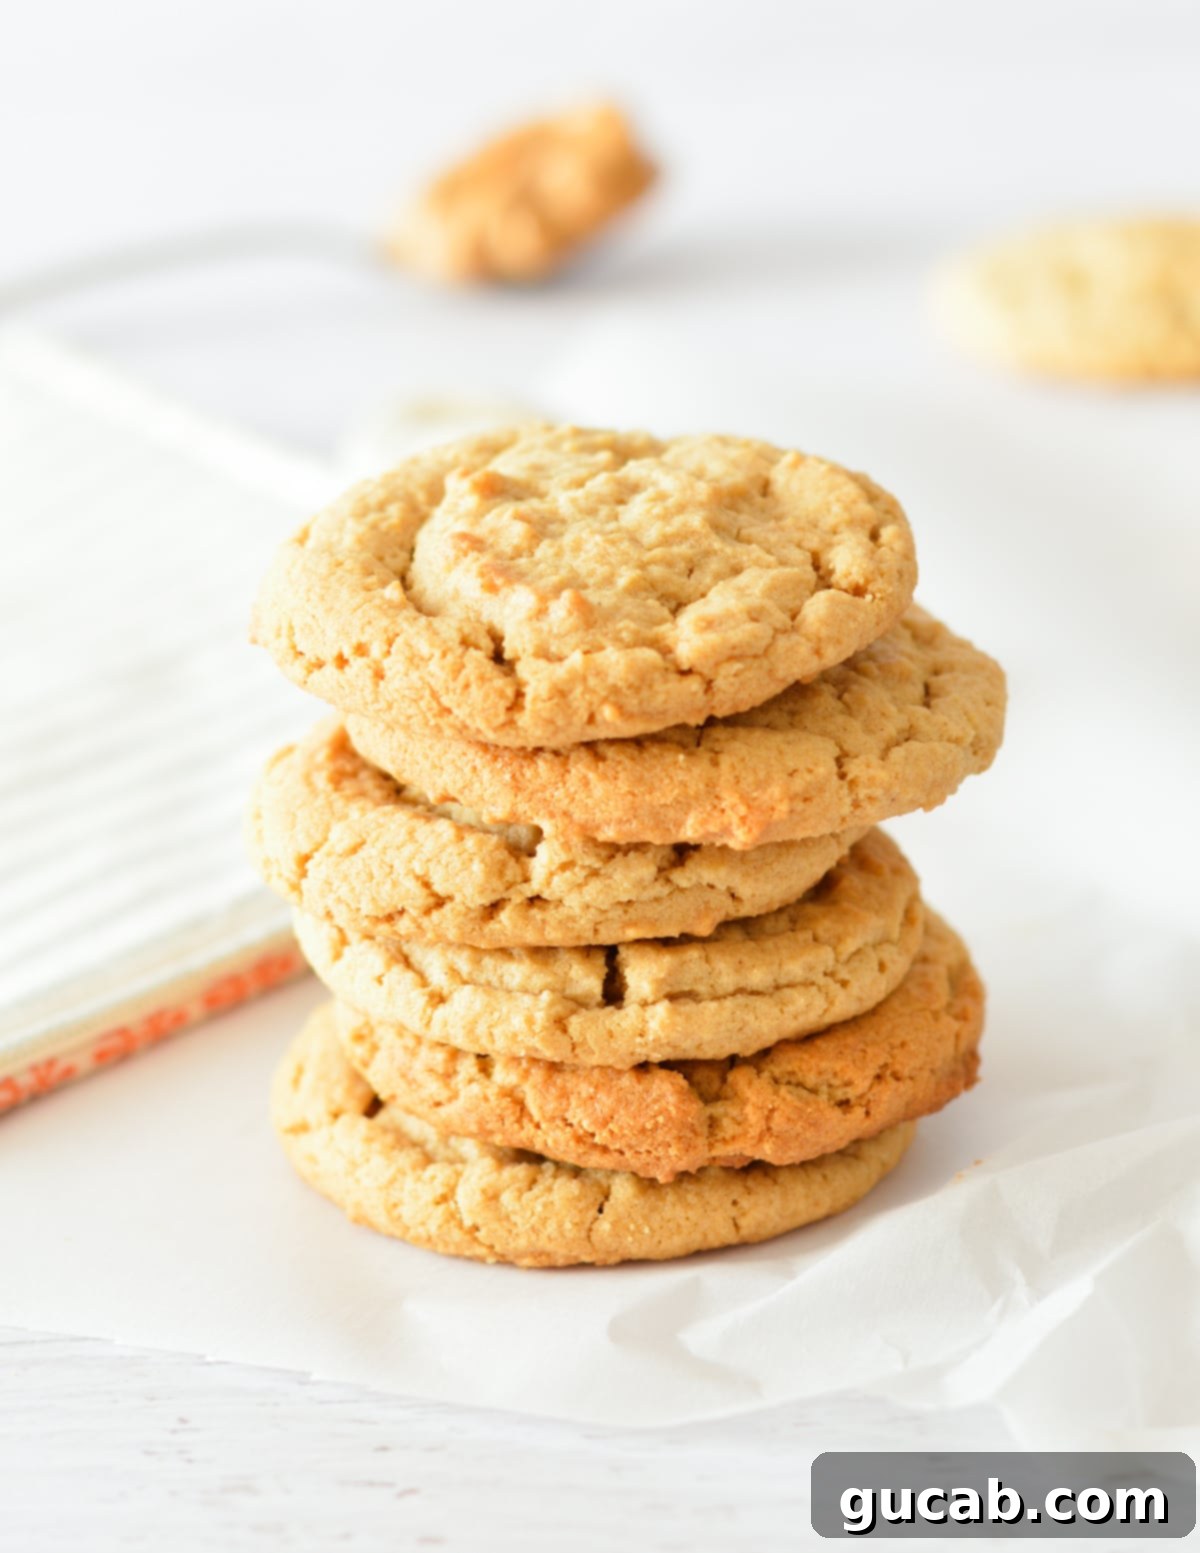
For every peanut butter enthusiast, prepare to meet your new favorite dessert! These soft and chewy peanut butter cookies are simply addictively delicious. Each bite offers a delightful contrast: crisp, golden edges, beautifully crackled tops, and an incredibly soft, melt-in-your-mouth chewy center. This isn’t just another cookie recipe; it’s a guide to creating the perfect peanut butter indulgence that will have everyone reaching for more.
Why You’ll Fall in Love with These Peanut Butter Cookies
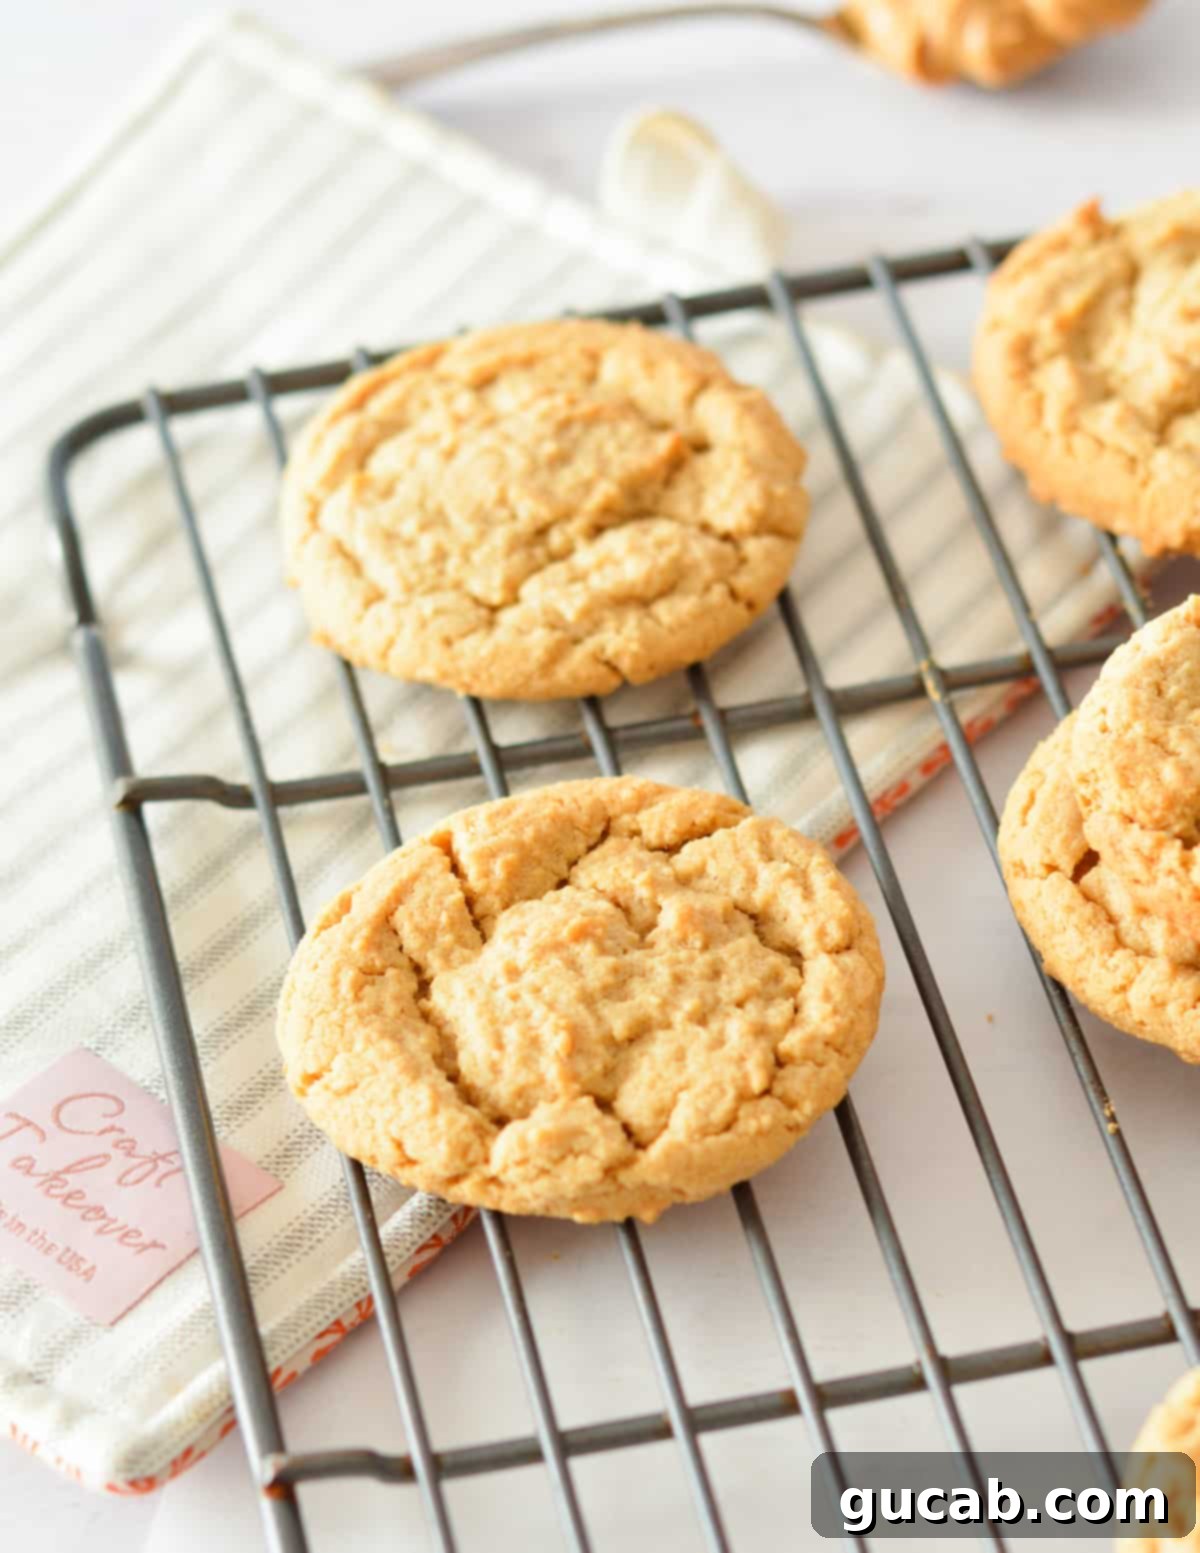
These soft and chewy peanut butter cookies are genuinely irresistible – dare we say, downright dangerous! What makes them stand out from the crowd? It’s their perfect combination of textures and their rich, unmistakable peanut butter flavor. You get those delightful golden, slightly crispy edges that give way to a supremely soft, moist, and chewy center. They deliver on everything a perfect peanut butter cookie should be.
Forget dry, crunchy, or crumbly cookies! As a self-proclaimed cookie connoisseur (and I’m not kidding, I have excessively high standards for all cookies!), I believe a great cookie should spread just the right amount and always boast a soft, tender chewiness. Many peanut butter cookies miss the mark, ending up too dense or too brittle. Not these! This recipe ensures your cookies will never be anything but perfectly tender and packed with flavor.
In fact, these soft, chewy peanut butter cookies are so incredibly addictive that you might find yourself wanting to eat the entire batch. Trust me on this: do yourself a huge favor and hide the leftovers, or better yet, share them with friends and family (if you can bear to part with them!). They are guaranteed to be a crowd-pleaser and quickly become your go-to recipe for the ultimate peanut butter cookie experience.
Essential Ingredients for Perfect Peanut Butter Cookies
Creating these sensational peanut butter cookies starts with understanding the role each ingredient plays. Using high-quality ingredients and preparing them correctly is key to achieving that perfect soft and chewy texture with rich flavor.
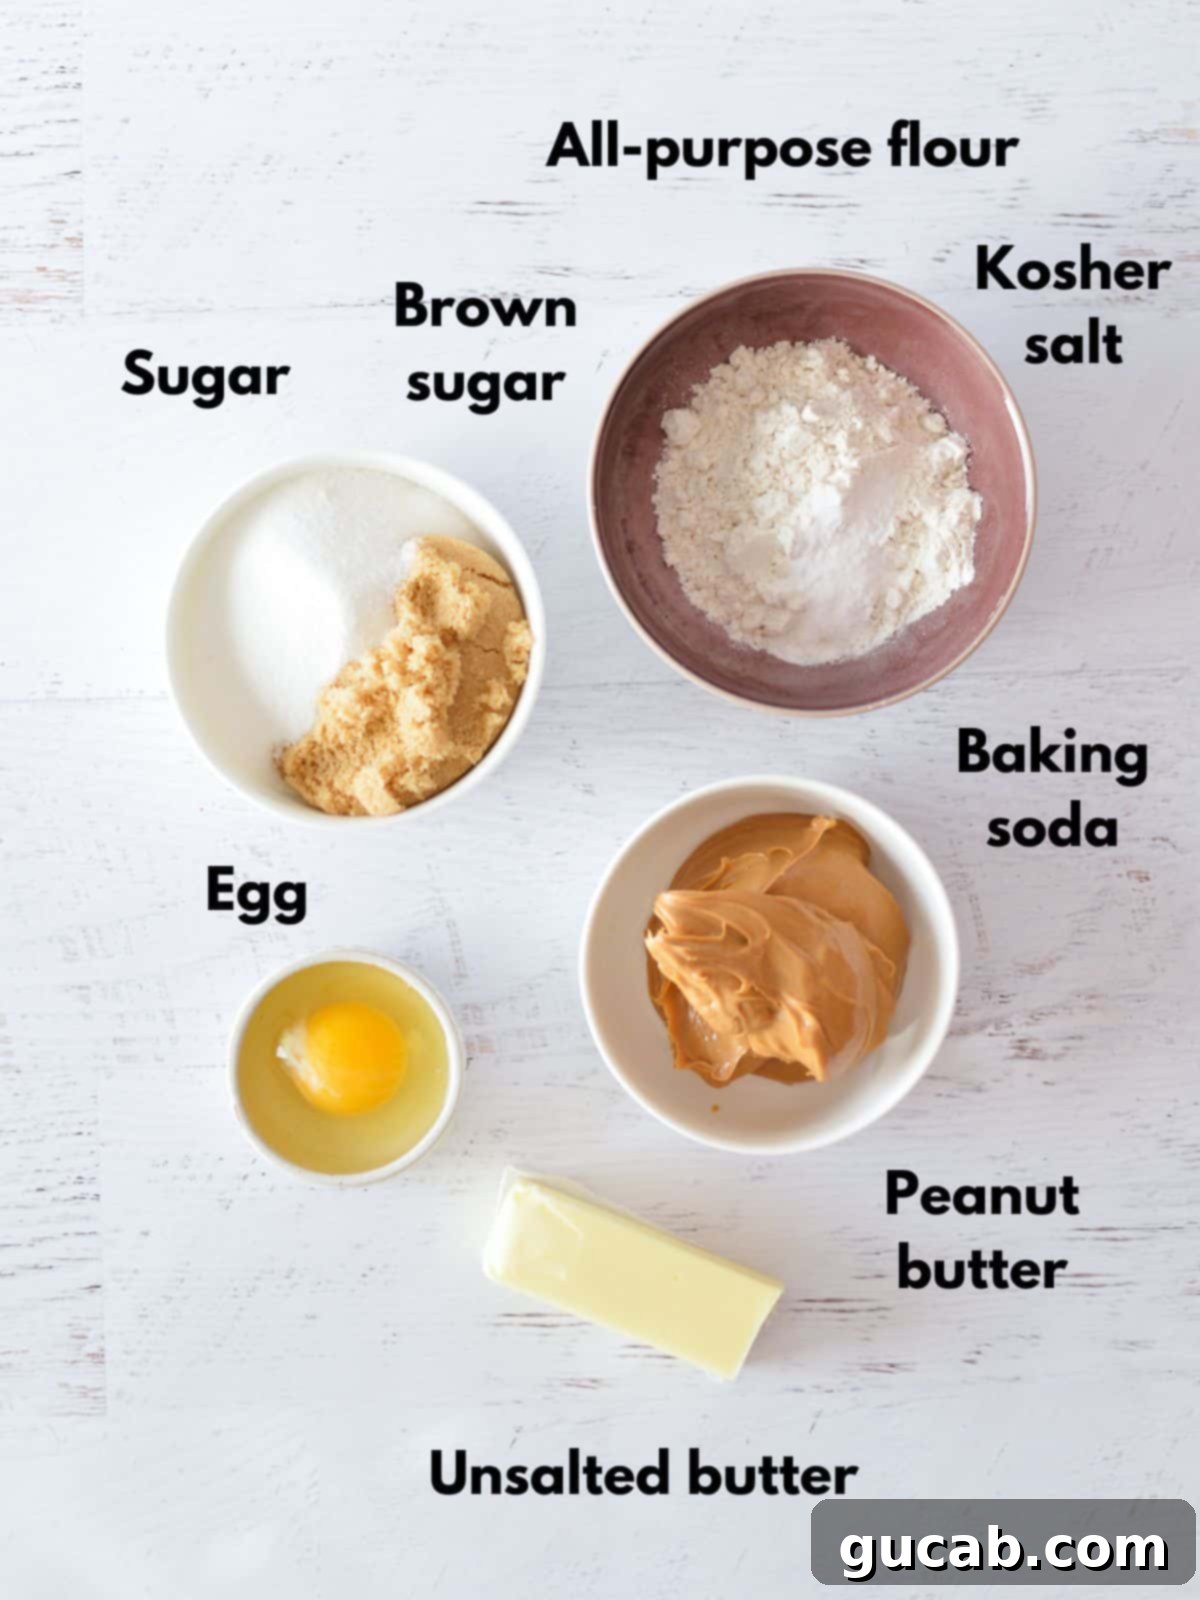
- Unsalted Butter: It’s crucial for your butter to be at room temperature and properly softened. Cold butter won’t cream correctly with the peanut butter and sugars, resulting in a less airy and fluffy dough, which can lead to a tougher, denser cookie. Softened butter incorporates air, creating a light texture. Using unsalted butter also gives you complete control over the total salt content in your cookies.
- Creamy Peanut Butter: For this specific recipe, I highly recommend using regular, creamy peanut butter brands like Jif, Peter Pan, or Skippy. These varieties have a consistent texture and oil content that is essential for the cookies to spread and bake correctly. While delicious, natural peanut butter (especially the kind that separates oil) can vary greatly in consistency between brands and might not yield the same perfectly chewy results due to its different fat-to-solid ratio.
- Granulated Sugar & Brown Sugar: The combination of both white (granulated) and brown sugar is a secret weapon for achieving the best flavor and ideal spread. Granulated sugar contributes to crisp edges, while brown sugar adds moisture, chewiness, and a subtle caramel note, enhancing the overall depth of flavor. I specifically used light brown sugar for a balanced sweetness.
- Large Egg: The egg acts as a vital binder for the cookie dough, holding all the ingredients together. Beyond structure, it’s also incredibly important for the cookie’s overall texture, contributing to its chewiness and richness. Ensure your egg is at room temperature to blend seamlessly with the other ingredients.
- All-Purpose Flour: Proper flour measurement is paramount in baking, and for this recipe, the “spoon and level” method is key. Use a large spoon to gently scoop the flour into your measuring cup, then level it off with the flat edge of a butter knife. Avoid scooping directly into the flour bag, as this compacts the flour, leading to too much being added, which can result in dry, dense, and crumbly cookies instead of soft and chewy ones.
- Baking Soda: This leavening agent is essential for creating the perfect amount of rise in the cookies, followed by a slight fall that contributes to those desirable crackled tops and a wonderfully chewy texture. It reacts with the acidic brown sugar to produce carbon dioxide, giving the cookies their lift.
- Kosher Salt: A small but mighty ingredient! Just a pinch of kosher salt dramatically enhances the sweetness of the cookies, balancing the flavors and preventing them from tasting overly sugary. I always prefer kosher salt in my baked goods for its pure, clean salty flavor and larger granules, which dissolve evenly.
How to Bake the Best Soft & Chewy Peanut Butter Cookies
These soft peanut butter cookies are surprisingly simple to make, even for novice bakers. Following these steps carefully will ensure you achieve that coveted texture and flavor. Before you even start mixing, make sure you complete these two preparatory steps:
- Prepare your baking sheet: First, line a sheet pan with either parchment paper or a silicone baking mat. I personally swear by my silicone baking mats; they’re incredibly convenient, reusable, and eliminate the need to constantly restock parchment paper. This preparation prevents sticking and ensures even baking.
- Preheat your oven: Next, preheat your oven to 375 degrees Fahrenheit (190°C). Baking the cookies at this slightly higher temperature helps to set the edges quickly, giving them a lovely crispness, while allowing the centers to remain soft and chewy with slightly less spread than a lower temperature might yield.
With your oven preheated and your baking sheets ready, you’re now perfectly set to make the delicious peanut butter cookie dough!
Step 1: Cream Butter, Sugars, and Peanut Butter
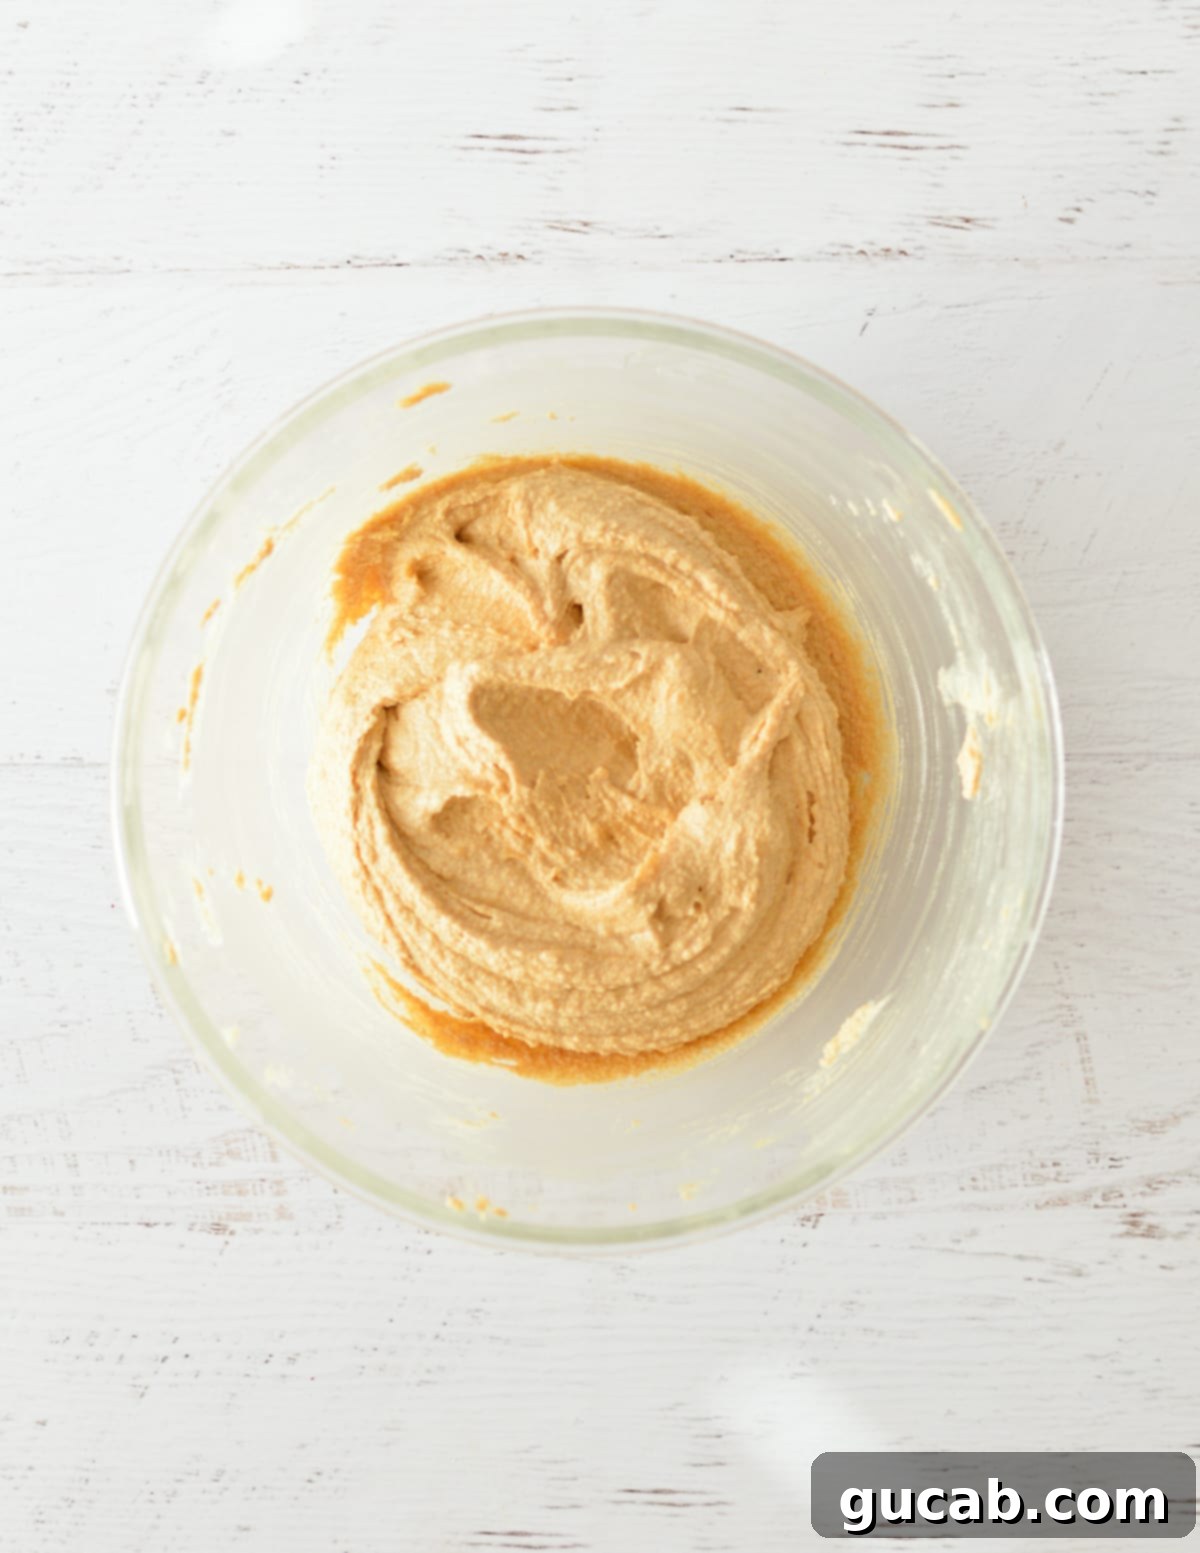
In a large mixing bowl (or the bowl of a stand mixer fitted with the paddle attachment), combine the softened unsalted butter, creamy peanut butter, granulated sugar, and brown sugar. Beat these ingredients together on medium speed until the mixture becomes light, fluffy, and noticeably increased in volume. This creaming process should take approximately 3 minutes. The goal is to incorporate air into the mixture, which is crucial for the cookies’ soft texture.
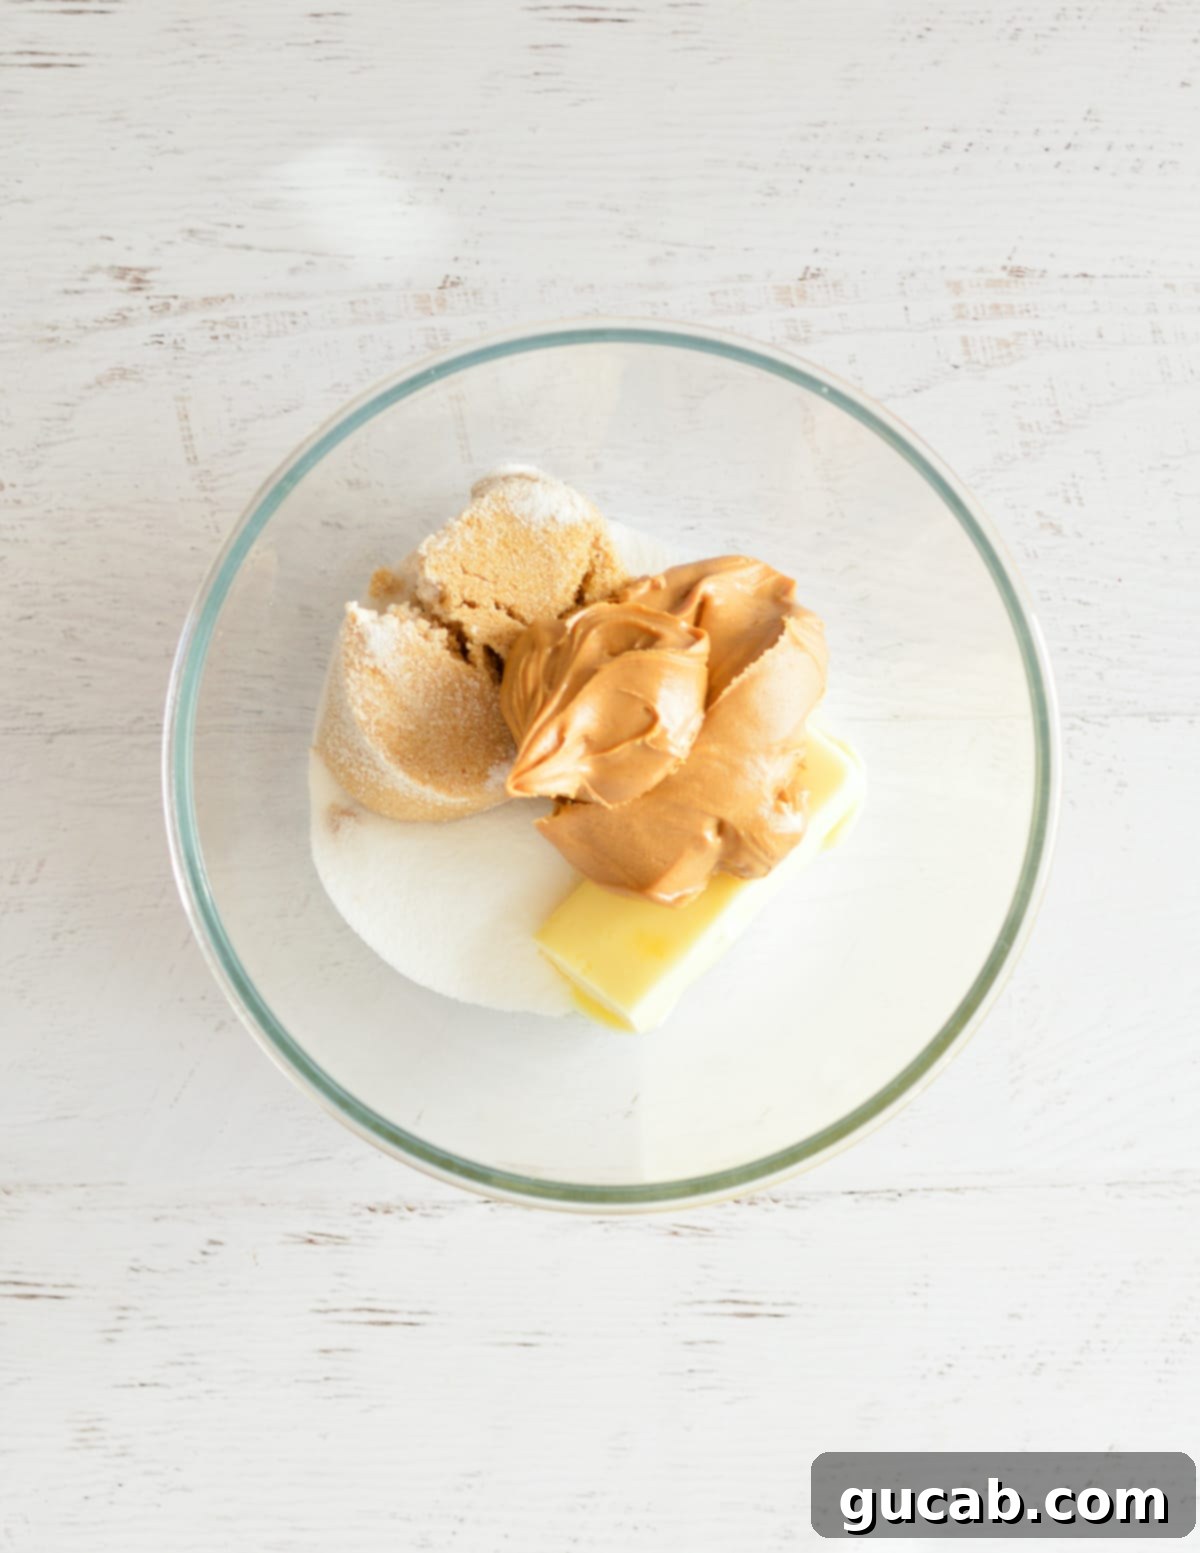
You’ll know it’s perfectly creamed when the mixture has lightened significantly in color and appears visibly fluffier and increased in volume.
Step 2: Incorporate the Egg
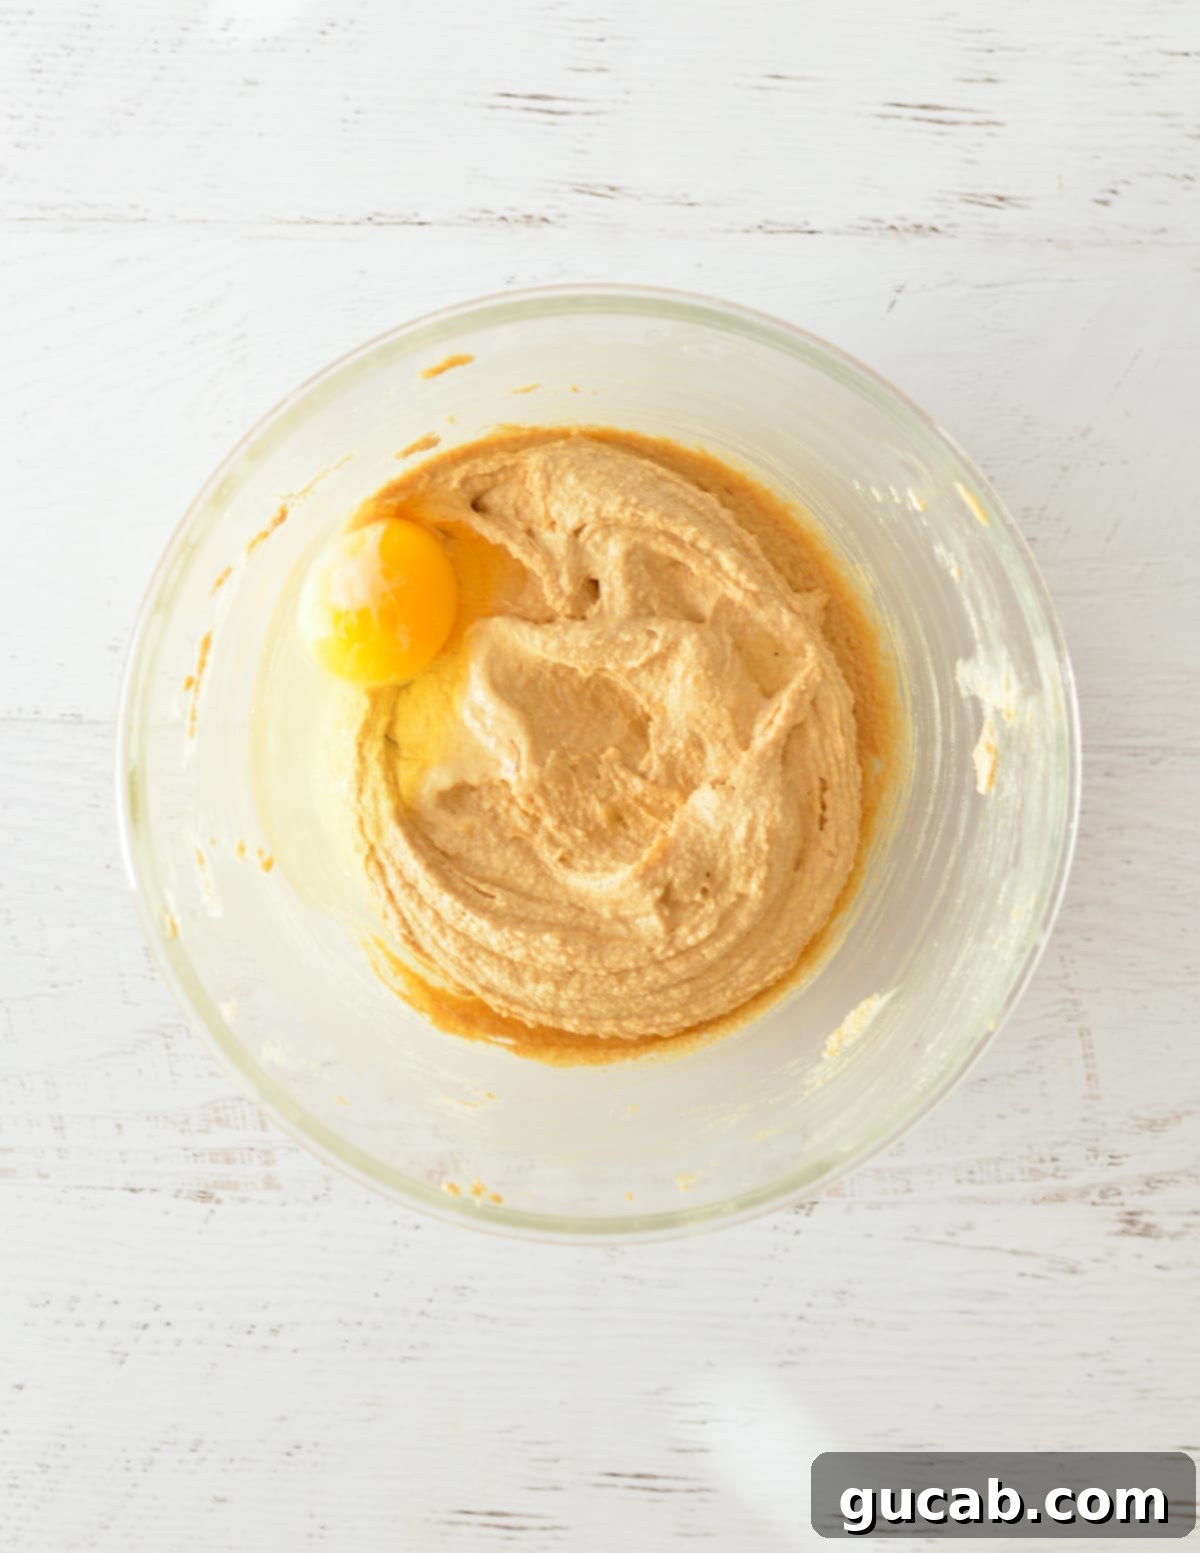
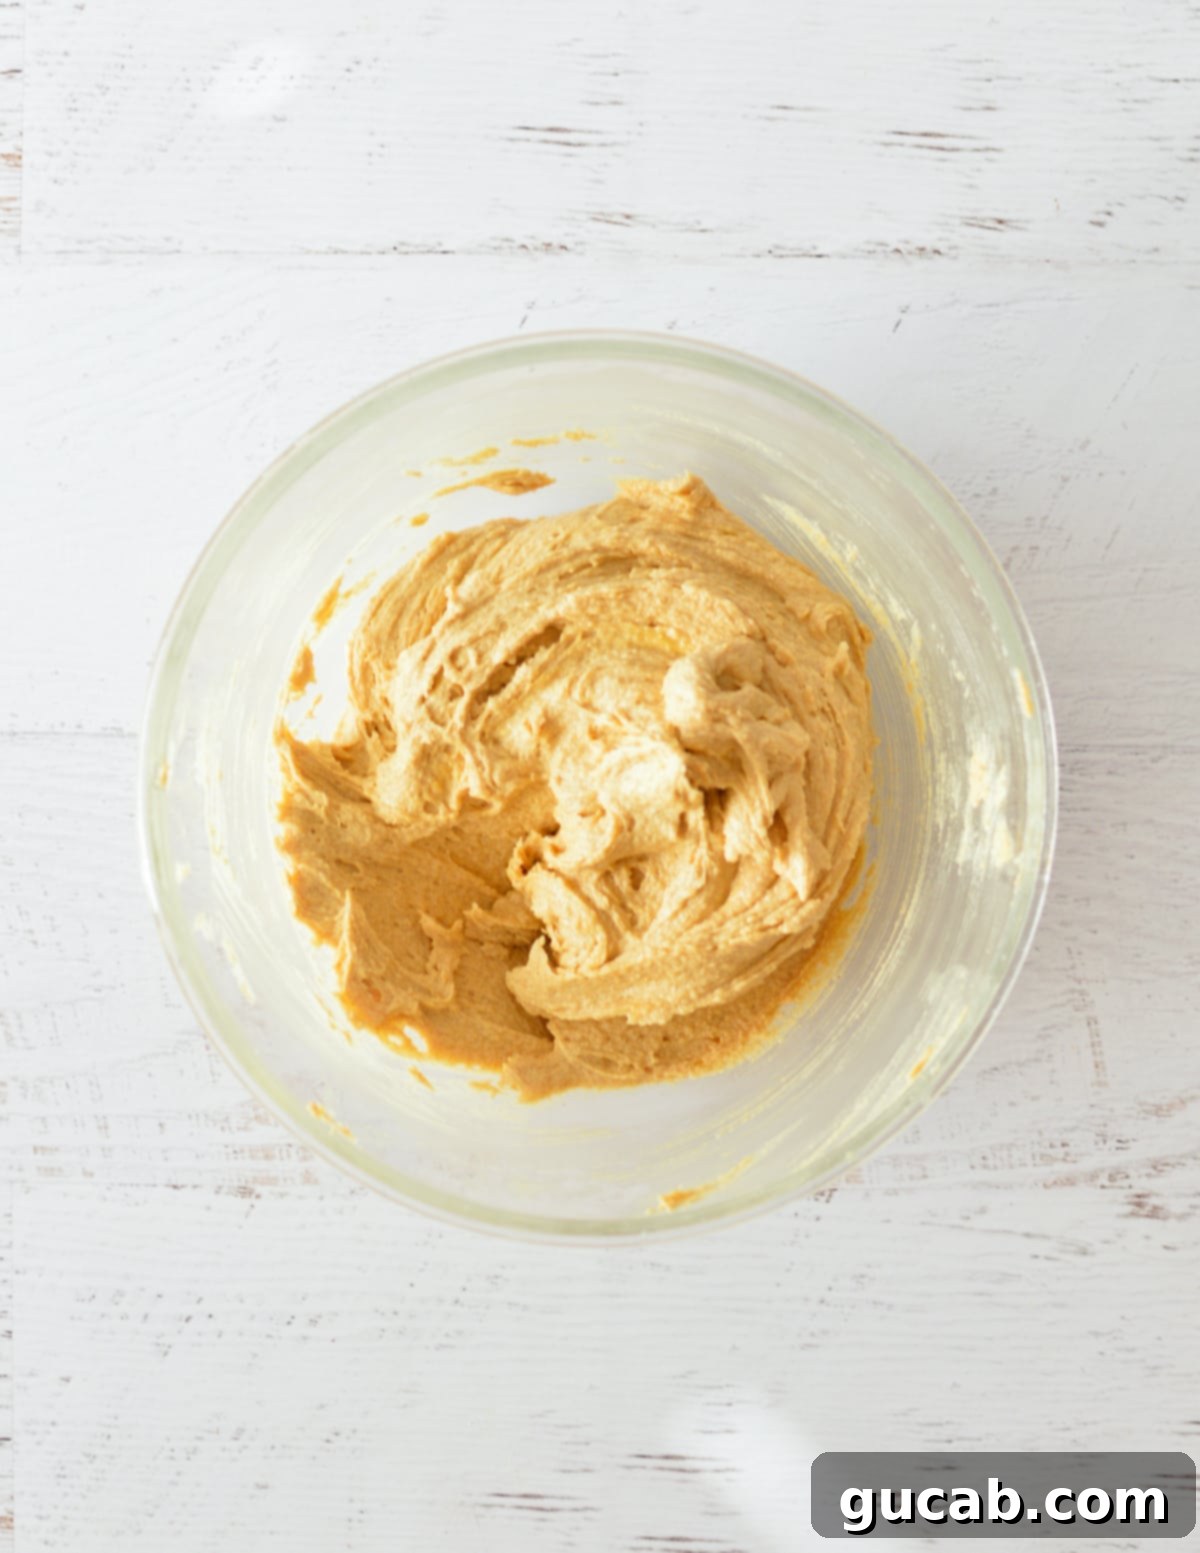
Once your butter, peanut butter, and sugars are perfectly creamed, add the large egg to the mixture. Continue to beat on medium speed just until the egg is fully incorporated into the dough. Avoid overmixing here; you just want to ensure everything is smoothly combined. The egg adds essential moisture and helps bind the dough together, contributing to the cookie’s structure and chewiness.
Step 3: Mix in Dry Ingredients
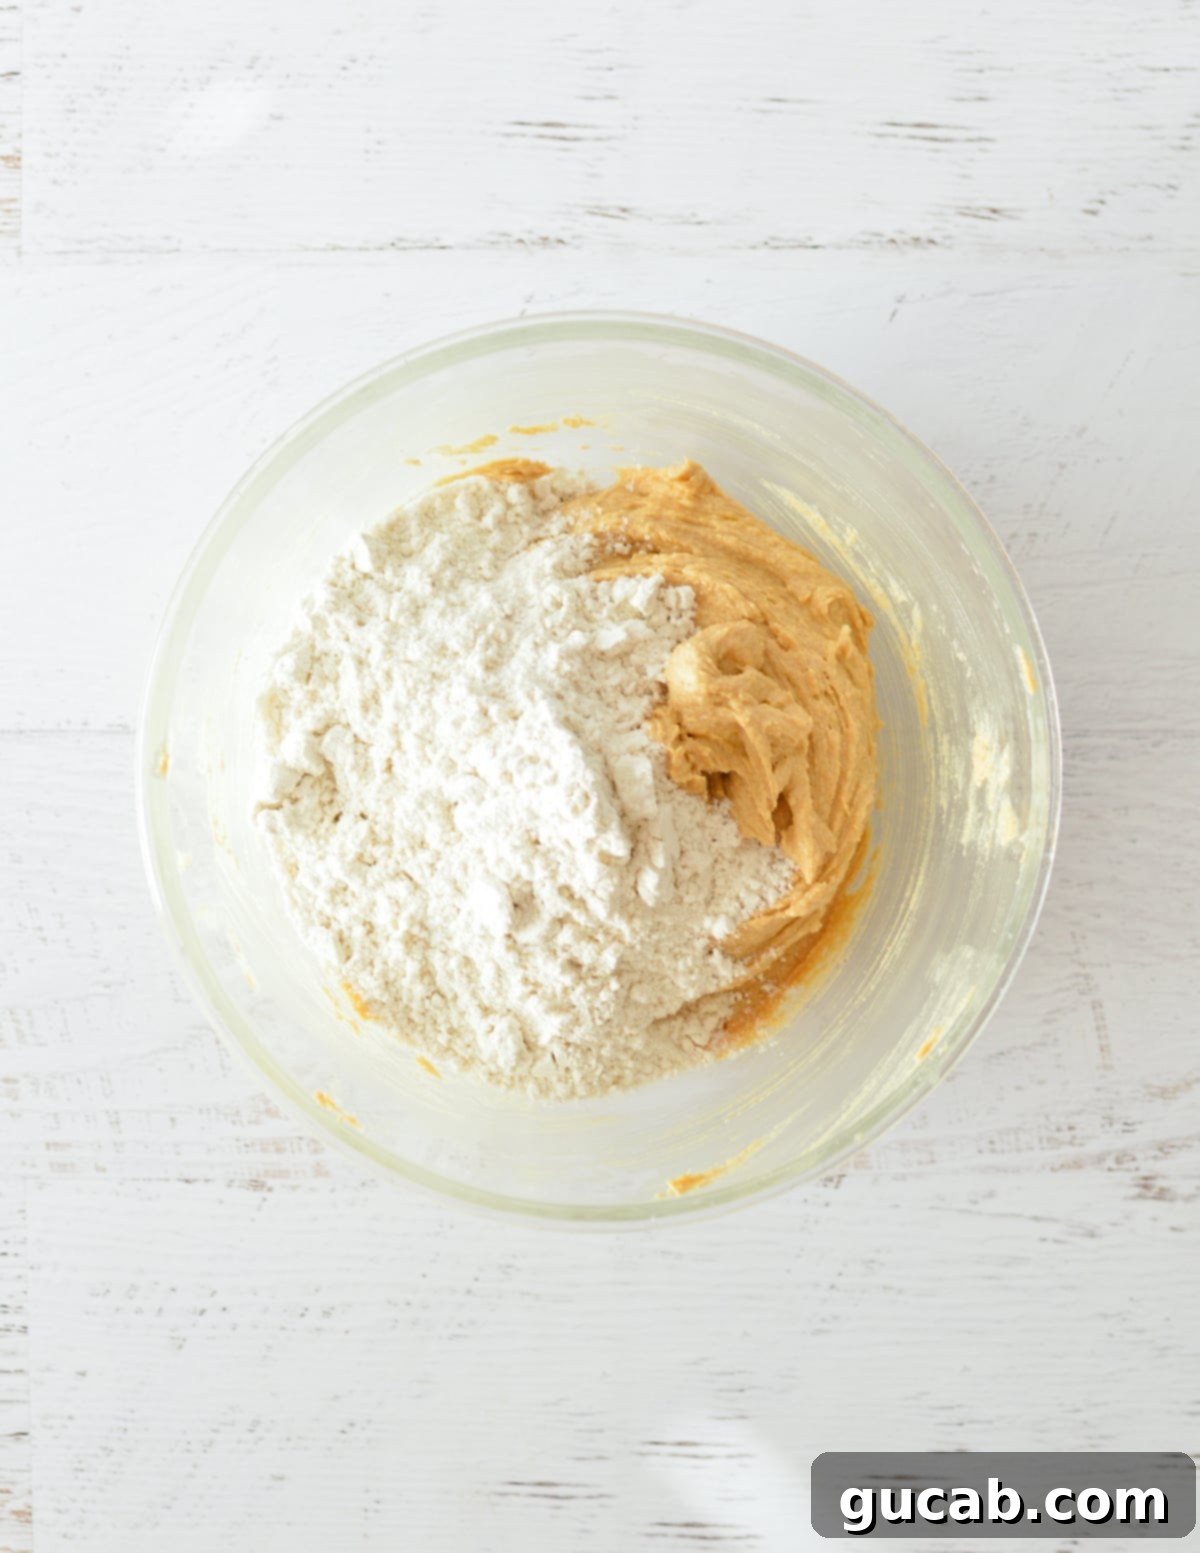
Now, add your pre-measured all-purpose flour, baking soda, and kosher salt to the wet mixture. Beat on low speed until all the dry ingredients are just incorporated and a cohesive cookie dough forms. It’s vital to avoid overmixing at this stage, as too much gluten development can lead to tough cookies. Mix just until no streaks of flour are visible.
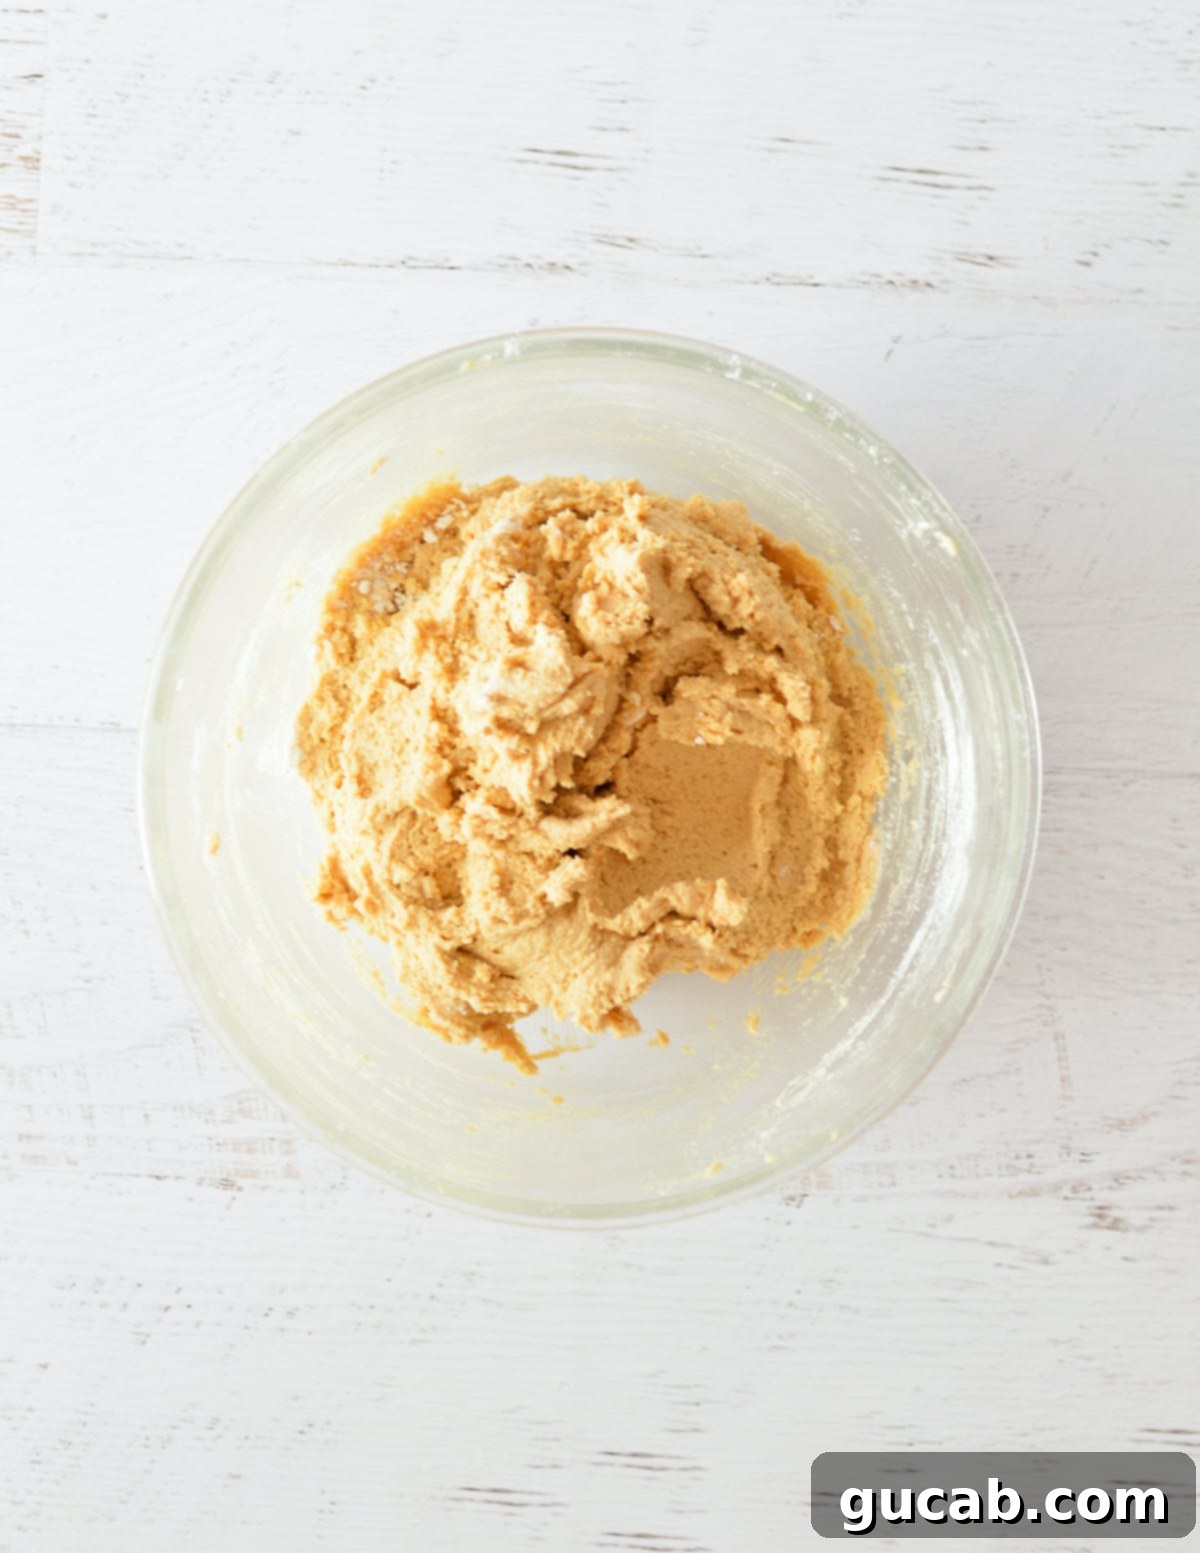
Step 4: Scoop Dough onto Sheet Pan
Using a small portion scoop (about 1.5 inches in diameter), scoop six uniform balls of cookie dough onto your prepared baking sheet. It’s important to give them enough space to spread while baking, so don’t overcrowd the pan. You can bake multiple sheet pans at once if your oven allows for even heat distribution, which will save you time in the kitchen.
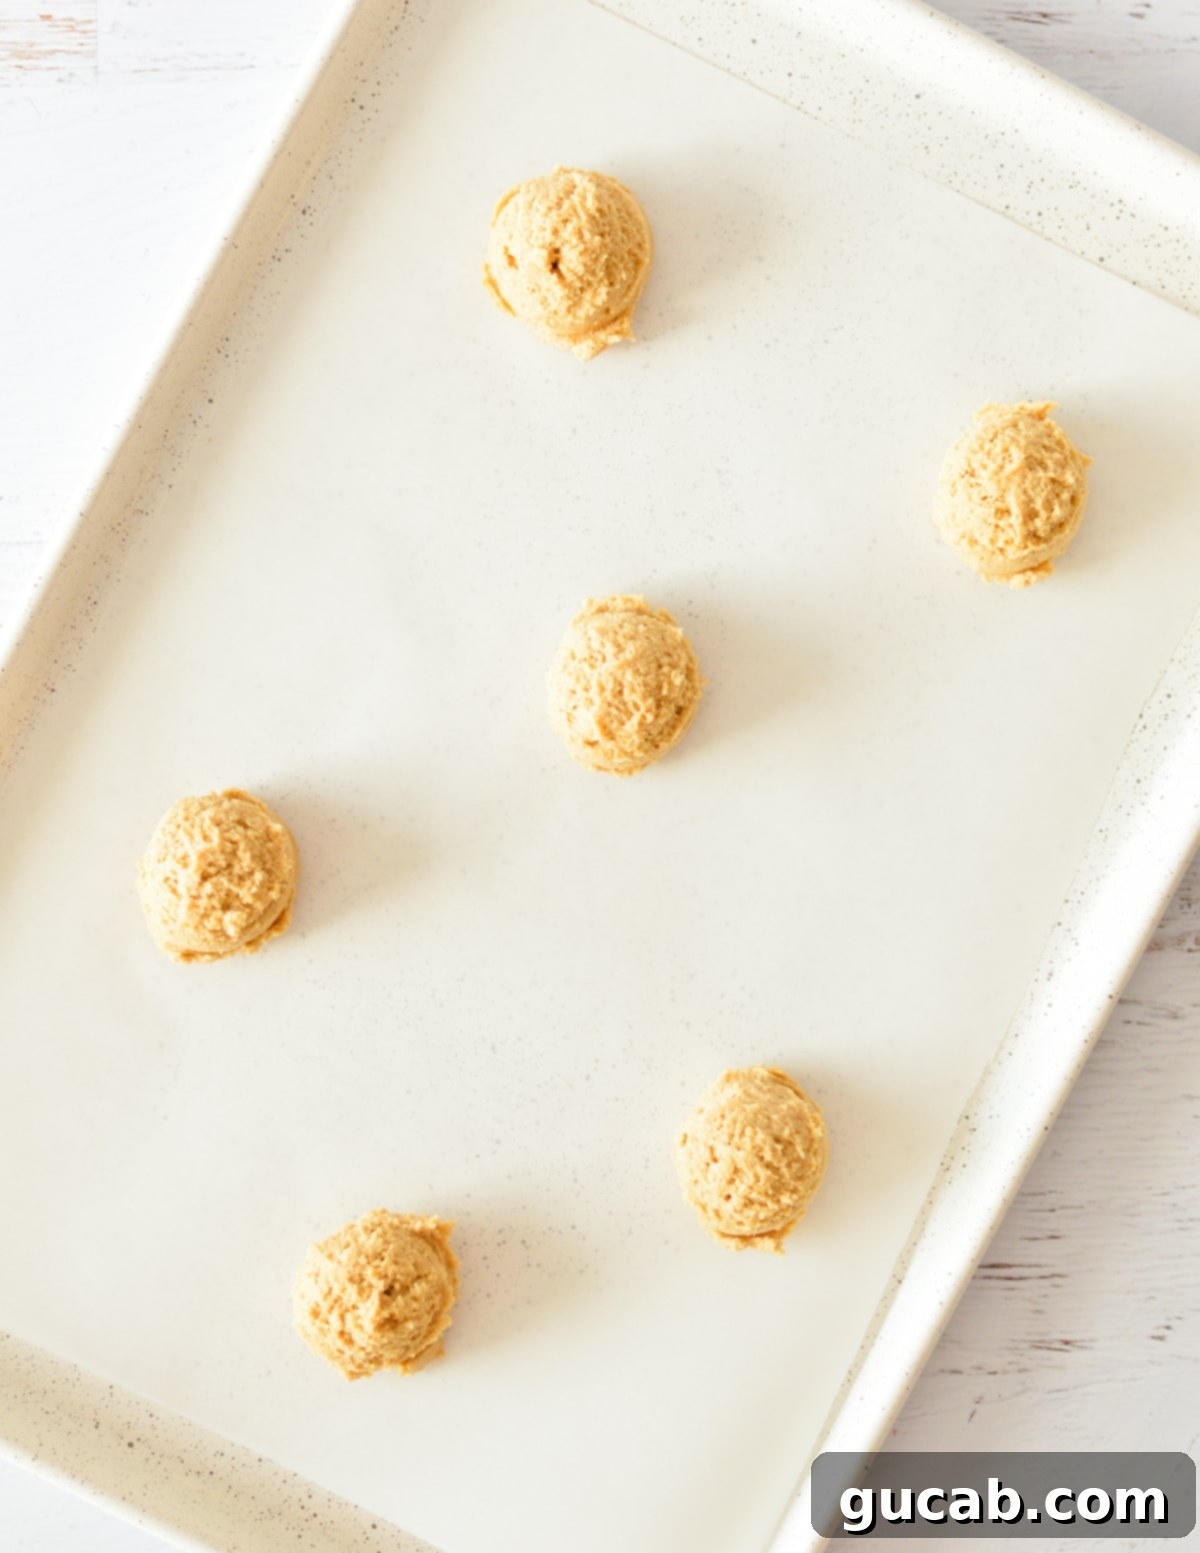
Step 5: Bake the Peanut Butter Cookies
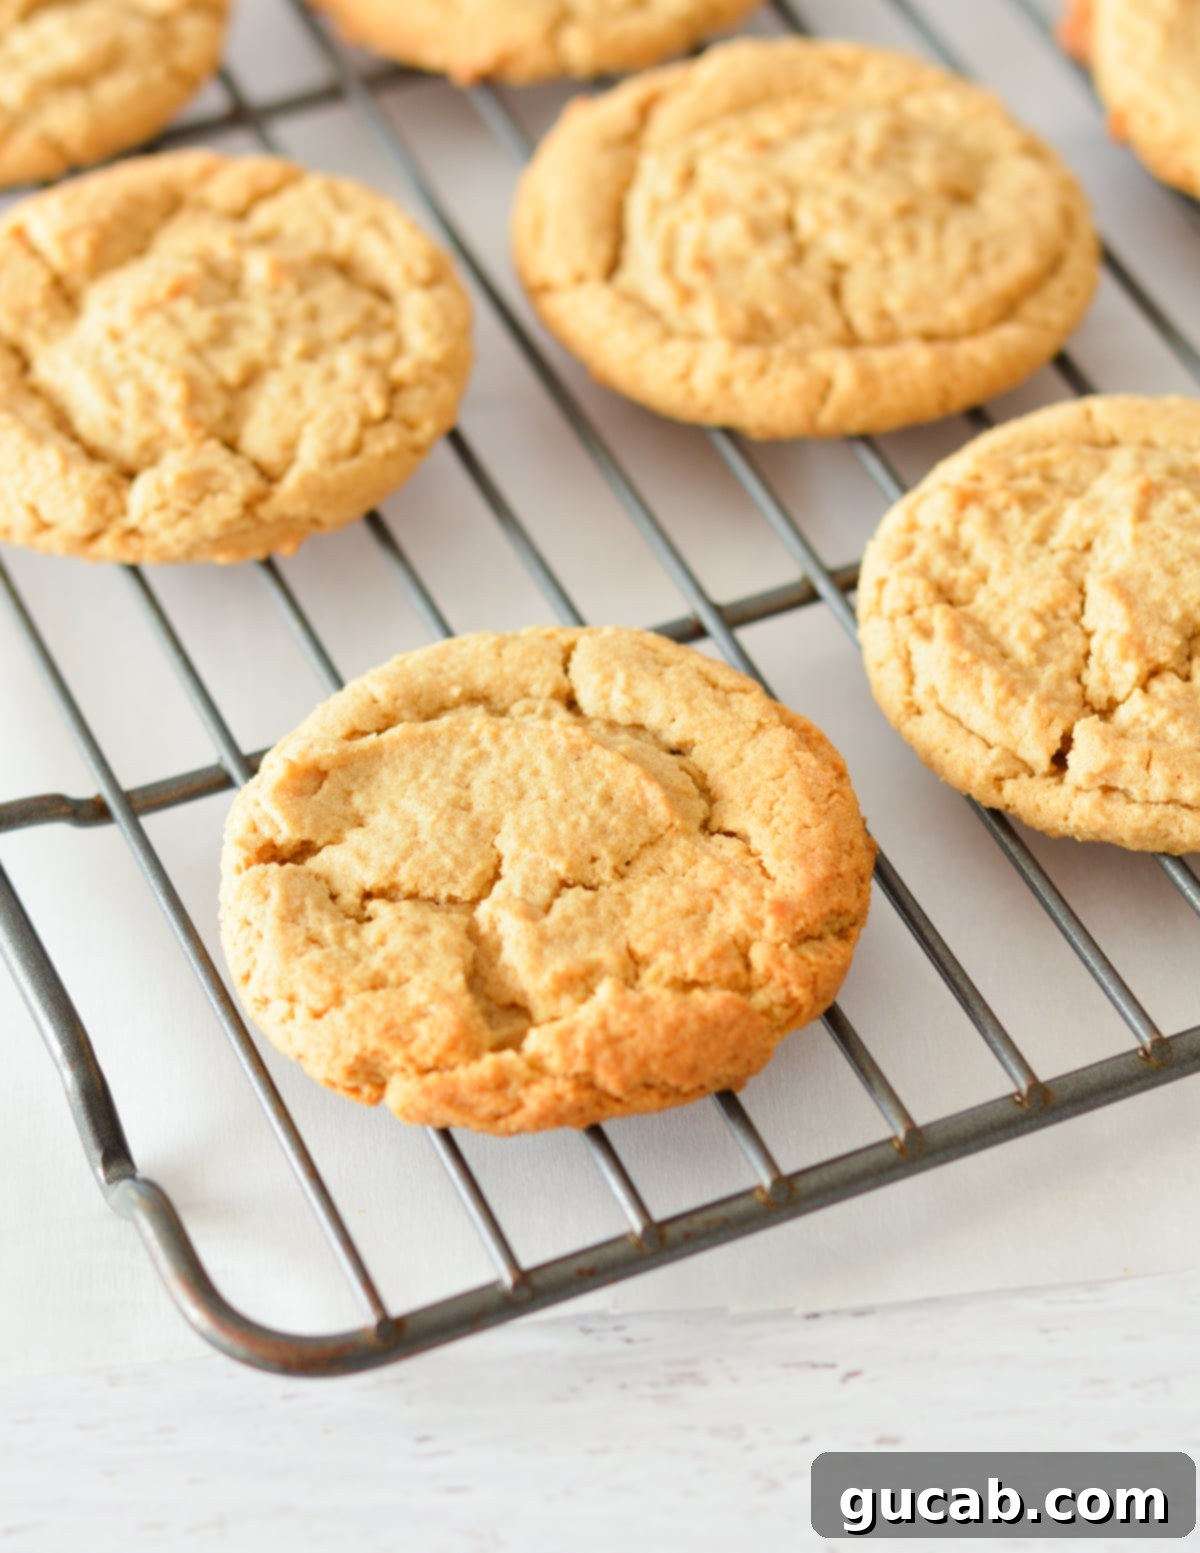
Place the sheet pan with the cookie dough into your preheated oven and bake for exactly 11 minutes. This baking time is crucial for achieving that perfect soft and chewy texture, so resist the urge to overbake them! When they come out of the oven, the edges should look beautifully golden brown, but the middles should still appear slightly underdone or set yet soft. This is exactly what you want for a truly chewy cookie.
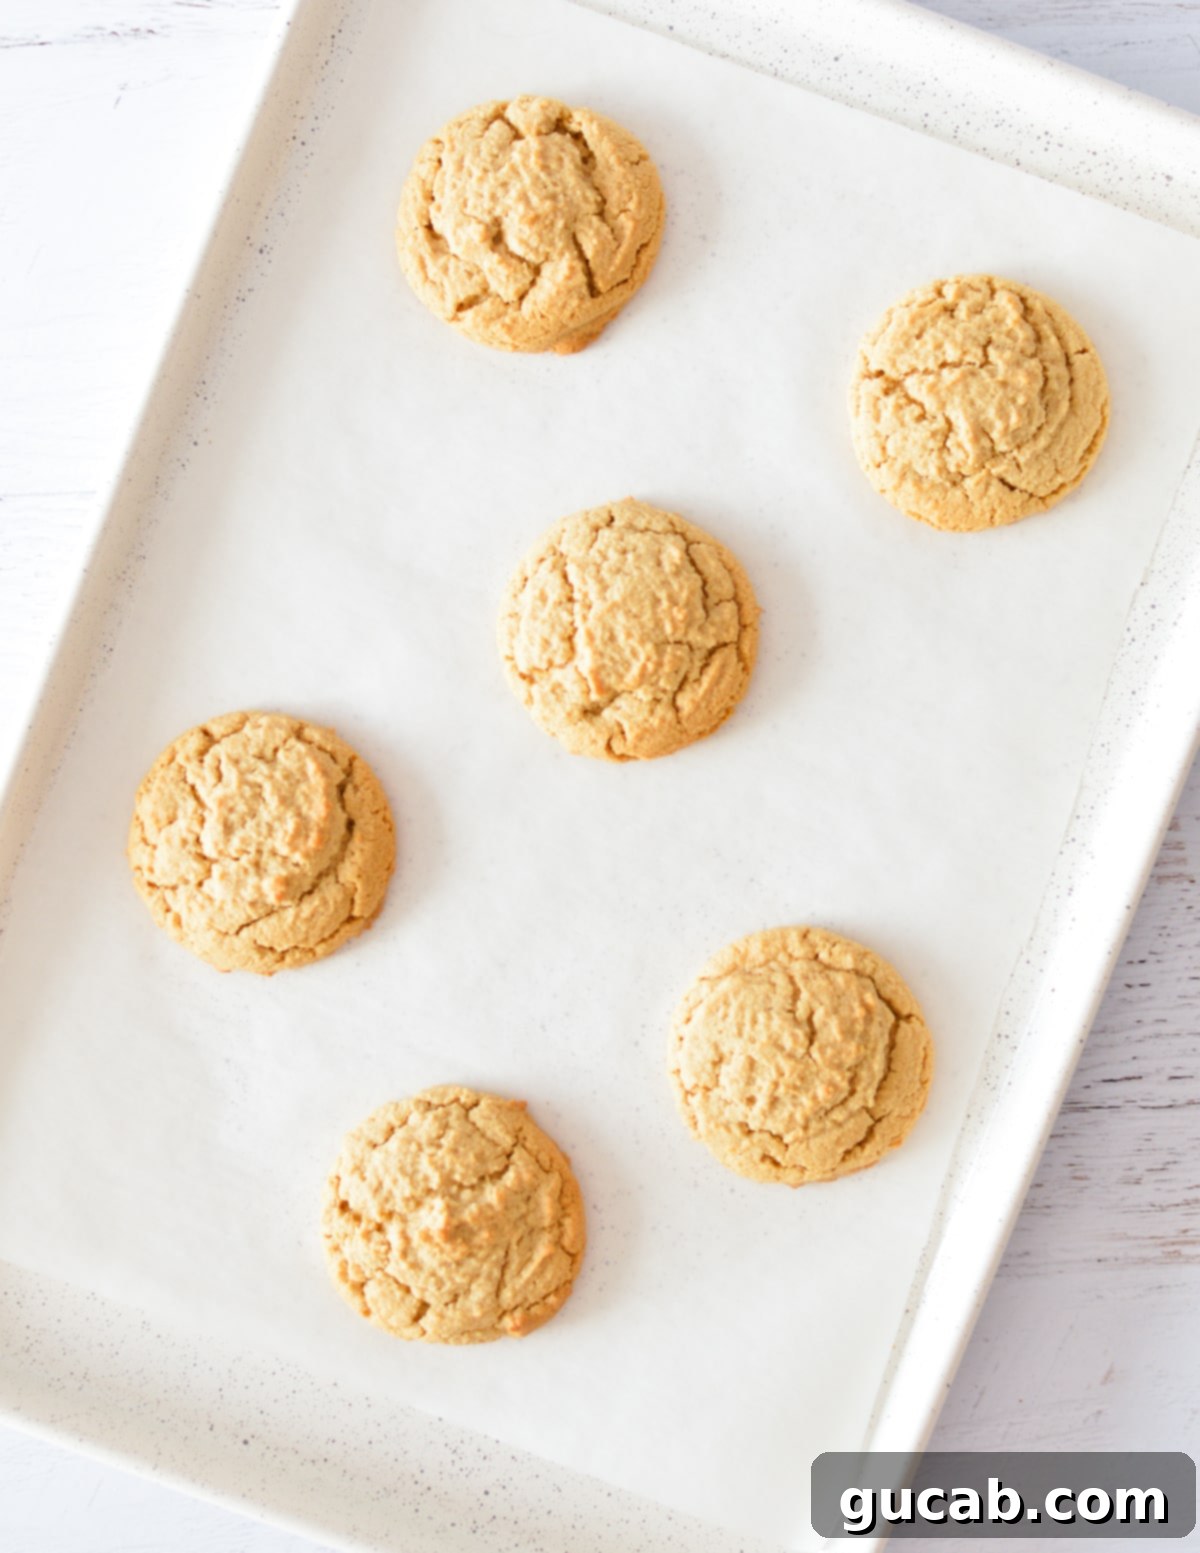
Step 6: Cool the Cookies
This step is critical for preventing your beautiful cookies from falling apart! Do NOT attempt to transfer the hot, delicate cookies immediately after they come out of the oven. Instead, let them cool undisturbed on the baking sheet for at least 5 minutes, or even a bit longer. This cooling period allows them to firm up and set properly before you move them to a wire rack to cool completely.
Expert Tips for Peanut Butter Cookie Perfection
Achieving bakery-quality peanut butter cookies is easier than you think when you keep these crucial tips in mind. These insights will help you avoid common pitfalls and ensure every batch is perfect.
- Don’t overmix the cookie dough: While creaming butter and sugar requires thorough beating, once the dry ingredients are added, stop mixing as soon as everything is incorporated. Overmixing develops the gluten in the flour, leading to tough, dense, and often flat cookies. A light hand after adding flour is key to a tender cookie.
- Measure flour correctly using the spoon and level method: As mentioned in the ingredients section, proper flour measurement is vital. Simply spoon your all-purpose flour into the measuring cup and level it off with the back of a knife. Scooping directly from the bag compacts the flour, adding too much to your dough and resulting in dry, cakey cookies. Precision here makes a big difference!
- Avoid overbaking the cookies: This is arguably the most important tip for chewy cookies! When your peanut butter cookies come out of the oven, their centers should still look slightly underbaked, soft, and perhaps a little puffed. The edges should be lightly golden, not dark brown. If the entire cookie appears golden and fully set in the oven, it will cool into a crispy cookie rather than a soft and chewy one. Err on the side of underbaking for maximum chewiness.
- Allow cookies to cool on the sheet pan: Patience is a virtue when it comes to cooling. Hot cookies are incredibly fragile. If you try to transfer them to a wire rack too soon, they will likely fall apart or lose their shape. Let them rest on the warm baking sheet for at least 5 to 10 minutes. This allows them to finish setting up and firm enough to be moved without damage.
- Bake multiple sheet pans at a time (strategically): If you have a large oven and multiple baking sheets, you can bake more than one tray at once. To ensure even baking, rotate the trays halfway through the baking time (top to bottom, front to back). This is a fantastic time-saver, especially if you’re baking a big batch for a party or to stock your freezer.
- Use room temperature ingredients: Beyond just butter, having your egg at room temperature ensures all ingredients emulsify smoothly. Cold ingredients can cause the butter to seize up, leading to a lumpy, inconsistent dough and affecting the final texture.
- Consider a small sprinkle of sea salt: For an extra gourmet touch, consider sprinkling a tiny bit of flaky sea salt on top of the cookies immediately after they come out of the oven. The salt crystals will adhere to the warm cookies and provide a delightful salty-sweet contrast that elevates the flavor.
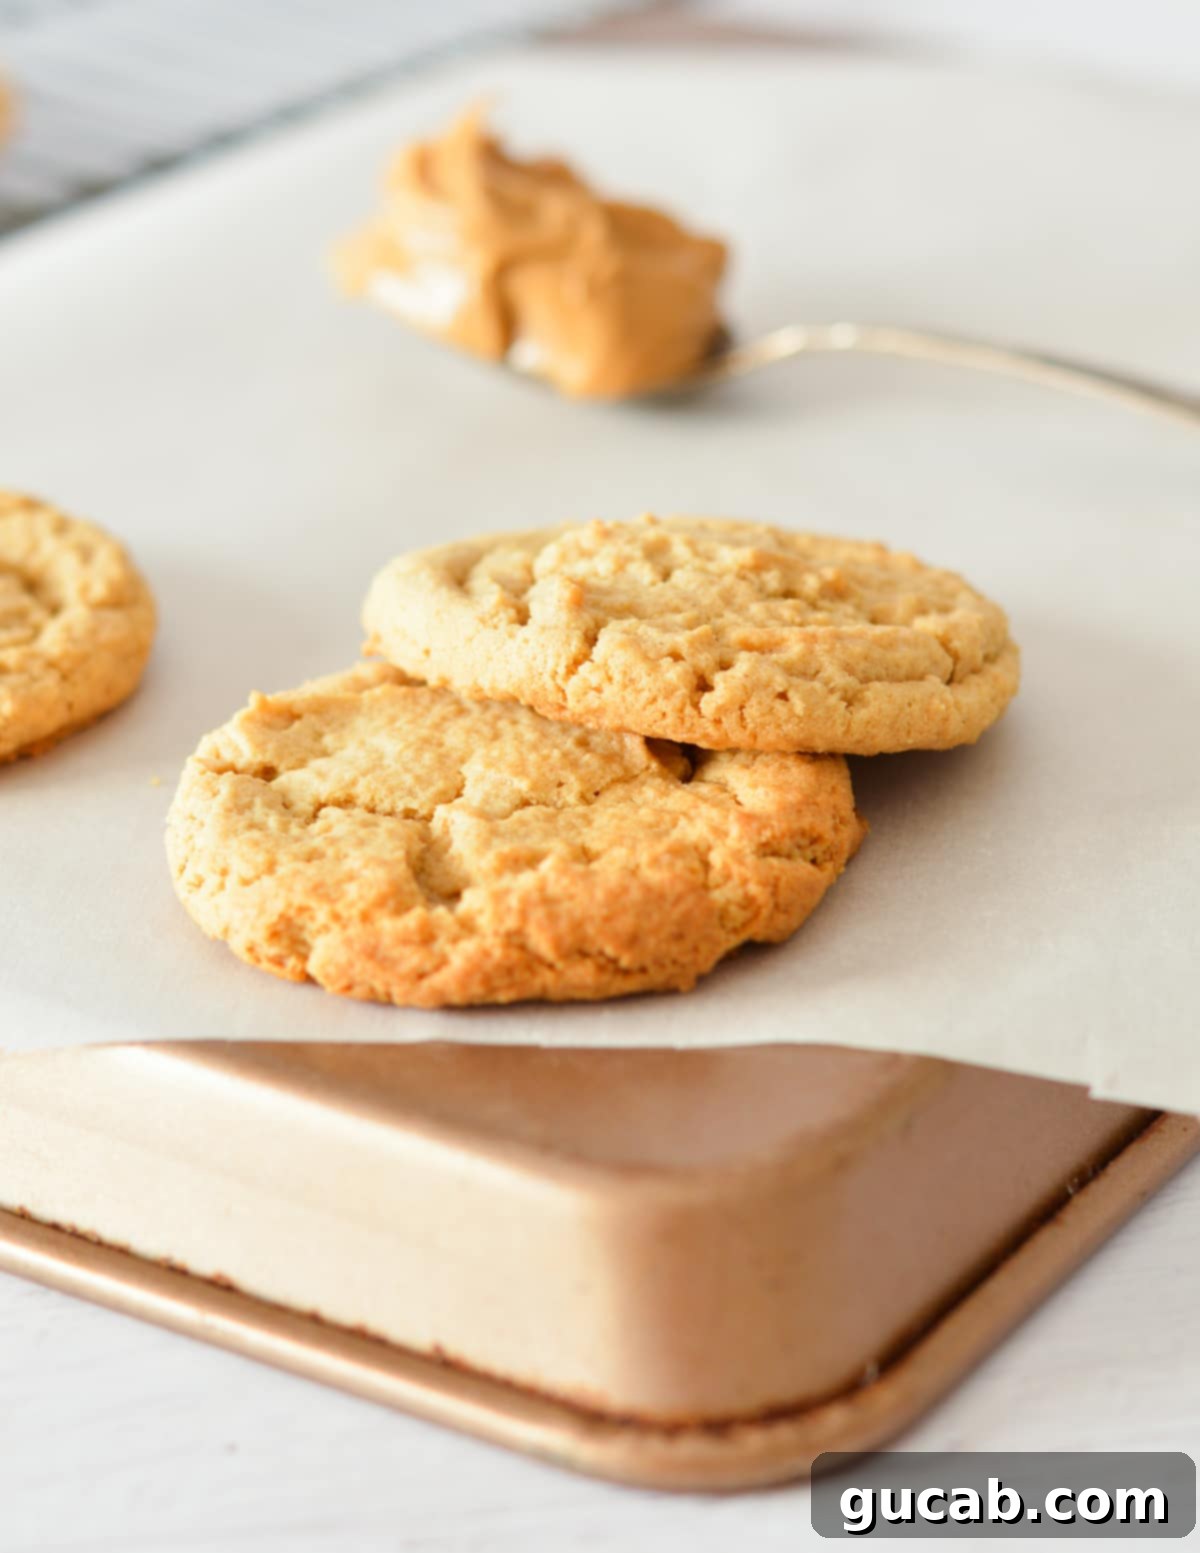
Storage & Freezing Tips for Freshness
Once you’ve baked a batch of these incredible peanut butter cookies, you’ll want to ensure they stay fresh for as long as possible. Here’s how to store and freeze them effectively:
How to Store Baked Cookies:
- Always ensure the cookies have cooled completely to room temperature before storing them. Storing warm cookies will create condensation, making them soggy.
- Place the fully cooled cookies in an airtight container or a zip-top bag. They will maintain their delicious soft and chewy texture at room temperature for up to 4 days. For best results, place a slice of bread in the container to help keep them soft.
How to Freeze Cookies (Baked or Unbaked Dough):
Freezing is a fantastic way to enjoy these cookies whenever a craving strikes! You can freeze both baked cookies and unbaked cookie dough.
- Baked Cookies: Allow the baked cookies to cool completely. Then, transfer them to a freezer-safe container or a heavy-duty zip-top bag. Make sure to label the container with the date. They can be frozen for up to 4 months. Beyond this time, they risk developing freezer burn, which can affect their taste and texture. Thaw at room temperature for an hour or two before enjoying.
- Cookie Dough: This is perfect for fresh-baked cookies on demand! Use your cookie scoop to portion out the unbaked cookie dough balls onto a parchment-lined sheet pan or plate. Freeze the dough balls on the sheet pan until they are solid (this usually takes about 1-2 hours). Once frozen, transfer the solid dough balls to a freezer-safe container or a zip-top bag, again labeling with the date. When you’re ready to bake, place the frozen dough balls directly on a prepared baking sheet and bake as directed. You may need to add an extra minute or two to the baking time, as they are starting from frozen.
Delicious Variations to Try
While these classic peanut butter cookies are perfect as is, they also serve as an excellent base for creative variations. Feel free to customize them to your liking and explore new flavor combinations!
- Gluten-Free Peanut Butter Cookies: Easily adapt this recipe for gluten-free diets by swapping the all-purpose flour with a high-quality 1:1 all-purpose gluten-free flour blend. I highly recommend Bob’s Red Mill’s 1:1 All-Purpose Gluten-Free Flour for its superior taste, texture, and reliable results in baking. Ensure your chosen blend contains xanthan gum for optimal structure.
- Dairy-Free Peanut Butter Cookies: To make these cookies dairy-free or vegan, simply substitute the unsalted butter with dairy-free or vegan buttery sticks. Look for brands that are specifically designed for baking, as these often provide the best texture and flavor replacement for butter. Avoid liquid oils, as they can alter the consistency of the cookies.
- Exciting Mix-Ins: Take your peanut butter cookies to the next level by adding your favorite mix-ins!
- Chocolate Chips: White chocolate chips, dark chocolate chips, or even milk chocolate chunks all pair wonderfully with peanut butter.
- Candy: M&M’s (especially peanut butter M&M’s!), Reese’s Pieces, or chopped Reese’s peanut butter cups are fantastic additions.
- Crunch: For an added textural contrast, try folding in chopped pretzels, toasted nuts (like cashews or pecans), or even a few spoonfuls of crispy rice cereal.
- Double Peanut Butter: For the ultimate peanut butter experience, consider mixing in some chopped roasted peanuts or a swirl of extra melted peanut butter into the dough before baking.
Frequently Asked Questions (FAQs)
The ultimate secret to achieving consistently chewy cookies lies in two main factors: the precise ratio of fat, sugar, and flour in the recipe, and crucially, the baking time. If a recipe has too much flour and not enough fat, the cookies will inevitably turn out dry and tough instead of chewy. Even with a perfect recipe, overbaking is the quickest way to ruin chewiness. You want the edges to be set and golden, but the centers should still look slightly soft and underdone when you pull them from the oven. They will continue to set as they cool, resulting in that wonderfully soft and tender chew!
For this particular recipe, I highly recommend using a regular creamy peanut butter, such as popular brands like Jif, Peter Pan, or Skippy. These types of peanut butter offer a consistently smooth texture and stable oil content, which is essential for the cookies to spread and bake evenly, giving you the best results. Natural peanut butter, while delicious for other uses, can have varying degrees of oil separation and different consistencies across brands. This inconsistency can significantly impact the final texture of your cookies, potentially leading to them being too dry, too greasy, or not spreading correctly.
Cookie spread can be affected by several factors. If your cookies spread too much, it could be due to butter that was too soft or even slightly melted, too little flour (or improperly measured flour), or an oven that wasn’t preheated to the correct temperature. Conversely, if your cookies didn’t spread enough, the butter might have been too cold, you might have used too much flour, or the dough could have been overmixed, developing too much gluten. Always ensure your ingredients are at the correct temperature and measure precisely for consistent results.
Absolutely! While a stand mixer makes the process very convenient, you can definitely make these peanut butter cookies using a large bowl and a good quality hand mixer. The key is to ensure you thoroughly cream the butter, peanut butter, and sugars until they are light and fluffy, which might take a minute or two longer with a hand mixer. For incorporating the dry ingredients, switch to the lowest speed on your hand mixer or even finish mixing by hand with a spatula to prevent overmixing and ensure a tender cookie.
More Delicious Peanut Butter Cookie Recipes to Explore
If you’re a true peanut butter cookie enthusiast, don’t stop here! Discover other delightful variations and recipes from our collection:
- Oat Flour Peanut Butter Cookies
- Almond Flour Peanut Butter Cookies
- Flourless Peanut Butter Cookies
- Peanut Butter Oatmeal Cookies
- Brown Butter Chocolate Chip Cookies
Peanut Butter Cookies
Carolyn
Pin Recipe
Equipment
-
Sheet pans
-
Silicone baking mats or parchment paper
-
Cookie scoop
Ingredients
- 6 tablespoons (3 ounces) unsalted butter room temperature
- ¾ cup creamy peanut butter
- ½ cup brown sugar
- ½ cup sugar
- 1 large egg
- 1 cup all-purpose flour, spooned and leveled*
- ½ teaspoon baking soda
- ⅛ teaspoon kosher salt
Instructions
-
Preheat oven to 375 degrees Fahrenheit. Line a sheet pan with a silicone baking mat or piece of parchment paper.
-
In the bowl of a stand mixer, beat the butter, peanut butter, sugar, and brown sugar until light and fluffy, 3 minutes. Alternatively, you can use a large bowl and a hand mixer.
-
Add the egg and beat until incorporated.
-
Add the all-purpose flour, baking soda, and kosher salt to the mixture. Beat until incorporated and a cookie dough forms.
-
Use a small cookie scoop to scoop six 1.5 inch cookies onto the prepared sheet pan. Give the cookies some space so they can spread.
-
Bake for 11 minutes, or until the edges are golden brown but the middles look underdone. Let the cookies cool on the sheet pan for at least 5 minutes before transferring to a wire rack.
-
Repeat with the remaining cookie dough.
Notes
Nutrition
