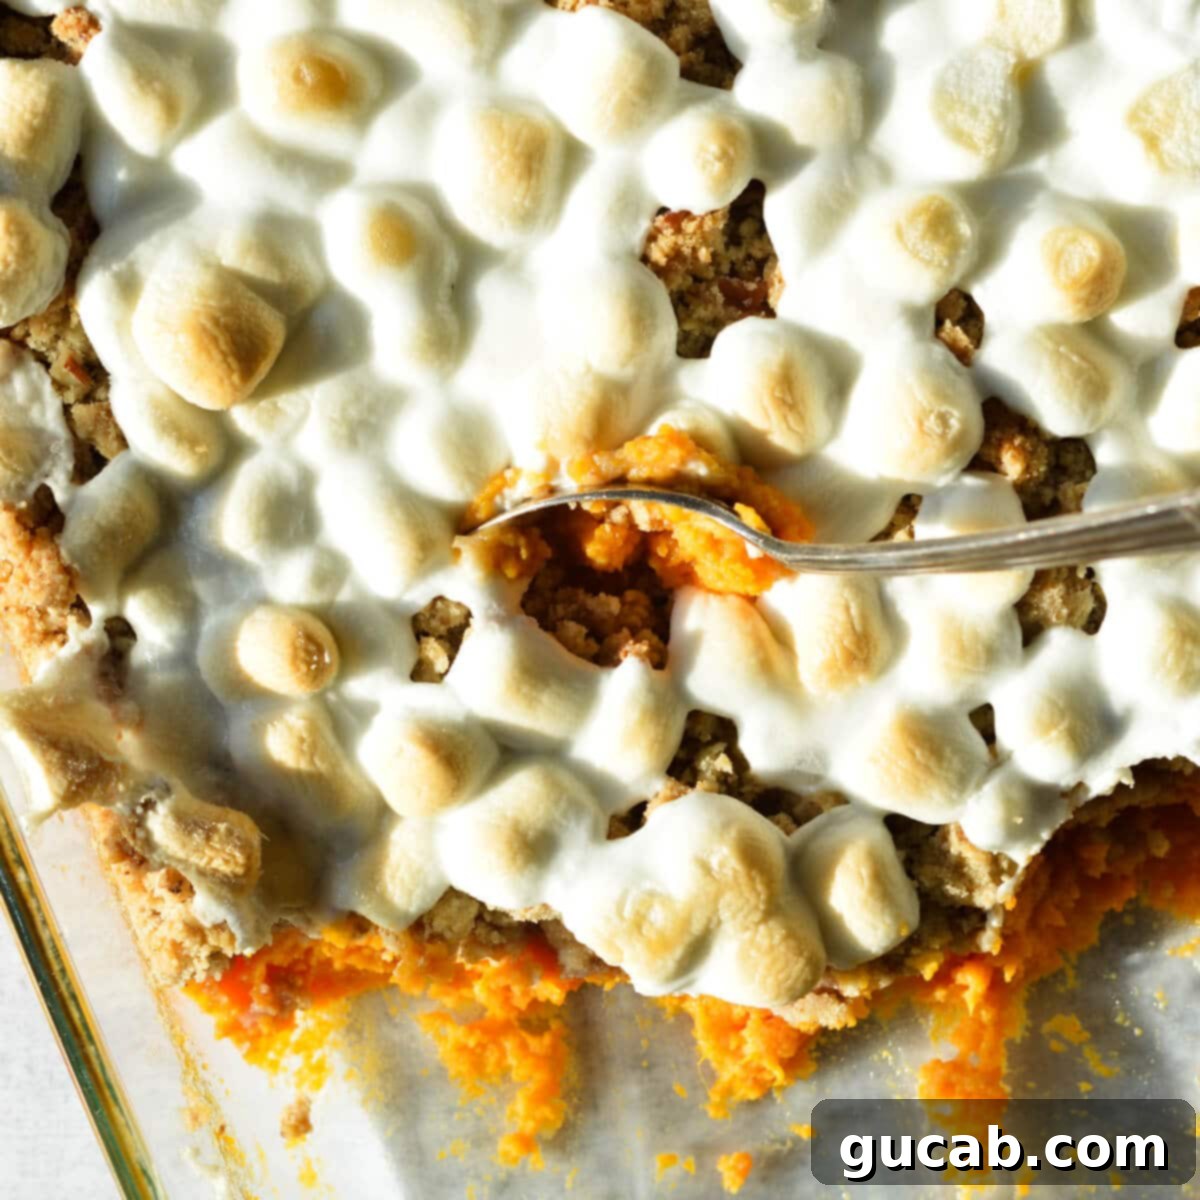
The Ultimate Classic Sweet Potato Casserole with Pecan Crunch and Toasted Marshmallows
Prepare to fall in love with this classic sweet potato casserole recipe that consistently disappears in minutes! Imagine a velvety smooth, subtly sweet sweet potato filling perfectly complemented by a rich, buttery pecan crumble topping, all crowned with a golden layer of toasted marshmallows. This iconic dish is more than just a side; it’s a celebration on a plate, ideal for festive gatherings, holiday feasts like Thanksgiving and Christmas, or simply when you crave a comforting, decadent treat. Best of all, it’s incredibly easy to prepare, and many components can be made ahead of time, ensuring a stress-free experience when entertaining.
Why You’ll Adore This Sweet Potato Casserole Recipe
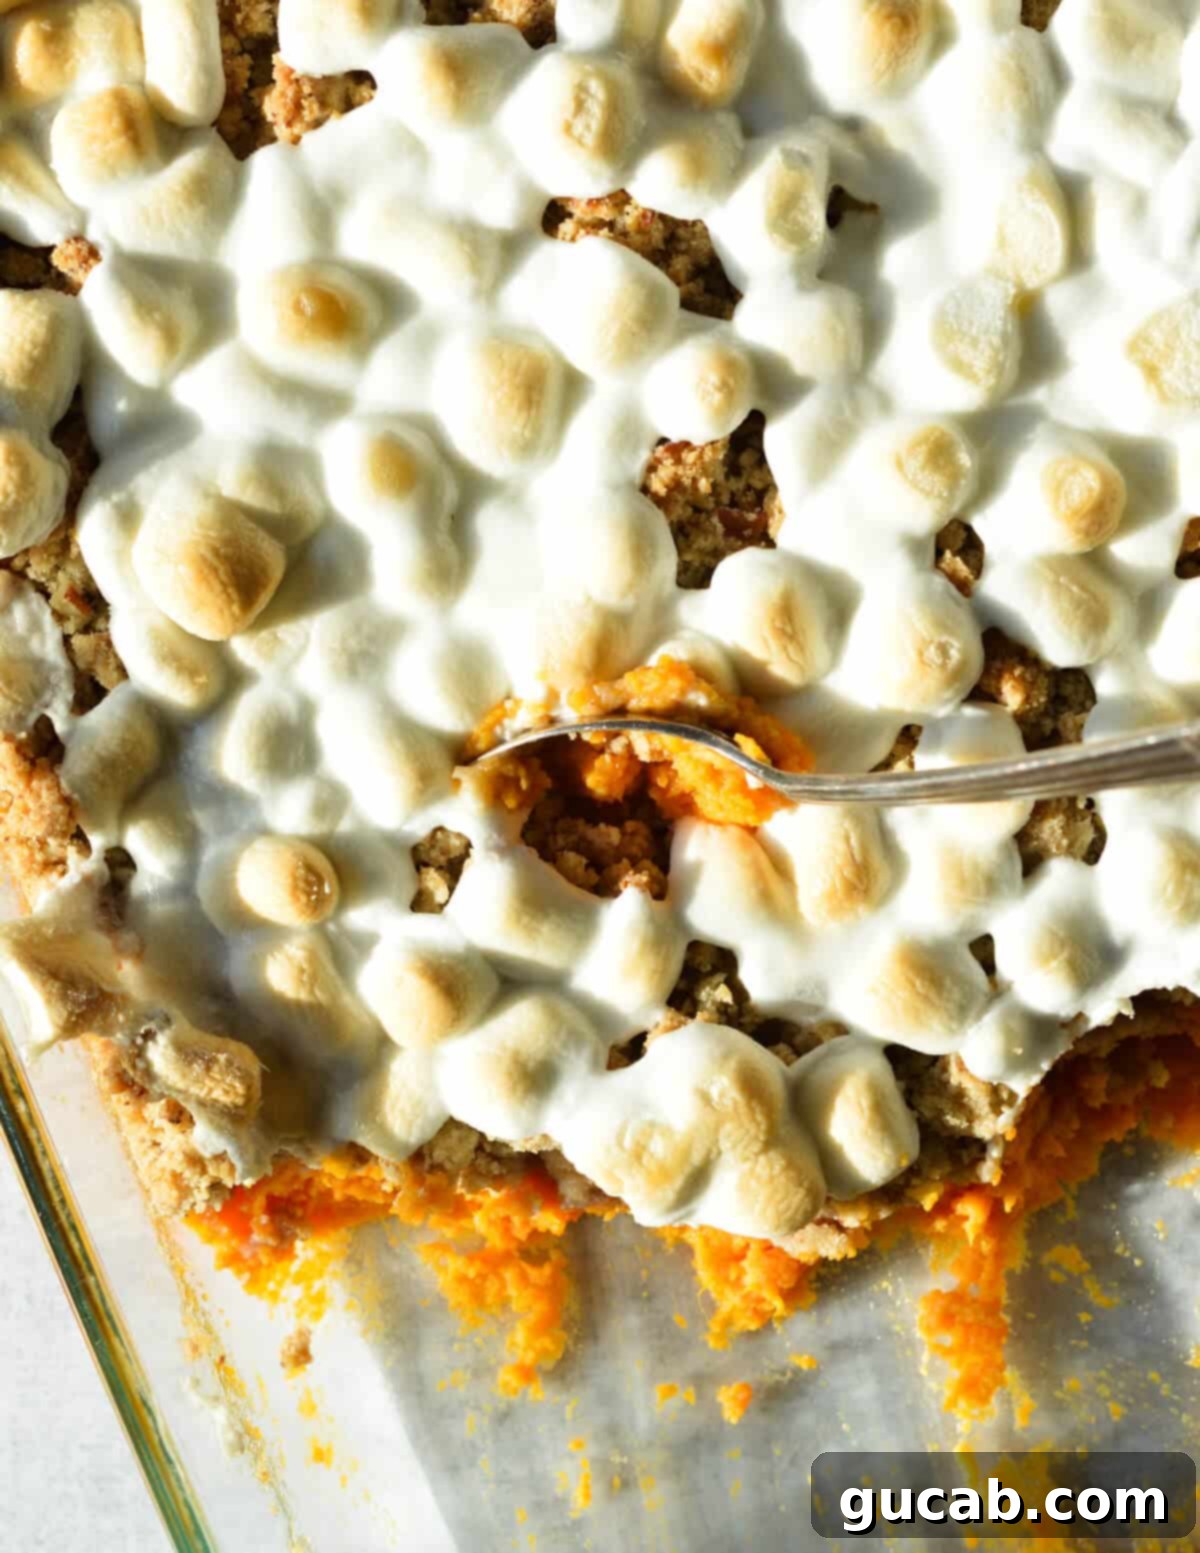
For many, including myself, sweet potato casserole isn’t just a dish; it’s the undisputed champion of holiday side dishes! There’s an undeniable magic in the combination of pillowy soft sweet potatoes, enveloped in a rich, buttery crumble, and crowned with a layer of perfectly toasted, gooey marshmallows. It’s a symphony of textures and flavors that captivates every palate, from the youngest family members to the most discerning adults.
I’ve witnessed my four-year-old son, a true connoisseur of this particular dish, return for not just seconds, but thirds, fourths, and even fifths! This sweet potato side dish isn’t limited to just Thanksgiving or Christmas anymore. While it’s a non-negotiable part of our holiday spread, its irresistible deliciousness means I often find myself making it in the summer months too. It’s simply too good to restrict to just a few times a year. This recipe masterfully balances the natural sweetness of the potatoes with warm spices and the rich, nutty notes of the pecan topping, ensuring every spoonful is pure bliss.
Key Ingredients for the Perfect Sweet Potato Casserole
Creating an extraordinary sweet potato casserole begins with selecting the right ingredients and understanding how each contributes to the final masterpiece. Here’s a breakdown of what you’ll need to achieve that perfect balance of creamy, crunchy, and sweet.
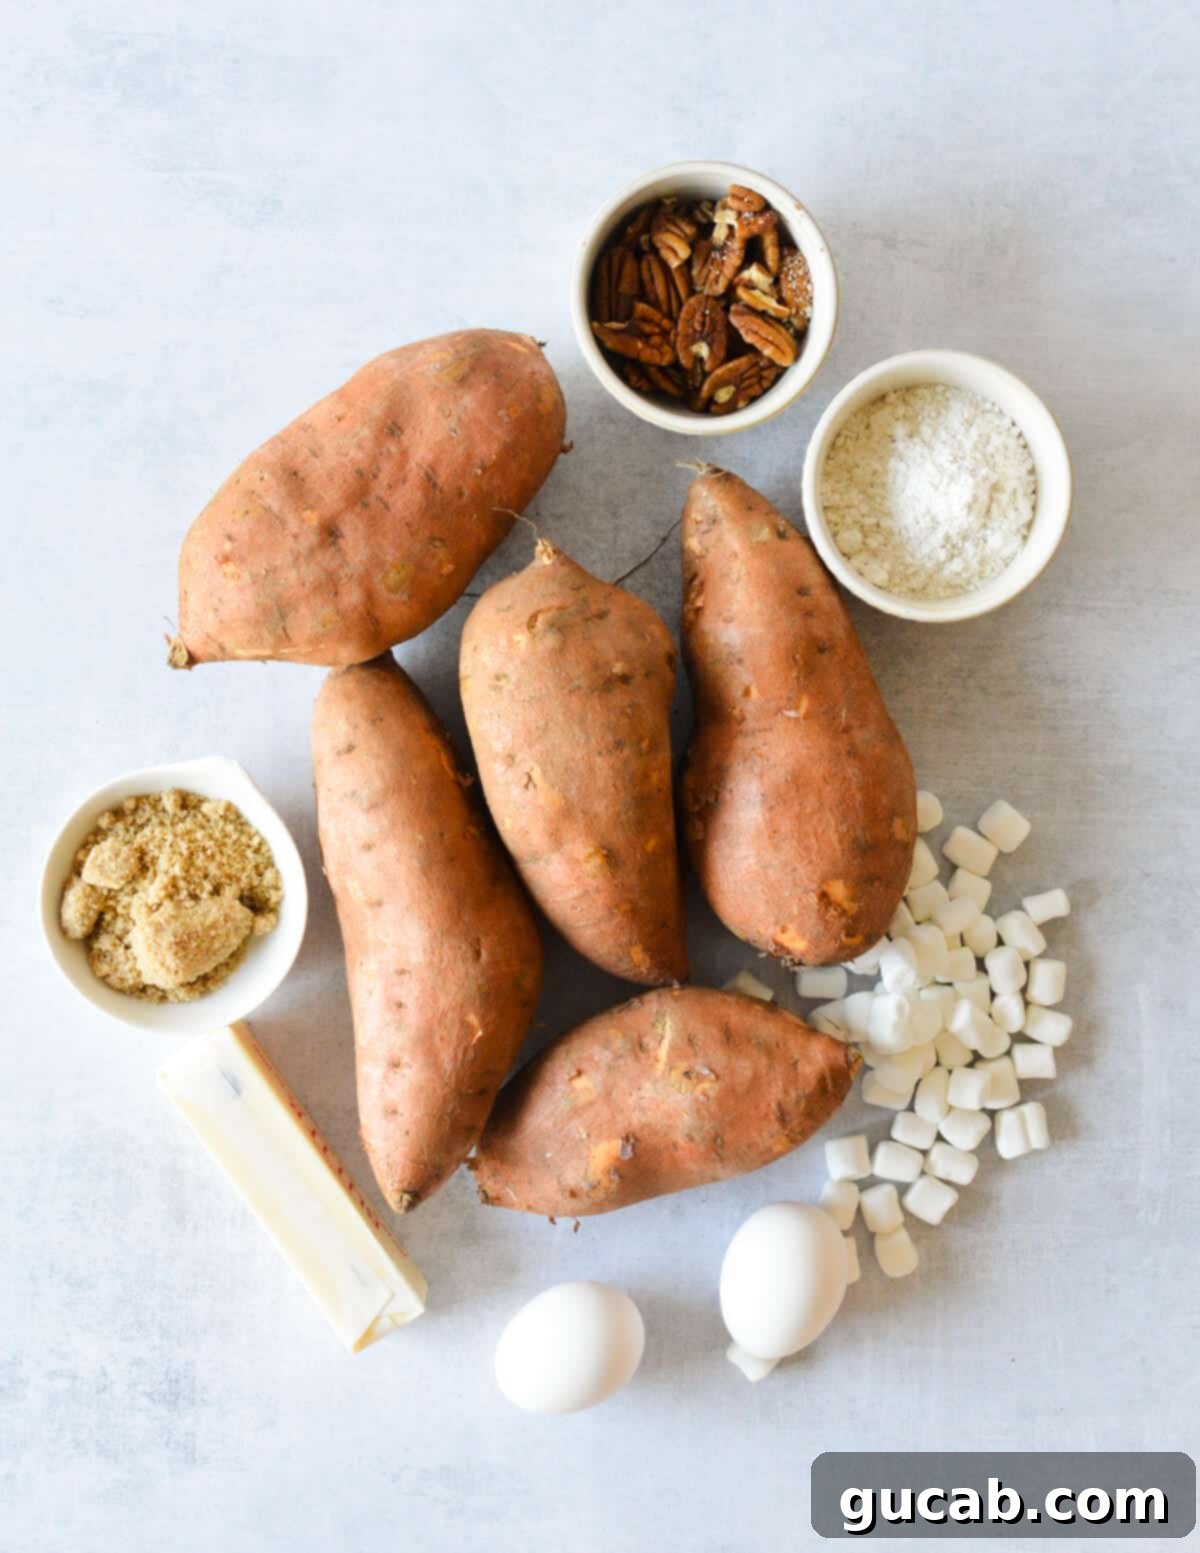
- Sweet Potatoes: The star of our show! I typically use 5 very large sweet potatoes. If your sweet potatoes are on the smaller side, feel free to increase the amount to 6 or 7 to ensure you have enough for that generous, creamy filling. Baking them (as we’ll discuss) intensifies their natural sweetness and yields the best texture.
- Unsalted Butter: This recipe calls for a good amount of butter, both for the luscious filling and the delectable crumble topping. This is truly no time for cutting calories! Butter is essential for creating that smooth, incredibly creamy sweet potato base and for forming a rich, flavorful, and perfectly textured pecan crumble. Using unsalted butter allows you to control the overall sodium content of the dish.
- Brown Sugar: It plays a crucial role in both layers. The filling is designed to be subtly sweet, providing a delightful contrast to the much sweeter and caramelized topping. Brown sugar adds a deeper, molasses-rich flavor compared to white sugar, enhancing the overall warmth of the casserole.
- Eggs: Don’t skip these! Eggs are absolutely essential for a light, smooth, and wonderfully creamy filling. They act as a binder and help to create a custard-like texture, preventing the sweet potato mixture from becoming too dense or heavy. Think of them as the secret to that perfectly fluffy casserole.
- Pecans: These provide a delightful nutty crunch and an earthy flavor that beautifully complements the sweet potatoes. While technically optional, they are highly recommended for that classic, irresistible texture contrast. If you’re not a fan of pecans, you can omit them or substitute with walnuts.
- All-Purpose Flour: The foundation for our glorious crumble topping. It combines with butter and brown sugar to create those irresistible clusters. (See notes for a gluten-free option!)
- Kosher Salt: A pinch of salt is vital in both the filling and the topping. It might seem counterintuitive for a sweet dish, but salt enhances all the other flavors, balancing the sweetness and making the entire casserole taste more vibrant and complex.
- Mini Marshmallows: The quintessential finishing touch! These small, fluffy clouds toast beautifully in the oven, creating a gooey, caramelized crust that is the hallmark of a traditional sweet potato casserole.
How to Make the Best Sweet Potato Casserole: Step-by-Step
While this sweet potato casserole is surprisingly easy to make, it does require a bit of time, mainly due to the baking of the sweet potatoes. But trust me, every minute is worth it for the incredible flavor and texture you’ll achieve. Plus, a fantastic tip is that you can bake the sweet potatoes (and even prepare parts of the casserole) the day before to streamline your holiday cooking!
1. Bake the Sweet Potatoes to Perfection
This initial step is critical for developing the best flavor and texture in your sweet potato filling.
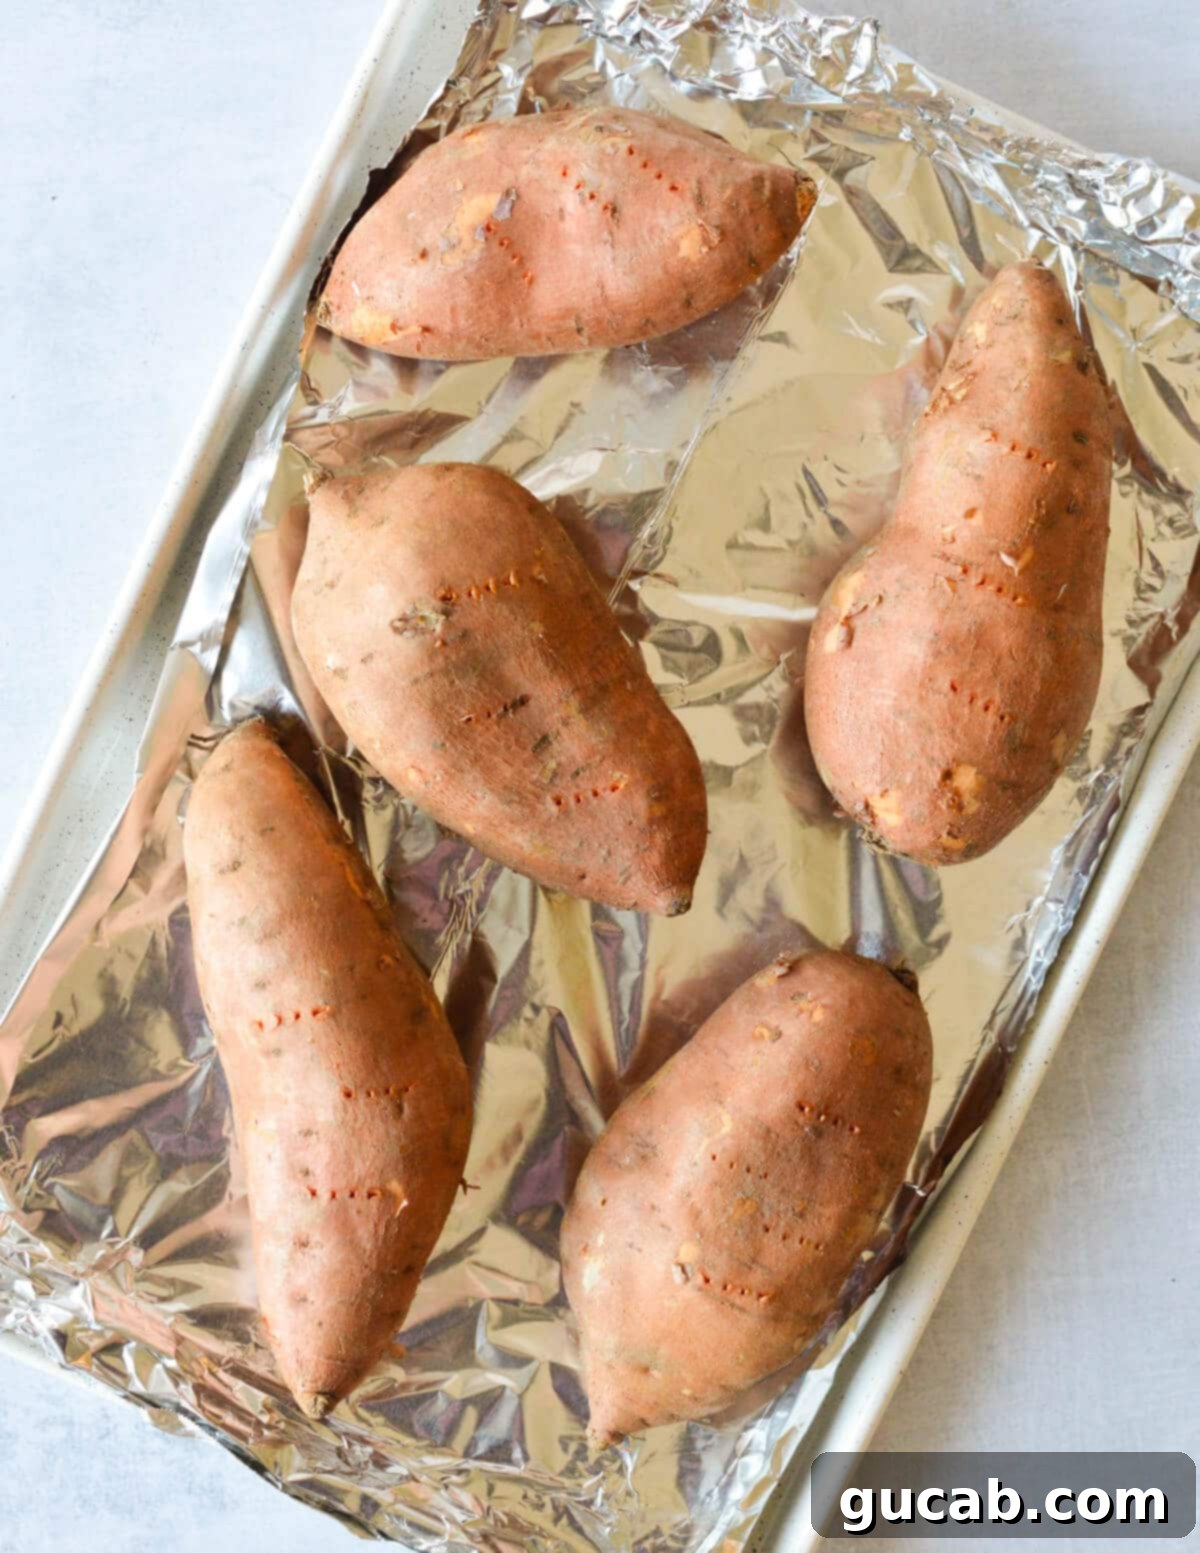
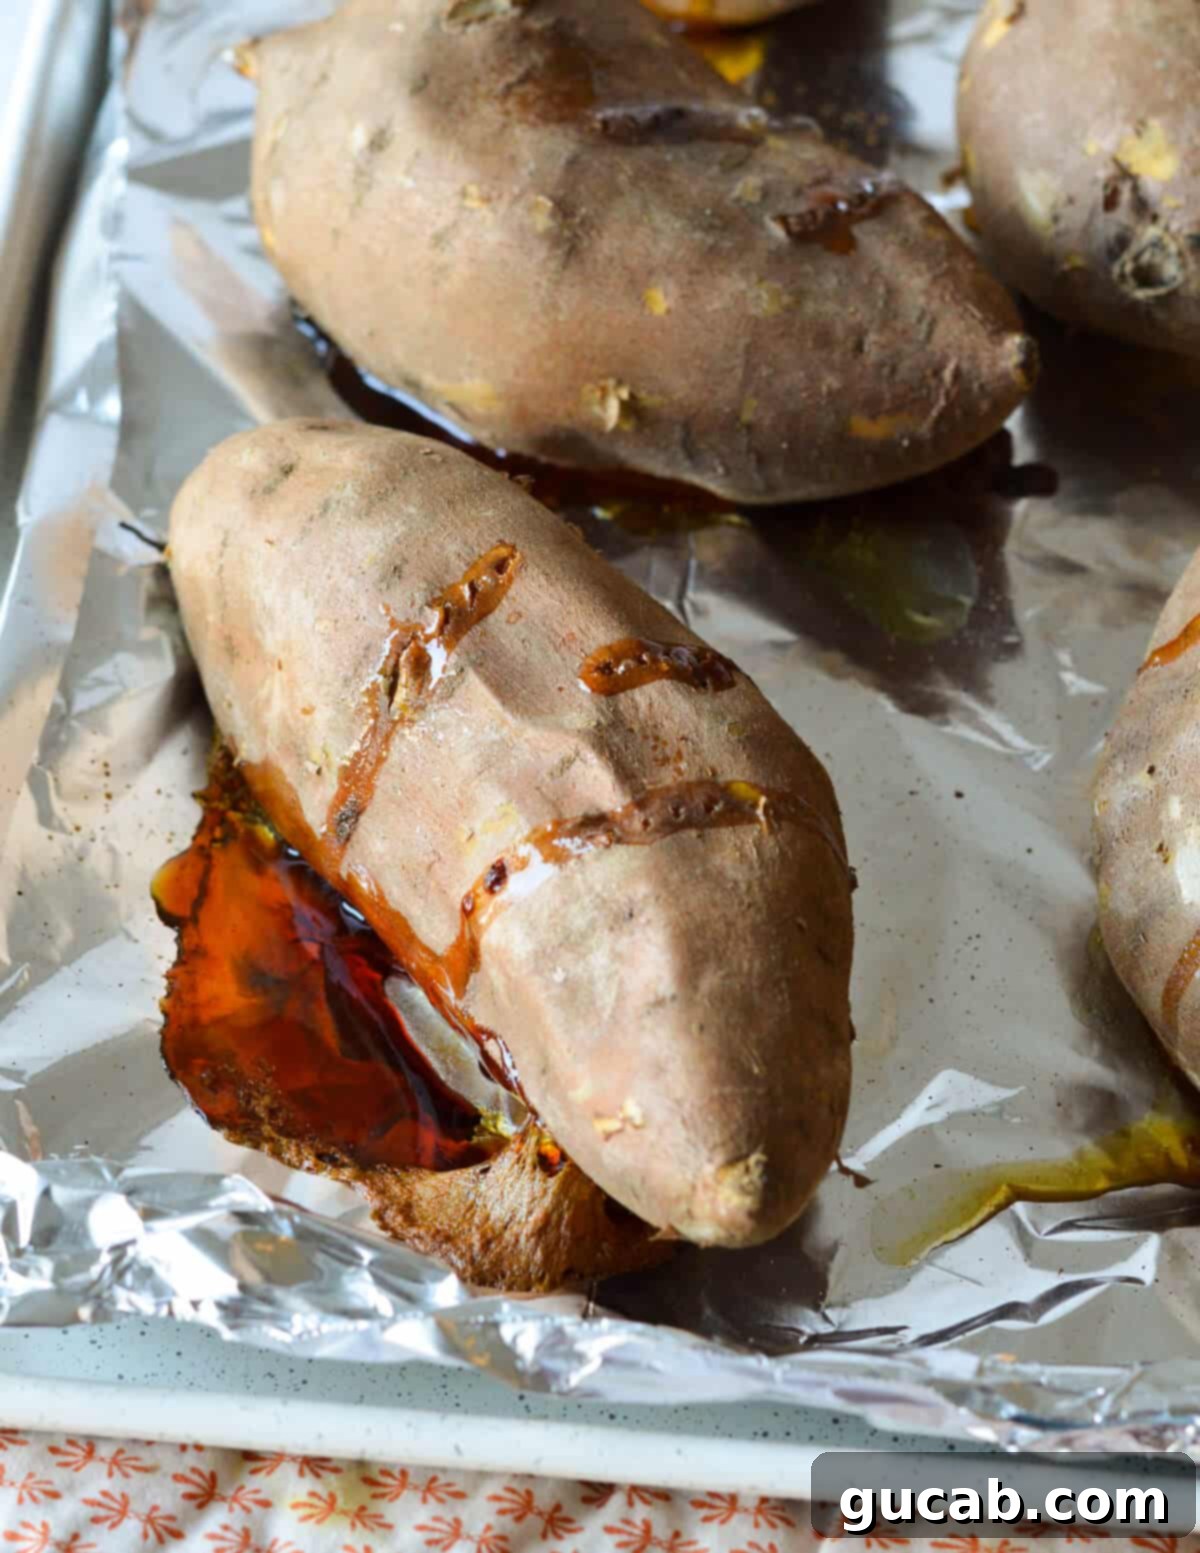
- Begin by preheating your oven to 400 degrees Fahrenheit (about 200 degrees Celsius). Line a sturdy sheet pan with aluminum foil for easy cleanup – sweet potatoes can release some sticky juices as they bake.
- Place your chosen sweet potatoes directly on the lined sheet pan. Before baking, use a fork to generously poke holes all over each sweet potato. This allows steam to escape during baking, preventing them from bursting and ensuring they cook evenly and become wonderfully tender.
- Bake for approximately 60 to 70 minutes, or until they are easily pierced with a fork. You want them to be extremely tender, almost yielding, but not completely shriveled. The baking process converts their starches into sugars, intensifying their natural sweetness and creating that deep, rich flavor that boiling simply cannot achieve.
- Once baked, remove them from the oven and let them cool for a few minutes until they are comfortable enough to handle. This cooling step is important before making the filling.
2. Prepare the Irresistible Pecan Crumble Topping
This buttery, nutty topping adds a crucial textural element and deep flavor. Using a large food processor makes this step incredibly quick and easy, but don’t worry if you don’t have one; a bowl and your hands will work just fine!
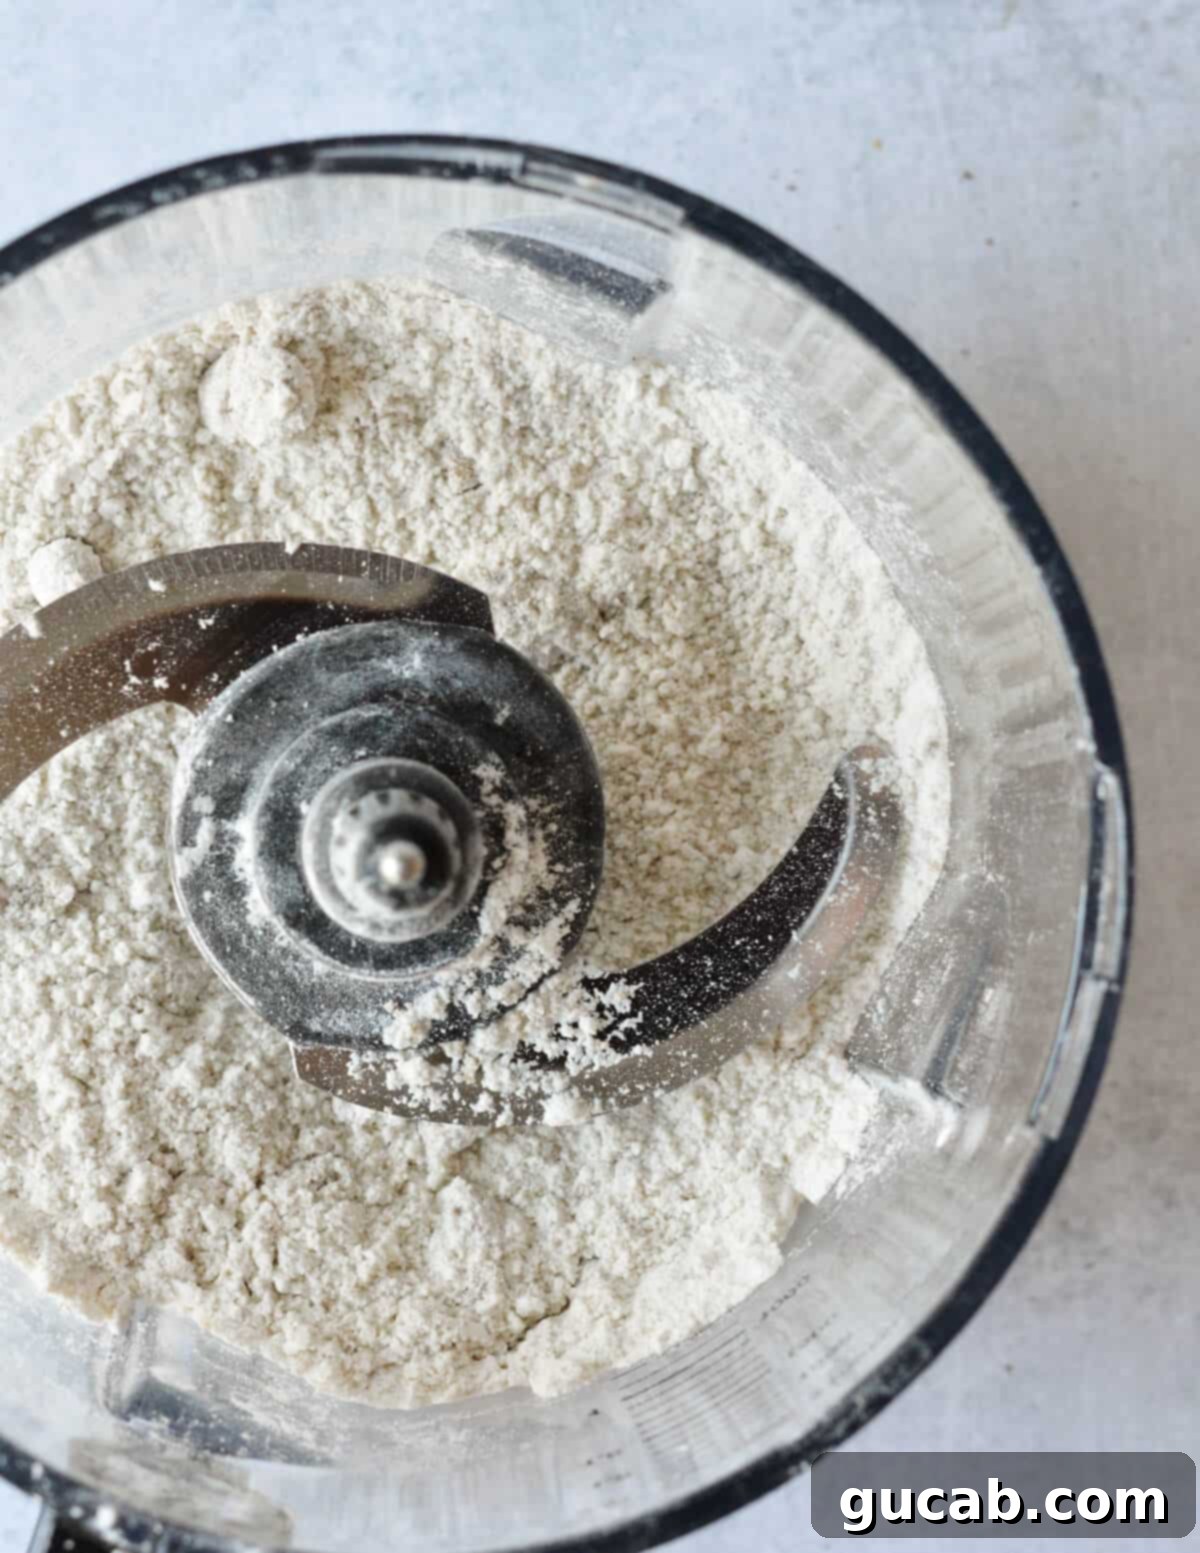
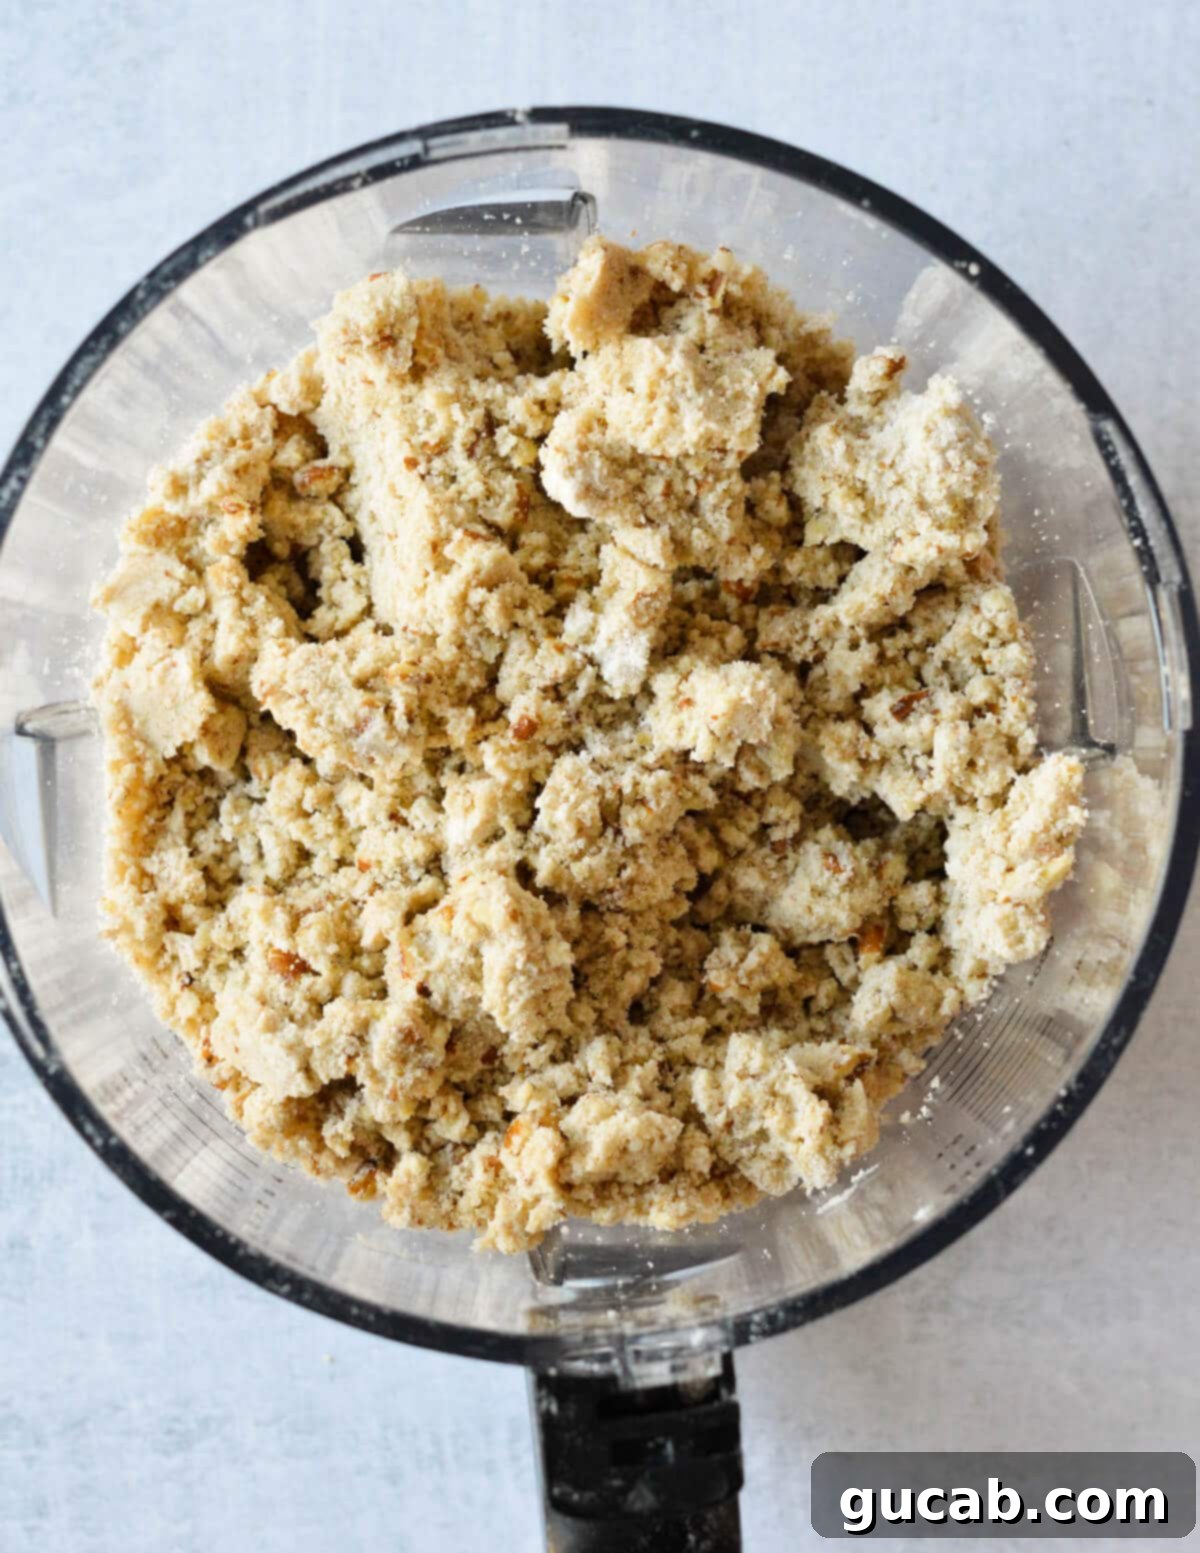
- In a large food processor, combine the all-purpose flour, rich brown sugar, and a pinch of salt. Pulse these dry ingredients together a few times until they are well combined.
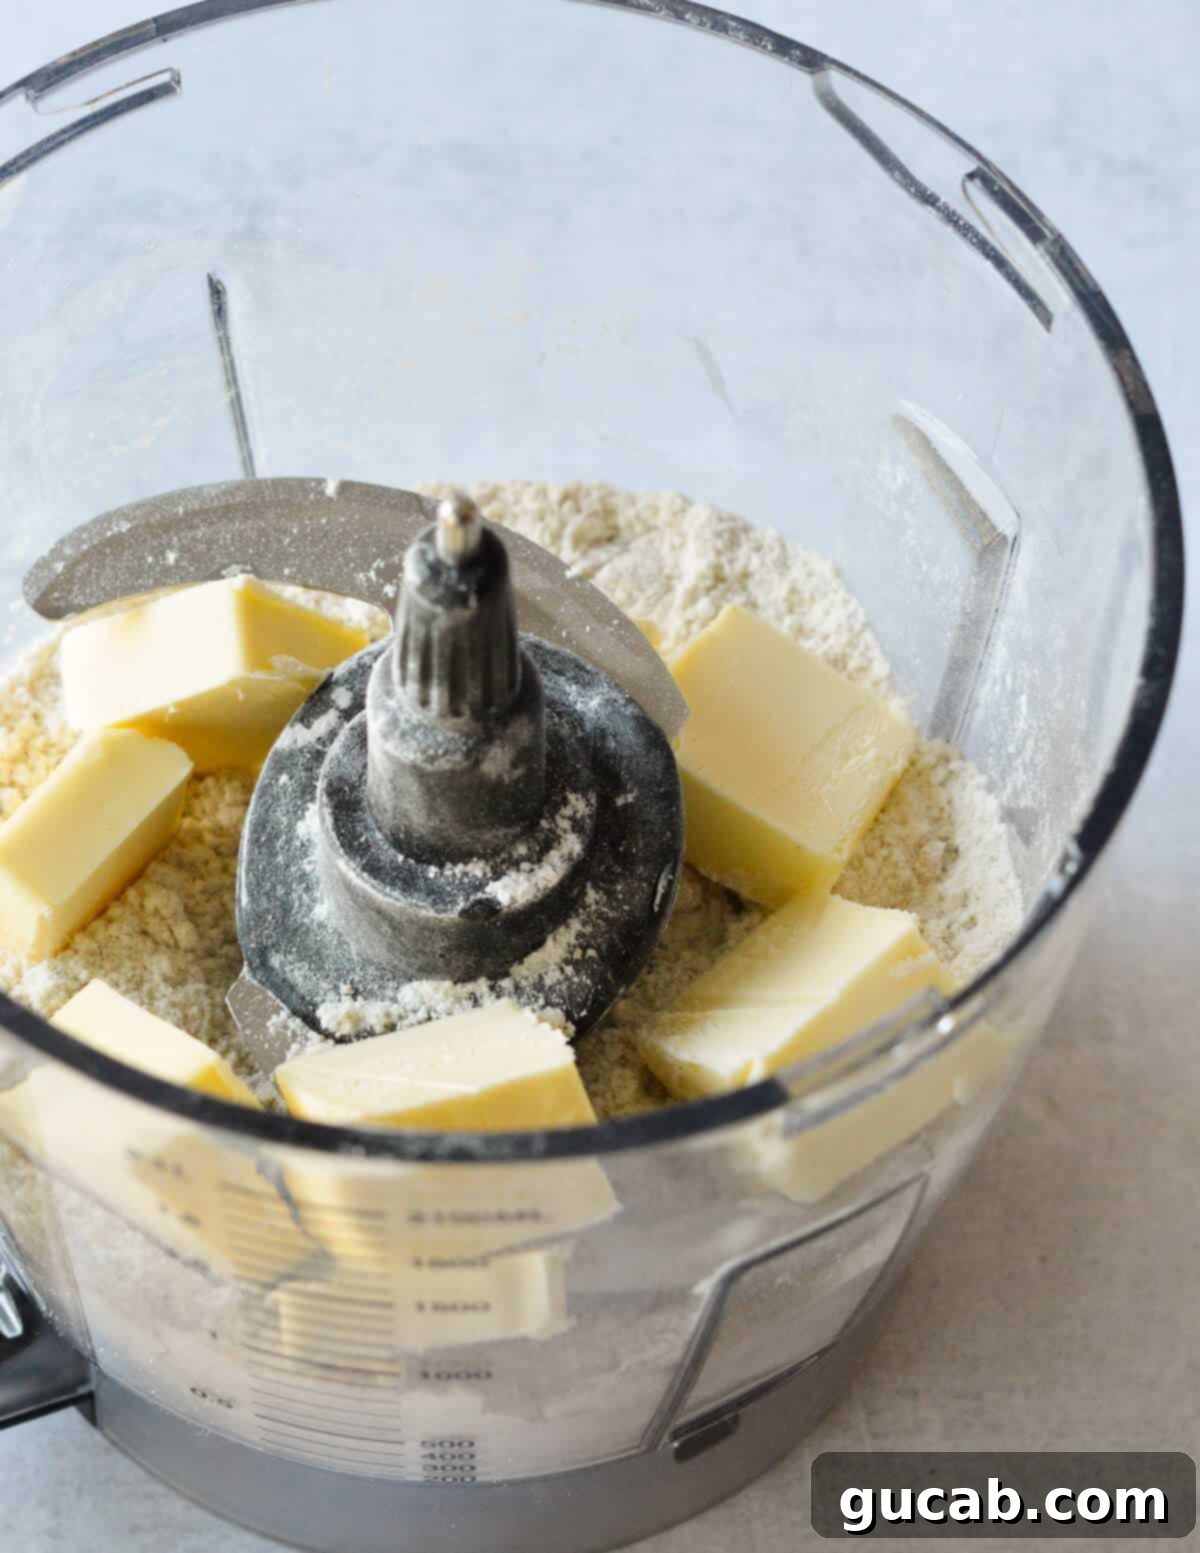
- Add the cold unsalted butter, cut into small chunks, to the flour mixture. Pulse again, using short bursts, until the mixture resembles coarse sand with some small pea-sized butter pieces. The key here is to keep the butter cold, which results in a tender, flaky crumble when baked.
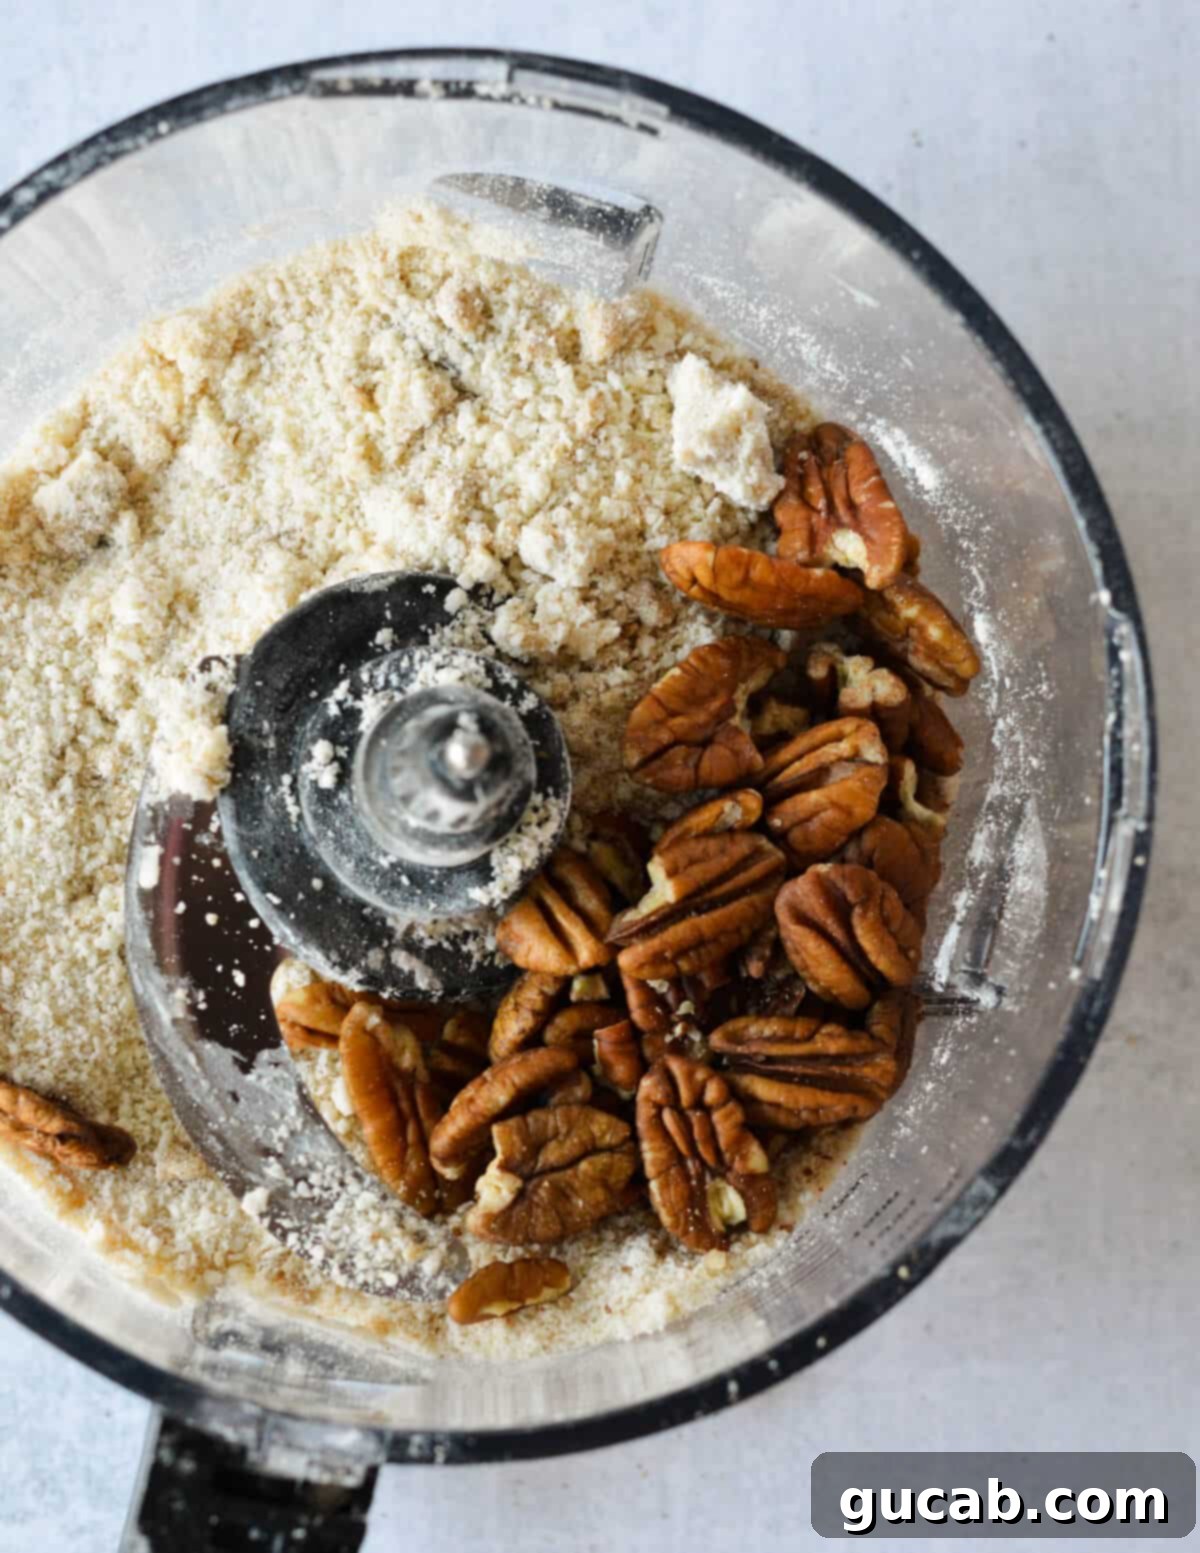
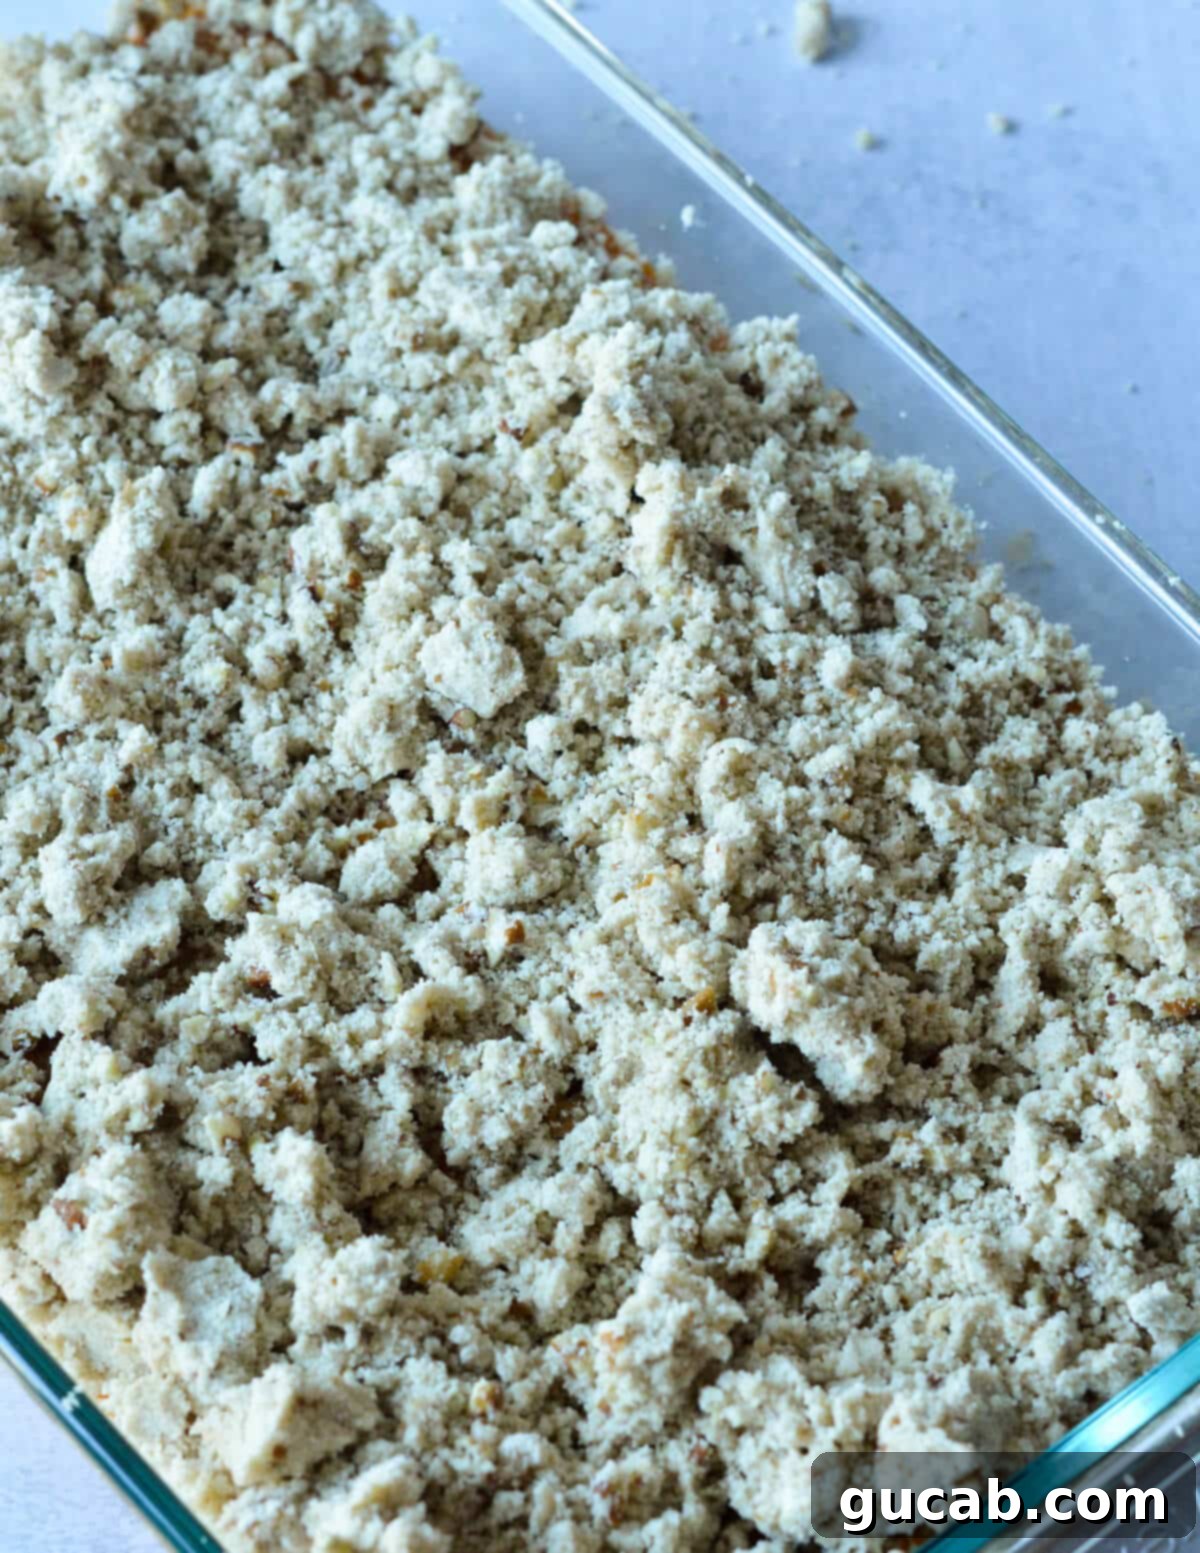
- Next, add the pecan halves. Pulse just a few more times to chop the pecans and disperse them evenly throughout the mixture. You want some larger pieces for texture, so avoid over-processing.
- Once combined, remove the blades from the food processor. If using your hands, simply mix everything in a bowl until crumbly. Gently use your hands to squeeze the mixture into various-sized clumps. These clumps will become wonderfully crispy and golden brown on top of your casserole.
- Transfer the crumble topping to an airtight container or cover it tightly in a bowl. Store it in the refrigerator until you are ready to assemble and bake the casserole. This can be made a day or two in advance!
3. Create the Silky Smooth Sweet Potato Filling
Now, it’s time to transform those perfectly baked sweet potatoes into a creamy, dreamy filling. Remember to let the sweet potatoes cool for a few minutes before starting this step. This is crucial for two reasons: you don’t want to burn your fingers, and more importantly, you don’t want to accidentally cook your eggs when adding them to a steaming hot mixture!
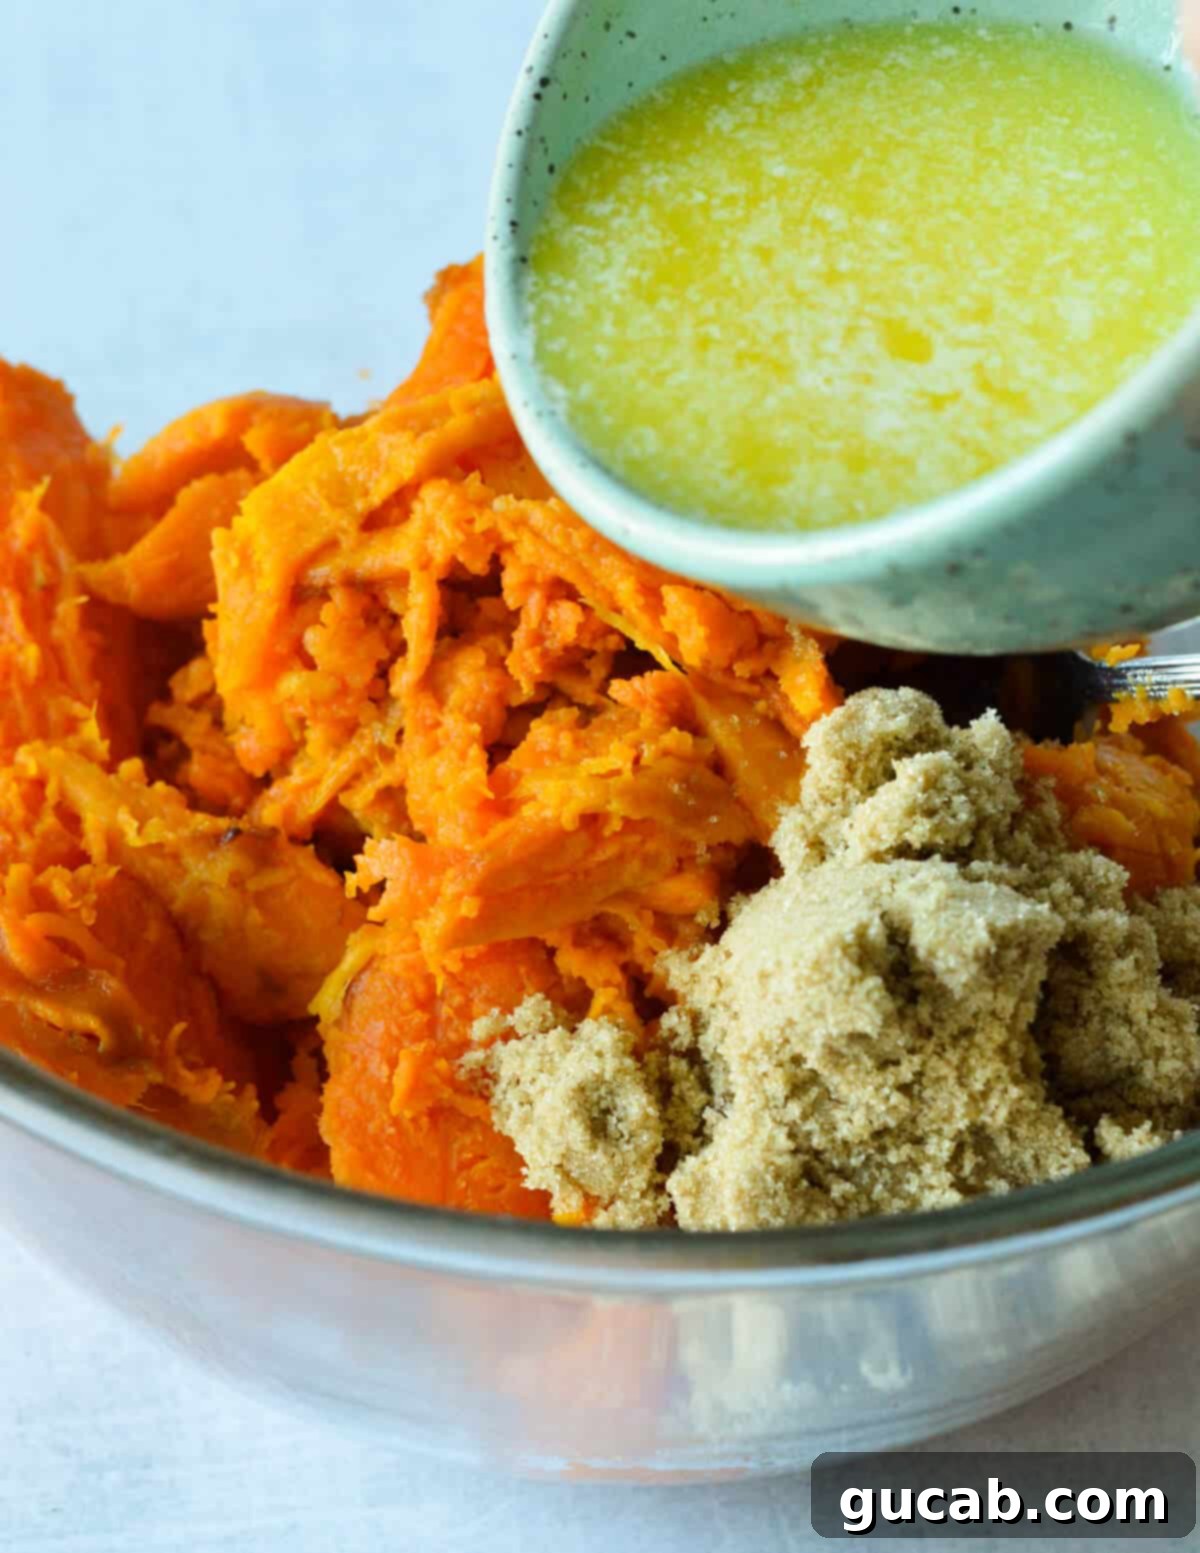
- Once the baked sweet potatoes are cool enough to handle, carefully scoop the tender flesh from their skins into a large mixing bowl. Discard the skins.
- To the mashed sweet potatoes, add the brown sugar, the cooled melted butter, and the kosher salt. Using a hand mixer, beat these ingredients together until everything is well combined and the mixture is smooth and lump-free. A potato masher can also be used if you prefer a slightly chunkier texture, but a hand mixer ensures ultimate creaminess.
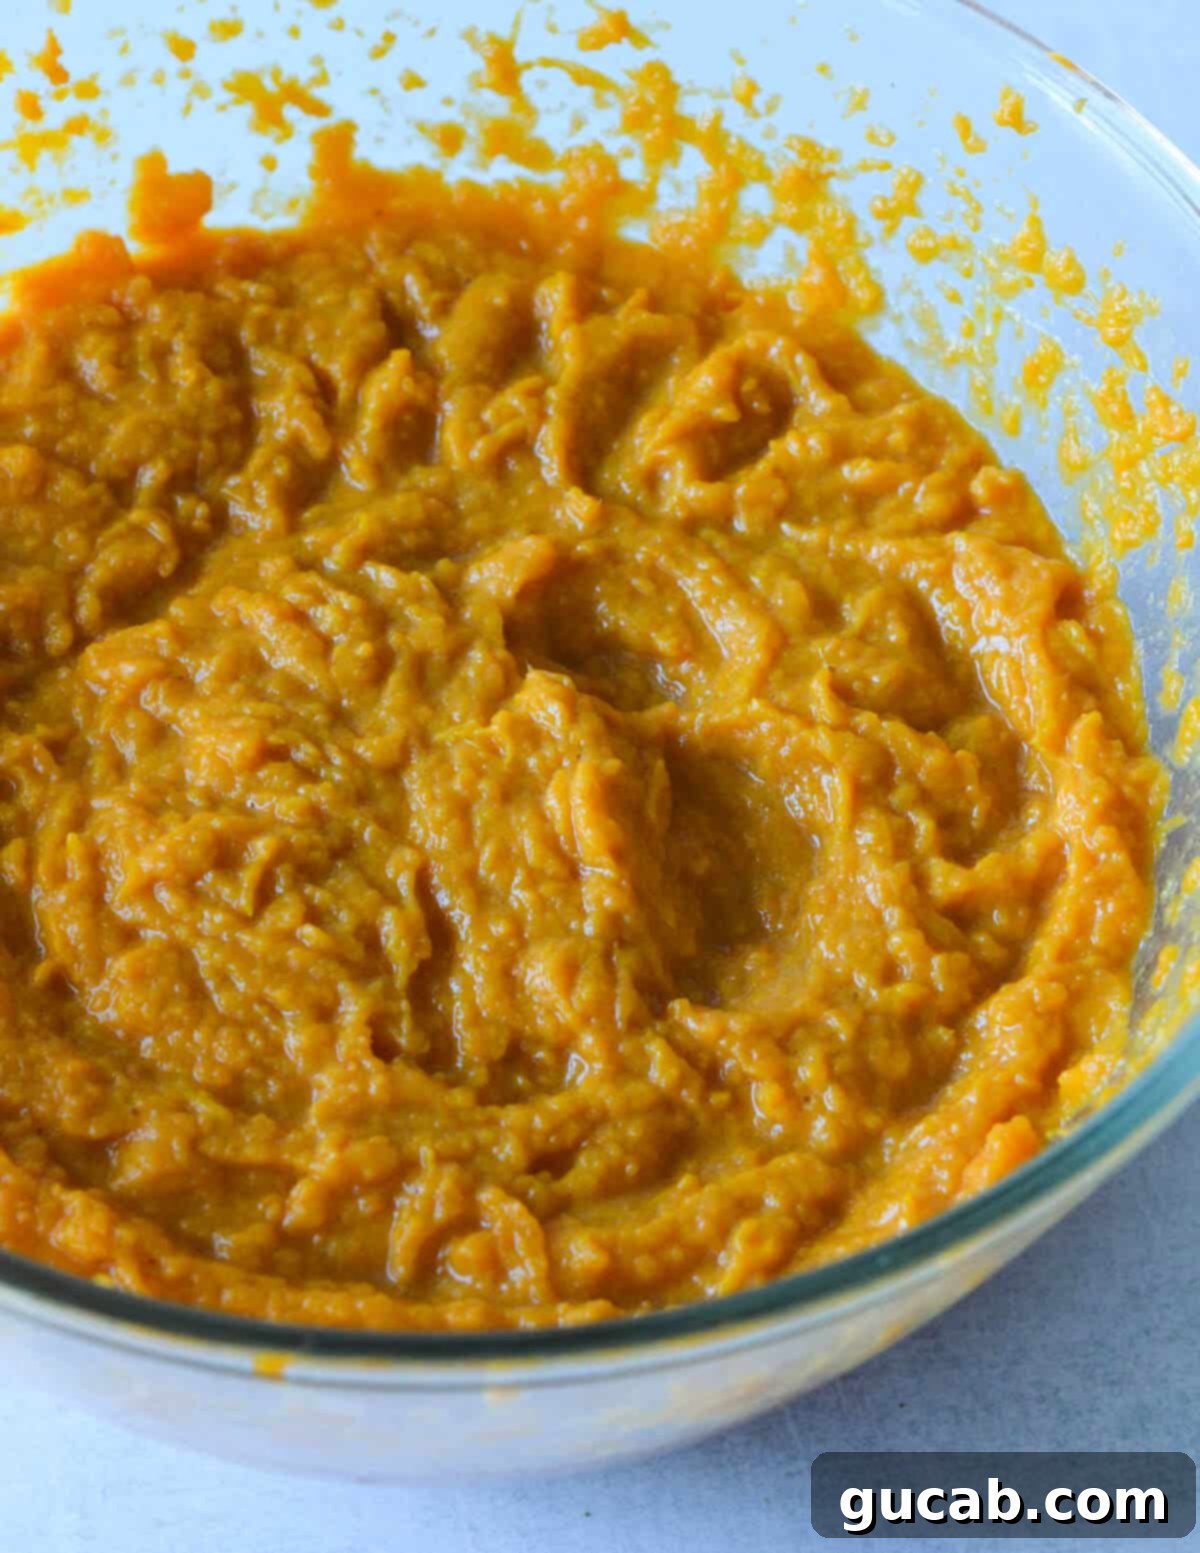
- Finally, add the large eggs, one at a time. Beat thoroughly after each addition until the egg is fully incorporated and the sweet potato filling is light, fluffy, and consistently smooth. The eggs are key to achieving that wonderful custard-like consistency.
- Taste the filling and adjust sweetness if desired. Some prefer it a bit sweeter, while others enjoy the subtle balance against the topping.
4. Assemble and Bake to Golden Perfection
Now for the most exciting part – bringing it all together and watching it transform into a golden, bubbling, marshmallow-topped delight!
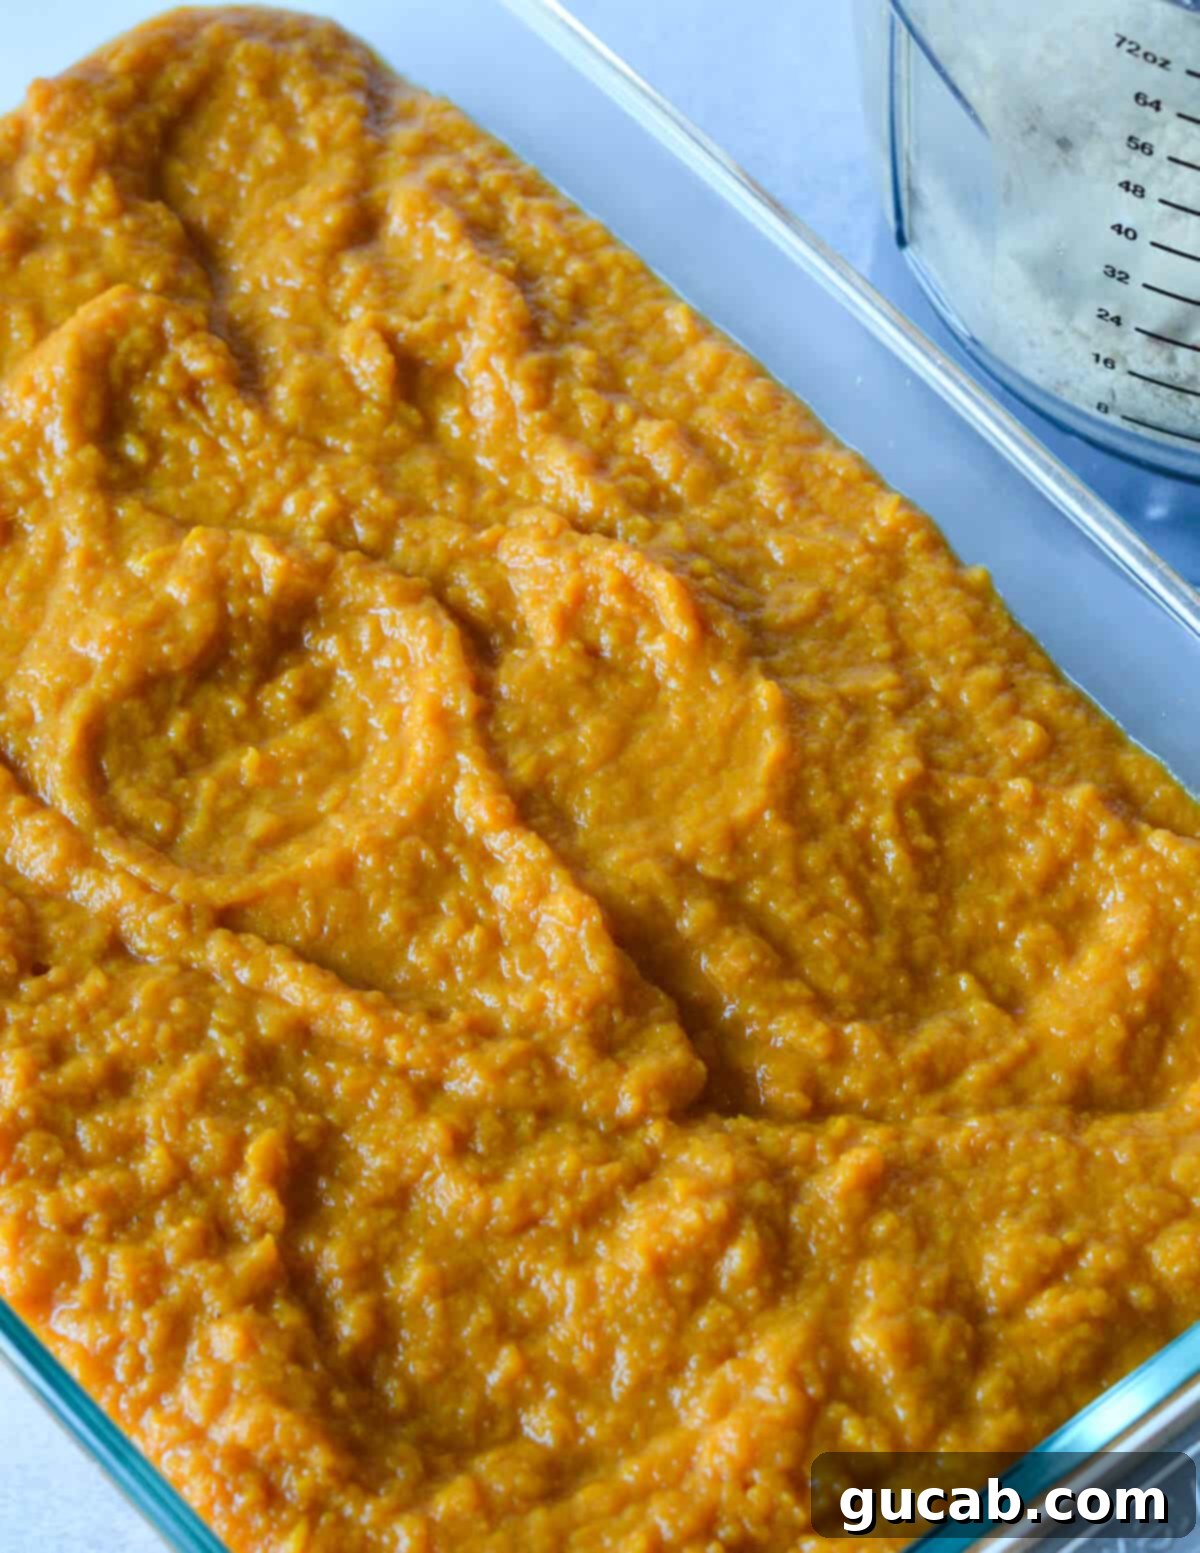
- Lightly grease a 9×13-inch baking dish. Pour the prepared sweet potato filling into the dish and spread it evenly with a spatula. You want a consistent layer for uniform baking.
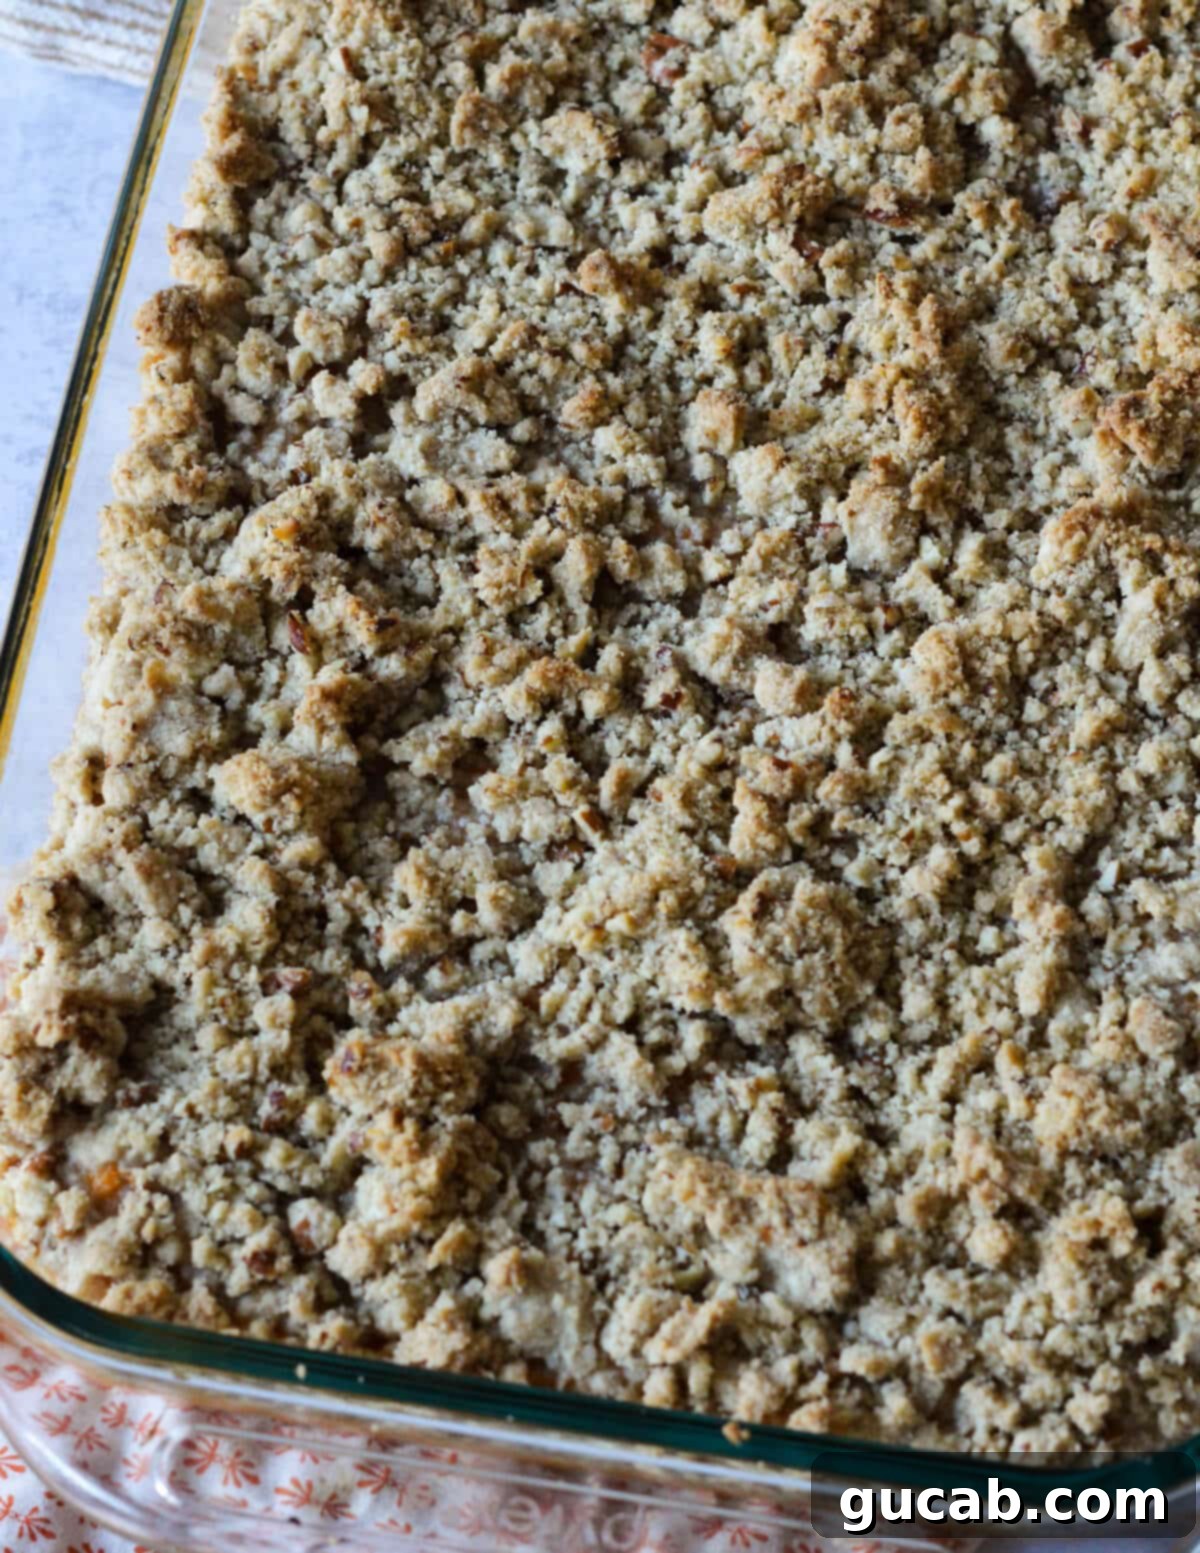
- Next, take your chilled crumb topping and, using your hands, generously sprinkle it over the entire surface of the sweet potato filling. Distribute it evenly, allowing some of the pecan clusters to stand out.
- Place the baking dish into the preheated 400-degree Fahrenheit oven and bake for 25 minutes. During this time, the filling will set, and the pecan crumble will start to turn a beautiful golden brown and crisp up.
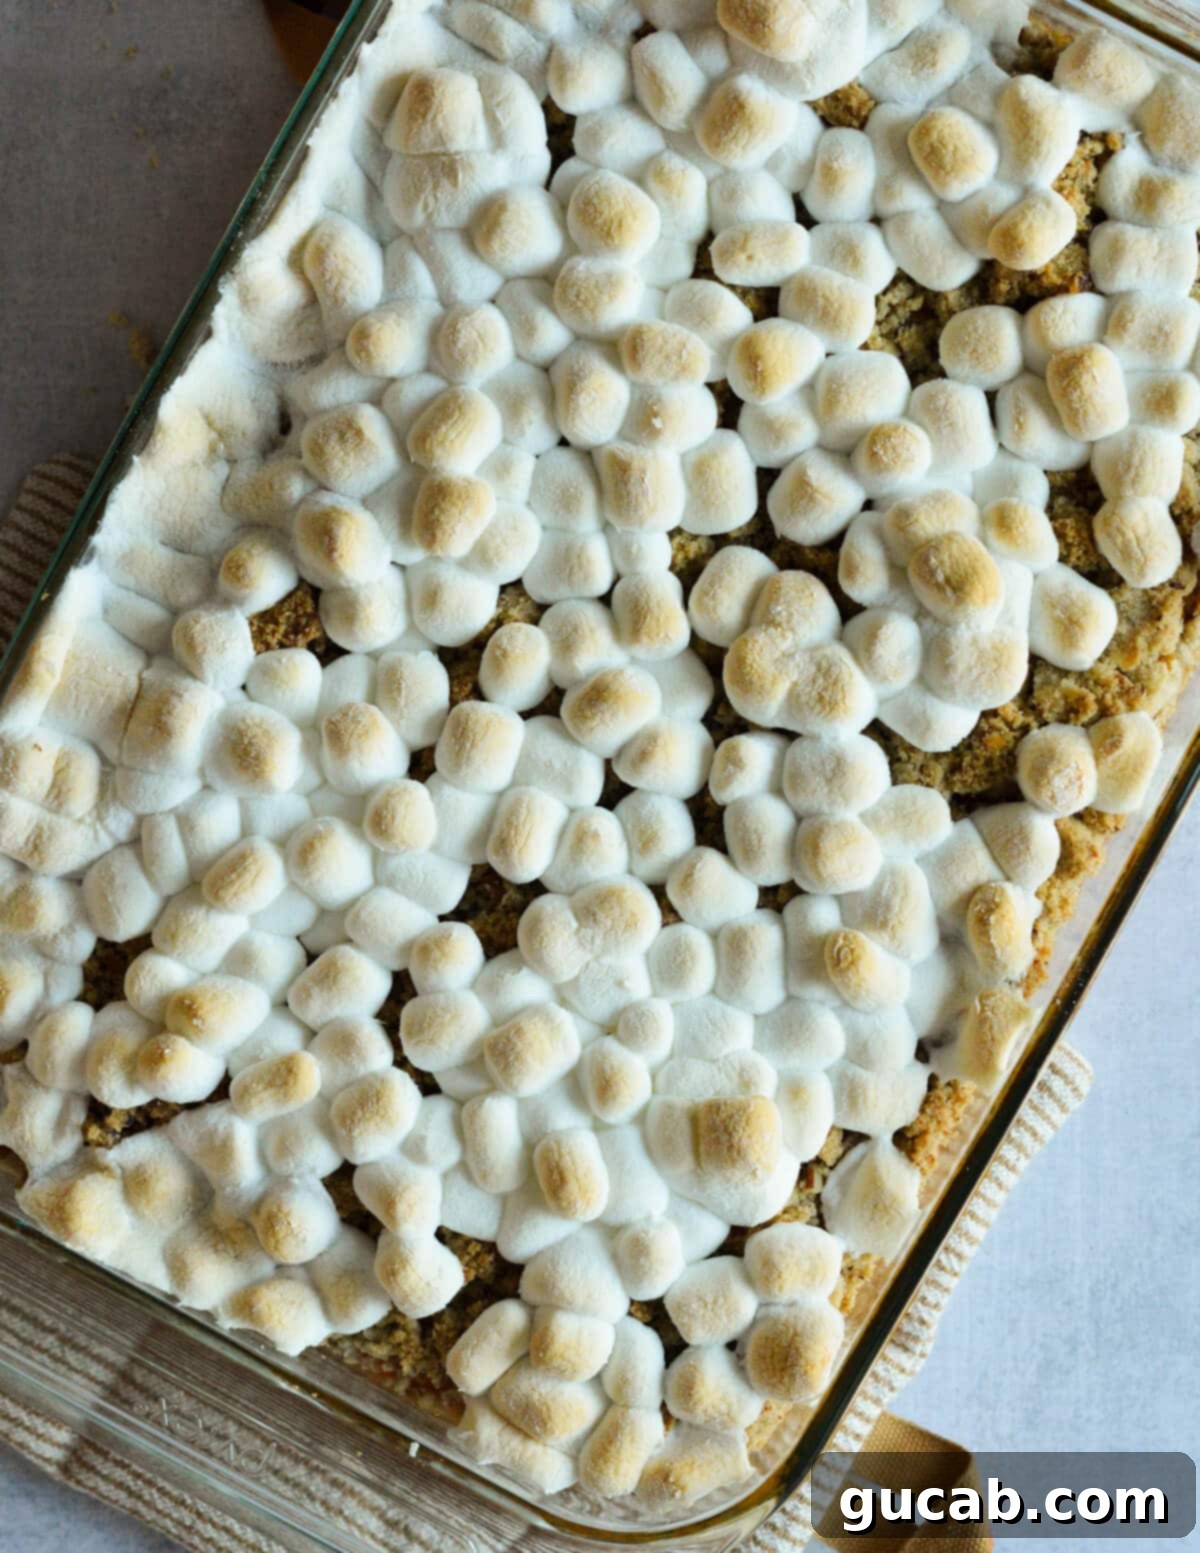
- Carefully remove the casserole from the oven. Now for the iconic marshmallow layer! Evenly scatter a generous amount of mini marshmallows over the hot crumb topping.
- Return the casserole to the oven and bake for another 5 to 7 minutes. Keep a close eye on it during this final stage! Marshmallows can go from perfectly toasted to burnt very quickly. You’re looking for the tops of the marshmallows to turn a light golden, toasty brown, creating that irresistible gooey, slightly crisp crust. If your oven has a broiler, you can briefly use it for 1-2 minutes for an even quicker toast, but watch it constantly!
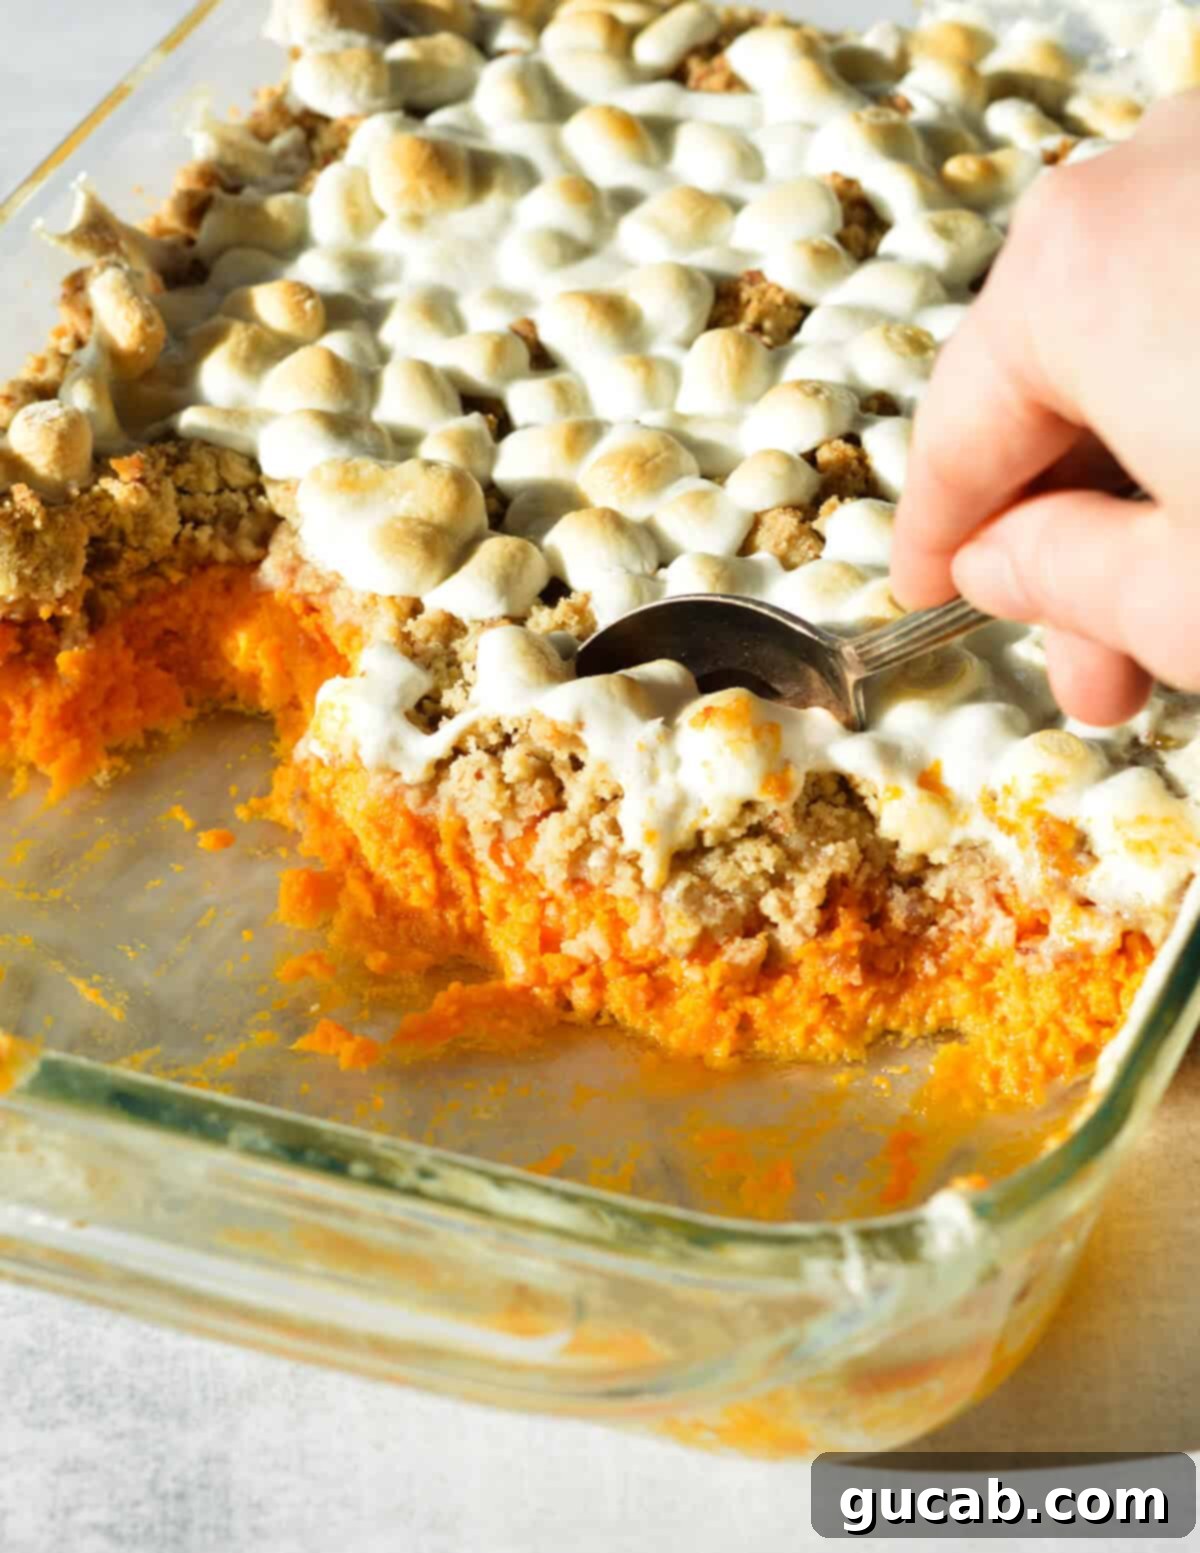
- Once the marshmallows are beautifully toasted, remove the casserole from the oven. Let it cool for a few minutes before serving. This allows the filling to set a bit more and prevents any accidental burns from the hot marshmallows.
Why You Should Always Bake Your Sweet Potatoes (Never Boil!)
While technically, yes, you *can* boil sweet potatoes for a casserole, I cannot stress enough how highly I recommend baking them instead. It truly makes all the difference in the world for flavor, sweetness, and texture.
Boiling sweet potatoes is a disservice to their natural qualities. A boiled sweet potato often tastes disappointingly plain, watery, and largely flavorless. The water leaches out much of their inherent goodness, resulting in a bland and somewhat mushy texture that won’t give your casserole the depth it deserves.
However, when you bake a sweet potato, you unlock its true potential! The dry heat of the oven facilitates a process where the sweet potato’s complex starches convert into simple sugars. This natural caramelization and sugar development concentrate their flavor, making them incredibly sweet and imparting a rich, earthy depth. The texture also transforms from starchy to wonderfully creamy and smooth, almost like a natural custard. This baked sweetness and creaminess forms the perfect foundation for a truly exceptional sweet potato casserole, making it miles superior to any version made with boiled potatoes.
Top Tips for a Flawless Sweet Potato Casserole
Achieving sweet potato casserole perfection is easier than you think with these expert tips:
- Always Bake Your Sweet Potatoes! As mentioned, this is the single most important tip for superior flavor and texture. Baking brings out their natural sugars and creates a creamy consistency that boiling simply cannot replicate.
- Let Sweet Potatoes Cool Before Adding Eggs: Patience is a virtue here! After baking, allow your sweet potatoes to cool down for at least 15-20 minutes, or until they are warm but not steaming hot. Adding eggs to very hot potatoes can cause them to scramble or cook prematurely, leading to an unpleasant texture in your filling.
- No Food Processor? No Problem! While a food processor makes quick work of the crumb topping, it’s not strictly necessary. You can achieve fantastic results by hand. Simply combine the dry ingredients in a bowl, then use a pastry blender, two knives, or your fingertips (using a light, quick touch to keep butter cold) to cut the cold butter into the flour mixture until it forms coarse crumbs. Then, stir in the pecans.
- Don’t Over-Bake the Sweet Potatoes: Keep an eye on your potatoes in the oven. While you want them fork-tender, they shouldn’t be baked until they are shriveled or overly soft and watery. Over-baking can lead to a less flavorful, mushier filling. They should yield easily to a fork, maintaining a good, firm interior.
- Use Cold Butter for the Topping: Just like with pie crusts, cold butter is key for a crumbly, tender topping. The small pieces of cold butter create pockets of steam during baking, resulting in a lighter, crispier crumble.
- Watch the Marshmallows Closely: Marshmallows brown and toast very quickly under high heat. Stay by the oven during the last 5-7 minutes of baking to ensure they reach a beautiful golden brown without burning. Every oven is different, so your exact timing may vary.
- Season to Taste: Feel free to add a pinch of warm spices like cinnamon, nutmeg, or a dash of allspice to your sweet potato filling if you enjoy a more spiced flavor profile.
Make-Ahead Tips for Effortless Entertaining
One of the many reasons this sweet potato casserole is a holiday favorite is its fantastic make-ahead potential. Preparing components in advance significantly reduces stress on the day of your gathering, allowing you to enjoy your guests (and your meal!) more fully. You can prepare most of this casserole up to 2 days ahead of time, leaving only the final baking and marshmallow toasting for the last minute.
- Prepare the Sweet Potato Filling: Follow steps 1 and 3 to bake the sweet potatoes and create the creamy filling. Once made, spoon the filling directly into your 9×13-inch baking dish. Cover the dish tightly with plastic wrap and refrigerate for up to 2 days.
- Make the Crumb Topping: Follow step 2 to prepare the buttery pecan crumble. Transfer the topping to an airtight container or a Ziploc bag. Store it in the refrigerator alongside the filling for up to 2 days. Keeping it separate prevents it from getting soggy.
- Final Assembly and Baking: When you’re ready to bake, remove both the filling and the topping from the refrigerator. Sprinkle the chilled crumb topping evenly over the sweet potato filling. You might want to let the casserole sit at room temperature for about 30 minutes before baking to ensure more even cooking. Then, bake as directed in step 4, adding the marshmallows in the final minutes.
- Baking from Cold: If baking directly from the refrigerator without allowing it to come to room temperature, you may need to add an extra 10-15 minutes to the initial baking time before adding the marshmallows. Just ensure the filling is hot and bubbly around the edges.
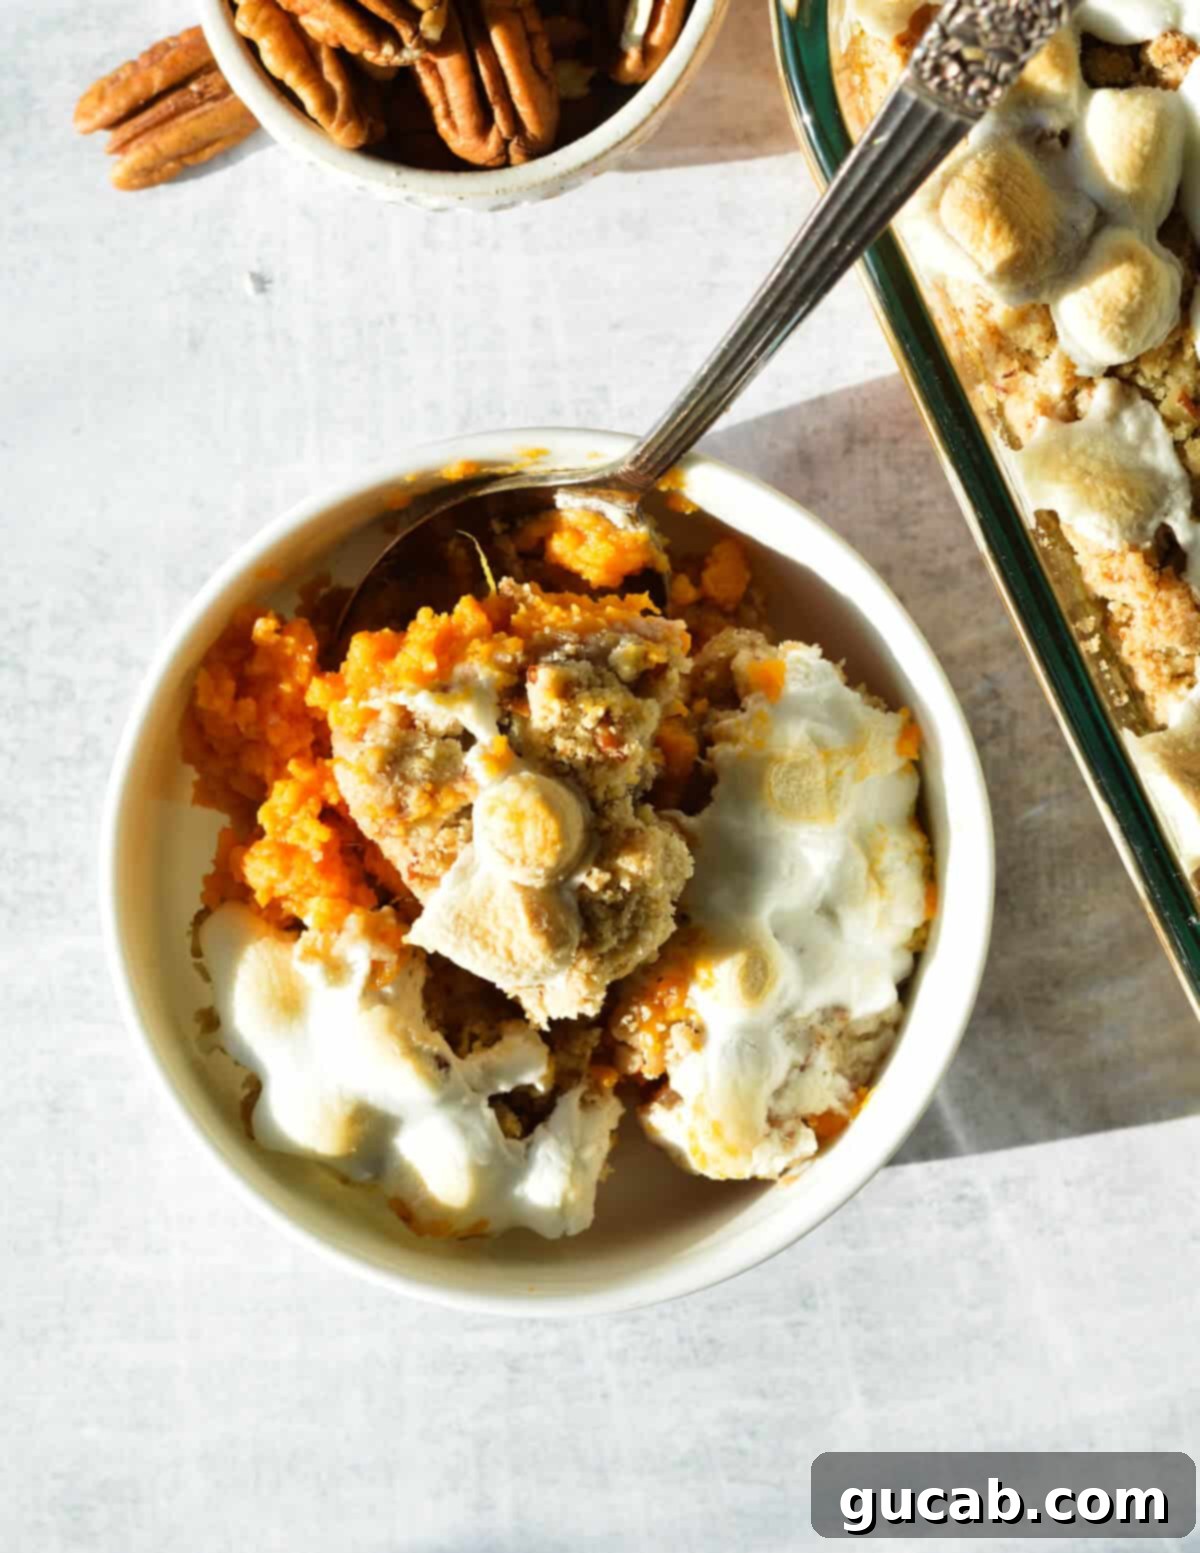
Storage and Reheating Tips for Leftovers
While it’s rare to have leftovers of this delectable sweet potato casserole, if you do, here’s how to properly store and reheat them to enjoy for days to come.
- Storage: Once cooled completely, store any leftover sweet potato casserole in the refrigerator. You can simply cover the baking dish tightly with plastic wrap or aluminum foil. For longer freshness and to save space, transfer individual portions or the remaining mixture to an airtight container. It will keep well in the refrigerator for 3-4 days.
- Reheating Individual Portions: For single servings, simply scoop a portion onto a microwave-safe plate and reheat in the microwave until warmed throughout, usually 1-2 minutes, depending on your microwave’s power. Be mindful that the marshmallow topping might lose some of its crispness in the microwave.
- Reheating the Entire Dish: To reheat a larger portion or the entire dish, cover it loosely with aluminum foil to prevent the topping from drying out or burning further. Place it in a preheated oven at 300-325 degrees Fahrenheit (150-160 degrees Celsius) for about 20-30 minutes, or until it is heated through. For a slightly re-toasted marshmallow topping, remove the foil for the last 5 minutes of reheating.
- Freezing: You can freeze this casserole without the marshmallow topping. Prepare and bake the casserole with just the pecan crumble. Let it cool completely, then wrap it tightly in plastic wrap and then aluminum foil. It can be frozen for up to 2-3 months. Thaw overnight in the refrigerator, then bake as directed, adding fresh marshmallows for the last 5-7 minutes.
Frequently Asked Questions (FAQs)
Eggs are a critical ingredient in sweet potato casserole because they create a light, fluffy, and incredibly smooth filling! They act as a binder and emulsifier, contributing to a rich, custard-like texture, similar to how they function in a soufflé or pumpkin pie. Without eggs, the filling would likely turn out much denser, heavier, and less appealing, lacking that signature creamy consistency that everyone loves.
Absolutely, making this sweet potato casserole gluten-free is super simple, and you honestly won’t even notice the difference in taste or texture! The key is to swap the all-purpose flour in the pecan crumble topping with a high-quality 1-to-1 gluten-free baking flour blend. I highly recommend using a reputable brand like Bob’s Red Mill’s 1-to-1 Gluten-Free Baking Flour. It’s important not to just pick up a random gluten-free flour off the shelf, as not all brands are created equal and some can significantly alter the taste or texture of your baked goods. A good 1-to-1 blend is specifically formulated to behave like regular wheat flour.
While you technically *can* use canned sweet potatoes for convenience, I strongly advise against it for the best results. Canned sweet potatoes often have a softer, more watery texture and a less intense, sometimes metallic flavor compared to fresh, baked sweet potatoes. Using fresh, baked sweet potatoes is essential for achieving the deep, natural sweetness and creamy texture that makes this casserole truly exceptional.
For an extra layer of warmth and flavor, you can certainly add spices to your sweet potato filling. Classic choices include 1 teaspoon of ground cinnamon, 1/2 teaspoon of ground nutmeg, or a pinch of ground allspice or ginger. You can experiment with a blend of these to find your favorite combination. Add them along with the brown sugar and melted butter.
Yes, you can absolutely skip the marshmallow topping if you prefer! The pecan crumble topping alone is incredibly delicious and provides plenty of texture and sweetness. Some people prefer a less sweet casserole, or simply aren’t fans of marshmallows. The casserole will still be a fantastic, comforting dish without them.
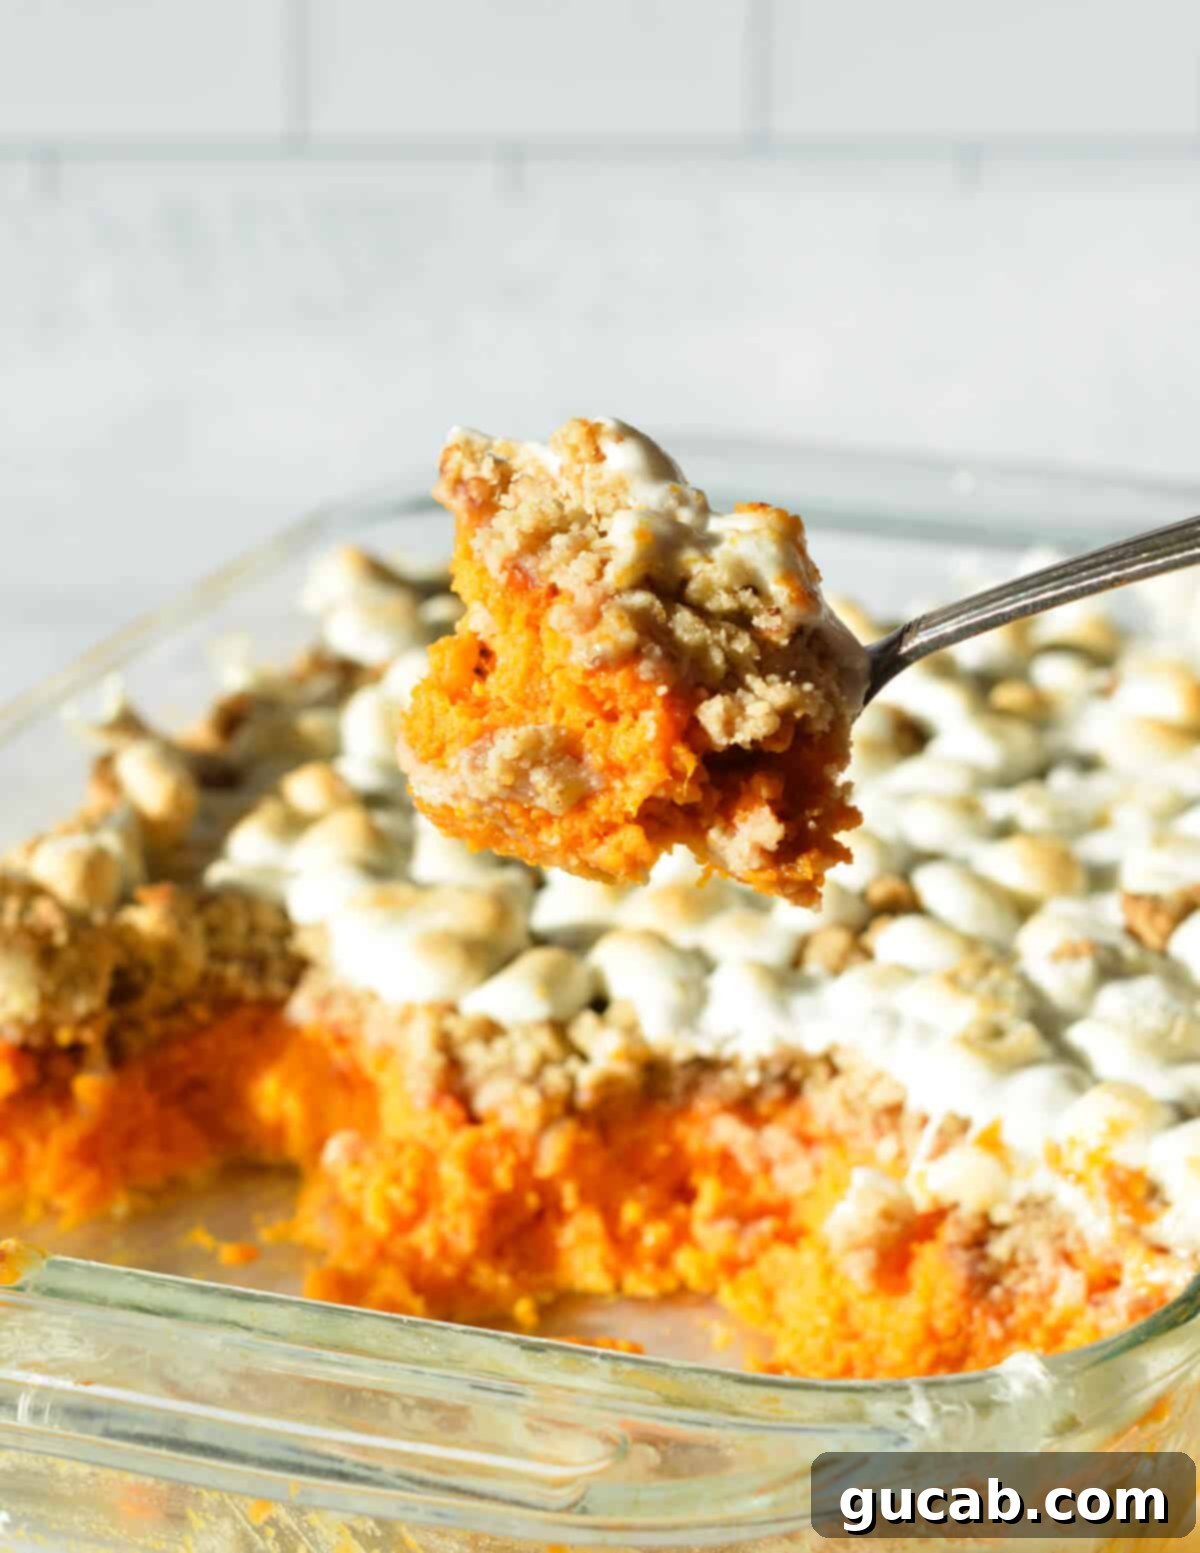
More Delicious Holiday Side Dishes to Explore
Looking to round out your holiday feast or just explore more flavorful sides? Here are some other incredible recipes that pair beautifully with any main course and are sure to impress:
- Honey Sriracha Brussels Sprouts: A vibrant, spicy, and sweet take on a classic vegetable.
- Easy Candied Brussels Sprouts: Simple yet addictive, these bring a delightful sweetness to your table.
- Creamy Mashed Sweet Potatoes: For those who love the pure, unadorned flavor of sweet potatoes.
- Homemade Cranberry Sauce: A fresh, zesty, and essential accompaniment to any holiday meal.
- Baked Sweet Potatoes with Cinnamon Maple Butter & Pecans: Another delightful sweet potato option with a rich, aromatic twist.
This classic sweet potato casserole is more than just a recipe; it’s a testament to simple ingredients coming together to create something truly magical. Whether it’s the centerpiece of your holiday spread or a comforting weeknight treat, its velvety filling, crunchy pecan topping, and gooey marshmallows are guaranteed to bring smiles to every face. Don’t hesitate to make this a staple in your kitchen!
Sweet Potato Casserole
Carolyn
Pin Recipe
Equipment
-
9 x 13 baking dish
-
Sheet pan
-
Hand mixer
Ingredients
For the sweet potato filling:
- 5 large sweet potatoes
- 4 ounces unsalted butter (1 stick), melted but cool
- ⅔ cup brown sugar
- 3 large eggs
- ¼ teaspoon kosher salt
For the topping:
- 1¼ cup all-purpose flour, spooned and leveled See notes for gluten free option
- ¾ cup brown sugar
- ½ teaspoon kosher salt
- 4 ounces unsalted butter (1 stick/8 tablespoons), cut into chunks
- 1 cup pecan halves
- mini marshmallows
Instructions
-
Preheat oven to 400 degrees Fahrenheit. Line a sheet pan with aluminum foil. Place the sweet potatoes on the sheet pan. Carefully poke each one with a fork a couple times.
-
Bake the sweet potatoes until fork tender, about 60 to 70 minutes. A fork should easily glide into the sweet potatoes.
-
While the sweet potatoes cook, make the topping. In a large food processor, combine the flour, brown sugar, and salt. Pulse to combine.
-
Add the butter chunks to the flour mixture. Pulse until the butter is incorporated into the flour and it looks sandy.
-
Add the pecans and pulse again, just until combined. Remove the blades and use your hands to squeeze the mixture into clumps. Place the mixture in the fridge until ready to use.
-
Let the sweet potatoes cool for a while, then scoop the insides into a large bowl. Add the melted butter, brown sugar, and salt. Use a hand mixer to beat until combined.
-
Mix in the eggs, one at a time, until smooth.
-
Scoop the mixture into a 9×13-inch baking dish and spread it around evenly. Top with the crumb topping. Bake for 25 minutes.
-
Top with mini marshmallows. Bake for 5 to 7 more minutes, or until the tops of the marshmallows turn slightly golden.
-
Serve warm!
Notes
- If your sweet potatoes are on the smaller side, you may not need to bake them as long. A fork should glide right through them, but they shouldn’t look shriveled/over-baked.
- You can make the filling and topping up to 2 days ahead of time. Cover both with saran wrap. When you’re ready, top the sweet potato filling with the topping and bake as directed.
- Gluten-free: Swap the all-purpose flour with Bob’s Red Mill’s 1 to 1 Gluten Free Baking Flour.
Nutrition
