Decadent Gluten-Free Pumpkin Chocolate Marble Bread: Your Ultimate Fall Treat (Any Time of Year!)
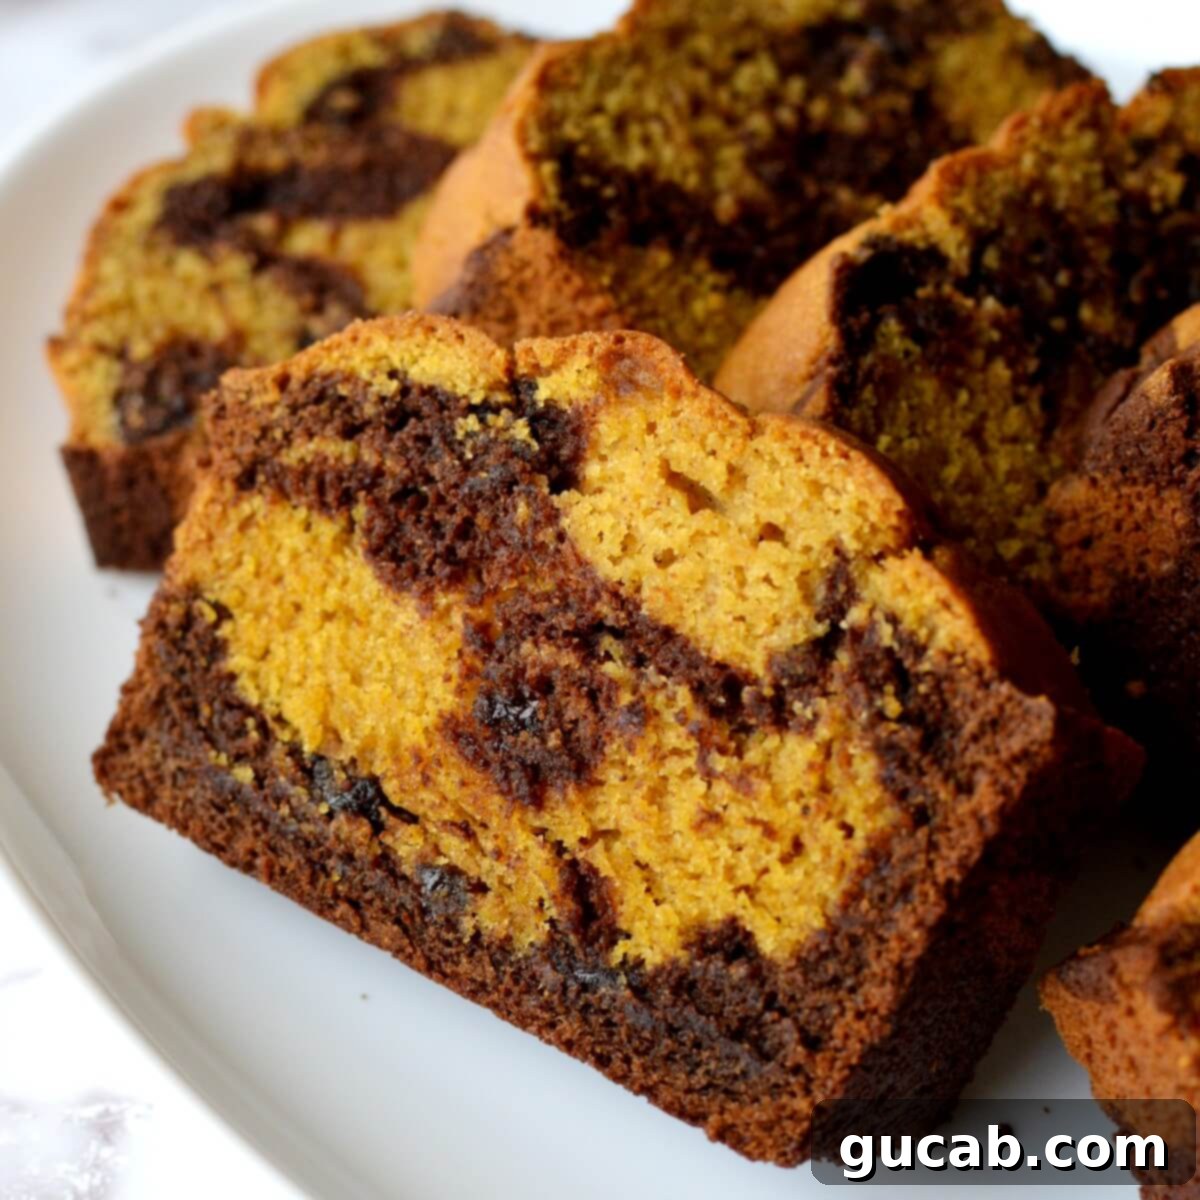
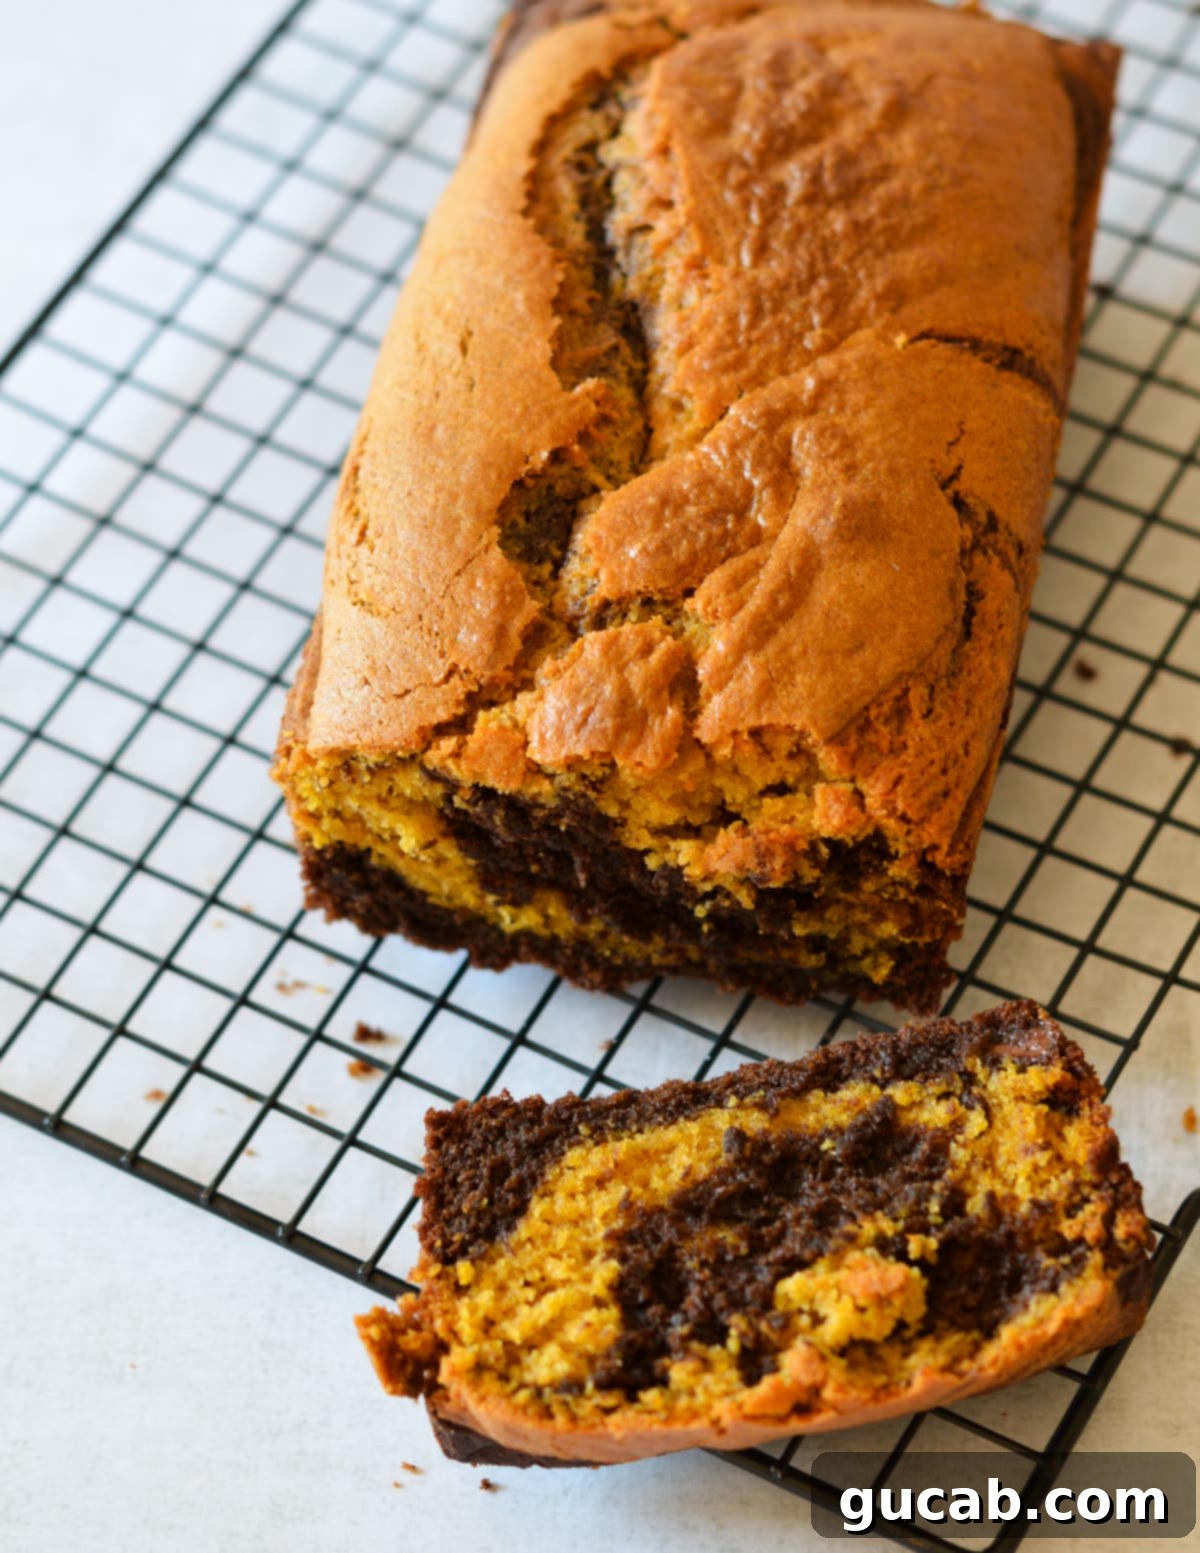
This gluten-free pumpkin bread with a striking chocolate marble swirl is the ultimate indulgence for pumpkin lovers, no matter the season. Beyond its stunning appearance, this loaf is incredibly moist, bursting with flavor, and surprisingly easy to prepare. It truly offers the best of both worlds: the comforting warmth of pumpkin and the rich allure of chocolate, all in one perfectly baked, gluten-free package.
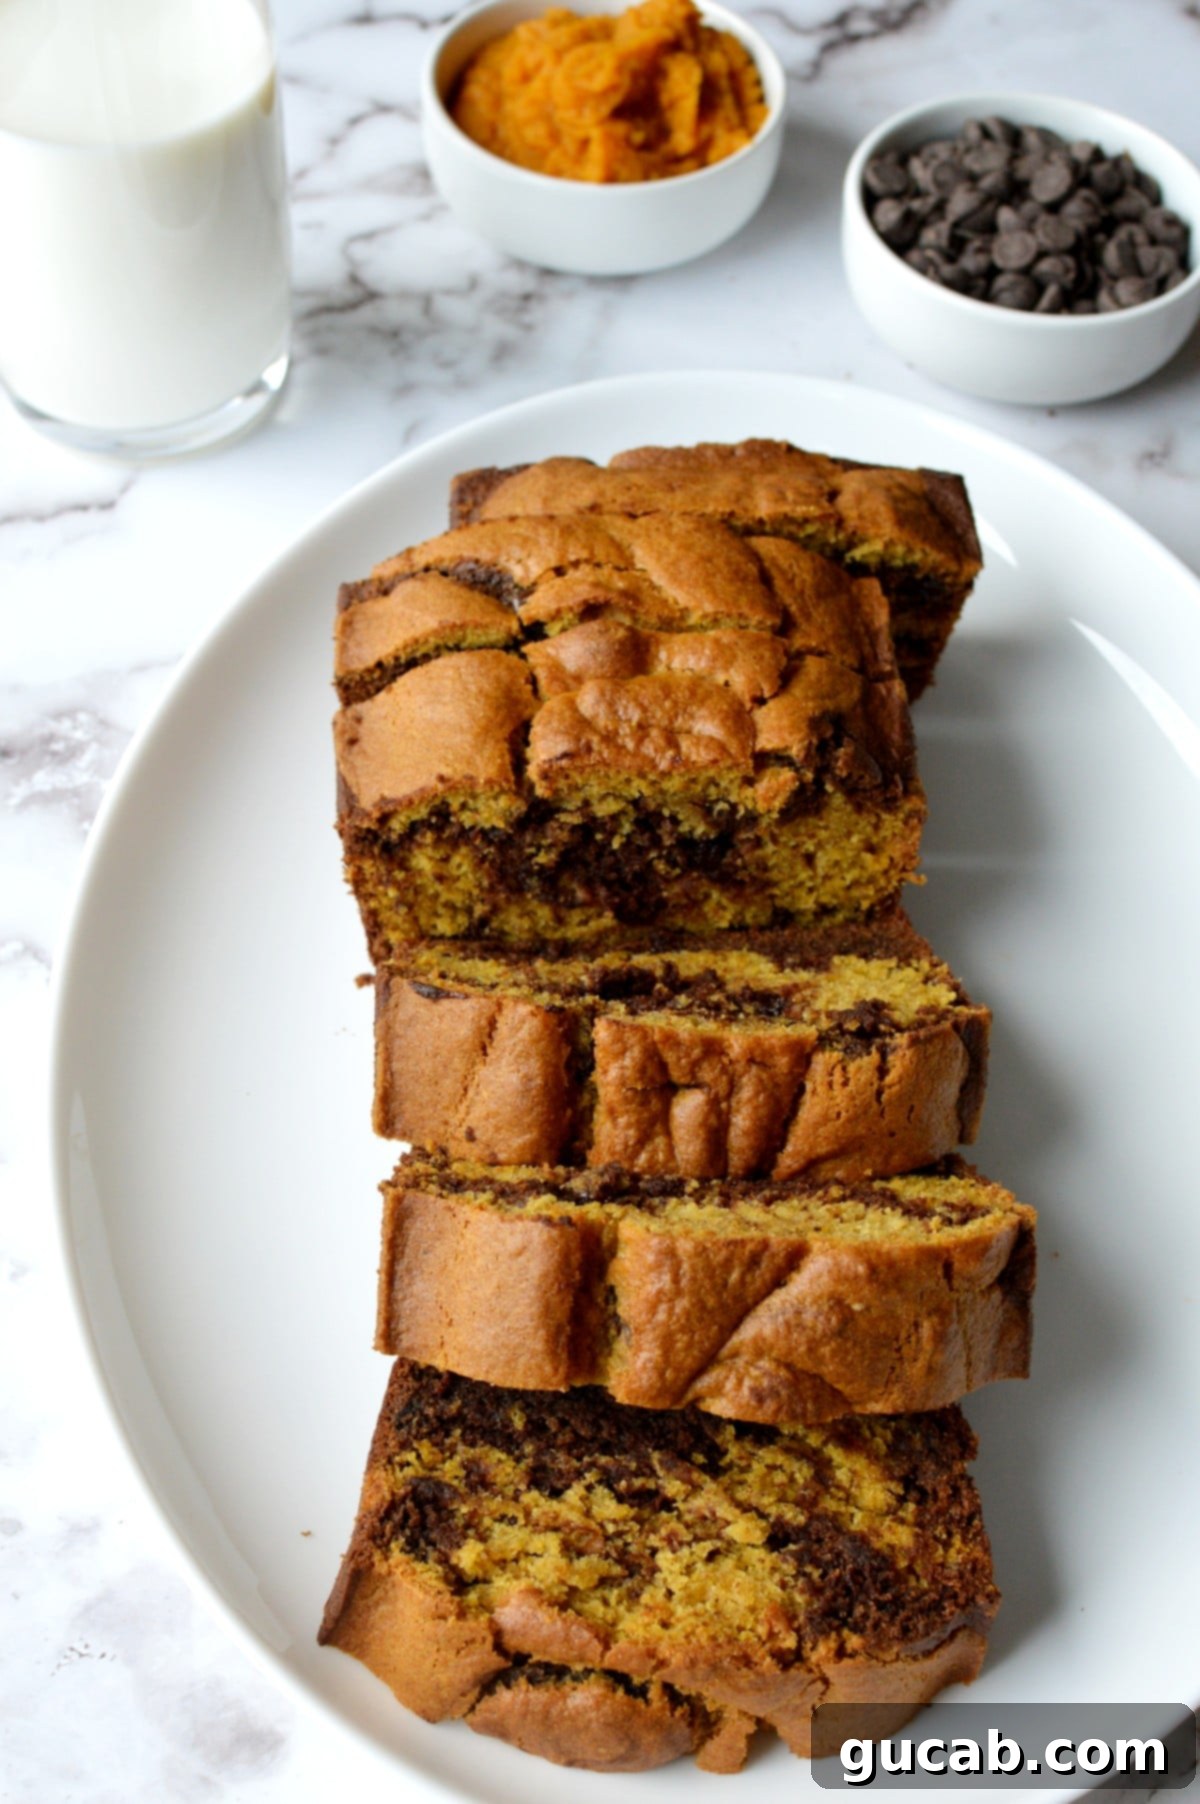
There’s a special kind of satisfaction that comes from baking. And for those of us living a gluten-free lifestyle, the triumph is even sweeter when a gluten-free pumpkin loaf emerges from the oven, perfectly golden brown with a beautifully cracked top and an irresistibly tender texture. The aroma alone is a reward, filling your kitchen with the comforting, spicy scent of autumn – a true sensory delight!
Who says pumpkin is only for fall? It might be early March, and even your favorite coffee shop might have retired its pumpkin spice lattes for the season, but that doesn’t mean your pumpkin cravings have to wait. I recently found myself with a lone can of pumpkin puree in the pantry, a delicious leftover from Christmas. It felt almost criminal to let it sit there, so I decided to bid a delicious farewell to winter and welcome spring with this incredible gluten-free pumpkin bread. It’s a reminder that pure pumpkin goodness, especially when paired with chocolate, is always in season!
Why You’ll Love This Gluten-Free Pumpkin Chocolate Marble Bread
This recipe isn’t just another gluten-free bread; it’s a game-changer. Here’s why it’s bound to become a staple in your baking repertoire:
- Unbelievably Moist & Flavorful: Thanks to the pumpkin and carefully chosen ingredients, this bread remains wonderfully moist for days, with a deep, spiced pumpkin flavor that truly shines.
- Effortlessly Easy: You don’t need any fancy equipment! A single bowl, a whisk, and a spatula are all you require, making cleanup a breeze and the baking process stress-free.
- Stunning Marble Swirl: The chocolate marble effect isn’t just for show – it adds pockets of rich, melty chocolate throughout the loaf, creating an exciting contrast with every bite. It looks impressive but is incredibly simple to achieve.
- Perfectly Gluten-Free: Crafted specifically with gluten-free flours in mind, this recipe delivers a texture that rivals its traditional counterparts. No dry, crumbly bread here!
- Aromatherapy for Your Home: As it bakes, your kitchen will be filled with the most comforting scents of pumpkin and spice, creating an inviting atmosphere that’s simply irresistible.
Disclosure: This post contains affiliate links. In other words, if you click a link and purchase something I will receive a commission at no cost to you. I only recommend products I use and enjoy myself.
Key Ingredients for Perfect Gluten-Free Pumpkin Bread
Crafting the perfect gluten-free pumpkin bread starts with understanding each ingredient’s role. Here’s a closer look at the stars of this recipe:
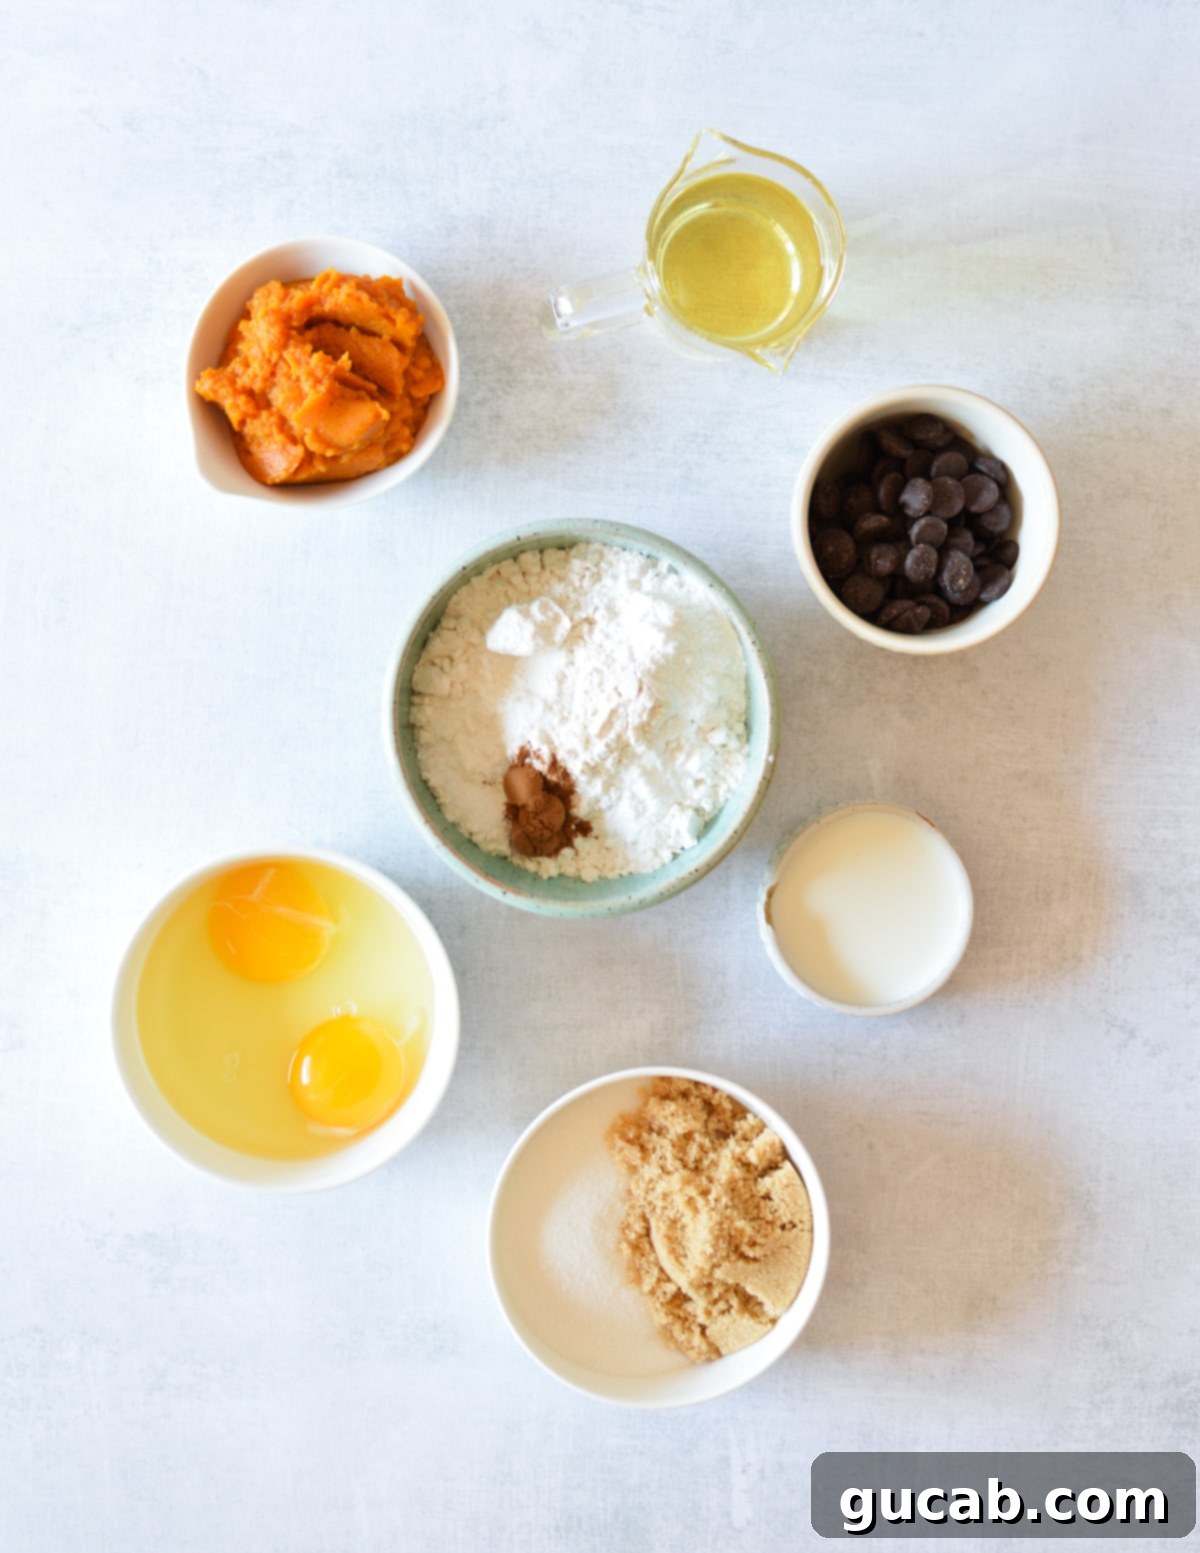
Vegetable Oil: While my heart often yearns for butter, vegetable oil is the secret weapon for truly moist pumpkin bread. It contributes an undeniable tenderness and keeps the crumb soft, ensuring your loaf stays delightful for longer. Canola oil works perfectly here, offering a neutral flavor that lets the pumpkin and chocolate shine.
Canned Pumpkin Puree: This is the star! I always reach for Libby’s 100% pure pumpkin puree. It’s essential to use pure pumpkin, not pumpkin pie filling. Pie filling contains added spices and sweeteners, which will throw off the carefully balanced flavors of this recipe. Always double-check the label!
Gluten-Free All-Purpose Flour: The foundation of our gluten-free success! This recipe was specifically developed and tested with Bob’s Red Mill 1-to-1 Gluten-Free Baking Flour, and it’s what I highly recommend for consistent results. Gluten-free flours vary significantly by brand; each is a unique blend of different alternative flours and starches. These varying ratios can drastically impact the final texture and rise of your baked goods, so not all brands are easily interchangeable without adjustments. If you choose a different brand, ensure it contains xanthan gum for proper structure.
Dark Chocolate Chips: For that decadent chocolate swirl, dark chocolate chips are a must. They melt beautifully and provide a rich contrast to the sweet pumpkin. Ghirardelli chocolate chips are my absolute favorite for their superior flavor and melting quality, creating luscious pockets of chocolate throughout the bread.
Granulated Sugar & Brown Sugar: The combination of these two sugars adds complexity and depth. Granulated sugar provides sweetness and helps with browning, while brown sugar contributes moisture, a subtle molasses flavor, and a chewier texture that enhances the overall appeal of the bread.
Large Eggs: Eggs act as a binder, provide structure, and contribute to the richness and moisture of the loaf. Using large eggs is standard in baking for consistent results.
Baking Powder & Baking Soda: These leavening agents work together to give the bread its perfect rise and tender crumb. Baking soda reacts with the acidic pumpkin to produce gas, while baking powder provides an additional lift, ensuring a light and airy texture.
Pumpkin Pie Spice & Kosher Salt: The pumpkin pie spice blend provides that classic, warm, and comforting fall flavor. A touch of kosher salt balances the sweetness, enhancing all the other flavors in the bread.
Step-by-Step Guide: How to Make Your Gluten-Free Pumpkin Chocolate Marble Bread
You’ll be delighted by how straightforward this recipe is! No need for a stand mixer or hand mixer – just a mixing bowl, a spatula, a whisk, and a few measuring cups. Before you begin, preheat your oven to 350 degrees Fahrenheit and lightly spray a 9×5 inch loaf pan with nonstick spray. Let’s get baking!
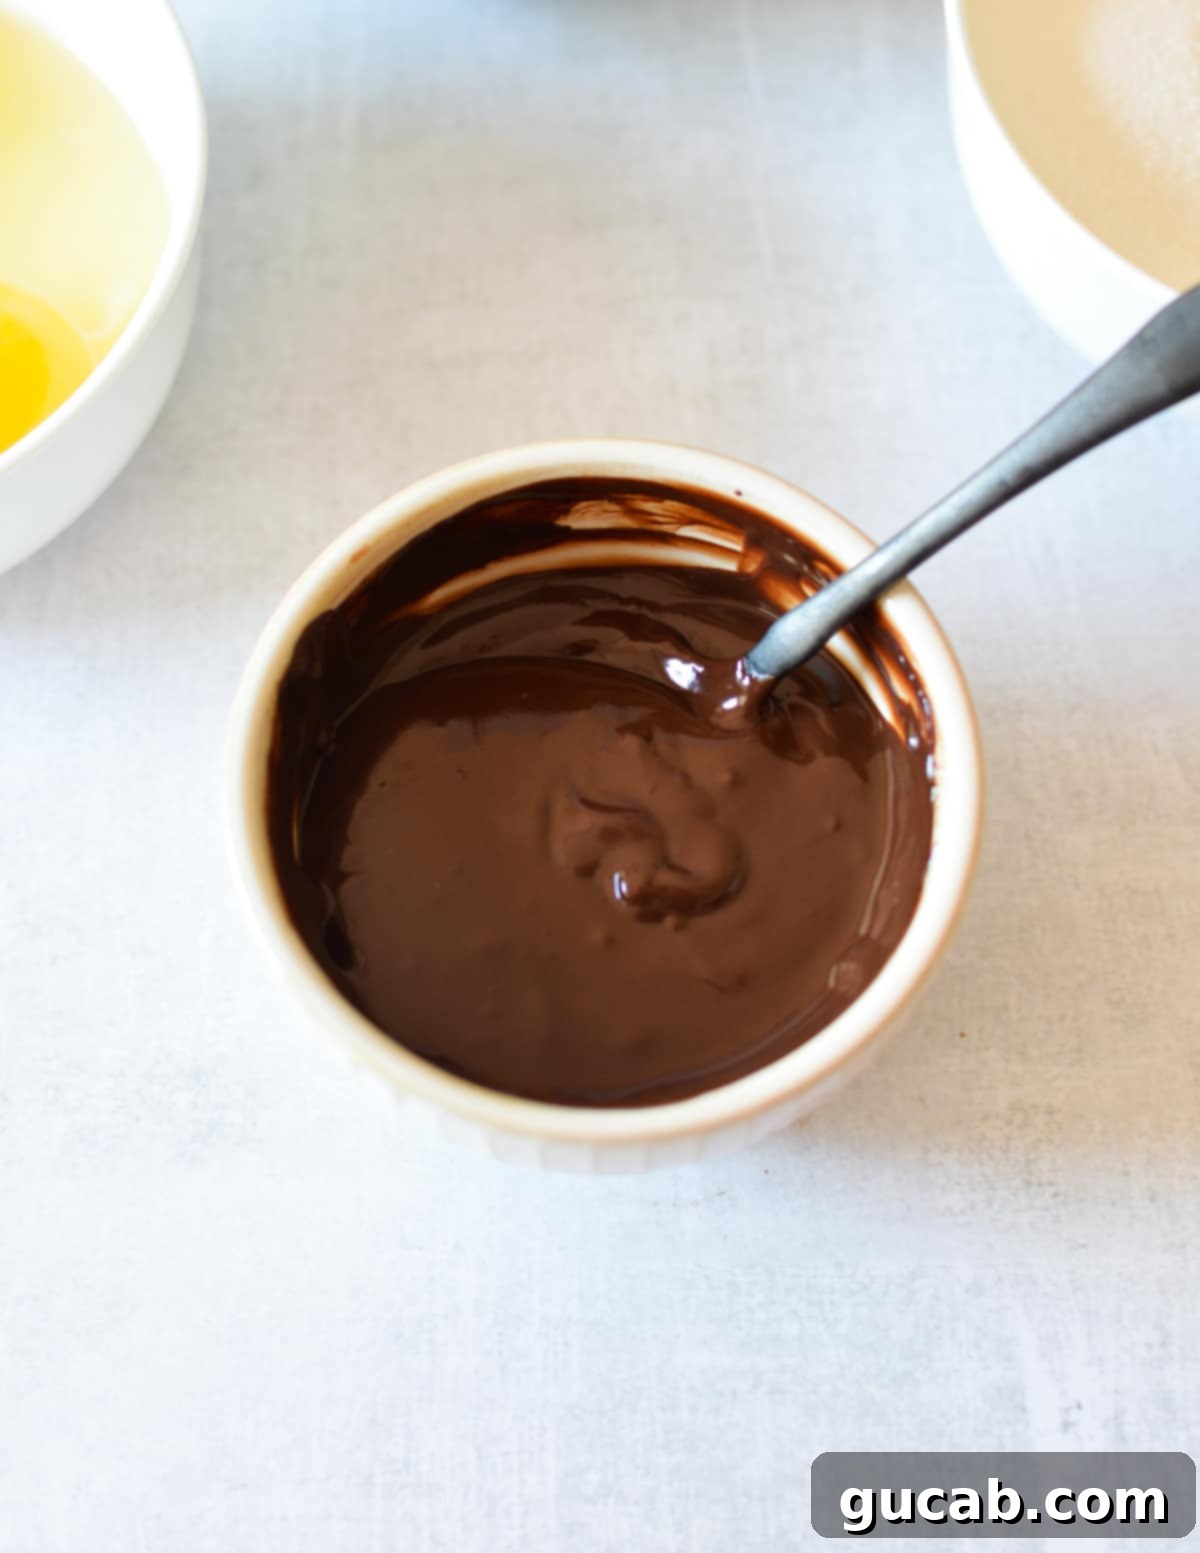
- First, prepare your chocolate swirl base. In a small, heat-proof bowl, combine the milk and dark chocolate chips. Microwave on high for about 40 seconds, or until the milk just begins to rise and bubble. Immediately stop the microwave and stir the mixture thoroughly with a small spoon or whisk until it’s completely smooth and glossy. Set this decadent chocolate mixture aside to cool slightly.
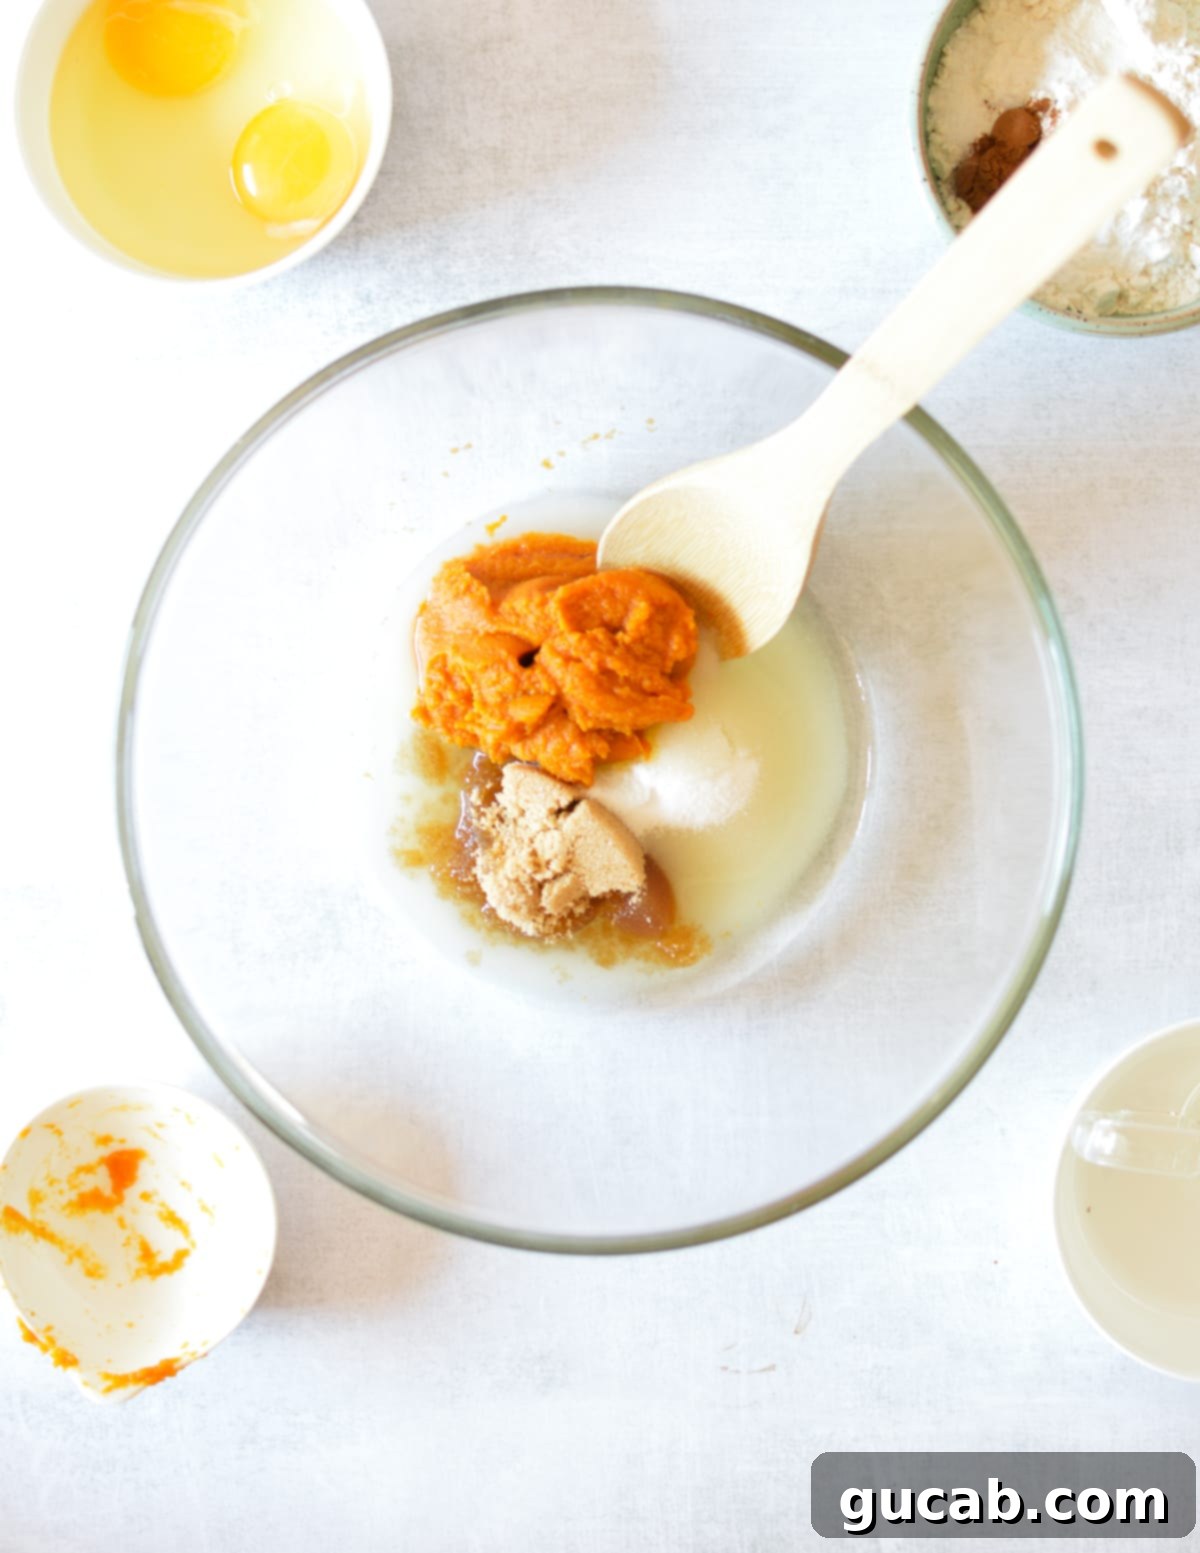
- In a large mixing bowl, combine the granulated sugar, brown sugar, canola oil, and pumpkin puree. Whisk these wet ingredients together vigorously until the mixture is completely smooth and well-incorporated. This step ensures an even distribution of moisture and sweetness throughout the bread.
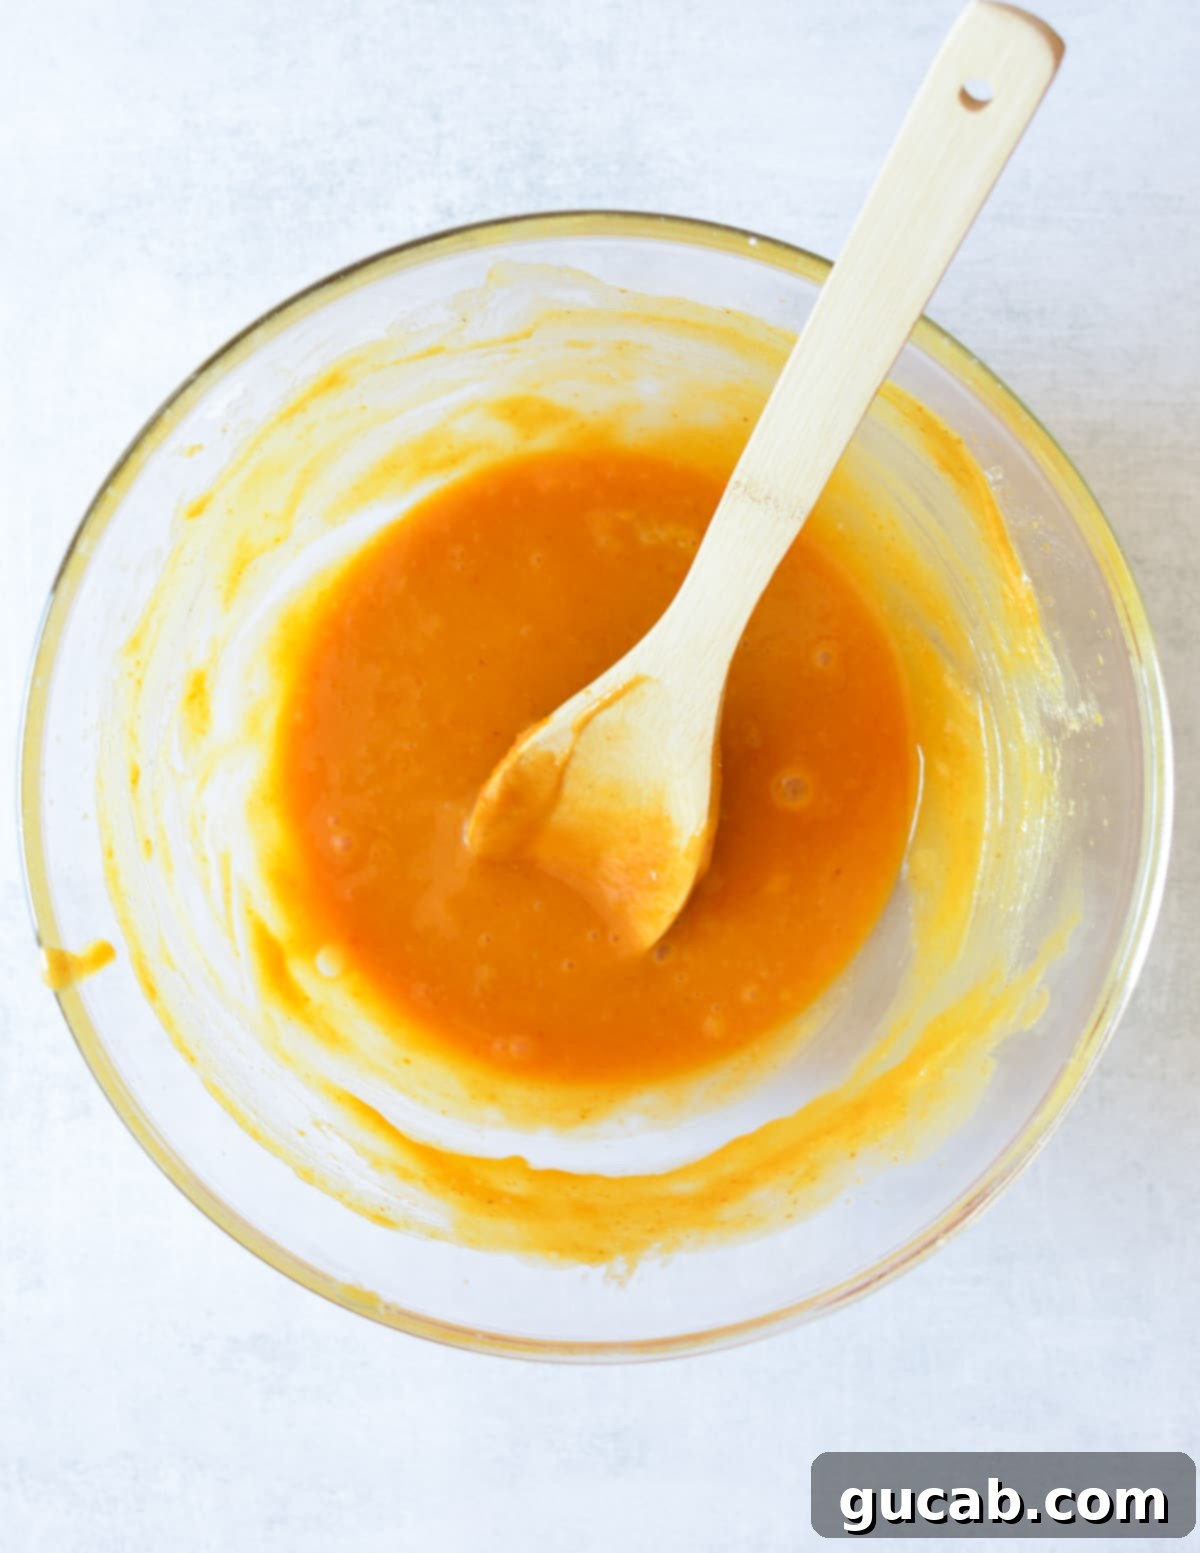
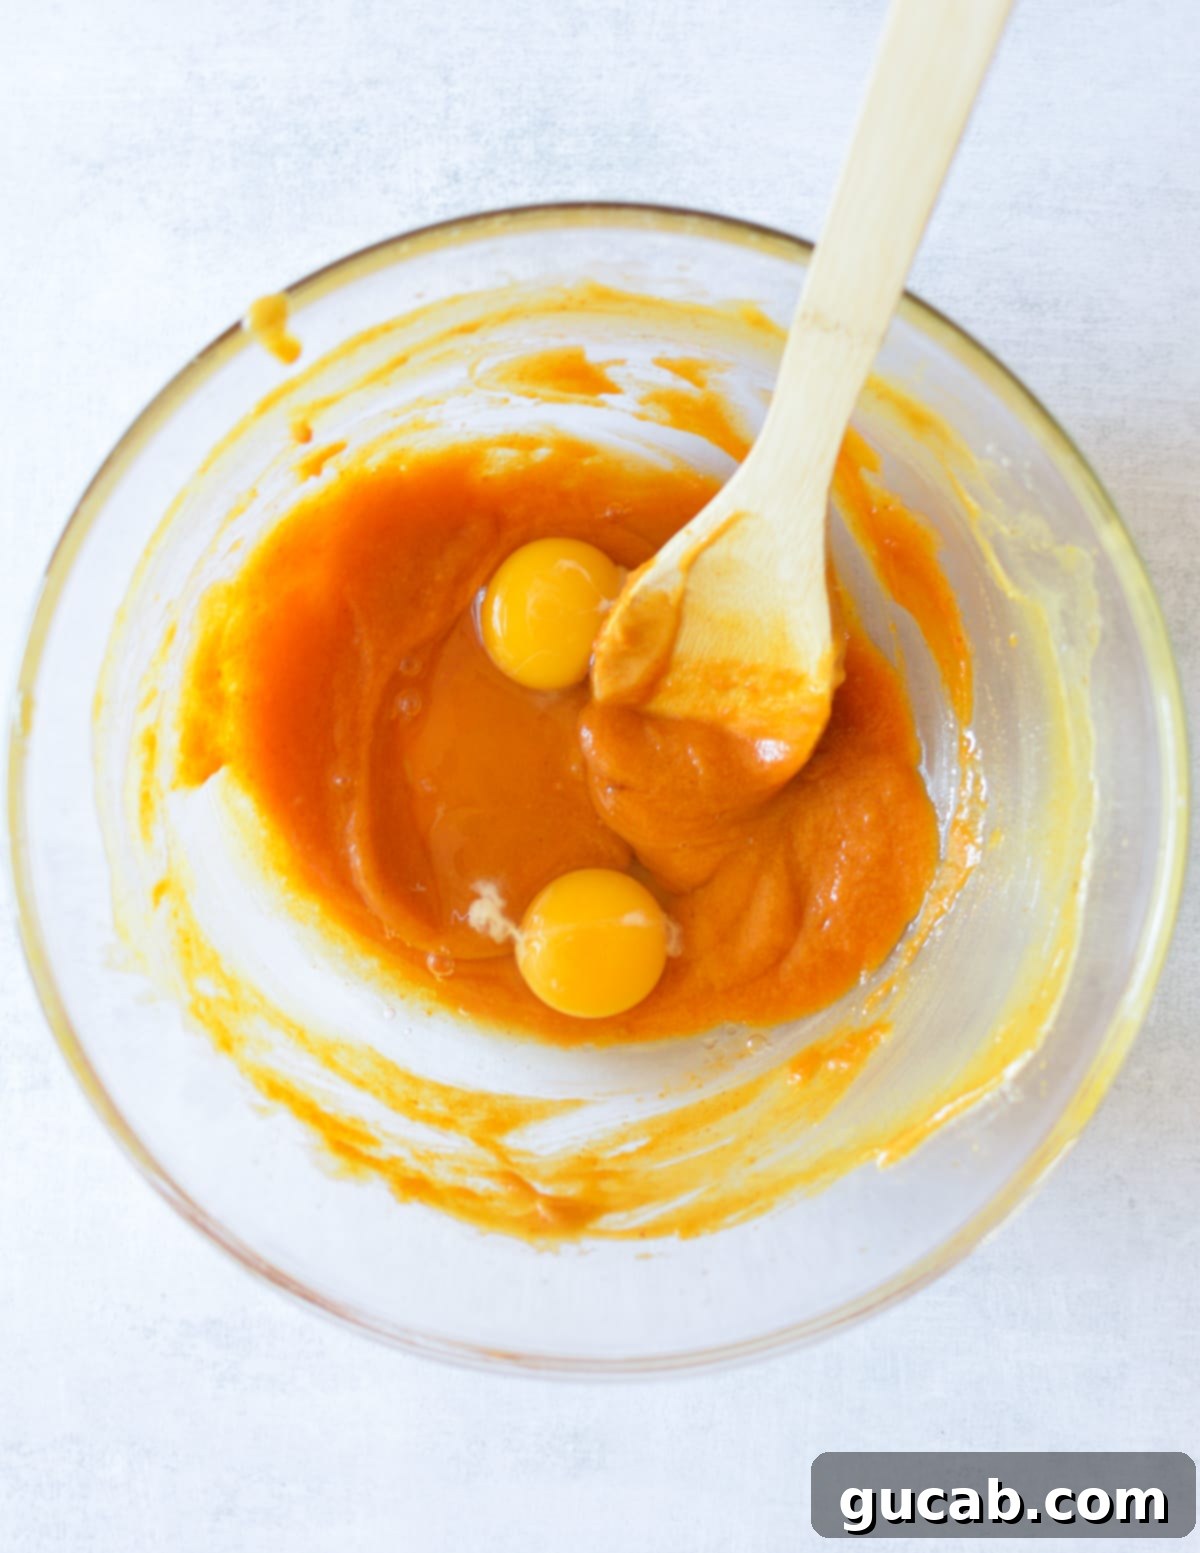
- Next, add both large eggs to the pumpkin mixture. Whisk again until the eggs are fully incorporated and the mixture is consistently smooth and light in color. This helps build a strong emulsion for a stable batter.
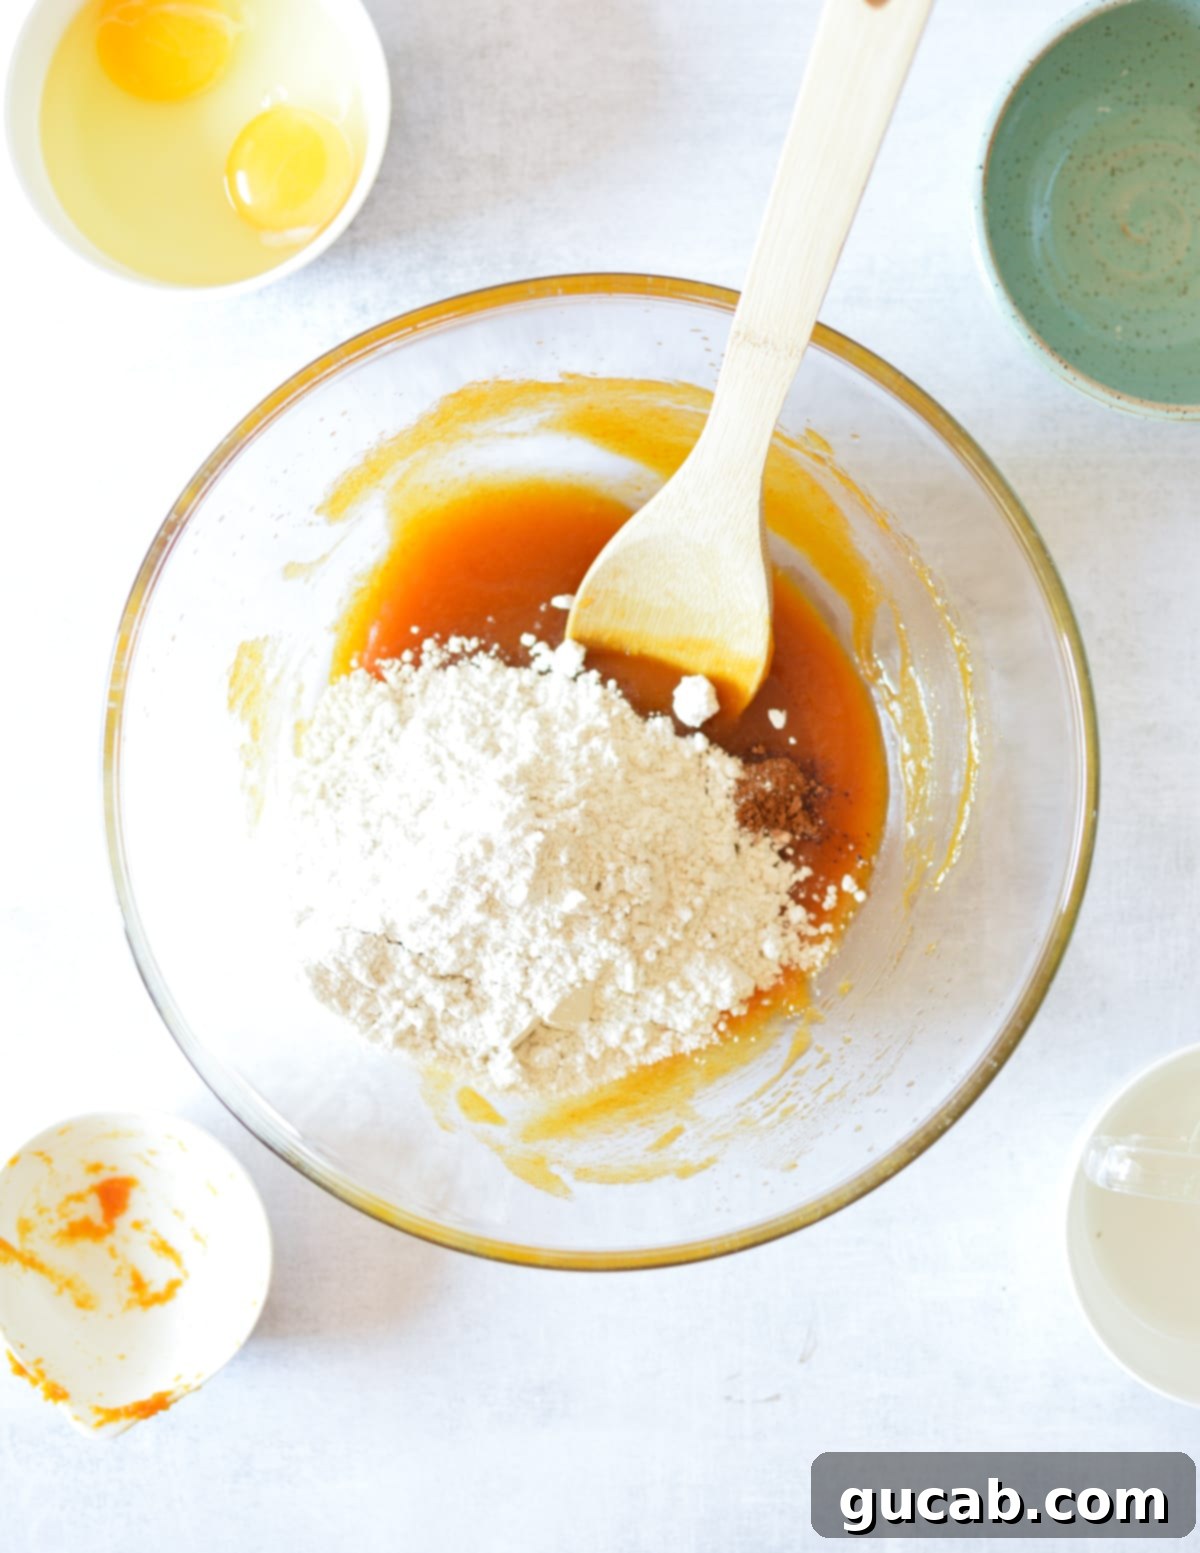
- Carefully add all the dry ingredients – the gluten-free flour blend, baking powder, baking soda, pumpkin pie spice, and kosher salt – to the wet pumpkin mixture. Using a spatula or whisk, stir gently until just a smooth batter forms. Be mindful not to overmix, as this can lead to a tougher texture in gluten-free baked goods.
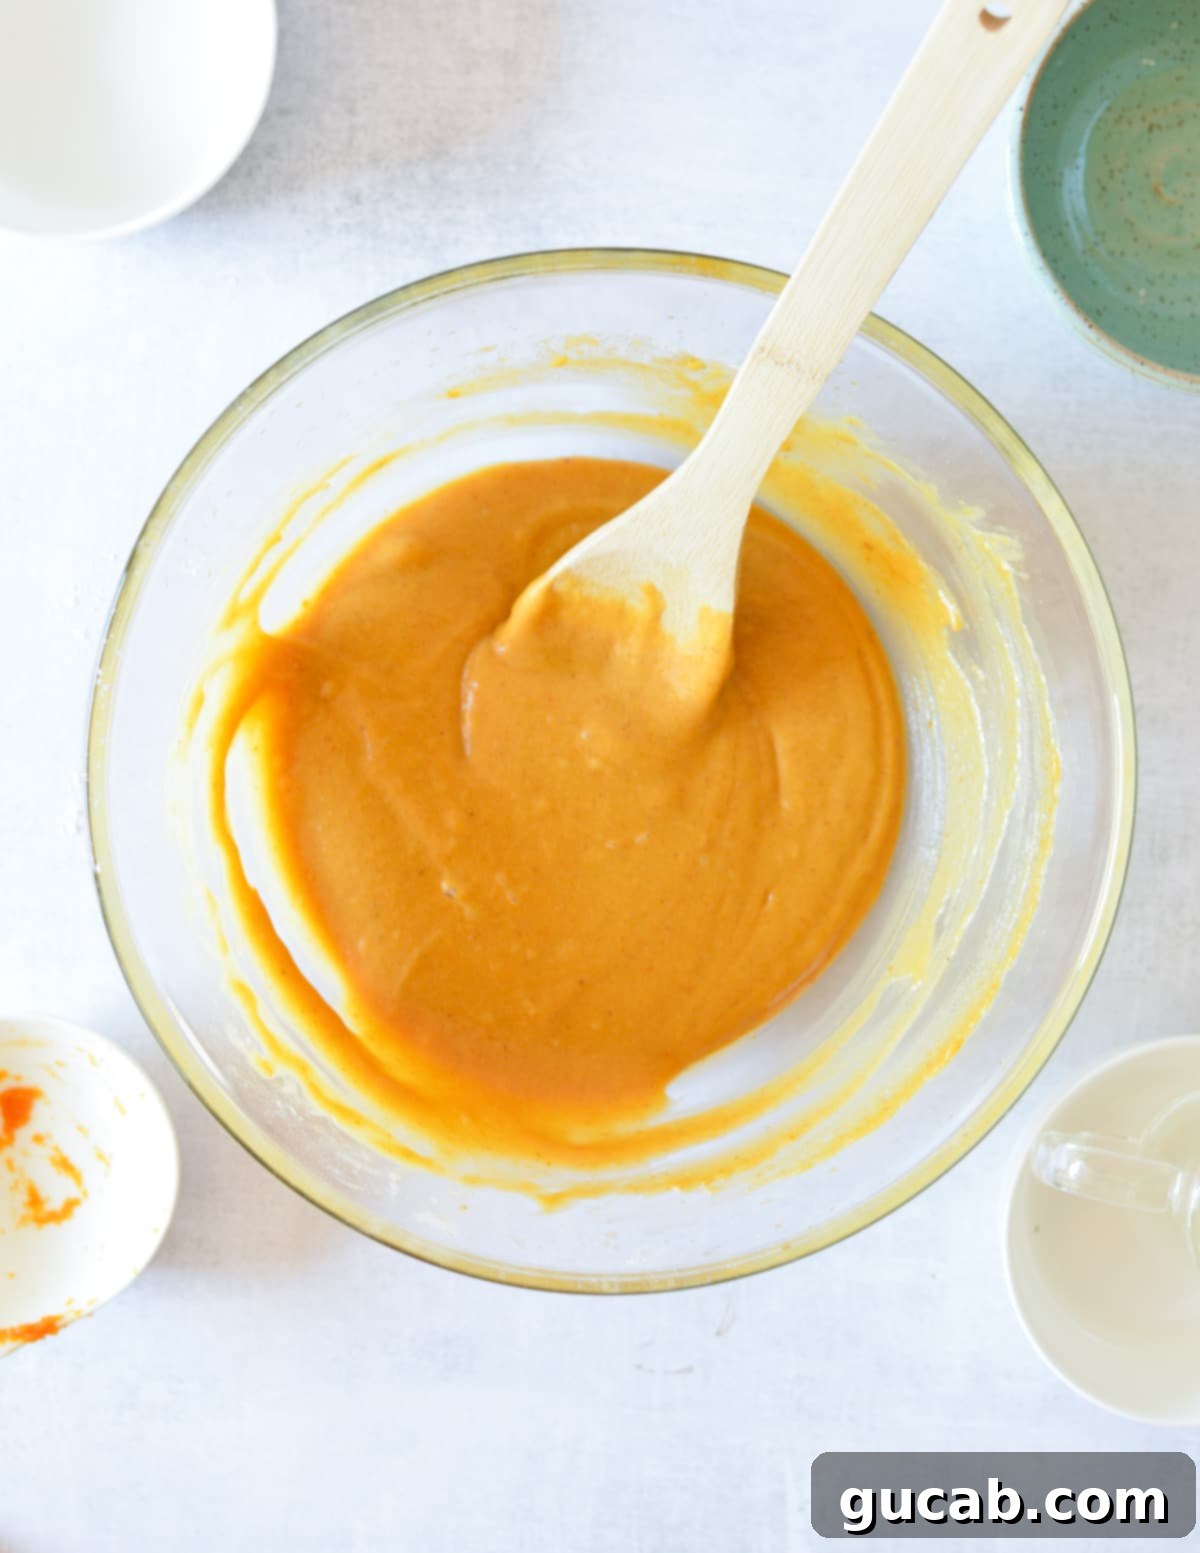
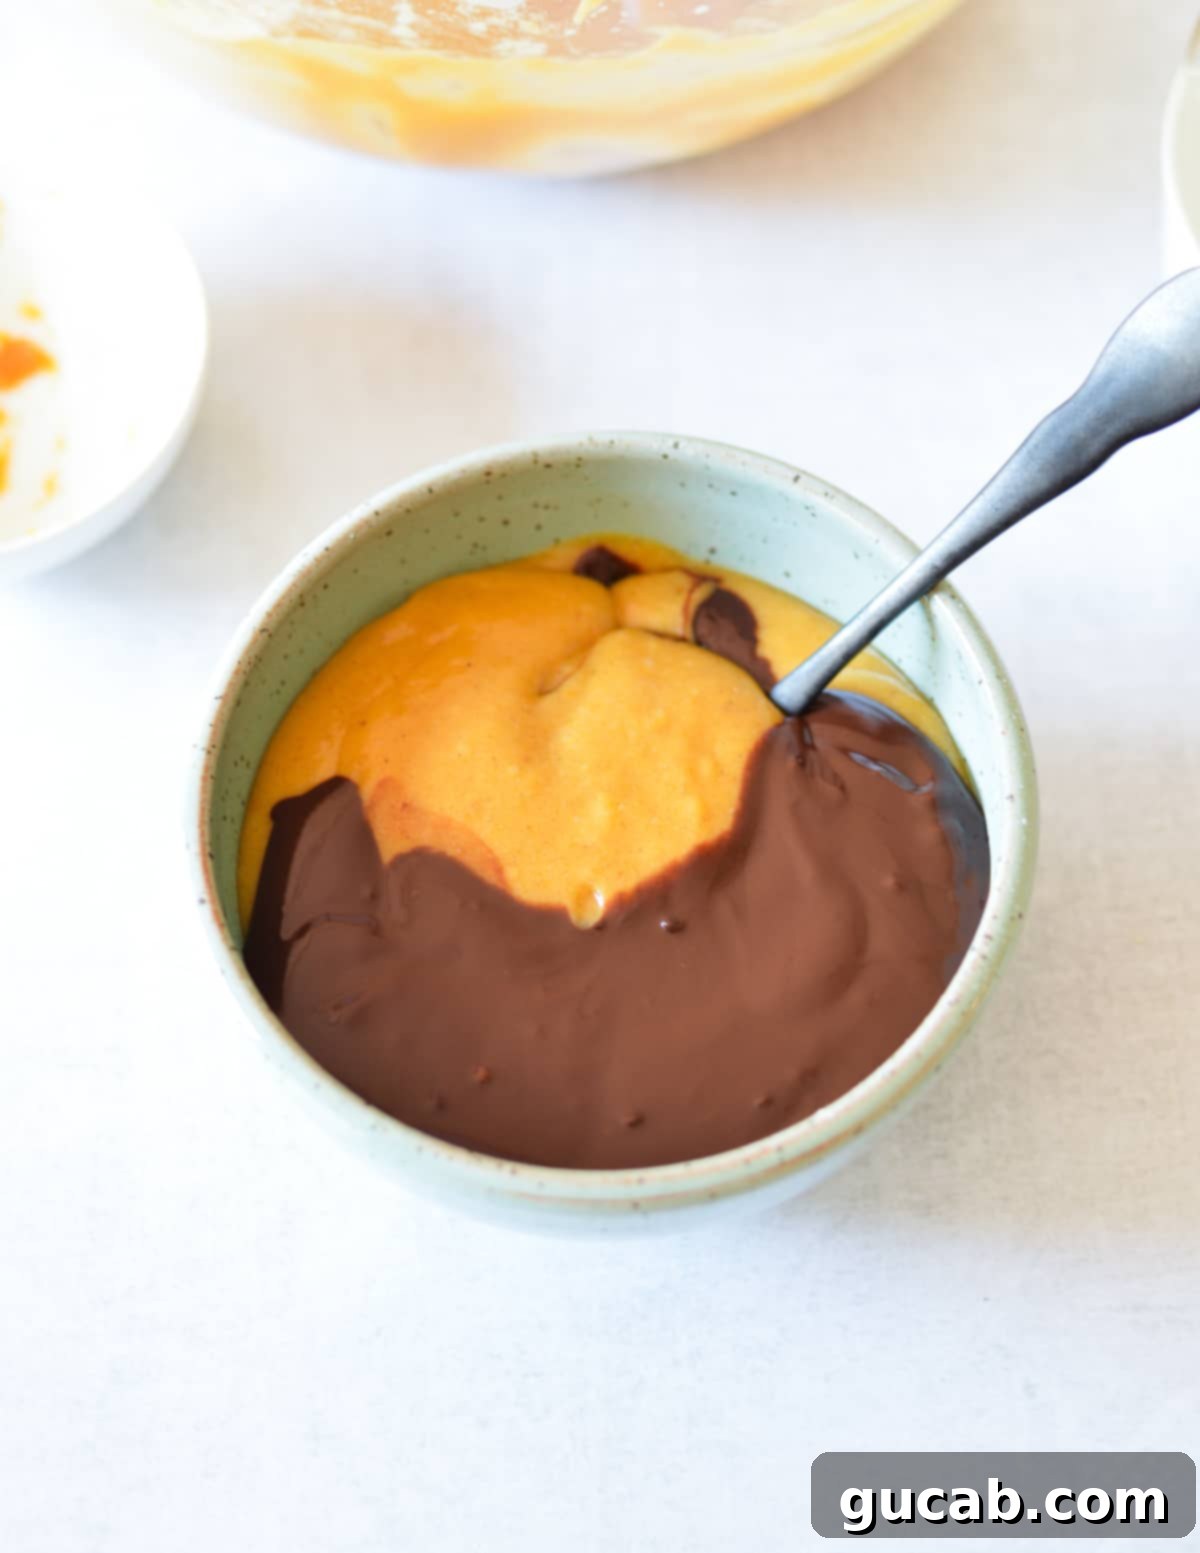
- Now for the chocolate element! Measure 1 cup of the prepared pumpkin batter into a separate small bowl. Stir in the cooled melted chocolate mixture until it’s completely combined, creating a rich chocolate batter. This will be the contrasting color for our beautiful marble swirl.
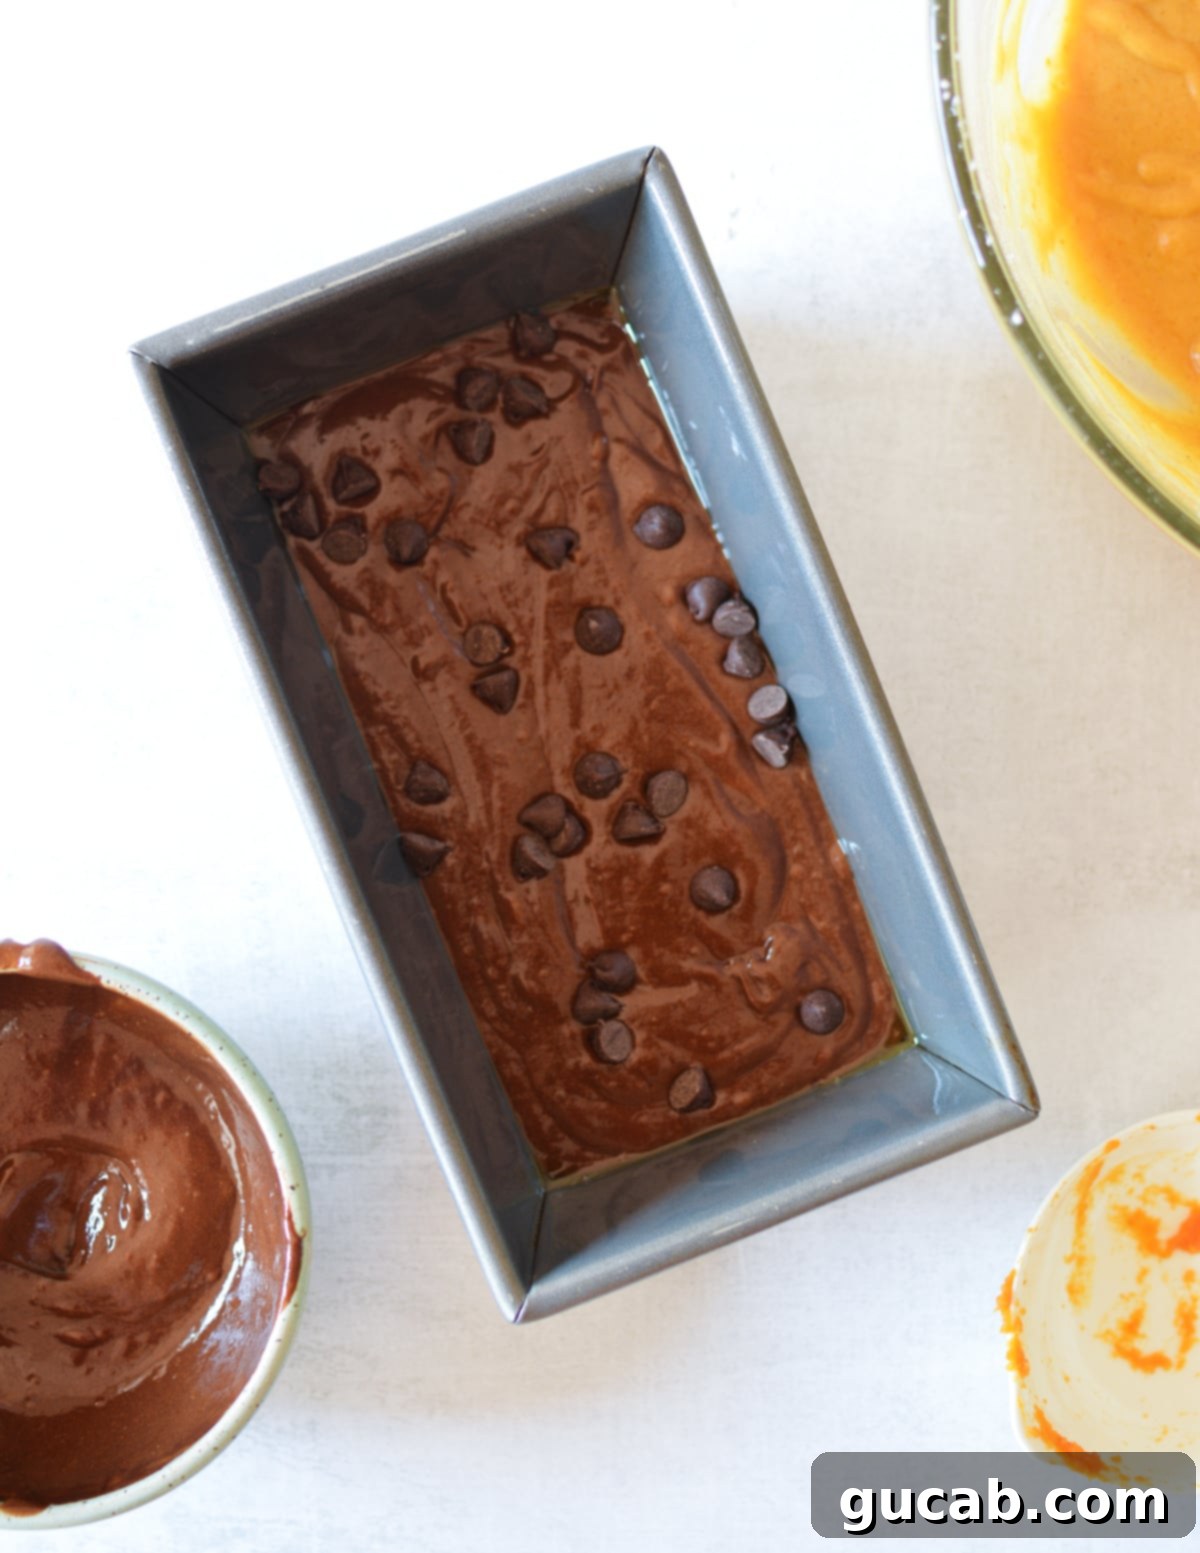
- Time to create the marble! Add half of the chocolate batter mixture to the bottom of your greased loaf pan and gently spread it evenly. Lightly sprinkle a handful of extra chocolate chips over this layer for added texture and richness. Then, add half of the plain pumpkin mixture on top, carefully spreading it as evenly as possible. Repeat this layering process once more until all the batter is in the loaf pan.
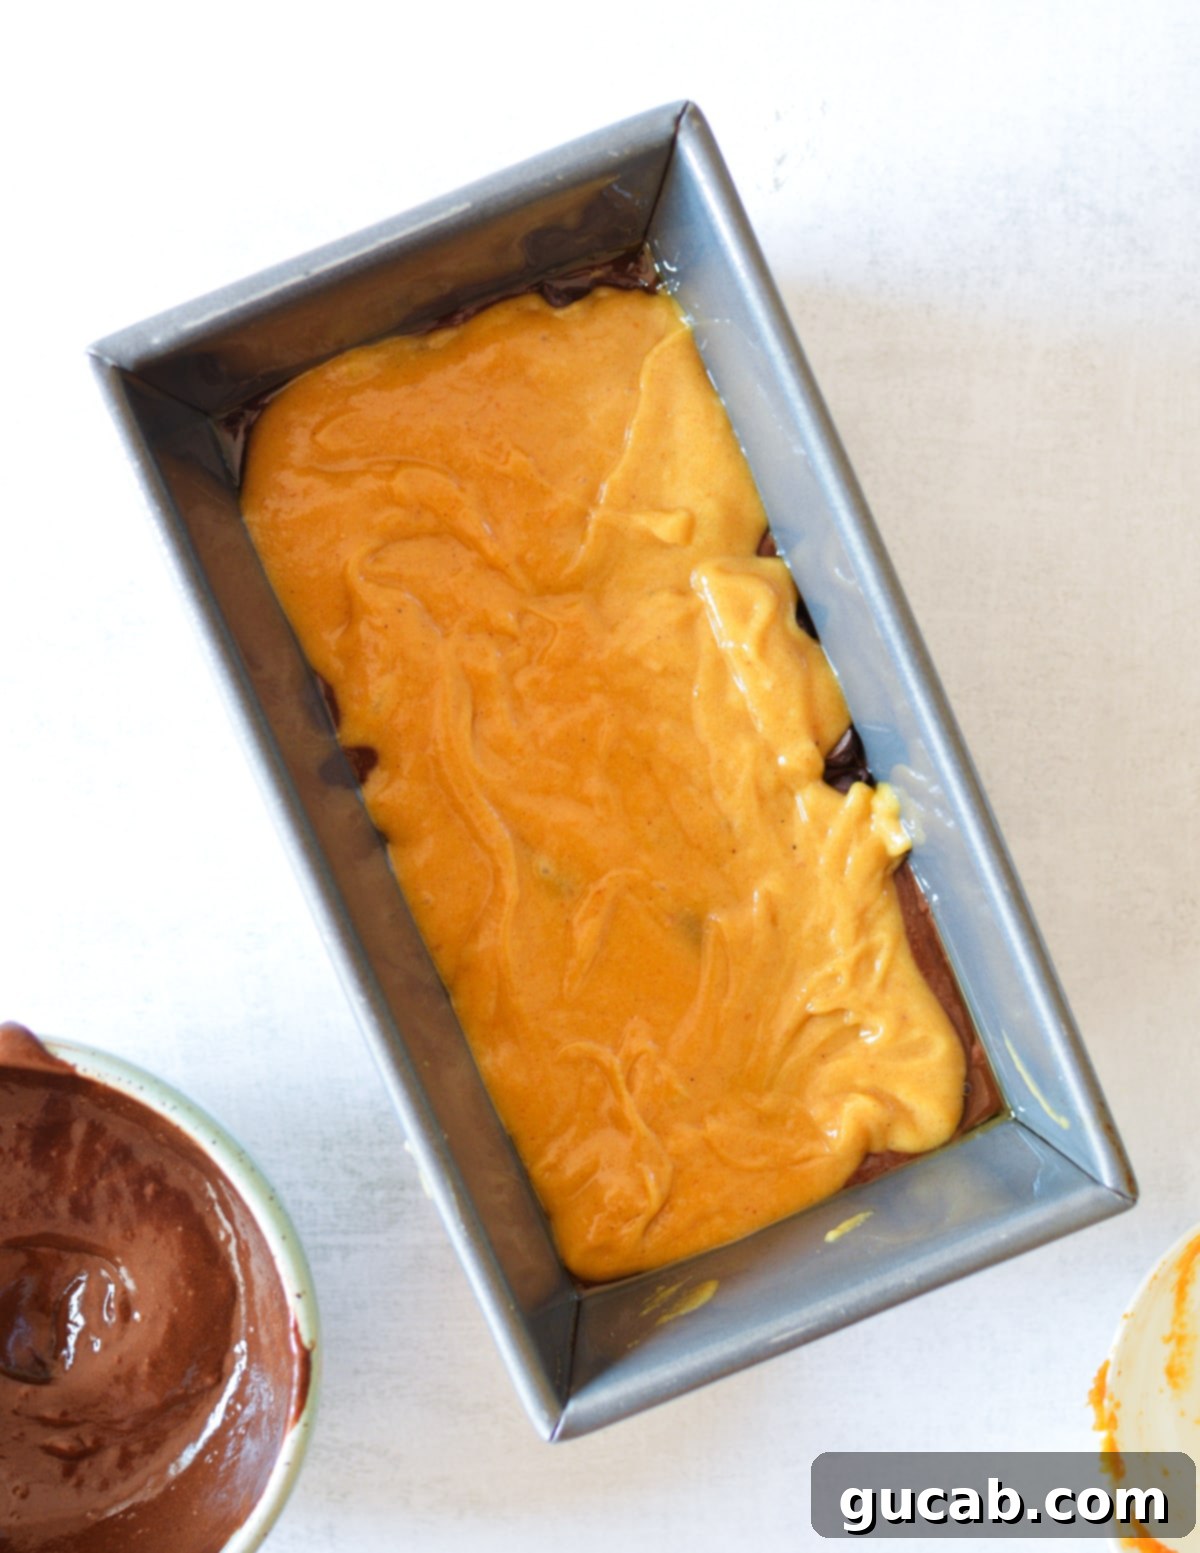
- Once all the batter is layered, it’s time to create the signature swirl. Use a butter knife or a thin skewer to gently make two large figure-8 patterns (or just zig-zags) through the batter. Don’t overmix at this stage; a few gentle swirls are all you need to achieve a beautiful marble effect.
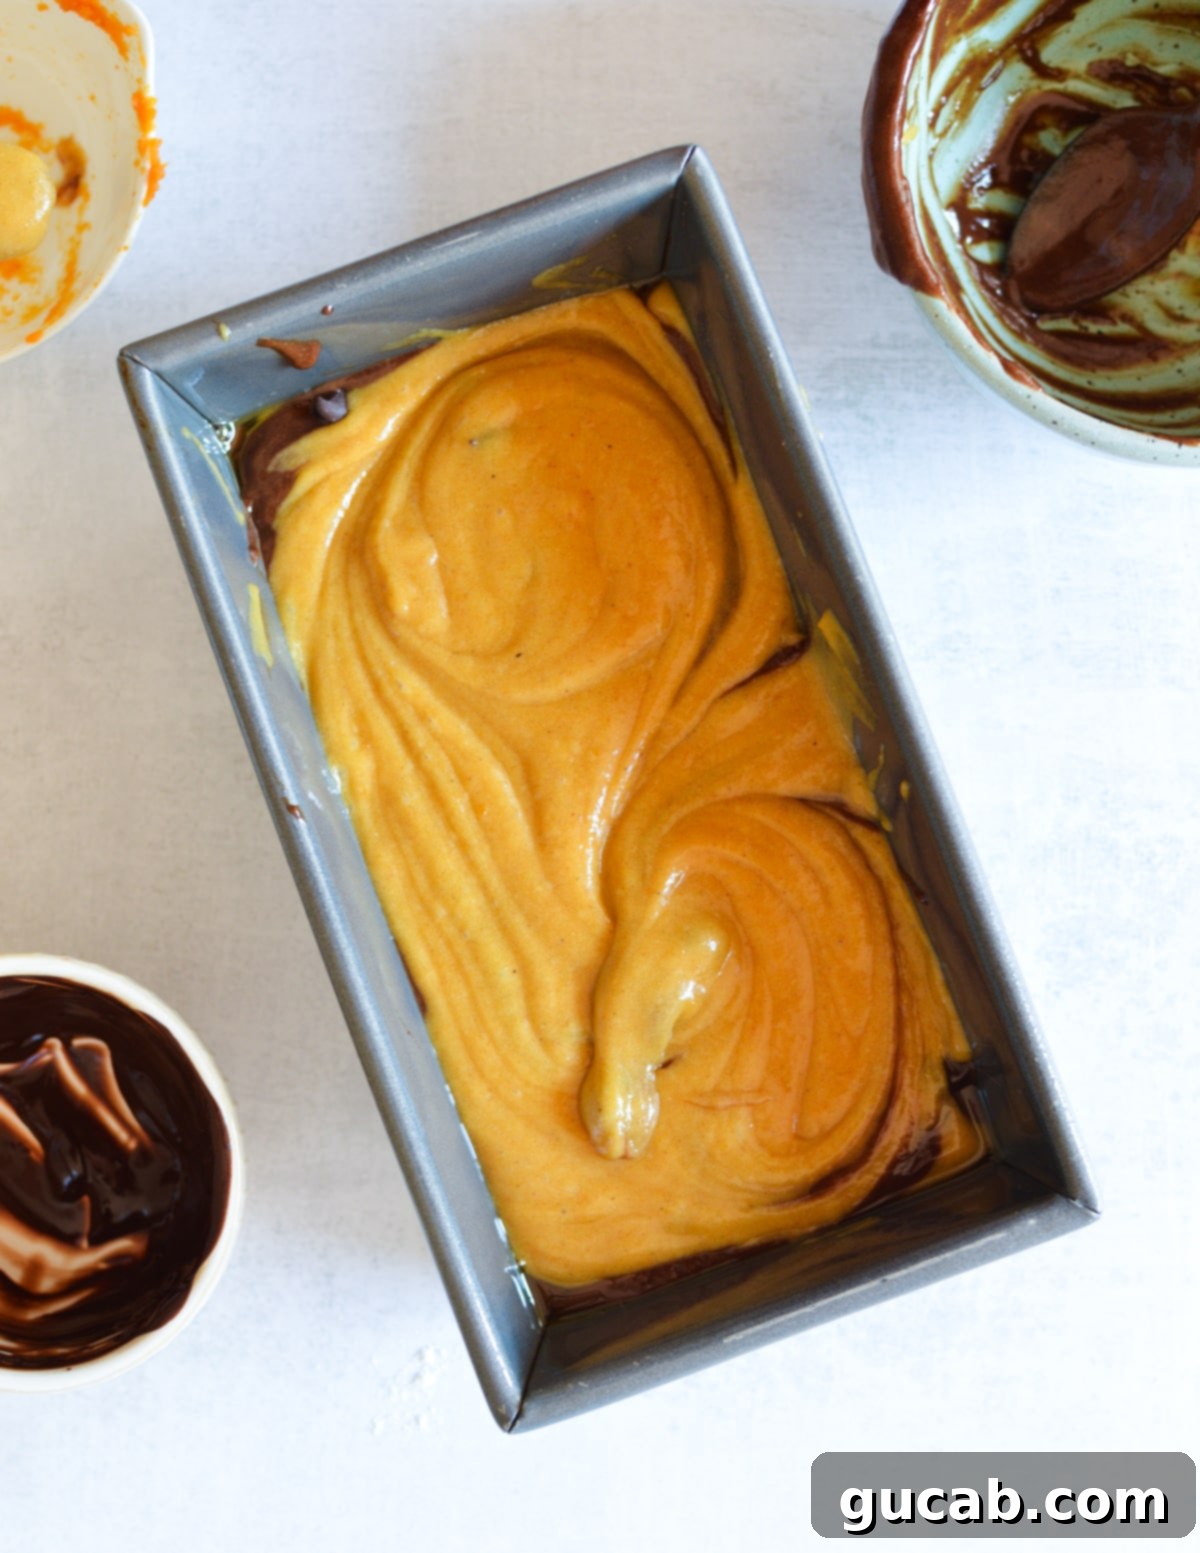
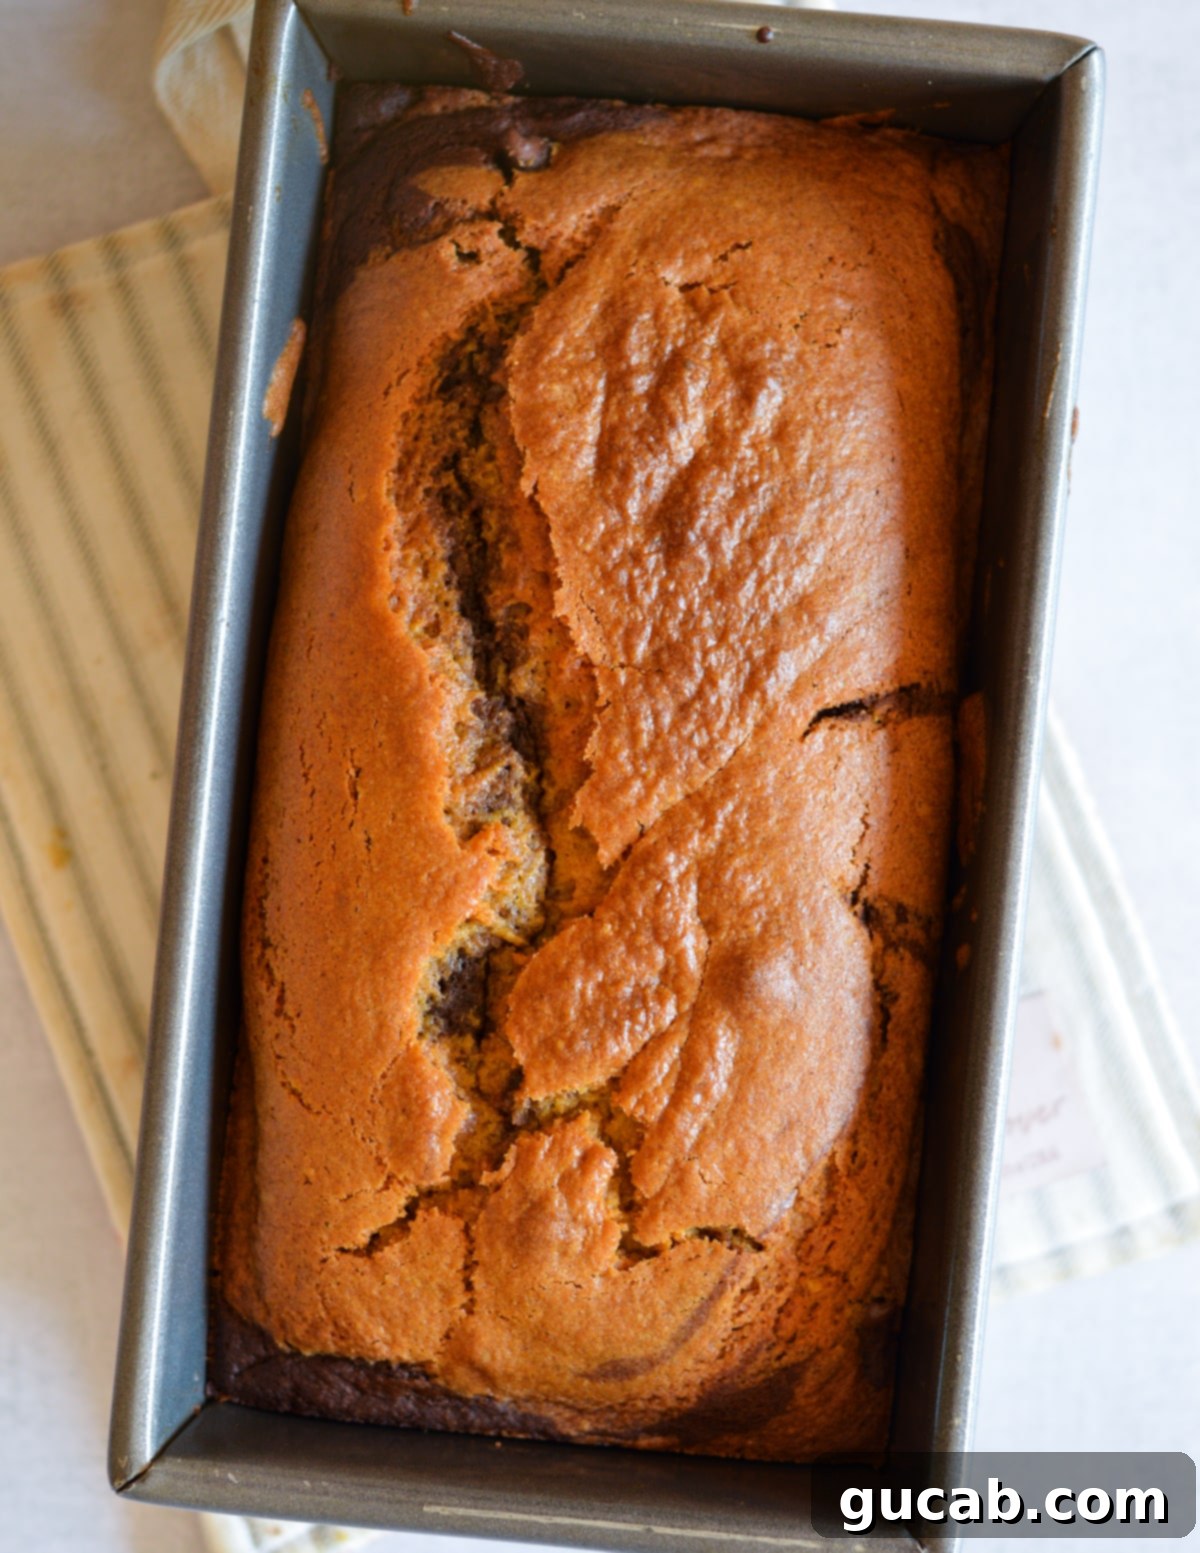
- Finally, bake your loaf for approximately 45 minutes at 350 degrees Fahrenheit, or until the top is beautifully golden brown and a wooden toothpick inserted into the center (avoiding a chocolate chip) comes out clean. If the toothpick has pumpkin batter, bake for another 5-7 minutes.
Expert Tips for Gluten-Free Pumpkin Bread Success
Achieving a perfectly moist and flavorful gluten-free pumpkin bread is easy with these helpful tips:
- Don’t Over-Microwave the Chocolate: When melting the chocolate and milk, stop as soon as the milk starts to rise and bubble. Overheating chocolate can cause it to seize and become grainy, rendering it unusable for that smooth swirl. If this happens, unfortunately, there’s no easy fix, and wasted chocolate is truly a baking tragedy!
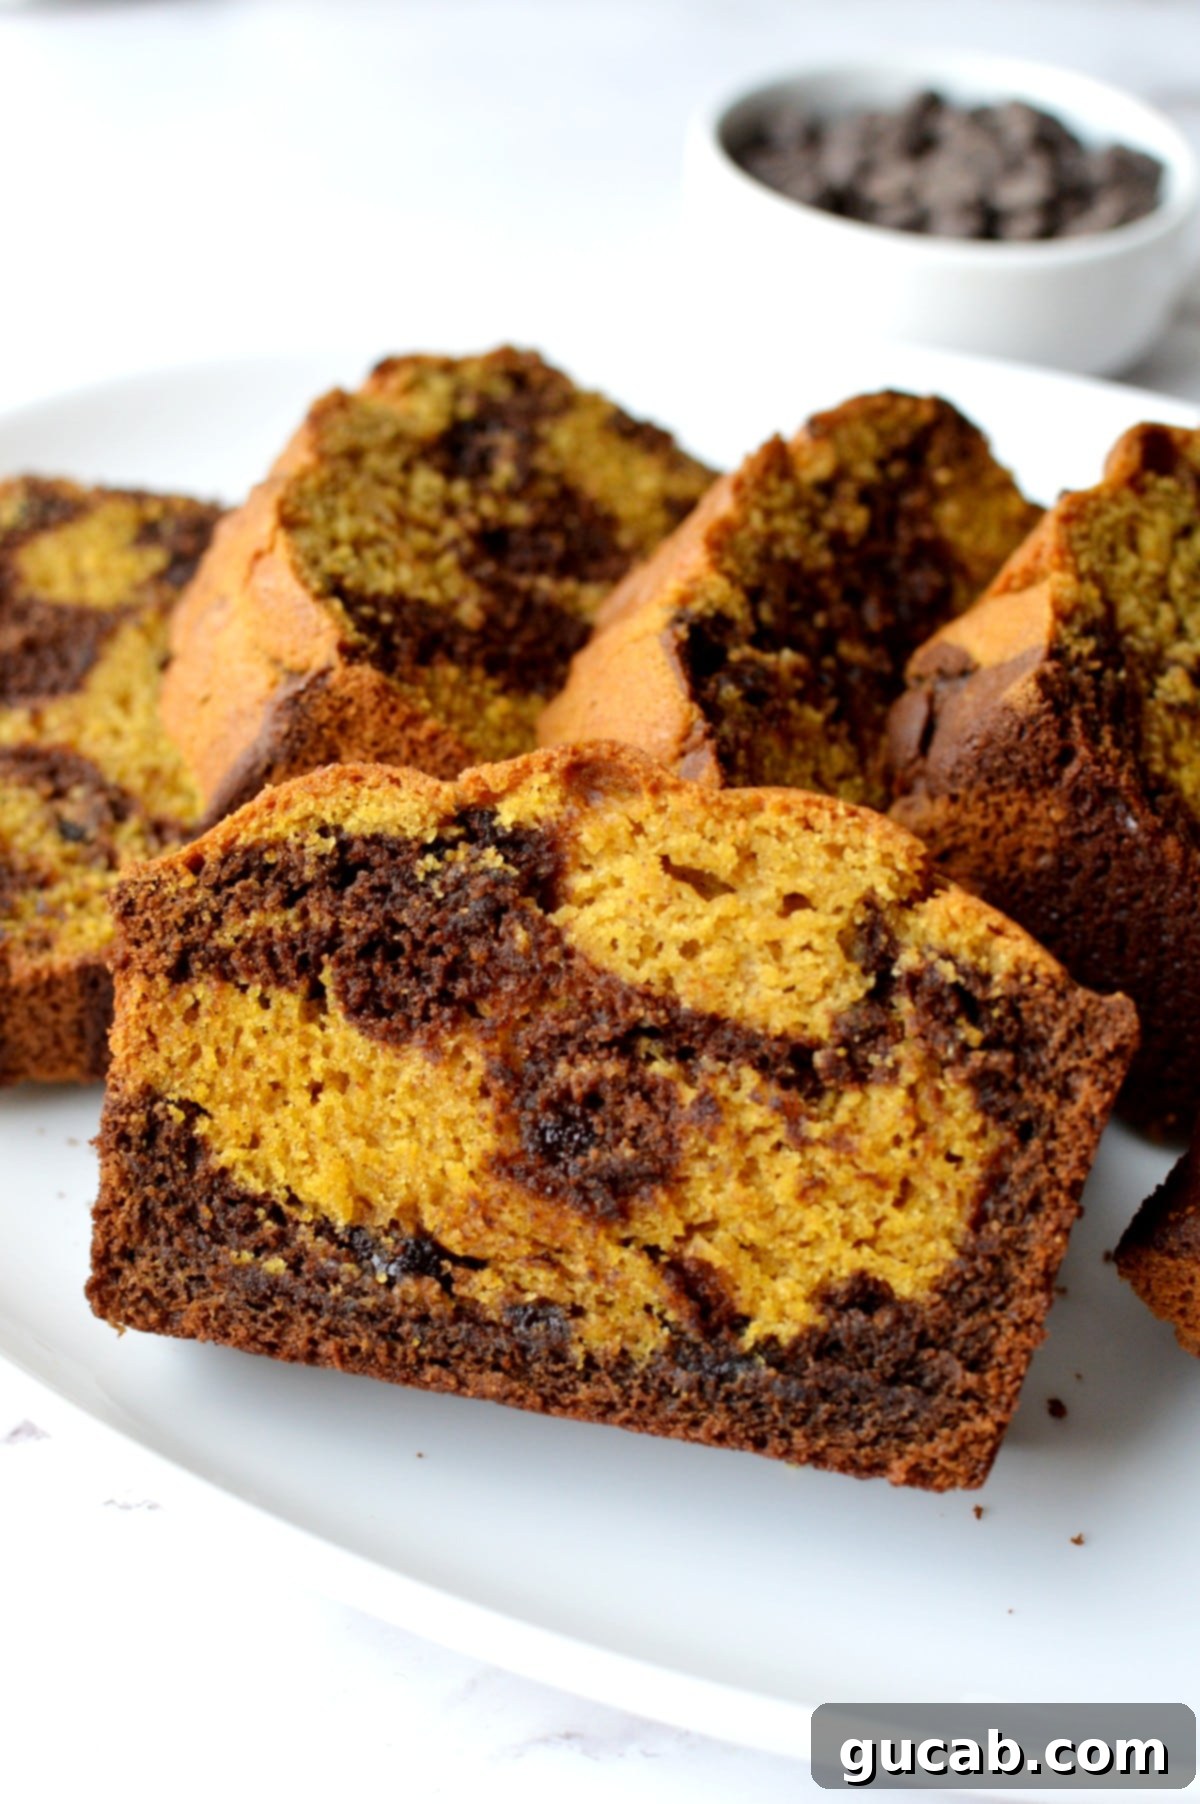
- Enhance Your Swirl with Extra Chocolate Chips: Adding a sprinkle of chocolate chips on top of each chocolate batter layer isn’t just for an extra burst of flavor; it also makes the distinct chocolate swirl more visually appealing when you slice into your baked loaf.
- Master the Toothpick Test: This is crucial for knowing when your bread is done. Insert a wooden toothpick into the center of the loaf. It should come out clean, meaning no wet pumpkin batter. Be careful to distinguish between melted chocolate (which is fine) and uncooked batter. Another good indicator is gently pressing on the top of the loaf; if it feels squishy underneath, it needs a few more minutes in the oven.
- Utilize an Offset Spatula for Spreading: For easier and more even spreading of the different batter layers in the loaf pan, an offset spatula is a fantastic tool. Its angled blade allows for smoother, more precise application than a standard clunky spatula.
- Ensure Room Temperature Ingredients: Bringing your eggs and milk to room temperature helps them incorporate more evenly into the batter. This creates a smoother emulsion, which leads to a better texture in your finished bread.
- Avoid Overmixing: This is especially important for gluten-free baking. Once you add the dry ingredients to the wet, mix only until just combined. Overmixing can develop the starches in gluten-free flour, leading to a tougher, denser bread.
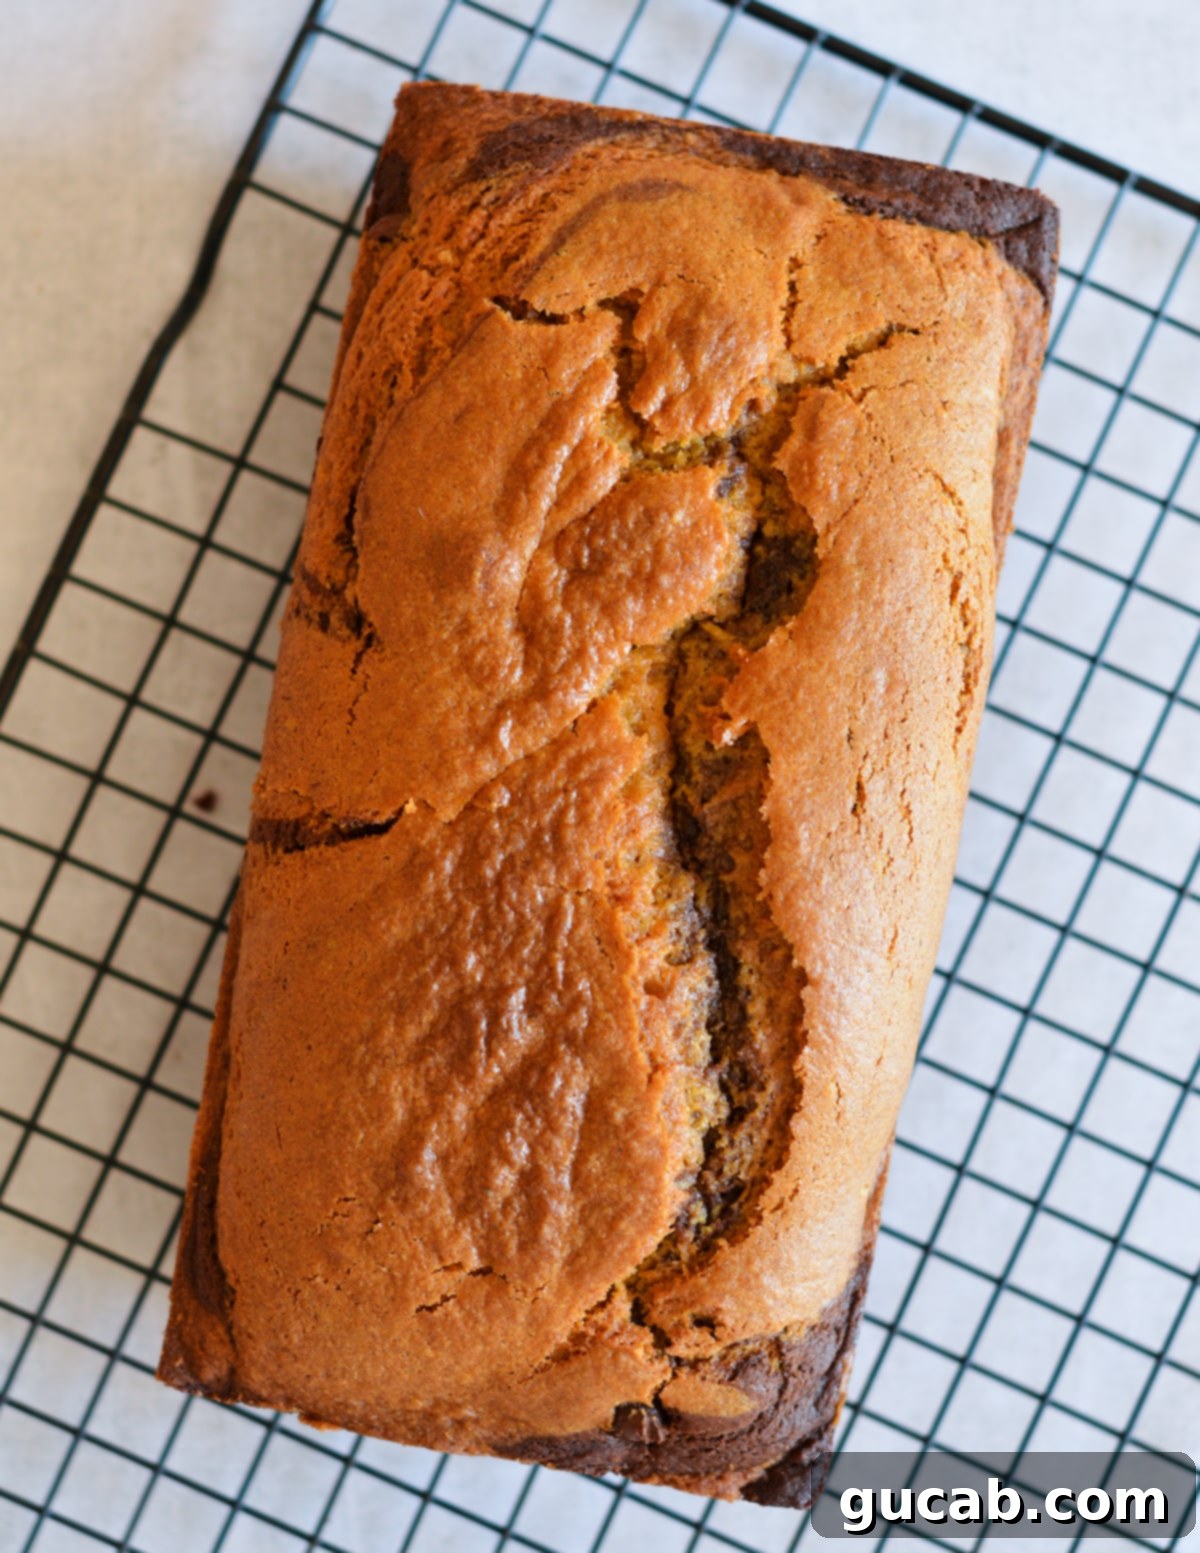
- Cool Properly on a Wire Rack: Once baked, let the bread cool in the pan for about 10-15 minutes before transferring it to a wire rack. This prevents the bottom from becoming soggy and allows the loaf to set completely before slicing.
Storage & Freezing Your Delicious Loaf
One of the many great things about this gluten-free pumpkin bread is its versatility when it comes to storage, especially its freezer-friendliness! Proper storage ensures your loaf remains fresh and delicious for as long as possible.
- Countertop Storage: Once completely cooled, wrap the loaf tightly in plastic wrap or place it in an airtight container. It will stay fresh at room temperature for up to 2-3 days.
- Refrigerator Storage: If you want to extend its freshness a bit longer, store the wrapped loaf in the refrigerator for up to a week. The cooler temperature helps maintain moisture and prevents spoilage.
- Freezing Whole: This gluten-free pumpkin bread freezes beautifully. Once the loaf is entirely cool (this is critical to prevent ice crystals), wrap it tightly in a layer of plastic wrap, then another layer of aluminum foil. Finally, place it into a large freezer-safe bag or airtight container. It can be frozen for up to 3 months. To thaw, simply place it on the counter overnight or in the refrigerator.
- Freezing Slices: For ultimate convenience, I prefer to freeze the bread in individual slices. This way, you can grab a single serving whenever a craving strikes! Once the loaf is completely cool, slice it and arrange the slices in a single layer on a baking sheet. Freeze for about 30 minutes until firm, then transfer the frozen slices to a freezer bag or airtight container, making sure they don’t get smooshed. Thaw individual slices in the microwave in 10-15 second increments until slightly warm, or toast them gently for a delightful treat.
- Reheating Tips: Whether thawing from frozen or simply warming up a slice, a quick zap in the microwave is perfect. For a crispier crust, you can also warm slices in a toaster oven for a few minutes.
Choosing the Right Loaf Pan for Baking
The type and size of your loaf pan can influence your baking time and the final appearance of your gluten-free pumpkin bread. I used a standard 9 by 5 inch metal loaf pan for this recipe, which yields a beautifully shaped loaf with even baking.
- Metal vs. Glass: Metal pans tend to conduct heat more quickly and evenly, leading to a darker, crispier crust. Glass pans retain heat longer and can sometimes result in a slightly longer baking time and a softer crust. If using a glass pan, you might need to reduce your oven temperature by 25 degrees Fahrenheit and increase the baking time slightly.
- Pan Size Matters: While a 9×5 inch pan is ideal, you can use other sizes. A smaller loaf pan, such as an 8 by 4 inch, will result in a taller, thicker loaf, which will likely require an additional 10-15 minutes of baking time to cook all the way through. Conversely, a wider pan might bake faster.
- Always Adjust Baking Time: Regardless of the pan material or size, always rely on the toothpick test to determine doneness, rather than strictly adhering to the recipe’s suggested baking time. Baking times are approximate and can vary based on oven calibration and pan type. The most important thing is to avoid overbaking, as this can dry out your gluten-free bread.
Navigating Gluten-Free Flours for Optimal Results
The choice of gluten-free all-purpose flour is perhaps the most critical component in achieving a successful gluten-free bake. As mentioned, I highly recommend using Bob’s Red Mill 1-to-1 Gluten-Free Baking Flour for this recipe. It consistently yields a great taste and texture, and it’s widely available.
- Understanding GF Flour Blends: Unlike traditional wheat flour, gluten-free all-purpose flours are not a single ingredient. They are meticulously crafted blends of various alternative flours (like rice flour, sorghum flour, or tapioca flour) and starches (such as potato starch or cornstarch). Each brand formulates its blend with different ingredients and specific ratios, which is why their baking properties can vary dramatically. Some blends are excellent, while others can produce undesirable results.
- The Crucial Role of Xanthan Gum: A key component in many successful gluten-free baking recipes is xanthan gum. In traditional baking, gluten provides elasticity and structure. Since gluten-free flours lack this, xanthan gum acts as a binder and thickener, mimicking the properties of gluten to give baked goods structure, prevent crumbling, and improve texture. If your chosen gluten-free flour blend does not already contain xanthan gum, you will need to add about ½ teaspoon per cup of flour used in the recipe.
- Tips for Using Other Brands: If you opt for a different gluten-free all-purpose flour blend, ensure it clearly states it’s a “1-to-1” or “cup-for-cup” replacement for wheat flour and, ideally, already contains xanthan gum. If not, consider adding xanthan gum as suggested above. For the most accurate results in gluten-free baking, always measure flour by weight using a kitchen scale rather than volume, as different blends can have varying densities.
Creative Variations & Customizations
This gluten-free pumpkin chocolate marble bread is fantastic as is, but it also serves as a wonderful base for your own creative twists and additions:
- Dairy-Free Delight: Easily make this recipe dairy-free by swapping out regular milk for unsweetened almond milk, oat milk, or your favorite dairy-free alternative. Just be sure to use dairy-free dark chocolate chips, and it will taste just as amazing!
- Nutty Crunch: For an added layer of texture and flavor, fold in half a cup of chopped pecans or walnuts into the pumpkin batter (or even the chocolate batter!) before layering. You can lightly toast the nuts beforehand to enhance their flavor.
- Extra Spiced: If you love a bolder spice profile, consider adding an extra ¼ teaspoon of ground cinnamon or ginger to the dry ingredients, or even a pinch of ground cloves or allspice for more depth.
- Citrus Brightness: A teaspoon of orange zest or lemon zest can add a beautiful bright note that complements the pumpkin and chocolate wonderfully.
- Glaze or Topping: For an extra touch of sweetness and presentation, drizzle a simple powdered sugar glaze (powdered sugar mixed with a little milk or citrus juice) over the cooled loaf, or sprinkle with a streusel topping before baking.
- Mini Loaves or Muffins: This batter can easily be adapted for mini loaves or muffins. Reduce baking time accordingly – mini loaves might take 25-35 minutes, and muffins typically bake in 18-22 minutes.
Discover More Gluten-Free Delights
If you loved this recipe, be sure to explore more of our delicious and easy-to-make gluten-free creations:
- Gluten Free Pumpkin Muffins
- Gluten Free Chocolate Chip Muffins
- Gluten Free Banana Bread
- Gluten Free Zucchini Bread
- Gluten Free Gingerbread Cake with an Orange glaze
Check me out on Pinterest and Instagram for more delicious gluten-free recipes and baking inspiration!
Gluten-Free Pumpkin Chocolate Marble Bread
Carolyn
Pin Recipe
Equipment
-
Loaf pan
Ingredients
- ½ cup Granulated Sugar
- ¼ cup Brown sugar
- ½ cup Vegetable oil (e.g., Canola)
- ½ cup Pumpkin Puree (100% pure, not pie filling)
- 2 Large Eggs
- 1 cup + 2 tbsp Bob’s Red Mill 1:1 Gluten-Free All-Purpose Flour
- 1 ½ tsp Baking powder
- ½ tsp Baking soda
- ¾ tsp Pumpkin pie spice
- ½ tsp Kosher salt
- ⅓ cup + 1 tbsp Dark chocolate chips, plus extra for layering
- 3 tbsp Milk (dairy or non-dairy)
Instructions
-
Preheat oven to 350°F (175°C). Lightly spray a 9×5 inch loaf pan with nonstick cooking spray.
-
In a small, heat-proof bowl, combine the ⅓ cup + 1 tbsp chocolate chips and milk. Microwave for approximately 40 seconds, or until the milk begins to rise and bubble. Stir immediately until the mixture is smooth and glossy. Set aside to cool slightly.
-
In a large bowl, whisk together the granulated sugar, brown sugar, canola oil, and pumpkin puree until smooth. Add both large eggs and continue to whisk until fully combined and the mixture is even.
-
Add the gluten-free flour, baking powder, baking soda, pumpkin pie spice, and kosher salt to the pumpkin mixture. Stir with a spatula or whisk until a smooth batter forms, being careful not to overmix.
-
Measure 1 cup of the plain pumpkin batter into a separate small bowl. Stir in the cooled melted chocolate mixture until well combined, creating your chocolate batter.
-
Pour half of the chocolate batter into the prepared loaf pan and spread it evenly. Sprinkle with extra chocolate chips. Then, carefully add half of the plain pumpkin batter on top and spread evenly. Repeat this layering process with the remaining chocolate batter (and more chocolate chips) and then the remaining pumpkin batter. Use a butter knife or skewer to gently make two large figure-8 patterns (or zig-zags) through the batter to create the marble swirl.
-
Bake for approximately 45 minutes, or until the top is golden brown and a wooden toothpick inserted into the center comes out clean (avoiding any chocolate chips). If there is still wet pumpkin batter on the toothpick, return to the oven for another 5-7 minutes. Let cool in the pan for 10-15 minutes before transferring to a wire rack to cool completely.
