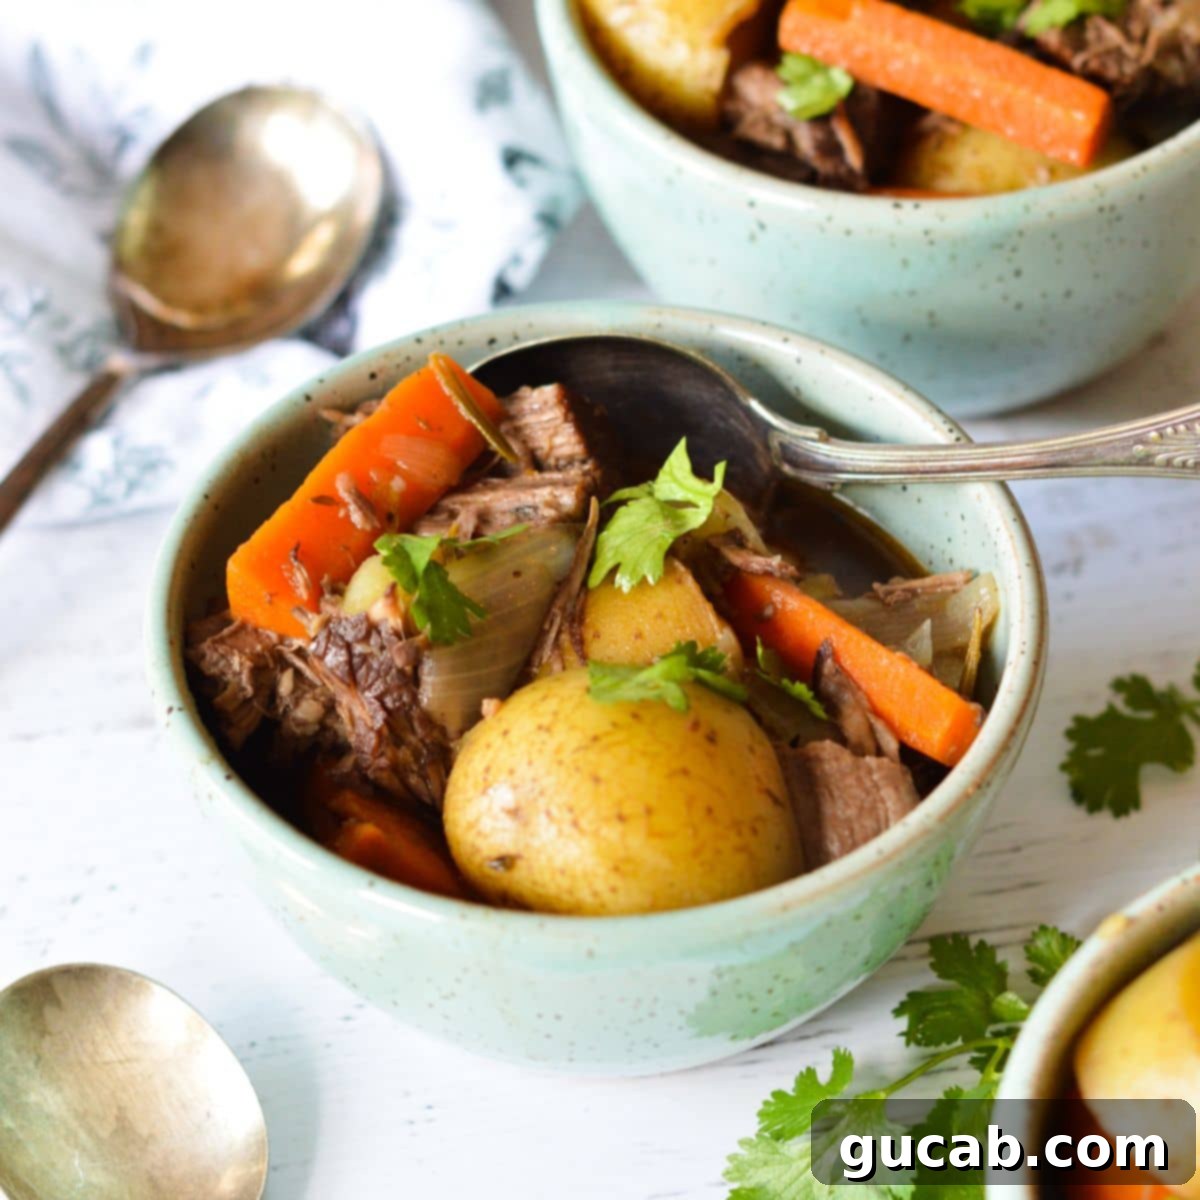
Ultimate Fall-Apart Dutch Oven Pot Roast: A Comfort Food Classic
There’s something uniquely comforting about a classic pot roast. Imagine tender, succulent beef that practically melts in your mouth, surrounded by perfectly cooked, flavorful vegetables, all simmering together in a rich, aromatic gravy. This isn’t just a meal; it’s a warm hug in a bowl, a cherished family tradition, and the epitome of home cooking. Our Dutch oven pot roast recipe delivers exactly that: a fall-apart tender masterpiece with impeccably cooked carrots, potatoes, and onions, guaranteed to become a household favorite. And the best part? It’s surprisingly simple to make!
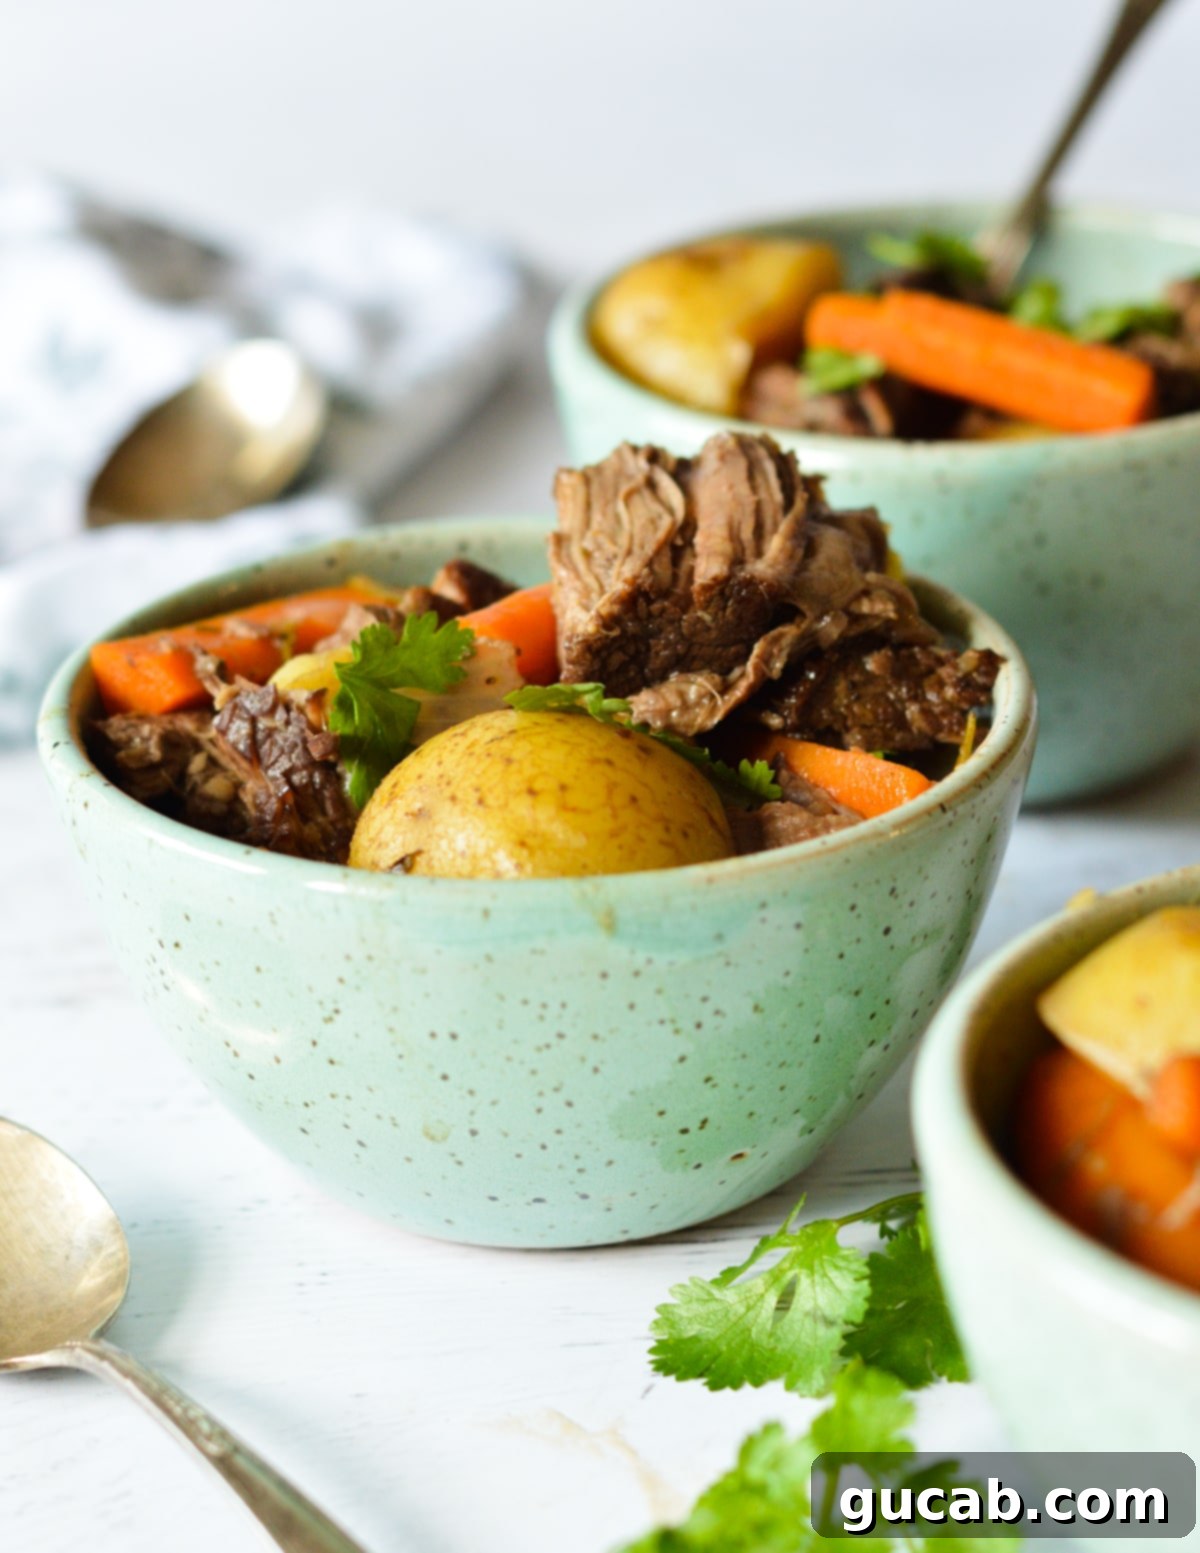
Why You’ll Love This Dutch Oven Pot Roast Recipe
Simple, cozy meals are truly the best, and this Dutch oven pot roast exemplifies just that. It’s designed to be fuss-free, requiring just one pot and minimal active prep work, making it perfect for both seasoned cooks and beginners. Here’s why this recipe will earn a permanent spot in your rotation:
- Effortless One-Pot Cooking: The beauty of a Dutch oven is its versatility. All the magic happens in a single pot – from searing the beef to slow braising it with the vegetables. This means less cleanup and more time enjoying your delicious creation.
- Incredibly Tender, Fall-Apart Beef: We’re talking about beef so tender, you barely need a fork. The slow, moist cooking environment of the Dutch oven breaks down the tough fibers of the chuck roast, transforming it into a luxurious, melt-in-your-mouth experience that is simply unparalleled.
- Perfectly Cooked, Not Mushy, Vegetables: One common pitfall of many pot roast recipes is overcooked, mushy vegetables. Our secret lies in adding the vegetables halfway through the cooking process. This ensures they emerge fork-tender with a delightful bite, perfectly absorbing the rich flavors of the broth without losing their texture.
- Rich, Deeply Flavorful Broth: The combination of searing the beef, deglazing the pot, and then slow-simmering with red wine, beef broth, garlic, Worcestershire, and fresh herbs creates an incredibly rich, savory gravy that ties all the elements of the dish together. Every spoonful is packed with robust flavor.
- Ideal for Weeknights and Special Occasions: With only about 15 minutes of hands-on prep time, this Dutch oven chuck roast is surprisingly easy to get started, making it a viable option for a hearty weeknight meal. Plus, it tastes even more delicious the next day, making it fantastic for meal prep or entertaining.
Key Ingredients for the Perfect Pot Roast
Crafting an unforgettable pot roast starts with quality ingredients. Each component plays a vital role in building the layers of flavor that make this dish so special.
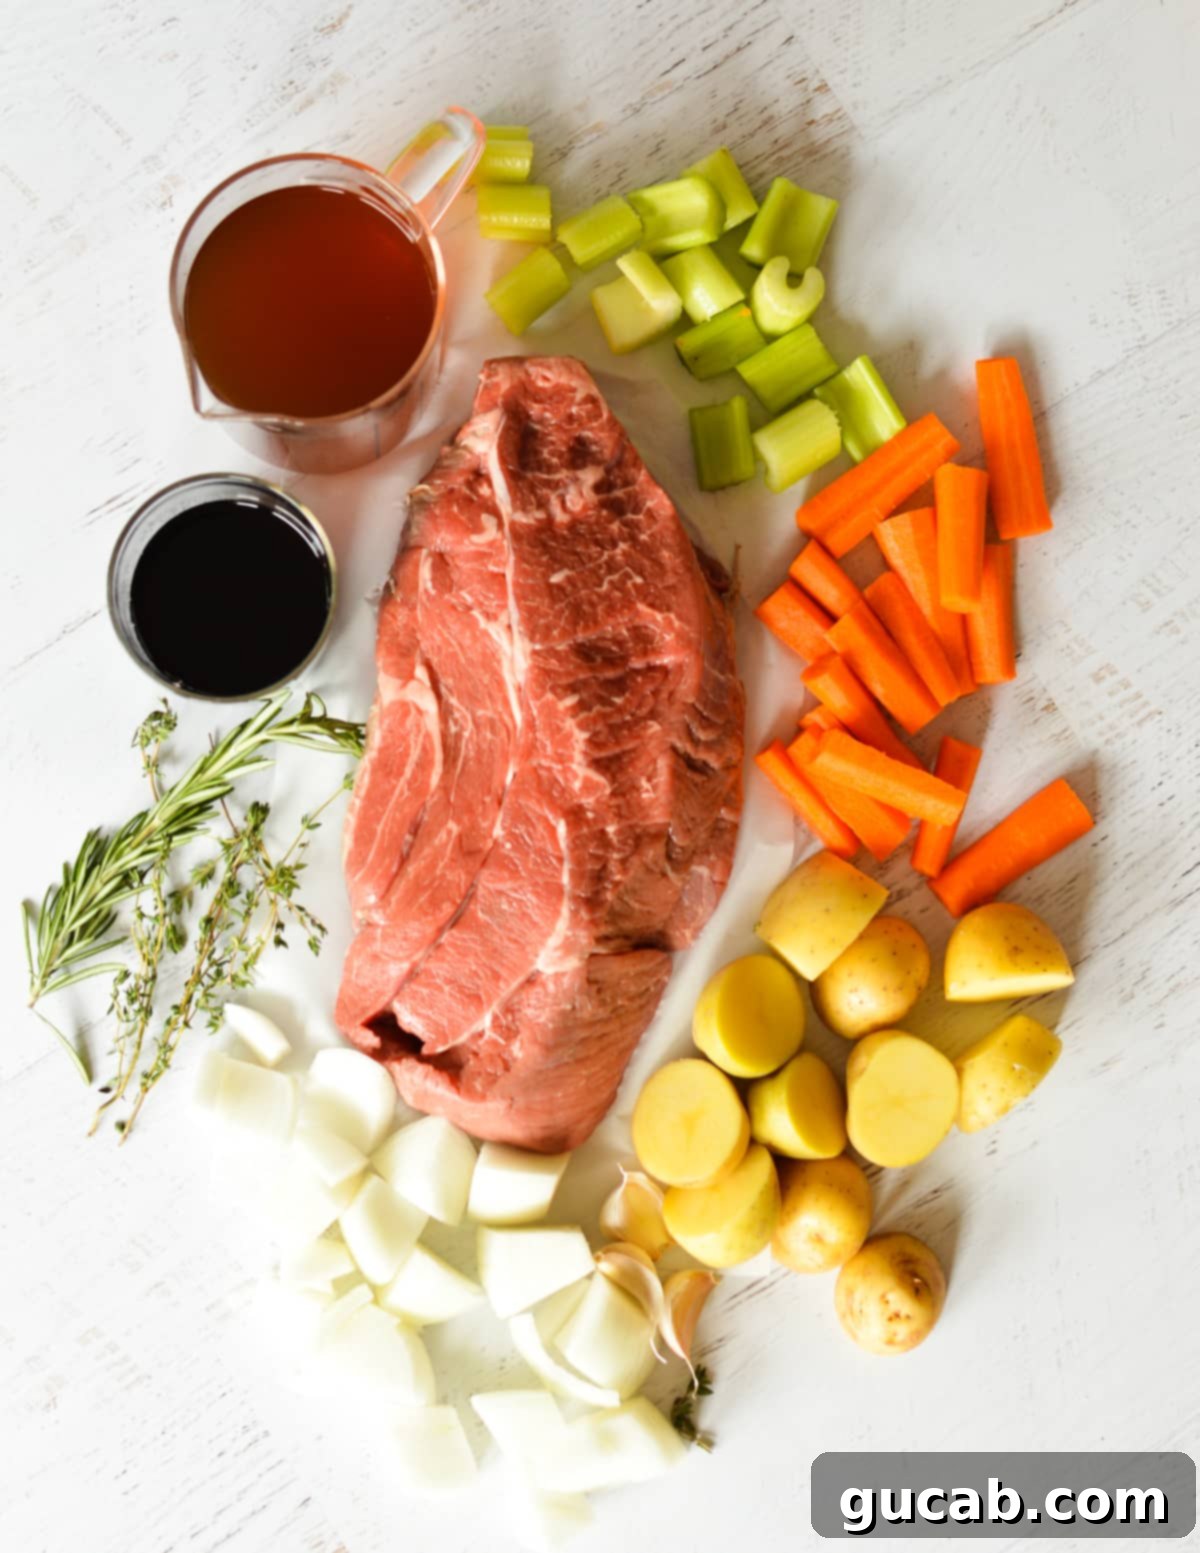
- Chuck Roast: This is the star of our show. Look for a 3-pound chuck roast with good marbling – those streaks of fat that run through the meat. Marbling is key to flavor and tenderness as it melts during slow cooking. While some fat is good, if there’s excessive external fat, I recommend trimming it first to prevent the pot roast from becoming overly greasy. Chuck roast is ideal for braising because its connective tissues break down into gelatin during long, slow cooking, resulting in that coveted fall-apart texture.
- Dry Red Wine: A dry red wine, such as Cabernet Sauvignon, Merlot, or Syrah, is indispensable for adding a complex, rich depth of flavor to the broth and the roast. The tannins and fruit notes in the wine enhance the savory beef, creating a more sophisticated taste profile. I personally used a Cabernet for its robust character. If you prefer not to cook with alcohol, simply substitute with an equal amount of extra beef broth, though the flavor will be slightly different.
- Beef Broth: This forms the essential liquid base for our braise, infusing the entire dish with a rich, savory essence. I typically opt for reduced-sodium beef broth to better control the seasoning, but regular beef broth works perfectly too. For an even deeper flavor, consider using homemade beef stock if you have it.
- Garlic & Worcestershire Sauce: These two are flavor powerhouses! Minced garlic provides a pungent, aromatic foundation, while Worcestershire sauce adds a unique umami boost and a subtle tang that rounds out the flavors. I always keep a large bottle of Lea & Perrin’s Worcestershire on hand, especially for dishes like this.
- Tomato Paste: Often overlooked, tomato paste is a concentrated flavor enhancer. A small amount adds a rich, slightly sweet, and savory depth (umami) to the broth, helping to create a more robust and well-rounded flavor profile.
- Veggies: A classic pot roast isn’t complete without its supporting cast of vegetables. We use a hearty mix of gold potatoes, carrots, celery, and onions. Gold potatoes hold their shape well and become wonderfully creamy. For convenience, you can buy baby carrots to skip the peeling and chopping step. Feel free to customize with your favorites – parsnips, turnips, or even bell peppers can be excellent additions.
- Herbs: Fresh rosemary and thyme sprigs are essential for infusing the roast with their earthy, aromatic notes. There’s no need to chop them; just toss the entire sprigs into the pot. Their flavor will permeate the dish beautifully during cooking, and you can easily remove them before serving.
The Magic of Pot Roast in a Dutch Oven
While this pot roast can technically be made in any heavy-duty, oven-safe pot, I wholeheartedly recommend using a good quality Dutch oven! It truly makes all the difference in achieving that perfect, deeply flavorful, and tender result.
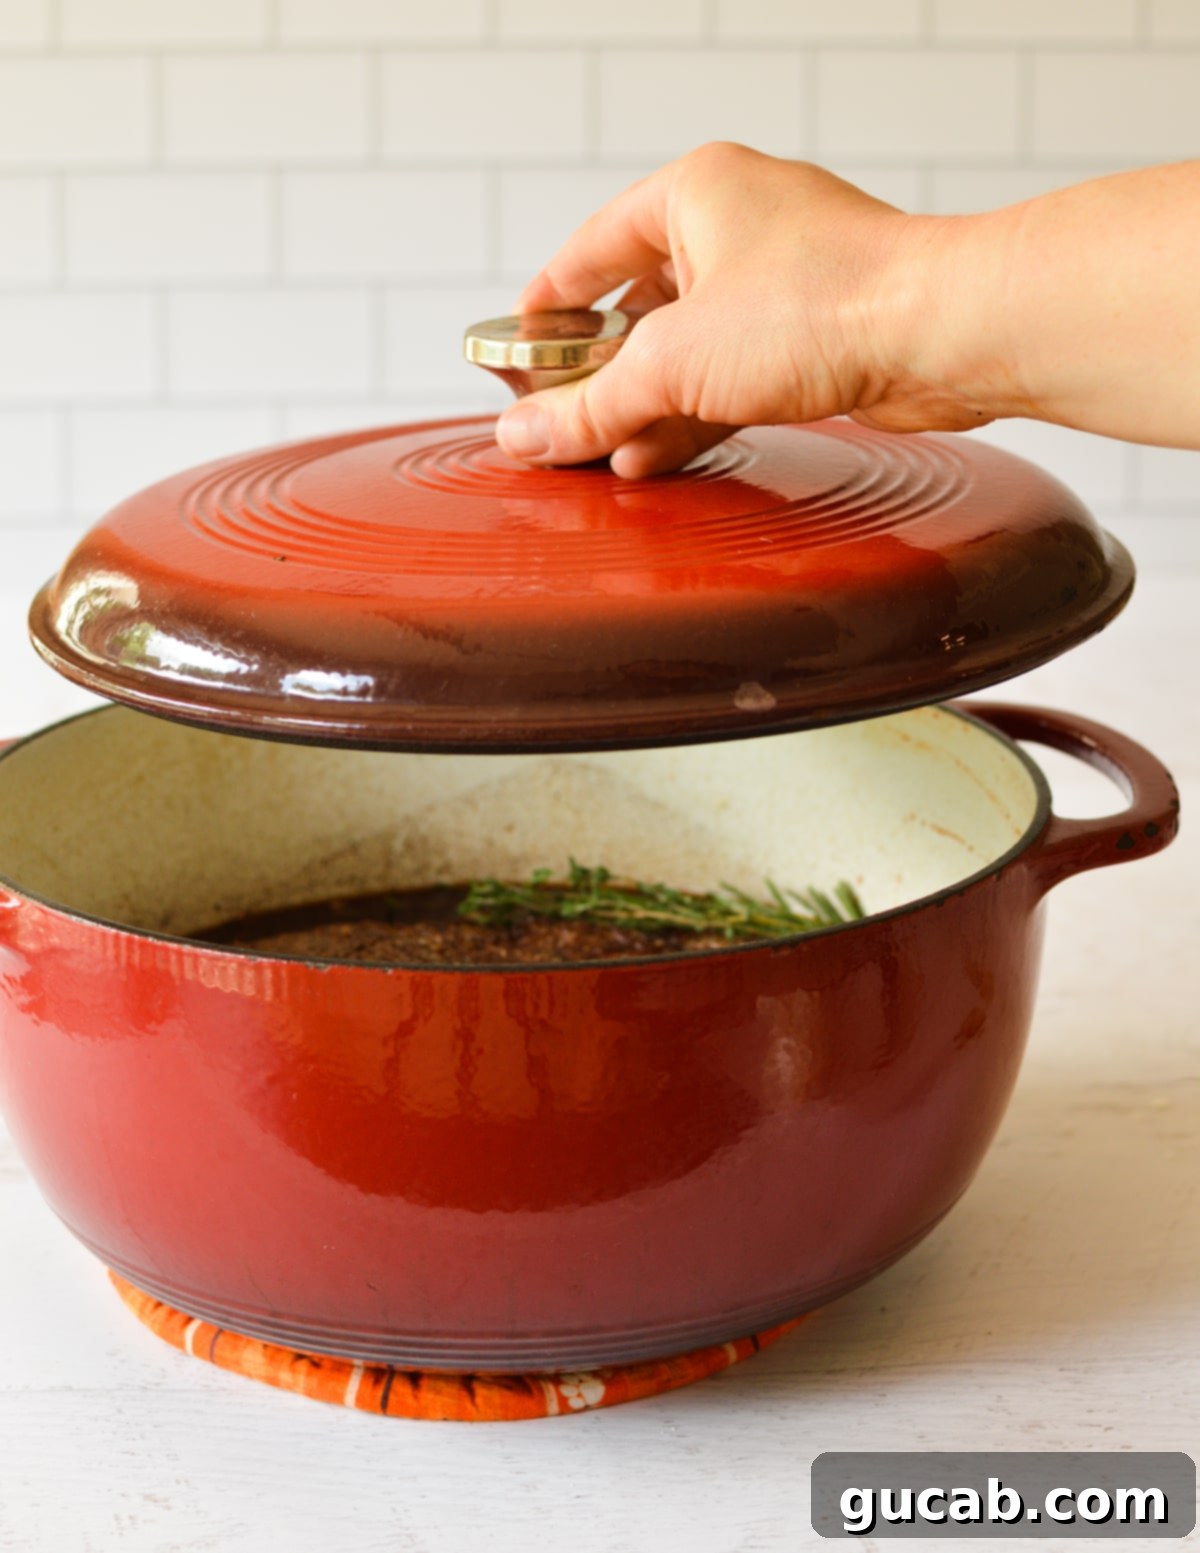
I personally rely on my trusty 6-quart Lodge Dutch oven, which has been performing like a dream for over a decade. Here’s why a Dutch oven is the superior choice for pot roast:
- Exceptional Temperature Retention: Dutch ovens, particularly those made from cast iron, are renowned for their ability to retain and distribute heat incredibly evenly. Once they heat up, they maintain a consistent temperature, which is crucial for the slow, gentle braising that makes meat so tender. This steady heat ensures that the chuck roast cooks uniformly, preventing dry spots and promoting even breakdown of connective tissues.
- Versatile and Oven-Safe: The seamless transition from stovetop to oven is one of the Dutch oven’s greatest advantages. You can sear your meat and sauté aromatics on the burner, then simply transfer the entire pot to the oven to finish cooking. This eliminates the need to switch pots, reducing cleanup and making the cooking process much more streamlined.
- Achieving the Perfect Sear and Building Fond: The heavy bottom of a Dutch oven allows you to get a fantastic, deep brown sear on your meat. This caramelization, known as the Maillard reaction, creates incredible flavor and texture on the surface of the beef. The beautiful brown bits left on the bottom of the pot after searing are called “fond,” and they are pure gold! When you deglaze the pot with liquid, these flavorful bits dissolve into the broth, creating a rich, complex, and savory foundation for your entire dish. This is a step you don’t want to skip, and a good Dutch oven makes it effortless.
- Optimal Moisture Retention: The tight-fitting lid of a Dutch oven traps steam and moisture inside, creating a humid environment perfect for braising. This prevents the roast from drying out and ensures it remains incredibly juicy and tender as it slowly cooks.
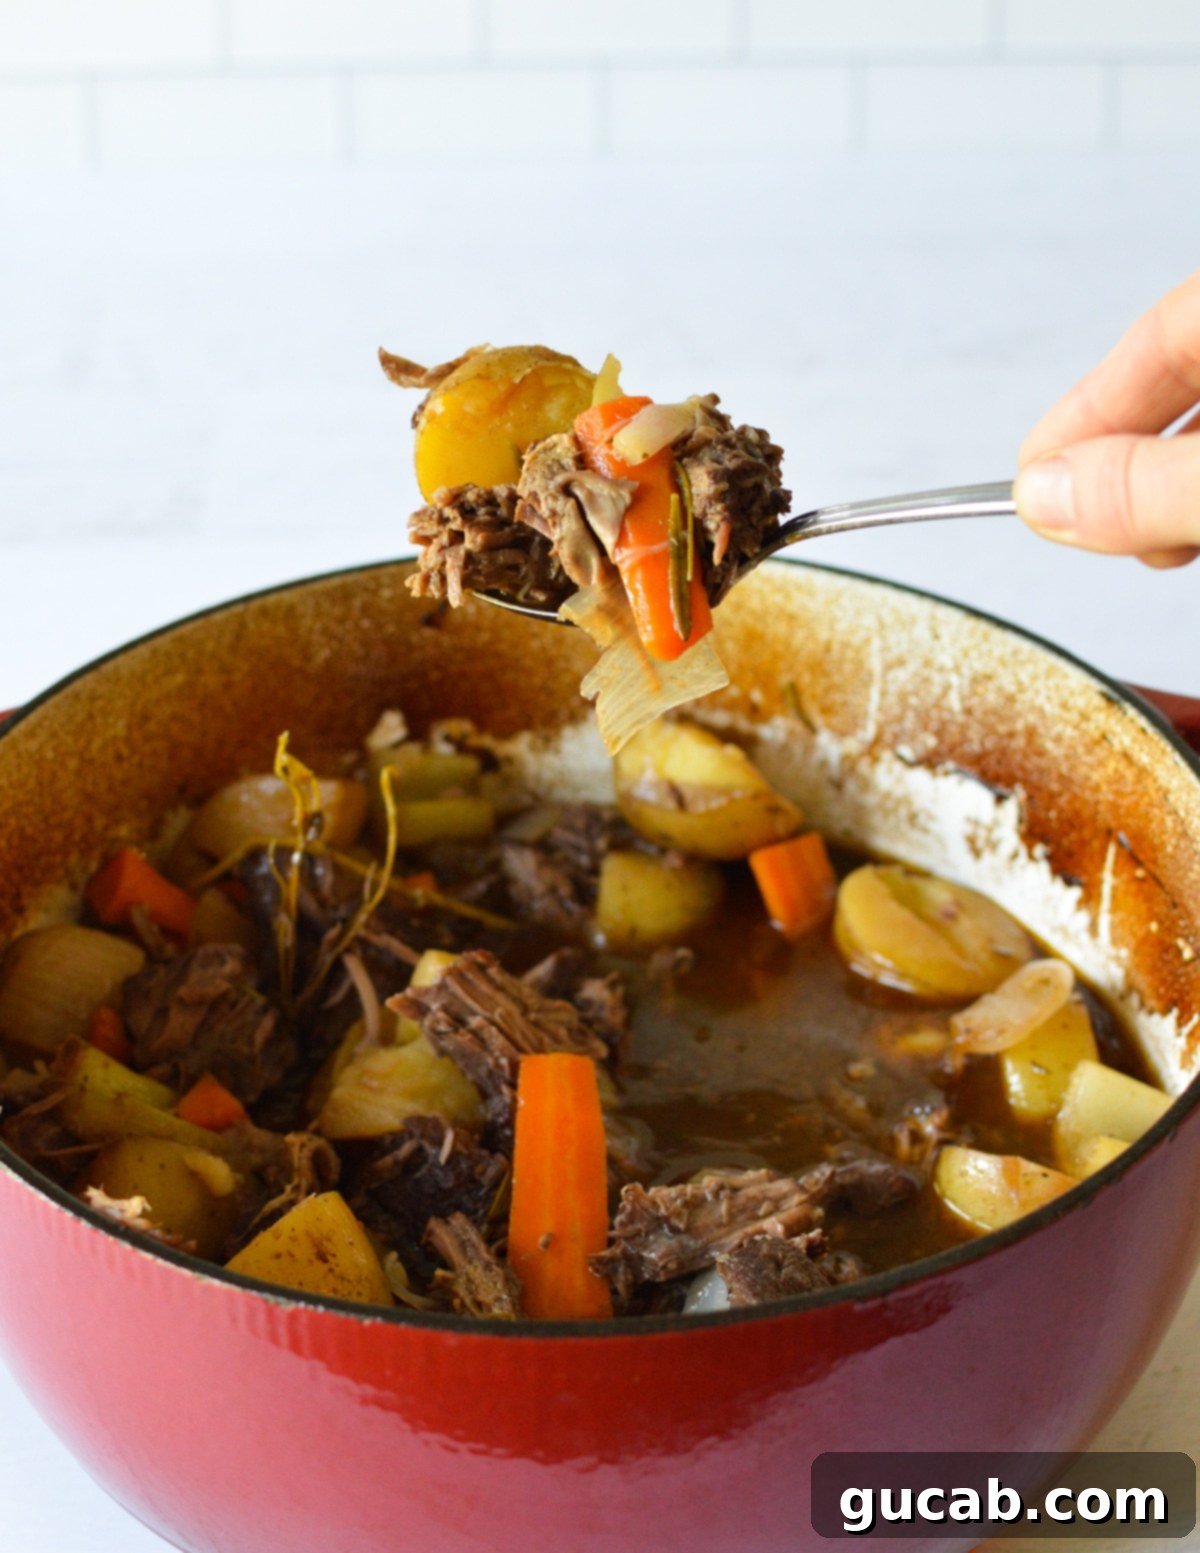
How to Make This Delicious Dutch Oven Pot Roast
This Dutch oven chuck roast recipe is incredibly straightforward, but following these steps carefully will ensure a perfect result every time. Let’s walk through the process with clear instructions and helpful tips.
First, preheat your oven to 400 degrees Fahrenheit. This might seem a bit high for a pot roast initially, but we’ll reduce the temperature after the first 30 minutes. This initial high heat helps to kickstart the braising process and tenderize the meat more efficiently before settling into a slower cook.
- Season the Roast Generously: Before anything else, pat your chuck roast dry with paper towels. This helps achieve a better sear. Then, season both sides liberally with kosher salt and freshly cracked black pepper. Don’t be shy – think of it as a good snowfall! Proper seasoning at this stage is crucial, as it enhances the flavor of the caramelized crust and penetrates the meat as it cooks.
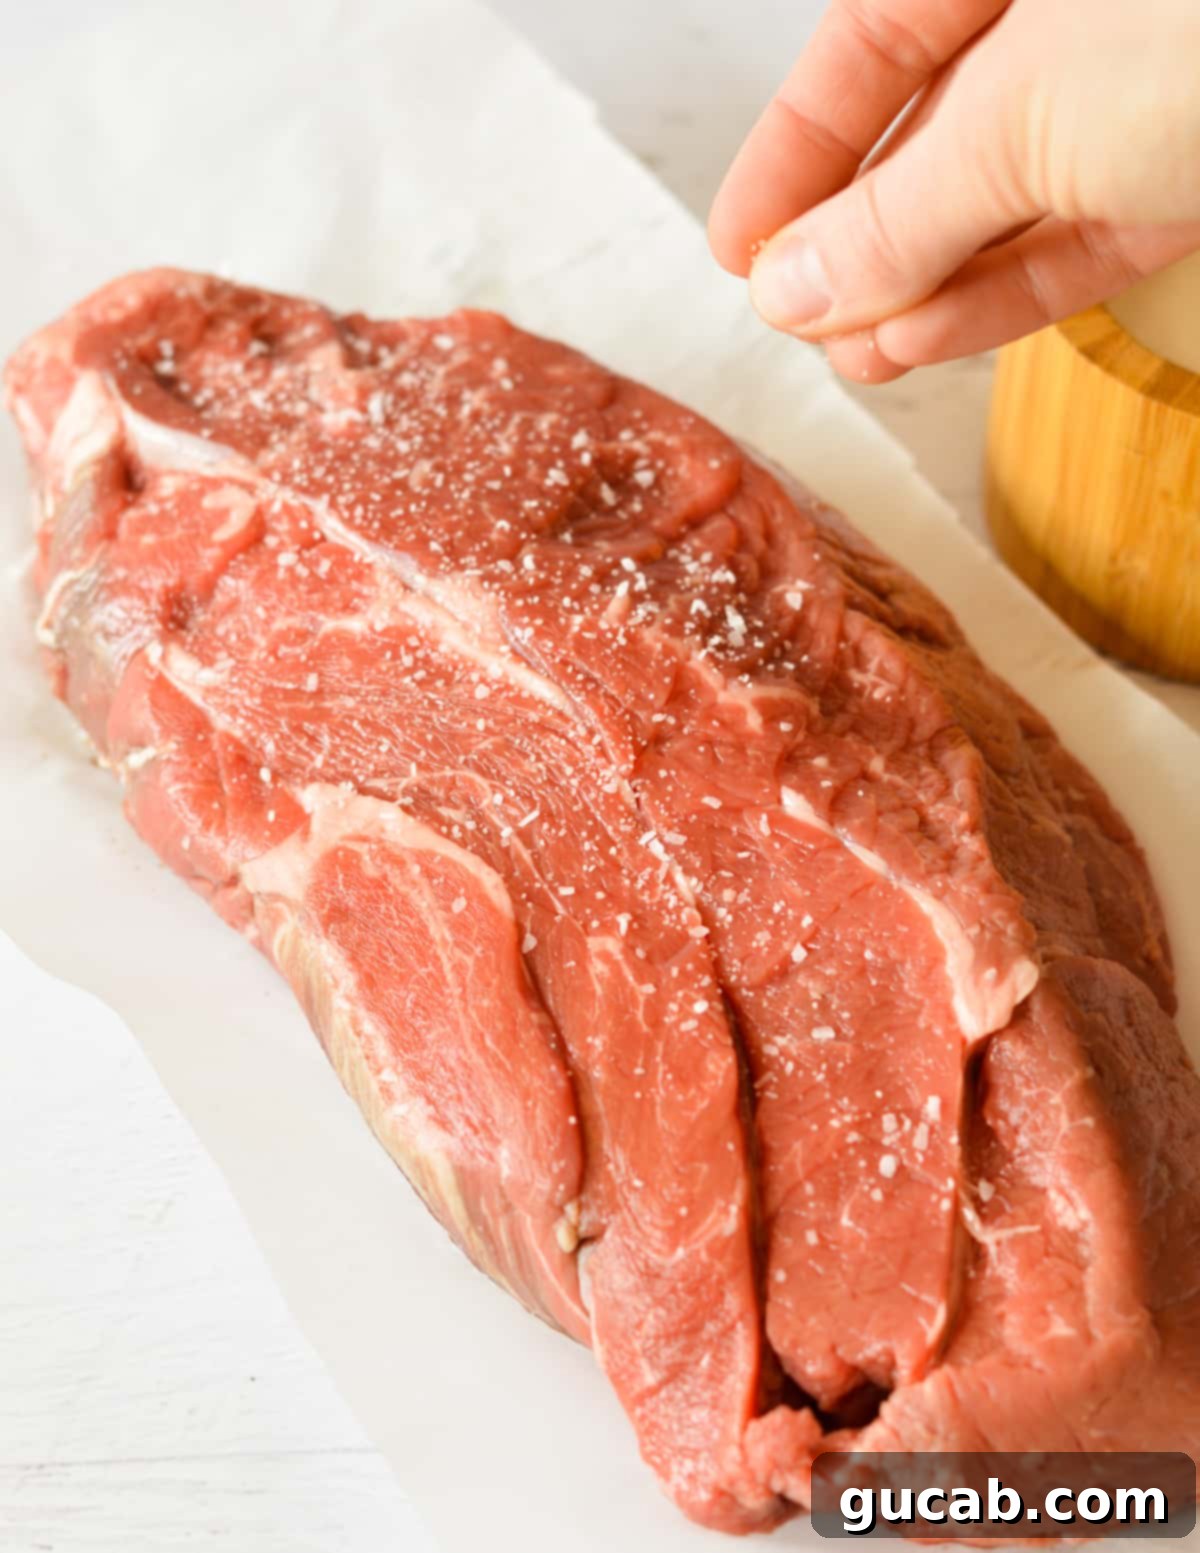
- Sear the Roast to Perfection: Place your Dutch oven over medium-high heat and add the olive oil. Wait for the oil to shimmer and just begin to smoke – it should be sizzling hot. Carefully add the seasoned chuck roast and sear each side until it develops a beautiful, dark brown and caramelized crust. This usually takes about 3-5 minutes per side. This searing step is vital for locking in flavor and creating the rich “fond” at the bottom of the pot.
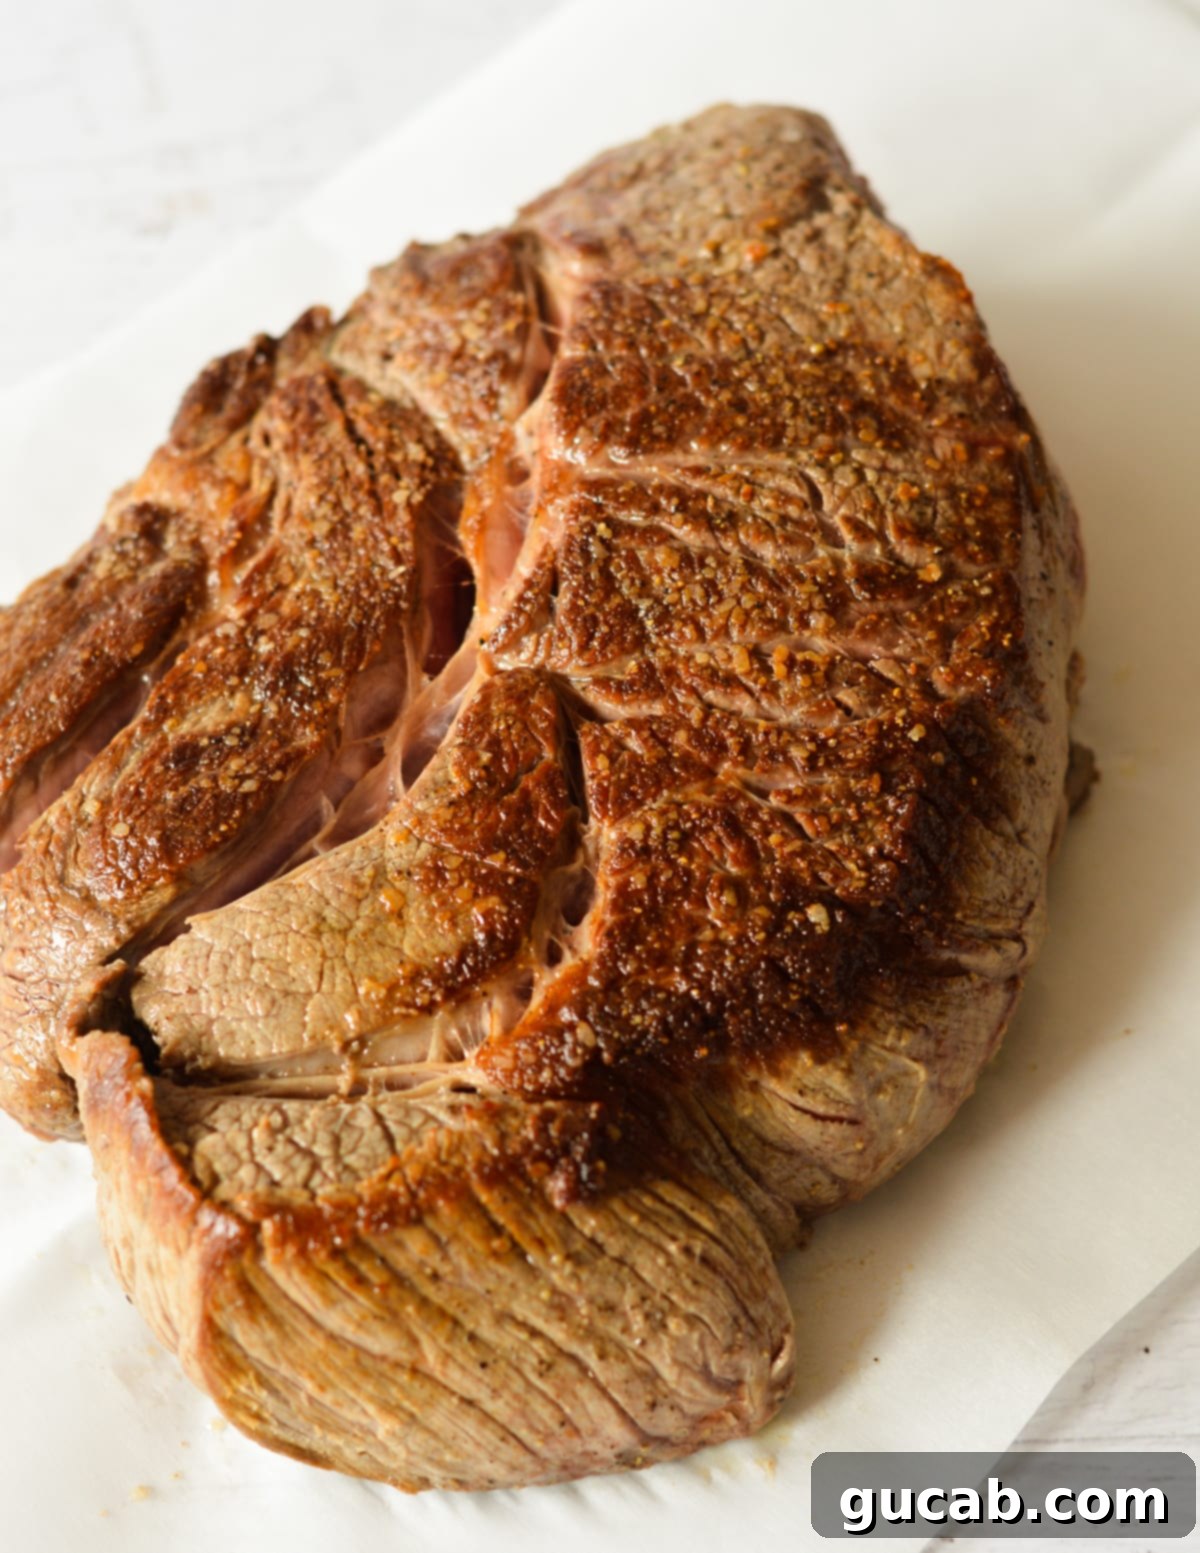
- Deglaze the Pot for Maximum Flavor: Transfer the seared chuck roast to a plate and set it aside. Carefully pour the beef broth into the hot Dutch oven. Use a wooden spoon or spatula to vigorously scrape up all those wonderful brown bits (fond) from the bottom of the pot. This process, called deglazing, incorporates all the caramelized flavors into your liquid, forming the base of your incredibly rich sauce.
- Build the Flavorful Liquid Base: To the deglazed broth, add the dry red wine, minced garlic, tomato paste, and Worcestershire sauce. Stir everything together until well combined. Bring the mixture to a gentle simmer and let it cook for about 3 minutes. This allows the alcohol from the wine to cook off and the flavors to meld. Finally, add the fresh rosemary and thyme sprigs directly into the liquid.
- Return Roast and Begin Braising: Remove the Dutch oven from the heat. Carefully place the seared chuck roast back into the pot, ensuring it’s nestled into the flavorful liquid. Cover the Dutch oven tightly with its lid and transfer it to your preheated 400-degree Fahrenheit oven.
- Initial Cook, Then Reduce Temperature: Allow the pot roast to cook at 400 degrees Fahrenheit for 30 minutes. After this initial period, reduce the oven temperature to 300 degrees Fahrenheit. This two-stage temperature approach helps achieve a tender result while preventing the meat from cooking too quickly or drying out. Continue cooking for another 1 hour and 15 minutes.
- Add the Veggies for Perfect Tenderness: Carefully remove the hot Dutch oven from the oven. Arrange the prepared potatoes, celery, carrots, and onion around the chuck roast, pushing them gently into the simmering liquid. This strategic timing ensures your vegetables cook to a perfect fork-tender consistency without becoming mushy.
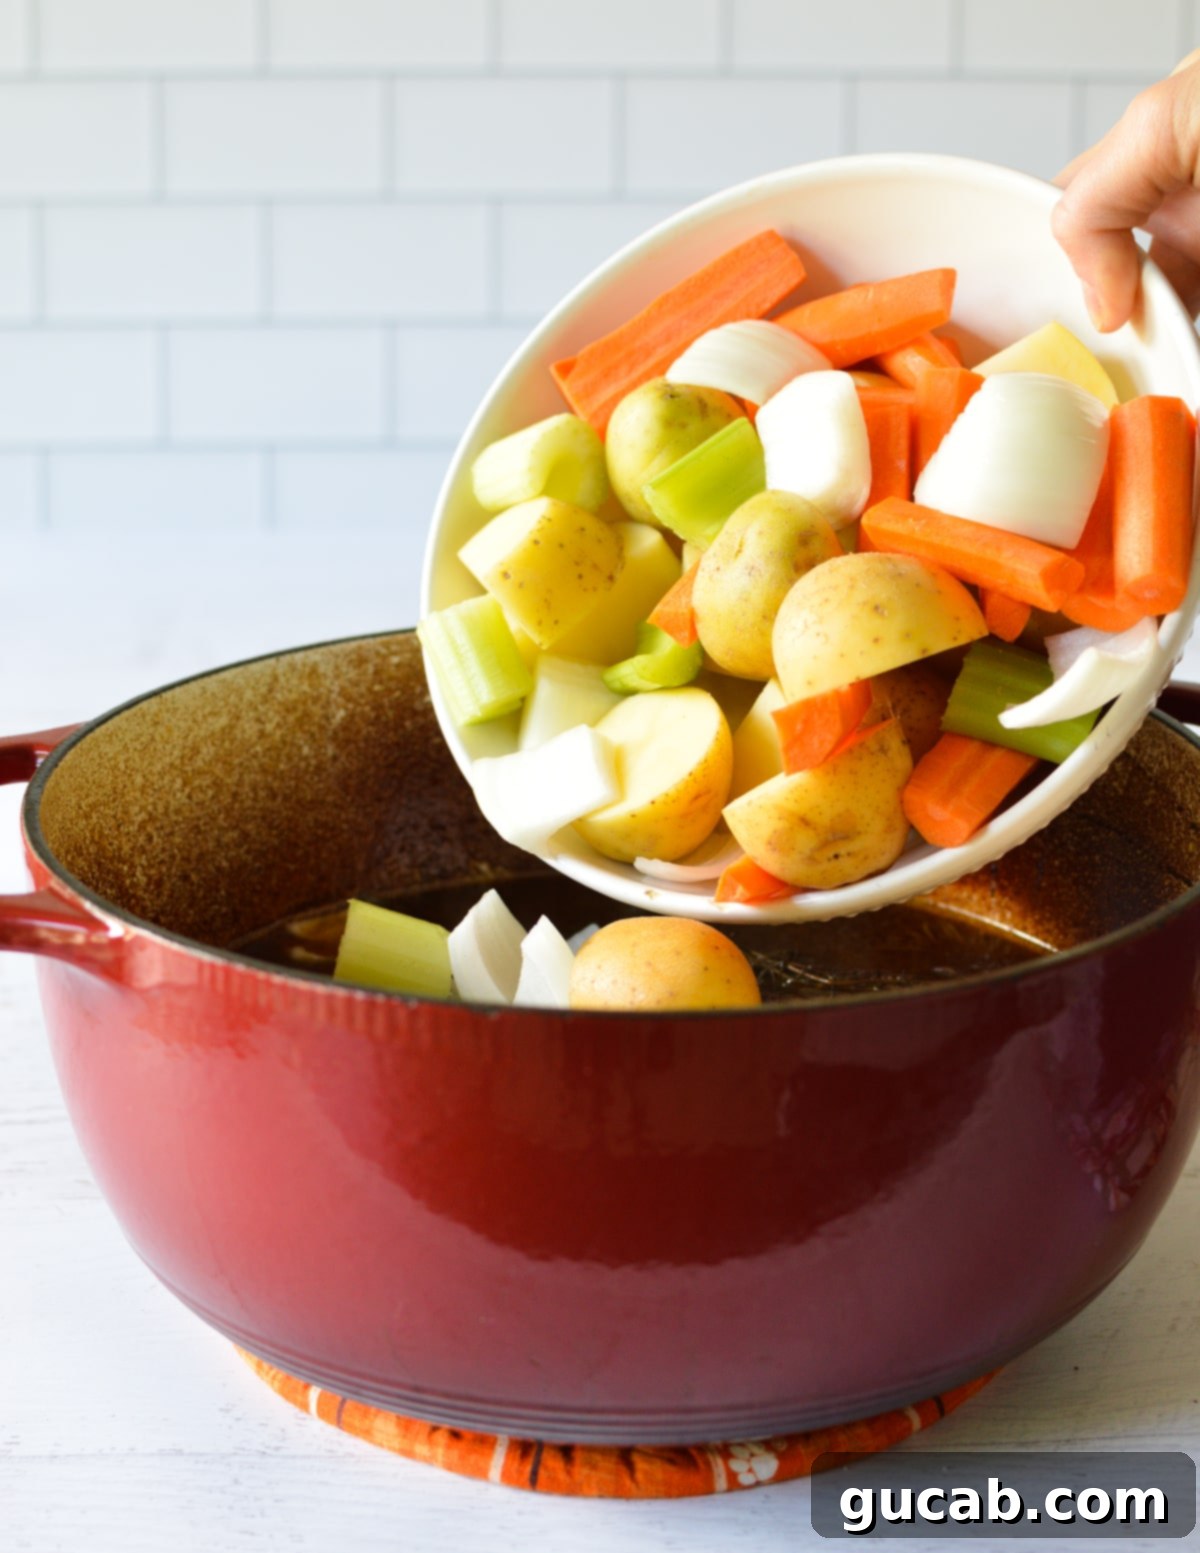
Arrange the veggies around the roast, pushing them into the liquid some to ensure they cook evenly and absorb all the delicious flavors.
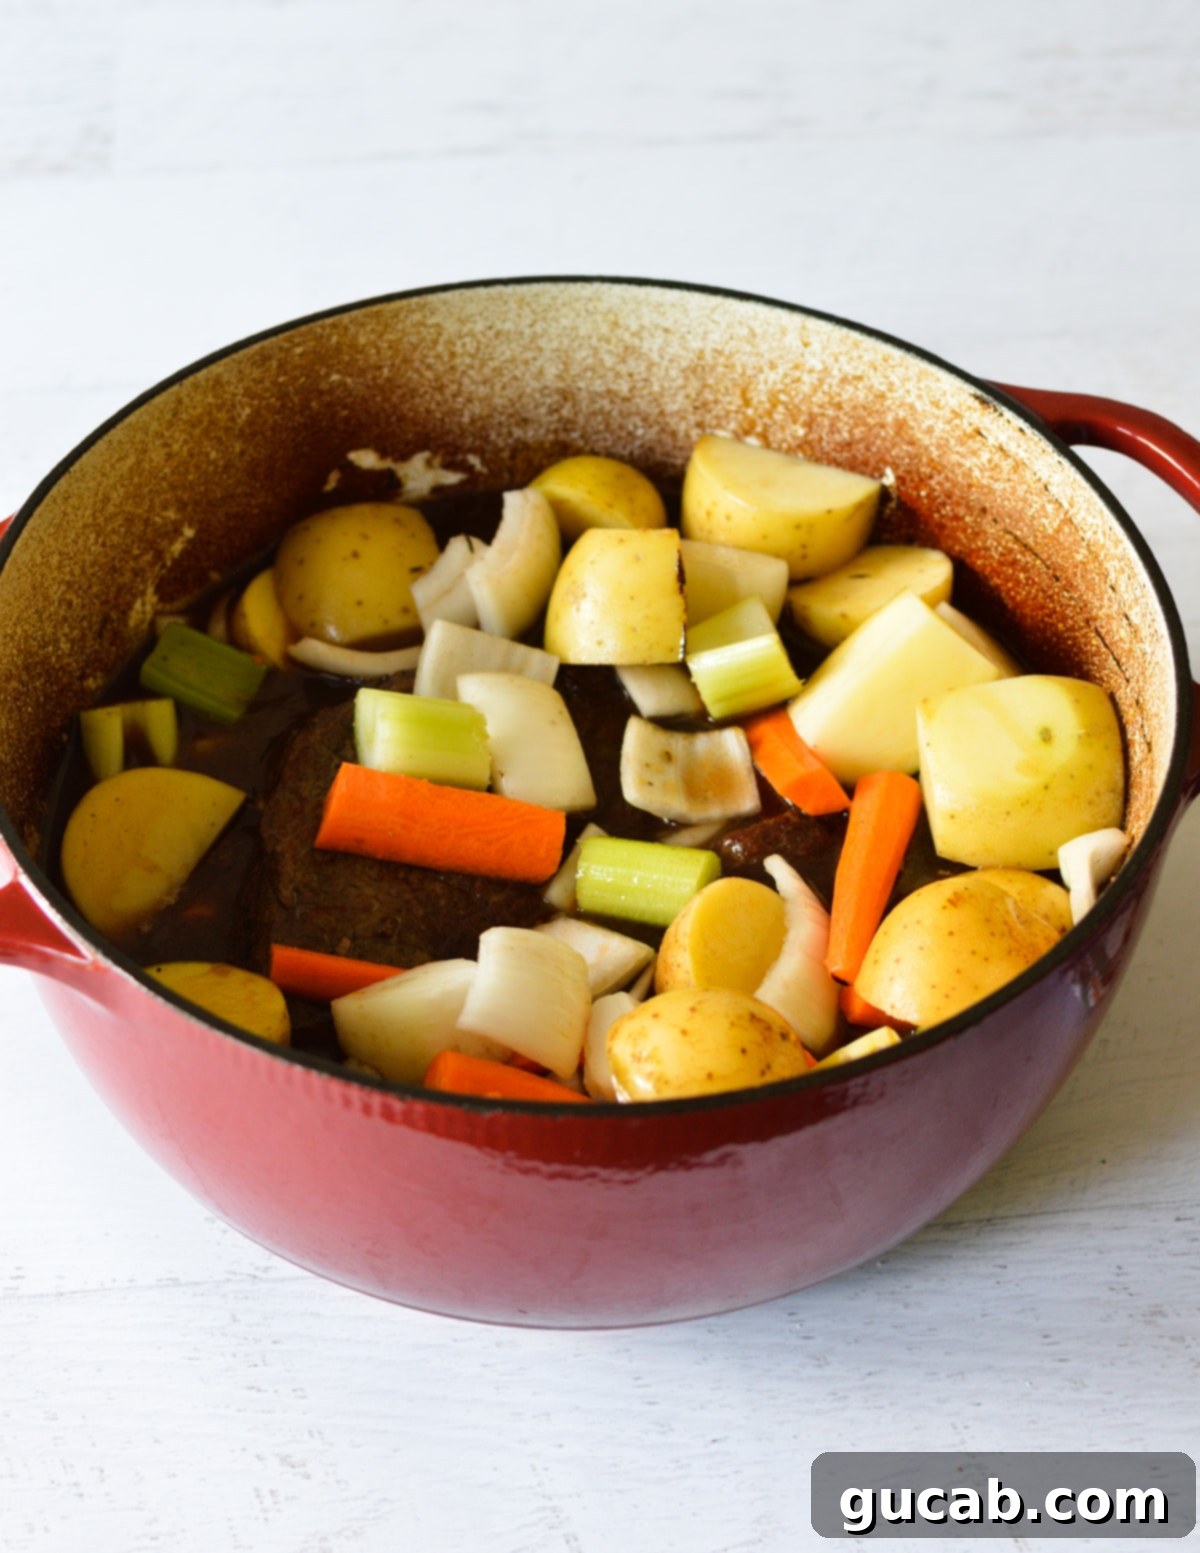
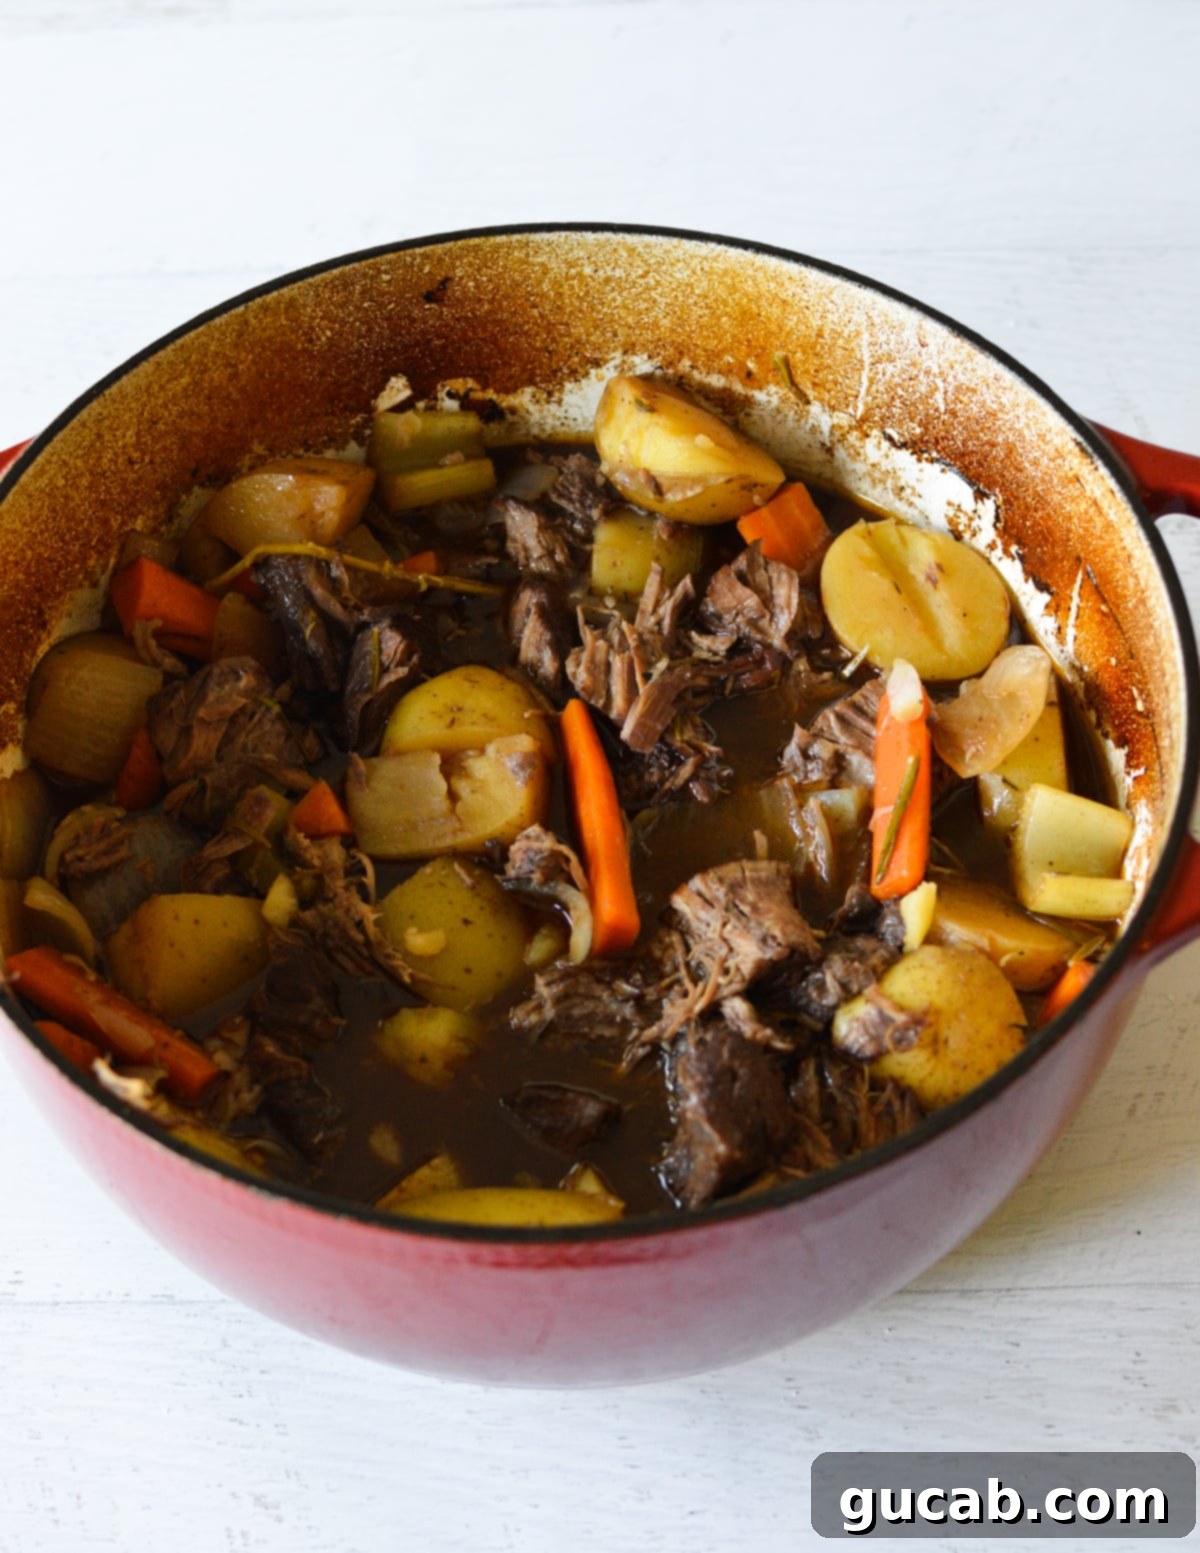
- Cook Until Fall-Apart Tender: Cover the Dutch oven with its lid once more and return it to the oven. Continue cooking for another 1 hour and 30 minutes. The pot roast is ready when the vegetables are fork-tender and the beef is so tender it easily pulls apart with a fork. If it’s still tough, it simply needs more time – return it to the oven for an additional 20-30 minutes and check again. Patience is key for that perfect tenderness!
- Rest the Roast: Once the pot roast is done, remove it from the oven and let it rest, covered, for at least 10-15 minutes before serving. This allows the juices to redistribute throughout the meat, ensuring it remains moist and flavorful.
Expert Tips for the Best Dutch Oven Pot Roast
Achieving a truly exceptional pot roast is easy when you follow a few key principles. These tips will help you elevate your dish from good to absolutely outstanding:
- Ensure Your Dutch Oven is Sizzling Hot for Searing: This cannot be stressed enough! A lukewarm pan will not give you the desired dark, caramelized crust on your chuck roast. The pan needs to be super hot to initiate the Maillard reaction effectively. Don’t worry about the brown bits that stick to the bottom of the pot; these are the highly concentrated flavor compounds (fond) that will form the backbone of your savory sauce when deglazed.
- Timing is Everything for Perfectly Cooked Veggies: Resist the urge to add your vegetables at the beginning of the cooking process. If you do, by the time the chuck roast is fall-apart tender, your carrots and potatoes will have turned into an unappetizing mush. Adding them halfway through ensures they cook to a beautiful fork-tender consistency, maintaining their integrity and delightful texture.
- Don’t Forget to Reduce the Oven Temperature: Starting the oven at a higher temperature (400°F) for the initial 30 minutes, then reducing it to a lower, slower braising temperature (300°F) helps create a more complex flavor profile. The initial higher heat can help brown the liquid slightly and kickstart the tenderizing process, while the subsequent low and slow cooking ensures the beef becomes incredibly tender without drying out.
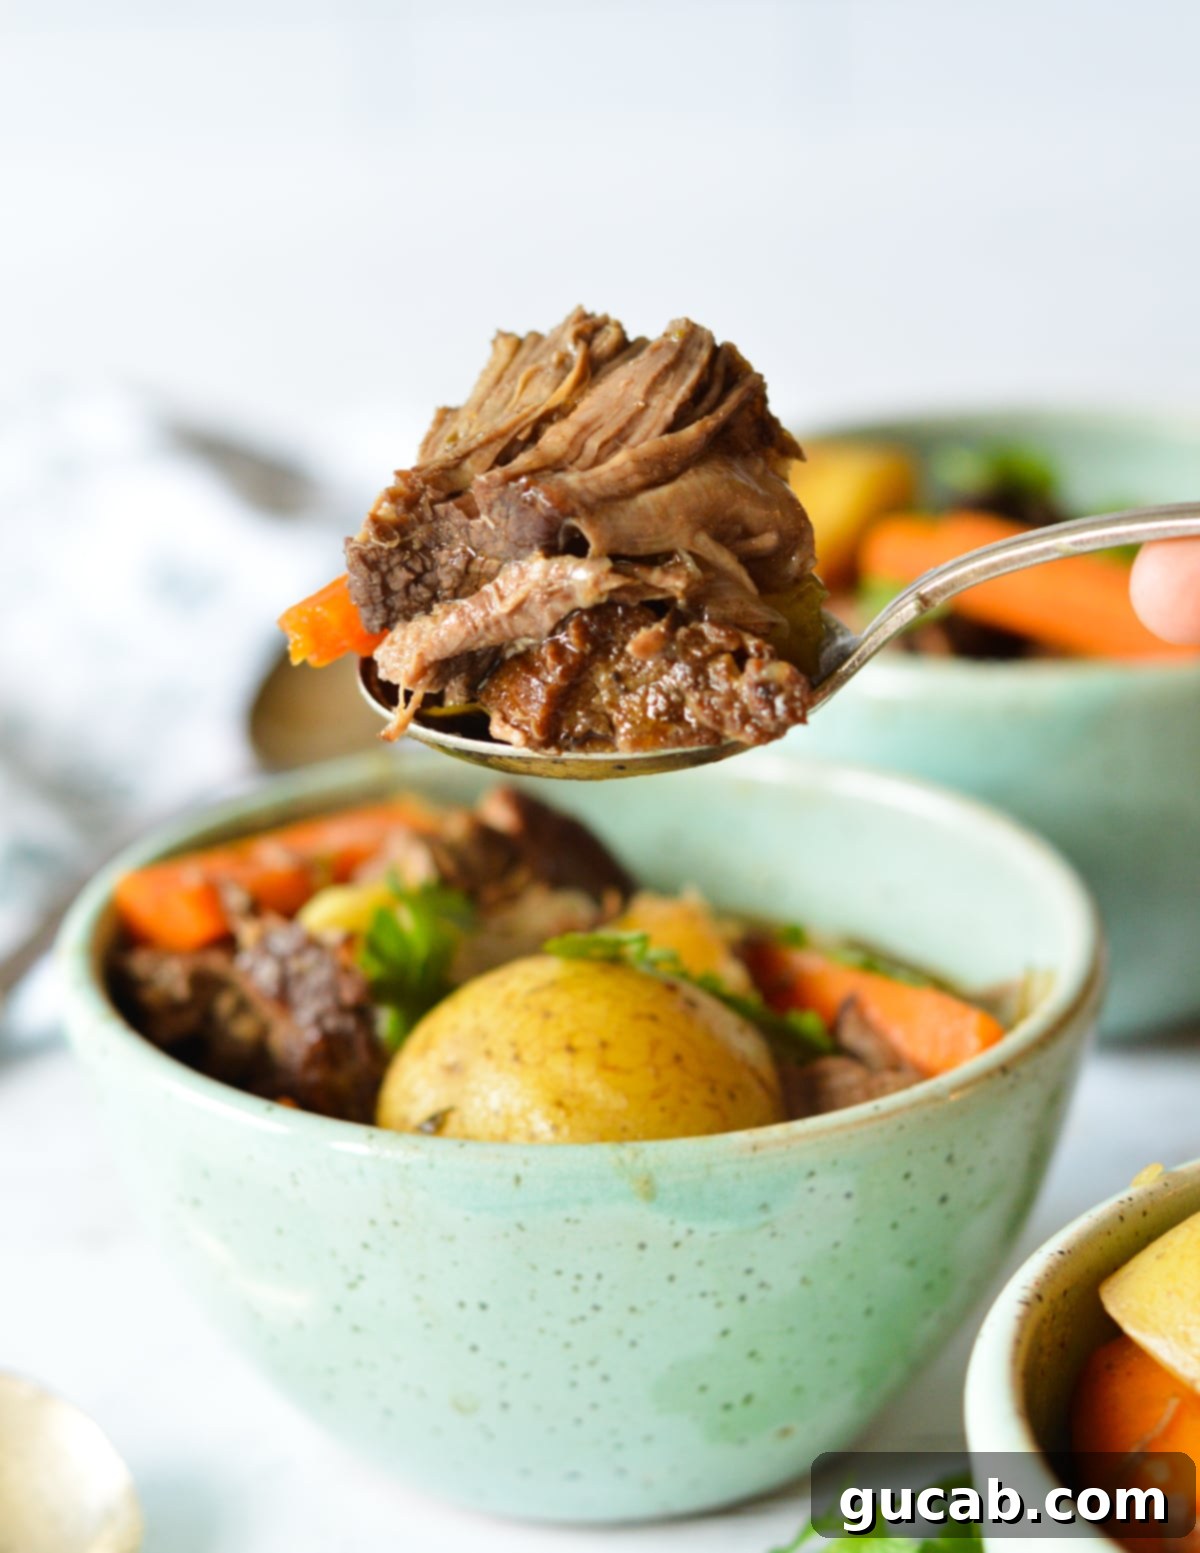
- Confirm Tenderness with a Fork: The true test of a perfect pot roast is not just the clock, but how easily the meat pulls apart. If the roast isn’t effortlessly shreddable with a fork, it’s simply not ready. Be patient; put it back in the oven for another 20-30 minutes, then check again. Tough cuts like chuck roast require ample time to break down their connective tissues.
- Consider Thickening the Sauce (Optional): If you prefer a thicker gravy, after removing the roast and vegetables, you can create a cornstarch slurry (1 tablespoon cornstarch mixed with 2 tablespoons cold water) and whisk it into the hot liquid in the Dutch oven while it simmers on the stovetop. Cook for a few minutes until the sauce thickens to your desired consistency.
- Let the Roast Rest: Once cooked, always let the pot roast rest for 10-15 minutes before shredding or slicing and serving. This allows the juices to redistribute throughout the meat, ensuring every bite is moist and flavorful.
Storing and Freezing Tips for Leftover Pot Roast
One of the many joys of pot roast is that it often tastes even better the next day! Knowing how to properly store and freeze leftovers ensures you can enjoy this delicious comfort food for days to come.
- Storing in the Refrigerator: To store leftover pot roast, allow it to cool completely before transferring it to an airtight container. Make sure to include some of the delicious braising liquid with the meat and vegetables, as this helps keep everything moist and flavorful. It will keep beautifully in the refrigerator for up to 5 days.
- Reheating: For individual portions, simply reheat in a microwave-safe bowl until thoroughly hot. If reheating a larger amount, you can gently warm it on the stovetop over low heat, adding a splash more beef broth if needed to prevent drying.
- Freezing Leftovers: You can absolutely freeze leftover pot roast, but with a slight caveat: freeze only the meat and some of the braising juices, if possible. The potatoes and other root vegetables tend to get mushy and change texture significantly when thawed and reheated after freezing. To freeze, transfer the cooked meat and a good amount of the rich gravy to a freezer-safe zip-top bag or an airtight container. Squeeze out any excess air from the bag to prevent freezer burn. It can be frozen for up to 3 months. Thaw overnight in the refrigerator before reheating.
Delicious Variations for Your Pot Roast
While the classic Dutch oven pot roast recipe is perfect as is, it’s also incredibly versatile! Feel free to experiment with these variations to suit your taste and whatever you have on hand.
- Meat Options: While chuck roast is the gold standard for its marbling and tender results after slow braising, you have other choices. For a leaner cut, try a bottom round roast, though it might require slightly longer cooking to achieve similar tenderness. Brisket is another excellent option, offering rich flavor and a beautiful texture when slow-cooked.
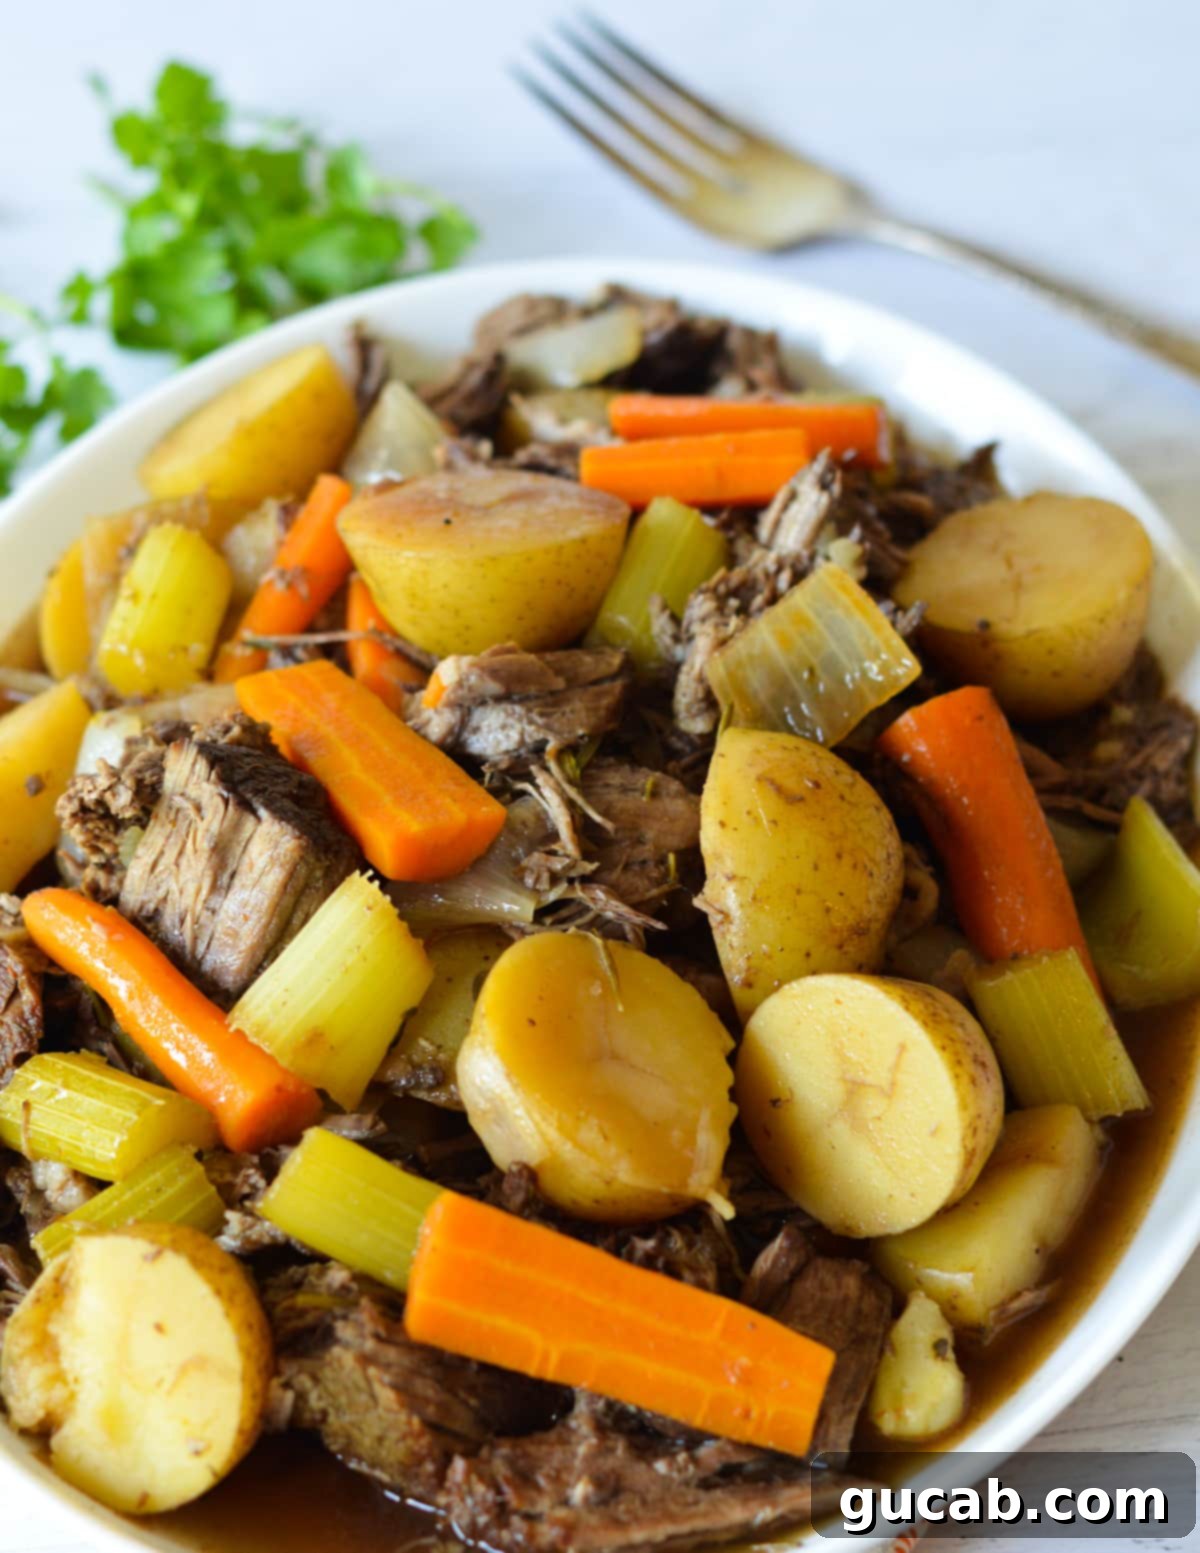
- Vegetable Combinations: The beauty of pot roast is its adaptability to different vegetables. Experiment with your favorite root vegetables! I adore gold potatoes, but red potatoes, Yukon golds, or even sweet potatoes (added later to prevent mushiness) work wonderfully. Don’t limit yourself to just the basics. You can easily swap the celery for baby bella mushrooms for an earthy umami boost, or add both for extra depth. Parsnips, turnips, or even a handful of frozen peas (added during the last 15 minutes of cooking) can add variety. Remember, it’s your pot roast, and you make the rules!
- Flavor Profile Boosters:
- Spicy Kick: Add a pinch of red pepper flakes or a dash of hot sauce to the liquid for a subtle warmth.
- Herb Medley: Beyond rosemary and thyme, bay leaves are a classic addition for depth. Dried oregano or marjoram can also complement the beef beautifully.
- Citrus Brightness: A squeeze of lemon juice or a hint of orange zest at the very end can brighten up the rich flavors of the gravy.
- Mustard: A tablespoon of Dijon or whole grain mustard in the liquid adds a savory tang that enhances the beef.
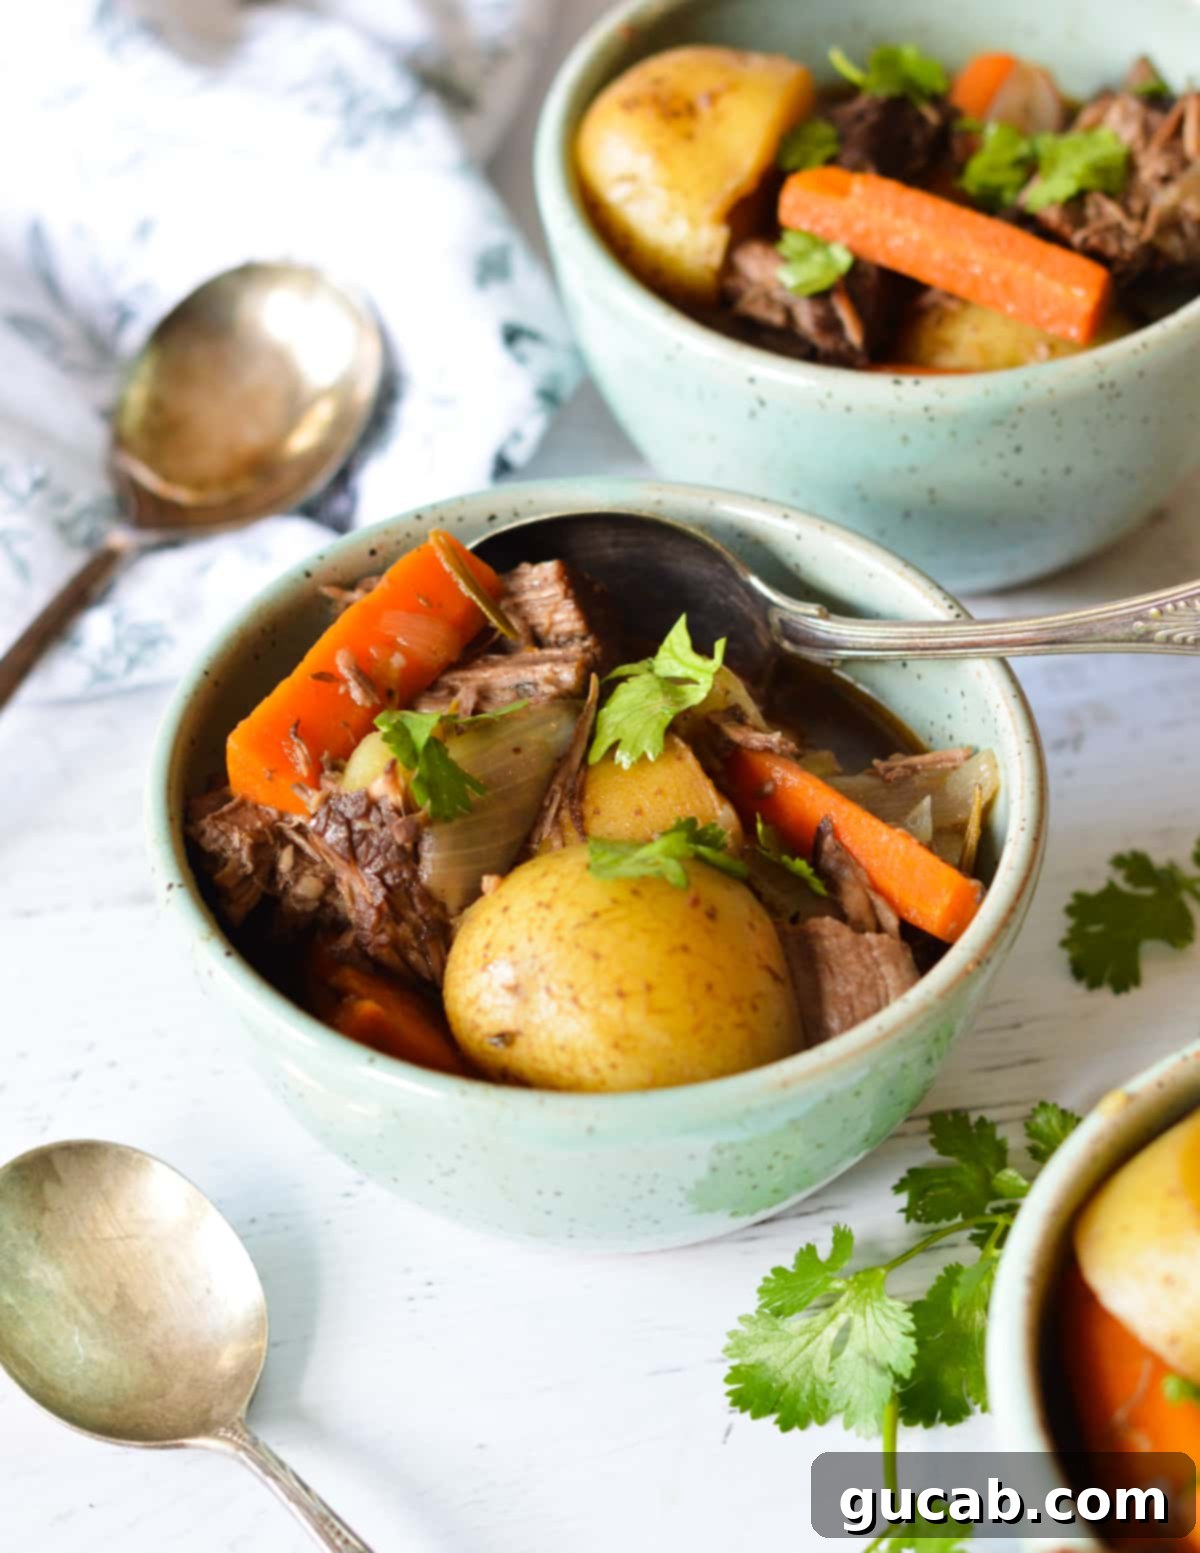
Serving Ideas for Your Hearty Pot Roast
A comforting Dutch oven pot roast is truly a meal unto itself, complete with tender beef, flavorful vegetables, and a rich gravy. However, who doesn’t appreciate a few complementary sides to round out the experience? Here are some of my favorite pairings that perfectly match the hearty nature of this dish:
- Soft Dinner Rolls or Crusty Bread: Any good, crusty bread or soft dinner rolls are absolutely essential. They are the perfect vehicle for soaking up every last drop of that incredible, savory gravy. For a super quick and easy option, try a batch of sliced garlic bread.
- Homemade Cornbread: Always a crowd-pleaser, warm cornbread offers a slightly sweet contrast to the savory pot roast and is another excellent choice for sopping up the delicious juices.
- Light and Crunchy Salad: Pot roast is a rich and heavy meal, so a fresh, crisp salad can provide a welcome balance. I love a simple romaine salad with thinly sliced carrots, a sprinkle of Parmesan, and a bright Italian vinaigrette. The acidity and freshness cut through the richness beautifully.
- Fluffy White Rice: If you’re looking for another absorbent base to catch all that delectable gravy, white rice is a fantastic, neutral option. It’s simple to prepare and perfectly complements the tender meat and vegetables. Mashed potatoes are another obvious choice if you want extra creamy goodness!
Frequently Asked Questions (FAQs) About Dutch Oven Pot Roast
If your pot roast is tough, the most common reason is that it hasn’t cooked long enough! Chuck roast, while incredibly flavorful, is a tough cut of meat rich in connective tissue. This tissue needs significant time at a low, consistent temperature to break down and transform into succulent, fall-apart tenderness. Patience is key. If your roast is tough, simply return it to the oven, covered, for another 30 minutes, then check it again. Remember, bigger roasts will naturally require longer cooking times.
For this 3-pound chuck roast recipe, I used a 6-quart Dutch oven, and all the ingredients (meat and vegetables) fit perfectly inside with enough room for the liquid to simmer. A 6-quart Dutch oven is a versatile size for most family meals. You can certainly use a larger Dutch oven if that’s what you have on hand, but I would advise against going any smaller than 5.5-6 quarts, as you might find it difficult to fit everything comfortably, especially once the vegetables are added.
Yes, you can adapt this recipe for a slow cooker! The key initial steps of seasoning and searing the chuck roast are still highly recommended for building deep flavor, even if you do them in a separate pan on the stovetop first. After searing, transfer the roast and all the liquid ingredients (broth, wine, garlic, Worcestershire, tomato paste, herbs) to your slow cooker. Cook on low for 6-8 hours or on high for 3-4 hours. Just like with the Dutch oven, add your vegetables (potatoes, carrots, celery, onion) during the last 2-3 hours of cooking on low, or the last 1-1.5 hours on high, to ensure they are tender but not mushy.
More Comfort Food Recipes to Love
If you’re a fan of hearty, comforting meals that bring warmth to your table, be sure to check out these other beloved recipes:
- Creamy Alfredo Sauce with Half & Half
- Hearty Cowboy Soup
- The BEST One Pound Meatloaf Recipe
- Easy Homestyle Chili
Dutch Oven Pot Roast
Carolyn
Pin Recipe
Equipment
-
Dutch oven
Ingredients
- 3 pound chuck roast excess fat trimmed
- 2 tablespoons olive oil
- ¾ cup dry red wine I used cabernet sauvignon
- 3 cups beef broth
- 3 garlic cloves minced
- 1 tablespoon tomato paste
- 1 tablespoon Worcestershire sauce
- 1 large onion cut into chunks
- 3 large carrots cut into 2-inch thick pieces
- 1.5 pound petite gold potatoes halved*
- 2 celery ribs cut into 1-inch pieces
- 2 fresh thyme sprigs
- 2 fresh rosemary sprigs
Instructions
-
Preheat oven to 400 degrees Fahrenheit.
-
Heat a large Dutch oven over medium-high heat. Meanwhile, season both sides of the chuck roast liberally with kosher salt and freshly cracked pepper.
-
Add the olive oil to the Dutch oven. Once it’s sizzling hot, add the chuck roast and sear on both sides until dark brown and caramelized, about 3-5 minutes.
-
Set the chuck roast aside. Carefully add the beef broth and use a spatula to scrape up the brown bits off the bottom of the pot.
-
Add the red wine, garlic, Worcestershire sauce, and tomato paste. Stir and bring the mixture to a simmer and let simmer for 3 minutes. Add the rosemary and thyme sprigs.
-
Remove the pot from the heat, carefully place the chuck roast back into the pot, cover with a lid, and place into the preheated oven.
-
Let the pot roast cook for 30 minutes, then reduce the temperature to 300 degrees Fahrenheit.
-
Let the pot roast cook for another hour and 15 minutes. Carefully remove the pot from the oven and arrange the potatoes, celery, carrots, and onion around the roast.
-
Cover with a lid and place the pot back into the oven. Cook for another 1 hour and 30 minutes, or until the veggies are tender and the roast is easy to pull apart with a fork.
Notes
Nutrition
