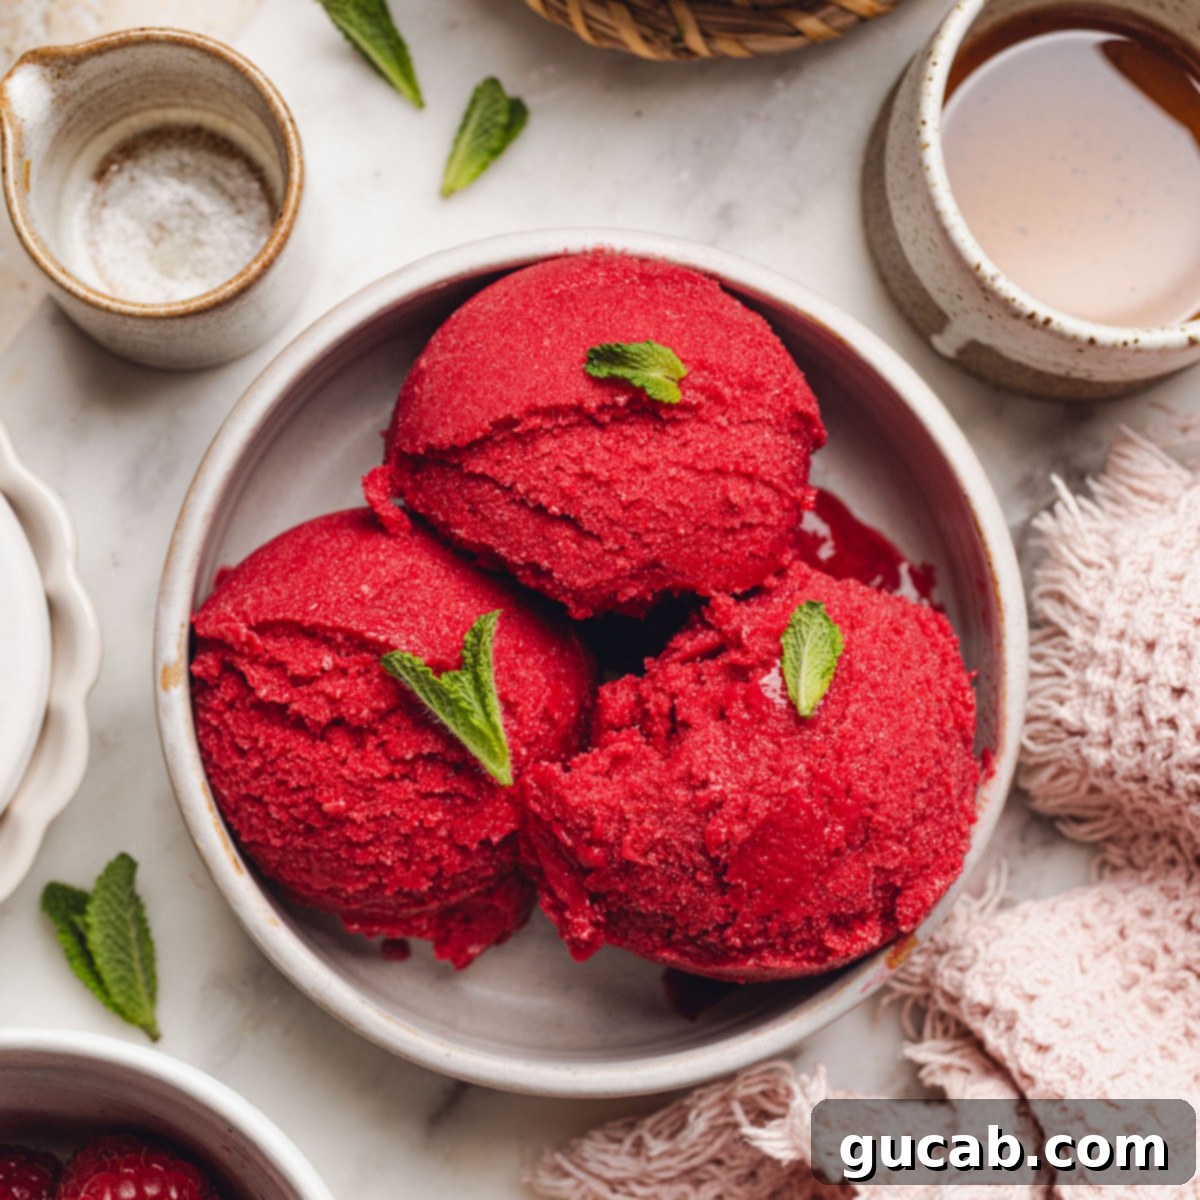
Easy Blender Raspberry Sorbet: A Refreshing No-Churn Frozen Treat
Indulge in the ultimate summer treat with this incredibly fresh and fruity raspberry sorbet! Bursting with a delightful sweet-tart raspberry punch, this recipe redefines ease and speed. Forget the bulky ice cream maker; you can whip up this vibrant frozen dessert in about 5 minutes using just a blender. It’s the perfect solution for a quick, healthy, and incredibly satisfying cool-down, any time the craving strikes.
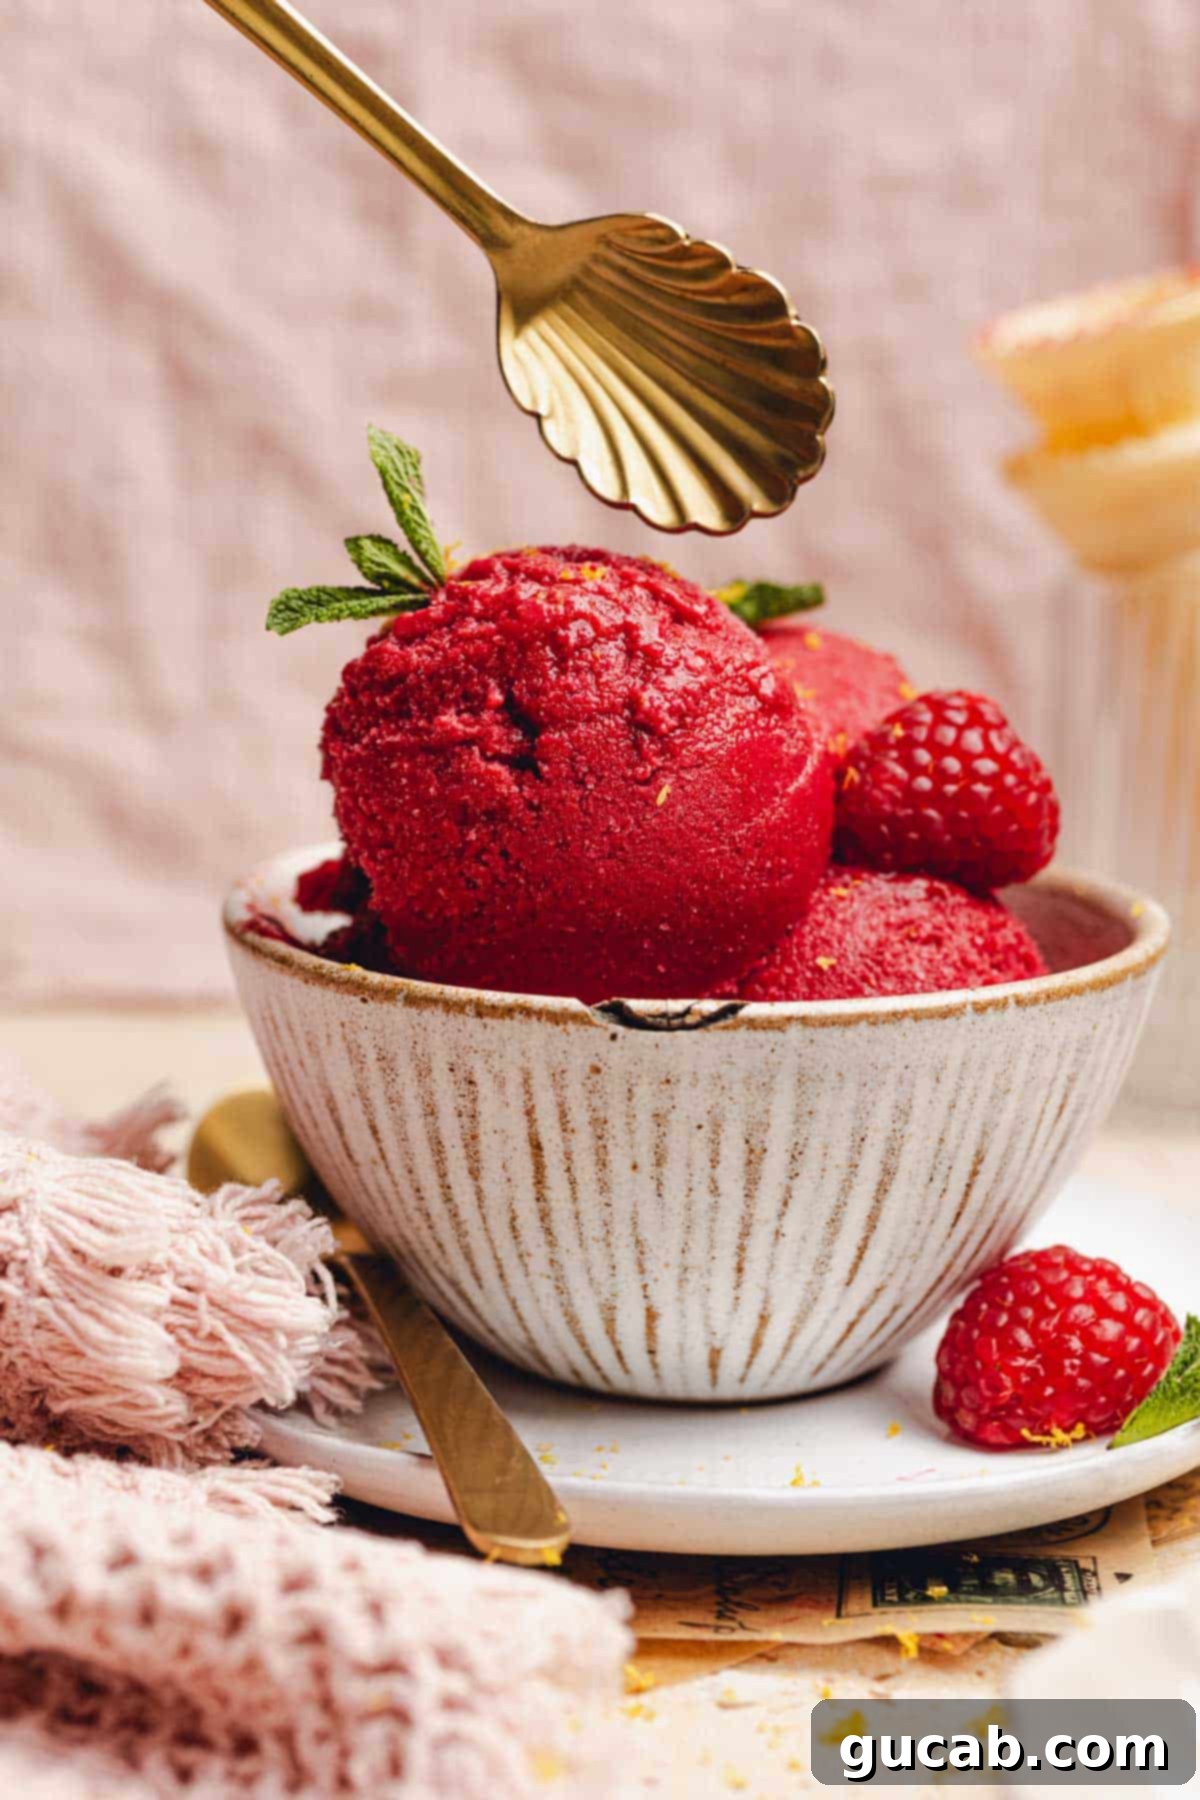
Blender Sorbet: Your Shortcut to Frozen Delight
Traditionally, sorbet is made by churning a fruit mixture in an ice cream maker, a process that can be time-consuming and requires specialized equipment. However, for those seeking a quick and effortless alternative, the trusty blender steps in as a kitchen hero. This blender raspberry sorbet revolutionizes the way we think about homemade frozen desserts. It’s all about simplicity, speed, and incredible flavor without the fuss.
This recipe calls for just a few simple, wholesome ingredients that are tossed into a high-powered blender and pureed until smooth and scoopable. The secret lies in using mostly frozen fruit with minimal liquid, allowing the blender’s powerful blades to transform the icy berries into a luscious, thick consistency akin to traditional sorbet. The result is a dessert that’s not only incredibly fresh and tart but also naturally sweetened with ripe banana and maple syrup, free from refined white sugar. It’s a treat you can truly feel good about enjoying!
Why Make Sorbet in a Blender?
- No Special Equipment: The biggest advantage is that you don’t need an ice cream maker. Most kitchens already have a blender, making this recipe accessible to everyone.
- Instant Gratification: Traditional sorbet often requires pre-freezing the bowl of an ice cream maker, then churning for 20-30 minutes. This blender method delivers a ready-to-eat sorbet in literally minutes.
- Healthier Ingredients: By making it at home, you have full control over the ingredients, opting for natural sweeteners and avoiding artificial additives found in many store-bought options.
- Easy Cleanup: One blender pitcher means minimal dishes, making cleanup a breeze.
The Secret to Perfect Blender Sorbet Texture
Achieving that delightful, scoopable sorbet texture in a blender might seem like magic, but it’s all about a few key principles. The high concentration of frozen fruit is paramount. When frozen fruit is blended with minimal liquid, its ice crystals are finely pulverized, creating a smooth, dense, and creamy consistency. The added frozen banana isn’t just for sweetness; it contributes significant creaminess and body, making the sorbet feel richer without any dairy.
Resist the temptation to add too much liquid! A small amount is necessary to get the blades moving, but an excess will result in a smoothie or a slushy, not a thick, spoonable sorbet. Patience and occasional scraping of the blender sides are key to guiding the ingredients into a perfectly uniform frozen dessert.
Key Ingredients for Vibrant Raspberry Sorbet
Each ingredient plays a crucial role in the flavor, texture, and overall success of this easy raspberry sorbet. Here’s a closer look at what you’ll need:
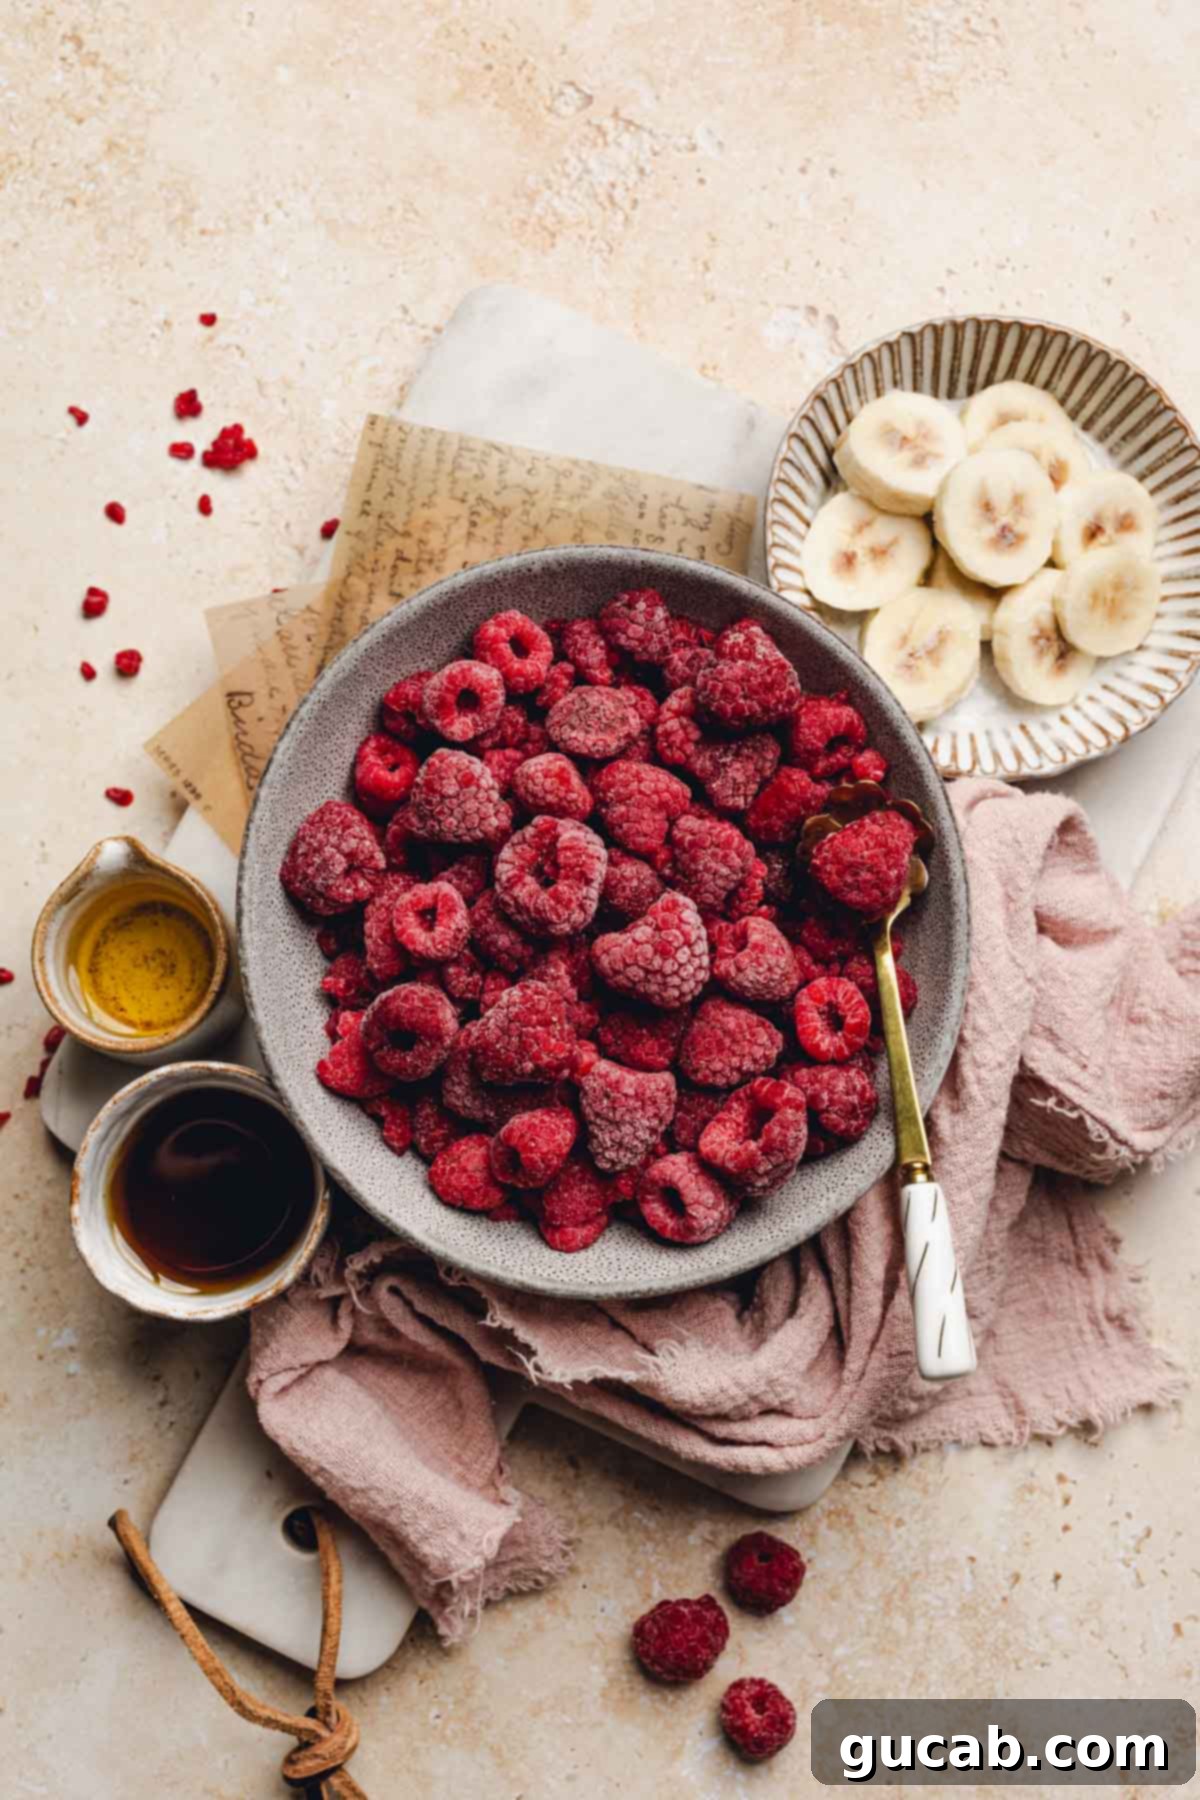
- Frozen Banana: This is a cornerstone ingredient for both texture and sweetness. Make sure to use a *ripe* banana – the riper it is, the sweeter and creamier your sorbet will be. Peel your banana and cut it into slices before freezing overnight in a zip-top bag. Slicing it pre-freezing makes it easier for your blender to process. If your banana is on the smaller side, feel free to use a bit more than half for optimal creaminess and sweetness. Frozen bananas are also fantastic for smoothies and nice cream recipes!
- Frozen Raspberries: The star of the show! Frozen raspberries provide that intensely tart and wonderfully fresh flavor that defines this sorbet. Using frozen berries is crucial for achieving the right consistency immediately. While not all stores carry frozen raspberries, check larger grocery chains or specialty stores like Target. The tartness of raspberries is a key characteristic, which is balanced beautifully by the other ingredients.
- Maple Syrup: Raspberries are naturally quite tart, so maple syrup steps in to add a touch of natural sweetness, creating that delightful sweet-tart balance. Maple syrup is an excellent unrefined sweetener that adds a subtle depth of flavor. You have full control here: if you prefer a sweeter sorbet, simply add more maple syrup to taste. You can also substitute with honey or agave nectar if you prefer.
- Apple Juice: Just a small amount of liquid is needed to help the blender blades get going and create a smooth puree. It’s vital to resist the temptation to add too much liquid, as this will prevent the mixture from reaching a thick, scoopable sorbet consistency. A little goes a long way! If you want an extra tangy kick, you could swap apple juice for a splash of lemon juice.
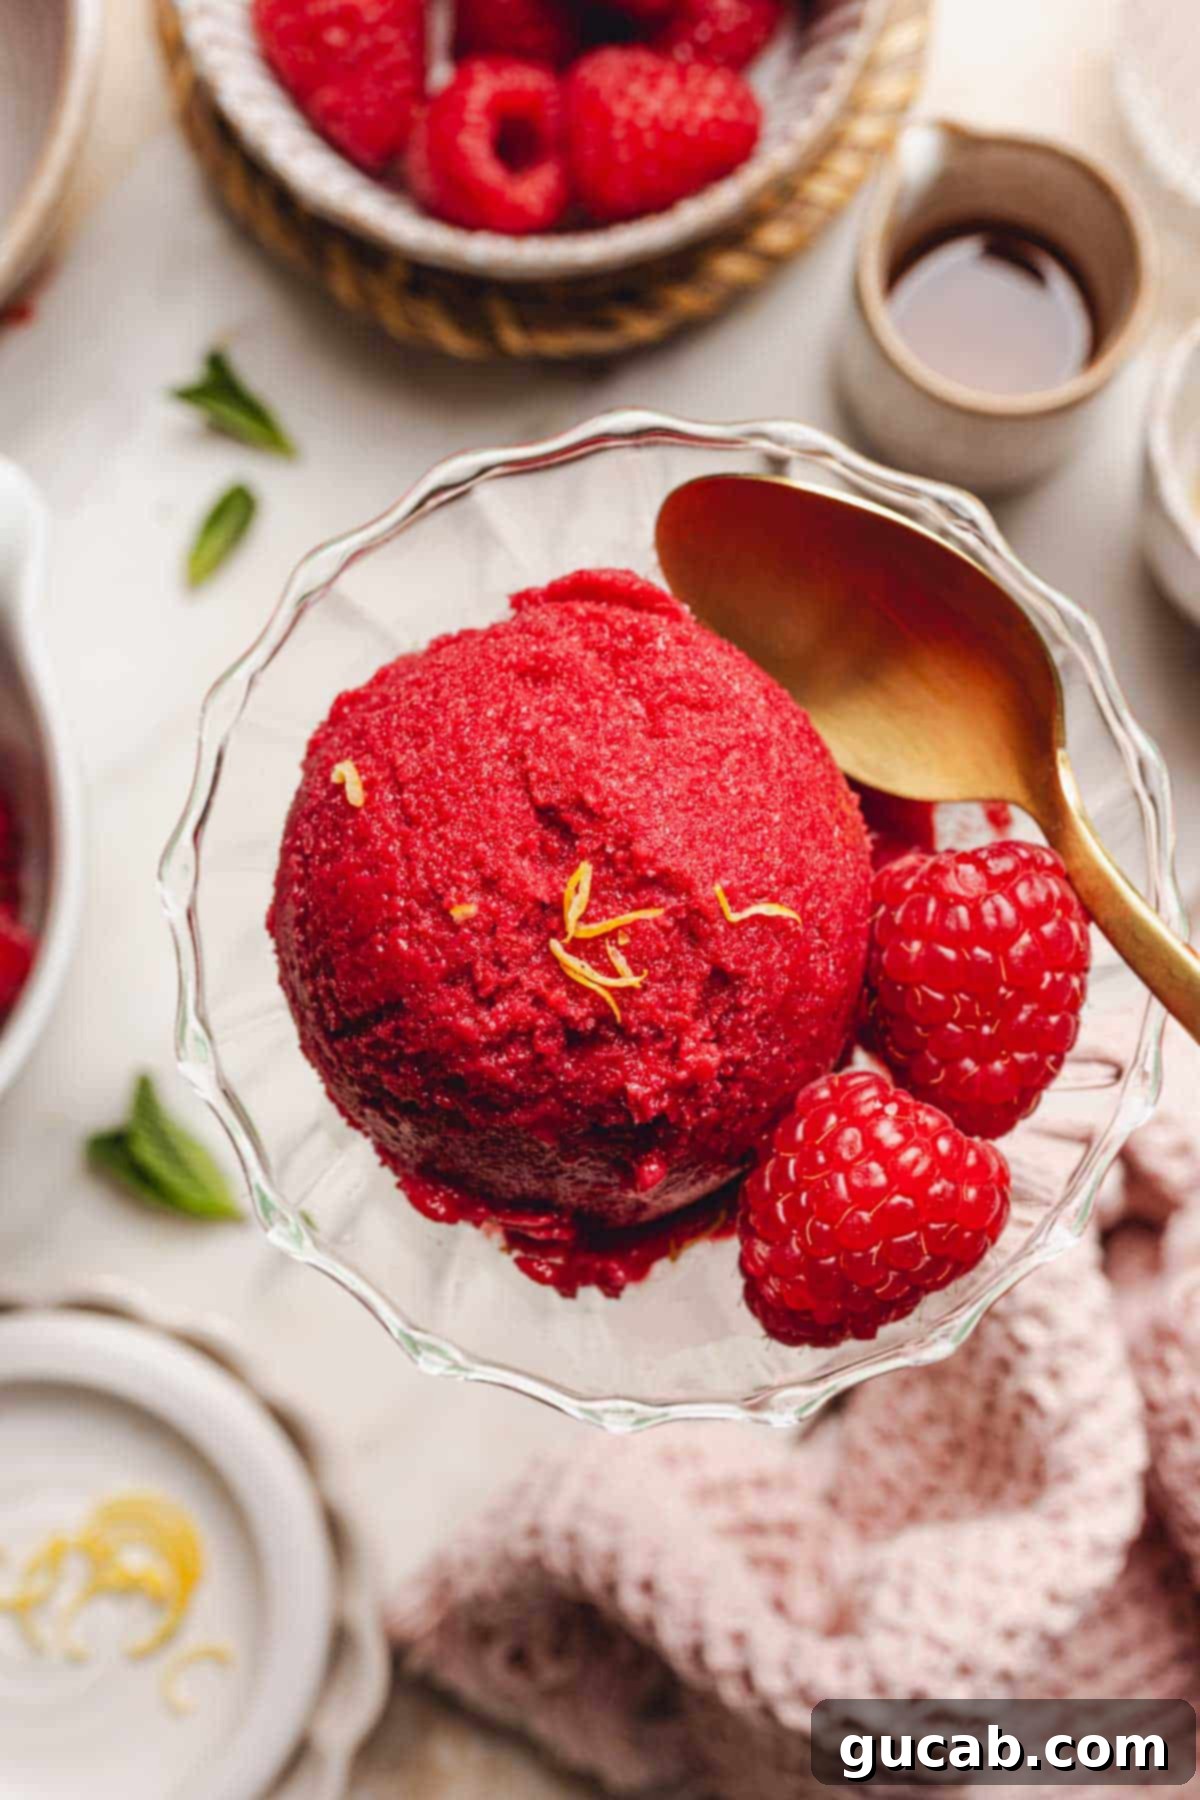
How to Make Raspberry Sorbet: Step-by-Step Guide
This blender sorbet is incredibly straightforward to make, but a few pointers will ensure you achieve perfect results every time. Follow these steps for a flawless, homemade raspberry sorbet:
- Start with a High-Speed Blender: This is non-negotiable for success. A standard, low-powered blender from the 80s simply won’t cut it. You need a blender with a powerful motor that can efficiently pulverize hard, frozen fruit into a smooth, thick consistency without overheating. Brands like Vitamix or Blendtec are ideal, but many budget-friendly brands now offer high-speed models that work well.
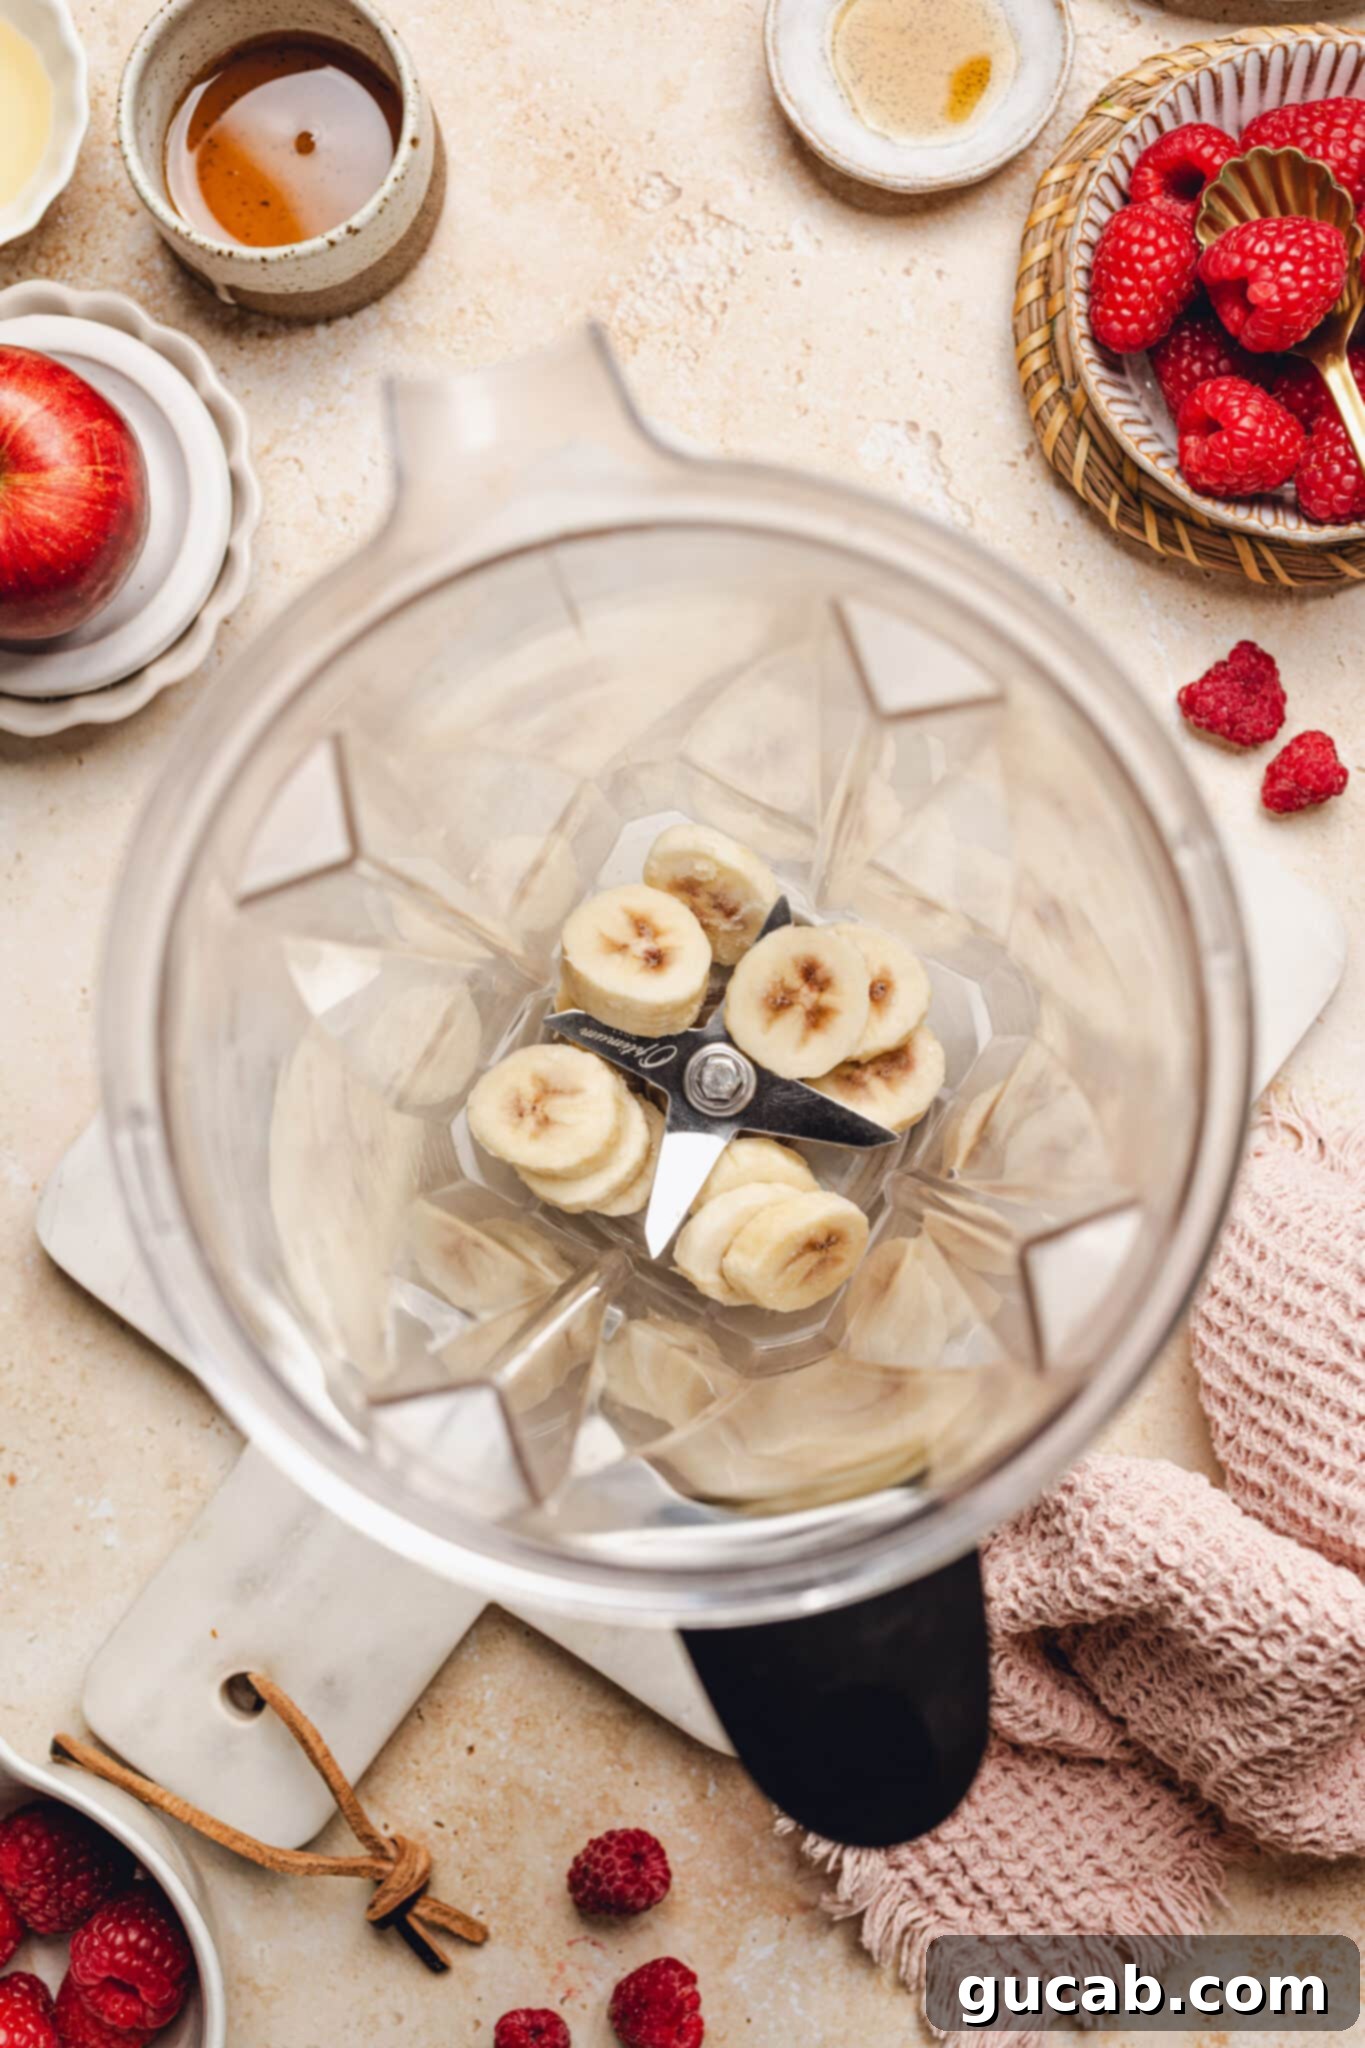
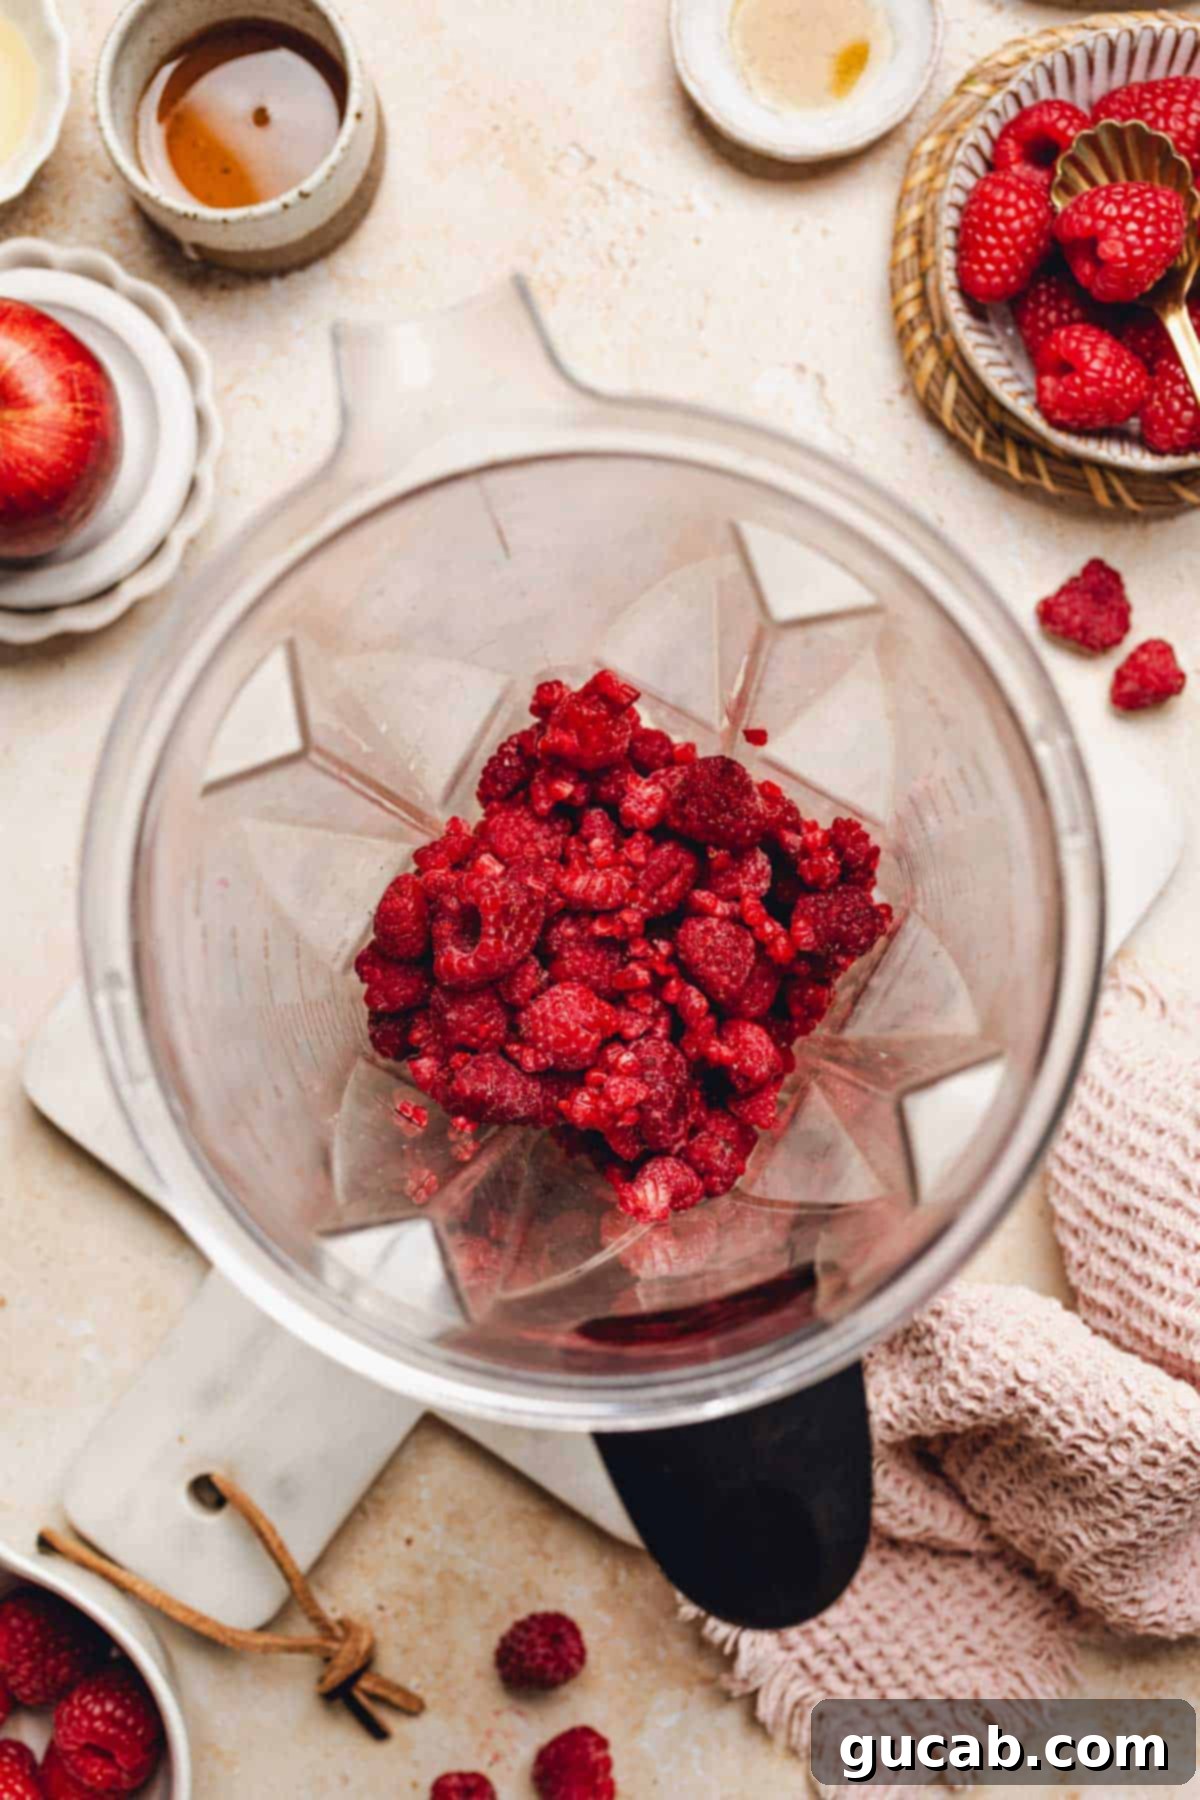
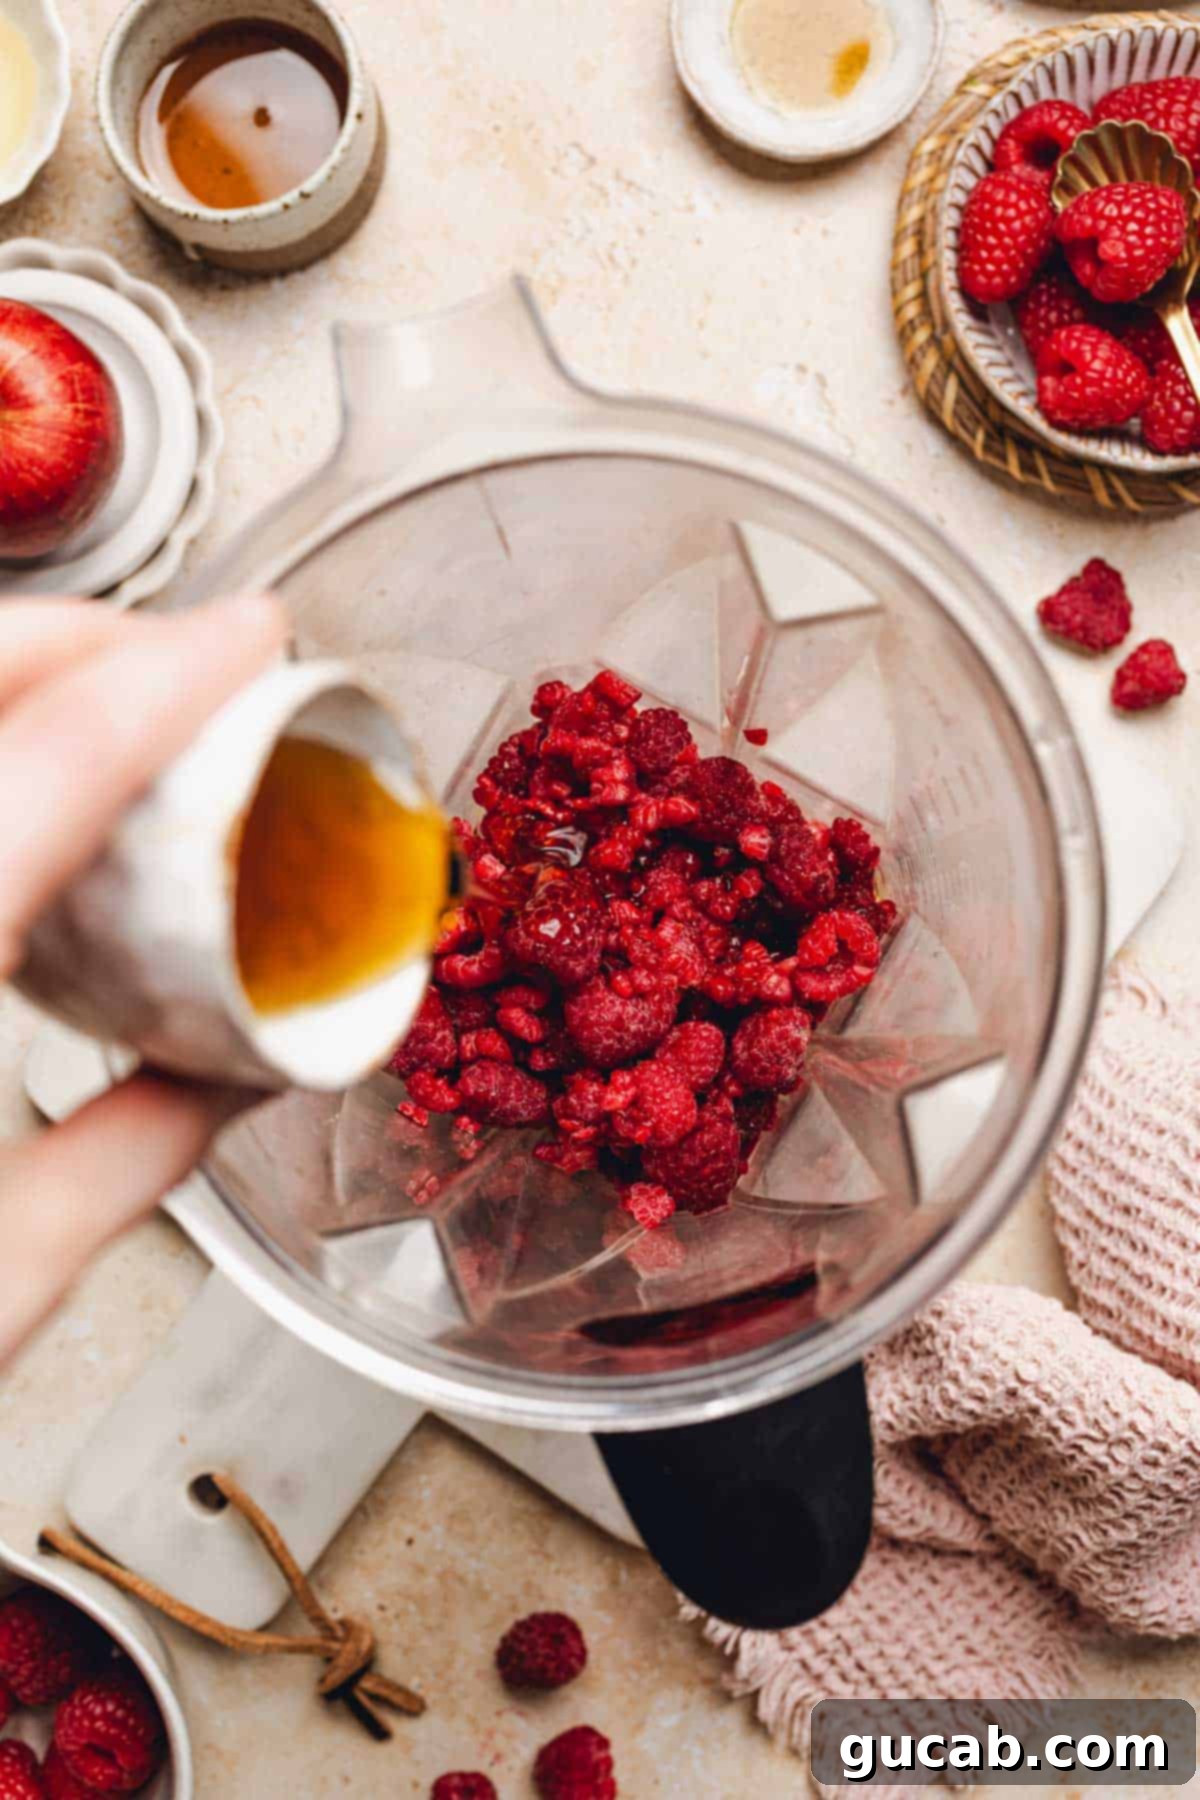
- Combine All Ingredients in the Blender: Place the frozen banana slices, frozen raspberries, maple syrup, and apple juice into your blender. It’s important to layer them correctly: place the liquid at the bottom, followed by the softer frozen fruit (banana), then the harder frozen fruit (raspberries). This helps the blades catch and pull everything down more effectively. Remember, using frozen fruit is absolutely critical for the right consistency; fresh fruit will result in a juice or smoothie.
- Blend, Stop, and Scrape: Since this recipe uses very little liquid, the mixture will likely get stuck and stop moving around the blades. Start your blender on a low speed, then gradually increase it. Once the mixture stops circulating freely, turn off the blender. Use a sturdy spatula to scrape down the sides of the pitcher, pushing the frozen fruit closer to the blades. Repeat this process as many times as needed until you achieve a thick, smooth, and uniform consistency. If your blender comes with a tamper (common with Vitamix blenders), use it to continuously push the ingredients towards the blades while blending, which can significantly speed up the process and minimize scraping.
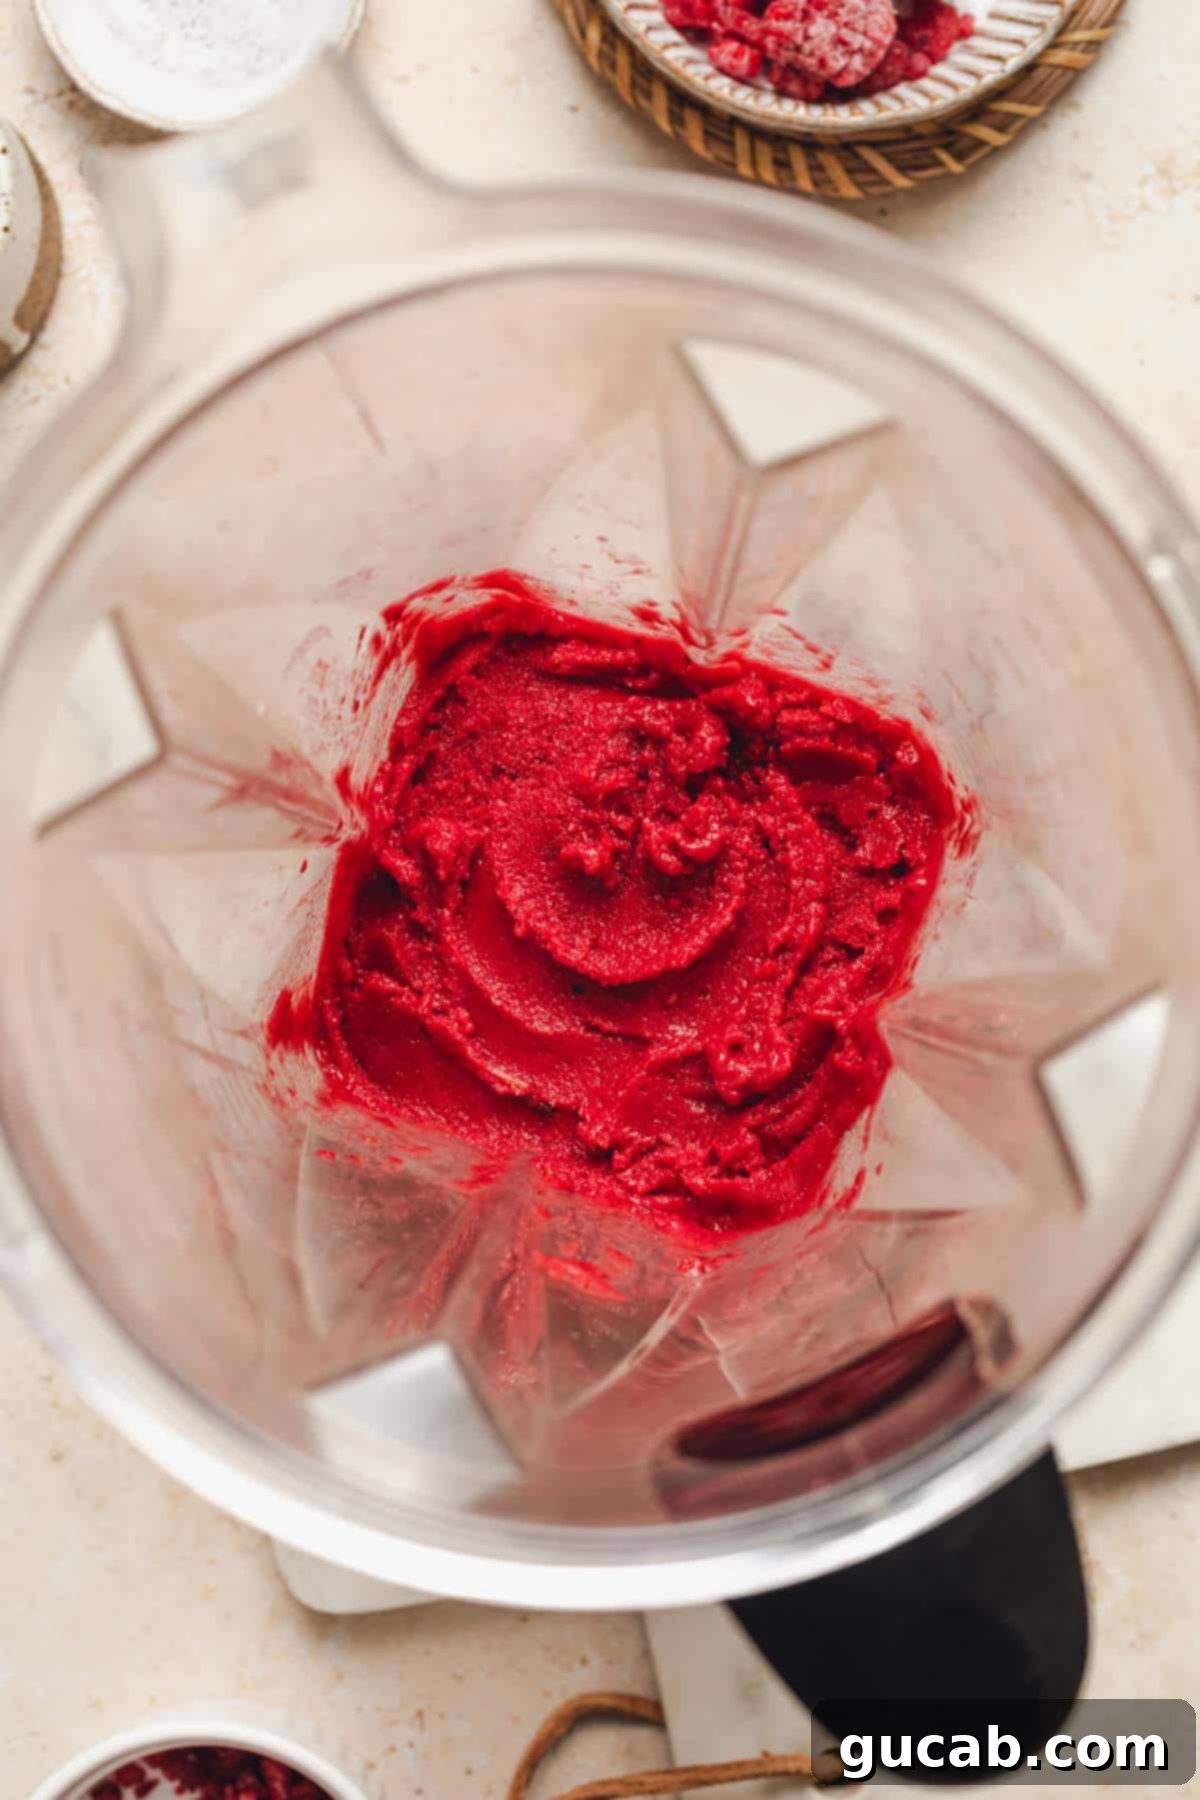
- Taste and Adjust: Once the mixture is perfectly smooth and thick, give it a taste test. Raspberries are known for their tartness, and this recipe embraces that vibrant flavor. If you find it too tart for your preference, simply add a bit more maple syrup, blend for another 10-15 seconds to incorporate, and taste again. You can also add a tiny splash of lemon juice if you desire an even more pronounced tang.
- Freeze or Serve Immediately: At this point, your sorbet is ready to be enjoyed! It will have a soft-serve consistency perfect for immediate scooping. If you prefer a firmer sorbet or want to save it for later, transfer it to an airtight, freezer-safe container. You can freeze it for up to 1 month. When serving after freezing, let it sit out at room temperature for 10 to 15 minutes to soften slightly for easier scooping.
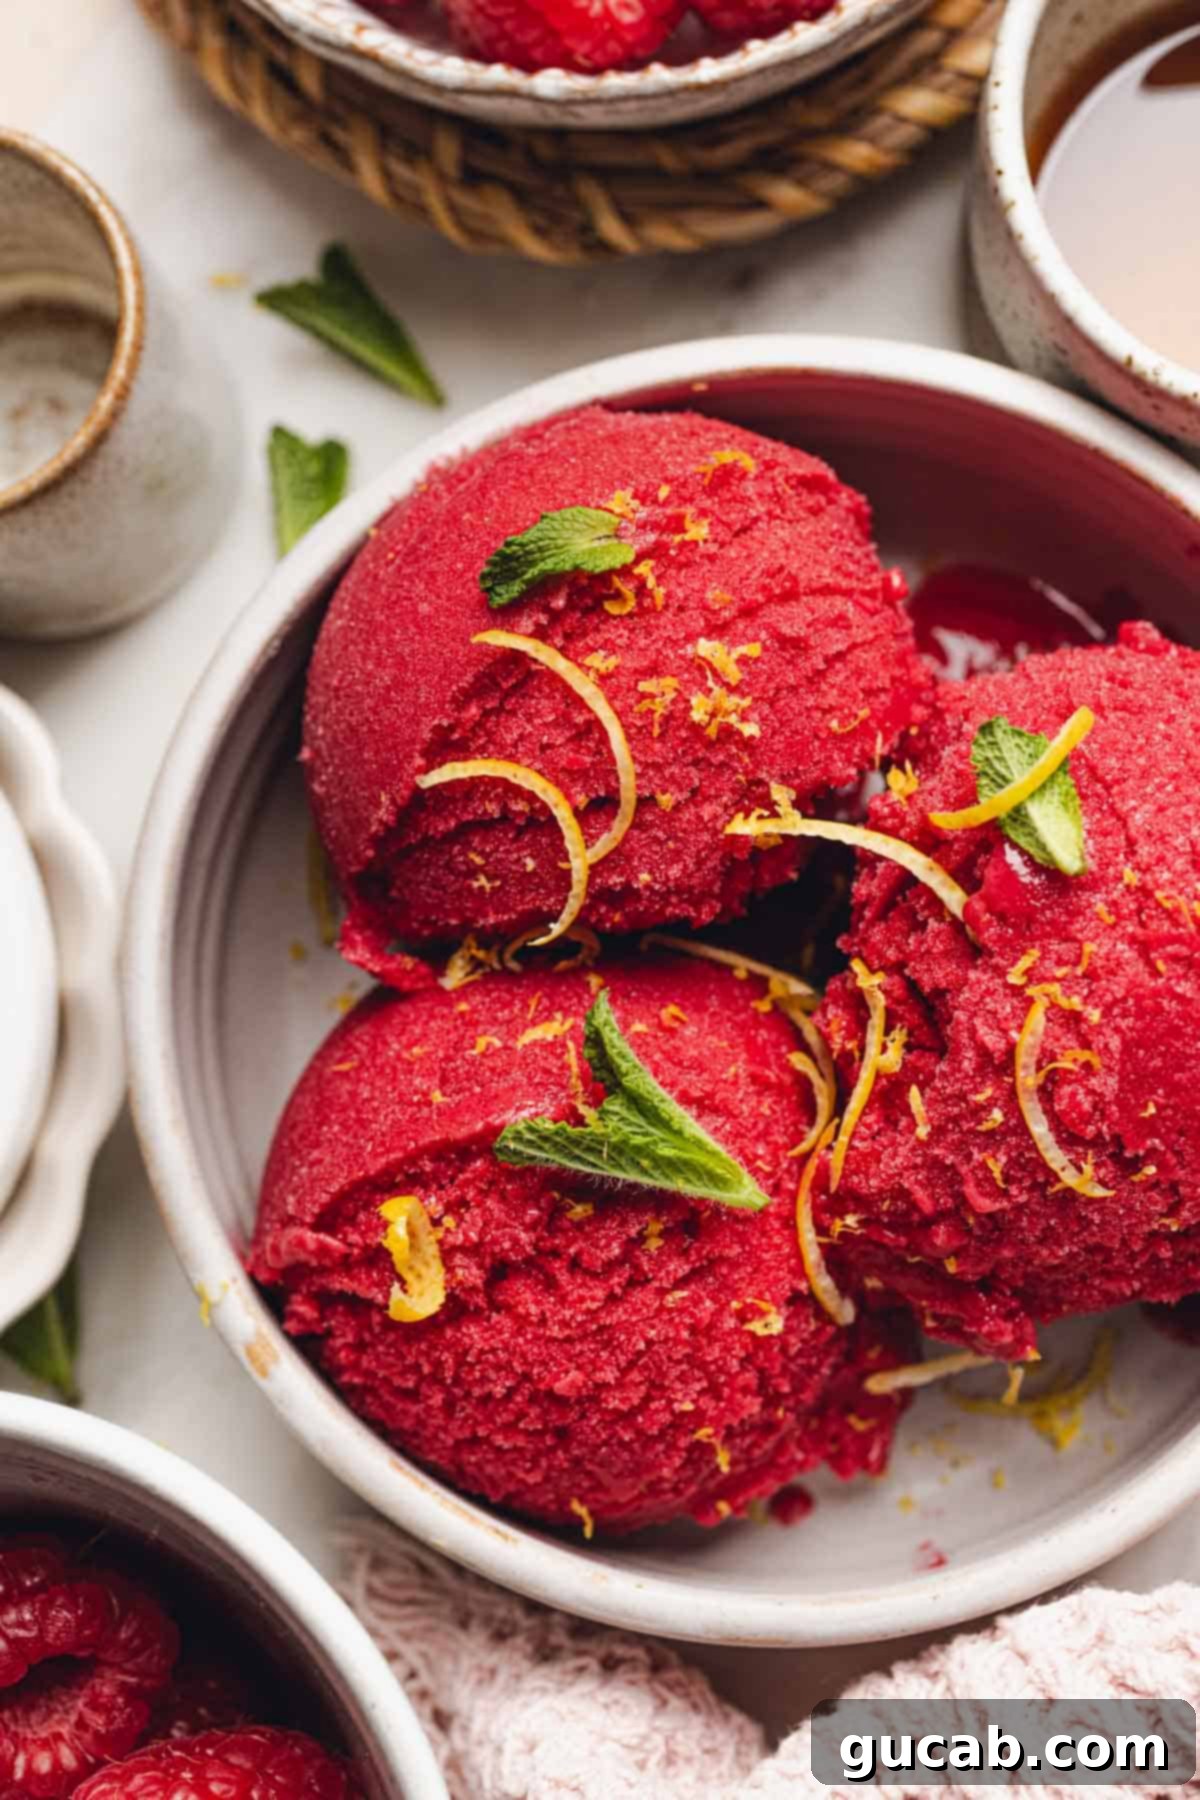
Expert Tips for the Best Homemade Raspberry Sorbet
To ensure your blender raspberry sorbet turns out perfectly every time, keep these expert tips in mind:
- Always Use Frozen Bananas and Raspberries: This is the golden rule! Frozen fruit is what creates the instant, thick, scoopable texture without the need for an ice cream maker. Using fresh fruit will result in a liquid smoothie. Plan ahead by freezing your ripe bananas overnight.
- Sweetness is Personal: Raspberries are naturally tart. The amount of maple syrup suggested provides a good sweet-tart balance, but personal preference varies. Taste the sorbet after initial blending and add more maple syrup, a tablespoon at a time, until it reaches your desired sweetness.
- Invest in a High-Speed Blender: While some standard blenders might work with extra patience and scraping, a high-speed blender (like a Vitamix, Ninja, or similar powerful model) is truly key for the best results. Their robust motors and sharp blades are designed to break down frozen ingredients into a silky-smooth consistency efficiently. If you’re serious about smoothies, frozen desserts, or nut butters, it’s a worthwhile investment.
- Chill Your Serving Bowls: For an extra-cold treat, place your serving bowls in the freezer for 15-30 minutes before scooping in the sorbet. This helps keep it firm longer.
- Add a Hint of Zest: For an even brighter, more complex flavor profile, consider adding a teaspoon of lemon or lime zest to the blender with the other ingredients. The citrusy aroma complements the raspberries beautifully.
- Experiment with Other Berries: While raspberry is fantastic, this method works wonderfully with other frozen berries like strawberries, blueberries, or mixed berries. Adjust sweetness as needed, as different fruits have varying sugar content.
Storage Tips for Your Raspberry Sorbet
While this sorbet is fantastic served immediately, you might want to save some for later. Here’s how to store it properly to maintain its deliciousness:
- Choose a Freezer-Safe Container: Not all plastic containers are designed for freezer temperatures. Use a container specifically labeled “freezer-safe” to prevent cracking or brittleness. Glass containers with airtight lids also work wonderfully.
- Prevent Freezer Burn: To avoid ice crystals and maintain the smoothest texture, press a piece of plastic wrap directly onto the surface of the sorbet before sealing the container with its lid. This minimizes exposure to air.
- Shelf Life: You can safely freeze this raspberry sorbet for up to one month. Beyond that, you risk freezer burn, which can compromise the texture and flavor.
- Softening for Scooping: After a few hours or overnight in the freezer, the sorbet will become quite firm. To enjoy it at its best, let it sit out at room temperature for 10 to 15 minutes before attempting to scoop. This allows it to soften slightly, making it much easier to serve and enhancing its creamy consistency.
Health Benefits of This Homemade Raspberry Sorbet
Beyond being a delicious treat, this homemade raspberry sorbet offers several health advantages:
- Rich in Antioxidants: Raspberries are packed with antioxidants, which help protect your body’s cells from damage and can contribute to overall health.
- Natural Sweeteners: Using ripe bananas and maple syrup means you’re avoiding refined sugars, opting for more natural and less processed sweetness.
- High in Fiber: Raspberries are an excellent source of dietary fiber, important for digestive health and satiety.
- Hydrating: As a water-based frozen dessert, it contributes to your daily fluid intake, especially refreshing on a hot day.
- Dairy-Free and Vegan: This recipe is naturally dairy-free, making it a perfect option for those with lactose intolerance or following a vegan diet.
More Refreshing Fruity Recipes to Try
If you love this easy raspberry sorbet, be sure to explore more of our delightful fruity and frozen treats:
- Strawberry Mango Smoothie Bowl
- Protein Acai Bowl
- Panera’s Green Passion Smoothie
- Banana Swirl Nice Cream
Blender Raspberry Sorbet
Carolyn
Pin Recipe
Equipment
-
High speed blender
Ingredients
- ½ frozen banana cut into slices
- 2½ cups frozen raspberries
- 3-4 tablespoons maple syrup see note
- 1½ tablespoons apple juice
Instructions
-
In a high-speed blender, combine the frozen banana, frozen raspberries, maple syrup, and apple juice.
-
Start the blender on low speed. Stop the blender and use a spatula to scrape the raspberries toward the blades. Repeat as often as necessary until you achieve a smooth consistency. If your blender has a tamper, you can use it to push the fruit toward the blades.
-
Once the mixture is thick and smooth, scoop it into a bowl and enjoy with whipped cream. Or transfer it to an airtight container and freeze for later. If the sorbet gets too hard, let it sit at room temperature for 10 to 15 minutes before scooping.
Video
Notes
Nutrition
