Delicious Heart Shaped Chocolate Chip Cookies: The Ultimate Valentine’s Day Treat
Prepare to fall in love with these utterly adorable and irresistibly delicious heart shaped chocolate chip cookies! Perfectly crafted for Valentine’s Day, anniversaries, or any occasion that calls for a little extra love, these cookies boast beautifully crisp edges, wonderfully chewy centers, and a generous scattering of delightful mini chocolate chips. They’re not just a treat for the taste buds; their charming shape makes them a feast for the eyes too, guaranteed to bring a smile to anyone who receives them.

Heart-shaped cookies are a delightful gesture, offering an adorable twist on a classic treat. You have the flexibility to bake them in various sizes, from small bite-sized delights to larger, more indulgent cookies. Once baked, they can be beautifully decorated with frosting and festive heart sprinkles, making them an ideal gift or party favor for any romantic celebration, especially Valentine’s Day. While their appearance is captivating, their taste is truly what sets these chocolate chip heart cookies apart. Each bite delivers a perfect harmony of textures: a satisfyingly golden brown, crisp exterior gives way to a soft, gooey, and irresistibly chewy interior, generously studded with mini chocolate chips.
The choice of mini chocolate chips isn’t just for their quaint appearance; they serve a practical purpose too. Their smaller size makes the cookie dough significantly easier to roll out and cut into precise heart shapes, ensuring your cookies maintain their beautiful form. However, if you’re feeling adventurous or want to customize your cookies further, you could easily substitute them with an assortment of charming mix-ins like colorful heart sprinkles, finely chopped white chocolate, or even a touch of red food coloring in the dough for an extra festive touch.
Why You’ll Adore These Homemade Heart Cookies
- Effortlessly Easy to Make: Despite their impressive appearance, these heart-shaped chocolate chip cookies are surprisingly simple to prepare, making them perfect for bakers of all skill levels. The straightforward steps ensure a stress-free baking experience.
- The Quintessential Valentine’s Day Treat: What better way to express love and affection than with delicious, homemade cookies shaped like hearts? They’re an absolute showstopper for romantic celebrations, class parties, or thoughtful gifts.
- Unforgettable Taste and Texture: These aren’t just pretty cookies; they’re incredibly delicious! Enjoy the perfect contrast of perfectly crisp, golden edges with wonderfully soft, chewy centers that melt in your mouth, all bursting with chocolatey goodness.
- Convenient and Freezer-Friendly: Prepare the dough or bake the cookies ahead of time! This recipe is ideal for meal prepping or ensuring you always have a special treat on hand. They freeze beautifully, making last-minute baking a breeze.
- Customizable for Any Occasion: While perfect for Valentine’s, their simple elegance allows for easy customization with different sprinkles, frosting colors, or flavor extracts to suit birthdays, anniversaries, or just a sweet everyday moment.
Essential Ingredients for Perfect Heart Shaped Cookies
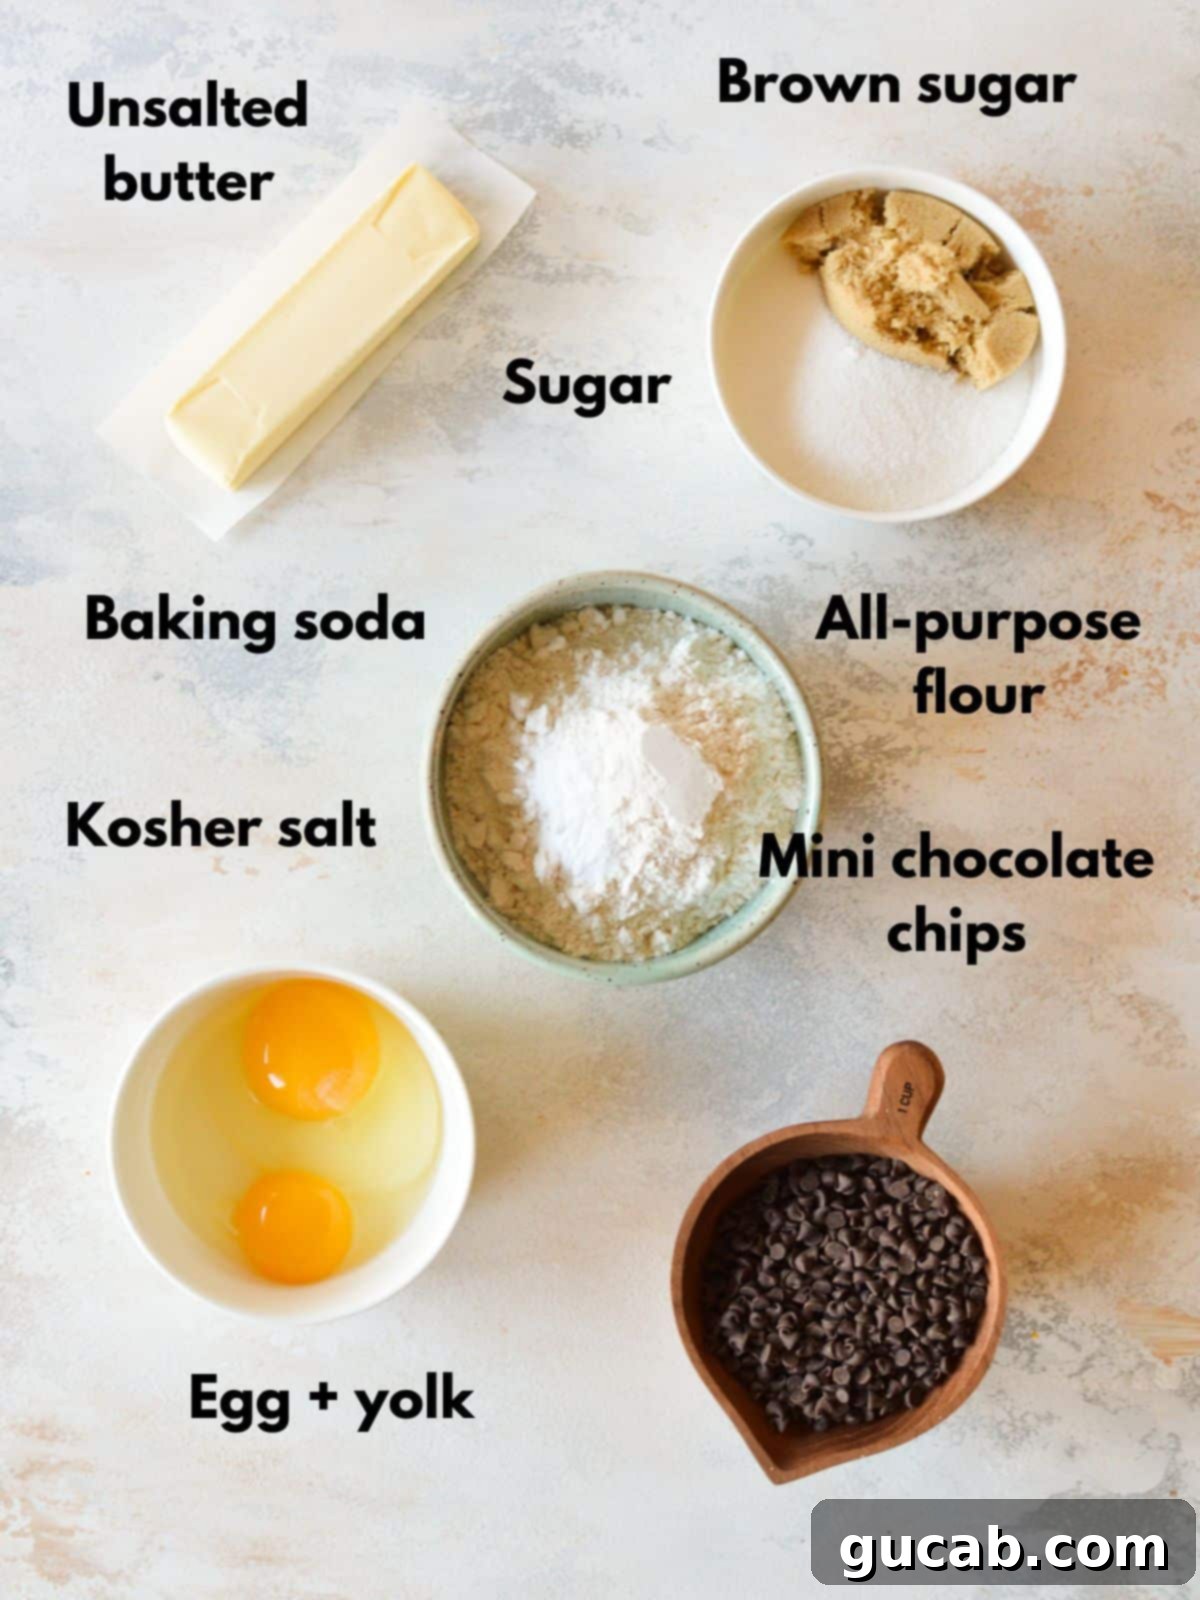
Crafting the perfect batch of chocolate chip heart cookies starts with selecting high-quality ingredients. Each component plays a crucial role in achieving that coveted crisp-on-the-outside, chewy-on-the-inside texture and rich flavor.
- Unsalted Butter: Butter forms the luscious foundation of these delectable cookies. Always opt for unsalted butter when baking, as it allows you to control the salt content precisely. Remember to bring your butter to a true room temperature before mixing; this ensures it creams properly with the sugars, creating a light and airy dough. If you’ve forgotten to take it out, a few seconds in the microwave (until it yields slightly to a gentle press) can do the trick, but be careful not to melt it.
- Granulated Sugar & Brown Sugar: This dynamic duo sweetens the cookies and significantly impacts their texture and spread. Granulated sugar contributes to the crispness, while brown sugar adds moisture, chewiness, and a subtle caramel note, resulting in that ideal balance we all love in a chocolate chip cookie.
- Egg & Extra Egg Yolk: The whole egg provides structure and acts as a binder, holding all the ingredients together. The secret weapon here is the additional egg yolk! This extra yolk is a game-changer, elevating these cookies to an extraordinary level of richness and chewiness. Trust this tip – if you’ve ever wondered why your cookies aren’t as amazing as you’d hoped, an extra yolk might be the missing piece to achieving bakery-quality results.
- All-Purpose Flour: The quantity of flour is paramount for achieving the perfect cookie thickness. Too little flour can lead to overly thin, flat cookies, while too much can result in dense, dry ones. Measuring your flour correctly (spooned and leveled) is key. For those with gluten sensitivities, you can easily substitute regular flour with a 1:1 gluten-free baking flour blend, such as Bob’s Red Mill’s, without compromising on taste or texture.
- Baking Soda: This leavening agent is essential for giving the cookies a slight lift and contributes to their characteristic chewiness. Without it, your cookies would be too dense and flat.
- Kosher Salt: A small but mighty ingredient, salt doesn’t just add flavor; it significantly enhances the sweetness of the cookies, balancing the overall profile. If you only have table salt, be sure to halve the amount, as it is much finer and more potent than kosher salt.
- Mini Chocolate Chips: While any chocolate chips are good, I strongly recommend using mini chocolate chips for this recipe, and not just because they’re incredibly cute! Since the dough needs to be rolled out and cut into heart shapes, larger chocolate chips can impede this process, causing jagged edges or making the dough difficult to work with. Mini chips integrate smoothly, ensuring clean, perfectly defined heart outlines.
How to Make Perfect Heart Shaped Cookies: A Step-by-Step Guide
Creating these delightful heart-shaped chocolate chip cookies is a truly enjoyable and straightforward process. I often highlight the simplicity of my recipes, and this one is no exception – I’m a firm believer in the beauty of easy-to-follow, delicious instructions!
Before you begin, make sure your kitchen is prepped. Preheat your oven to 350 degrees Fahrenheit (175°C) and line two standard sheet pans with parchment paper or silicone baking mats. This ensures your cookies won’t stick and will bake evenly.
1. Prepare the Irresistible Cookie Dough
The foundation of any great cookie is its dough, and this one is no different. Pay attention to these initial steps for the best results.
Cream the butter, granulated sugar, and brown sugar in a large mixing bowl. Using either a stand mixer fitted with the paddle attachment or an electric hand mixer, beat these ingredients together on medium-high speed for about 3 minutes. You’re looking for a mixture that is light in color and notably fluffy in texture. This creaming process incorporates air into the butter, which is vital for the cookies’ texture.
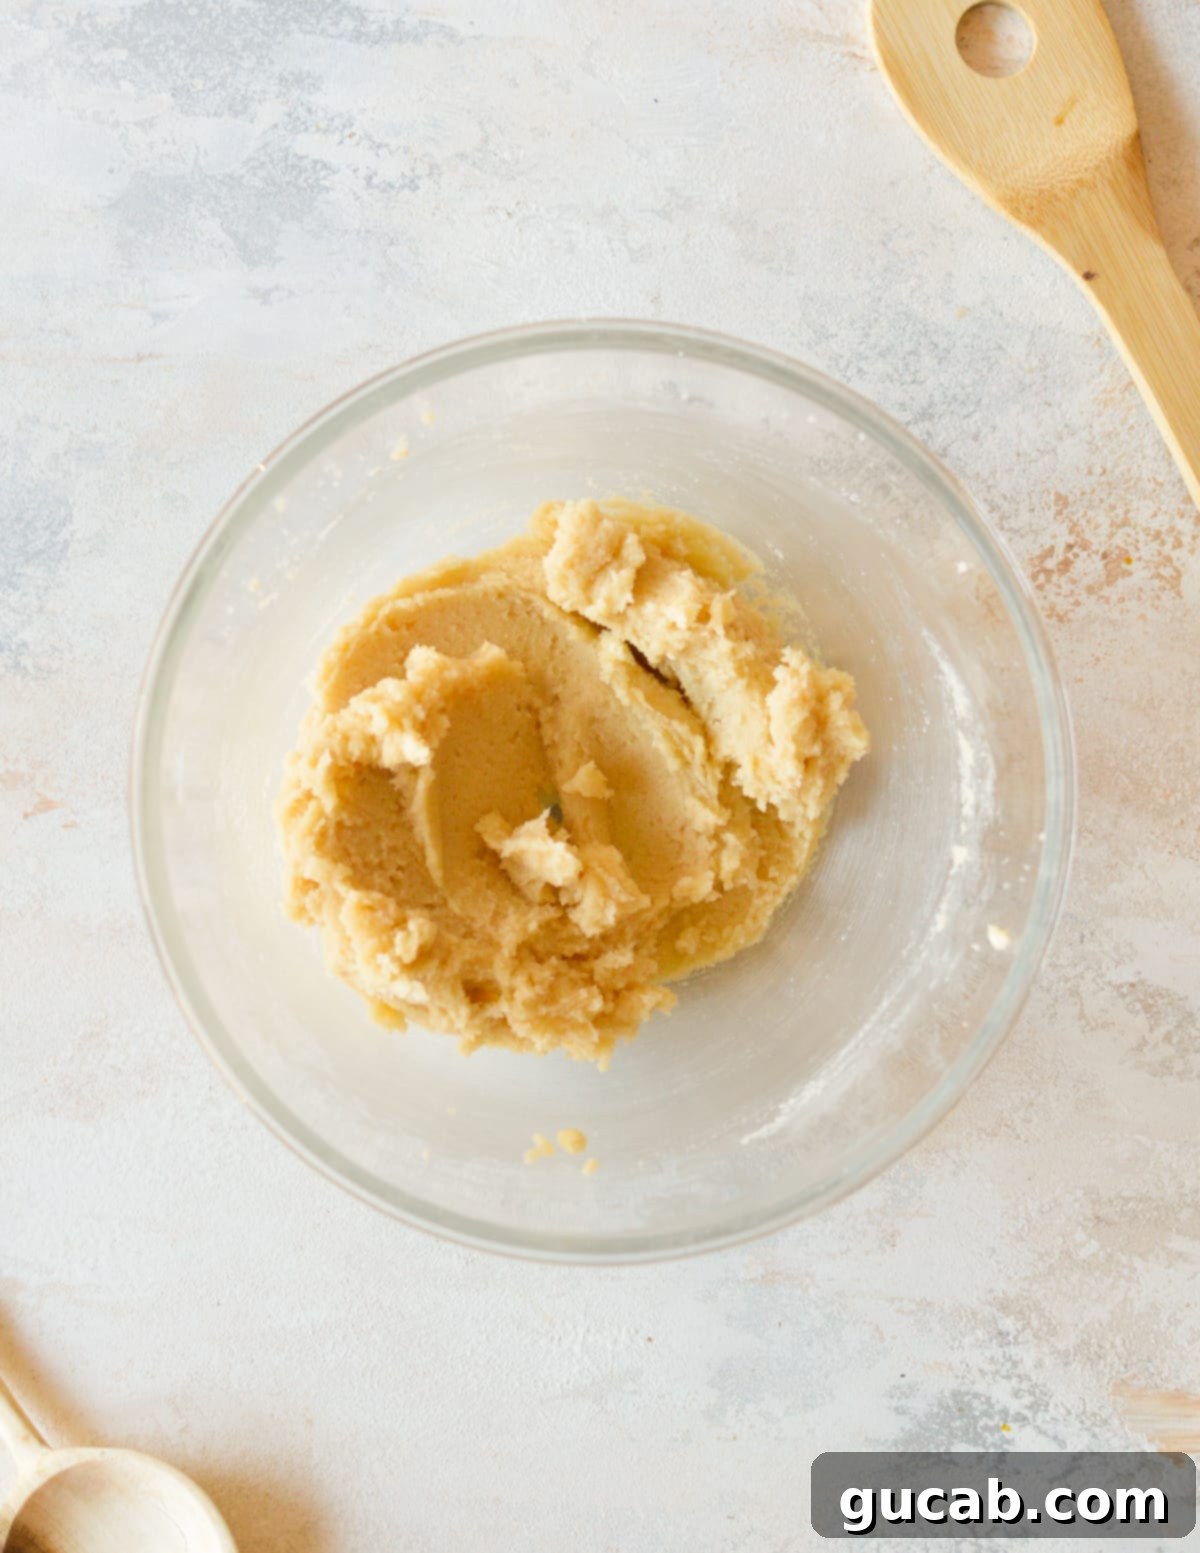
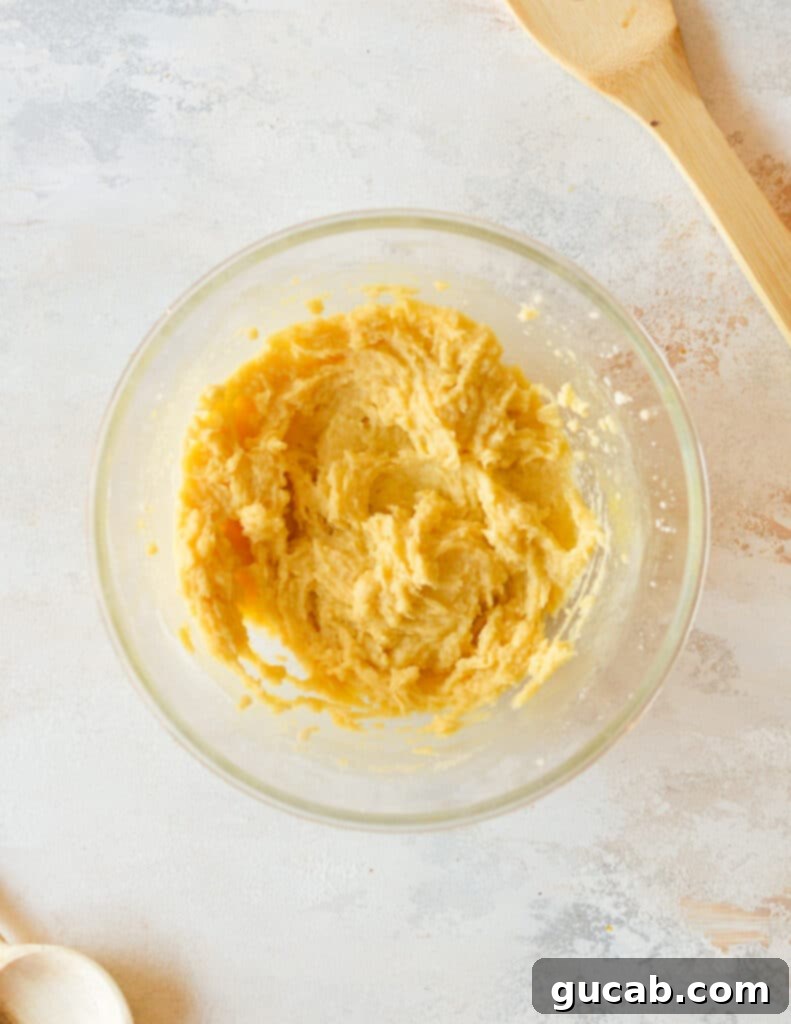
Carefully add the egg and the extra egg yolk to the creamed butter mixture. Beat until these wet ingredients are just incorporated. Overmixing at this stage can lead to tougher cookies. Once combined, use a spatula to scrape down the sides of the bowl, ensuring all ingredients are fully mixed.
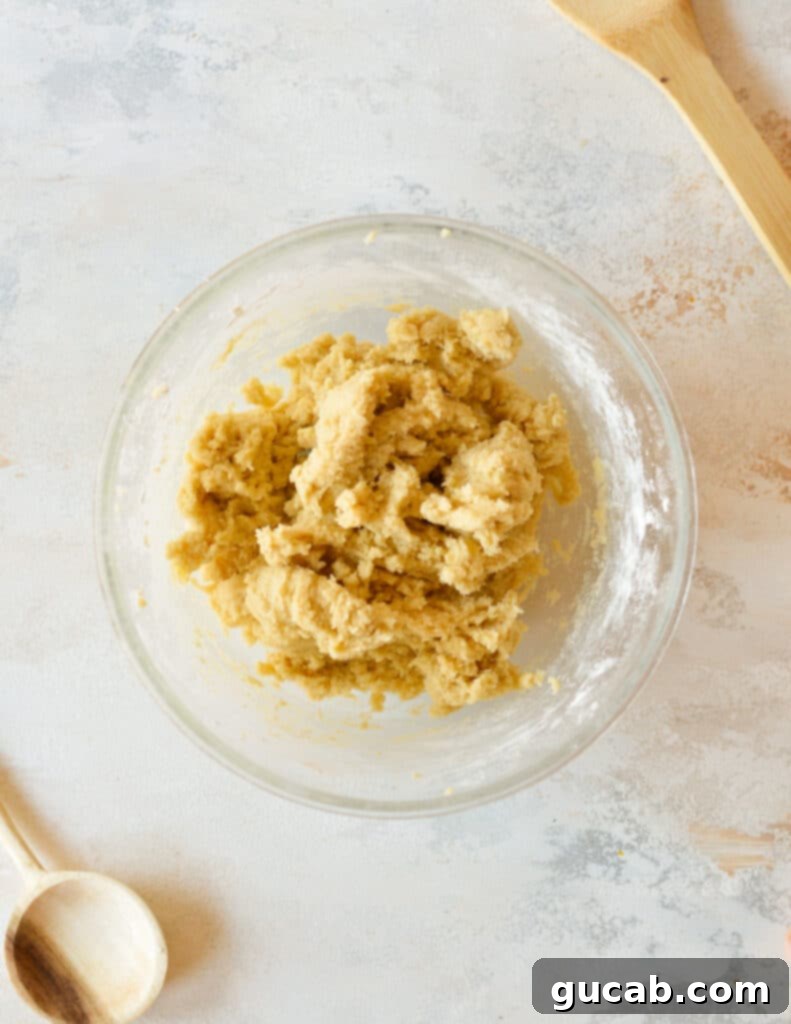
Gradually add the dry ingredients – flour, baking soda, and kosher salt – to the wet mixture. Begin mixing on the lowest speed to prevent the flour from scattering outside the bowl. Continue mixing only until a cohesive cookie dough forms. Stop the mixer as soon as the flour streaks disappear to avoid overdeveloping the gluten, which can result in tough cookies.
Finally, add the mini chocolate chips. Mix on low speed, or by hand with a spatula, until the chips are evenly dispersed throughout the cookie dough. Be careful not to overmix at this stage either, as it can crush the chips and alter the dough’s texture.
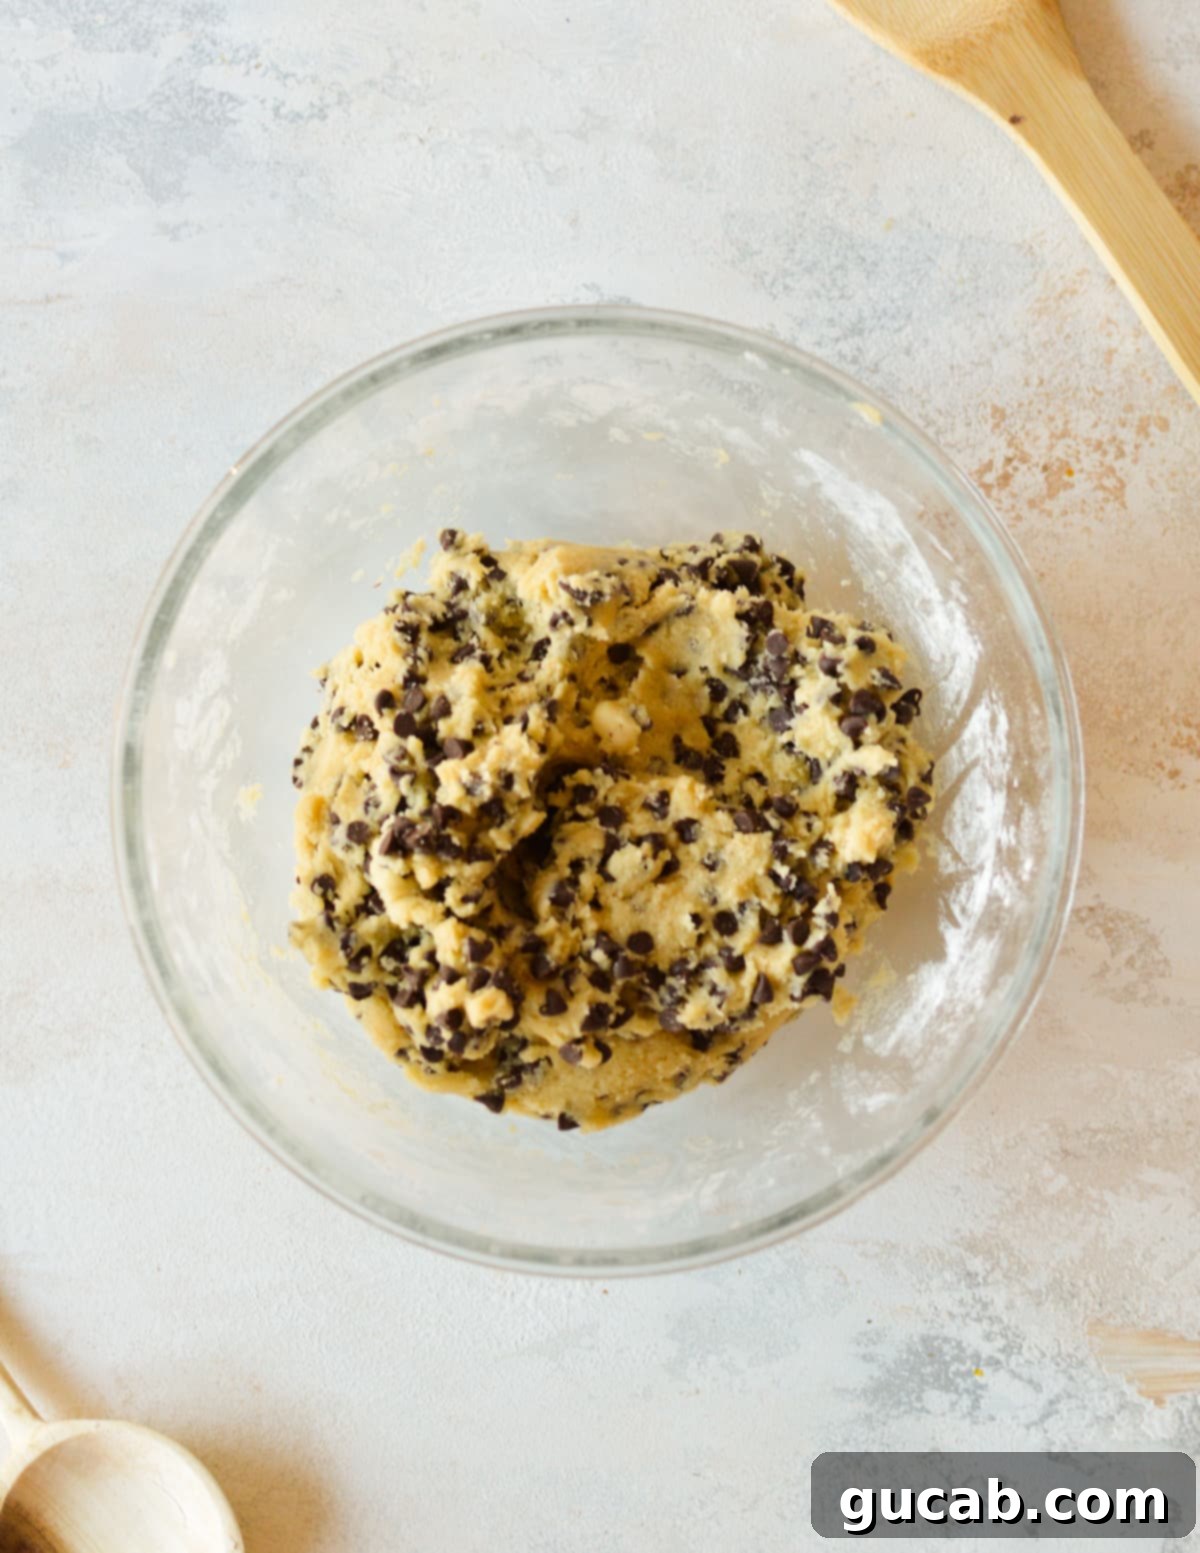
2. Shape and Cut Your Beautiful Heart Cookies
Achieving those perfectly defined heart shapes requires a bit of technique, and chilling the dough is paramount.
First, we need to chill the dough to make it firm and manageable. Use your hands to gently form the cookie dough into a large, flat disc. This shape will make it easier to roll out evenly later. Wrap the disc tightly in plastic wrap, ensuring no air pockets. Pop the wrapped dough into the refrigerator and chill for a minimum of 30 minutes. This chilling period is crucial; it allows the butter to firm up, preventing the cookies from spreading excessively and losing their shape during baking, and makes the dough much easier to handle.
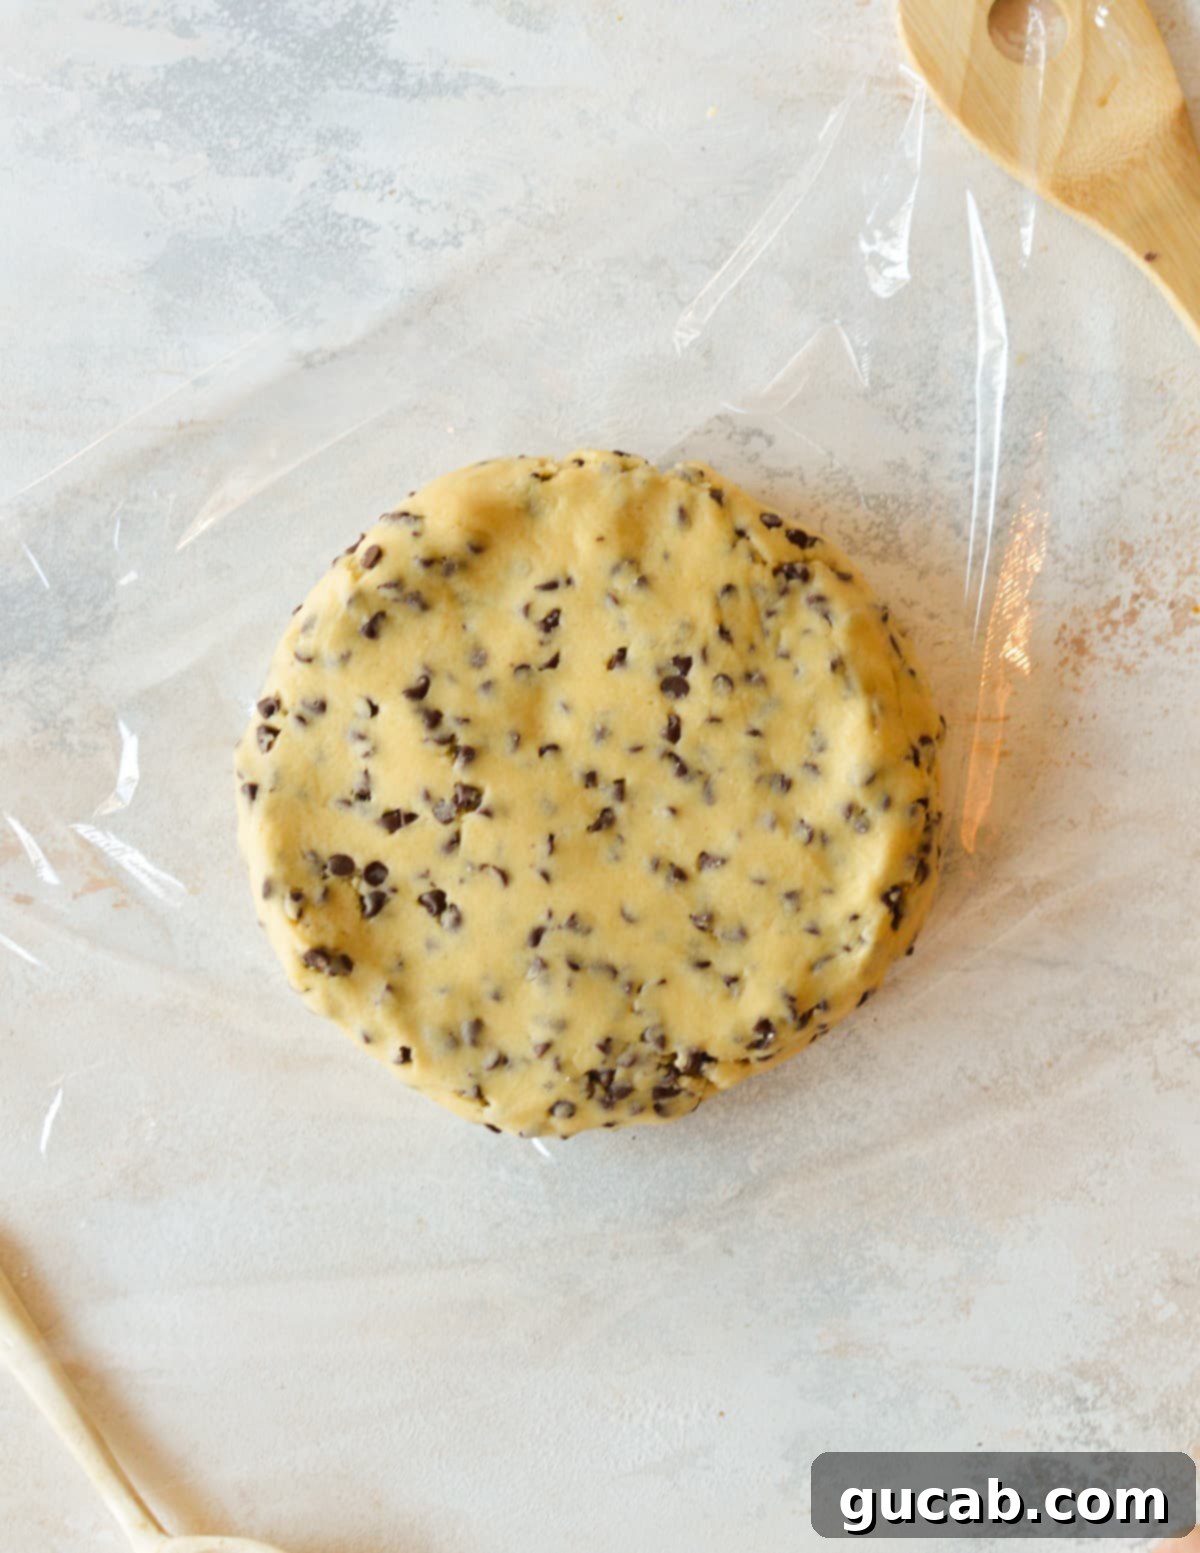
Once chilled, roll out the cookie dough. Lightly sprinkle a clean, dry work surface with flour to prevent sticking. Using a rolling pin, roll the dough evenly to a thickness of approximately ¼ to ½ inch. A slightly thicker dough (closer to ½ inch) will yield a chewier cookie, while a thinner one will be crisper. Aim for consistency to ensure even baking. You want it thick enough to hold its shape but not so thick that it bakes unevenly or doesn’t produce clean lines when cut.
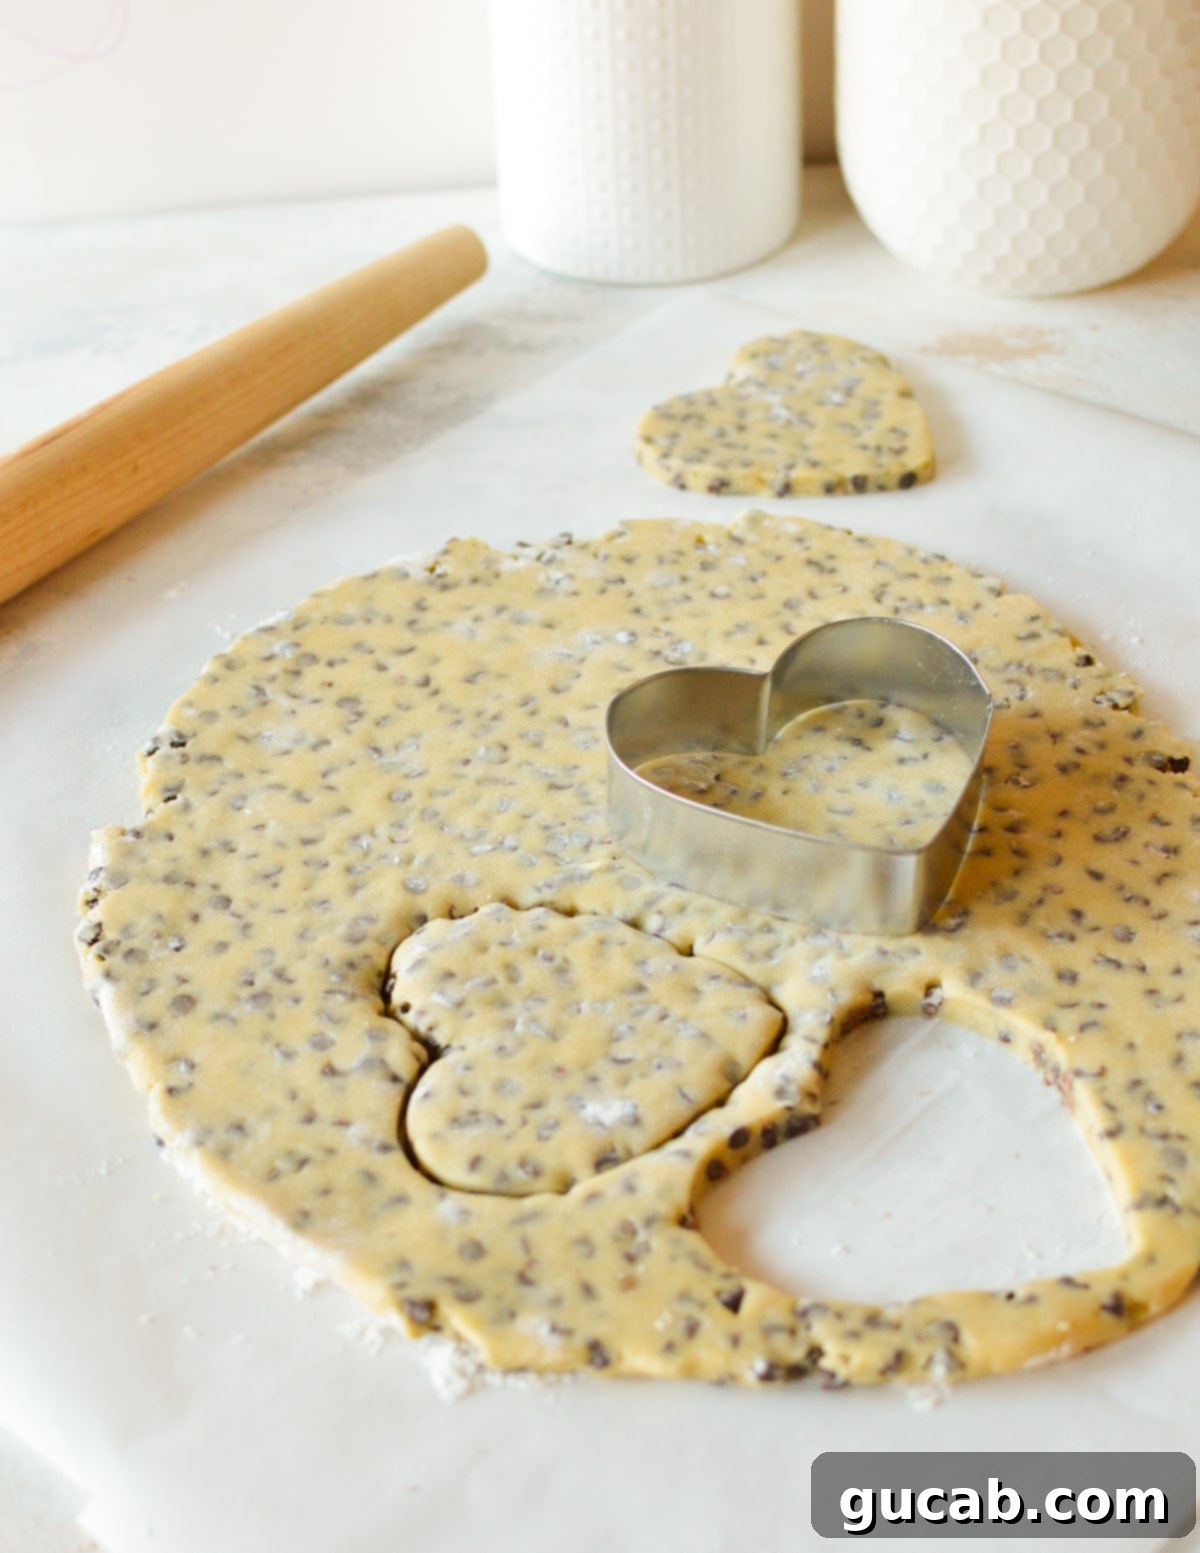
Use your heart cookie cutter to carefully cut out six large heart cookies. Gently press the cutter straight down and lift it up without twisting to maintain sharp edges. If you’re using a smaller cookie cutter, that’s perfectly fine; just be prepared to reduce your baking time by a couple of minutes. Once you’ve cut out your first batch of six hearts, gather the remaining dough scraps, gently form them back into a ball (avoid overworking the dough), re-roll it, and cut out another six hearts. Repeat this process until all the dough is used.
3. Freeze the Cut-Out Cookies for Perfect Shape Retention
This step is often overlooked but is absolutely essential for achieving beautifully shaped, non-spreading heart cookies.
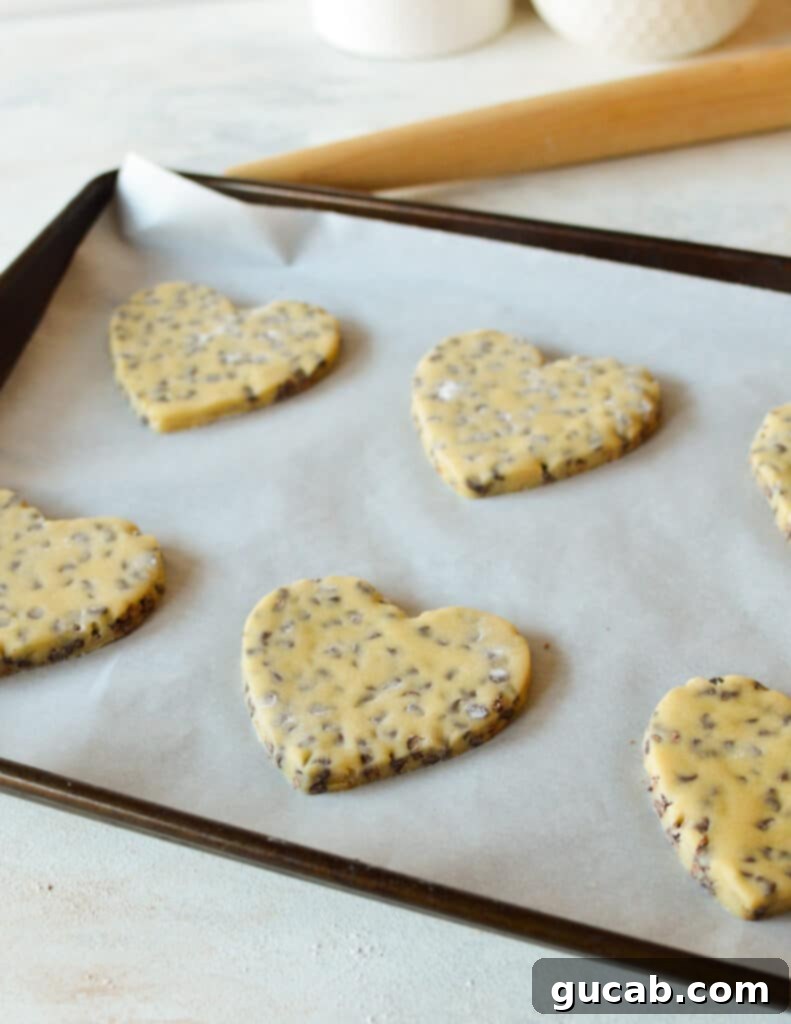
Carefully place six cut-out cookie hearts onto each prepared sheet pan. Arrange them with enough space in between to allow for slight spreading. Once all cookies are on the pans, immediately place the sheet pans into the freezer for 30 minutes. This quick freeze solidifies the butter in the dough, which is the magic trick to prevent your beautiful heart cookies from spreading too much in the oven. Without this step, your perfectly shaped hearts might turn into less defined, rounder blobs, losing their special charm!
4. Bake to Golden Perfection
The final step is to bake your chilled cookies until they achieve that perfect balance of crispness and chewiness.
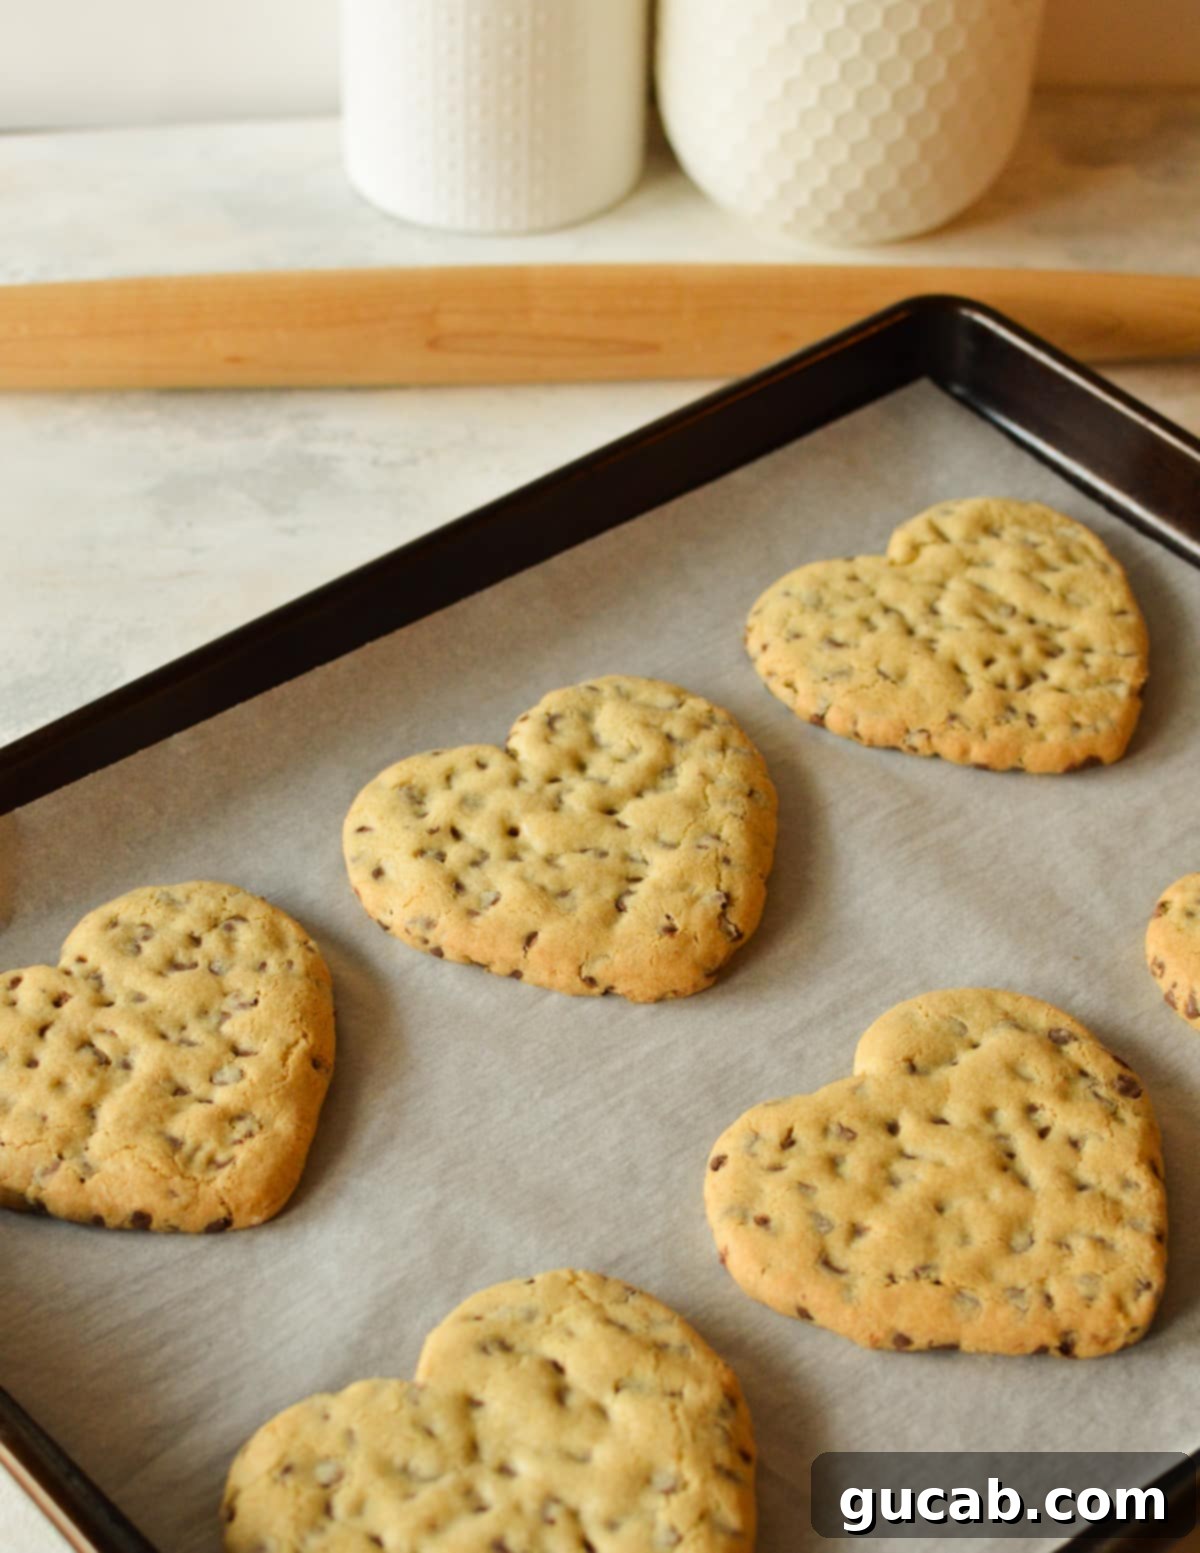
Bake the cookies one sheet pan at a time in your preheated oven. Keep a close eye on them; they are ready when the edges appear a lovely golden brown, but the centers still look slightly underdone and soft. This slight underbaking is the secret to a chewy center. If the entire cookie looks fully brown and set when you pull it out of the oven, it’s likely overbaked and will become crispy rather than chewy once cooled. For my oven and cookie size, this typically took about 11 to 12 minutes. If you used a smaller heart cookie cutter, you’ll need to decrease the baking time by a minute or two – perhaps 9-10 minutes. Always trust your eyes!
Expert Cookie Making Tips for Flawless Results
Achieving bakery-worthy cookies is all about understanding a few key principles and practicing patience. Here are some essential tips to ensure your heart-shaped chocolate chip cookies turn out perfectly every time:
- Do Not Overbake Your Cookies! This is perhaps the most crucial tip for chewy cookies. When you remove them from the oven, cookies should look slightly underdone and pale in the very center. They will continue to “set up” and firm as they cool on the hot baking sheet. If the entire cookie appears golden brown and firm when it comes out of the oven, it will turn hard and overly crispy (and not in a good, delicate way) once it’s completely cooled. Err on the side of underbaking for chewiness.
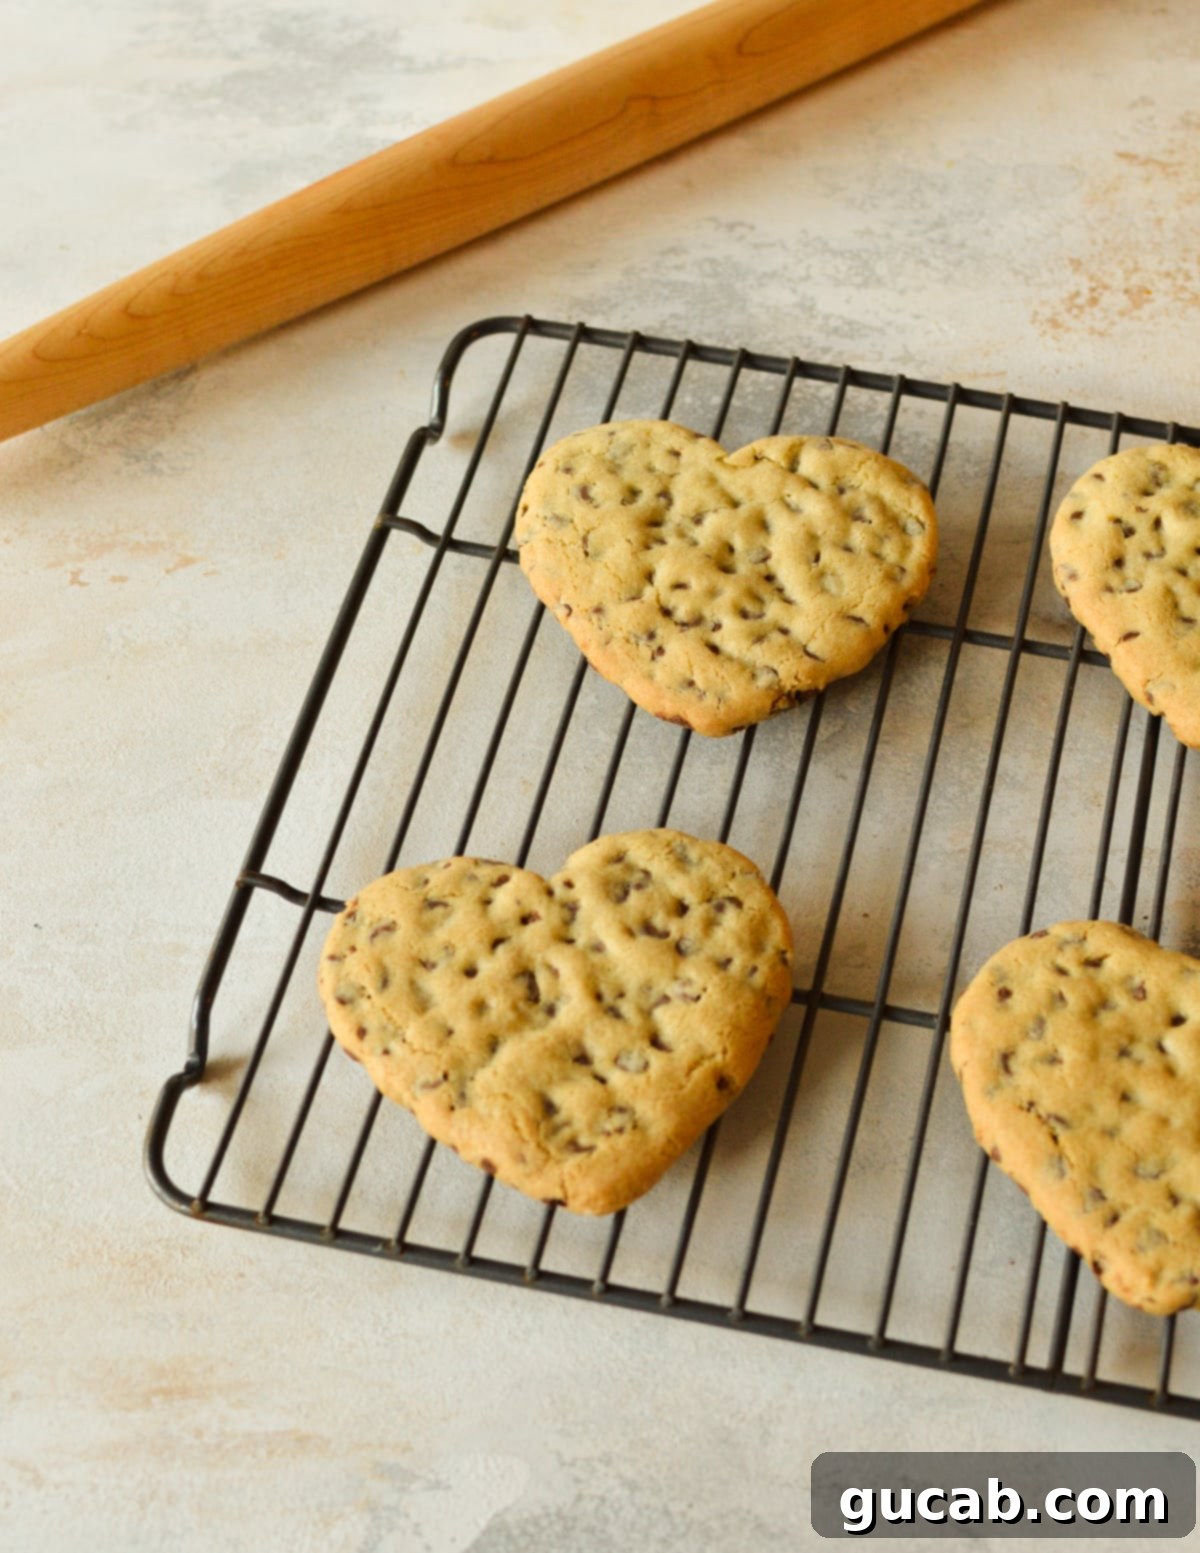
- Allow Cookies to Set on the Sheet Pan: Freshly baked cookies are incredibly delicate and prone to falling apart. Resist the urge to immediately transfer them to a cooling rack. Let your heart cookies cool on the baking sheet for at least 5-10 minutes after removing them from the oven. This brief period allows their structure to stabilize, making them much easier to handle without breaking.
- Proper Chilling is Your Best Friend: Don’t skip or shorten the chilling steps for the dough. Chilling the raw cookie dough (first as a disc, then as cut-out shapes) is vital. It allows the butter to re-solidify, which significantly prevents the cookies from spreading too much during baking, ensuring they retain their beautiful heart shape. If you chill the dough for too long, it might become rock hard; simply let it sit at room temperature for a few minutes until it’s pliable enough to roll without cracking. Approximately 30-45 minutes of chilling for the disc, and another 30 minutes for the cut-outs, works wonders.
- Measure Flour Correctly: For consistent results, always spoon your flour into the measuring cup and then level it off with the back of a knife. Scooping flour directly with the measuring cup can pack it down, leading to too much flour and dry, crumbly cookies.
- Room Temperature Ingredients Matter: Ensure your butter and egg are at true room temperature. This allows them to emulsify properly, creating a smooth, homogenous dough that holds more air, resulting in lighter, chewier cookies.
Delicious Variations to Elevate Your Heart Cookies
While these chocolate chip heart cookies are fantastic as is, don’t hesitate to get creative and customize them! Here are some ideas to make them uniquely yours:
- Creative Mix-ins: The mini chocolate chips are perfect for cutting, but feel free to swap them or add other small mix-ins! Remember to keep them small so they don’t interfere with the cookie cutter. Consider incorporating red and pink jimmies, delicate heart sprinkles, finely shredded coconut for a tropical twist, or even tiny chunks of white chocolate. For a nutty flavor, very finely chopped pecans or walnuts could also work well.
- Festive Frosting: For an extra layer of festivity and flavor, frost the cooled cookies! A simple buttercream or royal icing in shades of pink, white, or red can transform these into truly special treats. After frosting, immediately top with more heart sprinkles, edible glitter, or a dusting of powdered sugar for an elegant finish. You can even try a simple glaze made with powdered sugar and a touch of milk and vanilla.
- Flavor Enhancements: A touch of almond extract or peppermint extract can add a delightful twist to the classic chocolate chip flavor. You could also swirl in a spoonful of raspberry jam (ensure it’s thick enough not to spread too much) into the dough before baking for a fruity surprise.
Smart Storing and Freezing Tips
These heart-shaped chocolate chip cookies are so delicious, they might not last long! But if you happen to have leftovers, or want to bake ahead, here’s how to store them perfectly:
Store any leftover baked heart cookies in an airtight plastic bag or container at room temperature on the counter for up to three days. For longer freshness, consider freezing them!
You can freeze these heart shaped chocolate chip cookies both unbaked and baked! This makes them an excellent option for preparing in advance or having a quick treat whenever a craving strikes.
- Freezing Unbaked Dough: Follow the recipe instructions precisely to prepare the dough, roll it out, and cut out your heart shapes. Instead of baking, arrange the unbaked heart cookies on a parchment-lined sheet pan and place them in the freezer until they are completely solid (this usually takes about 1-2 hours). Once frozen solid, transfer the individual cookie cut-outs to a freezer-safe ziplock bag or airtight container. They can be stored in the freezer for up to 3 months. When you’re ready to bake, simply place the frozen cookies directly onto a prepared baking sheet and bake as directed in the recipe, adding an extra 1-3 minutes to the baking time as needed, without thawing.
- Freezing Baked Cookies: Once your chocolate chip heart cookies are baked and completely cooled, transfer them to a freezer-safe container or a heavy-duty ziplock bag, ensuring they are separated by parchment paper if stacking to prevent sticking. Freeze for up to 3 months. To enjoy, you can let them thaw gradually on the counter for a few hours, or for a warm, fresh-baked experience, pop one in the microwave in 15-second increments until just warmed through.

Frequently Asked Questions About Heart Cookies
It is always best practice to cut your cookies into shapes before you bake them! While it’s technically possible to attempt to cut them after baking, it’s incredibly difficult to achieve clean, uniform shapes, and the process is often messy and can damage the cookies. For beautifully defined heart shapes, cutting the chilled dough pre-baking is the way to go.
Yes, absolutely! If you don’t have a heart cookie cutter on hand, you can still create heart-shaped cookies. The easiest method is to use a sharp knife to carefully cut the chilled cookie dough into heart shapes. While the lines might not be as perfectly uniform or as clean as those made with a cutter, they will still be charming. To make this process easier, ensure your cookie dough is well-chilled before rolling it out; this will make it firmer and less prone to sticking or distorting as you cut.
The key to preventing your heart cookies from spreading too much and losing their defined shape is two-fold: proper chilling and precise ingredient measurement. First, ensure your butter is not too soft, and thoroughly chill your cookie dough twice – once after mixing and again after cutting out the shapes. The cold butter helps the cookies hold their form in the oven. Additionally, correctly measuring your flour (spooned and leveled) is important, as too little flour can also contribute to excessive spreading.
For Valentine’s Day, there are many delightful ways to decorate heart cookies! You can keep it simple with a dusting of powdered sugar or go elaborate with royal icing or buttercream in festive pinks, reds, and whites. Once frosted, immediately add sprinkles (heart-shaped, of course!), edible glitter, or small candied pearls. You can also use a fine-tipped food-safe marker to draw intricate designs or messages of love.
More Irresistible Cookie Recipes to Try
If you loved making these heart-shaped treats, be sure to explore more delicious cookie recipes from our collection!
- Flourless Oatmeal Cookies
- Coconut Pecan Cookies
- Chewy Mixed Nuts Cookies
- Oreo Chocolate Chip Cookies
- Brown Butter Chocolate Chip Cookies

Heart Shaped Chocolate Chip Cookies
Carolyn
Pin Recipe
Equipment
-
Electric hand mixer or stand mixer with the paddle attachment
-
Measuring cups & spoons
-
Rolling Pin
-
Heart cookie cutter
-
Sheet pan
Ingredients
- 8 tablespoons unsalted butter (4 ounces) room temperature
- ½ cup white sugar
- ¼ cup brown sugar
- 1 egg
- 1 egg yolk
- 1 ⅓ cup all-purpose flour, spooned and leveled or gluten-free all-purpose flour blend
- ½ teaspoon baking soda
- ¼ teaspoon kosher salt
- 1 cup mini chocolate chips
Instructions
-
Preheat the oven to 350 degrees Fahrenheit (175°C). Line two sheet pans with parchment paper or silicone baking mats.
-
In a large bowl, combine the unsalted butter, granulated sugar, and brown sugar. Use an electric mixer to cream them together until the mixture is light and fluffy, which usually takes about 3 minutes.
-
Add the whole egg and the extra egg yolk to the creamed butter and sugar mixture. Beat until they are just combined, then scrape down the sides of the bowl with a spatula to ensure everything is well-incorporated.
-
Incorporate the all-purpose flour, baking soda, and kosher salt into the wet ingredients. Mix on low speed until a cohesive cookie dough forms, stopping as soon as the dry ingredients are fully mixed in.
-
Fold in the mini chocolate chips until they are evenly dispersed throughout the cookie dough. Form the dough into a large, flat disc, wrap it tightly in plastic wrap, and chill it in the refrigerator for at least 30 minutes.
-
Lightly flour a clean work surface and roll the chilled cookie dough to about ¼ to ½ inch thickness. Use a heart cookie cutter to cut out six cookies. Gather the remaining dough, gently re-roll it, and cut out six more hearts. Repeat until all dough is used.
-
Place six heart cookies onto each prepared sheet pan. Transfer the sheet pans with the cookies into the freezer for 30 minutes. This crucial step helps the cookies retain their heart shape and prevents excessive spreading during baking.
-
Bake each sheet pan individually in the preheated oven for 11 to 12 minutes, or until the edges of the cookies are golden brown and the centers still look slightly soft and underdone. If using a smaller cookie cutter, reduce baking time by 1-2 minutes.
-
Allow the cookies to cool on the baking sheet for a few minutes before carefully transferring them to a wire rack to cool completely. This prevents them from breaking.
Notes
Nutrition
