Irresistible 10-Minute Peanut Butter Ganache: Your Ultimate Guide to Creamy Perfection
Discover the secret to crafting the most luscious and creamy peanut butter ganache in just 10 minutes! This incredibly simple yet decadent three-ingredient recipe is a game-changer for all your baking adventures. Whether you’re looking for a smooth, pourable topping or a rich, spreadable filling, this peanut butter ganache is the perfect addition to elevate your cookies, tarts, macarons, cupcakes, layer cakes, and so much more. Get ready to transform ordinary desserts into extraordinary treats with minimal effort!
[feast_advanced_jump_to]
Why This Peanut Butter Ganache Recipe Will Be Your New Favorite
Once you try this homemade peanut butter ganache, you’ll wonder how you ever lived without it. It’s incredibly silky smooth, luxuriously creamy, and bursting with authentic peanut butter flavor that will satisfy any craving. The beauty of this recipe lies in its remarkable versatility. Imagine a delicate stream of rich peanut butter ganache dripping elegantly down the sides of a tiered cake or generously coating a classic Bundt cake. Picture it poured warm over a slice of decadent cheesecake or drizzled over a scoop of vanilla ice cream for an instant upgrade.
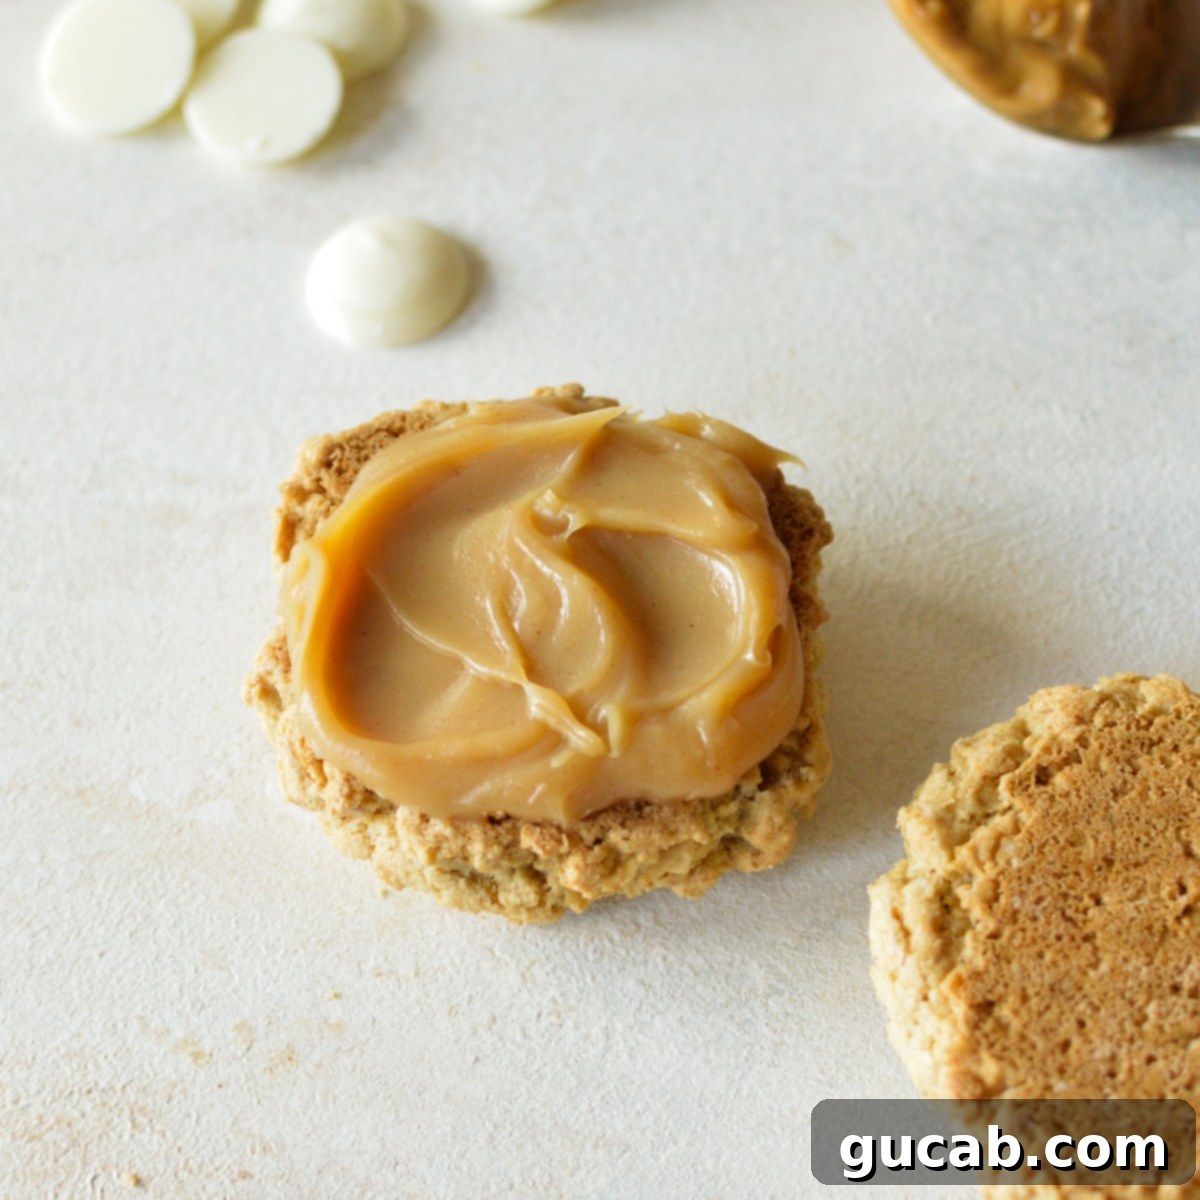
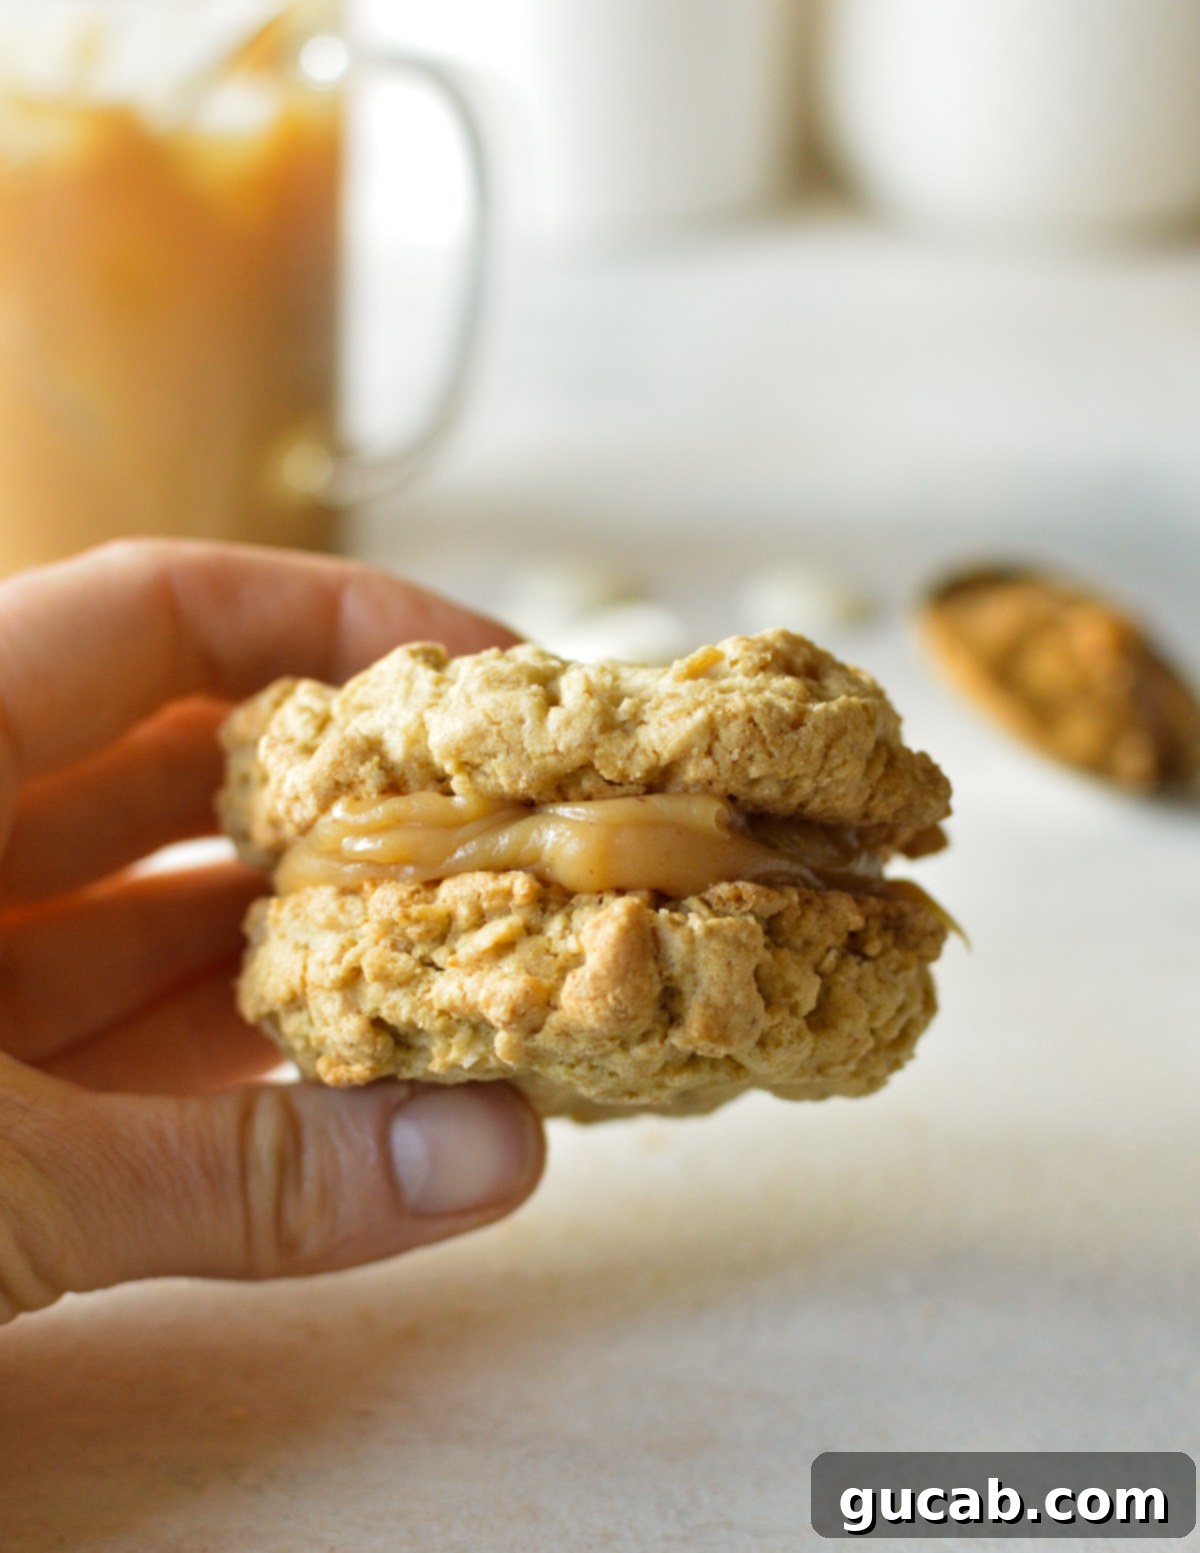
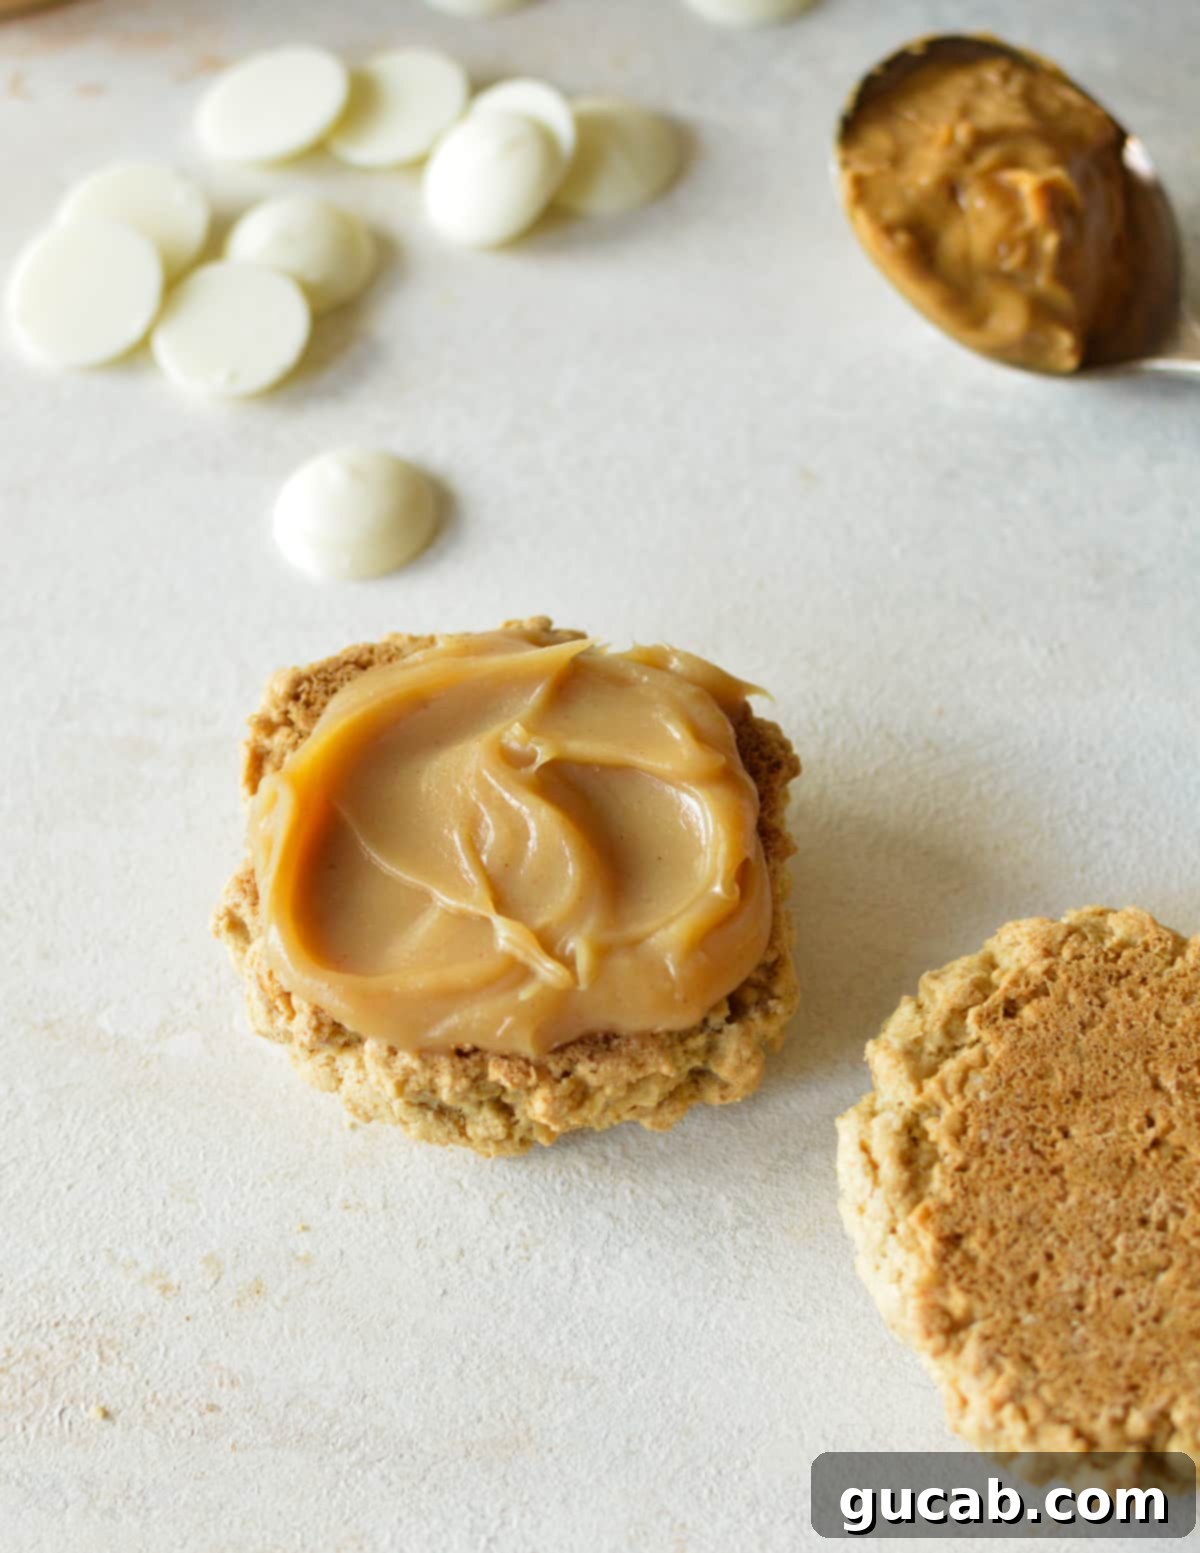
Beyond being a show-stopping glaze or drip, this ganache shines as a sublime filling. My absolute favorite way to savor it is sandwiched between two soft oatmeal cookies, creating a delightful treat reminiscent of a gourmet Nutter Butter. It also makes an exceptional filling for French macarons, tarts, and even cupcakes, adding a sophisticated touch to your baking. With only three simple ingredients and a preparation time of about 10 minutes, it’s an unbelievably quick and easy way to infuse a rich peanut butter flavor into all your beloved desserts. You’ll love how effortlessly it transforms everyday baked goods into something truly special.
Essential Ingredients for Perfect Peanut Butter Ganache
Crafting this incredible peanut butter ganache requires just three core ingredients, each playing a vital role in achieving its signature creamy texture and rich flavor. Opting for high-quality ingredients will always yield the best results.
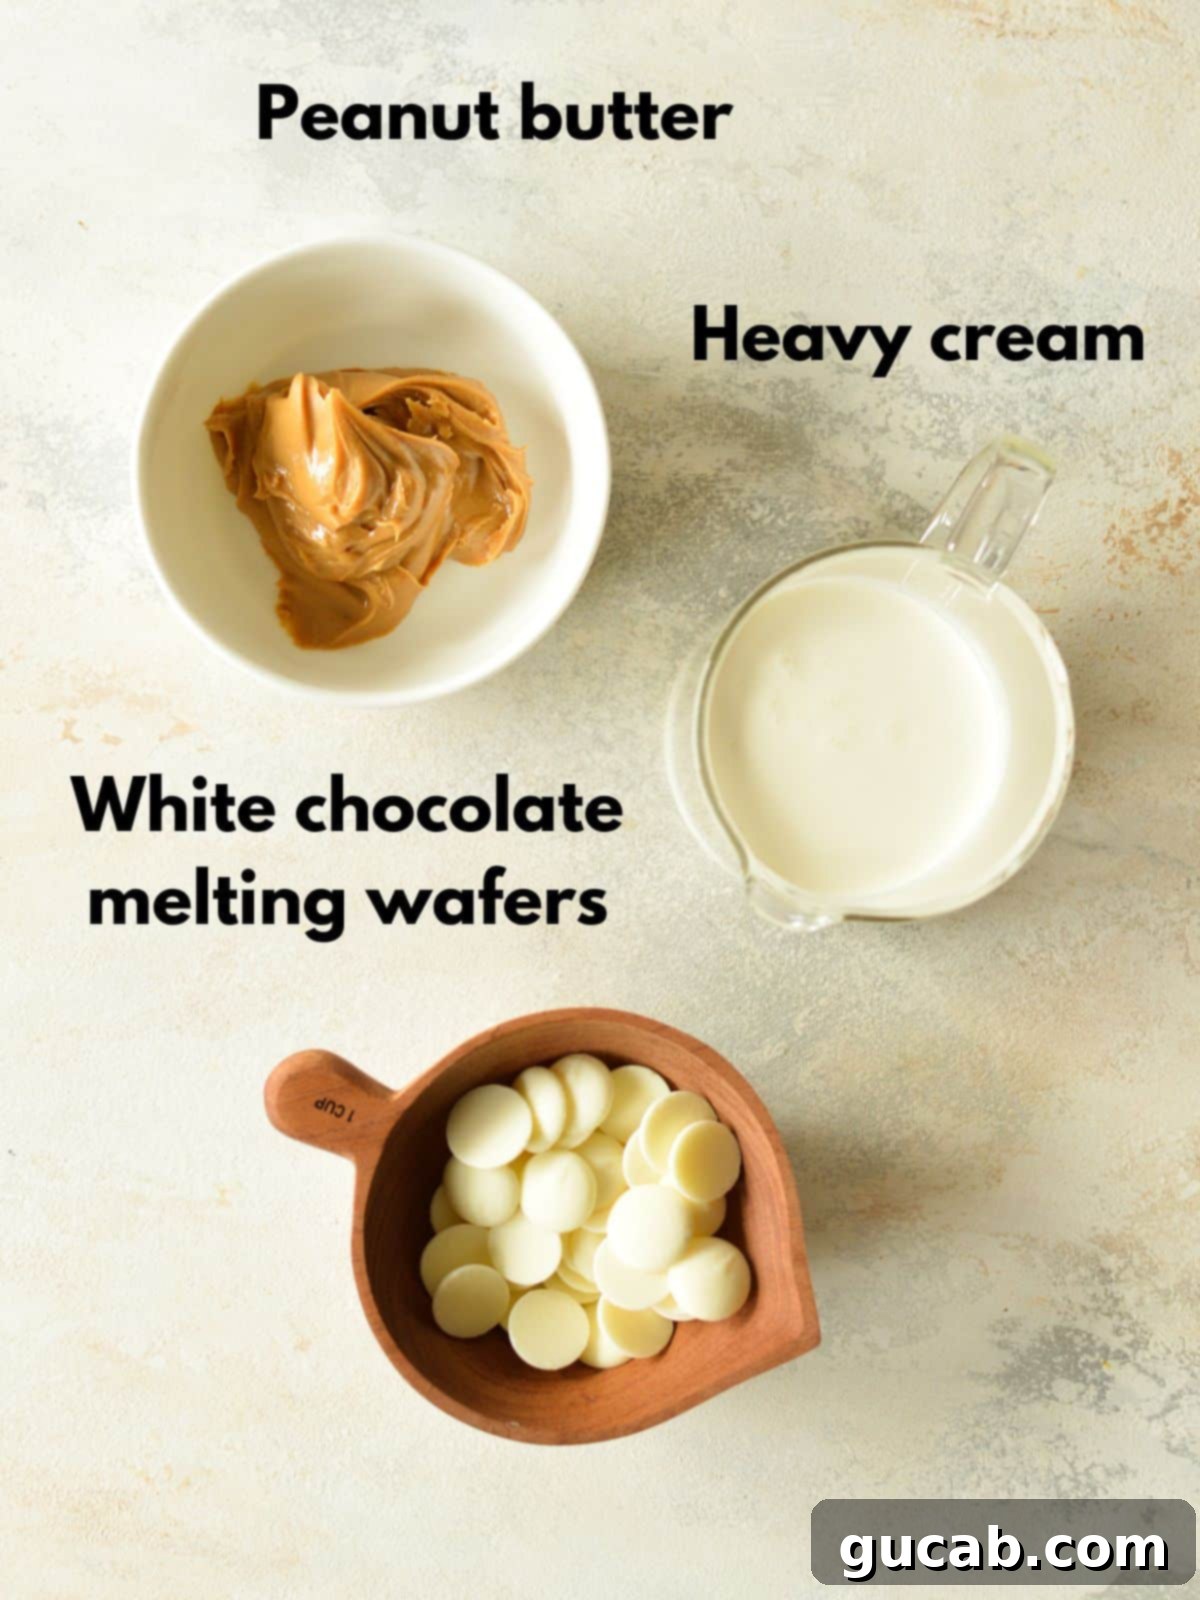
- Creamy Peanut Butter: For a truly smooth and luscious ganache, using creamy peanut butter is non-negotiable. Brands like Peter Pan, Jif, or Skippy work wonderfully, delivering consistent texture and flavor. I personally lean towards Peter Pan for its superb creaminess. It’s crucial to avoid natural peanut butter for this recipe, as the oil separation and often coarser texture can prevent the ganache from becoming perfectly smooth and emulsified. The added sugars and stabilizers in conventional creamy peanut butter are actually beneficial here, contributing to the ganache’s stability and luxurious consistency.
- Heavy Cream: This is the magic ingredient that transforms the solid white chocolate and peanut butter into a rich, pourable, and ultimately spreadable ganache. Heavy cream, with its high-fat content, provides the perfect consistency and an incredible richness that complements the peanut butter beautifully. It’s what gives the ganache its characteristic silky mouthfeel. Make sure to use heavy cream, not half-and-half or milk, as they lack the necessary fat content for proper ganache emulsification and thickening.
- White Chocolate Melting Wafers: The quality of your white chocolate significantly impacts the final ganache. I highly recommend using high-quality white chocolate melting wafers, such as Ghirardelli, as they melt exceptionally smoothly and evenly, leading to a consistently perfect ganache. While chopped white chocolate bars or good quality white chocolate chips can also be used, be aware that some lower-quality chocolate chips contain less cocoa butter and more stabilizers, which can make them resistant to melting smoothly and prone to clumping or a grainy texture. Always choose a brand known for its good melting properties to ensure a flawless ganache.
Step-by-Step Guide: How to Make Dreamy Peanut Butter Ganache
Making this delightful peanut butter ganache is a surprisingly straightforward process. Follow these simple steps to achieve a perfectly smooth and flavorful result every time.
-
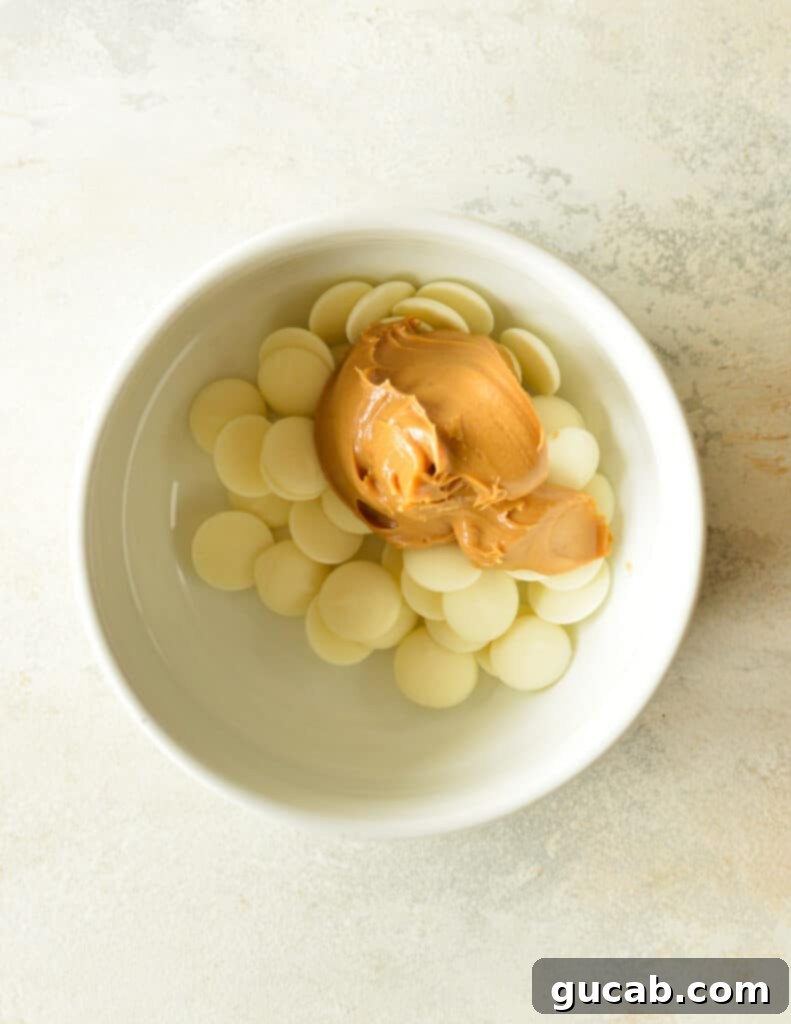
Prepare Your Base: Begin by combining your white chocolate melting wafers and creamy peanut butter in a medium-sized, heatproof bowl. Ensure the bowl is completely dry to prevent the chocolate from seizing. Once combined, set this bowl aside.
-
-
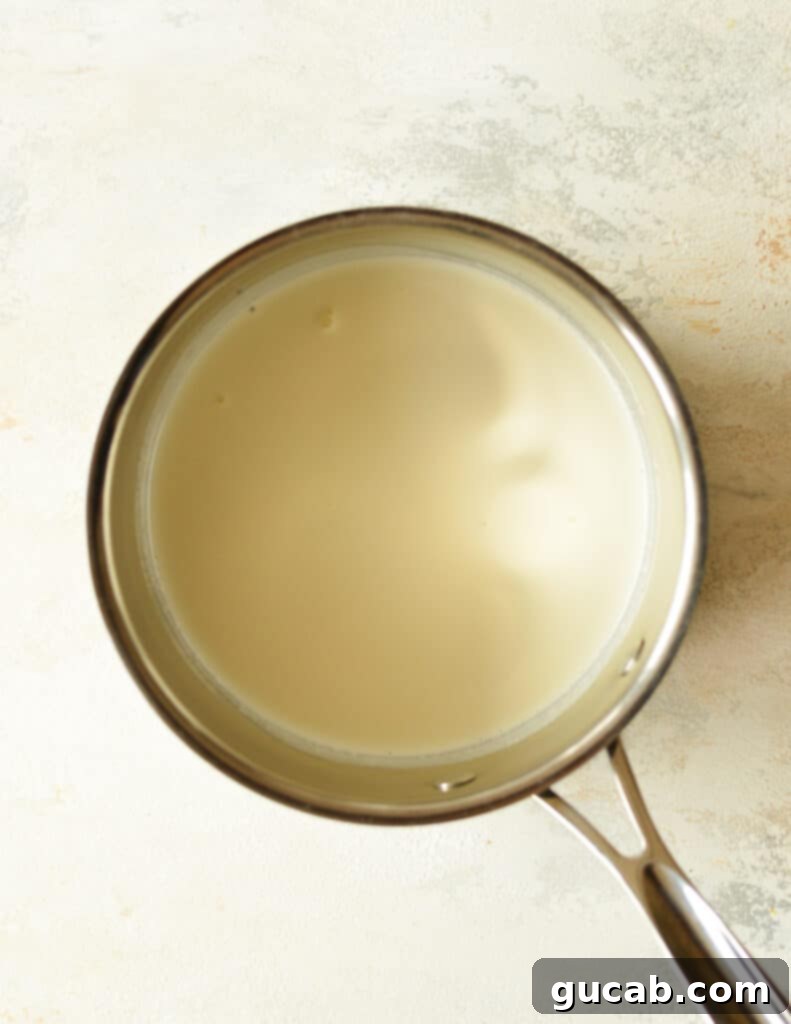
Heat the Cream: Pour the heavy cream into a small saucepan. Place it over medium heat and gently bring it to a boil. Watch it closely; as soon as you see bubbles forming around the edges and it begins to foam up in the center, immediately remove it from the heat. This ensures the cream is hot enough to melt the chocolate completely without scorching.
-
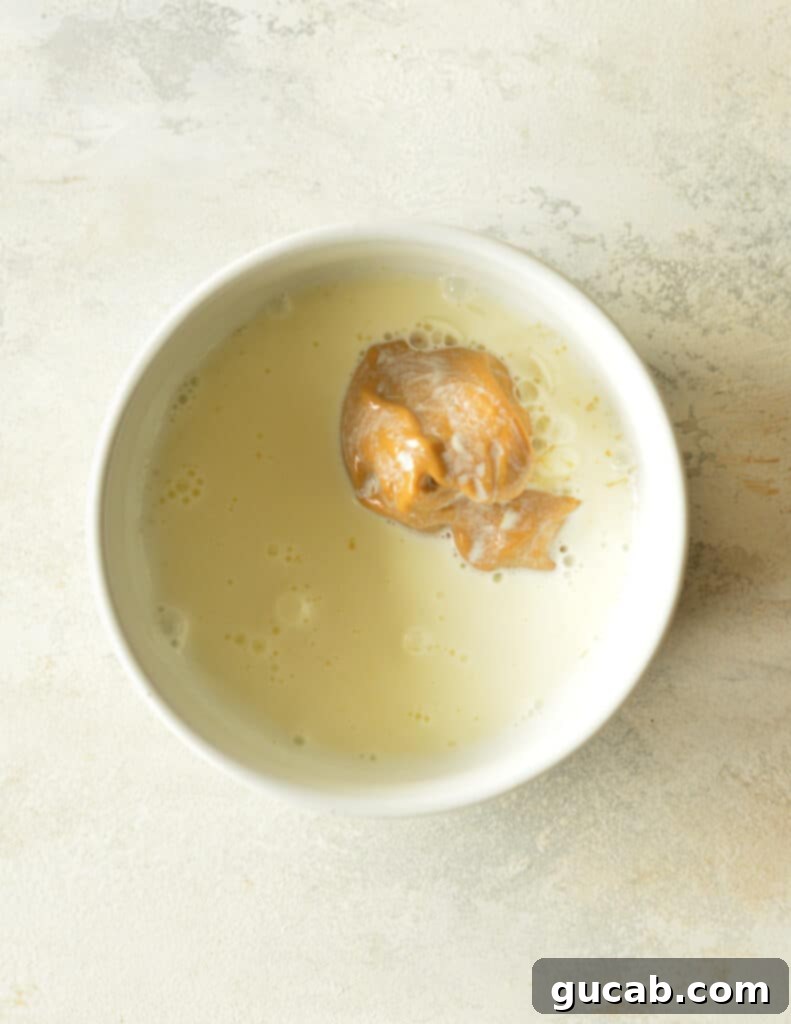
Combine and Melt: Without delay, pour the steaming hot cream directly over the white chocolate and peanut butter mixture in the bowl you prepared earlier. Resist the urge to stir immediately! Let the mixture sit undisturbed for exactly 30 seconds. This crucial resting period allows the intense heat from the cream to thoroughly melt the white chocolate and soften the peanut butter, preventing any un-melted bits or a grainy texture.
-
Stir to Smoothness: After the 30-second rest, gently begin stirring the mixture with a whisk or spatula, starting from the center and slowly working your way outwards. Continue stirring until the ganache is completely smooth, glossy, and beautifully emulsified. At this stage, it will appear quite thin and liquid, which is perfectly normal. Its fluidity is due to the heat, and it will thicken significantly as it cools.
-
-
Achieve Desired Consistency:
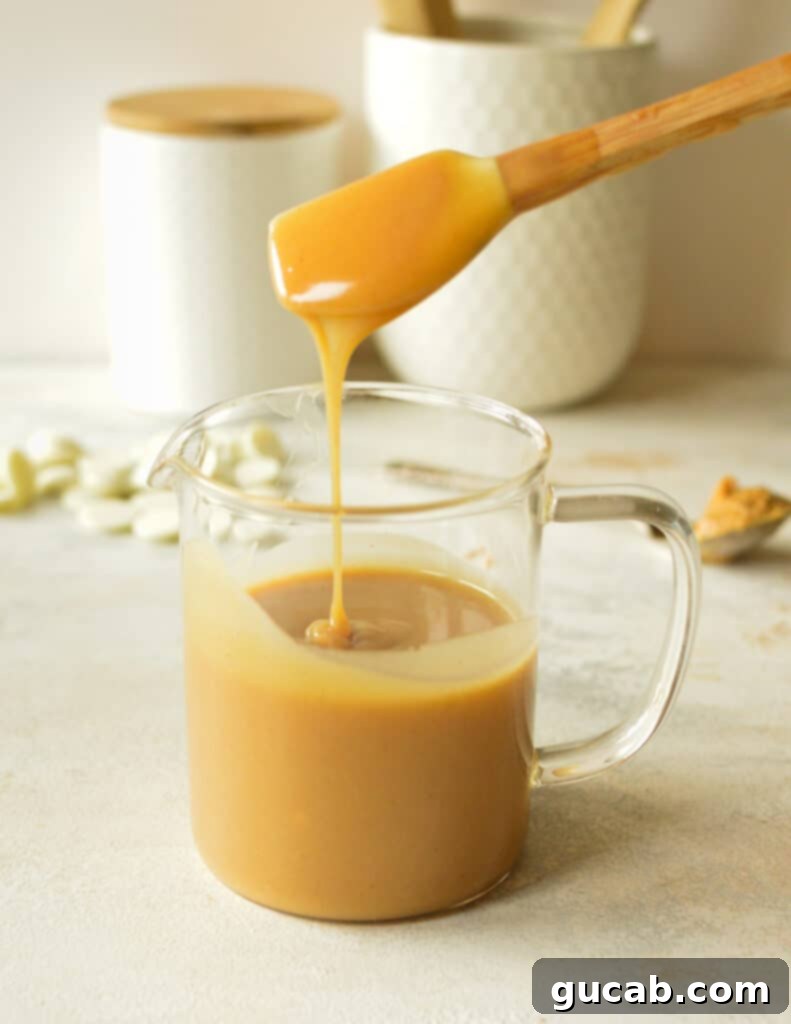
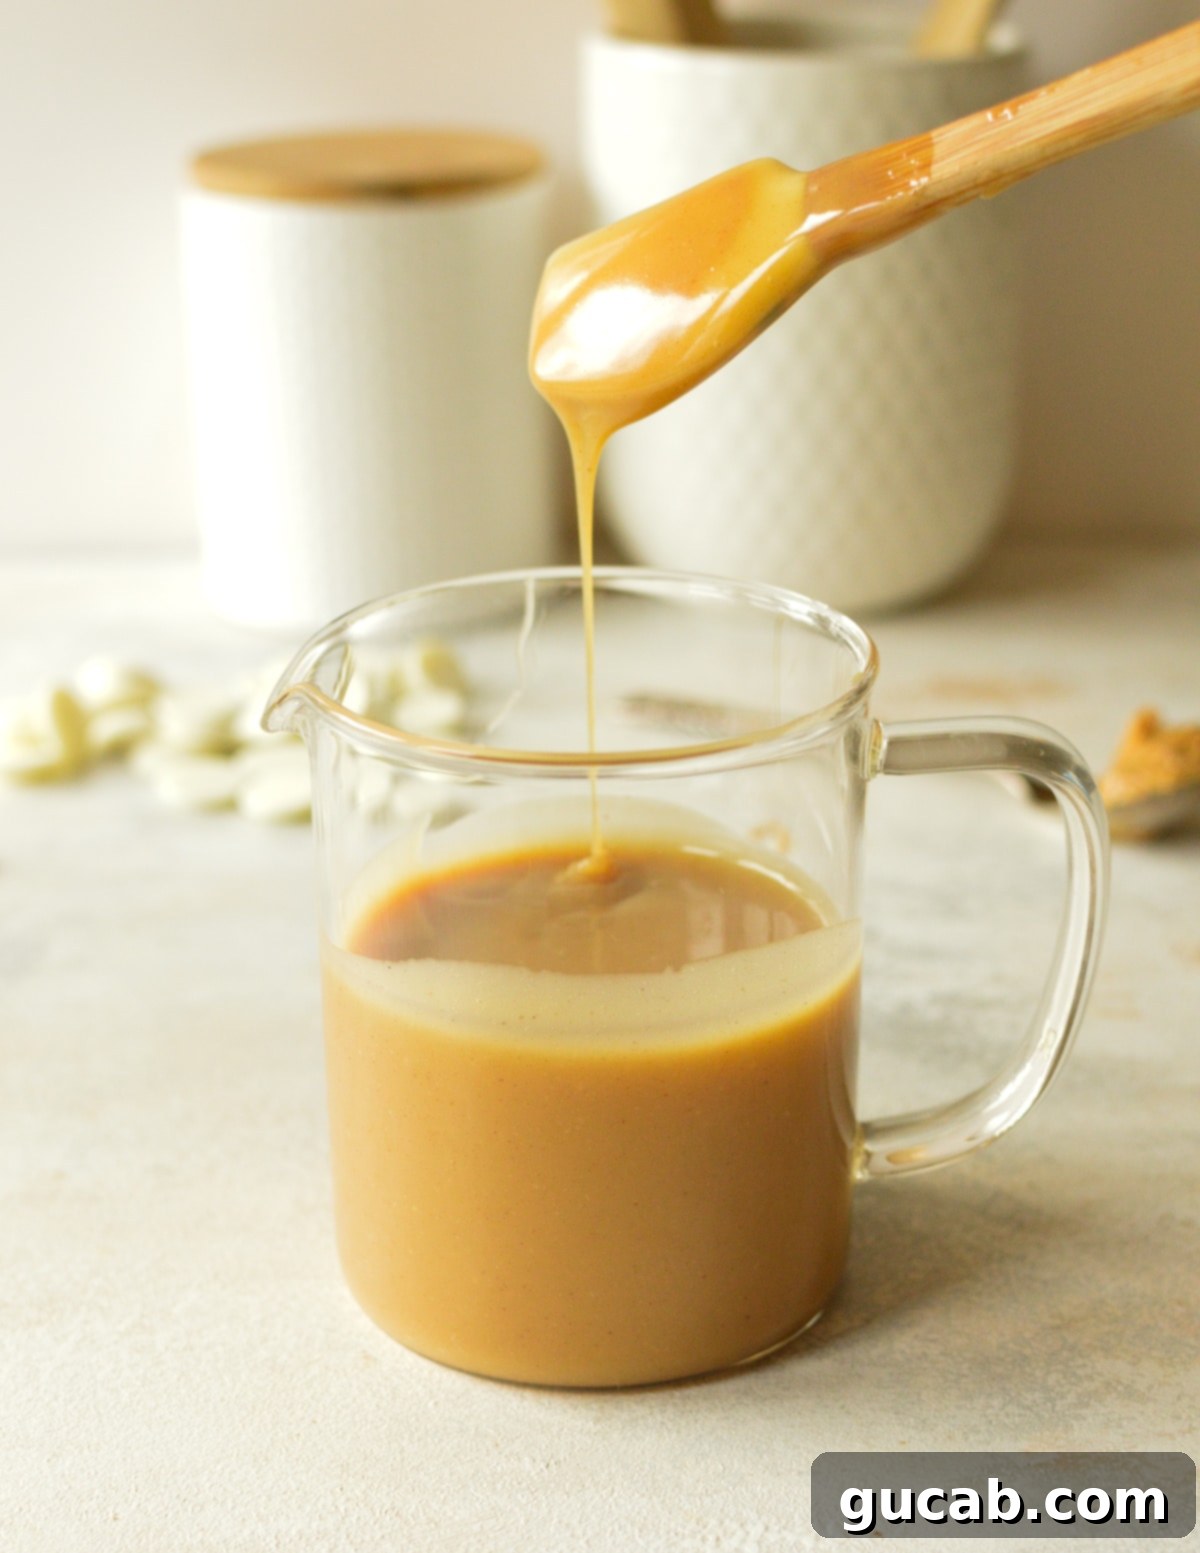
- Pourable Consistency: After about 10-20 minutes of resting at room temperature, your ganache will have cooled slightly and thickened to a perfect pourable consistency. This is ideal for drizzling over Bundt cakes, coating layer cakes, pouring over cheesecakes, or serving warm with ice cream.
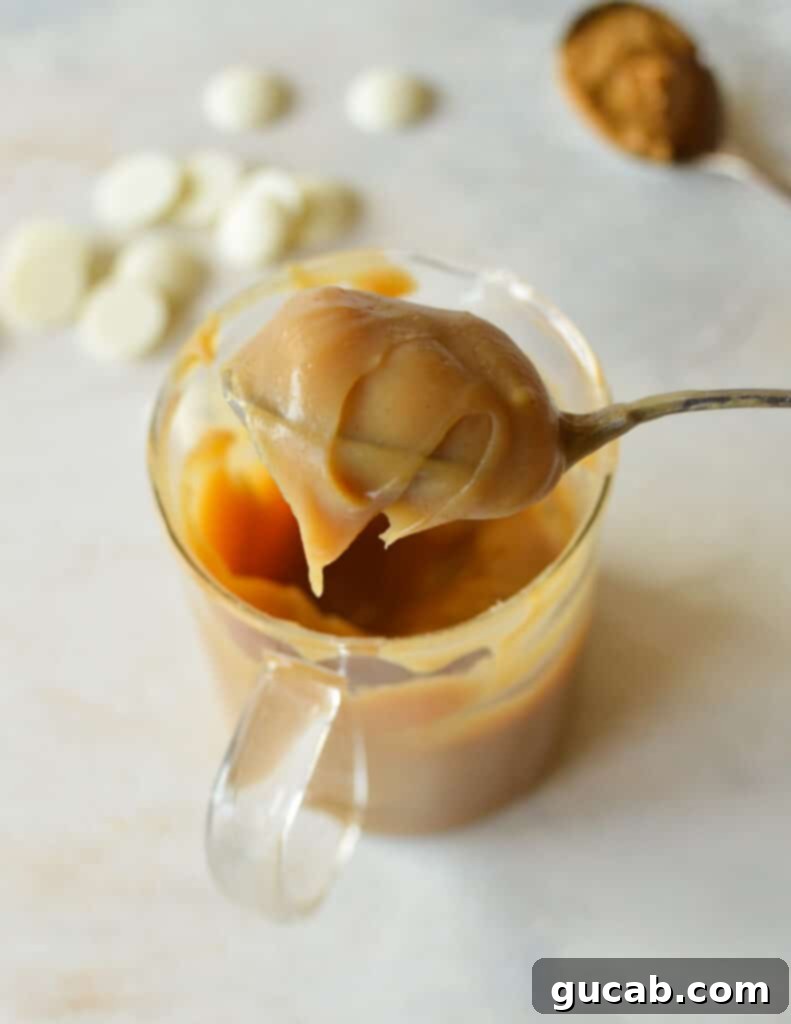
- Spreadable Consistency: If you desire a thicker, more spreadable ganache – perfect for filling cookies, macarons, or piping onto cupcakes – you’ll need to allow it to cool further. Let it sit at room temperature for a couple of hours, stirring occasionally. To speed up this process, you can place it in the refrigerator, stirring every 10-15 minutes until it reaches your desired thickness. Be careful not to let it get too firm in the fridge, as it will become difficult to work with.
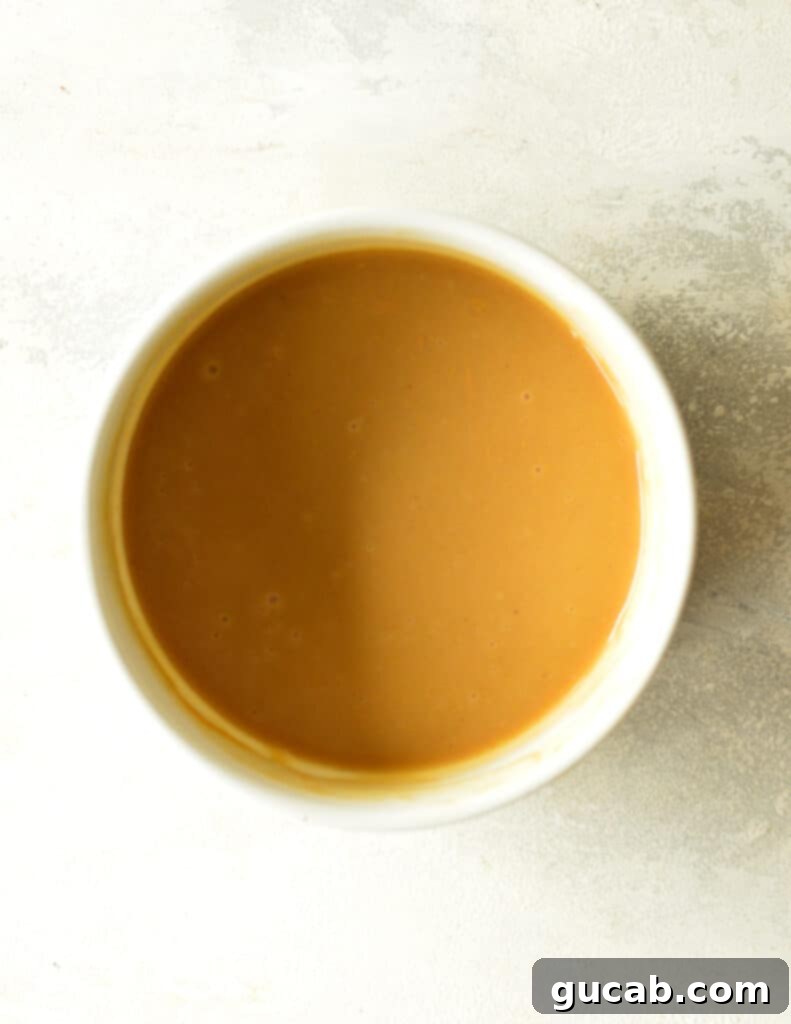
As illustrated in the images above, the thickness of the ganache changes dramatically as it cools. The first image depicts its pourable state approximately ten minutes after preparation, ideal for glazing. The second image shows its thicker, more spreadable consistency after a couple of hours, perfect for fillings or piping.
Expert Tips for the Best Peanut Butter Ganache
To ensure your peanut butter ganache turns out perfect every time, keep these essential tips in mind:
- Perfecting the Cream Temperature: The temperature of your heavy cream is paramount. Bring the cream just to a rolling boil, where you see consistent bubbles and foam. As soon as it reaches this point, immediately remove it from the heat. Don’t let it boil for too long, but don’t worry if it boils for a second or two; it won’t burn quickly. The goal is super-hot cream to guarantee full and rapid melting of the white chocolate and peanut butter.
- Microwave Convenience: If you prefer to avoid dirtying a saucepan, you can certainly heat the cream in the microwave. Pour the heavy cream into a microwave-safe cup or bowl and heat it in 30-second intervals, stirring in between. Watch it carefully, as cream can foam up and overflow quickly. Heat until it starts to steam and visibly foam upwards, indicating it’s hot enough.
- Plan Your Consistency: Think about how you intend to use the ganache before you start.
- For a Pourable Glaze/Drip: Make the ganache about 10 to 20 minutes before you plan to use it. It will be warm, liquid, and flow beautifully.
- For a Spreadable Filling/Frosting: Prepare the ganache a couple of hours in advance, allowing it to cool and thicken at room temperature. For faster results, place it in the refrigerator, stirring every 10-15 minutes until it reaches a thick, spreadable consistency. Don’t leave it in the fridge unattended for too long, or it might become too hard.
- Quality Chocolate Matters: This is a simple recipe, so the quality of your ingredients truly shines through. Low-quality white chocolate chips, in particular, tend to contain less cocoa butter and can be difficult to melt smoothly, often resulting in a grainy or clumpy ganache. Invest in a good brand like Ghirardelli, Callebaut, or Valrhona for the best melting properties and flavor.
- Avoid Over-Stirring: While stirring is essential for emulsification, excessive or vigorous stirring can incorporate too much air, leading to a duller, less smooth ganache. Stir gently but thoroughly until no lumps remain.
- Troubleshooting a Grainy Ganache: If your ganache isn’t perfectly smooth after stirring, it’s likely that the chocolate didn’t melt completely. You can fix this by gently reheating the ganache over a double boiler (a heatproof bowl set over a saucepan of simmering water, ensuring the bowl doesn’t touch the water) or in 10-second bursts in the microwave, stirring until smooth. An immersion blender can also work wonders to emulsify stubborn bits.
- Flavor Boost: For an extra layer of flavor, consider adding a tiny pinch of salt (to enhance the peanut butter flavor) or a splash of vanilla extract (about ½ teaspoon) to the ganache once it’s smooth. Stir it in thoroughly.
Storage and Reheating Recommendations
Proper storage is key to maintaining the freshness and quality of your homemade peanut butter ganache.
Since heavy cream is one of its main ingredients, which perishes quickly at room temperature, it’s essential to store your ganache in the refrigerator. Transfer any leftover ganache into an airtight container or a jar with a sealable lid. Stored correctly in the fridge, it will remain fresh and delicious for up to one week.
When you’re ready to use it again, especially if you want a pourable consistency, you can gently reheat the ganache. For smaller amounts, microwave in short 10-15 second bursts, stirring well after each interval, until it reaches your desired consistency. For larger quantities, use a double boiler, stirring continuously until smooth and warm. Avoid overheating, as this can cause the ganache to separate. Remember to store any desserts you’ve adorned with this ganache in the refrigerator as well.
Creative Variations for Your Peanut Butter Ganache
This basic peanut butter ganache recipe is a fantastic starting point, but don’t hesitate to experiment with these delicious variations to customize it to your taste or dietary needs.
- Decadent Chocolate Peanut Butter Ganache: For the ultimate chocolate-peanut butter experience, simply replace the white chocolate melting wafers with an equal amount of semi-sweet, milk, or dark chocolate chips or finely chopped chocolate. Each type of chocolate will yield a slightly different flavor profile – semi-sweet for a balanced taste, milk chocolate for a sweeter, creamier result, and dark chocolate for a rich, intense flavor with a hint of bitterness. This variation is incredibly popular and truly irresistible.
- Dairy-Free Peanut Butter Ganache: Making this ganache dairy-free is surprisingly easy! You’ll need to find a good quality dairy-free white chocolate brand (check labels carefully). For the heavy cream, swap it out for a plant-based alternative. Full-fat canned coconut milk (the thick cream on top), almond milk, or oat milk can work well. If using thinner plant milks like almond or oat, reduce the amount to ½ cup to maintain the right consistency, as they have a lower fat content than heavy cream. Remember that the ganache will naturally thicken as it cools, so don’t be alarmed if it seems a bit thin initially.
- Make it Gluten-Free: The base recipe is naturally gluten-free, but always double-check the labels of your white chocolate and peanut butter to ensure they are certified gluten-free, especially if you or your guests have a severe sensitivity or allergy.
- Nut-Free Alternative: If you need a completely nut-free option due to allergies, you can substitute the peanut butter with an equal amount of sunflower seed butter (like SunButter). Just ensure the sunflower seed butter is creamy and smooth, and verify that all other ingredients are free from nuts.
- Spiced Peanut Butter Ganache: For an adventurous twist, add a pinch of ground cinnamon, nutmeg, or even a tiny dash of cayenne pepper (for a subtle kick!) to the ganache along with the peanut butter and white chocolate. These spices can beautifully complement the rich peanut butter flavor.
- Espresso Peanut Butter Ganache: Dissolve ½-1 teaspoon of instant espresso powder into the hot heavy cream before pouring it over the chocolate and peanut butter. This will add a wonderful depth of flavor that pairs perfectly with both chocolate and peanut butter.
Frequently Asked Questions About Peanut Butter Ganache
Ganache is incredibly versatile and can be used in various consistencies. Initially, when freshly made and warm, it has a thin, pourable consistency, perfect for glazes and drips. As it cools to room temperature, it gradually thickens. After about 10-20 minutes, it will reach a thicker, still pourable but more viscous consistency. If allowed to sit for a couple of hours or chilled in the refrigerator, it will continue to firm up into a luxurious, spreadable consistency that’s ideal for filling cookies, cakes, or piping onto cupcakes. It won’t become rock-hard like solid chocolate, but rather a soft, pliable fudge-like texture when fully set.
If your ganache has un-melted bits of white chocolate or appears grainy, it’s typically because the cream wasn’t hot enough to fully melt all the chocolate. The key is to ensure the cream reaches a rolling boil. If this happens, don’t despair! You can usually salvage it. Gently reheat the peanut butter ganache over a double boiler, stirring continuously until it becomes completely smooth and uniform. Alternatively, you can microwave it in 10-second intervals, stirring vigorously after each, until the lumps disappear. For persistent graininess, a quick blitz with an immersion blender can often emulsify it into a perfectly smooth ganache.
While you technically *can* use crunchy peanut butter, it is not recommended for this specific ganache recipe. The goal of ganache is to be silky smooth, and the peanut pieces in crunchy peanut butter will prevent you from achieving that desired consistency. For the best results and a truly luxurious texture, always stick to creamy peanut butter.
If your ganache is too thick, you can gently warm it up either in the microwave in short bursts or over a double boiler, adding a tiny splash (about ½ to 1 teaspoon) of hot heavy cream at a time and stirring until it reaches your desired pourable consistency. If your ganache is too thin and you want it thicker for spreading, simply let it cool for a longer period at room temperature, or place it in the refrigerator, stirring every 10-15 minutes until it firms up.
Absolutely! This peanut butter ganache is excellent for making ahead. Prepare it as directed, allow it to cool completely, then transfer it to an airtight container and refrigerate for up to one week. When you’re ready to use it, let it sit at room temperature for about 30 minutes to soften slightly. If you need it pourable again, gently reheat it in the microwave or over a double boiler, stirring frequently, until it returns to a smooth, flowing consistency. This makes it perfect for meal prep or busy baking schedules.
Explore More Delicious Peanut Butter Recipes
If you’re a true peanut butter enthusiast, you’ll love these other fantastic recipes:
- Peanut Butter Cream Cheese Frosting
- Peanut Butter Milkshake
- Peanut Butter Oatmeal Cookies
- Flourless Peanut Butter Cookies
Creamy Peanut Butter Ganache Recipe
By Carolyn
Pin Recipe
Equipment
-
small saucepan
-
heatproof mixing bowl
-
whisk or spatula
Ingredients
- ⅔ cup white chocolate melting wafers I used Ghirardelli for best results
- ⅔ cup heavy cream
- ⅓ cup creamy peanut butter avoid natural peanut butter
- Optional: ½ teaspoon vanilla extract
- Optional: pinch of salt
Instructions
-
In a medium heatproof bowl, combine the white chocolate melting wafers and creamy peanut butter. Set aside.
-
In a small saucepan, heat the heavy cream over medium heat until it begins to boil and foam around the edges. Immediately remove it from the stove.
-
Immediately pour the hot cream over the white chocolate and peanut butter mixture. Let the cream sit undisturbed for 30 seconds to allow the chocolate to melt thoroughly.
-
Gently stir the mixture with a whisk or spatula, starting from the center and moving outwards, until it is completely smooth and glossy. The ganache will be thin and runny at first, then thicken to a pourable consistency after about 10-20 minutes, and become spreadable after a few hours of cooling (or faster in the fridge).
-
(Optional) Stir in vanilla extract and a pinch of salt for enhanced flavor. Use immediately for pouring, or allow to cool for a thicker, spreadable consistency.
Nutrition
