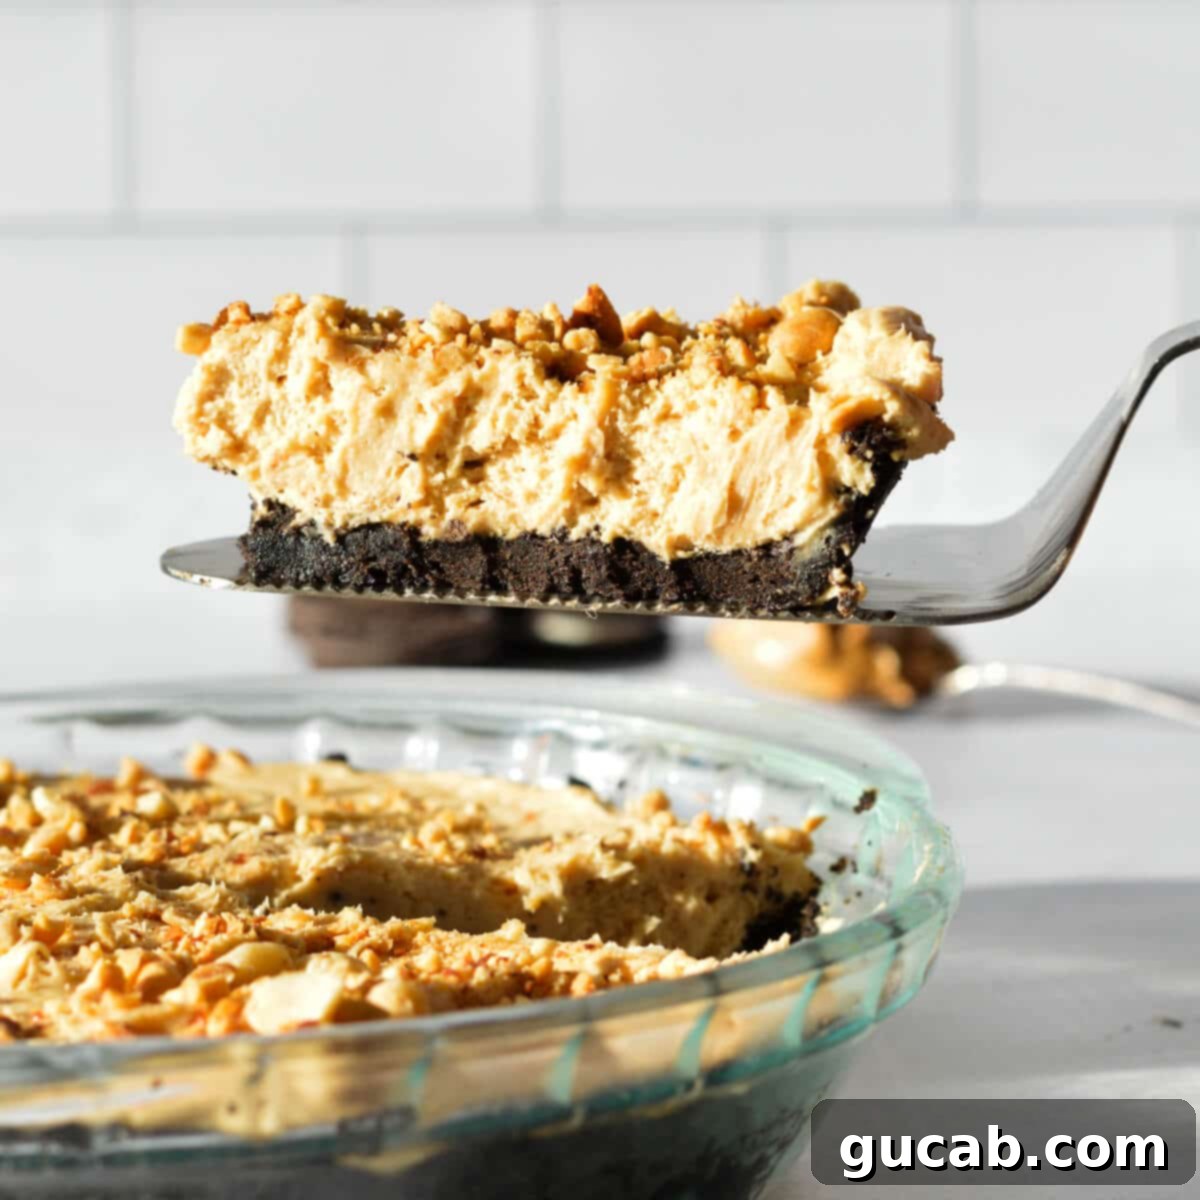
The Ultimate Easy Gluten-Free Oreo Pie Crust: Perfect for No-Bake Desserts
Crafting the perfect pie begins with the perfect crust, and this gluten-free Oreo pie crust truly hits all the right notes! It offers an incredible balance of chewiness and firmness without being overly crunchy or hard, making it an ideal foundation for a wide array of no-bake gluten-free pies. The best part? You’ll only need about 5 minutes of hands-on preparation time to create this delectable base. Say goodbye to complicated crusts and hello to effortless, delicious desserts!
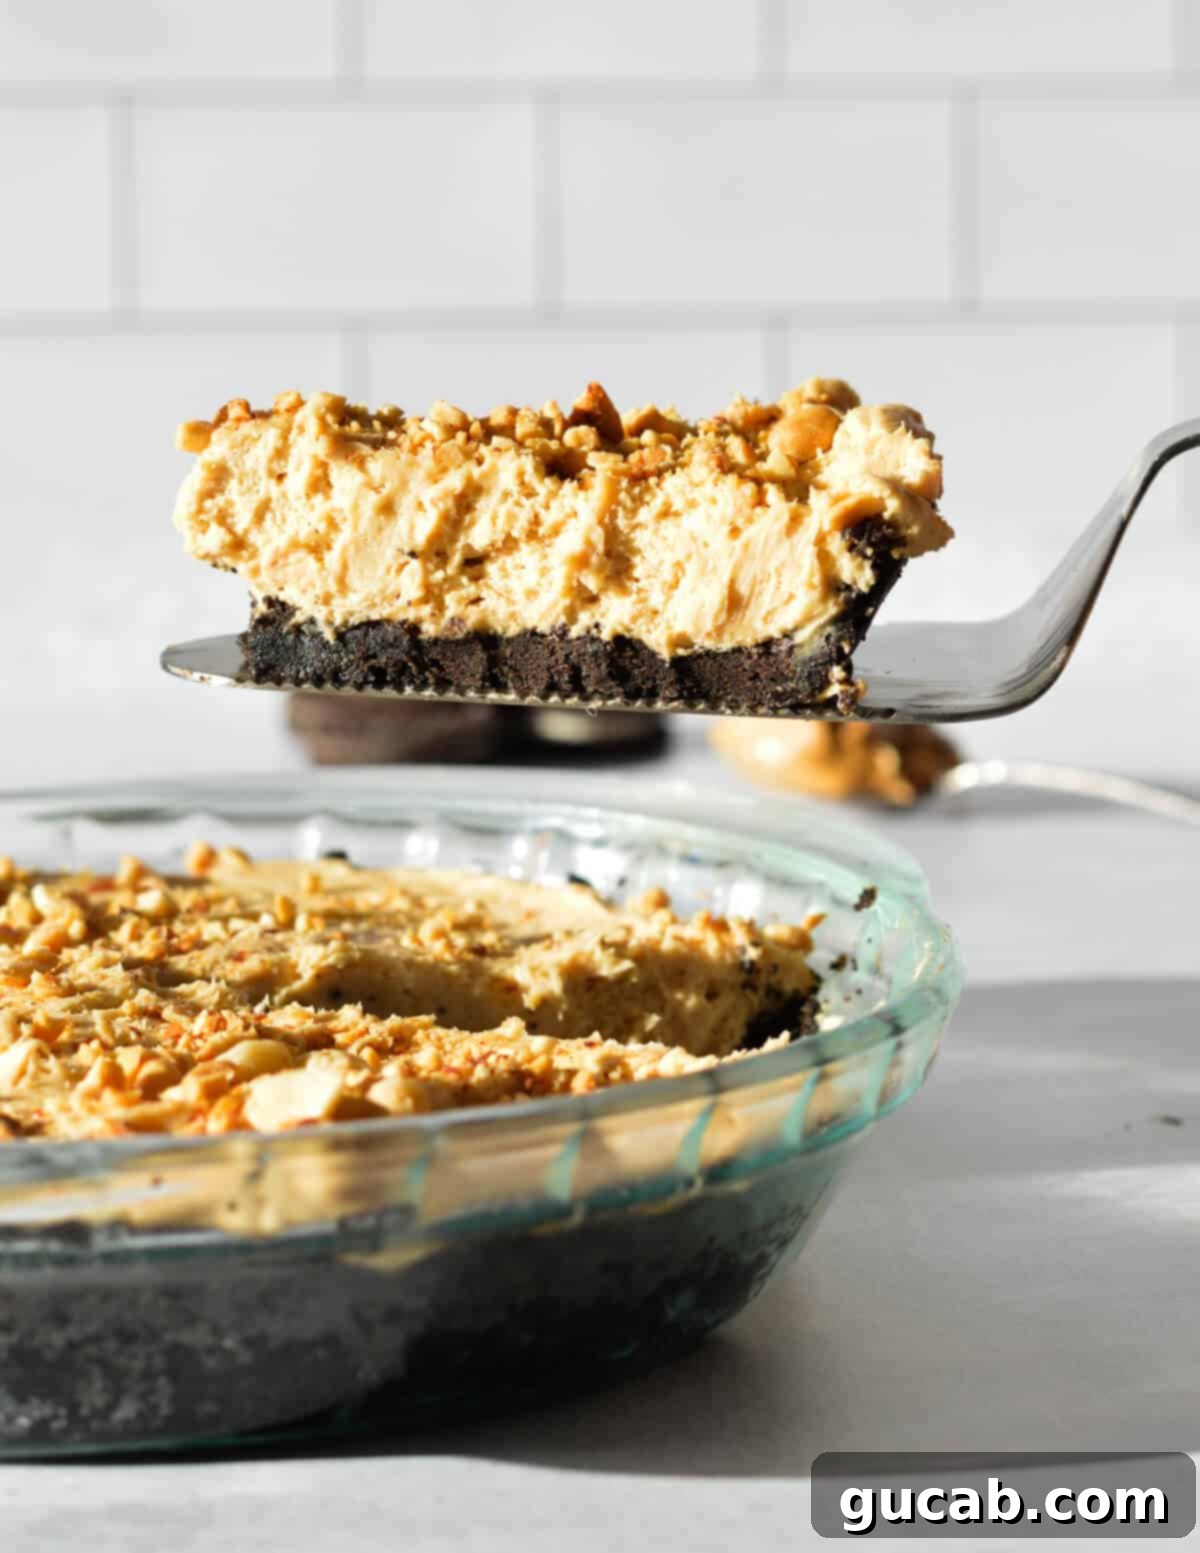
Why You’ll Absolutely Love This Gluten-Free Oreo Crust
If you’re new to the world of gluten-free Oreos, prepare to be amazed. My entire family, including those who don’t follow a gluten-free diet, wholeheartedly agrees that these cookies taste remarkably similar to their gluten-filled counterparts. There’s no strange aftertaste, no crumbly texture issues, just pure chocolatey goodness. This makes them the perfect foundation for a truly stellar gluten-free chocolate pie crust that everyone can enjoy.
The beauty of this recipe lies in its incredible simplicity. You literally just toss a few key ingredients into a food processor, give it a few pulses, and voilà! You have a rich, ultra-chocolatey, and perfectly sweet pie crust ready for your favorite fillings. It’s so straightforward, you’ll wonder why you ever bothered with traditional pie crusts. The resulting GF Oreo crust is wonderfully versatile, serving as an exceptional base for everything from creamy peanut butter pies and refreshing ice cream pies to decadent cheesecakes. Its firm yet chewy texture holds up beautifully to various fillings, ensuring a delightful bite every time.
Key Ingredients for Your Perfect GF Oreo Pie Crust
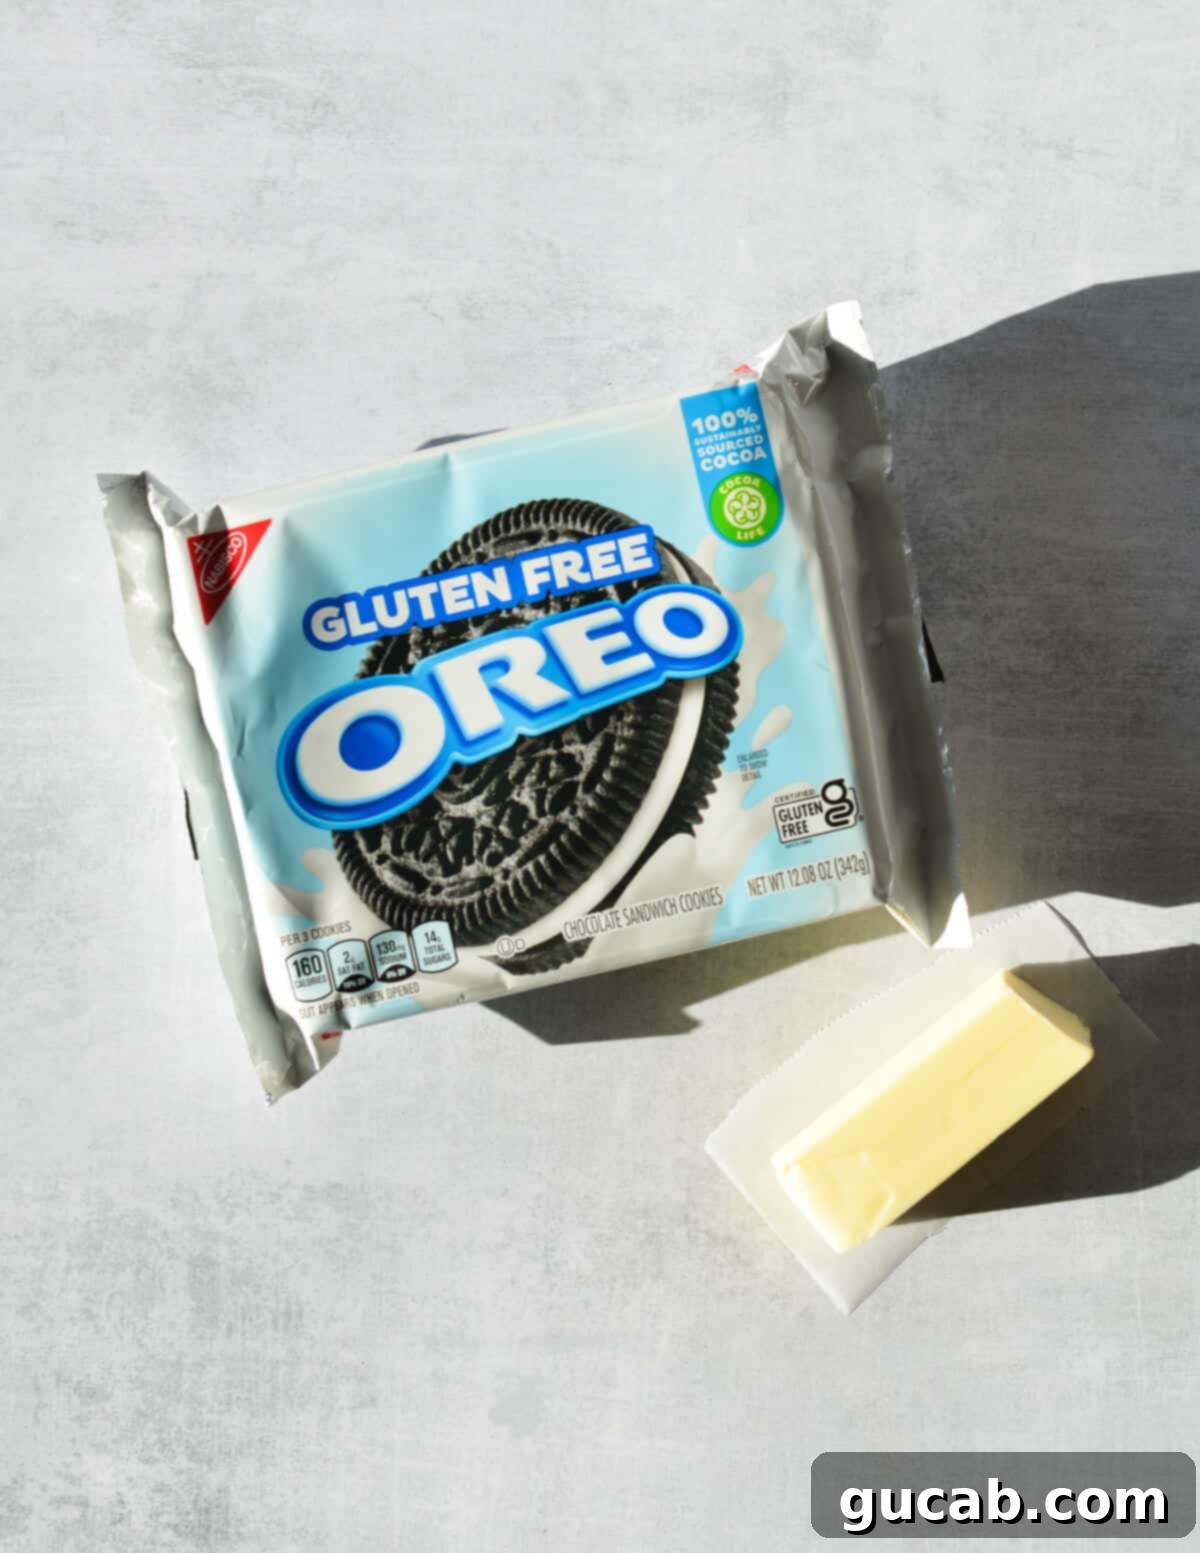
Only three simple ingredients are all you need to create this incredibly delicious and easy gluten-free pie crust. Each plays a crucial role in achieving the perfect texture and flavor:
- Gluten-Free Oreos: For truly the best results, stick with genuine Gluten-Free Oreos. While other brands of gluten-free chocolate sandwich cookies exist, their taste and texture can be inconsistent, and I cannot guarantee the same excellent outcome for this recipe if you deviate. Gluten-free products can vary significantly, so using the trusted Oreo brand ensures that familiar, delightful chocolate cookie flavor and consistent crumb.
- Unsalted Butter: Melted unsalted butter is essential here. It acts as the primary binder, holding the cookie crumbs together to form a cohesive crust. It also adds a rich, luscious moisture and a depth of flavor that complements the chocolatey Oreos beautifully. Using unsalted butter gives you control over the overall saltiness of your dessert.
- Milk: Just a touch of milk provides that extra bit of moisture needed to create the “wet, pasty sand” consistency required for a firm yet chewy crust. It helps the crumbs fully adhere to each other, preventing a dry or crumbly crust. Any type of milk (dairy or non-dairy like almond or oat milk) will work here, making it adaptable to various dietary needs.
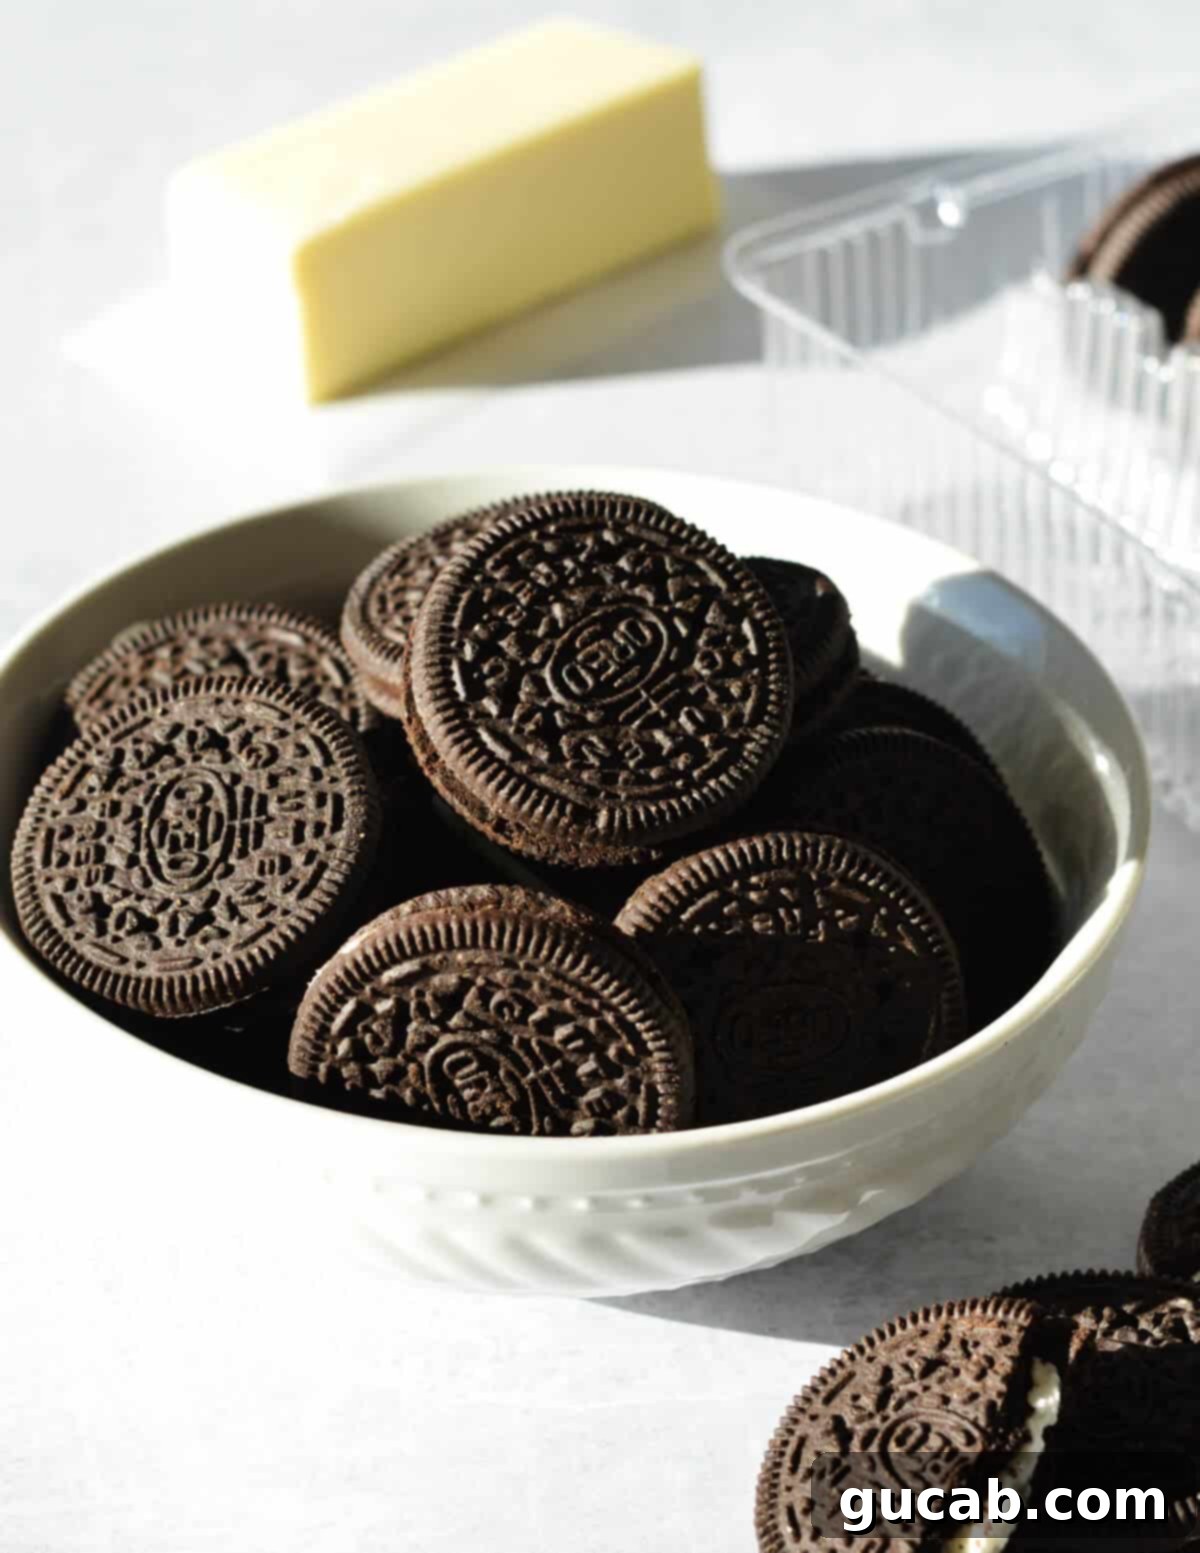
How to Make an Easy Gluten-Free Oreo Pie Crust: Step-by-Step
This recipe is incredibly straightforward, utilizing a food processor for maximum efficiency. Unlike some recipes that call for crushing cookies first, we’ll be combining everything at once for the best consistency and easiest cleanup.
- Prepare Your Ingredients: Ensure your gluten-free Oreos are ready, and your butter is melted. While the recipe is designed for a chewy crust, you can adjust the butter if you prefer it crunchier (see “Recipe Tips” below for details).
- Combine in Food Processor: Place the entire package of gluten-free Oreos (including the cream filling!), the melted unsalted butter, and the milk into your food processor.
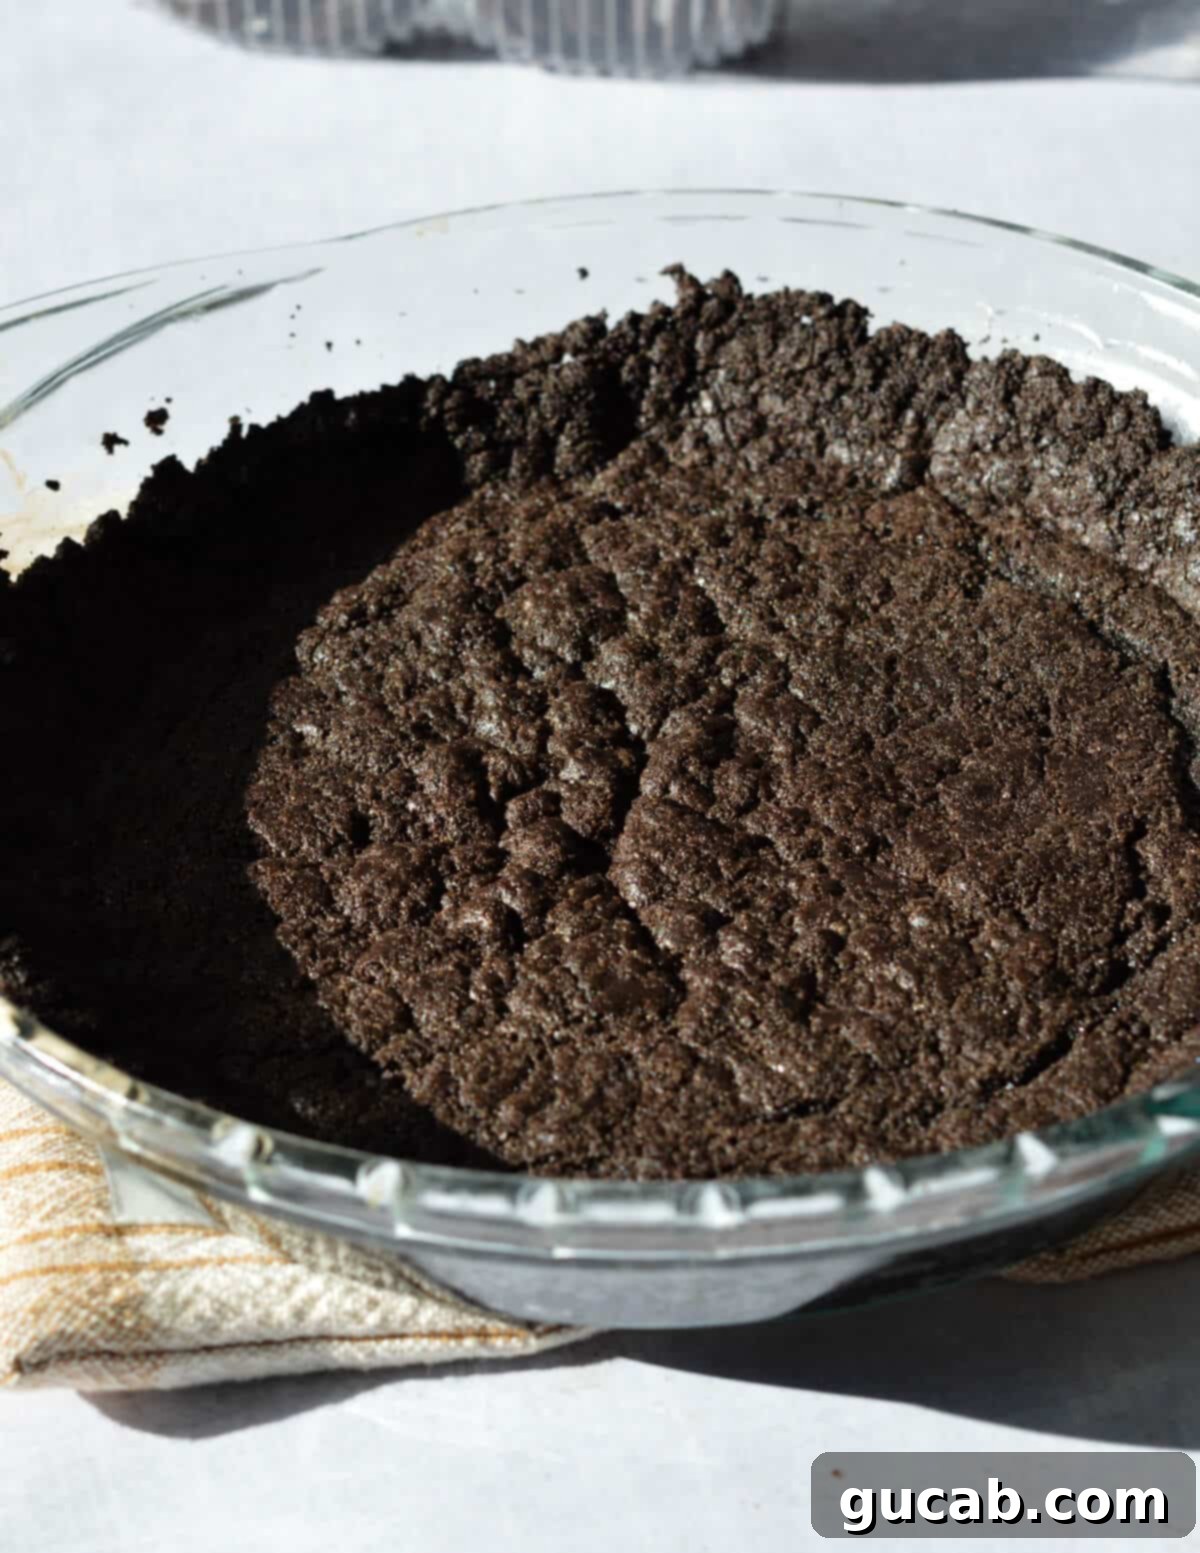
- Pulse to Perfection: Secure the lid and pulse the ingredients until the mixture transforms into a fine, wet, and pasty sand-like consistency. It’s important to keep pulsing until there are no large chunks of cookies left and the mixture holds together when pressed. Don’t worry if it seems a little too moist – that extra moisture is key to the chewy texture and will evaporate slightly during baking. I don’t recommend pulsing the cookies first and then adding the wet ingredients, as this can sometimes result in a slightly greasier crust.
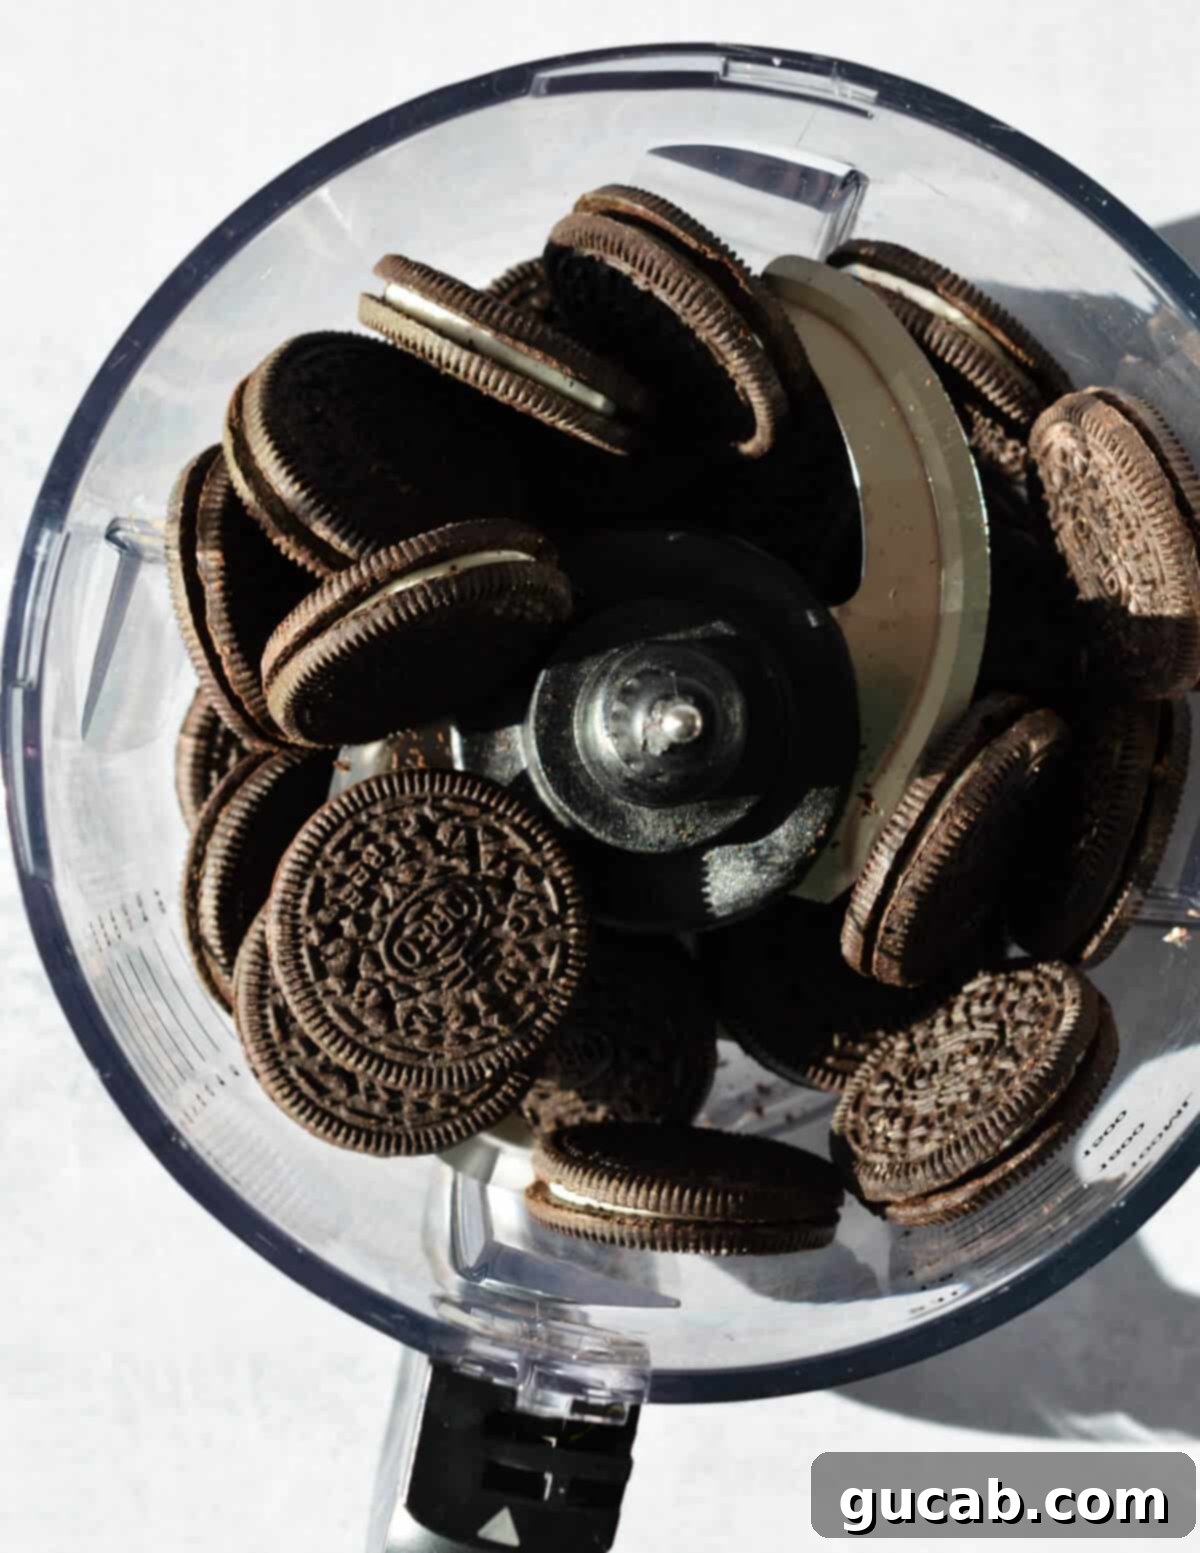
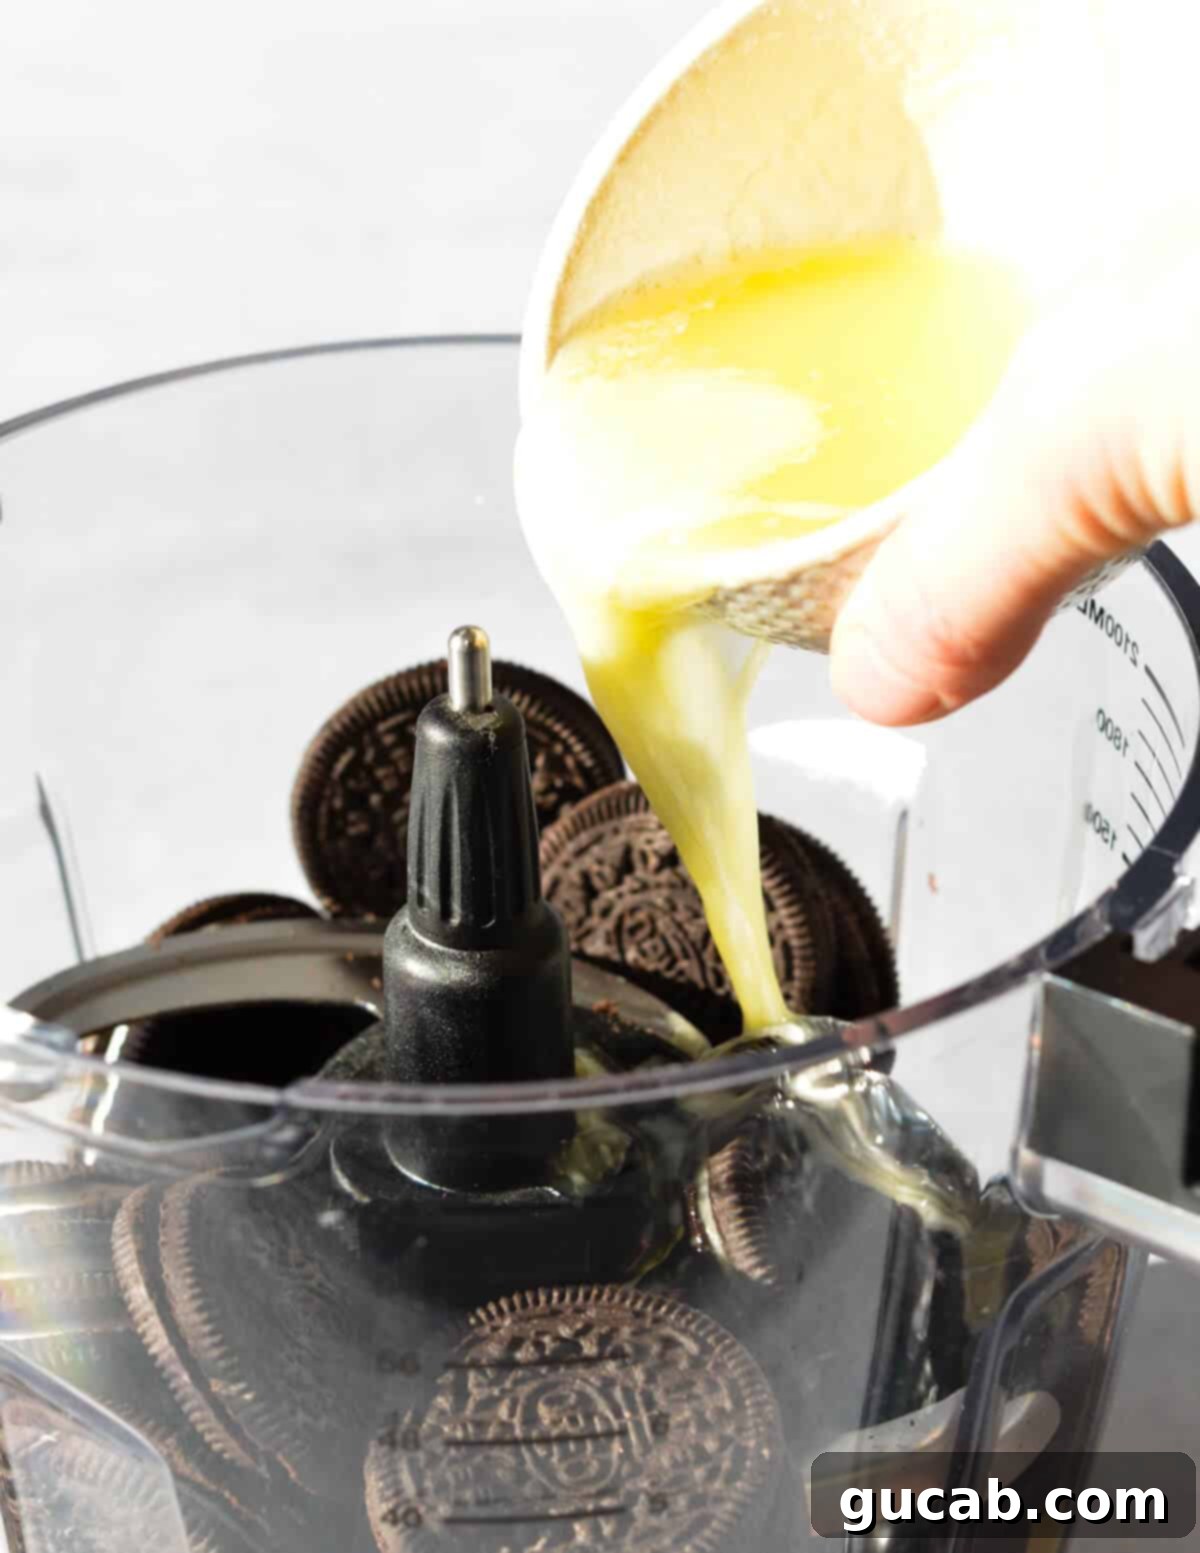
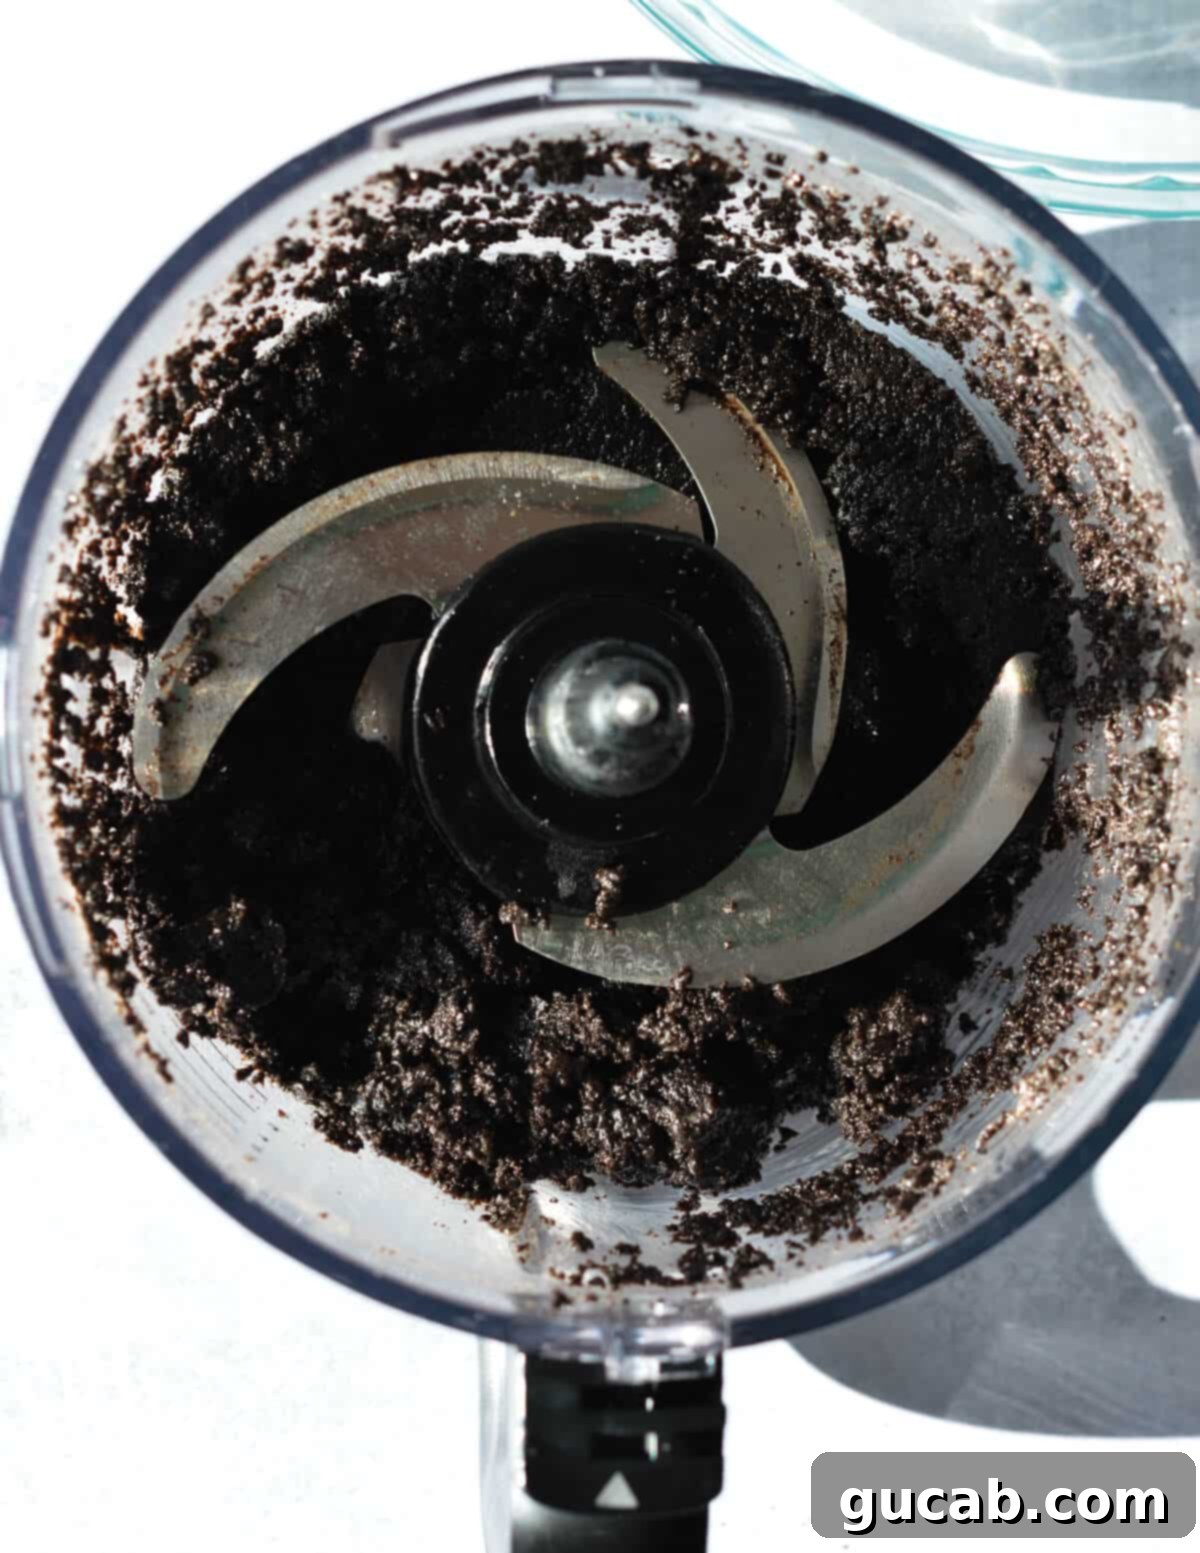
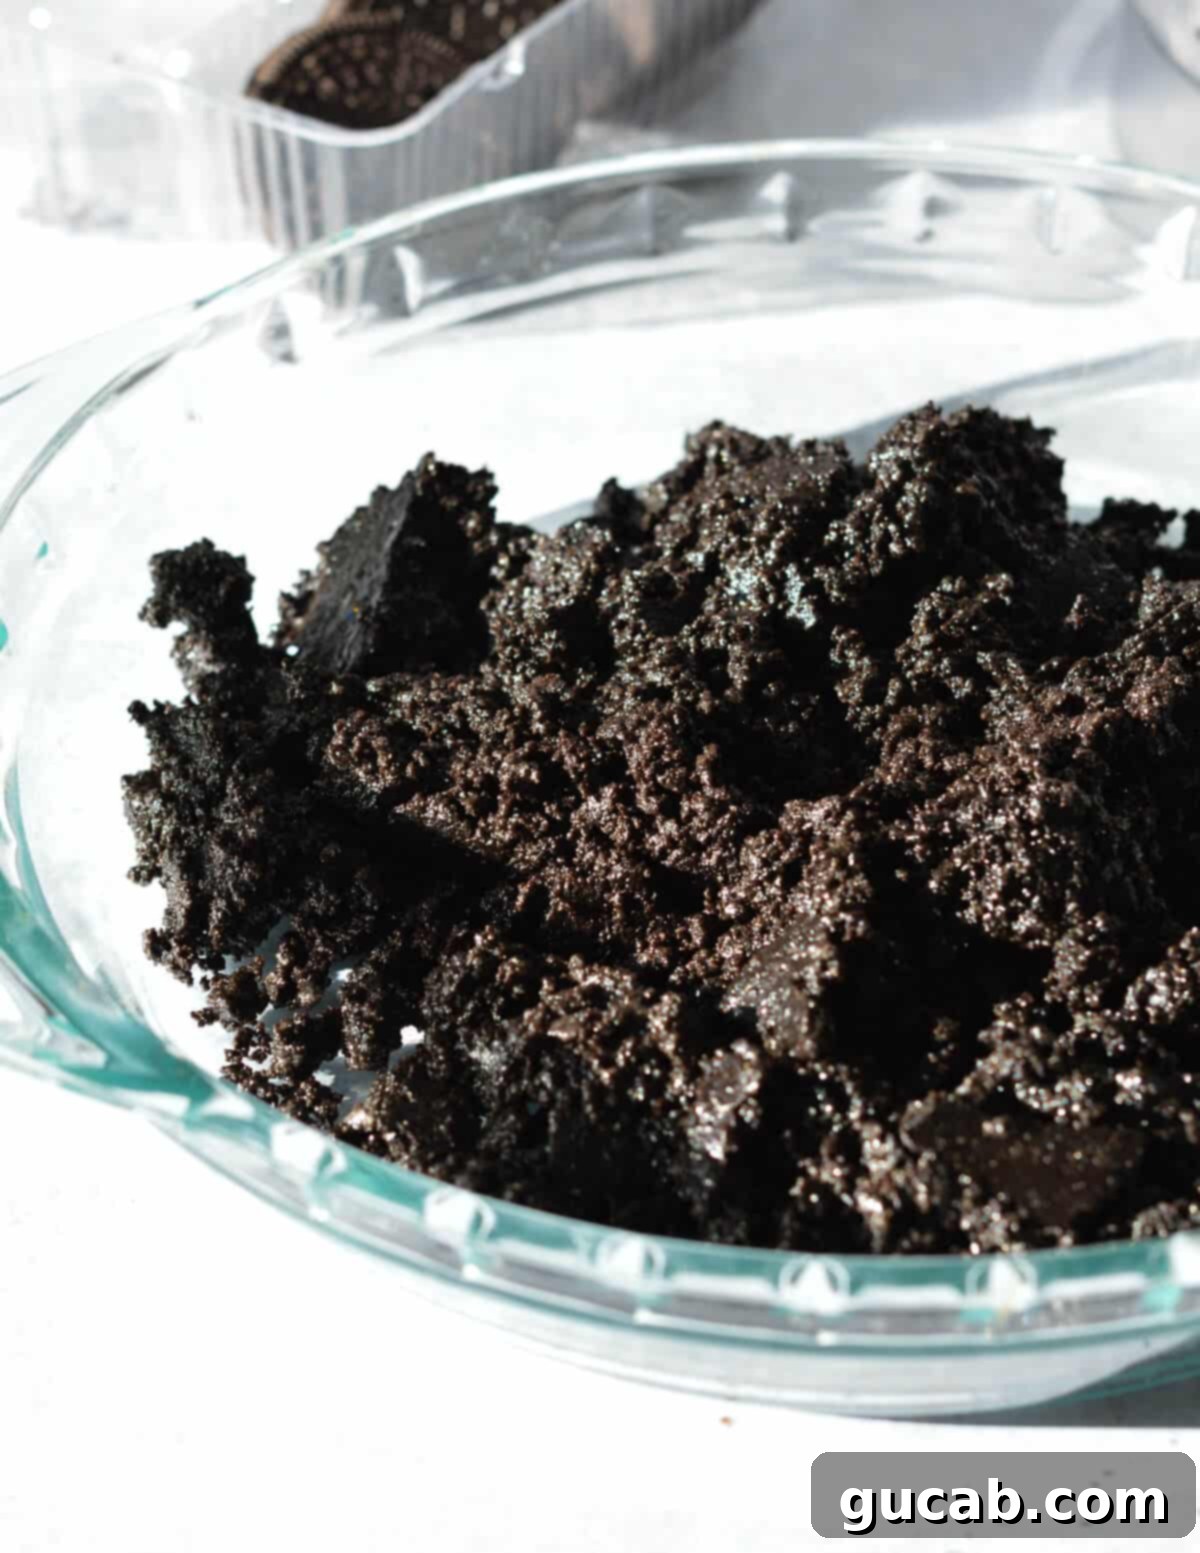
- Press into Pie Plate: Once you have that perfect sandy-paste consistency, dump the entire mixture into your chosen 9-inch pie plate. There’s no need to grease the pan, as the butter in the crust will prevent sticking.
- Form the Crust: This is where you get hands-on! Use your fingers to gently spread the mixture evenly across the bottom and up the sides of the pie plate. It’s crucial to press firmly to eliminate any holes or gaps, ensuring a sturdy crust. For a beautifully even bottom and sides, use the flat bottom of a measuring cup or a sturdy glass to press the crumbs down and against the edges. This creates a compact and uniform crust that won’t crumble when sliced.
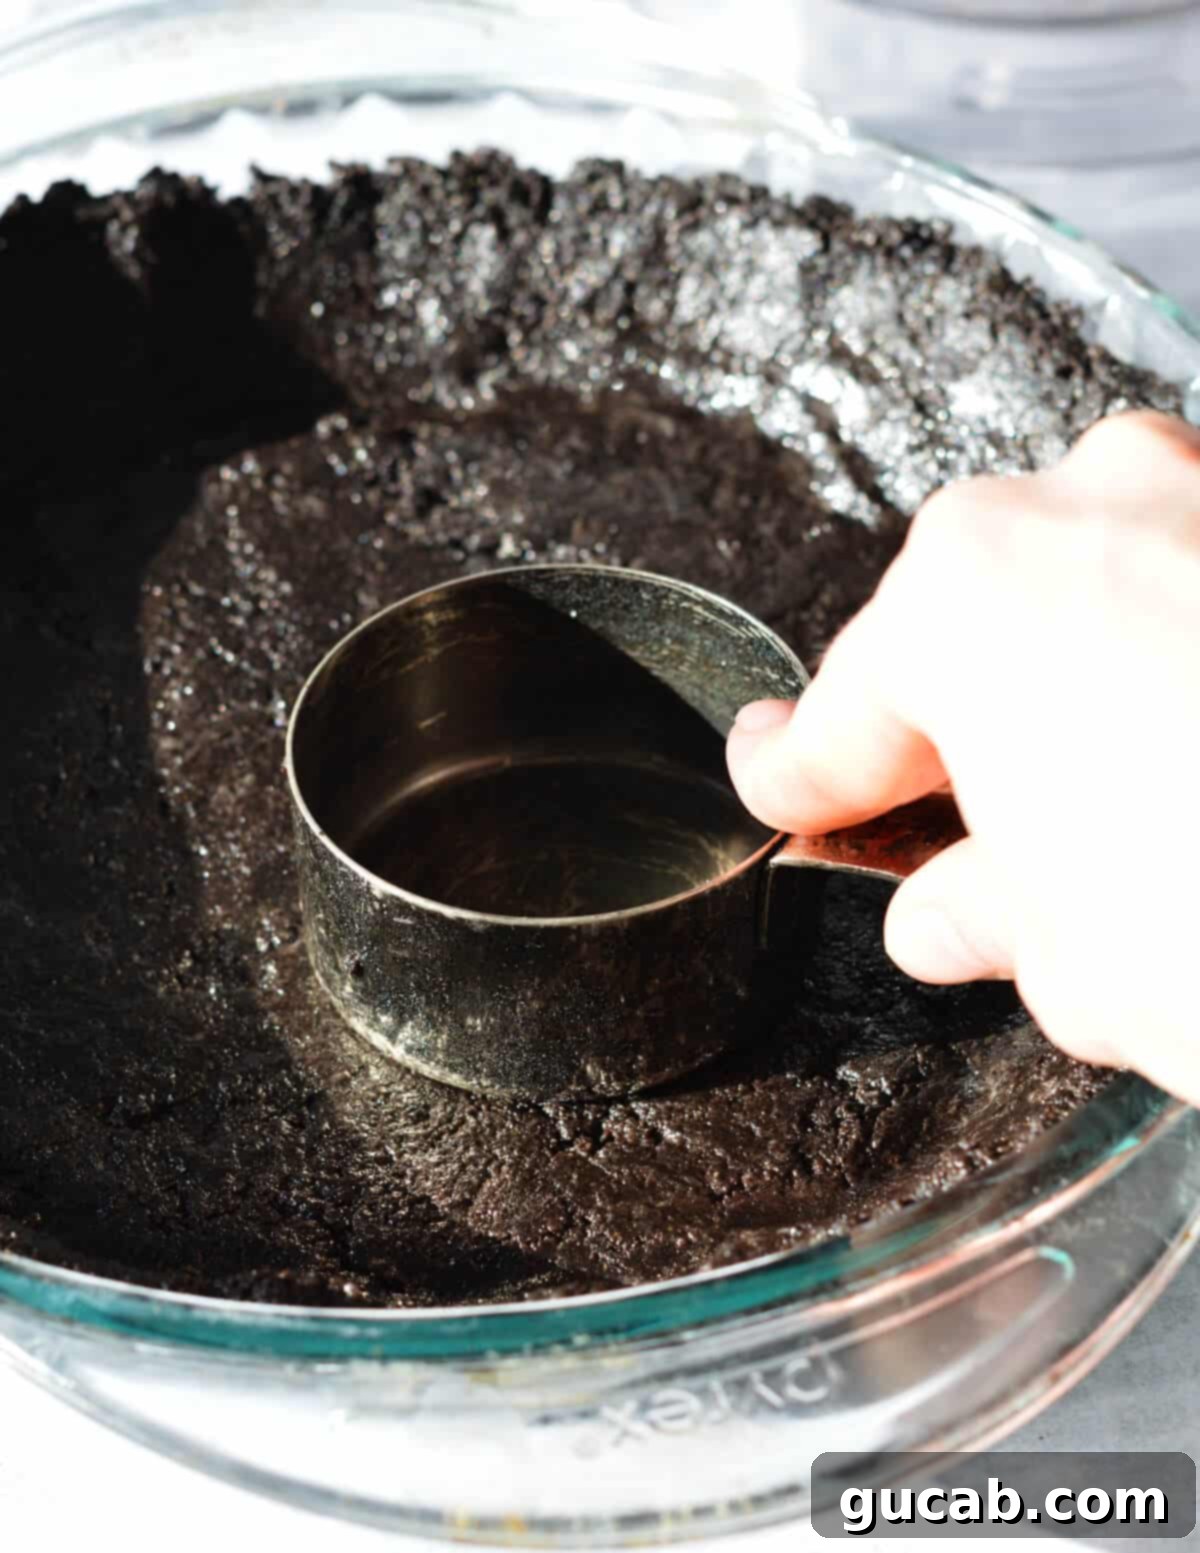
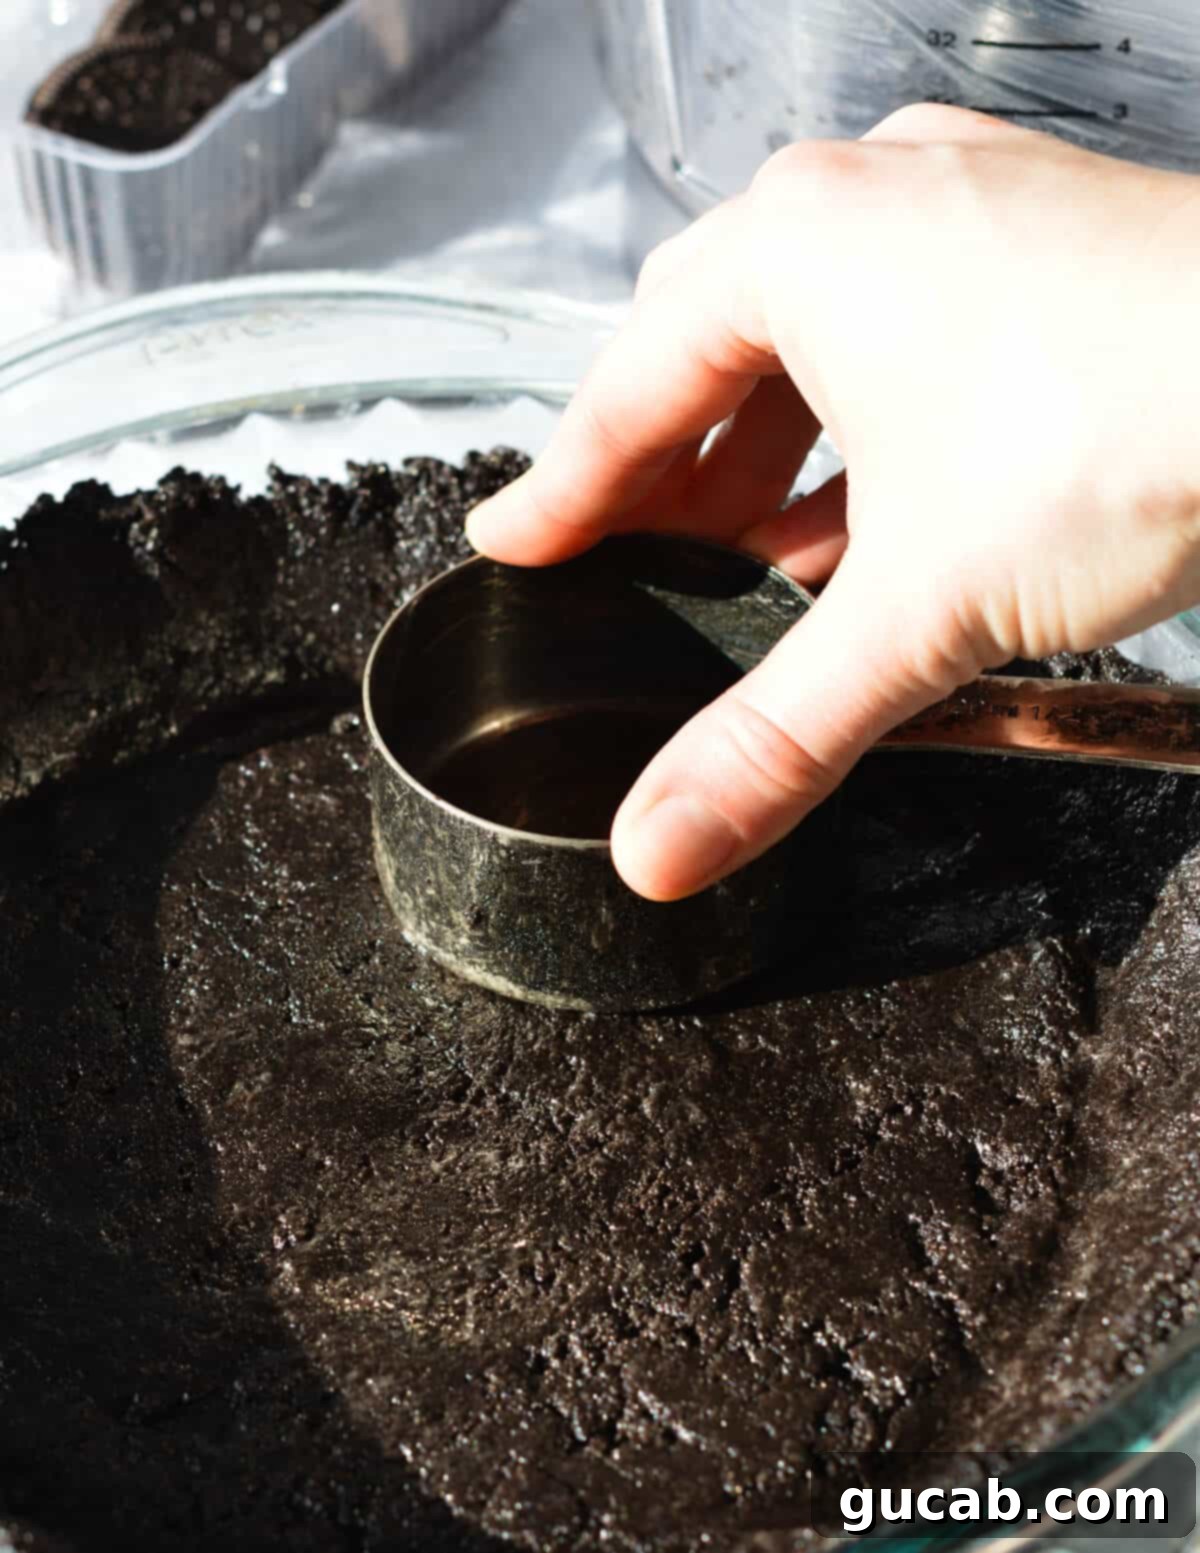
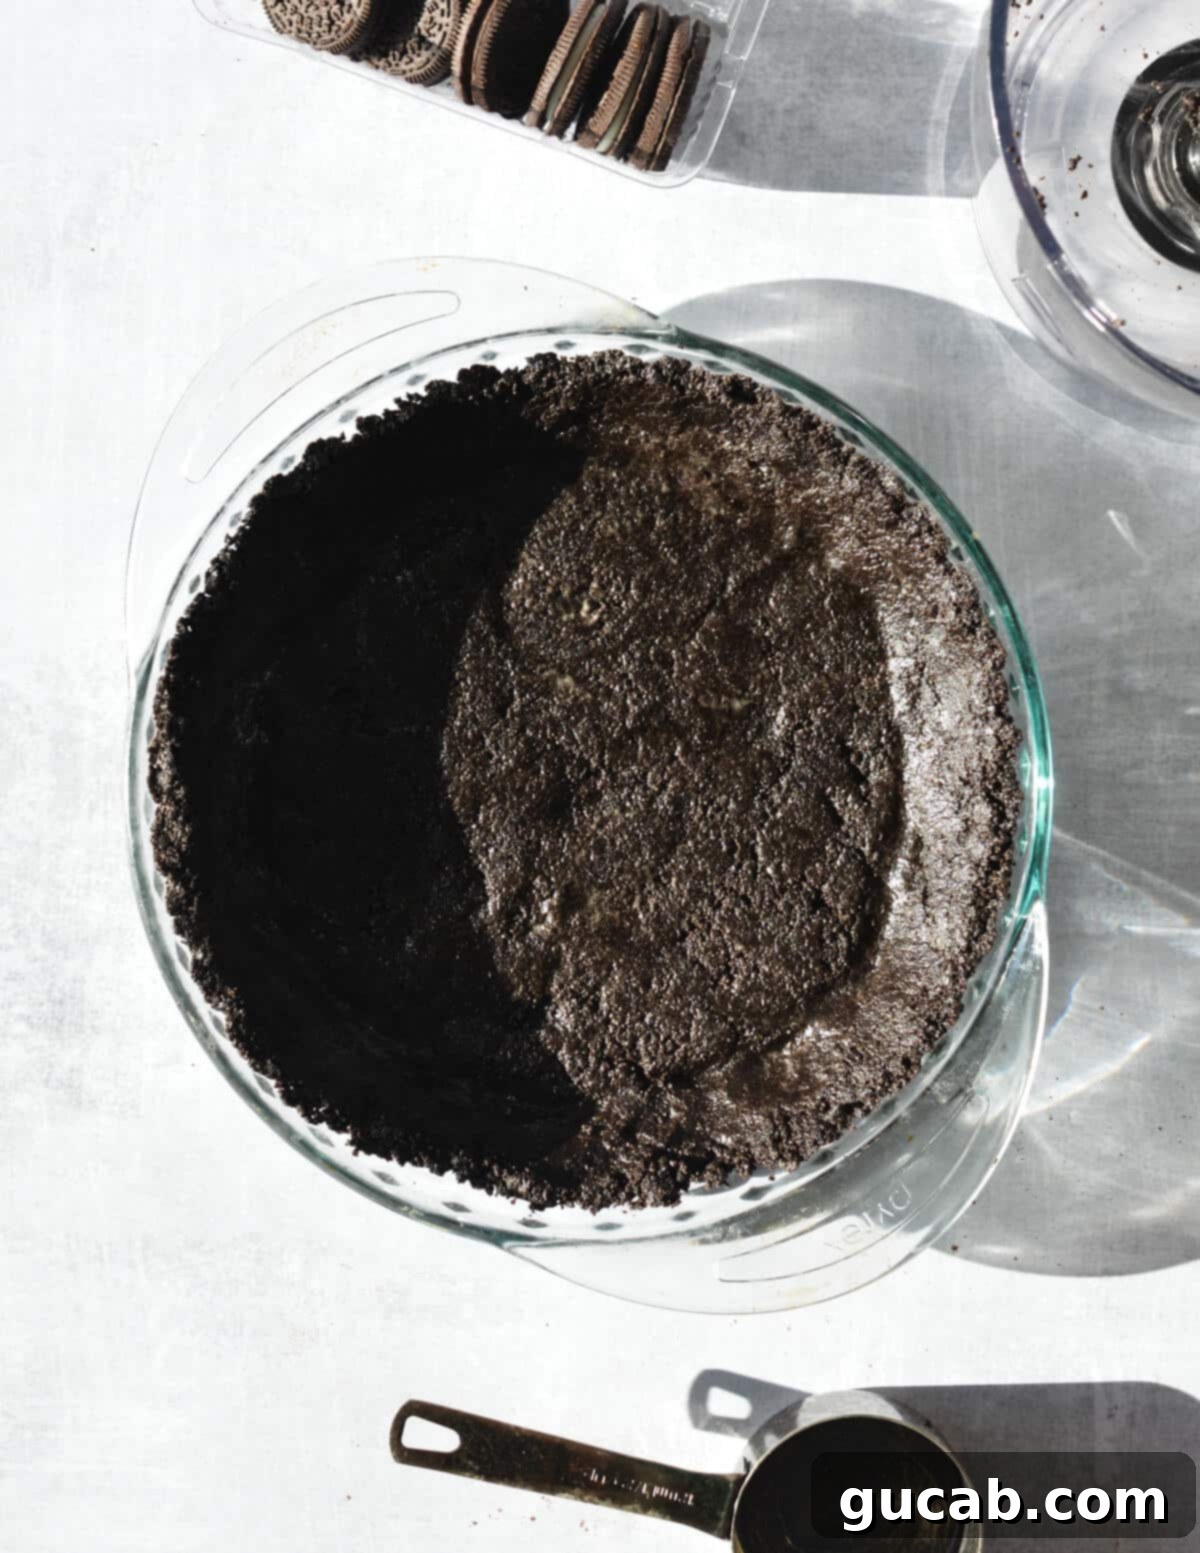
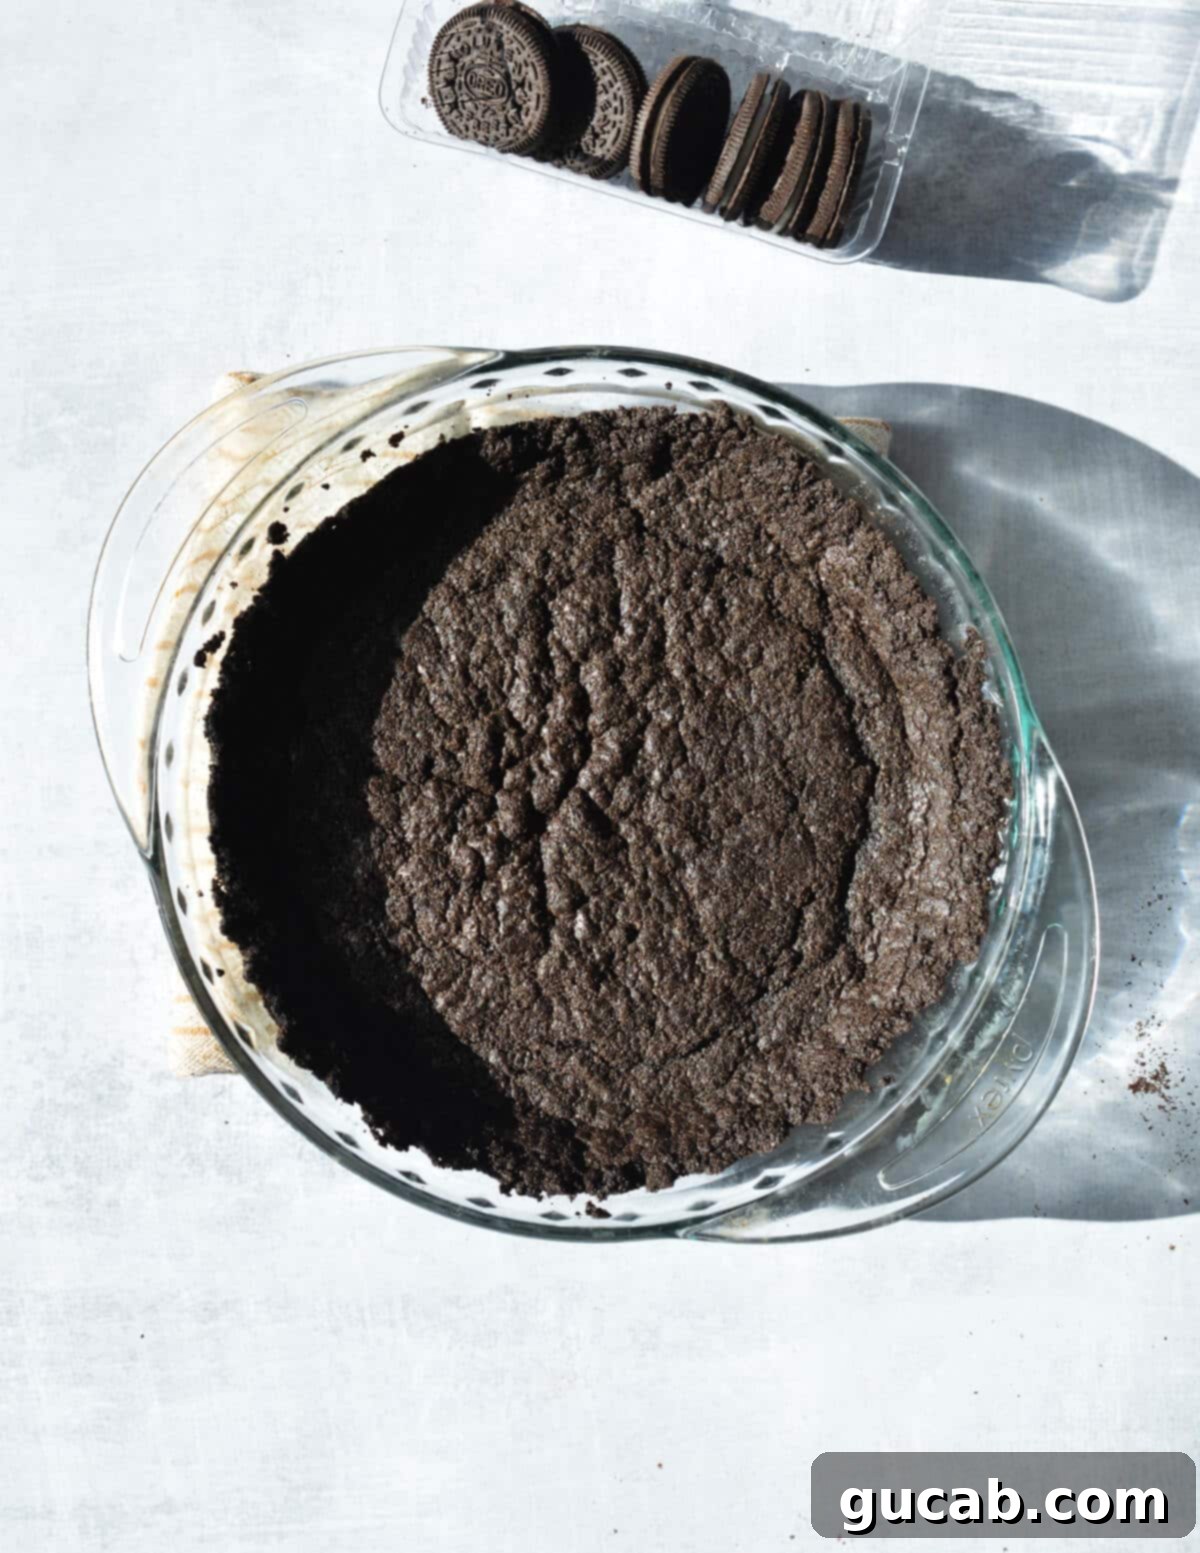
- Bake Briefly: Bake the crust for no longer than 11-12 minutes at 350°F (175°C). The goal is to set the crust and slightly dry out some of that excess moisture, not to make it hard or overly crisp. You’ll notice the crust puffs up in the oven, which is completely normal. It will settle back down as it cools, forming a perfectly firm base for your pie. Avoid overbaking, as this can make the crust too hard.
Expert Tips for Your Best Gluten-Free Oreo Pie Crust
- Pulse All Ingredients Together: My testing showed that combining the cookies, melted butter, and milk at the same time in the food processor yielded the best results. Attempting to pulse the cookies first and then adding the wet ingredients often resulted in a slightly greasier crust and didn’t offer any significant time savings. Keep it simple and combine all at once for optimal texture.
- Achieving the Right Texture: This gluten-free chocolate crust recipe is designed for a delightful chewy texture, which I find pairs exceptionally well with creamy fillings. If, however, you prefer a crunchier crust, you can reduce the butter to 5 tablespoons. Be aware that less butter means a slightly less cohesive crust, so press it extra firmly into the pan.
- Mind the Sides: During baking, the sides of the crust may shrink slightly. If you desire taller, more pronounced sides for your pie, make sure to press the crust mixture all the way up the rim of your pie plate. Using the back of a spoon can help get a nice, even edge.
- Don’t Worry About Puffing: It’s perfectly normal for the chocolate crust to puff up visibly as it bakes in the oven. This is simply the butter and moisture reacting to the heat. Rest assured, it will naturally sink back down to its original level and set as it cools, leaving you with a perfectly even base.
- Chill for Stability: For best results with no-bake fillings, allow the crust to cool completely, then chill it in the refrigerator for at least 30 minutes before adding your filling. This further helps the butter solidify and the crust to become even firmer, preventing any sogginess.
- Pan Choice: A standard 9-inch pie plate (ceramic, glass, or metal) works perfectly. If using a springform pan for cheesecakes, be extra diligent pressing the crust firmly to the sides to prevent crumbling when you remove the ring.
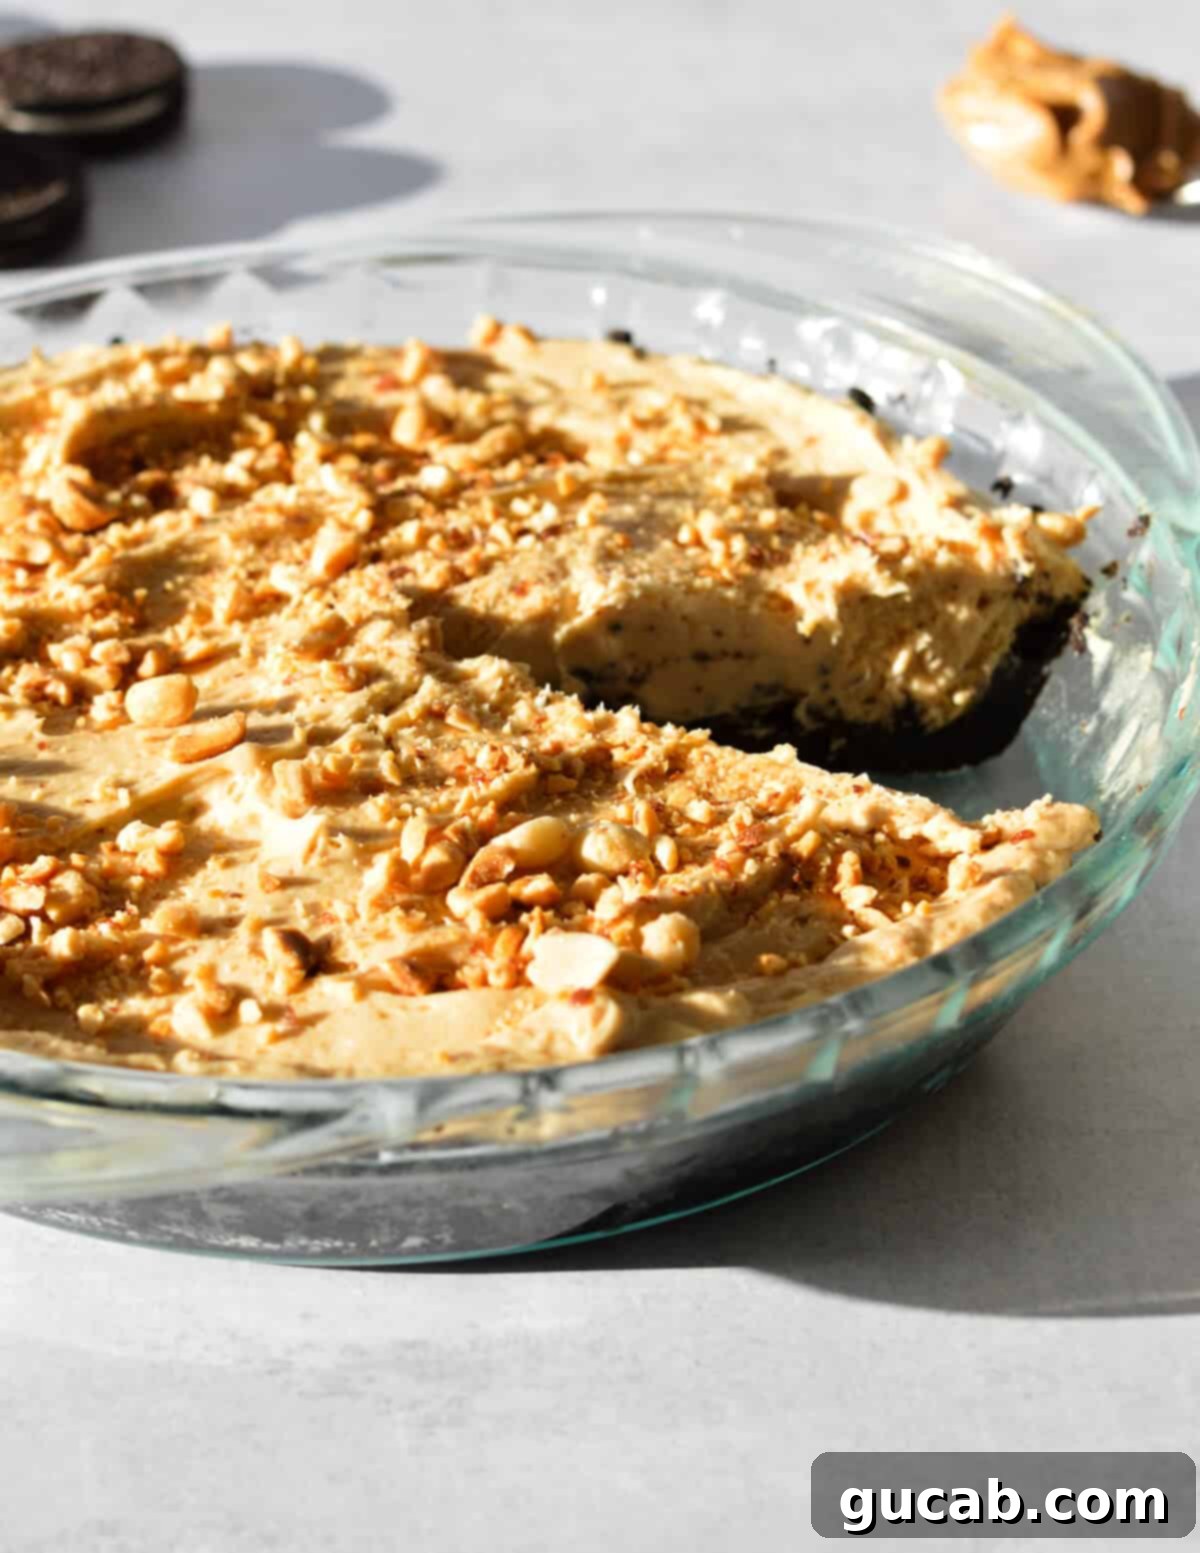
Delicious Ways to Use Your Gluten-Free Chocolate Pie Crust
This versatile chocolate pie crust is a game-changer for any dessert that calls for a cookie crumb base. Its rich flavor and sturdy texture make it perfect for a wide variety of sweet treats. Here are some of my absolute favorite ways to put your delicious gluten-free Oreo crust to good use:
- Gluten-Free Ice Cream Pie: A truly refreshing and easy dessert! Simply fill the cooled crust with softened ice cream (any flavor you love – mint chocolate chip and classic chocolate are my top picks!), then freeze until firm. It’s perfect for summer gatherings or a simple weeknight treat.
- No-Bake or Regular Cheesecakes: This crust is a dream come true for cheesecakes. It provides a robust, flavorful foundation that complements the creamy filling beautifully, whether you’re making a quick no-bake cheesecake or a classic baked version.
- Peanut Butter Pie: This is arguably my favorite pairing! The deep chocolate of the Oreo crust combined with a rich, creamy peanut butter filling is an irresistible combination that will have everyone asking for more.
- French Silk Pie: Elevate a classic French silk pie with this chocolatey base. The smooth, airy chocolate mousse filling finds its perfect match in the slightly chewy, rich Oreo crust.
- Chocolate Cream Pie: A simple chocolate pudding or cream filling becomes extraordinary when nestled in this homemade GF Oreo crust. Top with whipped cream and chocolate shavings for an elegant finish.
- S’mores Pie: For a fun, camp-fire inspired dessert, fill this crust with chocolate ganache and toasted marshmallow fluff.
Remember this crucial tip: always allow the crust to cool completely, and ideally chill it, before adding any cold fillings. Otherwise, you risk a watery, soggy mess – nobody wants pie soup!
Storage Solutions for Your Gluten-Free Oreo Pie Crust
Preparing this gluten-free Oreo crust in advance or storing leftovers is incredibly easy, making your dessert planning even simpler!
- Room Temperature Storage: Once baked and completely cooled, you can store the pie crust at room temperature for up to 3 days. Simply wrap it tightly in plastic wrap or aluminum foil to maintain its freshness and prevent it from drying out.
- Refrigeration: For longer storage, or if your recipe calls for a chilled crust, you can refrigerate it for up to 5 days. Again, ensure it’s fully cooled before wrapping tightly in plastic wrap and placing it in the fridge.
- This gluten-free Oreo crust is also freezer-friendly! Once it has fully cooled after baking, wrap it meticulously in several layers of plastic wrap, then an additional layer of aluminum foil to protect it from freezer burn. It can be frozen for up to 3 months. When you’re ready to use it, simply transfer it to the refrigerator overnight to thaw, or leave it on the countertop for a few hours if time allows.
Frequently Asked Questions (FAQs) About Gluten-Free Oreo Pie Crust
Absolutely! This recipe is incredibly adaptable. To make it dairy-free and vegan, you’ll need to swap the unsalted butter with a high-quality vegan butter alternative. For the milk, simply use water or your favorite plant-based milk (like almond milk or oat milk). Good news for vegans: most Gluten-Free Oreos do not contain animal products or dairy, but always double-check the ingredient list on the package to be sure!
Yes, you certainly can, though it requires a bit more effort! Place the gluten-free Oreos in a large, sturdy zip-top bag. Squeeze out as much air as possible, then seal it tightly. Using a rolling pin, a meat mallet, or even the bottom of a heavy pan, crush the cookies into very fine crumbs. Ensure there are no large pieces left. Once finely crushed, transfer the crumbs to a large mixing bowl. Melt your butter, then add it along with the milk to the cookie crumbs. Mix thoroughly with a spoon or your hands until well combined and the mixture resembles wet sand. Proceed with pressing it into your pie pan as directed.
While it might be tempting to use another brand, I highly recommend sticking to official Gluten-Free Oreos for this recipe. Different brands often have varying ingredient ratios, cookie densities, and cream filling consistencies, which can significantly impact the final texture and taste of your crust. Gluten-free products are notorious for being “hit or miss,” and using an alternative might result in a crust that is too dry, too crumbly, or has an off-flavor.
While this recipe does include a brief baking step (11-12 minutes) to help set the crust and achieve that perfect chewy-firm texture, it is often used for no-bake fillings after it has cooled. The baking step significantly improves the stability and texture, preventing it from becoming soggy with wet fillings. If you are using a filling that will also be baked, you can reduce the initial crust bake time to about 10 minutes to avoid over-baking the combined dessert.
Absolutely! This gluten-free Oreo crust is perfect for meal prep. You can prepare and bake it up to 3 days in advance and store it at room temperature (wrapped) or up to 5 days in the refrigerator. It can also be frozen for up to 3 months, making it an excellent option to have on hand for last-minute dessert cravings or entertaining.
More Delicious Gluten-Free Dessert Recipes:
- Gluten Free Blueberry Pie
- Flaky Gluten Free Pie Crust
- Gluten Free Chocolate Chip Cookies
- One bowl Gluten Free Brownie Recipe
- Gluten Free Graham Crackers
Gluten Free Oreo Pie Crust
Carolyn
Pin Recipe
Equipment
-
9-inch pie pan
-
Food processor
Ingredients
- 24 gluten free Oreos (1 package) for the best texture and flavor.
- 6 tablespoons unsalted butter (melted)
- 1 tablespoon whole milk (or preferred non-dairy milk)
Instructions
-
Preheat your oven to 350 degrees Fahrenheit (175°C).
-
In a large food processor, combine the entire package of gluten-free Oreos, the melted butter, and the milk. Pulse the mixture until the Oreos are completely pulverized, and the ingredients form a wet, sandy paste. Ensure there are no large cookie chunks remaining.
-
Transfer the Oreo mixture into an ungreased 9-inch pie pan. Using your hands, carefully spread the mixture evenly across the bottom and up the sides of the pie pan, working to create a consistent layer.
-
Utilize the back of a measuring cup or a sturdy flat-bottomed glass to firmly press the mixture into the pan. This step is crucial for eliminating any holes or gaps, ensuring a sturdy and even crust. Use your fingers or a spoon to perfect the edges.
-
Bake the crust for 11 to 12 minutes. When you remove it from the oven, the crust will likely look puffed up. This is normal; it will settle back down and firm up as it cools. Avoid overbaking to maintain the desired chewy texture.
-
Allow the crust to cool completely before adding any cold fillings. This crust is perfect for all your favorite no-bake pie recipes. If you plan to bake the filling (e.g., for a baked cheesecake), reduce the initial crust bake time to 10 minutes.
Notes
Nutrition
