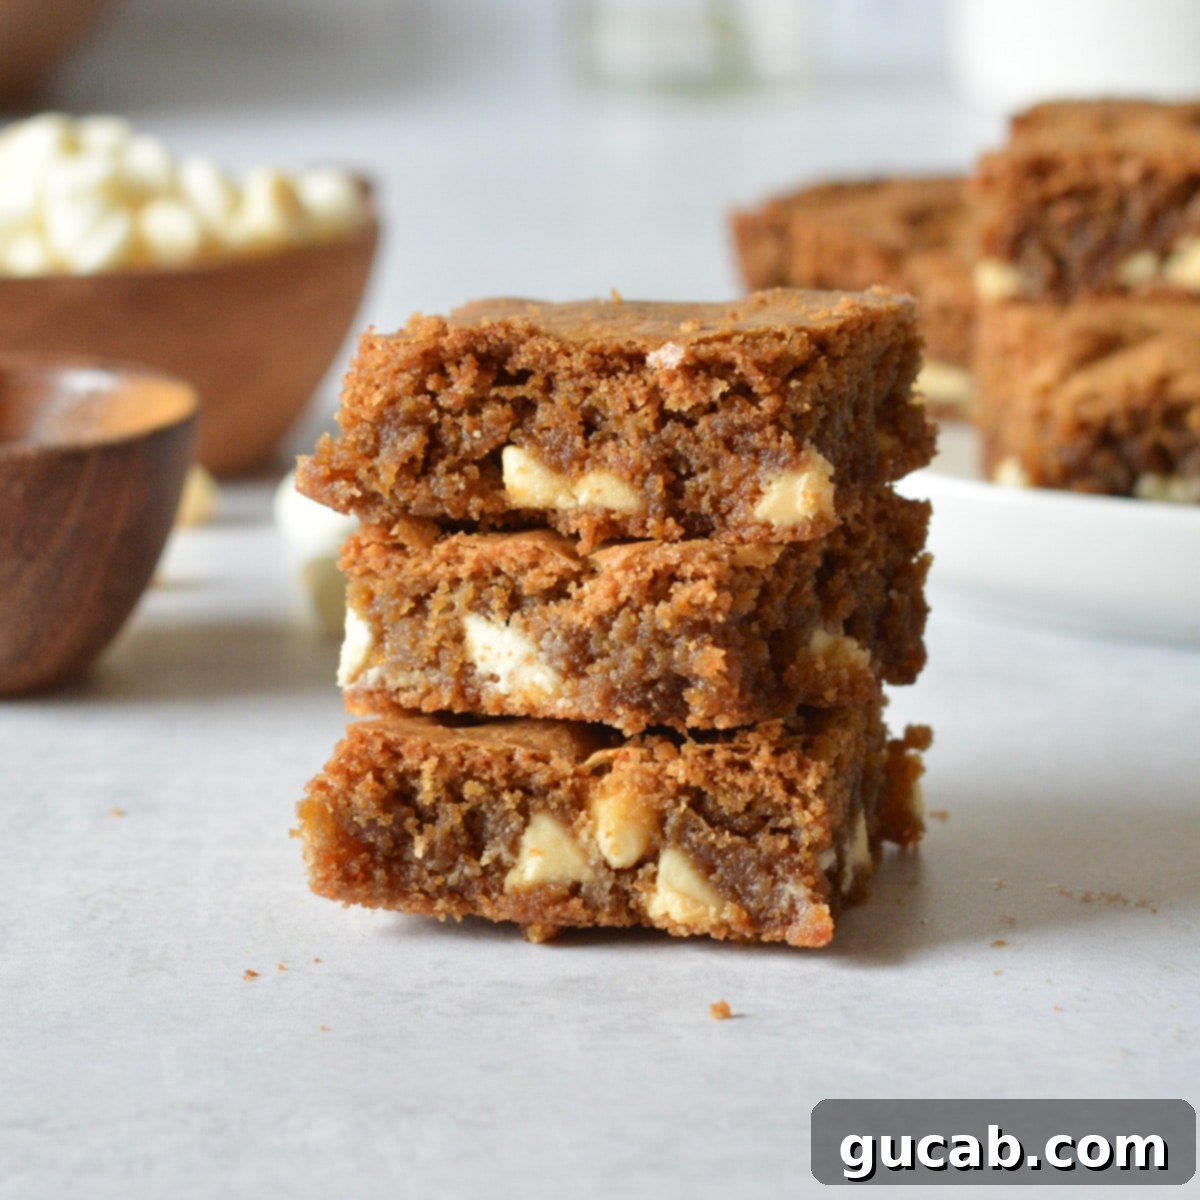
Irresistibly Chewy Gluten-Free Blondies with Browned Butter and White Chocolate
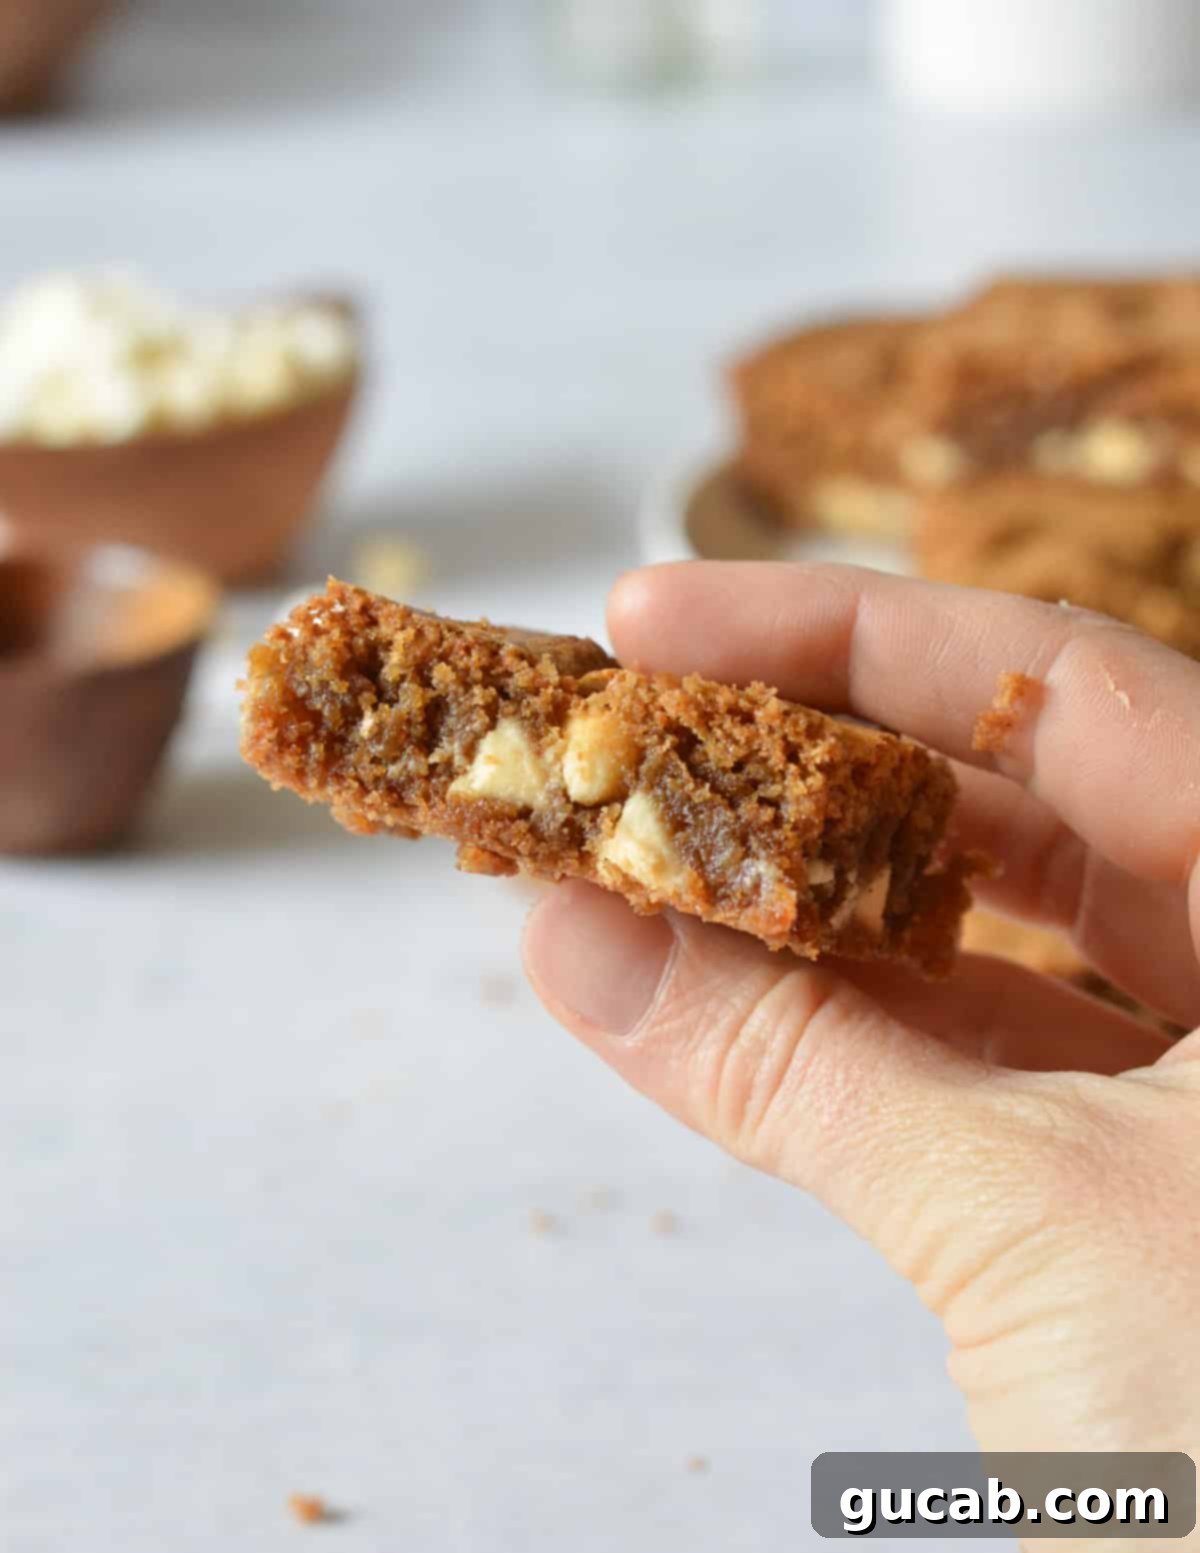
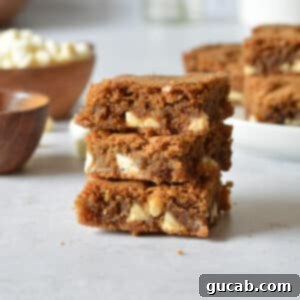
Prepare to be amazed by these gluten-free blondies! Each bite offers a delightful chewiness, infused with warm cinnamon spice and generously studded with creamy white chocolate chips. So incredibly rich and satisfying, these bars are guaranteed to impress even the most discerning palates – no one will ever guess they’re gluten-free. Best of all, this incredible treat comes together effortlessly in just one bowl, making cleanup a breeze!
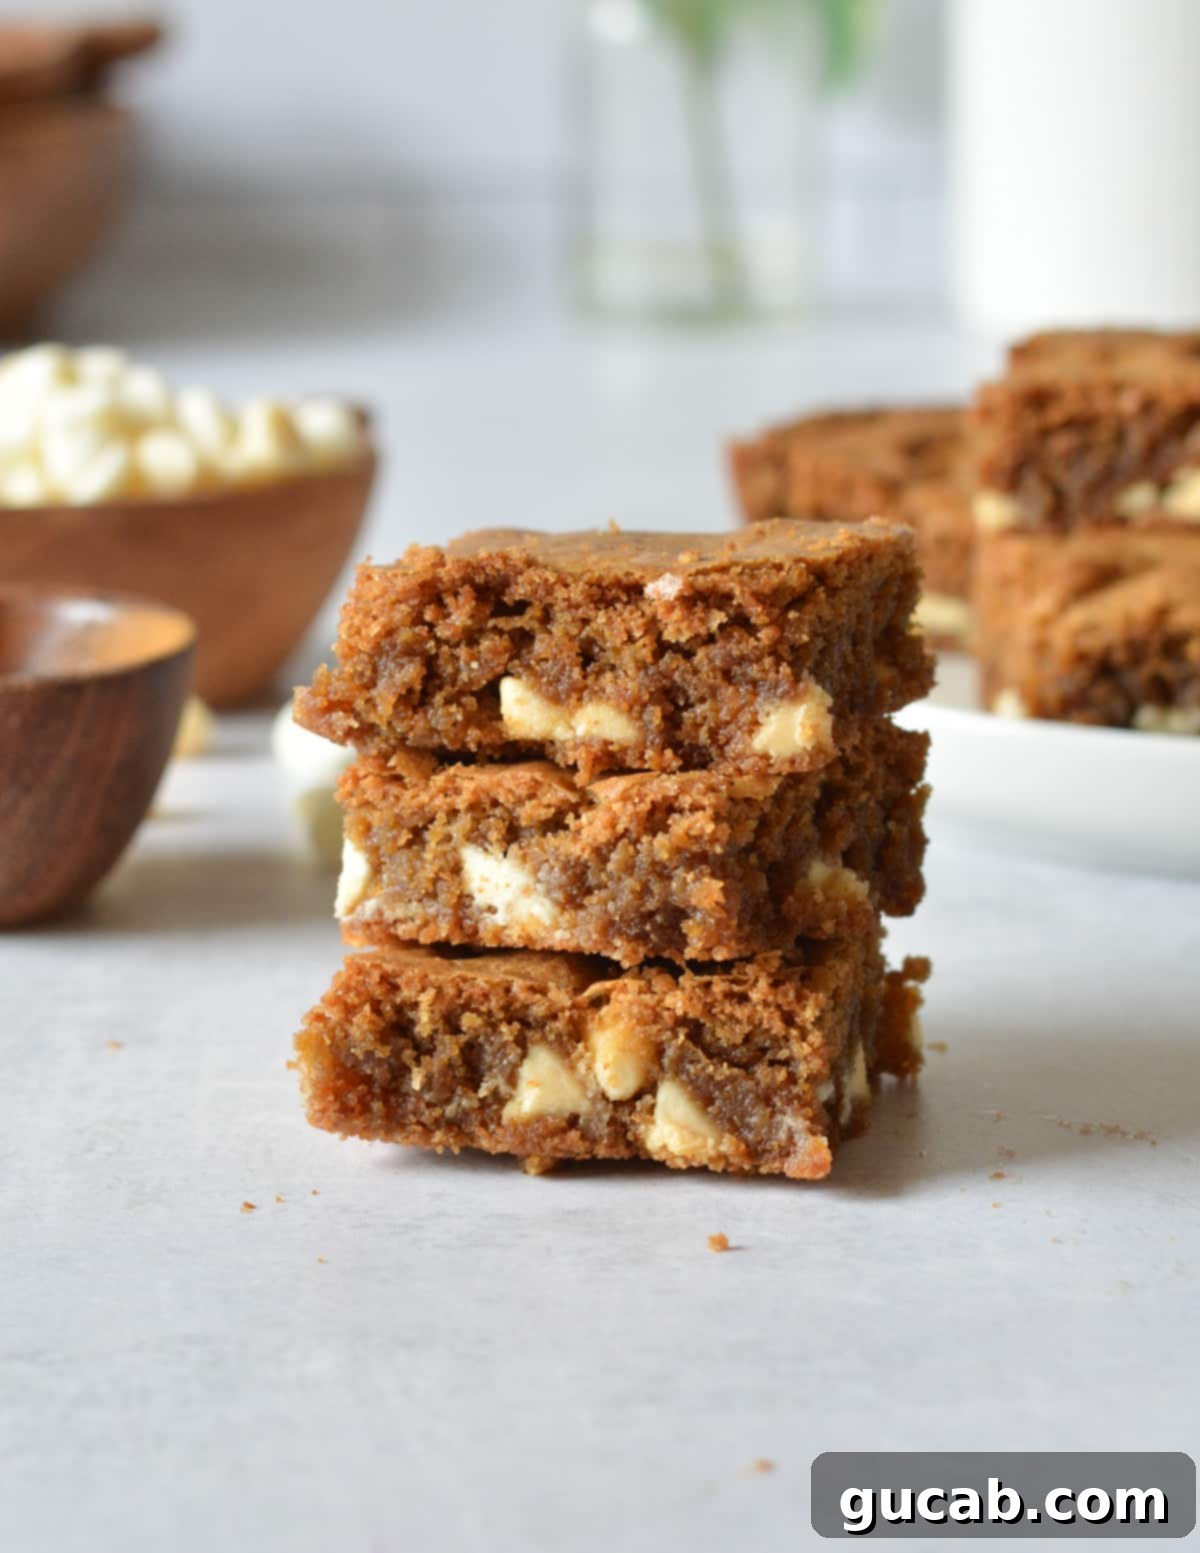
Why You’ll Fall in Love with These Gluten-Free Blondies
If you’re a fan of the perfect dessert mashup, then blondies are undoubtedly for you! Imagine the quintessential combination of a perfectly chewy cookie and a rich, fudgy brownie – but without the traditional chocolate. These gluten-free blondies capture that magic, offering a sublime alternative that is equally, if not more, satisfying.
These aren’t just any blondies; they are pure perfection. Each bite delivers a sinfully chewy texture, deeply flavored with notes of rich brown sugar and warm, aromatic cinnamon. The addition of creamy white chocolate chips takes them to an entirely new level of deliciousness. What truly makes this recipe a ‘win-win’ in my book is that every single person in my family, including all the gluten-eaters, absolutely adored them! You can confidently serve these to anyone, knowing they’ll be met with rave reviews.
Beyond their incredible taste and texture, these portable little treats are incredibly easy to make. Forget about hauling out heavy mixers or complicated equipment; all you need is a single bowl and a spatula. This streamlines the baking process, making it accessible even for novice bakers or those short on time. And the convenience doesn’t stop there – these blondies freeze exceptionally well, meaning you can prepare them ahead for parties, unexpected guests, or simply to have a delicious gluten-free treat on hand whenever a craving strikes.
Whether you’re managing a gluten intolerance, catering to guests with dietary needs, or simply seeking an unbelievably tasty and easy-to-make dessert, these gluten-free blondies are your answer. Their rich flavor and perfectly chewy consistency will make them a staple in your recipe collection, proving that gluten-free baking can be utterly decadent and effortless.
Essential Ingredients for Perfect Blondies
Crafting the perfect blondie relies on a few key ingredients, each playing a vital role in achieving that coveted chewy texture and rich flavor. Here’s a closer look at what you’ll need and why these specific choices make all the difference:
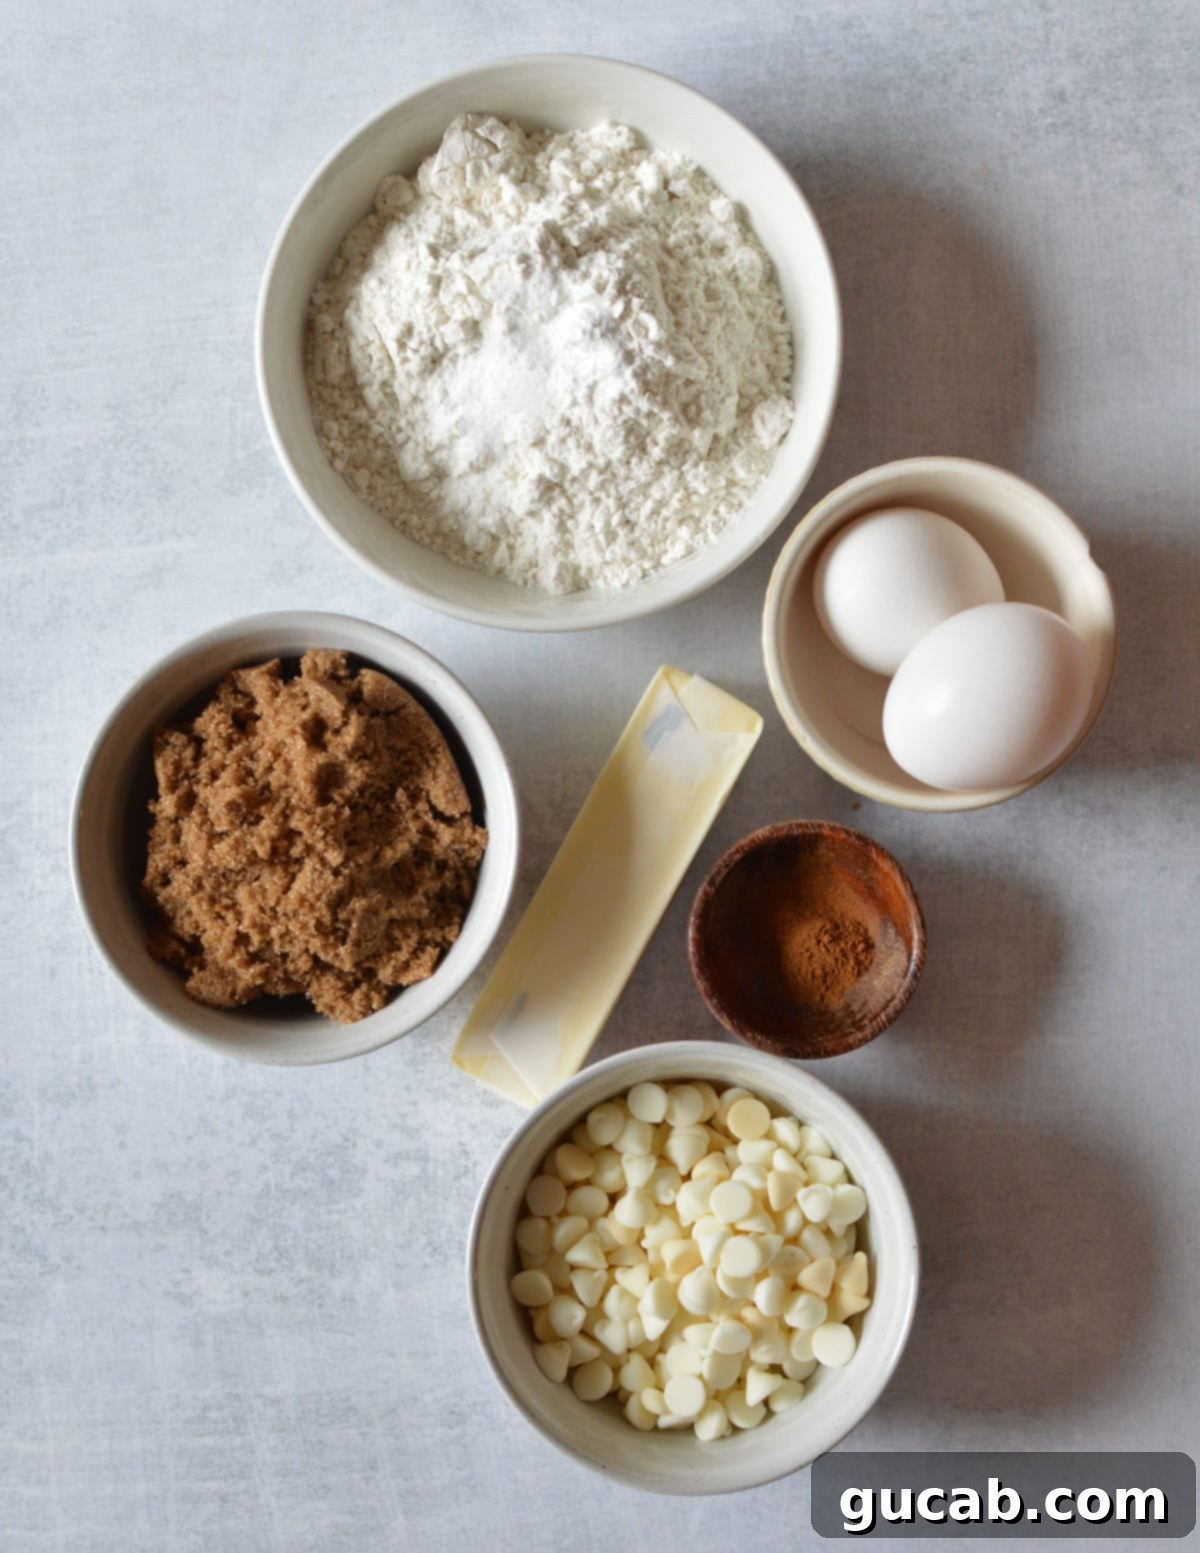
- Unsalted Butter: The foundation of these blondies! I always recommend unsalted butter, especially if you buy in bulk (Costco is great for this!). This allows you to control the exact amount of salt in your recipe. Browning the butter transforms its flavor, adding a rich, nutty, and subtly caramel-like depth that enhances the blondies significantly. It’s a simple step that yields complex flavors.
- Brown Sugar: For these blondies, I specifically prefer dark brown sugar. Its higher molasses content not only contributes to the deep, golden color but also imparts a richer, more pronounced toffee-like flavor and an unparalleled chewiness to cookies and bars. Light brown sugar can be used in a pinch, but the depth of flavor and texture will be slightly different.
- Eggs: The recipe calls for one whole large egg plus an additional egg yolk. This extra yolk is a crucial secret for achieving an extra-rich, dense, and wonderfully chewy bar. The fat in the yolk adds moisture and helps bind the ingredients, preventing a dry or crumbly texture.
- Gluten-Free All-Purpose Flour: The right gluten-free flour blend is absolutely essential. I highly recommend Bob’s Red Mill’s 1-to-1 Gluten Free Baking Flour. This blend is specifically formulated to be used cup-for-cup as a direct substitute for wheat flour in many recipes and includes xanthan gum, which is vital for providing structure and elasticity in gluten-free baking. You can typically find it at major retailers like Target, Walmart, or conveniently on Amazon. It’s the specific brand I used to perfect this recipe, ensuring consistent and delicious results.
- Leaveners (Baking Soda & Baking Powder): These are non-negotiable! Without baking soda and baking powder, your blondies would be far too dense, lacking that slight lift and tender crumb. Baking soda reacts with the acidic brown sugar, while baking powder provides additional lift, working together to create the perfect texture. If you happen to prefer a slightly cakier (less dense) texture, you can experiment by doubling the amount of baking powder to ½ teaspoon.
- Cinnamon: This warm spice is not just an accent; it’s a star player here. The combination of cinnamon, the deep notes of brown sugar, and the creamy sweetness of white chocolate creates a truly magical flavor profile that is both comforting and sophisticated.
- White Chocolate Chips: While I typically gravitate towards dark chocolate, I can wholeheartedly say that these gluten-free bars truly shine with white chocolate! Its sweet, milky creaminess beautifully complements the brown sugar and cinnamon, creating a harmonious and utterly addictive flavor combination. Feel free to use high-quality white chocolate chunks for an even more luxurious experience.
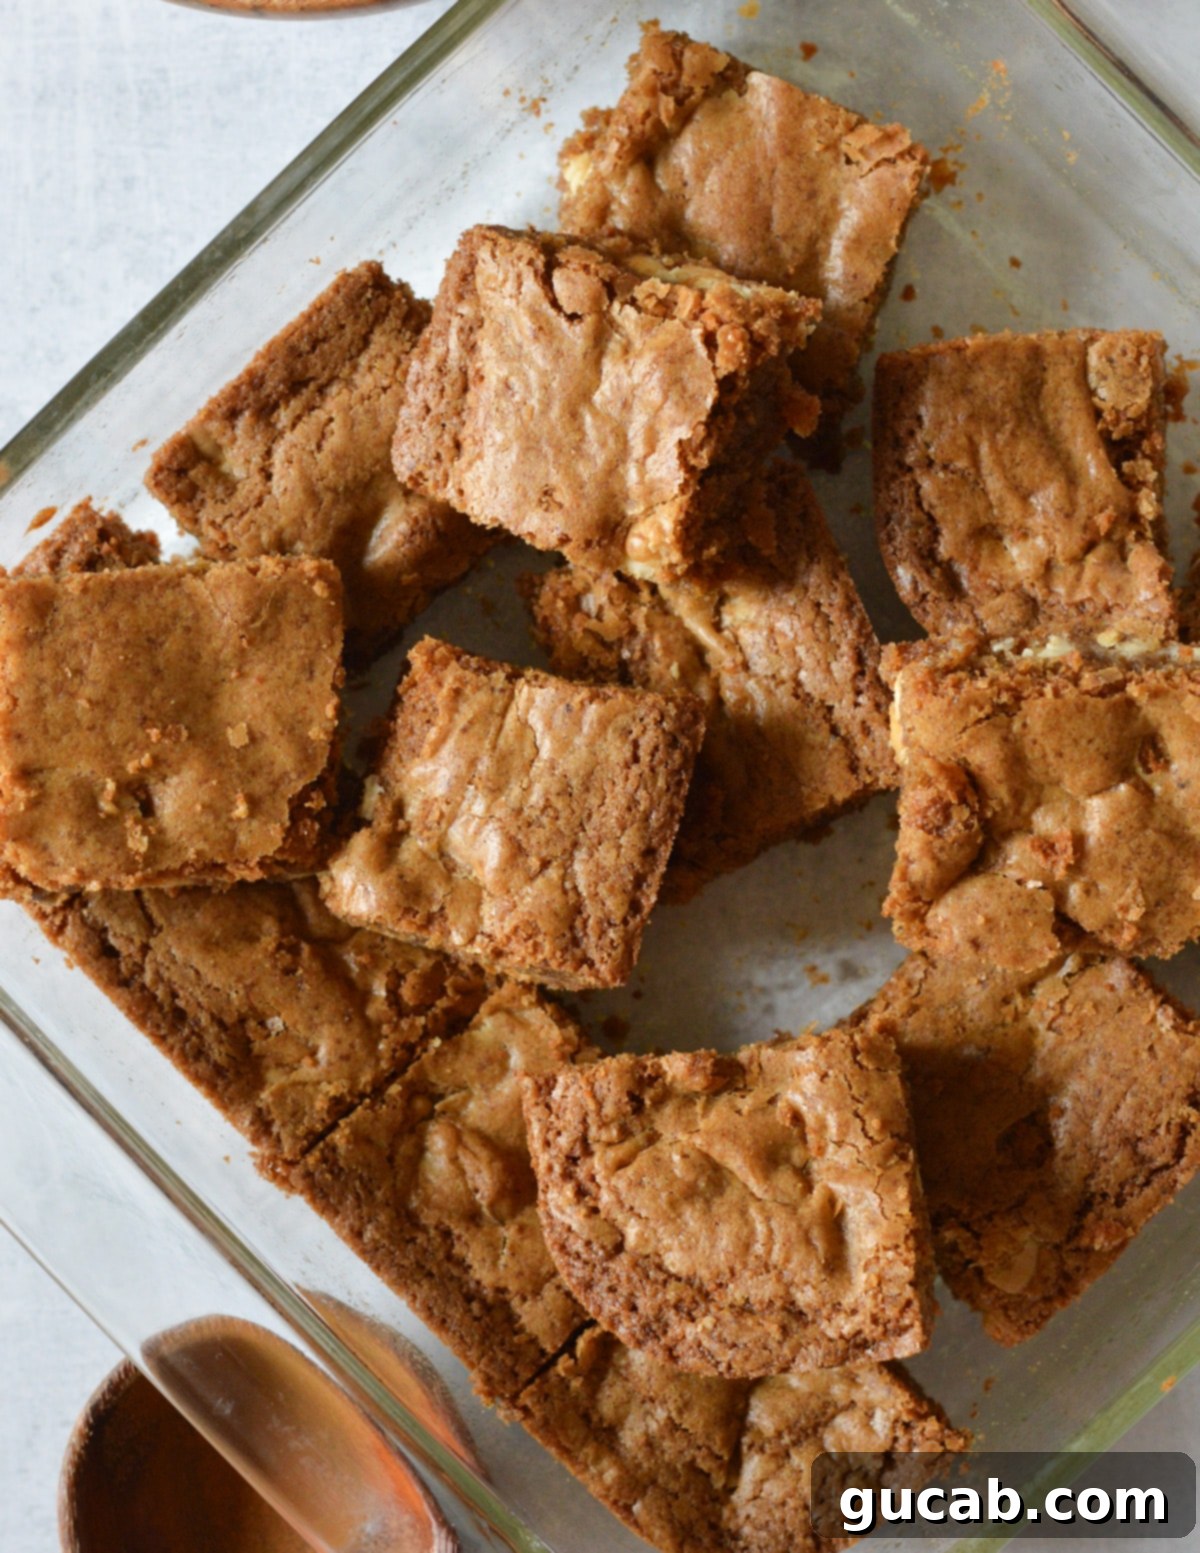
How to Make These Delightful Gluten-Free Blondies
Get ready for a super simple baking experience! This gluten-free blondie recipe truly is a one-bowl wonder, meaning minimal mess and maximum deliciousness. You won’t need any fancy stand mixers or special equipment – just a bowl, a saucepan, and a spatula are all it takes to create these incredible treats.
Before you begin mixing, ensure your oven is preheated to 350°F (175°C) and your 8×8-inch baking dish is thoroughly greased (a light spray with nonstick cooking spray works perfectly). This crucial prep step prevents sticking and ensures your blondies release easily once baked.
1. Master the Browned Butter
Browned butter might sound intimidating, but it’s a breeze to make and adds an unparalleled depth of flavor to your blondies. This magical ingredient contributes a rich, nutty, and caramelized, almost toffee-like taste that elevates any baked good. I absolutely adore it!
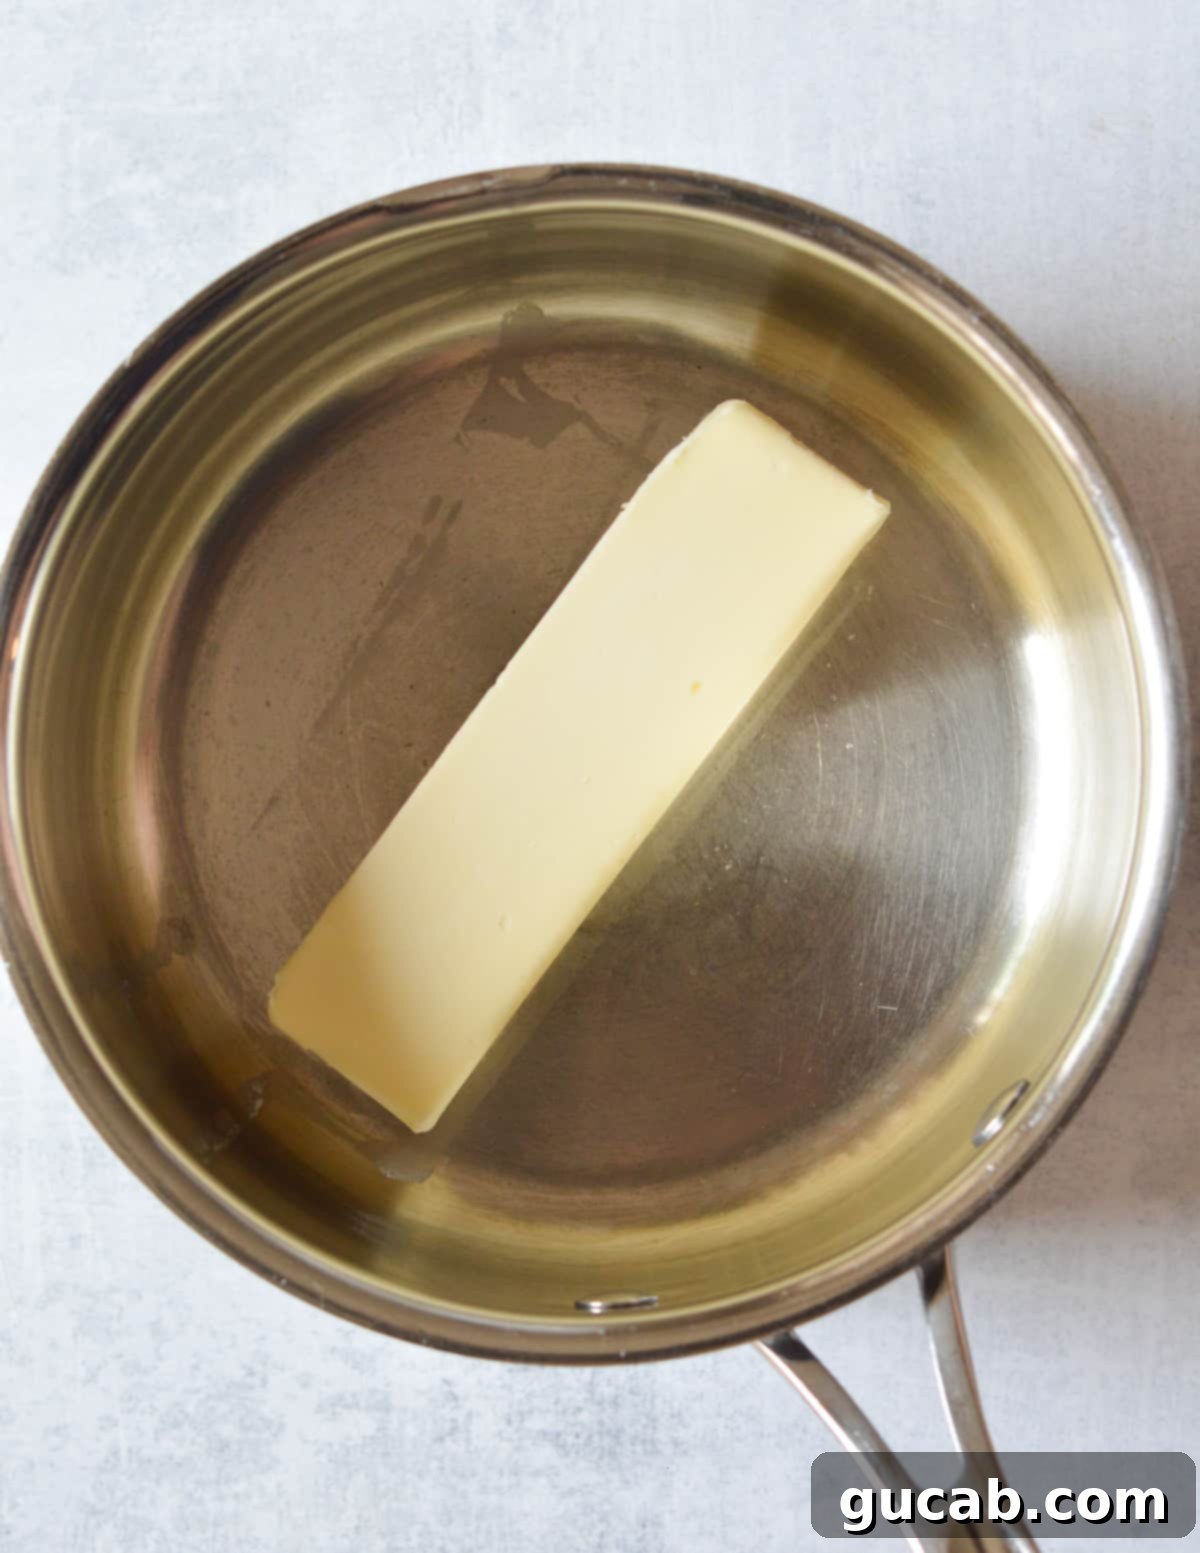
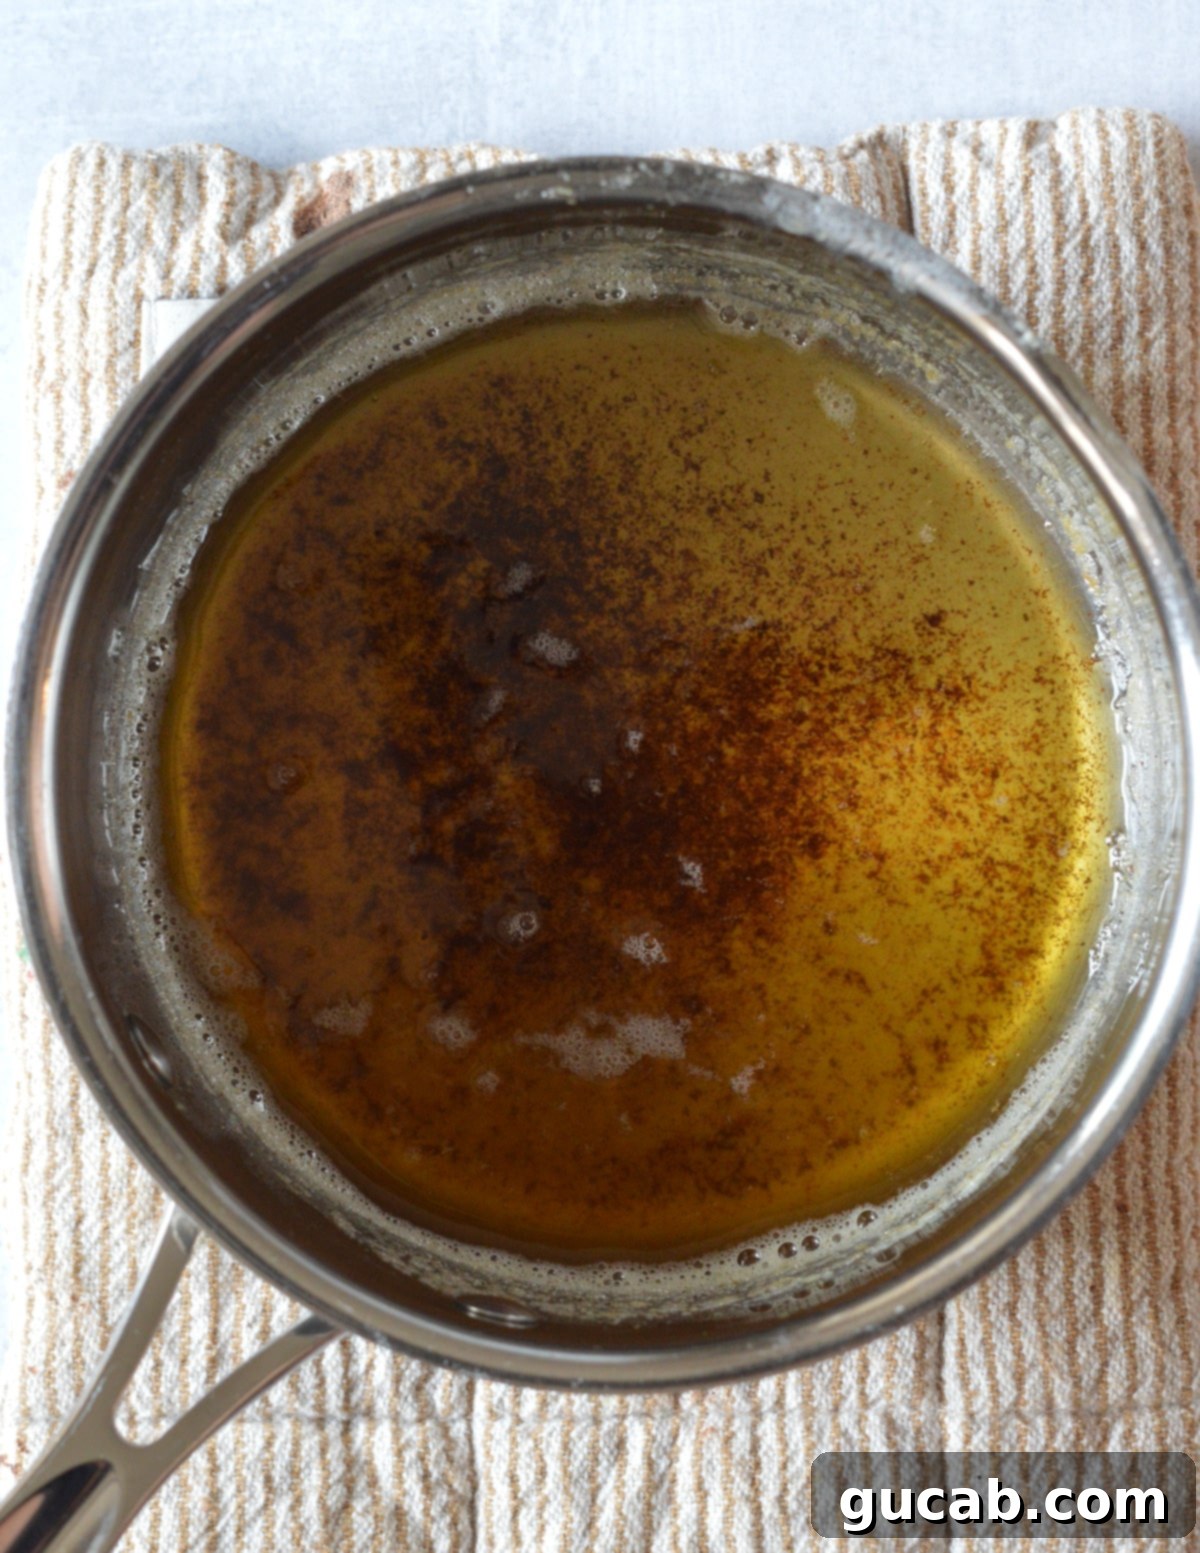
- Choose your pan wisely: Place your stick of unsalted butter into a small, light-colored (preferably stainless steel) saucepan. Using a light-colored pan makes it significantly easier to observe the butter’s color change, which is crucial for perfect browning without burning.
- Low and slow is the key: Turn the heat to medium. Allow the butter to melt completely, then it will begin to sizzle and foam. Stir the butter continuously with a heat-resistant spatula. You’ll notice the color gradually change from yellow to golden, and tiny milk solids will start to appear at the bottom of the pan, turning a lovely medium brown. Keep a close eye and an even closer nose! It will smell nutty and fragrant. The moment it reaches this beautiful golden-brown stage, with amber-colored solids, immediately remove it from the heat. Don’t burn it – burnt butter tastes bitter and will ruin your blondies!
- Transfer the liquid gold: Promptly pour the warm, browned butter, including all the delightful browned bits at the bottom, into a large mixing bowl. These bits are packed with flavor!
2. Craft the Blondie Batter
Now that your browned butter is ready, it’s time to bring all the delicious elements together to form your blondie batter.
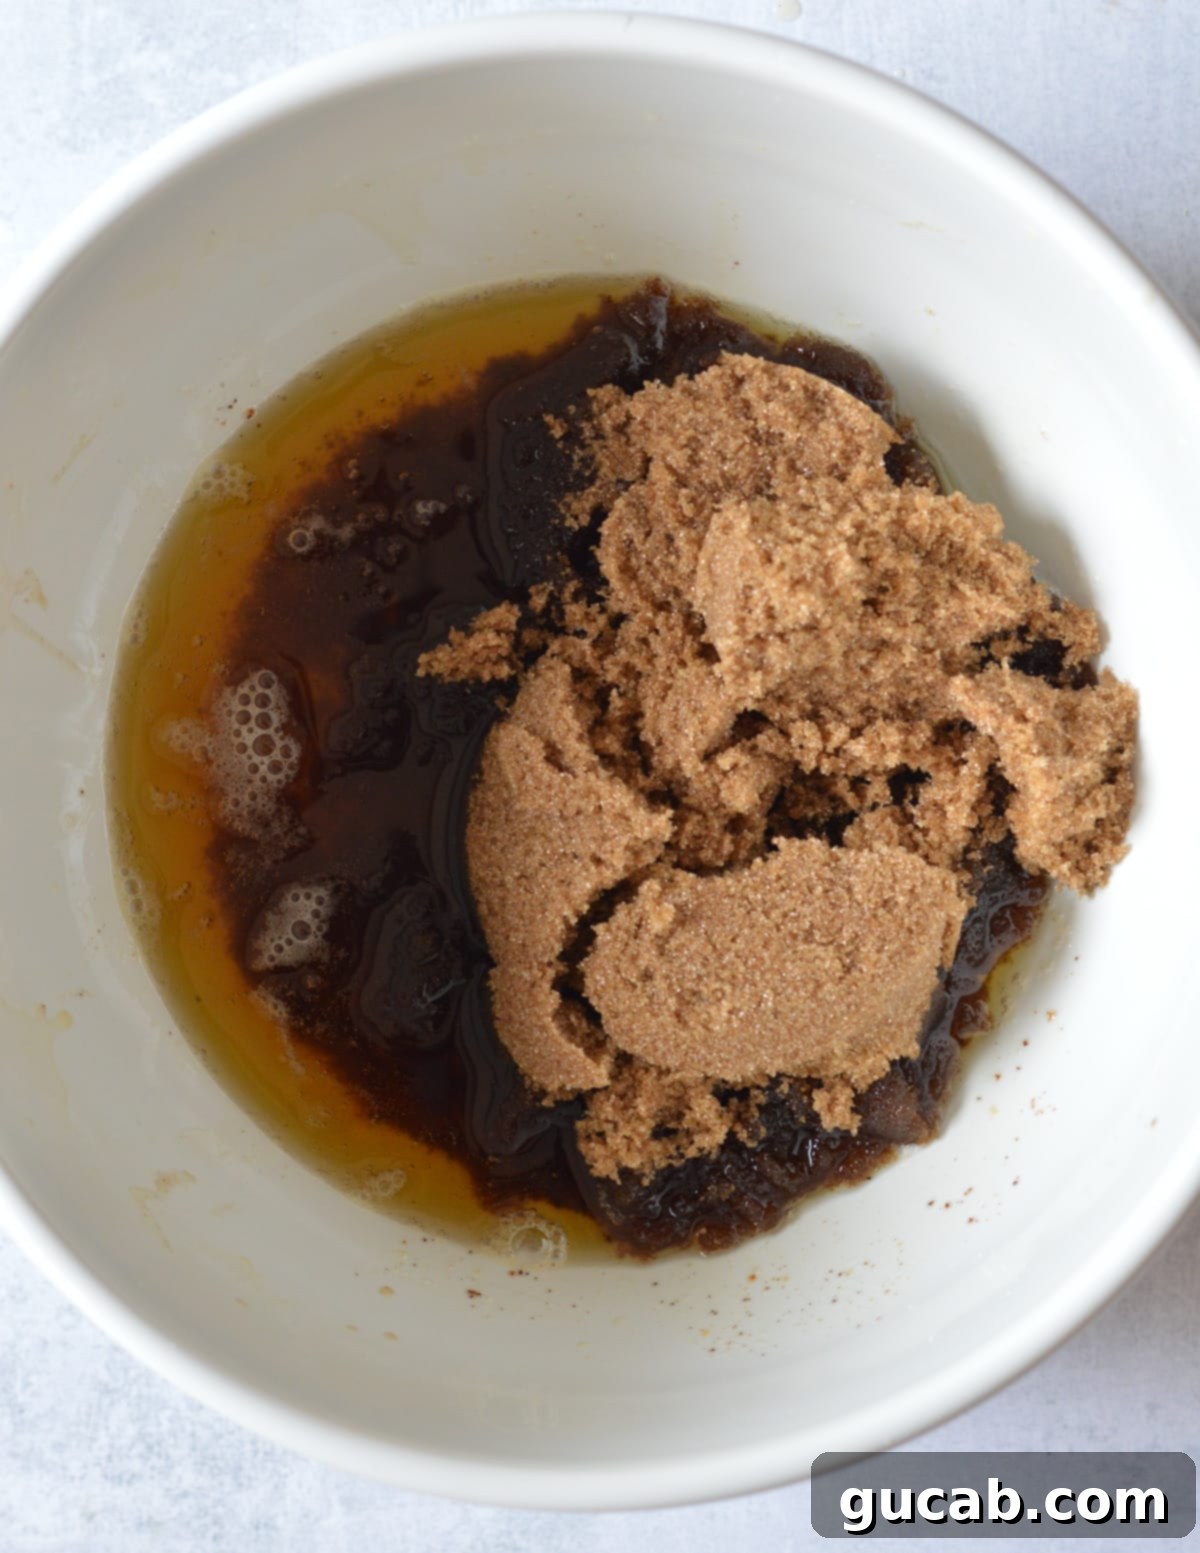
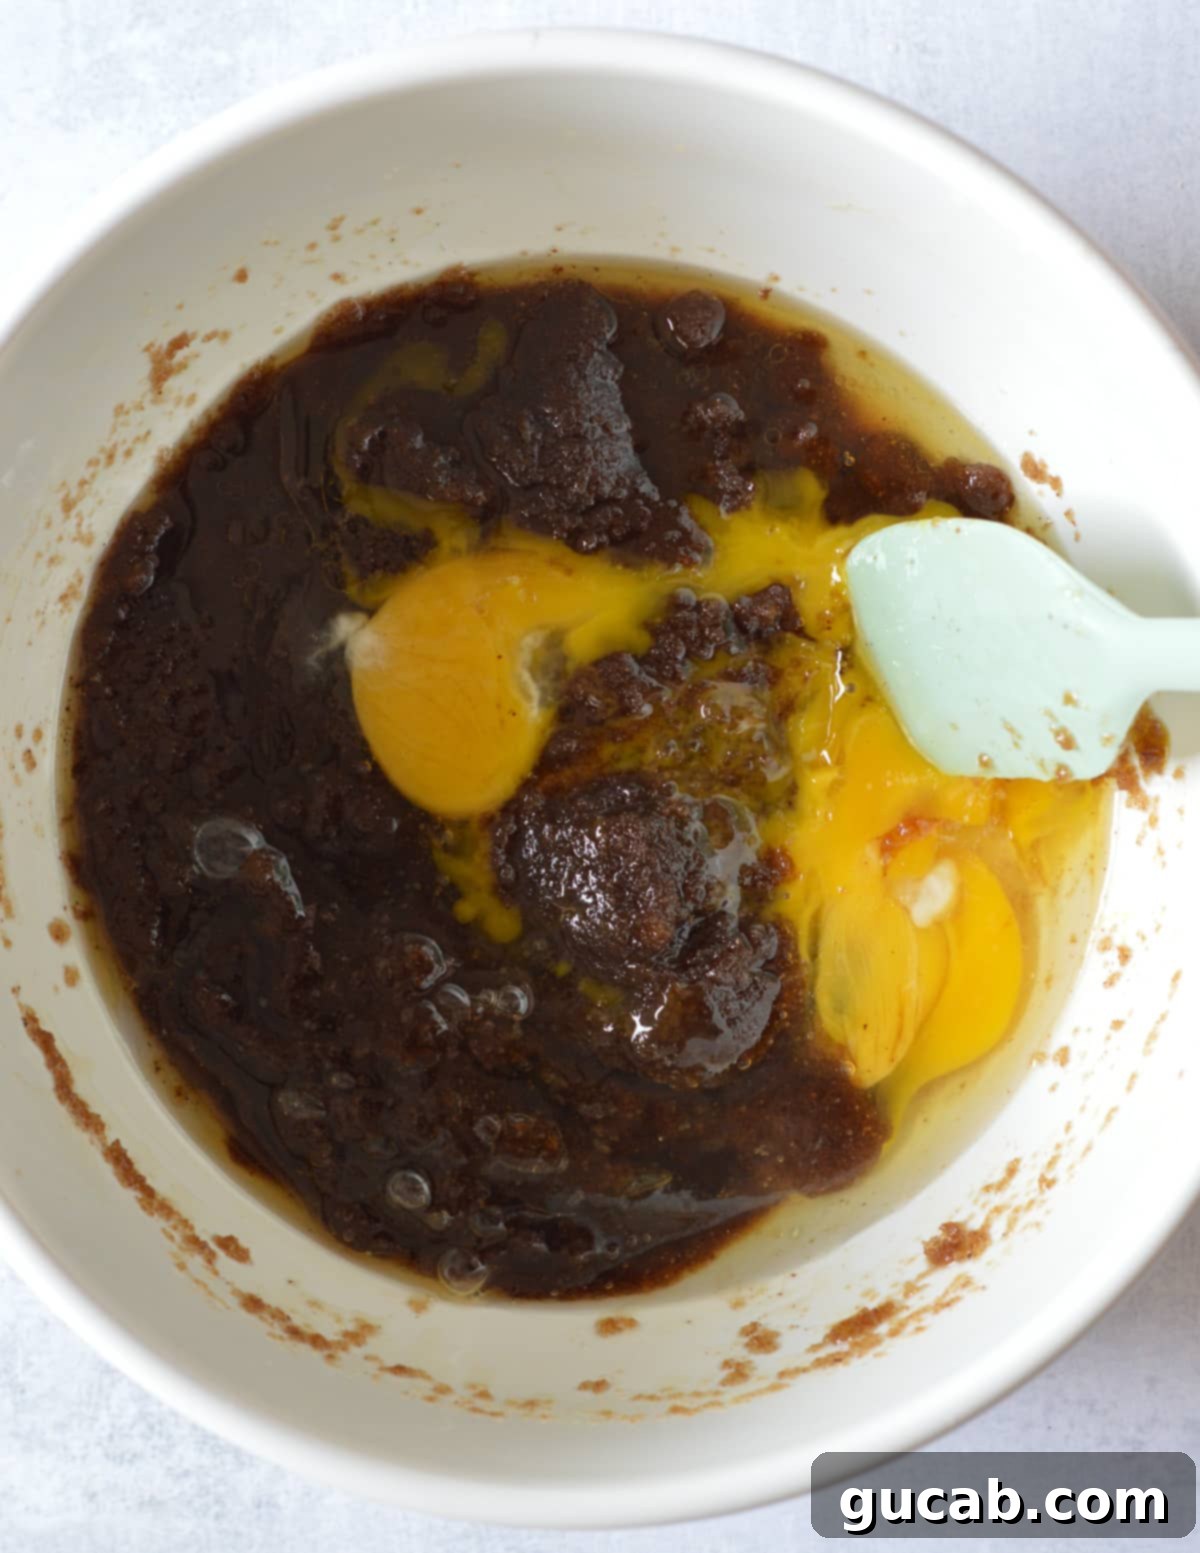
- Combine wet ingredients: To the still-warm browned butter in your large mixing bowl, add the dark brown sugar. Stir vigorously with your spatula until it’s well combined. It won’t look “creamed” like traditional butter-sugar mixtures; instead, it will emulsify and become a rich, thick, glossy mixture. Next, add the whole egg, the extra egg yolk (remember, this is for chewiness!), and the vanilla extract. Continue to stir until everything is fully incorporated and the mixture is smooth and slightly thinned out.
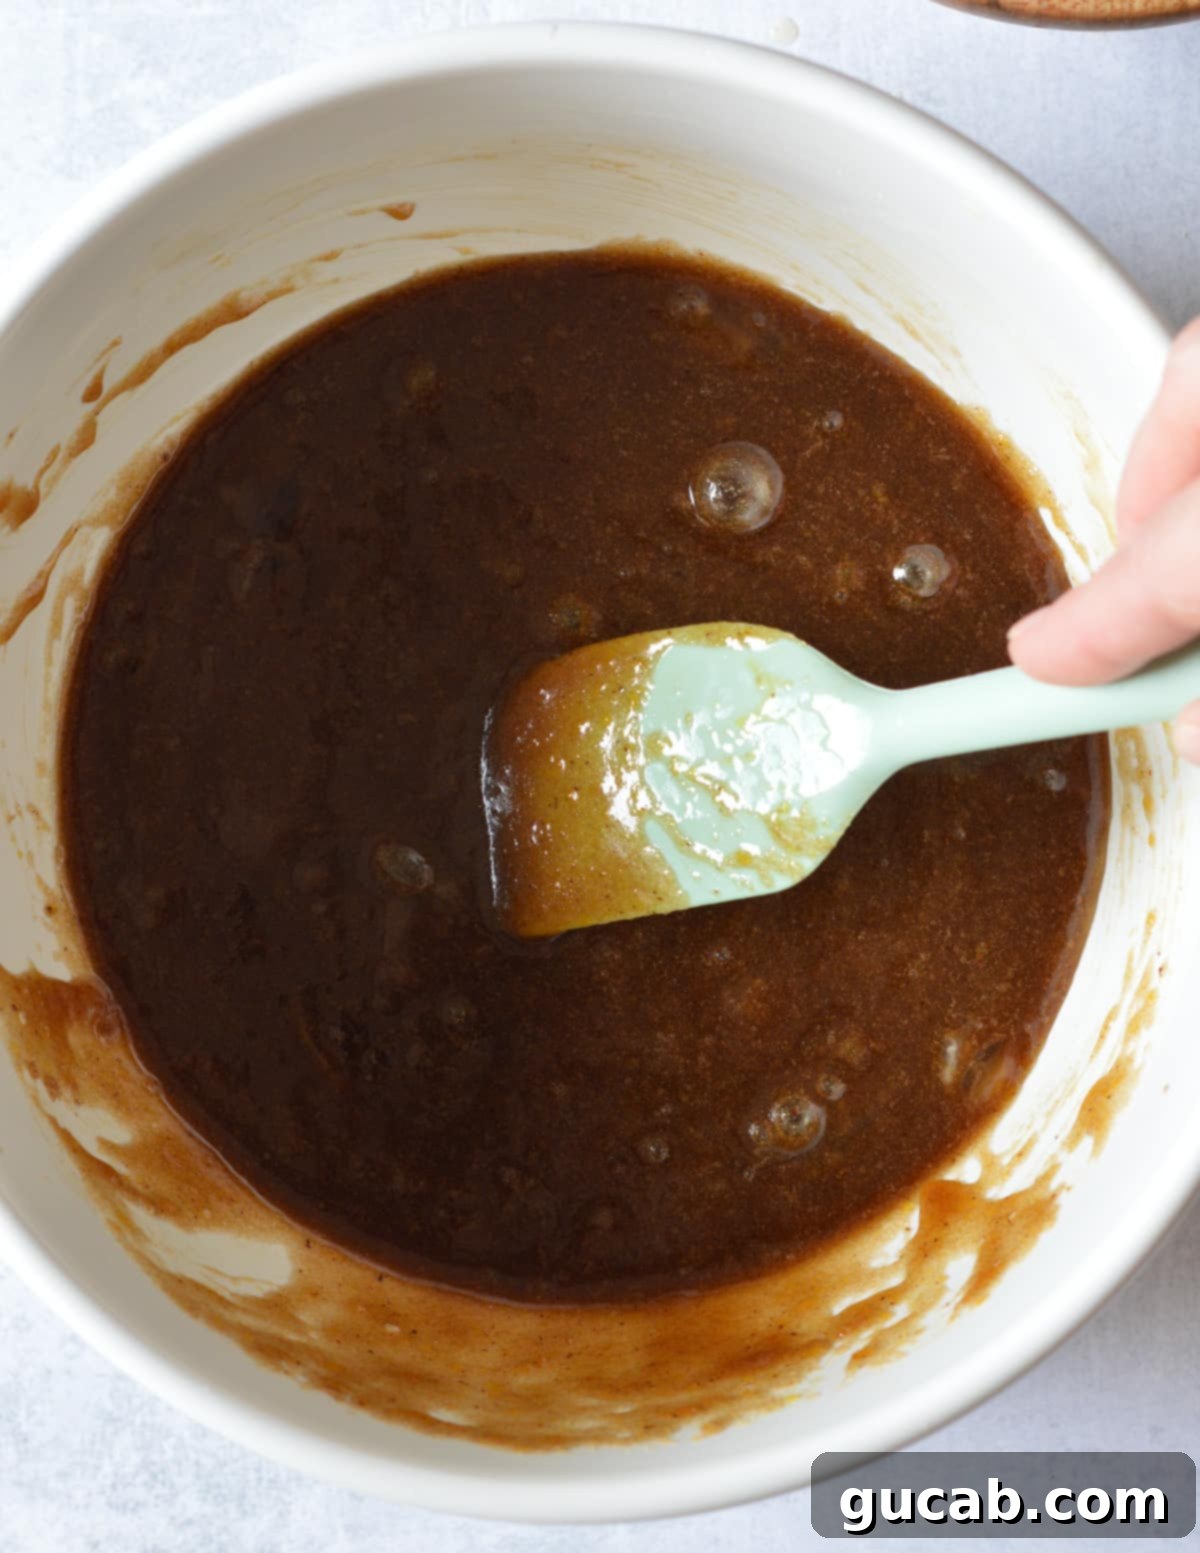
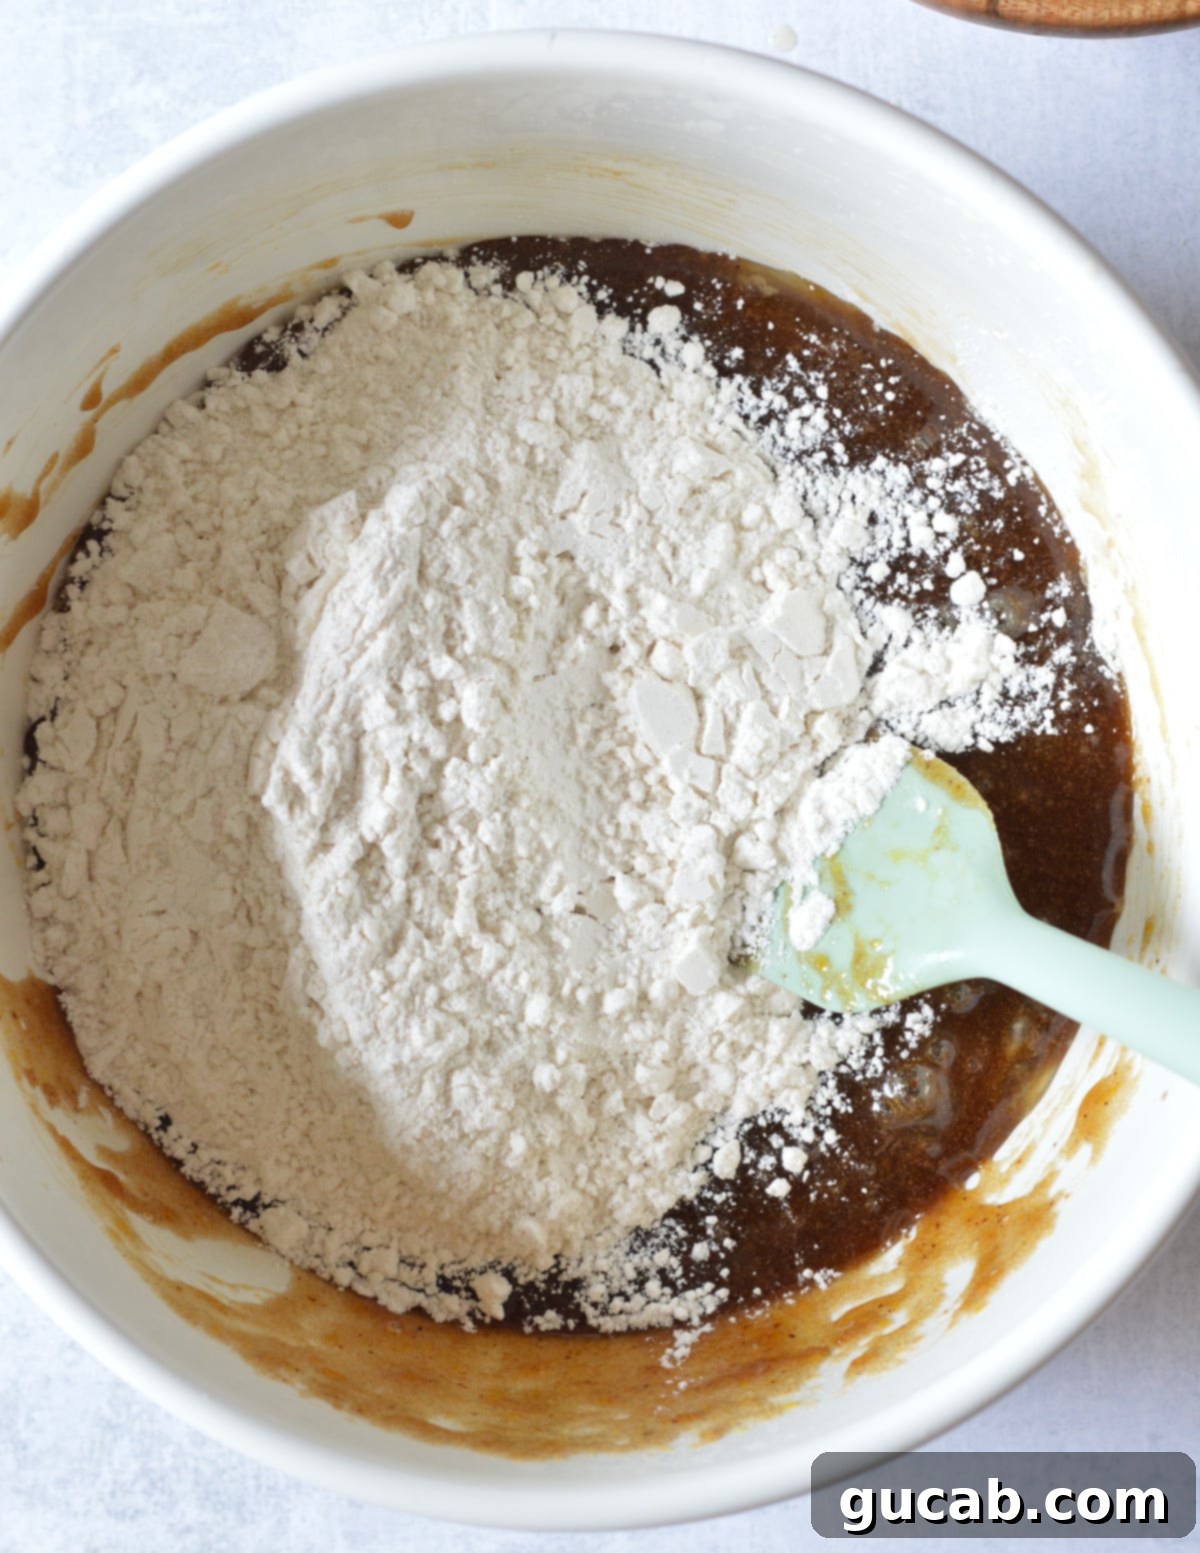
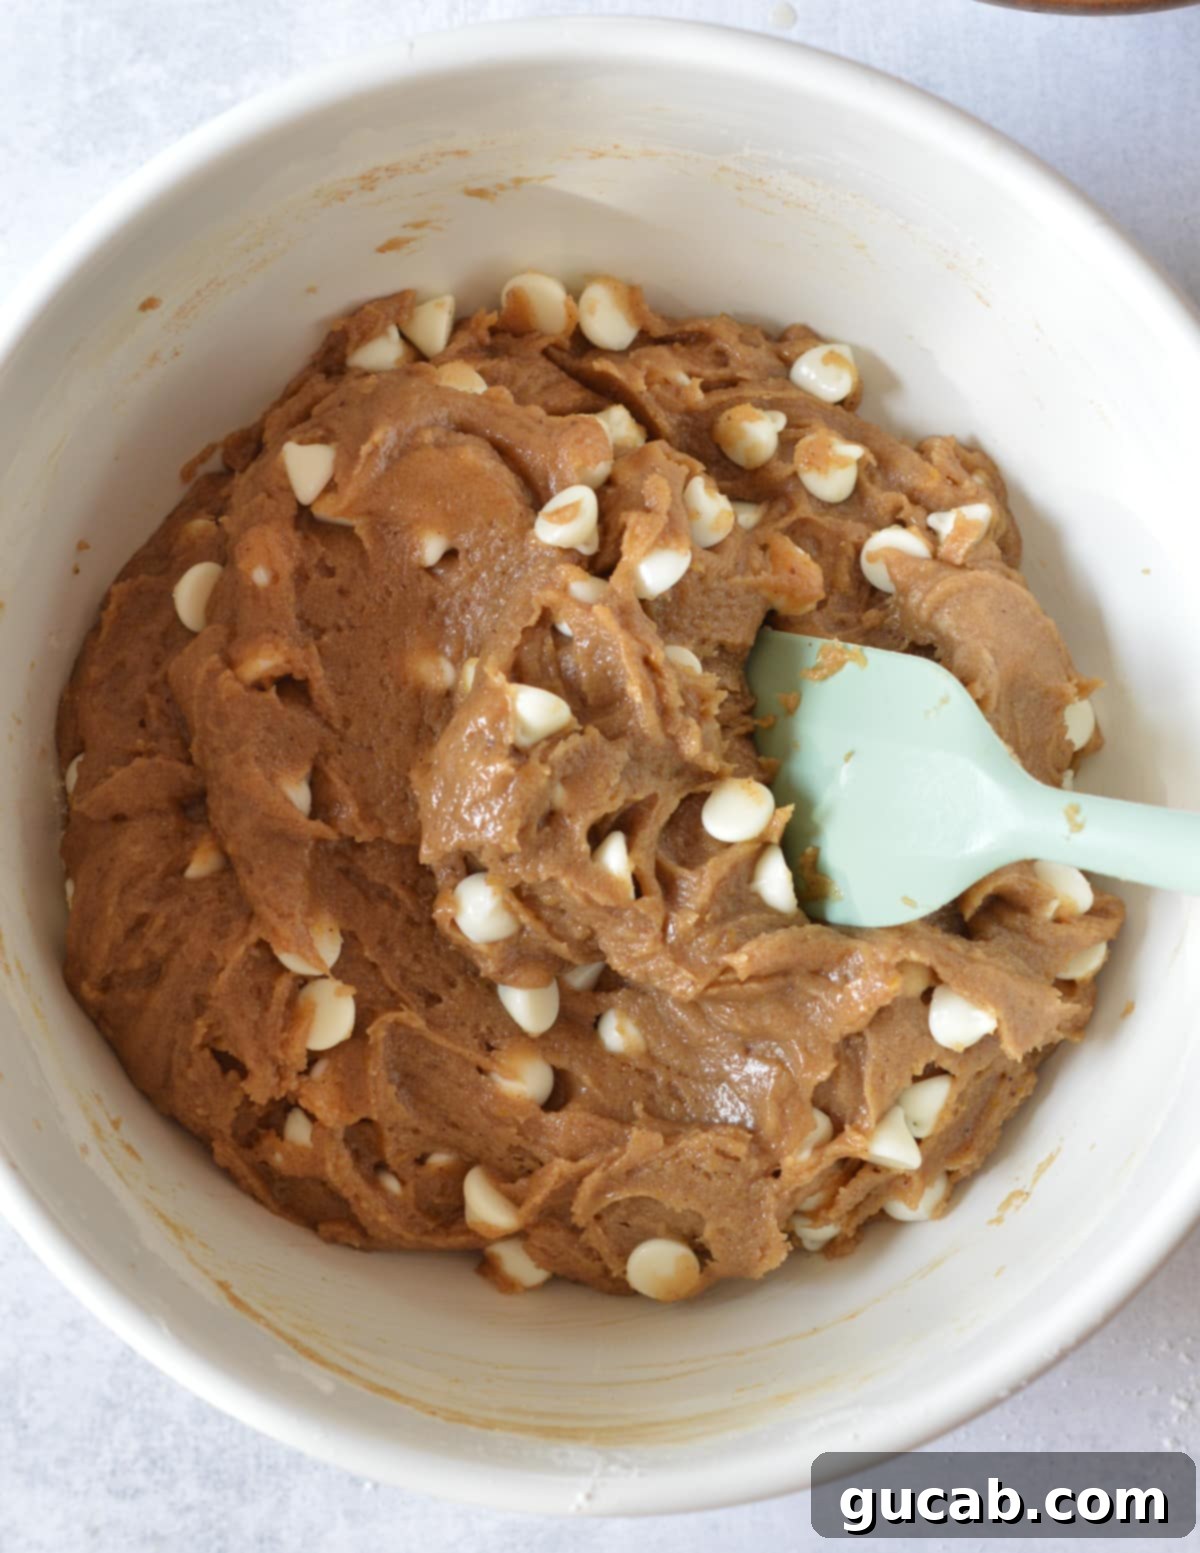
- Incorporate dry ingredients: To the wet mixture, add the gluten-free flour blend, baking powder, baking soda, kosher salt, and ground cinnamon. Stir gently with your spatula until just combined and a thick, uniform batter forms. Be careful not to overmix, as this can lead to tougher blondies. The goal is to mix until no streaks of dry flour remain.
- Fold in the chips: Gently fold in the white chocolate chips until they are evenly distributed throughout the batter.
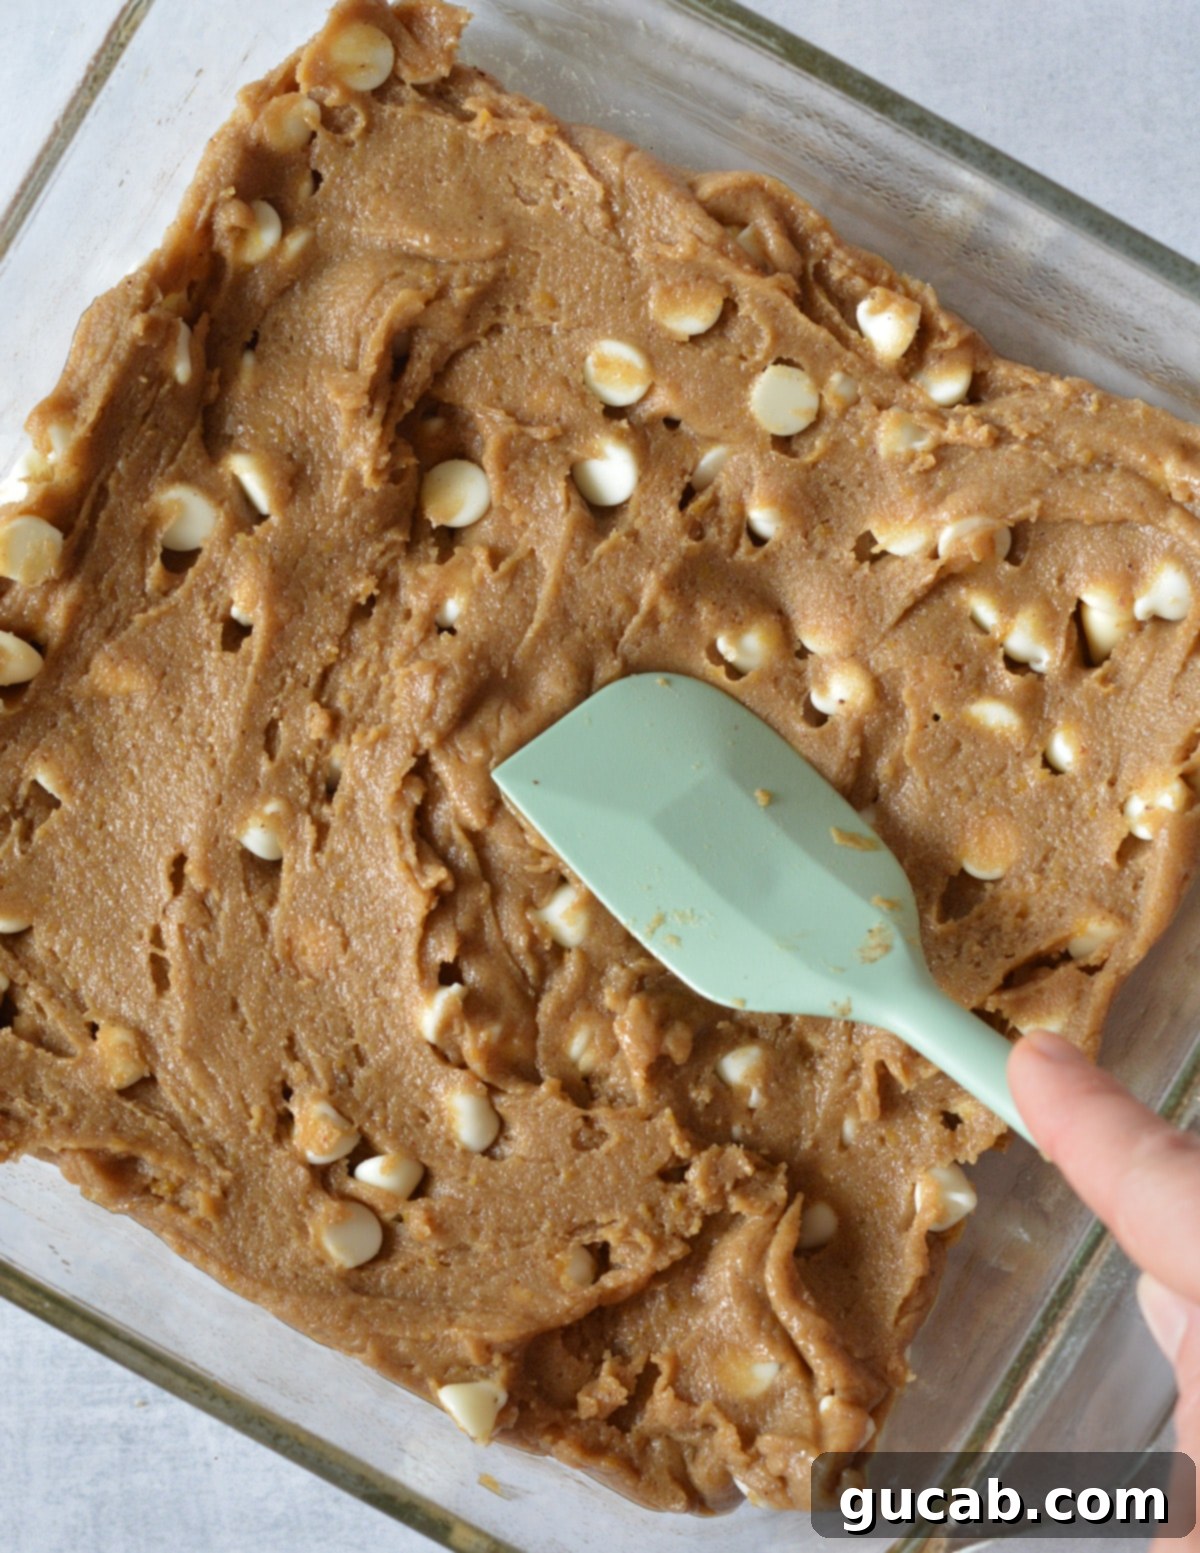
- Spread and smooth: Use your spatula to scrape every last bit of that delicious blondie dough into your prepared 8×8-inch greased baking dish. Spread it out evenly, making sure the surface is smooth and the batter reaches all corners of the pan.
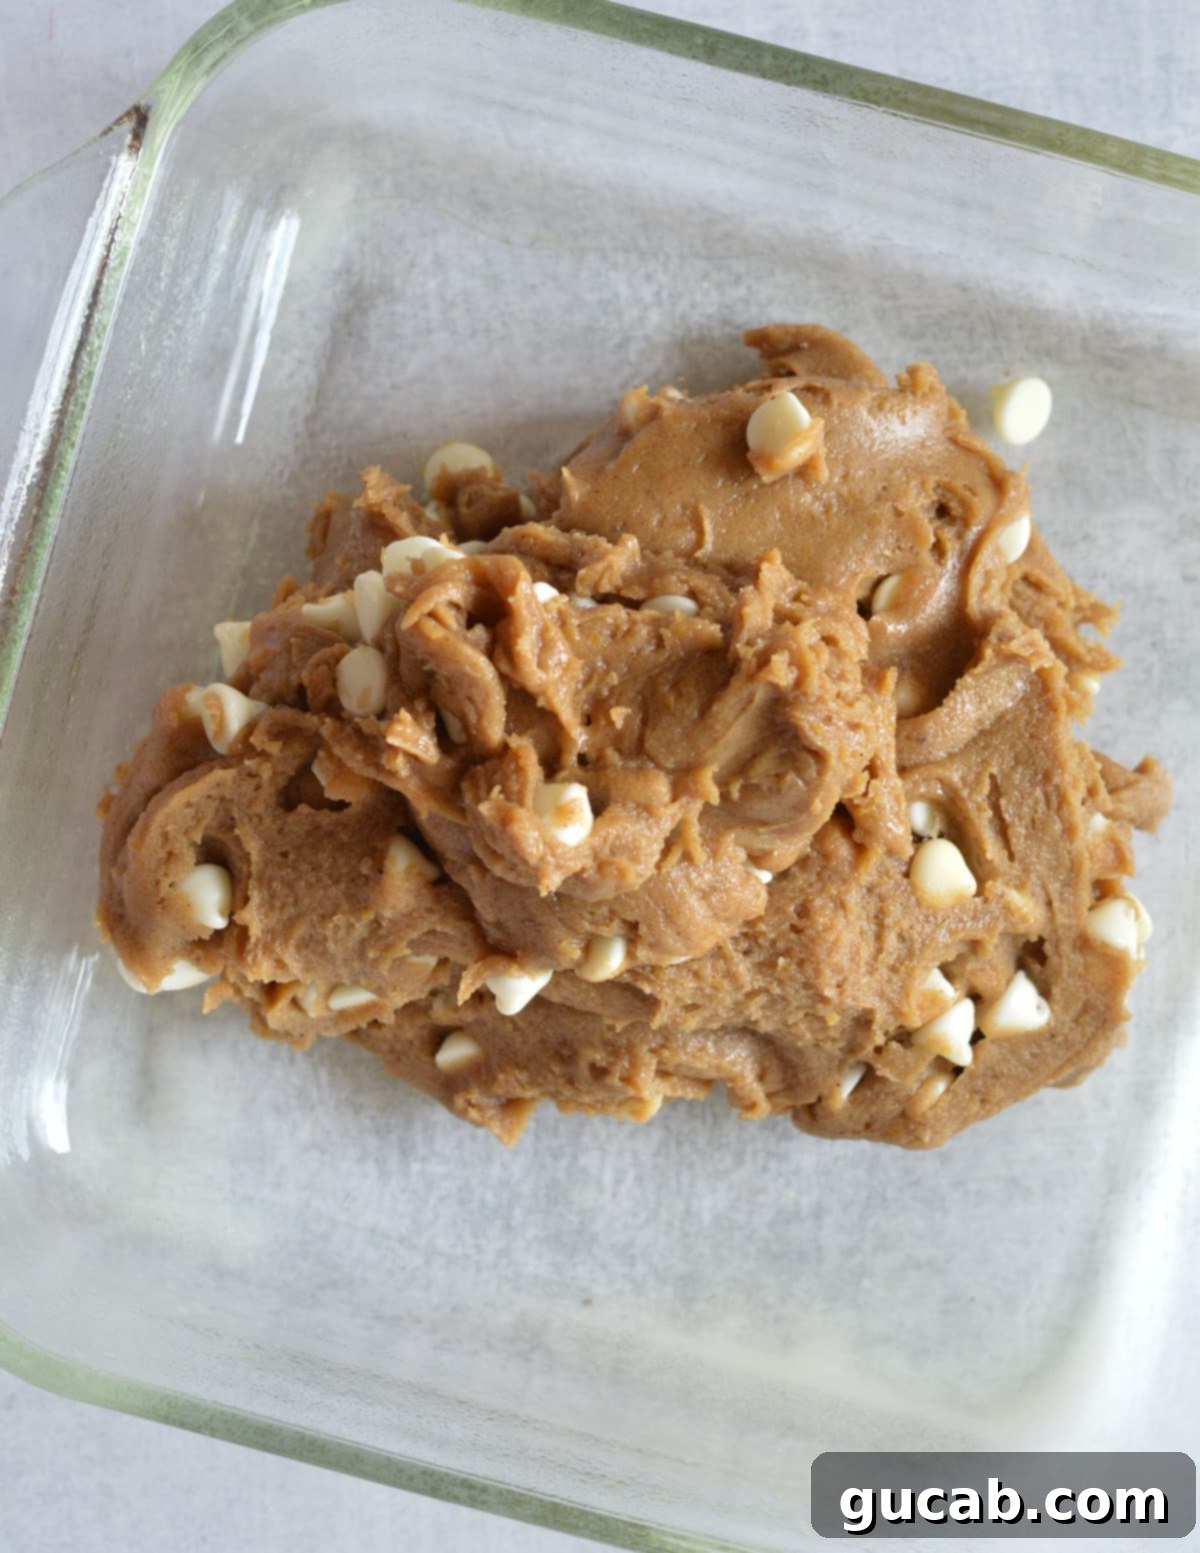
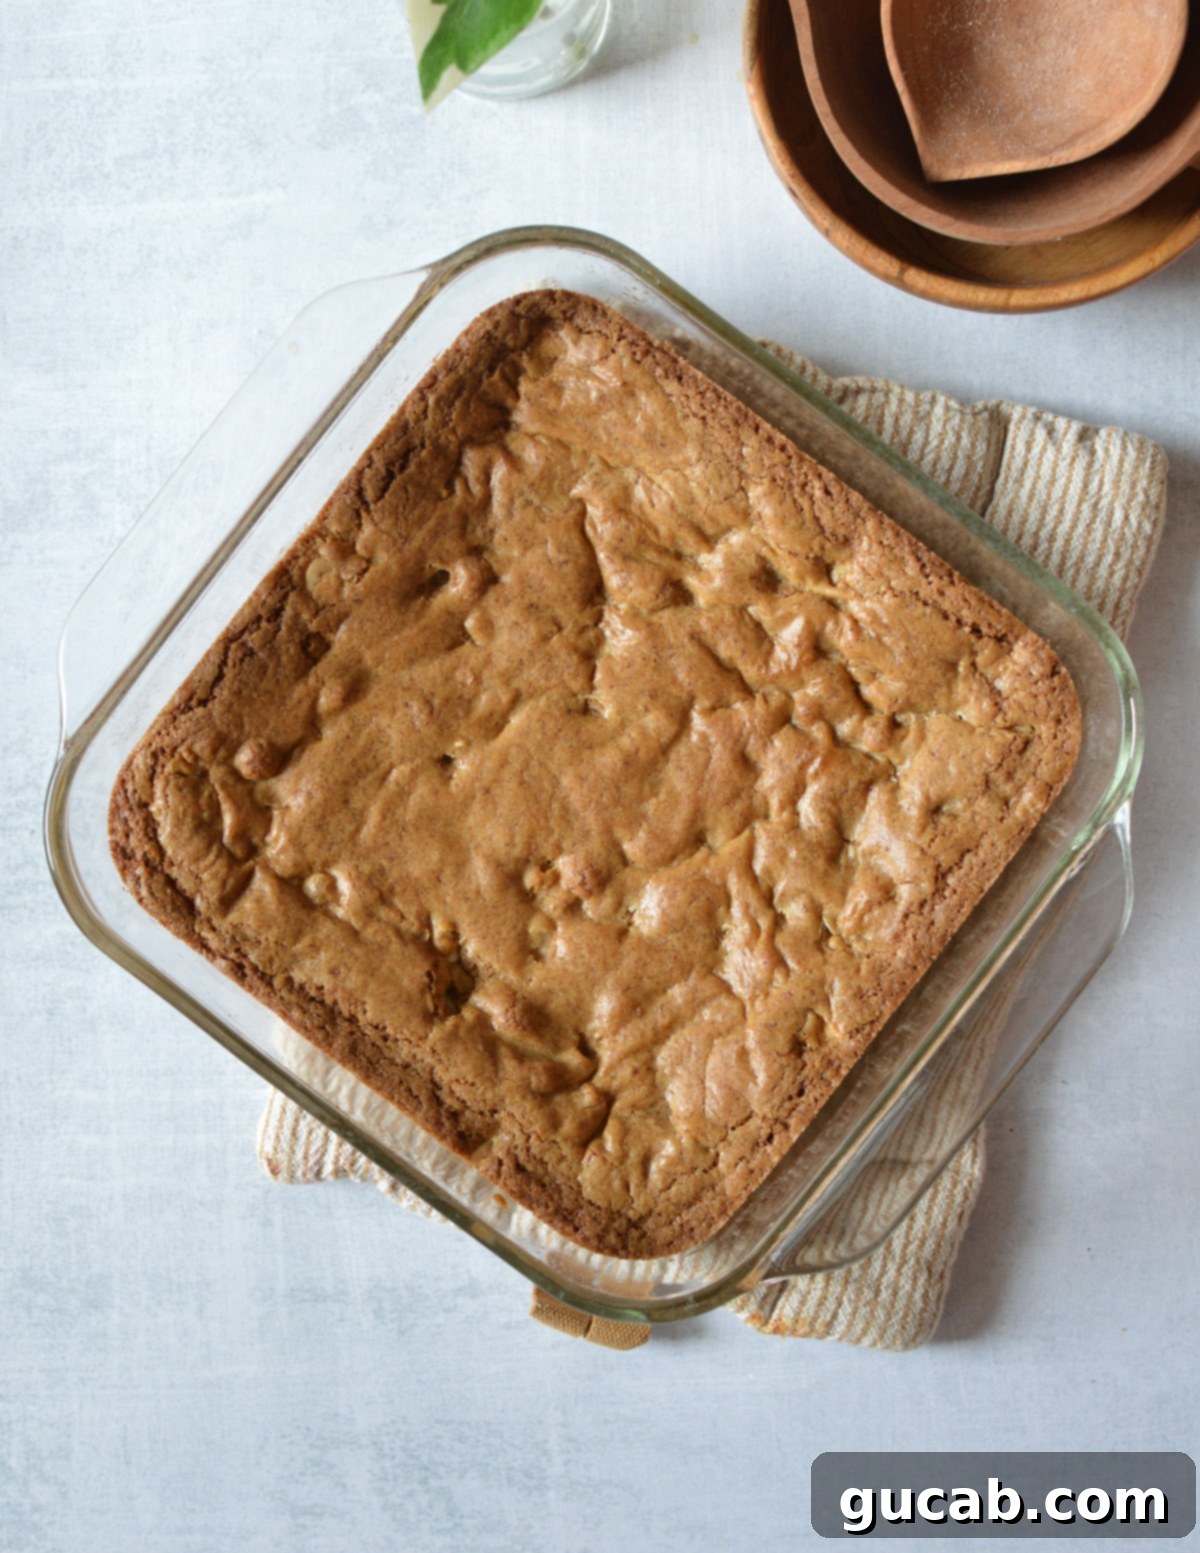
- Bake to perfection: Place the baking dish into your preheated oven and bake for approximately 30 minutes. The tops of your blondies will turn a beautiful deep golden brown, and a toothpick inserted into the center should come out with moist crumbs, not wet batter. Avoid overbaking, as this can lead to dry blondies.
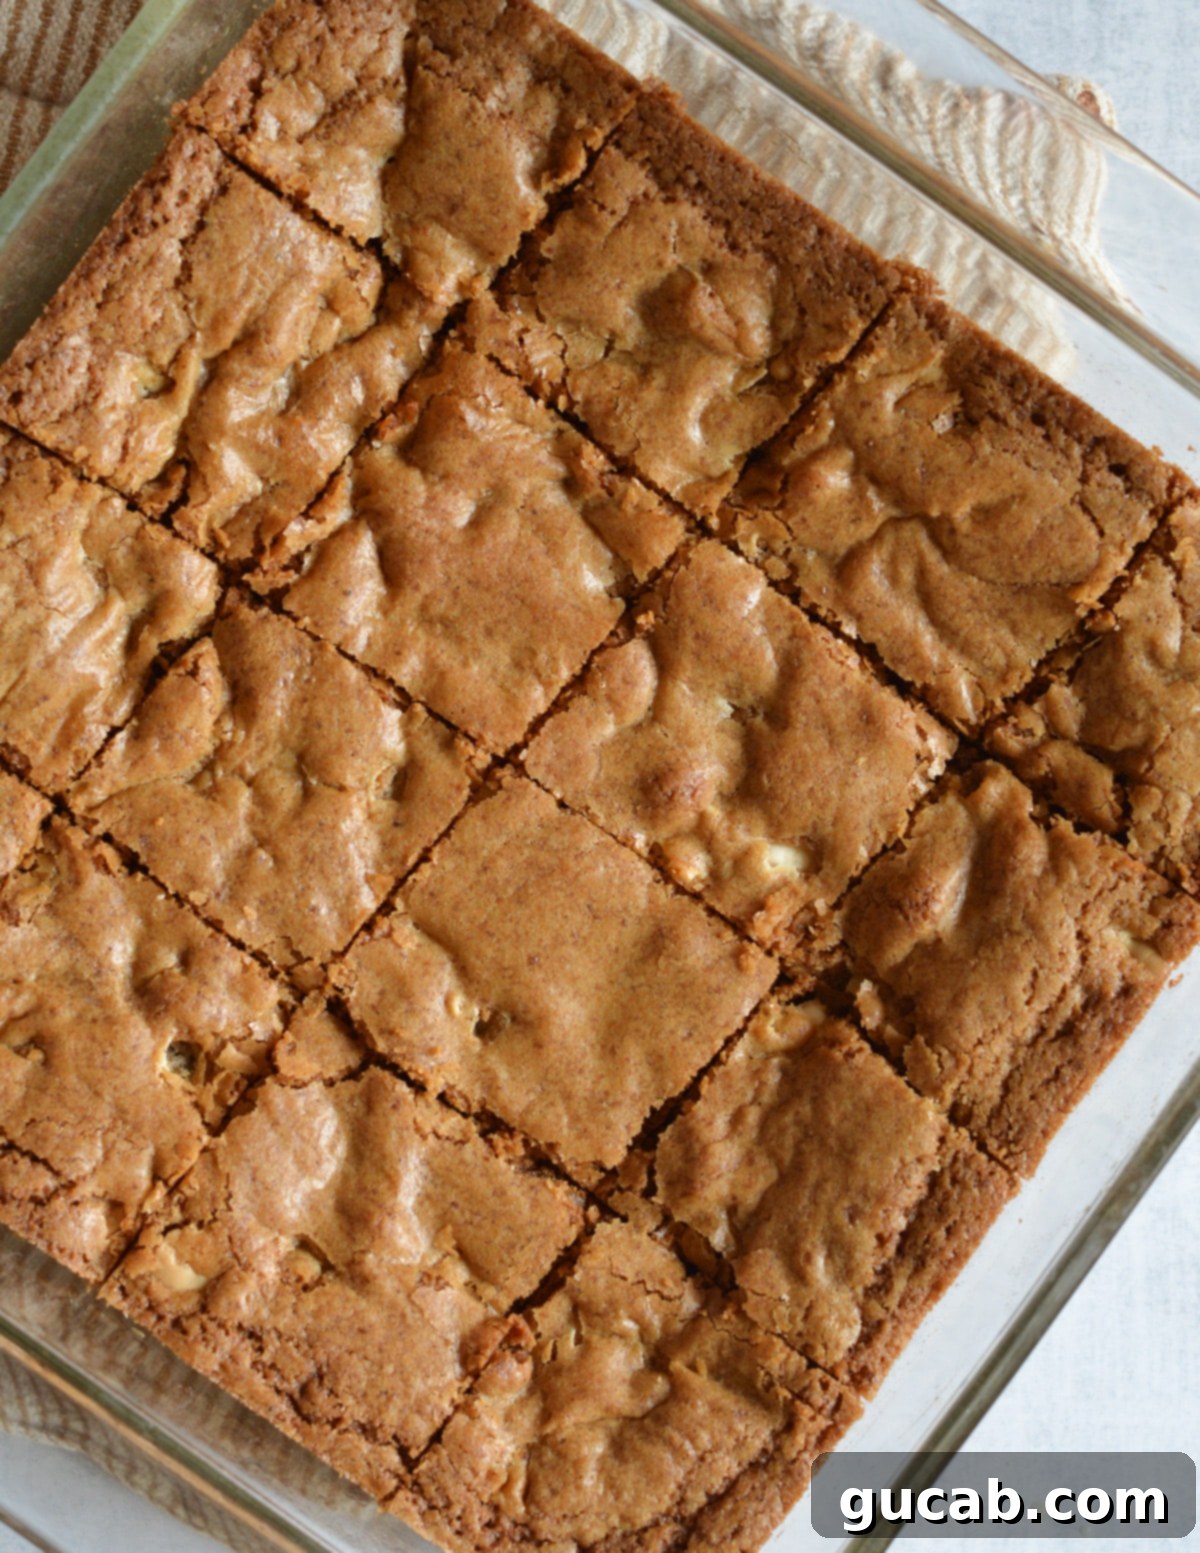
- Cool with patience: This step is critical for perfectly structured blondies! As tempting as it is to dive in immediately, resist the urge to cut into the bars when they’re piping hot. Let them cool in the baking dish for at least 30 minutes, or ideally, until completely cool. As they cool, the bars will set up, allowing for clean, neat cuts and that desirable chewy texture.
Expert Tips for Gluten-Free Blondie Perfection
Achieving perfectly chewy and flavorful gluten-free blondies is easy with these insider tips:
- Don’t Burn the Butter – Brown It! This is the most crucial step for flavor. Keep the heat set to medium, never higher. The butter will melt, then foam, then eventually the milk solids at the bottom will turn golden brown and smell nutty, like toasted hazelnuts. This process takes a few minutes, so be patient and stir frequently. If you see black specks or smell a acrid odor, it’s burnt, and you’ll need to start over. A light-colored pan helps immensely in monitoring the color change.
- Patience is Key: Let Them Cool! I can’t stress this enough. Blondies (and brownies!) need time to set up and develop their proper structure as they cool. If you try to cut and remove them while they’re still warm or hot, they will be very soft, likely fall apart, and won’t have that signature chewy texture. Cooling allows them to firm up beautifully, making for clean, perfect squares.
- Measure Gluten-Free Flour Accurately: Gluten-free flour blends can be tricky. Always spoon the flour into your measuring cup and then level it off with a straight edge (like the back of a knife) rather than scooping directly from the bag. This prevents compacting the flour, which can lead to dry, dense blondies.
- Don’t Overmix the Batter: Once you add the dry ingredients, mix only until just combined. Overmixing gluten-free flour can sometimes result in a tougher, gummier texture, even without gluten. Gentle stirring is all that’s needed to incorporate the ingredients.
- Pan Size Matters: This recipe is designed for an 8×8-inch baking dish. If you use a different size, your blondies will be thicker or thinner, and baking times will need to be adjusted accordingly. A smaller pan will result in thicker blondies that require more baking time, while a larger pan will yield thinner blondies that bake faster. Keep an eye on the color and use the toothpick test.
- Room Temperature Eggs: While not strictly necessary due to the warm browned butter, using room temperature eggs can help them incorporate more smoothly into the batter, creating a more uniform emulsion. If you forget, a quick warm water bath for a few minutes will do the trick.
Storage & Freezing: Enjoy Them Longer!
One of the many great things about gluten-free blondies, and indeed many gluten-free brownies, cookies, and bars, is how wonderfully freezer-friendly they are! This makes them an ideal choice for meal prepping desserts, preparing ahead for parties or gatherings, or simply ensuring you always have a delightful treat on hand.
- Room Temperature Storage: Once completely cooled, store your blondies in an airtight container at room temperature for up to 3-4 days. For optimal freshness and chewiness, I recommend placing a piece of parchment paper between layers if stacking them.
- Refrigeration: While not strictly necessary, if you prefer a firmer blondie or live in a very warm climate, you can store them in an airtight container in the refrigerator for up to a week. Just bring them back to room temperature (or microwave for a few seconds) before serving for the best texture.
- Freezing for Long-Term Enjoyment:
- Cool Completely: Ensure the blondies are entirely cool in the baking dish before proceeding. Warm blondies will create condensation and ice crystals when frozen.
- Cut into Bars: Use a sharp knife to cut the blondies into individual bars or squares of your desired size.
- Flash Freeze: Arrange the cut bars in a single layer on a quarter sheet pan or a plate lined with parchment paper. Place them in the freezer until they are solid, typically 1-2 hours. This prevents them from sticking together.
- Transfer and Store: Once solid, transfer the frozen bars to a heavy-duty zip-top freezer bag or an airtight freezer-safe container. Label the bag or container with the date.
- Enjoy Later: Freeze for up to 3 months. When you’re ready to enjoy, simply take out as many as you need and let them thaw at room temperature for 30-60 minutes, or warm briefly in the microwave for a fresh-baked feel.
More Delicious Gluten-Free Brownies & Bars
If you loved these blondies, be sure to explore more fantastic gluten-free baking recipes from our collection:
- Gluten Free Peanut Butter Swirl Brownies
- One bowl Gluten Free Brownie Recipe
- Gluten Free Chocolate Chip Cookies
- Fudgy Almond Flour Brownies
- Gluten Free Graham Crackers
Gluten Free Blondies
Carolyn
Pin Recipe
Equipment
-
8×8-inch square baking dish
Ingredients
- ½ cup unsalted butter (4 ounces)
- ¾ cup dark brown sugar
- 1 large egg
- 1 egg yolk
- 1 teaspoon vanilla extract
- 1 cup + 1 tablespon Bob’s Red Mill’s 1 to 1 Gluten Free Baking Flour or all-purpose gluten-free flour with xanthan gum
- ¼ teaspoon baking powder
- ¼ teaspoon baking soda
- ¼ teaspoon kosher salt
- ½ teaspoon ground cinnamon
- ¾ cup white chocolate chips
Instructions
-
Preheat oven to 350 degrees Fahrenheit. Spray an 8×8-inch glass baking dish with nonstick cooking spray.
-
In a small saucepan, heat the butter over medium. Let the butter melt then simmer until it starts to turn golden, stir with a spatula. Once it turns golden brown and the solids at the bottom of the pan turn medium brown, remove it from the heat and pour into a large mixing bowl.
-
Add the brown sugar to the butter and stir to combine. Add the egg, yolk, and vanilla to the mixture and stir until combined.
-
Add the gluten-free flour, baking powder, baking soda, kosher salt, and cinnamon to the bowl. Stir until a thick batter forms.
-
Add the white chocolate chips and stir to combine.
-
Dump the blondie mixture into the greased pan. Use a spatula to smooth it out evenly in the pan.
-
Bake for 30 minutes. Remove it from the oven and let the bars cool for at least 30 minutes before cutting.
Notes
Nutrition
