The Ultimate Easy Gluten-Free Chocolate Chip Cookie Cake for Every Celebration
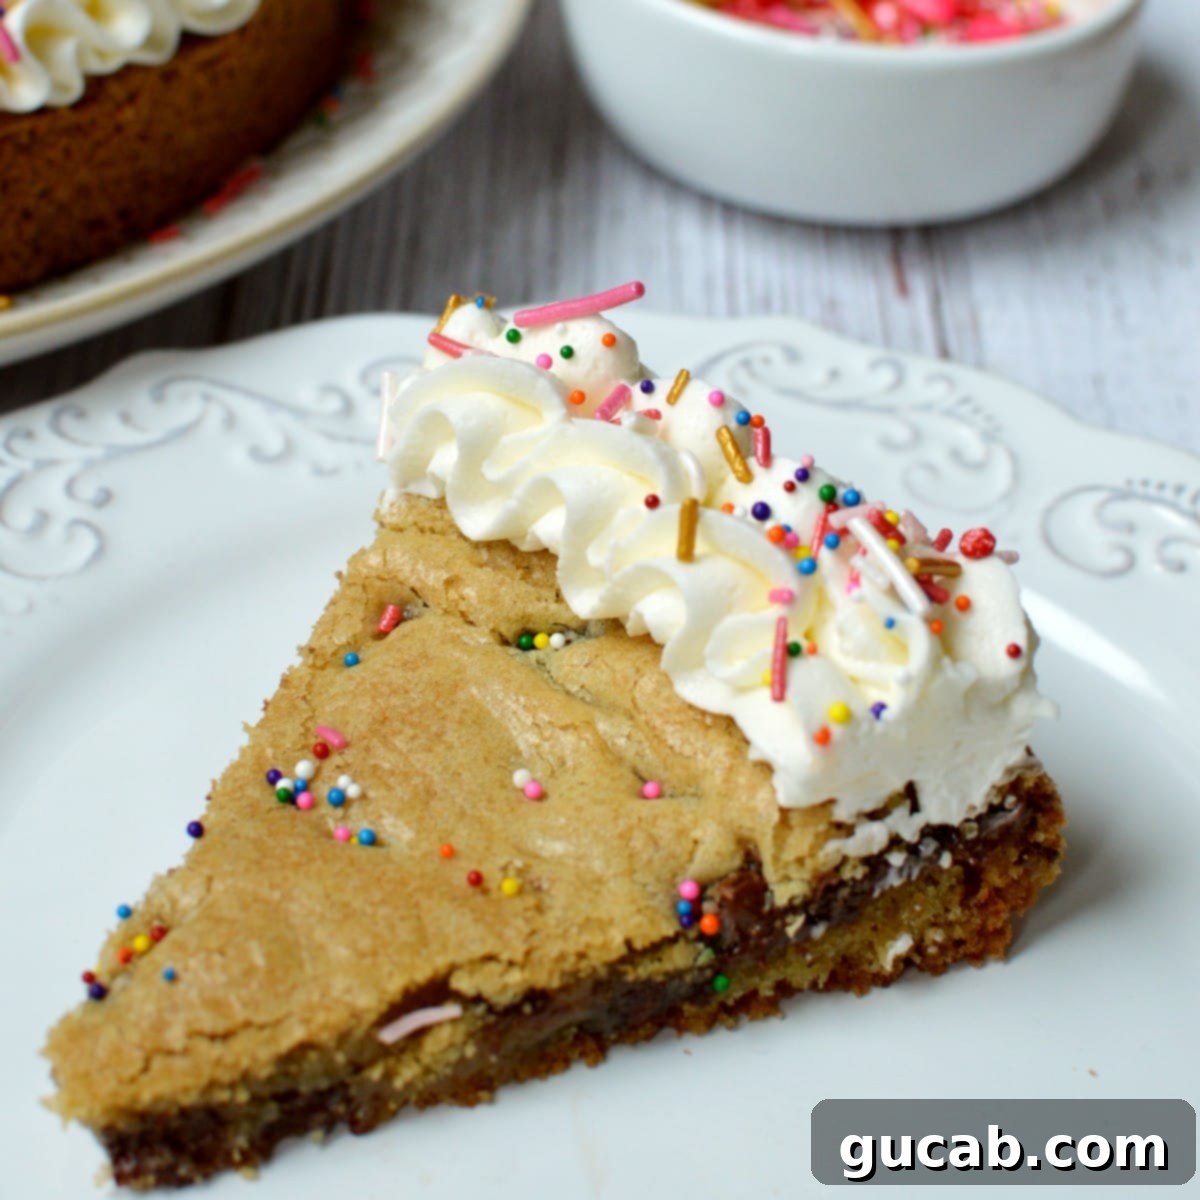
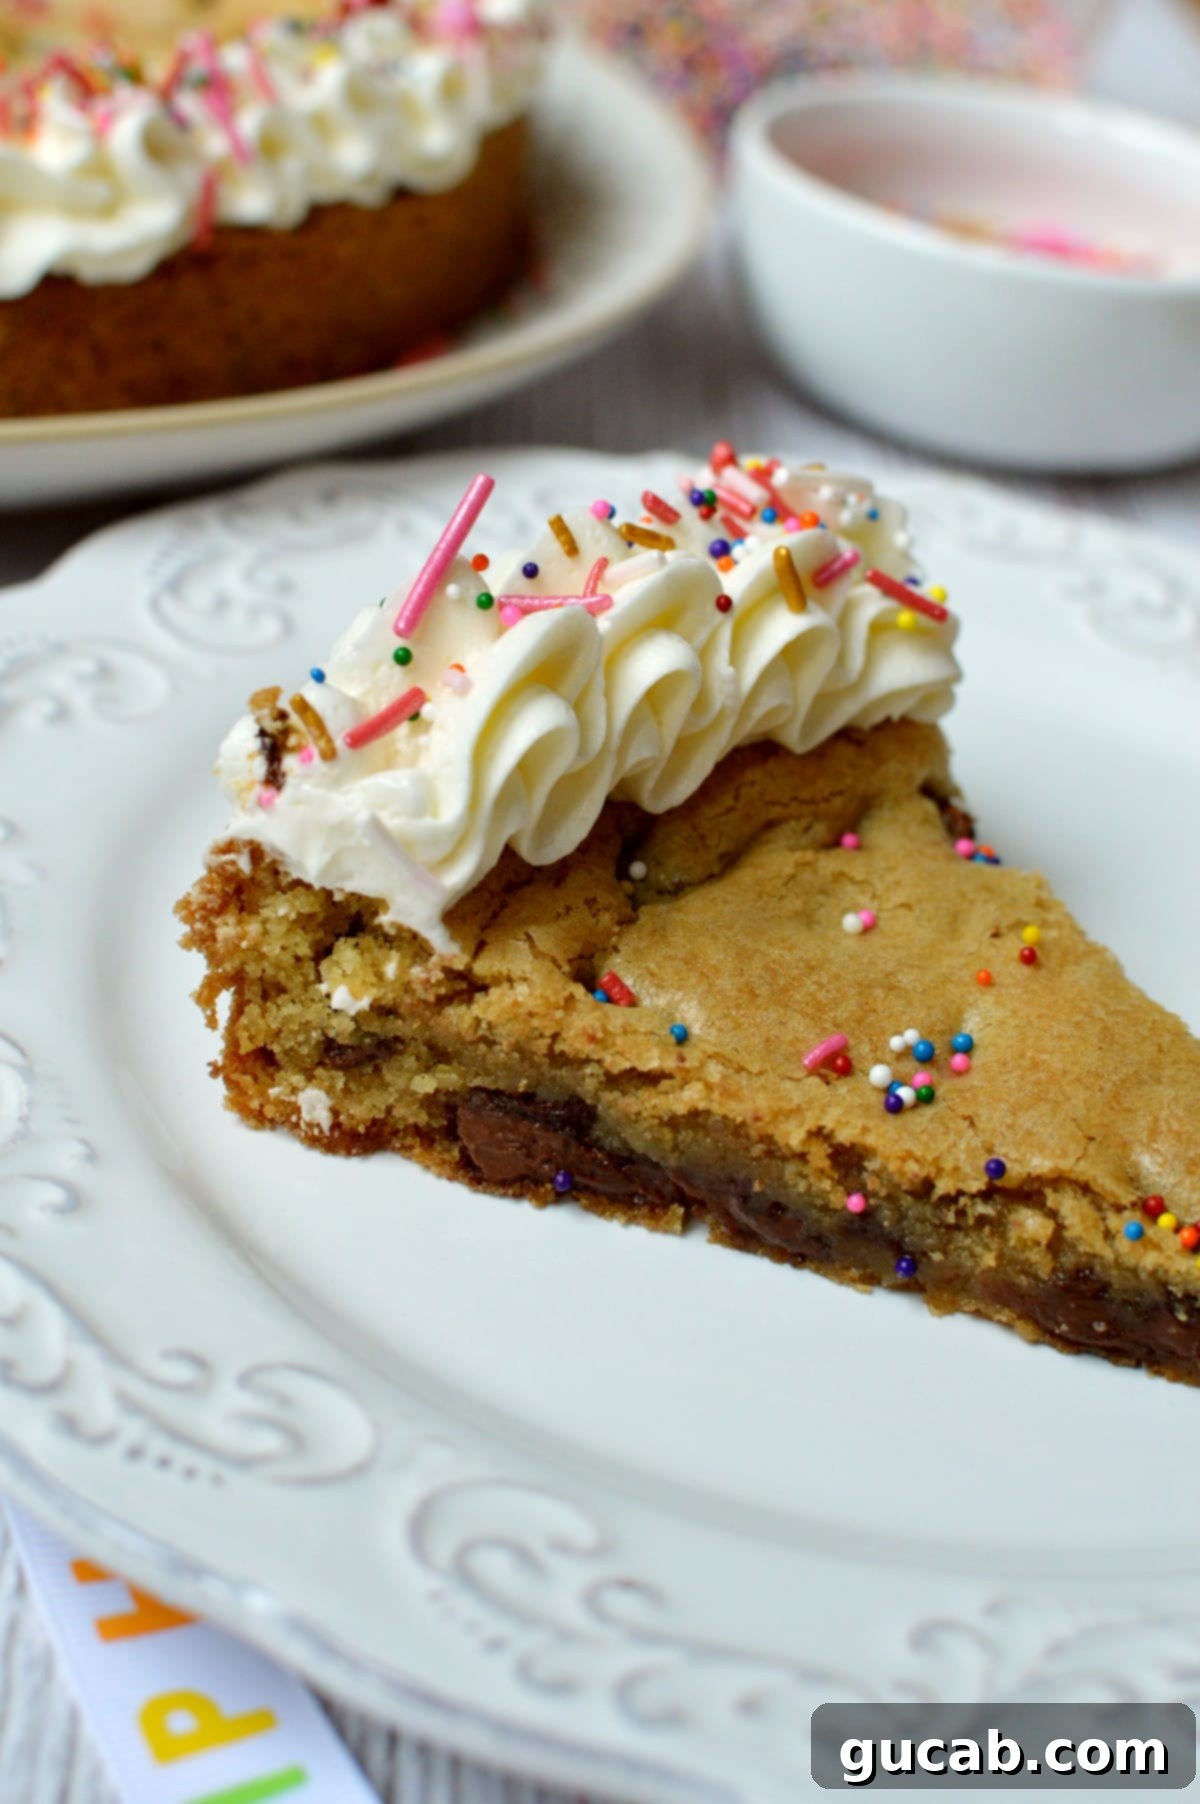
Prepare to delight your taste buds and impress your guests with this incredibly easy-to-make gluten-free cookie cake. It’s the ultimate dessert for any birthday, holiday, or special celebration. Imagine a gigantic, perfectly baked chocolate chip cookie: exquisitely soft and gooey in the center, boasting delightfully crispy golden-brown edges, all beautifully adorned with rich, piped buttercream frosting and a shower of festive sprinkles. This recipe is designed to be straightforward, ensuring a show-stopping dessert that caters to gluten-free dietary needs without compromising on flavor or texture. Get ready to bake a memorable treat that’s guaranteed to be a hit!
Why You Will Absolutely Love This Gluten-Free Cookie Cake
This isn’t just another gluten-free dessert; it’s a game-changer! Here’s why this cookie cake will quickly become your go-to recipe for any occasion:
- Effortlessly Simple to Bake: Don’t let the impressive appearance fool you. This recipe is incredibly straightforward, perfect for bakers of all skill levels. With minimal fuss and common ingredients, you can whip up a stunning dessert that looks like it came from a professional bakery.
- Perfect Texture Harmony: Experience the best of both worlds with every bite! The cookie cake features a wonderfully soft, moist, and delightfully chocolatey interior, loaded with melty chocolate chips, while the edges bake to a satisfying crispness. It’s exactly what you crave in an exceptional cookie, just super-sized!
- Customizable for Any Event: Whether it’s a vibrant birthday party, a serene baby shower, a graduation, or a holiday gathering, this cookie cake adapts beautifully. Simply switch up the color of the buttercream frosting and choose sprinkles that match your theme. The possibilities for personalization are endless, making it a truly versatile centerpiece.
- A Giant, Irresistible Chocolate Chip Cookie: At its heart, this is simply a magnificent, oversized chocolate chip cookie. It delivers all the comforting, familiar flavors of your favorite classic cookie but scaled up for sharing and celebration. It’s pure cookie bliss in cake form!
- Naturally Gluten-Free & Inclusive: Designed specifically for gluten-free diets, this cookie cake allows everyone to partake in the celebration without worry. It’s a thoughtful and delicious way to ensure no one misses out on dessert, proving that gluten-free can be just as, if not more, delicious.
- Crowd-Pleasing & Shareable: Forget individual cookies; this cake is made for sharing! Its large format makes it ideal for feeding a group, easily sliced into generous portions that will bring smiles to many faces.
Essential Ingredients for Your Gluten-Free Cookie Cake
Crafting this delightful cookie cake requires a few key ingredients, each playing a crucial role in achieving its perfect flavor and texture. Pay attention to the quality and state of these components for the best results.
For the irresistible cookie cake base:
- Unsalted Butter: We opt for unsalted butter in all our baked goods for a simple reason: it gives you complete control over the salt content. While salted butter can work, using unsalted prevents your dessert from becoming unexpectedly salty, allowing the other flavors to shine through beautifully. Ensure it’s at room temperature for optimal creaming.
- Granulated Sugar: Beyond merely sweetening the cookie, granulated sugar plays a vital role in maintaining the cake’s tender and moist texture. It helps create that lovely, slightly crisp exterior while keeping the interior soft.
- Brown Sugar: The secret to that chewy texture and rich, nuanced flavor! The molasses in brown sugar not only adds depth and a wonderful caramel note but also reacts with the baking soda, contributing to the cake’s slight rise during baking. This combination ensures a truly delicious, chewy cookie cake.
- Large Egg: The essential binder that brings all the ingredients together, providing structure, richness, and moisture to the cookie dough. Make sure it’s at room temperature for better emulsion with the butter and sugars.
- Gluten-Free All-Purpose Flour Blend: This is the cornerstone of our gluten-free recipe. A high-quality gluten-free all-purpose flour is typically a meticulously crafted blend of various flours, starches, and crucially, xanthan gum. This blend is designed to replicate the properties of traditional wheat flour, providing structure and elasticity in gluten-free baking. My personal favorite and highly recommended choice is Bob’s Red Mill’s 1:1 All Purpose Gluten-Free Flour. Each brand can vary significantly in its ingredient ratios and flavor profile, so using a trusted brand or the one recommended here will ensure the best taste and texture for your cookie cake. It’s vital that your chosen blend contains xanthan gum, as it acts as a binder, compensating for the lack of gluten.
- Baking Soda: This leavening agent is critical for giving the cookie cake its desired rise and contributes to its tender crumb. It works in conjunction with the acidic molasses in the brown sugar to create carbon dioxide, resulting in a perfectly textured bake.
- Kosher Salt: I always use kosher or sea salt in my recipes for their pure flavor and larger crystal size, which allows for better control and even distribution. If you only have table salt on hand, remember to halve the amount, as it is much finer and more concentrated in flavor. Salt balances the sweetness and enhances all the other flavors in the cookie.
- Semisweet Chocolate Chips: What’s a chocolate chip cookie cake without plenty of chocolate? I love to load my cookies and cakes with a generous amount of chocolate chips for maximum melty goodness. This recipe calls for a full cup, but if you prefer a slightly less chocolate-dense experience, you can easily reduce it to ¾ cup. Feel free to use your favorite type – semisweet, milk, or even dark chocolate chips will all work wonderfully.
For the luscious buttercream frosting:
- Unsalted Butter: Just like for the cookie cake, unsalted butter is key for the buttercream. It must be at room temperature – soft enough to whip up light and fluffy, but not melted. If it’s too cold, a few seconds in the microwave can help, but be cautious; it’s better slightly too firm than too soft and oily.
- Powdered Sugar (Confectioners’ Sugar): This finely milled sugar is what gives buttercream its smooth, melt-in-your-mouth texture and sweetness. It dissolves easily, preventing any grittiness.
- Whole Milk: A small amount of whole milk helps achieve the perfect consistency for your buttercream, making it smooth and পাইpable. You can adjust the quantity slightly to reach your desired thickness.
- Vanilla Extract: High-quality vanilla extract is essential for imparting that classic, aromatic vanilla flavor that complements the chocolate cookie cake beautifully. Feel free to use pure vanilla extract for the best taste.
How to Masterfully Make Your Gluten-Free Cookie Cake
Creating this show-stopping gluten-free cookie cake is a rewarding process. Follow these detailed steps to ensure a perfect bake every time, from preparing your pan to mixing your dough.
Prepare Your Cake Pan for Easy Release
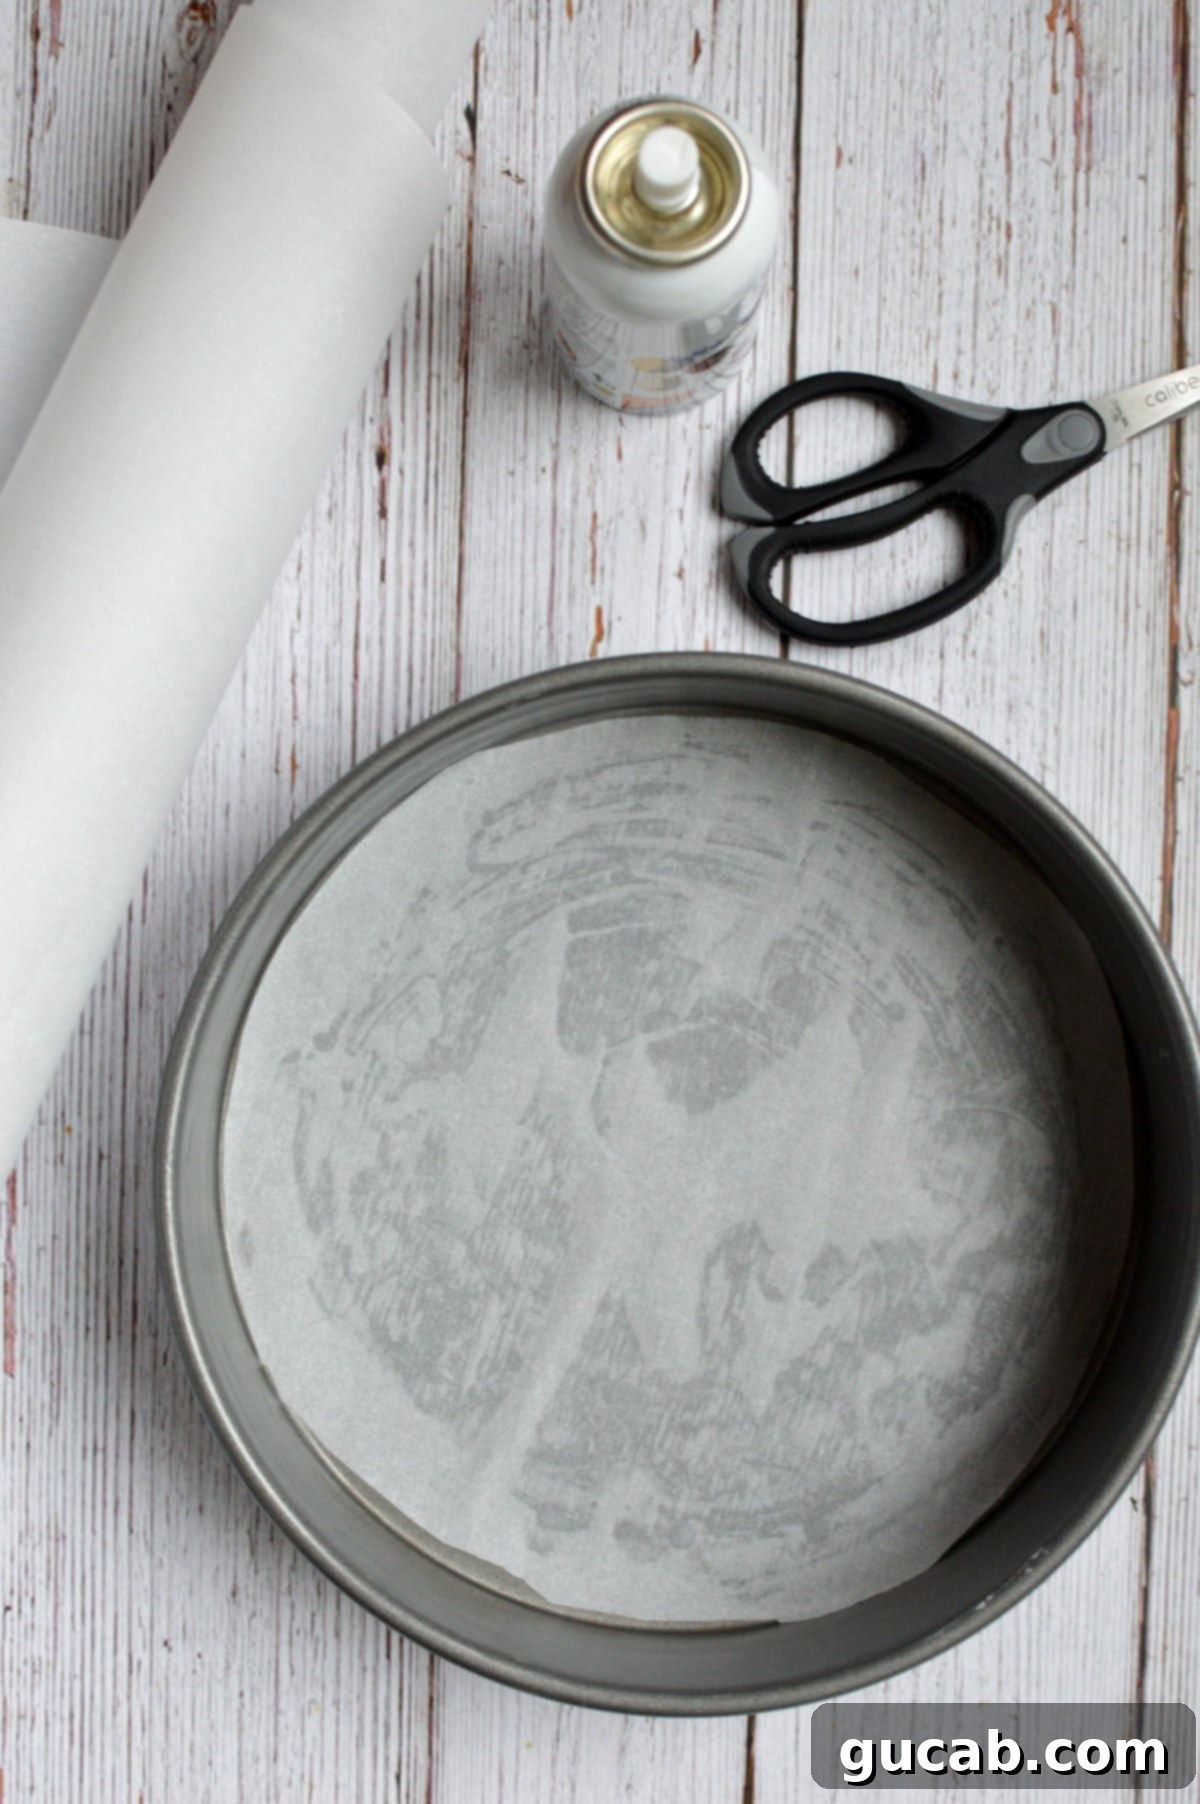
Start by thoroughly spraying your 8-inch cake pan with nonstick spray. This initial layer of protection is crucial. Next, take a piece of parchment paper and cut a round that is slightly smaller than the bottom of your pan. Place this parchment round at the bottom of the pan and then spray it again with nonstick spray. This double layer of nonstick and parchment paper is a vital step that will ensure your cookie cake releases effortlessly from the pan after baking, preventing any sticking or breakage. This technique is equally effective and highly recommended for traditional cakes as well, proving well worth the minimal extra effort for a flawless finish.
Once your pan is prepped, set it aside and preheat your oven to 350°F (175°C). Proper oven temperature is key for even baking.
Cream the Butter and Sugars to Perfection
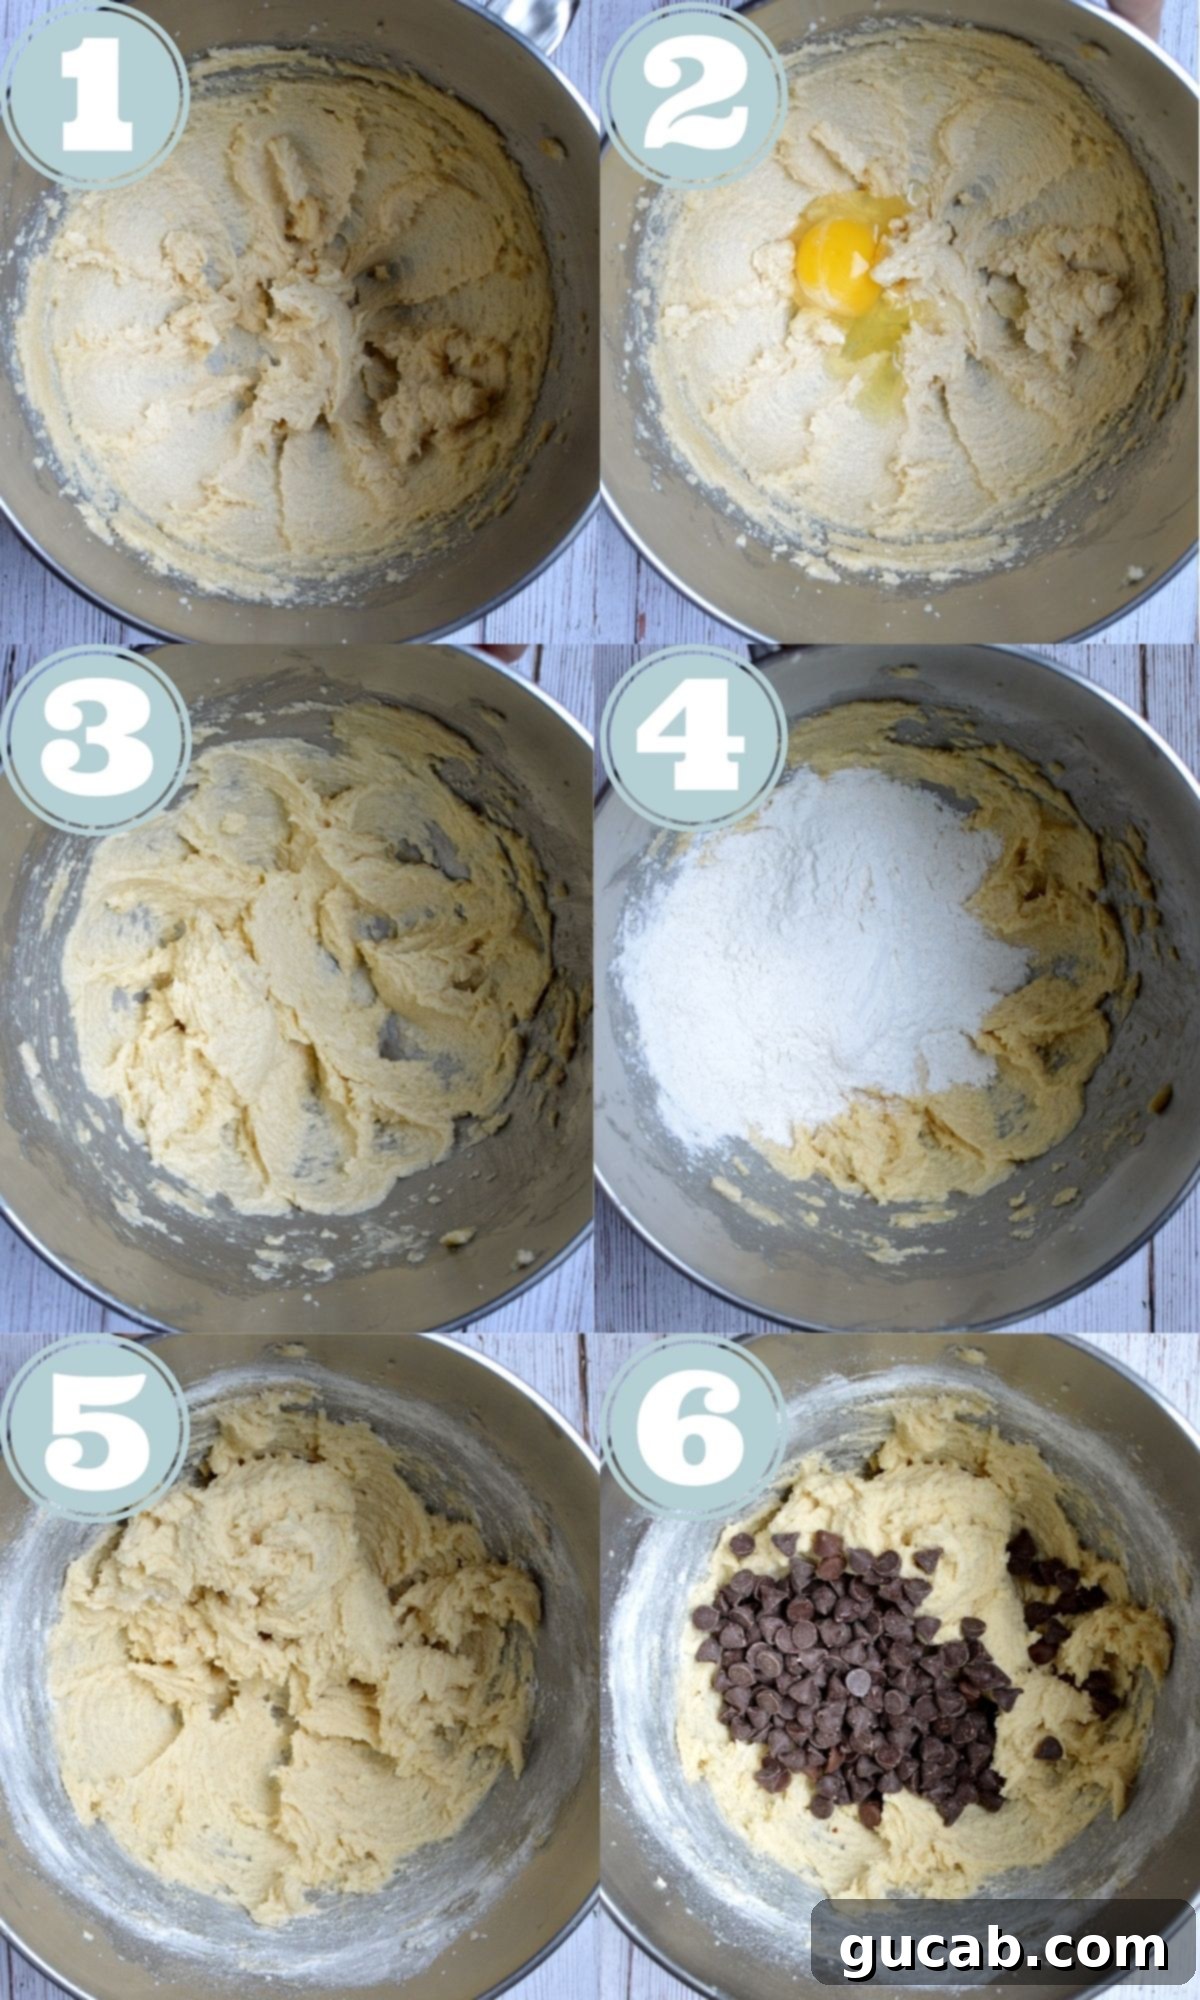
In the bowl of a stand mixer fitted with the paddle attachment, or using a large bowl and a hand mixer, combine the room temperature unsalted butter, granulated sugar, and brown sugar. Begin creaming these ingredients together on medium speed. The goal here is to incorporate air into the mixture, which contributes to the cake’s volume and tender texture. Continue to cream until the butter and sugars are light in color and notably fluffy in texture. This process typically takes about 3-5 minutes, depending on your mixer, and is essential for a light and airy cookie cake.
Incorporate the Egg
Once the butter and sugars are perfectly creamed, add the large egg to the mixture. Beat on medium speed until the egg is fully incorporated and the mixture is smooth. It’s important to ensure everything is well combined. After mixing, turn off your mixer and use a rubber spatula to scrape down the sides and bottom of the bowl. This ensures that all ingredients are thoroughly mixed and no dry pockets are left behind.
Add the Dry Ingredients for Dough Formation
Now, it’s time to introduce your dry ingredients. In a separate medium-sized bowl, measure out your gluten-free all-purpose flour, baking soda, and kosher salt. Use a small whisk or a fork to stir these ingredients together thoroughly. This step is crucial for ensuring that the baking soda and salt are evenly dispersed throughout the flour, preventing any concentrated pockets of leavening or salt in your finished cookie cake. Once combined, pour the dry mixture into your wet ingredients in the stand mixer. Beat on low speed until a cohesive cookie dough forms. Be careful not to overmix; stop as soon as the flour streaks disappear to avoid developing a tough texture.
Fold in the Chocolate Chips
With your cookie dough formed, it’s time for the star of the show: the chocolate chips! Add the full cup of semisweet chocolate chips to the dough. Turn your mixer on the lowest speed setting and mix just until the chocolate chips are evenly distributed throughout the dough. Mixing on low speed helps prevent the chocolate chips from breaking up too much and ensures they are nicely integrated without overworking the dough.
Spread Evenly and Bake to Golden Perfection
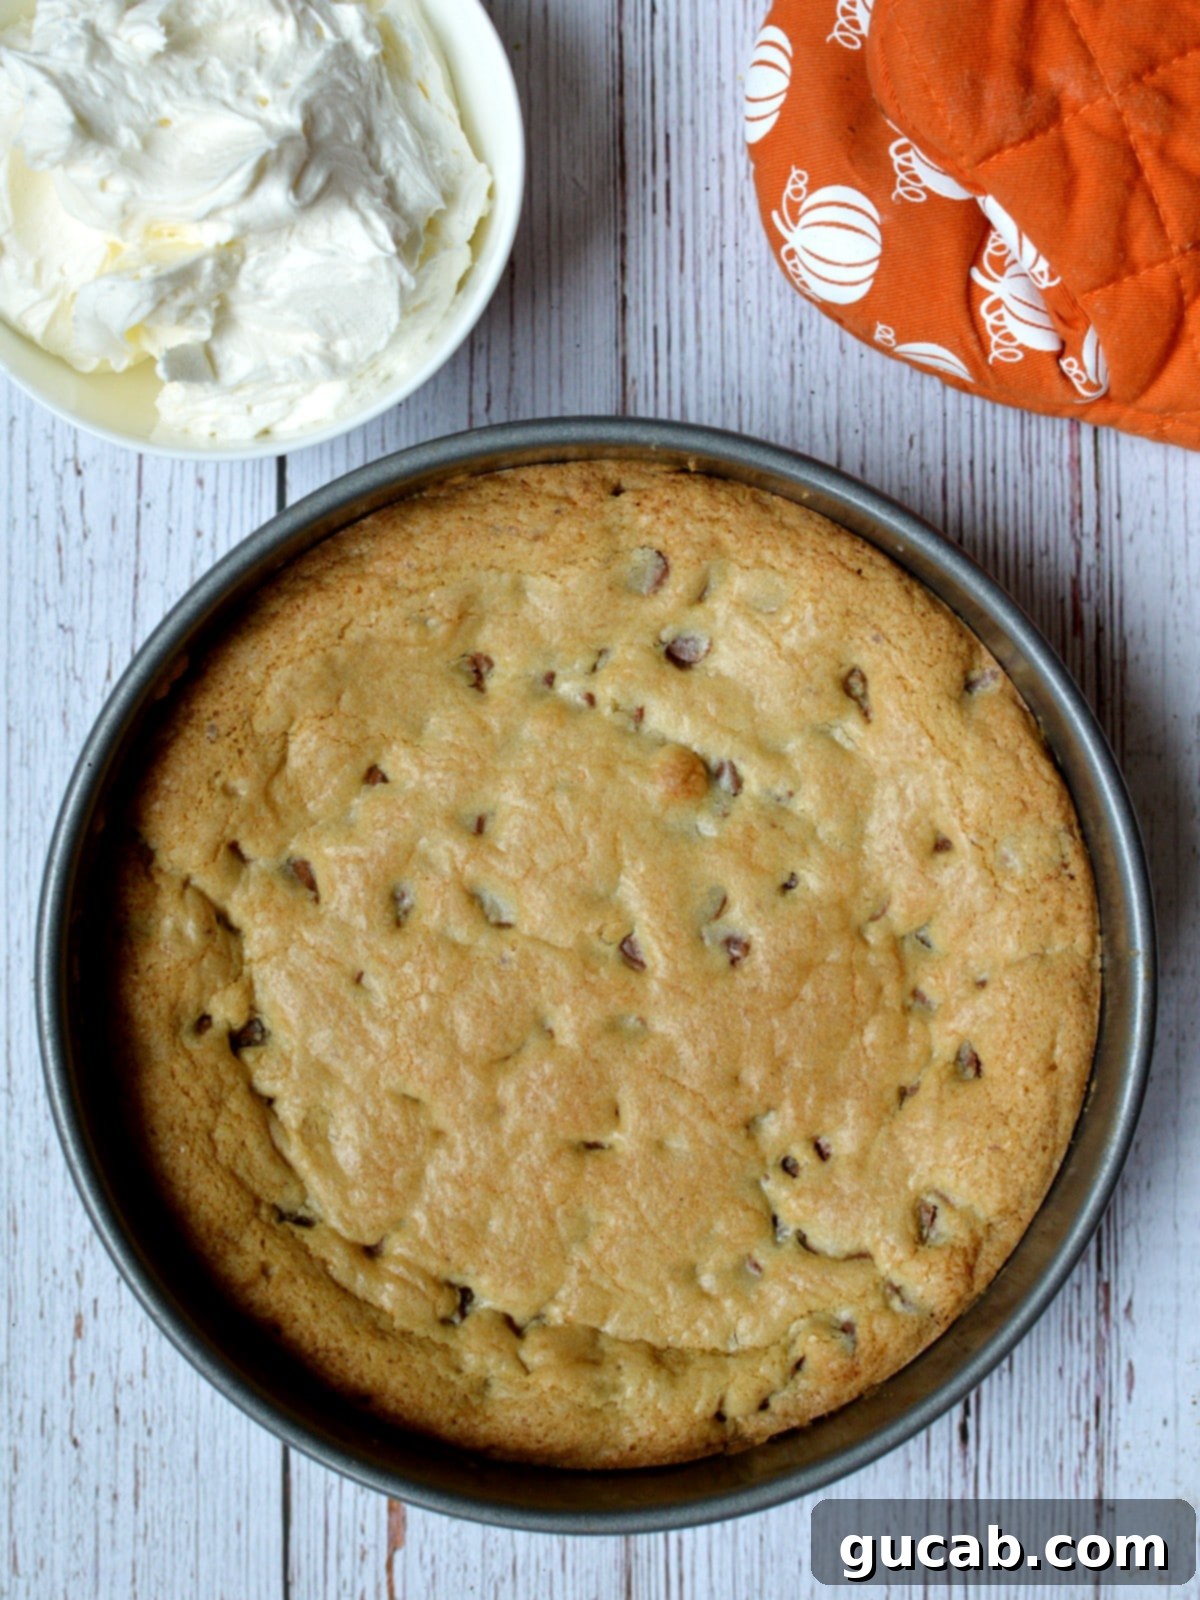
Using your spatula, carefully scrape the thick cookie dough into your prepared 8-inch cake pan. Take your time to spread the dough around evenly, pressing it gently into the pan so that it forms a uniform layer. This ensures that your cookie cake bakes evenly and has a consistent thickness across its surface. Once spread, place the pan into your preheated oven and bake for approximately 22 minutes. The cookie cake should appear set, golden-brown at the edges, and still slightly soft in the very center (it will continue to set as it cools). Once baked, remove it from the oven and let it cool completely on a wire rack before attempting to remove it from the pan or frost it.
Expert Guide: How to Safely Remove Your Cookie Cake from the Pan
You might be thinking, “How on earth do I get this glorious cookie out of the pan without it breaking apart?” It’s a common concern, but with the right technique, it’s actually quite straightforward and simple!
Step 1: Cool Down. First and foremost, resist the urge to remove the cookie cake while it’s hot. A warm cookie cake is still structurally fragile and will likely fall apart. Allow the big cookie to cool significantly in the pan until it’s only slightly warm to the touch. This cooling period is crucial for the cookie to set and firm up.
Step 2: Prepare for the Flip. Once cooled, place a large, flat cutting board or a sturdy plate upside down over the top of the cake pan. Ensure it covers the entire surface of the pan.
Step 3: The First Flip. While firmly holding the cake pan and the cutting board/plate together, carefully and confidently flip them over in one swift motion. The cookie cake should now be resting upside down on your cutting board, with the cake pan on top.
Step 4: Remove the Pan. Gently lift the cake pan straight up and away from the cookie. Thanks to the parchment paper and nonstick spray, the cookie cake should easily detach, leaving you with a perfectly intact (though upside down) cookie cake on your cutting board.
Step 5: The Second Flip for Presentation. Now, place your desired serving plate or platter upside down directly on top of the inverted cookie cake (the bottom of the serving plate should be facing you). Again, carefully hold the cutting board and the serving plate together, then flip them one more time. You’ll now have a beautifully presented, right-side-up gluten-free cookie cake on its serving platter, perfectly ready for frosting and decoration!
Alternative Method: Frost in the Pan. If you prefer to skip the flipping steps altogether, you can certainly wait for the cookie cake to cool completely inside the pan. Once cool, simply frost it directly in the pan, then slice and serve! This method is perfect for a more casual presentation and eliminates any worry about transferring the cake.
Expert Tips & Smart Substitutions for Your Gluten-Free Cookie Cake
Achieving cookie cake perfection, especially when baking gluten-free, often comes down to a few key details and smart choices. Keep these tips and substitution ideas in mind for the best possible results.
- Crucial Cooling Time for Frosting: This is arguably the most important tip: Always wait until your cookie cake is completely cool before applying any buttercream frosting. Butter is the primary component of buttercream, and if you attempt to spread it onto a warm cookie cake, it will instantly melt, transforming your beautiful frosting into a runny, buttery “buttercream soup.” Patience here will pay off immensely with a beautifully piped and stable frosting.
- Handle with Care: Never Attempt to Remove a Hot Cookie. Just like with frosting, the structural integrity of your cookie cake is at its weakest when it’s hot. Trying to remove it from the pan before it has fully cooled and set will almost guarantee that it will crack, crumble, or fall apart. Allow it to cool thoroughly in the pan on a wire rack to ensure it becomes firm enough to handle without damage.
- The Importance of Xanthan Gum in GF Flour: When selecting your gluten-free all-purpose flour, ensure it specifically states that it contains xanthan gum. If your chosen brand does not list xanthan gum as an ingredient, you will need to add about ½ teaspoon per cup of flour. Xanthan gum is a vital ingredient in gluten-free baking as it mimics the binding and elasticity properties of gluten, providing structure, preventing crumbling, and giving your baked goods a more conventional texture. Without it, your cookie cake might be too fragile and dry.
- Customize Your Icing Amount: The recipe provides a generous amount of buttercream, but remember, this is your cookie cake! You don’t have to use all of it. I personally enjoy a lighter touch of buttercream, typically just piped around the edges, letting the delicious cookie shine. If you prefer a thicker layer or want to cover the entire top, feel free to use more. Adjust the quantity to suit your personal preference.
- Room Temperature Ingredients Are Key: For both the cookie cake and the buttercream, using room temperature butter and eggs (and milk for the buttercream) is critical. Room temperature ingredients emulsify more effectively, creating a smoother, more uniform batter and a fluffier, more stable frosting. Plan ahead and take them out of the refrigerator an hour or two before you begin baking.
- Avoid Overmixing the Dough: Once you add the dry ingredients to the wet, mix just until the flour is incorporated and no dry streaks remain. Overmixing can lead to a tough cookie cake texture, even with gluten-free flour.
- Check Your Oven Temperature: Ovens can sometimes run hot or cold. If you frequently bake, consider investing in an oven thermometer to ensure your oven is truly at the temperature you set. An accurately calibrated oven is essential for consistent baking results and prevents over or under-baked treats.
- Quality Chocolate Matters: Using good quality chocolate chips or chopped chocolate will significantly enhance the flavor of your cookie cake. Choose a brand you love, as the chocolate flavor will be prominent.
How Do I Decorate My Gluten-Free Cookie Cake?
One of the most enjoyable aspects of making a cookie cake is the decorating! The beauty of this dessert is that it can be as simple or as elaborate as you desire. Here’s a guide to decorating your masterpiece:
Simple & Rustic: If you prefer a minimalist approach, simply use an offset spatula to spread a generous layer of buttercream across the top of your cooled cookie cake. You can leave the edges neat or create a lovely rustic swirl with your spatula. This method is quick, easy, and still looks absolutely delicious.
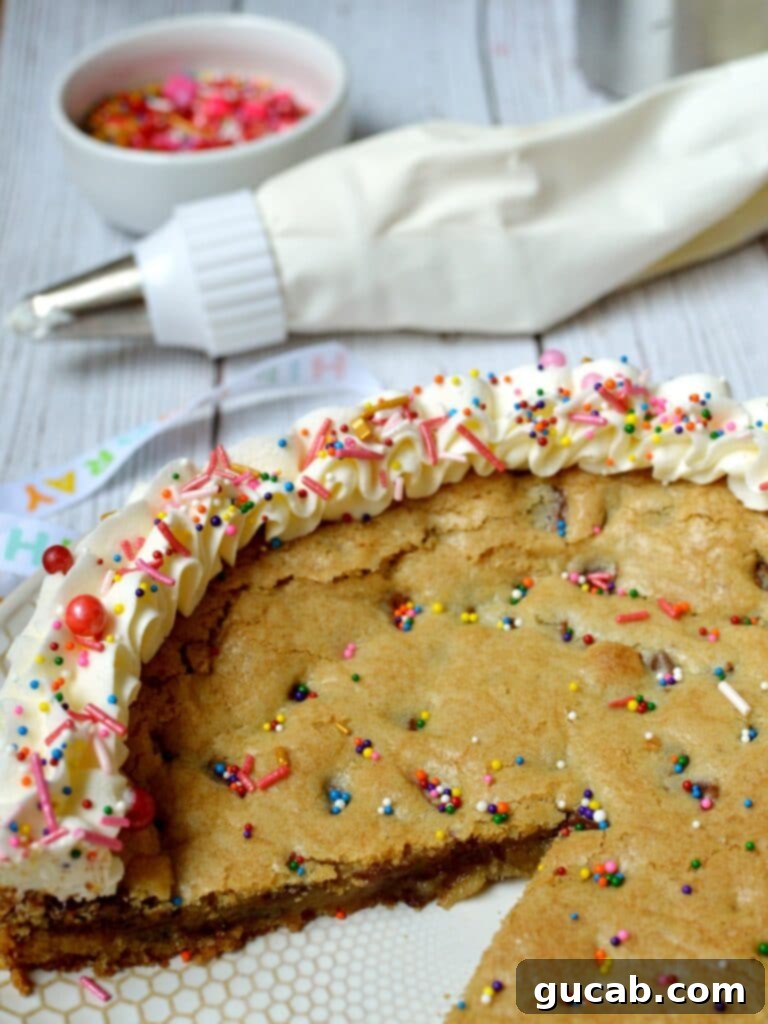
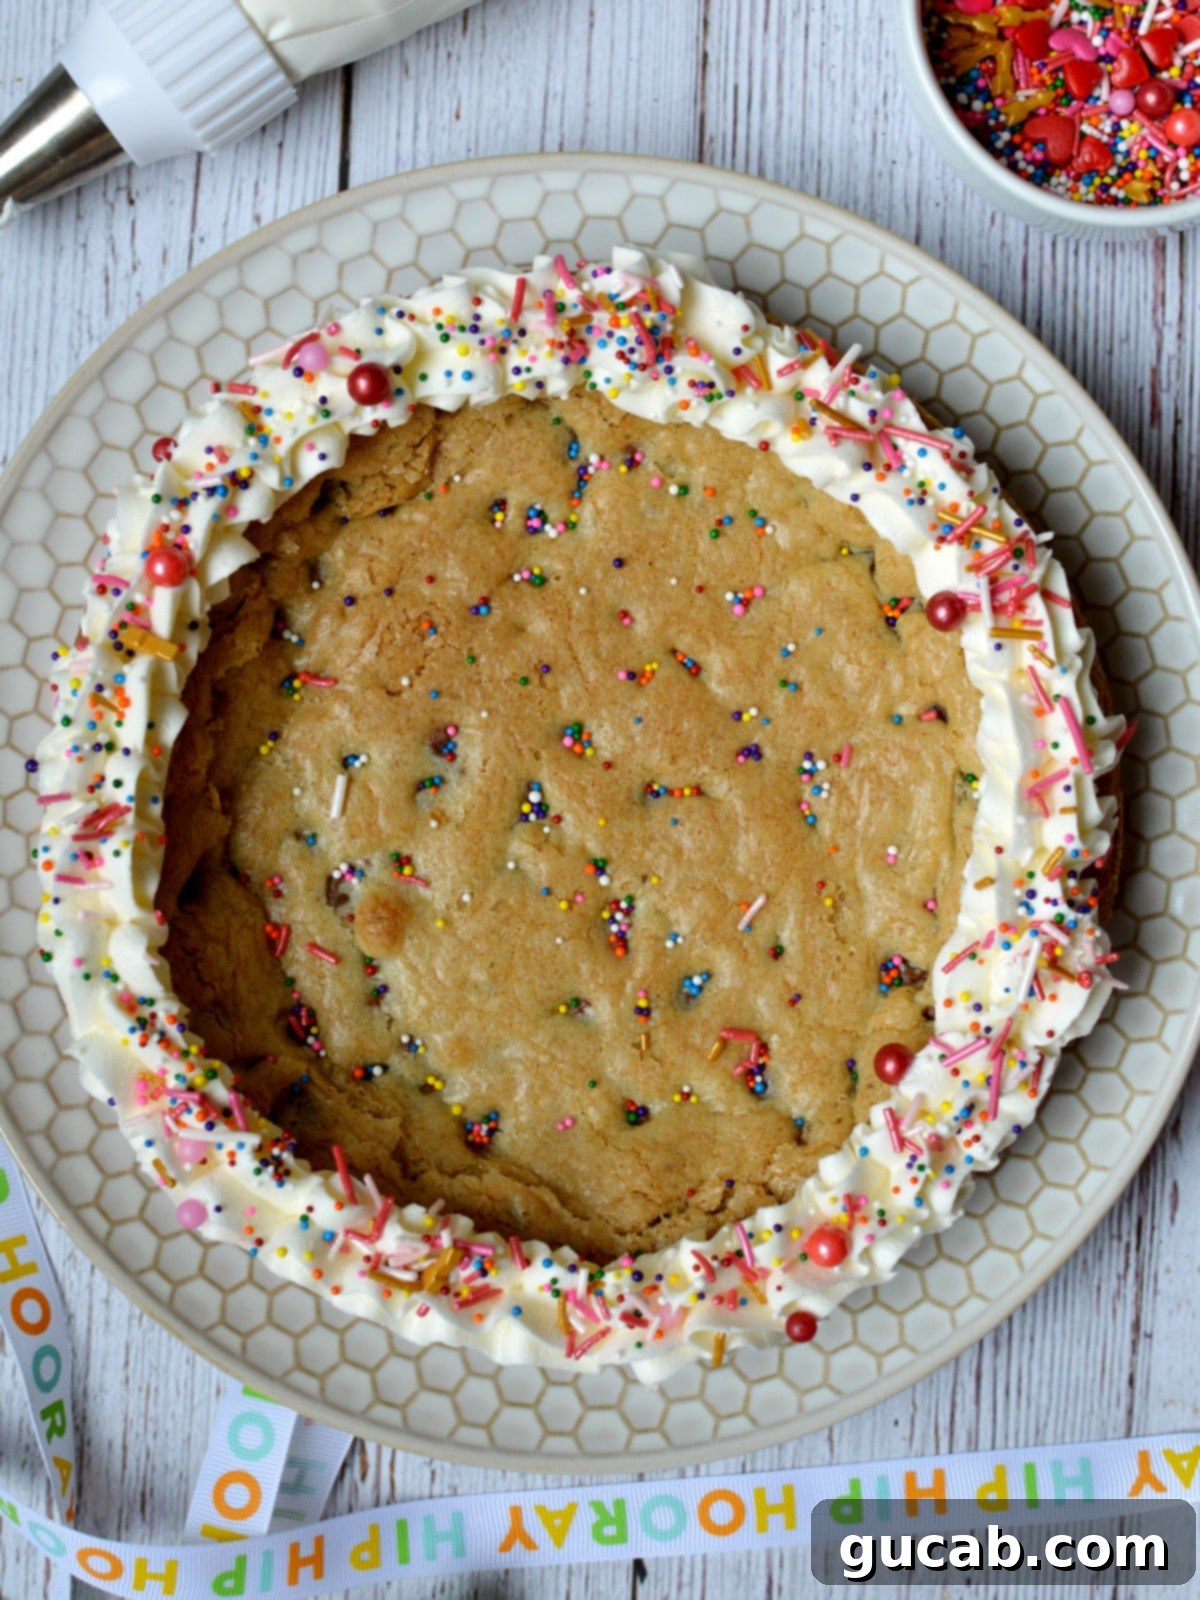
Elegant Piping: For those who love a more polished look, piping buttercream is a fantastic option. You can create beautiful borders, swirls, or even write messages. If you’re new to piping, don’t fret! YouTube is an excellent resource for easy buttercream piping tutorials. Look for videos that demonstrate basic techniques like using a star tip for decorative borders or a round tip for simple dots or writing. It’s a skill that improves with practice, and even beginners can achieve charming results.
Essential Decorating Supplies: You can find all the necessary supplies at your local craft store or baking supply shop. This includes piping bags (I highly recommend disposable ones for easy cleanup – reusable ones can be a hassle!), various piping tips (a star tip like a Wilton 1M or a simple round tip are great starting points), and gel food coloring if you want to tint your buttercream. Gel colors provide vibrant hues without thinning your frosting.
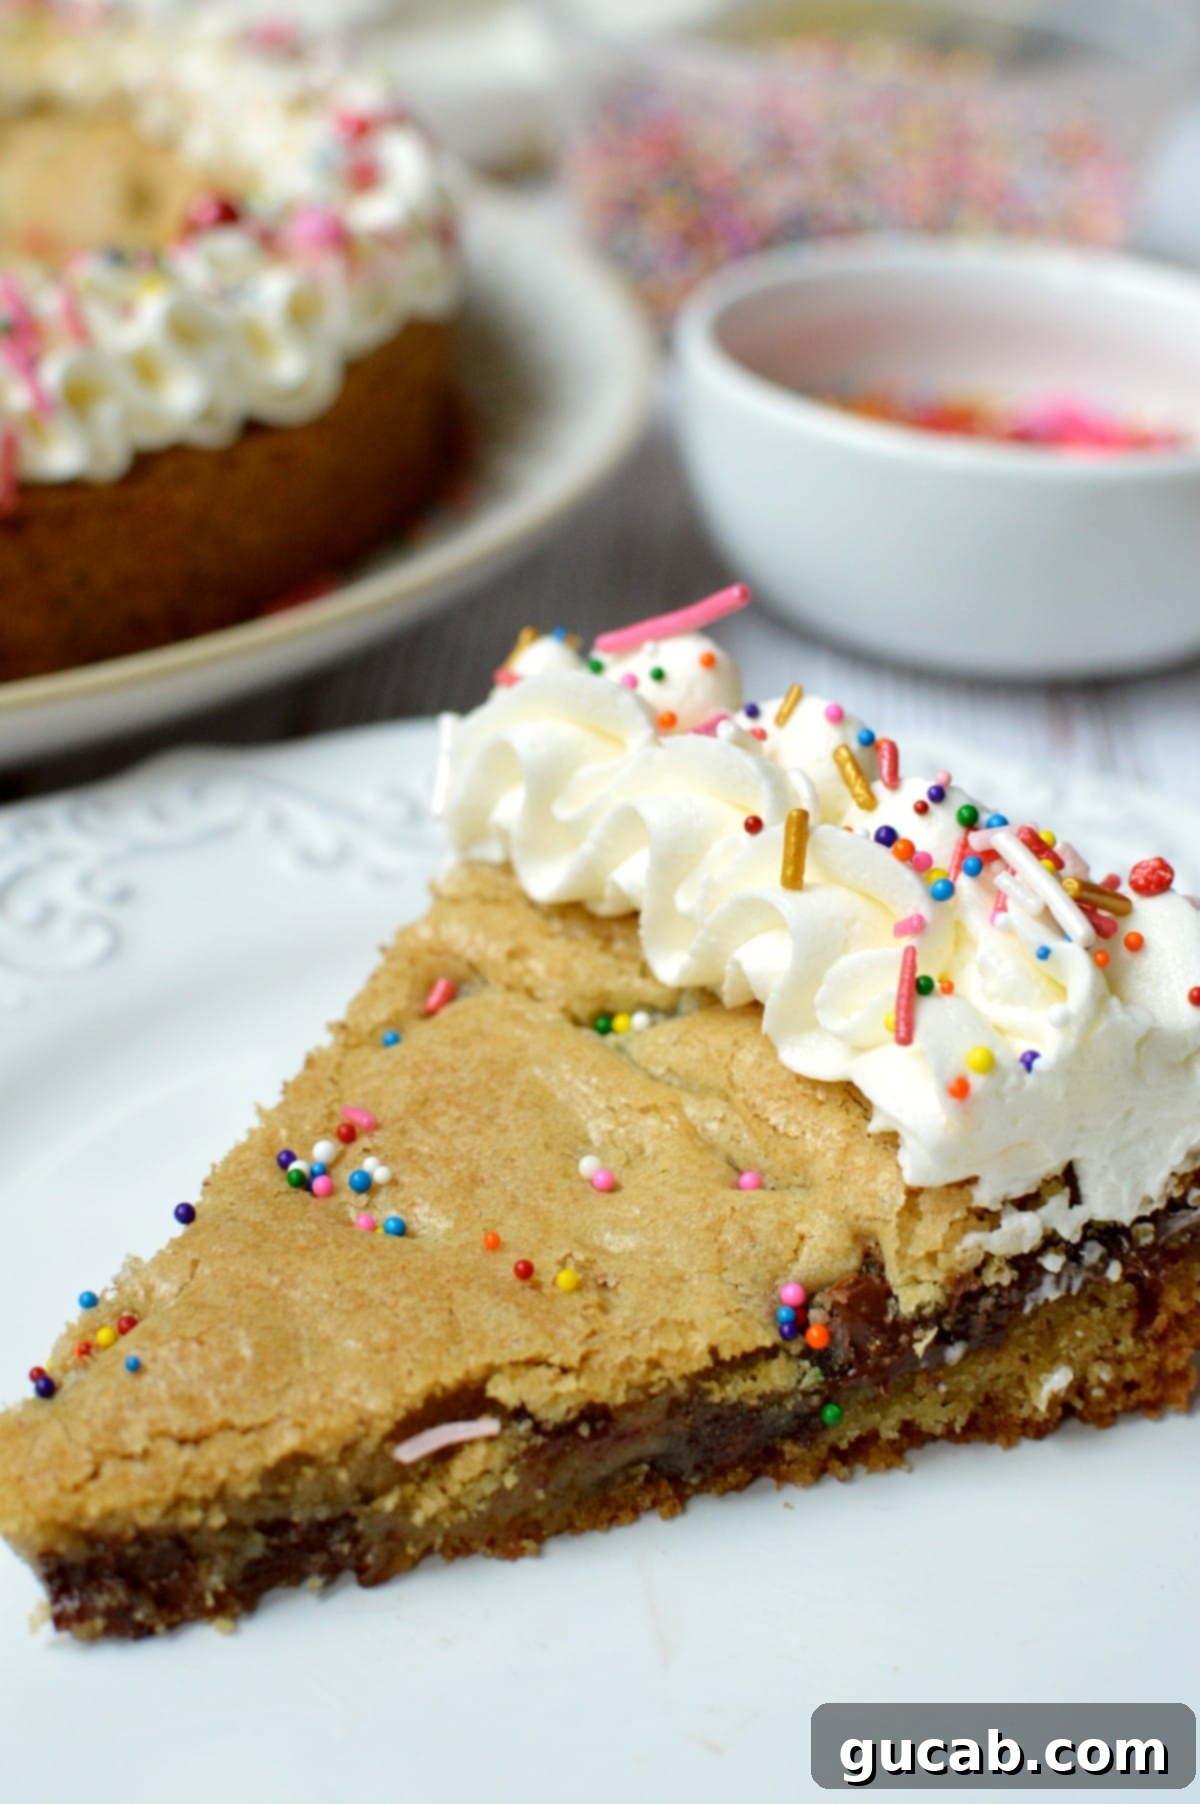
The Magic of Sprinkles: This is where the real fun begins! Once your buttercream is on, shower your cookie cake with an abundance of colorful sprinkles. Jimmies, nonpareils, confetti, or even themed sprinkles for holidays can instantly transform your cookie cake into a festive masterpiece. Here’s a little secret: even if your piping skills aren’t perfect, a generous amount of sprinkles can miraculously hide any imperfections, making your cookie cake look absolutely amazing and irresistible!
Get Creative: Don’t limit yourself to just sprinkles! Consider adding extra chocolate chips, chopped candy bars, or fresh berries for an added burst of flavor and visual appeal. This cookie cake is a blank canvas for your culinary creativity!
Other Delicious Gluten-Free Cookie Recipes You Might Enjoy
If you loved this gluten-free cookie cake, you’ll be thrilled to discover more delightful gluten-free cookie recipes from our collection. Expand your baking repertoire with these irresistible treats:
- Gluten Free Funfetti Sugar Cookies
- Gluten Free M&M Cookies
- Gluten Free Chocolate Chip Cookies
- Gluten Free Cowboy Cookies
- Gluten Free Snowball Cookies
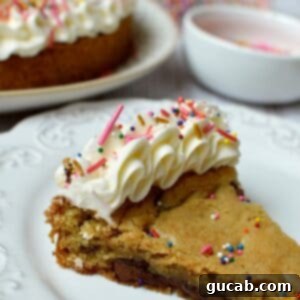
Gluten Free Cookie Cake
Carolyn
Pin Recipe
Equipment
-
Stand Mixer with the Paddle Attachment
-
8 inch cake pan
-
Medium sized bowl
-
Measuring cups
-
Measuring spoons
-
Spatula
-
Parchment paper
-
Piping bag with tips (optional for decorating)
Ingredients
- ½ cup unsalted butter, room temperature
- ⅓ cup granulated sugar
- ⅓ cup brown sugar
- 1 large egg
- 1 cup Bob’s Red Mill 1:1 Gluten Free All Purpose Flour or a gluten-free all-purpose flour that contains xanthan gum
- ½ teaspoon baking soda
- ¼ teaspoon kosher salt
- 1 cup semisweet chocolate chips
For the buttercream:
- ½ cup unsalted butter, room temperature
- 1 ¾ cup powdered sugar
- 1 tbsp whole milk
- 1 teaspoon vanilla extract
Instructions
-
Preheat the oven to 350 degrees Fahrenheit (175°C). Spray an 8-inch cake pan with nonstick spray then set aside. Cut a circle out of parchment paper slightly smaller than the inside of the pan. Place it in the bottom of the pan and spray with nonstick spray again. This ensures easy release.
-
In the bowl of a stand mixer fitted with the paddle attachment, cream together the butter, granulated sugar, and brown sugar on medium speed until light and fluffy—about 5 minutes. Add the large egg and beat again until fully incorporated. Turn off the mixer and scrape down the sides of the bowl with a spatula to ensure all ingredients are mixed.
-
In a separate medium bowl, combine the gluten-free flour blend, baking soda, and kosher salt. Stir with a small whisk or fork to ensure even distribution, then pour the flour mixture into the butter and egg mixture in the stand mixer. Beat on low speed until a cohesive cookie dough forms and no dry streaks remain. Be careful not to overmix.
-
Add the semisweet chocolate chips to the cookie dough. Turn the mixer on low speed and mix just until the chips are evenly dispersed throughout the batter.
-
Scrape the cookie dough into the greased cake pan and use a spatula to spread it evenly throughout the pan. Bake for 22 minutes, or until the edges are golden brown and the center is mostly set. Let the cookie cake cool completely in the pan on a wire rack before attempting to remove it or apply any frosting.
For the buttercream:
-
In the bowl of your stand mixer (or using a hand mixer), cream the room temperature butter and ½ cup of the powdered sugar together for 3 minutes on medium speed until light and fluffy.
-
Gradually add an additional 1 ¼ cups of powdered sugar and beat for 3 more minutes on medium speed. Stop the mixer halfway through and scrape down the sides of the bowl with a spatula to ensure all sugar is incorporated.
-
Add the whole milk and vanilla extract, then beat for 1 more minute, scraping the bowl if necessary, until the buttercream is smooth and reaches your desired consistency.
-
Once the cookie cake is completely cooled, scrape the buttercream into a piping bag fitted with your desired tip (or use a spatula for spreading) and decorate the cooled cookie cake as desired. Top with festive sprinkles!
Nutrition
