The Ultimate Guide to Perfectly Moist & Fluffy Gluten-Free Red Velvet Cupcakes with Cream Cheese Frosting
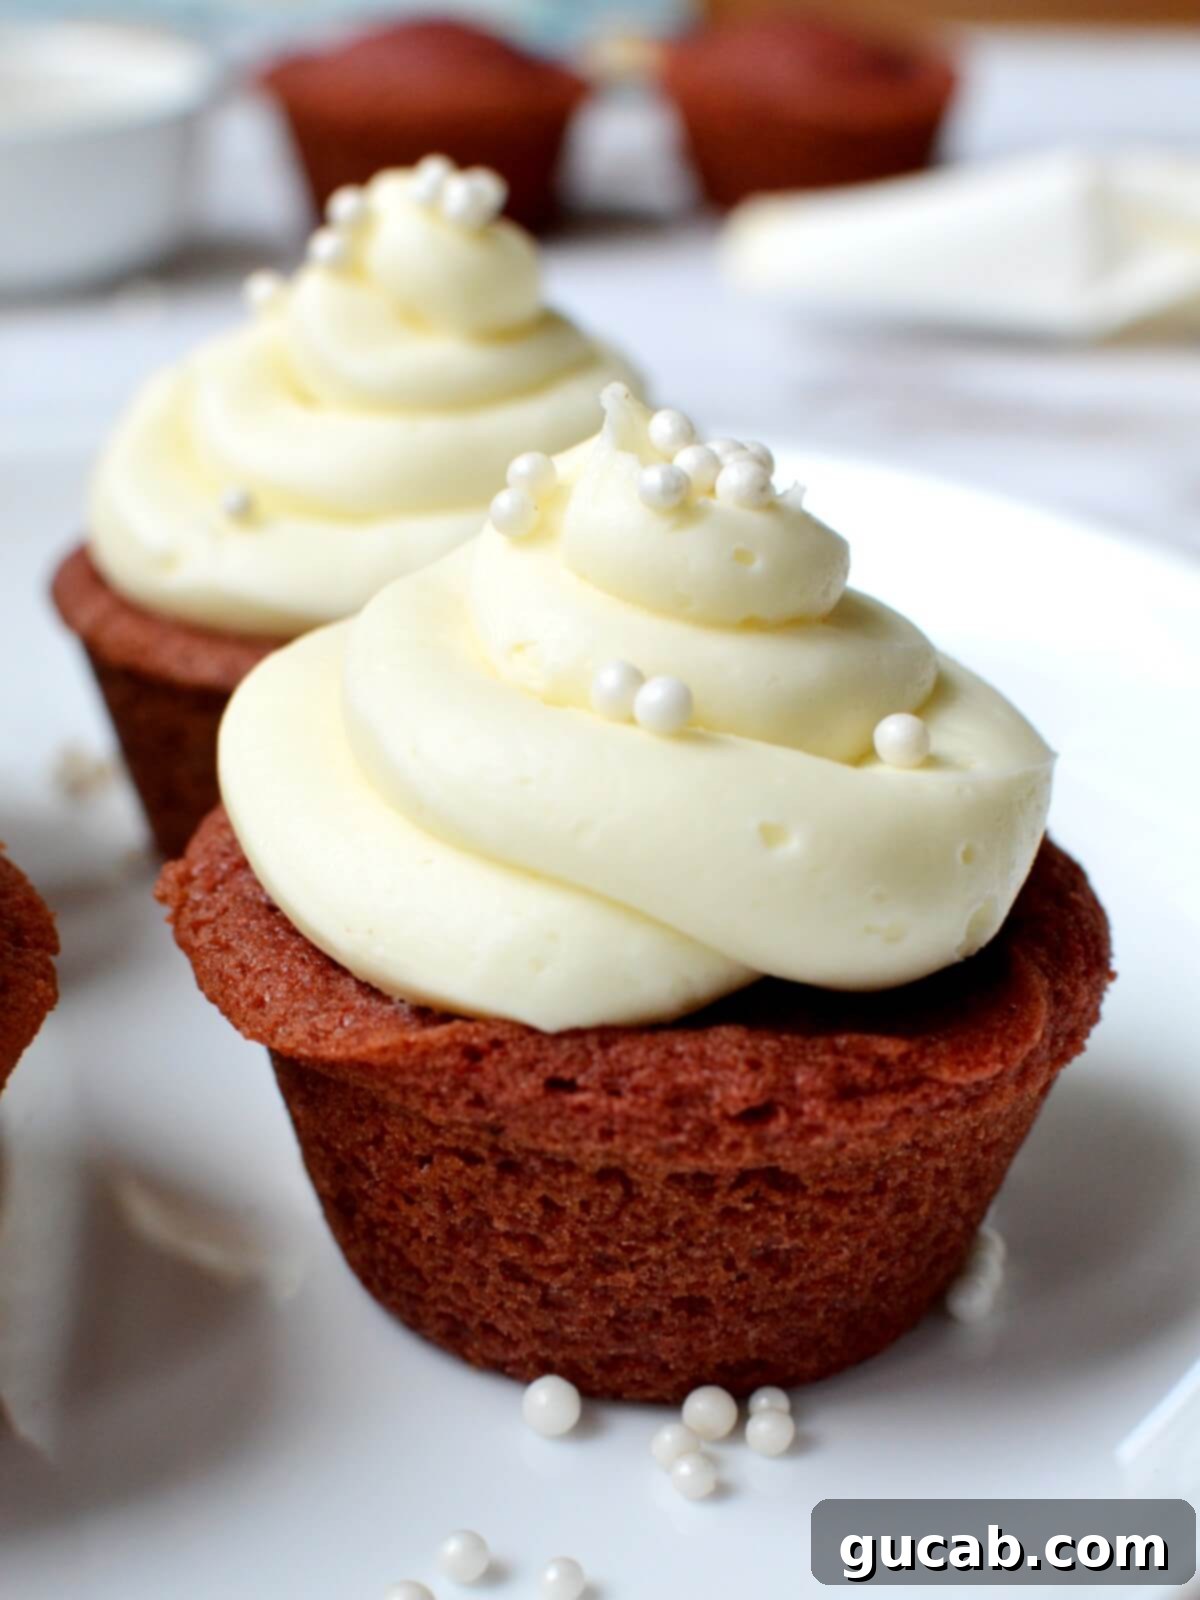
Indulge in the luxurious taste of these incredible gluten-free red velvet cupcakes. Each bite offers a delightful combination of moist, light, and wonderfully fluffy cake, perfectly complemented by a generous swirl of rich, tangy cream cheese frosting. This classic treat, now made entirely gluten-free, promises to be a showstopper for any gathering or a delightful personal indulgence. Say goodbye to dense, dry gluten-free baked goods and hello to pure, velvety perfection!

Red velvet cupcakes are a true American classic, distinct from a simple vanilla cupcake. They boast a unique flavor profile thanks to a subtle hint of cocoa powder and that unmistakable vibrant red hue. What truly sets them apart is the clever use of buttermilk and vinegar, which react with baking soda to create an incredibly light, airy, and tender crumb. This chemical reaction is key to achieving their signature fluffy texture.
But what’s a red velvet cupcake without its signature topping? These decadent treats are crowned with a luscious cream cheese frosting, a match made in heaven that many consider even better than peanut butter and jelly. The tangy, sweet, and ultra-creamy frosting provides the perfect counterpoint to the rich, cocoa-infused cake, elevating the entire experience.
Disclosure: This post contains affiliate links. In other words, if you click a link and purchase something I will receive a commission at no cost to you. I only recommend products I use and enjoy myself.
Why These Gluten-Free Red Velvet Cupcakes Are Simply Irresistible
Crafting the perfect gluten-free cupcake can sometimes be a challenge, but this recipe has been meticulously developed to ensure an outstanding result every time. Here’s what makes these specific red velvet cupcakes truly exceptional:
- Unbelievably Light and Fluffy Texture: No one wants a dense, heavy cupcake. While there’s a time and place for fudgy brownies or rich flourless cakes, cupcakes should embody airiness. This recipe achieves that coveted light and fluffy texture, ensuring each bite is melt-in-your-mouth delicious and far from rubbery or brick-like. The balance of leavening agents with the acidity of buttermilk and vinegar is crucial here, making for a beautifully delicate crumb.
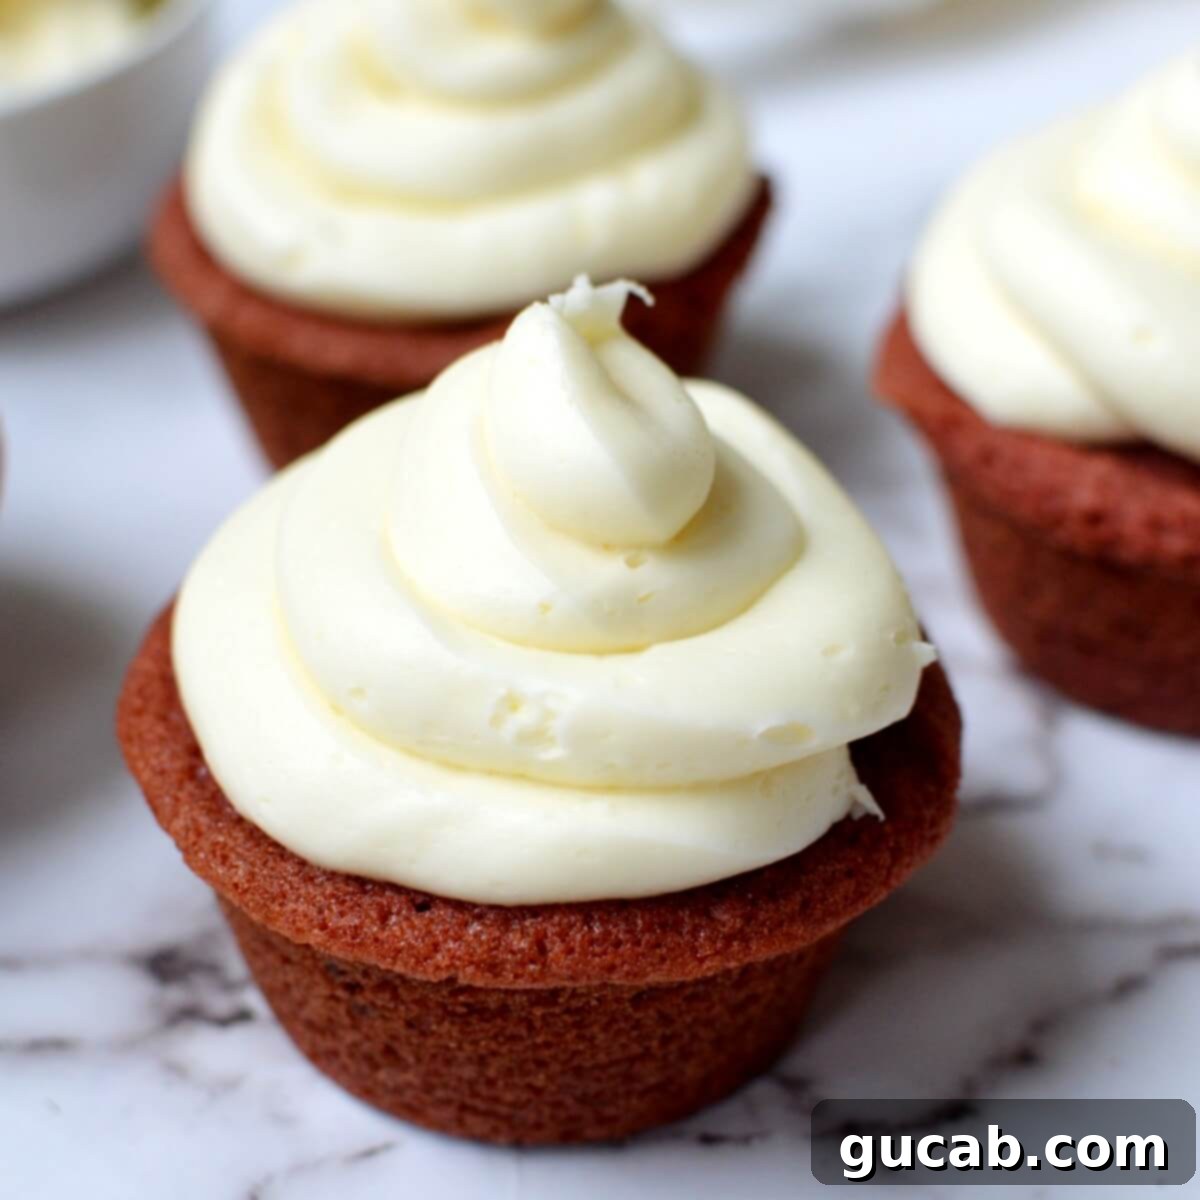
- The Cream Cheese Frosting is a Dream!: Our homemade cream cheese frosting is anything but cloyingly sweet. It strikes the perfect balance of tangy, sweet, and utterly creamy, designed to complement the red velvet cake without overpowering it. This frosting isn’t just an afterthought; it’s an integral part of the red velvet experience, delivering a rich and luxurious finish that will have you licking the spoon. Forget overly sugary frostings; this one is pure bliss.
- Remarkably Easy to Make: Don’t let the “gluten-free” aspect intimidate you! This recipe is surprisingly straightforward and doesn’t even require a stand mixer. All you need are a large bowl and a spatula, making cleanup a breeze and the baking process stress-free. While I adore my stand mixer for many tasks, the simplicity of this recipe means you can whip up these delicious treats without pulling out heavy equipment, perfect for spontaneous baking sessions.
- Perfect for Any Occasion: From festive holiday gatherings to casual afternoon treats, these gluten-free red velvet cupcakes fit every bill. Their striking appearance and delightful flavor make them a beloved choice for birthdays, parties, or simply to brighten a gloomy day. Knowing they are gluten-free means everyone can enjoy them without worry!

Key Ingredients for Gluten-Free Red Velvet Perfection
Understanding the role of each ingredient is essential for successful baking, especially when working with gluten-free flours. Here’s a closer look at what you’ll need and why:
- Unsalted Butter: Melted and cooled, butter contributes a rich, classic flavor and helps achieve a tender crumb. Using unsalted butter allows you to control the total salt content in the recipe.
- Vegetable Oil: The secret to truly moist cupcakes! Oil remains liquid at room temperature, ensuring the cupcakes stay soft and moist for longer, even when cooled. It complements the butter, providing a perfect balance of flavor and texture.
- Granulated Sugar: Sweetness is obvious, but sugar also plays a vital role in moisture retention and contributes to the cake’s structure and browning.
- Eggs: Eggs act as a binder, provide structure, add richness, and help with leavening, contributing to the overall rise and texture of the cupcakes.
- Bob’s Red Mill 1:1 All Purpose Gluten-Free Flour: This is my go-to gluten-free flour blend for most baked goods, and for good reason! It consistently delivers an excellent texture and taste, virtually indistinguishable from traditional wheat flour. You won’t find any grittiness or off-flavors, which is crucial for a delicious gluten-free red velvet cupcake. Its balanced blend of rice flours, starches, and xanthan gum ensures consistent results.
- Cocoa Powder: For that characteristic red velvet flavor, a small amount of unsweetened cocoa powder is essential. It provides a subtle chocolatey depth that perfectly complements the red hue without making the cupcakes taste like chocolate cake.
- Baking Soda: This alkaline ingredient is activated by the acidic buttermilk and vinegar, creating carbon dioxide bubbles that expand during baking. This reaction is fundamental to achieving the light and fluffy texture of red velvet.
- Baking Powder: Working alongside baking soda, baking powder provides additional lift, ensuring a beautiful dome on your cupcakes and an extra airy crumb.
- Kosher Salt: A pinch of salt enhances all the other flavors in the cupcake, balancing the sweetness and bringing out the subtle cocoa notes. Don’t skip it!
- Buttermilk: A cornerstone of red velvet! Its acidity reacts with the baking soda for leavening, and it also contributes to the cake’s tender texture and unique tang.
- Greek Yogurt: This adds extra moisture and richness, and its acidity further aids in creating a tender, flavorful crumb. It’s a wonderful addition to achieve that perfect red velvet texture.
- Apple Cider Vinegar: Another acidic component that works with baking soda to create that signature lift and tender texture. It also helps to enhance the red color.
- Red Food Coloring: For that iconic vibrant red color! Gel food coloring is highly recommended for the best, most intense hue without watering down your batter.
And of course, if you plan to make my dreamy cream cheese frosting for these gluten-free red velvet cupcakes (and I wholeheartedly recommend you do!), you will also need confectioners’ sugar (powdered sugar), more unsalted butter, and the star ingredient: cream cheese! These simple additions will transform your cupcakes into an utterly divine dessert experience.
Expert Tips & Essential Recommendations for Perfect Gluten-Free Red Velvet Cupcakes
Even the simplest recipes benefit from a few insider tips. Follow these recommendations to ensure your gluten-free red velvet cupcakes turn out absolutely perfect every time:
- Always Use Cupcake Liners: This might seem obvious, but using good quality cupcake liners is a game-changer. They prevent the cupcakes from sticking to the pan, ensuring easy removal and preserving the integrity of your beautifully baked treats. The last thing you want is to lose the bottom of your gorgeous cupcake when trying to pry it out of the pan! Plus, they make serving a breeze.
- Opt for Gel Food Coloring: When it comes to achieving that vibrant, deep red color, gel food coloring is your best friend. Unlike liquid food coloring, gel colors are highly concentrated, meaning you need less to get an intense hue. This is crucial because it won’t add excess moisture to your batter, which could throw off the delicate balance of ingredients in gluten-free baking. You can find gel food coloring in a wide array of shades (hello, super red!) at any craft store or even in the baking aisle of larger supermarkets. If your cupcakes aren’t super bright, it’s often due to running out of gel or using liquid instead.
- Enjoy Them Fresh, or Freeze for Later: Unfortunately, cupcakes, like many baked goods, tend to dry out fairly quickly, especially gluten-free ones. For the absolute best taste and texture, I highly recommend eating these red velvet beauties the day they’re made. If you have leftovers or want to bake ahead, freezing is an excellent option. Wrap cooled, unfrosted cupcakes individually in plastic wrap, then place them in an airtight container or freezer bag. They can be frozen for up to 3 months. Thaw them at room temperature before frosting and serving.
- Measure Flour Accurately: In gluten-free baking, precision is key. Always spoon and level your flour, or better yet, use a kitchen scale to measure by weight. Too much flour can lead to dry, dense cupcakes, while too little can result in a crumbly texture.
- Do Not Overmix the Batter: Once you’ve added the dry ingredients to the wet, mix *just until* a smooth batter forms. Overmixing can develop any gluten proteins present (even in gluten-free flour blends, which can sometimes contain a tiny amount of wheat starch, or more commonly, can negatively impact the starch structure in GF flours), leading to tough, less tender cupcakes. Gentle mixing ensures a light and fluffy result.
- Cool Completely Before Frosting: This is a non-negotiable step! Frosting warm cupcakes will cause your beautiful cream cheese frosting to melt and slide right off, creating a messy situation. Patience is a virtue here; allow your cupcakes to cool completely on a wire rack before applying any frosting.
More Delicious Gluten-Free Cake & Cupcake Recipes to Try:
If you love these gluten-free red velvet cupcakes, be sure to explore more of our delightful gluten-free baking recipes:
- Gluten Free Funfetti Cupcakes: Bursting with colorful sprinkles, these are perfect for celebrations!
- Gluten Free Vanilla Cupcakes: A timeless classic that’s always a crowd-pleaser.
- Gluten Free Pumpkin Cupcakes with Cinnamon Maple Frosting: A cozy and flavorful treat for autumn.
- Soft Gluten Free Chocolate Cupcakes: Rich, decadent, and incredibly satisfying for chocolate lovers.

Gluten Free Red Velvet Cupcakes
Carolyn
Pin Recipe
Equipment
-
Large Bowl
-
Muffin Pan
-
Whisk
-
Spatula
Ingredients
- ½ cup Unsalted butter, melted but cool
- ¼ cup Vegetable oil
- ¾ cup + 2 tbsp Sugar
- 2 Eggs
- 1 ½ cup + 1 tbsp Bob’s Red Mill 1:1 All Purpose Gluten-Free Flour
- 1 tbsp Unsweetened Cocoa powder
- 1 t. Baking soda
- 1 t. Baking powder
- ¼ t. Kosher salt
- ½ cup Buttermilk
- ¼ cup Greek yogurt
- 1 t. Apple cider vinegar
- Red gel food coloring
- Cream cheese frosting (homemade or store-bought)
Instructions
-
Preheat your oven to 350 degrees Fahrenheit (175°C). Prepare a 12-cup muffin pan by spraying it with nonstick cooking spray or lining it with paper cupcake liners. Set the prepared pan aside.
-
In a medium-sized bowl, whisk together the Bob’s Red Mill gluten-free flour, baking soda, baking powder, kosher salt, and cocoa powder until well combined. In a separate liquid measuring cup, combine the buttermilk, Greek yogurt, and apple cider vinegar.
-
In a large mixing bowl, combine the melted and cooled unsalted butter, vegetable oil, and granulated sugar. Stir these ingredients together thoroughly with a spatula until well blended. Add one egg, stirring until it is fully incorporated into the mixture. Then, add the second egg and repeat the process, ensuring it’s completely mixed in.
-
Add half of the dry flour mixture to the wet egg mixture in the large bowl and stir gently with your spatula until just incorporated. Next, pour in all of the buttermilk mixture and stir until combined. Finally, add the remaining half of the dry ingredients and continue to stir just until a smooth batter forms. Be careful not to overmix. Stir in your desired amount of red gel food coloring until you achieve a vibrant red hue.
-
Evenly distribute the prepared batter among the 12 cupcake molds, filling each about ¾ of the way full. This ensures they bake evenly and don’t overflow.
-
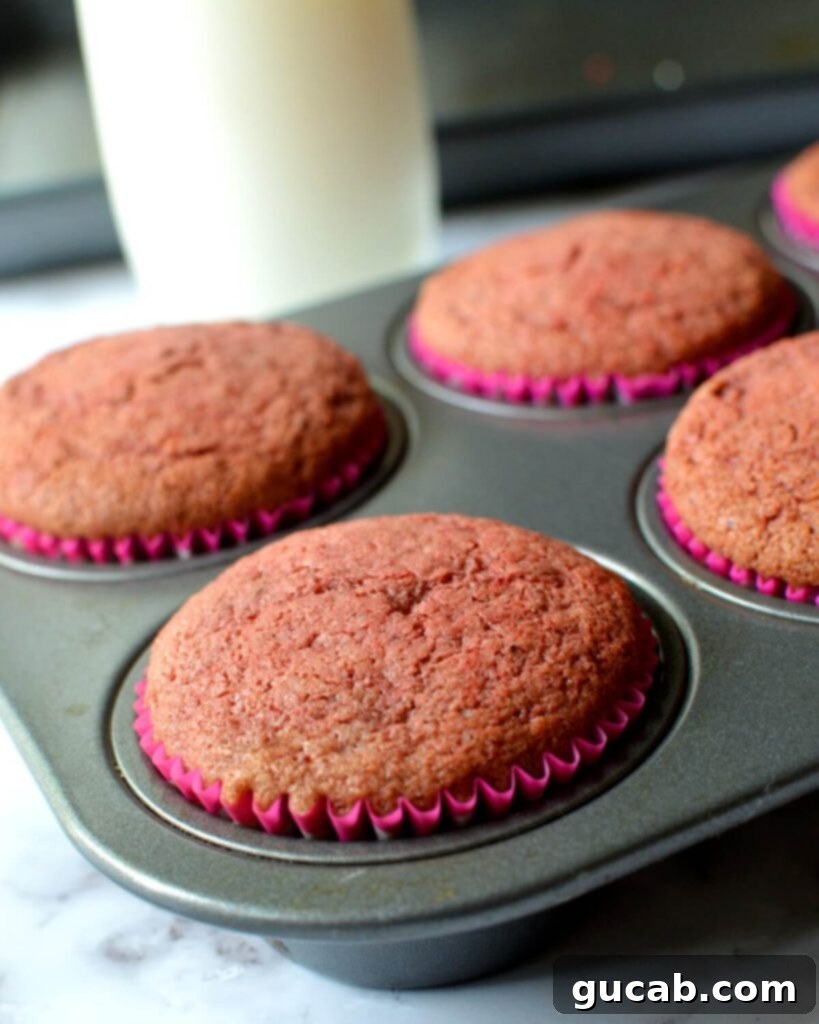
Bake for 18 to 20 minutes, or until a toothpick inserted into the center of a cupcake comes out clean. Baking times can vary, so keep an eye on them towards the end.
-
Once baked, transfer the muffin pan to a wire rack and allow the cupcakes to cool in the pan for a few minutes before carefully removing them to cool completely on the wire rack. It is crucial that the cupcakes are entirely cool before you apply any frosting.
Notes
Frequently Asked Questions (FAQs) about Gluten-Free Red Velvet Cupcakes
We understand you might have some questions about baking these delightful gluten-free red velvet cupcakes. Here are answers to some common queries:
What makes red velvet “red”?
Traditionally, the reddish-brown color in red velvet cake was a result of the chemical reaction between acidic ingredients (like buttermilk and vinegar) and natural cocoa powder, which at the time had higher anthocyanin content. Modern cocoa powders are often Dutch-processed, reducing this natural reaction. Therefore, red food coloring, particularly gel food coloring, is now commonly used to achieve the iconic vibrant red hue.
Can I make these red velvet cupcakes dairy-free as well?
While this recipe is designed to be gluten-free, making it dairy-free requires some substitutions. You would need to replace the buttermilk with a dairy-free buttermilk alternative (e.g., dairy-free milk with a teaspoon of vinegar or lemon juice), dairy-free Greek yogurt, and use a dairy-free butter substitute. For the cream cheese frosting, ensure you use a dairy-free cream cheese alternative and dairy-free butter. Results may vary slightly in texture and flavor with dairy-free substitutions.
What is the best way to store leftover gluten-free red velvet cupcakes?
Once frosted, these cupcakes should be stored in an airtight container in the refrigerator due to the cream cheese frosting. They will remain fresh and delicious for 2-3 days. If unfrosted, they can be stored at room temperature in an airtight container for up to 2 days, or frozen as described in our tips section.
Can I use a different gluten-free flour blend?
This recipe specifically calls for Bob’s Red Mill 1:1 All Purpose Gluten-Free Flour because it has been tested to provide the best results without any grittiness or off-flavors. Other 1:1 gluten-free blends may work, but results can vary significantly depending on the specific blend of flours and starches they contain. For optimal results, sticking to the recommended flour is advised.
How can I make sure my cupcakes rise evenly?
To ensure even rising, make sure your baking powder and baking soda are fresh. Distribute the batter evenly among the cupcake liners, filling them approximately three-quarters full. Avoid opening the oven door frequently during baking, as this can cause temperature fluctuations and lead to uneven rising or sunken cupcakes. A preheated oven is also essential for a good initial lift.
We hope these tips and the detailed recipe help you create the most delightful gluten-free red velvet cupcakes you’ve ever tasted. Enjoy every moist, fluffy bite topped with that irresistible cream cheese frosting!
