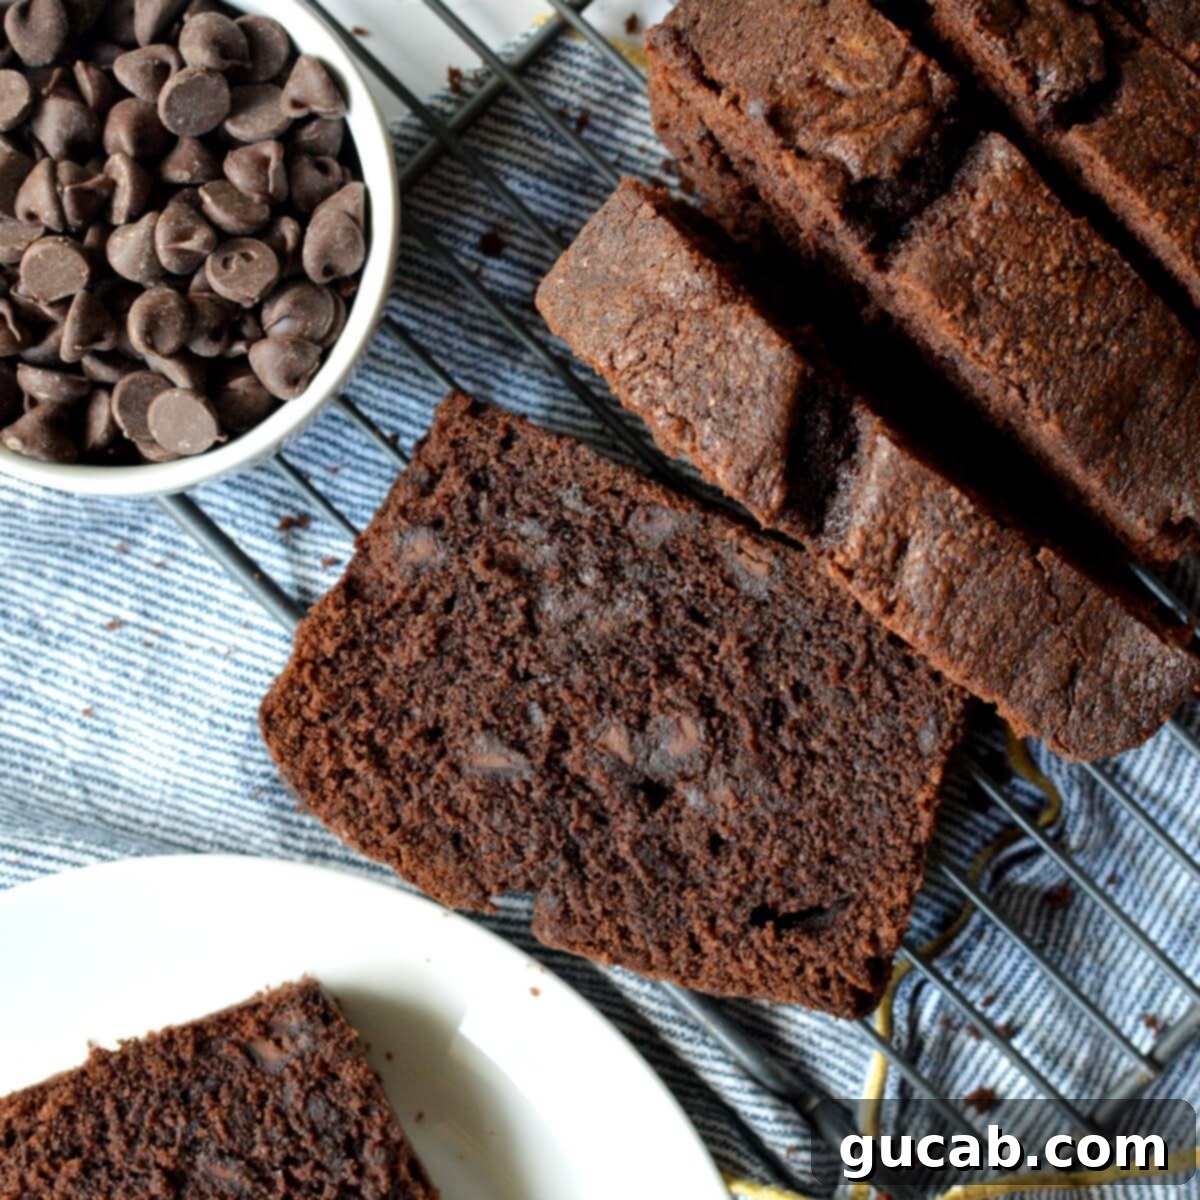
The Ultimate Gluten-Free Chocolate Pound Cake: Rich, Moist, and Irresistibly Decadent
This gluten-free chocolate pound cake is a true masterpiece – incredibly moist, deeply rich, and generously loaded with luscious chocolate chips. It’s the quintessential dessert for every chocolate lover in your life, promising a taste and texture so perfect, you’d never guess it’s completely gluten-free. Prepare to be amazed!
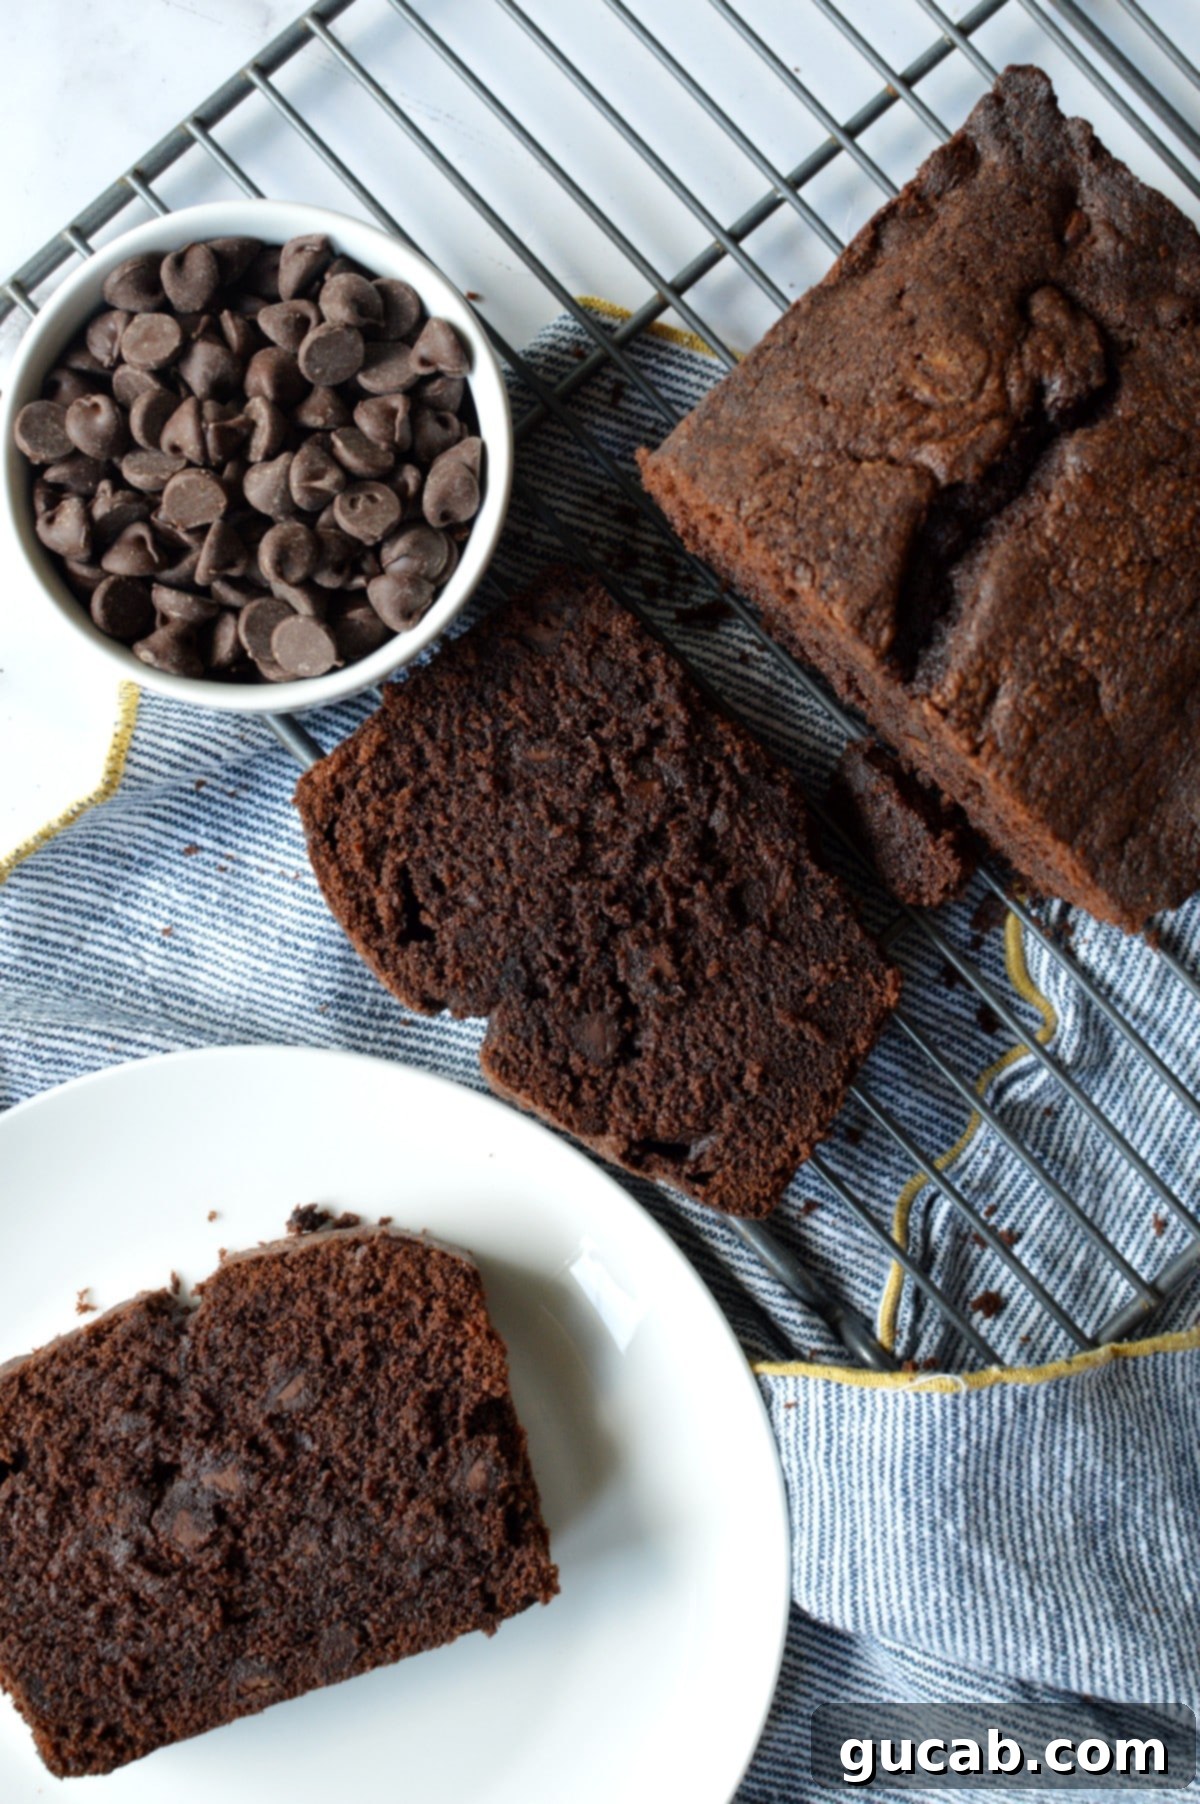
My journey to perfecting this gluten-free sour cream pound cake recipe was a labor of love, resulting in a cake that earned rave reviews for its tender crumb and delightful moisture. But for a self-proclaimed chocolate fanatic like me, the next logical step was clear: a chocolate version. In my kitchen, if a dessert *can* be made with chocolate, it absolutely *will* be. I often joke that I’d eat an old shoe if it were dipped in dark chocolate, which gives you a pretty good idea of my dedication to all things cocoa!
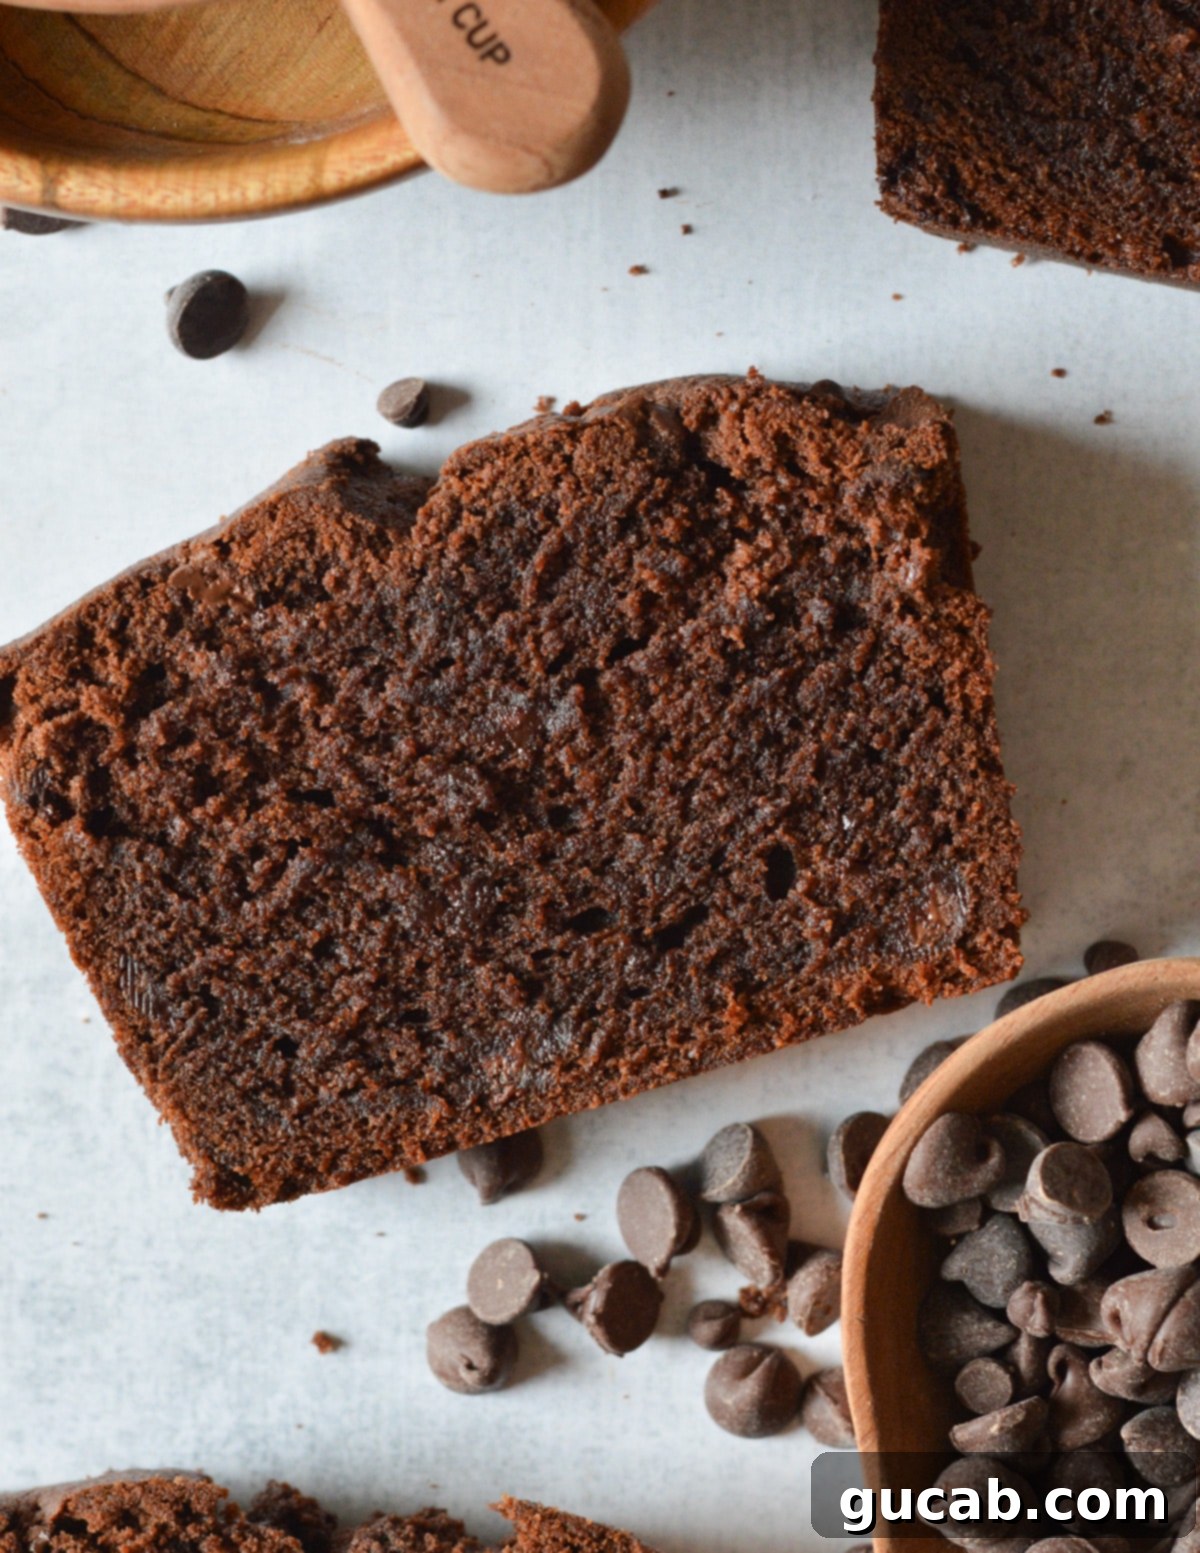
This particular gluten-free chocolate pound cake isn’t just “good for gluten-free” – it’s simply an outstanding cake, period. It boasts an unparalleled richness, a wonderfully moist texture, and a profound, deep cocoa flavor that will satisfy even the most discerning palates. The secret lies in a carefully balanced blend of high-quality ingredients and precise techniques, ensuring that every slice delivers a truly indulgent experience. The best part? No one will ever suspect this decadent treat is gluten-free!
Essential Ingredients for a Perfect Gluten-Free Chocolate Pound Cake
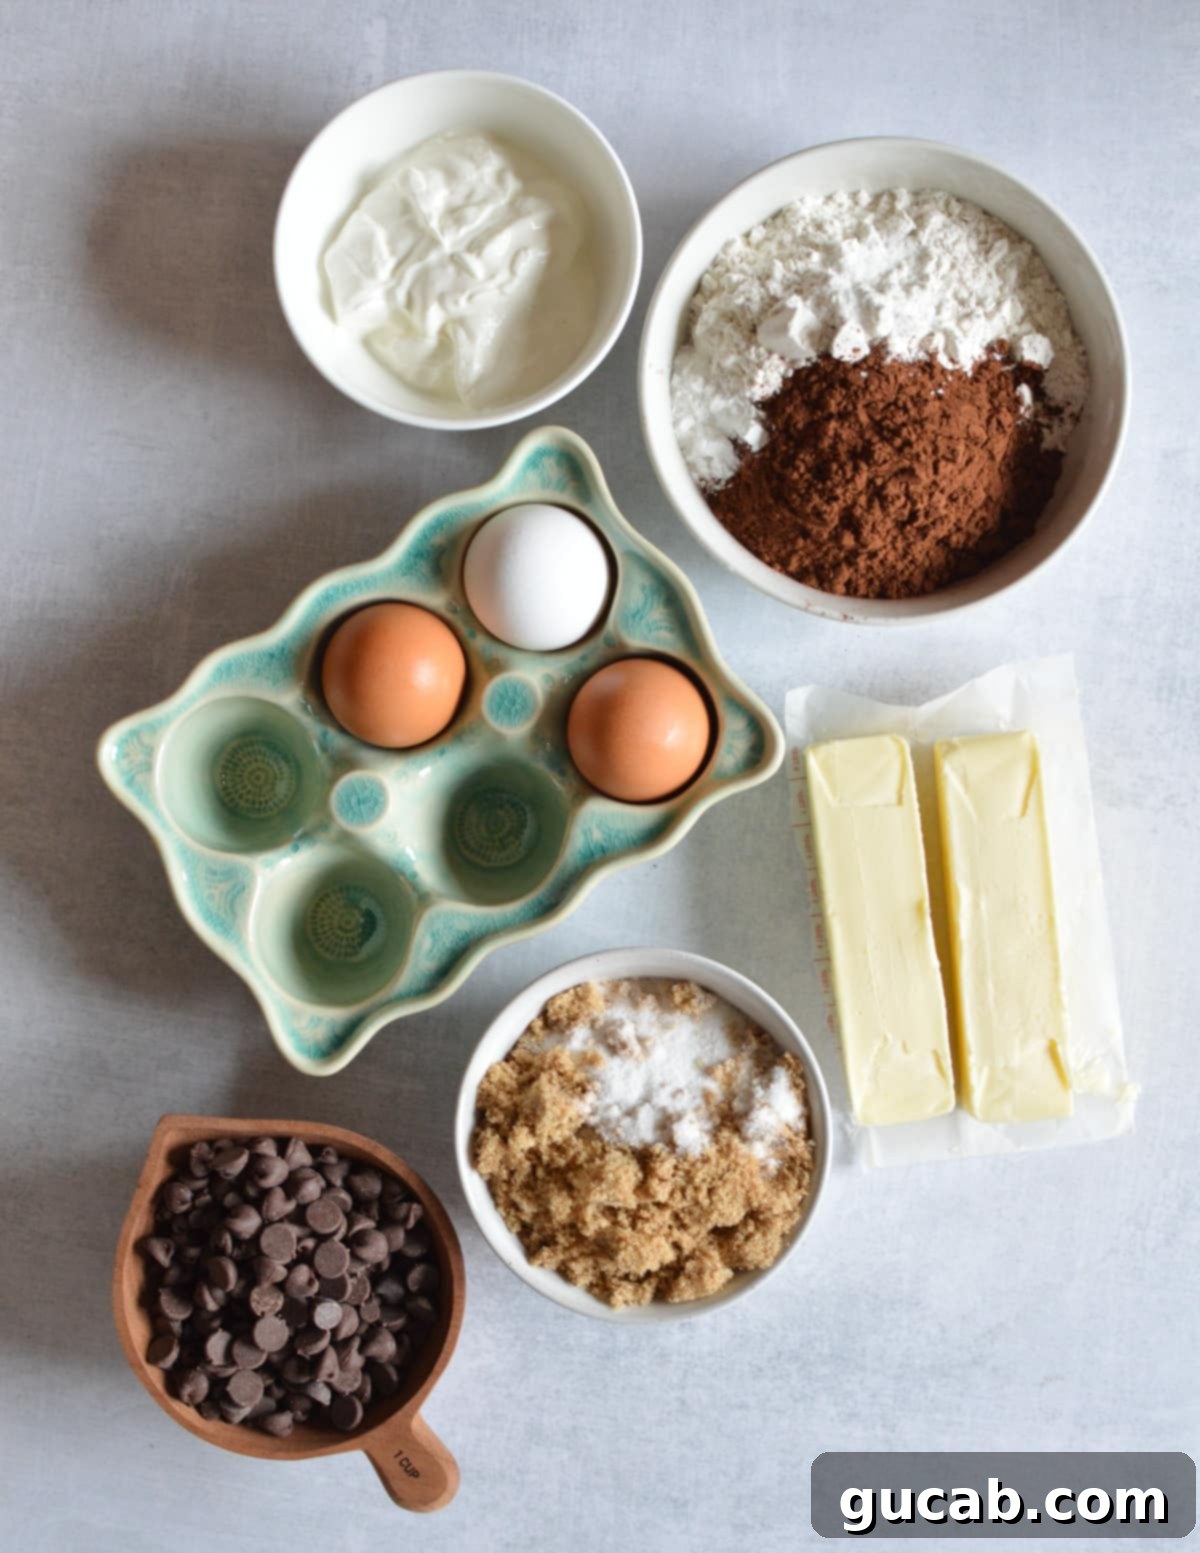
- Unsalted Butter: The foundation of any truly great pound cake, butter delivers a rich flavor and contributes significantly to that signature dense yet tender crumb. Using unsalted butter allows you to control the total salt content in the recipe. I always recommend using room temperature butter for optimal creaming, as it incorporates air much more effectively, leading to a lighter, more voluminous batter. Stock up and freeze it so you always have a pound ready for your next baking adventure.
- Dutch Processed Cocoa Powder: This is my secret weapon for achieving a deep, dark, and incredibly rich chocolate flavor. Unlike natural cocoa, Dutch cocoa has been treated with an alkali to neutralize its acidity, resulting in a smoother, less bitter taste and a darker color. This process also affects how it reacts with leavening agents, making it ideal for recipes like this that rely on baking powder. For the best results, don’t substitute with natural cocoa powder without adjusting the leavening agents.
- Bob’s Red Mill 1:1 All-Purpose Gluten-Free Flour: After extensive testing, this blend stands out as my favorite for gluten-free baking. It consistently delivers an excellent taste and texture that closely mimics traditional wheat flour, making it incredibly reliable for cakes, cookies, and more. Its widespread availability at major retailers like Walmart, Target, and Amazon makes it a convenient choice. This particular blend already contains xanthan gum, so no need to add extra!
- Full-Fat Sour Cream: Essential for achieving that moist, rich, and dense texture characteristic of a classic pound cake. Sour cream adds a wonderful tang that complements the chocolate, while its fat content contributes to a supremely tender crumb. Always opt for full-fat sour cream for the best results; lower-fat versions can lead to a drier cake.
- Semisweet Chocolate Chips: These aren’t just for decoration; they infuse even more chocolatey goodness into every bite of this decadent pound cake. When melted, they create pockets of gooey chocolate, and when firm, they add a pleasant textural contrast. It’s like the perfect marriage of a rich bakery-style chocolate muffin and a classic pound cake – a truly irresistible combination.
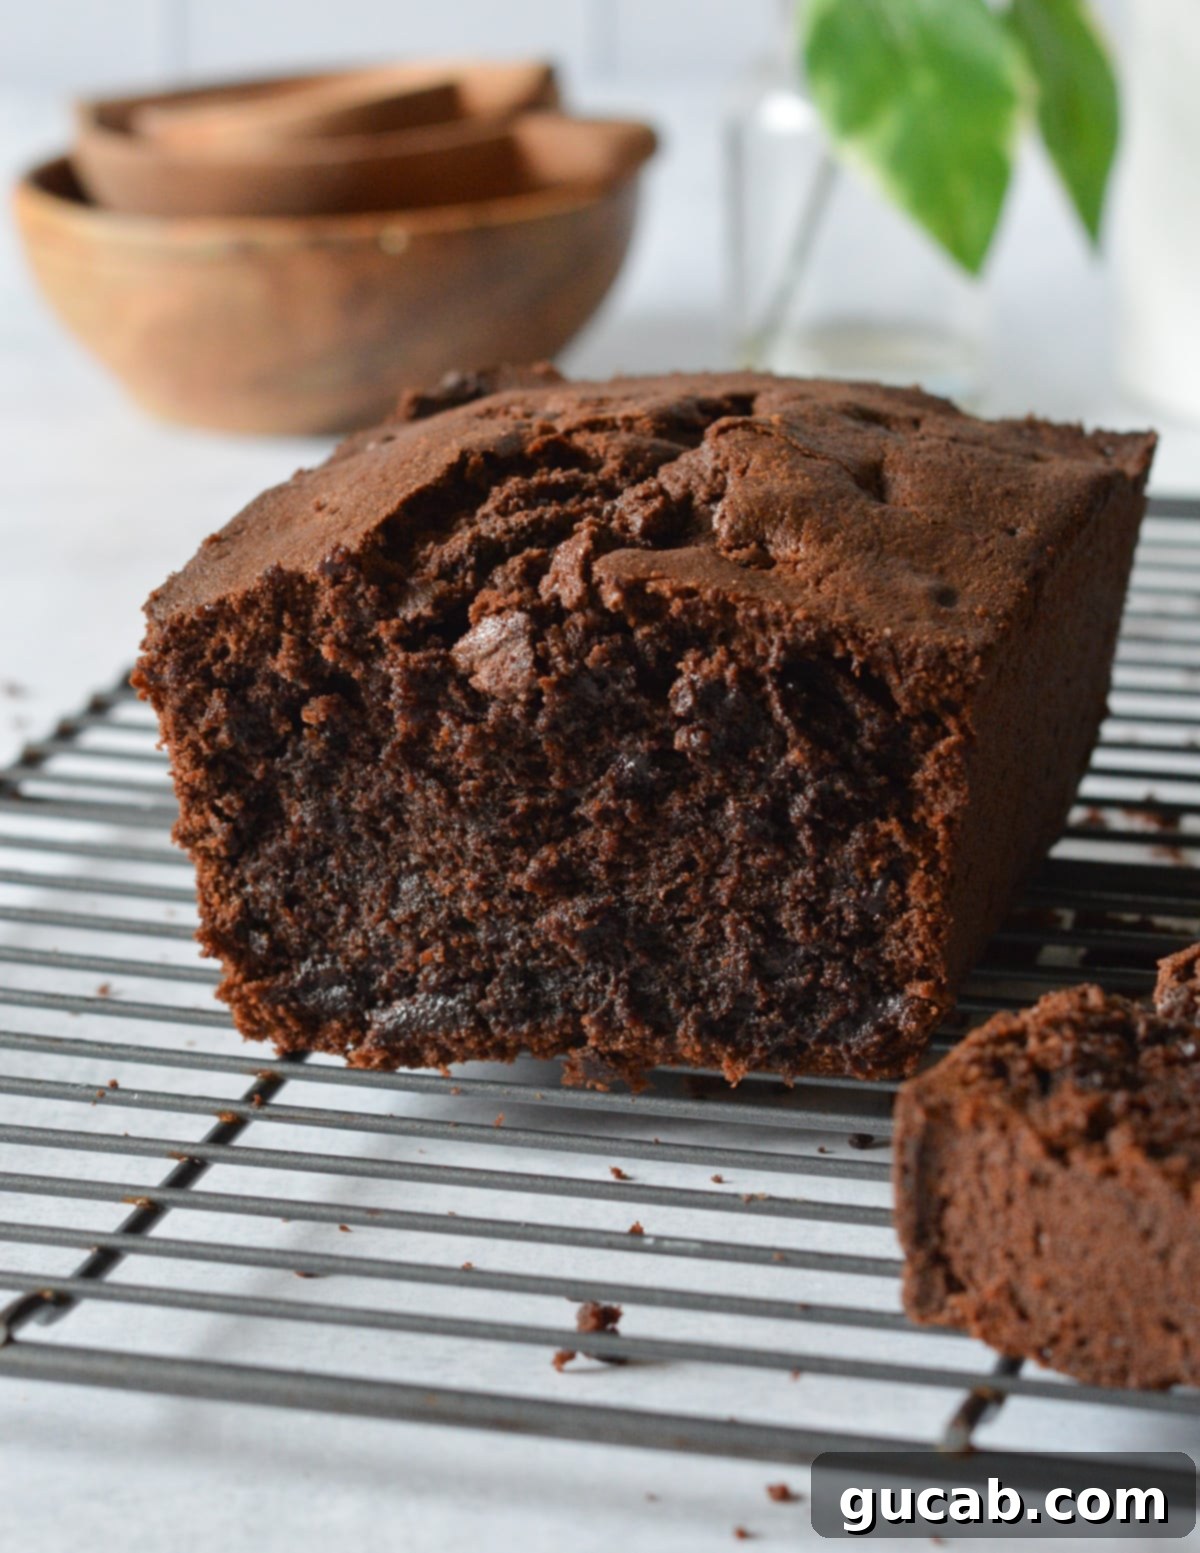
Step-by-Step Guide: How to Make This Incredible Gluten-Free Chocolate Pound Cake
Before you even think about mixing, take a moment to prepare your baking environment. Preheat your oven to 350°F (175°C) to ensure it reaches the correct temperature before the batter goes in. Next, generously grease a 9×5 inch loaf pan. I find that a non-stick cooking spray works wonders for easy release, but it’s crucial to double-check that your spray is truly gluten-free, as some brands contain added flour. For an extra layer of protection, you can also lightly flour the greased pan with a small amount of your gluten-free flour blend.
- Cream the Butter and Sugars: In the bowl of your stand mixer fitted with the paddle attachment, or with a hand mixer, combine the room temperature unsalted butter with both white and brown sugars. Beat these ingredients together on medium speed for a full 3 minutes. This step is vital as it incorporates air into the butter mixture, creating a light and fluffy base. You’ll notice the mixture will lighten significantly in both color and consistency, becoming pale and airy. This aeration is key to achieving a tender crumb in your finished pound cake.
- Incorporate the Eggs: Add the large eggs one at a time, beating well after each addition. This gradual incorporation is crucial for several reasons: it prevents overmixing, which can lead to a tough cake even with gluten-free flour, and it helps to create a stable emulsion with the butter and sugar, ensuring a smooth and cohesive batter. After each egg, pause to scrape down the sides of the bowl with a spatula to ensure all ingredients are thoroughly combined and no pockets of unmixed batter remain.
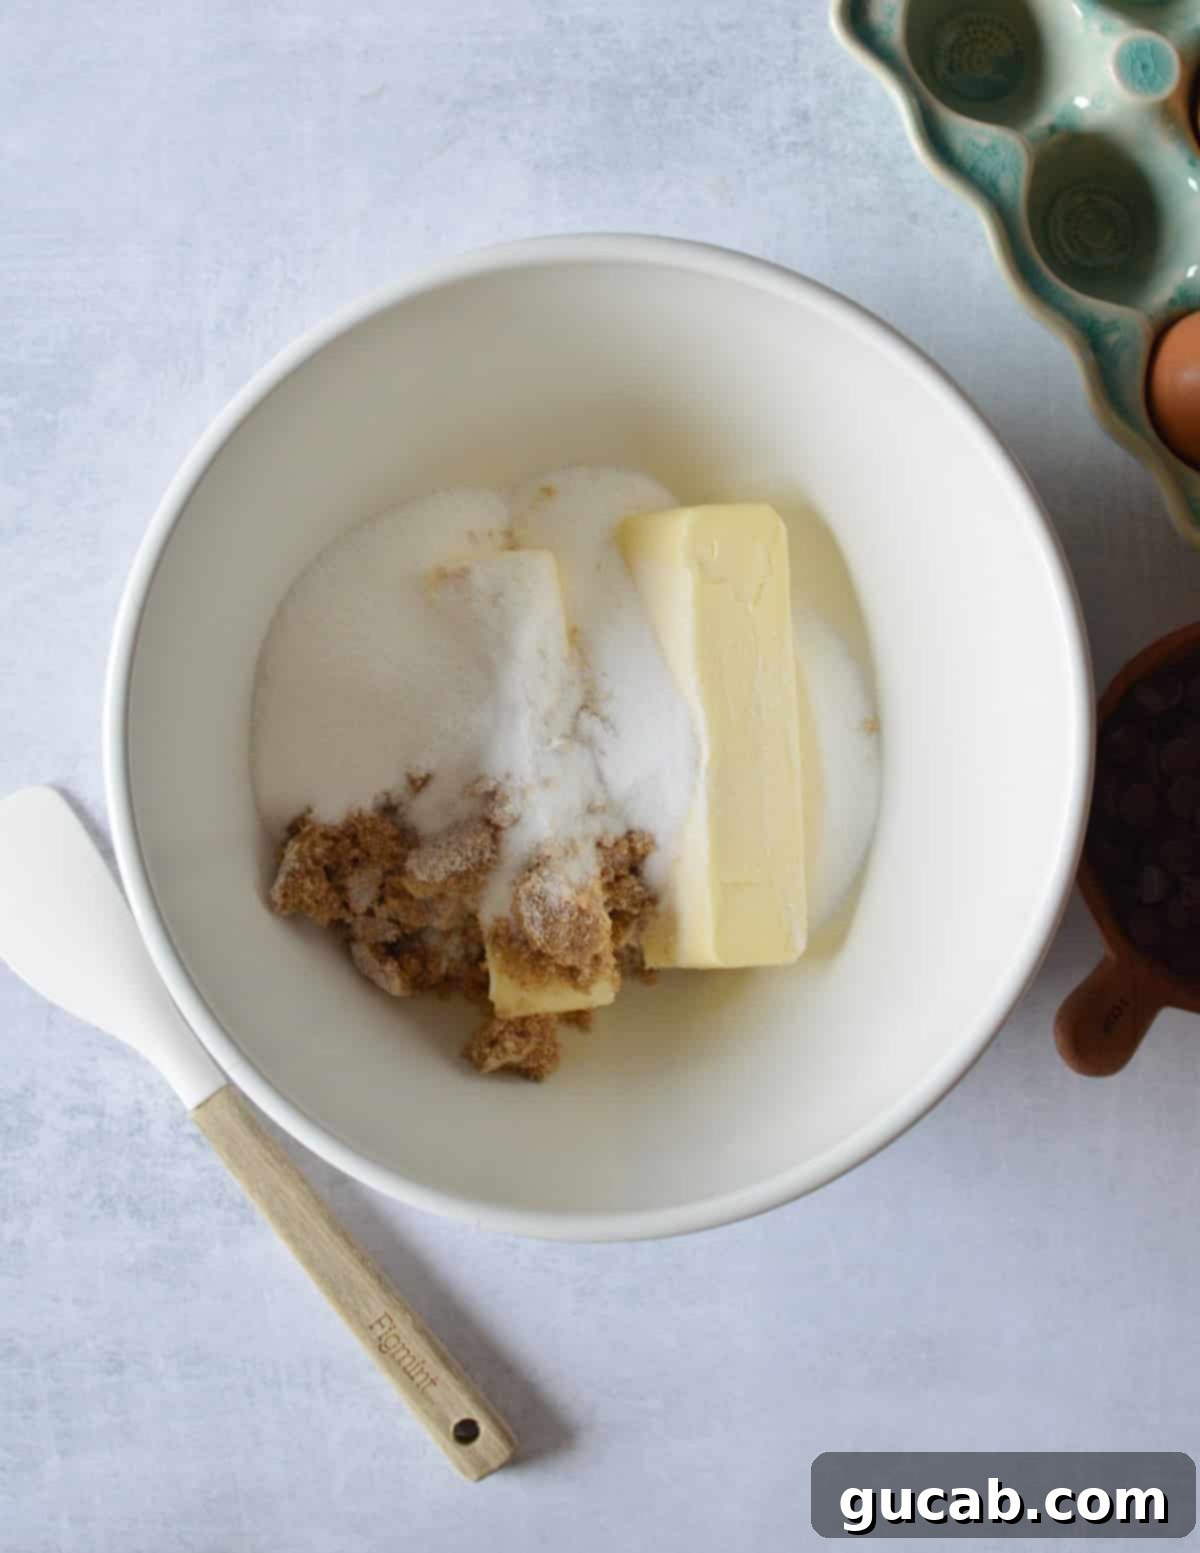
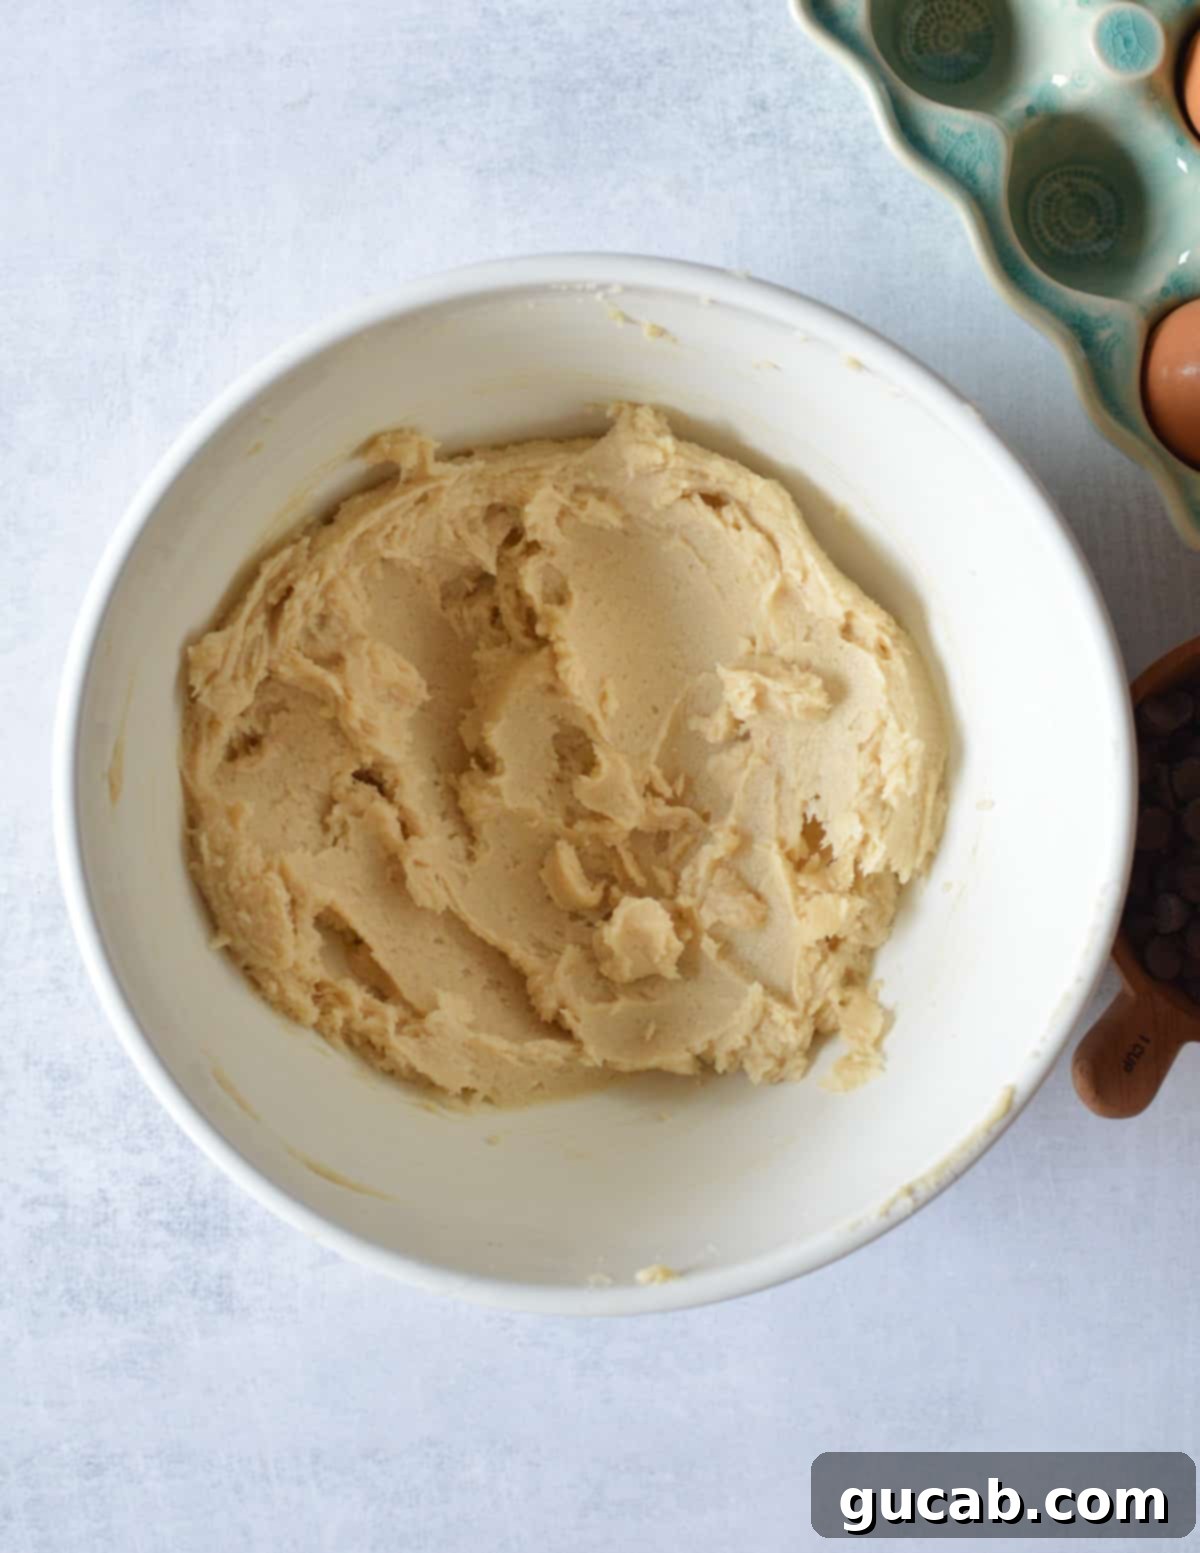
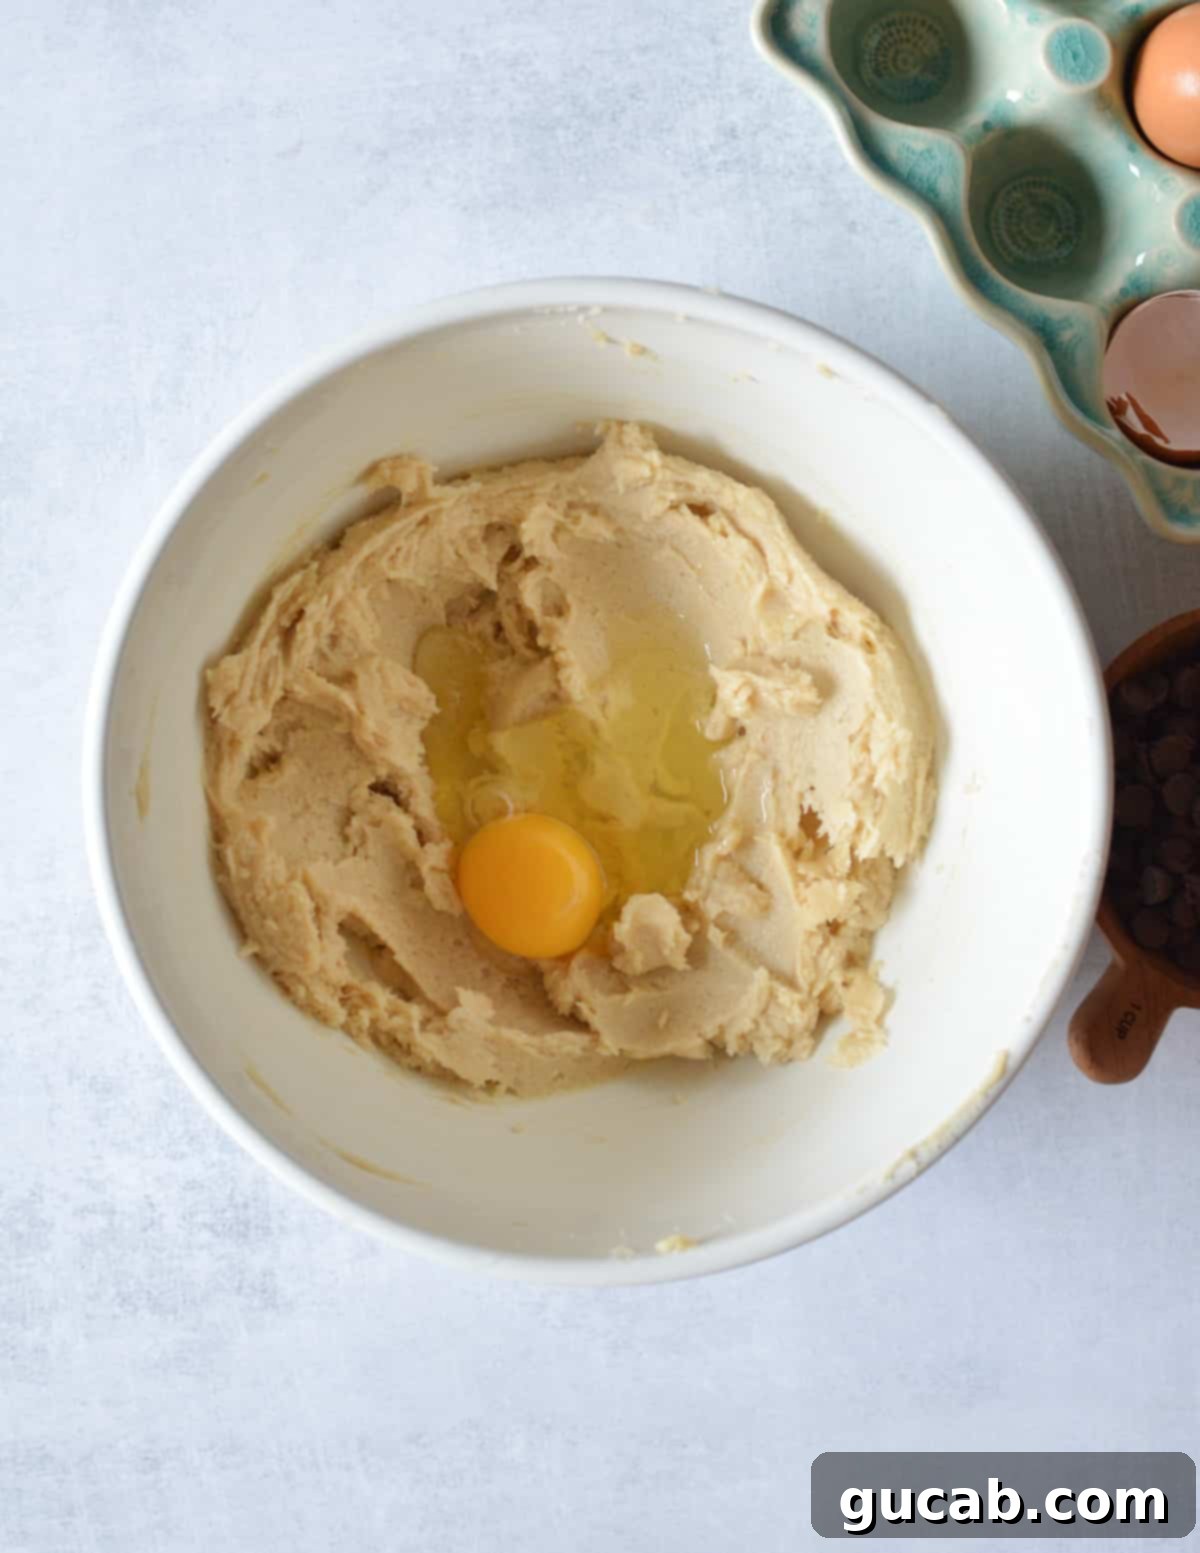
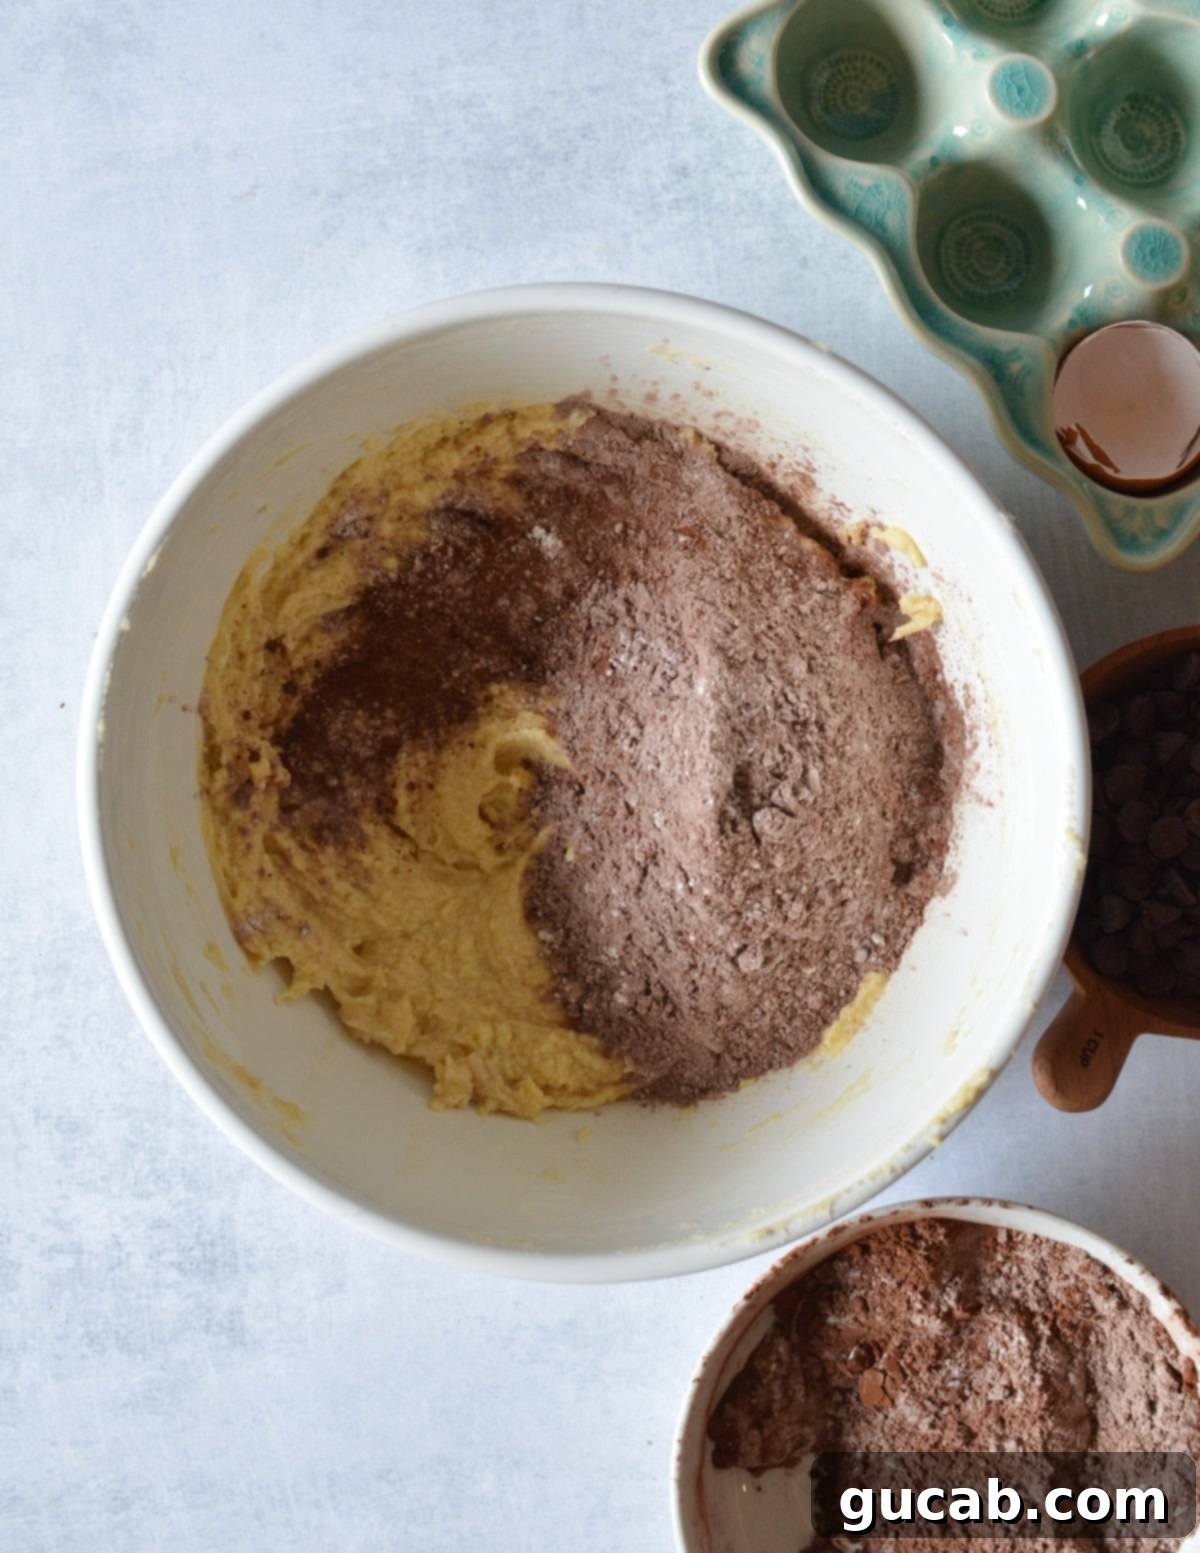
- Add the Dry Ingredients: In a separate medium bowl, thoroughly whisk together your gluten-free flour, Dutch cocoa powder, baking powder, and kosher salt. This ensures all the leavening and flavor components are evenly distributed throughout the dry mix. Now, add half of this dry ingredient mixture to your wet batter. Mix on low speed until just combined, taking care not to overmix. The batter will be quite thick at this point. Repeat with the remaining half of the dry ingredients, mixing until no streaks of flour are visible. Avoid over-developing the structure, even with gluten-free flours.
- Fold in the Sour Cream and Chocolate Chips: With the mixer on low, add the full-fat sour cream and beat just until it’s fully incorporated. The sour cream will work its magic, transforming the thick batter into a slightly lighter, almost mousse-like consistency. Once the batter is smooth, gently fold in the semisweet chocolate chips by hand using a spatula. This prevents the chips from breaking up and ensures they are evenly distributed throughout the cake, ready to create delightful pockets of melted chocolate.
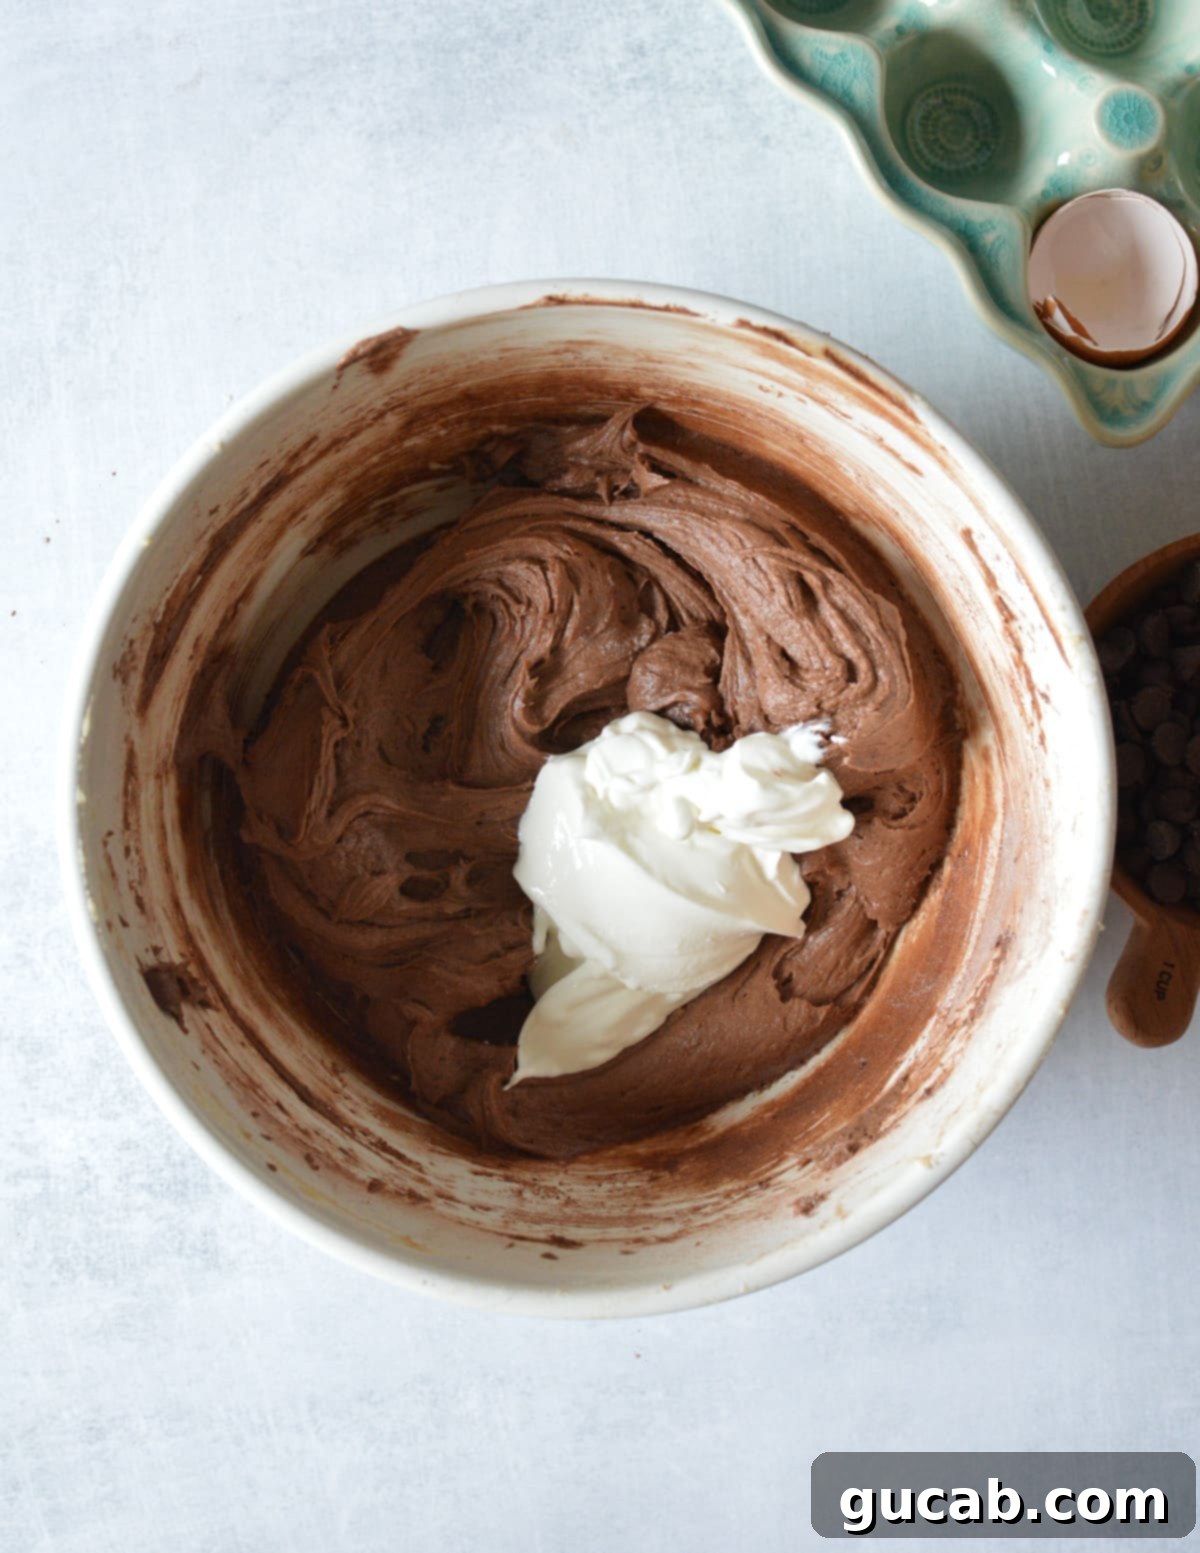
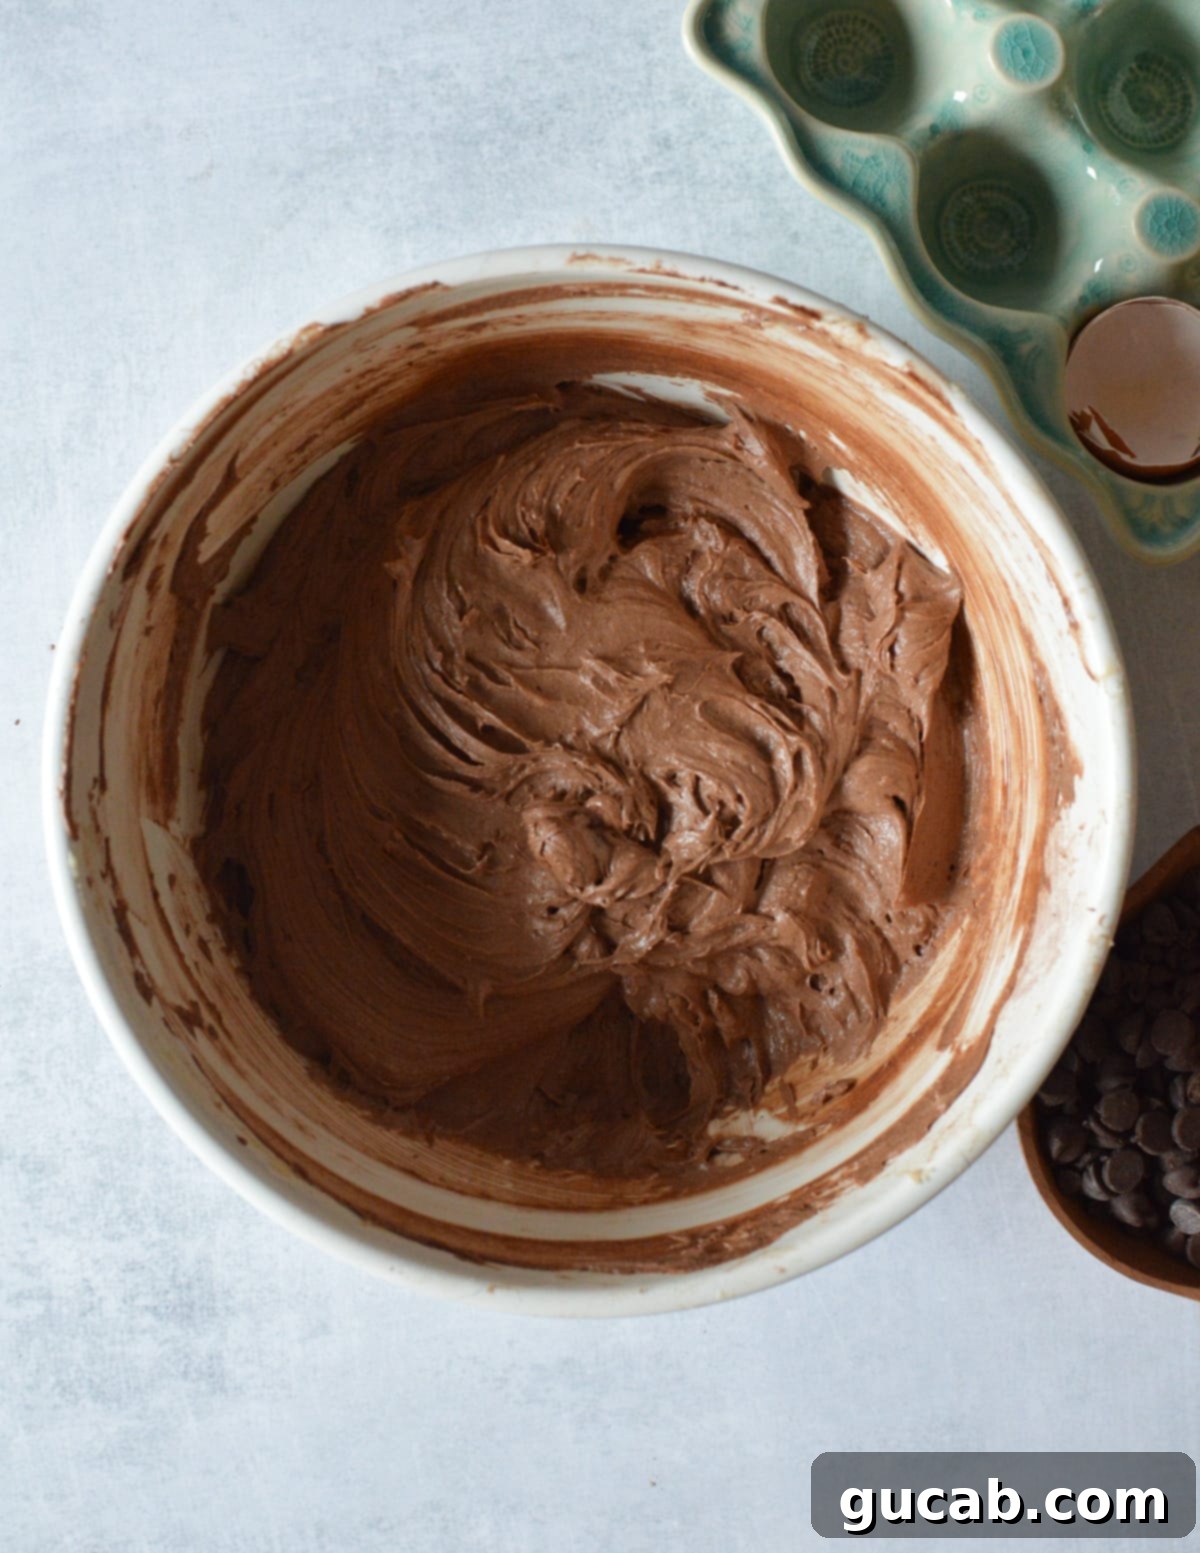
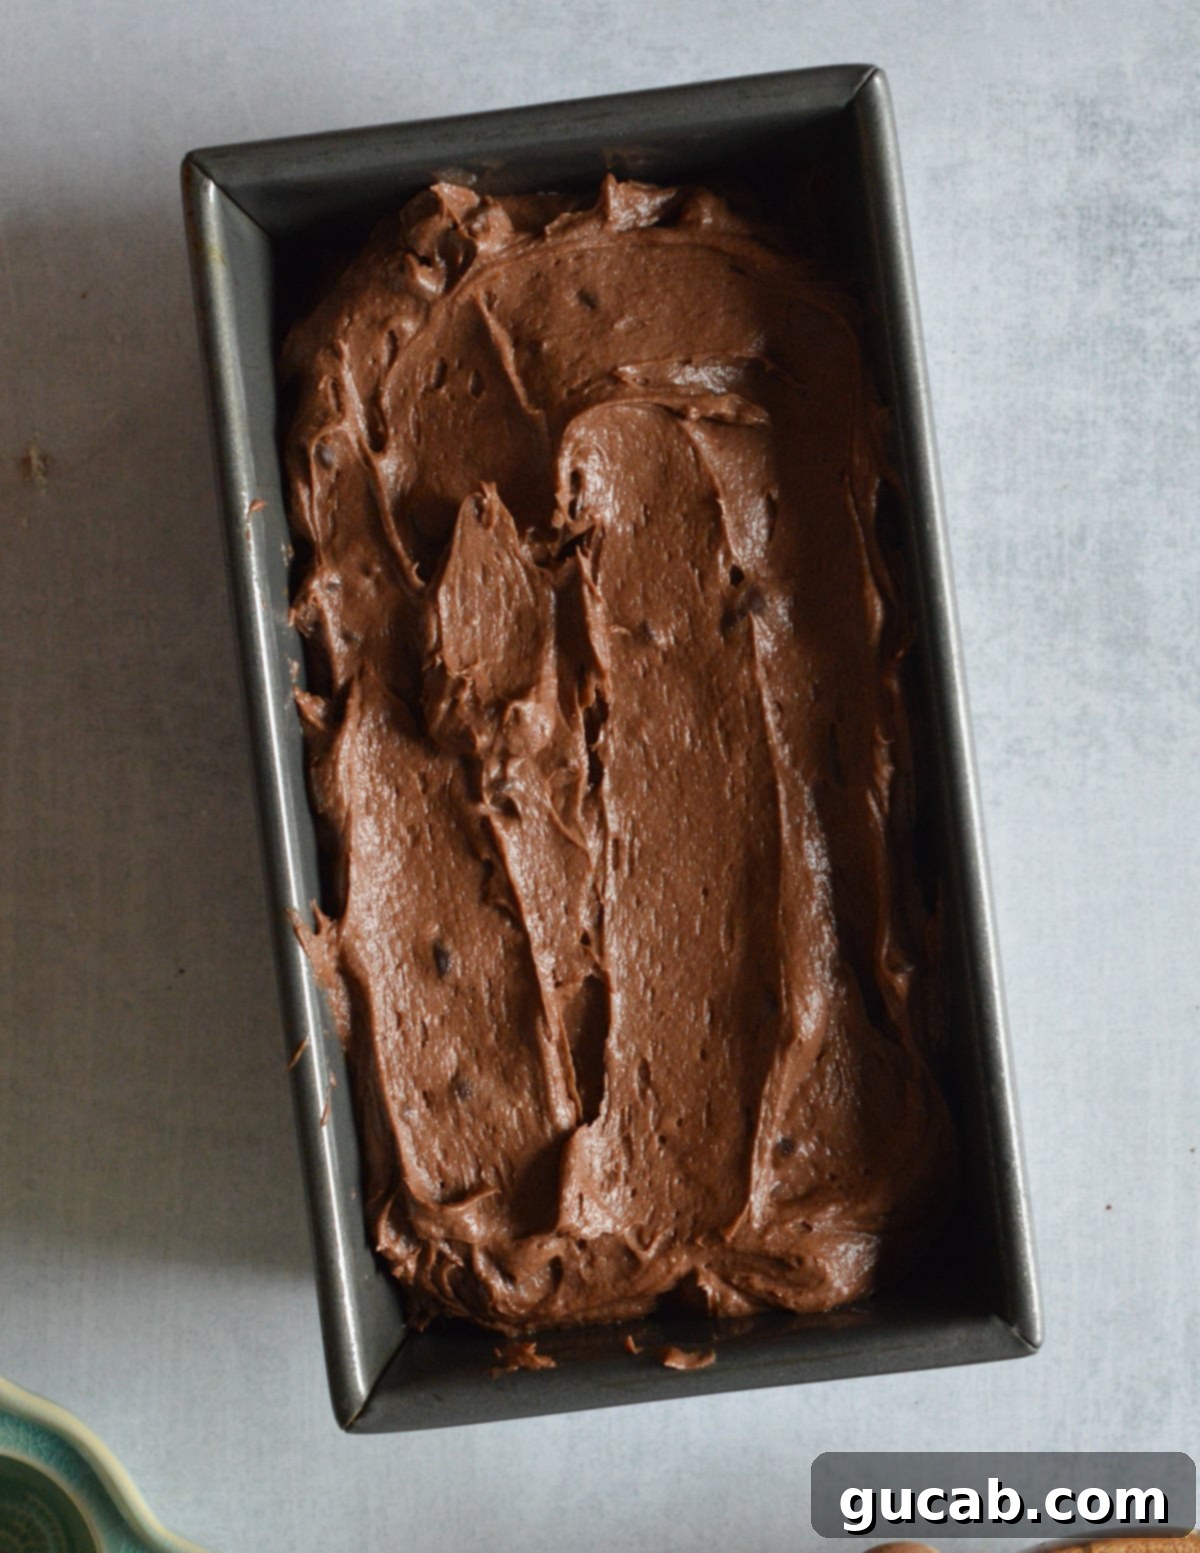
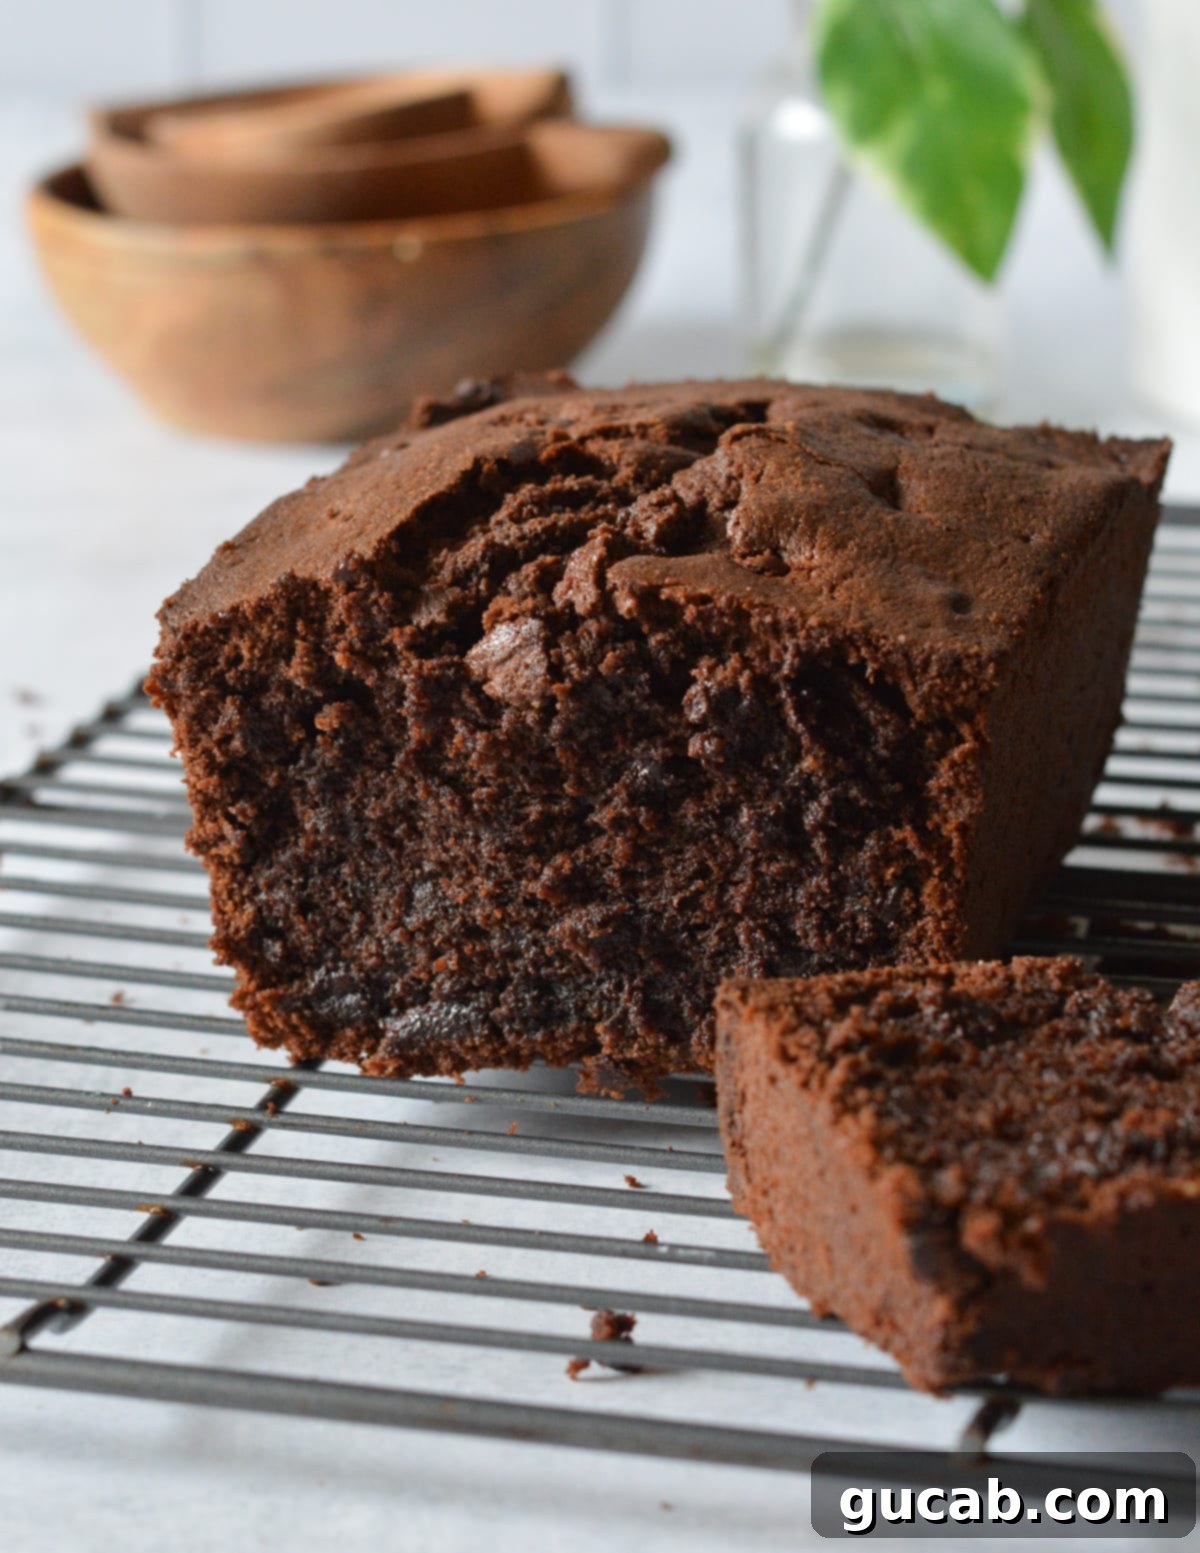
- Scoop and Bake to Perfection: Carefully transfer the finished batter into your prepared loaf pan, smoothing the top with a spatula. Bake in the preheated oven for approximately 70 minutes. Baking times can vary slightly depending on your oven, so rely on the toothpick test: insert a toothpick into the center of the cake. When it comes out clean or with only a few moist crumbs attached, your cake is perfectly baked.
Expert Tips for the Best Gluten-Free Chocolate Pound Cake
- Patience is Key: Allow Proper Cooling Before Removing from Pan! This is perhaps the hardest, yet most critical, tip. The tantalizing aroma filling your kitchen and the beautiful sight of your freshly baked cake will make you want to dive in immediately. BUT, resist the urge! Pound cakes are dense and need time to set their structure as they cool. If you try to remove it too soon (before at least 15-20 minutes in the pan), it’s highly likely to fall apart, undoing all your hard work. Let it cool for at least 15 minutes in the pan on a wire rack before attempting to invert it.
- Room Temperature for Optimal Density: While a warm slice of pound cake is undeniably comforting, a room temperature pound cake actually offers a superior texture. As the cake cools completely, its structure settles and becomes much denser, allowing the flavors to meld and intensify. The crumb becomes tighter and more uniform, providing that classic pound cake experience. I always wait until my cake has reached complete room temperature before slicing and indulging.
- Crucial Cooling for Storage: Never, ever wrap your pound cake in plastic wrap or store it in an airtight container while it’s still warm, even slightly. Why? Because warmth creates condensation. As the warm air from the cake hits the cooler plastic or container, water droplets will form. This moisture will make your cake soggy and create an ideal environment for mold to grow, causing it to perish quickly. Ensure your cake is completely cool to the touch – inside and out – before packaging it for storage.
Storage Tips for Your Gluten-Free Chocolate Pound Cake
Good news for your future cravings: this gluten-free chocolate pound cake is remarkably freezer-friendly! You absolutely don’t have to feel pressured to devour the entire loaf in one sitting – though, as a fellow chocolate enthusiast, I completely understand the temptation.
- Room Temperature Storage: To store your pound cake at room temperature, first ensure it is completely cooled. Then, transfer the whole loaf to a gallon-sized zip-top bag or an airtight container. Seal it tightly to prevent it from drying out. Stored this way, the pound cake will remain wonderfully fresh and moist for up to 3 days.
- Freezing for Longer Enjoyment: My preferred method for longer storage is to freeze the pound cake in individual slices. This offers incredible convenience, allowing you to thaw and warm just one slice at a time whenever a craving strikes.
- Begin by slicing the cooled loaf into your desired portion sizes.
- Arrange the slices in a single layer on a plate or baking sheet.
- Freeze them for about an hour, or until they are firm. This step is crucial as it prevents the slices from sticking together when bagged.
- Once frozen firm, transfer the individual slices to a large freezer-safe zip-top bag or an airtight freezer container.
- Label with the date. Your frozen pound cake slices will maintain their delicious quality for up to 3 months.
To enjoy a frozen slice, simply let it thaw at room temperature for an hour or gently warm it in the microwave for 15-30 seconds until soft and fragrant.
Frequently Asked Questions (FAQs)
The short answer is a definitive no, unfortunately! While almond flour can certainly produce delicious and moist cakes, it is not a direct 1:1 substitute for gluten-free all-purpose flour blends in most recipes. Almond flour has a very different nutritional profile – it’s higher in fat, lower in carbohydrates, and completely lacks the starches and gums (like xanthan gum) that are typically found in GF all-purpose blends. This means it reacts differently in recipes, absorbing liquids differently and usually requiring more eggs or other binding agents to achieve a stable structure. Swapping it directly would likely result in a cake with an entirely different, and potentially undesirable, texture.
This isn’t a straightforward question, as “gluten-free flour” itself is usually a complex blend. Most commercial gluten-free all-purpose flour blends are a mixture of various alternative flours (like rice flour, sorghum flour), starches (tapioca starch, potato starch, cornstarch), and often include xanthan gum to mimic the elasticity of gluten. Each brand formulates its blend with different ratios, which means they can behave quite differently in baking. My top recommendation, based on extensive personal experience for achieving a gluten-like taste and texture in cakes, is Bob’s Red Mill 1:1 Gluten-Free Baking Flour. Its consistent performance and inclusion of xanthan gum make it incredibly reliable. Always remember to weigh your flour for accuracy rather than relying on volume measurements, as gluten-free flours can compact differently.
Other Gluten-Free Cake Recipes You Might Love
- Gluten Free Italian Cream Cake
- Gluten Free Red Velvet Cupcakes
- Gluten Free Spice Cake
- Gluten Free Gingerbread Cake with an Orange Glaze
- Soft Gluten Free Chocolate Cupcakes
Gluten-Free Chocolate Pound Cake
Carolyn
Pin Recipe
Equipment
-
Stand Mixer with the Paddle Attachment
-
9×5 inch Loaf Pan
-
Wire Cooling Rack
Ingredients
- 1 cup unsalted butter room temperature
- ¾ cup + 2 tablespoons granulated white sugar
- ⅓ cup light brown sugar packed
- 3 large eggs room temperature
- 1 cup Bob’s Red Mill 1:1 All-Purpose Gluten-Free Flour
- ⅓ cup Dutch processed dark cocoa powder I recommend Hershey’s Special Dark
- 1 teaspoon baking powder
- ¼ teaspoon kosher salt
- ½ cup full-fat sour cream room temperature
- 1 cup semisweet chocolate chips
Instructions
-
Preheat your oven to 350 degrees Fahrenheit (175°C). Prepare a 9×5 inch loaf pan by greasing it generously with nonstick cooking spray, ensuring it is gluten-free.
-
In a medium bowl, whisk together the Dutch cocoa powder, gluten-free flour, baking powder, and kosher salt until thoroughly combined. Set this dry mixture aside.
-
In the bowl of a stand mixer fitted with the paddle attachment (or using a hand mixer), cream together the room temperature butter, granulated white sugar, and packed light brown sugar. Beat on medium speed for a full 3 minutes until the mixture is light in color and fluffy in consistency.
-
Add each large egg one at a time, mixing well after each addition until fully incorporated. After each egg, scrape down the sides of the bowl with a rubber spatula to ensure everything is evenly combined.
-
Gradually add the dry ingredients to the wet mixture. Add half of the flour mixture and mix on low speed until just combined. Then, add the remaining half of the flour mixture and continue to mix until no dry streaks remain. The batter will be very thick. Add the room temperature sour cream and beat on low speed until a smooth, thick batter forms, resembling a mousse. Finally, gently fold in the semisweet chocolate chips using a spatula.
-
Scrape the batter evenly into your prepared loaf pan. Bake in the preheated oven for approximately 70 minutes, or until a wooden toothpick inserted into the center of the cake comes out clean or with only a few moist crumbs attached. Once baked, let the cake cool in the pan on a wire rack for at least 15-20 minutes before carefully removing it to cool completely on the rack.
Nutrition
