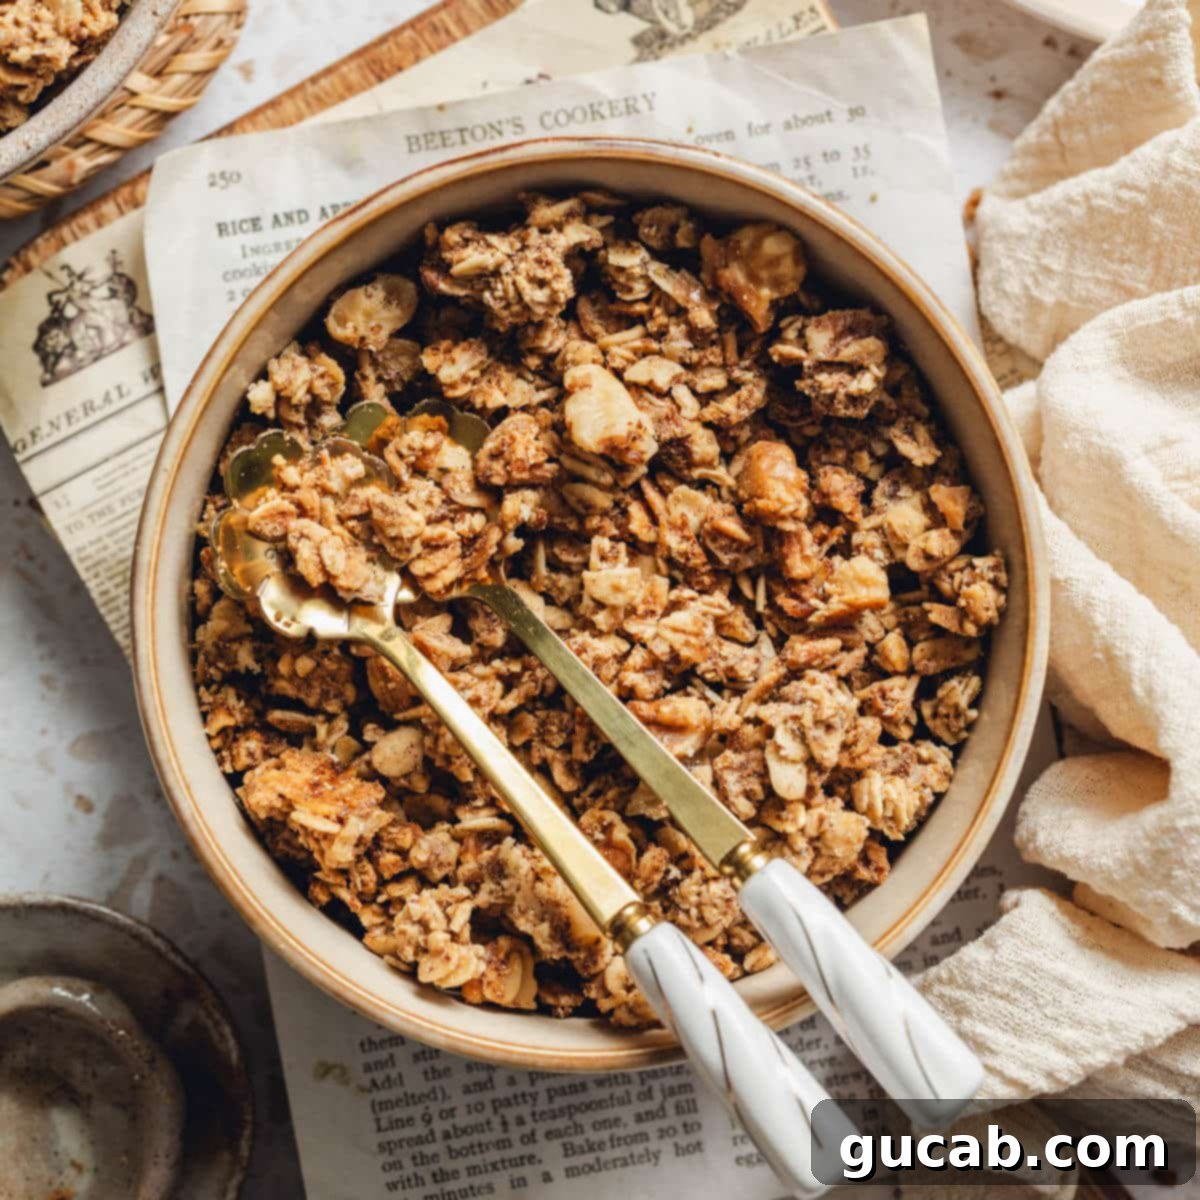
Homemade Maple Walnut Granola: The Ultimate Crunchy, Sweet & Healthy Breakfast
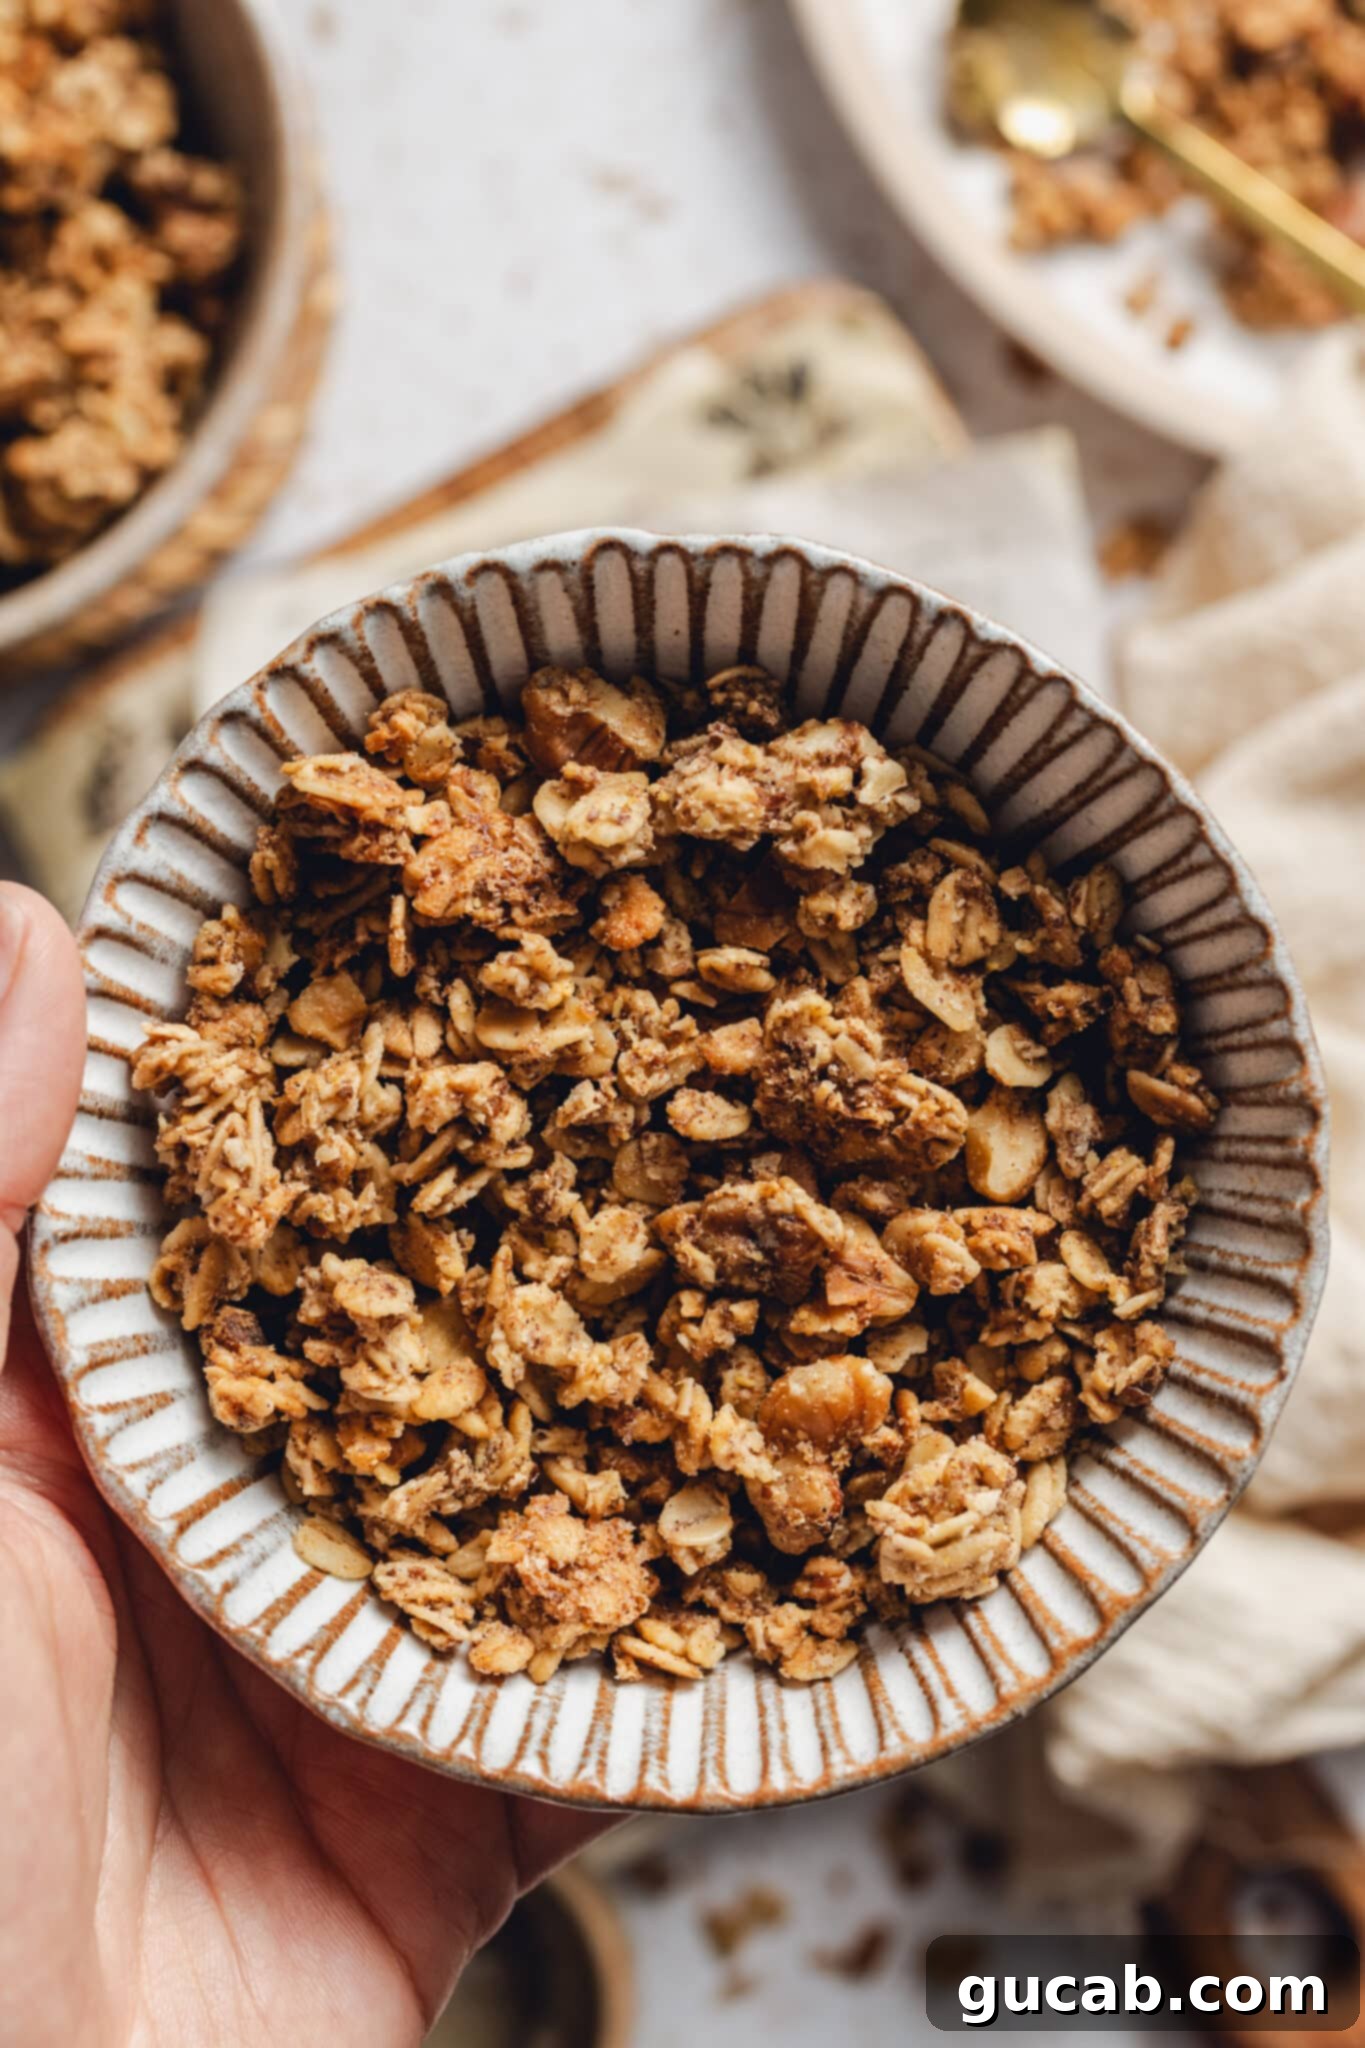
Forget bland, crumbly store-bought versions! This homemade maple walnut granola is a game-changer. It’s incredibly crunchy, perfectly sweet, and loaded with those irresistible clusters everyone loves. Naturally sweetened with pure maple syrup, this recipe delivers a wholesome, delicious experience that tastes infinitely better than anything you’ll find on a supermarket shelf. Whether you enjoy it as a nutritious breakfast with milk and fresh fruit, sprinkle it over yogurt, or grab a handful for a healthy treat, this maple walnut granola is sure to become a staple in your pantry.
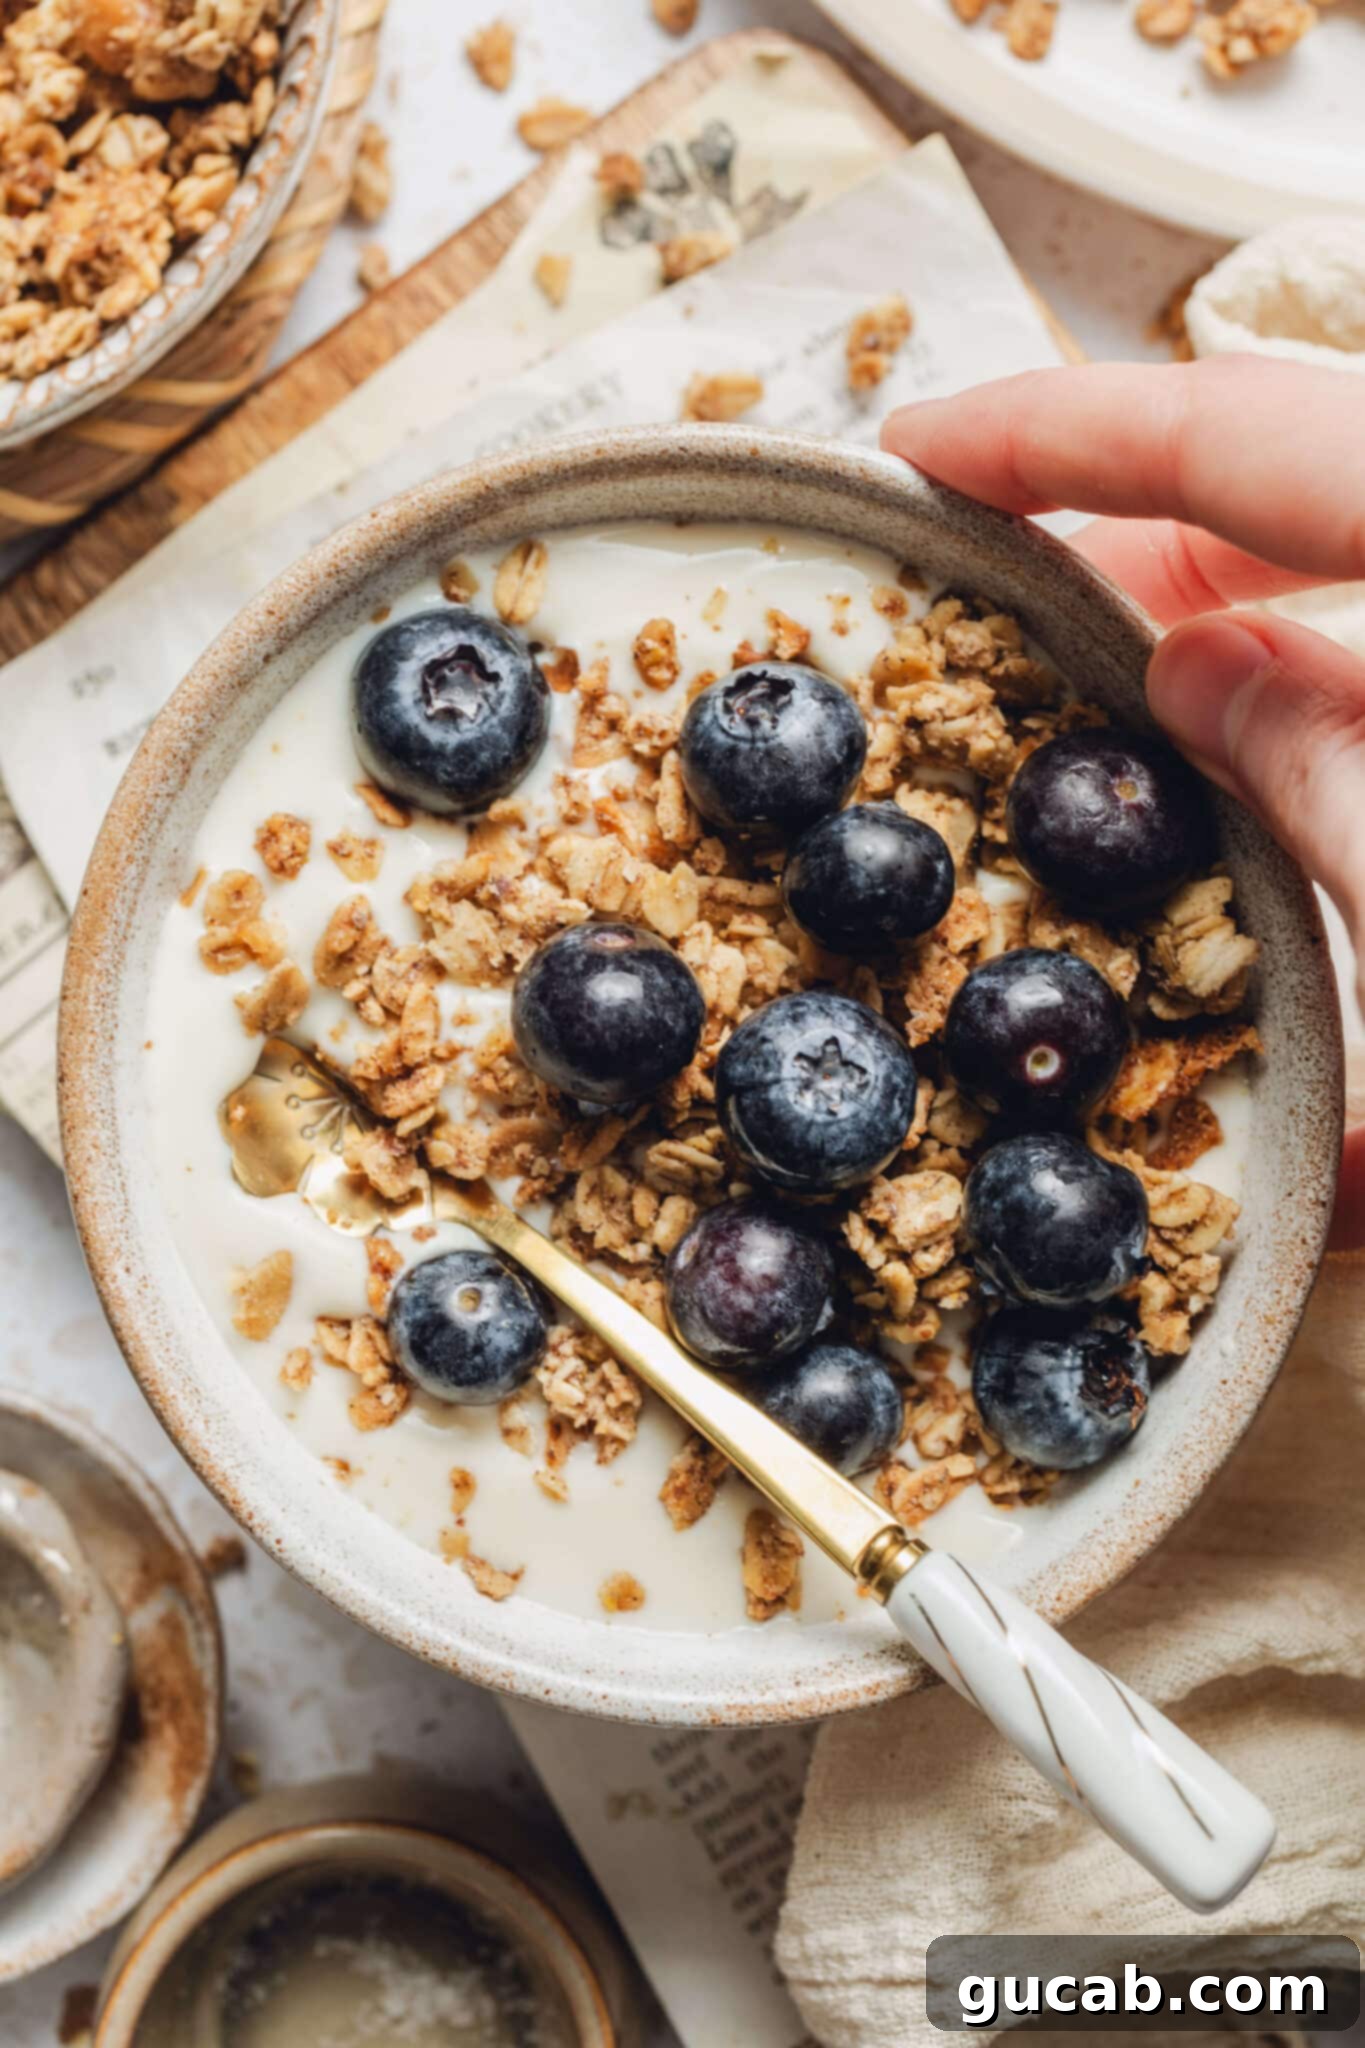
Why Homemade Granola is a Game-Changer
Once you try homemade granola, you’ll never go back. Seriously, it’s an obsession! I find myself eating it for breakfast, as a quick snack, or even mixed with dark chocolate chips for a guilt-free dessert. The amazing crunch and wholesome oatmeal cookie vibes are simply unmatched. Beyond the incredible flavor, there are several compelling reasons to make your own granola.
Unbeatable Flavor and Texture
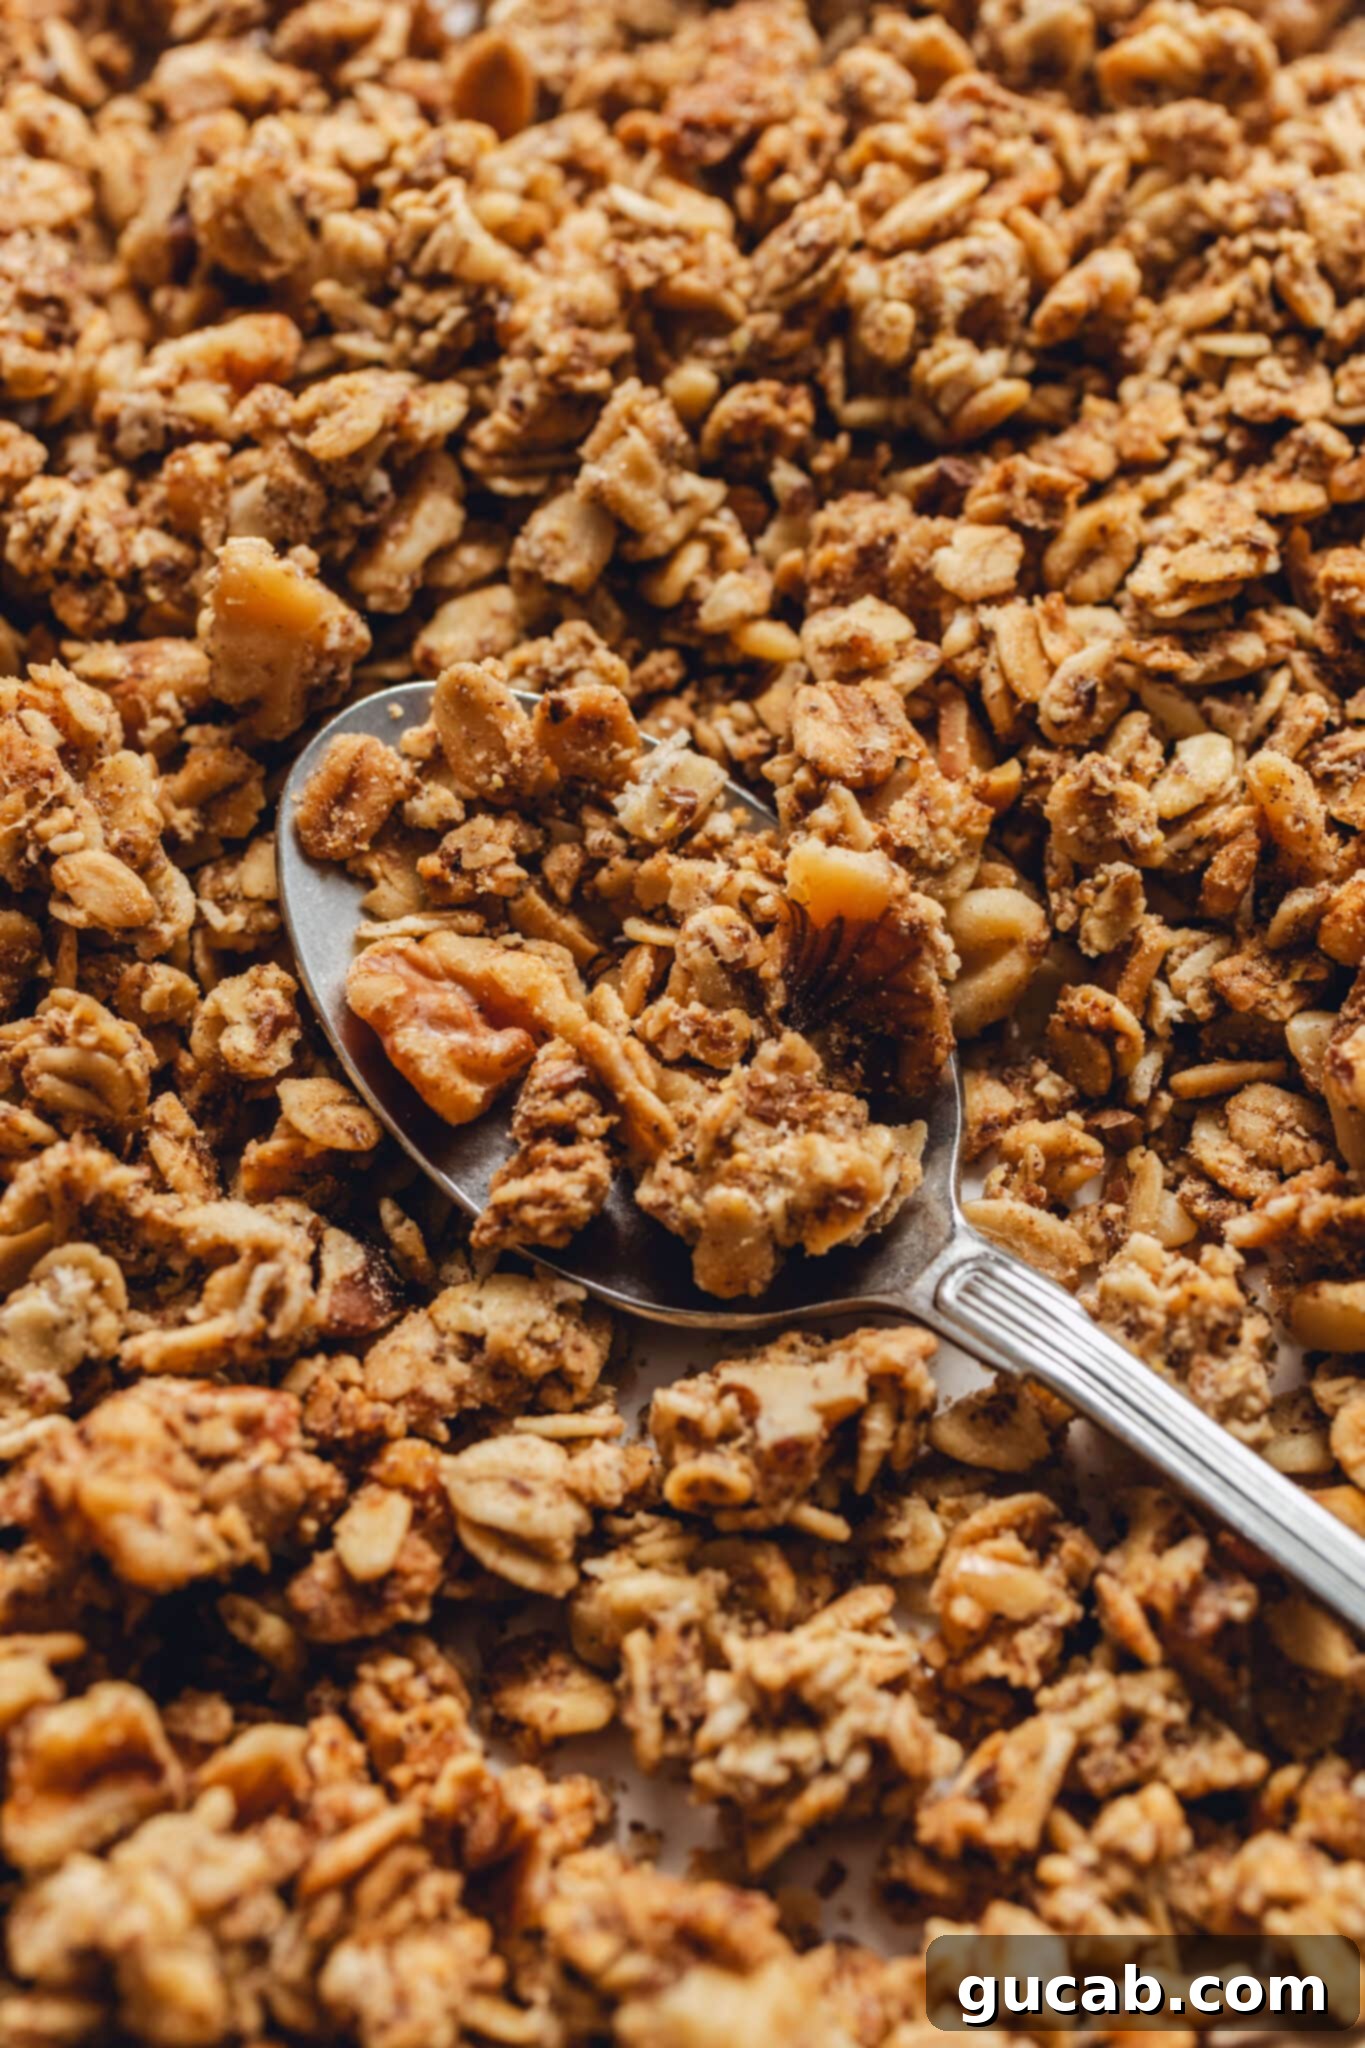
Store-bought granolas often compromise on flavor and texture, frequently being either too sweet, too dry, or lacking that satisfying crunch. When you make granola at home, you control every aspect. This maple walnut granola, for instance, achieves a delightful crunch and boasts generous, beloved clusters that truly elevate the experience. The fresh, rich flavors of maple and toasted walnuts shine through beautifully.
Healthier Choices, Simple Ingredients
A major advantage of homemade granola is knowing exactly what goes into it. You won’t find any mysterious preservatives, artificial flavors, or ingredients you can’t pronounce here. This recipe uses natural sweeteners like maple syrup, along with whole grains, nuts, and seeds, making it a genuinely healthy option. It’s an excellent way to kickstart your day with sustained energy without any hidden sugars or additives.
Endless Customization Options
Homemade granola is incredibly versatile! This recipe provides a fantastic base, but you can easily tailor it to your preferences. Want different nuts? Swap the walnuts for chopped pecans or almonds. Craving some extra sweetness or chewiness? Feel free to add dried fruit (like cranberries, raisins, or chopped apricots) or chocolate chips after the granola has baked and cooled. This flexibility ensures your granola is always exactly how you like it.
The Secret to Perfect Granola Clusters
Many people struggle to achieve those coveted, satisfying clusters in their homemade granola. The good news is, I have a simple, secret step that guarantees perfect little granola clusters every time! It’s all about how you treat a portion of your oats before mixing everything together. This crucial technique creates a binding element that holds the granola together as it bakes, leading to those delightful, chunky pieces we all love. We’ll dive into this key step in the instructions section.
Essential Ingredients for Your Maple Walnut Granola
Crafting delicious maple walnut granola starts with a selection of high-quality, wholesome ingredients. Each component plays a vital role in achieving that perfect balance of crunch, sweetness, and nutty flavor. Here’s a closer look at what you’ll need:
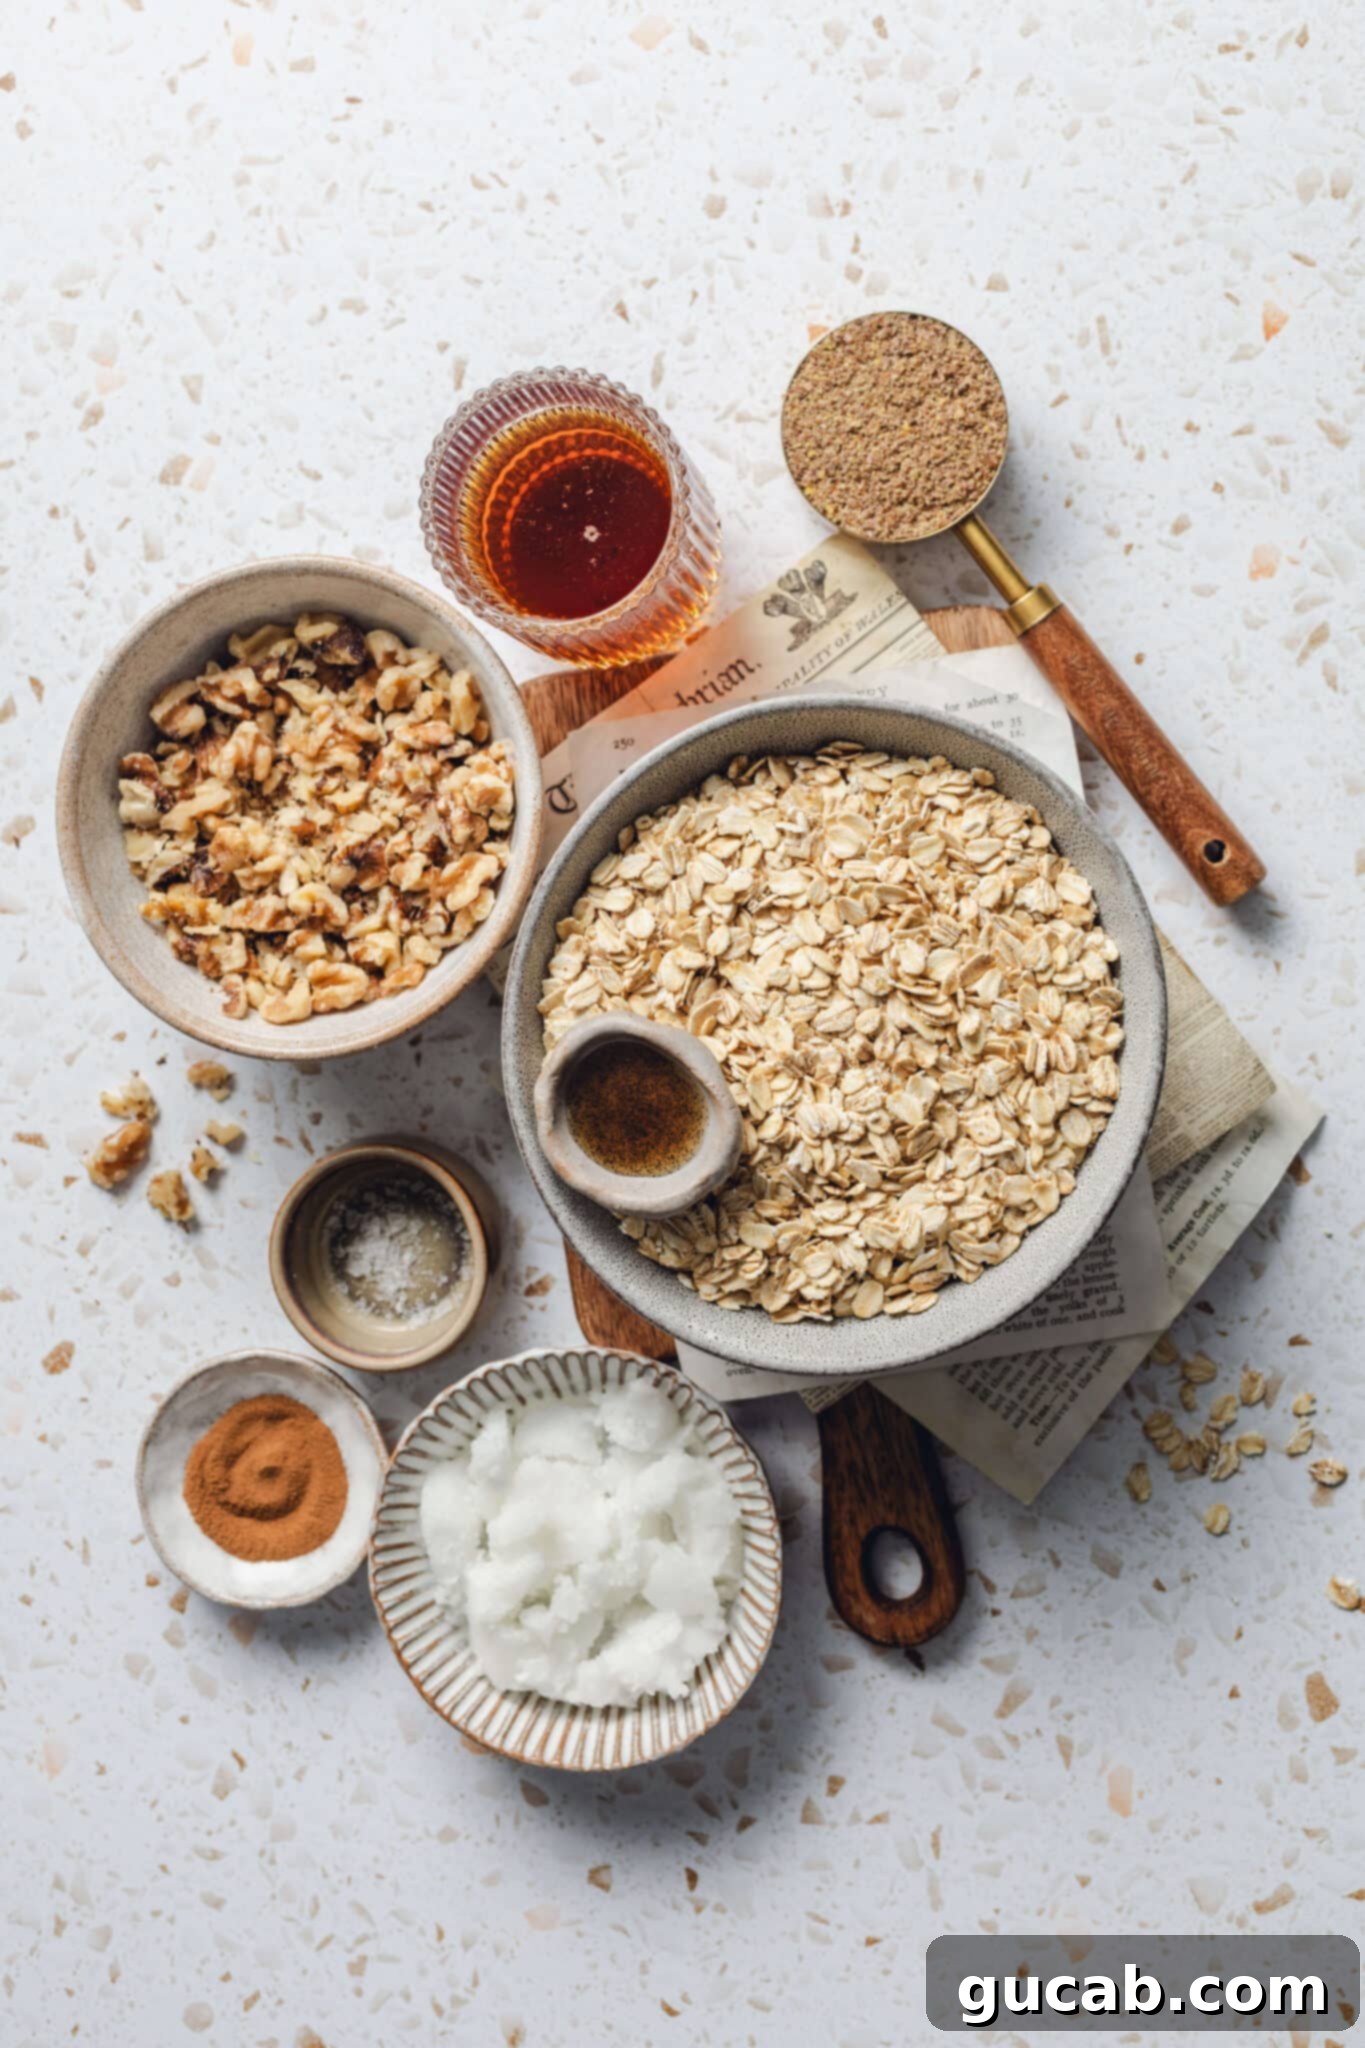
- Old Fashioned Oats: The Heart of Granola
These are the star of our granola! Opt for old-fashioned rolled oats, not quick-cooking or instant oats, as they provide the best texture and don’t turn mushy. I personally love the large bags of organic rolled oats from Costco; they’re often celiac-friendly and offer great value. Their robust structure is essential for that signature granola crunch. - Golden Flax Meal: For Health and Binding
Golden flax meal, such as Bob’s Red Mill brand, is an incredible addition. Made from golden flax seeds, it has a milder, nuttier flavor compared to regular flax meal. Not only does it boost the nutritional profile with healthy omega-3s and fiber, but it also acts as a fantastic binder, helping to form those desired granola clusters. - Cinnamon: Warming Spice & Antioxidant Boost
Cinnamon adds a warm, inviting aroma and a delightful depth of flavor to the granola. If you’re a fan of a stronger spice kick, feel free to increase the amount. Beyond its delicious taste, cinnamon is known for its beneficial plant compounds and powerful antioxidant properties. - Kosher Salt: Flavor Enhancer
A small amount of kosher salt is crucial. It doesn’t make the granola salty but instead enhances and balances the sweetness from the maple syrup, bringing out the best in all the other flavors. Sea salt is also a great alternative. - Walnuts: Crunchy Goodness & Healthy Fats
Walnuts are the perfect complement to maple syrup, offering a rich, earthy flavor and a satisfying crunch. I recommend buying walnut halves and chopping them yourself for optimal freshness, but pre-chopped walnuts work just as well for convenience. They add healthy fats and protein to make the granola more filling. - Coconut Oil: For Crispiness and Flavor
Melted coconut oil is key for achieving that desirable crispy texture in your granola. It also imparts a subtle, pleasant tropical hint that pairs wonderfully with maple. If you’re not a fan of coconut flavor, you can use refined coconut oil, which is flavorless, or a neutral oil like avocado oil. - Pure Maple Syrup: Nature’s Sweetener
This is our primary sweetener, providing a rich, complex flavor that is far superior to refined sugars. Maple syrup is a natural sweetener with minerals and antioxidants. While it can be a bit pricier, always compare the price per ounce to ensure you’re getting the best deal. It’s worth the investment for the authentic flavor it brings. - Vanilla Extract: A Touch of Aromatic Sweetness
Just a hint of pure vanilla extract rounds out the flavors, adding a comforting, aromatic essence that elevates the overall taste of your granola.
Step-by-Step: Crafting Your Maple Walnut Granola
Making this granola is surprisingly simple, and you have complete control over how many delightful clusters you end up with. Follow these easy steps for a batch of the best homemade granola you’ve ever tasted!
Before you begin, make sure to preheat your oven to 300 degrees Fahrenheit (150 degrees Celsius). Line a large baking sheet with parchment paper or a silicone baking mat. This prevents sticking and makes cleanup a breeze.
- Step 1: The Cluster Secret! Pulse the Oats.
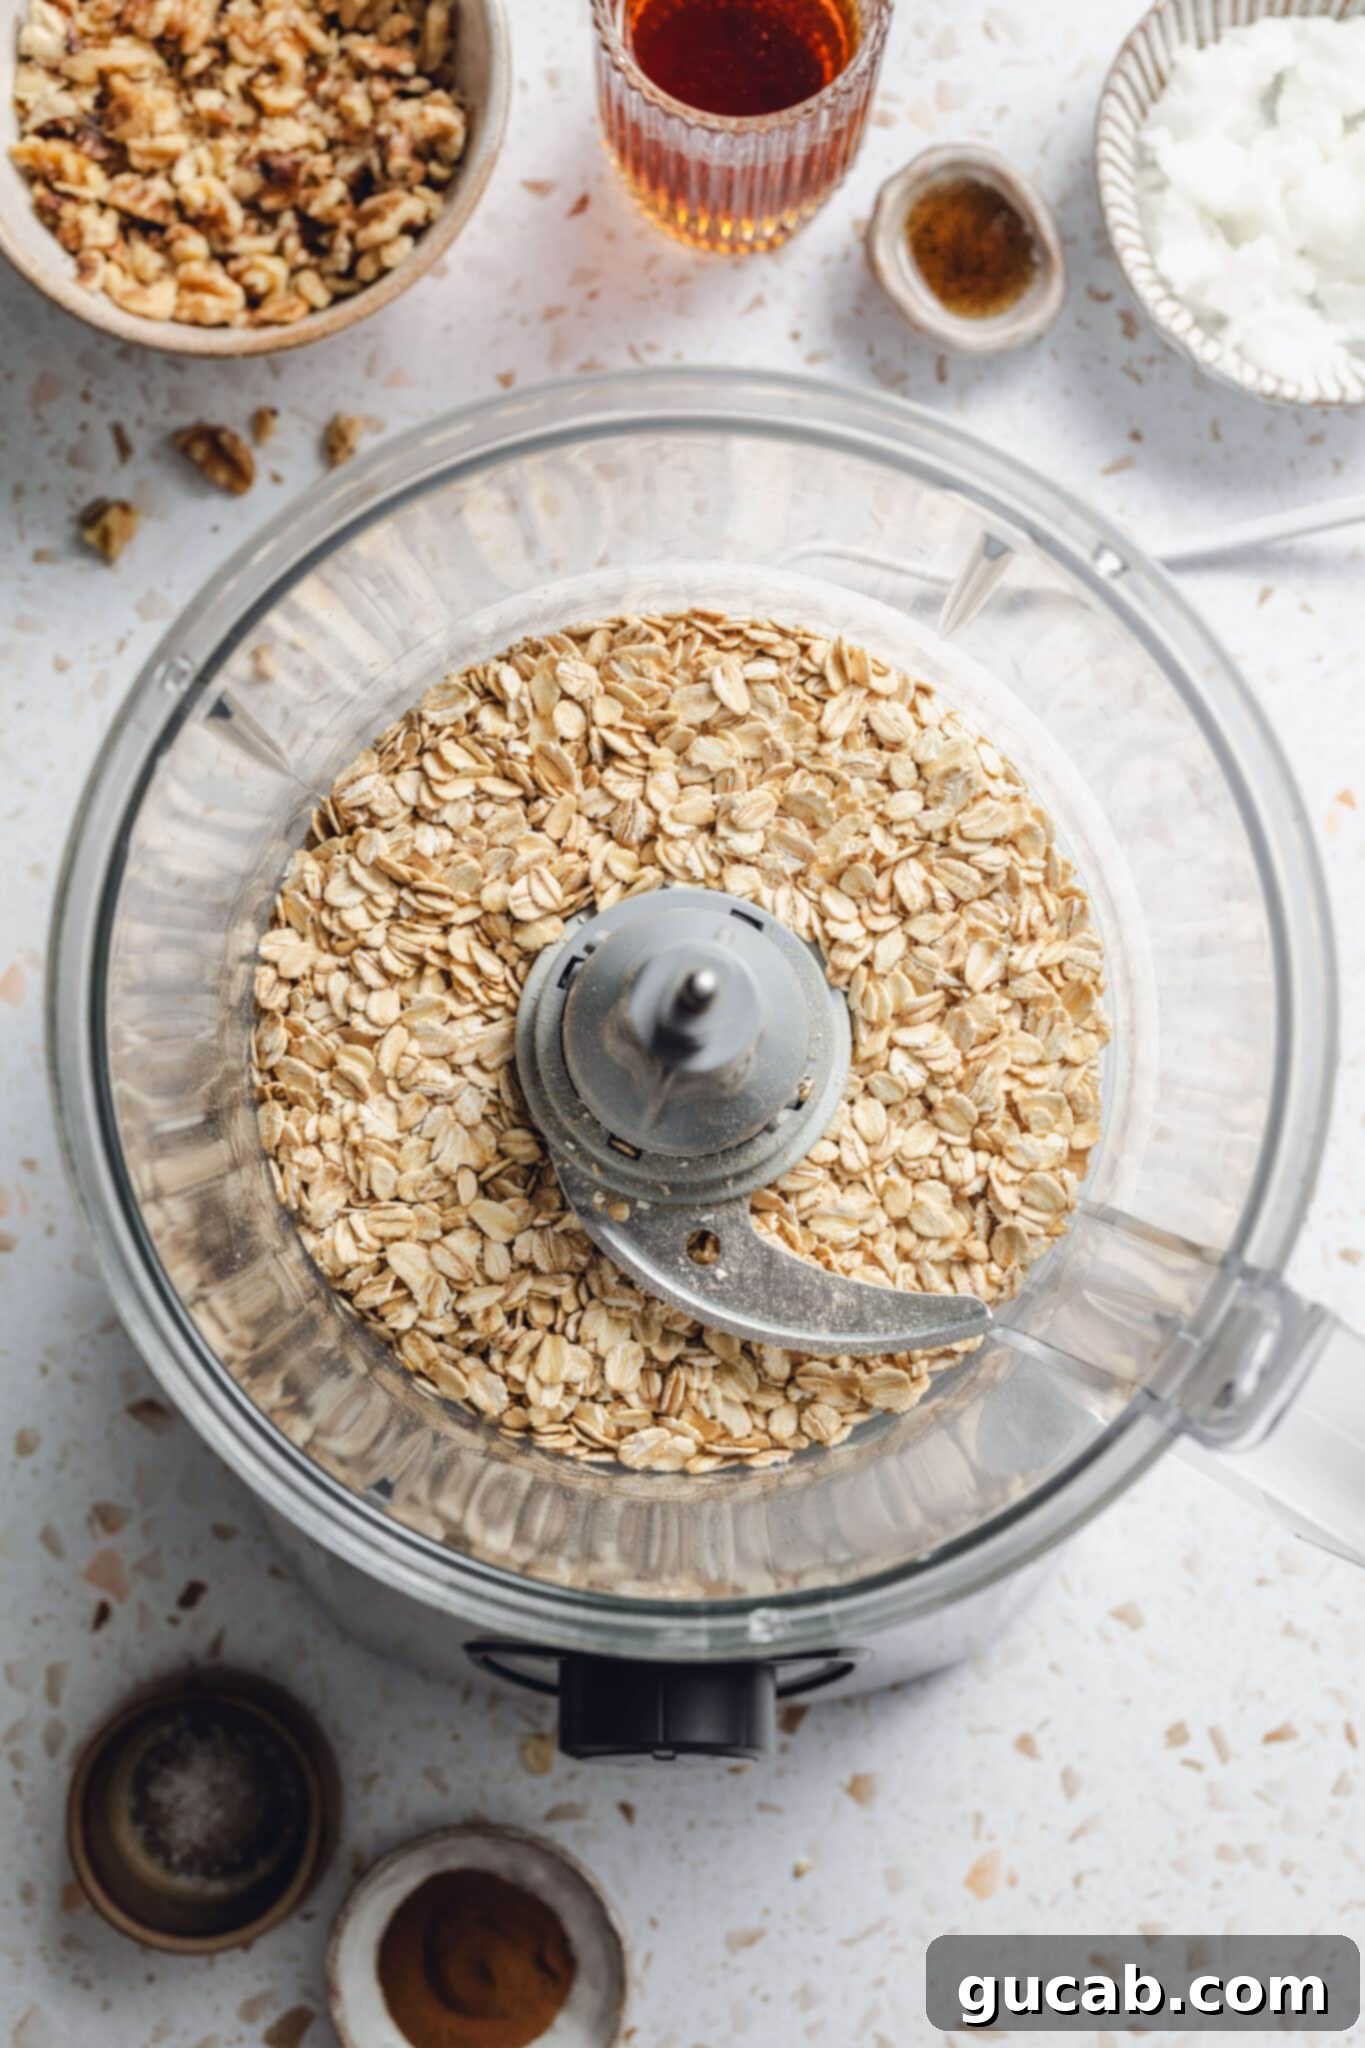
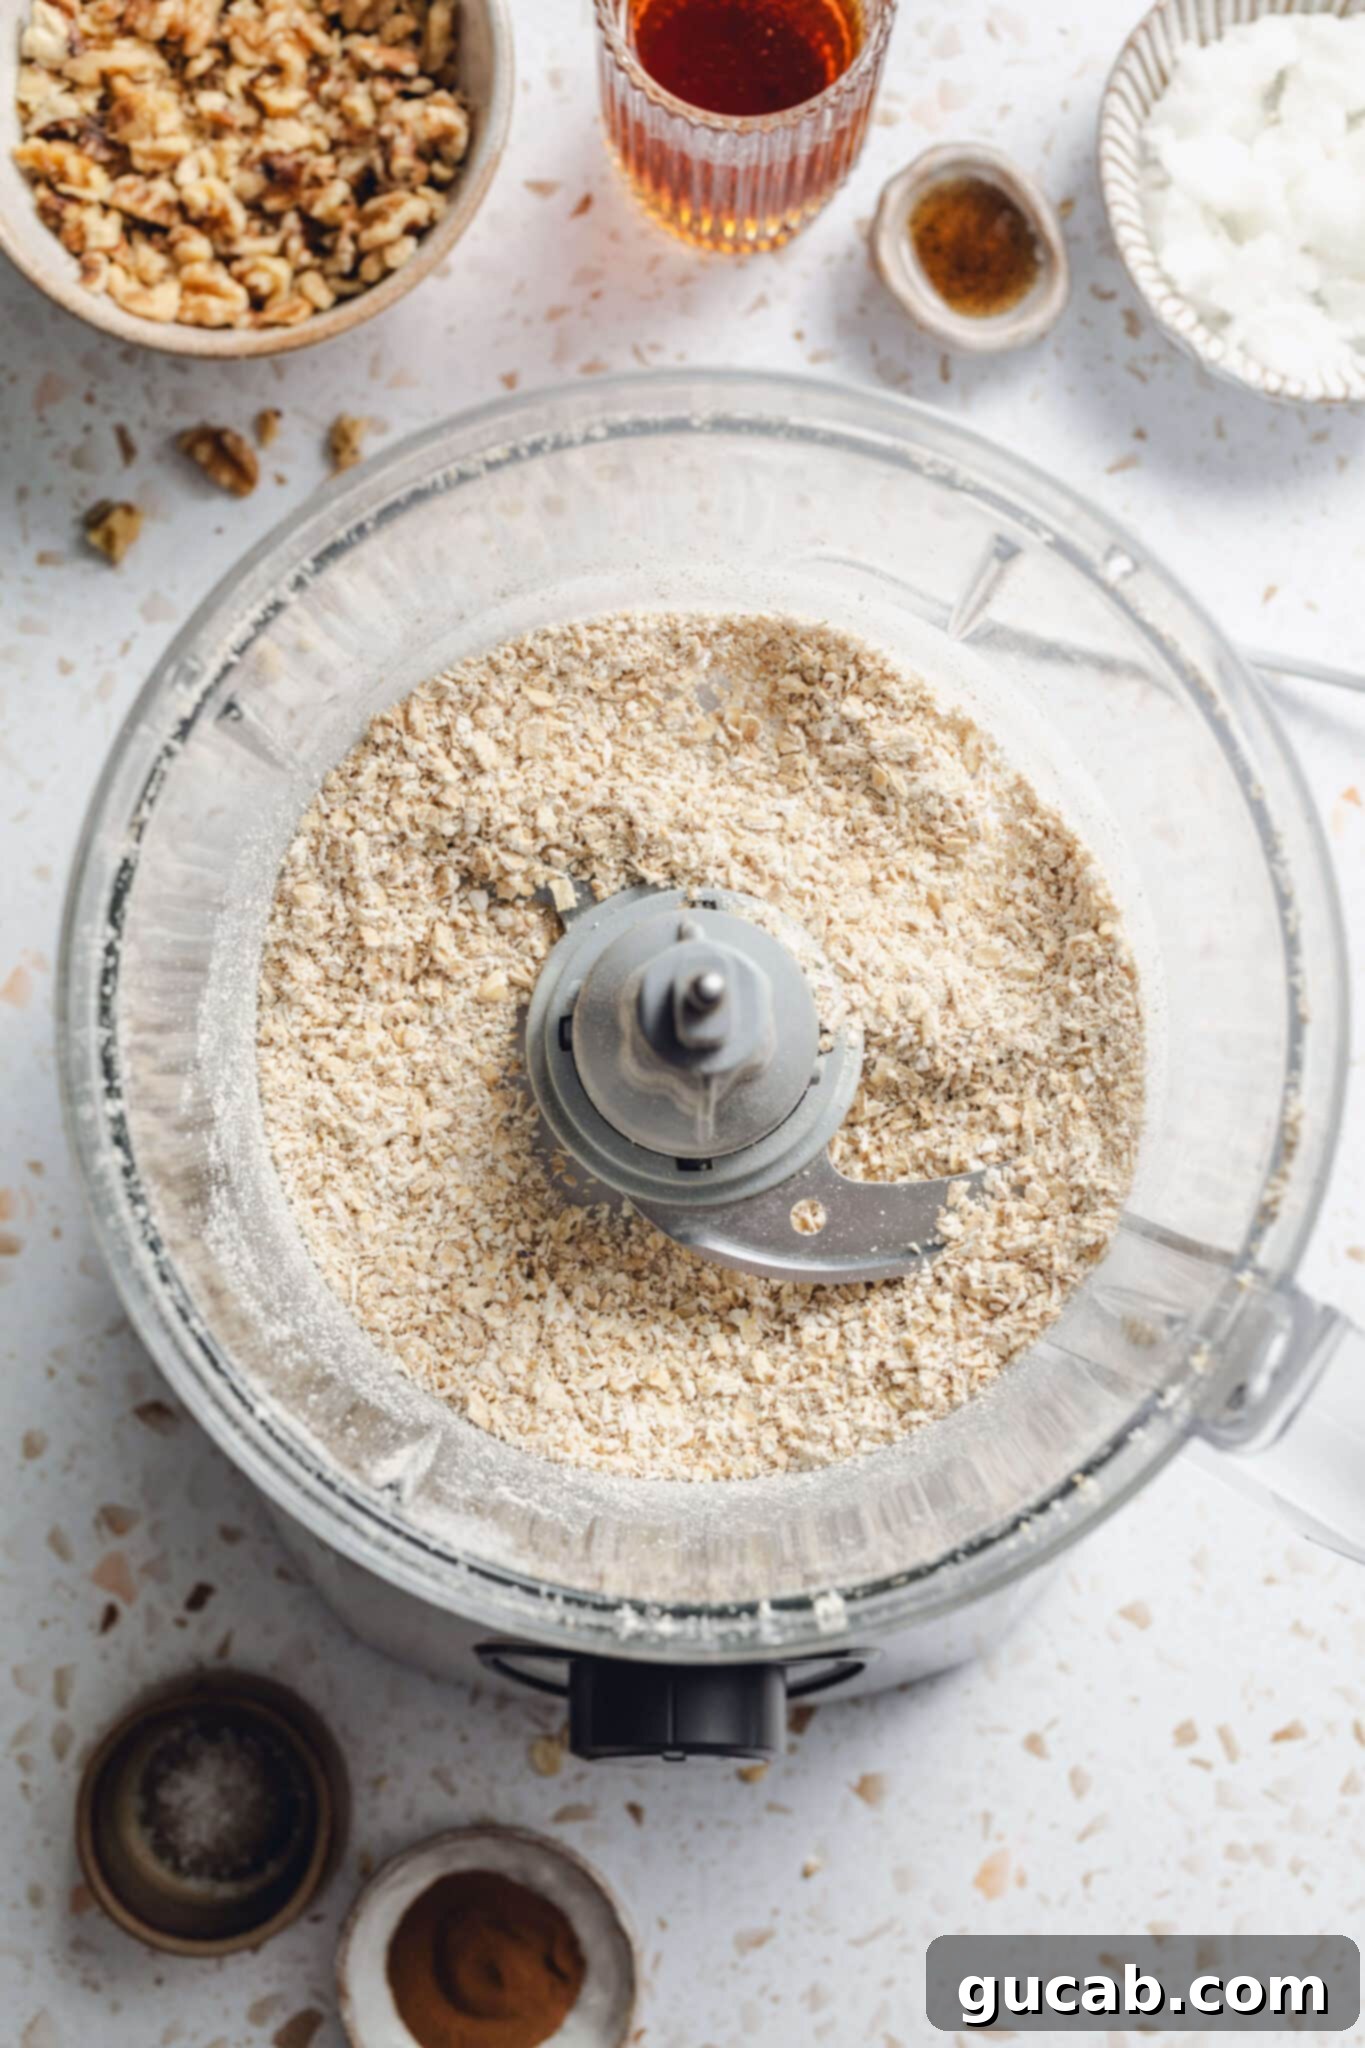
This is the crucial first step for achieving those amazing clusters. Take ¾ cup of your old-fashioned oats and add them to a food processor. Pulse them until they are finely ground, but be careful not to over-process them into a flour-like consistency. You want them to be a bit coarse, like a fine meal, which will act as a binder.
- Step 2: Combine Dry Ingredients.
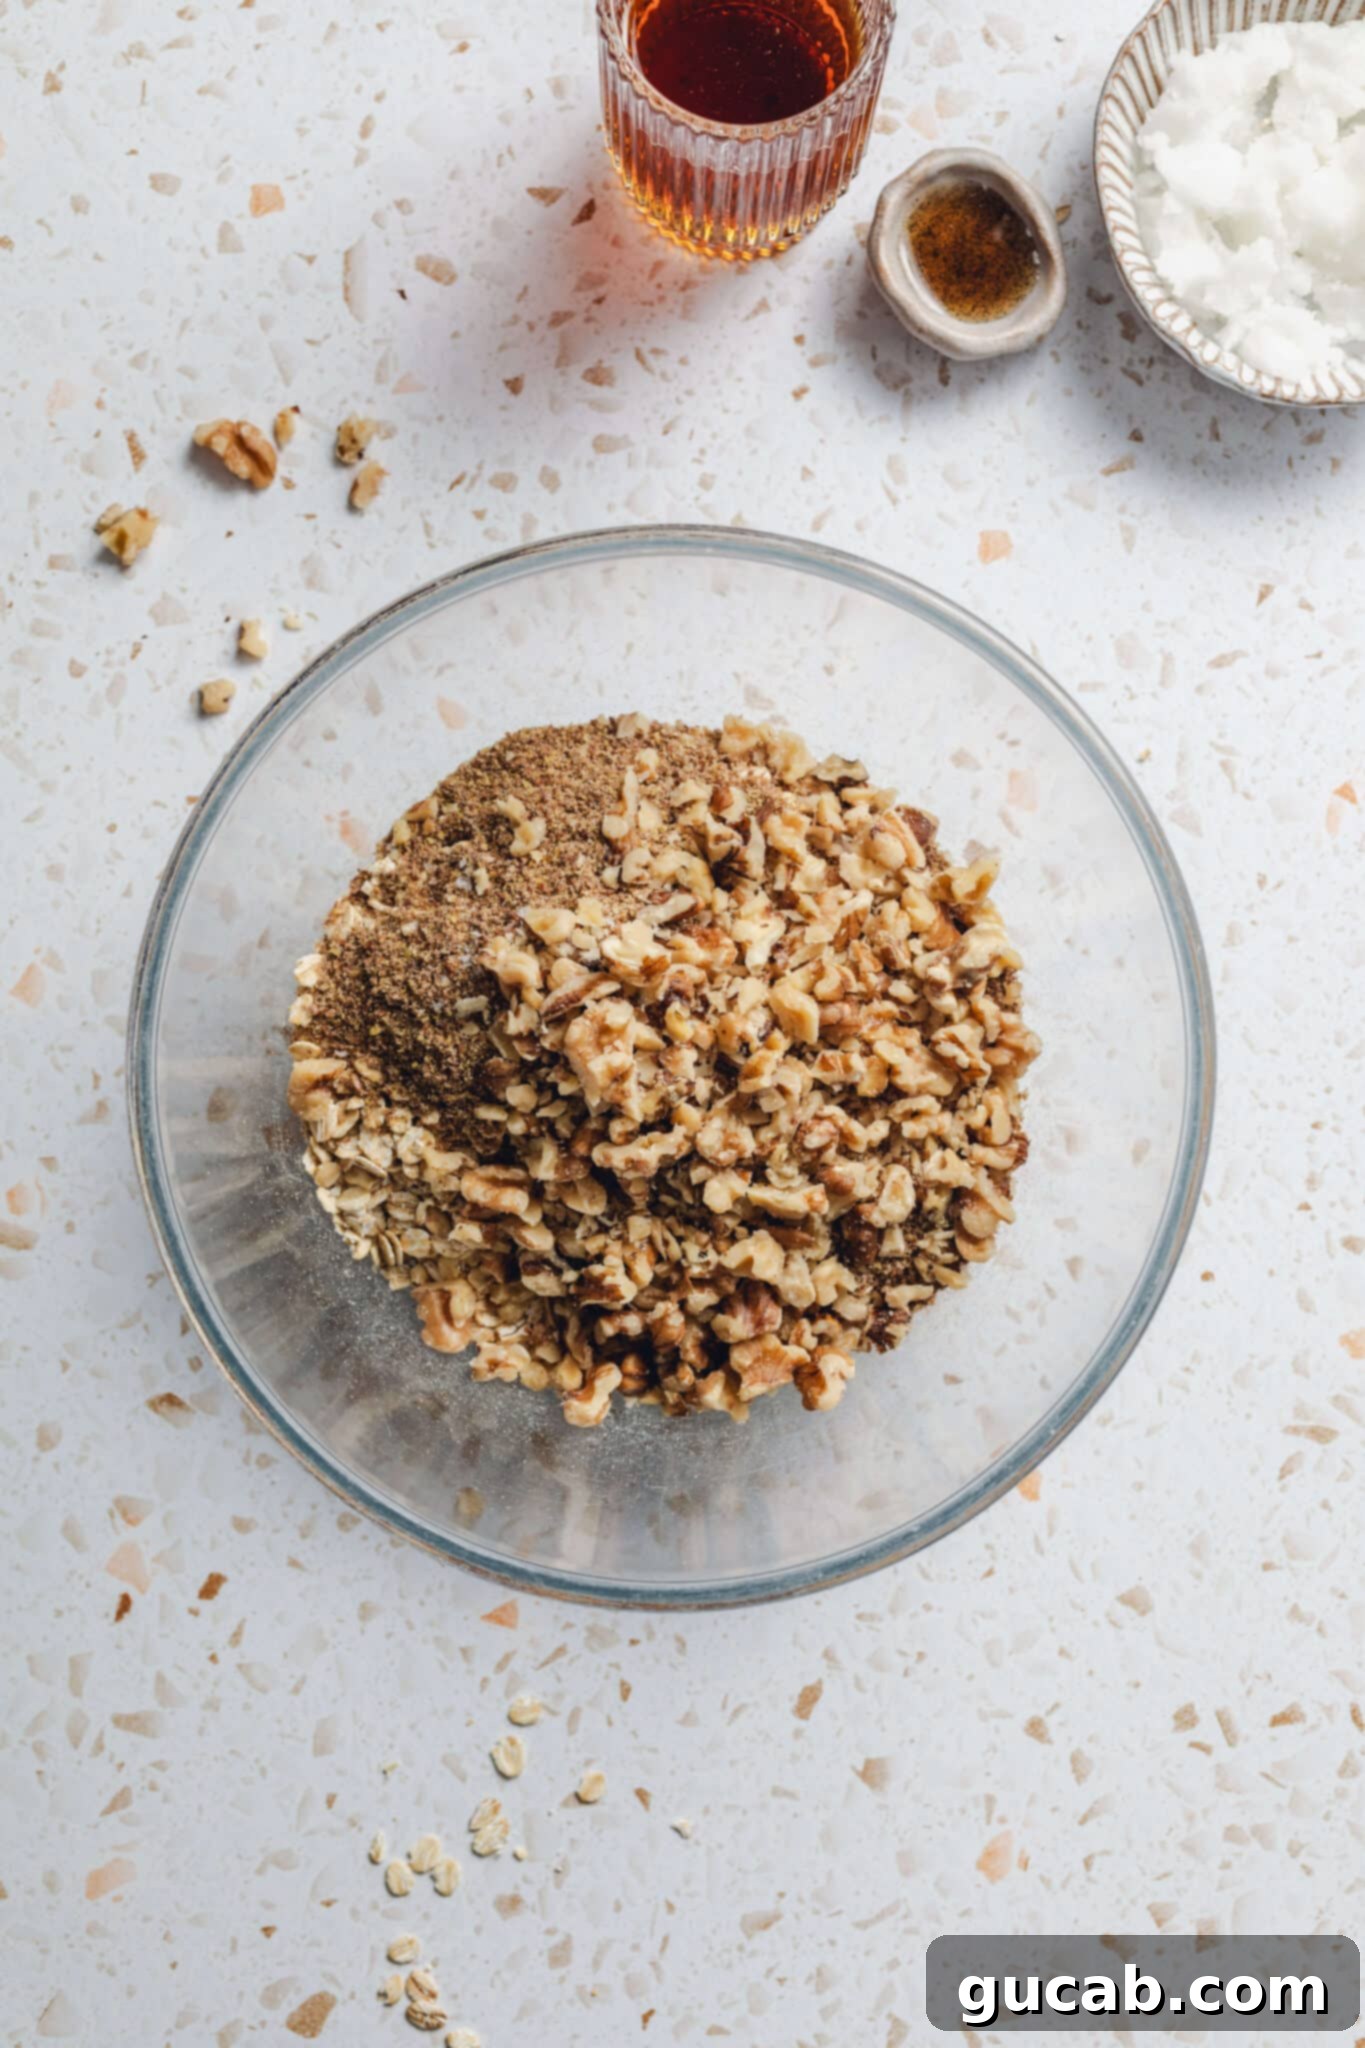
In a large mixing bowl, combine all the dry ingredients: the finely ground oats from the food processor, the remaining whole old-fashioned oats, golden flax meal, cinnamon, kosher salt, and your chopped walnuts. Stir these ingredients thoroughly with a spoon or whisk until they are well combined. - Step 3: Prepare Wet Ingredients.
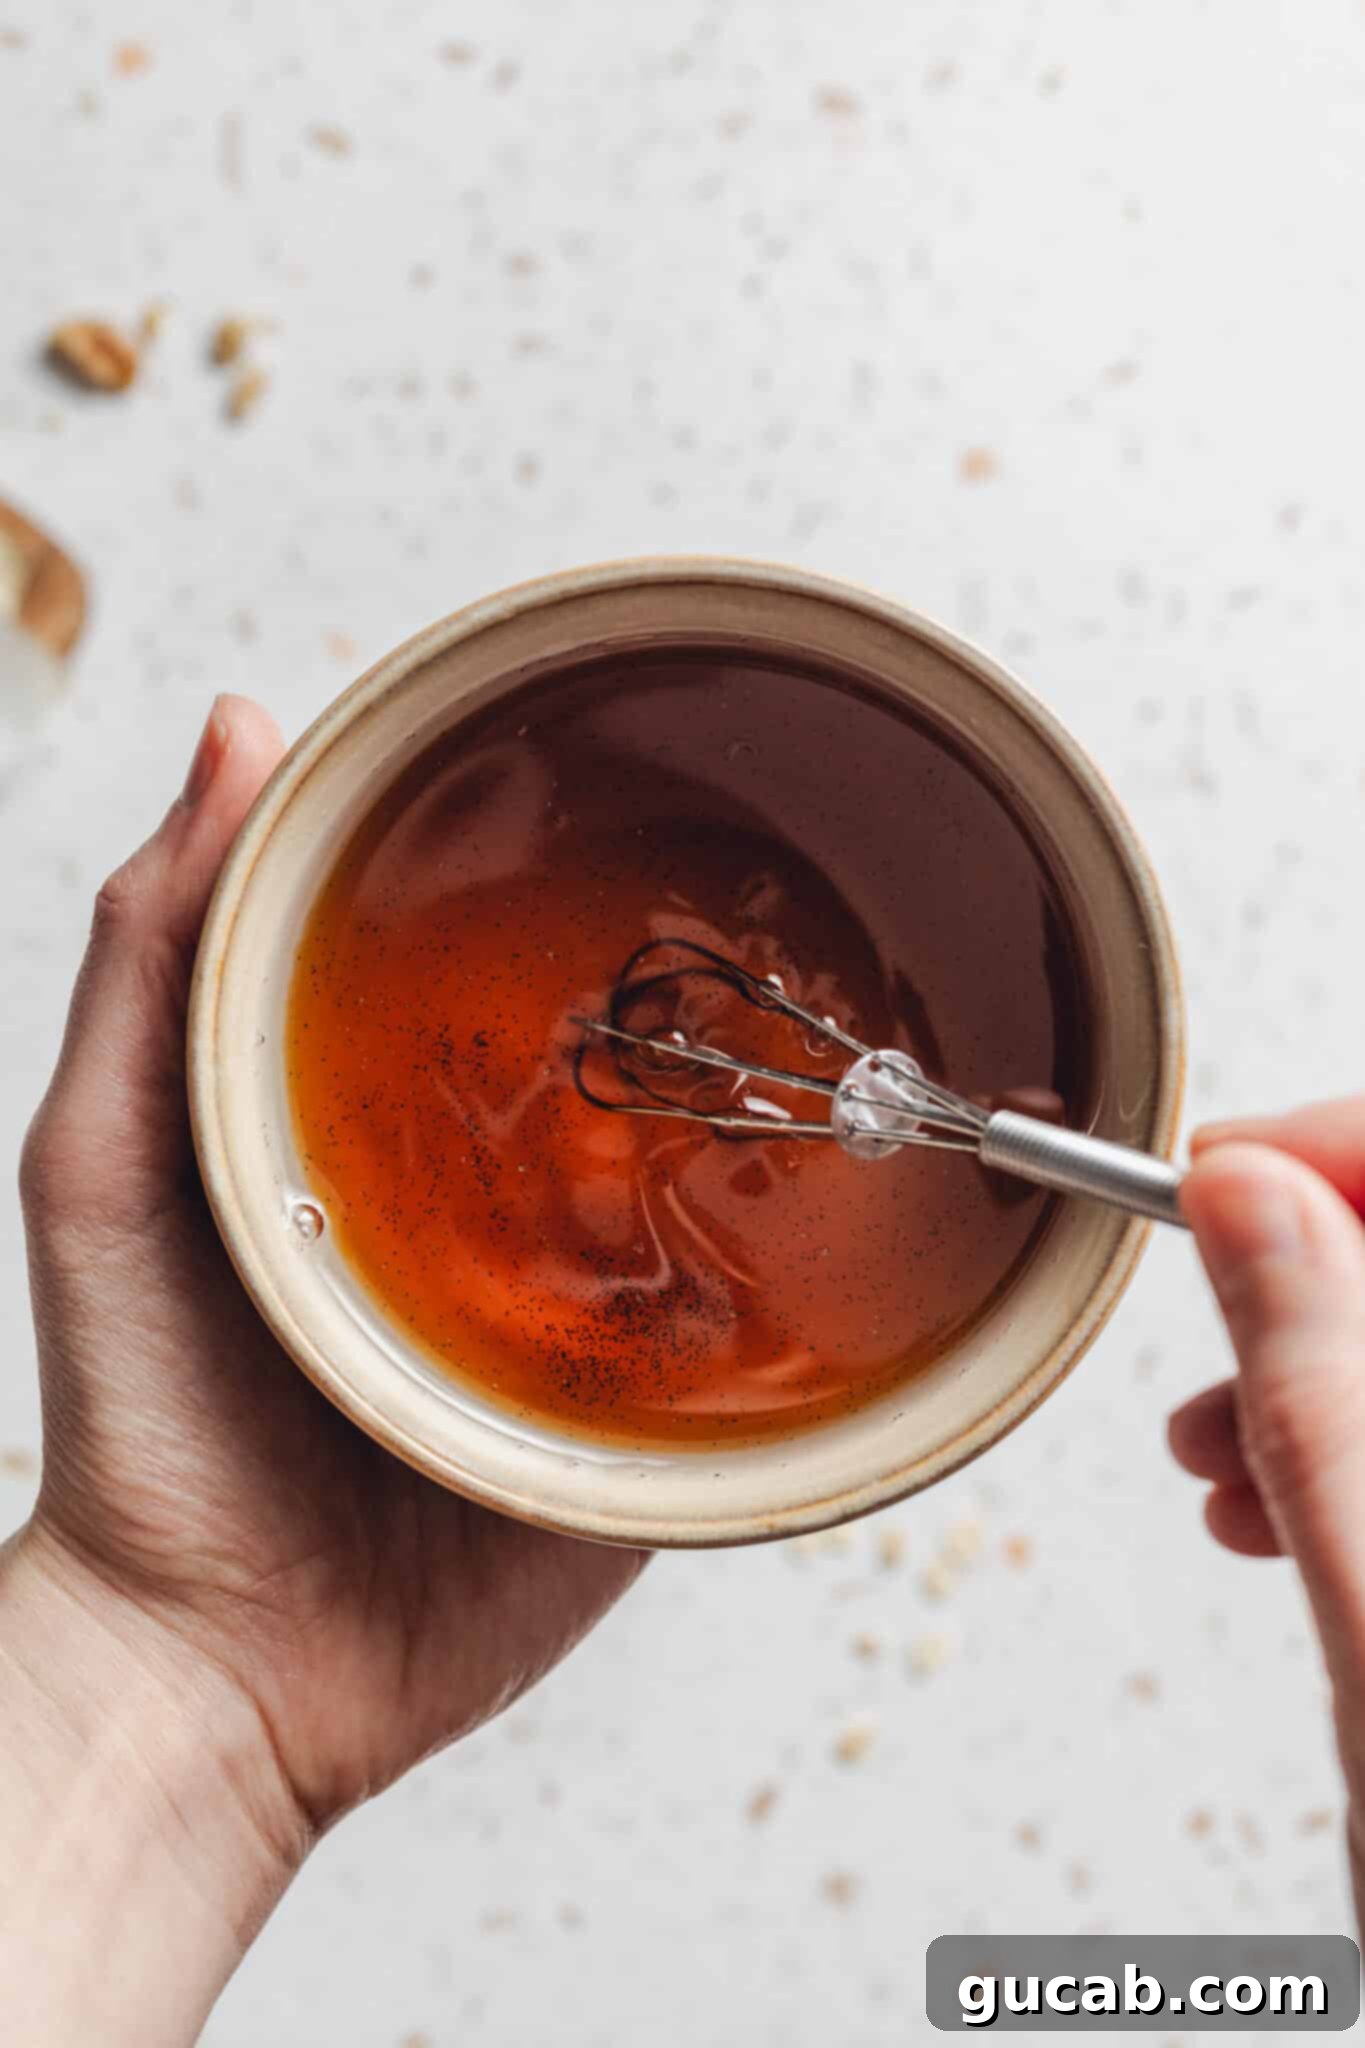
In a separate, heatproof bowl (or directly in a microwave-safe measuring cup), melt the coconut oil. You can do this in the microwave in short bursts, stirring occasionally. Once melted, stir in the pure maple syrup and vanilla extract until well blended.
- Step 4: Combine Wet and Dry.
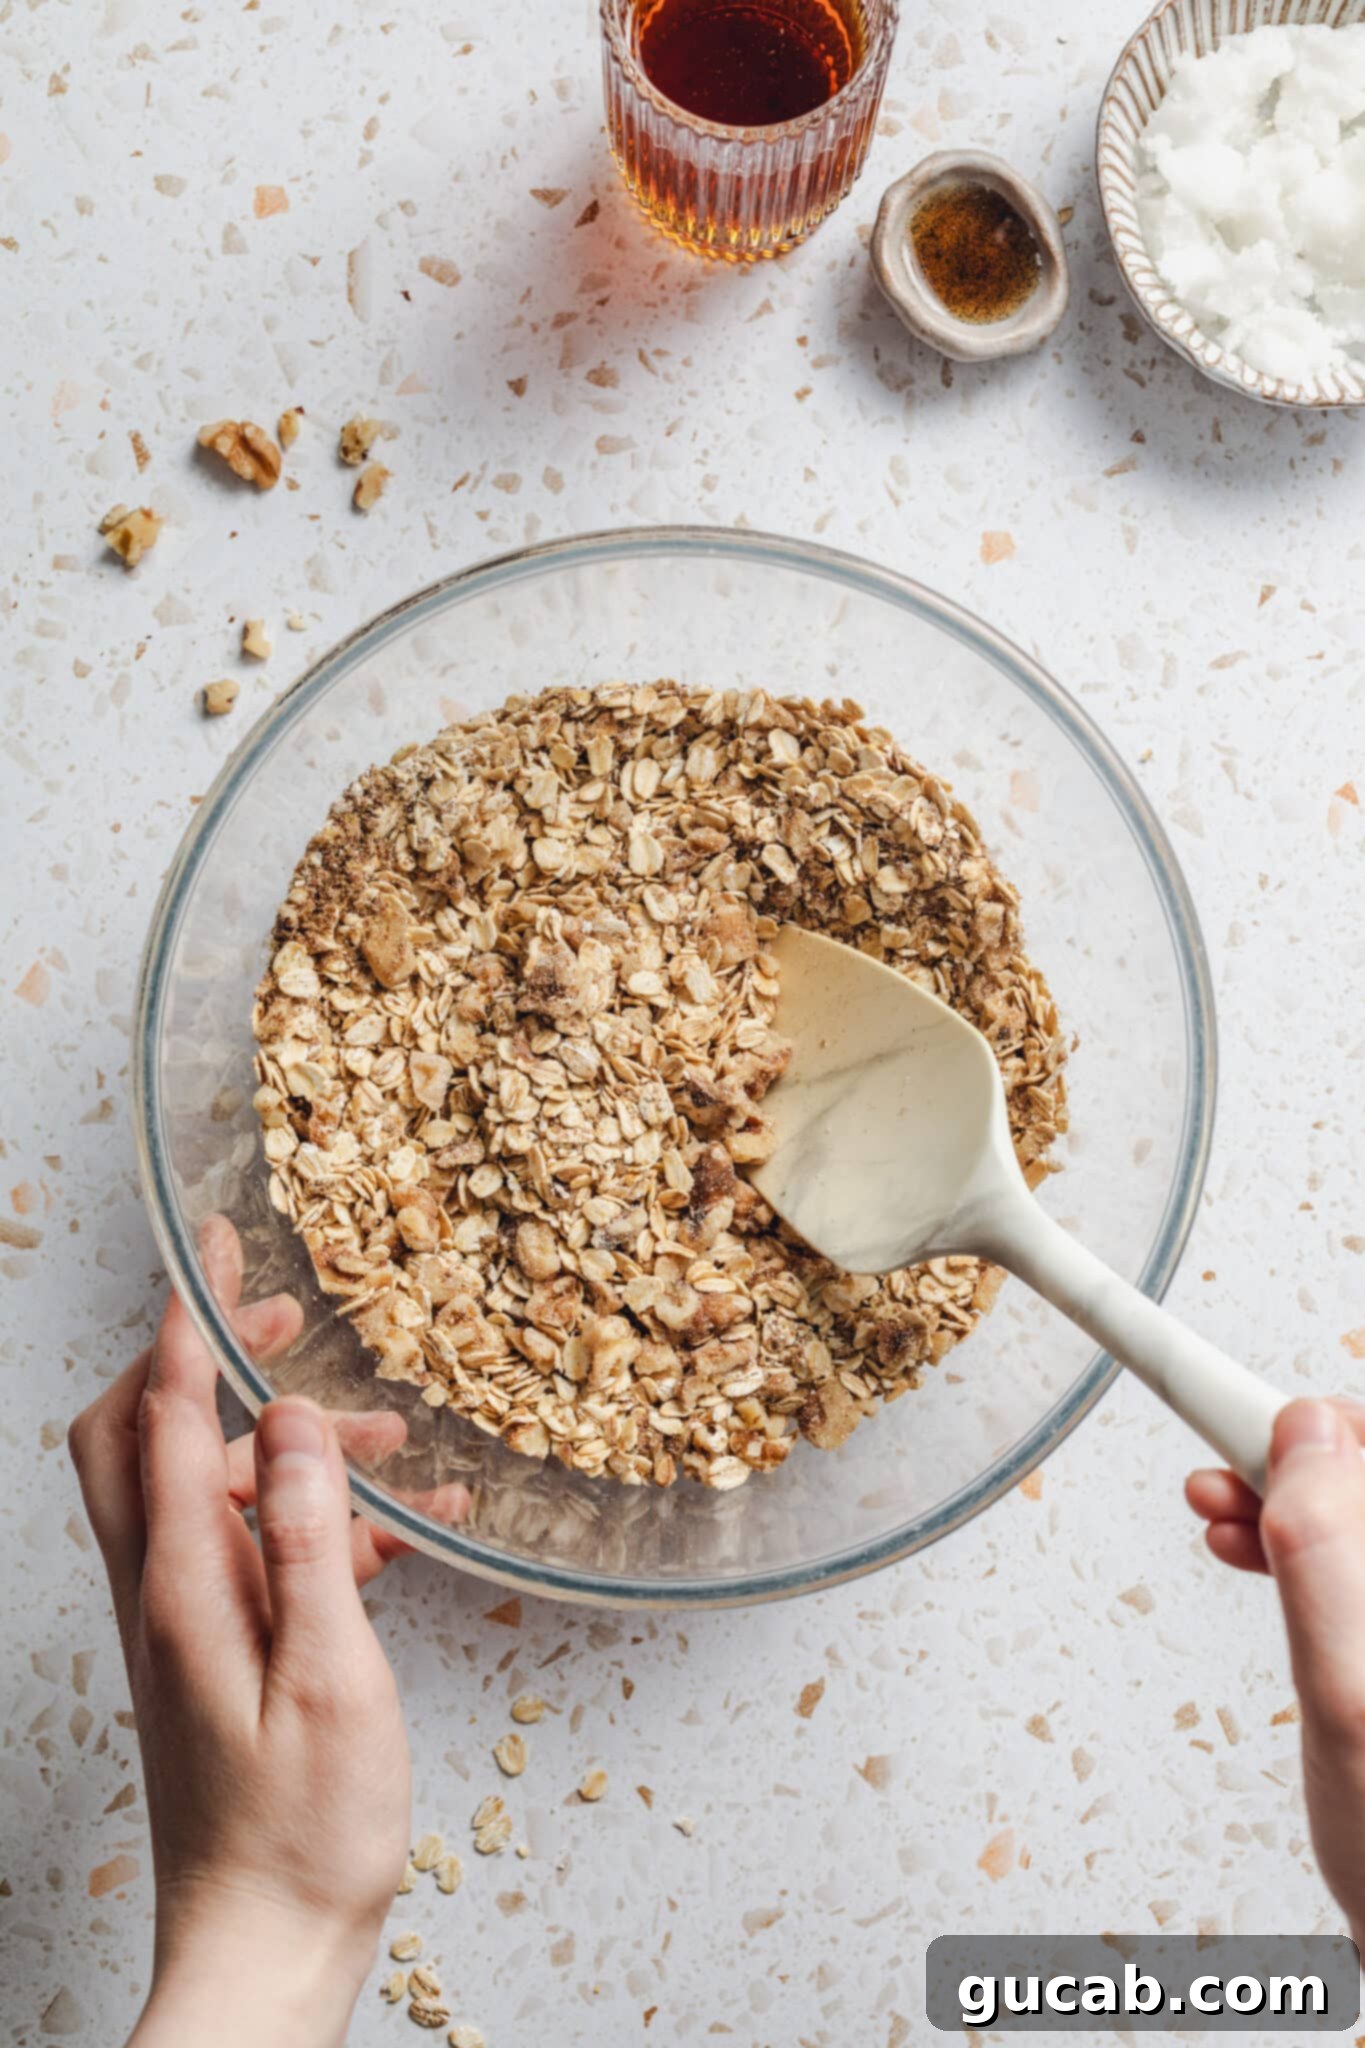
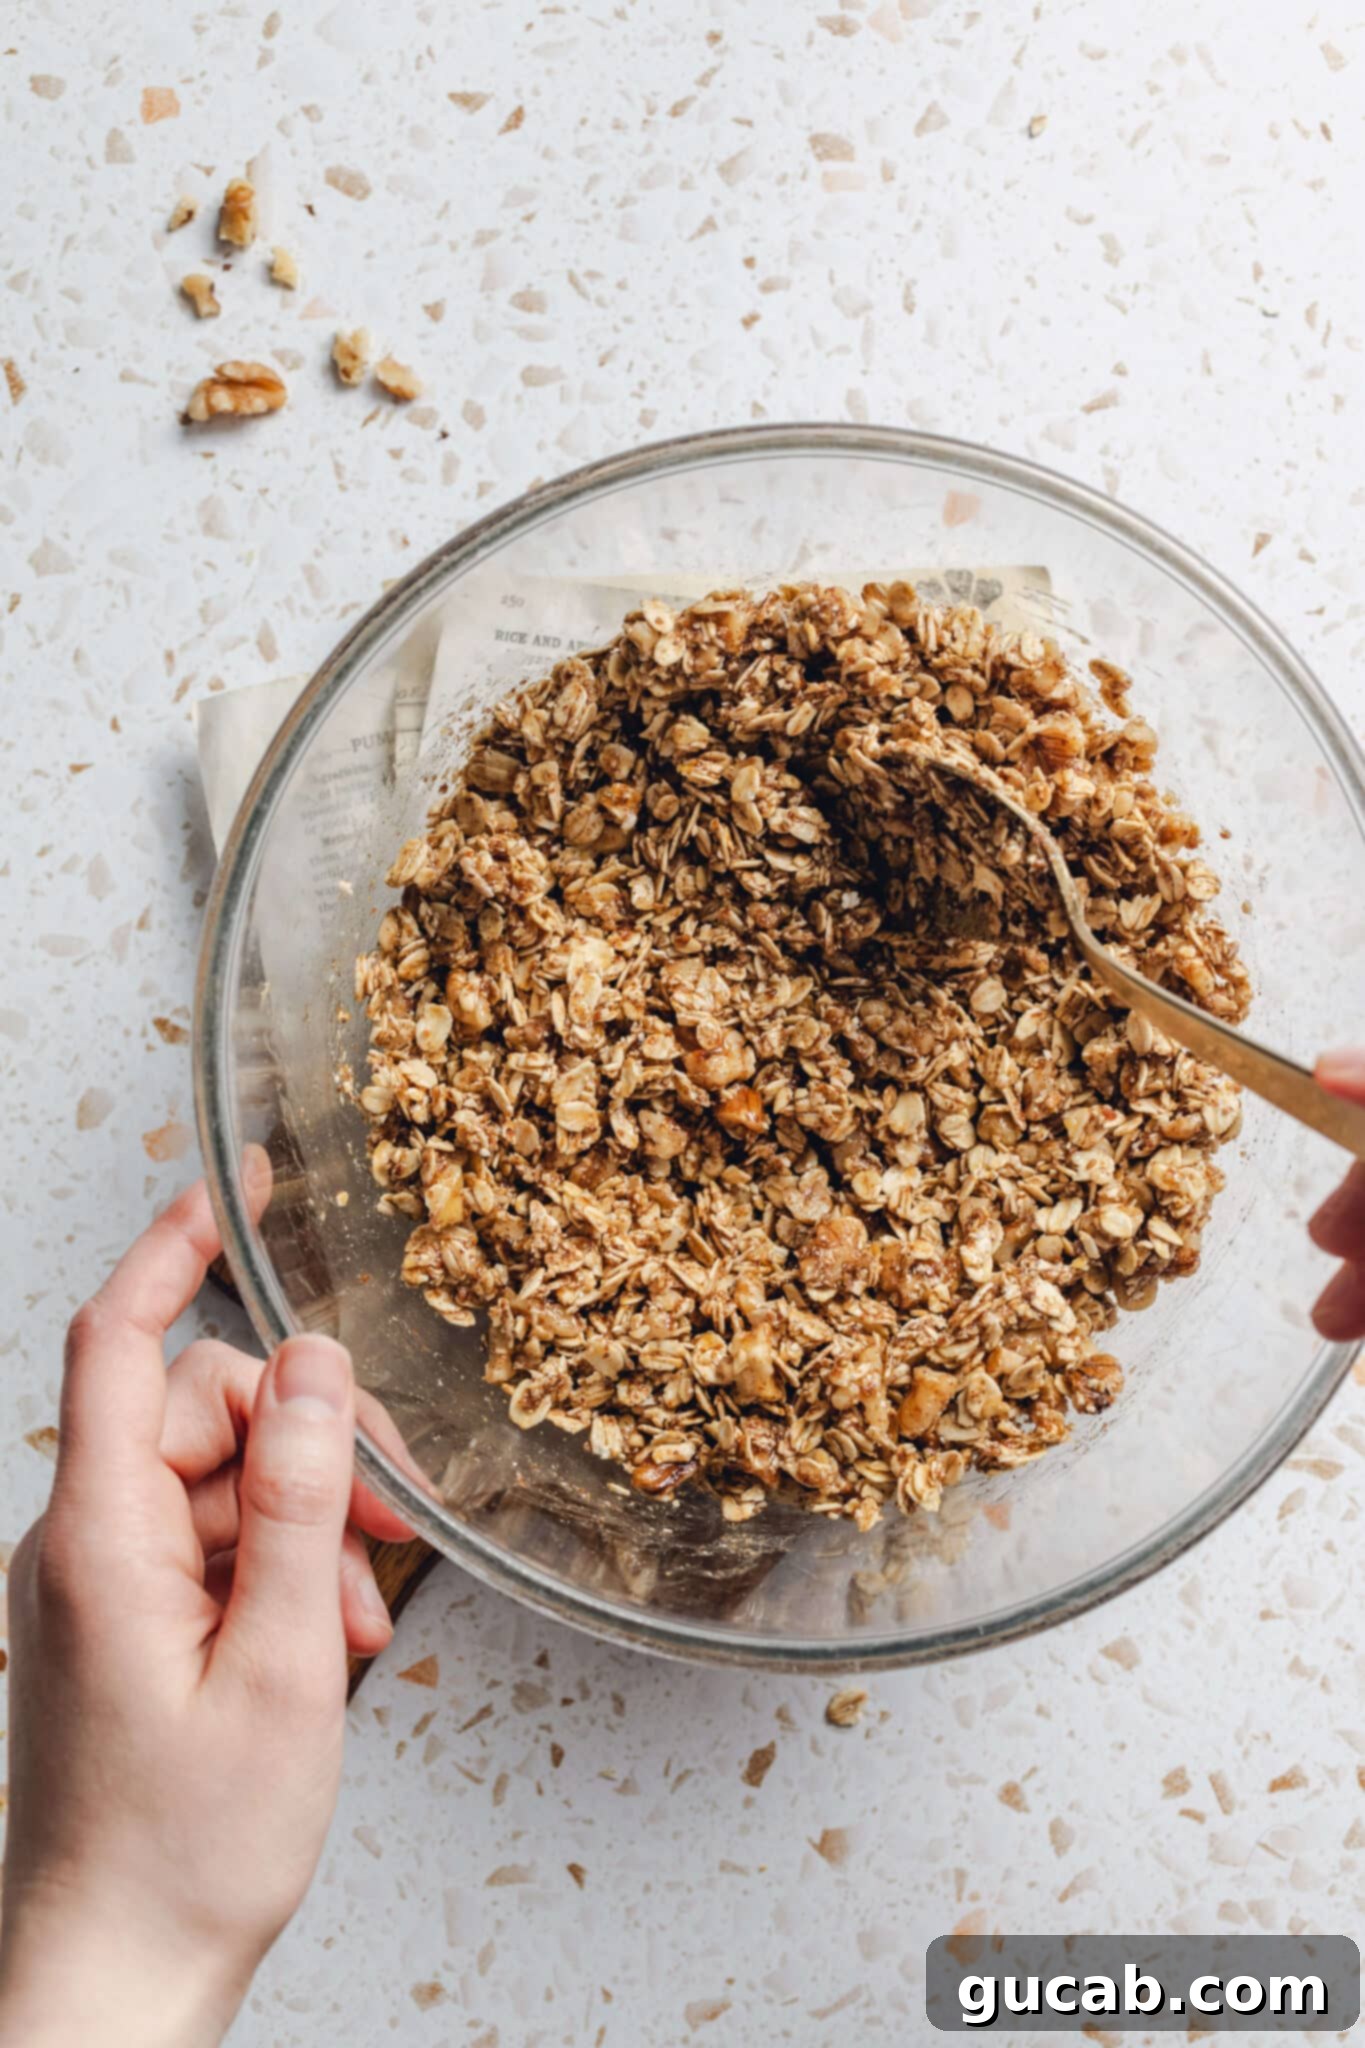
Pour the liquid mixture over the dry oat and walnut mixture in the large bowl. Use clean hands or a sturdy large spoon to thoroughly stir until all the dry ingredients are wet and evenly coated. Ensure no dry spots remain, as proper coating is essential for crispness and clusters. - Step 5: Spread and Press.
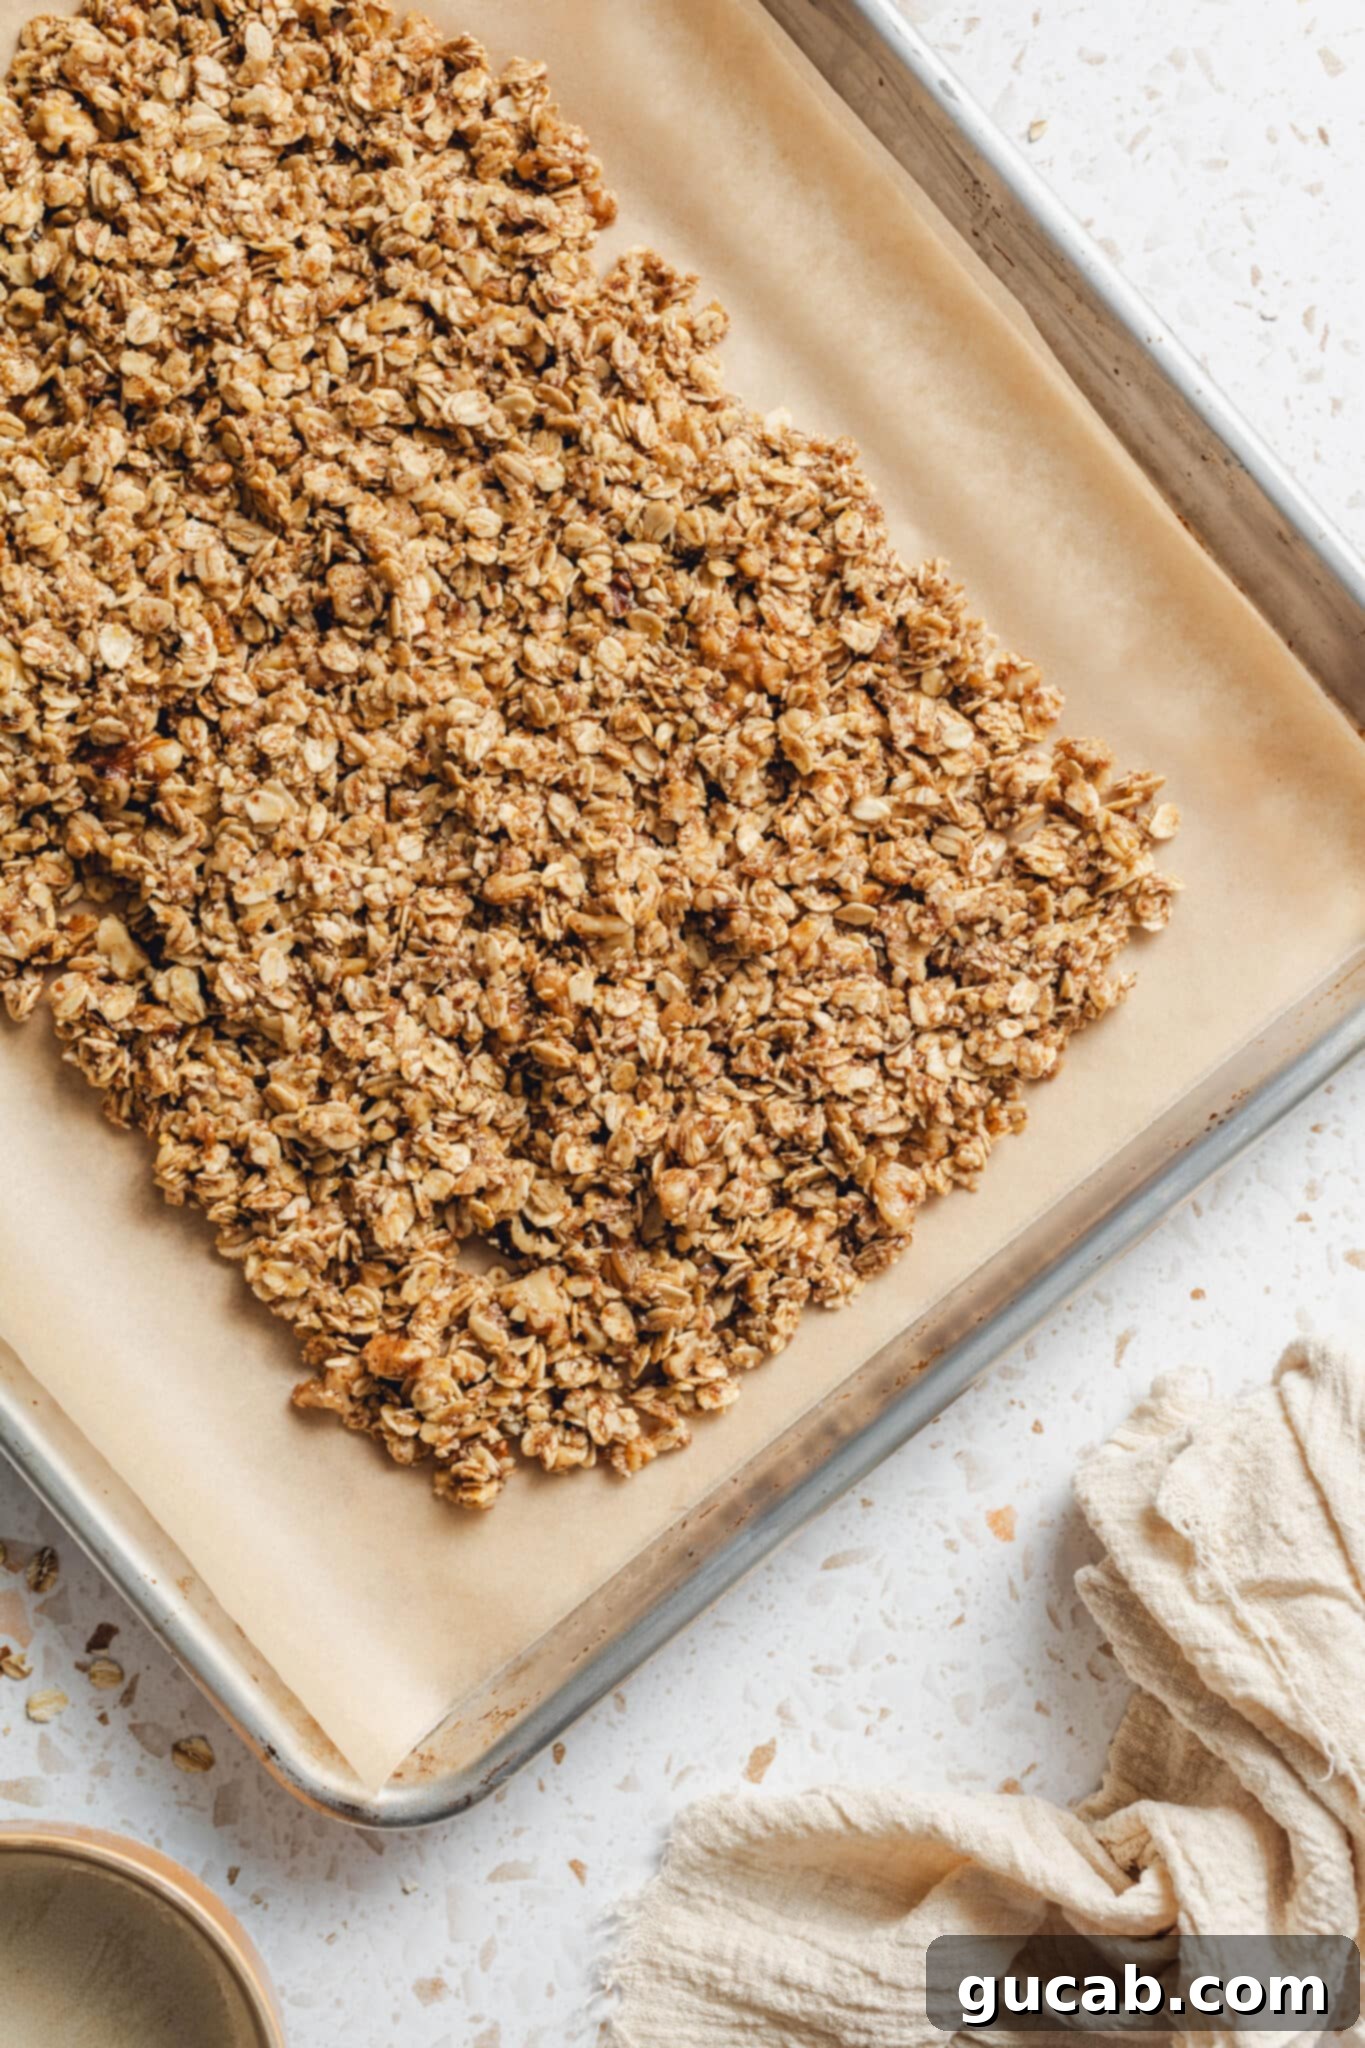
Transfer the granola mixture onto your prepared baking sheet. Using your hands or the back of a spoon, gently but firmly press the mixture down into an even layer, about ½ inch thick. It’s important that the granola is somewhat compacted and touching itself, rather than spread too thinly, to encourage the formation of clusters during baking. It won’t fill the entire pan, and that’s perfectly fine.
- Step 6: Bake to Golden Perfection.
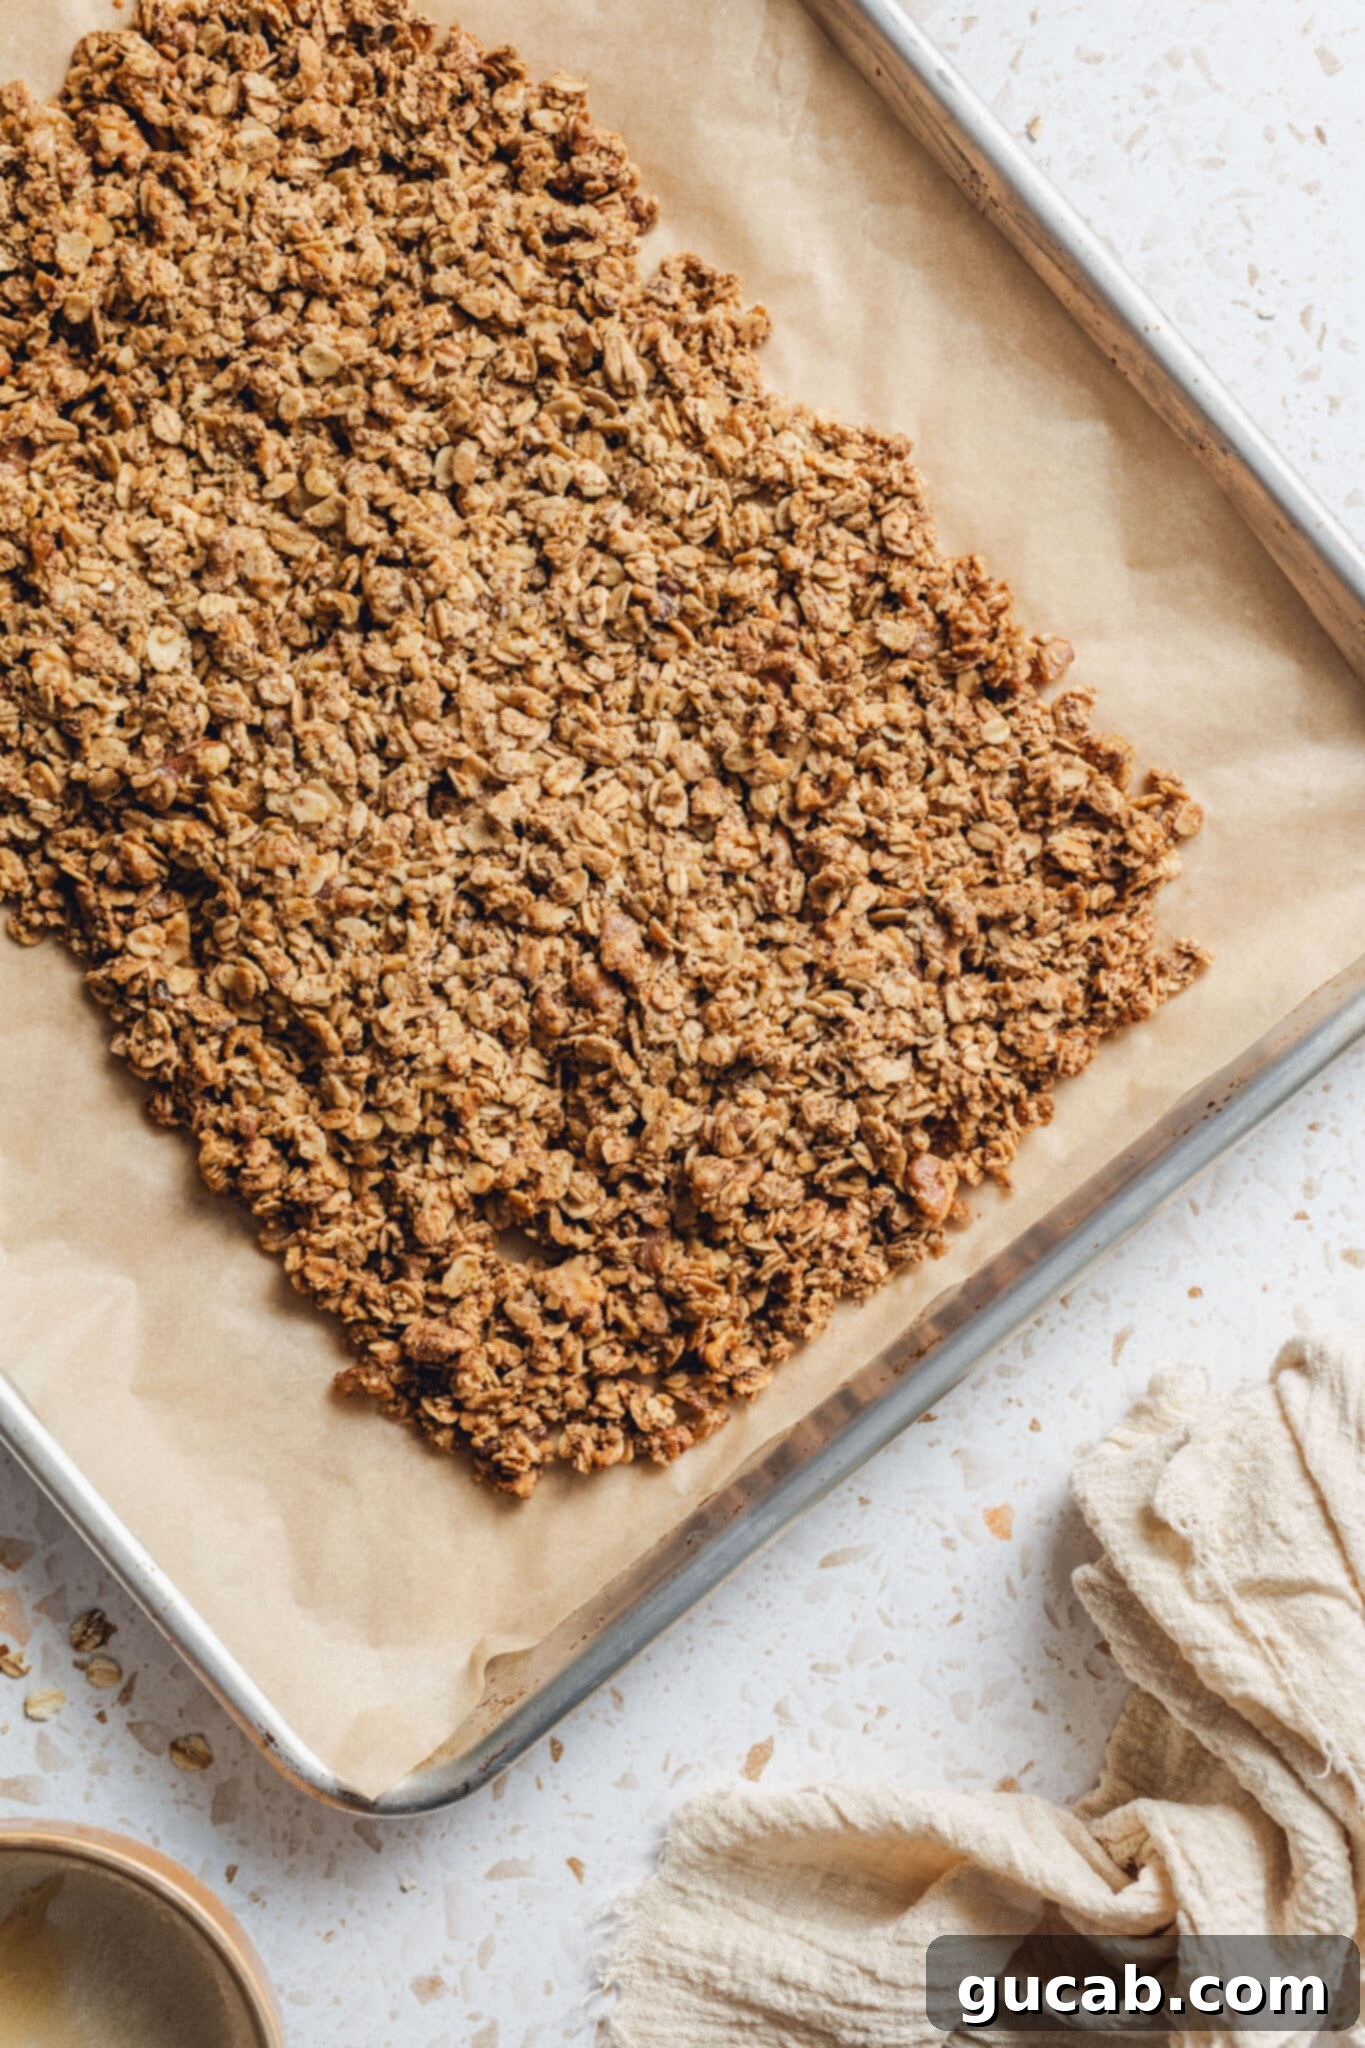
Place the baking sheet in the preheated oven. Bake for 20 minutes, then carefully rotate the pan 180 degrees for even baking. Continue baking for another 25 minutes, or until the granola is golden brown and appears dry. Keep an eye on it to prevent burning, as oven temperatures can vary. - Step 7: Cool for Bigger Clusters.
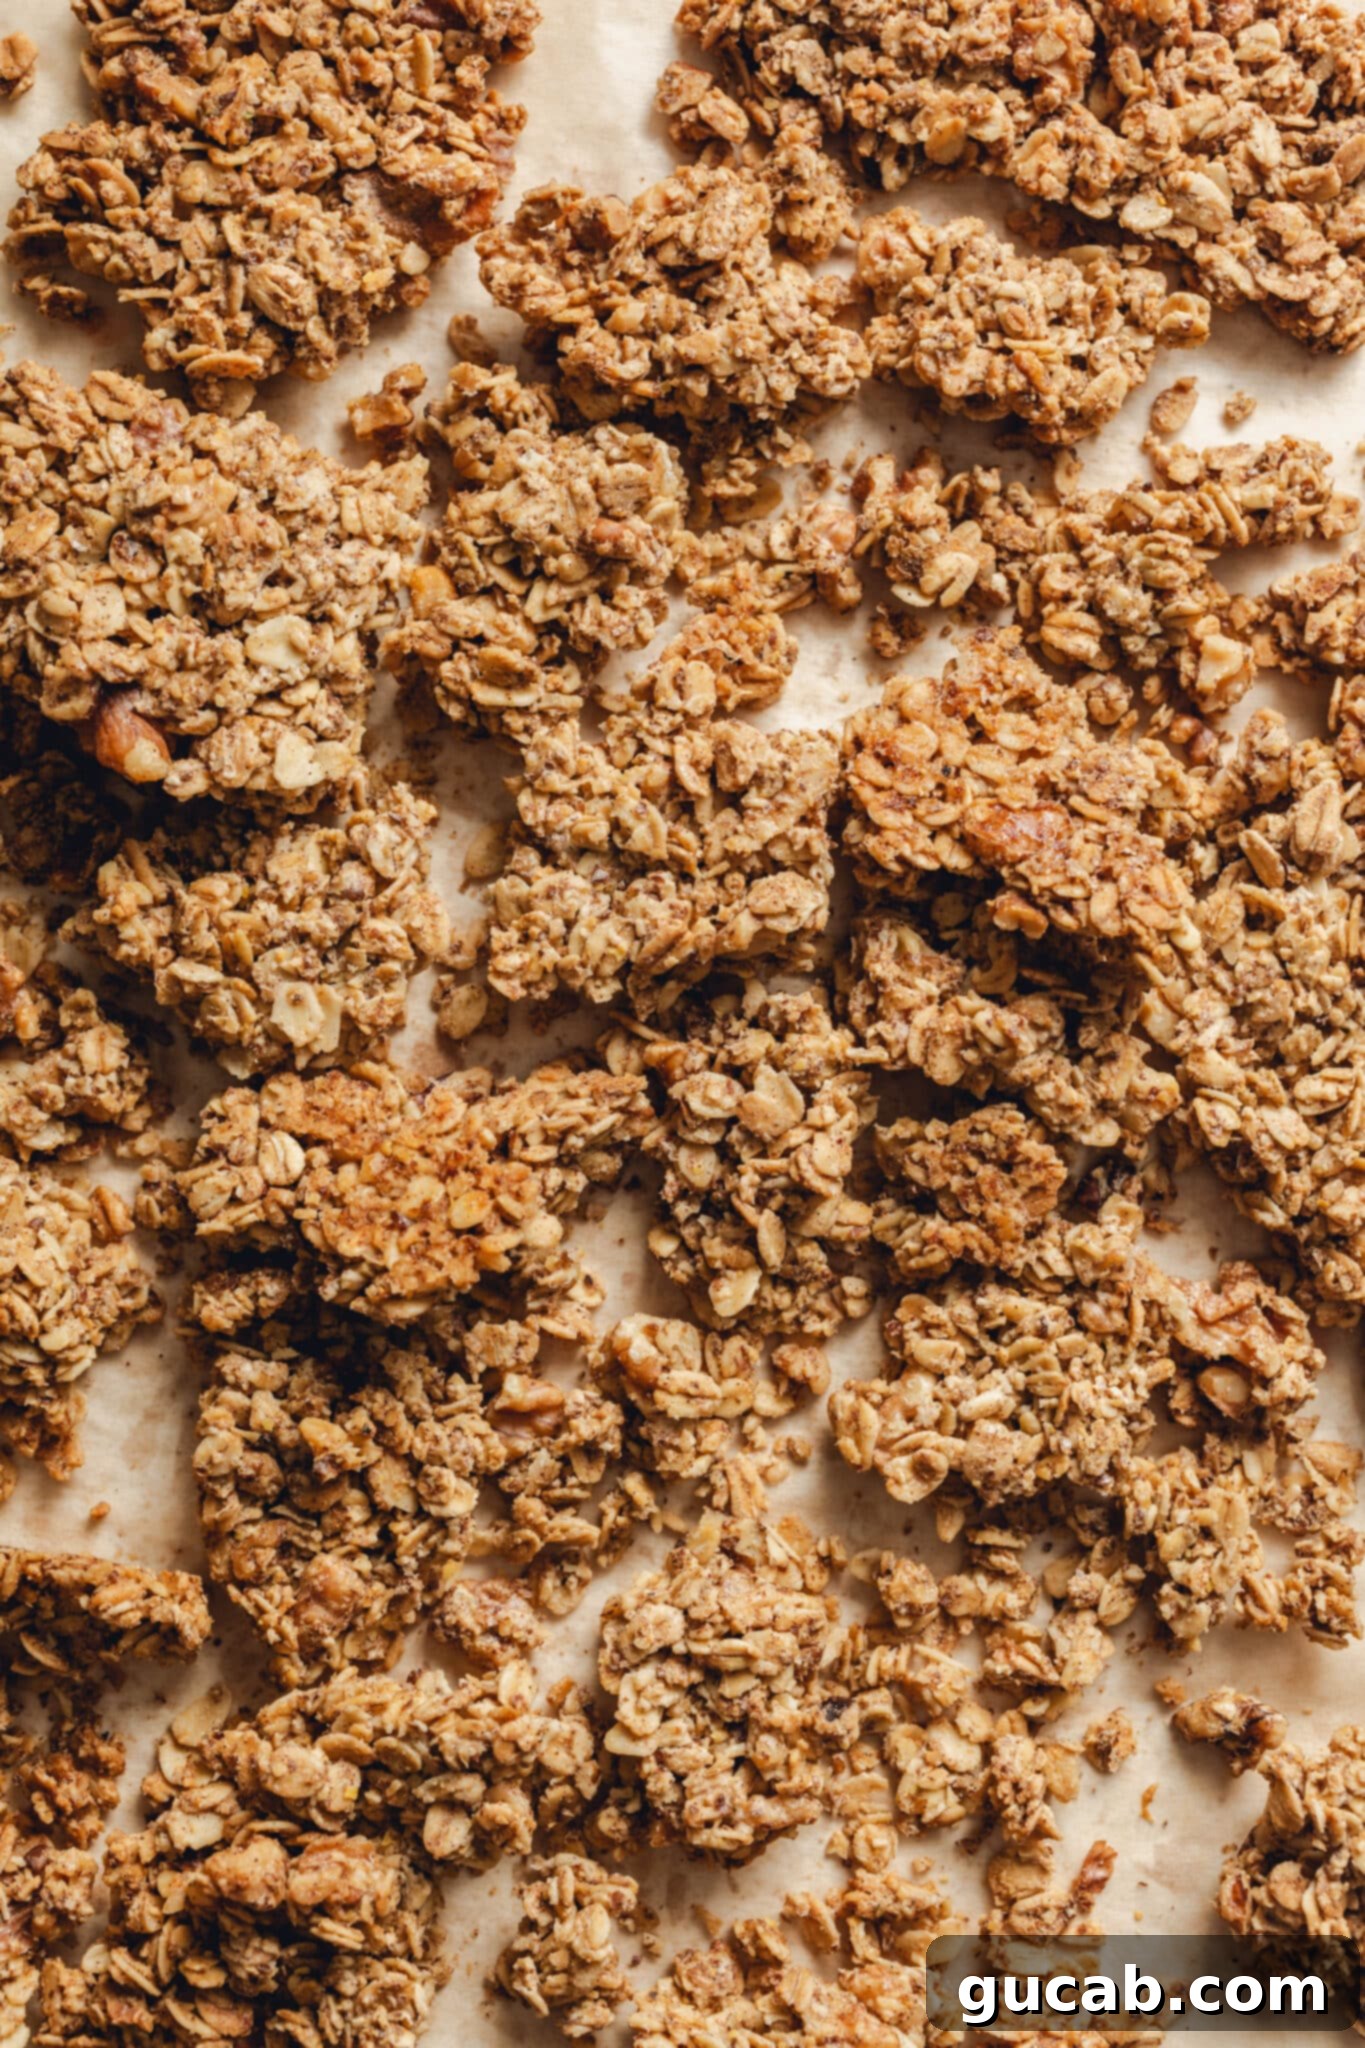
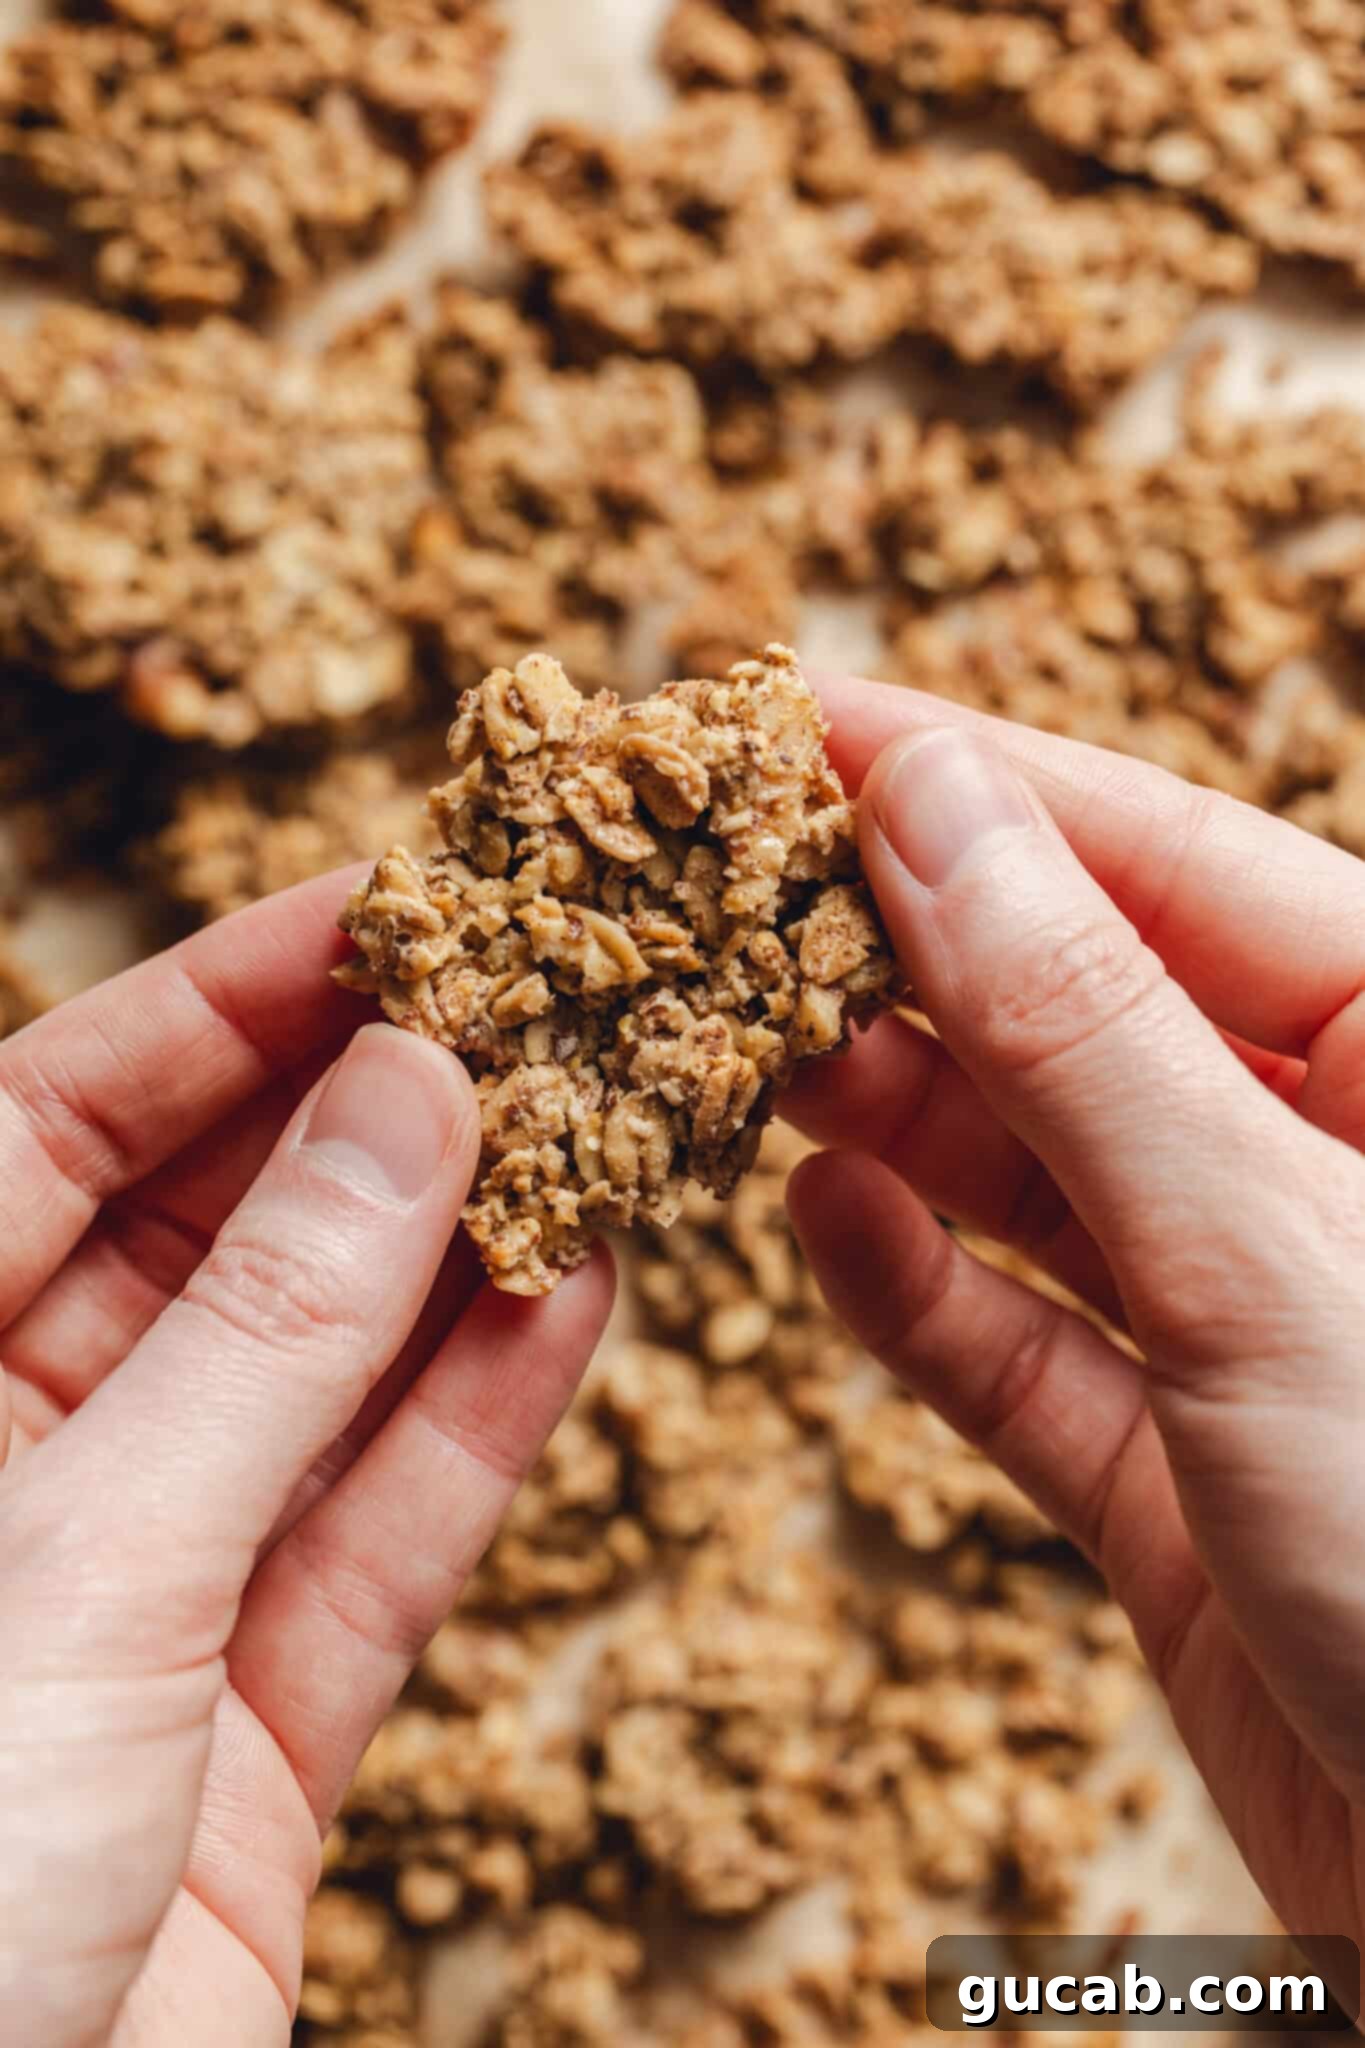
This is another vital step for clusters! Once baked, remove the sheet pan from the oven. Resist the urge to touch or break up the granola immediately. Let the entire block of granola cool undisturbed on the baking sheet for at least 30 minutes, or even longer, until it is mostly cool to the touch. This allows it to firm up and set properly, which is essential for forming large, satisfying clusters. - Step 8: Break and Enjoy.
Once cooled and set, use your hands to break the granola block into clusters of your desired size. You’ll naturally get a mix of larger clusters and smaller pieces, which is perfect. Let the broken clusters cool completely on the pan or a wire rack before transferring them to storage. This final cooling ensures maximum crispness.
Expert Tips for Granola Success
To ensure your homemade maple walnut granola turns out perfectly crunchy and clustered every time, keep these expert tips in mind:
- Cooling for Clusters: Patience is Key.
The most crucial step for achieving big, satisfying granola clusters is letting it cool completely on the baking sheet without touching it. This allows the hot, syrupy mixture to solidify and bond together. If you break it up while warm, it will crumble into small pieces instead of forming those desired chunks. Aim for at least 30 minutes, or even an hour, of undisturbed cooling time. - Complete Cooling Before Storing: Preserve Crispness.
Before you even think about bagging or jarring your granola, make absolutely sure it is completely cool – not even a little bit warm. Storing warm granola, even slightly, will trap moisture, causing it to lose its crispness and potentially become soggy or spoil faster. Patience here pays off in long-lasting crunch! - Flavor Variations: Make it Your Own.
While this maple walnut recipe is fantastic as is, feel free to get creative!- Nuts: Swap walnuts for pecans, almonds, or a mix of your favorite nuts. Toast them lightly before adding for extra flavor.
- Dried Fruit: After the granola is baked and completely cooled, stir in dried cranberries, raisins, chopped apricots, or even dried cherries for a chewy contrast.
- Seeds: Boost nutrition with sunflower seeds, pumpkin seeds, or chia seeds added with the dry ingredients.
- Chocolate: For a delightful treat, mix in dark chocolate chips or chunks after the granola has cooled. The residual heat from freshly baked granola would melt them.
- Spices: Experiment with a pinch of nutmeg, cardamom, or ginger for different aromatic profiles.
- Troubleshooting Granola Issues:
- Not Crunchy Enough? Ensure your oven temperature is accurate and that the granola is baked until deeply golden brown. Also, make sure it cools completely before storing. Humidity can also affect crispness, so store it in an airtight container.
- Too Crumbly? The pulsed oats step is critical for binding. Also, ensure you press the granola firmly onto the baking sheet and let it cool undisturbed for long enough.
Storage Solutions: Keep Your Granola Fresh
Proper storage is essential to maintain the crispness and extend the shelf life of your delicious homemade granola. Follow these tips to keep it fresh for as long as possible:
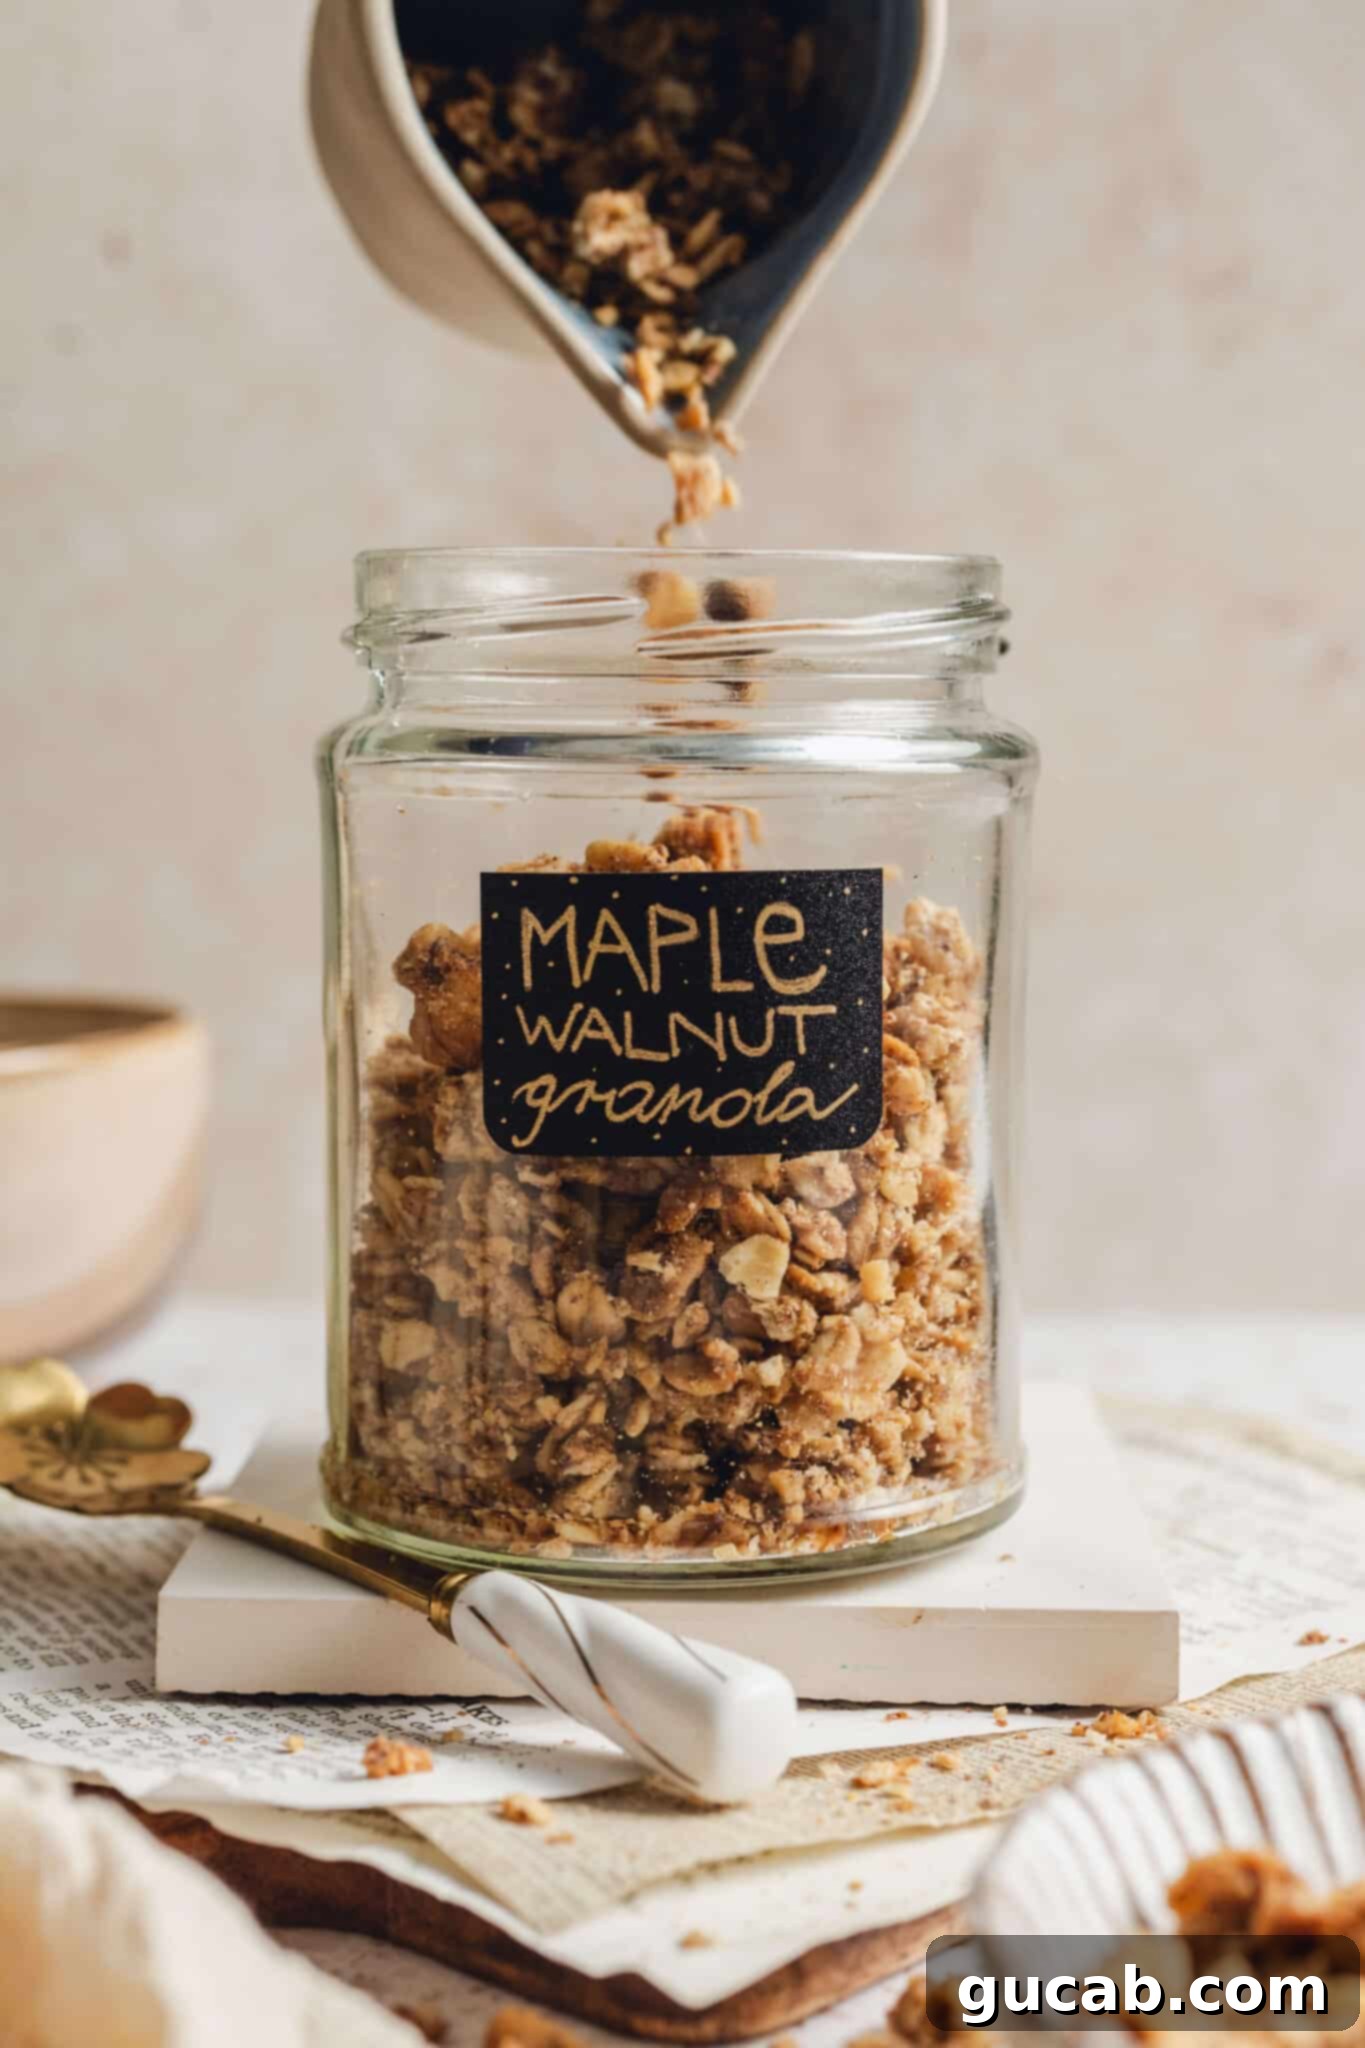
- Once your maple walnut granola has completely cooled (and this is non-negotiable for freshness!), transfer it to an airtight container. A zip-top bag, a sealed jar, or an airtight food storage container will work perfectly. Stored this way at room temperature, it will stay fresh and crunchy for up to 1 month.
- For an even longer shelf life, you can freeze homemade granola. While mine rarely lasts long enough to warrant freezing, it’s a great option if you make a large batch or want to prepare it far in advance. Place the completely cooled granola in a freezer-safe zip-top bag or container, removing as much air as possible. It can be frozen for up to 3 months. When ready to enjoy, simply thaw at room temperature.
More Delicious Breakfast & Snack Ideas
- Brown Sugar Cinnamon Oatmeal
- Almond Butter Oatmeal
- Dark Chocolate Overnight Oats
- Cinnamon Spice Oatmeal
- Dark Chocolate Granola
- Almond Butter Energy Balls
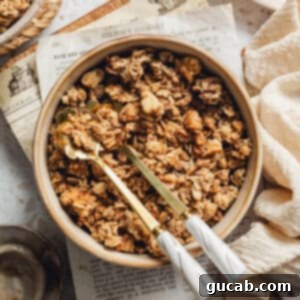
Maple Walnut Granola
Carolyn
Pin Recipe
10 minutes
45 minutes
55 minutes
Breakfast, Snack
American
10
servings
230
kcal
Equipment
-
Food processor
-
Sheet pan
Ingredients
-
2
cups
old fashioned oats -
¼
cup
golden flax meal -
¾
teaspoon
cinnamon -
¼
teaspoon
kosher salt -
¾
cup
walnut halves, chopped into small pieces -
¼
cup
coconut oil -
½
cup
maple syrup -
½
teaspoon
vanilla extract
Instructions
-
Preheat oven to 300 degrees Fahrenheit. Line a sheet pan with parchment paper or a silicone baking mat.
-
In a food processor, add ¾ cup of oats and pulse until finely ground but before it reaches a flour consistency
-
In a large bowl, combine the ground oats, remaining old fashioned oats, cinnamon, golden flax meal, kosher salt, and chopped walnuts. Stir to combine.
-
In a heatproof bowl, melt the coconut oil in the microwave. Add the maple syrup and vanilla. Stir, then pour over the oat mixture
-
Use a large spoon to stir the mixture until it’s evenly coated with the syrup mixture. Transfer the granola to the prepared pan in an even layer about ½ inch thick. It won’t fill up the entire pan. It’s important the granola is touching (not spread out too thin) to make clusters at the end
-
Bake for 20 minutes, then rotate the pan. Bake for 25 more minutes
-
Remove the sheet pan from the oven and let the granola cool for at least 30 minutes before you break it into pieces.
-
Once it’s broken into clusters, let it cool completely before transferring it to a zip-top bag
Video
Nutrition
Calories:
230
kcal
Carbohydrates:
24
g
Protein:
4
g
Fat:
14
g
Saturated Fat:
5
g
Polyunsaturated Fat:
6
g
Monounsaturated Fat:
2
g
Sodium:
62
mg
Potassium:
167
mg
Fiber:
3
g
Sugar:
10
g
Vitamin A:
2
IU
Vitamin C:
0.1
mg
Calcium:
46
mg
Iron:
1
mg
maple walnut granola
Tried this recipe?
Let us know how it was!
We hope you love this homemade maple walnut granola as much as we do! It’s truly a labor of love that rewards you with incredible flavor and a satisfying crunch in every bite. Enjoy it your way, and let us know your favorite serving suggestions in the comments below!
