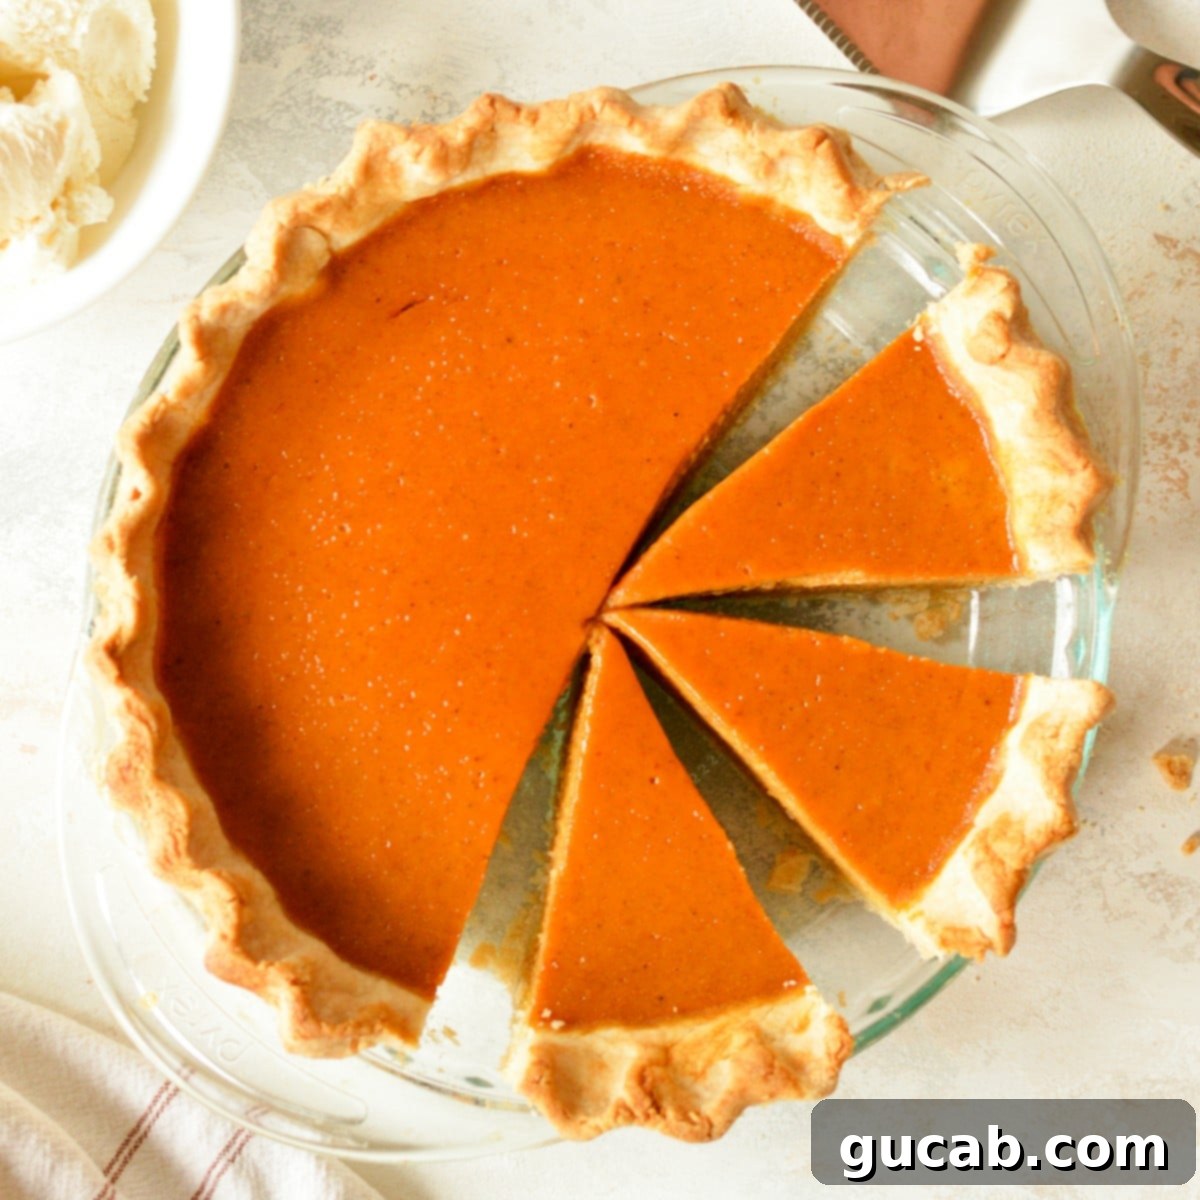
The Ultimate Creamy Pumpkin Pie: No Evaporated Milk Needed!
Forget the search for evaporated milk! You absolutely don’t need it to bake a truly exceptional pumpkin pie. This recipe for pumpkin pie without evaporated milk is surprisingly simple to prepare, yields an incredibly creamy texture, and boasts a flavor so addictively delicious, it will become your new holiday staple. Perfect for Thanksgiving, Christmas, or any time you crave a comforting slice of homemade goodness!
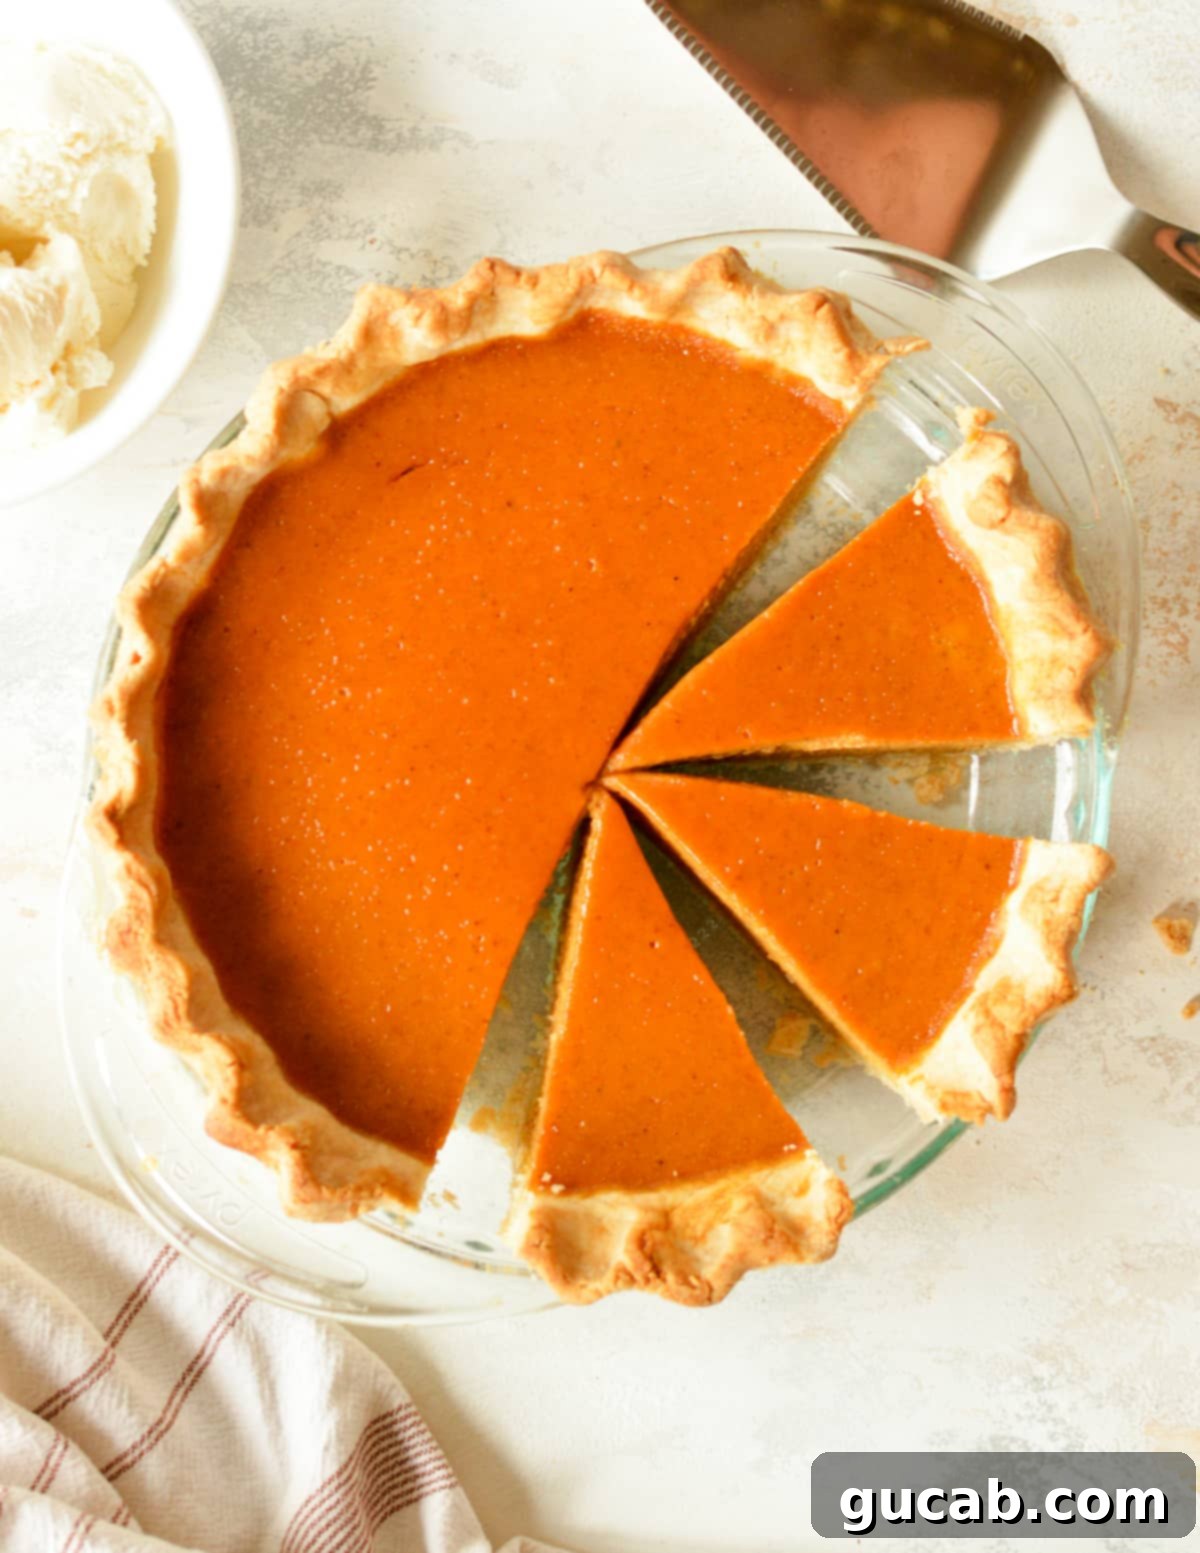
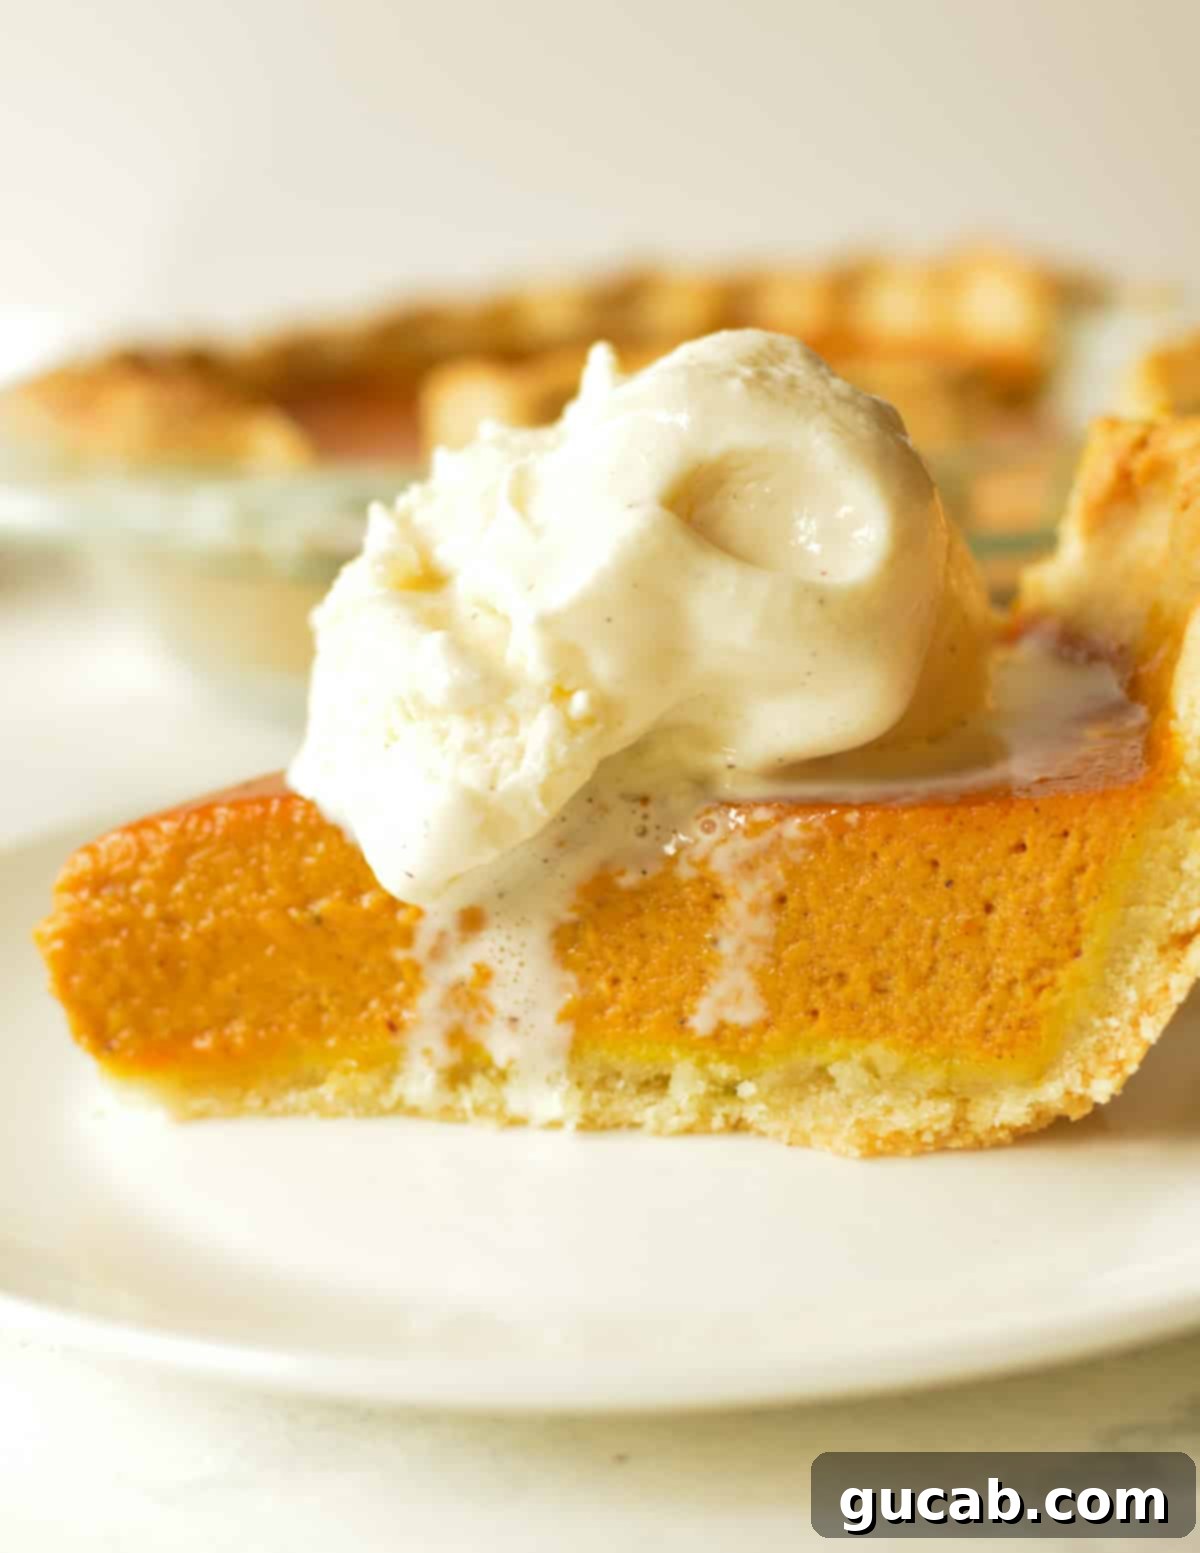
Whether you’ve simply run out of canned milk, prefer not to use it, or are looking for a fresh take on a classic, this particular pumpkin pie recipe without evaporated milk is designed to impress. It delivers a rich, custard-like filling that slices beautifully every time, paired with an exquisite taste and a wonderfully smooth consistency. You’ll find yourself wondering why you ever bothered with canned milk in the first place!
While this pie is an absolute showstopper for major holidays like Thanksgiving and Christmas, its irresistible charm often leads to it being baked year-round. Don’t be surprised if you find yourself whipping up a batch in the middle of summer – it’s just that good, and truly needs no special occasion!
Many traditional pumpkin pie recipes rely heavily on evaporated milk or sweetened condensed milk to achieve their characteristic creaminess and structure. However, this innovative recipe proves that you can achieve an even better result using readily available ingredients. Plus, it’s incredibly versatile: with one simple substitution, this recipe can easily be made completely dairy-free, catering to a wider range of dietary needs without sacrificing flavor or texture. Get ready to bake a pie that will earn you rave reviews!
Why Choose a Pumpkin Pie Without Evaporated Milk?
Opting for a no evaporated milk pumpkin pie recipe comes with several distinct advantages. First, it simplifies your grocery list – no more last-minute runs to the store when you realize you’re missing that specific can! Second, using fresh dairy alternatives like half & half often results in a more nuanced and fresher flavor profile. Evaporated milk, while convenient, can sometimes impart a slightly cooked or caramelized flavor that isn’t always desired. This recipe focuses on enhancing the natural taste of pumpkin and spices with a perfectly balanced creamy base.
Furthermore, this approach allows for greater customization. If you or your guests have dairy sensitivities, swapping out the half & half for a plant-based alternative is effortless, making it a fantastic option for inclusive holiday gatherings. You maintain complete control over the sweetness and richness, ensuring a truly personalized dessert.
Essential Ingredients for Your Perfect Pumpkin Pie
Crafting this incredible pumpkin pie requires just a handful of straightforward ingredients, proving that simple is often best. Here’s a closer look at what you’ll need to create this creamy, dreamy pumpkin pie with milk instead of canned varieties:
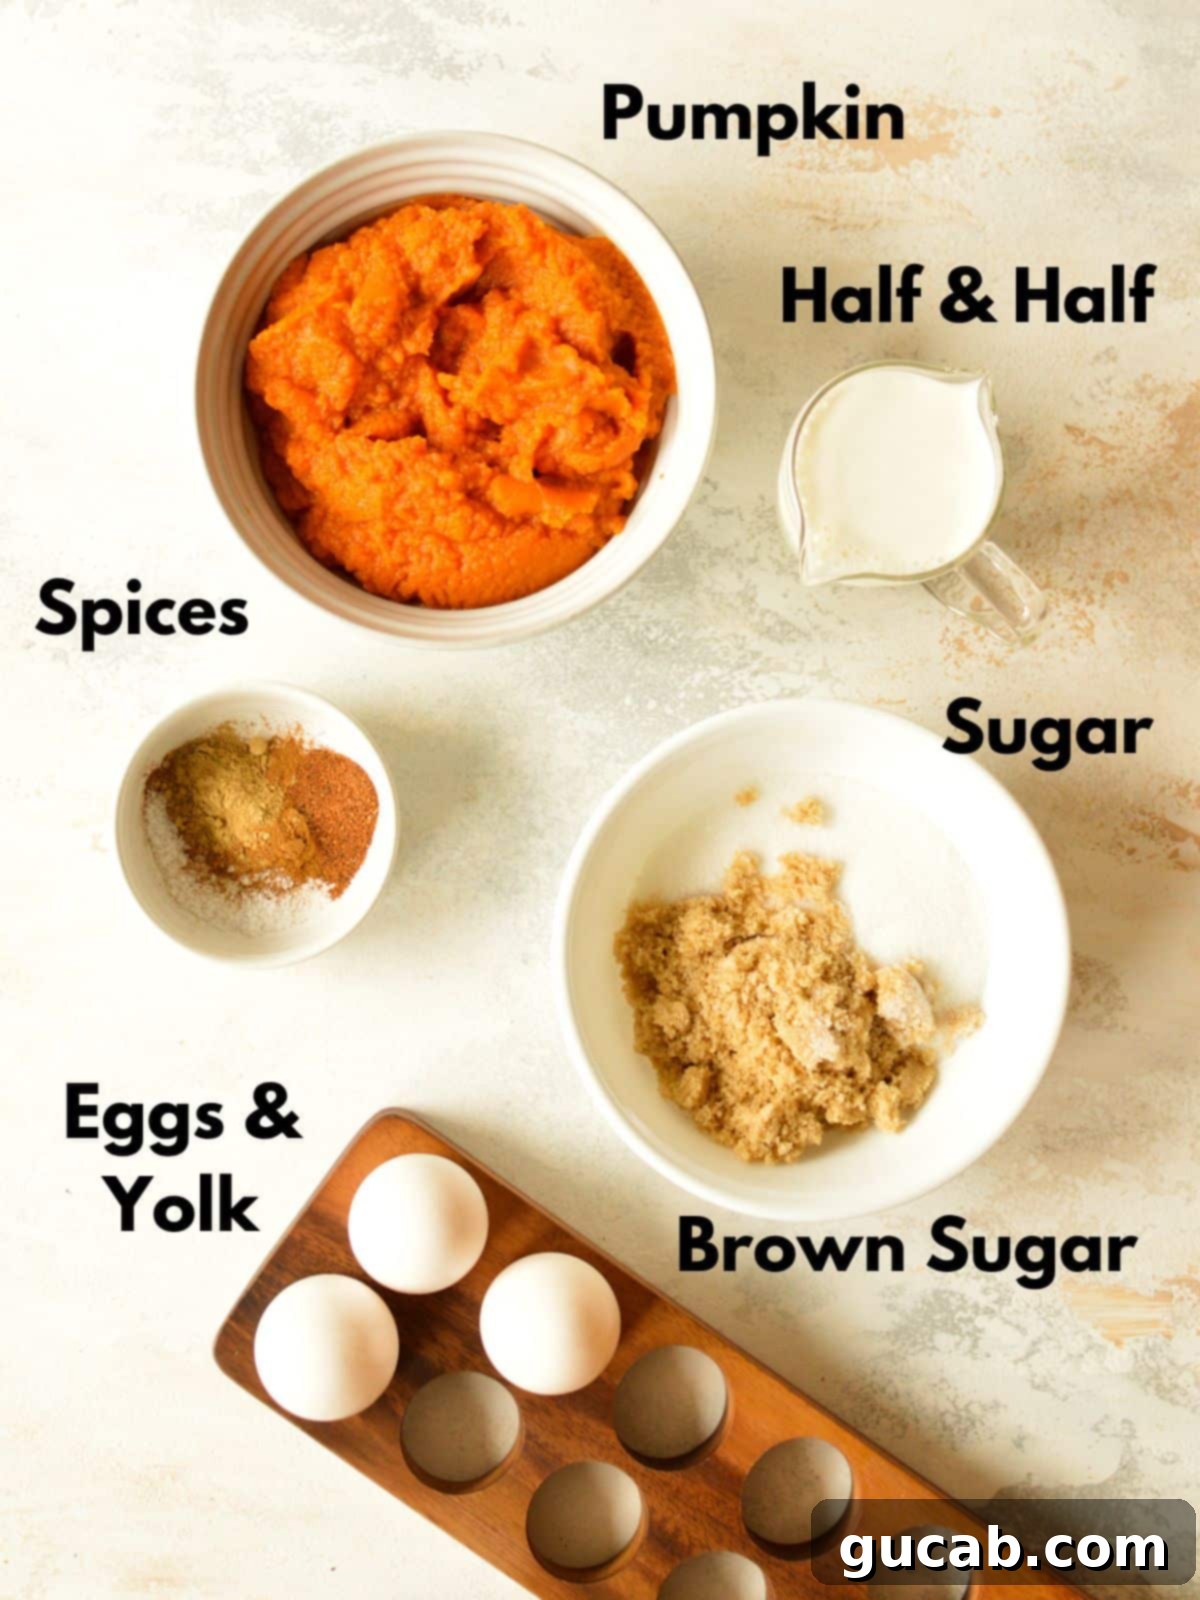
- Pumpkin Puree: A standard 15-ounce can of pure pumpkin puree is precisely what you need for a single pie. It’s crucial to select pure pumpkin puree and not pumpkin pie mix, which comes pre-sweetened and spiced. If you only find larger 29-ounce cans, simply measure out 15 ounces by weight. While most brands work well, I’ve found that name-brand varieties, like Libby’s, often have a thicker consistency, which contributes to a firmer, more desirable pie filling.
- Brown & White Sugar: This combination is key to achieving the perfect sweetness and depth of flavor. White sugar provides a clean, crisp sweetness, while brown sugar introduces a wonderful caramel-like richness that is quintessential to traditional pumpkin pie. The molasses in brown sugar also adds a subtle moisture, contributing to the pie’s luxurious texture.
- Eggs + an Extra Yolk: Eggs are fundamental to any custard-based pie, providing the essential structure that allows the filling to set. The three whole eggs bind the ingredients, while the additional egg yolk acts as a secret weapon, adding extra richness and ensuring a silky-smooth, perfectly sliceable pie without any rubbery texture. Think of it as insurance for a dreamy result!
- Warming Spices (Cinnamon, Nutmeg, Ginger): These classic autumnal spices are the heart of pumpkin pie flavor. I’ve specified individual amounts for cinnamon, nutmeg, and ginger for precision, but if you have a pre-mixed pumpkin pie spice blend on hand, feel free to use 2 teaspoons of that as a direct swap. You can also adjust these amounts slightly to suit your personal preference for spice intensity.
- Half & Half: This is the star ingredient replacing evaporated milk. Half & half is exactly what it sounds like: equal parts whole milk and light cream. It’s richer than regular milk but lighter than heavy cream, striking the perfect balance to create a wonderfully creamy and luscious filling without being overly dense or heavy. For a dairy-free pumpkin pie, simply substitute with a high-quality dairy-free half & half or a rich plant-based milk like full-fat coconut milk (from a can, not a carton) or oat milk.
- Kosher Salt: A small but mighty ingredient, kosher salt is essential for balancing and enhancing the sweetness of the sugars and the warmth of the spices. It prevents the pie from tasting flat and truly makes all the flavors pop.
- Pie Crust: The foundation of any great pie! While I personally swear by a homemade gluten-free pie crust for its unbeatable flaky texture, this pumpkin pie recipe with milk works beautifully with any pie crust. A good quality store-bought crust, such as a Pillsbury refrigerated pie crust or a store brand equivalent, will certainly do the trick if you’re short on time. Just ensure it’s a 9-inch crust.
How to Bake Your Easy Pumpkin Pie Without Evaporated Milk
Making this incredible pie is a straightforward process, even for novice bakers. Follow these simple steps for a perfect result:
1. Par-Bake Your Pie Crust: This crucial step prevents a soggy bottom. Preheat your oven to 400°F (200°C). Prepare an egg wash by whisking one egg with 1 tablespoon of water in a small bowl. Carefully line your pie crust with crumpled parchment paper and fill it with pie weights or dried beans to prevent shrinking. Bake for 10 to 12 minutes until the edges are lightly golden. Remove the weights and parchment, then bake for another 5 minutes to fully dry out the crust. For a more detailed guide, check out this in-depth tutorial on blind baking a pie crust.
2. Combine Pumpkin & Sugars: In a large mixing bowl, scoop in the entire 15-ounce can of pumpkin puree. Add both the white sugar and brown sugar, along with your chosen spices (cinnamon, nutmeg, ginger, or pumpkin pie spice). Mix these ingredients thoroughly until they are well combined and the sugars have started to dissolve into the pumpkin. This ensures an even distribution of flavor.
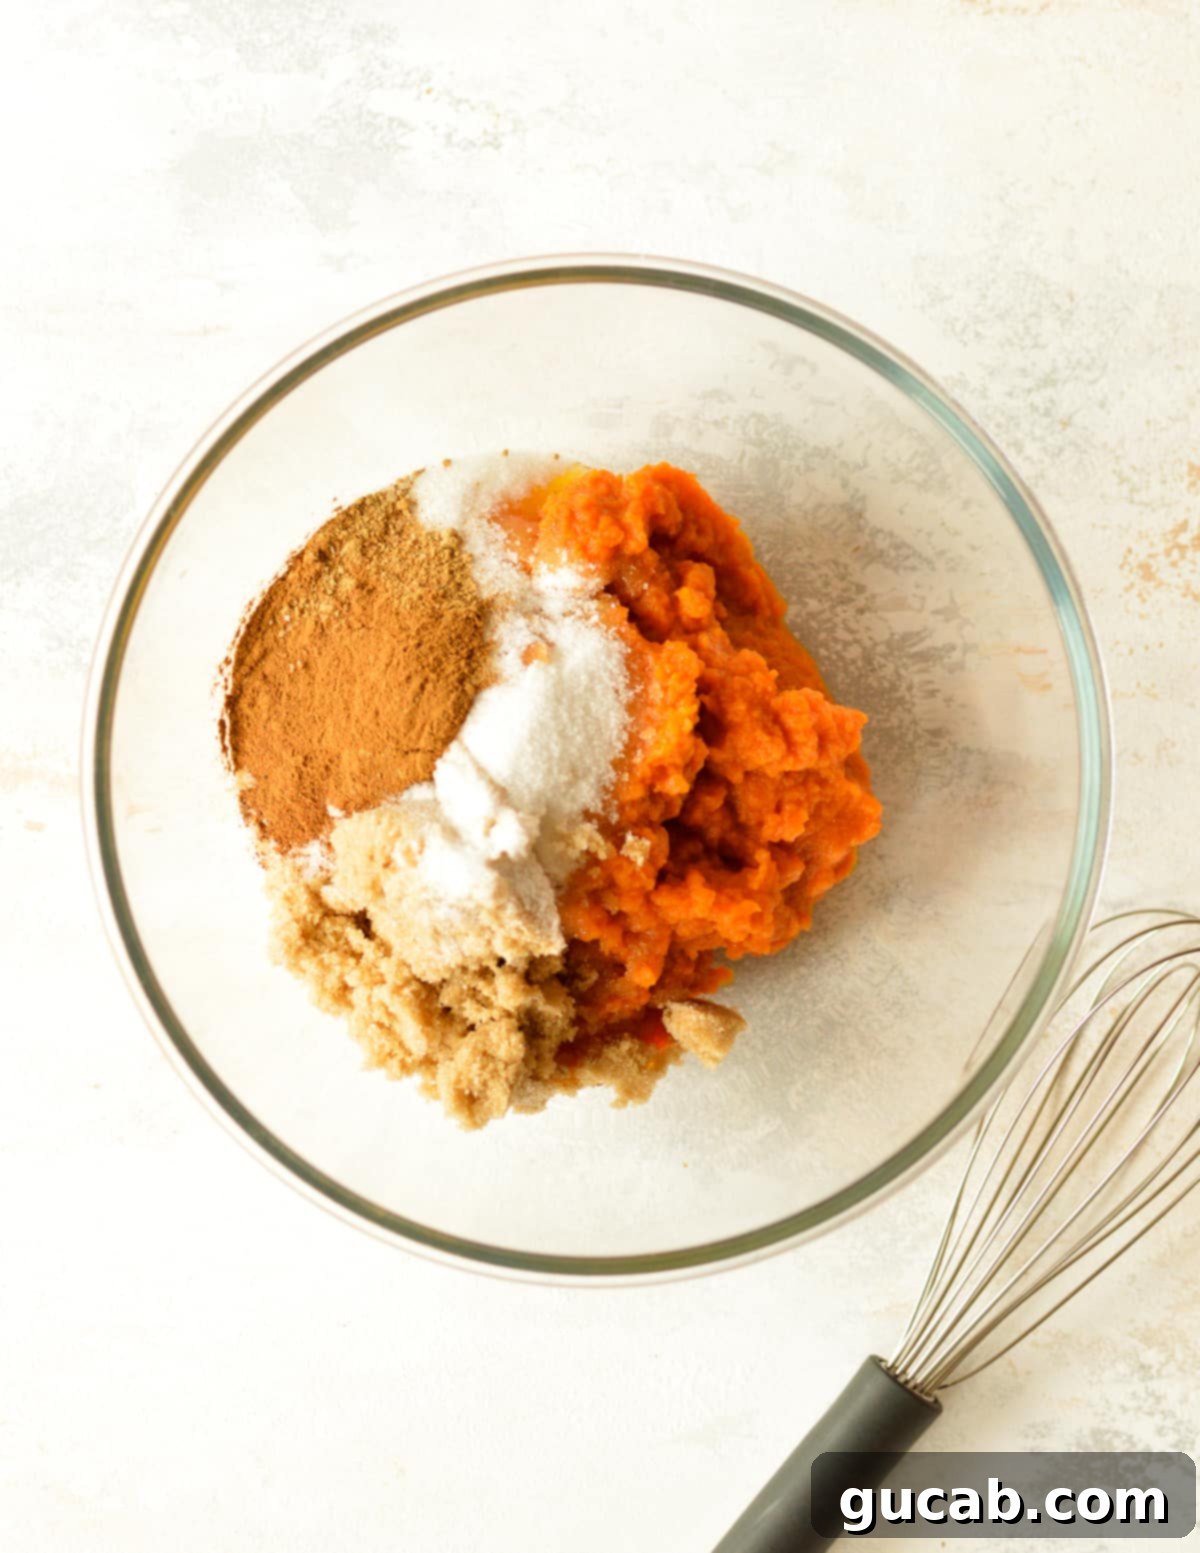
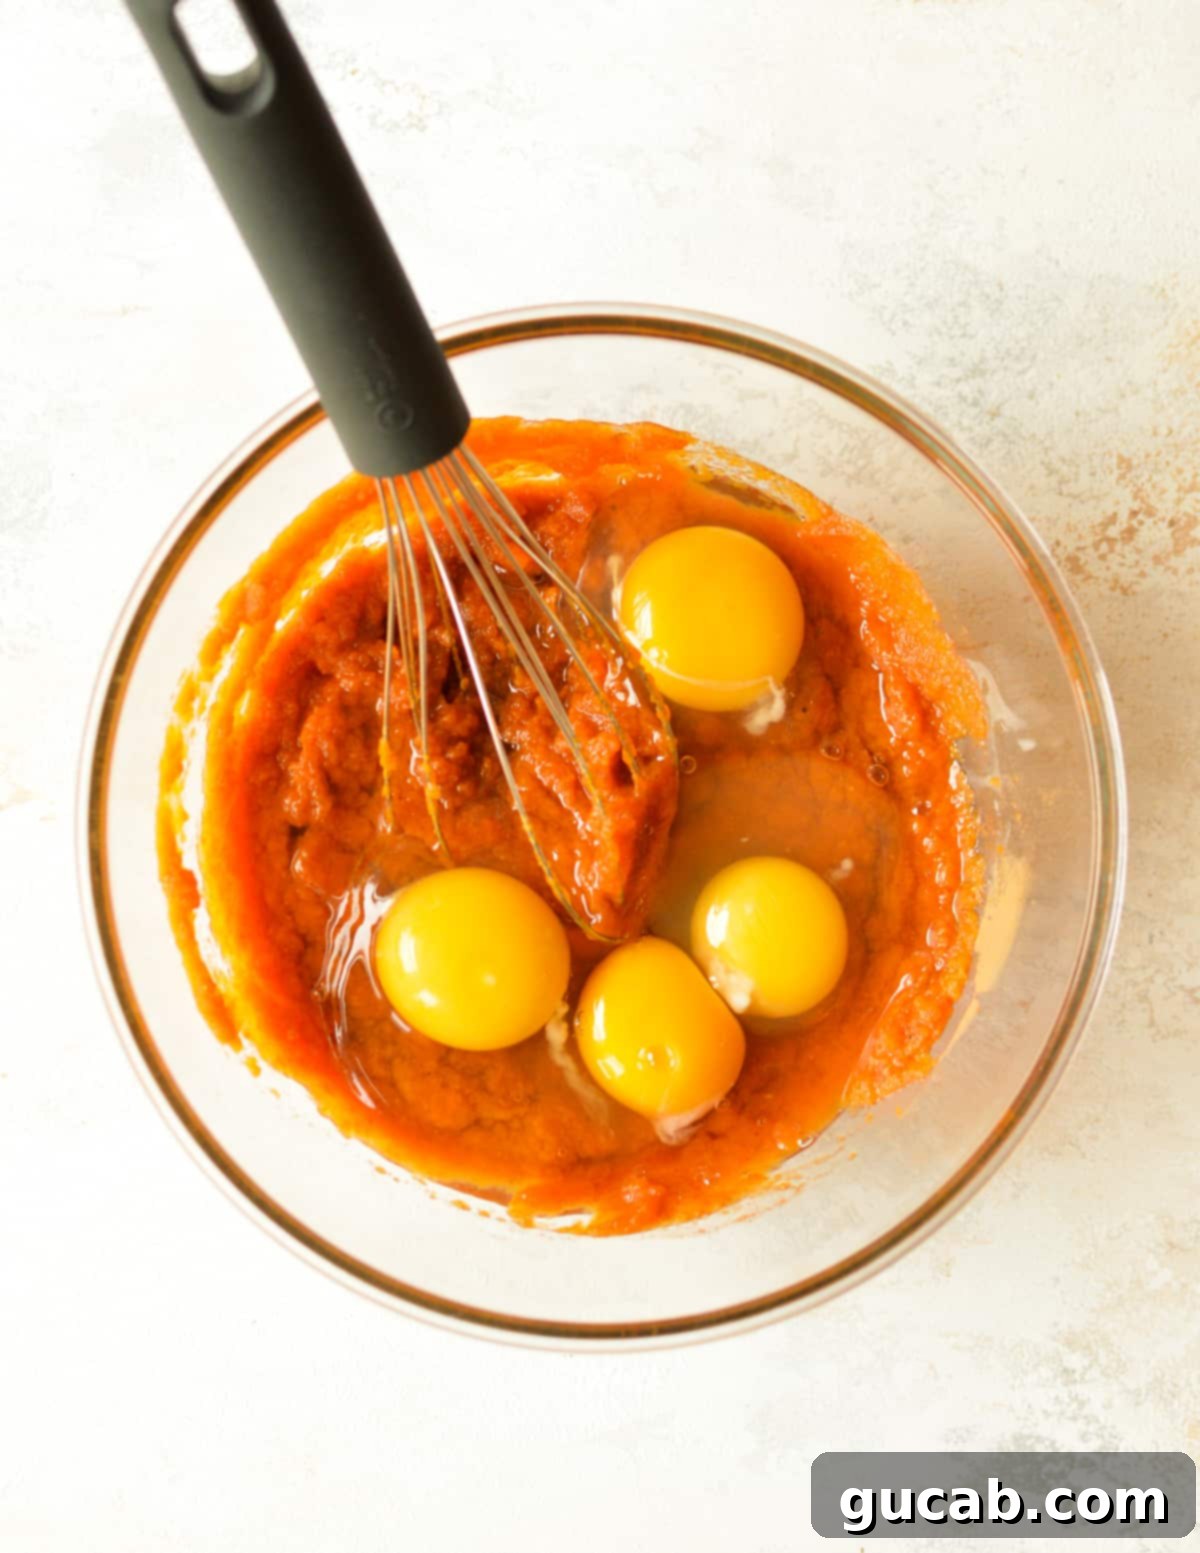
3. Incorporate Eggs: Crack your three whole eggs and carefully separate one extra yolk into the pumpkin mixture. Whisk everything together until the eggs are fully incorporated and the mixture is smooth. The eggs are vital for the pie’s custard structure, so ensure they are evenly distributed.
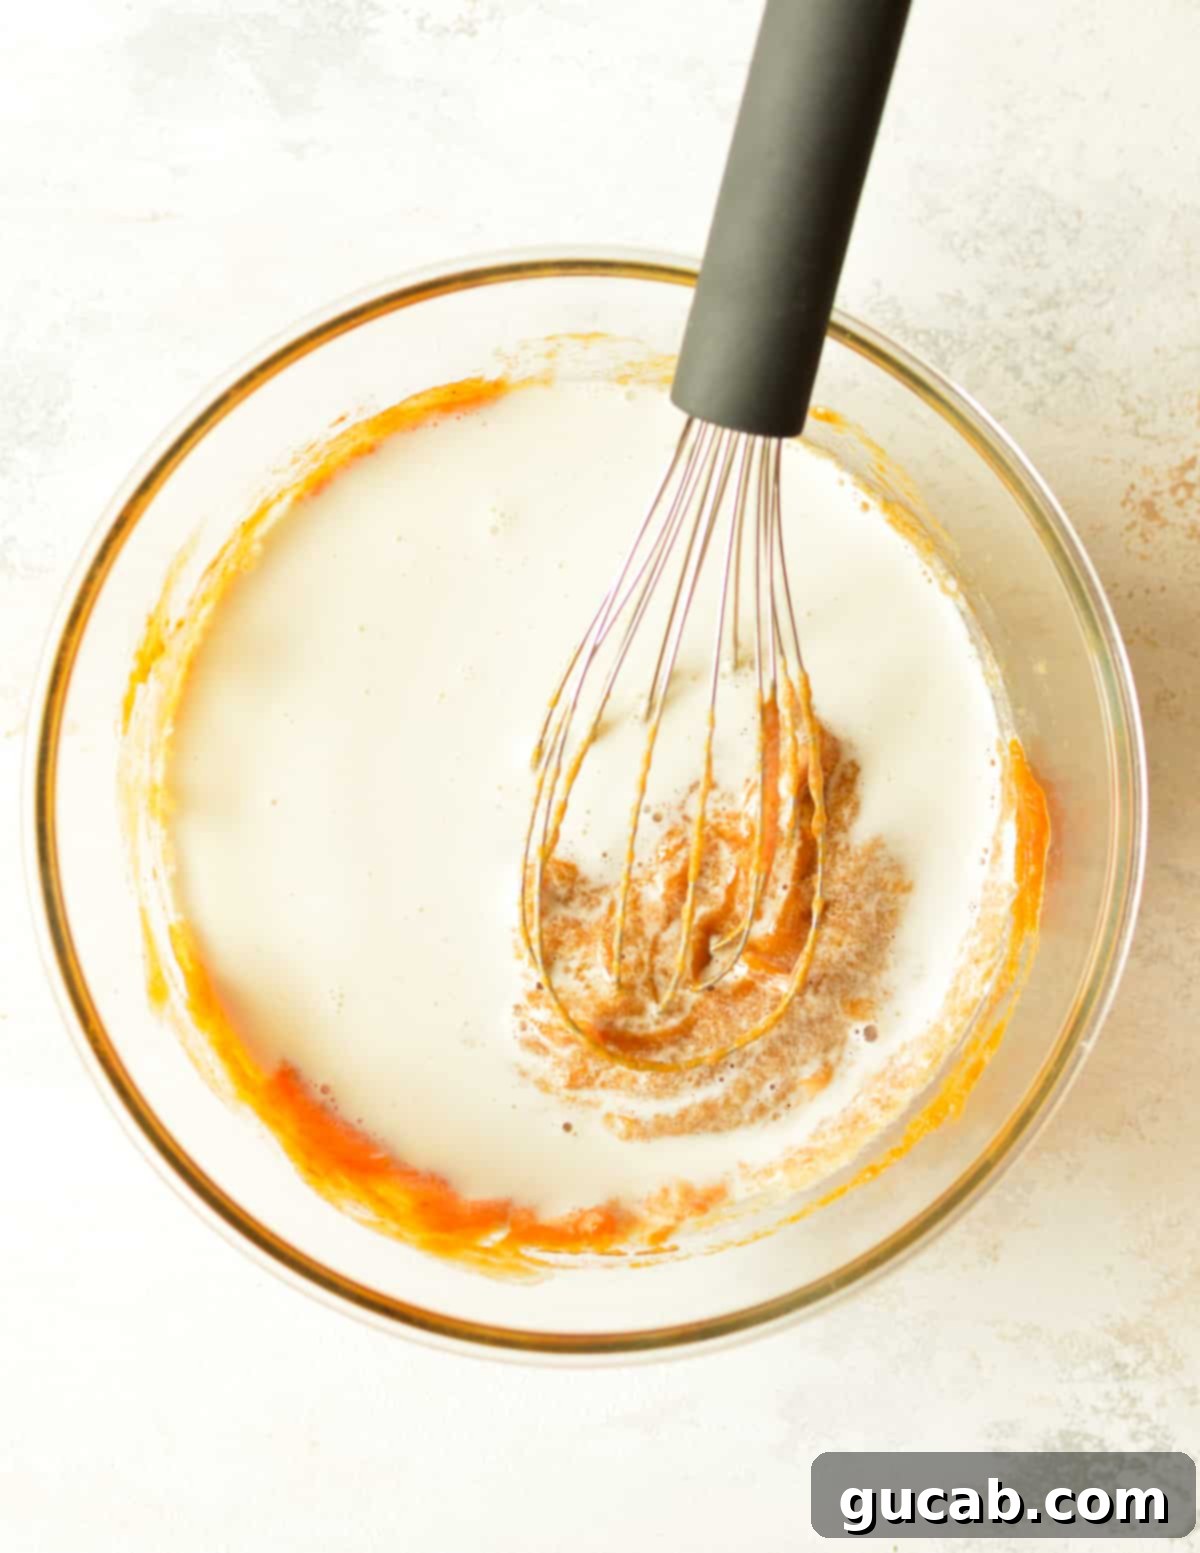
4. Stir in Half & Half: Gently pour the half & half (or your chosen dairy-free alternative) into the pumpkin mixture. Whisk carefully and slowly to avoid splashing. Continue whisking just until the half & half is fully integrated, creating a uniformly smooth and creamy pie filling. Overmixing can incorporate too much air, which can lead to cracks in your finished pie.
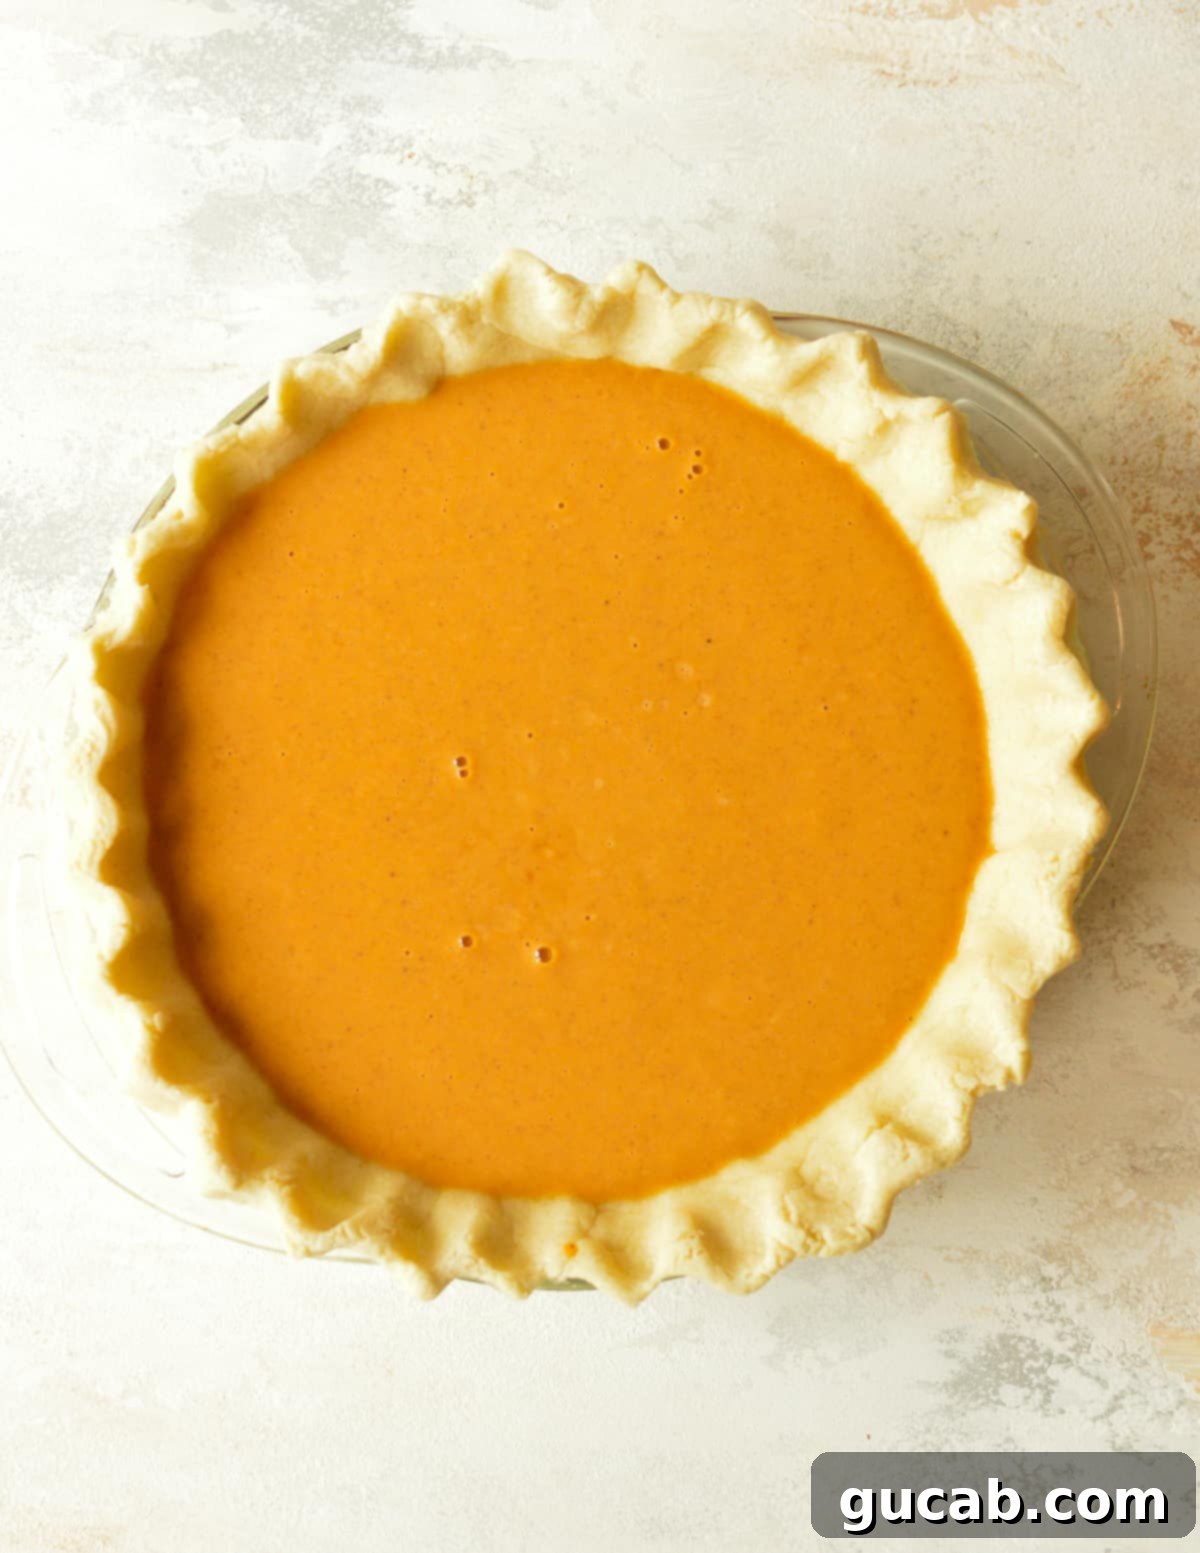
5. Pour into Pie Crust: Carefully pour the prepared pumpkin pie filling into your warm, par-baked pie crust. Ensure the filling is evenly distributed. Using a pastry brush, lightly brush the edges of your pie crust with the egg wash you prepared earlier. This will give your crust a beautiful golden sheen and help protect it from over-browning.
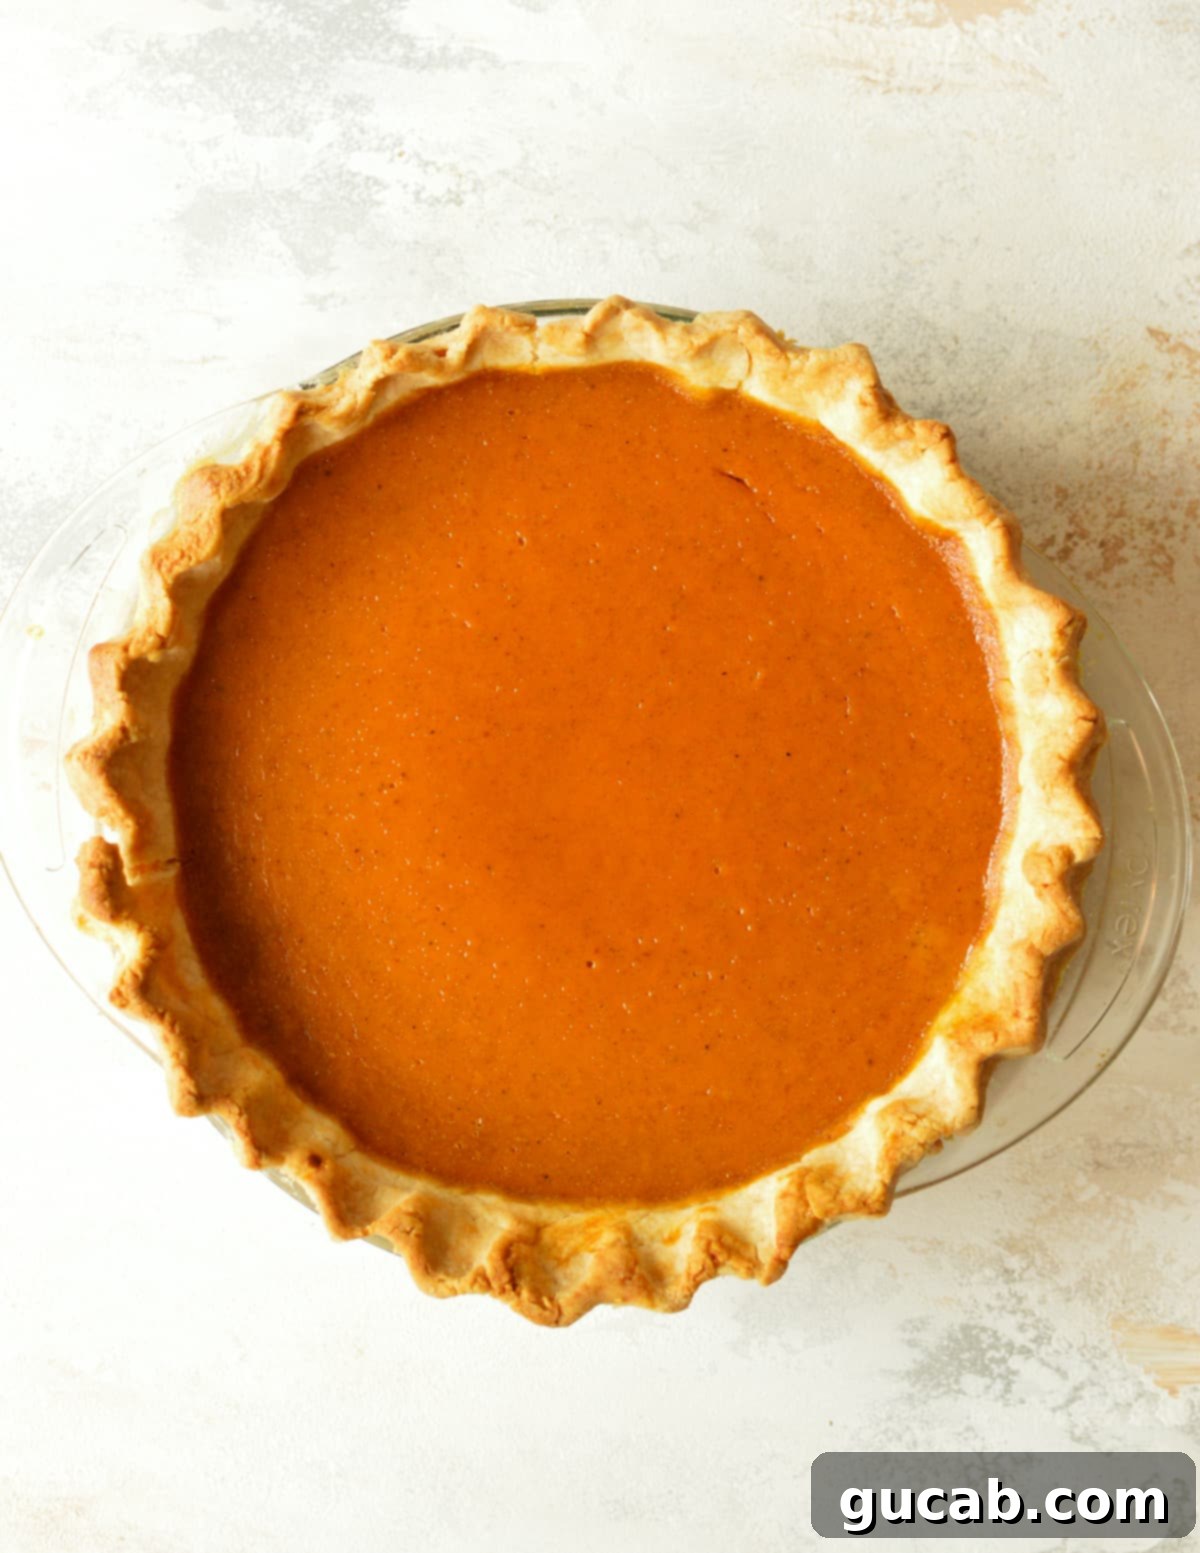
6. Bake & Enjoy: Reduce your oven temperature to 375°F (190°C). Carefully transfer the filled pumpkin pie to the preheated oven. Bake for approximately 45 to 55 minutes, or until the edges are set but the very center of the pie still has a slight jiggle. This slight jiggle is key – it indicates the pie is perfectly cooked and will firm up beautifully as it cools. Remove from the oven and allow it to cool completely before slicing.
Expert Tips for a Flawless Pumpkin Pie
Achieving pumpkin pie perfection is easier than you think with these additional tips:
- Invest in a Sublime Pie Crust: While store-bought crusts are convenient, a truly exceptional pie begins with a homemade pie crust. Its flaky texture and rich butter flavor simply cannot be matched. If time allows, I highly recommend making your own. However, if using a store-bought crust, ensure it’s fully thawed and follow the par-baking instructions carefully.
- Master the Art of Doneness: This pumpkin pie typically bakes for about 50 to 55 minutes. The most common mistake is overbaking, which can lead to cracks and a dry texture. Look for the edges to be firm and slightly puffed, while the very center (about 1-2 inches in diameter) should still have a gentle wobble when gently nudged. The residual heat will continue to cook the pie as it cools, bringing it to perfect doneness.
- Patience is a Virtue – Let it Cool!: This is perhaps the hardest, yet most important, tip. I know the aroma filling your kitchen is intoxicating and the pie looks irresistible, but resist the urge to slice it immediately! Pumpkin pie is a custard, and it needs ample time (at least 2-3 hours at room temperature, or even overnight in the fridge) to fully set and achieve its perfect creamy, sliceable texture. Slicing too early will result in a messy, runny pie.
- Prevent Cracks: To minimize the chance of your pie cracking, avoid overmixing the filling (which incorporates too much air) and don’t overbake. Also, allowing the pie to cool slowly on a wire rack at room temperature (away from drafts) helps prevent sudden temperature changes that can cause cracks.
- For a Super Smooth Filling: If you want to go the extra mile, strain your pumpkin pie filling through a fine-mesh sieve before pouring it into the crust. This removes any potential lumps from the pumpkin or egg, ensuring an incredibly silky-smooth custard.
Storage & Freezing Instructions
Proper storage ensures your delicious pumpkin pie without evaporated milk stays fresh and enjoyable for longer:
- Refrigeration: Once your pumpkin pie has cooled completely to room temperature (this can take several hours), it must be stored in the refrigerator. Cover it loosely with plastic wrap or aluminum foil, or place it in an airtight pie carrier. It will stay fresh and delicious for up to 3 days in the fridge.
- Freezing Whole Pie: Pumpkin pie freezes exceptionally well! To freeze a whole pie, allow it to cool completely. Then, wrap it tightly in several layers of plastic wrap, followed by a layer of aluminum foil. This double-layer protection helps prevent freezer burn.
- Freezing Slices: For ultimate convenience, I highly recommend freezing the pie in individual slices. Once the pie is completely cooled and set, slice it into desired portions. Place the slices on a baking sheet lined with parchment paper and freeze until solid (about 1-2 hours). Once frozen, transfer the individual slices to a freezer-safe zip-top bag or airtight container. This allows you to pull out a single slice whenever a craving strikes! For best quality, consume within 3 months.
- Thawing: To thaw a whole frozen pumpkin pie, simply place it in the refrigerator overnight. For individual slices, you can thaw them in the refrigerator for a few hours, or gently warm them in the microwave in 5-10 second increments until cool but no longer frozen. Avoid overheating, as this can affect the texture.
Frequently Asked Questions (FAQs)
Absolutely! This recipe is incredibly adaptable. To make it dairy-free, simply replace the dairy half & half with an equal amount of dairy-free half & half (like a coconut or oat-based variety) or a rich, full-fat plant-based milk. Full-fat canned coconut milk (not the drinking kind) is an excellent choice for maintaining creaminess. You’ll get fantastic results!
Excellent question! For a rich and creamy pie filling, great alternatives to evaporated milk include heavy cream, half & half (as used in this recipe), or even whole milk combined with a touch of cornstarch for added thickening if needed. However, it’s always best to follow a recipe specifically designed for these substitutes to ensure proper ratios and consistency, like this pumpkin pie recipe with milk that has been perfected for optimal results.
The not-so-secret ingredient to a perfectly thick and well-set pumpkin pie is eggs! Pumpkin pie has a custard-based filling, and the eggs are what provide the essential structure and coagulation that allow it to firm up into a smooth, sliceable pie. The extra egg yolk in this recipe further contributes to a rich, dense, and thick texture.
Yes, absolutely! If you have pre-mixed pumpkin pie spice, you can simply substitute the cinnamon, nutmeg, and ginger with 2 teaspoons of pumpkin pie spice blend. It’s a convenient way to get that classic flavor profile.
The key to preventing a soggy crust is par-baking or blind-baking the crust before adding the filling. This creates a barrier and helps to dry out the dough, ensuring a flaky bottom. Make sure to use pie weights and remove them for the final few minutes of par-baking to ensure even cooking.
More Delicious Pumpkin Recipes to Try
If you’re a fan of all things pumpkin, be sure to explore these other delightful recipes:
- Paleo Pumpkin Muffins
- Gluten Free Pumpkin Pancakes
- Gluten Free Pumpkin Chocolate Bread
- Paleo Sweet Potato Pancakes
This easy pumpkin pie recipe is truly a game-changer for anyone looking to make a homemade pie without the need for evaporated milk. Its creamy texture, rich flavor, and straightforward process make it a standout dessert that will impress everyone at your table. Whether it’s a holiday centerpiece or a simple weeknight treat, this pie is guaranteed to bring smiles.
Pumpkin Pie without Evaporated Milk
Carolyn
Pin Recipe
Equipment
-
Large mixing bowl
-
Measuring cups & spoons
-
9-inch pie plate
-
Whisk
Ingredients
For the Pie:
- 1 pie crust regular or gluten-free
- 15 ounce can of pure pumpkin puree*
- ⅓ cup granulated sugar
- ½ cup packed brown sugar
- 1 teaspoon ground cinnamon
- ½ teaspoon ground nutmeg
- ½ teaspoon ground ginger
- ¼ teaspoon kosher salt
- 3 large eggs + 1 large egg yolk
- ½ cup half and half (or dairy-free alternative)
For Egg Wash:
- 1 large egg
- 1 tbsp water
Instructions
Par-bake the crust:
-
Preheat your oven to 400° Fahrenheit (200°C). Prepare a small bowl with egg wash by whisking 1 egg and 1 tablespoon of water together; set aside.
-
Crumple a piece of parchment paper and carefully line it into your pie crust. Fill the parchment-lined crust with pie weights or dried beans to prevent shrinking.
-
Bake the weighted crust for 10 to 12 minutes. Carefully remove the parchment paper and weights, then continue to bake the crust for an additional 5 minutes until it’s lightly golden and dry.
For the pumpkin pie filling and baking:
-
In a large mixing bowl, combine the entire 15-ounce can of pumpkin puree, brown sugar, granulated sugar, cinnamon, nutmeg, ginger, and kosher salt. Mix thoroughly until all ingredients are well combined and the mixture is smooth.
-
Add the 3 large eggs and the extra egg yolk to the pumpkin mixture. Whisk well until the eggs are fully incorporated and the filling is uniform.
-
Pour the half & half into the pumpkin mixture and gently whisk until just combined. Be careful not to overmix to avoid incorporating too much air.
-
Reduce your oven temperature to 375°F (190°C). Carefully pour the prepared pumpkin pie filling into your warm, par-baked crust.
-
Using a pastry brush, gently brush the edges of the pie crust with the reserved egg wash. This helps achieve a beautiful golden-brown finish.
-
Carefully transfer the pie to the preheated oven and bake for 45 to 55 minutes. The pie is done when the edges are set and slightly puffed, but the very center (about a 1-2 inch circle) still has a slight, gentle jiggle.
-
Remove the pie from the oven and allow it to cool completely on a wire rack at room temperature (at least 2-3 hours, or preferably overnight) before slicing and serving. Enjoy your perfectly creamy pumpkin pie!
Notes
Nutrition
