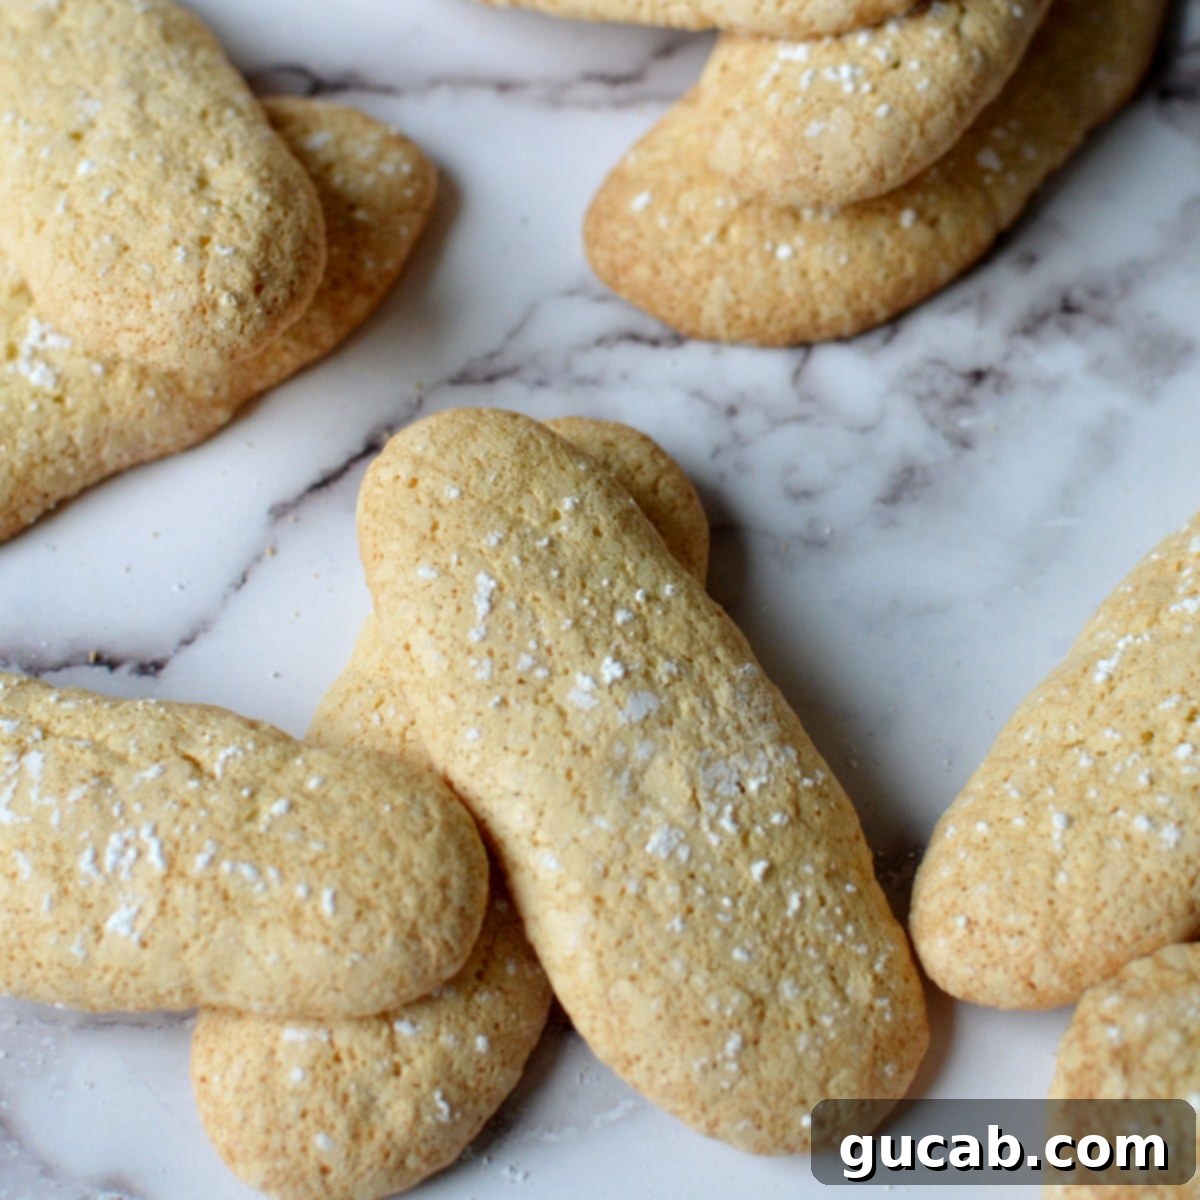
Homemade Gluten-Free Ladyfingers: The Ultimate Recipe for Perfect Tiramisu
Embark on a delightful baking journey to create your own perfect gluten-free ladyfingers at home. These light, sweet, and airy meringue-based cookies are not just a treat on their own, but an indispensable foundation for crafting an exquisite gluten-free tiramisu. If you’ve struggled to find high-quality, affordable gluten-free ladyfingers in stores, you’re in the right place. This comprehensive guide will walk you through every step, ensuring a successful and delicious batch every time.
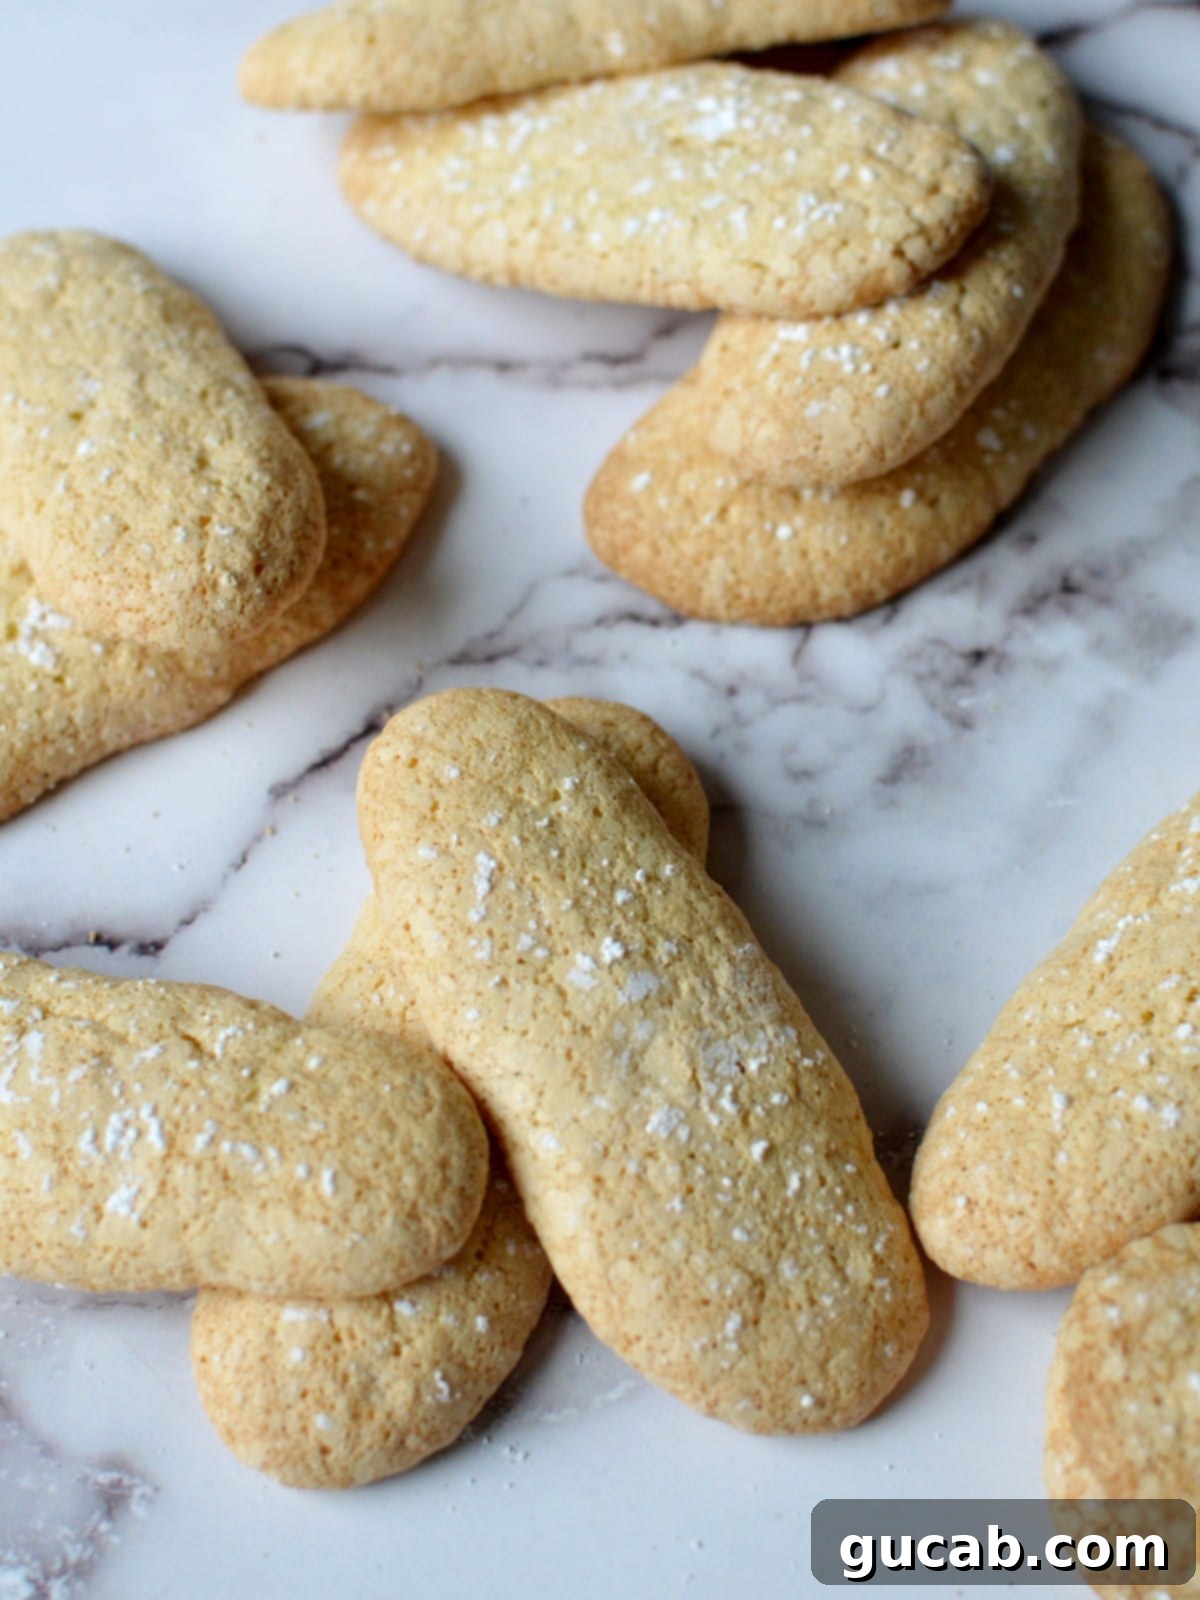
Finding quality gluten-free ladyfingers can often feel like a treasure hunt – they’re either expensive, hard to locate, or simply don’t offer the authentic texture needed for classic desserts. Like many passionate bakers, I’ve experienced the frustration of searching multiple grocery stores only to come up empty-handed. That’s when the realization hit: ladyfingers are made from remarkably simple, everyday ingredients. Why buy them when you can bake them better yourself?
This recipe demystifies the process, making it easy for you to create a batch of delicious gluten-free ladyfingers. They’re ideal for a show-stopping gluten-free tiramisu, or simply enjoyed with a cup of coffee. The satisfaction of baking these delicate cookies from scratch is truly unmatched, and the results are far superior to any store-bought alternative.
Disclosure: This post contains affiliate links. In other words, if you click a link and purchase something, I will receive a commission at no cost to you. I only recommend products I use and enjoy myself.
Why Bake Your Own Gluten-Free Ladyfingers?
Beyond the simple joy of baking, there are several compelling reasons to make your own gluten-free ladyfingers:
- Unbeatable Freshness and Flavor: Homemade cookies always taste better. You control the quality of ingredients, resulting in a superior flavor and aroma that pre-packaged versions can’t match.
- Perfect Texture for Tiramisu: Ladyfingers are designed to be dry and crisp, ready to soak up coffee and liqueur without becoming soggy. This recipe achieves that ideal texture, which is crucial for a perfectly balanced tiramisu.
- Cost-Effective: Store-bought gluten-free specialty items can be quite pricey. Making them yourself from basic pantry staples is significantly more economical.
- Ingredient Control: For those with specific dietary needs or preferences, baking at home ensures you know exactly what goes into your food, avoiding unwanted additives or cross-contamination.
- Baking Confidence: Mastering a recipe like this builds confidence in your gluten-free baking skills, opening doors to many other delightful desserts.
Essential Ingredients for Gluten-Free Ladyfingers
The beauty of ladyfingers lies in their simplicity. With just a few basic ingredients, you can create these elegant cookies. Here’s a closer look at what you’ll need and why each component is vital:
- Eggs: These are the star of the show. The eggs are carefully separated into yolks and whites, each playing a distinct role.
- Egg Yolks: Whipped with sugar, they provide richness, color, and initial volume to the batter, creating a pale yellow, fluffy base.
- Egg Whites: Whipped separately with sugar until stiff peaks form, they are responsible for the airy, light texture and delicate crispness of the ladyfingers. They essentially form a meringue that gives the cookies their characteristic structure.
- Sugar: More than just a sweetener, sugar is crucial for the stability and texture of these gluten-free cookies. In the egg whites, sugar helps create a stable meringue, allowing them to hold their volume. It also contributes to the crisp exterior of the baked ladyfingers.
- Gluten-Free Flour: I highly recommend using Bob’s Red Mill 1:1 Gluten Free All Purpose Flour. It’s my absolute favorite due to its consistent taste and texture, closely mimicking traditional wheat flour. This blend is readily available at major retailers like Walmart, Lowe’s Foods, Target, and Amazon, making it convenient to source. When selecting a GF flour, look for a 1:1 or “cup-for-cup” blend that contains xanthan gum, as this helps replace the elasticity lost without gluten.
- Baking Powder: A small amount of baking powder works as a leavening agent, providing an extra lift and contributing to the light and airy internal structure of the cookies.
Mastering the Art of Whipping Egg Whites
Whipping egg whites to perfection is a foundational skill for many delicate desserts, including ladyfingers. While it can seem intimidating, understanding a few key principles makes it remarkably simple. Achieving stiff, glossy peaks is crucial for light and airy ladyfingers.
- Start with Room Temperature Eggs: This is a golden rule! Egg whites at room temperature whip up faster and achieve greater volume than cold ones. Plan ahead and pull your eggs out of the refrigerator at least an hour before you intend to start baking.
- Beware of Fat Contamination: Even a tiny speck of egg yolk or any grease from your bowl or whisk can prevent egg whites from whipping properly. Fat interferes with the protein bonds forming, meaning your whites won’t gain volume or achieve stiff peaks. Ensure your mixing bowl and whisk are impeccably clean and completely free of any grease. If you accidentally get a drop of yolk into your whites, it’s best to discard them and start fresh with new eggs to avoid disappointment. Research, like this article on Serious Eats, confirms that while a minuscule amount might not be catastrophic, any significant drop will ruin the whipping process.
- Use Whipped Egg Whites Immediately: Once your egg whites are at stiff peaks, they’re ready to go! Don’t let them sit for too long, as their texture can change, making them harder to fold into the batter without losing their precious air or creating small, undesirable bits of egg white.
- Fold, Don’t Stir: When incorporating the egg whites into your batter, use a gentle folding technique with a spatula. This involves cutting down through the middle of the batter, scraping along the bottom, and folding it over the top. The goal is to preserve as much of the whipped-in air as possible. Aggressive stirring will deflate the whites, resulting in dense ladyfingers. Don’t overthink it; just be gentle and deliberate.
- Avoid Over-Whipping: There’s a fine line between perfectly stiff peaks and over-whipped whites. If you whip them too much, the whites will become dry, watery, and grainy, and they’ll separate. It’s better to slightly under-whip than to over-whip. Under-whipped whites can still be gently folded, but over-whipped whites are irreversible.
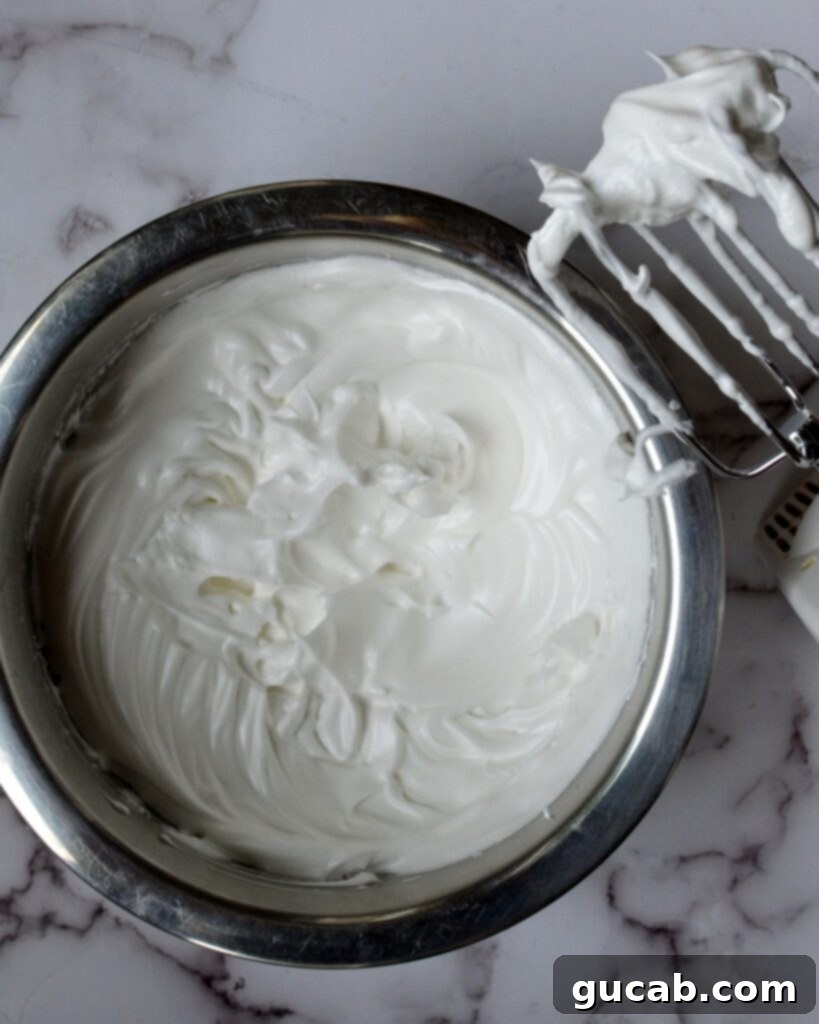
- Recognizing Stiff Peaks: You know your egg whites have reached stiff peaks when you lift the whisk out of the mixture, and the peaks stand tall and hold their shape without flopping over. They should also have a beautiful, glossy sheen.
Step-by-Step: Crafting Your Gluten-Free Ladyfinger Batter
With your ingredients prepped and your egg white whipping knowledge sharpened, it’s time to bring everything together to form the delicate ladyfinger batter. Follow these steps carefully to ensure a light and airy consistency.
- Prepare Your Workspace: Begin by preheating your oven to 375 degrees Fahrenheit (190°C). Line two large baking sheets with silicone baking mats or parchment paper. Prepare a large pastry bag fitted with a large round tip (or simply snip off a larger hole from a disposable bag or a homemade parchment paper cone). This preparation ensures a smooth baking process.
- Separate Eggs Meticulously: Carefully separate the eggs into two impeccably clean bowls. Place the egg whites in the bowl of your stand mixer (or a very large, clean mixing bowl if using a hand mixer), and the egg yolks in a separate large mixing bowl. Remember, even a tiny speck of yolk can ruin the whites!
- Whip Egg Whites to Stiff Peaks: Using your stand mixer (with the whisk attachment) or a hand mixer, begin whipping the egg whites on medium-high speed until they become foamy. Gradually, in a steady stream, add half of the total sugar. Continue whipping on high speed until the whites reach stiff, glossy peaks. This process typically takes anywhere from 6 to 9 minutes, depending on your mixer and the freshness of the eggs. The sugar helps stabilize the meringue, which is why it takes longer to achieve stiff peaks than without sugar.
- Whip Egg Yolks and Sugar: In the other large mixing bowl, use a hand mixer to whip the egg yolks with the remaining half of the sugar. Whip until the mixture lightens considerably in color, becoming a pale yellow (instead of a bright yellow), and significantly increases in volume, becoming thick and fluffy. This should only take a couple of minutes.
- Sift Dry Ingredients: On a large sheet of parchment paper, use a sieve to sift together the gluten-free flour and baking powder. Sifting prevents lumps and helps to aerate the flour, contributing to a lighter cookie. Once sifted, you can easily pick up the parchment paper by its sides and gently pour the flour mixture into the yolk mixture when ready.
- Gently Fold the Batter: This step requires a gentle hand to maintain all the air you’ve incorporated. First, carefully fold about half of the whipped egg whites into the egg yolk mixture. This lightens the yolk mixture, making it easier to incorporate the remaining whites. Next, add the sifted flour and baking powder, folding it in just until combined. Finally, add the rest of the whipped egg whites, folding them in very gently until no streaks of white remain and the batter is uniform. Be careful not to overmix!
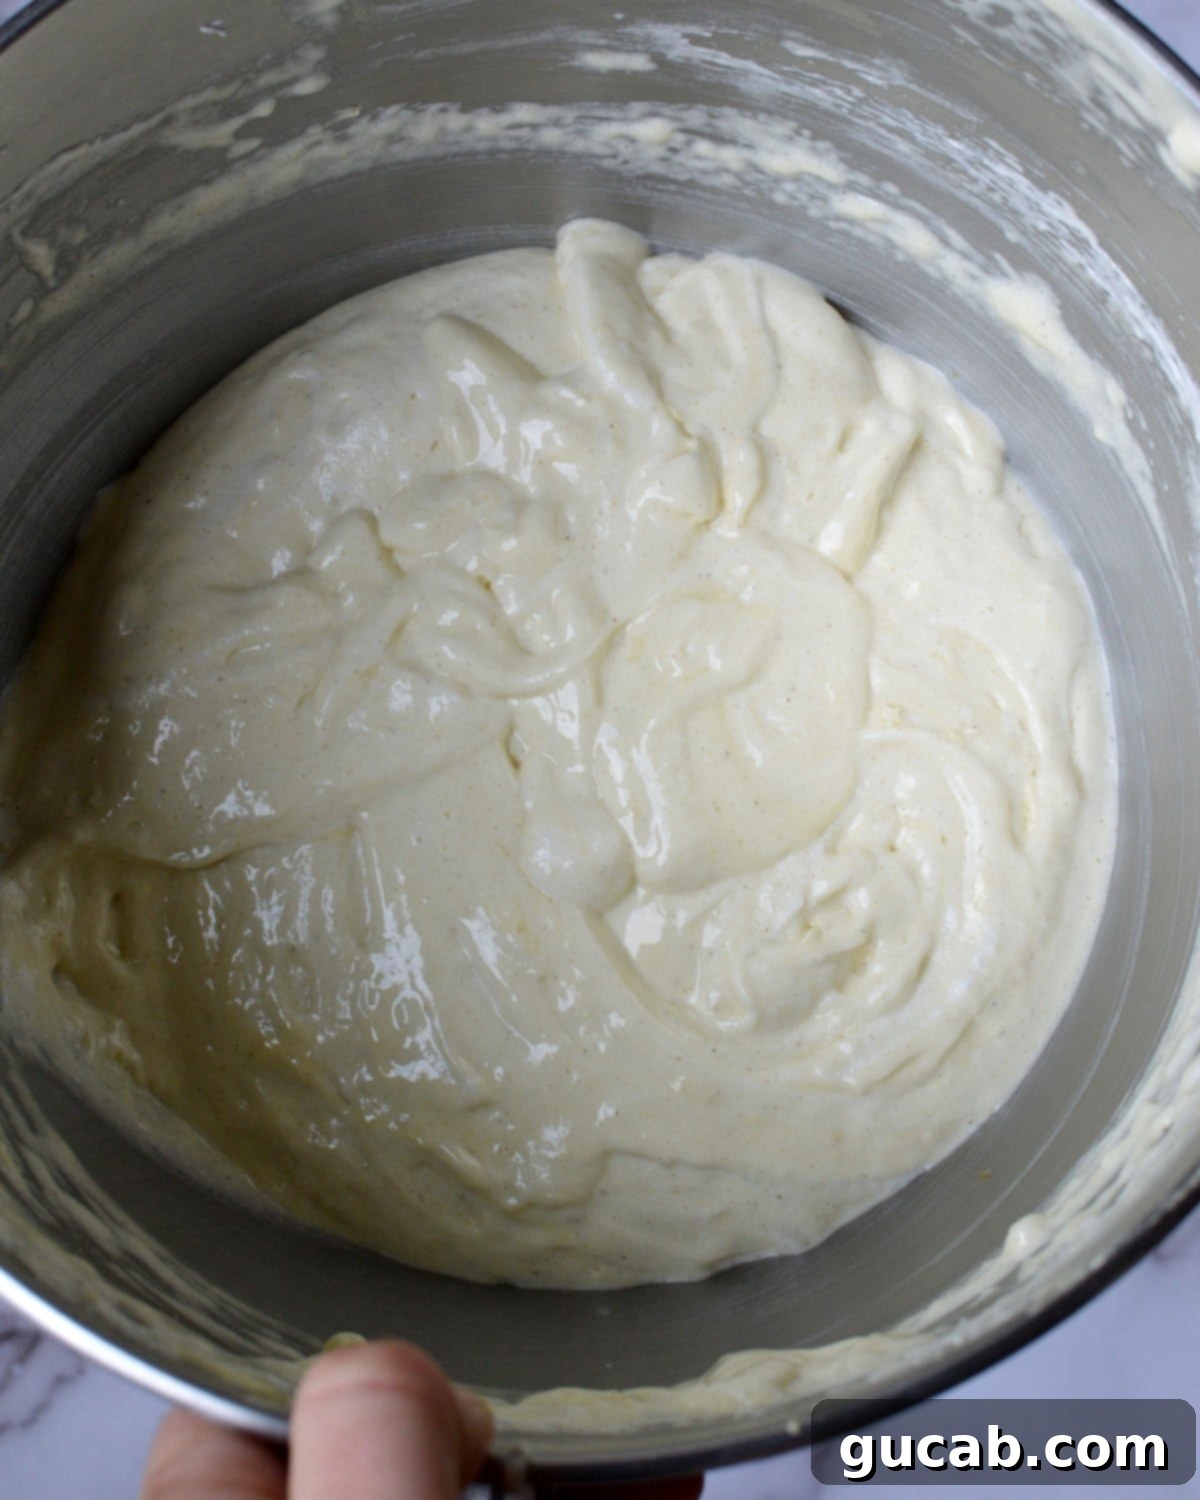
- Observe the Batter Consistency: Once all ingredients are folded in, the batter should be incredibly light, airy, and a very pale, almost off-white color, as pictured below. Its delicate structure is what gives ladyfingers their characteristic melt-in-your-mouth texture.
Piping and Baking Your Ladyfingers to Perfection
Now that your delicate batter is ready, it’s time to shape and bake these beautiful cookies. The piping technique and baking environment are crucial for achieving the perfect ladyfinger texture.
- Piping Technique: Carefully spoon your prepared ladyfinger batter into the pastry bag. Hold the bag at a 45-degree angle to your baking sheet. Pipe individual ladyfingers about 3 ½ inches long, ensuring they are at least an inch apart on the pan. Remember, they will spread slightly during baking. Aim for uniform size for even baking. If you prefer not to clean a reusable pastry bag, a large disposable one or even a homemade cone from parchment paper works wonderfully – just snip off the end to create your desired opening.
- The Powdered Sugar Dusting: Once piped, generously dust the unbaked ladyfingers with powdered sugar. This step isn’t just for aesthetics; the sugar creates a slightly caramelized, crisp crust during baking, adding to the authentic ladyfinger texture.
- Baking to Perfection: Bake your ladyfingers in the preheated oven for 12 to 15 minutes. The exact time may vary slightly depending on your oven. Look for the edges to turn a light golden brown, and the centers should feel firm and dry to the touch. The goal is a cookie that is dry and crisp on the outside and airy on the inside, perfect for soaking up liquids without becoming mushy.
- Cooling and Handling: Once baked, remove the pans from the oven. Let the ladyfingers cool completely on the baking sheet. They will firm up as they cool. Once cooled, use a thin offset spatula to carefully lift them off the silicone mat or parchment paper. Their delicate nature means they can break if handled too roughly while warm.
Essential Tips for Gluten-Free Ladyfingers Success
Beyond the step-by-step instructions, these additional tips will help ensure your gluten-free ladyfingers turn out perfectly every time and perform beautifully in your desserts.
- Piping Bag Convenience: As mentioned, a large disposable pastry bag or a homemade parchment paper cone can save you cleanup time. Simply snip the end to your desired size (a large round opening is best) and discard after use.
- Gentle Removal: Always allow the ladyfingers to cool completely on the pan before attempting to remove them. Their delicate structure is more prone to breaking when warm. An offset spatula or a very thin regular spatula is your best friend for carefully detaching them from the baking surface.
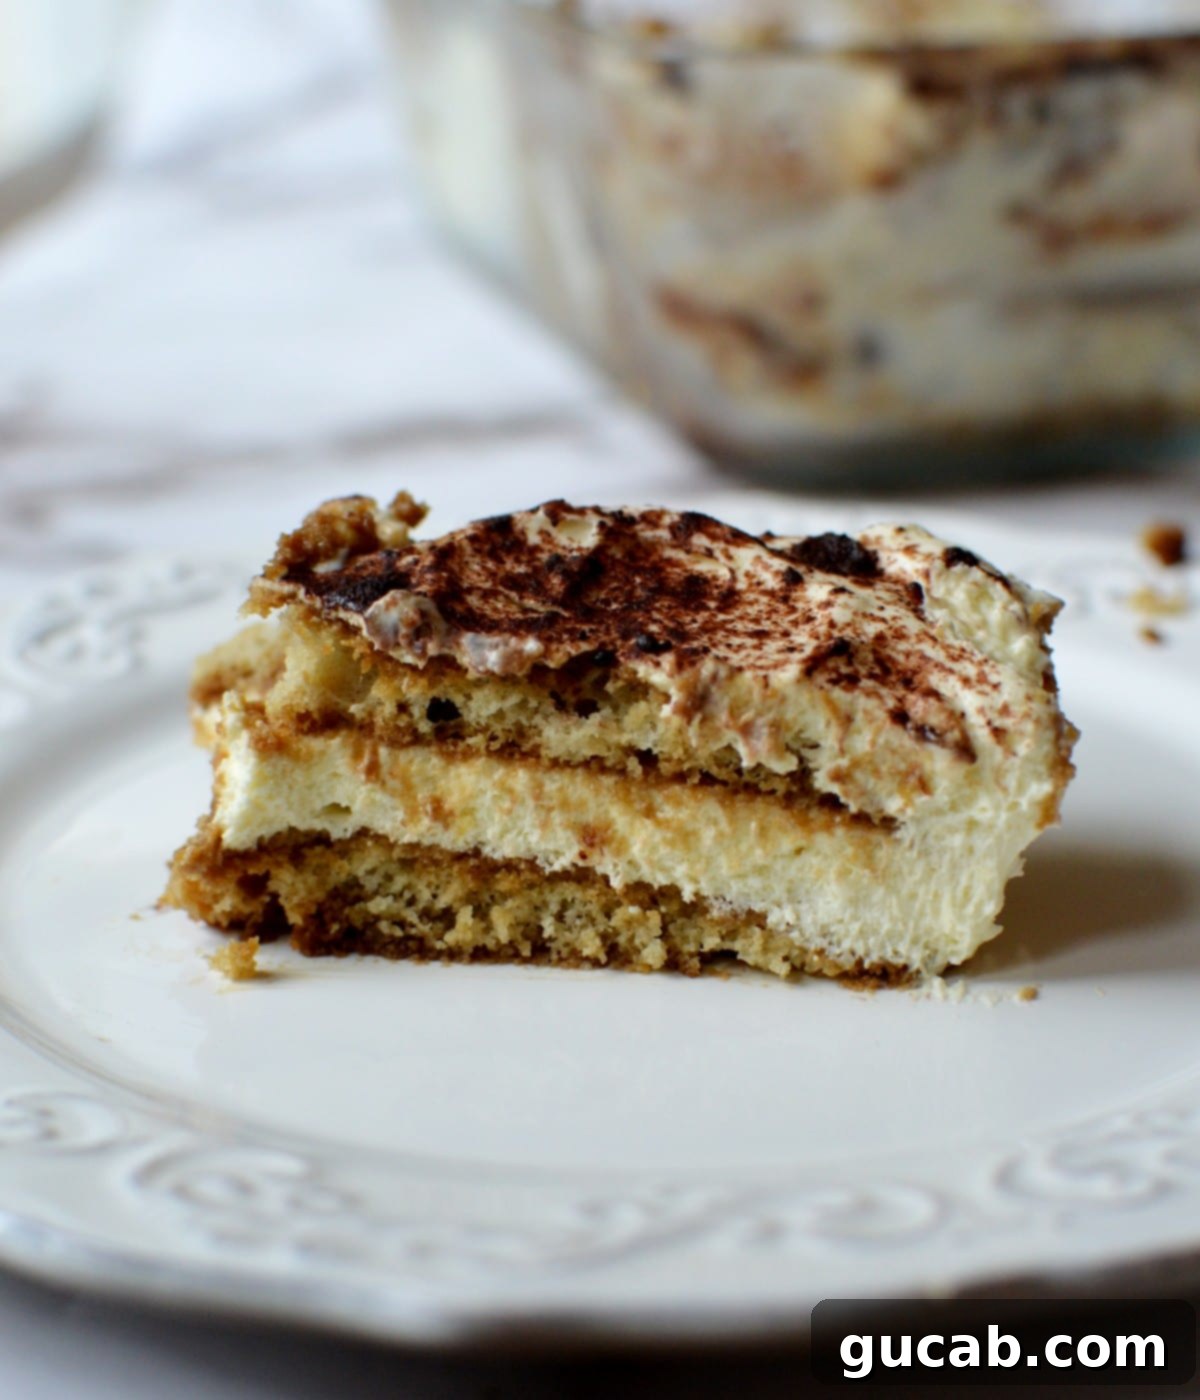
- The Ideal Texture: Your finished ladyfingers should taste like a dry, slightly crisp meringue cookie. This is their intended texture. This dryness is precisely what makes them perfect for tiramisu, allowing them to absorb the coffee and rum mixture without falling apart, contributing to that signature moist yet structured dessert.
- Storage: Store cooled gluten-free ladyfingers in an airtight container at room temperature for up to 3-4 days. They tend to soften over time, especially in humid environments, so consume them relatively quickly or use them in your tiramisu.
- Freezing for Later: Ladyfingers freeze wonderfully! Once completely cooled, arrange them in a single layer on a baking sheet and freeze until solid. Then transfer them to a freezer-safe bag or container, separating layers with parchment paper. They can be frozen for up to 1-2 months. Thaw at room temperature before using.
Transforming Your Tiramisu with Homemade Ladyfingers
The true magic of these homemade gluten-free ladyfingers shines when they’re incorporated into a classic tiramisu. Their ability to soak up the rich espresso and liqueur, while maintaining their structural integrity, is what elevates a good tiramisu to an extraordinary one. You’ll find that your homemade version offers a depth of flavor and a texture that no store-bought substitute can replicate, making your gluten-free tiramisu an unforgettable dessert.
Other Gluten-Free Desserts You Might Love
If you enjoyed making these ladyfingers, you might be interested in exploring more delicious gluten-free baking projects:
- Gluten Free Sour Cream Pound Cake
- Gluten Free Funfetti Sugar Cookies
- Gluten Free Marble Cake
- Gluten Free Chocolate Pound Cake
Gluten-Free Ladyfingers
Carolyn
Pin Recipe
16 minutes
14 minutes
30 minutes
Dessert
American
40
ladyfingers
Equipment
-
Stand mixer and hand mixer (or whisk)
-
Large mixing bowl
-
Large piping bag
-
Silicone baking mat
-
Sheet pans
Ingredients
-
4
eggs
separated -
1
cup
sugar -
1 ¼
cup
gluten-free all-purpose flour -
1
teaspoon
baking powder
Instructions
-
Preheat your oven to 375 degrees Fahrenheit (190°C). Line two sheet pans with parchment paper or silicone baking mats.
-
In a large mixing bowl, whip the egg yolks and half of the sugar together using a hand mixer until the mixture is light in color and visibly fluffy. This should take approximately two minutes. Set aside.
-
In the bowl of a stand mixer (or a clean, large bowl with a hand mixer), whip the egg whites until they become frothy. Gradually add the remaining half of the sugar while continuing to whip. Continue whipping until the egg whites achieve stiff, glossy peaks. This process typically takes between 6 to 9 minutes.
-
While the egg whites are whipping, sift the gluten-free flour and baking powder onto a large piece of parchment paper. This helps aerate the flour and prevents lumps.
-
Gently fold half of the whipped egg whites into the egg yolk mixture. Then, carefully add the sifted flour mixture and fold it in until just combined. Finally, incorporate the rest of the egg whites with a gentle folding motion until a light, airy, and uniform batter forms, being careful not to deflate the whites.
-
Transfer the batter to your prepared piping bag. Pipe 3 ½ inch long ladyfingers onto the lined sheet pans, ensuring they are spaced at least an inch apart to allow for slight spreading. Generously dust the piped cookies with powdered sugar. Bake for 12 to 15 minutes, or until the outsides are lightly golden and the cookies are dry and crisp.
cookies, gluten free, ladyfingers, tiramisu
Tried this recipe?
Let us know how it was!
Frequently Asked Questions (FAQs) About Gluten-Free Ladyfingers
Here are some common questions about making and using gluten-free ladyfingers:
- Can I use a different gluten-free flour blend? Yes, you can. However, results may vary. It’s best to use a 1:1 or “cup-for-cup” gluten-free all-purpose flour blend that contains xanthan gum, as this helps with the structure and texture normally provided by gluten. If your blend doesn’t have xanthan gum, you might need to add about ¼ teaspoon per cup of flour.
- My egg whites aren’t whipping to stiff peaks. What went wrong? The most common reasons are fat contamination (even a tiny speck of yolk or grease), cold eggs, or over-whipping. Ensure your bowl and whisk are perfectly clean, your eggs are at room temperature, and you stop whipping as soon as stiff peaks form.
- Can I make these ladyfingers dairy-free? This recipe is naturally dairy-free! Ladyfingers traditionally do not contain any dairy products like butter or milk, making them suitable for those avoiding dairy.
- How do I store homemade gluten-free ladyfingers? Once completely cooled, store them in an airtight container at room temperature for up to 3-4 days. For longer storage, they can be frozen (see tips above).
- What if my ladyfingers turn out soft instead of crisp? This could be due to under-baking or over-folding the batter, which deflates the egg whites. Ensure your oven temperature is accurate and bake until they are golden and dry. You can also try baking them for a few extra minutes at a slightly lower temperature (e.g., 300°F/150°C) after the initial bake to dry them out further.
