Ultimate Gooey Chocolate Chip Rice Krispie Treats: An Easy Homemade Recipe
Prepare for a delightful journey into the world of no-bake desserts! While store-bought rice krispie treats often fall short, a homemade version is a revelation. But what if we told you that the classic, perfectly gooey, buttery, and marshmallow-laden rice krispie treat could get even better? The secret lies in one simple addition: chocolate chips! These **chocolate chip rice krispie treats** are an undeniable upgrade, boasting the ideal balance of soft, chewy texture and pockets of melted (or semi-melted!) chocolate goodness. They’re incredibly easy to make and guaranteed to be a crowd-pleaser.
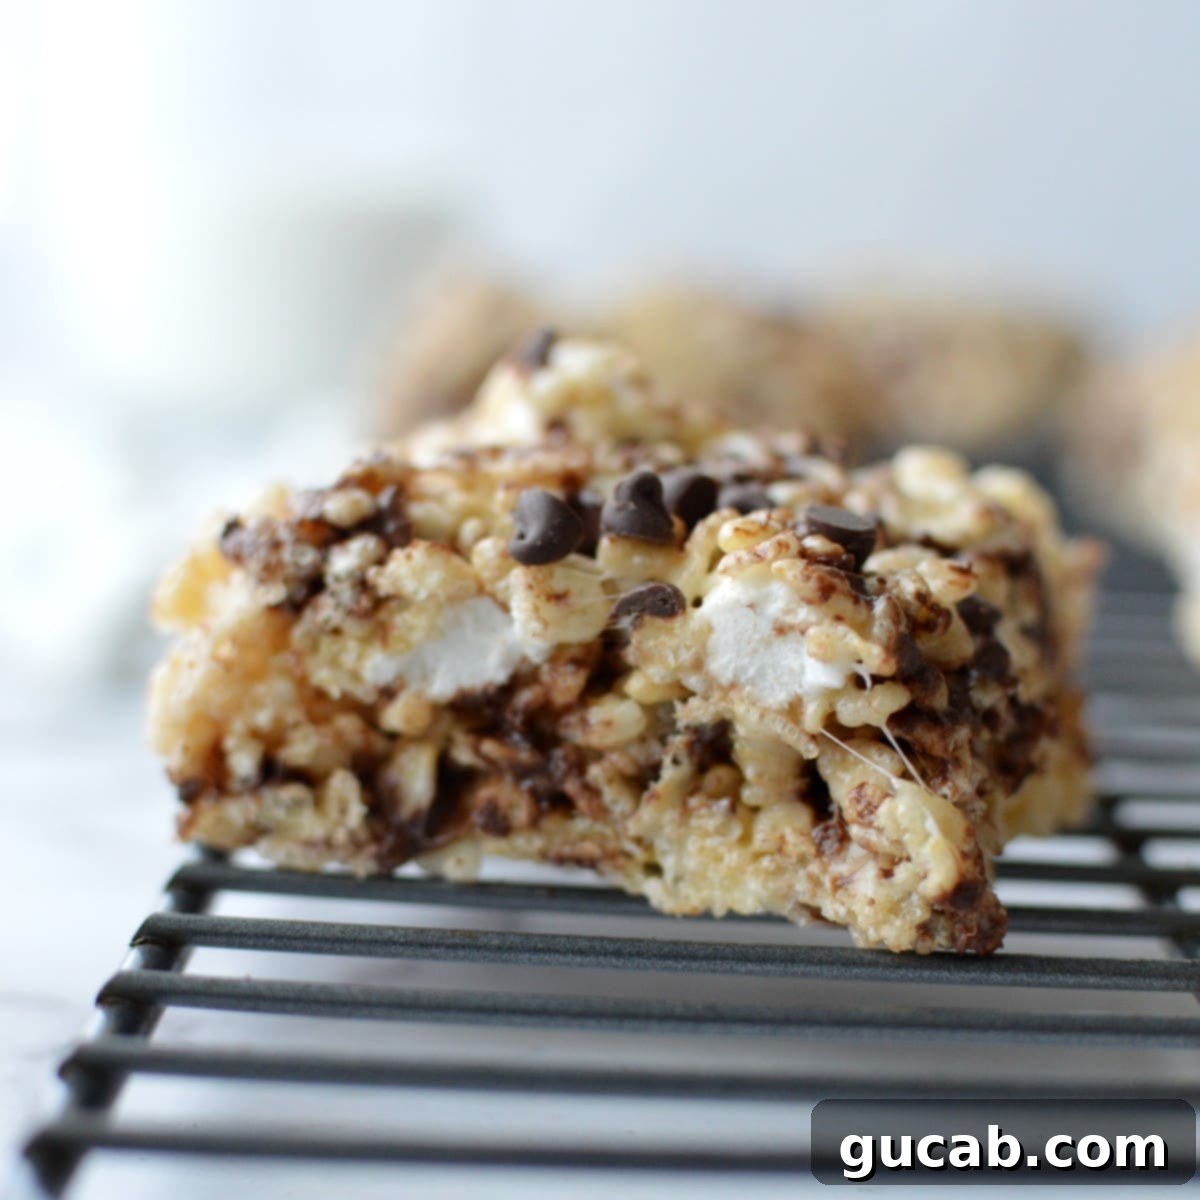
I confess, my childhood self wasn’t a fan of the traditional rice krispie treat. My only experience was with the dry, often bland, prepackaged versions. It wasn’t until I discovered the magic of homemade treats – bursting with butter and an abundance of melted marshmallows – that my opinion completely changed. The difference is night and day; homemade beats store-bought every single time. Once you taste that ooey-gooey perfection, there’s no going back.
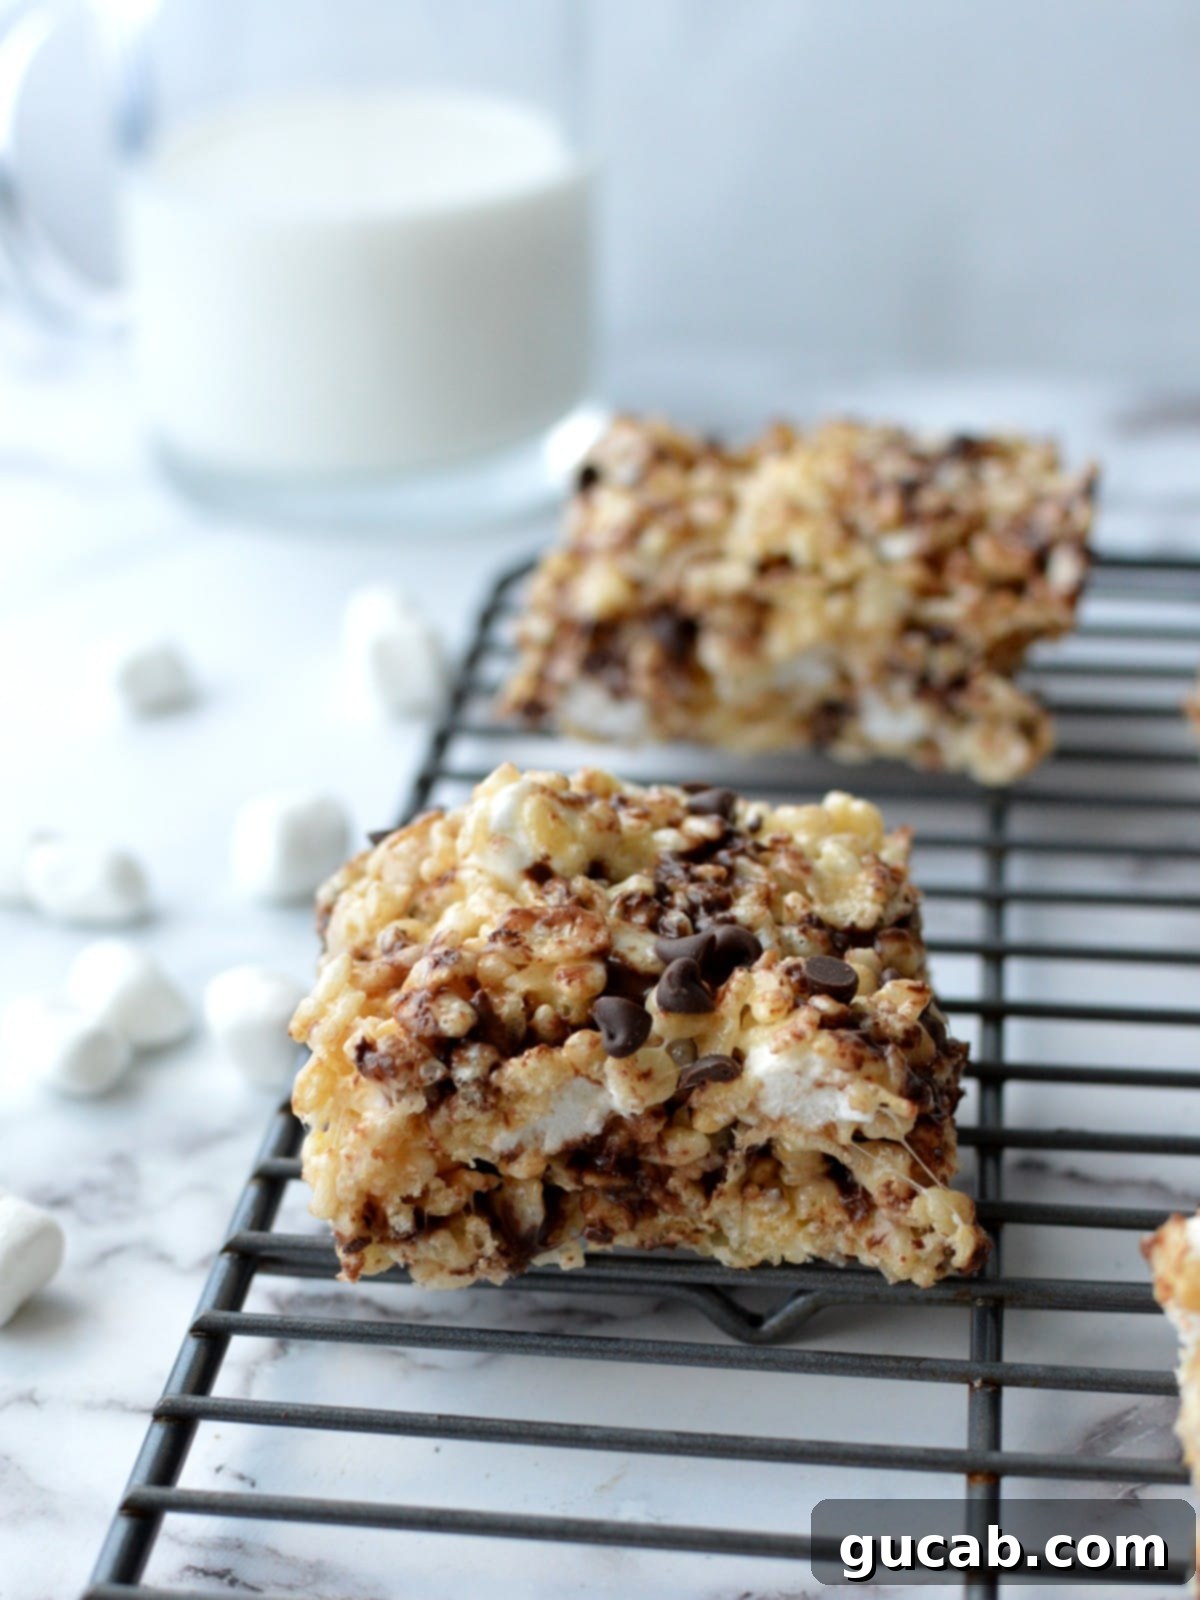
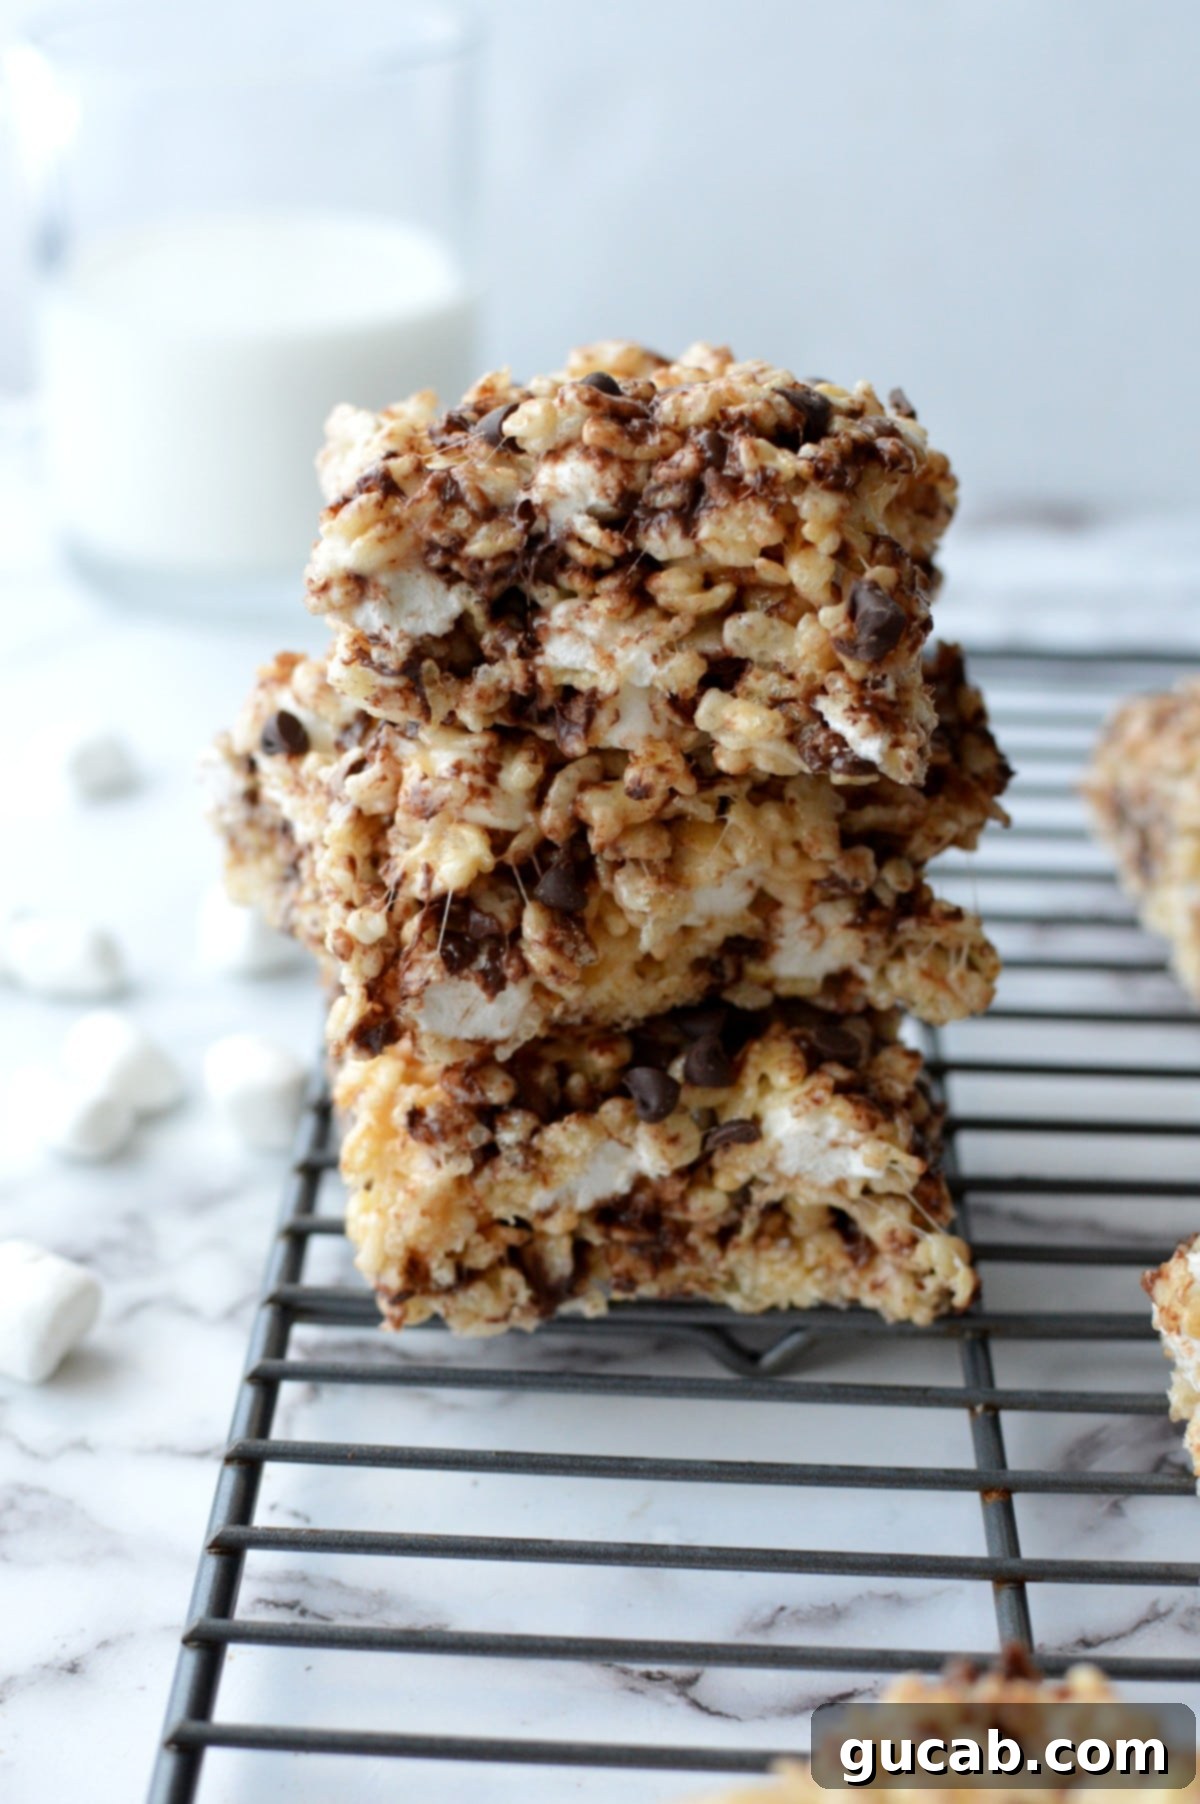
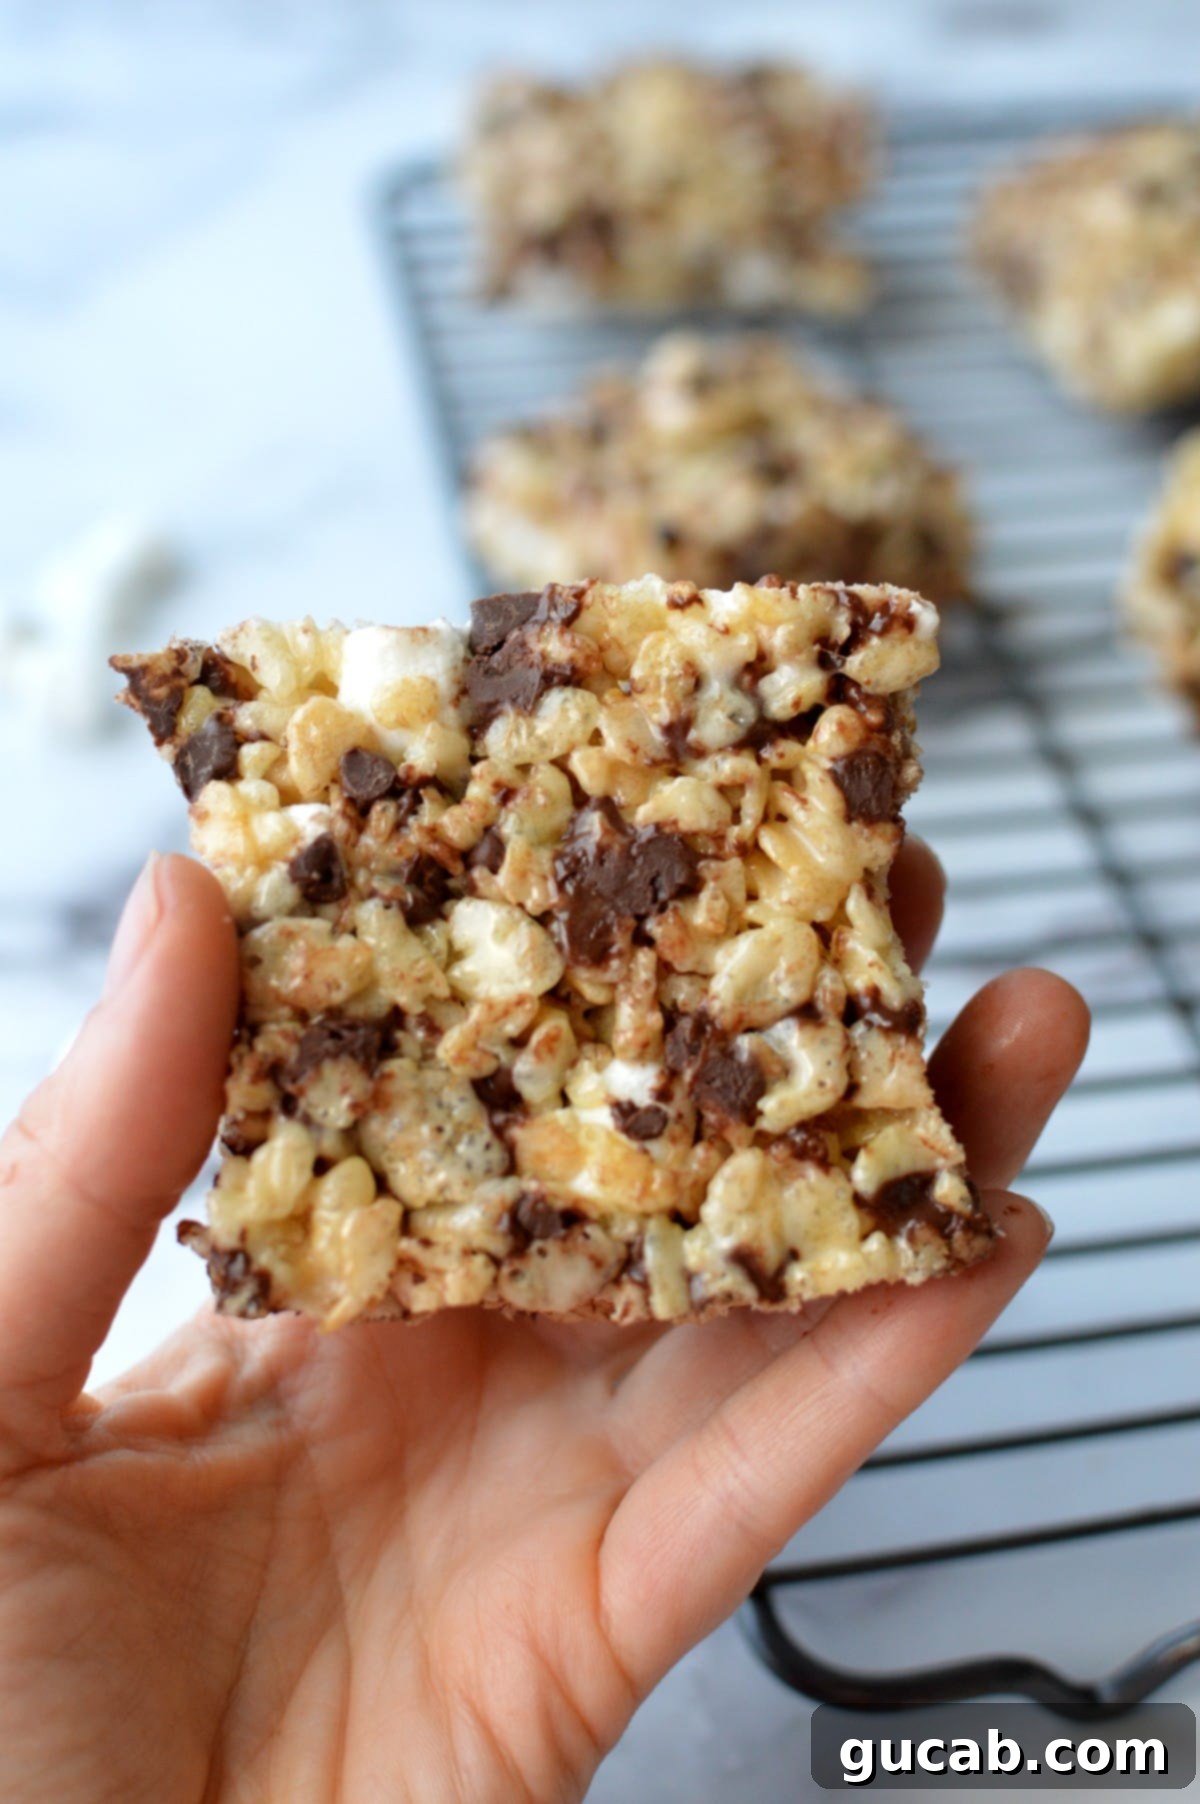
Knowing this, my next thought was, “How can I elevate this already incredible homemade treat?” The answer, clear as day, was chocolate chips. And oh, what a magnificent decision that was! The addition of chocolate takes these simple squares from delicious to utterly divine. Each bite offers that satisfying crunch, the soft chewiness, and then a burst of rich chocolate. It’s a combination that’s simply too good to resist. My attempt at portion control (cutting one in half) lasted mere seconds before the other half mysteriously disappeared!
Why These Chocolate Chip Rice Krispie Treats Are a Must-Try
If you’re looking for a dessert that’s quick, easy, and universally loved, these **chocolate chip rice krispie treats** are your answer. They are:
- **Irresistibly Gooey & Chewy:** Thanks to the perfect ratio of butter and marshmallows.
- **Richly Chocolatey:** Mini chocolate chips ensure chocolate in every single bite.
- **Effortlessly Simple:** A no-bake recipe that comes together in minutes.
- **Perfect for Any Occasion:** Great for parties, lunchboxes, or a simple sweet craving.
- **Customizable:** Easy to adapt for various dietary needs, like gluten-free.
What You Need: Simple Ingredients for Sweet Success
The beauty of classic rice krispie treats lies in their minimal ingredient list. Adding chocolate chips only requires one extra item, keeping this recipe incredibly straightforward. Here’s a breakdown of the essential components:
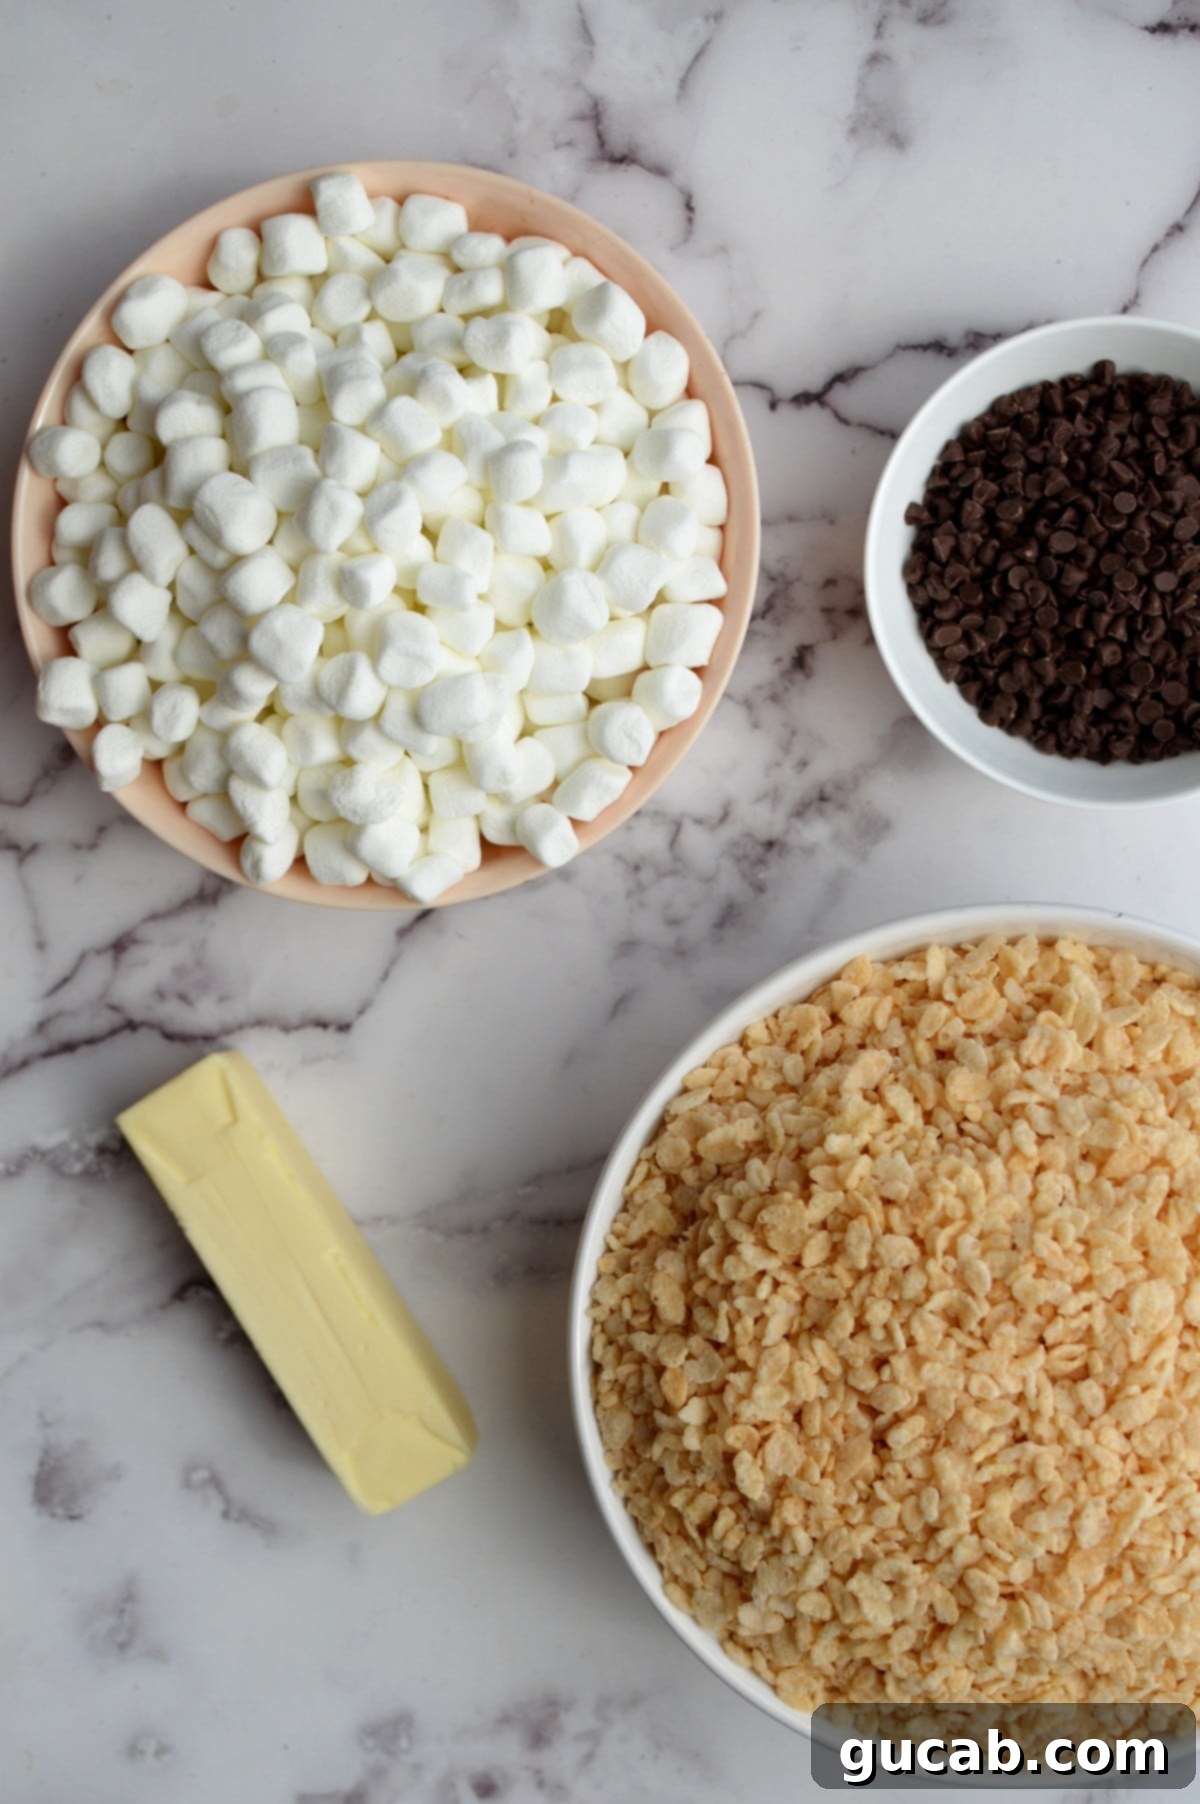
- Rice Krispies or Crisp Rice Cereal: This is the foundation of your treats! You’ll need a crisp rice cereal. While the brand name “Rice Krispies” is popular, many generic or off-brand versions work wonderfully. The key is to choose a brand whose taste and texture you genuinely enjoy, as it’s the primary ingredient. For those with dietary restrictions, be aware that original Rice Krispies contain malt (derived from barley), making them unsuitable for a gluten-free diet. Look for explicitly labeled “gluten-free” crisp rice cereal if needed. Ensure your cereal is fresh, as stale cereal will result in less-than-perfect treats.
- Unsalted Butter: Butter is crucial for achieving that signature gooey, rich texture and delicious flavor. Using unsalted butter allows you to control the overall saltiness of the treats. A pinch of added salt later helps to balance the sweetness, enhancing all the flavors without making the treat taste overtly salty.
- Mini Marshmallows: Mini marshmallows are highly recommended over larger ones because they melt much more quickly and evenly, ensuring a smooth, consistent marshmallow mixture. You’ll use a significant amount, with a portion reserved to stir in at the end for extra pockets of soft, unmelted marshmallow goodness, contributing to that incredible gooey factor.
- Mini Chocolate Chips: The star addition! Mini chocolate chips are preferred because they disperse more evenly throughout the rice krispie mixture, ensuring a perfect chocolate-to-cereal ratio in every single bite. This means no big, sparse areas without chocolate. You can use semi-sweet, milk, or even dark chocolate chips, depending on your preference.
- Kosher Salt: Just a small pinch! Salt is a flavor enhancer that beautifully offsets the sweetness of the marshmallows and chocolate, making the overall flavor profile more complex and satisfying. Don’t skip it!
In terms of equipment, you’ll also need a 9×13 inch baking pan, a sturdy spatula, and a large pot (like a Dutch oven) or a microwave-safe bowl for melting the butter and marshmallows.
How to Make Chocolate Chip Rice Krispie Treats: A Step-by-Step Guide
Making these delightful treats is incredibly simple, requiring minimal time and effort. Follow these easy steps for perfect, gooey results every time:
1. Prepare Your Baking Dish
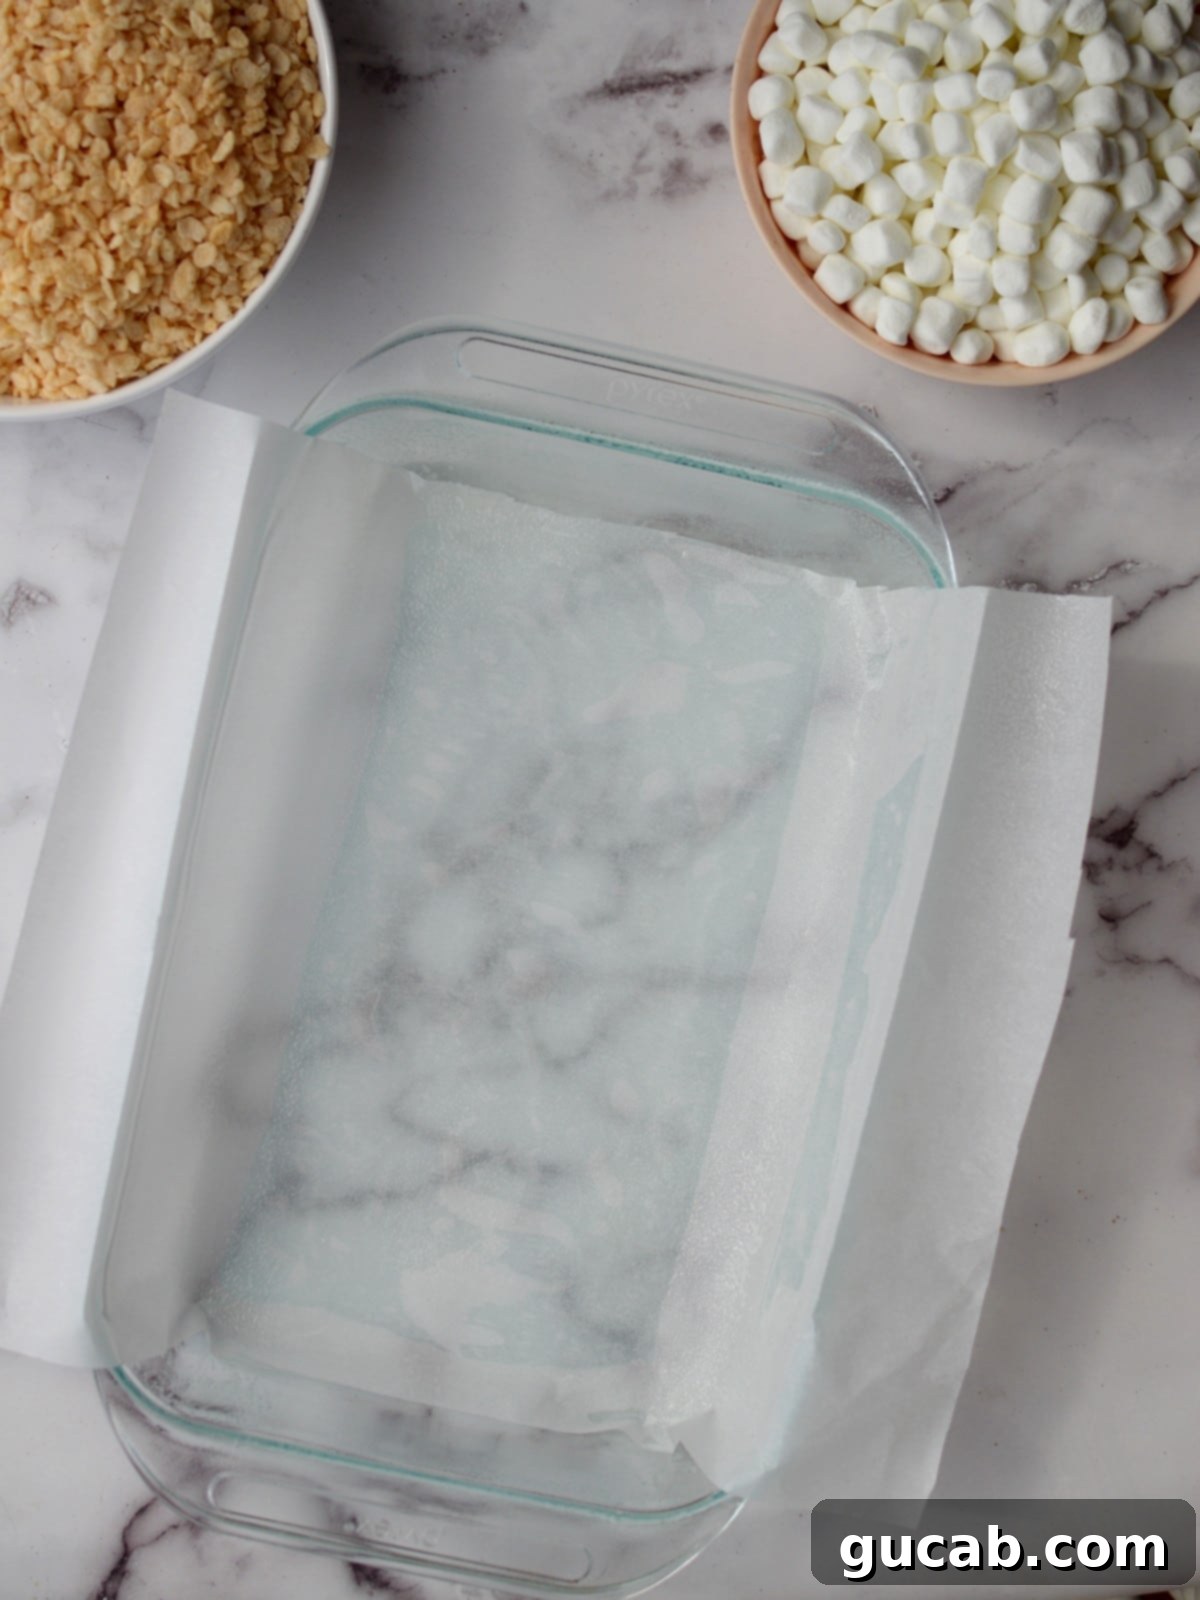
Begin by preparing your 9×13 inch baking pan. Generously spray the pan with a nonstick cooking spray. For even easier removal and cleanup, I highly recommend lining the pan with a piece of parchment paper. Let the edges of the parchment paper hang over the sides of the pan; this creates “handles” that you can use to lift the entire batch of treats out once they’ve set. Once the parchment paper is in place, give it another quick spray with nonstick cooking spray to ensure nothing sticks. This crucial step prevents sticking and makes serving a breeze.
2. Melt the Butter and Marshmallows
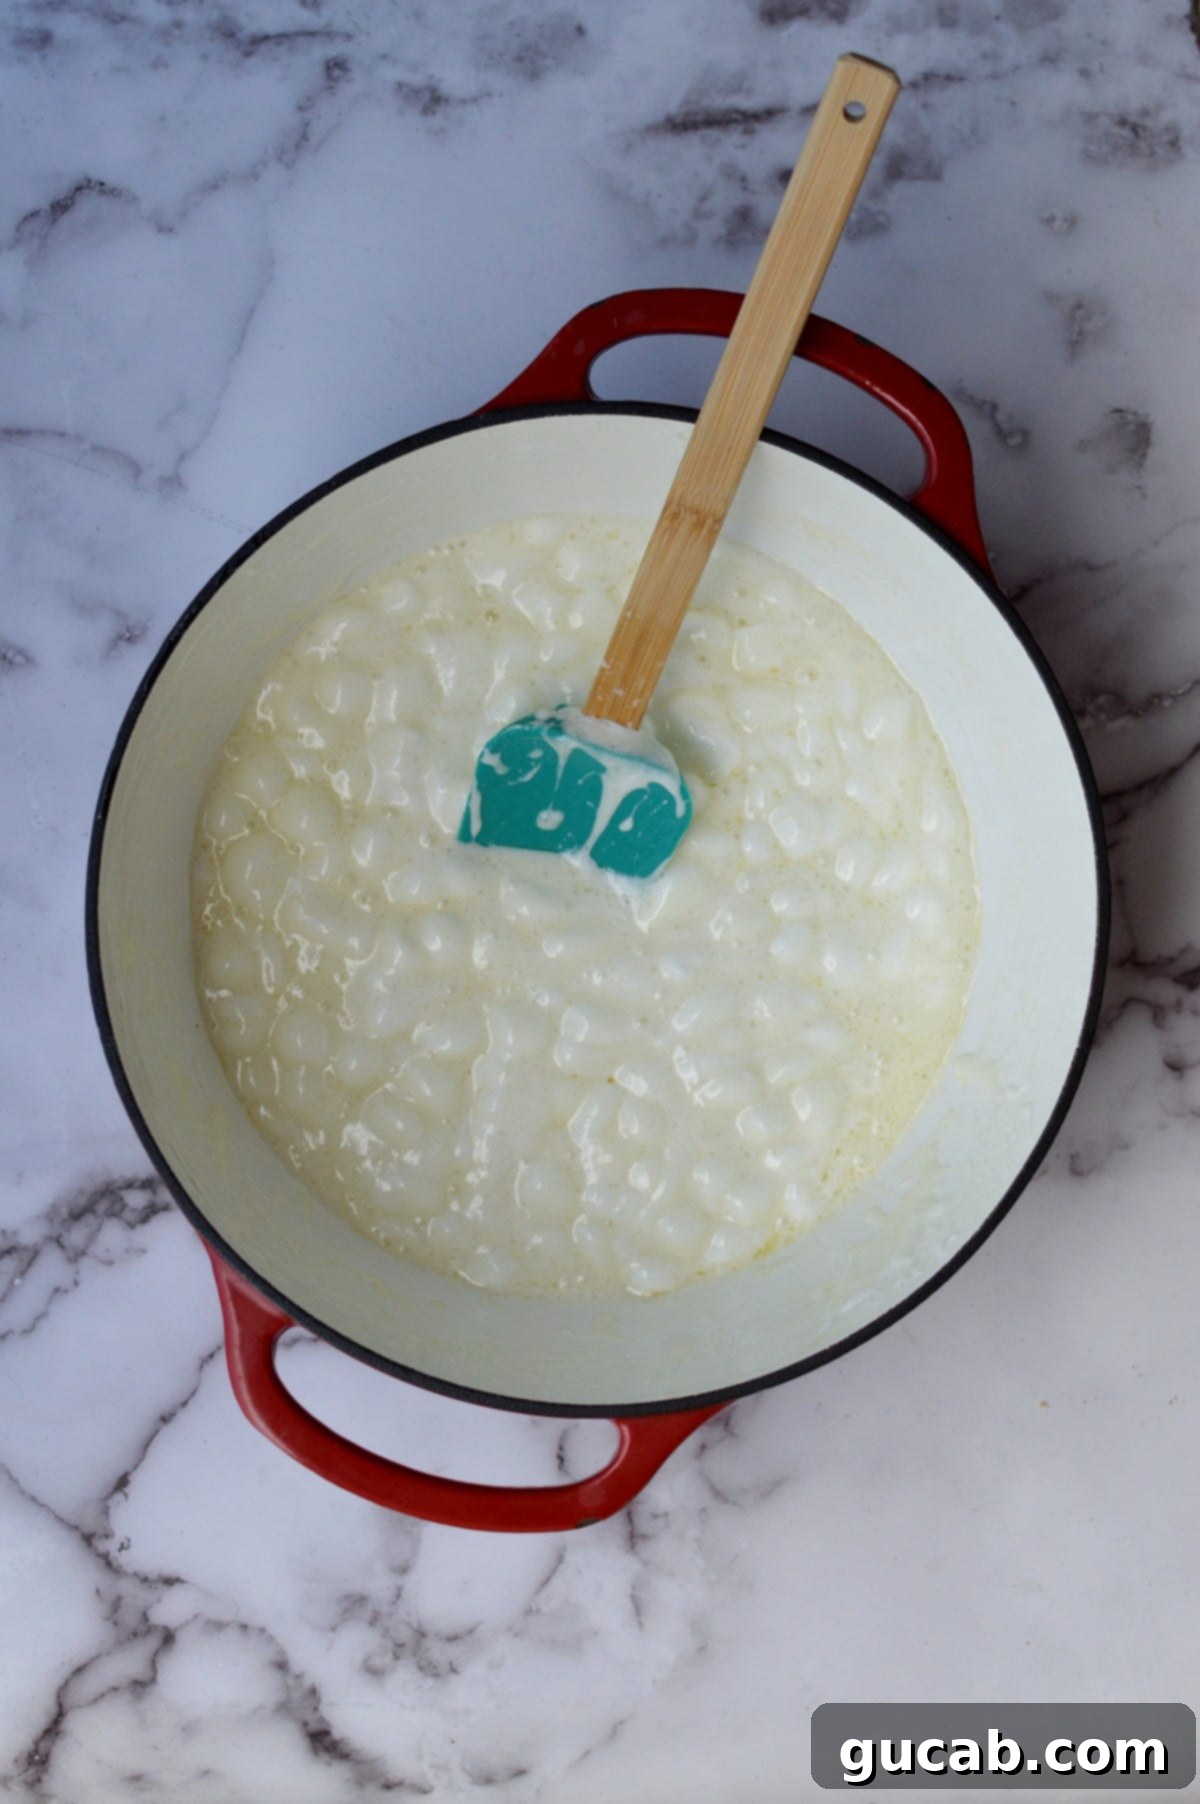
In a large Dutch oven or a spacious pot, melt the unsalted butter and 8 cups of the mini marshmallows together over medium-low heat. Stir the mixture occasionally to prevent scorching and ensure even melting. Low heat is key here; if the heat is too high, the marshmallows can become hard and sugary, resulting in stiff treats instead of wonderfully gooey ones. Alternatively, you can melt this mixture in a large microwave-safe bowl. Heat in 30-second intervals, stirring thoroughly between each interval, until the butter and marshmallows are fully melted and combined into a smooth, glossy mixture.
3. Incorporate the Rice Cereal
Once your marshmallow mixture is smooth, remove the pot from the heat and add the crisp rice cereal. Using your spatula, stir vigorously but gently until all the cereal is thoroughly coated with the sweet, sticky marshmallow goodness. Ensure there are no dry spots. Avoid over-mixing, which can crush the cereal and compromise the texture.
4. Add Chocolate Chips and Extra Marshmallows
This step is where the chocolate magic happens! Add the mini chocolate chips and the remaining 2 cups of mini marshmallows to the mixture. Stir once or twice, just enough to distribute them. The timing here depends on your preference:
- For slightly melty chocolate chips: Stir them in immediately after adding the cereal to the warm marshmallow mixture. The residual heat will soften them beautifully, creating little pockets of melted chocolate. Be careful not to over-stir, or they will fully melt and color the entire batch.
- For distinct, unmelted chocolate chips: Allow the rice cereal and marshmallow mixture to cool for a few minutes before stirring in the chocolate chips and extra marshmallows. This ensures the chocolate chips remain mostly intact, giving you a distinct chocolate “chip” in each bite.
The extra marshmallows added at this stage will remain mostly soft, contributing significantly to the overall gooeyness of the finished treats.
5. Spread into the Pan
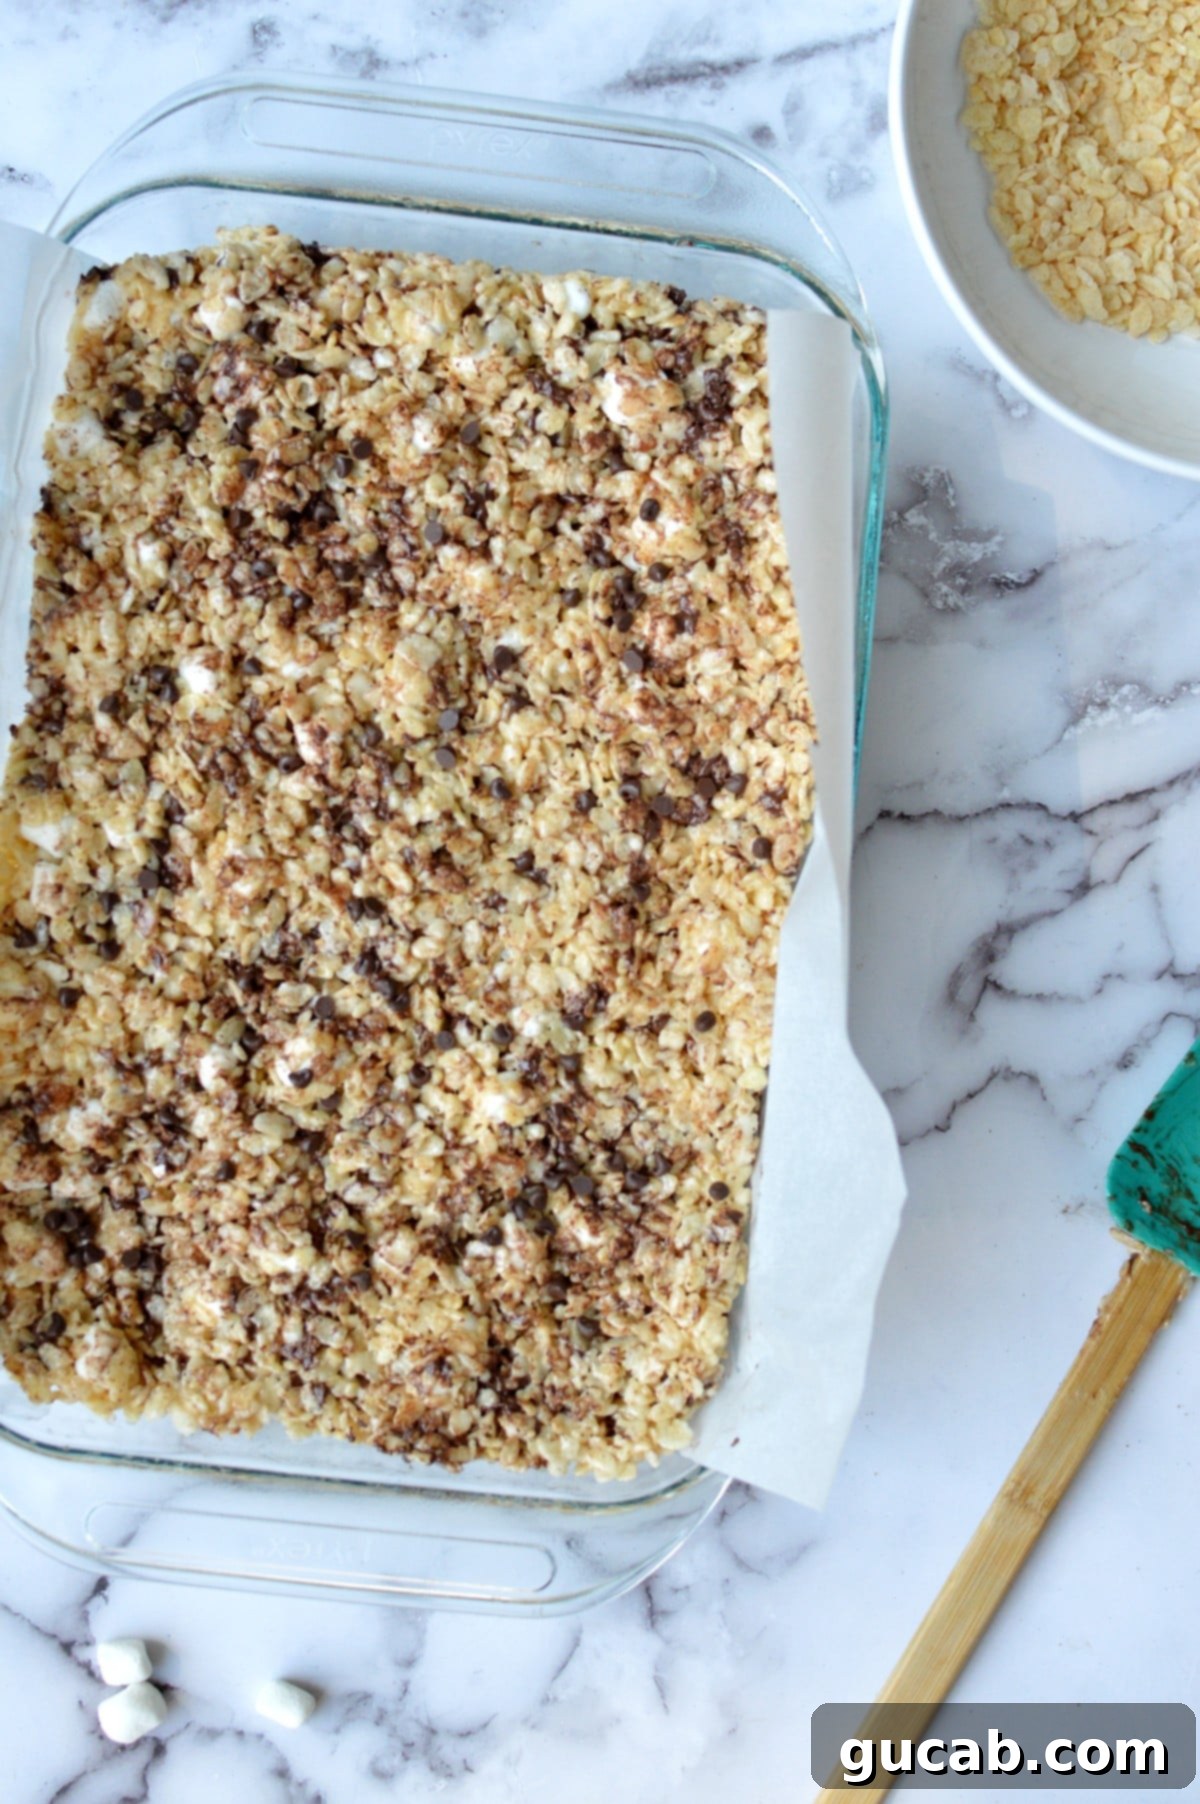
Using your spatula, carefully scrape the warm mixture into your prepared baking dish. Now, gently spread the mixture evenly into the pan. To prevent sticking and make spreading easier, spray your spatula with a little nonstick cooking spray. Use the sprayed spatula to gently press the mixture down evenly into the pan. It’s crucial not to pack them down too hard or press too firmly, as this will result in dense, hard rice krispie treats instead of light, airy, and chewy ones. The goal is an even layer, not a compressed brick. For an extra touch, you can sprinkle a few more chocolate chips on top and lightly press them in.
6. Cool, Cut, and Enjoy!
While you can certainly cut and enjoy these treats immediately (and believe me, it’s worth it for that warm, gooey experience!), they will hold their shape and cut more uniformly if you let them set up for at least an hour at room temperature. Once cooled and set, use the parchment paper overhangs to lift the entire slab out of the pan. Place it on a cutting board and cut into squares or rectangles of your desired size. Share (or don’t!), and savor every delicious bite!
Frequently Asked Questions About Rice Krispie Treats
Can I Make Rice Krispie Treats in the Microwave?
Absolutely! If you don’t have access to a stovetop or simply prefer the convenience, making these treats in the microwave is a fantastic option. To do so, place the butter, salt, and 8 cups of mini marshmallows into a large microwave-safe bowl. Heat the mixture in 30-second intervals, making sure to stir thoroughly between each interval until the butter and marshmallows are completely melted and smoothly combined. Once melted, continue to follow the recipe steps as directed, adding the cereal, chocolate chips, and remaining marshmallows, then pressing into the prepared pan.
Are Rice Krispies Gluten-Free?
The short answer is no, the popular name-brand Kellogg’s Rice Krispies are not considered gluten-free. This is because they contain malt flavoring, which is typically derived from barley and therefore contains gluten. This makes them unsuitable for individuals with gluten intolerance or Celiac disease.
However, there’s good news! Many off-brand crisp rice cereals on the market are indeed gluten-free. These brands are specifically formulated without gluten-containing ingredients. If you are highly sensitive to cross-contamination or require certified gluten-free products, it’s always best to look for a brand that is clearly labeled and certified gluten-free. Health food stores, such as Whole Foods, often carry these specialty brands. Regardless of where you shop, always make it a habit to carefully check the ingredient list to ensure it meets your dietary needs. And remember, since the cereal is the main ingredient, choose a brand you genuinely like for the best-tasting treats.
How to Store Rice Krispie Treats to Keep Them Fresh
To keep your **chocolate chip rice krispie treats** at their absolute best, wait until they are completely cool before storing them. Place them in an airtight container at room temperature, where they will stay fresh and deliciously gooey for up to 3 days. While they can technically be frozen, the freezing and thawing process can sometimes alter their beloved chewy texture, so they are generally best enjoyed fresh.
If you do decide to freeze them, arrange the cut treats in a freezer-safe airtight container, using parchment paper to separate layers to prevent them from sticking together. They can be frozen for up to 6 months. Thaw at room temperature before enjoying.
Why Are My Rice Krispie Treats Hard?
Hard rice krispie treats are a common complaint, and it’s usually due to one of two reasons:
- Overheating the Marshmallows: If marshmallows are cooked too long or over too high heat, their sugar crystals seize up, leading to a hard, brittle texture once cooled. Always melt them over medium-low heat or in short microwave intervals, stirring frequently, and remove them from heat as soon as they’re smooth.
- Compacting the Mixture: Pressing the mixture too firmly into the pan will crush the cereal and compress the marshmallows, resulting in dense, hard treats. Use a light, gentle touch when spreading and pressing.
Expert Tips for Perfectly Gooey Chocolate Chip Rice Krispie Treats
Achieving that ultimate gooey, chewy texture is simple with these pro tips:
- Do Not Pack the Mixture: This is arguably the most important tip! While you want to spread the mixture evenly into the pan, resist the urge to press down hard or compact it. A gentle hand will ensure your treats remain light, airy, and delightfully chewy. Too much pressure results in dense, hard treats.
- Line Your Pan for Easy Release: Make cleanup and serving a breeze by lining your 9×13 inch dish with parchment paper. Allow the sides to hang over the edges; these overhangs act as handles, letting you lift the entire slab of **chocolate chip rice krispie treats** out of the pan effortlessly.
- Combat Stickiness with Nonstick Spray: If your hands or spatula become too sticky while pressing the mixture, a quick spray with nonstick cooking spray will solve the problem. This prevents the marshmallow goodness from adhering to everything.
- Choose Fresh Cereal: Start with fresh, crisp rice cereal. If your cereal is old or stale, no amount of butter and marshmallows will revive its texture or flavor. A fresh base is essential for the best results.
- Control Chocolate Chip Melt:
- For slightly melted chocolate pools: Stir the chocolate chips in immediately after adding the rice cereal to the warm marshmallow mixture. The residual heat will soften them beautifully, but avoid over-stirring to prevent them from completely melting and discoloring the treats.
- For distinct, unmelted chocolate chips: Wait a few minutes (around 5-10 minutes) for the mixture to cool slightly before stirring in the chocolate chips. This will help them retain their shape and provide a delightful textural contrast.
- Go Gluten-Free if Needed: As mentioned, if you’re avoiding gluten, be sure to use a certified gluten-free brand of crisp rice cereal. Always double-check the labels!
- Pinch of Salt is Key: Don’t forget that tiny pinch of kosher salt! It doesn’t make the treats salty but instead enhances the sweetness and balances the flavors beautifully.
Delicious Rice Krispie Treats Variations
While these **chocolate chip rice krispie treats** are phenomenal as is, they’re also a fantastic base for creativity! Here are a few ideas to inspire you:
- Rice Krispie Treats with M&Ms: Swap out the mini chocolate chips for 1 cup of mini M&M’s. For best results, allow the rice and marshmallow mixture to cool slightly before stirring in the M&M’s to prevent their colors from bleeding.
- Funfetti Rice Krispie Treats: For a festive and colorful twist, replace the mini chocolate chips with 1 cup of funfetti sprinkles! Again, add them to a slightly cooled mixture to prevent the colors from running.
- Chocolate Rice Krispie Treats Recipe: For the ultimate chocolate lover, make the entire treat chocolatey! Once the butter and marshmallows are melted, add 1 ½ cups of semi-sweet chocolate chips (or cocoa powder for a less sweet version) and stir until completely melted and smooth. Then, proceed with adding the rice cereal as directed. You can even add a few extra chocolate chips at the end for good measure!
- Peanut Butter Rice Krispie Treats: Stir in ½ cup of creamy peanut butter along with the melted butter and marshmallows for a nutty, rich flavor.
- Salted Caramel Rice Krispie Treats: Drizzle homemade or store-bought salted caramel over the top of the finished treats before they set, or swirl it into the marshmallow mixture before adding the cereal.
Other Fun Treats You Might Like
If you’ve enjoyed these delicious and easy-to-make rice krispie treats, be sure to check out some of our other delightful recipes:
- Mint Chocolate Chip Nice Cream
- Gluten Free Funfetti Sugar Cookies
- Gluten Free Cookie Cake
- Peanut Butter Oatmeal Cookies
There you have it – your guide to crafting the most irresistible **homemade chocolate chip rice krispie treats** imaginable. They’re quick, they’re easy, and they deliver on every promise of gooey, chewy, chocolate-filled perfection. Whether you’re making them for a special occasion or just a cozy night in, these treats are sure to bring smiles. So gather your ingredients and get ready to indulge in a truly classic, yet elevated, no-bake dessert!
Chocolate Chip Rice Krispie Treats
Carolyn
Pin Recipe
Equipment
-
Large pot, dutch oven, or large microwave safe bowl
-
Spatula
-
9 by 13 baking dish
Ingredients
- ½ cup unsalted butter, cut into chunks
- 10 cups mini marshmallows, divided
- 8 cups rice cereal* Make sure to use gluten free rice cereal for gluten free rice crispy treats.
- 1 cup Mini semi-sweet chocolate chips
- Pinch Kosher salt
Instructions
-
Spray the 9 by 13 baking dish with nonstick cooking spray. Place a sheet of parchment paper the length of the pan inside of it letting the sides hang over. Press it into the pan and spray it with nonstick cooking spray.

-
In a large dutch oven or pot on medium low heat melt the butter, pinch of salt, and 8 cups of mini marshmallows together, stirring occasionally.

-
Add the rice cereal to the pot and stir until it’s all coated with the marshmallow mixture.
-
If you want the chocolate chips to melt slightly add them immediately with 2 cups of mini marshmallows but don’t over-stir. If you don’t want the chocolate to melt at all wait for the mixture to cool then stir in the mini chocolate chips and 2 cups of marshmallows.
-
Use a spatula to scoop the mixture into the greased baking dish. Spray the spatula with a little bit of nonstick cooking spray and gently press the mixture evenly into the dish. Don’t press too hard or pack it in.
-
Wait 1 hour and then cut and enjoy!
Nutrition
