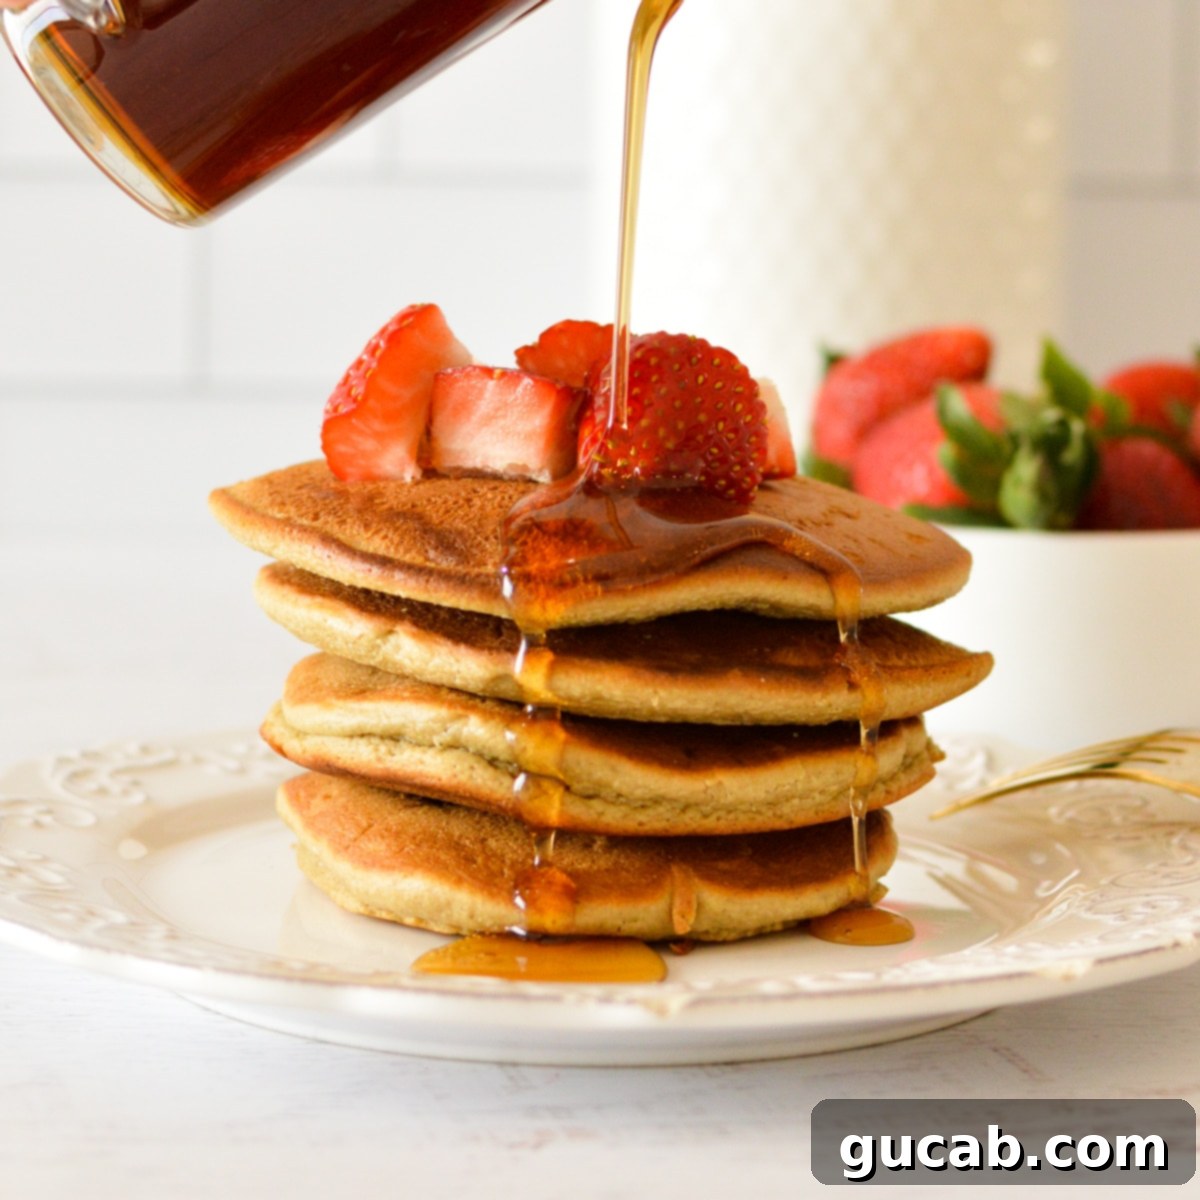
Fluffy & Healthy Oat Flour Pancakes: Your New Favorite Wholesome Breakfast!
Transform your breakfast routine with these incredible **oat flour pancakes**! Say goodbye to bland mornings and hello to a stack of golden perfection. These pancakes are exceptionally **soft, wonderfully fluffy, and undeniably delicious**, offering a delightful texture and a subtle, wholesome oat flavor. They are not only incredibly **easy to whip up** but also remarkably **freezer-friendly**, making them ideal for meal prep and busy weekdays. Get ready to indulge in a healthier twist on a classic breakfast favorite that will leave you feeling satisfied and energized.
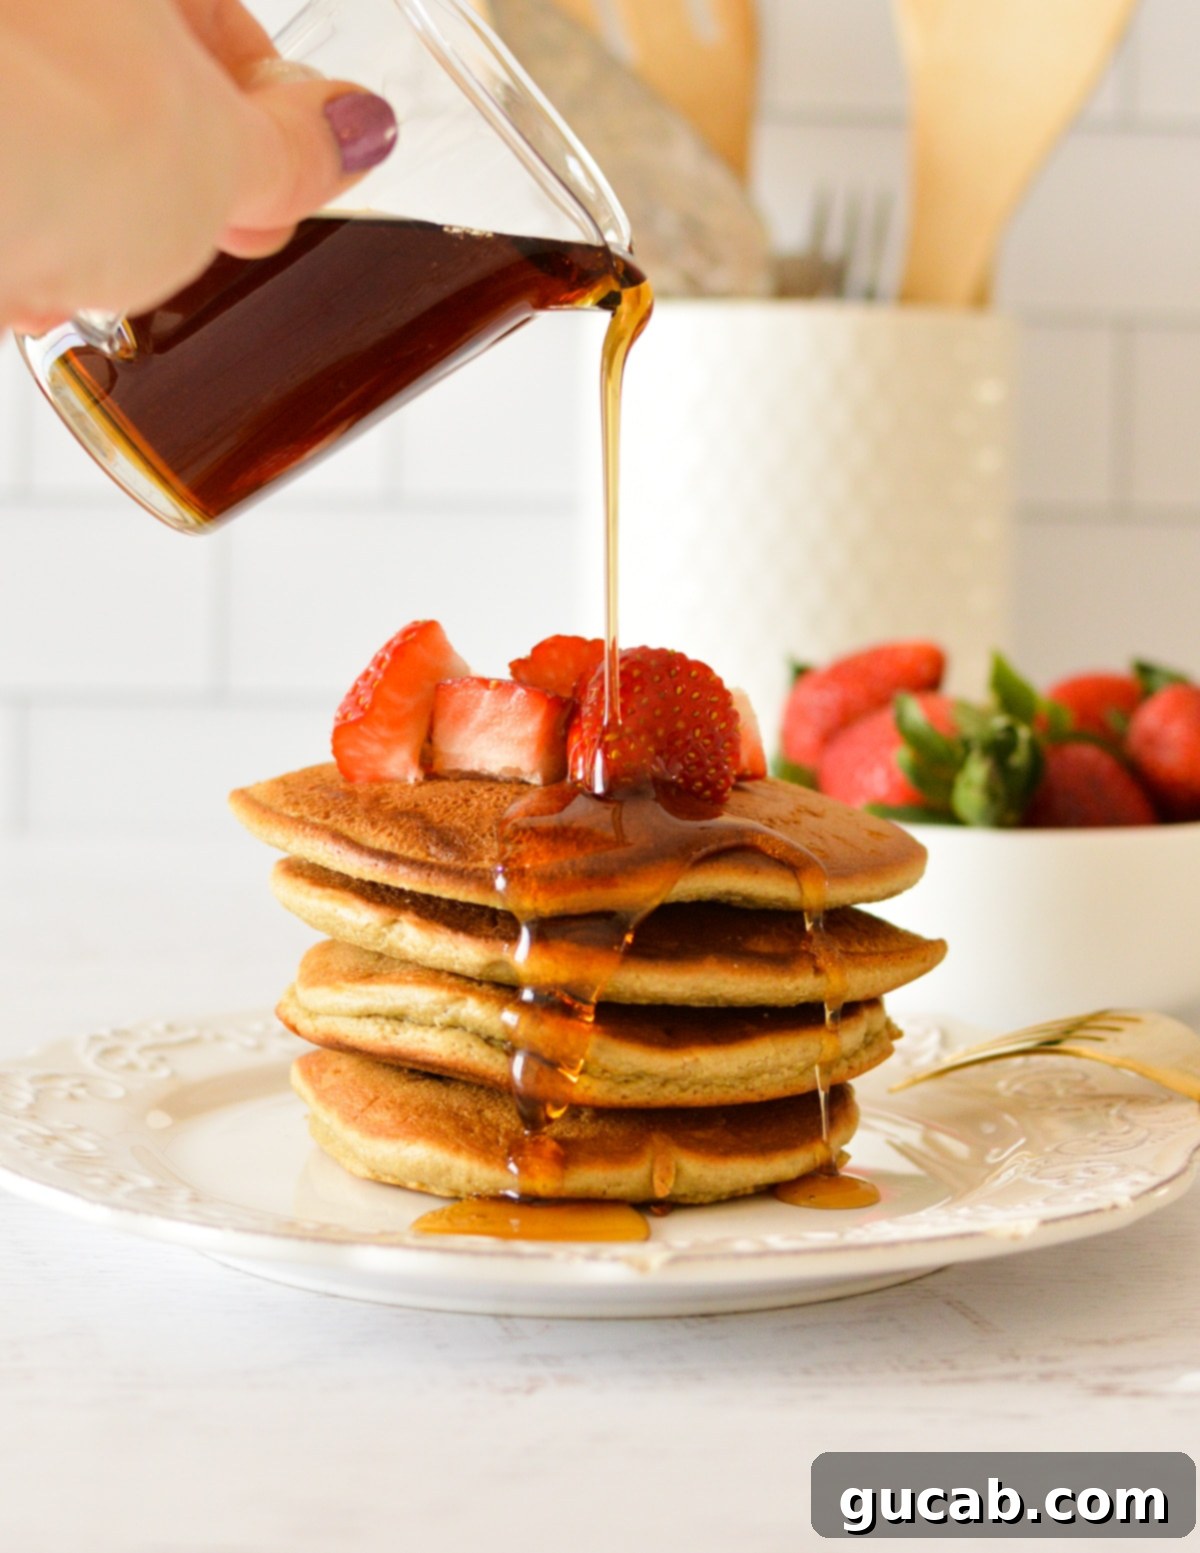
These **oat flour pancakes** are a true breakfast winner! You will absolutely adore this delicious and nutritious alternative to regular all-purpose flour pancakes. They bring a unique texture and a gentle, earthy taste that elevates your morning meal from ordinary to extraordinary.
Why These Oat Flour Pancakes Will Become Your Go-To Breakfast
As a self-proclaimed and unapologetic pancake enthusiast, I can confidently say that my heart truly belongs to pancakes. Every morning, without fail, I crave those comforting, golden discs. I’ve experimented with various breakfast alternatives – from protein-packed eggs and hearty oatmeal to crispy waffles – but nothing quite captures the magic of a perfectly soft, incredibly fluffy, and delightfully light pancake. It’s an irreplaceable joy that truly kickstarts my day.
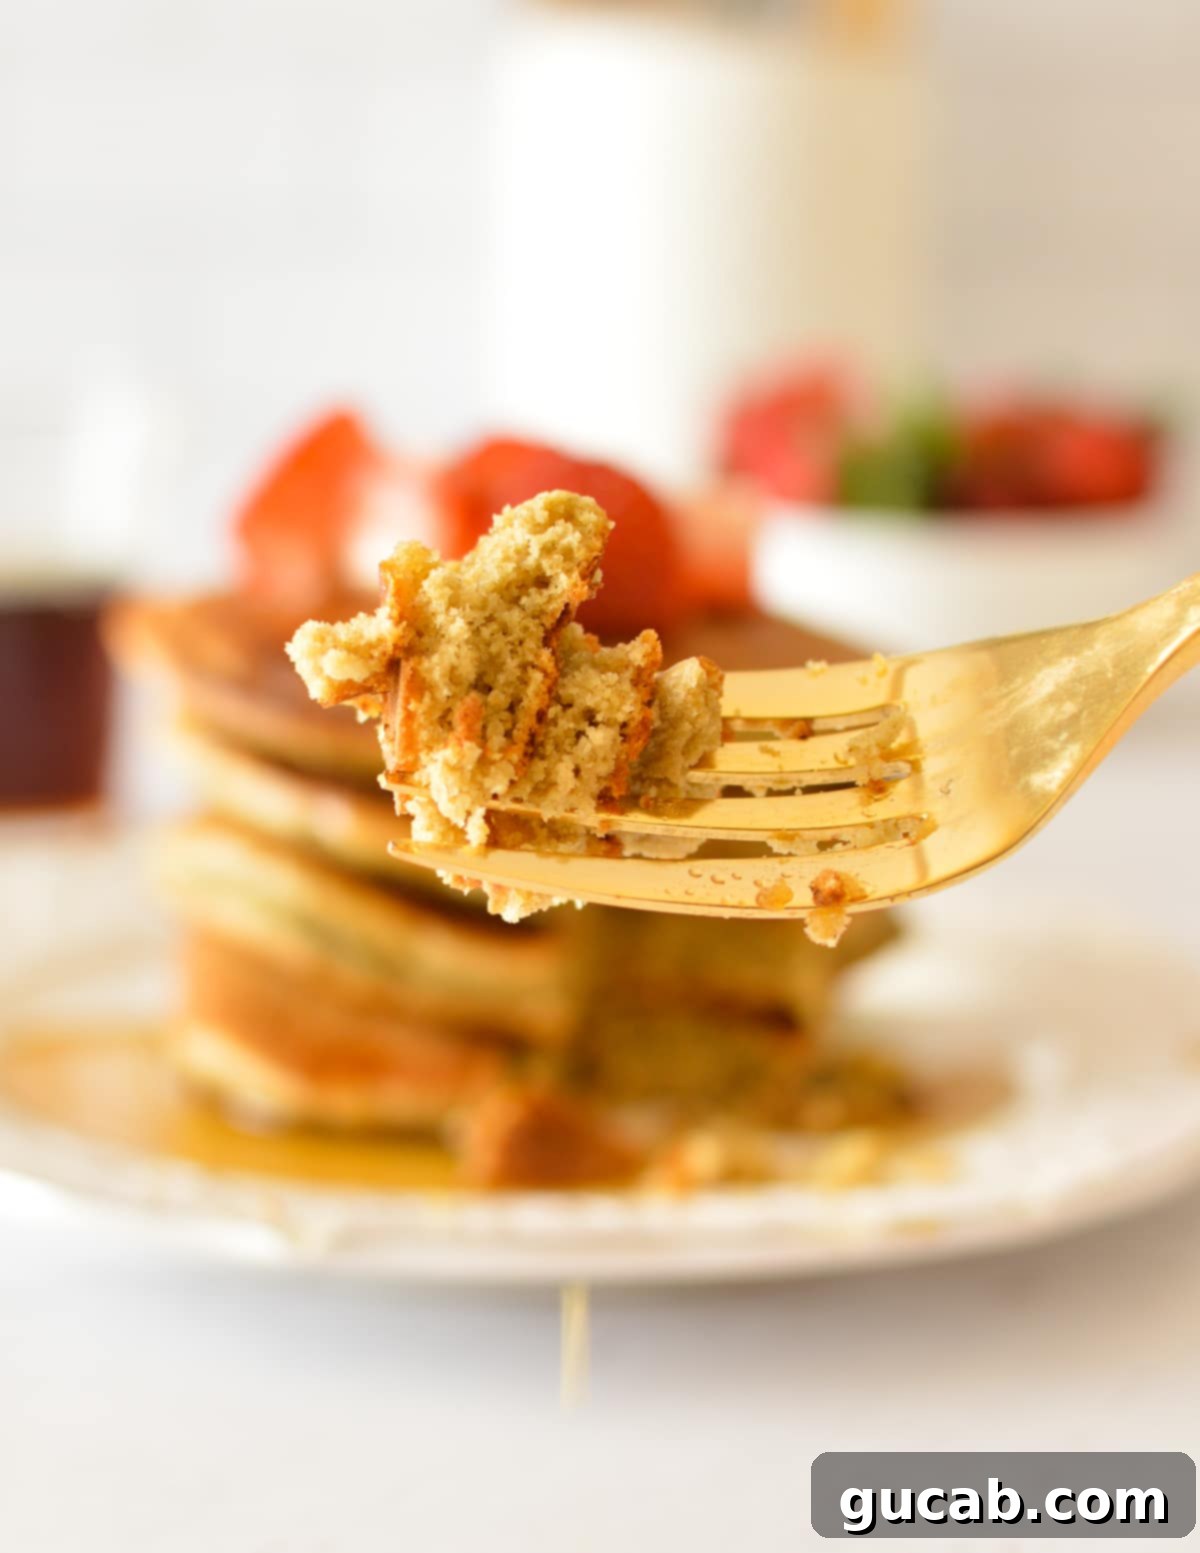
This particular **oat flour pancake recipe** does not just meet expectations; it surpasses them! You might be surprised to find that these pancakes are even lighter and more tender than those made with traditional all-purpose flour. The secret lies in the unique properties of oat flour, which contributes to an airy texture and a wonderfully **subtle, earthy oat flavor** that is both wholesome and surprisingly delicious. This isn’t just a substitute; it’s an upgrade, offering a more complex flavor profile without being overpowering.
Beyond their amazing taste and texture, these pancakes offer a healthier alternative to conventional recipes, packed with the goodness of whole grains. Oat flour brings a wealth of dietary fiber, essential minerals, and a decent amount of protein to your breakfast, helping you stay full and energized longer. So, go ahead and treat yourself to a generous drizzle of your favorite pure maple syrup, or pile on fresh berries, sliced bananas, or any topping your heart desires. After all, life is short, and every morning deserves a little bit of wholesome indulgence and a lot of deliciousness.
Key Ingredients for Perfect Oat Flour Pancakes
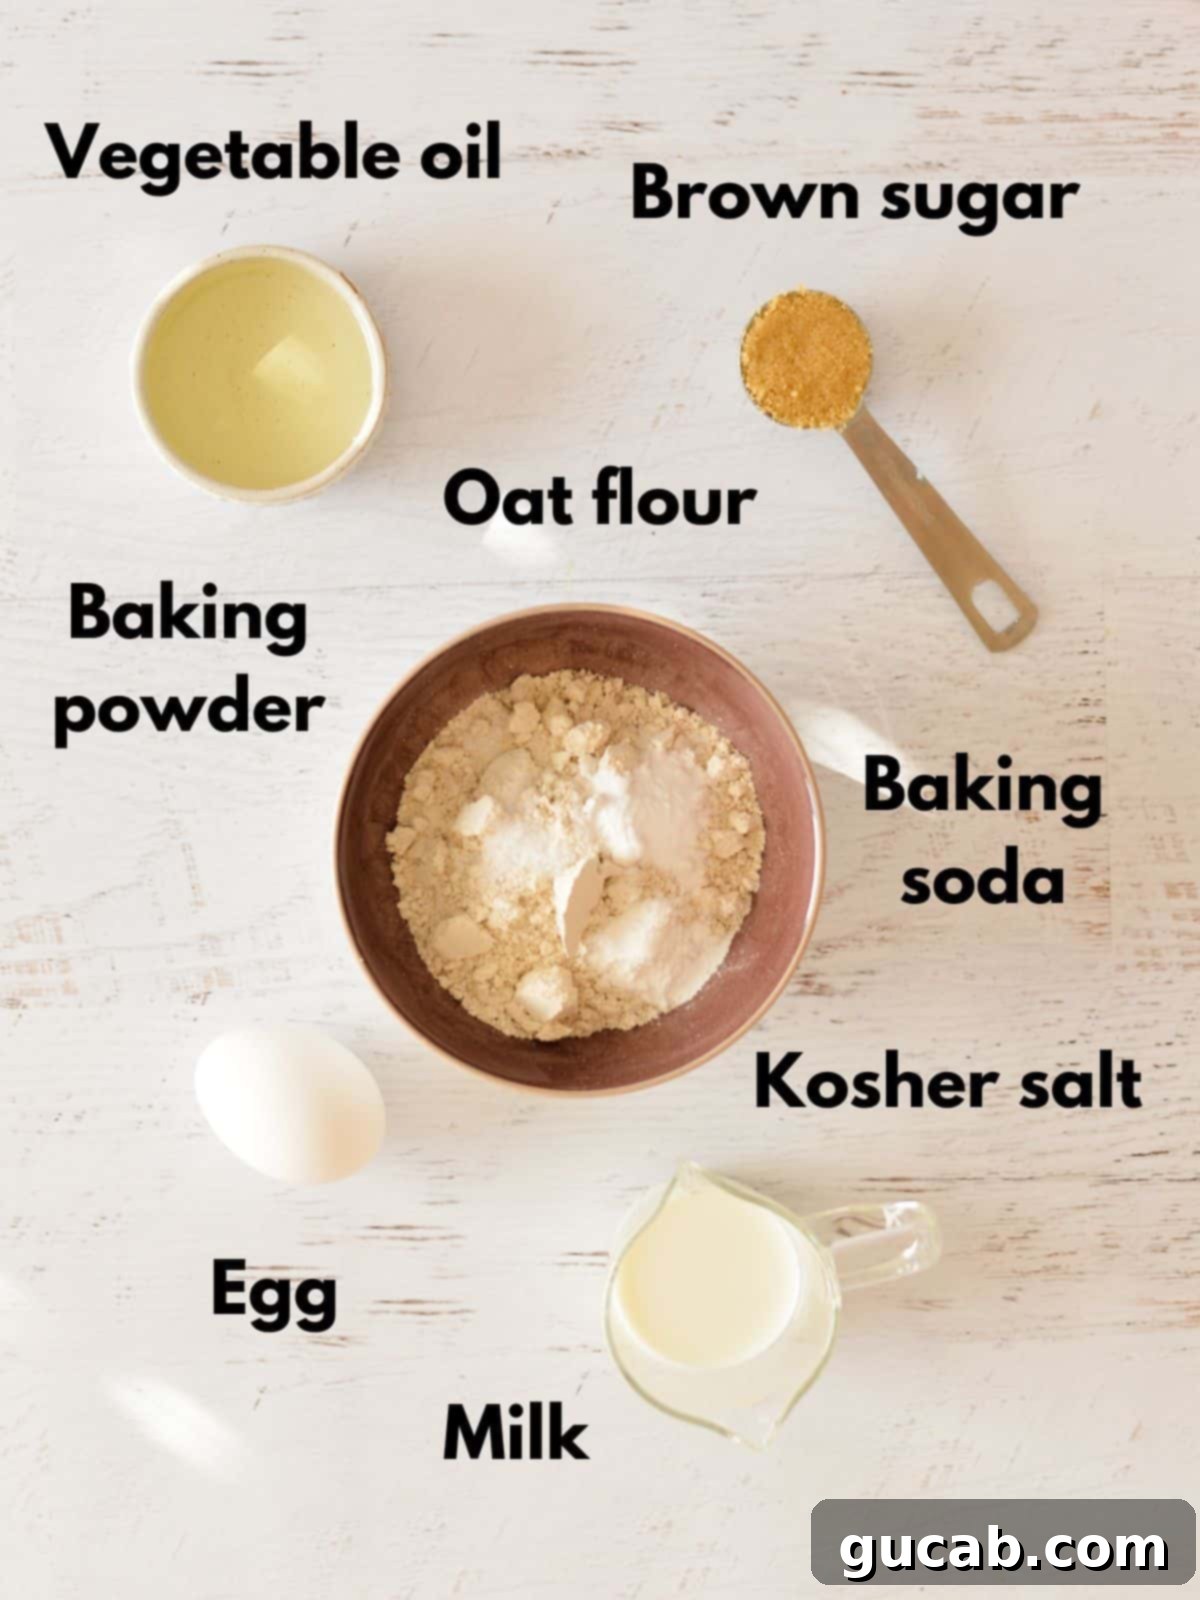
Crafting the perfect batch of oat flour pancakes starts with understanding the role each ingredient plays. Here’s a detailed look at what you’ll need:
Oat flour – This star ingredient is made from finely ground rolled oats, bringing a delicate, slightly nutty flavor and a distinct lightness to our pancakes. Unlike wheat flour, **oat flour is less absorbent** and behaves differently, meaning a direct 1:1 substitution with all-purpose flour typically won’t yield the same results in other recipes – but this recipe is specifically formulated for it! Its light and fine texture is a standout compared to many other alternative flours, making it perfect for creating fluffy and tender pancakes. For those with **gluten sensitivities or celiac disease**, always ensure you purchase **certified gluten-free oat flour** to avoid cross-contamination and ensure your meal is safe.
Brown sugar – A small amount of brown sugar not only adds a lovely touch of sweetness but also contributes to the pancakes’ moistness and a beautiful golden-brown color when cooked. We use just enough to enhance the flavor without making them overly sweet, as most of us will be smothering them in delicious syrup anyway! The molasses in brown sugar also adds a subtle depth of flavor. You can also use granulated sugar or a liquid sweetener like maple syrup or honey, adjusting quantities as needed for your taste preferences.
Baking powder & soda – These are our crucial leavening agents, working in tandem to create those coveted light and airy pockets in your pancakes. **Baking powder** provides the initial lift, while **baking soda** reacts with the acidic components (like buttermilk if using, or even brown sugar and milk, which can provide some acidity) to give an extra boost, ensuring maximum fluffiness. These agents are responsible for the delightful rise and tender crumb, so ensure they are fresh for the best results!
Kosher salt – Just a pinch of salt is incredibly important, even in sweet recipes! It doesn’t make the pancakes salty but rather enhances and balances the sweetness of the sugar and the subtle flavor of the oats. It’s a flavor enhancer that truly brings all the ingredients together harmoniously, brightening the overall taste profile.
Whole milk – While any milk can be used, whole milk provides the richest flavor and helps achieve the most tender and moist results due to its higher fat content. The fat in whole milk contributes to a softer crumb and prevents the pancakes from drying out. If you’re looking for a **dairy-free option**, feel free to swap it with your favorite plant-based milk, such as unsweetened almond milk, soy milk, or oat milk. Just ensure it’s plain and unflavored to maintain the desired taste profile.
Vegetable oil – This ingredient is key for keeping your pancakes wonderfully moist and tender, preventing them from becoming dry or crumbly. A neutral-flavored oil like vegetable, canola, or grapeseed oil works best as it won’t impart any strong flavors of its own. For an even richer flavor and a slightly more luxurious texture, you can certainly substitute with an equal amount of **melted unsalted butter**.
Egg – The humble large egg serves multiple purposes here: it acts as a binder, holding the batter together and providing structure. It also contributes to the richness, moisture, and slight lift of the pancakes, working with the leavening agents to create a cohesive yet airy result. It’s an essential component for the perfect pancake texture.
How to Make Delicious Oat Flour Pancakes: A Step-by-Step Guide
Follow these simple steps to create a stack of the most delicious and fluffy oat flour pancakes:
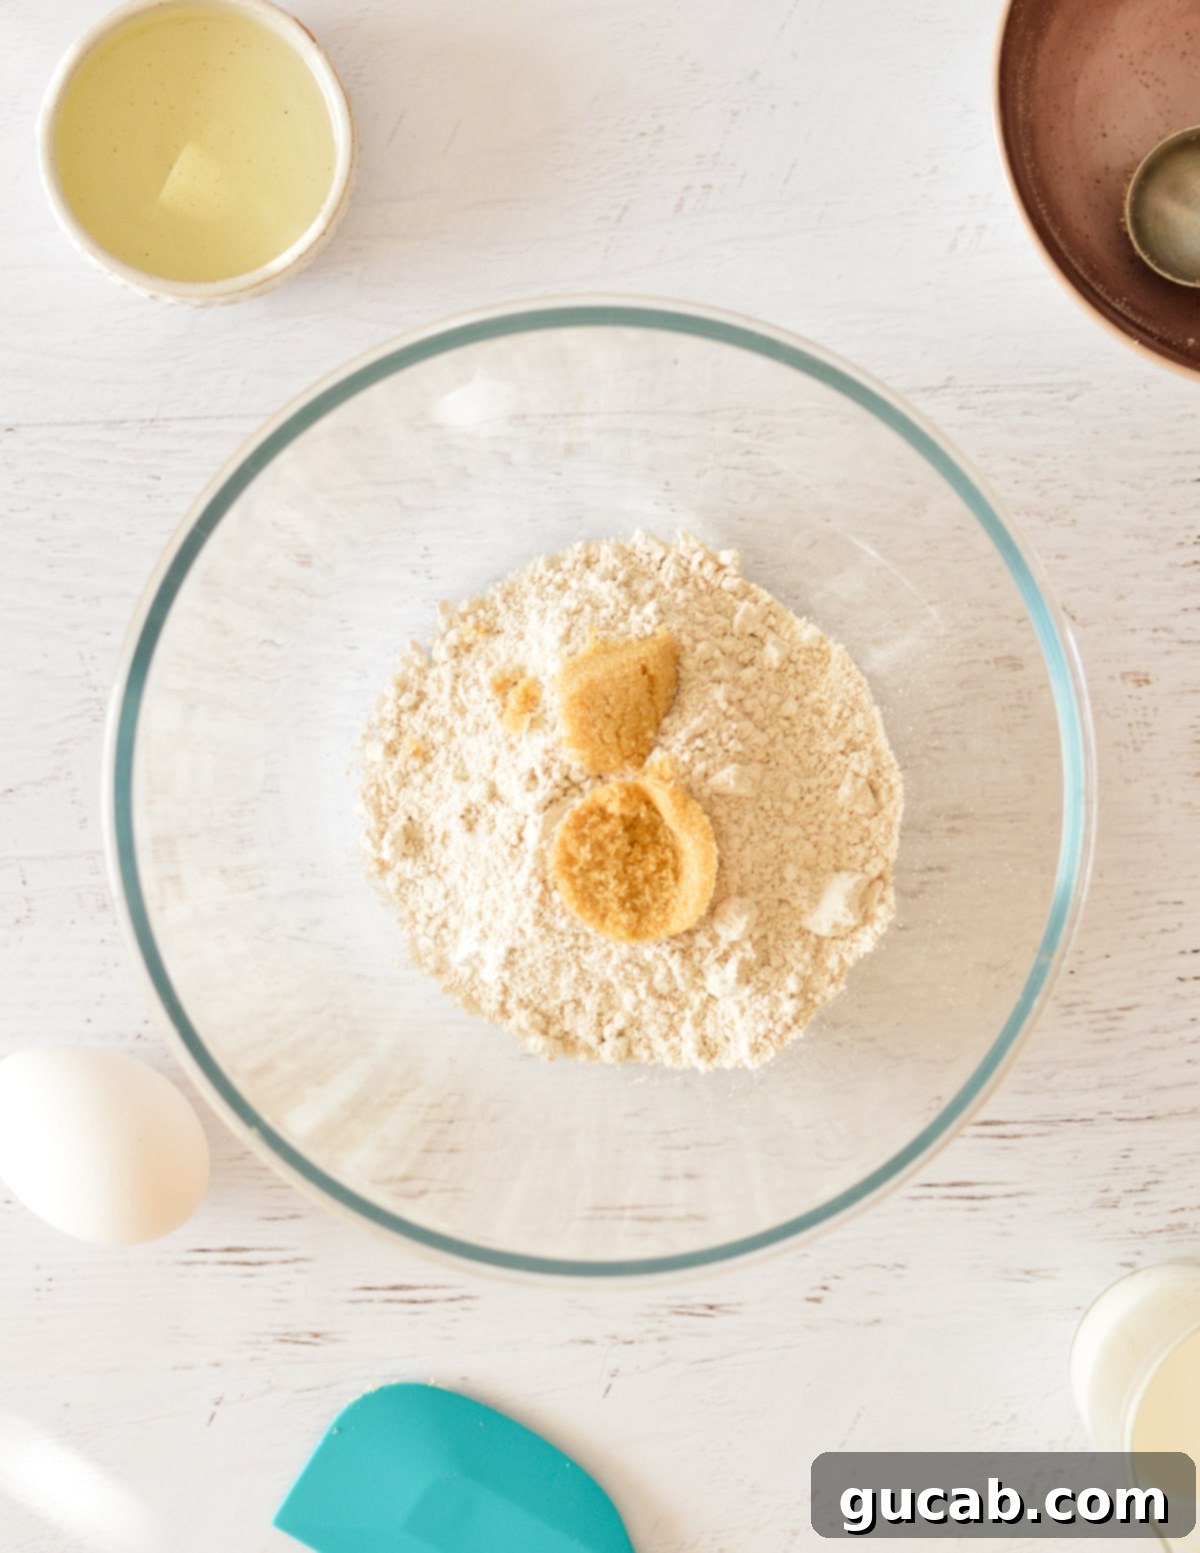
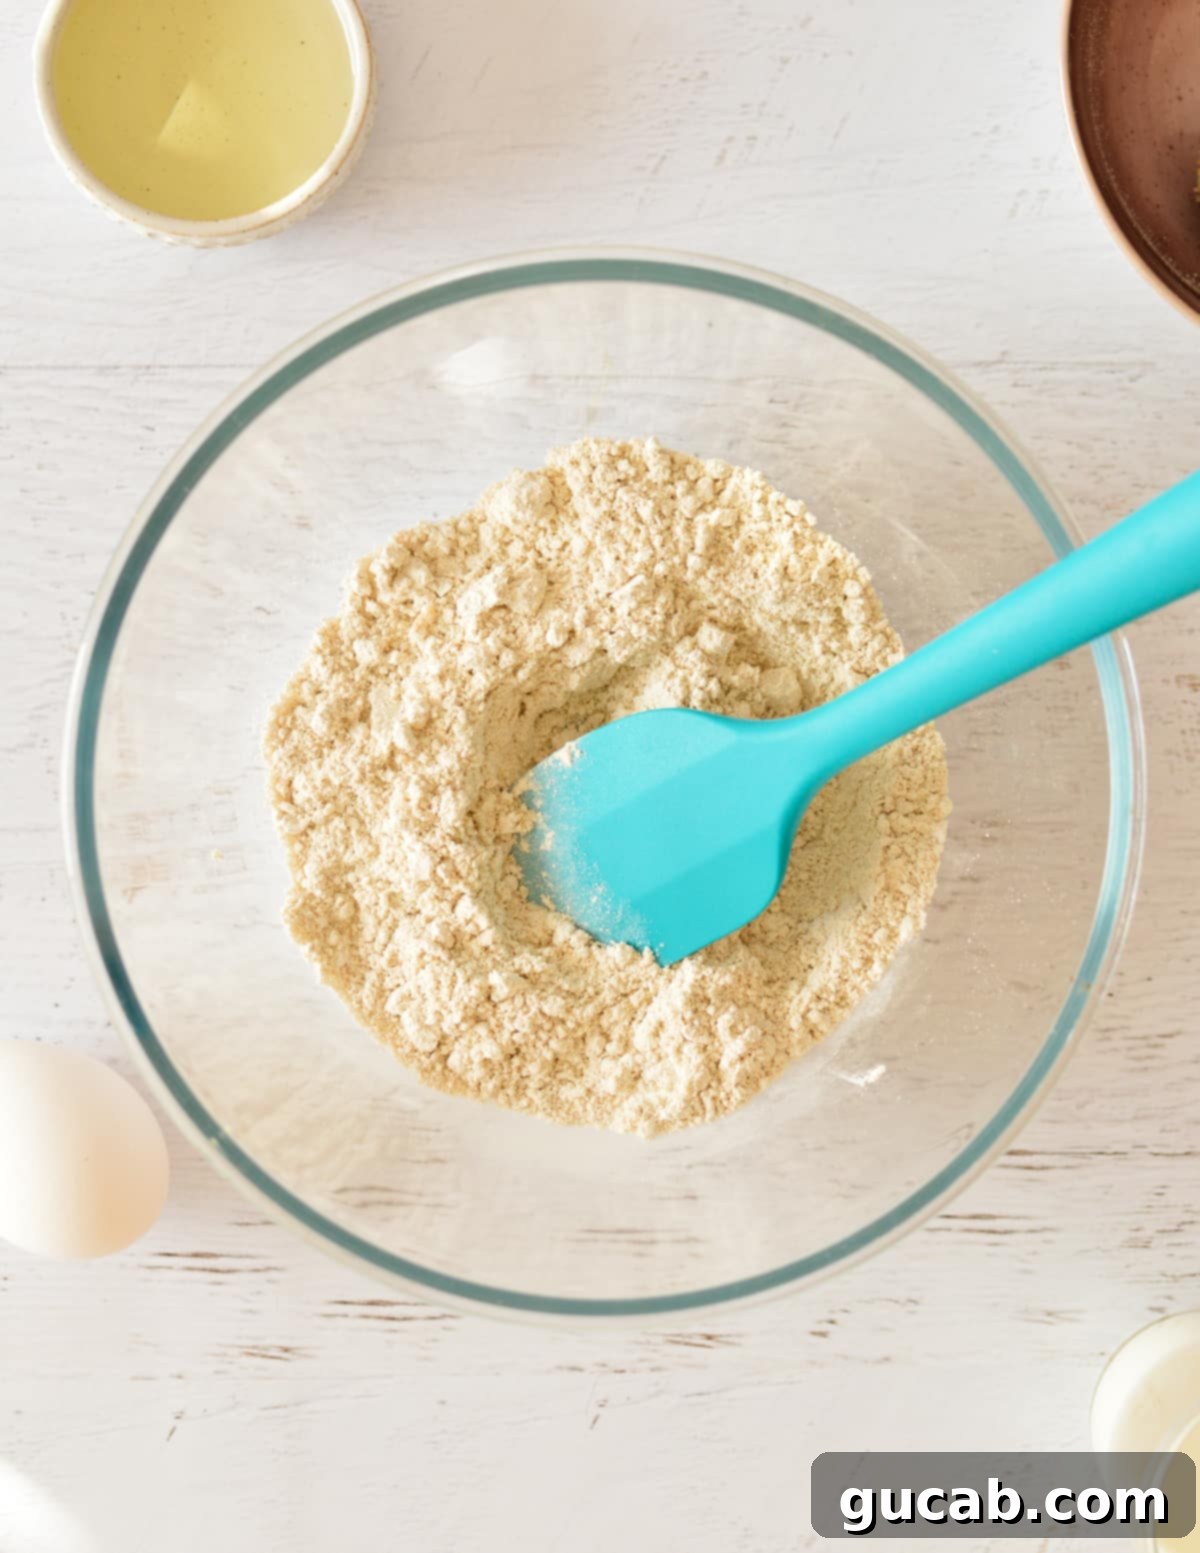
Combine dry ingredients in a large mixing bowl. Use a whisk to thoroughly stir together the oat flour, brown sugar, baking powder, baking soda, and kosher salt. Whisking ensures all the leavening agents are evenly distributed throughout the flour, which is essential for a uniform rise and consistent fluffiness in every pancake.
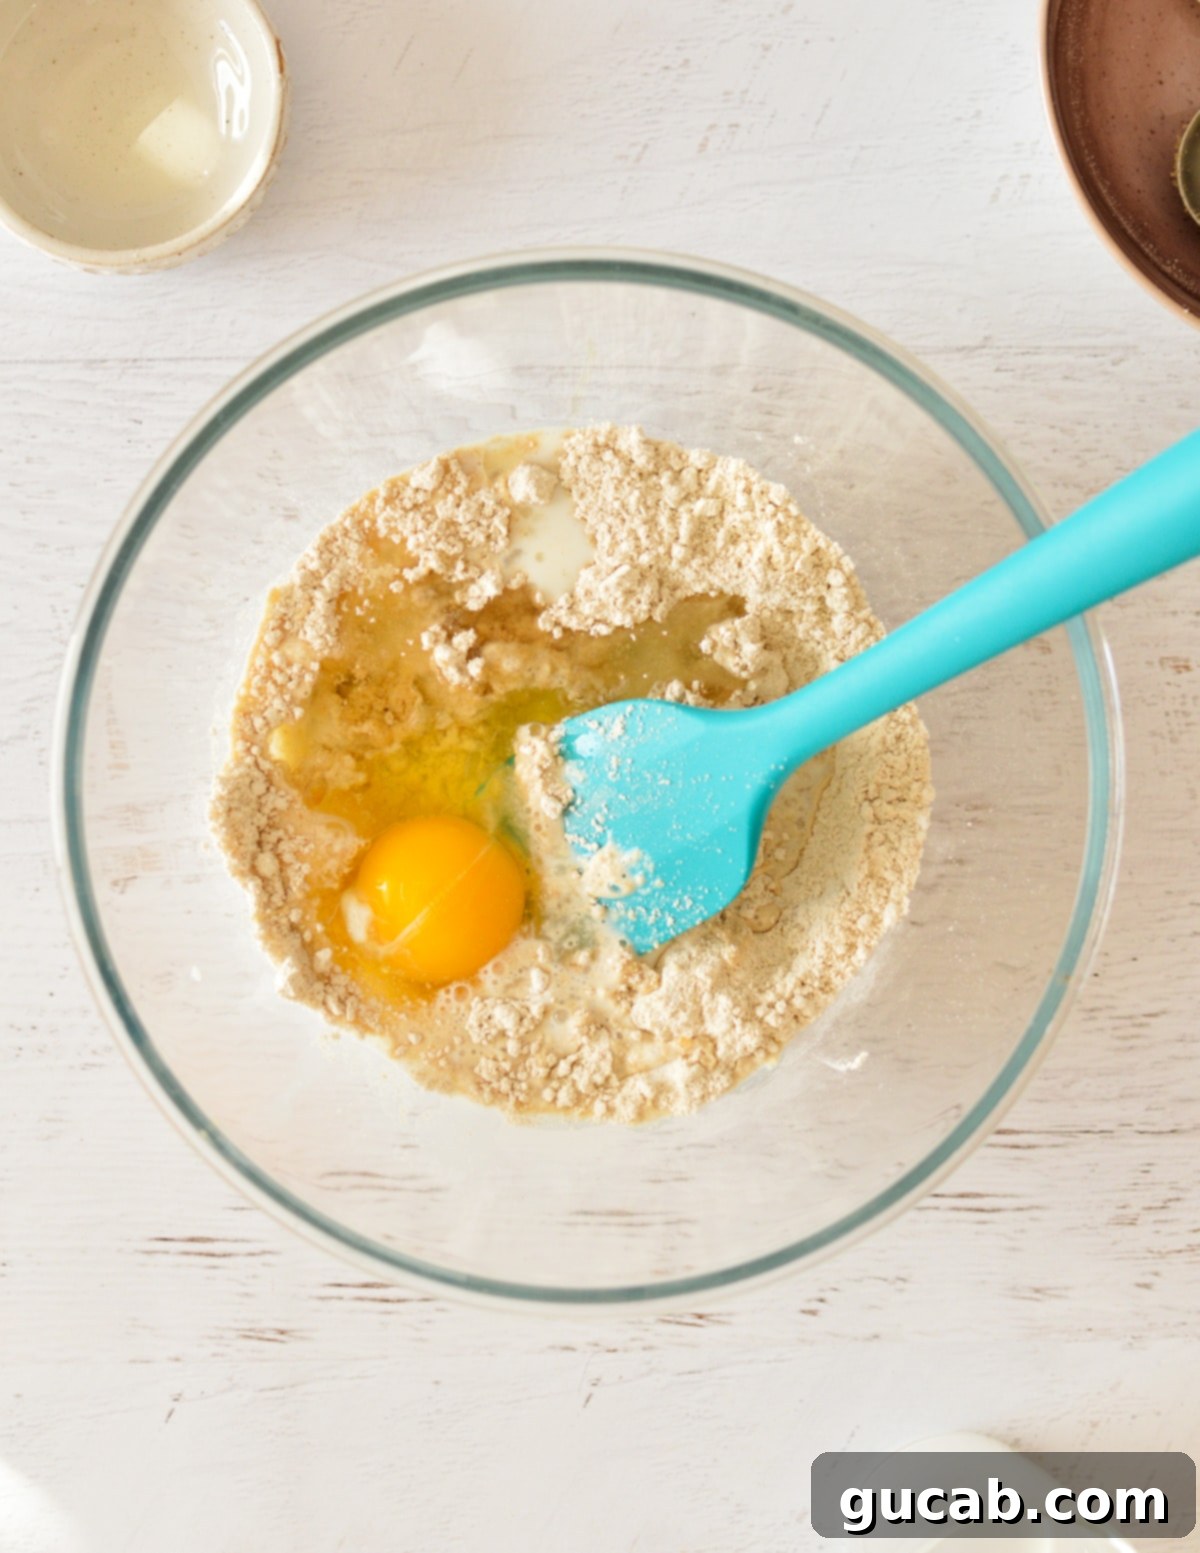
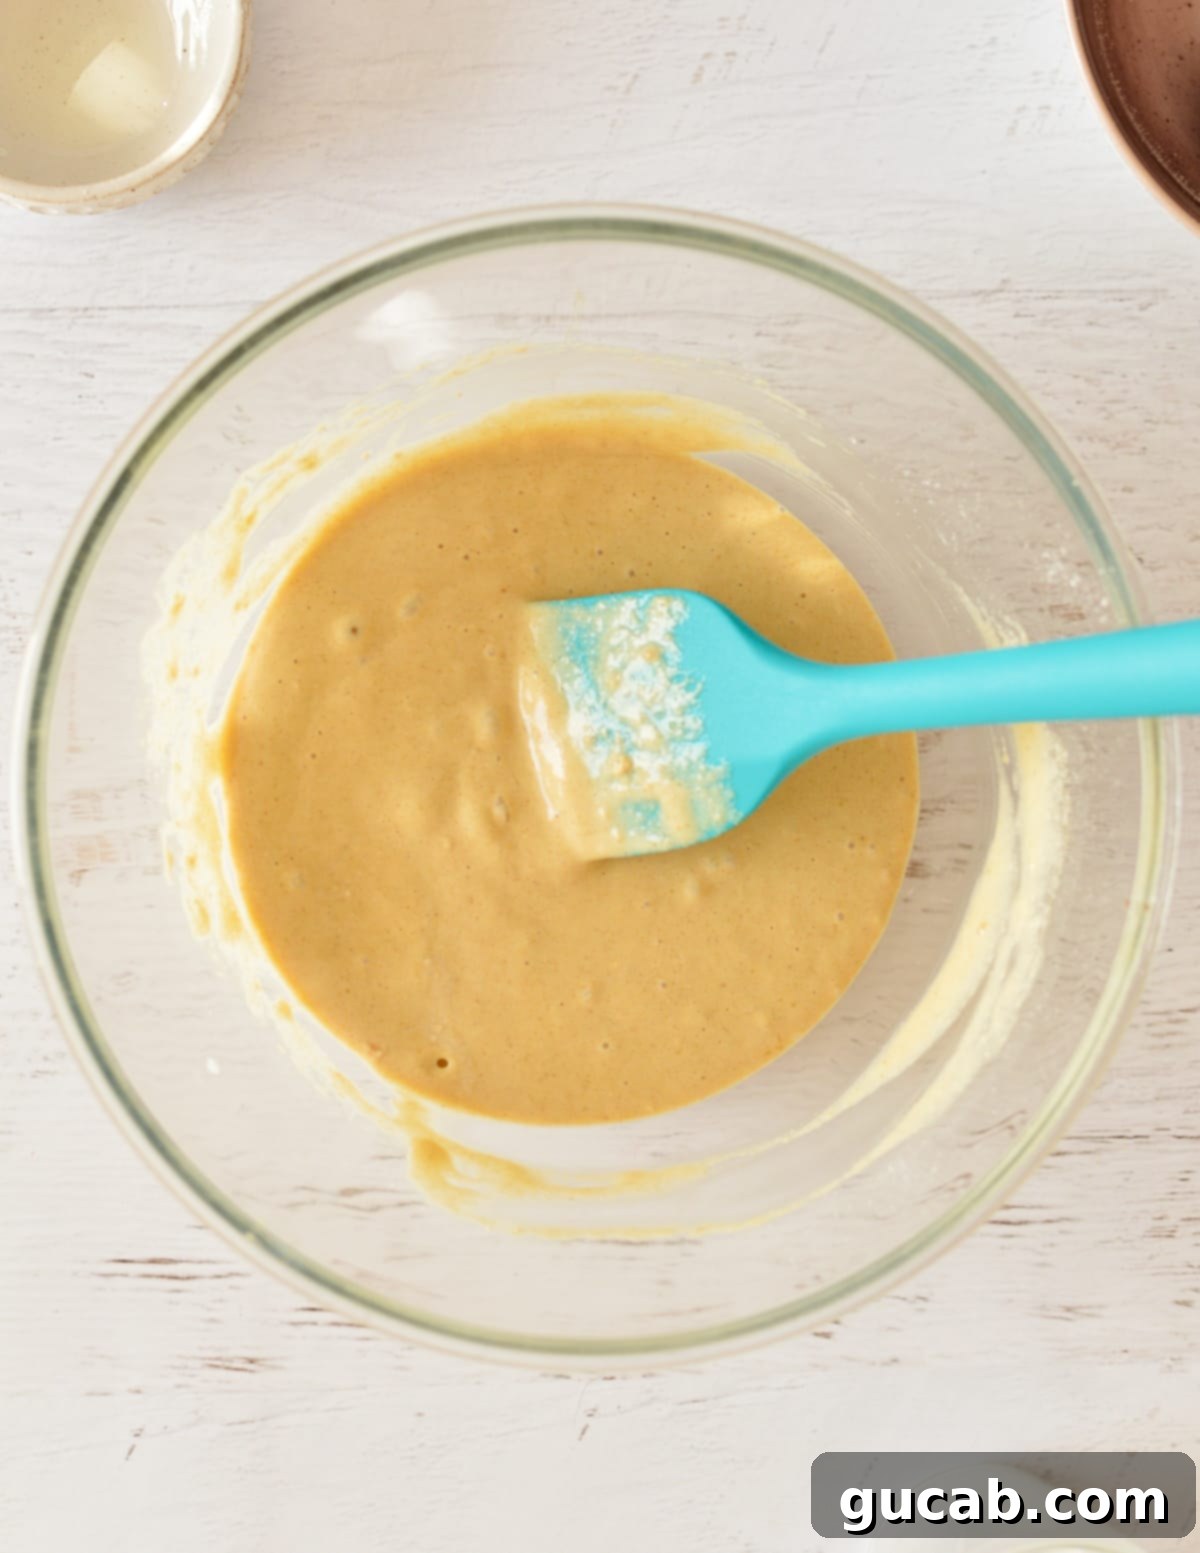
Add the wet ingredients – whole milk, vegetable oil, and the large egg – to the bowl with your dry mixture. Mix everything together gently with a whisk or a spoon until *just* combined and a smooth batter forms. It’s crucial not to overmix, as this can develop any trace gluten in the oat flour (if not certified GF) and lead to tougher, chewier pancakes. A few small lumps in the batter are perfectly fine and often indicate a tender final product!
Heat a nonstick skillet or griddle over medium heat. Add a small amount of vegetable oil (about 1-2 teaspoons) to lightly coat the surface. Allow the skillet to heat up thoroughly; this is key for perfectly cooked pancakes that don’t stick and brown beautifully without burning.
Let the batter sit for at least 10 minutes at room temperature. This step is absolutely essential for oat flour pancakes! During this resting period, the oat flour fully absorbs the liquid, allowing the batter to thicken slightly. More importantly, it gives the baking powder and baking soda time to activate, which will result in significantly fluffier, lighter, and more tender pancakes. Skipping this step can lead to flatter, less tender results, so do not rush it!
Scoop the batter into the hot skillet, using about ¼ cup of batter per pancake. Give them enough space so they don’t crowd the pan or stick together. Let the pancakes cook undisturbed for about 3-4 minutes, or until you see plenty of bubbles forming and popping on the surface, and the edges appear set and slightly dry. The bottoms should be a beautiful golden brown. Resist the urge to flip them too early, as they might fall apart or cook unevenly.
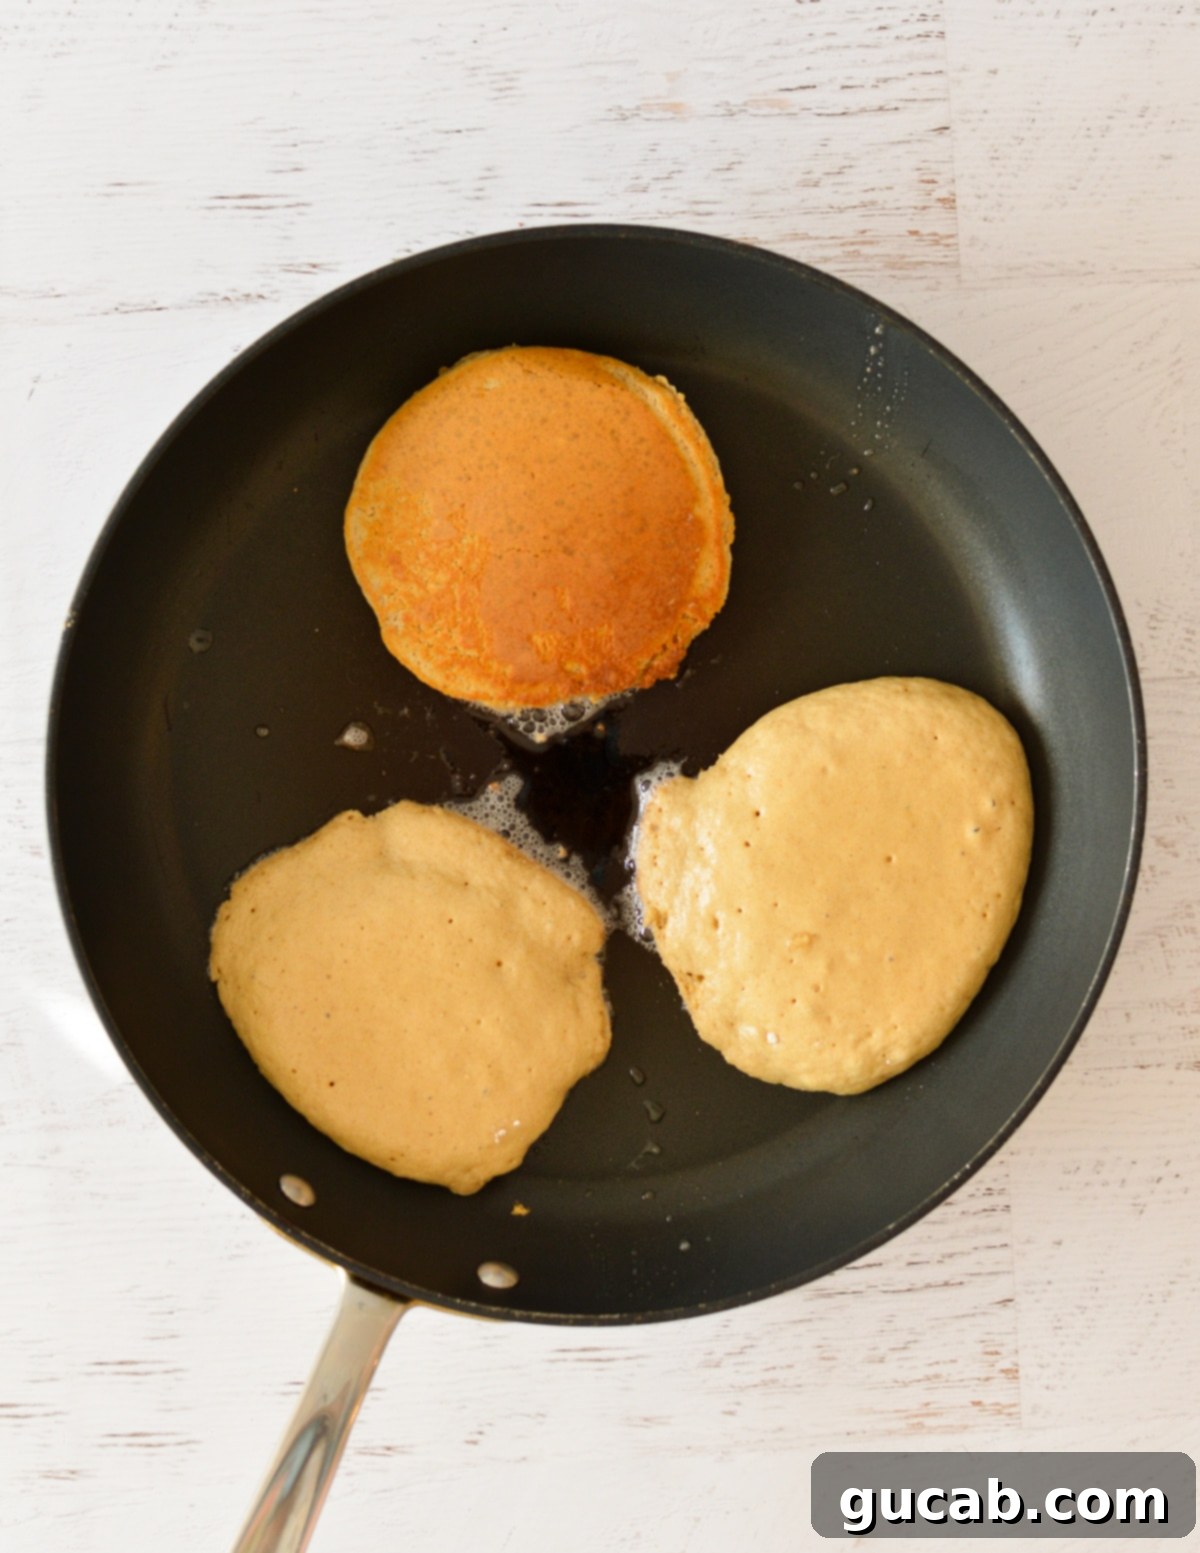
Flip the pancakes carefully with a thin, wide spatula once they are ready. Cook for another 2-3 minutes on the second side, or until they are golden brown and cooked through in the center. Repeat this process with the remaining batter, adding a little more oil to the skillet between batches if needed to prevent sticking and ensure even browning.
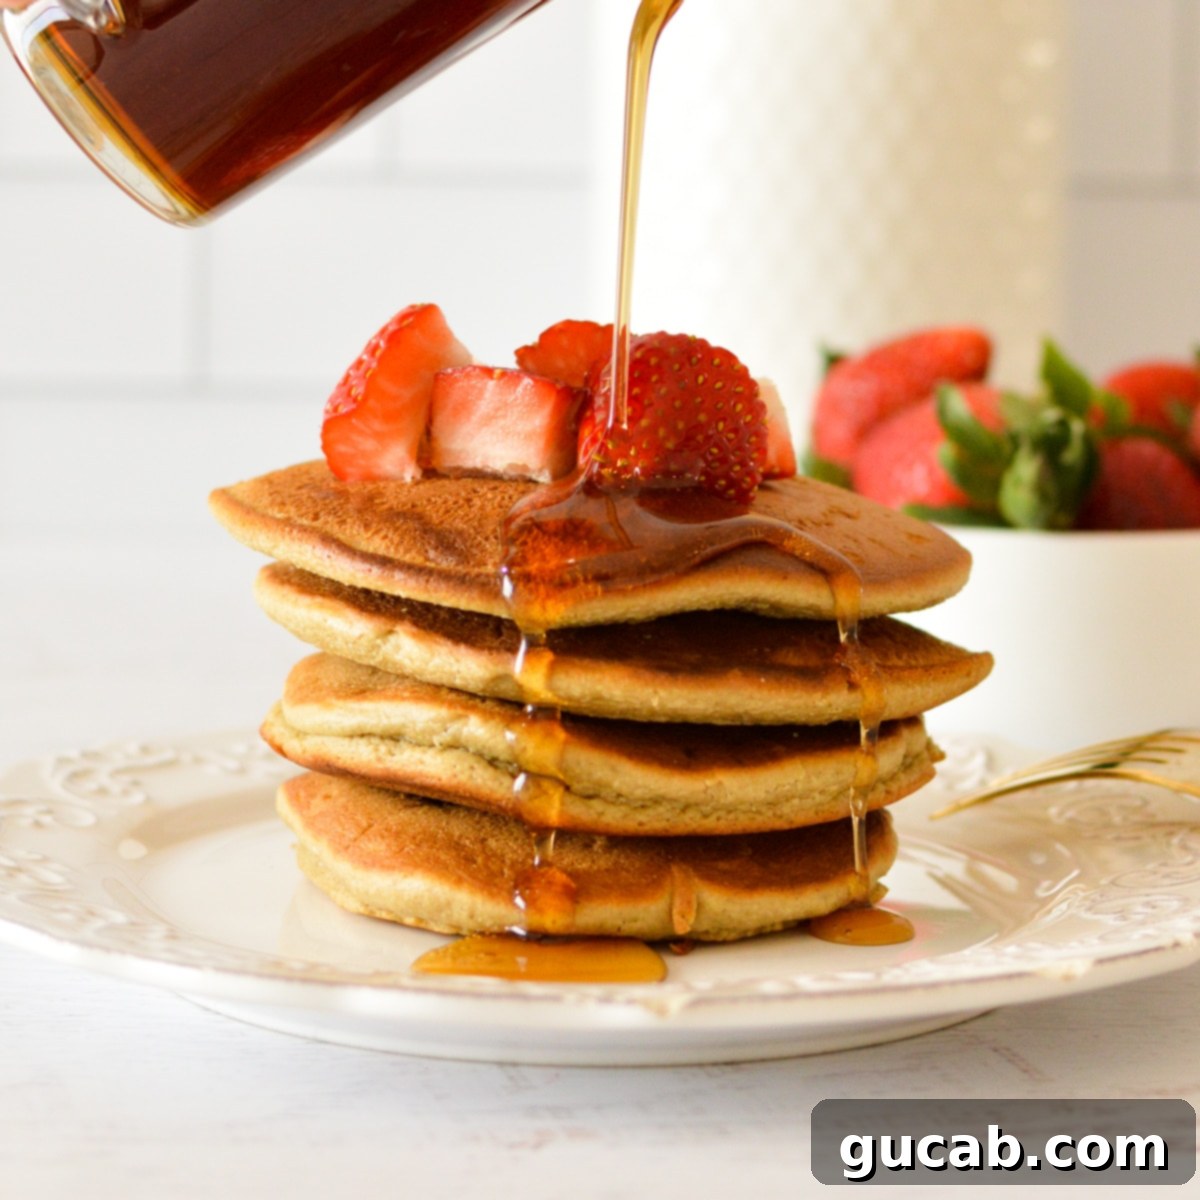
Serve immediately with a generous pour of warm maple syrup and your favorite toppings! My personal go-to is a dollop of creamy peanut butter for extra protein and flavor, but fresh berries, sliced bananas, a sprinkle of granola, or a cloud of whipped cream are all fantastic additions. Don’t forget a dusting of powdered sugar for an extra touch of elegance. Enjoy your perfect stack!
Expert Tips for Pancake Making Success
- Make sure the skillet is hot! This is non-negotiable for achieving that perfect golden crust and ensuring the pancakes cook evenly without spreading too thin and becoming crumbly. Preheat your nonstick skillet or griddle over medium heat for several minutes until a drop of water sizzles and evaporates immediately. The temperature should be consistent and hot before you add the batter; otherwise, your pancakes will lack that desirable browning and might stick.
- Let the batter sit first. As mentioned in the instructions, this 10-minute rest is absolutely crucial for oat flour pancakes. It allows the oat flour to properly hydrate and absorb the liquid, thickening the batter to the ideal consistency. Furthermore, it gives the leavening agents (baking powder and soda) time to begin their work, leading to significantly fluffier and more tender pancakes. Don’t rush or skip this step for the best possible results!
- Don’t overmix the batter. While oat flour doesn’t contain gluten like traditional wheat flour, overmixing can still lead to dense or tough pancakes by overworking the starches and deflating the air bubbles created by the leavening agents. Mix until the ingredients are just combined; a few small lumps in the batter are perfectly fine and often indicate a tender, fluffy final product.
- Don’t flip the pancakes too early. Patience is a virtue when making pancakes! Wait until you see a generous amount of bubbles appearing and popping on the surface of the pancakes, and the edges look set and slightly dry. If you flip them too soon, they are likely to tear, be undercooked in the center, or end up flat and less appealing. A good flip relies on those visual cues.
- Use the right amount of batter. For uniform, perfectly sized pancakes, use a ¼ cup measuring cup or a small ladle for each pancake. This helps ensure consistent cooking times, even browning, and makes for a beautifully presented stack.
- Adjust heat if needed. Pay attention to your pancakes! If they are browning too quickly on the outside but staying raw and gooey in the middle, your heat is too high. If they’re taking too long to brown at all, your heat is too low. Adjust as needed to maintain a consistent medium heat throughout the cooking process. Each stove and skillet can vary.
Variations & Substitutions to Customize Your Pancakes
This oat flour pancake recipe is wonderfully versatile! Feel free to get creative and customize them to your taste or dietary needs:
- Make it dairy-free: Easily transform this recipe into a **dairy-free delight** by swapping the whole milk with an equal amount of your favorite plant-based milk. **Unsweetened almond milk** is a fantastic choice for its neutral flavor, but soy milk, oat milk, or even cashew milk would work beautifully. Ensure it’s plain and unsweetened to maintain the intended flavor profile of the pancakes.
- Make it gluten-free (ensure compliance): While oat flour is naturally gluten-free, cross-contamination can occur during processing in facilities that also handle wheat. To guarantee a truly **gluten-free recipe** suitable for those with celiac disease or severe sensitivities, always use **certified gluten-free oat flour** and double-check all other ingredient labels (like baking powder) to ensure they are also gluten-free.
- Sweetener options: If you prefer to reduce refined sugar or use an alternative, you can experiment with substituting brown sugar with an equal amount of **coconut sugar** or maple sugar. For a liquid sweetener, you can use a smaller amount of pure maple syrup or honey directly into the wet ingredients, keeping in mind that liquid sweeteners might slightly alter the batter consistency, so you might need to adjust other liquids minimally.
- Toppings galore: Elevate your pancake experience with an array of delicious toppings! Beyond classic **maple syrup**, consider fresh or frozen **berries** (strawberries, blueberries, raspberries) for a burst of freshness, sliced **bananas** for natural sweetness, creamy **peanut butter** or almond butter for protein, crunchy **granola** for texture, a dollop of **whipped cream**, a drizzle of **Nutella** or chocolate sauce, or your favorite **fruit jam**. For an extra treat, try a sprinkle of chopped nuts like pecans or walnuts.
- Oil alternatives: While vegetable oil works wonderfully and is readily available, you can certainly swap it with an equal amount of **melted unsalted butter** for a richer, more traditional pancake flavor, or even **coconut oil** for a subtle tropical note and added aroma. If you’re looking to reduce fat content, some recipes can use unsweetened applesauce as a partial substitute, though this might slightly change the texture in oat flour pancakes due to its unique absorbency.
- Chocolate chip oat flour pancakes: A timeless classic that’s easy to achieve! To make these, prepare the batter as directed. After you scoop the batter into the hot pan, immediately drop your favorite **chocolate chips** (mini or regular) onto each pancake, distributing them evenly. Gently press the chips into the batter slightly so they are partially submerged. This technique prevents the chocolate from burning directly on the hot pan when you flip the pancakes, ensuring perfectly melted chocolate in every bite.
- Add a spice blend: For a warm, comforting twist, incorporate ½ to 1 teaspoon of **ground cinnamon**, a pinch of nutmeg, or even a pumpkin pie spice blend into your dry ingredients. This is especially delightful during cooler months or for a festive breakfast.
- Fruity additions: Beyond just toppings, you can gently fold fresh blueberries, raspberries, or finely diced apples or pears (about ½ cup) into the batter just before cooking for an added burst of flavor and texture directly within the pancake. Avoid overly wet fruits if adding to the batter to prevent a soggy outcome.
Storage & Freezing Tips for Meal Prep
These oat flour pancakes are fantastic for making ahead! You can successfully store these delicious pancakes in both the refrigerator and the freezer, making them perfect for convenient meal prepping throughout the week or month.
- I personally prefer to **freeze them** because they maintain their incredible texture and flavor for a longer period, and they won’t dry out as quickly as they might when stored solely in the fridge. Freezing also allows you to make a large batch and enjoy fresh-tasting pancakes whenever a craving strikes.
- To refrigerate: Allow the cooked pancakes to cool completely to room temperature. Stack them with small pieces of parchment paper or wax paper in between each pancake to prevent sticking. Place them in an airtight container or a large resealable Ziplock bag and refrigerate for up to 3-4 days.
- To freeze: First, ensure the pancakes are completely cool. For best results and to prevent sticking, flash freeze them individually on a baking sheet lined with parchment paper for about 30 minutes until they are firm. Once firm, transfer the frozen pancakes to a heavy-duty freezer-safe Ziplock bag or an airtight container. They will keep beautifully in the freezer for up to 3 months without losing much quality.
- Reheating tips: When you’re ready to enjoy them, there are several easy reheating methods to bring them back to life:
- **Microwave:** For a quick reheat, place 1-2 pancakes on a microwave-safe plate. Microwave in 20-second increments, flipping once, until they are warm and soft throughout.
- **Toaster or Toaster Oven:** For a slightly crisper exterior, pop frozen or refrigerated pancakes directly into a toaster on a medium setting, or arrange them in a toaster oven for a few minutes until heated through and lightly crisp.
- **Oven:** Preheat your oven to 350°F (175°C). Place multiple pancakes on a baking sheet and heat for about 5-10 minutes, or until warm in the center. This method works well for reheating a larger batch simultaneously.
With these methods, you can enjoy perfectly warm and delicious pancakes that taste almost as fresh as when they were first made!
Frequently Asked Questions About Oat Flour Pancakes
When it comes to healthy flour options for pancakes, moving beyond refined white flour is a great step. White flour is typically stripped of many essential nutrients during processing. Instead, consider whole-grain alternatives like **oat flour, almond flour, buckwheat flour, or whole wheat flour**. Each offers unique nutritional benefits: oat flour is rich in fiber and protein, almond flour is low-carb and high in healthy fats, and whole wheat flour provides a good source of fiber and robust flavor. The key is to find a recipe specifically developed for the type of flour you plan to use, as substitutions are not always 1:1 and can significantly affect texture and consistency.
Absolutely! Baking with oat flour is generally considered a healthier choice compared to using refined white flour. Oat flour is a nutritious **whole grain flour** made from finely ground old-fashioned rolled oats. Oats are celebrated for being an excellent source of **complex carbohydrates**, which provide sustained energy, and essential minerals such as **copper, selenium, and magnesium**. Furthermore, oat flour is rich in **dietary fiber**, particularly soluble fiber like beta-glucan, which can help with digestion, promote satiety, and aid in cholesterol management. A single cup of oat flour can contain around 15 grams of protein, making it a more satiating and nutrient-dense option for your baked goods and, of course, your morning pancakes!
Yes, absolutely! Making your own oat flour is incredibly simple, cost-effective, and ensures you have fresh flour whenever you need it. All you need are **rolled oats** (old-fashioned oats work best; avoid instant or steel-cut oats for this purpose) and a high-speed blender or food processor. Simply add the rolled oats to your appliance and blend on high until a fine, flour-like consistency is achieved. Be careful not to over-process, as this can generate heat and turn the oats into a sticky oat butter. One cup of rolled oats typically yields about ¾ to 1 cup of oat flour. Store any unused homemade oat flour in an airtight container in the pantry for freshness.
There are a few common reasons why oat flour pancakes might be prone to falling apart, which can be frustrating! The most frequent culprit is **flipping them too early**. Oat flour pancakes can be a bit more delicate than wheat flour pancakes, so it’s crucial to wait until you see plenty of bubbles breaking on the surface and the edges are fully set before attempting to flip. Additionally, **under-mixing** the batter (not enough to bind the ingredients properly) or, conversely, **over-mixing** (which can make them tough and crumbly) can contribute. Ensuring the batter rests for 10 minutes helps the oat flour absorb liquid, creating a more stable and cohesive batter. Also, make sure your skillet is adequately hot before adding the batter, as a cold pan can prevent the pancakes from setting correctly.
More Delicious Pancake Recipes to Try
- Fluffy Gluten Free Pancakes
- Paleo Sweet Potato Pancakes
- Gluten Free Pumpkin Pancakes
- Cassava Flour Pancakes [Paleo & Gluten Free]
- Almond Flour Pancakes [The Best]
Oat Flour Pancakes
Carolyn
Pin Recipe
Equipment
-
Large nonstick skillet
-
Large mixing bowl
-
Whisk
Ingredients
- 1 ½ cups oat flour
- 2 tablespoons brown sugar
- 1 ½ teaspoons baking powder
- 1 teaspoon baking soda
- ¼ teaspoon kosher salt
- ¾ cup whole milk
- ¼ cup vegetable oil
- 1 large egg
Instructions
-
In a large bowl, combine the oat flour, brown sugar, baking soda, baking powder, and kosher salt. Stir well with a whisk to ensure even distribution.
-
Add the whole milk, vegetable oil, and egg to the dry ingredients. Mix gently until a smooth batter forms. Do not overmix; a few small lumps are perfectly fine.
-
Let the batter sit at room temperature for 10 minutes. This crucial step allows the oat flour to absorb the liquid and the leavening agents to activate, ensuring fluffy pancakes.
-
While the batter rests, heat a large nonstick skillet or griddle over medium heat. Add a teaspoon or two of vegetable oil to lightly coat the surface. Ensure the pan is thoroughly hot before proceeding.
-
Carefully drop three scoopfuls of batter (about ¼ cup each) into the hot skillet, leaving space between them. Let them cook for about 3-4 minutes, or until the bottoms are golden brown and plenty of bubbles are forming and popping on the top surface.
-
Carefully flip the pancakes with a thin spatula and cook for a few more minutes on the second side, until golden brown and cooked through. Repeat with the remaining batter, adding more oil as needed. Serve warm with maple syrup and your favorite toppings!
Nutrition
