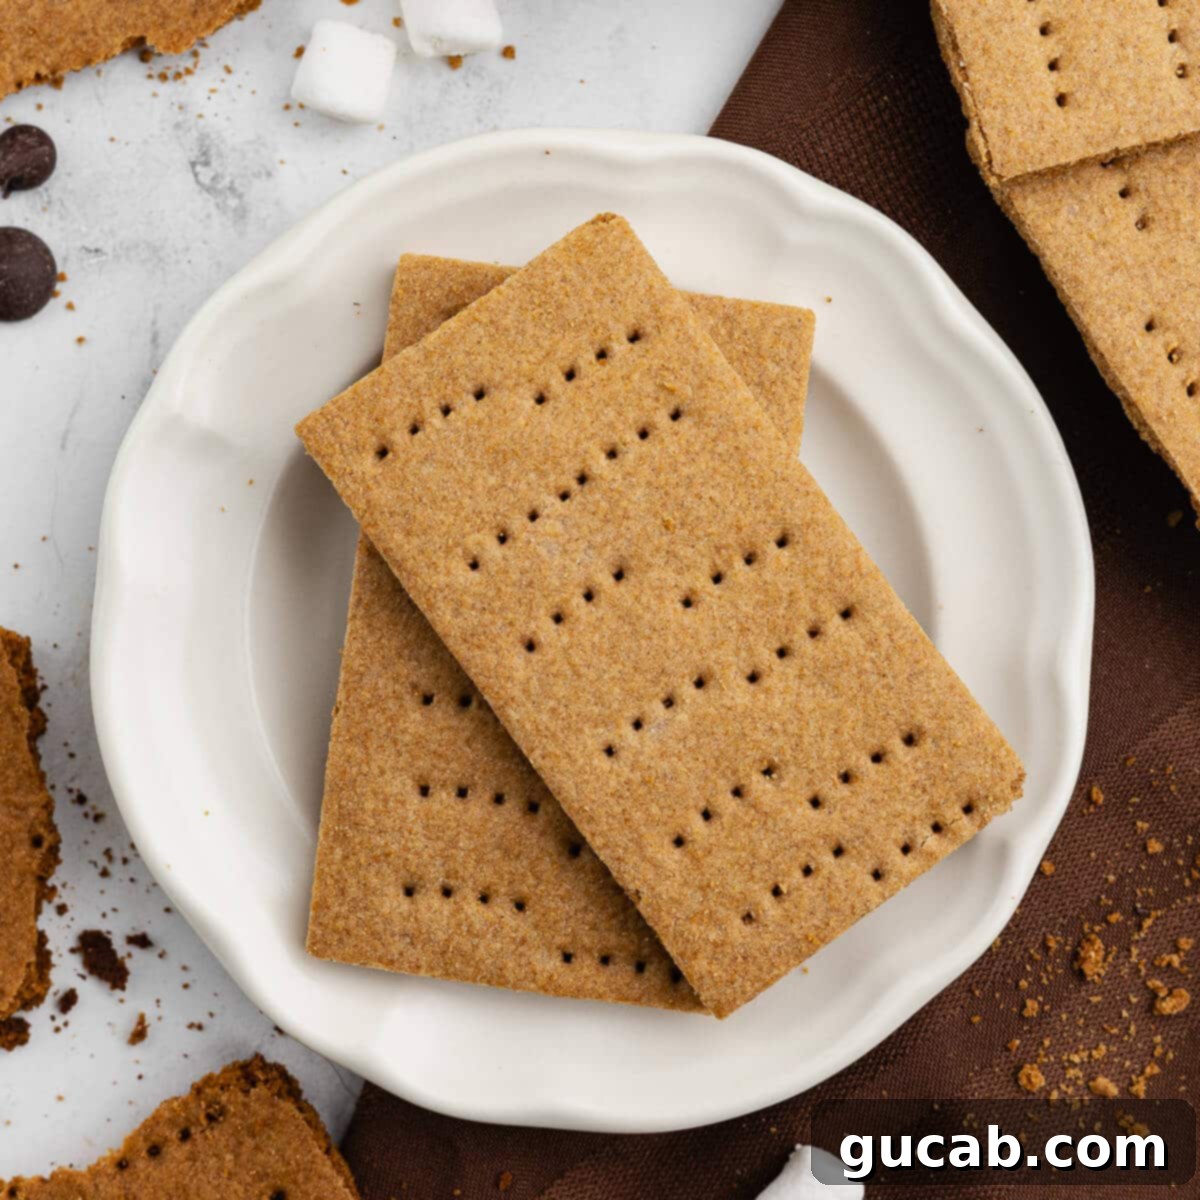
Homemade Gluten-Free Graham Crackers: Your Crispy, Classic S’mores Solution
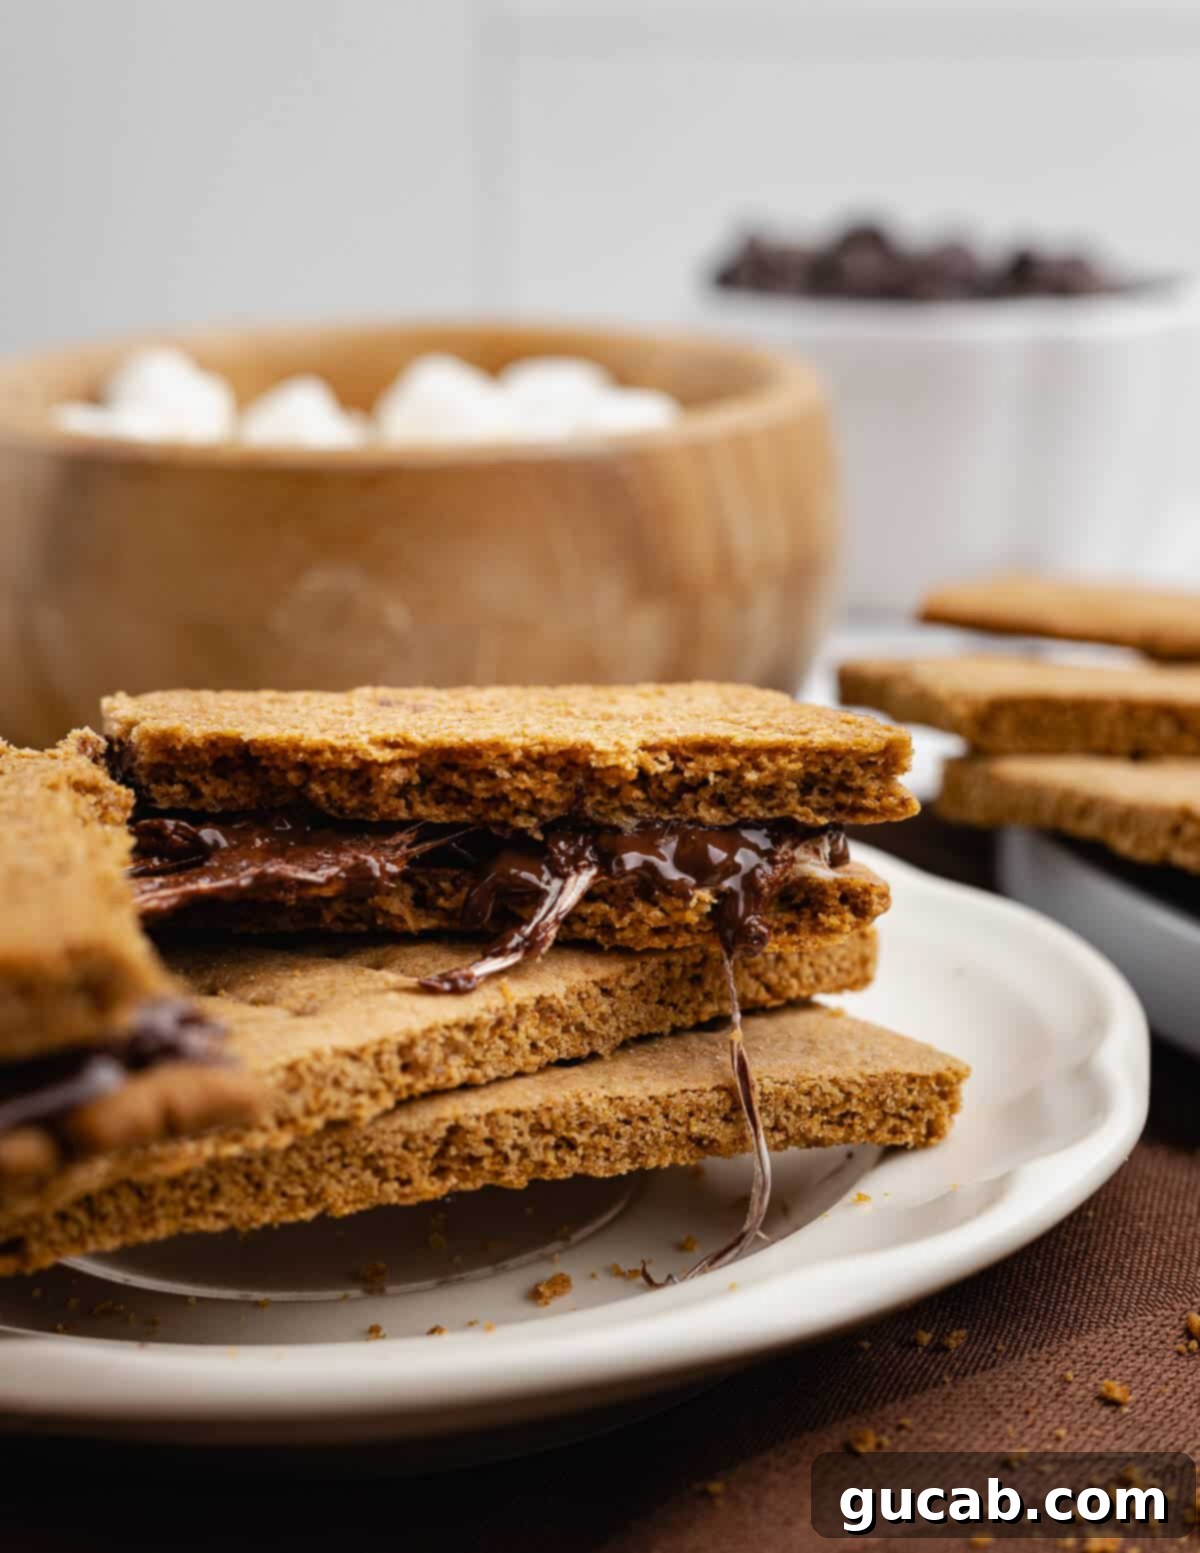
These homemade gluten-free graham crackers are a game-changer! Imagine thin, perfectly crisp crackers that snap with satisfaction, just like the traditional ones you remember. They are the ultimate foundation for gooey, chocolatey s’mores, finally bringing back that classic texture and flavor you’ve been missing in your gluten-free journey. Forget compromise – this recipe delivers authenticity and deliciousness in every bite.
The Quest for the Perfect Gluten-Free S’mores
For years, the classic s’more felt like a distant memory. As someone who’s lived gluten-free for over a decade, I’ve often resorted to simply toasting marshmallows and enjoying them without the essential graham cracker. It felt incomplete, a bittersweet reminder of a beloved childhood treat.
The truth is, most store-bought gluten-free graham crackers simply don’t hit the mark. They’re either too thick and dense, resembling a cookie more than a cracker, or they lack that distinctive honey-cinnamon flavor and delicate crispness that defines a true graham cracker. The search for a suitable substitute often ended in disappointment, leaving a s’mores-shaped void in my dessert repertoire.
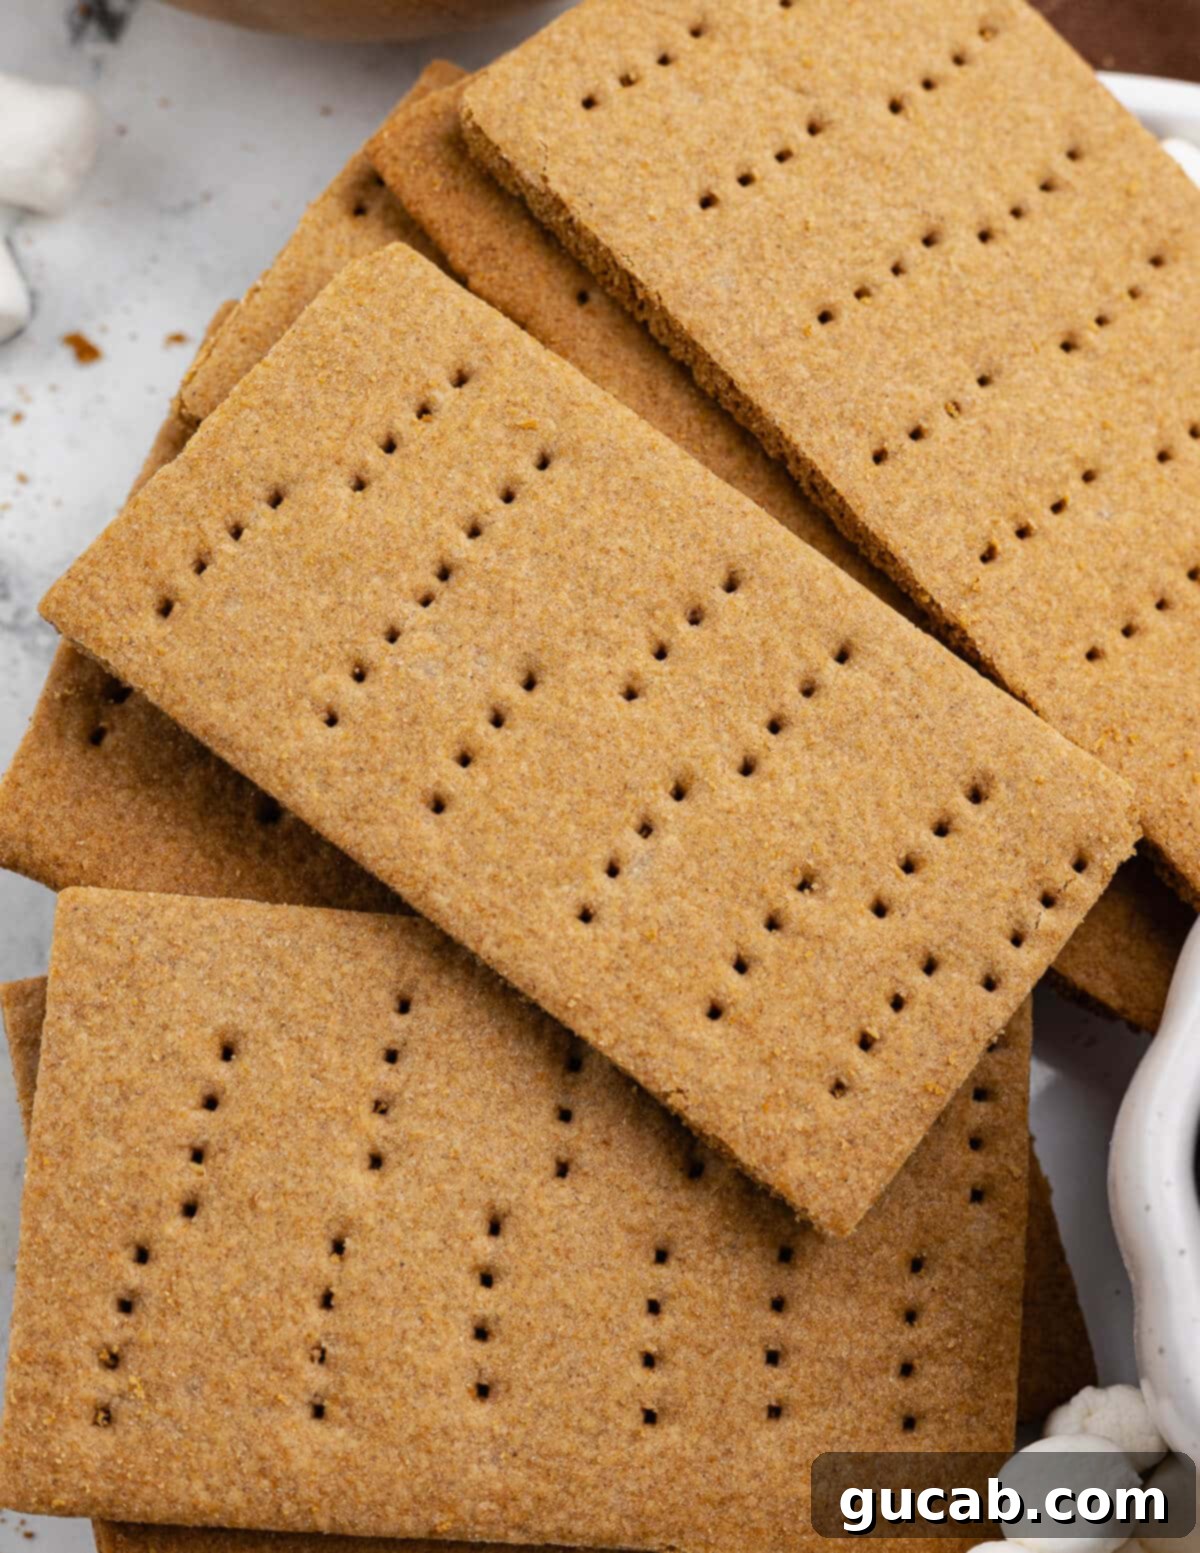
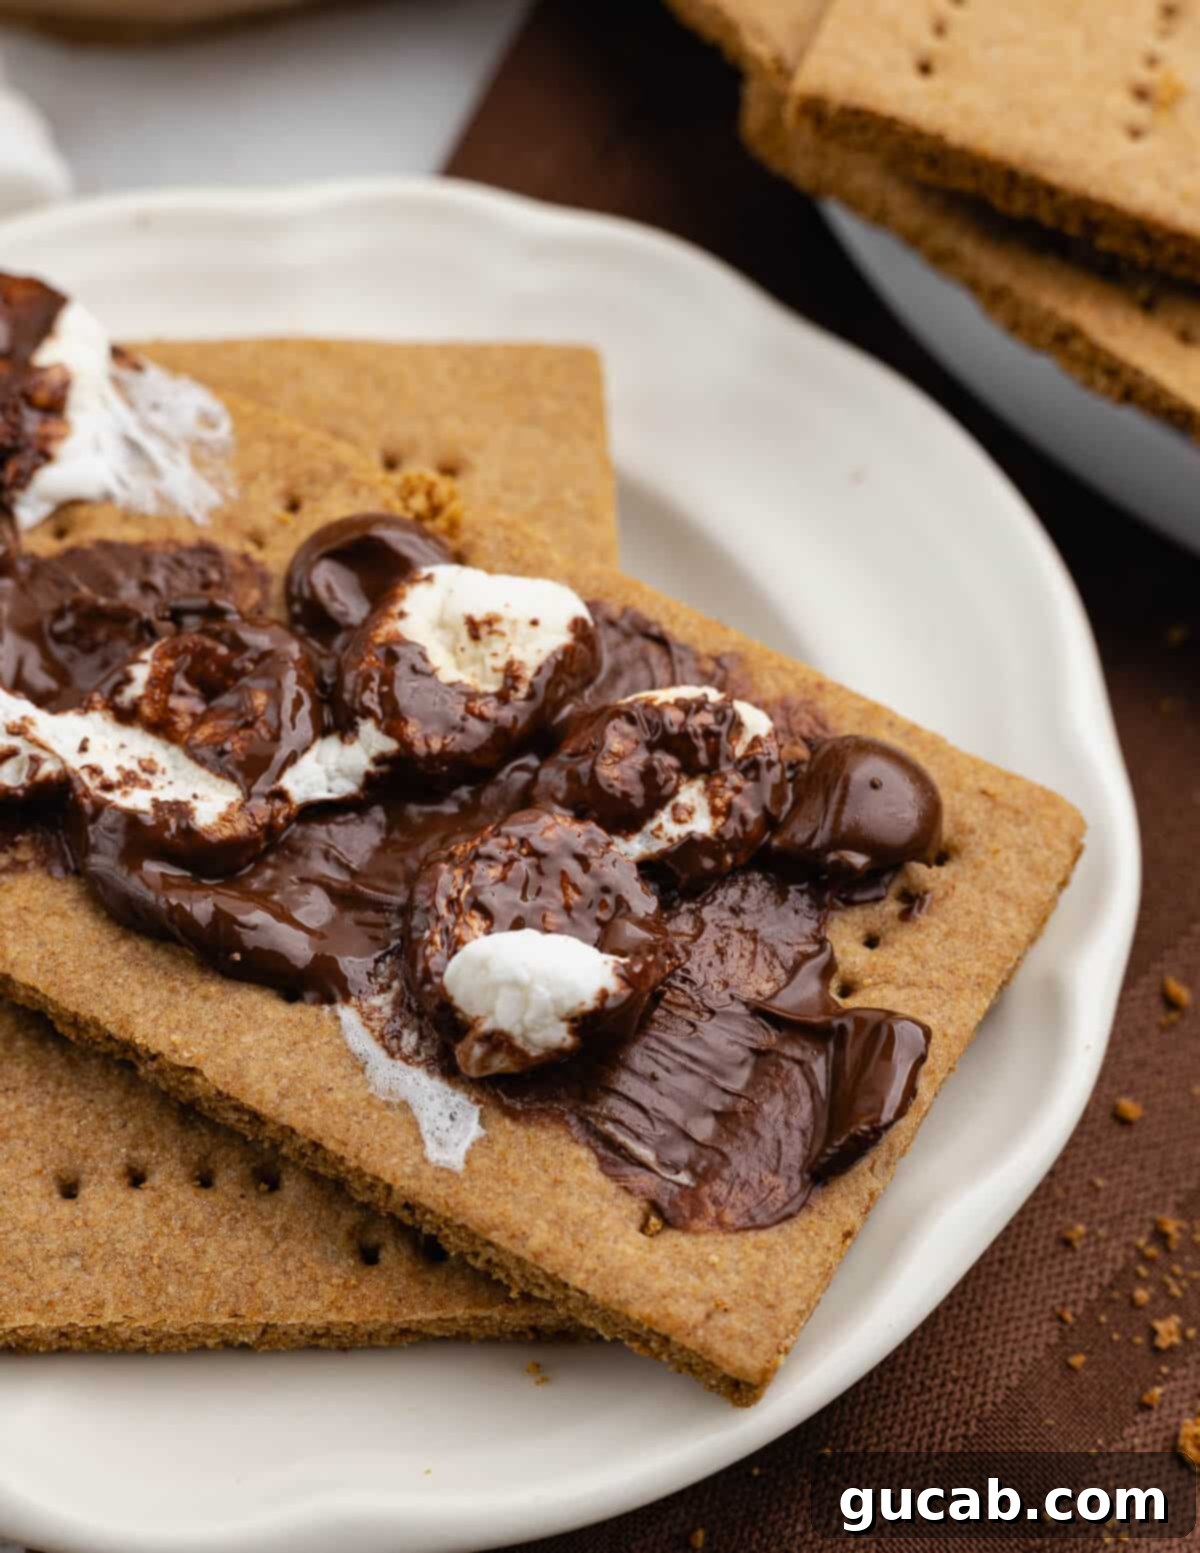
Determined to recreate that authentic experience, I finally took to the kitchen. After much experimentation, I am thrilled to share that these homemade gluten-free graham crackers are everything I dreamed of! They are incredibly thin, yet remarkably sturdy, offering that perfect, satisfying snap that is crucial for holding up against warm, melted chocolate and toasted marshmallow. Get ready to rediscover the joy of a truly classic s’more!
Essential Ingredients for Gluten-Free Graham Crackers
Creating these delicious gluten-free graham crackers requires a few key components, each playing a vital role in achieving their classic taste and texture. Here’s a closer look at what you’ll need and why:
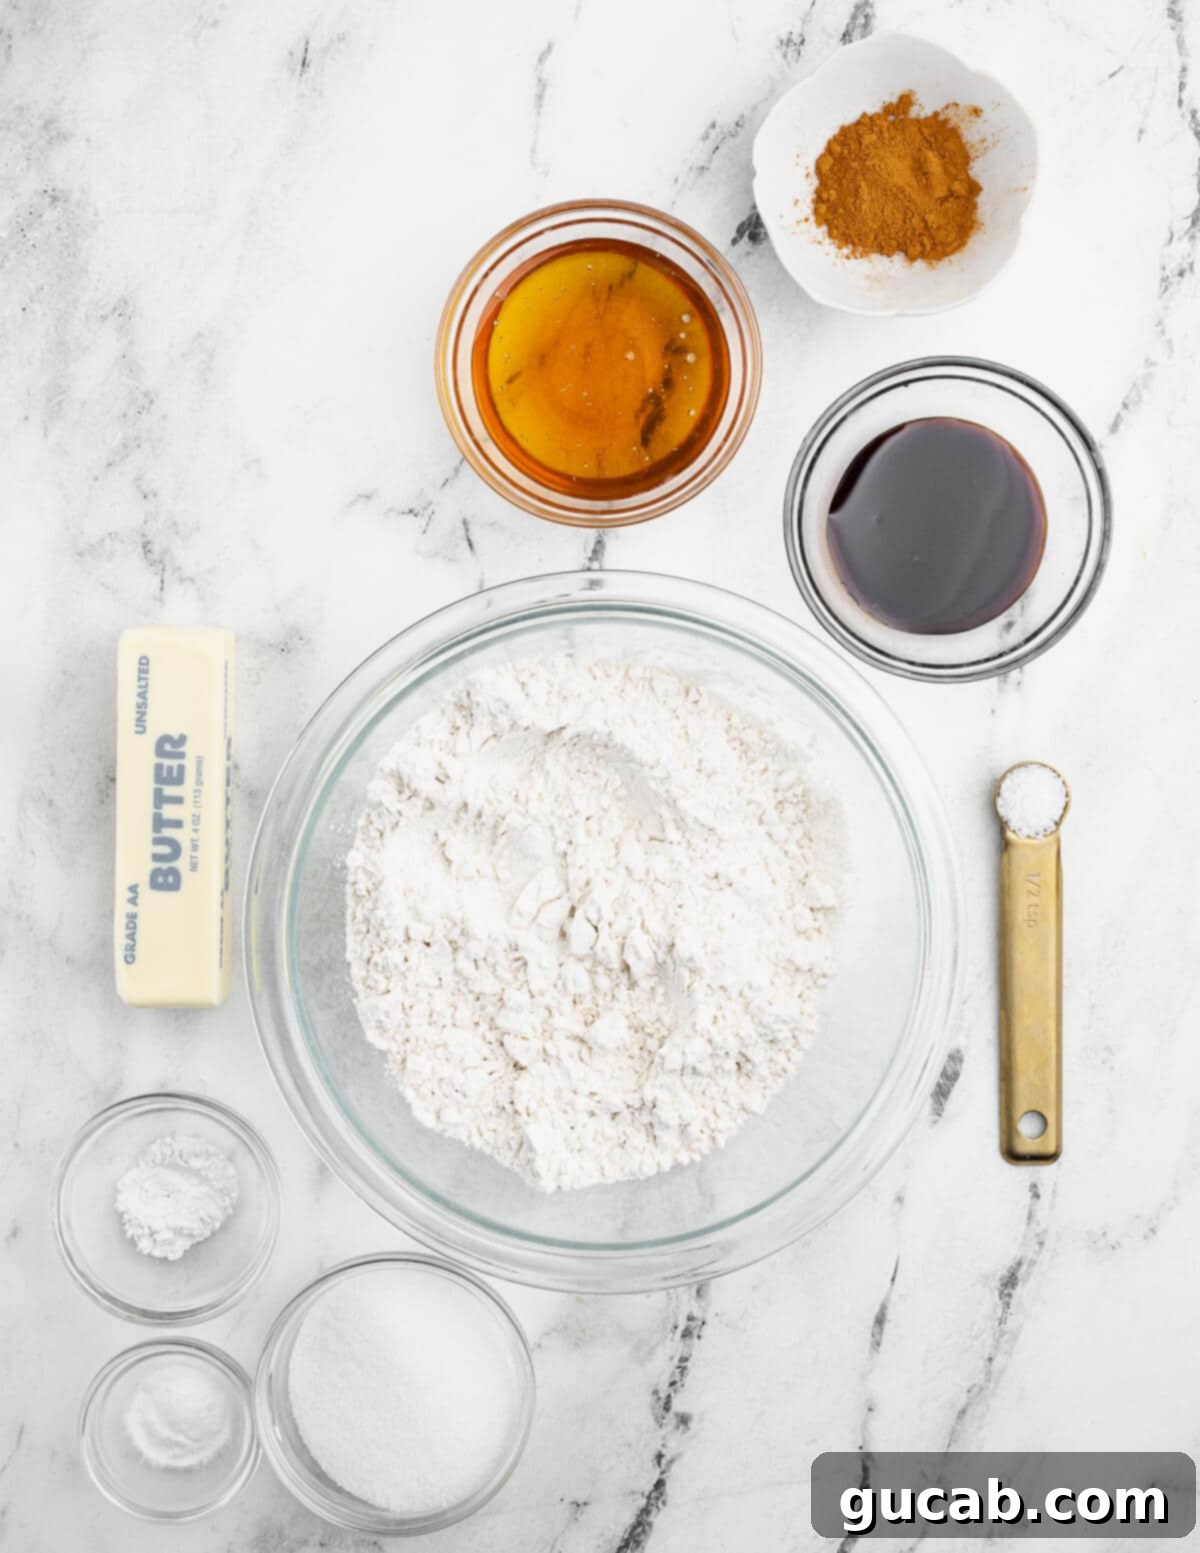
- Gluten-Free All-Purpose Flour: This is the foundation of our crackers. I highly recommend using Bob’s Red Mill’s 1-to-1 Gluten-Free Baking Flour. This specific blend was used to develop this recipe, and its unique protein and starch balance yields the best results. Different gluten-free flour blends can react quite differently in recipes, so sticking to this one will give you the most consistent and delicious outcome. Plus, it has a fantastic flavor profile! You can easily find it at major retailers like Target or conveniently order it on Amazon.
- Baking Powder and Baking Soda: Even though we’re aiming for thin, crisp crackers, these leavening agents are crucial. They provide a subtle lift, creating a delicate crumb structure that prevents the crackers from becoming too dense or hard. This slight rise is key to achieving that perfect airy crispness, rather than a flat, brittle texture.
- Honey: Beyond just sweetness, honey is essential for that distinctive, warm, and slightly floral flavor that defines traditional graham crackers. It also contributes to the beautiful golden-brown color and helps achieve that desired crisp texture by acting as a humectant, preventing the crackers from becoming overly dry.
- Cinnamon: The warm, aromatic spice of cinnamon is non-negotiable for authentic graham cracker flavor. It adds depth and a comforting note that complements the honey beautifully. I personally buy mine in bulk from Costco, ensuring I always have plenty on hand for baking!
- Unsalted Butter: I always bake with unsalted butter to have complete control over the salt content in my recipes. Using softened unsalted butter allows for easy creaming and even distribution throughout the dough, contributing to the cracker’s tender yet crisp texture. If you only have salted butter available, simply omit the additional kosher salt from the recipe to avoid over-salting.
- Molasses: Just a touch of molasses adds a wonderful depth of flavor and that signature golden-brown hue. It brings a subtle, earthy sweetness that rounds out the honey and cinnamon, making these crackers truly irresistible.
- Kosher Salt: A pinch of kosher salt is vital for balancing the sweetness and enhancing all the other flavors in the crackers. It brings out the best in the honey and cinnamon, making them pop.
- Cold Water: Water helps bring the dough together, achieving the right consistency for rolling. Using cold water helps keep the butter firm, which is important for a tender and flaky (or in this case, crisp) result.
Mastering the Art of Homemade Gluten-Free Graham Crackers
Don’t be intimidated by the idea of making graham crackers from scratch, especially gluten-free ones! This recipe is surprisingly straightforward and yields impressive results. The most crucial part is achieving the right thinness when rolling, but remember, perfection isn’t the goal—deliciousness is!
Before you begin your baking adventure, always preheat your oven to 350 degrees Fahrenheit. This ensures that when your crackers go in, they start baking immediately and evenly.
- Step 1: Create the Dough: Start by combining all your dry ingredients (gluten-free flour, sugar, baking soda, baking powder, kosher salt, and cinnamon) in the bowl of a stand mixer. Mix them thoroughly to ensure even distribution. Then, add the wet ingredients: honey, molasses, and softened butter. Begin mixing on a medium-low speed until the mixture resembles coarse sand or small crumbles. Finally, gradually add the cold water. Continue to mix until a cohesive, slightly firm cookie-like dough forms. It should be pliable but not overly sticky. If it feels too wet, add a tiny bit more flour; if too dry, a few drops of water.
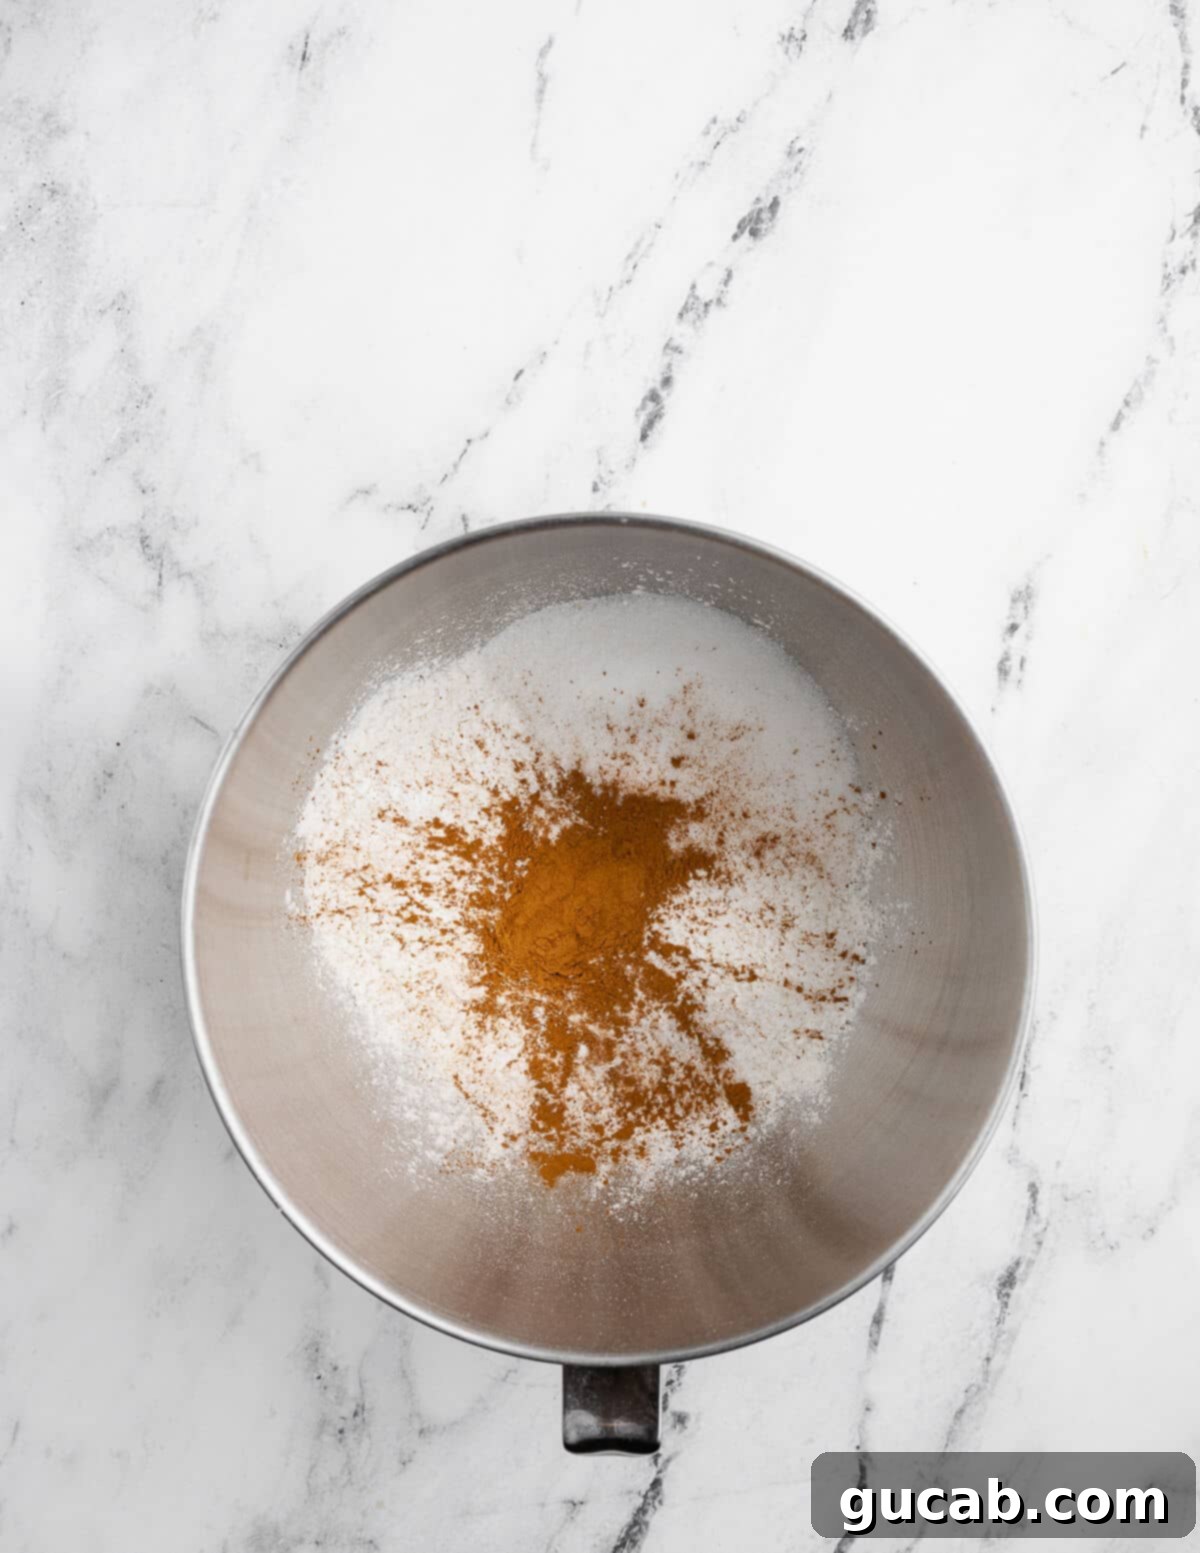
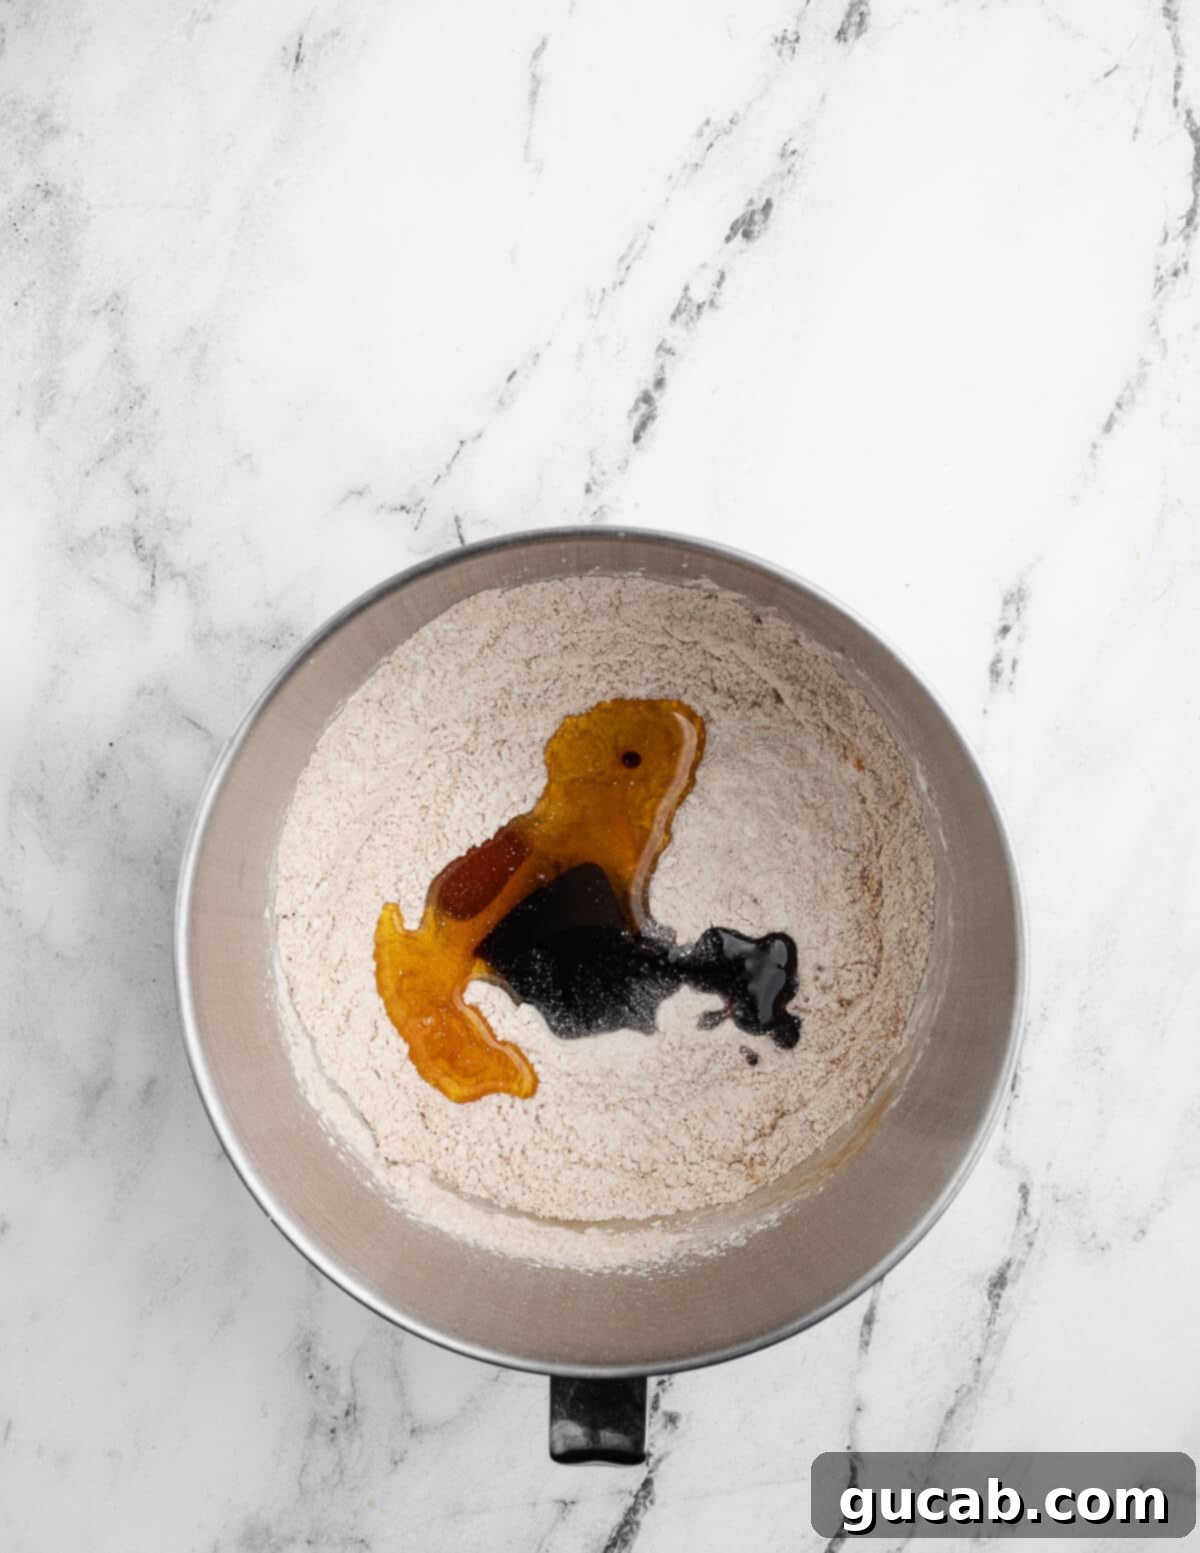
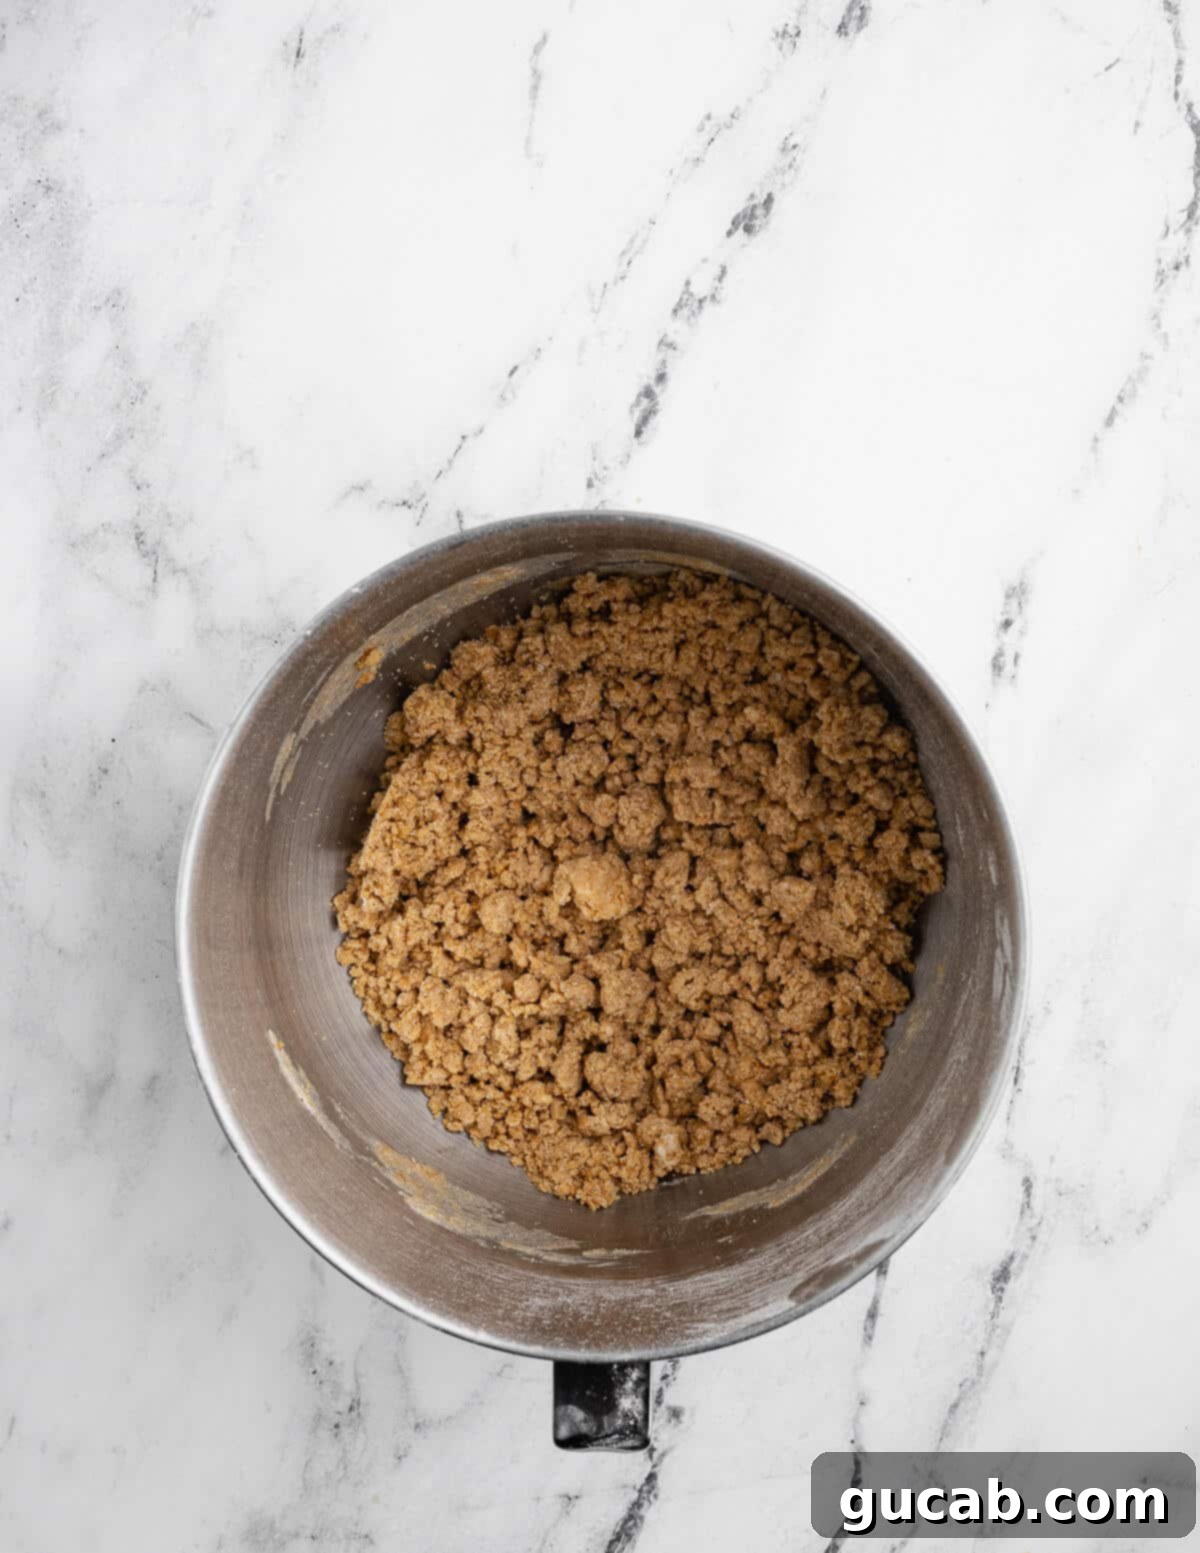

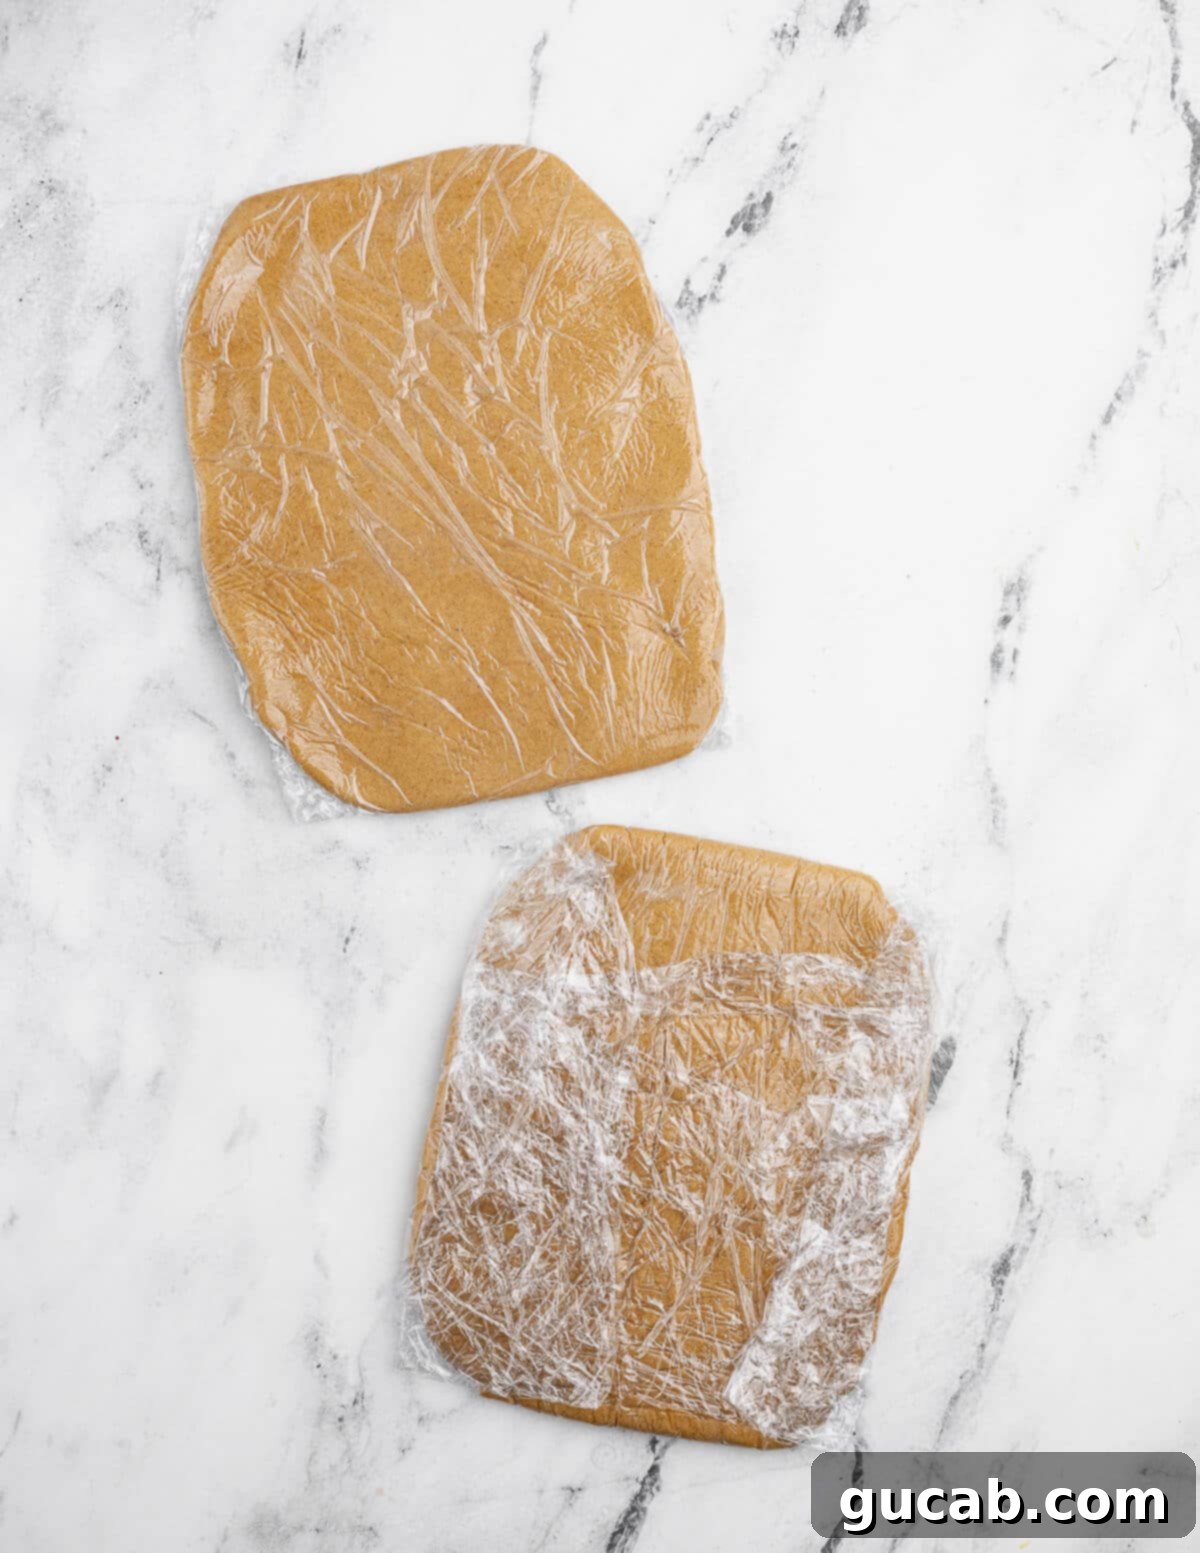
- Step 2: Chill the Dough: Divide the dough into two equal halves. Gently form each half into a rough rectangle, approximately 8 by 6 inches. This initial shaping will make it easier to roll later. Wrap each rectangle tightly in plastic wrap and refrigerate for at least 30 minutes. Chilling the dough is essential; it allows the gluten-free flour to fully hydrate, firms up the butter, and prevents the dough from becoming too sticky and difficult to handle when rolling. Each chilled dough portion will yield about 12 graham crackers.
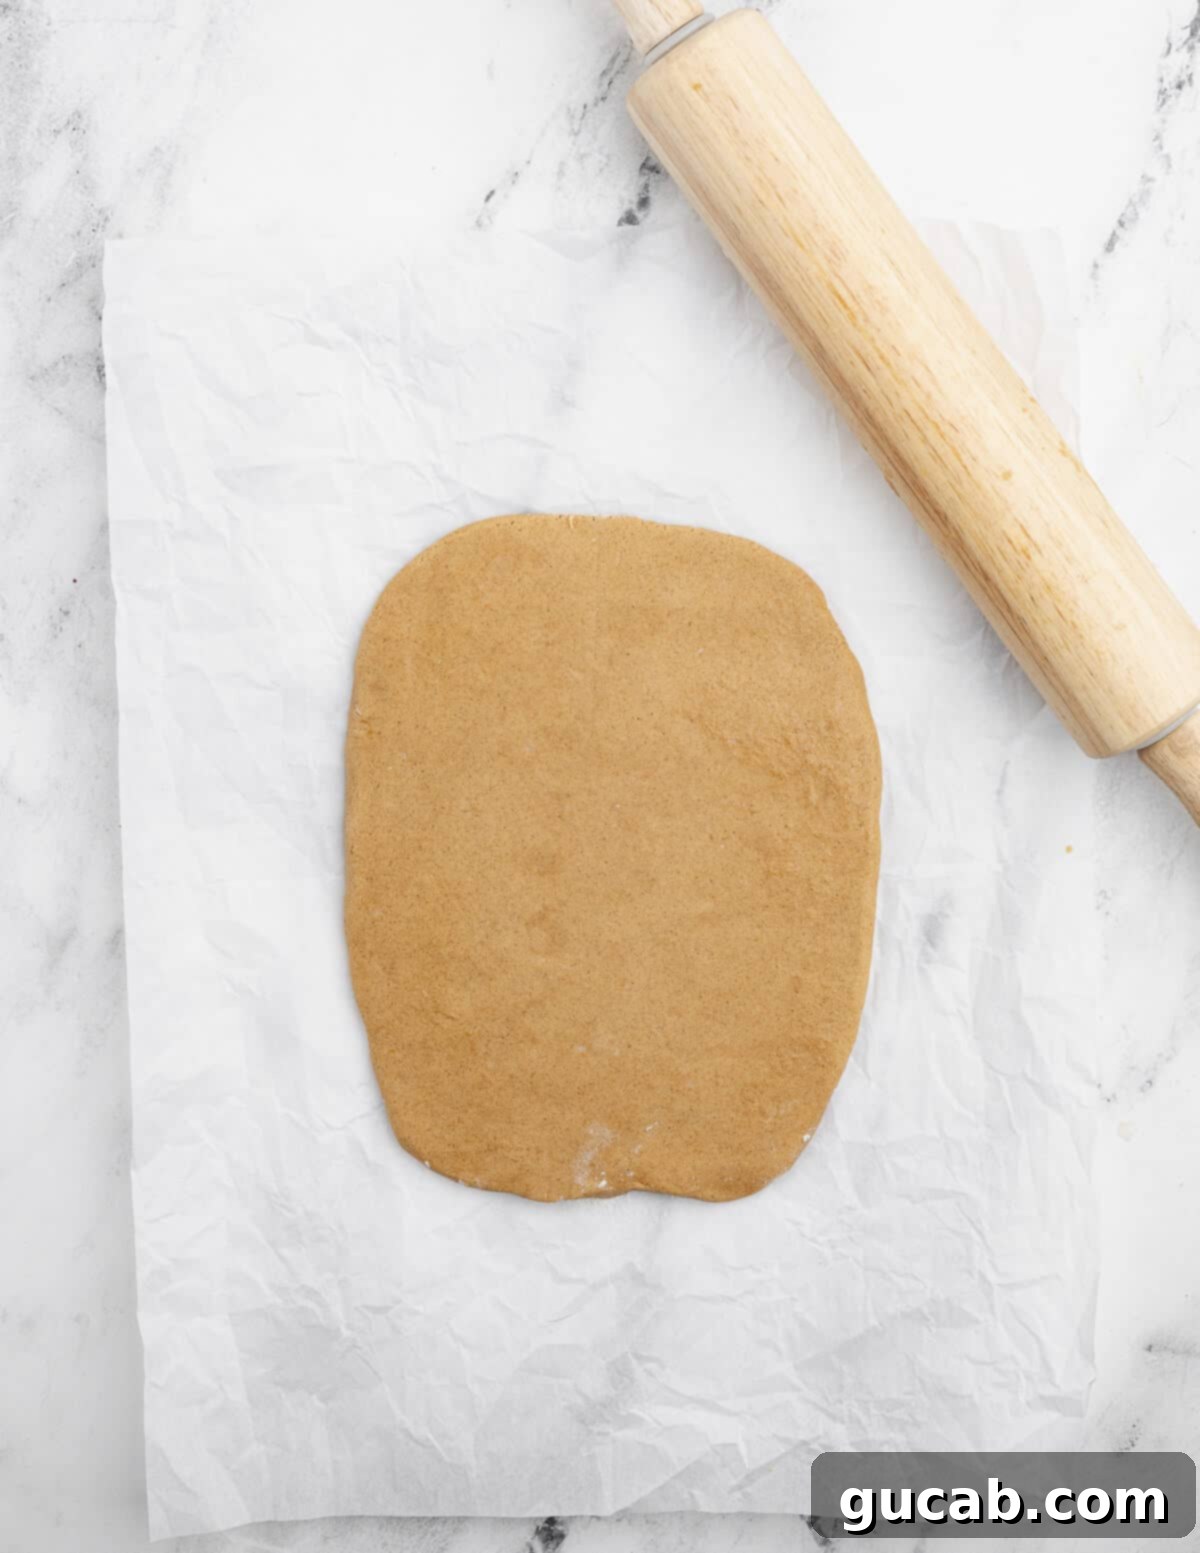
- Step 3: Roll Out the Dough: This is where the magic happens for crispiness! Place one chilled dough rectangle between two sheets of parchment paper, sized to fit your baking sheet. Using a rolling pin, roll the dough out as thinly as possible—aim for approximately 10 by 14 inches. It will seem almost transparently thin, but trust the process! If the dough is too thick, your crackers will end up chewy instead of perfectly crisp. Thinness is paramount for that classic graham cracker crunch. Repeat with the second dough rectangle.
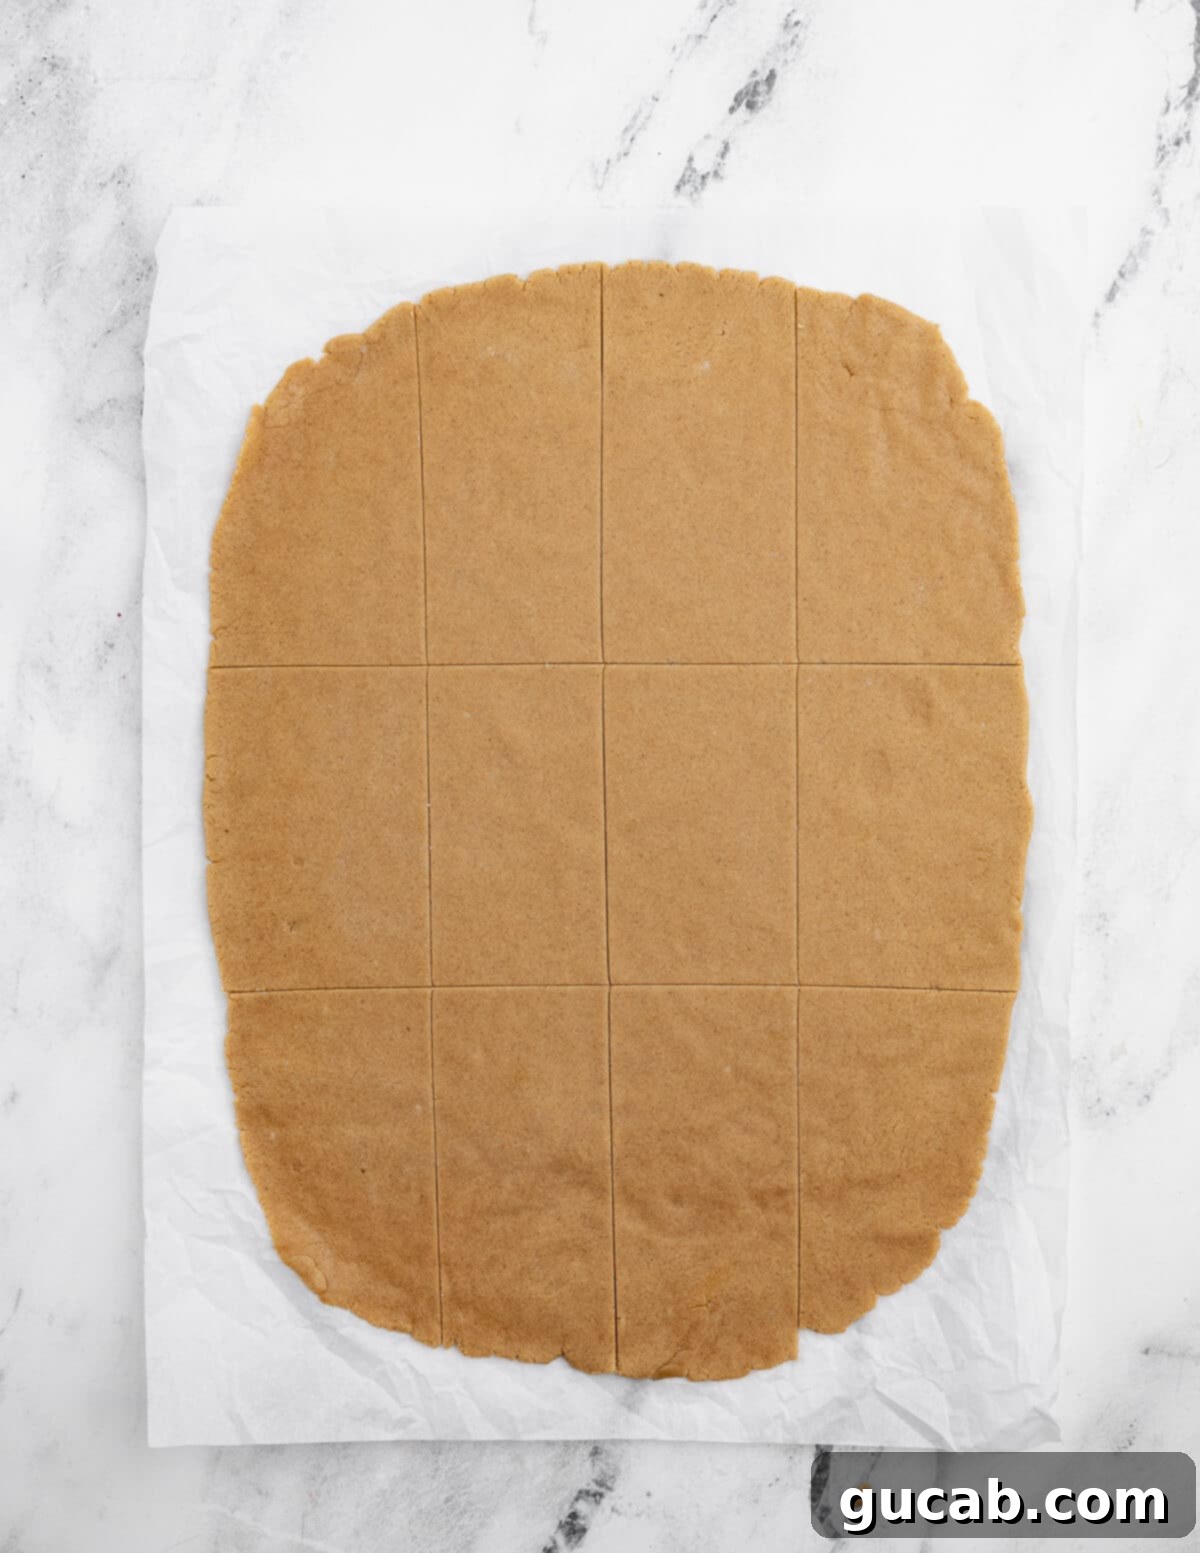
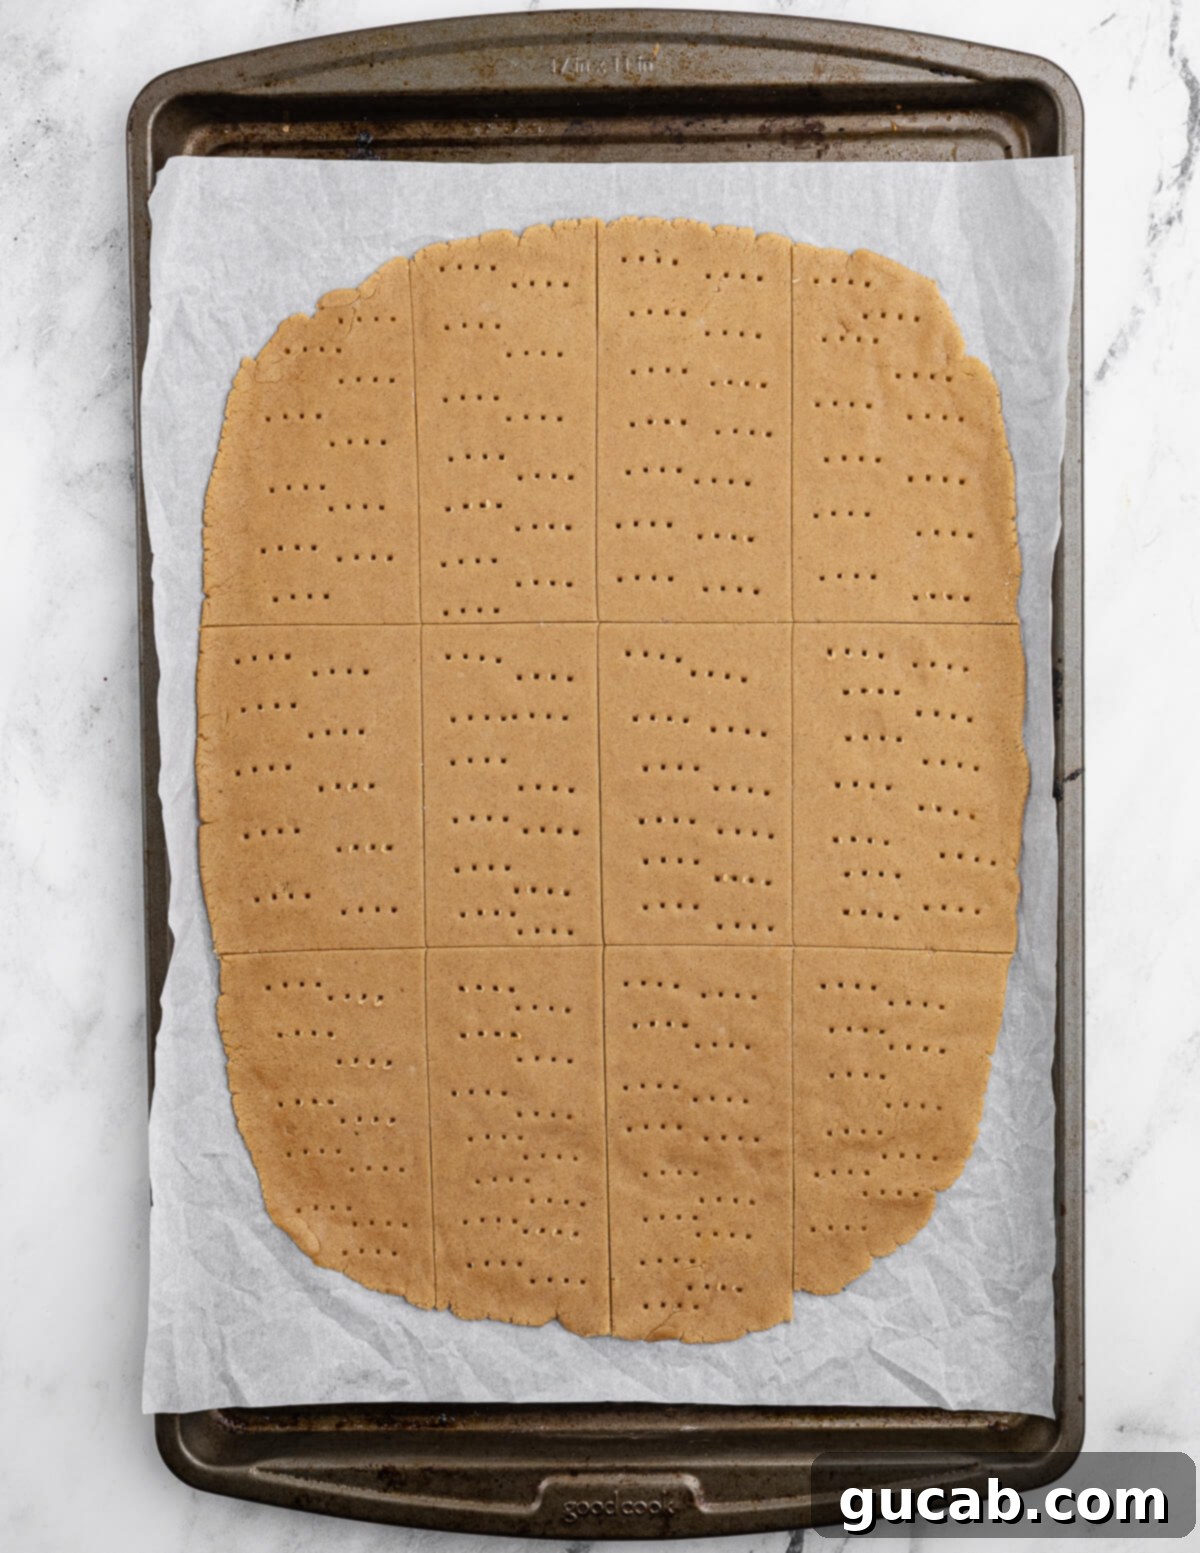
- Step 4: Score and Bake: Carefully transfer the parchment paper with the rolled-out dough onto a baking sheet. Using a sharp knife or a pizza cutter, gently score the dough into your desired cracker shapes. I prefer traditional rectangles, but feel free to get creative! Don’t cut all the way through yet—just make shallow marks. Use a fork to poke a few holes into each scored cracker; this helps prevent puffing and ensures even baking. Bake for approximately 18 minutes, or until golden brown and firm. Once removed from the oven, immediately use your sharp knife to cut all the way through the scored lines while the crackers are still warm. This makes for clean breaks.
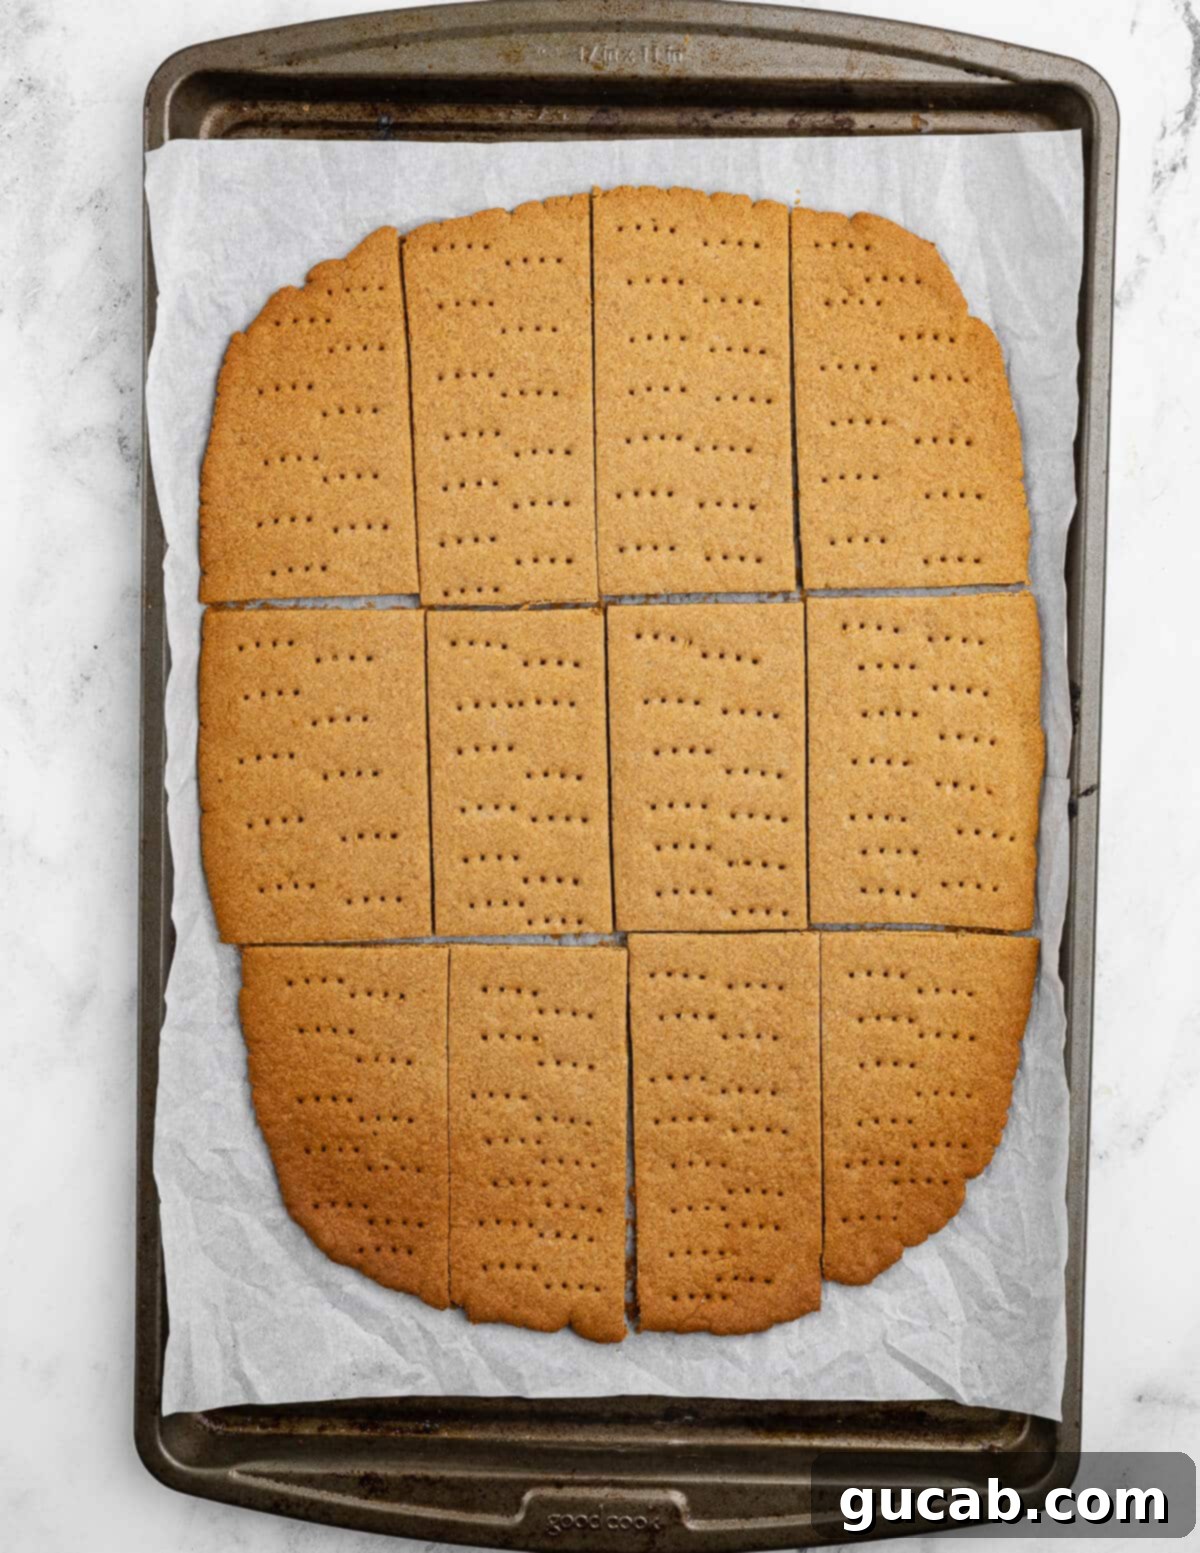

- Step 5: Cool and Store: The waiting is the hardest part! Allow the graham crackers to cool completely on the baking sheet. They will continue to crisp up as they cool. Once they reach room temperature and are perfectly crispy, they’re ready to enjoy! Since these don’t contain artificial preservatives like store-bought versions, I highly recommend storing them in the freezer in a zip-top bag to maintain their freshness and crispness for an extended period.
Top Tips for Perfect Gluten-Free Graham Crackers
Achieving bakery-quality gluten-free graham crackers at home is entirely possible with a few key tips and tricks. These pointers will help ensure your crackers are perfectly crisp, flavorful, and ready for all your s’mores adventures:
- Roll That Dough Paper-Thin: This is arguably the most critical step. If your dough isn’t rolled thin enough, the crackers will inevitably turn out chewy rather than delightfully crisp. Think about the thickness of store-bought graham crackers—they’re almost wafer-thin! Don’t be afraid to roll until you can almost see through the parchment paper. A consistent, thin roll ensures an even bake and that satisfying snap. Remember, nobody wants a tough, chewy s’more!
- Aim for Even Thickness: While perfection isn’t necessary, try your best to roll the dough to a uniform thickness across the entire sheet. If one side is significantly thinner than the other, it will bake faster and could become over-darkened or even burnt before the thicker sections are fully cooked and crispy. Take your time, and if needed, use a ruler or visual guides to help maintain consistency.
- Softened Butter is a Must: The consistency of your butter dramatically impacts the dough. Using properly softened (but not melted!) unsalted butter is crucial for creating a smooth, workable dough and ensuring even fat distribution. If you forget to take your butter out ahead of time, don’t fret! You can quickly soften it in the microwave. Microwave in short bursts of 5 to 10 seconds, checking after each increment, until it’s pliable and easily indented with a finger. Be extremely careful not to melt it, as melted butter changes the dough’s texture and can lead to greasy, crumbly crackers.
- Don’t Overmix: Once the dough comes together, stop mixing. Overmixing can develop the gluten in traditional flour (not an issue here) but can also lead to tough gluten-free baked goods. Mix just until combined and uniform.
- Prick Those Holes Generously: Those little holes in graham crackers aren’t just for aesthetics! Pricking the dough with a fork before baking helps prevent air bubbles from forming and ensures the crackers bake flat and evenly, contributing to their uniform crispness. Don’t be shy with the fork!
- Cool Completely for Crispness: It’s tempting to try a warm cracker right out of the oven, but resist! Graham crackers become significantly crispier as they cool completely. Hot crackers will still be somewhat soft; allow them to reach room temperature on the baking sheet before breaking them apart and enjoying.
Storage Solutions for Your Homemade Graham Crackers
One of the many benefits of making your own gluten-free graham crackers is knowing exactly what goes into them – no hidden preservatives! However, this also means they require proper storage to maintain their delicious crispness and extend their shelf life.
- Freezing for Long-Term Freshness: This is my preferred method for keeping these crackers fresh and crispy for as long as possible. Once the crackers have cooled completely to room temperature and are firm and crisp, transfer them to a freezer-safe gallon zip-top bag. Ensure all air is pressed out before sealing. You can freeze them for up to 6 months. When you’re ready to enjoy them, simply take out what you need and let them come to room temperature for a few minutes. They thaw quickly and retain their perfect texture. This method is especially useful if you’re making a big batch!
- Room Temperature Storage (Short-Term): If you plan to devour your crackers within a week, you can store them at room temperature. Place them in an airtight container or a sealed zip-top bag to protect them from moisture and keep them crisp. Stored this way, they will remain fresh and crunchy for up to 1 week. Beyond that, they might start to soften, which is a good sign to consider freezing any remaining crackers.

More Delicious Gluten-Free Recipes to Explore
If you’re loving these homemade gluten-free graham crackers, you’ll be thrilled to discover more of our favorite gluten-free delights. We believe that going gluten-free shouldn’t mean sacrificing flavor or texture. Here are a few more recipes that deliver on taste and bring joy to your gluten-free baking:
- Gluten Free Browned Butter Blondies: Rich, chewy, and bursting with the nutty flavor of browned butter, these blondies are a comforting treat perfect for any occasion.
- Gluten Free Chocolate Chip Cookies: The ultimate classic cookie, reimagined without gluten. These cookies are soft, chewy, and loaded with chocolate chips, proving that gluten-free can be just as good, if not better!
- Gluten Free Cinnamon Rolls: Indulge in warm, gooey, and utterly delicious cinnamon rolls, complete with a sweet glaze. This recipe brings back the breakfast favorite in a truly satisfying gluten-free form.
These homemade gluten-free graham crackers are more than just a recipe; they’re an invitation to reclaim cherished dessert traditions, especially the joy of a perfect s’more. With their ideal crispness, classic flavor, and simple preparation, you’ll wonder why you ever settled for anything less. Dive into your kitchen, follow these steps, and prepare to be amazed by the delicious possibilities!
Gluten-Free Graham Crackers
Carolyn
Pin Recipe
Equipment
-
Sheet pan
-
Stand Mixer with Paddle Attachment
Ingredients
- 2 cups Bob’s Red Mill’s 1 to 1 Gluten-Free Baking Flour See note
- ⅓ cup sugar
- ½ teaspoon baking soda
- ½ teaspoon baking powder
- ½ teaspoon kosher salt
- 1½ teaspoons cinnamon
- ¼ cup honey
- 1½ tablespoons molasses
- 6 tablespoons unsalted butter softened
- 2 tablespoons cold water
Instructions
-
Preheat oven to 350 degrees Fahrenheit.
-
In the bowl of a stand mixer, combine the gluten-free flour, sugar, baking soda, baking powder, kosher salt, and cinnamon. Mix to combine.
-
Add the honey, molasses, and softened butter to the flour mixture. Beat on medium-low speed until the mixture looks like sand.
-
Add the water and beat until a cookie dough forms.
-
Form the cookie dough into a small rectangle and cut it in half. Form each half into an 8 by 6 inch rectangle. Wrap each one in plastic wrap and refrigerate for 30 minutes.
-
Cut two pieces of parchment paper the size of a sheet pan.
-
On a piece of parchment paper, roll one of the dough rectangles into a thin 10 by 14 inch rectangle. The dough will be very thin.
-
Use a sharp knife to score the rolled out dough into 12 equal rectangles, like graham crackers. Use a fork to poke holes into each graham cracker.
-
Bake for 18 minutes. Remove the pan from the oven and use a sharp knife to cut where the scoring is.
-
Repeat with the remaining dough.
-
Let the graham crackers cool completely. They get crispier as they cool.
Nutrition
