Irresistible Gluten-Free Blackberry Crisp: Your Perfect Summer Dessert Recipe
There’s something truly magical about a warm, bubbly fruit crisp, especially when it features the vibrant flavors of summer berries. As a dedicated enthusiast of fruit crisps and crumbles, I can confidently say that the tartness of blackberries, perfectly contrasted by a sweet, buttery crumb topping and a scoop of melting vanilla ice cream, creates an unparalleled dessert experience. This particular recipe for a gluten-free blackberry crisp isn’t just a dessert; it’s a celebration of summer, designed to be both incredibly delicious and accessible for those with gluten sensitivities. It’s the kind of treat that brings smiles and demands second helpings, making it an ideal choice for family gatherings, potlucks, or simply a comforting evening indulgence.

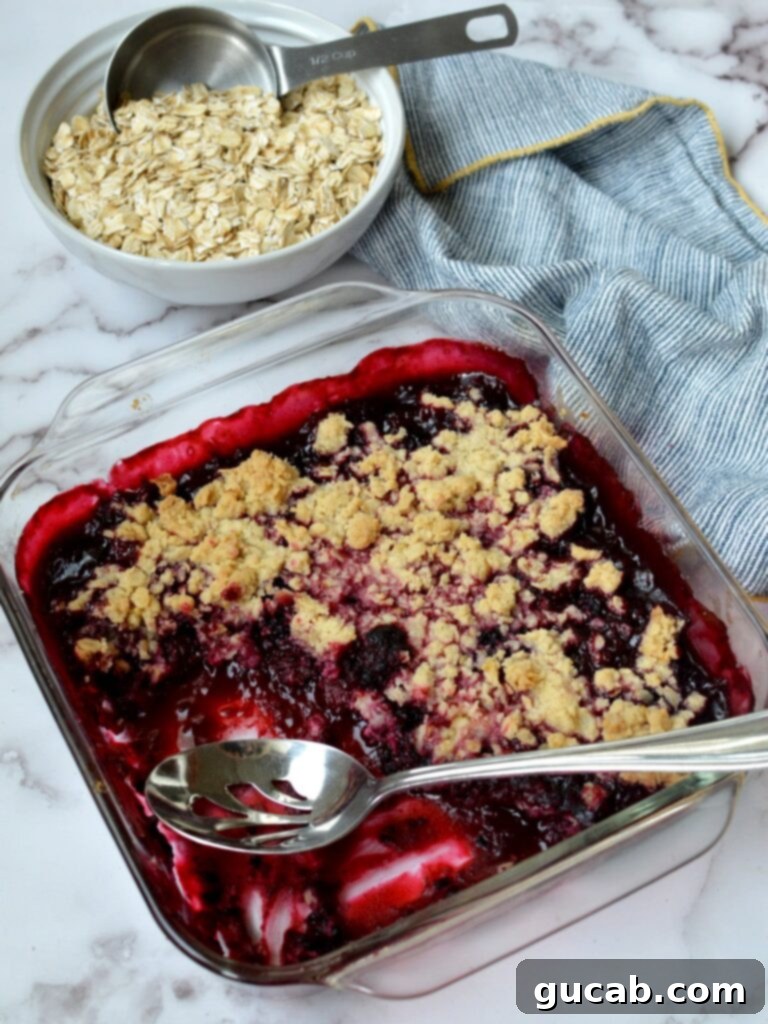
In our home, a dessert isn’t truly approved until my toughest critic, my six-year-old, gives her honest opinion. On this occasion, I couldn’t even manage to snap a proper picture before she dove in, spoon-first! Her enthusiastic endorsement speaks volumes, and while she absolutely adored this blackberry crisp, I’ve gathered some crucial insights and suggestions to help you customize it to your exact preferences. So, whether you prefer a jammy filling or a firmer berry bite, a super crispy topping, or something a little softer, read on to unlock the secrets to your perfect gluten-free blackberry crisp.
Disclosure: This post contains affiliate links. In other words, if you click a link and purchase something, I will receive a commission at no cost to you. I only recommend products I use and enjoy myself.
Fresh vs. Frozen Blackberries: Which Reigns Supreme for Your Crisp?
When it comes to baking with blackberries, the choice between fresh and frozen can significantly impact your final crisp. While many recipes might rigidly call for one or the other, I believe in flexibility, especially when considering cost and availability. During the off-season, fresh blackberries can be prohibitively expensive—I’ve seen them for $5.99 a half-pint! Unless you’re planning a massive harvest from your own garden, frozen berries are typically the most economical and practical option during these months.
However, even in the peak of summer, I often find myself gravitating towards frozen blackberries for their unique qualities. After conducting a side-by-side comparison with two crisps at a family gathering, it was a tie! Ultimately, the “best” choice truly depends on what you’re looking for in your blackberry crisp. Here are the two main differences I discovered:
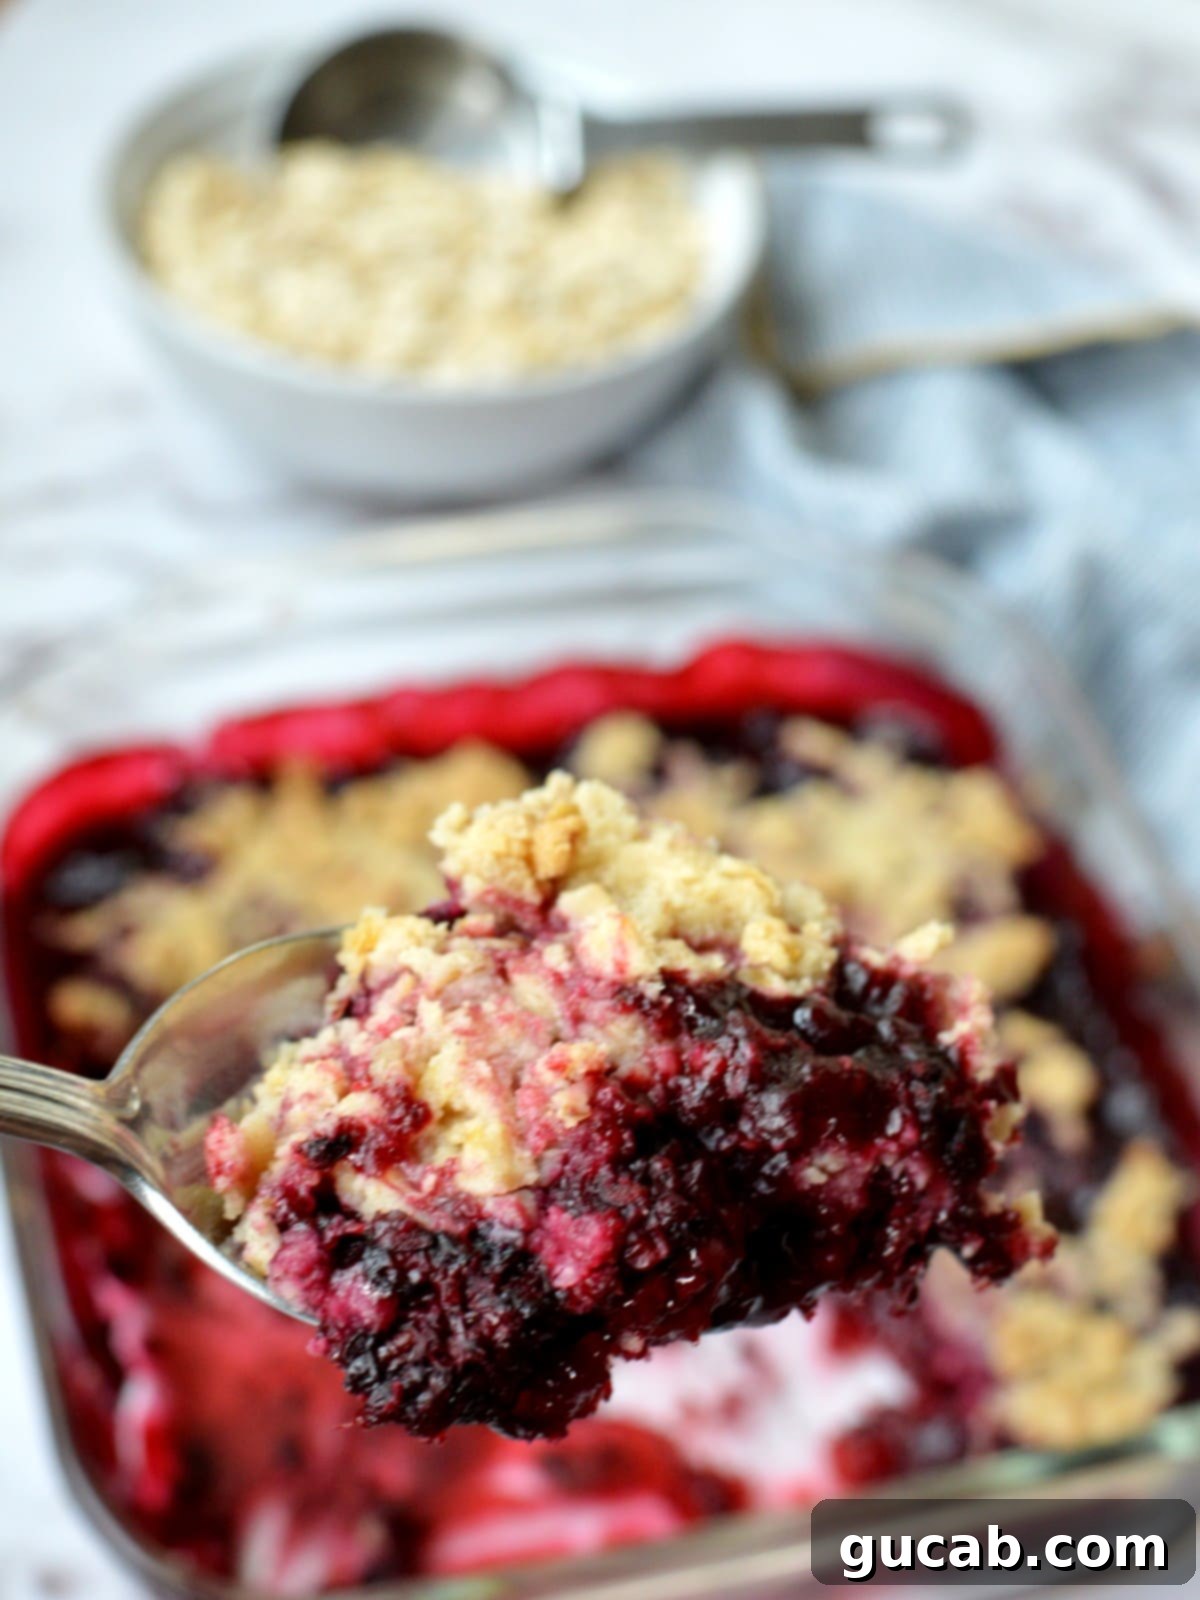
- Frozen blackberries produce a jammier, more saucy crisp. They release more liquid as they thaw and bake, creating a rich, luscious fruit filling that’s wonderfully comforting. This extra liquid also helps distribute the flavors more intensely throughout the crisp.
- Fresh blackberries release less liquid and tend to hold their shape better. If you prefer distinct, whole berry pieces in your crisp with a slightly less saucy filling, fresh is the way to go. Their texture remains more intact, offering a different, yet equally delightful, mouthfeel.
Both options yield a delicious dessert, but understanding these differences allows you to tailor your crisp to your preferred texture and consistency. If you love a thick, bubbling, almost preserve-like filling, opt for frozen. If you enjoy the sensation of biting into individual, tender blackberries, fresh might be your choice.

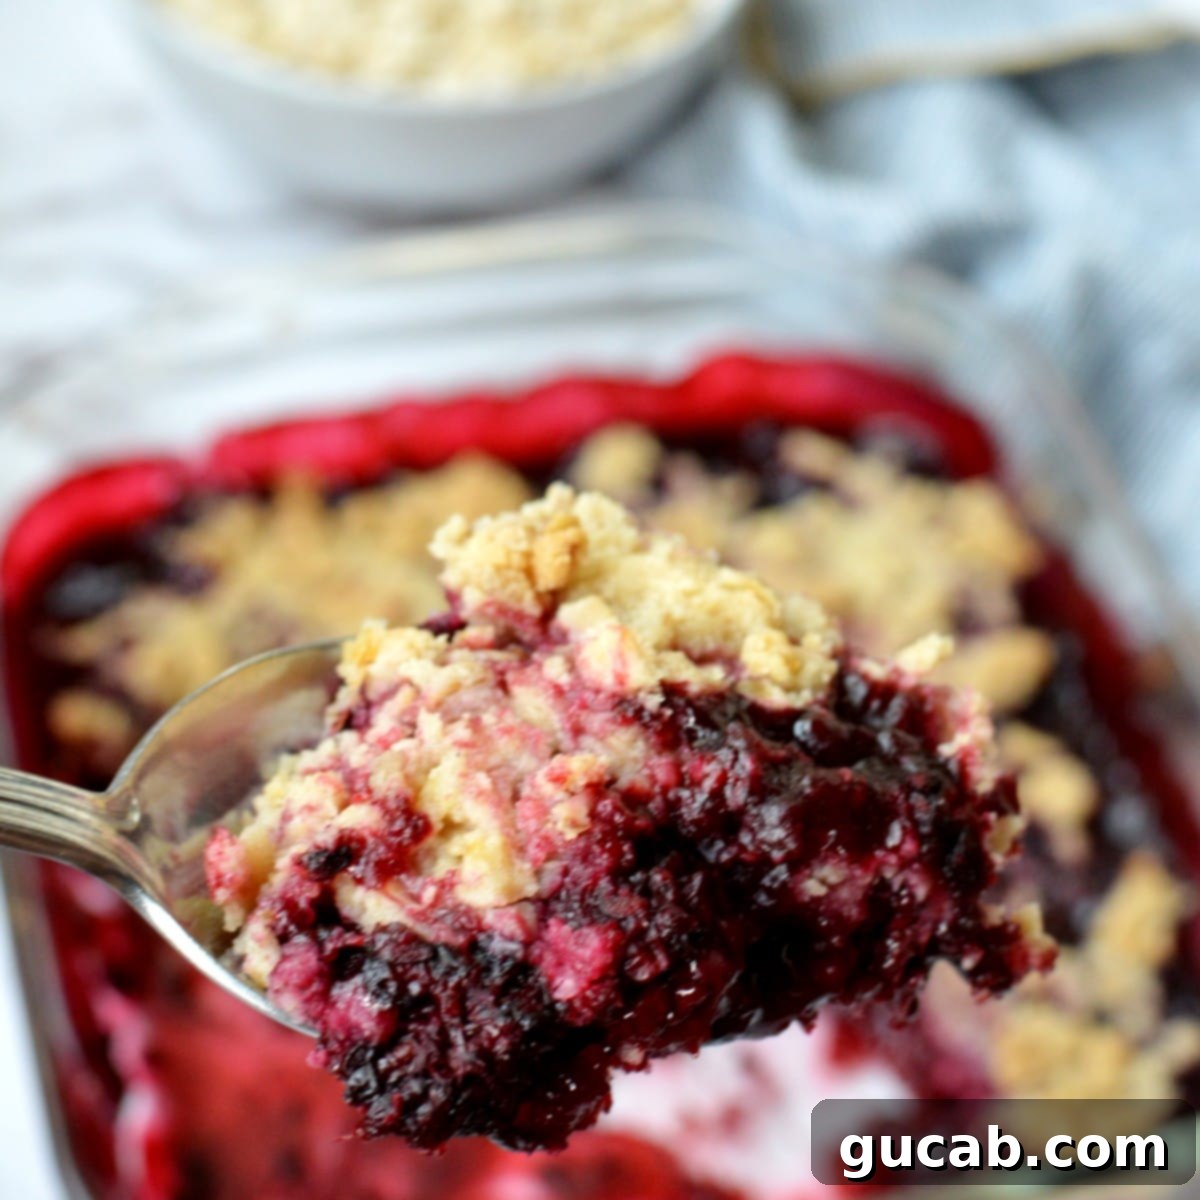
This image perfectly illustrates a spoonful of the gluten-free blackberry crisp made with frozen berries. Notice the rich, dark, and beautifully jammy consistency of the blackberry filling – pure deliciousness!
Where to Find Frozen Blackberries and Smart Berry Hacks
Finding frozen blackberries can sometimes be a bit of a treasure hunt at your local grocery store. They’re not always as readily available as mixed berries or blueberries. But don’t despair if you can’t spot them right away! My go-to hack is to simply buy two large bags of frozen mixed berries and hand-pick the blackberries for my crisp. It’s a bit of extra effort, but worth it for that perfect blackberry flavor.
What about the rest of the mixed berries? Don’t let them go to waste! I always freeze the remaining assorted berries to use in various other delightful ways. They’re fantastic for smoothies, adding a nutritional boost and a burst of flavor to your morning routine. They also work wonderfully in other fruit crisps or crumbles, offering a different flavor profile. And if you’re feeling adventurous, turn them into homemade popsicles – a refreshing treat that’s especially popular with kids (and adults!) during warmer months. If, however, you know you won’t use the leftover mixed berries, then sticking to fresh blackberries (when in season) might be a more practical approach for you.
Mastering the Crumb Topping: Ratio, Texture, and Leftover Ingenuity
The crumb topping is arguably the soul of any crisp, and for this gluten-free blackberry crisp, I’ve designed a recipe that yields a generous amount. And there’s a good reason for this abundance:
- It’s always better to have too much topping than not enough. You have the freedom to decide exactly how much crunchy, sweet goodness you want on your crisp. Some prefer a lighter sprinkle, while others (like me!) love a thick, golden layer.
- Customizable Texture: The amount of topping you use can also influence the texture of the crisp. A thicker layer might create a softer topping as it absorbs some moisture, while a thinner layer will be undeniably crispier. For a truly softer, less “crisp” topping, you can also reduce the old-fashioned oats from 1 cup to ¾ cup, as noted in the recipe.
I wholeheartedly recommend adding as much topping as you personally prefer to your crisp. If you end up using it all, fantastic! But if you have leftovers, that’s even better, because it opens up a world of possibilities!
Don’t toss that extra topping! Instead, simply place it in a freezer-safe ziploc bag and pop it into the freezer. You’ve just created a convenient shortcut to an individual crisp whenever a craving strikes. To make a single-serving crisp: fill a ramekin with about a cup of your favorite frozen berries (blackberries, mixed berries, whatever you have!), stir in half a teaspoon of sugar and a pinch of cornstarch, then generously add your frozen leftover topping. Bake it until the center is hot and bubbly and the edges are golden brown. It’s the perfect way to enjoy a warm, homemade dessert with minimal effort on a whim.
Essential Ingredients for Your Gluten-Free Blackberry Crisp
Every ingredient in this recipe plays a crucial role in achieving the perfect balance of flavor and texture. Let’s take a closer look at what you’ll need and why:
- Fresh or Frozen Blackberries: The star of our show! As discussed, your choice will determine the final texture of your filling. Read above to decide which option aligns with your crisp preference.
- Cornstarch: This is a key thickening agent for the fruit filling. It helps to bind the berry juices, preventing the crisp from becoming watery and ensuring a luscious, jammy consistency. Without it, your filling would be too runny.
- Granulated Sugar: Provides essential sweetness to balance the tartness of the blackberries. It also contributes to the caramelization of the fruit as it bakes.
- Brown Sugar: Used in the topping, brown sugar adds a deeper, more molasses-like sweetness compared to white sugar. It also contributes moisture and helps create that desirable chewy, yet crispy, texture in the crumble.
- Lemon (Juice and Zest): A small amount of fresh lemon juice is a game-changer for the filling. It brightens up the flavor of the blackberries, making them taste even more vibrant and fresh. Always opt for fresh-squeezed lemon juice over bottled for the best flavor. The zest of half a lemon in the topping adds a fragrant, citrusy note that elevates the entire dish, providing a subtle complexity that complements the berries beautifully.
- Gluten-Free All-Purpose Flour: For this recipe, I exclusively use and highly recommend Bob’s Red Mill 1:1 All-Purpose Gluten-Free Baking Flour. This blend is specifically formulated to behave like traditional wheat flour, making it ideal for converting recipes like this one without complex adjustments. I haven’t tested this recipe with other gluten-free flour blends, so results may vary if you choose a different brand.
- Old Fashioned Oats: These provide the classic chewiness and rustic texture that is characteristic of a crisp topping. It’s crucial to purchase certified gluten-free oats to ensure the recipe remains entirely gluten-free, as conventional oats can sometimes be cross-contaminated during processing.
- Kosher Salt: A pinch of salt is vital in both the filling and the topping. It might seem counterintuitive for a dessert, but salt doesn’t make things salty; rather, it enhances and balances all the other flavors, making the sweetness brighter and the fruit more pronounced. Always use kosher salt (which has a larger crystal size and milder flavor) rather than iodized table salt.
- Unsalted Butter: Cold and diced butter is essential for a crumbly topping. When worked into the flour mixture while cold, it creates pockets that melt during baking, resulting in a tender, flaky, and crispy texture. Using unsalted butter allows you to control the exact amount of salt in your recipe.
Expert Tips & Tricks for a Flawless Gluten-Free Blackberry Crisp
Achieving the perfect blackberry crisp is simpler than you might think, especially with a few insider tips:
- Don’t Skip Mixing the Filling Separately: The recipe instructs you to combine all the filling ingredients in a bowl and stir them thoroughly before adding them to the baking dish. This step is absolutely critical. If you simply layer the ingredients into the baking dish, the cornstarch can settle at the bottom of the pan and stick, leading to an unpleasant, gluey texture in your crisp’s base. Proper mixing ensures the cornstarch is evenly distributed, guaranteeing a smooth, perfectly thickened berry filling – no gluey surprises here!
- Cold Butter is Key for the Topping: When making the crumb topping, ensure your butter is very cold and cut into small pieces. This prevents the butter from fully integrating with the flour, creating those desirable pockets of butter that will melt and form a flaky, tender, and crispy crumble. Avoid overworking the butter into the flour; you want a crumbly, not smooth, consistency.
- Know When Your Crisp is Done: A perfectly baked crisp will have a deeply golden-brown topping and visibly bubbling fruit around the edges of the pan. The center should also be hot and softened. If the topping is browning too quickly, you can loosely tent the dish with foil for the last 15-20 minutes of baking.
- Allow for Cooling Time: It’s tempting to dig in immediately, but letting the crisp cool for at least 20-30 minutes allows the fruit filling to set further. This makes for easier serving and prevents a runny mess. Plus, it’s still deliciously warm!
- Storage and Reheating: Leftover crisp can be stored covered in the refrigerator for up to 3-4 days. To reheat, you can warm individual servings in the microwave or place the entire dish (if still in a baking dish) back in a 300°F (150°C) oven for 15-20 minutes until warmed through and the topping crisps up again.
Other Gluten-Free Crisps & Desserts You Might Love
If you’ve fallen in love with this blackberry crisp, you’ll be delighted to explore more gluten-free deliciousness:
- Gluten Free Blueberry Crisp
- Triple Berry Crisp with Oat Crumble
- Gluten Free Blueberry Muffins
- Gluten Free Strawberry Muffins

Gluten-Free Blackberry Crisp
Carolyn
Pin Recipe
15 minutes
1 hour
1 hour
15 minutes
Dessert
American
6
servings
Ingredients
For the filling:
-
6
cups
Blackberries
Fresh or frozen (see notes for choice) -
1
tbsp
Cornstarch -
3
tbsp
Granulated Sugar -
1
tbsp
Lemon juice, fresh squeezed
For the topping:
-
¾
cup
Bob’s Red Mill 1:1 All Purpose Gluten Free Flour -
1
cup
Gluten-free old fashioned oats -
¼
cup
Granulated Sugar -
⅓
cup
Brown sugar, packed -
¼
tsp
Kosher salt - Zest of ½ a lemon
-
8
tbsp
Unsalted butter, very cold & small diced
Instructions
-
Preheat your oven to 350 degrees Fahrenheit (175°C). In a large mixing bowl, combine all the filling ingredients (blackberries, cornstarch, granulated sugar, and lemon juice). Stir really well with a large spoon until all the berries are thoroughly coated. This ensures the cornstarch is evenly distributed and prevents a gluey bottom.
-
Pour the berry filling mixture evenly into an 8×8 inch (20×20 cm) baking dish and set it aside.
-
In a separate large bowl, combine all of the topping ingredients EXCEPT the butter: gluten-free flour, oats, granulated sugar, brown sugar, kosher salt, and lemon zest. Stir these dry ingredients together thoroughly. Once combined, add the cold, small-diced unsalted butter. Use your fingertips to work the butter into the flour mixture until a coarse, thick, crumbly mixture forms, resembling a very thick cookie dough or small pebbles. Avoid overmixing; you want distinct crumbs.
-
Evenly spread the prepared crumb topping over the blackberry mixture in the baking dish. You can add as much or as little topping as you prefer for your ideal crisp-to-fruit ratio.
-
Bake in the preheated oven at 350 degrees Fahrenheit (175°C) for 60 minutes. The crisp is ready when the edges of the fruit filling are visibly bubbling and the topping is deeply golden brown and crispy. The inside should be hot and fragrant. If the topping browns too quickly, you can loosely tent it with aluminum foil during the last 15-20 minutes of baking.
Notes
- For a softer topping: If you prefer your topping to be less “crisp” and more tender, simply add ¾ cup of gluten-free old-fashioned oats instead of 1 cup. This slight reduction allows for a slightly softer texture.
- For a jammier filling: If you love a rich, thick, and jammy fruit filling, opt for frozen blackberries. They release more liquid during baking, creating that desirable saucy consistency. If you prefer the berries to hold their shape more and have a less saucy filling, choose fresh blackberries.
- Serving Suggestion: This Gluten-Free Blackberry Crisp is best served warm, ideally with a scoop of vanilla bean ice cream, a dollop of whipped cream, or even a drizzle of custard.
- Storage: Store any leftover crisp covered in the refrigerator for up to 3-4 days. Reheat individual servings in the microwave or warm the entire dish in a 300°F (150°C) oven until heated through.
gluten free, blackberry, crisp, summer dessert
Tried this recipe?
Let us know how it was!
Frequently Asked Questions About Gluten-Free Blackberry Crisp
Can I use other types of berries or fruit?
Absolutely! This recipe is incredibly versatile. While blackberries are fantastic, you can easily substitute them with other berries like blueberries, raspberries, or a mixed berry blend. You might also experiment with sliced peaches or apples, though baking times might need slight adjustment to ensure the fruit is tender. If using very watery fruits, you might want to increase the cornstarch by half a tablespoon.
Can I make this blackberry crisp ahead of time?
Yes, you can! To prepare ahead, you have a couple of options:
- Assemble and Refrigerate: Assemble the crisp completely (fruit filling in the dish, topping spread over) but do not bake. Cover tightly with plastic wrap and refrigerate for up to 24 hours. When ready to bake, add about 10-15 minutes to the baking time to account for the cold dish and ingredients.
- Prepare Components Separately: Prepare the fruit filling and store it covered in the refrigerator. Make the topping and store it in an airtight container in the fridge (or freeze, as detailed above). Assemble and bake closer to serving time for the freshest results.
How should I store leftovers?
Allow any leftover crisp to cool completely to room temperature. Then, cover the baking dish tightly with plastic wrap or transfer individual servings to airtight containers. Store in the refrigerator for up to 3-4 days. For longer storage, you can freeze individual portions in freezer-safe containers for up to 3 months. Thaw in the refrigerator overnight before reheating.
Can I make this dairy-free?
Yes! To make this crisp dairy-free, simply substitute the unsalted butter in the topping with a high-quality dairy-free butter alternative (like Earth Balance or Miyoko’s Kitchen). Ensure it’s cold and diced, just like regular butter, to achieve the best crumbly texture.
What are the best serving suggestions for blackberry crisp?
While a scoop of creamy vanilla ice cream is a classic and highly recommended pairing, there are other delicious options. Consider serving your warm gluten-free blackberry crisp with:
- A dollop of freshly whipped cream.
- A drizzle of warm caramel sauce.
- A spoonful of plain or vanilla Greek yogurt for a slightly healthier twist.
- A sprinkle of toasted slivered almonds or chopped pecans for added crunch and nutty flavor (if not avoiding nuts).
Embrace the Sweetness of Summer with This Gluten-Free Blackberry Crisp
This gluten-free blackberry crisp recipe is more than just a list of ingredients and steps; it’s an invitation to create a truly memorable dessert that caters to specific dietary needs without compromising on flavor or texture. From the vibrant, juicy blackberries to the perfectly crisp, oat-laden topping, every spoonful delivers a delightful experience. Whether you’re a seasoned baker or new to gluten-free cooking, this recipe is designed for success, promising a warm, comforting, and utterly delicious treat. So, gather your ingredients, follow these simple guidelines, and prepare to impress your taste buds and those of your loved ones. Don’t wait for a special occasion – make any day extraordinary with this irresistible summer classic!
