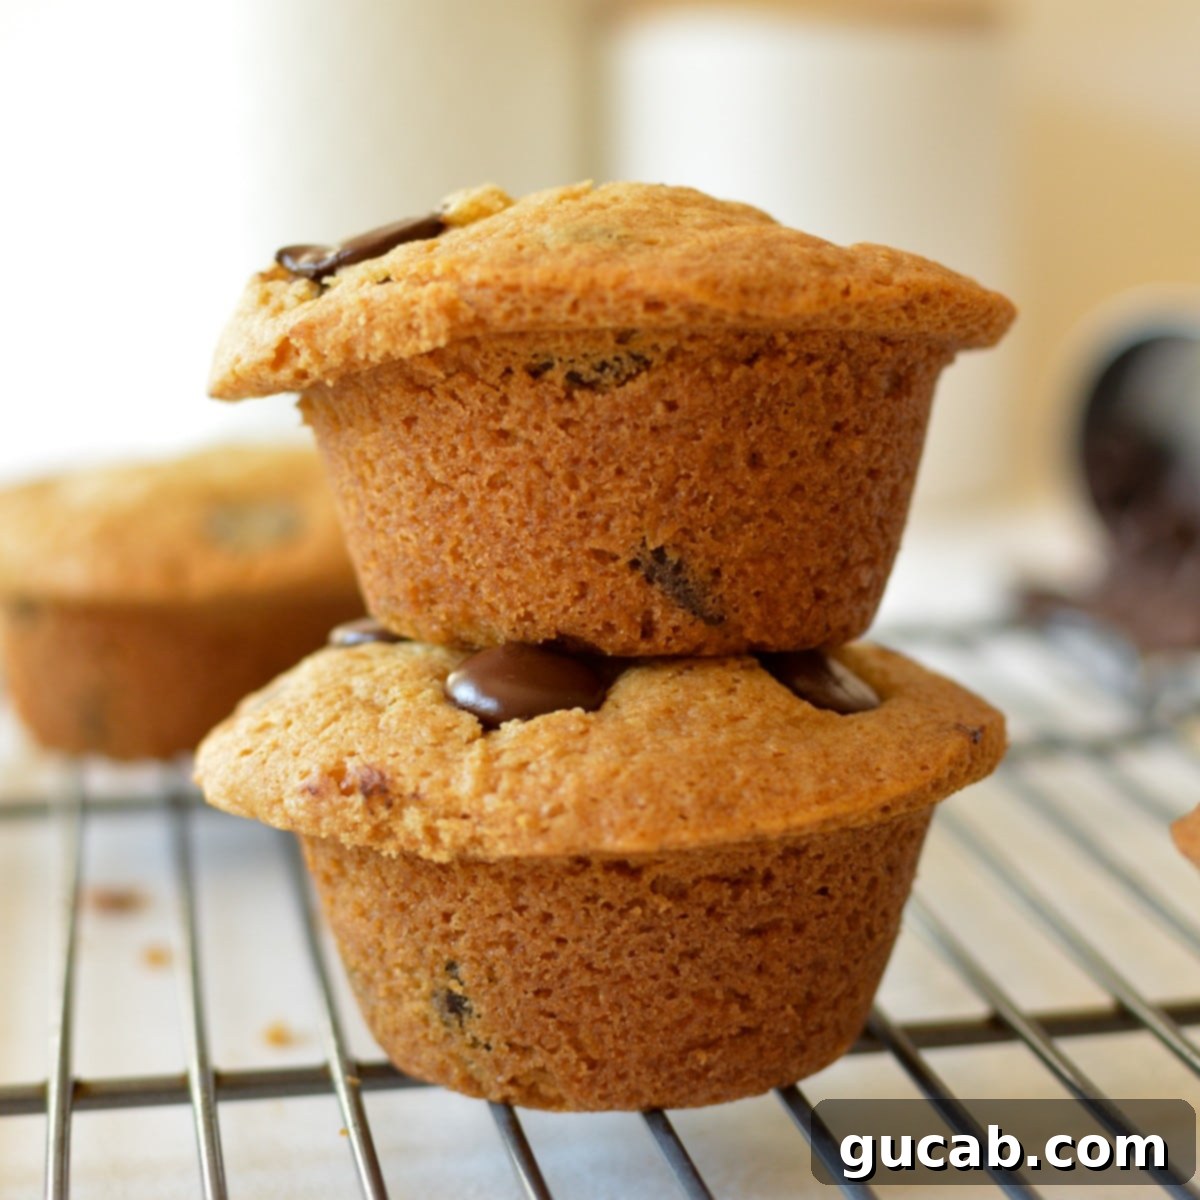
The Ultimate Guide to Perfectly Fluffy Gluten-Free Chocolate Chip Muffins
Prepare to be delighted! These gluten-free chocolate chip muffins are everything you’ve ever wanted in a classic muffin – and more. Imagine light, tender, and incredibly moist muffins crowned with sky-high, beautifully golden tops, generously studded with an abundance of melty chocolate chips in every single bite. This isn’t just a recipe; it’s a promise of pure muffin bliss, perfectly suited for anyone seeking a delicious gluten-free treat.
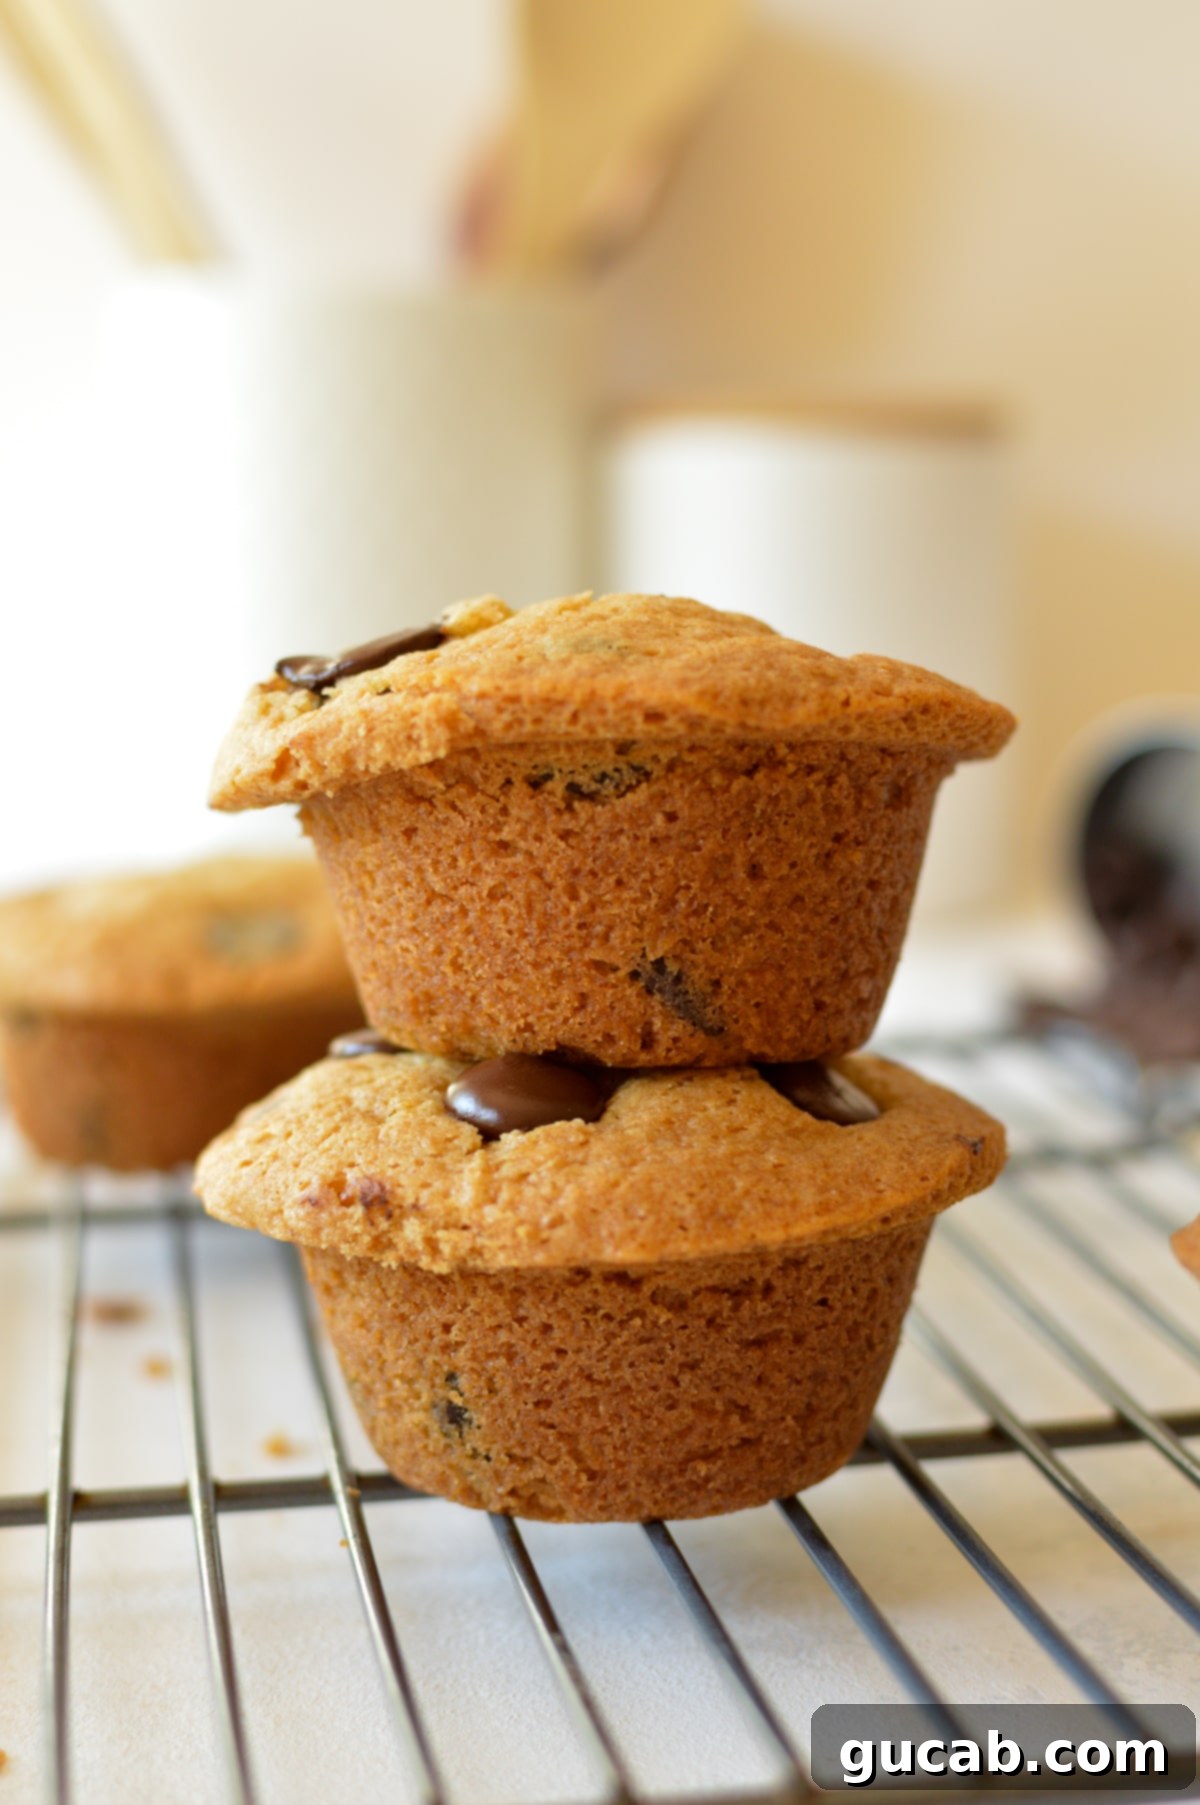
If there’s one thing in life I truly identify with, it’s being a “muffin person.” My family has always teased me about my legendary ability to eat more than my fair share of muffins in one sitting during my childhood. And honestly, it’s a title I wear with pride! While my passion for muffins remains just as mighty, my approach has evolved. Nowadays, I embrace smarter muffin habits, often baking a batch of these delectable gluten-free delights and generously sharing them with friends, family, and neighbors. After all, who wouldn’t appreciate a warm, moist, and utterly delicious gluten-free muffin? It’s also a clever strategy to prevent me from eating the entire batch myself!
When I first embarked on developing this particular gluten-free chocolate chip muffin recipe, I had a very clear vision and four non-negotiable goals in mind. I wasn’t just aiming for a good muffin; I was striving for perfection.
- A moist and utterly delicious gluten-free chocolate chip muffin that rivals any traditional recipe.
- A boatload of chocolate chips! No sparse scattering here; every mouthful should be bursting with rich chocolate flavor.
- A genuinely lofty, domed muffin top – the hallmark of a truly great bakery-style muffin.
- A muffin so irresistibly good that I (and everyone else who tried them) simply couldn’t stop at just one.
After a dedicated process that involved discarding one batch that didn’t quite meet my high standards, and enthusiastically devouring three more (because, let’s be honest, even the “less perfect” ones were still pretty darn good!), I am incredibly proud to say I finally perfected these gluten-free chocolate chip muffins. They truly are glorious in every sense of the word, delivering on all four of my ambitious goals.
Disclosure: This post contains affiliate links. In other words, if you click a link and purchase something I will receive a commission at no cost to you. I only recommend products I use and enjoy myself, ensuring integrity in my recommendations.
Essential Ingredients for These Irresistible Gluten-Free Muffins
Crafting these moist, fluffy, and perfectly sweet gluten-free muffins requires a thoughtful selection of ingredients. Each component plays a crucial role in achieving the desired texture, flavor, and lift. Here’s a detailed look at what you’ll need and why:
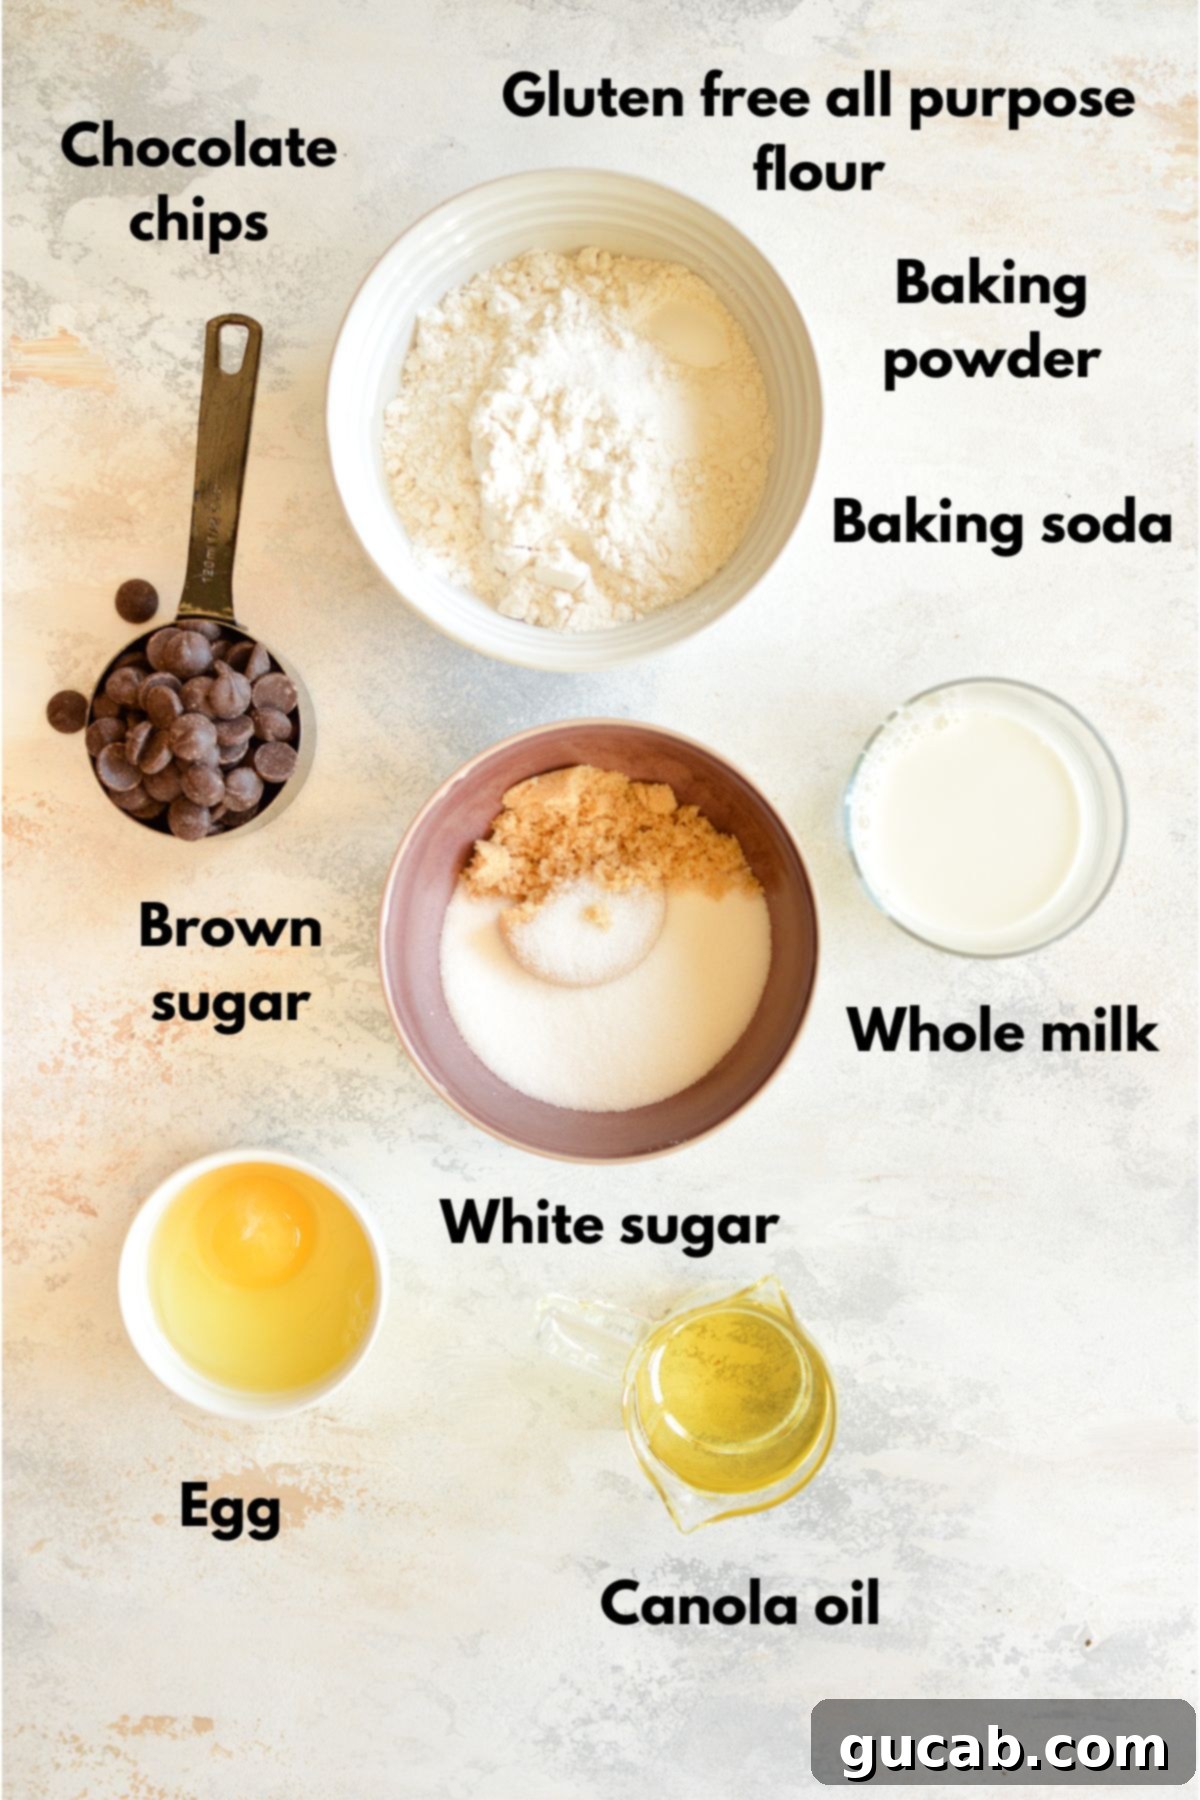
- Granulated Sugar & Brown Sugar: This dynamic duo is essential for both sweetness and moisture. Granulated sugar provides crispness and a light sweetness, while packed brown sugar contributes a deeper, caramel-like flavor and an incredible amount of moisture, ensuring your muffins stay tender for longer. The combination helps create a balanced sweetness that isn’t overpowering.
- Canola Oil: In this recipe, I specifically chose canola oil over butter. While butter offers a rich flavor, oil is superior for maintaining a consistently tender and moist crumb in muffins, especially in gluten-free baking where dryness can sometimes be a challenge. It prevents the muffins from drying out, even after a day or two.
- Large Egg: Eggs are vital for structure and binding in baked goods. They provide emulsification, help to leaven the batter, and contribute to a tender, cohesive crumb, preventing your gluten-free muffins from being too crumbly. Make sure it’s at room temperature for better incorporation.
- Baking Powder & Baking Soda: These are your primary leavening agents. When combined with the wet ingredients and heat from the oven, they produce carbon dioxide bubbles. These bubbles expand, causing the muffin batter to rise dramatically, resulting in those desirable lofty muffin tops and a light, airy texture. Using both ensures a balanced rise and helps with browning.
- Kosher Salt: Don’t underestimate the power of a pinch of salt! In baked goods, salt enhances all the other flavors, particularly the sweetness of the sugars and the richness of the chocolate. It also helps to balance the overall taste profile, preventing the muffins from tasting flat.
- Bob’s Red Mill 1:1 Gluten-Free All-Purpose Flour: This is a critical ingredient, and I cannot stress enough the importance of using the specific brand called for in gluten-free recipes. My recipes are often developed around Bob’s Red Mill 1:1 blend because of its consistent performance and excellent texture. Different gluten-free flour blends have varying ratios of starches and flours, which significantly impact the liquid absorption and final texture. Sticking to this brand will yield the best results for these muffins.
- Whole Milk: Whole milk adds essential moisture and richness to the batter, contributing to a truly decadent and perfect texture. The fat content in whole milk also aids in browning and contributes to a softer crumb. For a dairy-free option, you can experiment with unsweetened almond or soy milk, though results may vary slightly.
- Semi-Sweet Chocolate Chips: We are aiming for a generous “boatload” of chocolate chips here! Nobody wants to play “I spy” looking for chocolate in their muffin. Semi-sweet chocolate provides a lovely balance, offering richness without being overly sweet, complementing the muffin base beautifully. Feel free to use milk chocolate or dark chocolate if that’s your preference, but ensure you have plenty!
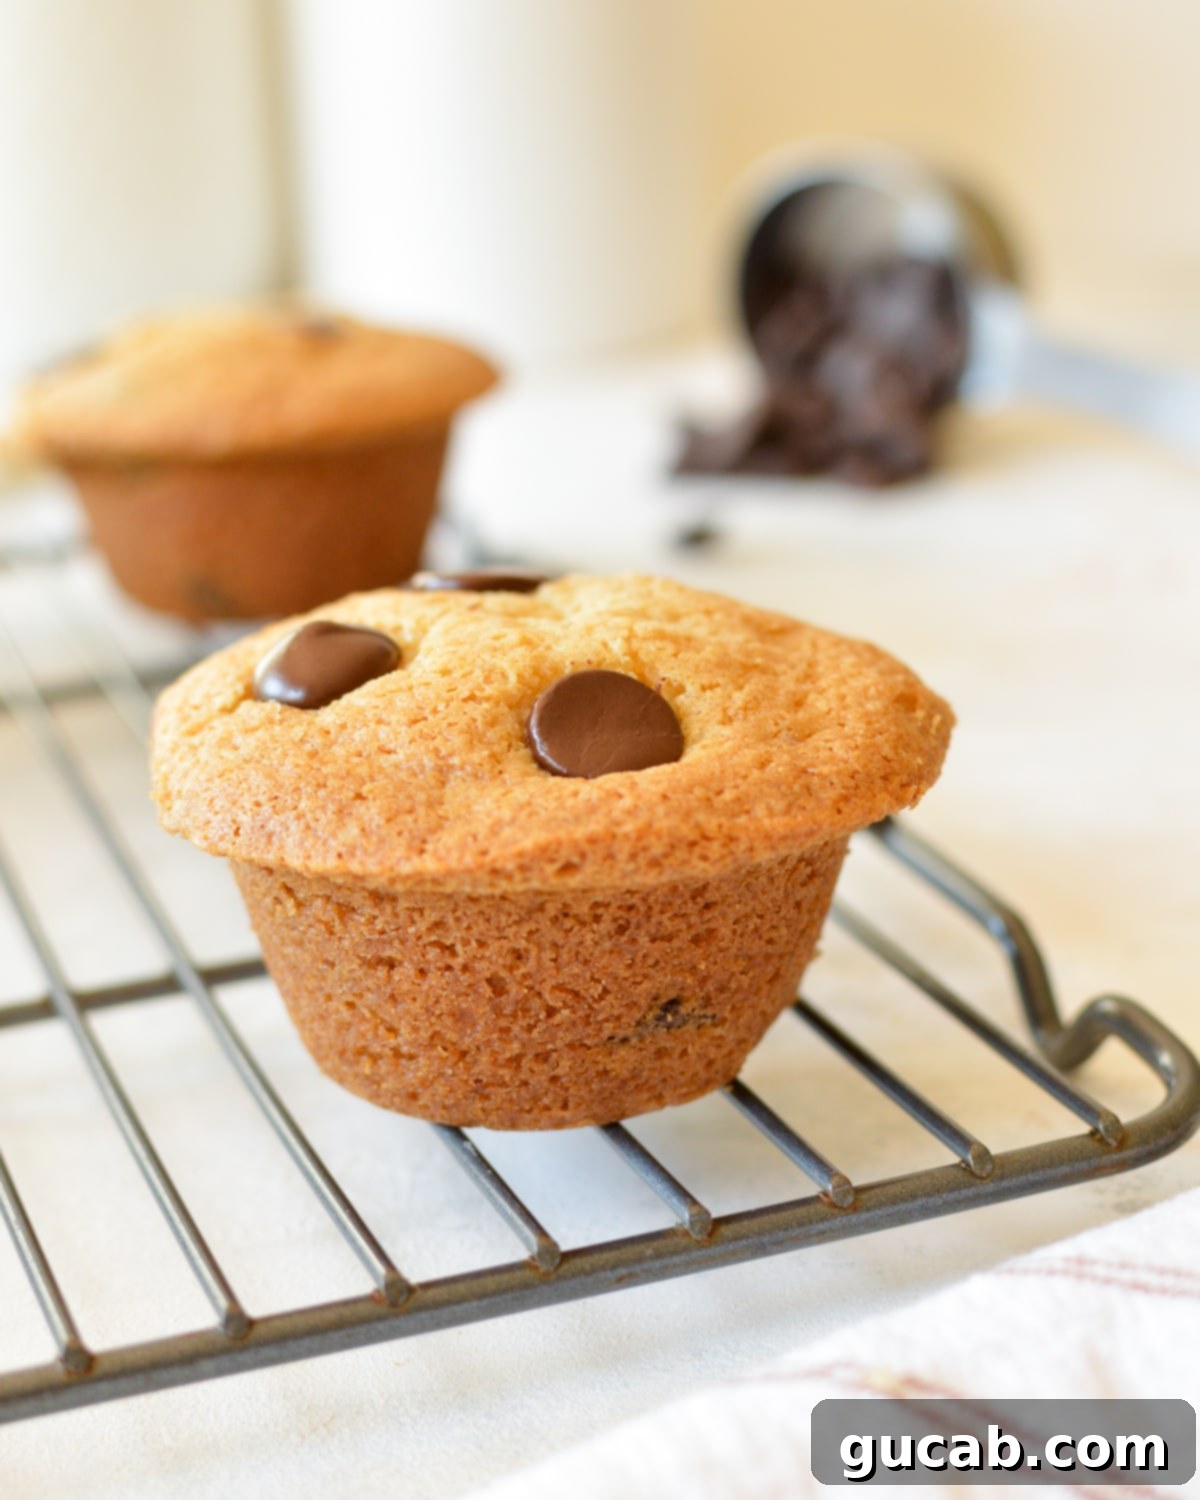
Step-by-Step: How to Make Gluten-Free Chocolate Chip Muffins
Making these glorious gluten-free chocolate chip muffins is surprisingly straightforward. Follow these simple steps for perfect results every time:
Step 1: Preheat Oven & Prepare Muffin Tin – Begin by preheating your oven to 350 degrees Fahrenheit (175°C). This ensures the oven is at the correct temperature when your batter is ready to bake, contributing to that initial burst of rise. Generously spray a standard 12-cup muffin tin with nonstick cooking spray. For even easier removal and a cleaner presentation, I highly recommend using muffin liners. These are especially helpful when achieving those beautiful domed tops.
Step 2: Whisk Sugars & Oil – In a large mixing bowl (or the bowl of a stand mixer fitted with the paddle attachment), combine the canola oil with both the granulated sugar and brown sugar. Use an electric hand mixer or your stand mixer to beat these ingredients together until they are well combined and lightened in color, about 1-2 minutes. This creaming process helps to incorporate air, which is crucial for a fluffy muffin.
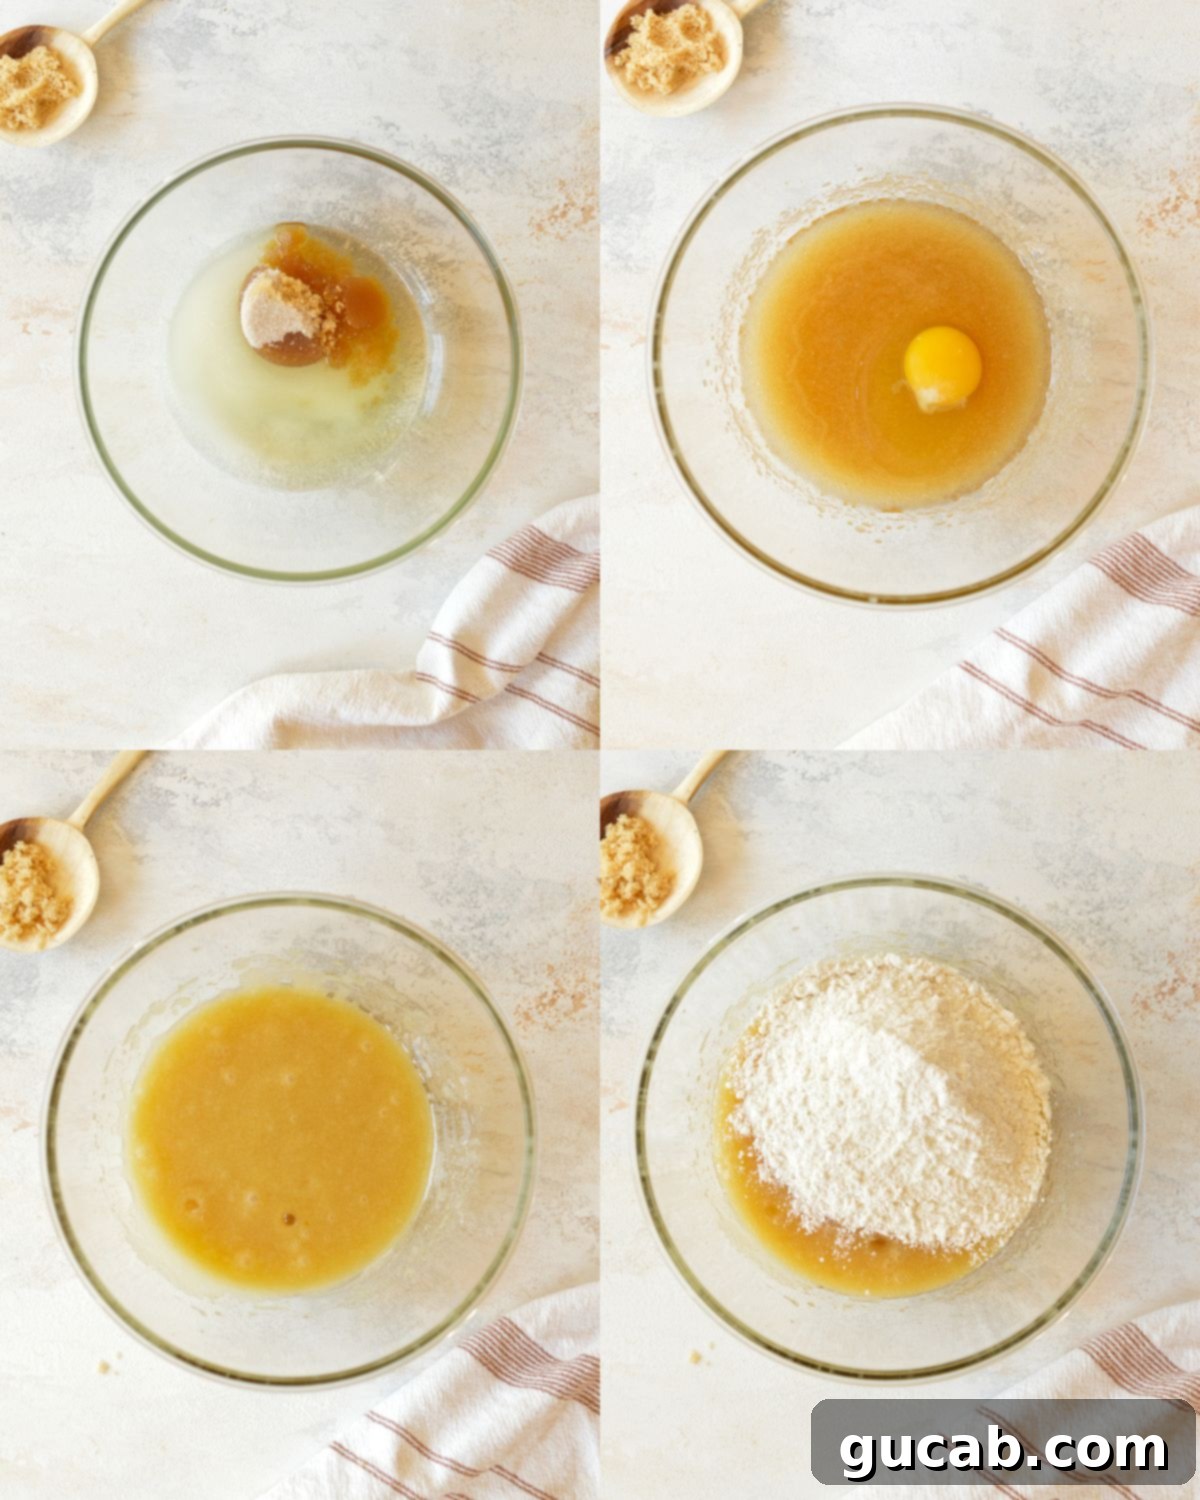
Step 3: Incorporate the Egg – Add the large egg to the oil and sugar mixture. Beat on low to medium speed until the egg is fully incorporated and the mixture appears thick and cohesive. Ensure there are no streaks of unmixed egg, as this helps with the overall structure and texture of the muffin.
Step 4: Add Dry Ingredients – Next, add the Bob’s Red Mill 1:1 Gluten-Free All-Purpose Flour, baking powder, baking soda, and kosher salt to the wet ingredients. Mix on low speed just until a thick batter begins to form. Be careful not to overmix at this stage; overmixing can lead to tougher muffins, even with gluten-free flour. Stop mixing as soon as the dry ingredients are mostly moistened.
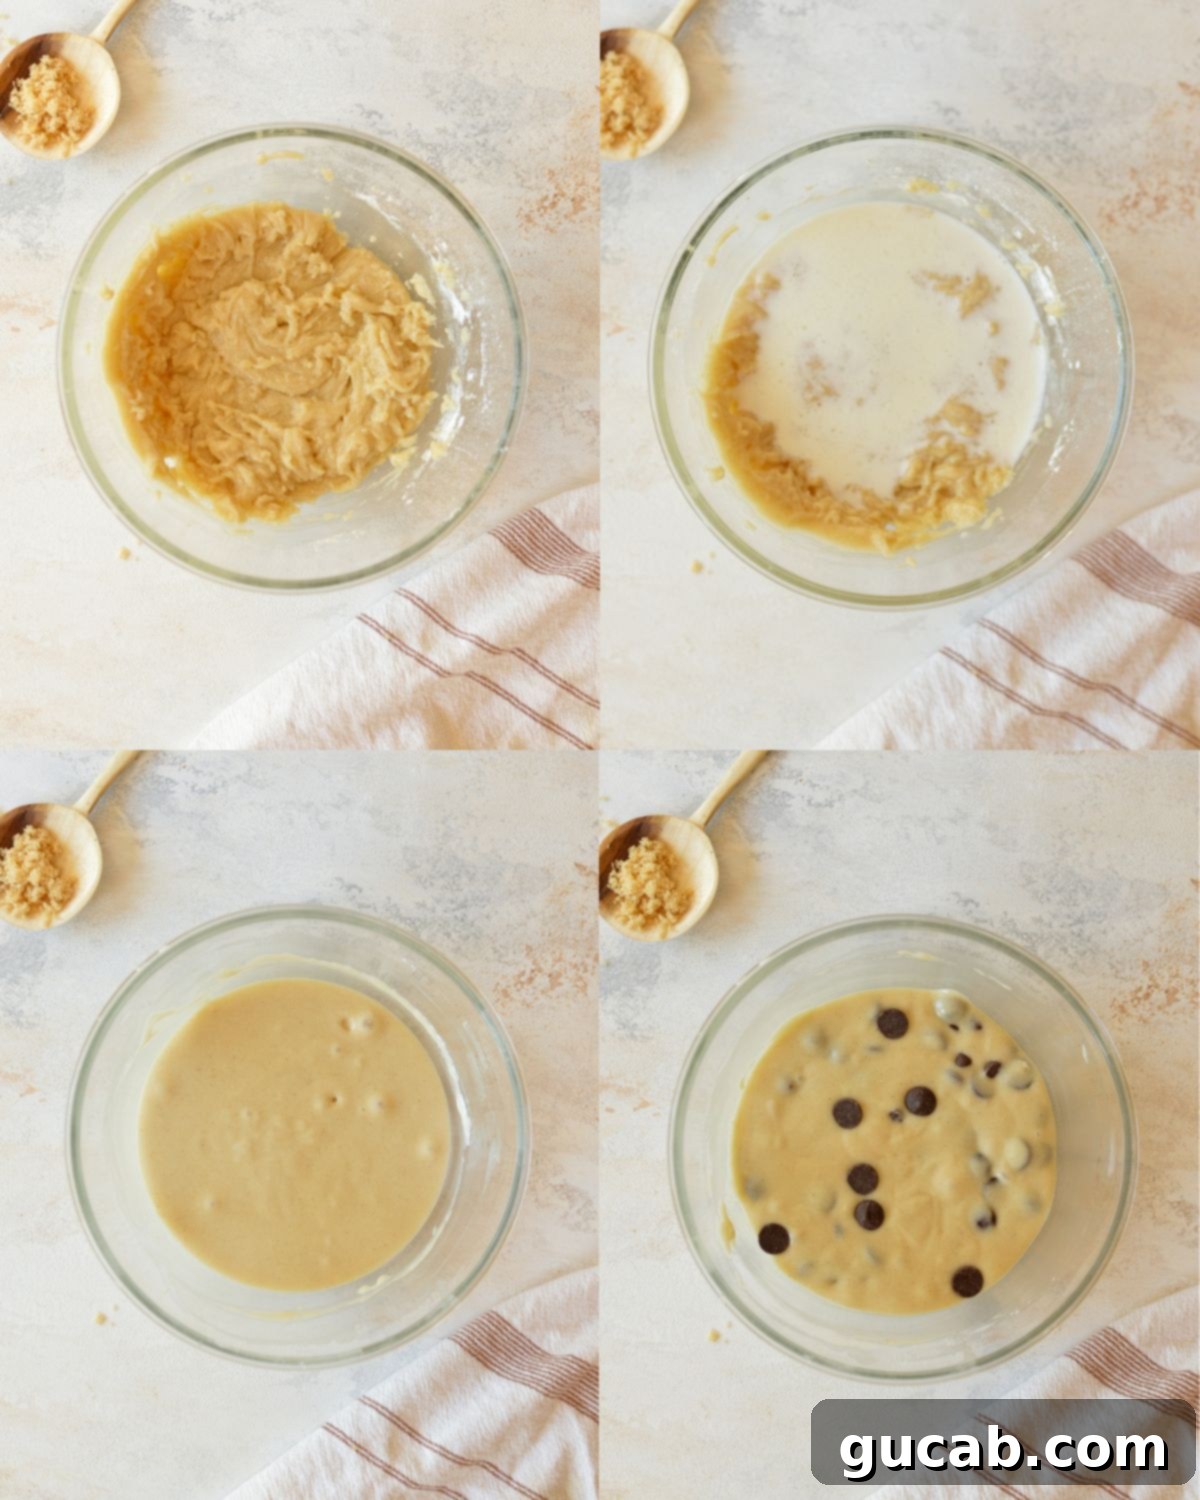
Step 5: Mix in Whole Milk – With the mixer still on low speed, slowly pour in the whole milk. Continue mixing until the milk is completely incorporated and a smooth, consistent batter forms. Stop the hand mixer and use a rubber spatula to scrape down the sides and bottom of the bowl, ensuring all ingredients are well combined without overworking the batter.
Step 6: Fold in Chocolate Chips – Remove the bowl from the mixer (if using a stand mixer) and gently fold in the semi-sweet chocolate chips with a spatula. You want to distribute them evenly throughout the batter without crushing them or overmixing.

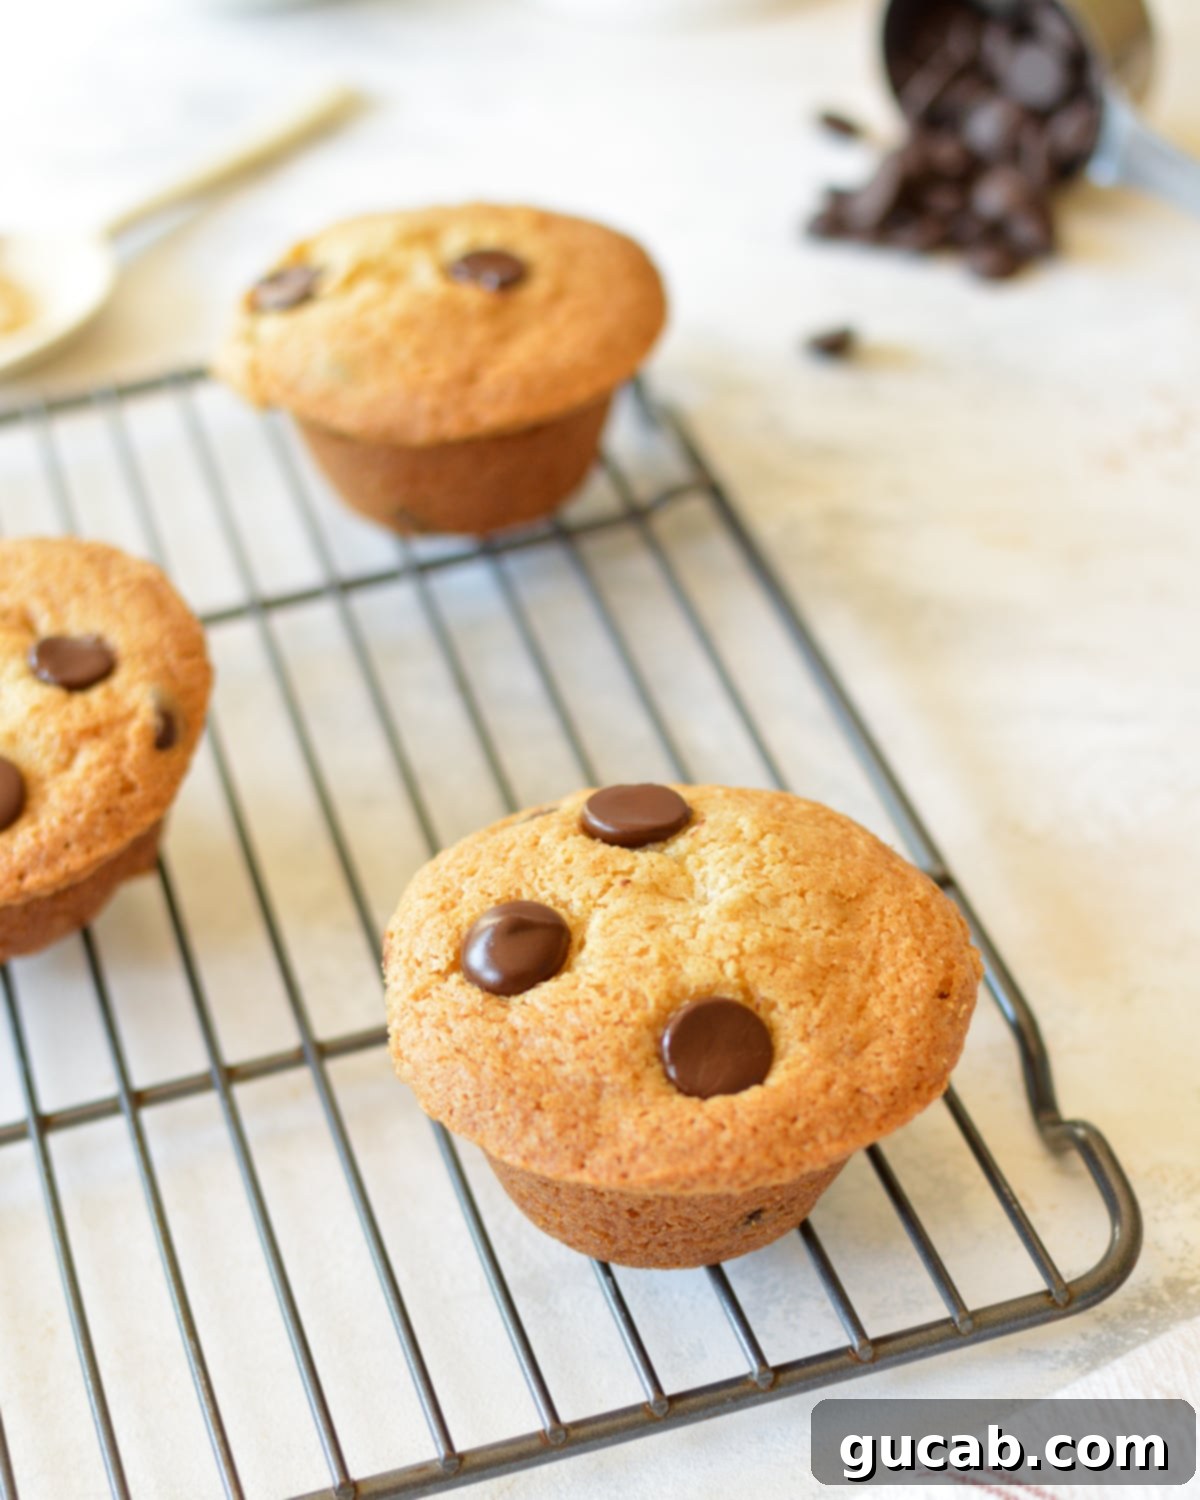
Step 7: Scoop & Bake – Generously scoop the muffin batter into the prepared muffin tin. For those coveted domed tops, fill each hole all the way to the top. This recipe yields approximately 6 to 7 large, bakery-style muffins. Place the muffin tin into your preheated oven and bake for 22 to 25 minutes. The muffins are done when their tops are beautifully golden brown and a wooden skewer or toothpick inserted into the center of a muffin comes out clean. If you’re a seasoned baker, you can also gently touch the top of a muffin; it should spring back slightly and not leave a deep indentation. Allow them to cool in the pan for a few minutes before transferring to a wire rack.
It’s genuinely that easy to create these magnificent gluten-free chocolate chip muffins!
Expert Tips for Gluten-Free Muffin Success
Achieving bakery-quality gluten-free chocolate chip muffins is simple with a few insider tricks. These tips will help ensure your muffins are perfectly moist, fluffy, and have those gorgeous domed tops:
- Grease Your Pan Well or Use Muffin Liners: Muffins, especially those with generous, domed tops, can be notoriously tricky to remove from the tin without sticking or breaking. While a good spray with nonstick cooking spray is helpful, I cannot recommend muffin liners enough. They guarantee easy release, prevent sticking, and make cleanup a breeze. Plus, they offer a professional, tidy appearance.
- Fill Your Muffin Tins All the Way to the Top: This is a secret weapon for achieving those impressive, sky-high muffin tops that everyone loves. Don’t be shy with the batter! Filling the cups completely (or almost completely) is what gives the muffins the volume and structure to rise magnificently. This recipe is designed to yield 6 (possibly 7, depending on the exact size of your muffin cups) gloriously large muffins with perfect domes.
- Sprinkle Additional Chocolate Chips on Top: For an extra visual appeal and an undeniable chocolatey punch in every single bite, sprinkle a few extra chocolate chips on top of each filled muffin cup before baking. As they bake, these chips will melt slightly and create an irresistible, glistening top layer.
- Do Not Overbake Them: This tip is crucial for any baking, but it’s even more essential in the world of gluten-free treats. Gluten-free baked goods are inherently more susceptible to becoming dry and crumbly if overbaked. Keep a close eye on your muffins as they bake. My oven typically takes exactly 22 minutes, but oven temperatures can vary significantly. Start checking them a few minutes early – around the 18-minute mark – just in case. They should be golden, and a toothpick should come out clean (or with a few moist crumbs attached). The moment they pass the toothpick test, take them out!
- Ensure Room Temperature Ingredients: For optimal emulsification and a smoother batter, ensure your egg and milk are at room temperature. This allows them to blend more evenly with the other ingredients, creating a more consistent batter and a better final texture.
- Avoid Overmixing the Batter: While gluten-free flour doesn’t develop gluten in the same way wheat flour does, overmixing can still lead to tough, dense muffins. Mix only until the ingredients are just combined and no dry streaks of flour remain. A few lumps are perfectly fine and often result in a tenderer muffin.
- Cool Properly: Once baked, let the muffins cool in the muffin tin for 5-10 minutes before carefully transferring them to a wire rack to cool completely. Cooling on a wire rack allows air to circulate, preventing the bottoms from becoming soggy.
- Storage: Store cooled gluten-free chocolate chip muffins in an airtight container at room temperature for up to 3 days. For longer storage, freeze them for up to 3 months. Thaw at room temperature or warm gently in the microwave for a quick treat.
Choosing the Right Gluten-Free Flour for This Recipe
As I emphasized earlier, the choice of gluten-free flour is paramount to the success of this recipe. While many brands offer “1:1” or “cup-for-cup” gluten-free all-purpose flour blends, they are not all created equal. For this specific recipe, if you want your muffins to come out exactly as intended – light, moist, and fluffy – you absolutely must use Bob’s Red Mill 1:1 All-Purpose Gluten-Free Baking Flour.
My recipes are meticulously developed and tested using Bob’s Red Mill 1:1 blend because I’ve found it to be incredibly reliable and consistent. It’s a blend formulated to closely mimic the properties of traditional wheat flour in terms of absorption and structure for many recipes. However, this doesn’t mean it’s interchangeable with *every* other gluten-free flour blend without adjustments.
For instance, while Bob’s Red Mill is my personal go-to, I’ve also found Cup4Cup to have a really nice flavor profile. But if I were to substitute Cup4Cup into this muffin recipe, or even my pancake recipe, I’d likely need to significantly alter the amount of liquid. The reason for this discrepancy lies in the primary ingredients. Cup4Cup’s number one ingredient is often cornstarch, which tends to absorb liquid and thicken batter much more readily than the typical blend of flours and starches found in Bob’s Red Mill 1:1. This means a direct 1:1 substitution can result in a much drier, denser, or gummier texture if the liquid content isn’t adjusted accordingly.
Each gluten-free flour blend is a unique composition of various gluten-free flours (like rice flour, sorghum flour, tapioca starch, potato starch) and gums (like xanthan gum). These specific blends are crafted to achieve certain baking characteristics. When a recipe, particularly one for sensitive baked goods like muffins, calls for a particular brand, it’s because the ingredient ratios, especially liquid, have been fine-tuned to work with that specific blend’s absorption rate. To guarantee the light, fluffy, and moist muffins you’re dreaming of, please stick to the recommended Bob’s Red Mill 1:1 Gluten-Free All-Purpose Flour.
Explore More Delicious Gluten-Free Muffin Recipes
Once you’ve mastered these incredible chocolate chip muffins, you might find yourself eager to explore other delightful gluten-free muffin variations. Here are some of my other favorite recipes that are just as easy to make and equally satisfying:
- Bright & Zesty Gluten-Free Lemon Muffins
- Comforting Gluten-Free Banana Chocolate Chip Muffins
- Classic Gluten-Free Blueberry Muffins
- Sweet & Tangy Gluten-Free Blackberry Muffins
- Fresh & Fruity Gluten-Free Strawberry Muffins

Gluten Free Chocolate Chip Muffins
Carolyn
Pin Recipe
Equipment
-
Large Bowl or Stand Mixer
Ingredients
- 3 tbsp Brown Sugar, packed
- ⅓ cup White Sugar
- 3 oz. Canola Oil
- 1 egg, Large
- 1 t. Baking Powder
- ¼ t. Baking Soda
- ¼ t. Kosher Salt
- 1 Cup Bob’s Red Mill 1:1 Gluten Free All Purpose Flour
- 2 oz. Whole Milk
- ¾ Cup Semisweet Chocolate Chips Plus more for sprinkling
- Nonstick cooking spray
Instructions
-
Preheat the oven to 350 degrees Fahrenheit. Spray a muffin tin with nonstick cooking spray or fill with muffin liners. Set aside.
-
In a large bowl whisk or beat together both sugars and canola oil.
-
Add the egg to the sugar mixture and whisk/beat until combined.
-
Add the gluten free all purpose flour, baking powder, baking soda, and salt to the bowl and beat until completely combined.
-
Slowly add the milk to the mixture and beat until a smooth batter forms. Stir in the chocolate chips and scoop 6 muffins into the prepared muffin tin filling each hole to the top. Bake for 22 to 25 minutes until a toothpick inserted into the muffin comes out clean.
Nutrition
There you have it – a comprehensive guide to baking the most delicious and perfectly textured gluten-free chocolate chip muffins you’ll ever make. This recipe is designed to bring joy to every bite, proving that going gluten-free doesn’t mean compromising on flavor or that beloved fluffy muffin experience. Whether for a quick breakfast, a delightful snack, or a sweet treat to share, these muffins are sure to become a cherished favorite in your kitchen. Happy baking!
