Delicious & Easy Heart-Shaped Chocolate Chip Cookies for Valentine’s Day
There’s nothing quite like a homemade treat to show you care, and these adorable heart-shaped chocolate chip cookies are the perfect way to spread love! Ideal for Valentine’s Day, anniversaries, or just to brighten someone’s day, these cookies are as delightful to look at as they are to eat. With perfectly crisp, golden-brown edges and soft, wonderfully chewy centers, each bite delivers a burst of classic chocolate chip goodness, enhanced by a generous scattering of mini chocolate chips. Forget bland or crumbly cookies; this recipe promises a batch of irresistibly delicious, perfectly textured heart cookies that will win over anyone’s heart.

Heart-shaped cookies instantly elevate any occasion, transforming a simple dessert into a thoughtful gesture. While these charming chocolate chip cookies are spectacular on their own, their versatility allows for endless customization. You can choose to make them in various sizes, from dainty bites to generous delights. For an extra festive touch, consider frosting them with vibrant pink, white, or red icing and adorning them with an assortment of heart sprinkles. Beyond their undeniable cuteness, the true magic of this recipe lies in their exceptional flavor and texture. The carefully balanced ingredients ensure that every cookie emerges from the oven with that coveted combination of a slightly crisp exterior and a tender, melt-in-your-mouth interior, all generously studded with delicious mini chocolate chips.
We specifically recommend using mini chocolate chips for these heart-shaped delights. Their smaller size makes the cookie dough much easier to roll out and cut cleanly, preventing the large chips from tearing the delicate heart shape. Plus, mini chips distribute more evenly, ensuring every part of your cookie has that signature chocolatey flavor. However, don’t limit your creativity! You can easily swap them for other festive mix-ins like colorful heart sprinkles, red jimmies, or even finely chopped white chocolate for a different twist. These cookies are a delicious canvas for your Valentine’s Day culinary imagination!
Why You’ll Fall in Love with This Heart Cookie Recipe
This recipe for heart-shaped chocolate chip cookies is destined to become a staple in your baking repertoire, especially when you want to share a little extra love. Here’s why these cookies are simply irresistible:
- Effortless Preparation: Don’t let their elegant appearance fool you; these heart cookies are surprisingly easy to make, even for novice bakers. The steps are straightforward and simple to follow.
- Perfect for Valentine’s Day: Beyond just looking adorable, their delightful taste and charming shape make them the ultimate sweet treat for celebrating love, friendship, or any special moment.
- Unforgettable Texture & Flavor: Experience the best of both worlds with crisp, golden edges and wonderfully soft, chewy centers, generously loaded with mini chocolate chips for an explosion of flavor in every bite.
- Freezer-Friendly & Make-Ahead Convenience: Prepare the dough or bake the cookies in advance! This recipe is perfect for busy schedules, allowing you to enjoy fresh-baked goodness whenever a craving strikes or you need a last-minute gift.
Essential Ingredients for Perfect Heart Cookies
Crafting the perfect heart-shaped chocolate chip cookie starts with selecting quality ingredients and understanding their role in achieving that ideal texture and flavor profile. Here’s a breakdown of what you’ll need and why each component is crucial:
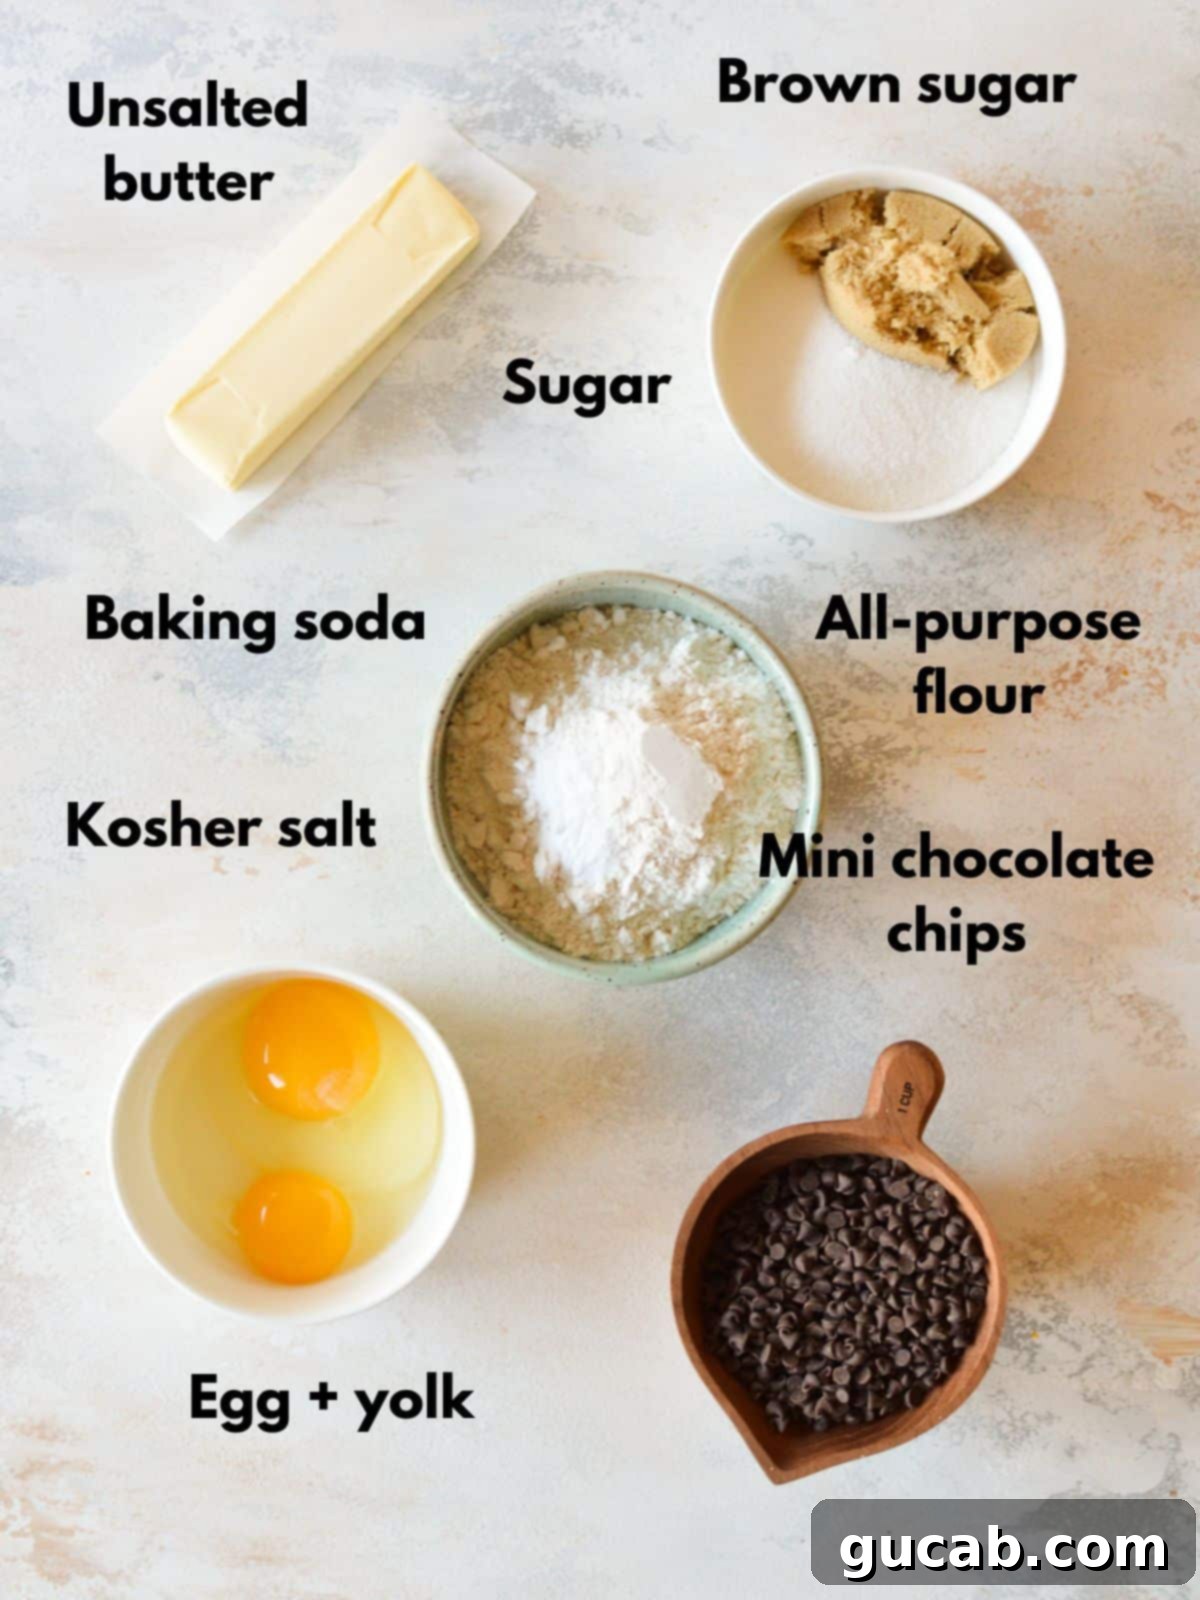
Unsalted Butter: This is the foundation of any truly delicious cookie. Using unsalted butter allows you to control the exact amount of salt in your recipe, ensuring your cookies are never overly salty. It’s absolutely critical that your butter is at room temperature before you begin. This means it should be soft enough to indent easily with your finger but not melted or greasy. Room temperature butter creams together with sugar much more effectively, creating tiny air pockets that contribute to the cookies’ light and chewy texture. If you forget to take it out in advance, a few seconds in the microwave (check frequently!) can gently bring it to temperature without melting.
Granulated Sugar & Brown Sugar: The combination of both white (granulated) and brown sugar is a secret weapon for achieving perfect cookie texture and spread. Granulated sugar contributes to crispness and helps the cookies spread slightly, while brown sugar adds moisture, chewiness, and a lovely caramel-like depth of flavor. This balance ensures your heart cookies have that desirable contrast between a slightly crispy edge and a soft, tender interior.
Egg & Extra Egg Yolk: A whole egg provides essential structure and moisture, binding the ingredients together. The addition of an extra egg yolk takes these cookies from good to absolutely phenomenal! That extra yolk adds richness, enhances the chewiness, and creates a more tender crumb. If you’ve ever wondered why your cookies sometimes fall short of amazing, this extra yolk might just be the game-changer you’ve been looking for. Don’t skip it!
All-Purpose Flour: The type and amount of flour are key to the cookie’s final thickness and structure. Too little flour can result in cookies that spread too much and are too thin, while too much flour can make them dry, dense, and overly thick. For best results, use the “spoon and level” method: spoon flour into your measuring cup until it overflows, then level it off with the back of a knife. This prevents compacting the flour, which can lead to using too much. For those following a gluten-free diet, a 1:1 gluten-free baking flour blend, such as Bob’s Red Mill’s, can be successfully substituted without significantly altering the outcome.
Baking Soda: This leavening agent is crucial for giving your cookies a slight lift and contributing to their soft, chewy texture. Without it, the cookies would be too dense and flat. Baking soda reacts with the acidic brown sugar in the dough, producing carbon dioxide bubbles that expand during baking, creating that desirable texture.
Kosher Salt: A small but mighty ingredient, salt doesn’t just add flavor; it significantly enhances the sweetness of the cookies, balancing the rich flavors and making them more complex. If you only have table salt, be sure to reduce the amount by half, as it is finer and more potent than kosher salt.
Mini Chocolate Chips: While any chocolate chip is good, I strongly recommend mini chocolate chips for these heart cookies, and it’s not just for their adorable appearance. Since this recipe requires rolling out the dough and cutting shapes with a cookie cutter, larger chocolate chips can make the process difficult by tearing the dough or getting in the way of a clean cut. Mini chips ensure smooth rolling and beautifully defined heart shapes, while still packing plenty of chocolatey goodness into every bite.
Step-by-Step Guide: How to Make Perfect Heart-Shaped Cookies
Creating these delightful heart cookies is a surprisingly straightforward process. As much as I adore intricate recipes, there’s a special place in my heart for simple, foolproof methods that yield spectacular results. Follow these steps for a batch of perfect Valentine’s Day treats!
Before you begin, ensure your oven is preheated to 350 degrees Fahrenheit (175°C) and prepare two large baking sheets by lining them with parchment paper or silicone baking mats. This prevents sticking and ensures even baking.
1. Prepare the Cookie Dough
Cream the butter, granulated sugar, and brown sugar in a large mixing bowl. Using a stand mixer fitted with the paddle attachment or an electric hand mixer, beat the ingredients together on medium-high speed for about 3 minutes. You’re looking for a mixture that is light in color, fluffy in texture, and visibly aerated. This creaming process incorporates air, which is essential for a tender cookie.
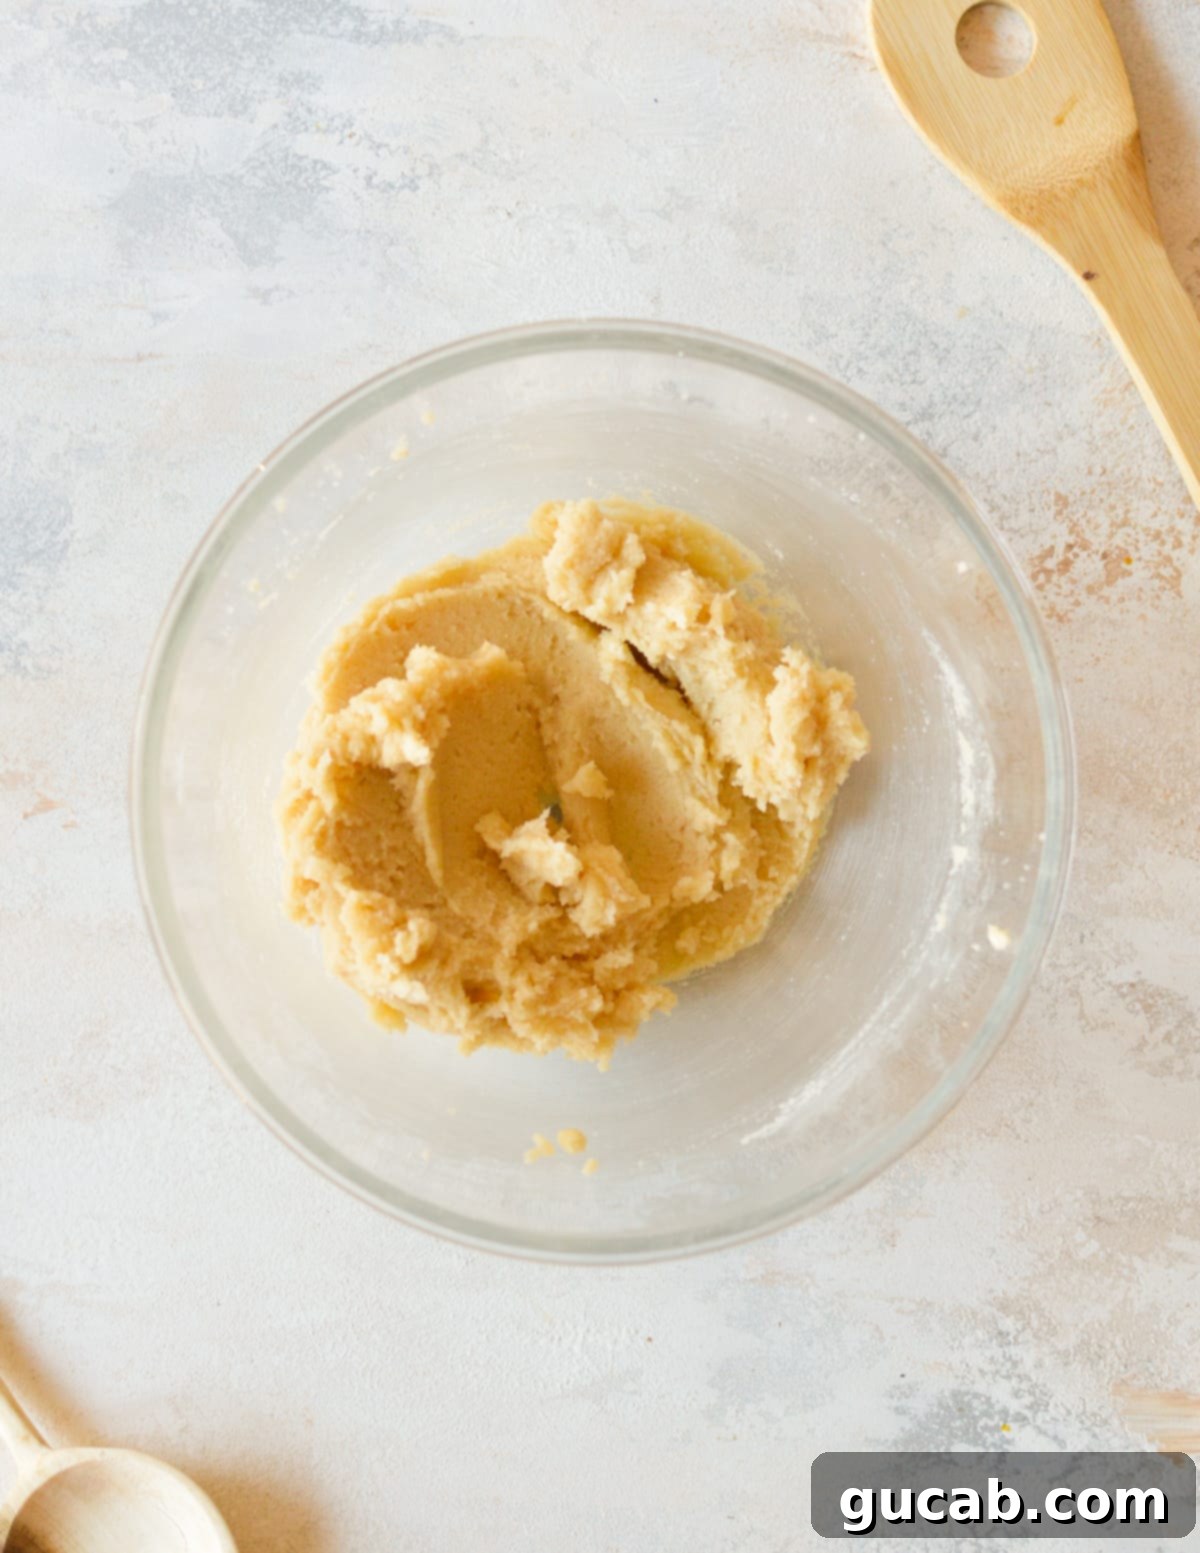
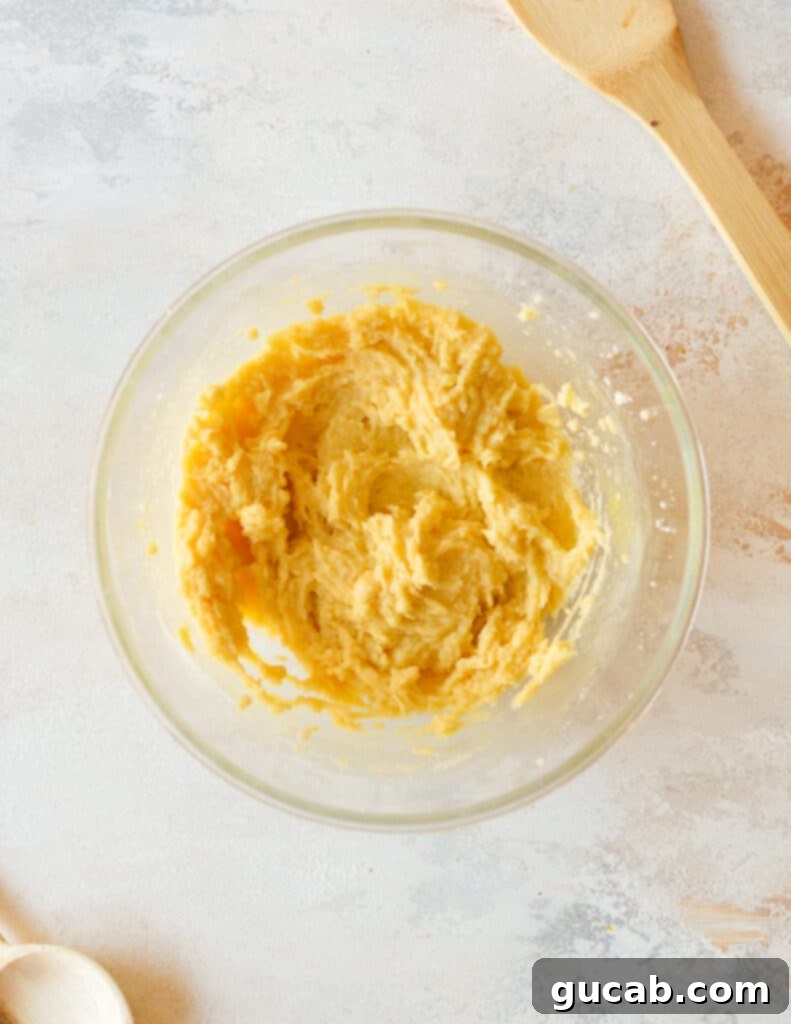
Add the whole egg and the extra egg yolk to the creamed butter mixture. Beat on medium speed until they are just incorporated. Be careful not to overmix at this stage; you want to combine them without deflating the air you’ve just created. After mixing, take a moment to scrape down the sides of the bowl with a rubber spatula to ensure all ingredients are thoroughly combined.
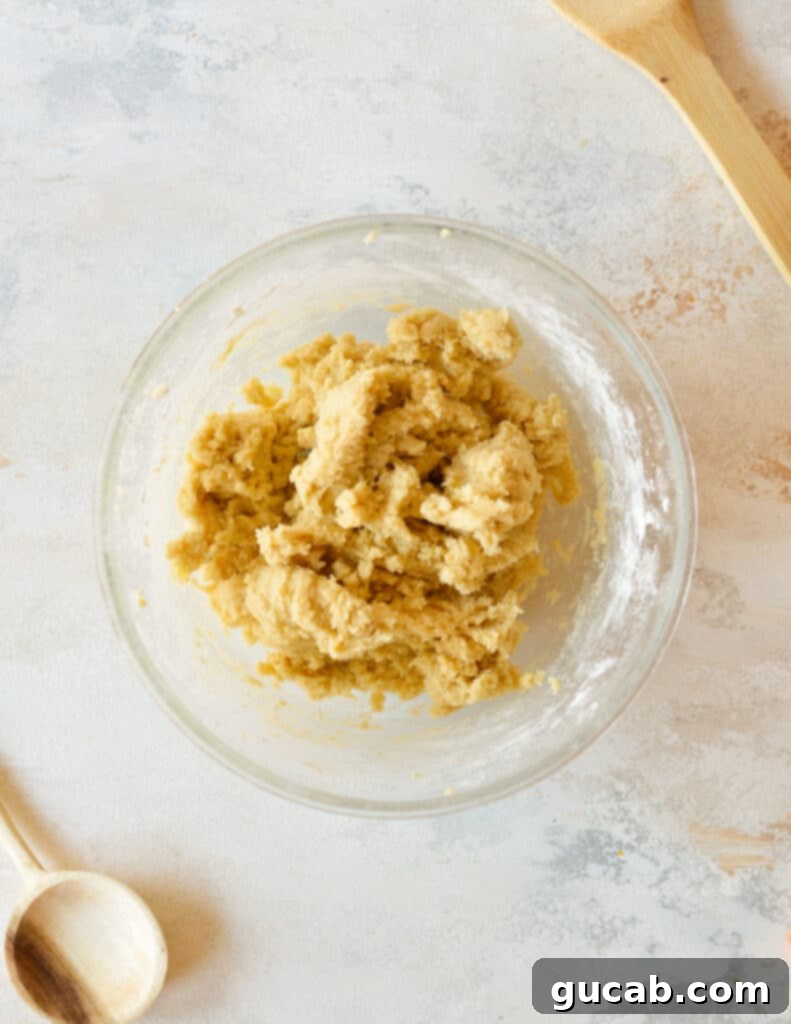
Gradually add the dry ingredients – the all-purpose flour, baking soda, and kosher salt – to the wet mixture. Beat on a low speed to start, preventing the flour from clouding out of the bowl. Mix only until a cohesive cookie dough begins to form. As soon as you no longer see streaks of dry flour, stop the mixer. Overmixing the flour can develop the gluten too much, leading to tough cookies.
Finally, fold in the mini chocolate chips. Add the entire cup of mini chocolate chips to the dough. Mix on low speed, or use a spatula to fold them in, until they are evenly dispersed throughout the cookie dough. This ensures every heart cookie will be packed with chocolatey flavor.
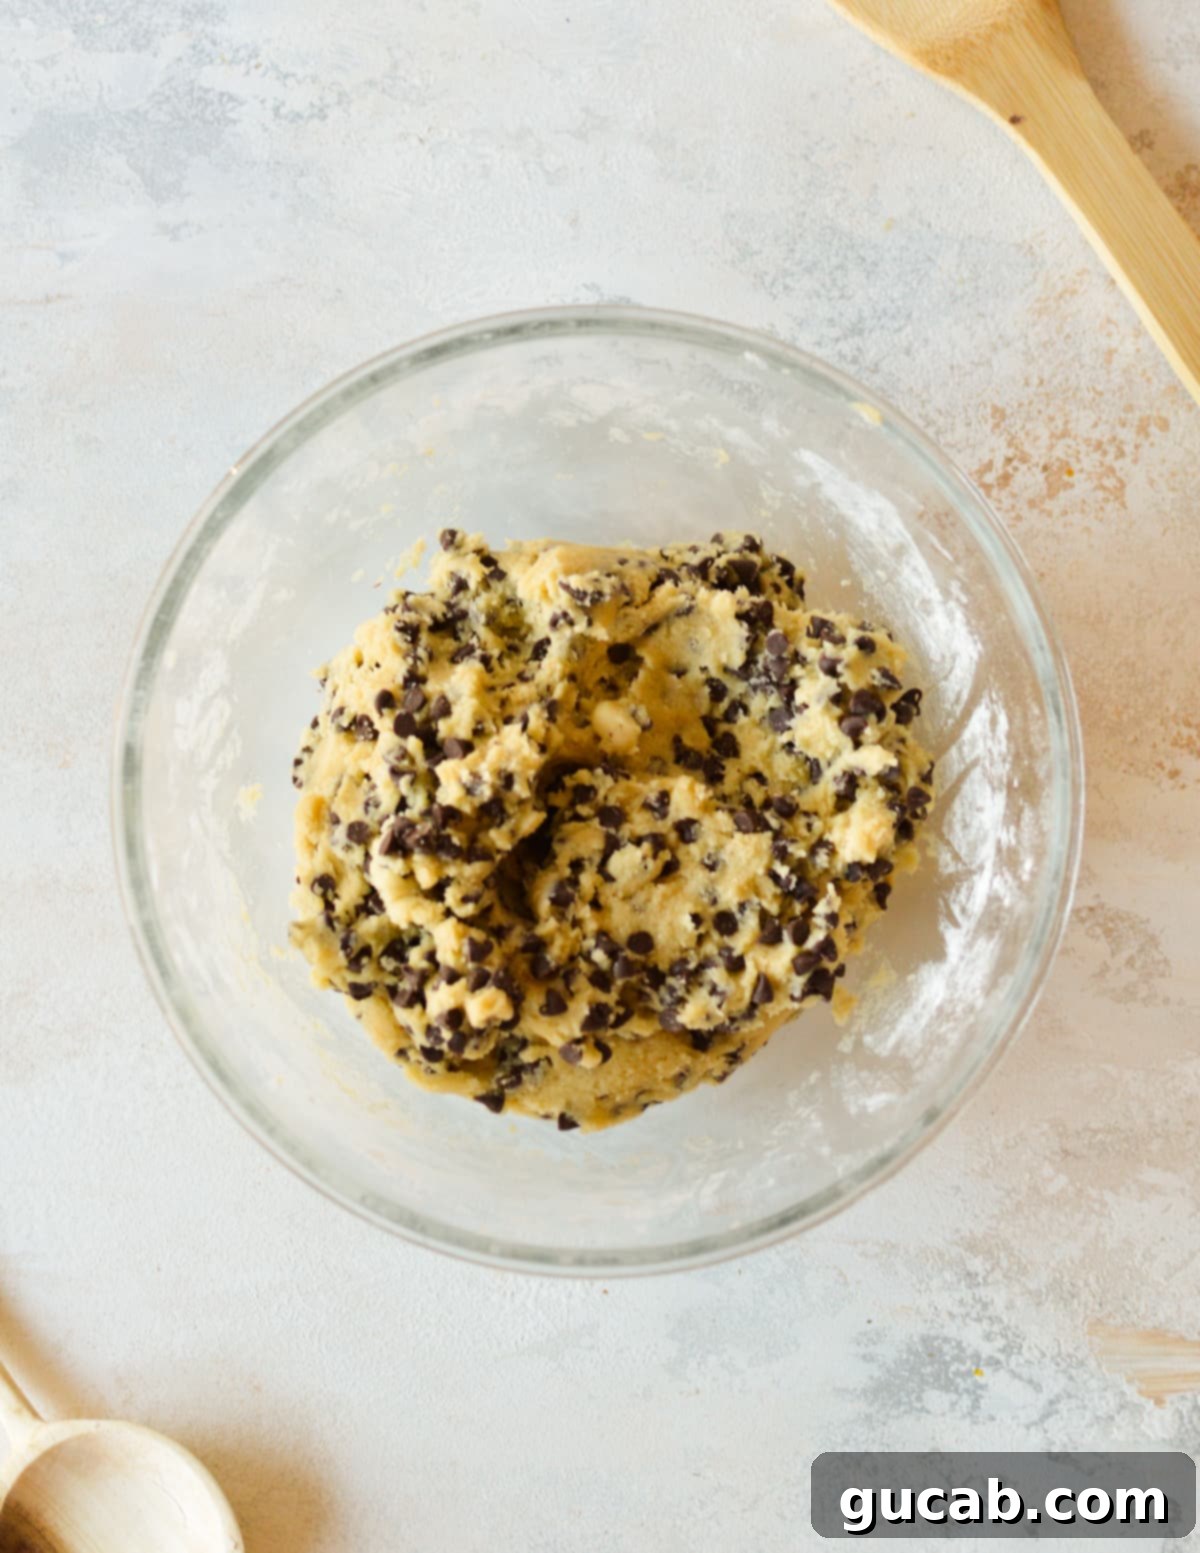
2. Roll and Cut the Cookie Dough
Now, it’s time to chill the dough. Chilling is a crucial step that makes the dough much easier to handle and prevents the cookies from spreading too much in the oven. Gently form the prepared cookie dough into a large, flat disc with your hands. This shape makes it easier to roll out later. Wrap the disc tightly in plastic wrap.
Refrigerate the dough for a minimum of 30 minutes. This chilling time allows the butter to firm up, making the dough less sticky and more manageable for rolling and cutting, which is especially important for maintaining sharp heart shapes.
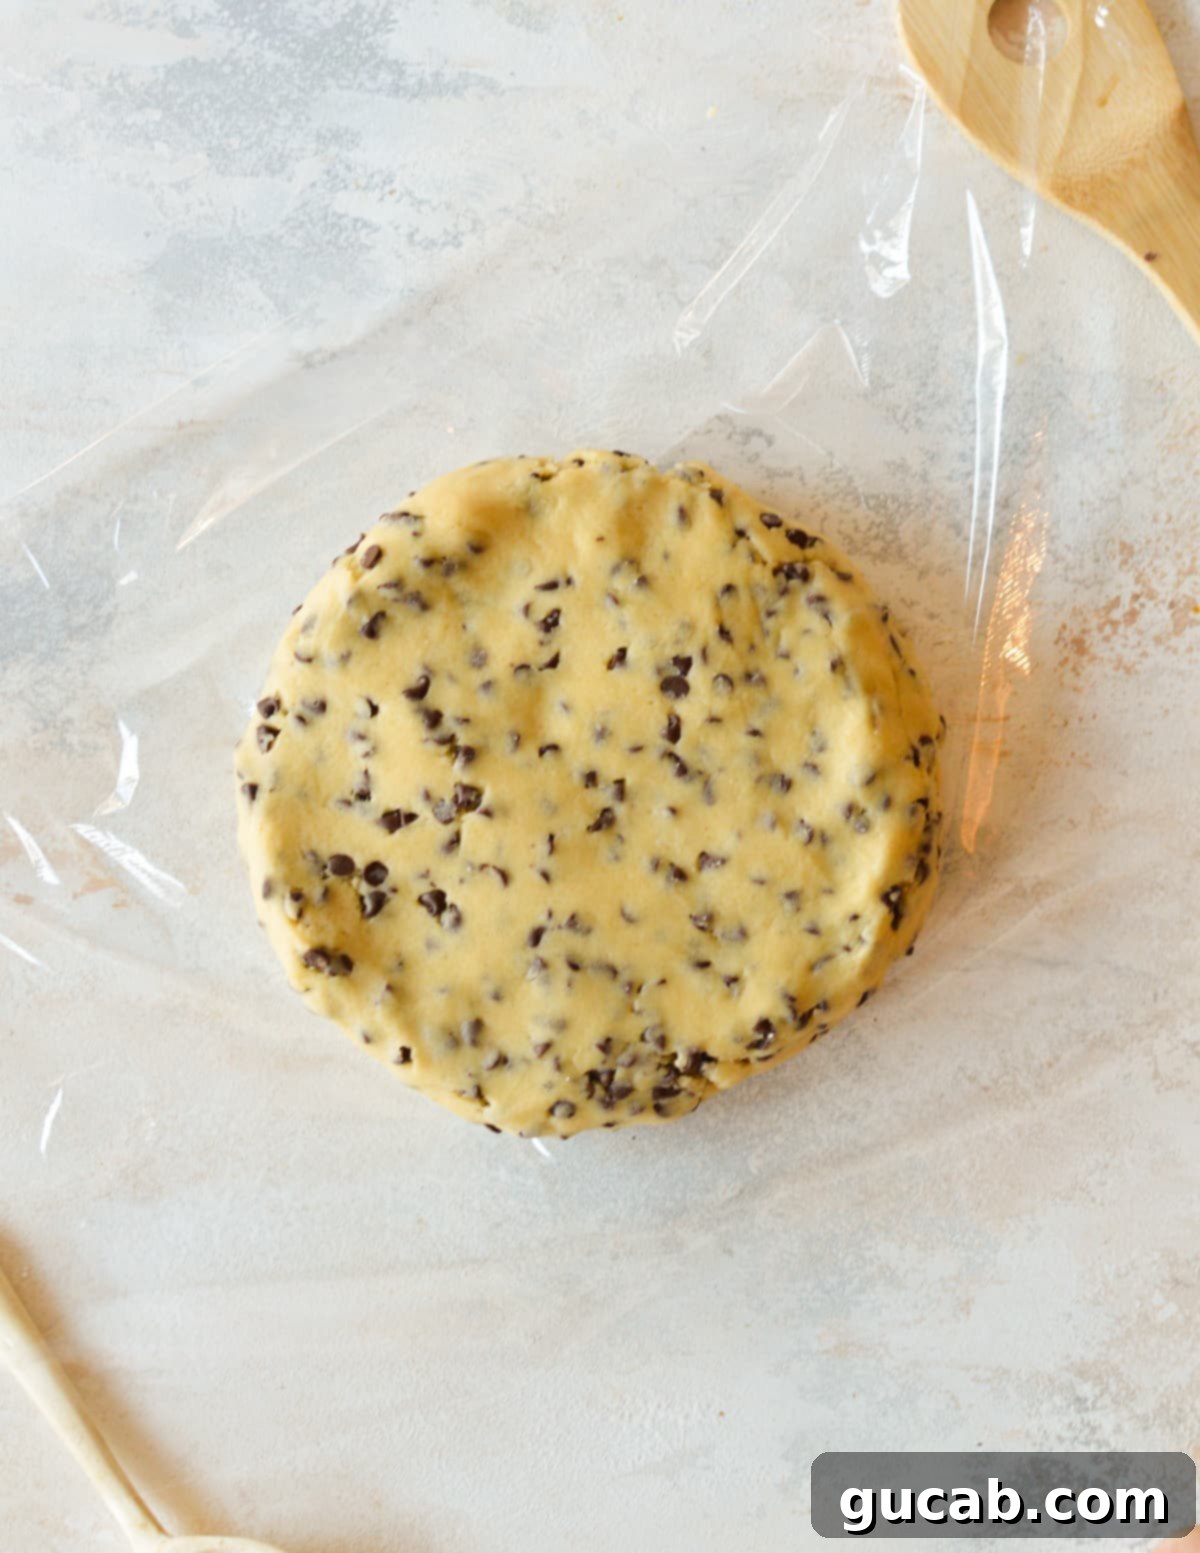
Roll out the cookie dough. Lightly sprinkle your clean work surface and your rolling pin with a little all-purpose flour to prevent sticking. Place the chilled dough disc on the floured surface and use your rolling pin to roll it out to an even thickness of approximately ½ inch (about 1.25 cm). A slightly thicker dough is generally more forgiving, but avoid rolling it too thick, as this can make the edges less defined. Consistency in thickness is key for even baking.
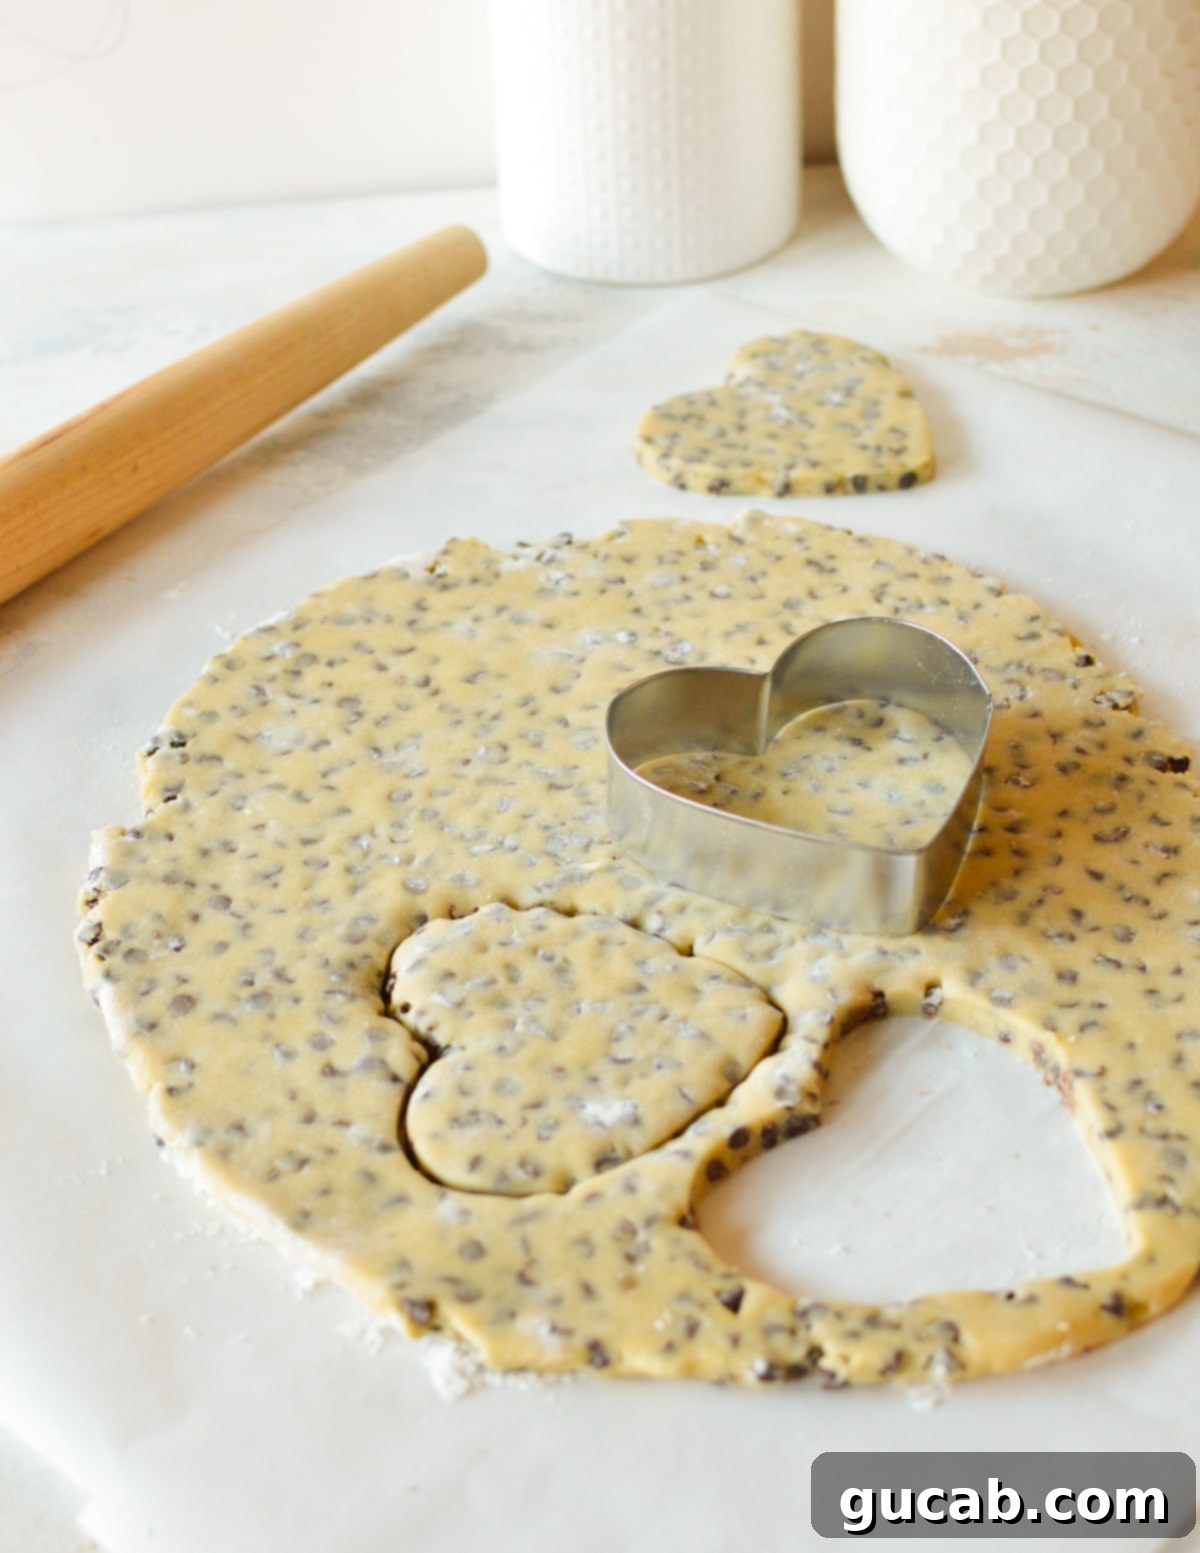
Cut out your heart cookies. Using your chosen heart-shaped cookie cutter (large is recommended, but small works too!), firmly press down to cut out as many hearts as possible. Carefully transfer six of these cut-out heart shapes onto each of your prepared baking sheets, leaving a little space between them. Once you’ve cut out the initial batch of cookies, gather the remaining dough scraps, gently re-form them into a ball, and roll them out again. Continue cutting out more hearts until all the dough is used. For smaller cookie cutters, remember to adjust baking time later.
3. Freeze the Cookies Before Baking
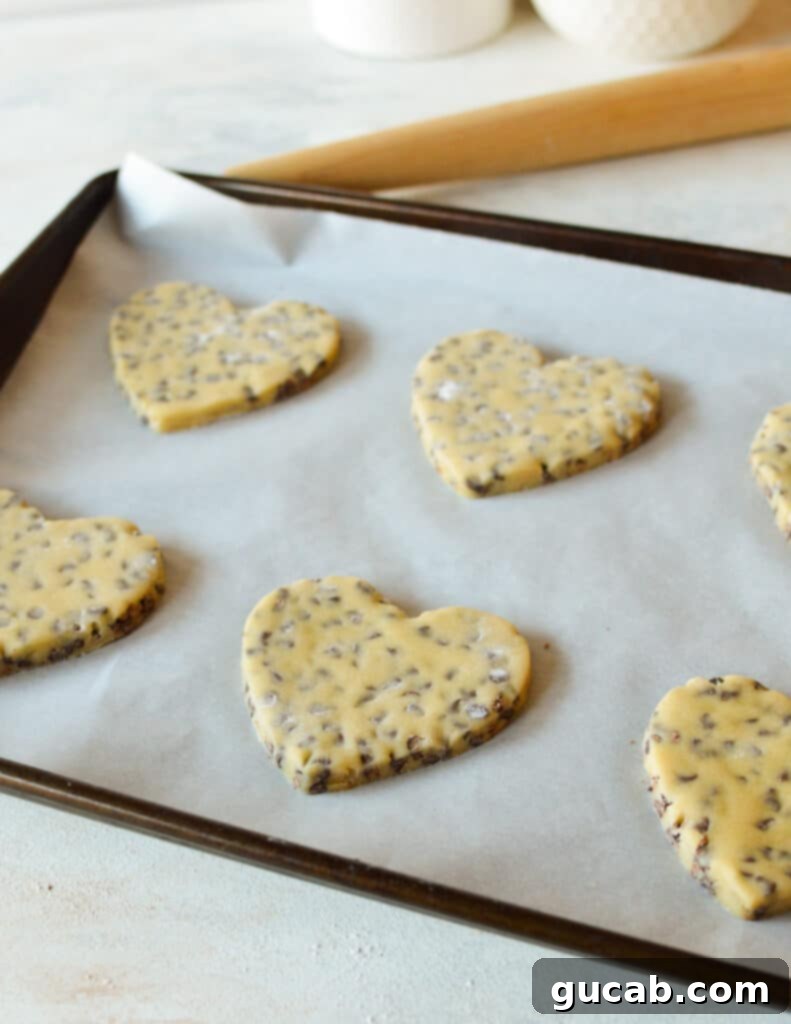
Crucial step: Freeze the cut-out cookies! Once you have placed six cookie hearts onto each sheet pan, immediately transfer both sheet pans into the freezer. Let them chill there for a solid 30 minutes. This freezing step is vital as it firms up the butter in the dough once more, which significantly helps prevent the cookies from spreading excessively in the hot oven. If cookies spread too much, they lose their beautiful, defined heart shape, so don’t skip this important pre-baking chill!
4. Bake Your Heart-Shaped Delights
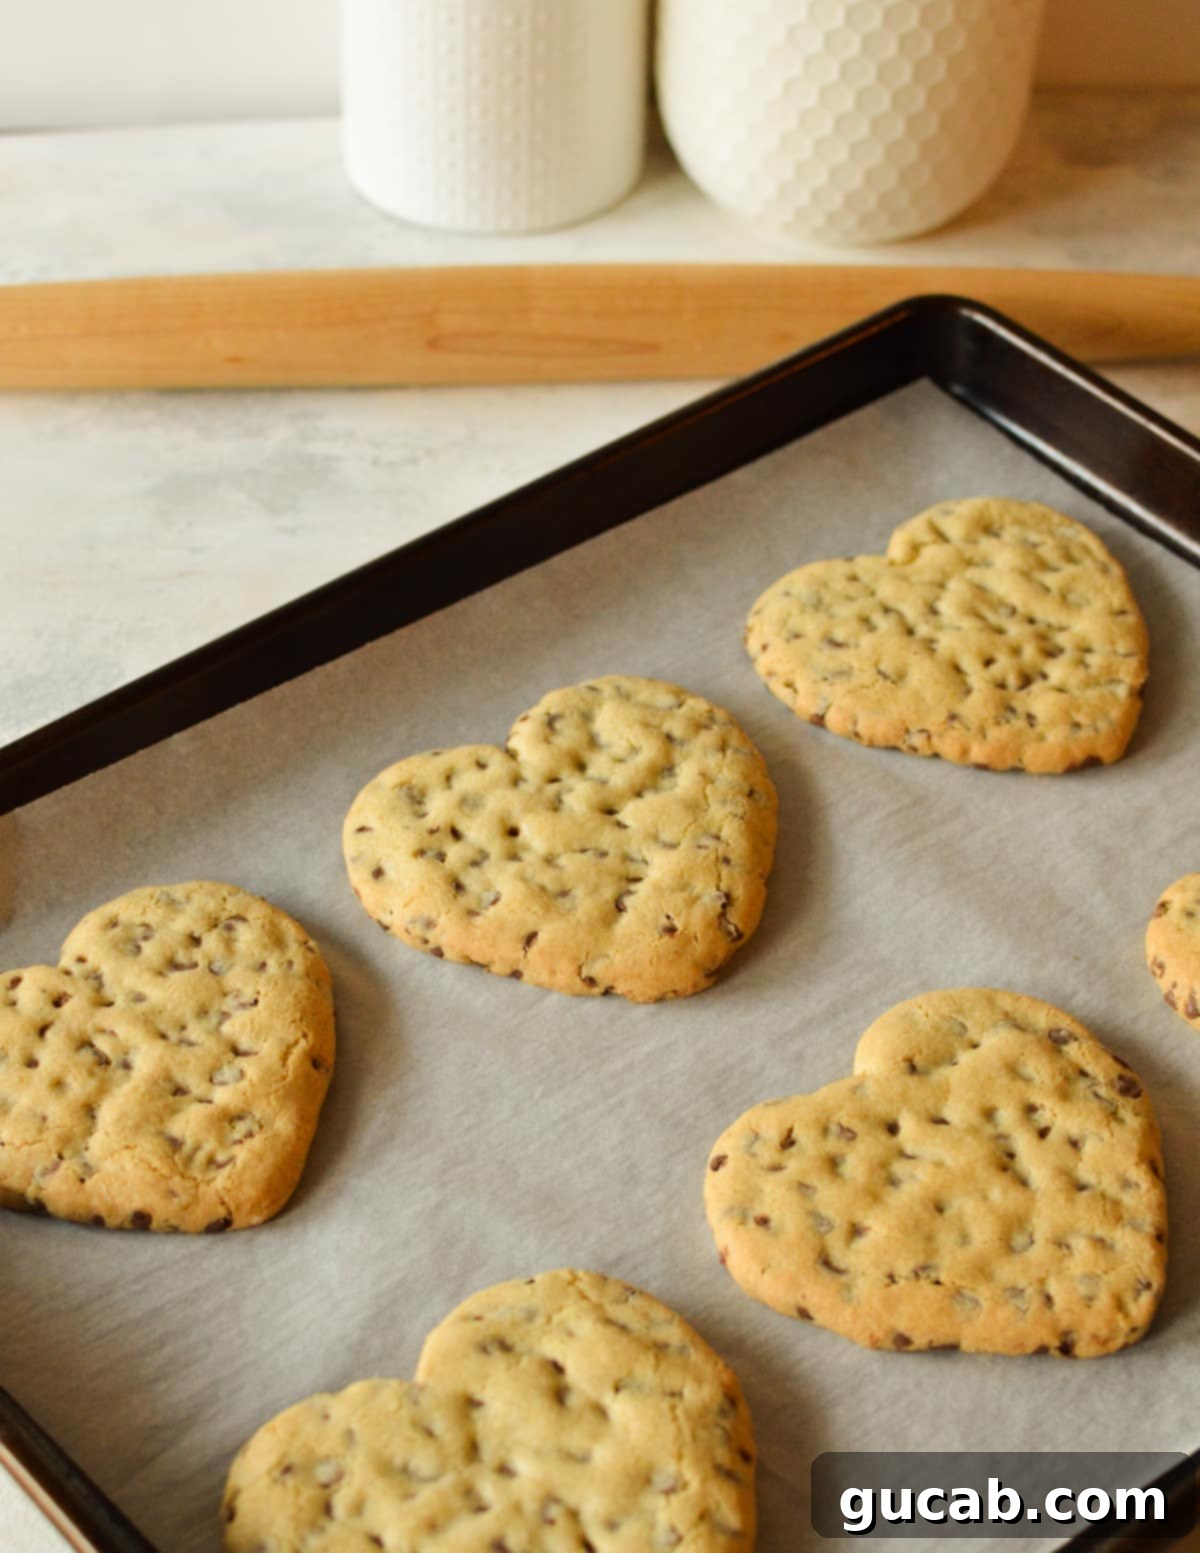
Bake the cookies until perfection. Transfer the frozen cookie-laden sheet pans directly into your preheated oven. Bake one sheet pan at a time (or rotate if baking two at once) until the edges of the cookies are beautifully golden brown, but the very centers still look slightly soft and even a little underdone. This “underbaked” appearance is exactly what you want! The cookies will continue to cook and set as they cool on the hot pan, resulting in that perfectly chewy center and crisp edge. If your entire cookie looks uniformly brown when you pull it from the oven, it’s likely overbaked and will become overly crispy once cooled.
For large heart cookies, my batch typically took around 11 minutes to reach this ideal stage. However, oven temperatures can vary, so it’s always best to keep a close eye on them. If you opted for smaller heart cookie cutters, your baking time will be shorter, possibly by a minute or two, so start checking them around the 8-minute mark.
Expert Cookie Making Tips for Flawless Results
Achieving bakery-quality cookies at home is entirely possible with a few simple techniques. Keep these expert tips in mind to ensure your heart-shaped chocolate chip cookies turn out perfectly every time:
- Avoid Overbaking at All Costs! This is perhaps the most critical rule for chewy cookies. Always remove your cookies from the oven when their edges are golden, but their centers still appear slightly soft, puffed, and maybe even a little raw. Cookies continue to bake from residual heat on the sheet pan as they cool. If you wait until the entire cookie looks fully golden and set in the oven, it will become hard and crunchy (and not in a good way!) once completely cooled. Trust the process, even if it feels counterintuitive.
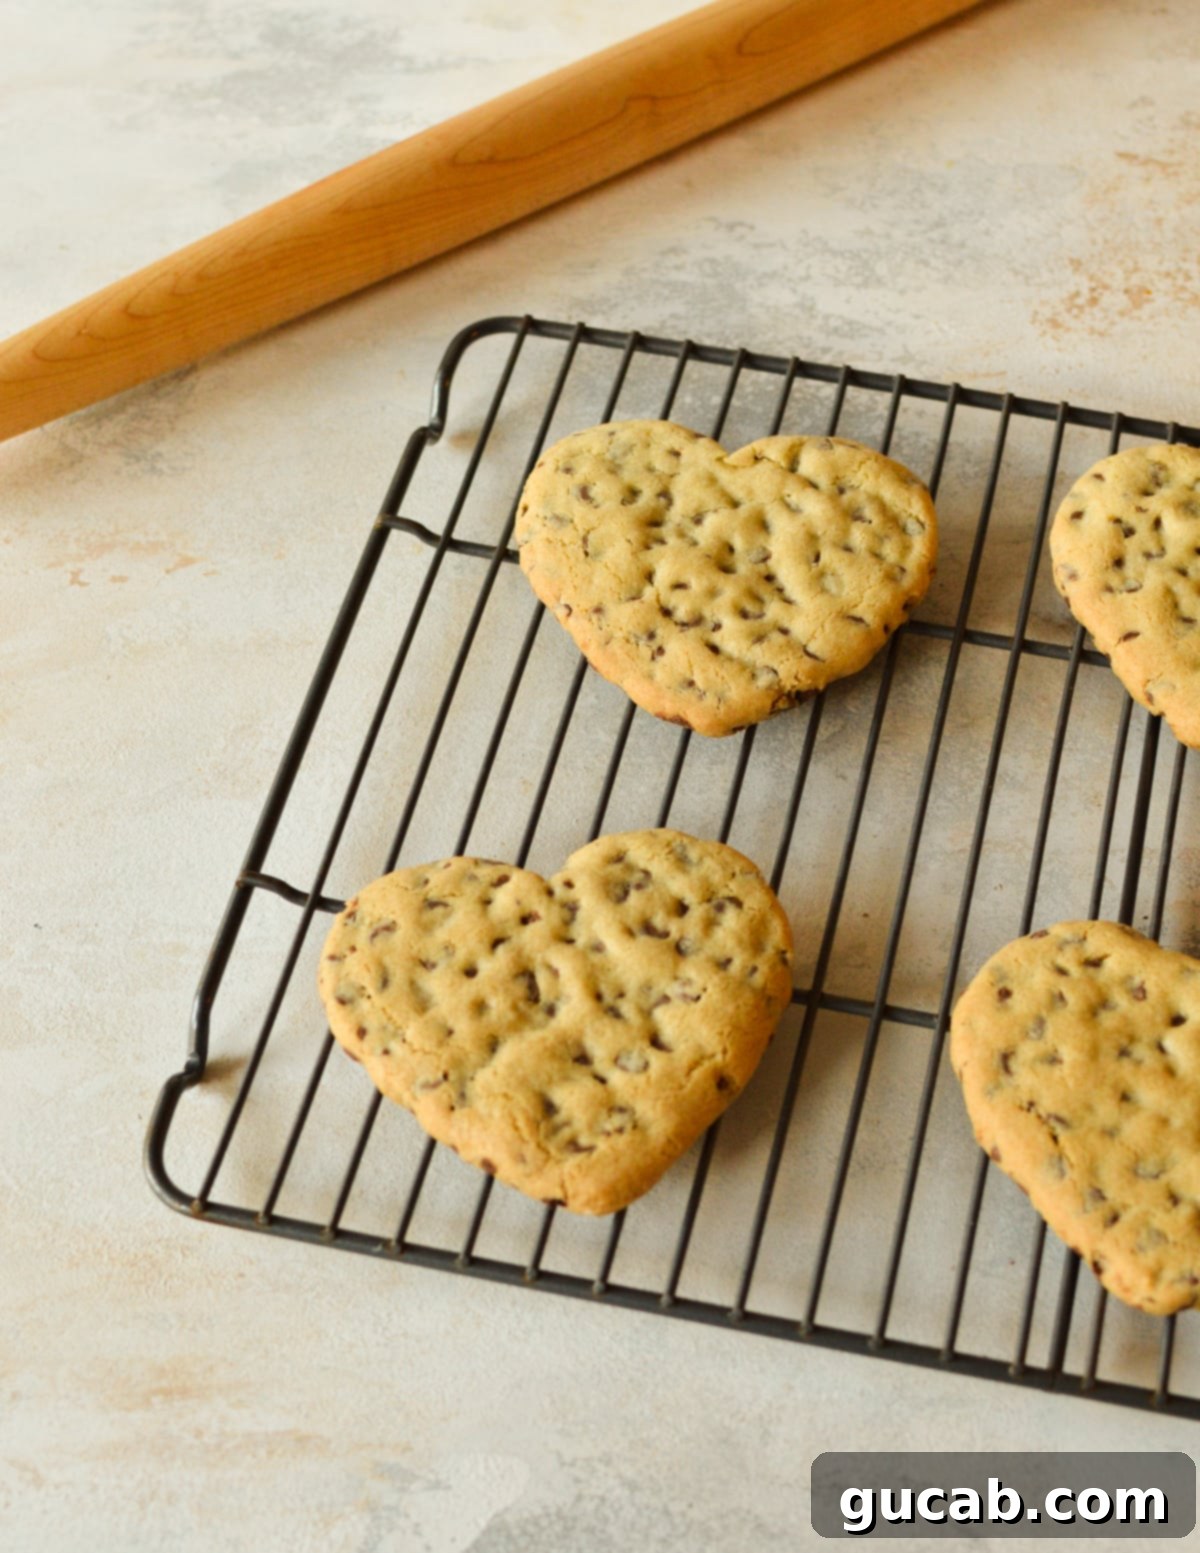
- Allow Cookies to Set on the Sheet Pan: Freshly baked cookies are delicate and prone to breaking. Resist the urge to transfer them immediately to a cooling rack. Let them cool and firm up on the hot baking sheet for at least 5-10 minutes. This crucial resting period allows their structure to stabilize, making them much easier to handle and preventing them from falling apart when moved.
- Chill the Cookie Dough for Optimal Texture and Shape: The chilling process is non-negotiable for these cut-out cookies. It allows the butter to solidify, preventing excessive spread during baking and helping the cookies maintain their distinct heart shape. Aim for 30 to 45 minutes of chilling time. Don’t leave it in the refrigerator for too long, however, as it can become rock hard and difficult to roll out. A cold dough is a cooperative dough!
- Measure Flour Accurately: For consistent results, always measure your flour using the “spoon and level” method. Spoon the flour into your measuring cup until it overflows, then level off the excess with the straight edge of a knife. Scooping directly from the bag can compact the flour, leading to using too much and resulting in dry, dense cookies.
- Use Parchment Paper or Silicone Mats: These non-stick surfaces are essential for easy removal of cookies and consistent baking. They also help prevent the bottoms of the cookies from burning, ensuring even heat distribution.
Creative Variations for Your Heart-Shaped Cookies
While classic chocolate chip is always a winner, these heart cookies are incredibly versatile and can be customized to suit any taste or occasion. Get creative with these delicious variations:
- Exciting Mix-ins: The mini chocolate chips are fantastic, but don’t hesitate to experiment! Remember the golden rule: keep your mix-ins small to ensure the dough is easy to roll and cut cleanly into heart shapes. Consider swapping them for red or pink jimmies for extra color, delicate heart sprinkles for a festive look, finely shredded coconut for a tropical twist, or even chopped white chocolate or butterscotch chips for different flavor profiles. A mix of dark and white mini chips also adds a lovely visual contrast.
- Fanciful Frosting & Decorations: To truly make your heart cookies sparkle, consider adding a layer of frosting. A simple buttercream or royal icing in shades of pink, white, or red can transform them into edible works of art. After frosting, immediately top with more heart sprinkles, edible glitter, or even finely crushed freeze-dried raspberries for a touch of elegance and flavor. You can also drizzle melted chocolate over them for a gourmet touch.
Smart Storing Tips to Keep Your Heart Cookies Fresh
Proper storage is key to enjoying your delicious heart-shaped chocolate chip cookies for as long as possible. Here’s how to keep them fresh, and even how to prepare them ahead of time for future enjoyment:
Once cooled completely, store any leftover heart cookies in a plastic bag or an airtight container at room temperature. They will remain wonderfully fresh and chewy for up to three days. For longer storage, the freezer is your best friend!
Freezing Unbaked Heart Cookies: This is a fantastic option for preparing ahead! Follow the recipe instructions for making, rolling, and cutting out the heart shapes, but do not bake them. Instead, arrange the unbaked heart cookies on a parchment-lined baking sheet and place them in the freezer until they are solid (this prevents them from sticking together). Once frozen, transfer the solid cookie dough hearts to a freezer-safe ziplock bag or airtight container. They can be frozen for up to 3 months. When ready to bake, simply place the frozen cookies on a prepared baking sheet and bake as directed in the recipe, adding an extra minute or two to the baking time if needed.
Freezing Baked Heart Cookies: If you’ve already baked a batch and have leftovers (a rare occurrence with these!), they freeze beautifully. Allow the baked cookies to cool completely on a wire rack. Once cool, transfer them to a freezer-safe container, separating layers with parchment paper to prevent sticking, or place them directly into a ziplock bag. They can be frozen for up to 3 months. To enjoy, simply let them thaw on the counter at room temperature for an hour or so, or for a warm, gooey treat, pop one in the microwave in 15-second increments until just warmed through.

Frequently Asked Questions About Heart Cookies
For precise and clean shapes, it is always best to cut your cookie dough into shapes before baking them. The dough is pliable and easy to work with when raw, allowing for sharp edges. While it’s technically possible to cut certain cookies after baking (like brownies or bar cookies), attempting to cut traditional rolled cookie shapes like hearts after they’ve baked is difficult, messy, and rarely yields uniform results. The cookies would need to be cut while still hot to avoid crumbling, but even then, the edges would be uneven and the effort much greater.
Absolutely! If you don’t have a heart-shaped cookie cutter on hand, you can still create charming heart cookies. Simply roll out your chilled cookie dough to the desired thickness (around ½ inch). Then, using a sharp knife, carefully cut the dough into heart shapes. While the lines might not be as perfectly clean or uniform as those achieved with a cutter, they will still be recognizable and delightful. An alternative method is to use a small, clean piece of cardboard as a template, tracing around it with your knife. Always ensure your cookie dough is well-chilled before attempting to cut shapes manually, as firmer dough is much easier to work with.
The key to perfectly golden edges and soft centers is careful observation and understanding residual heat. You want to remove the cookies from the oven when the edges just start to turn golden brown, and the centers still look slightly pale and puffy. They might even seem a bit underdone. Once out of the oven, leave the cookies on the hot baking sheet for 5-10 minutes. The residual heat from the pan will continue to cook the cookies gently, allowing the centers to set without drying them out. This method ensures your cookies achieve that ideal chewy texture and beautiful golden finish without being overbaked.
More Must-Try Cookie Recipes to Love
- Flourless Oatmeal Cookies
- Coconut Pecan Cookies
- Chewy Mixed Nuts Cookies
- Oreo Chocolate Chip Cookies
- Brown Butter Chocolate Chip Cookies

Heart Shaped Chocolate Chip Cookies
Carolyn
Pin Recipe
Equipment
-
Electric hand mixer or stand mixer with the paddle attachment
-
Measuring cups & spoons
-
Rolling Pin
-
Heart cookie cutter
-
Sheet pan
Ingredients
- 8 tablespoons unsalted butter (4 ounces) room temperature, essential for creamy texture
- ½ cup granulated sugar for crispness and sweetness
- ¼ cup light brown sugar packed, for chewiness and depth of flavor
- 1 large egg room temperature, for structure
- 1 egg yolk room temperature, for extra richness and chewiness
- 1 ⅓ cup all-purpose flour spooned and leveled, or a 1:1 gluten-free baking flour blend
- ½ teaspoon baking soda for leavening
- ¼ teaspoon kosher salt enhances flavor; halve if using table salt
- 1 cup mini chocolate chips for easy rolling and cutting
Instructions
-
Preheat your oven to 350 degrees Fahrenheit (175°C). Line two large baking sheets with parchment paper or silicone baking mats; set aside.
-
In a large mixing bowl, combine the room temperature unsalted butter, granulated sugar, and brown sugar. Using an electric mixer (stand mixer with paddle attachment or hand mixer), cream them together on medium-high speed for about 3 minutes until the mixture is light, fluffy, and pale in color.
-
Add the large egg and the extra egg yolk to the creamed butter mixture. Beat on medium speed until they are just combined, scraping down the sides of the bowl with a spatula as needed to ensure everything is incorporated.
-
Gradually add the all-purpose flour (spooned and leveled), baking soda, and kosher salt to the wet ingredients. Mix on low speed until a cookie dough forms and no streaks of dry flour remain. Be careful not to overmix the dough.
-
Stir in the mini chocolate chips until they are evenly dispersed throughout the dough. Form the cookie dough into a large, flat disc and wrap it tightly in plastic wrap. Chill the dough in the refrigerator for 30 minutes.
-
Lightly flour a clean work surface and your rolling pin. Roll out the chilled cookie dough to a thickness of approximately ¼ to ½ inch (about 0.6 to 1.25 cm). Use a large heart cookie cutter to cut out six cookies. Gently re-roll any remaining dough scraps into a ball and roll out again to cut six more hearts, using up all the dough.
-
Carefully place six heart cookies onto each prepared baking sheet. Transfer both sheet pans into the freezer and chill for 30 minutes. This crucial step helps prevent the cookies from spreading too much during baking, ensuring they retain their beautiful heart shape.
-
Bake each sheet pan in the preheated oven for 11 to 12 minutes, or until the edges of the cookies are golden brown and the centers still look slightly soft and underdone. If using smaller heart cookie cutters, reduce baking time by 1-2 minutes.
-
Allow the baked cookies to cool on the sheet pan for at least 5-10 minutes before carefully transferring them to a wire rack to cool completely. This helps them set and prevents breakage.
Notes
Nutrition
