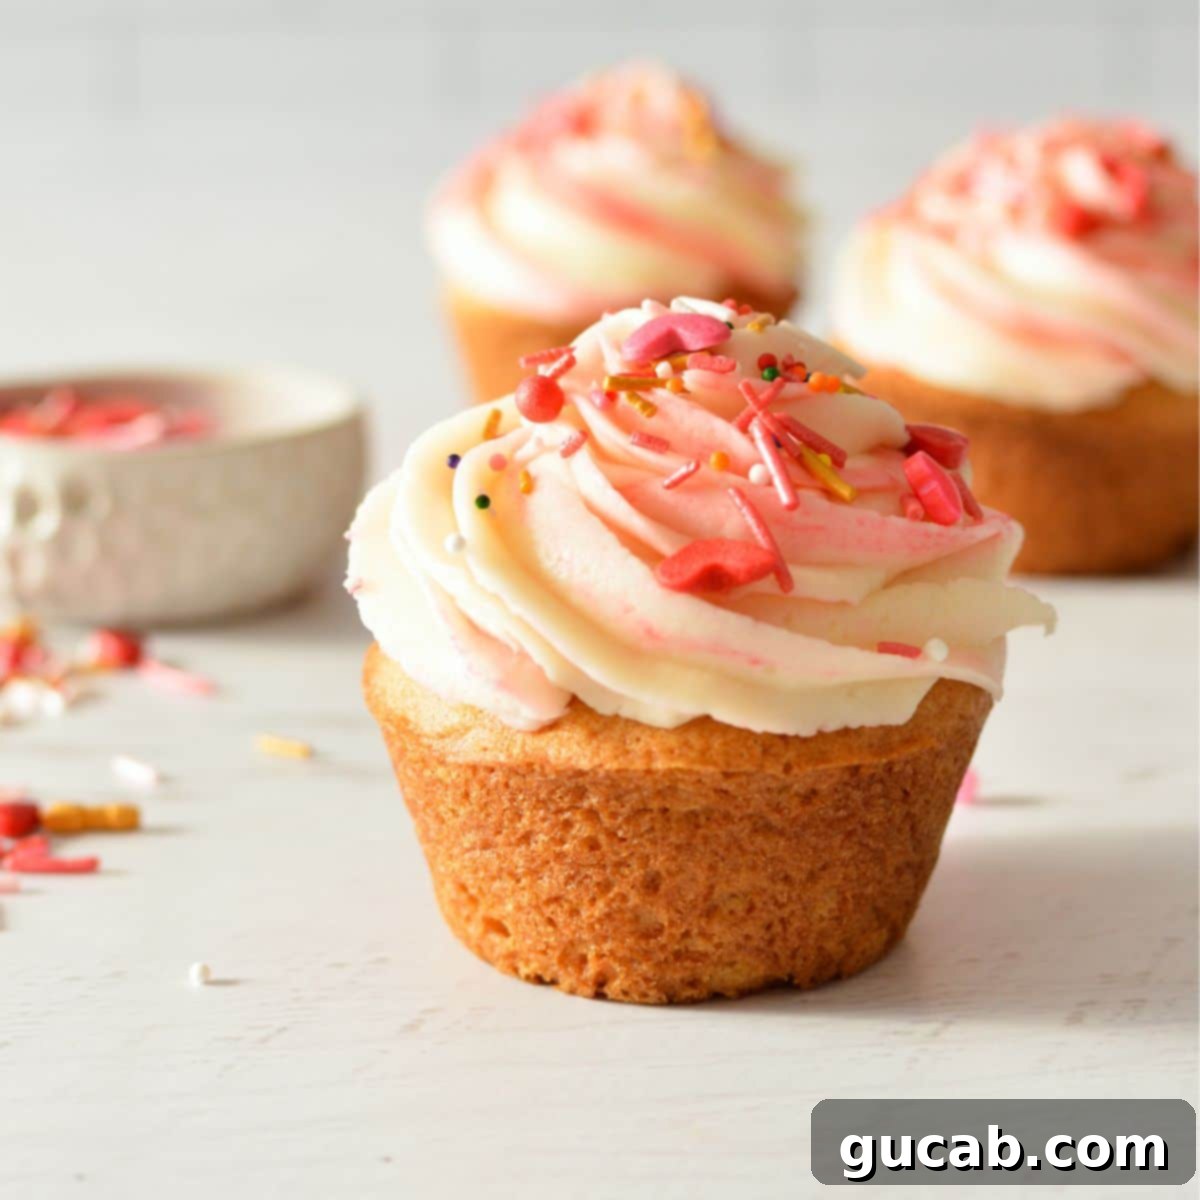
These gluten free vanilla cupcakes are light and fluffy like any good cupcake should be, but without the gluten! You will love these moist and delicious cupcakes.
The Ultimate Guide to Perfectly Fluffy & Moist Gluten-Free Vanilla Cupcakes
Have you ever bitten into a gluten-free cupcake, only to be met with a dense, crumbly, or frankly disappointing texture? It’s a common lament among gluten-free bakers and eaters alike. For too long, “gluten-free options” at bakeries often translated to a heavier, less enjoyable version of their traditional counterparts. This frustrating reality sparked a mission in my own kitchen: to create a gluten-free vanilla cupcake that defied all expectations. I wanted a cupcake that was light, airy, incredibly moist, and bursting with classic vanilla flavor – a cupcake so good, no one would ever guess it was gluten-free.
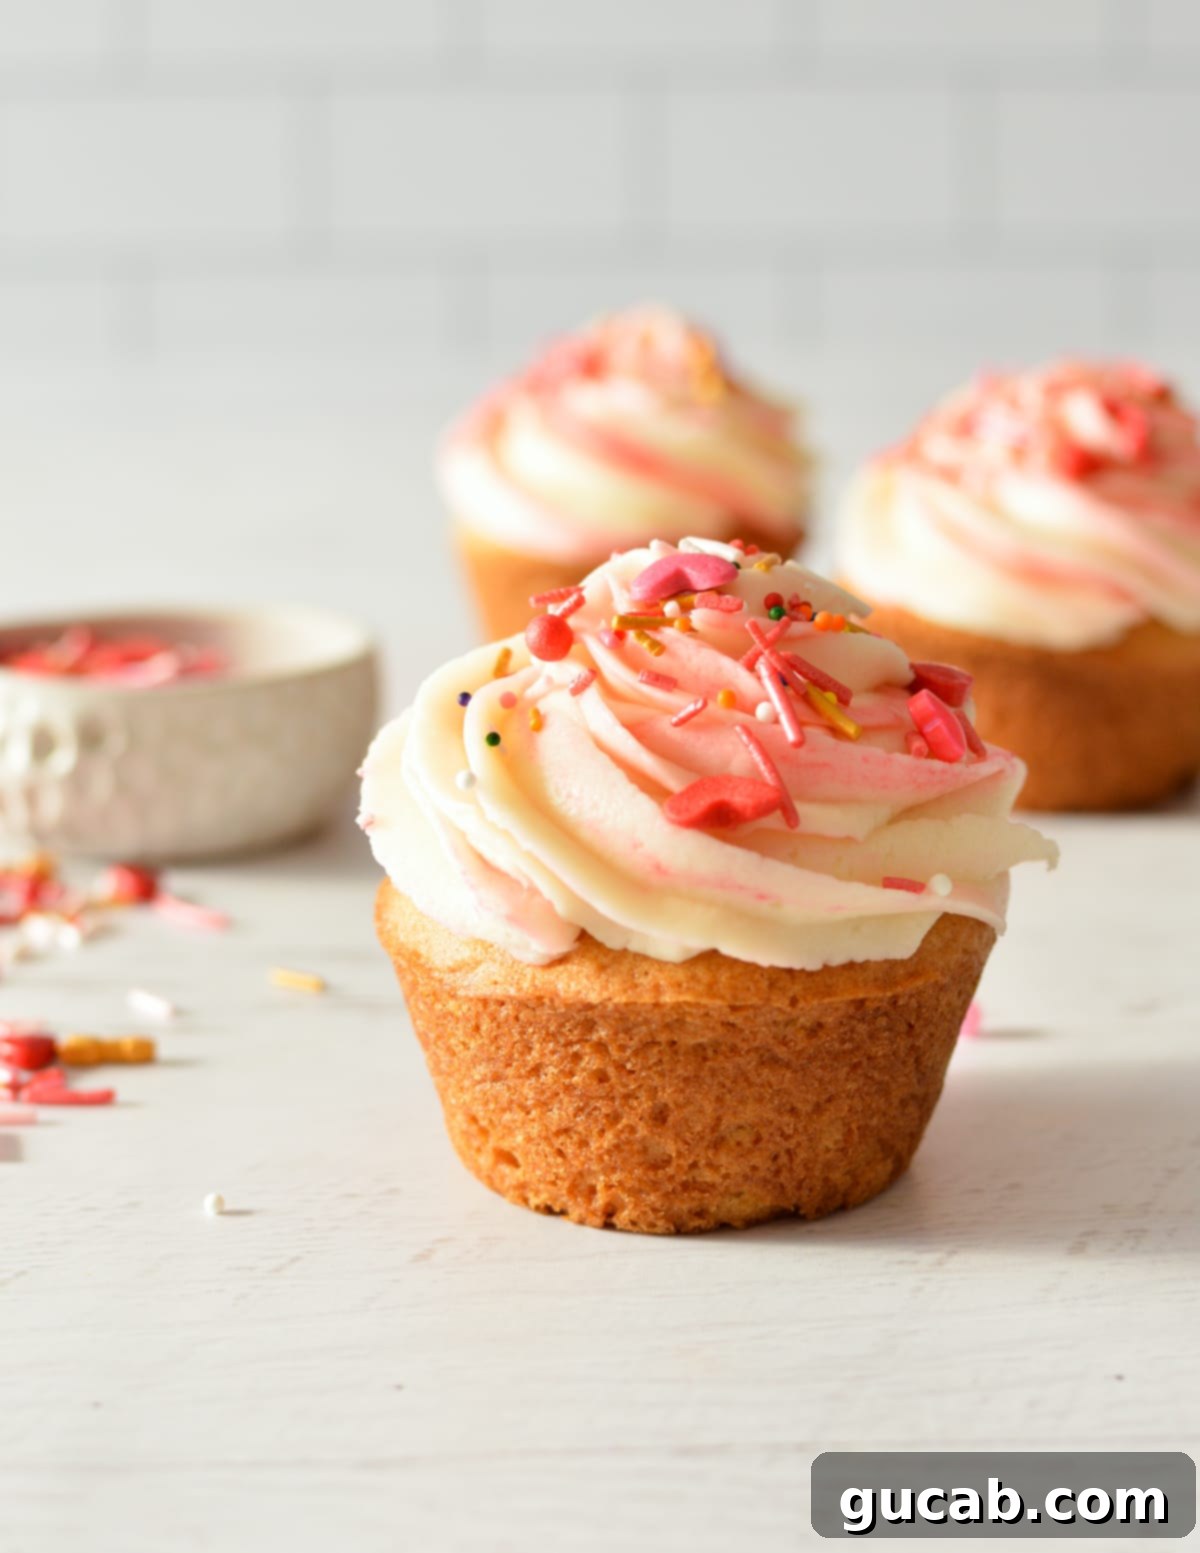
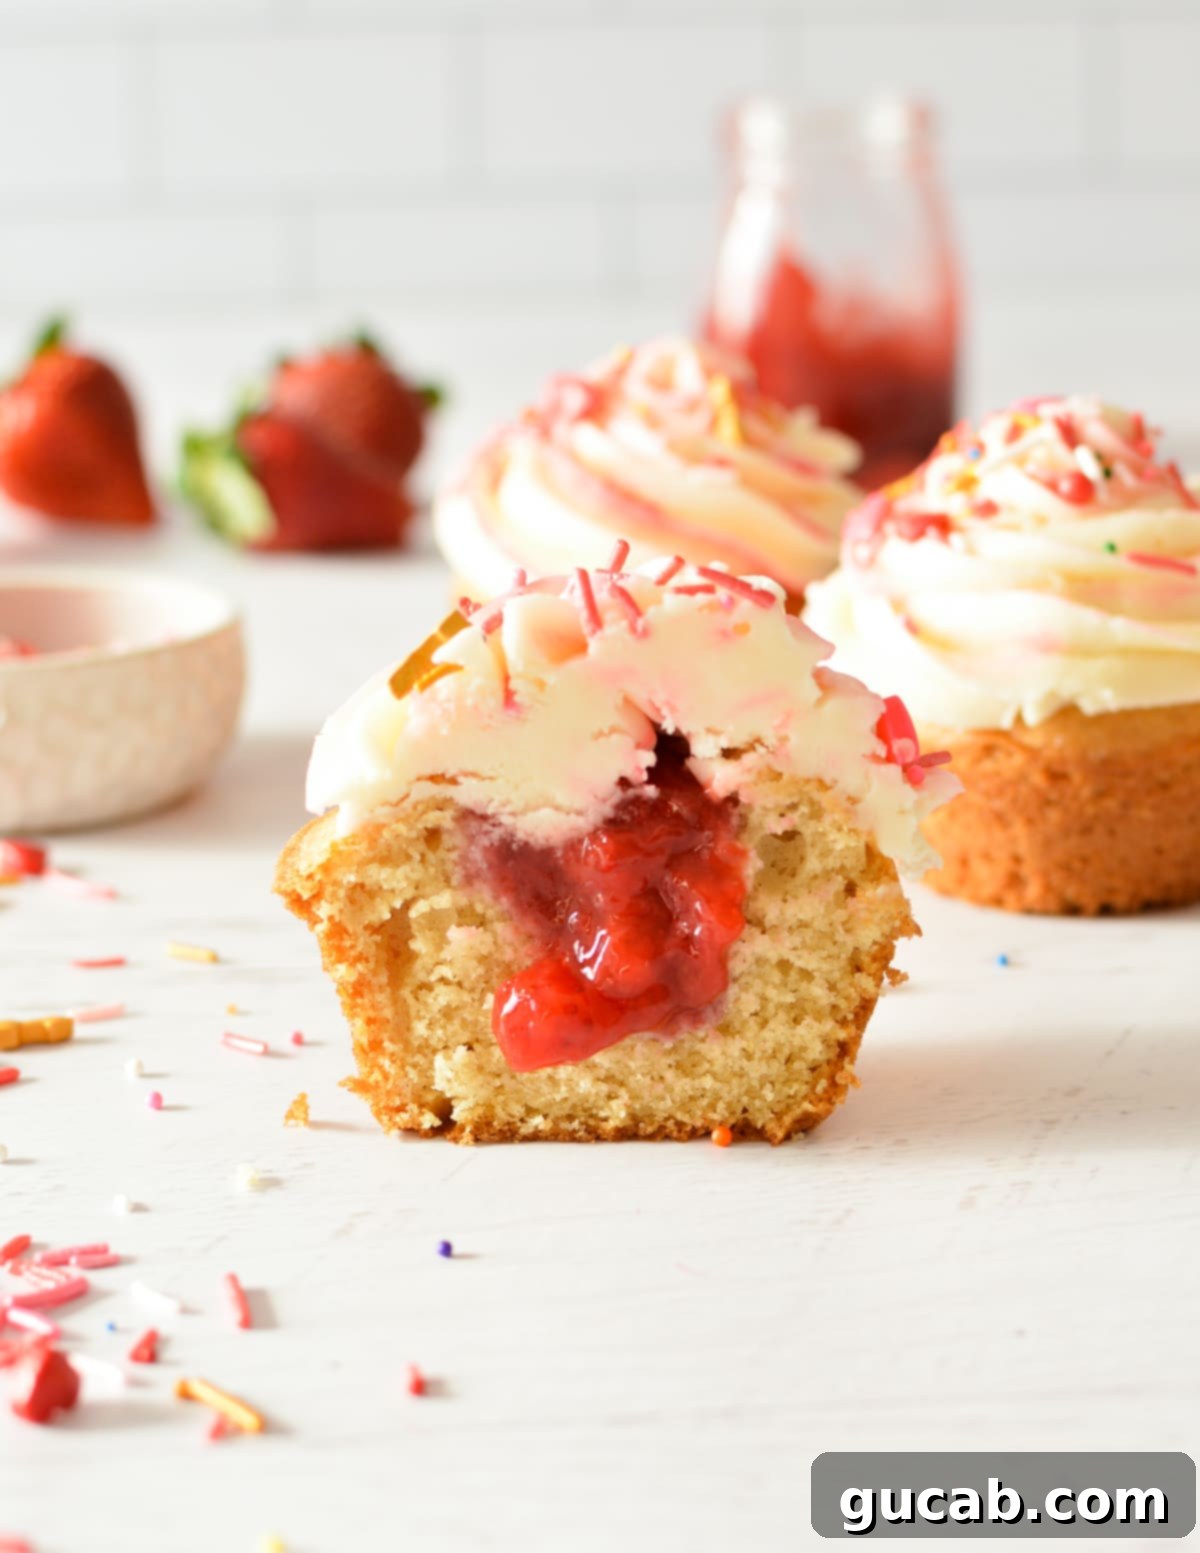
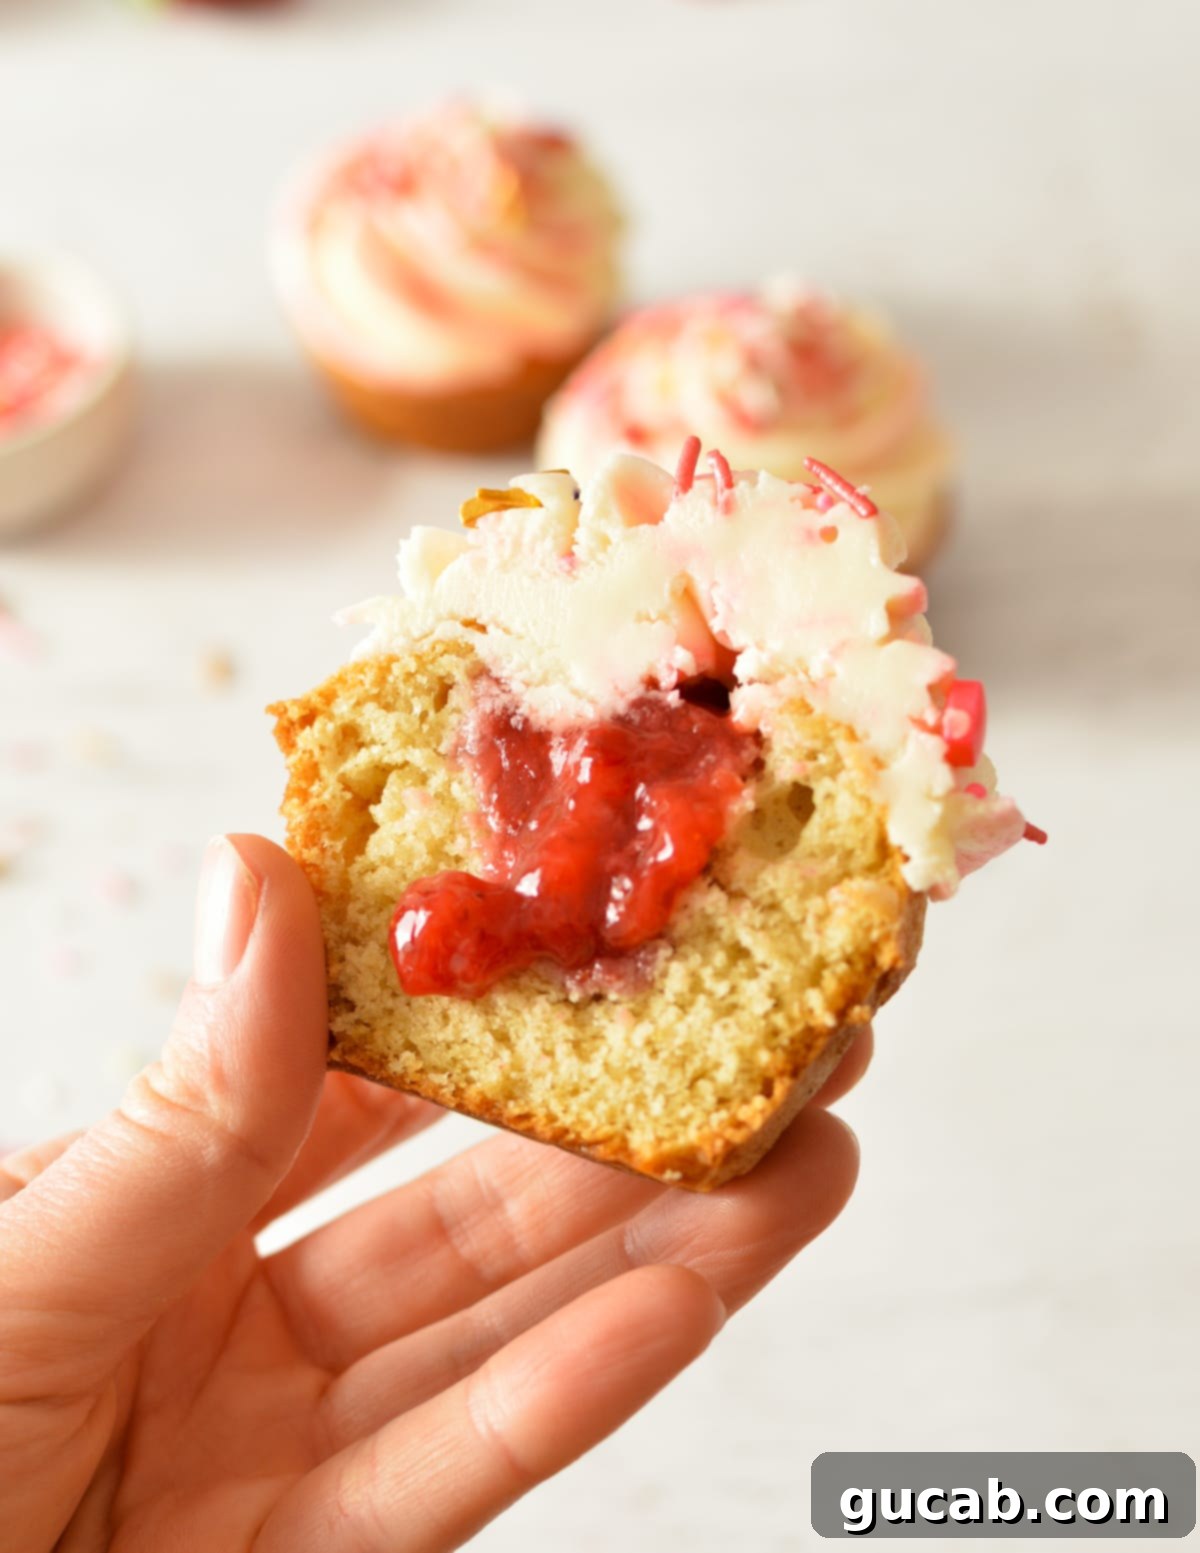
After countless experiments and tweaks, I am thrilled to share this recipe for the most delightful gluten-free vanilla cupcakes you’ll ever bake. These aren’t just “good for gluten-free” – they are simply good cupcakes, period. They boast an irresistibly soft crumb, rise beautifully, and hold their moisture wonderfully. Forget the heavy, gummy, or dry textures of the past. These cupcakes are a revelation, proving that gluten-free baking can be every bit as delicious and satisfying as traditional baking. Whether you top them with a luscious cream cheese frosting, a rich buttercream, or even fill them with a sweet strawberry filling, they are guaranteed to be a hit. Get ready to bake a batch you’ll be genuinely proud of!
Disclosure: This post contains affiliate links. In other words, if you click a link and purchase something I will receive a commission at no cost to you. I only recommend products I use and enjoy myself.
Why You’ll Love These Gluten-Free Vanilla Cupcakes
- Unrivaled Texture: This recipe delivers an exceptional light and fluffy texture, a true hallmark of a great cupcake, which can be surprisingly challenging to achieve in gluten-free baking. The careful balance of ingredients ensures a tender, moist crumb that melts in your mouth, leaving no trace of the heavy, dense characteristics often associated with gluten-free treats. You’ll be amazed at how delicate and airy these cupcakes are, rivaling any traditional recipe.
- Remarkably Simple to Make: Don’t be intimidated by gluten-free baking! This recipe is designed with simplicity in mind. It uses straightforward ingredients and common baking techniques, making it accessible even for novice bakers. There are no complicated steps or unusual equipment required, just a few bowls, a mixer, and your oven. You’ll find yourself whipping up a batch in no time.
- Budget-Friendly Indulgence: Enjoying delicious gluten-free treats shouldn’t break the bank. Bakeries often charge a premium for gluten-free options, and sometimes, the quality doesn’t even justify the price. By making these vanilla cupcakes at home, you save a significant amount of money without compromising on taste or quality. Plus, you get the satisfaction of creating something wonderful from scratch.
- Peace of Mind for Dietary Needs: For those with celiac disease or severe gluten intolerance, cross-contamination is a serious concern. Baking at home eliminates this risk entirely, giving you complete control over your ingredients and environment. You can rest assured that every bite of these cupcakes is safe and truly gluten-free, providing comfort and confidence in your dessert choice.
- Versatile for Any Occasion: Whether it’s a birthday party, a casual get-together, or just a sweet treat for yourself, these vanilla cupcakes are perfect. Their classic flavor makes them a universal favorite, and they can be easily customized with various frostings and fillings to suit any theme or preference.
Key Ingredients for Light and Fluffy Gluten-Free Cupcakes
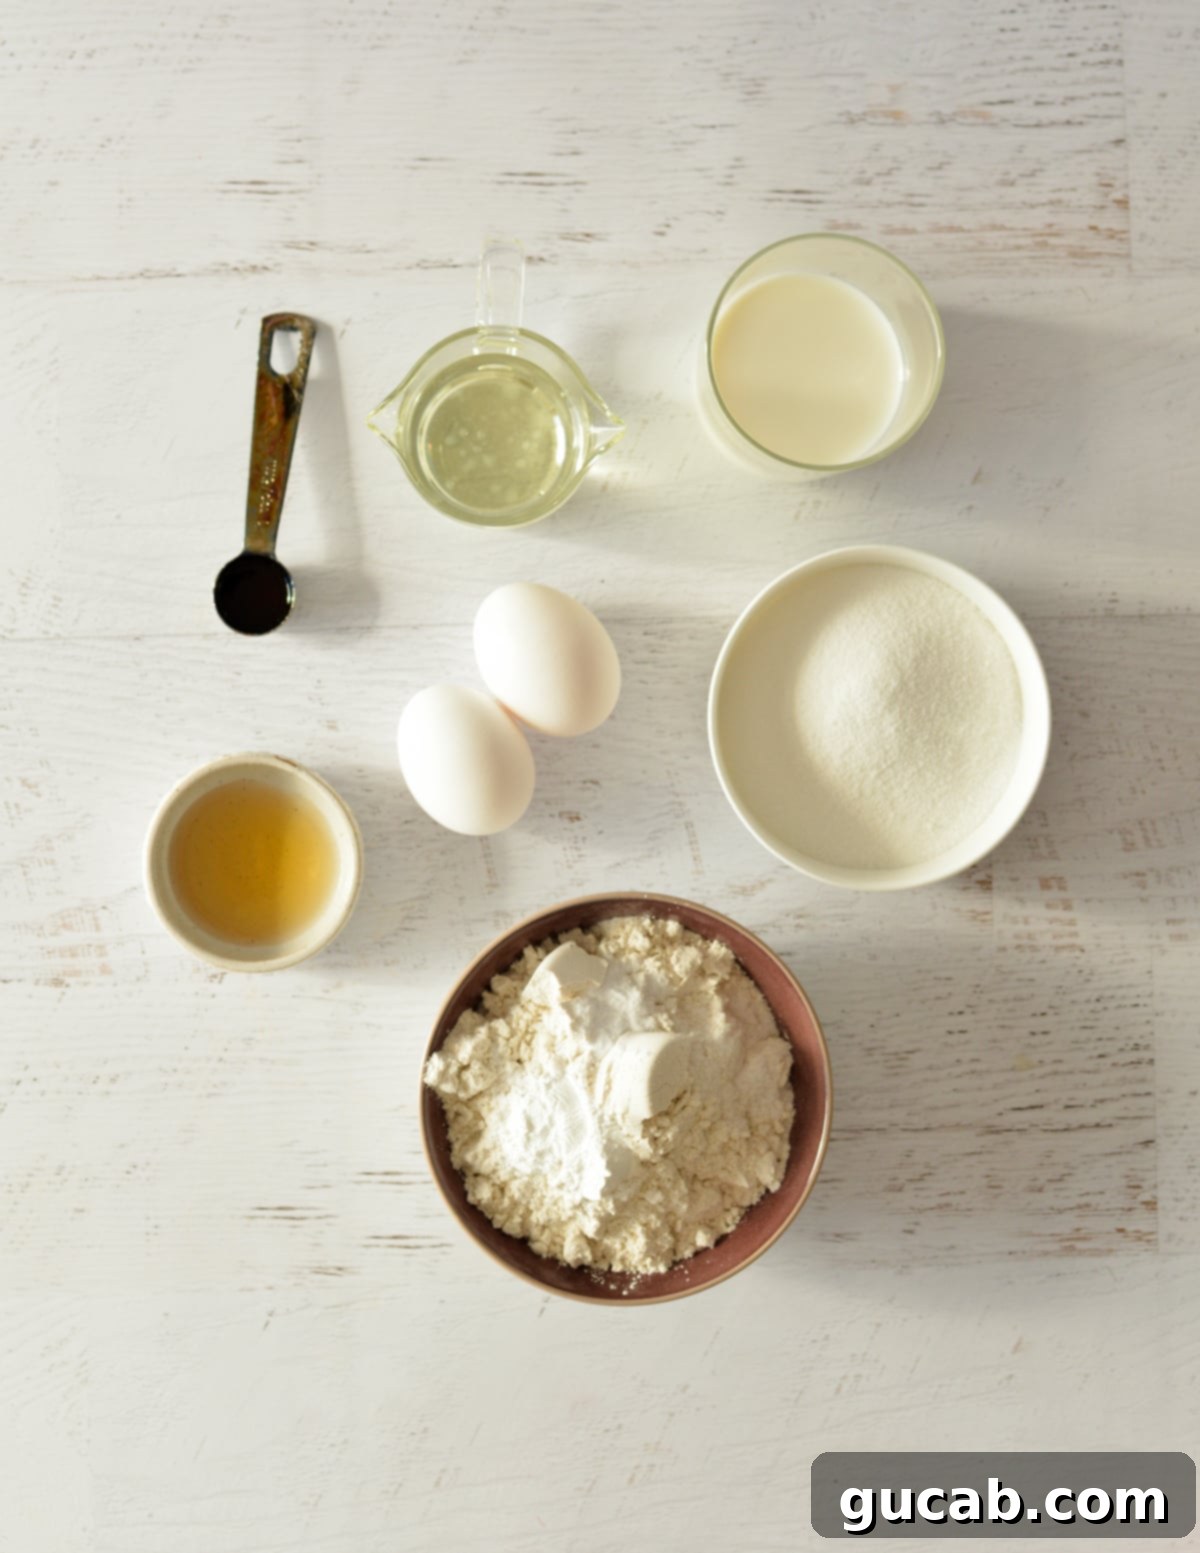
Every ingredient plays a crucial role in achieving the perfect gluten-free vanilla cupcake. Let’s delve into why these particular components are essential:
- Vegetable Oil: While butter is a beloved baking fat, vegetable oil is the secret to these cupcakes’ incredible moisture and light texture. Unlike butter, which can make gluten-free baked goods dense or heavy due to its solid fat content, oil remains liquid at room temperature. This helps create a more tender crumb and prevents the cupcakes from drying out quickly, ensuring they stay moist and delicious for longer.
- Gluten-Free Flour Blend: The choice of gluten-free flour is paramount. I highly recommend Bob’s Red Mill 1:1 All-Purpose Gluten-Free Baking Flour. This blend is expertly formulated with a precise combination of rice flours, starches, and xanthan gum to mimic the structure and texture of traditional wheat flour. It consistently delivers superior results in my gluten-free desserts, offering a taste and texture that truly stands out. If Bob’s Red Mill isn’t available, King Arthur’s Measure for Measure Gluten-Free Flour is an excellent alternative that also performs beautifully in this recipe. Using a high-quality 1:1 blend is crucial for success, as single-ingredient gluten-free flours (like almond or coconut flour) require entirely different recipes.
- Baking Powder: This chemical leavening agent is vital for giving the cupcakes their rise and airy structure. Baking powder reacts with liquid and heat to produce carbon dioxide gas, creating those desirable pockets in the batter that expand during baking, resulting in a fluffy cupcake. Always check that your baking powder is active; if it’s been sitting in your pantry for a long time, it might be expired and won’t provide the lift you need. A simple test: mix a teaspoon with a bit of hot water; if it bubbles, it’s good to go!
- Baking Soda: A small amount of baking soda works in conjunction with the acidity from the vinegar (and buttermilk created with milk and vinegar) to provide an additional boost of leavening. This dual-action leavening system ensures maximum rise and a light, tender crumb. The reaction neutralizes the acid, contributing to the delicate texture without imparting any sour taste.
- Kosher Salt: Don’t underestimate the power of salt in sweet baking! It doesn’t just make things salty; it enhances all the other flavors, bringing out the sweetness of the sugar and the richness of the vanilla. It also balances the overall profile of the cupcake. If you only have table salt, be sure to halve the amount, as table salt crystals are finer and more concentrated than kosher salt, and too much will indeed result in a salty, unpleasant taste.
- Milk & Vinegar: This combination creates a homemade “buttermilk” substitute, which is a fantastic secret weapon in baking, especially for gluten-free recipes. The acidity of the vinegar reacts with the baking soda, as mentioned, and also helps to tenderize the crumb. Buttermilk helps to keep the cupcakes exceptionally moist and contributes to a beautiful rise, giving the final product a delightful softness and subtle tang that complements the vanilla perfectly.
How to Make Gluten-Free Vanilla Cupcakes: Step-by-Step
Baking, especially with gluten-free flours, is often more precise than traditional baking. While it’s tempting to make substitutions, I strongly recommend following this recipe exactly the first time you make it. Small changes can significantly impact the outcome, leading to disappointment. Once you understand the recipe’s dynamics, you can then experiment if you wish.
Here’s a detailed guide to creating your perfect gluten-free vanilla cupcakes:
Here’s what you need to do:
- **Preparation is Key:** Start by preheating your oven to 350°F (175°C). This ensures the oven is at a consistent temperature, which is critical for proper rising. Line a 12-cup muffin tin with paper liners or spray it thoroughly with nonstick cooking spray. I prefer liners for easy removal and cleanup. In a small bowl, combine your milk and apple cider vinegar. Stir gently and let it sit for 5-10 minutes. This allows the milk to curdle slightly, forming your homemade “buttermilk,” which will add moisture and tenderness.
- **Combine Dry Ingredients:** In a medium bowl, whisk together the gluten-free flour blend, baking powder, baking soda, and kosher salt. Whisking ensures these dry ingredients are thoroughly combined and evenly distributed. This step is crucial for consistent leavening throughout your batter. Set this bowl aside.
- **Cream Wet Ingredients (Part 1):** In the bowl of a stand mixer fitted with the paddle attachment (or using a hand mixer), combine the vegetable oil, sugar, and vanilla extract. Beat these ingredients together on medium speed until they are well combined and slightly lighter in color, typically 2-3 minutes. This step incorporates air and ensures the sugars dissolve, contributing to a tender crumb.
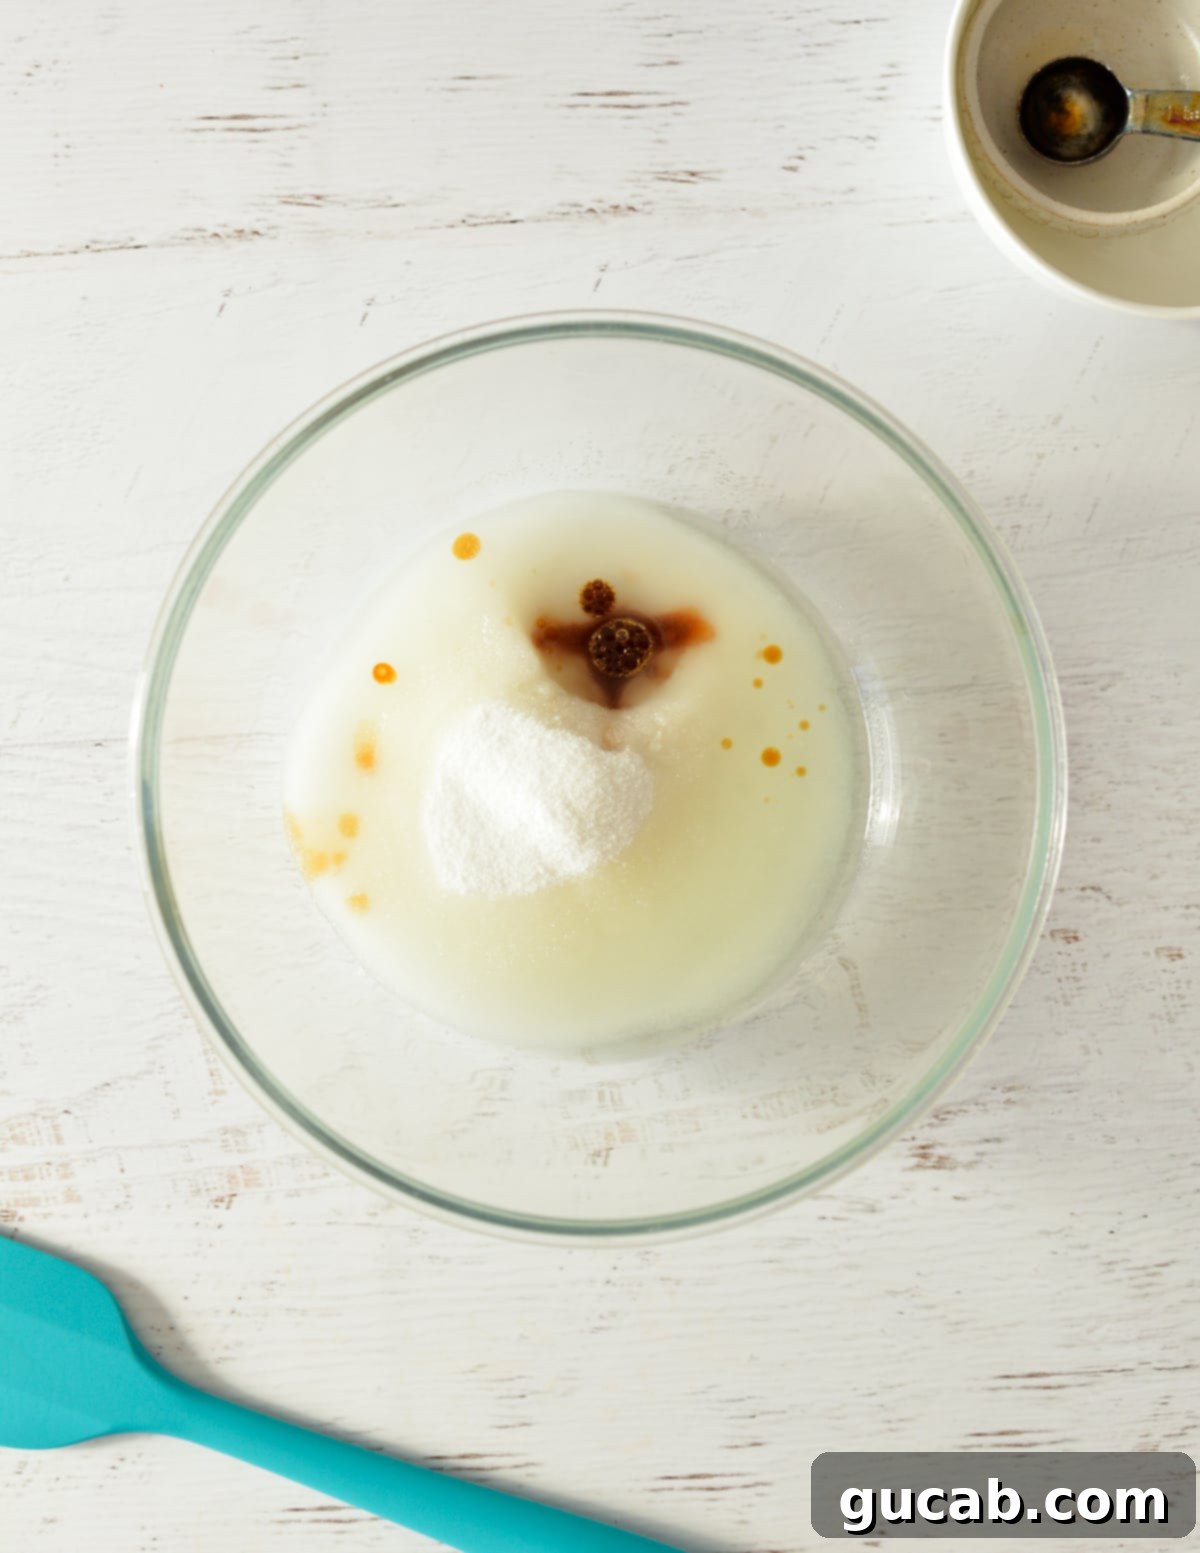
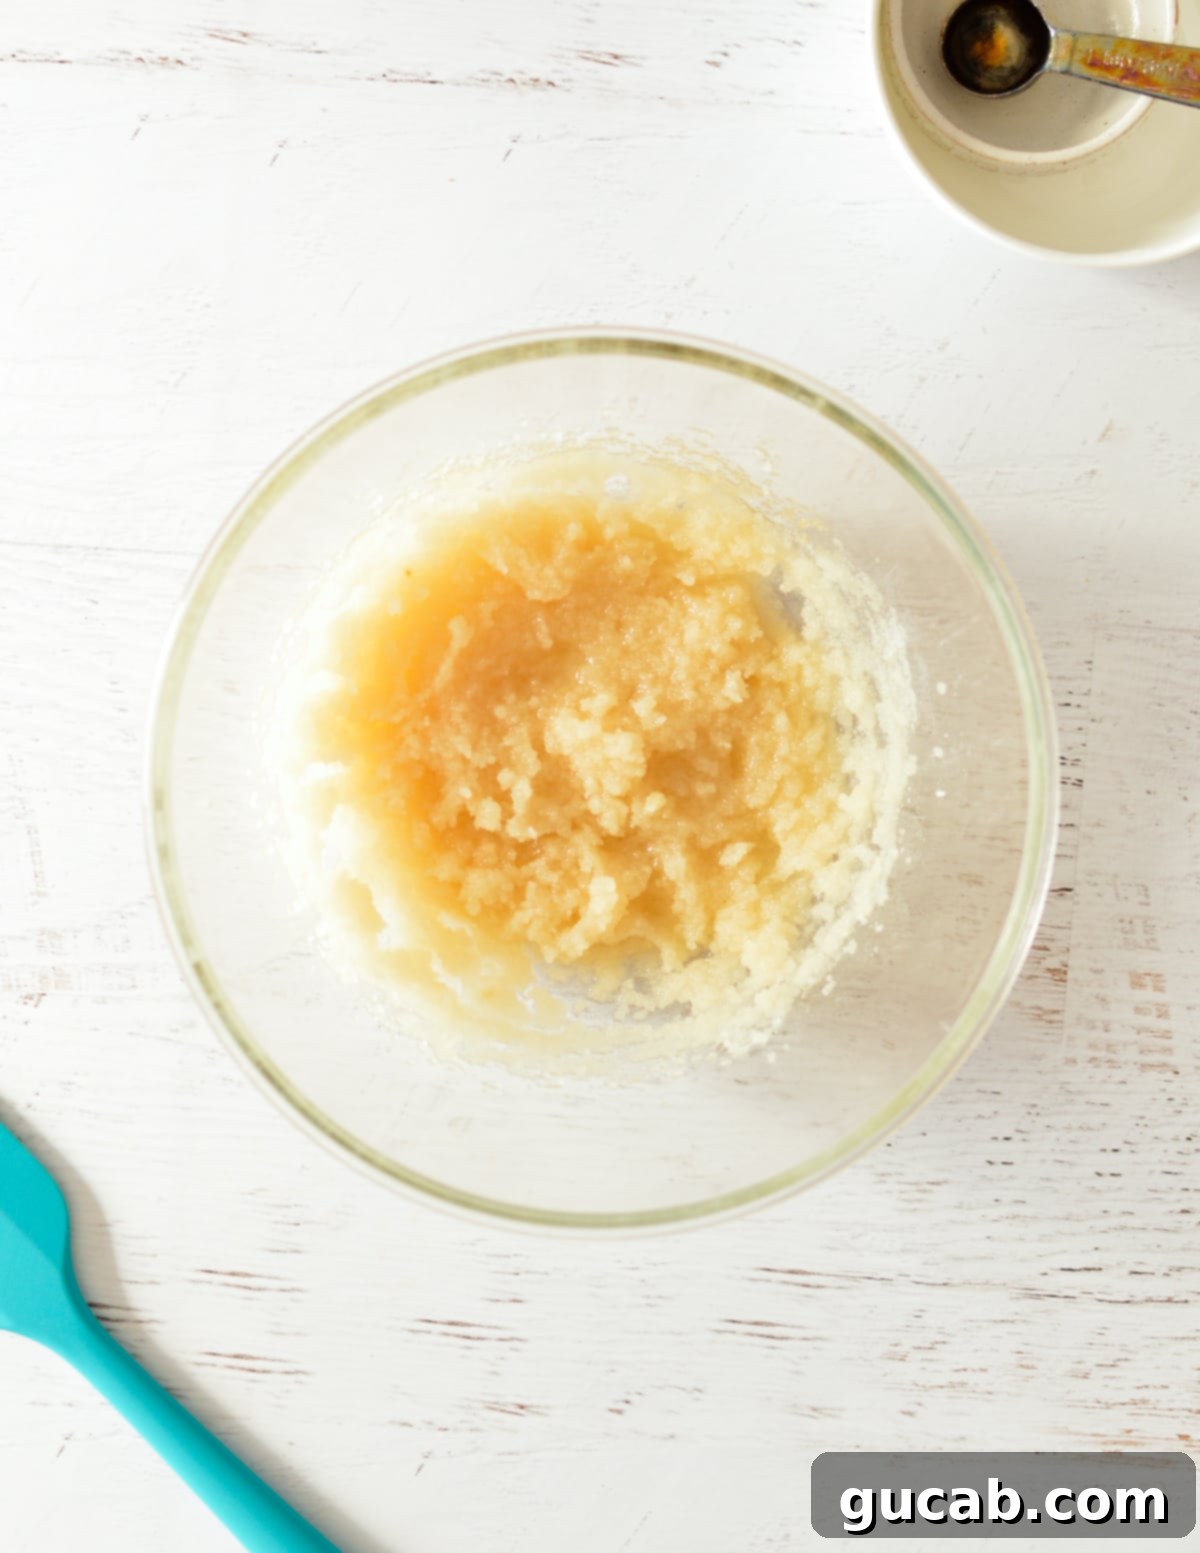
- **Incorporate Eggs:** Add the eggs one at a time to the oil and sugar mixture, beating well after each addition. Each egg should be fully incorporated before adding the next. This creates an emulsion, adding richness and helping to bind the ingredients. Stop the mixer occasionally to scrape down the sides of the bowl with a spatula, ensuring all ingredients are evenly mixed and no pockets of unmixed batter remain.
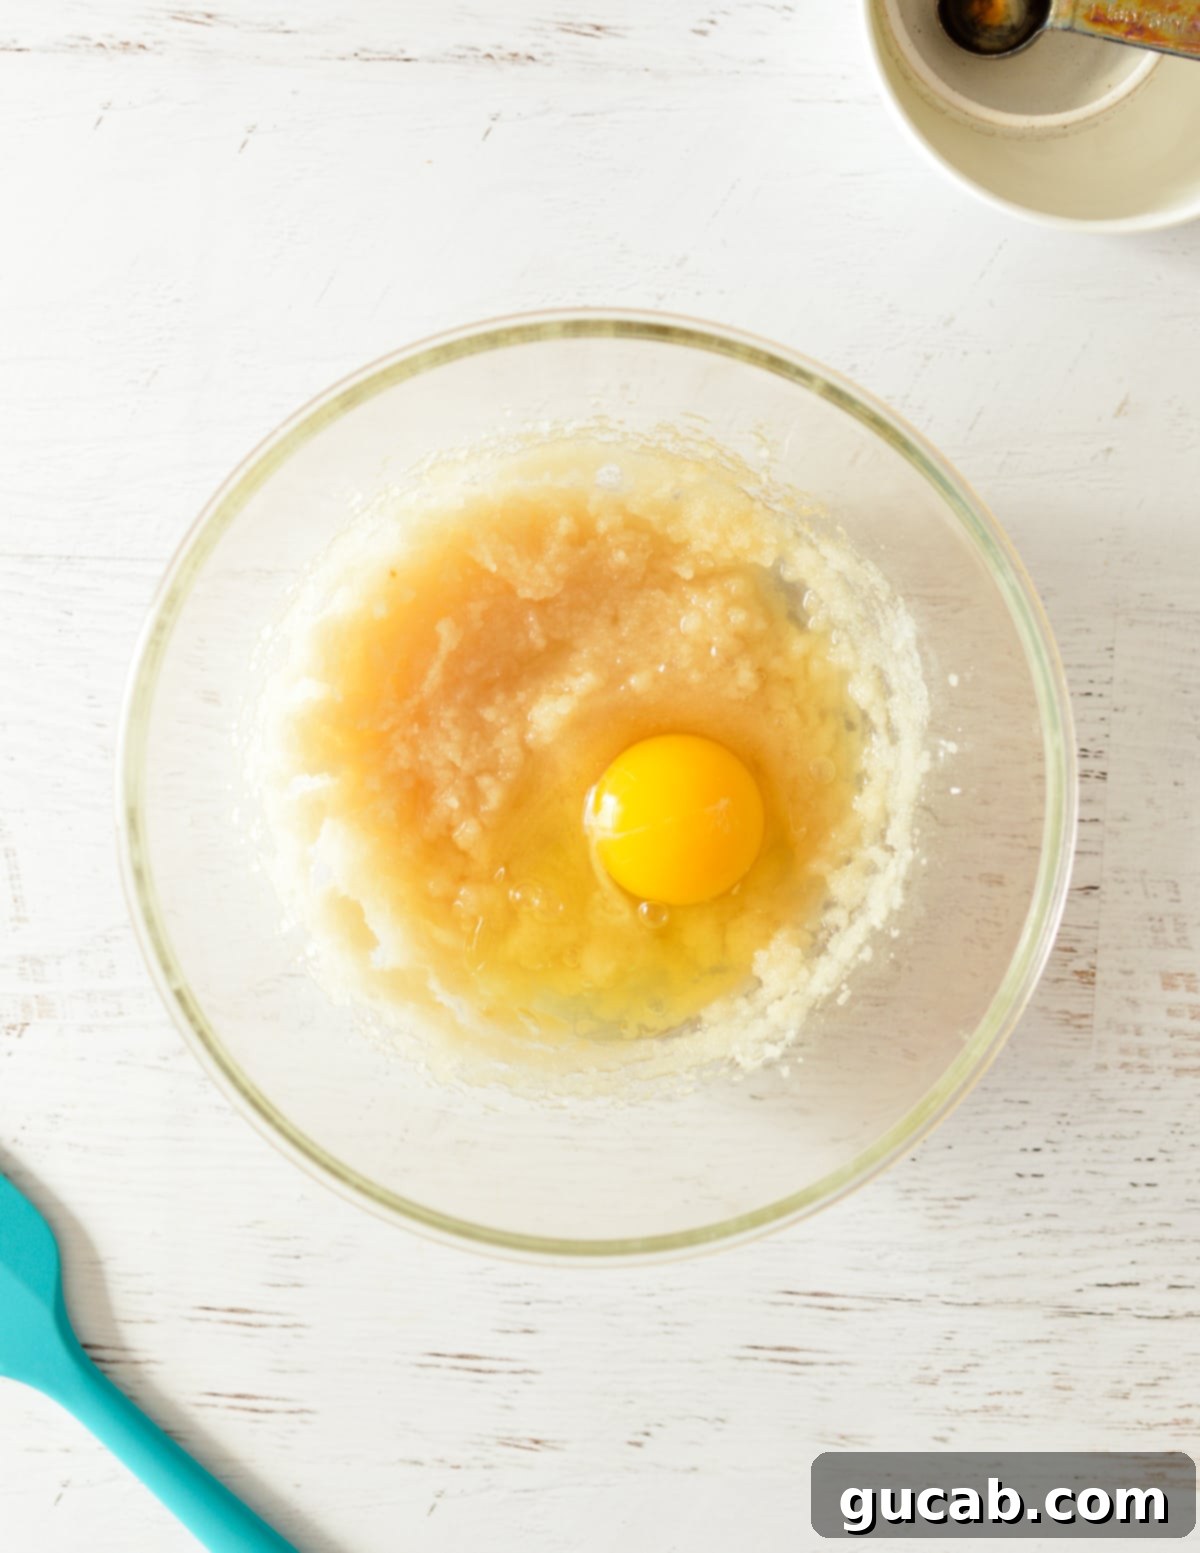
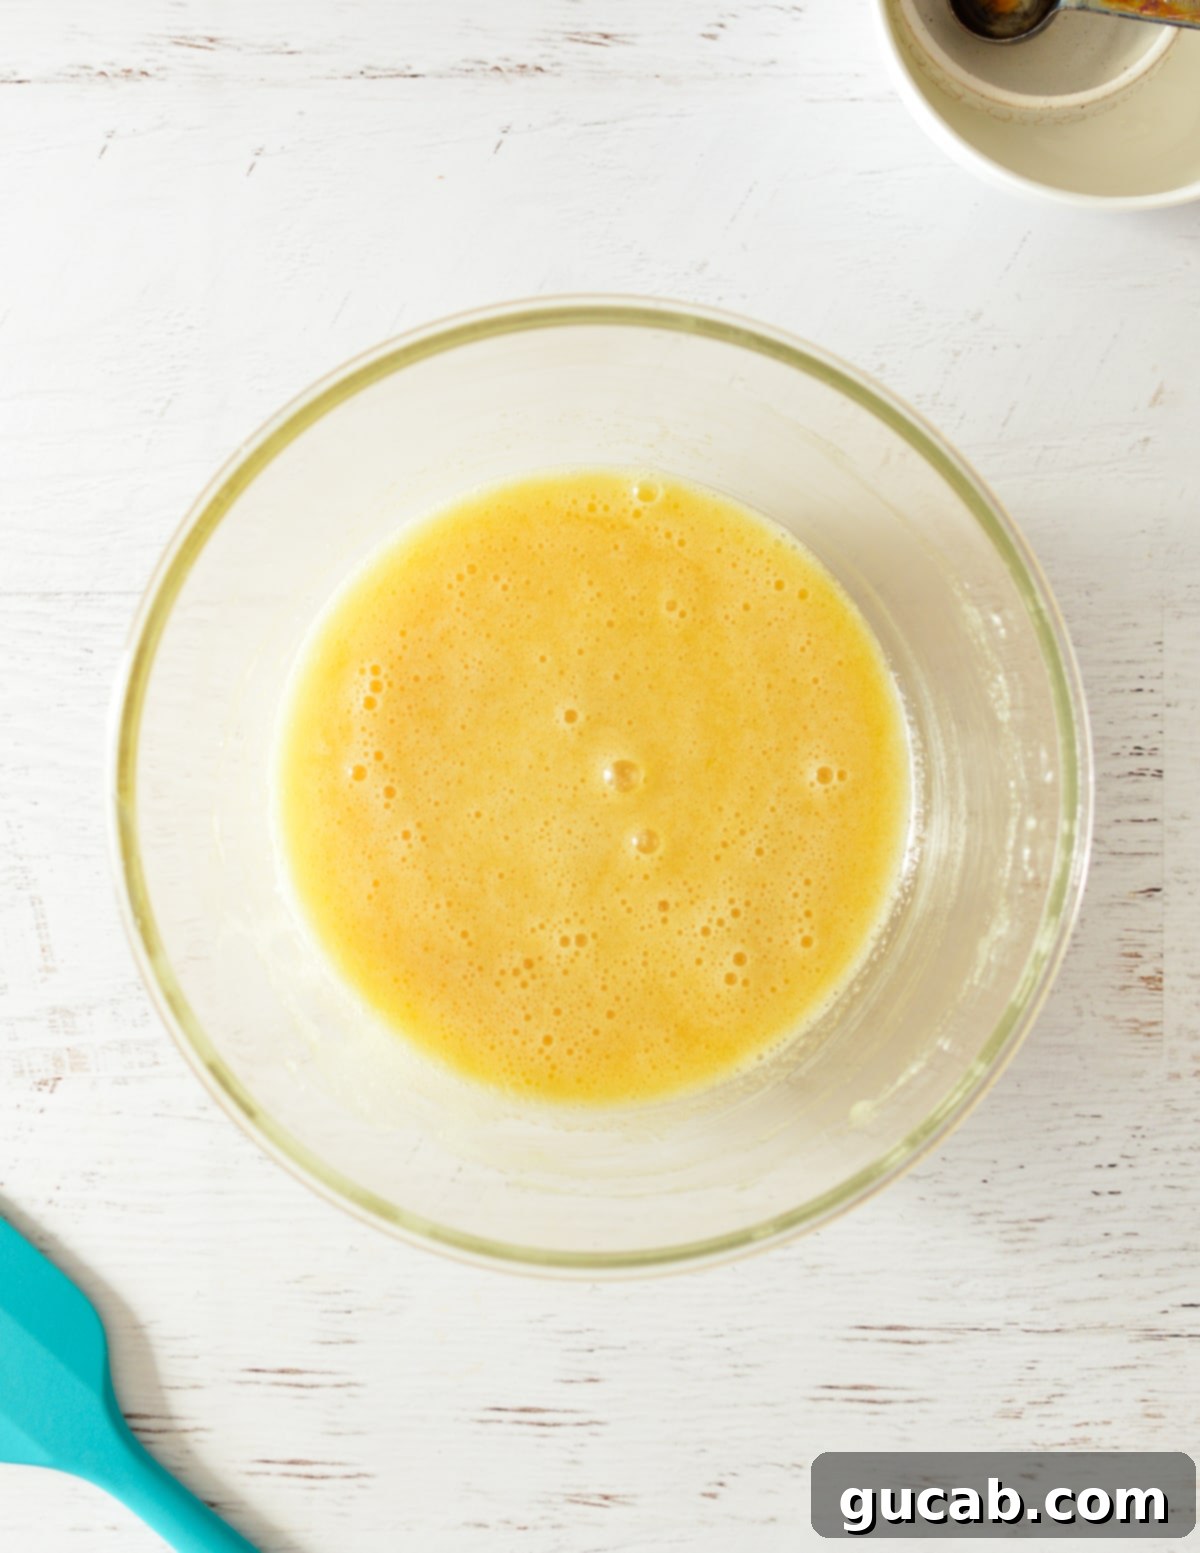
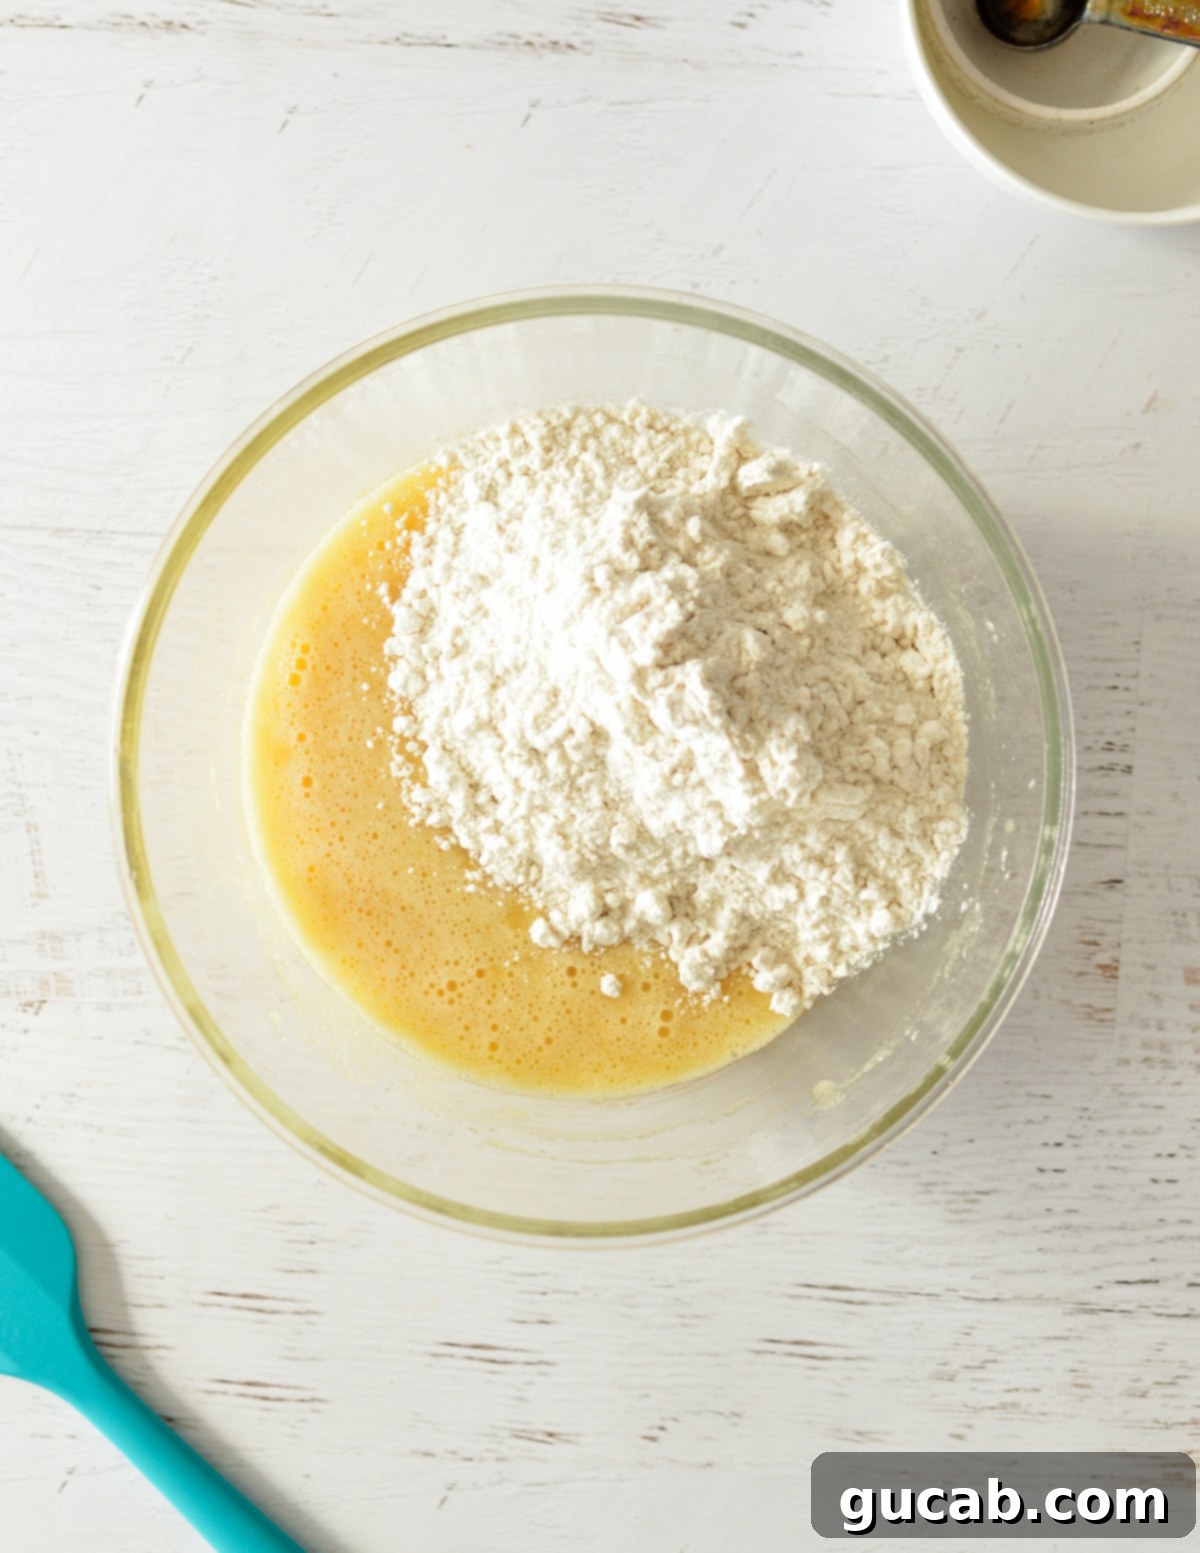
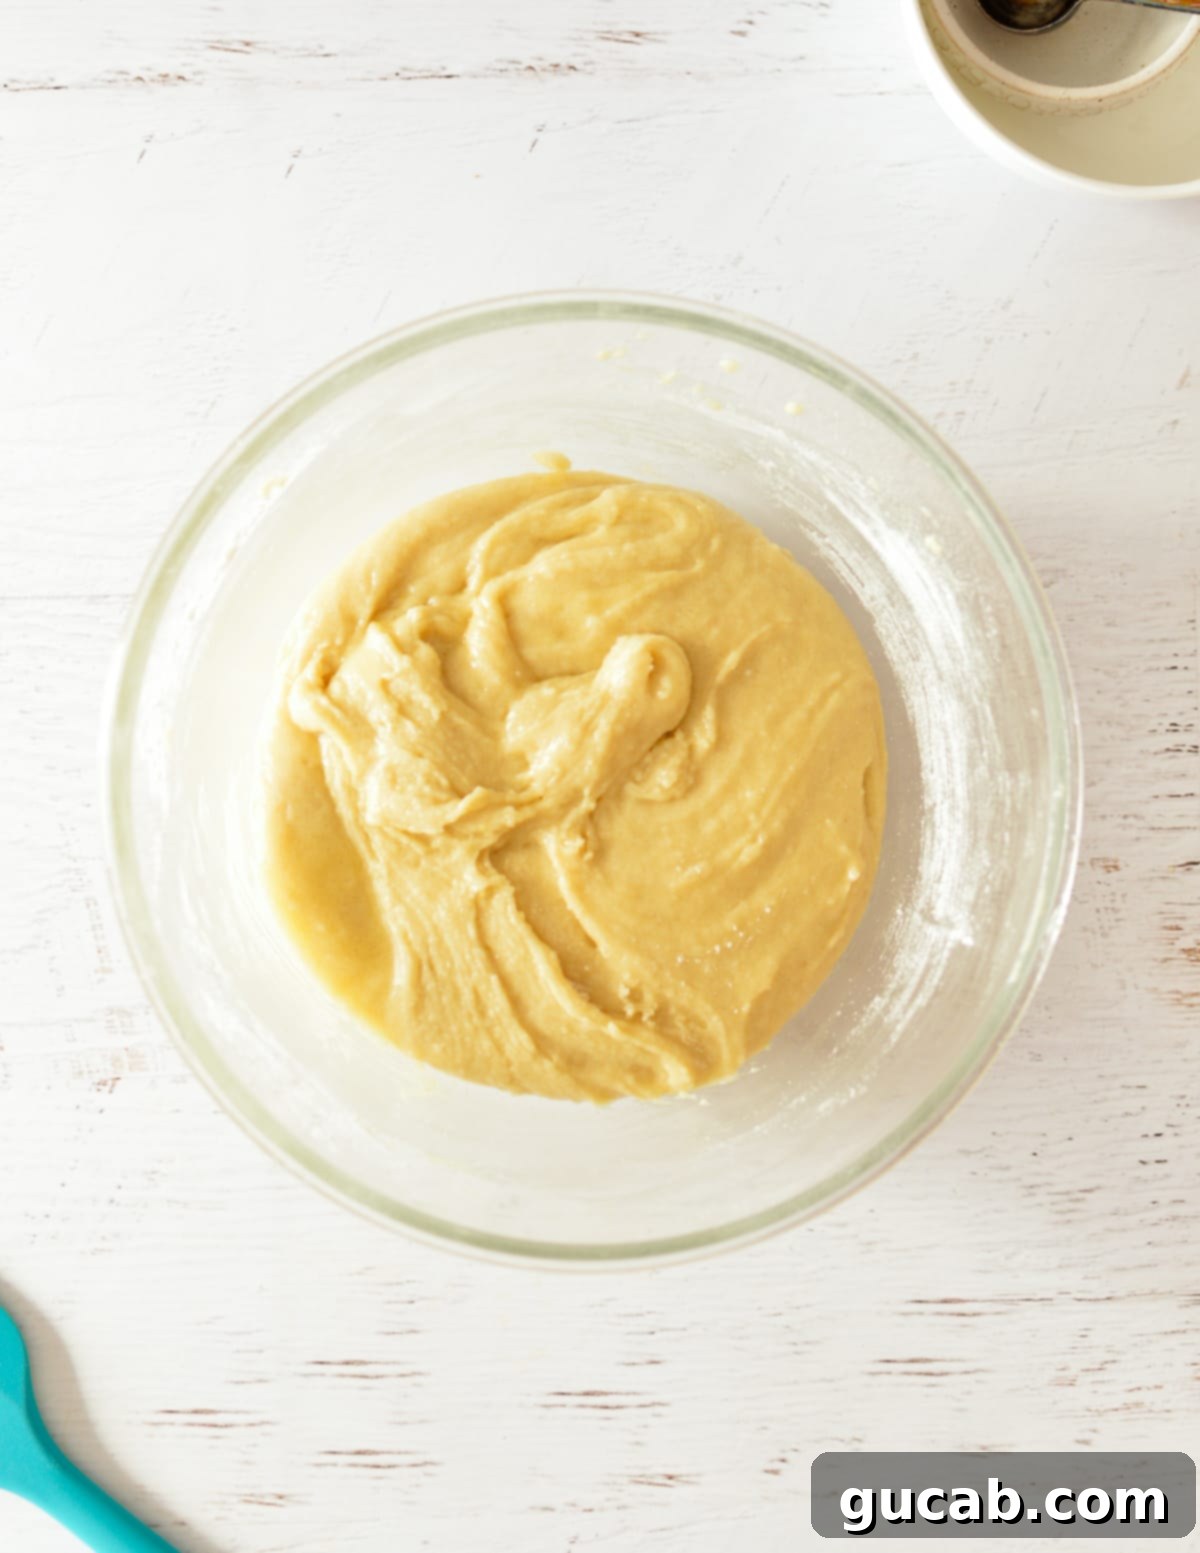
- **Alternating Wet and Dry (Part 1):** With the mixer on low speed, gradually add the dry ingredients to the wet mixture in two or three additions, beginning and ending with the dry ingredients. Mix only until just combined, scraping the sides of the bowl with a spatula as necessary to ensure a uniform batter. Be careful not to overmix, as this can lead to a tougher, less tender cupcake, even with gluten-free flour.
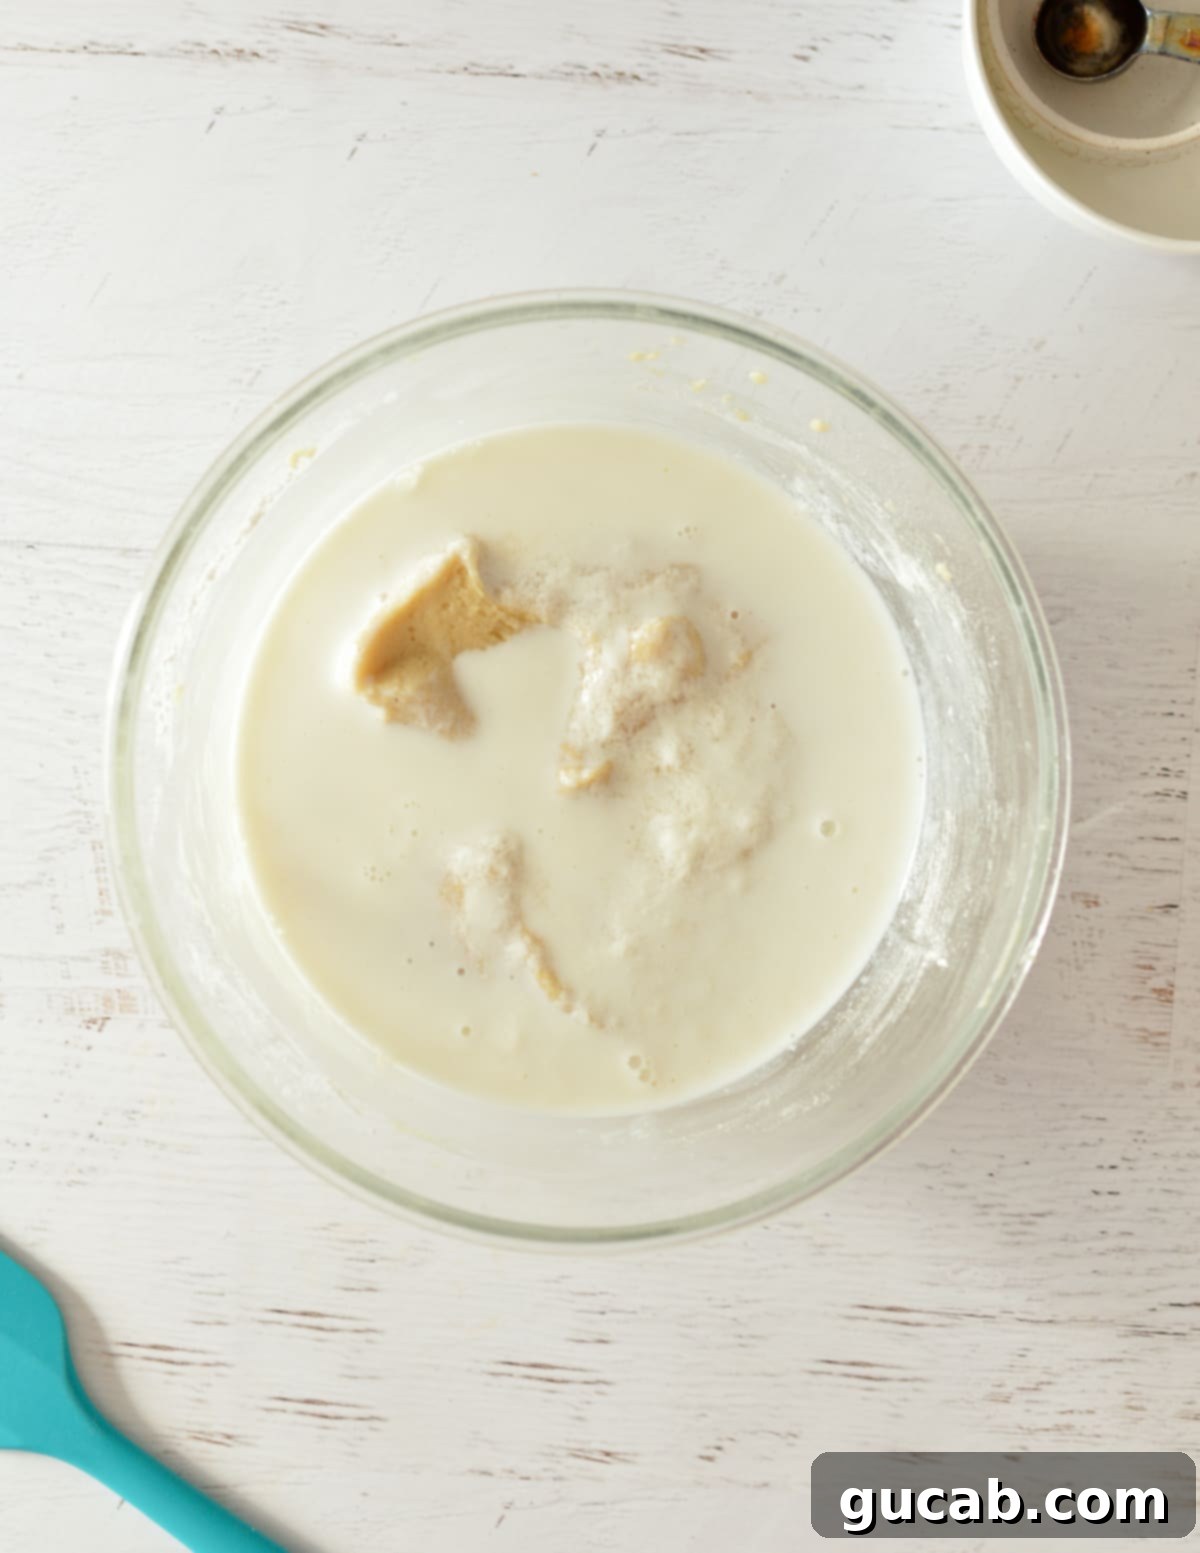
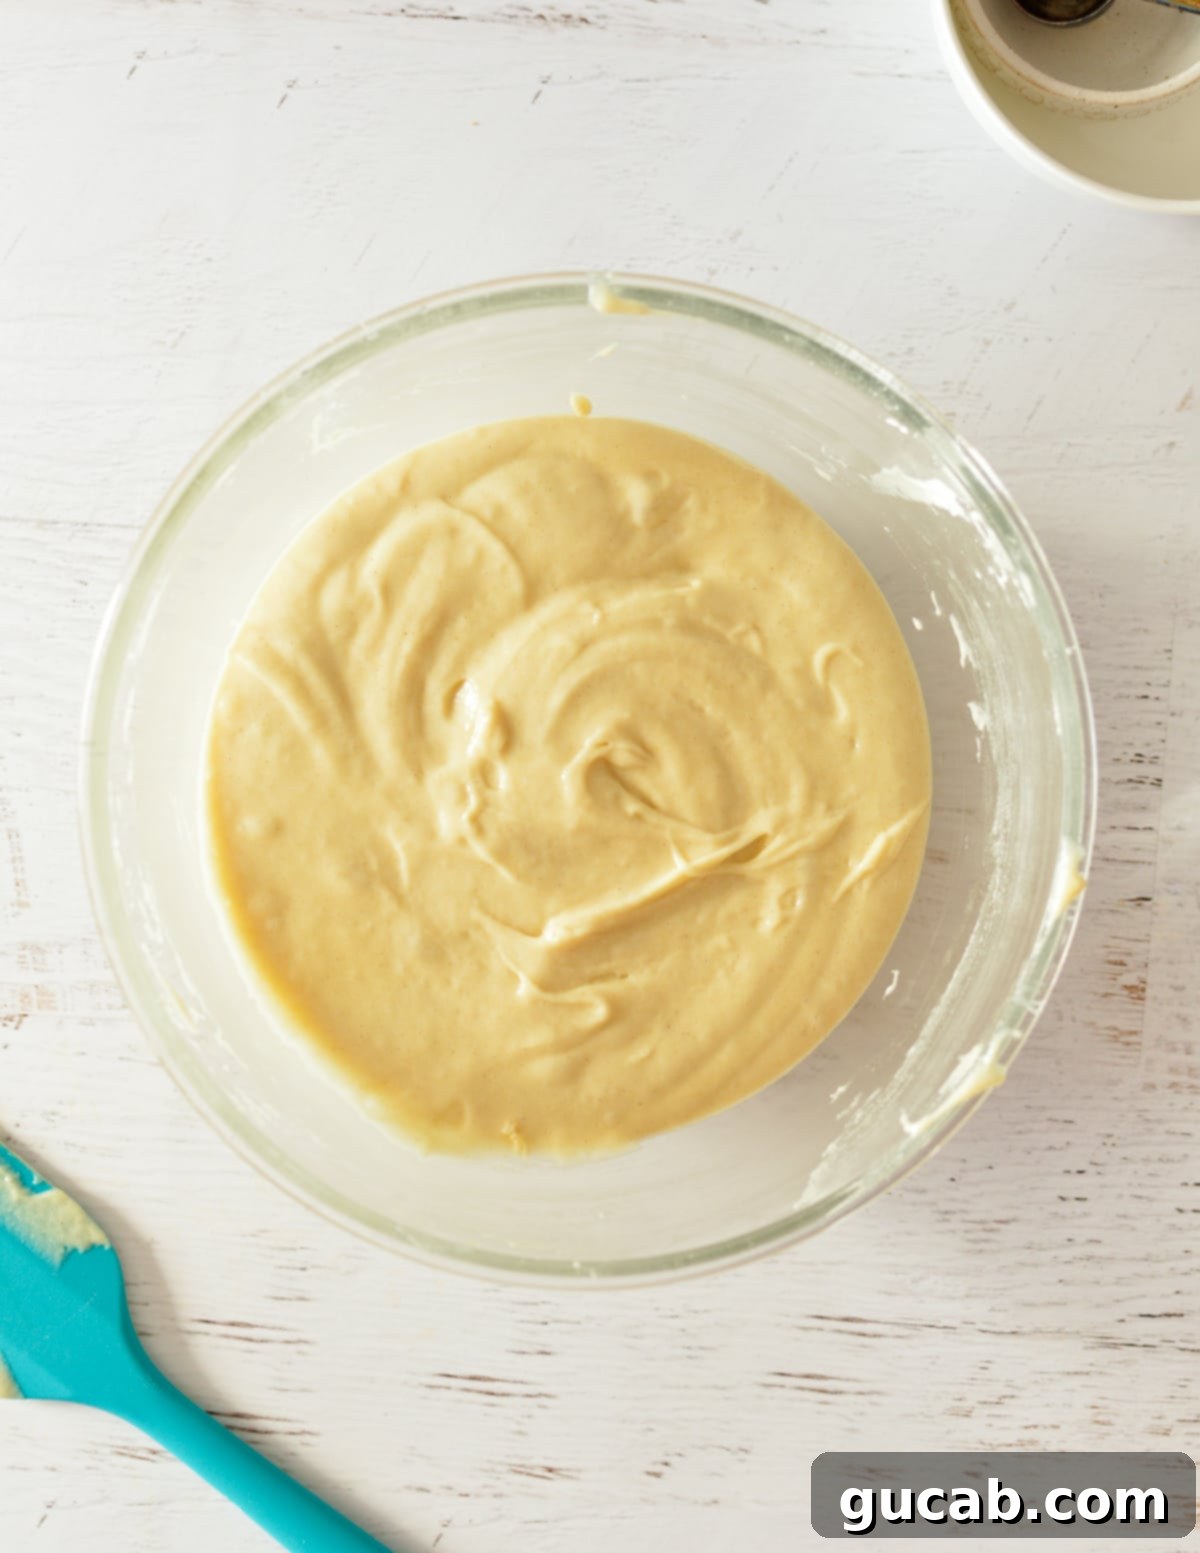
- **Add Milk Mixture:** Finally, pour in your prepared milk and vinegar mixture. Mix on low speed until it is just incorporated. Again, avoid overmixing. Scrape the sides of the bowl one last time to ensure everything is fully combined into a smooth, cohesive gluten-free cake batter. The batter should be slightly thick but pourable.
- **Fill Cupcake Tins:** Scoop the batter evenly into the prepared muffin tin cavities, filling each only two-thirds of the way full. This is a critical step! These gluten-free cupcakes rise beautifully, and overfilling will lead to overflowing or mushroom-capped cupcakes. You should yield exactly 12 perfect cupcakes. If your scoops result in less than 12, simply redistribute a small amount from the fuller cups to ensure even baking and the correct yield.
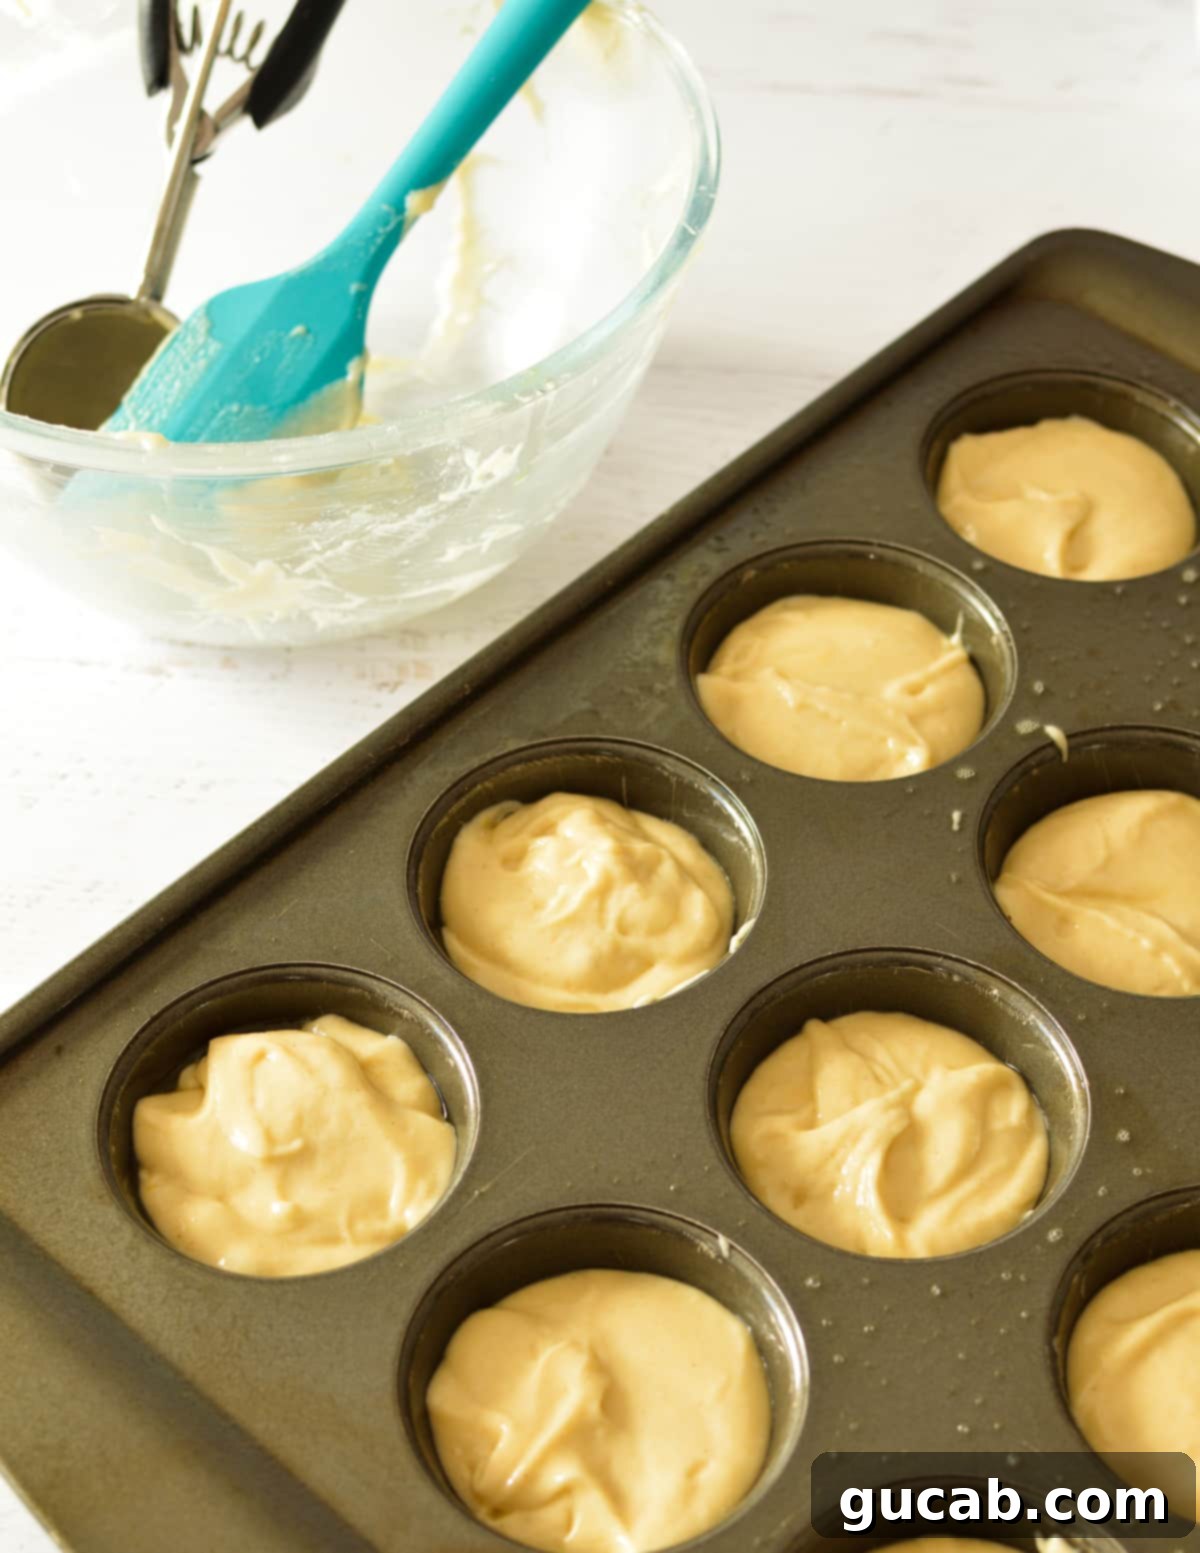
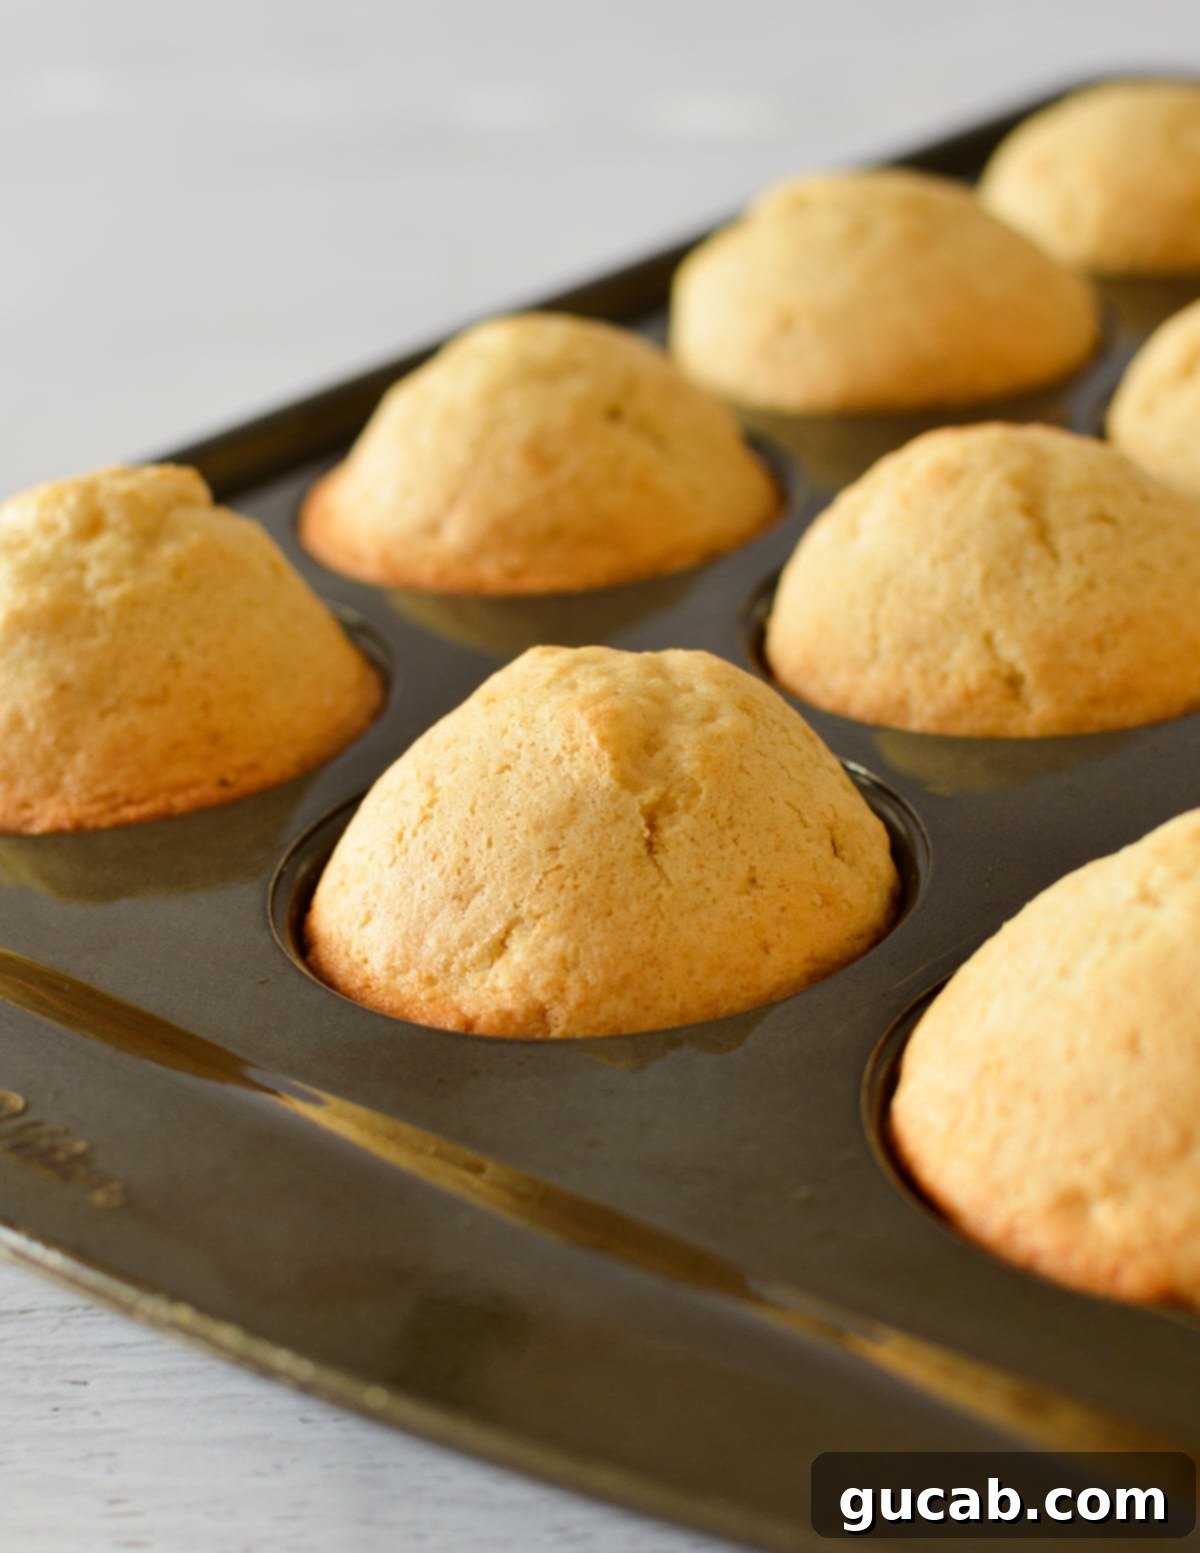
- **Bake to Perfection:** Bake for 16 to 18 minutes. Baking times can vary depending on your oven, so start checking at 16 minutes. You’ll know they are done when the tops are lightly golden, spring back gently when lightly pressed, and a wooden toothpick inserted into the center comes out clean or with only a few moist crumbs attached. Do not overbake! Overbaked cupcakes will be dry, which defeats the purpose of all our efforts for moisture and tenderness. Keep a close eye on them during the last few minutes.
Expert Tips for Perfect Gluten-Free Vanilla Cupcakes Every Time
Achieving truly excellent gluten-free cupcakes involves a few key considerations. Follow these tips for consistently perfect results:
- Don’t Overfill the Muffin Tins: As mentioned in the baking instructions, filling cavities only two-thirds full is essential. These cupcakes have fantastic lift, and overfilling will lead to them spilling over the edges or developing undesirable “domes.” Sticking to this guideline ensures uniform, beautifully shaped cupcakes and the correct yield of 12.
- Allow for Initial Cooling in the Pan: Resist the urge to immediately transfer your hot cupcakes from the muffin tin to a cooling rack. Hot cakes are fragile; their structure hasn’t fully set, making them prone to tearing or crumbling. Let them rest in the muffin tin for about 5-10 minutes. This allows them to firm up slightly before you gently remove them and place them on a wire rack to cool completely.
- Cool Completely Before Frosting: This tip is non-negotiable! If you apply buttercream or any butter-based frosting to warm cupcakes, the heat will melt the butter, turning your beautiful frosting into a gooey, runny mess. Patience is a virtue here. Ensure your cupcakes are entirely cool to the touch – ideally, at room temperature – before you even think about frosting them.
- Measure Flour Accurately (Spoon & Level Method): Precision in measuring gluten-free flour is critical. Do not scoop your measuring cup directly into the flour bag or container. This compresses the flour, and you’ll end up with significantly more than the recipe calls for, resulting in a dry, dense cupcake. Instead, use the “spoon and level” method: gently spoon the gluten-free flour into your measuring cup until it’s overflowing, then use the flat edge of a knife or a straight kitchen tool to level off the excess. This ensures you have the correct amount of flour every time.
- Room Temperature Ingredients: For the best emulsion and smoothest batter, ensure your eggs and milk are at room temperature. Cold ingredients don’t emulsify as well with oil and sugar, leading to a lumpy batter and potentially affecting the final texture. Take them out of the fridge about 30 minutes to an hour before you start baking.
- Don’t Overmix: While it’s important to ensure ingredients are well combined, overmixing the batter, especially after adding flour, can develop any starches in the gluten-free blend too much, resulting in a tougher texture. Mix on low speed only until the ingredients are just incorporated. A few small lumps in the batter are perfectly fine.
Storage & Freezing Gluten-Free Cupcakes
Proper storage ensures your gluten-free vanilla cupcakes remain fresh and delicious for as long as possible.
- To Store Unfrosted Cupcakes: If you plan to frost your cupcakes later, store them in an airtight container at room temperature for up to 3 days. This prevents them from drying out. For longer storage, refrigerate them for up to a week.
- To Store Frosted Cupcakes: Once frosted, especially with a cream cheese or buttercream frosting, cupcakes are best stored in an airtight container in the refrigerator. They will last for 3-5 days. Allow them to come to room temperature for about 15-30 minutes before serving for the best texture and flavor.
- To Freeze Cupcakes: Freezing is an excellent option for long-term storage, whether frosted or unfrosted.
- **Unfrosted:** Place completely cooled unfrosted cupcakes in a single layer on a sheet pan and freeze until solid (this takes about 1-2 hours). Once frozen, transfer them to a freezer-safe bag or airtight container, removing as much air as possible to prevent freezer burn.
- **Frosted:** For frosted cupcakes, follow the same method: flash freeze them on a sheet pan until the frosting is solid (this prevents smudging), then carefully transfer them to a freezer-safe container. You might want to use parchment paper between layers if stacking.
- **Best Practices:** For optimal taste and texture, freeze cupcakes within a day or two of baking. They are best enjoyed within 2-3 months.
- **To Defrost:** Transfer frozen cupcakes to the refrigerator overnight, or simply let them come to room temperature on the counter for a few hours. If you’re in a hurry, you can gently microwave them in 5 to 10-second intervals until just defrosted, being very careful not to warm them through, as this will melt the frosting.
Frequently Asked Questions (FAQs) About Gluten-Free Vanilla Cupcakes
It truly depends on the recipe and the quality of the gluten-free flour blend used. Traditional all-purpose flour is made solely from wheat, containing gluten which provides structure and elasticity. Gluten-free all-purpose flour, on the other hand, is typically a blend of various flours and starches like rice flour, brown rice flour, potato starch, tapioca starch, and often xanthan gum. Because of this complex composition, the specific brand and blend can significantly impact the final taste and texture. A well-formulated recipe, like this one, combined with a high-quality 1:1 gluten-free flour blend, can produce cupcakes that are virtually indistinguishable from their gluten-containing counterparts in terms of flavor, moisture, and fluffiness. However, a poorly balanced gluten-free recipe or a low-quality flour blend might result in a gritty, dry, or dense product.
Determining doneness for gluten-free cupcakes is similar to regular baking, with a couple of reliable tests.
- The Toothpick Test: Insert a wooden toothpick into the center of a cupcake. If it comes out clean or with only a few moist crumbs attached (no wet batter), your cupcakes are done. If it comes out wet, they need a few more minutes.
- The Spring-Back Test: Gently press the top of a cupcake with your finger. If it springs back immediately and feels firm yet bouncy, it’s likely done. If it leaves an indentation or feels squishy, give it a bit more time.
- Visual Cues: Look for lightly golden tops and edges that appear set and slightly pulled away from the muffin liner. Keep in mind that gluten-free baked goods might not brown as deeply as wheat-based ones. It’s crucial not to overbake, as gluten-free items can dry out more quickly.
Yes, you can! To make these cupcakes dairy-free, simply substitute the regular milk with your favorite dairy-free milk alternative, such as almond milk, soy milk, or oat milk. Ensure it’s unsweetened and plain to avoid altering the flavor profile. The vinegar will still work to create a “dairy-free buttermilk” effect. Most other ingredients in this recipe are naturally dairy-free.
Vanilla cupcakes are incredibly versatile! A classic vanilla buttercream is always a winner. Other delicious options include:
- Cream Cheese Frosting: Adds a tangy, rich contrast.
- Chocolate Buttercream: A timeless combination for chocolate lovers.
- Strawberry Buttercream: Complements the subtle sweetness of vanilla perfectly, especially if you add a strawberry filling.
- Lemon Buttercream: Offers a refreshing, zesty kick.
The choice largely depends on your personal preference and the occasion!
For uniform cupcakes that bake evenly, using a spring-loaded ice cream scoop or a large cookie scoop is highly recommended. A standard scoop typically holds about 3-4 tablespoons of batter, which is usually the right amount for filling cupcake liners two-thirds full. This method ensures each cupcake is the same size, promoting consistent baking times and a professional appearance. If you don’t have a scoop, carefully use two spoons to divide the batter as evenly as possible.
Other Gluten-Free Cake and Cupcake Recipes You Will Love
- Gluten Free Marble Cake
- Gluten Free Chocolate Pound Cake
- Gluten Free Italian Cream Cake
- Soft Gluten Free Chocolate Cupcakes
- Gluten Free Red Velvet Cupcakes
- Gluten Free Funfetti Cupcakes
Gluten Free Vanilla Cupcakes
Carolyn
Pin Recipe
Equipment
-
Stand Mixer with the Paddle Attachment
-
Liquid Measuring cup
-
Dry Measuring Cups
-
Muffin tin
-
Bowl
Ingredients
- ½ cup vegetable oil
- ¾ cup sugar
- 2 t. vanilla extract
- 2 eggs
- 1 ½ cup + 2 tbsp Bob’s Red Mill 1:1 All Purpose Gluten Free Flour spooned and leveled
- 1 ½ t. baking powder
- ½ t. baking soda
- ¼ t. kosher salt
- ½ cup milk
- 2 teaspoons apple cider vinegar
Instructions
-
Preheat oven to 350 degrees Fahrenheit. Spray a muffin tin with nonstick spray and set aside. Combine the milk and vinegar. Set aside.
-
In a medium bowl measure the flour, baking powder, baking soda, and kosher salt then set aside.
-
In the bowl of a stand mixer mix together the vegetable oil, sugar, and vanilla on medium speed.
-
Add the eggs one at a time to the oil mixture beating well after each addition. Scrape the sides of the bowl with a spatula to make sure everything is incorporated.
-
Add the flour mixture to the bowl and beat until a batter forms then on low speed gradually add the milk. Scrape down the sides of the bowl with a spatula and then beat for 30 more seconds.
-
Fill the cupcake cavities only ⅔ of the way full. Don’t overfill. Bake until a toothpick comes out clean or the tops bounce back when pressed. This should be around 16 to 18 minutes.
-
Let cupcakes cool and then frost with vanilla or chocolate buttercream.
Notes
Nutrition
