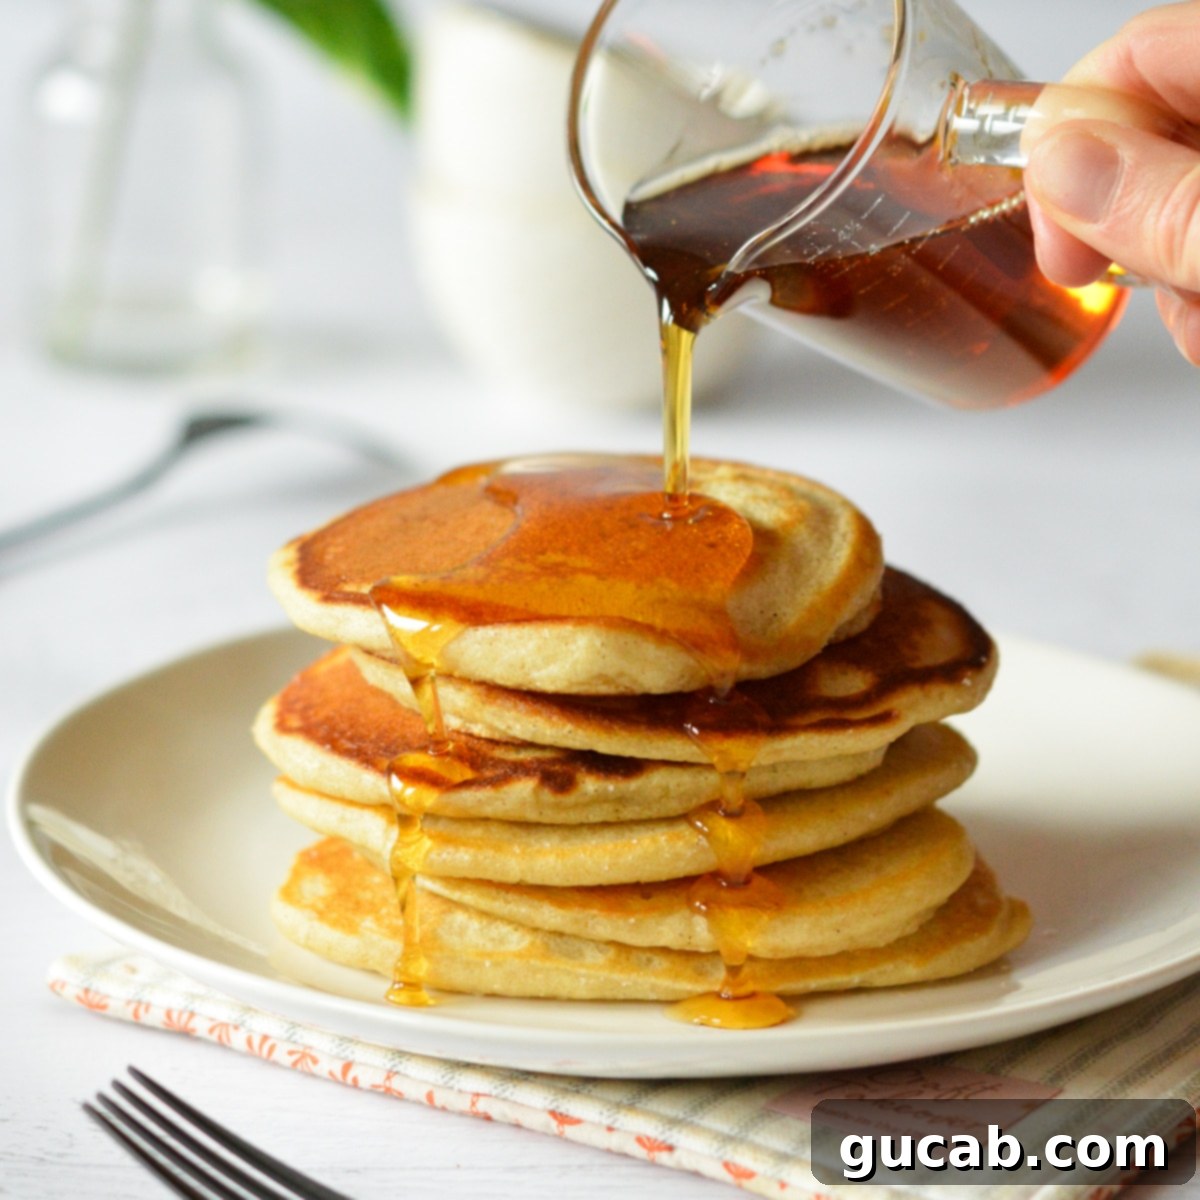
Crispy Edge Pancakes: Your Ultimate Guide to Perfectly Golden, Fluffy Breakfast
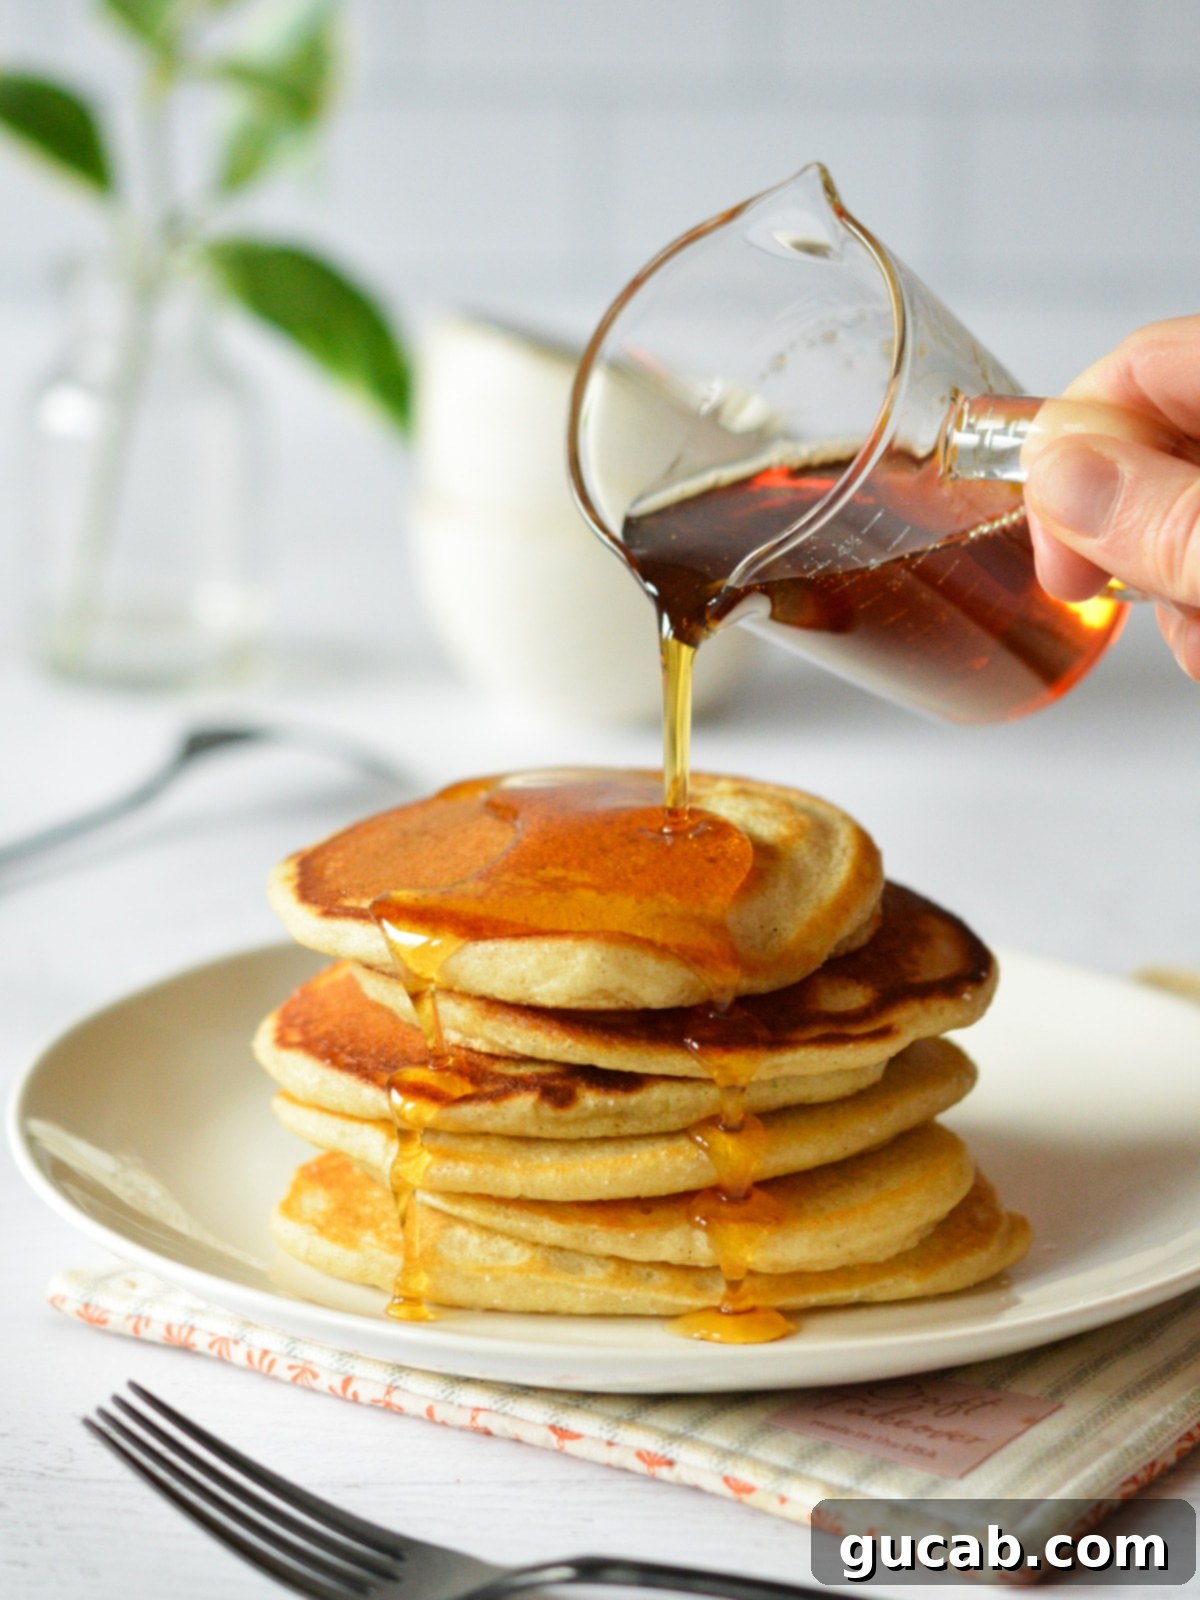
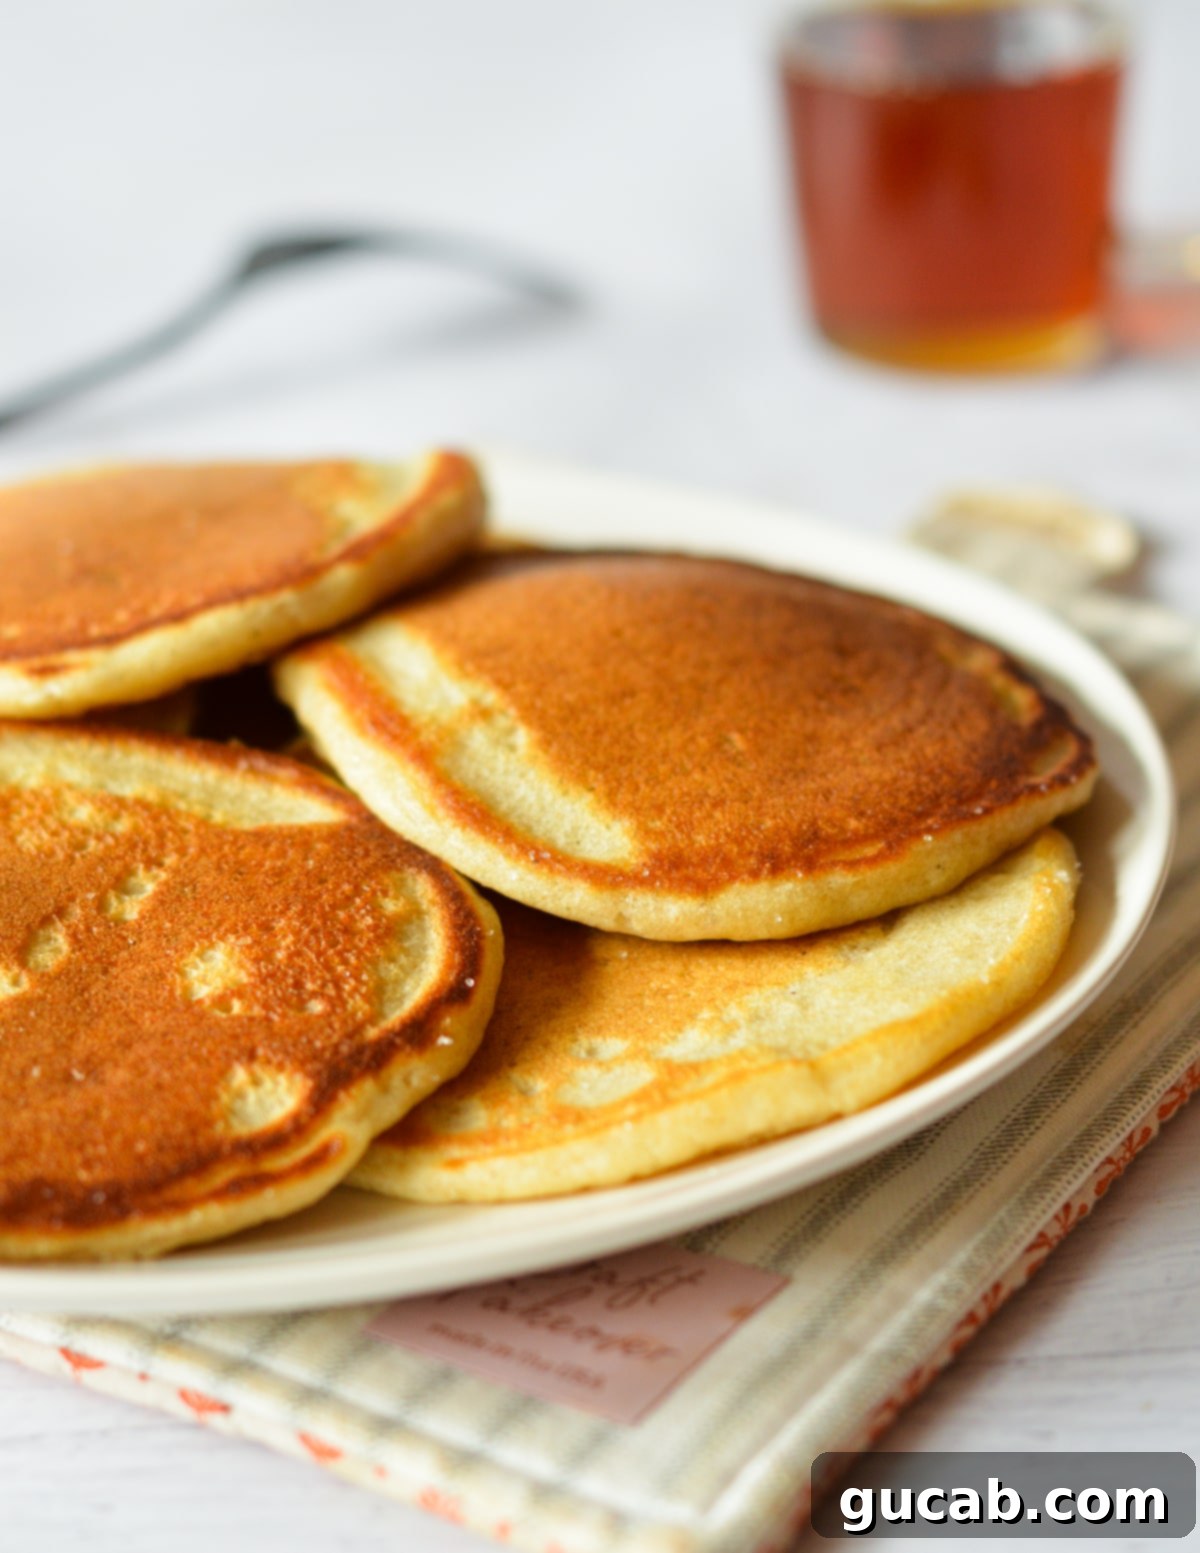
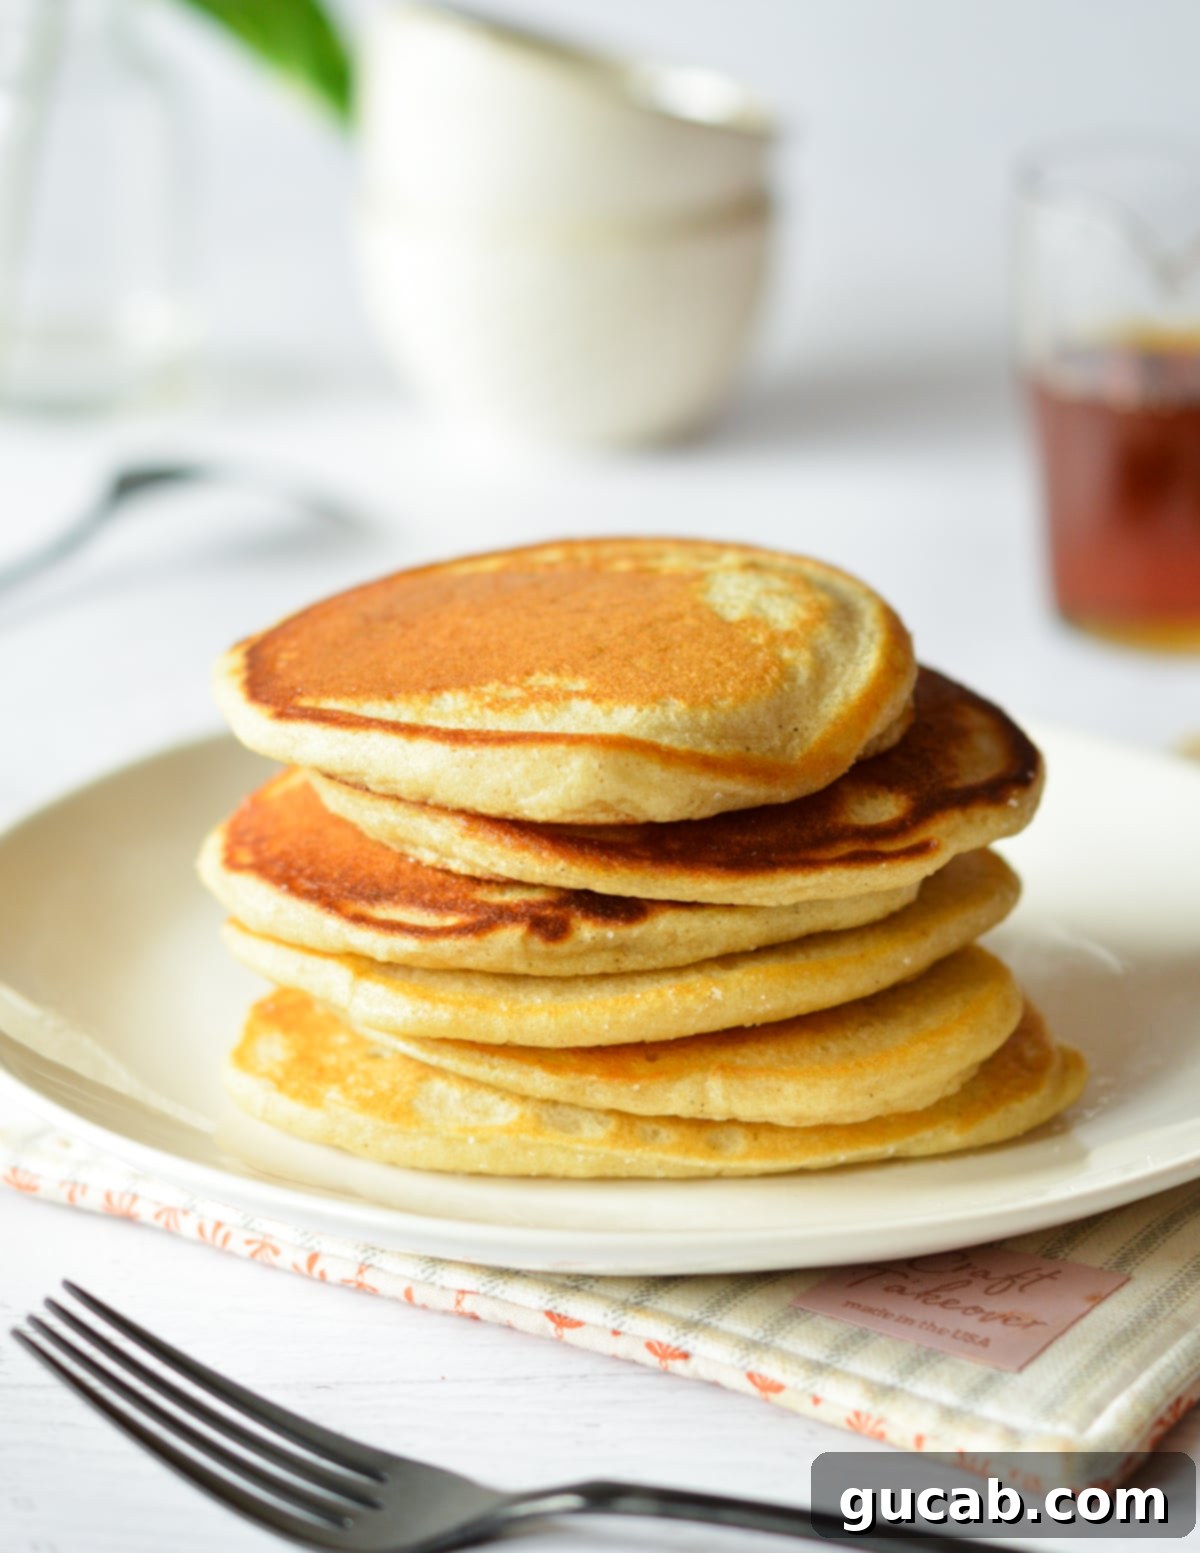
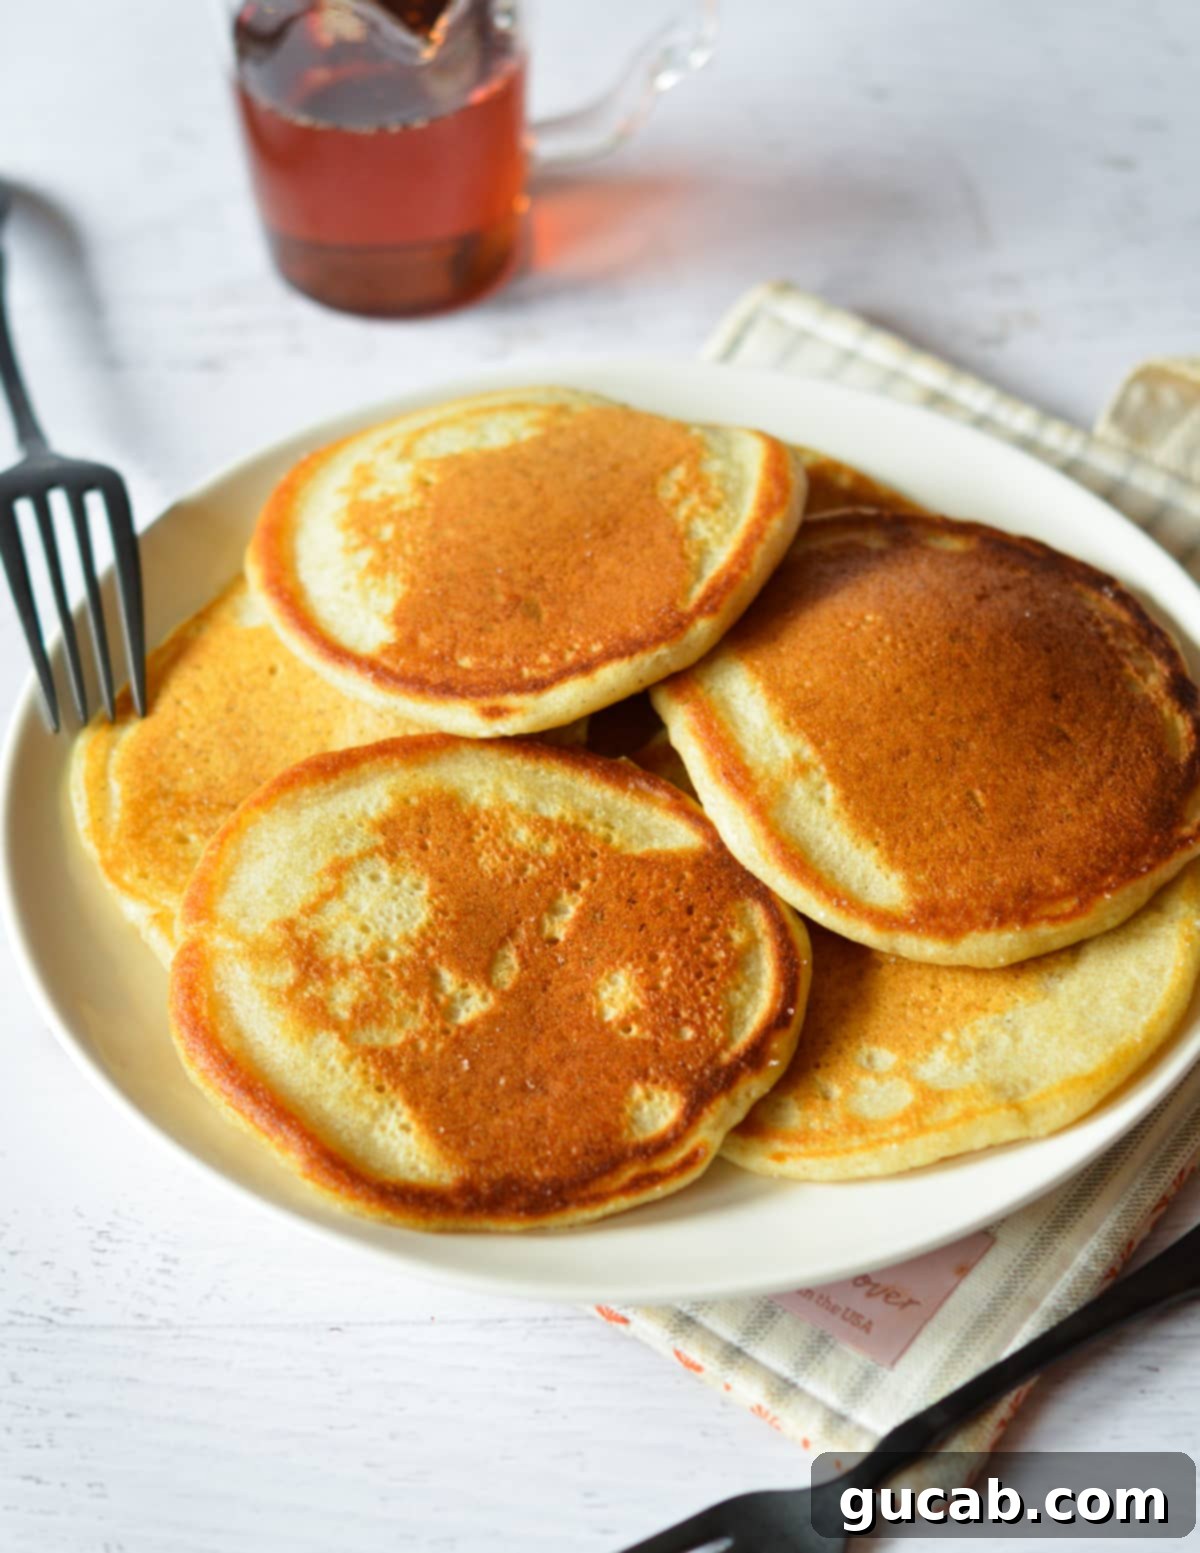
Prepare to revolutionize your breakfast routine with these exquisite, light, and crispy pancakes! Far from your average flapjacks, these culinary delights strike a perfect balance, offering a wonderfully fluffy yet thin texture, adorned with irresistibly crisp, golden-brown edges. Each bite delivers a delightful contrast, leading to a truly unforgettable breakfast experience. For the ultimate indulgence, serve them piled high and generously drizzled with rich, amber maple syrup.
Why You’ll Fall in Love with These Crispy Pancakes
For many, the mention of pancakes evokes images of thick, soft, and pillowy stacks. While those classic buttermilk pancakes certainly have their charm, there’s a unique magic in a pancake that offers a delicate crispness. These aren’t just any pancakes; they are a revelation for anyone who appreciates texture and flavor in their breakfast. I’ll admit, my love for pancakes knows no bounds – I genuinely live for those light, fluffy, almost heavenly pillows drenched in sweet maple syrup. However, sometimes I crave something a bit different, a lighter touch, a delightful crunch, and that’s precisely where these extraordinary crispy edge pancakes shine.
What makes these thin, crispy pancakes so special? They redefine the breakfast staple. Unlike their thicker counterparts, these beauties are thinner and wonderfully light, boasting a gorgeous golden-brown top and a subtly caramelized, crispy bottom that truly sets them apart. This perfect combination of a tender, airy interior and a satisfyingly crisp exterior creates an addictive experience. They’re surprisingly easy to master, making them an ideal choice for a weekend brunch or even a quick weekday treat. Get ready to discover your new favorite pancake recipe that’s not just delicious, but also incredibly satisfying and straightforward to prepare. This recipe offers a delightful textural contrast that elevates the humble pancake to a gourmet level, promising smiles around the breakfast table.
Essential Ingredients for Perfect Crispy Pancakes
Creating the perfect crispy pancake relies on a careful selection of ingredients, each playing a vital role in achieving that coveted light, fluffy, and crispy texture. While the list might seem standard, understanding the purpose of each component is key to culinary success. Don’t be tempted to swap certain ingredients, as their specific properties are what make these pancakes truly shine, guaranteeing that delightful crunch and golden hue you crave.
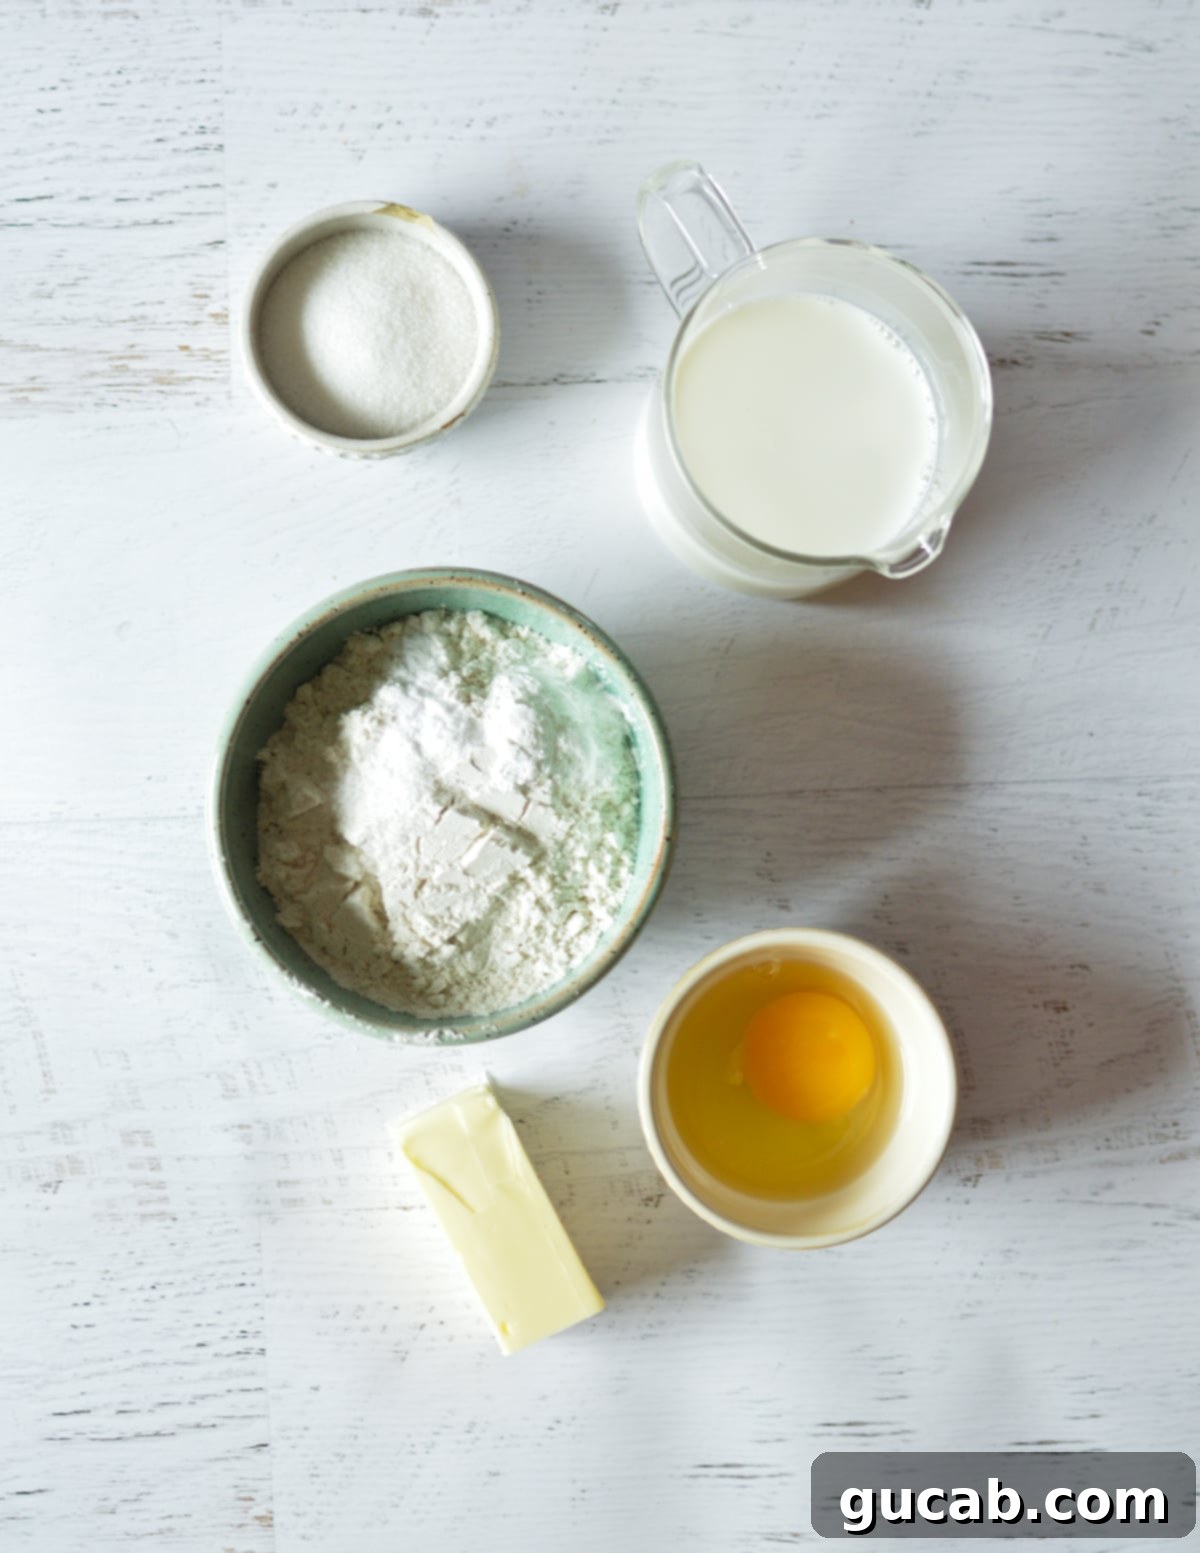
- All-Purpose Flour: This is the foundation of our light and airy pancakes. All-purpose flour provides the right amount of gluten structure without making the pancakes too heavy or dense. It’s crucial for achieving that delicate thinness and internal fluffiness. Substituting with alternative flours can drastically alter the texture, leading to pancakes that won’t achieve the desired crispiness or lightness. For best results, stick to the recommended all-purpose variety.
- Granulated Sugar: Beyond just sweetening the batter, sugar is a critical player in developing those signature crispy edges and golden-brown tops. A small amount in the batter contributes to overall flavor, but a clever sprinkle on the cooking side of the pancake in the hot skillet encourages beautiful caramelization, giving you that irresistible crunch. This step is a secret weapon for achieving that sought-after texture.
- Baking Powder & Baking Soda: These leavening agents are indispensable for a proper rise. Baking powder reacts with liquid and heat to create carbon dioxide bubbles, making the pancakes light and fluffy. Baking soda, a base, requires an acid (which will come from the milk in this recipe) to react and produce even more lift, ensuring a tender, airy crumb. Together, they are responsible for the delightful lift and internal texture, making your pancakes wonderfully airy.
- Kosher Salt: A small but mighty ingredient, kosher salt is not just for seasoning. It enhances all the other flavors in the pancake, balancing the sweetness and preventing the pancakes from tasting flat. It brings out the subtle richness of the butter and milk, making every bite more flavorful. If you’re using table salt, remember to cut the amount in half, as it’s much finer and saltier by volume.
- Large Egg: The egg serves multiple purposes: it acts as a binder, holding the batter together and providing essential structure so the pancakes don’t fall apart during cooking. It also contributes to richness, a beautiful golden color, and helps create a more tender crumb. The protein in the egg solidifies upon cooking, giving the pancake its delightful shape and holding everything in place.
- Unsalted Butter (Melted & Cooled): This is a crucial ingredient for both flavor and texture. While butter adds a rich, decadent taste, it surprisingly helps create a fluffy interior. When melted and incorporated correctly, it prevents the pancakes from becoming tough and contributes to a beautiful, even browning on the skillet, further aiding in achieving those crispy edges. Ensure it’s melted but allowed to cool slightly before adding to prevent cooking the egg prematurely.
- Whole Milk: For the absolute best results and the richest flavor, whole milk is highly recommended. Its higher fat content contributes to a tenderer crumb and a more luxurious mouthfeel compared to lower-fat milk alternatives. The fat also interacts with the heat and sugar to promote superior browning and crispness, which are both essential characteristics of these delicious crispy pancakes. Avoid substitutions for optimal results.
Crafting Your Crispy Edge Pancakes: A Step-by-Step Guide
Making these crispy pancakes is a straightforward process, but paying attention to a few key details will ensure you achieve that perfect balance of fluffy interior and delightfully crisp exterior. Follow these steps carefully for breakfast perfection that will impress every time.
- Prepare Your Skillet: Before you even think about mixing the batter, it’s essential to heat a large nonstick skillet over medium heat. This step is critical because a properly preheated skillet is the secret to achieving crispy edges and even cooking. Giving it ample time to reach the correct temperature prevents the pancakes from absorbing too much oil and becoming greasy, instead allowing them to crisp up beautifully. A hot skillet ensures immediate caramelization and a superior texture.
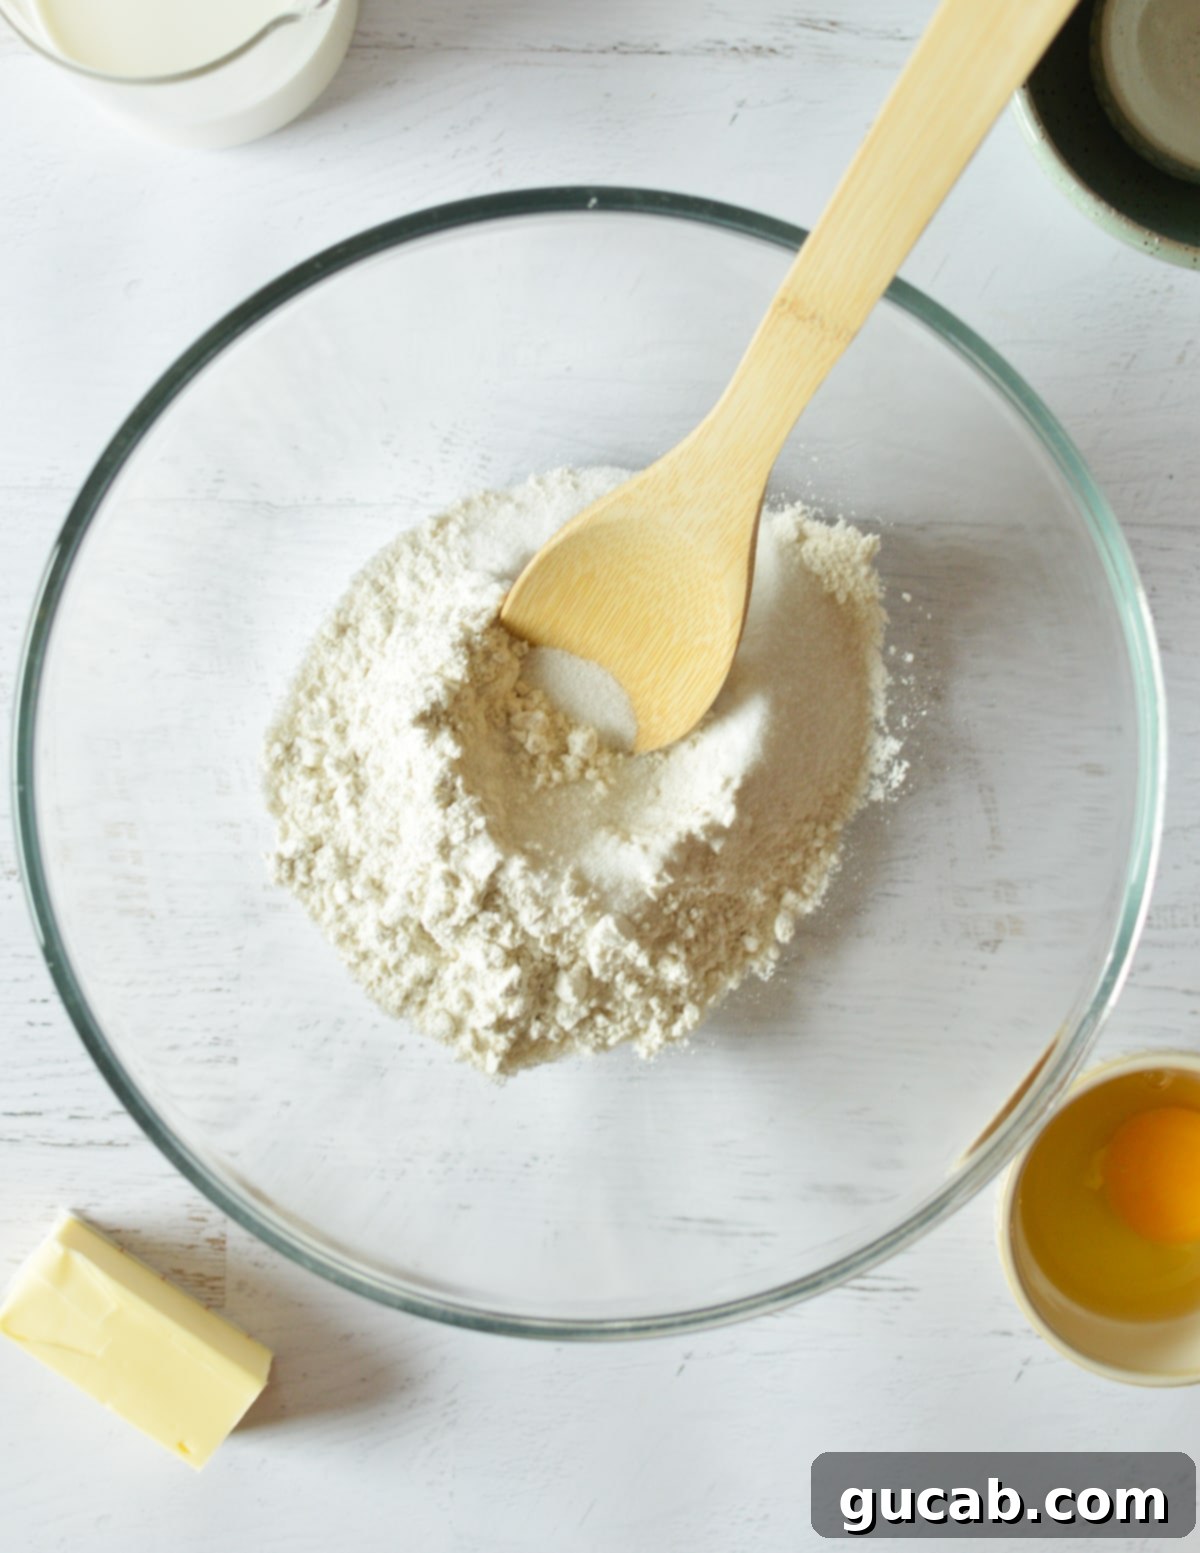
- Combine Dry Ingredients: In a generously sized mixing bowl, combine all your dry ingredients: the all-purpose flour, granulated sugar, baking powder, baking soda, and kosher salt. Use a whisk to thoroughly combine them. This ensures that the leavening agents and salt are evenly distributed throughout the flour, guaranteeing a consistent rise and flavor in every pancake. This even distribution is vital for uniform texture and taste.
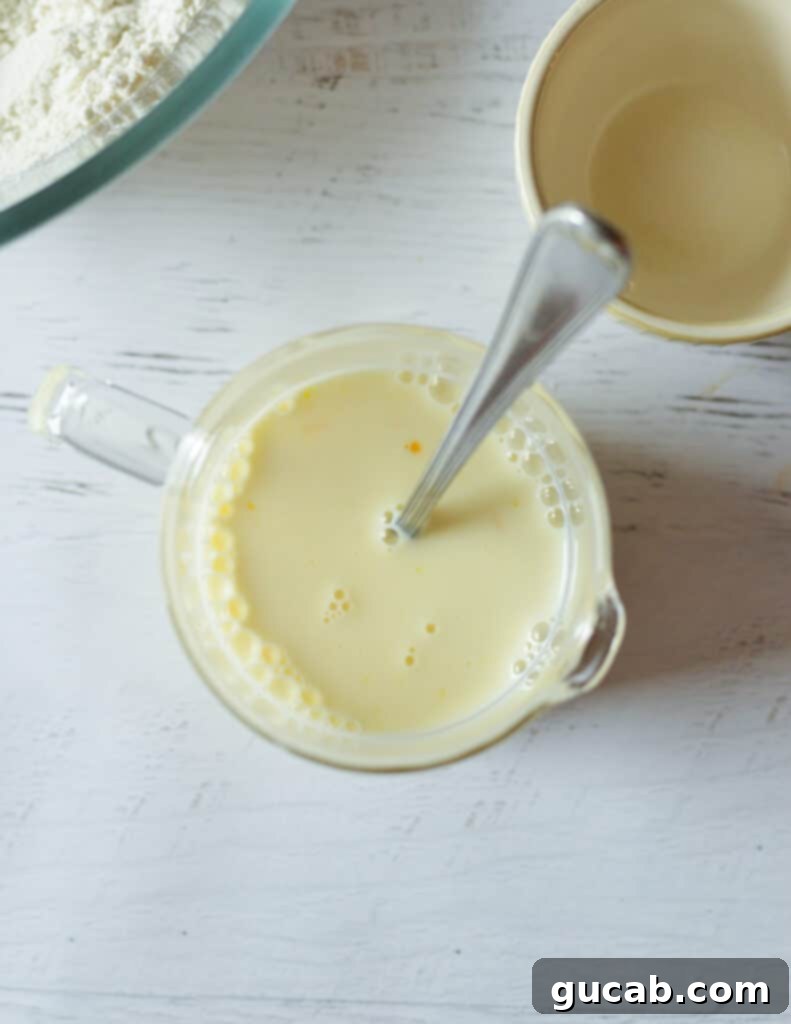
- Whisk Wet Ingredients: In a separate liquid measuring cup, combine the whole milk and the large egg. Use a fork or a small whisk to thoroughly break up the egg and mix it completely with the milk. This ensures the egg is fully incorporated and will integrate smoothly into the dry ingredients, providing consistent structure and richness to the batter. Proper mixing here prevents streaks of egg white and ensures an even batter.
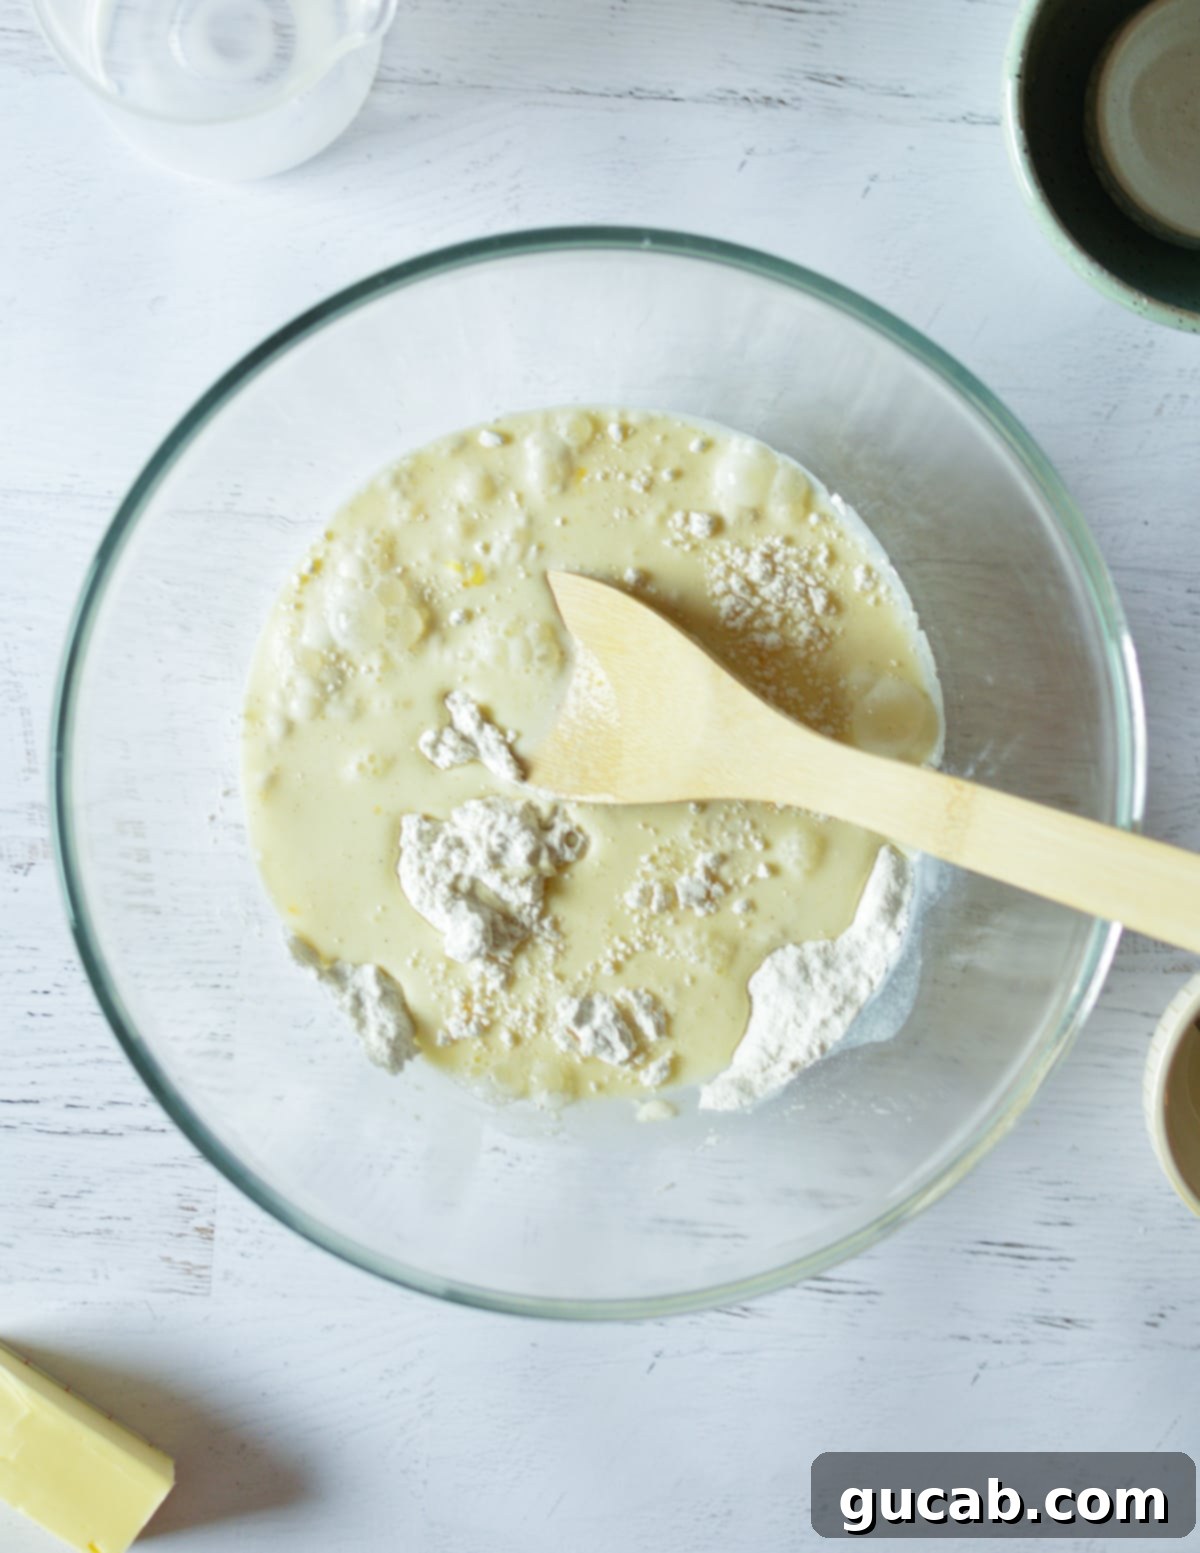
- Combine Wet and Dry Mixtures: Pour the milk and egg mixture directly into the bowl with the combined dry ingredients. Stir gently with a spoon or spatula until just incorporated. The key here is to avoid overmixing. A few lumps are perfectly fine and even desirable, as overmixing can develop the gluten in the flour too much, leading to tough, chewy pancakes instead of light and fluffy ones.
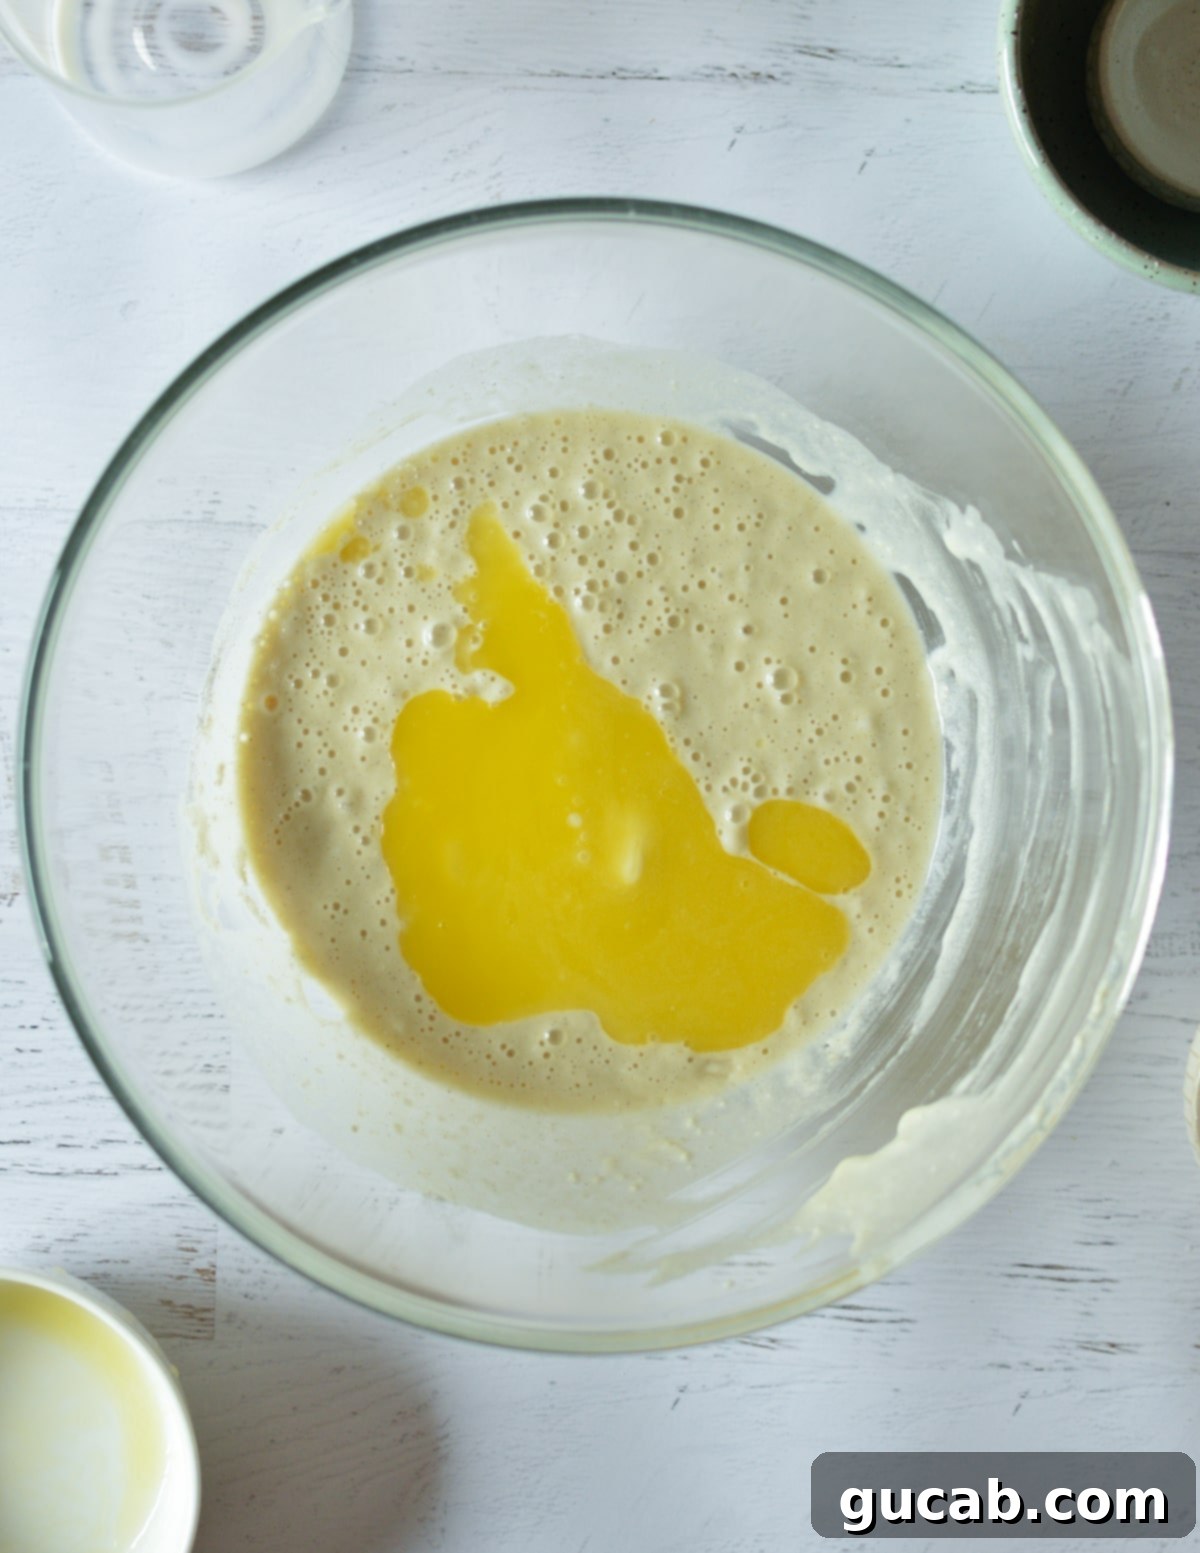
- Add Melted Butter: Gently fold in the melted and cooled unsalted butter into the batter. Continue to stir just until a relatively smooth batter forms. The butter adds richness and contributes to the pancake’s tender texture and beautiful browning. Again, mix minimally to prevent overworking the gluten. Ensuring the butter is cool prevents it from scrambling the egg in the batter.
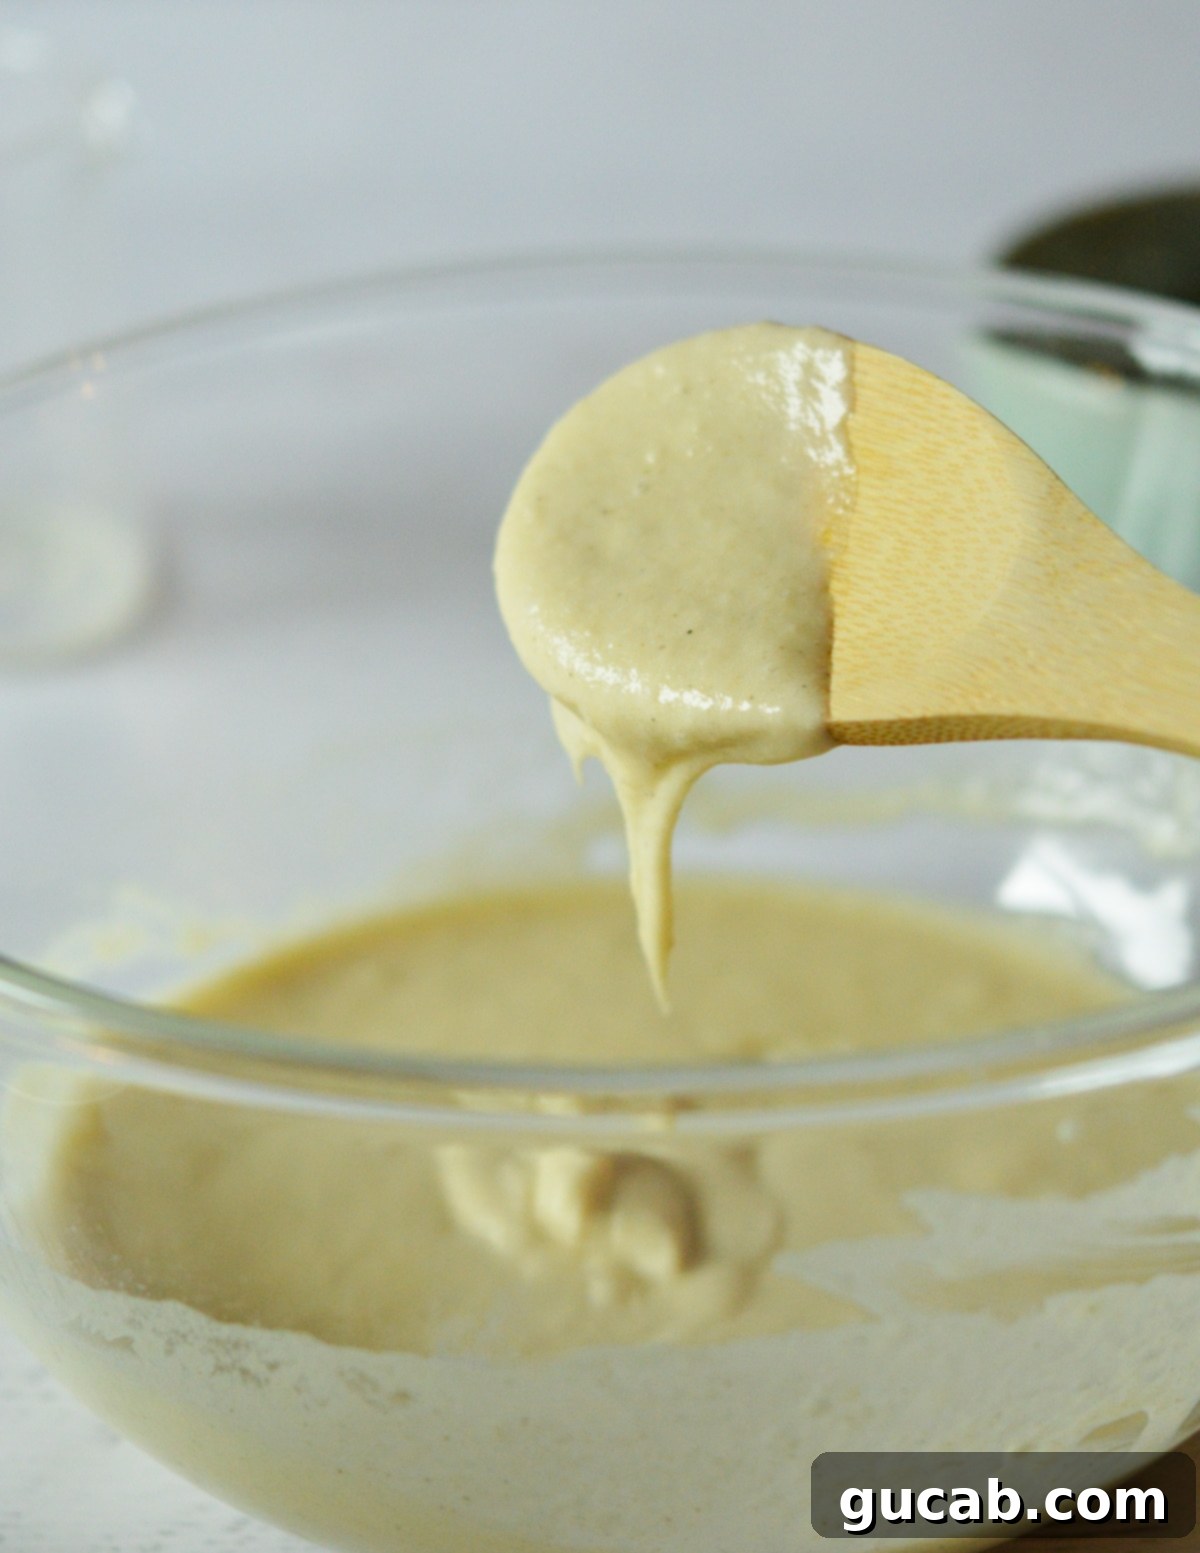
- Check Batter Consistency: The batter for these crispy pancakes should be noticeably thinner than typical fluffy pancake batter. When picked up with a spoon, it should pour slowly and smoothly, not drop in thick globs. This thinner consistency is crucial for creating those delicate, crispy edges without making the pancake dense. It allows the heat to penetrate quickly, leading to faster cooking and crispier results.
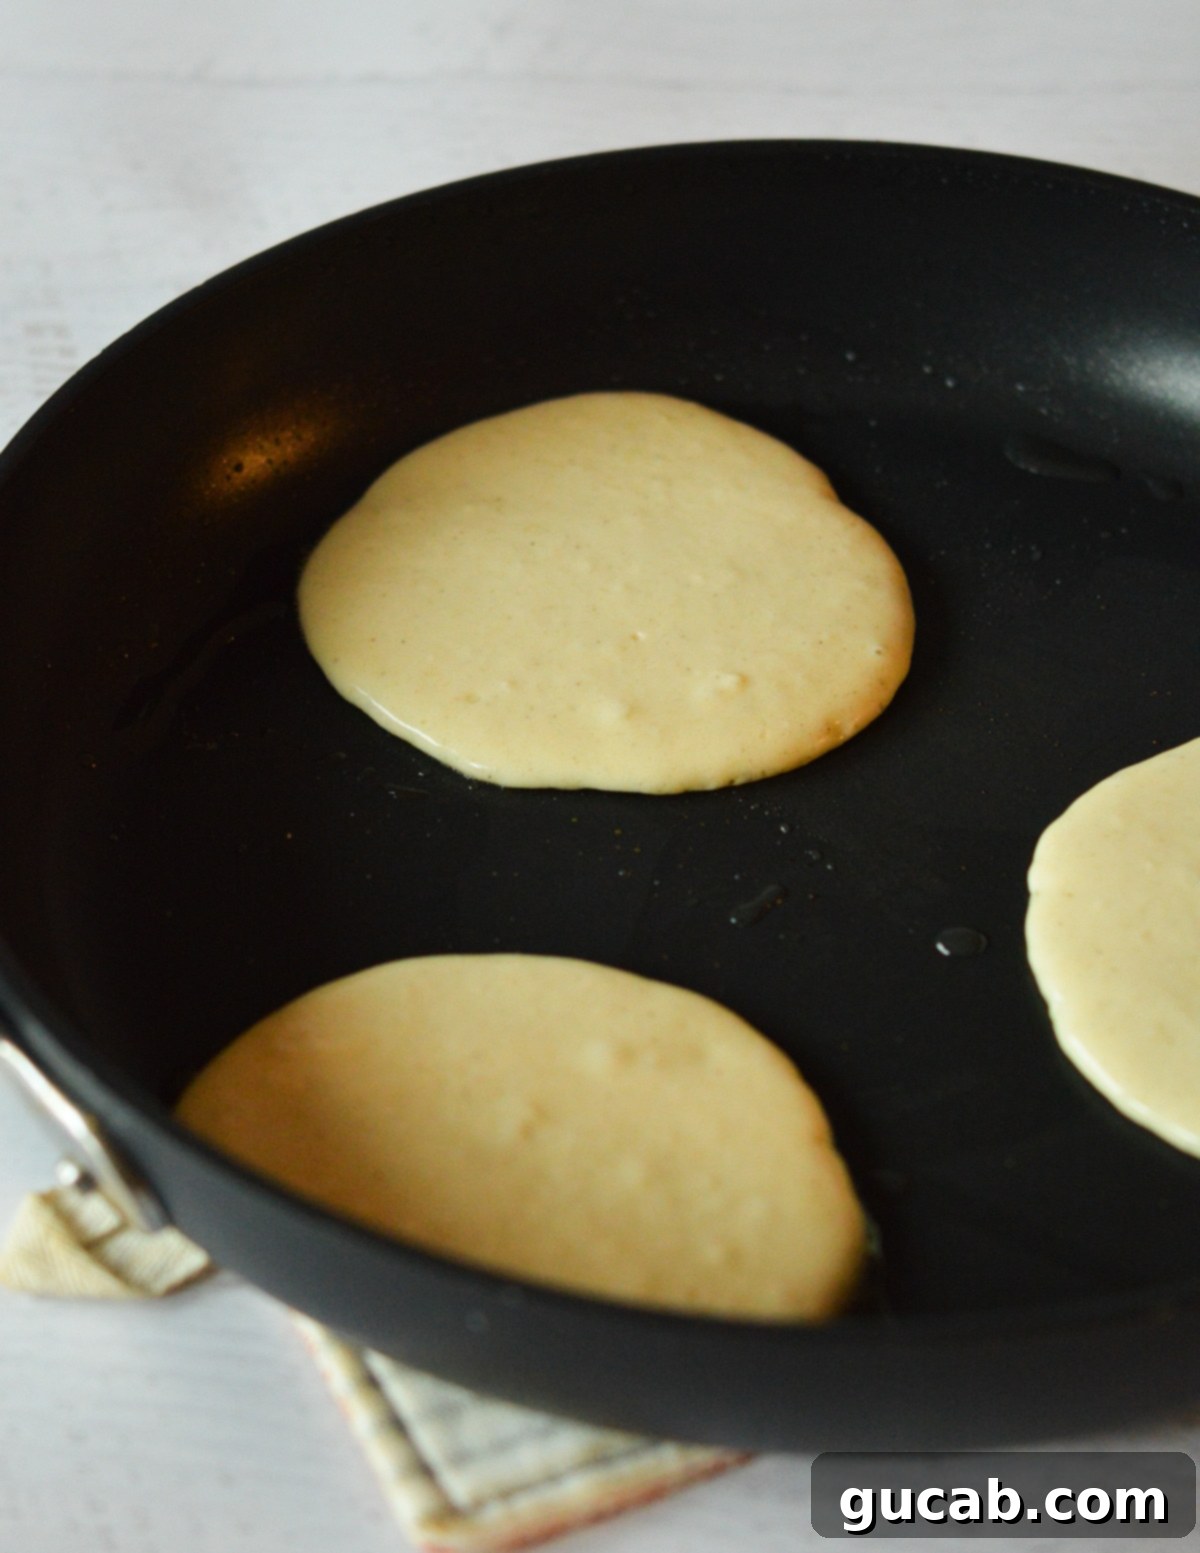
- Cook the Pancakes: Add a couple of teaspoons of a neutral oil (like canola or vegetable oil) to your already hot skillet. This oil is essential for helping the pancakes achieve that golden, crispy exterior. Using a cookie scoop or a ¼-cup measure, drop about three spoonfuls of batter into the skillet, ensuring you leave ample space between them. This allows the pancakes to spread out and ensures even cooking and crisping on all sides, preventing them from steaming instead of frying.
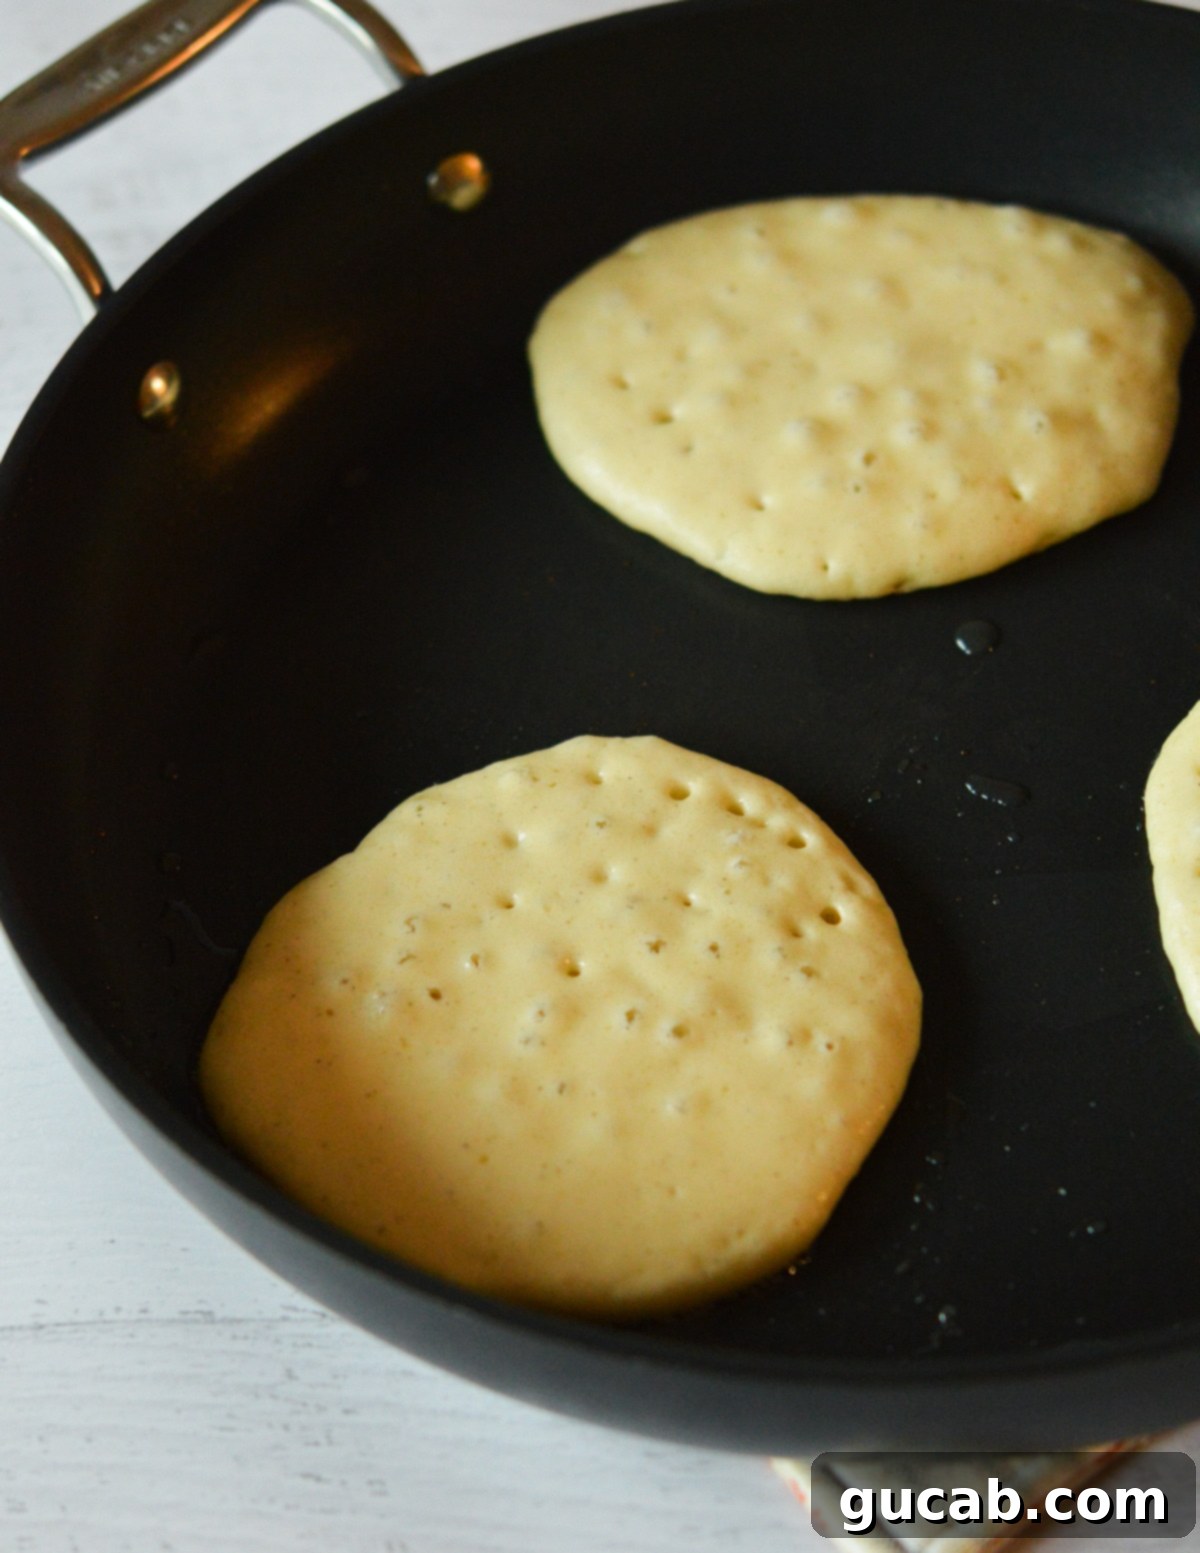
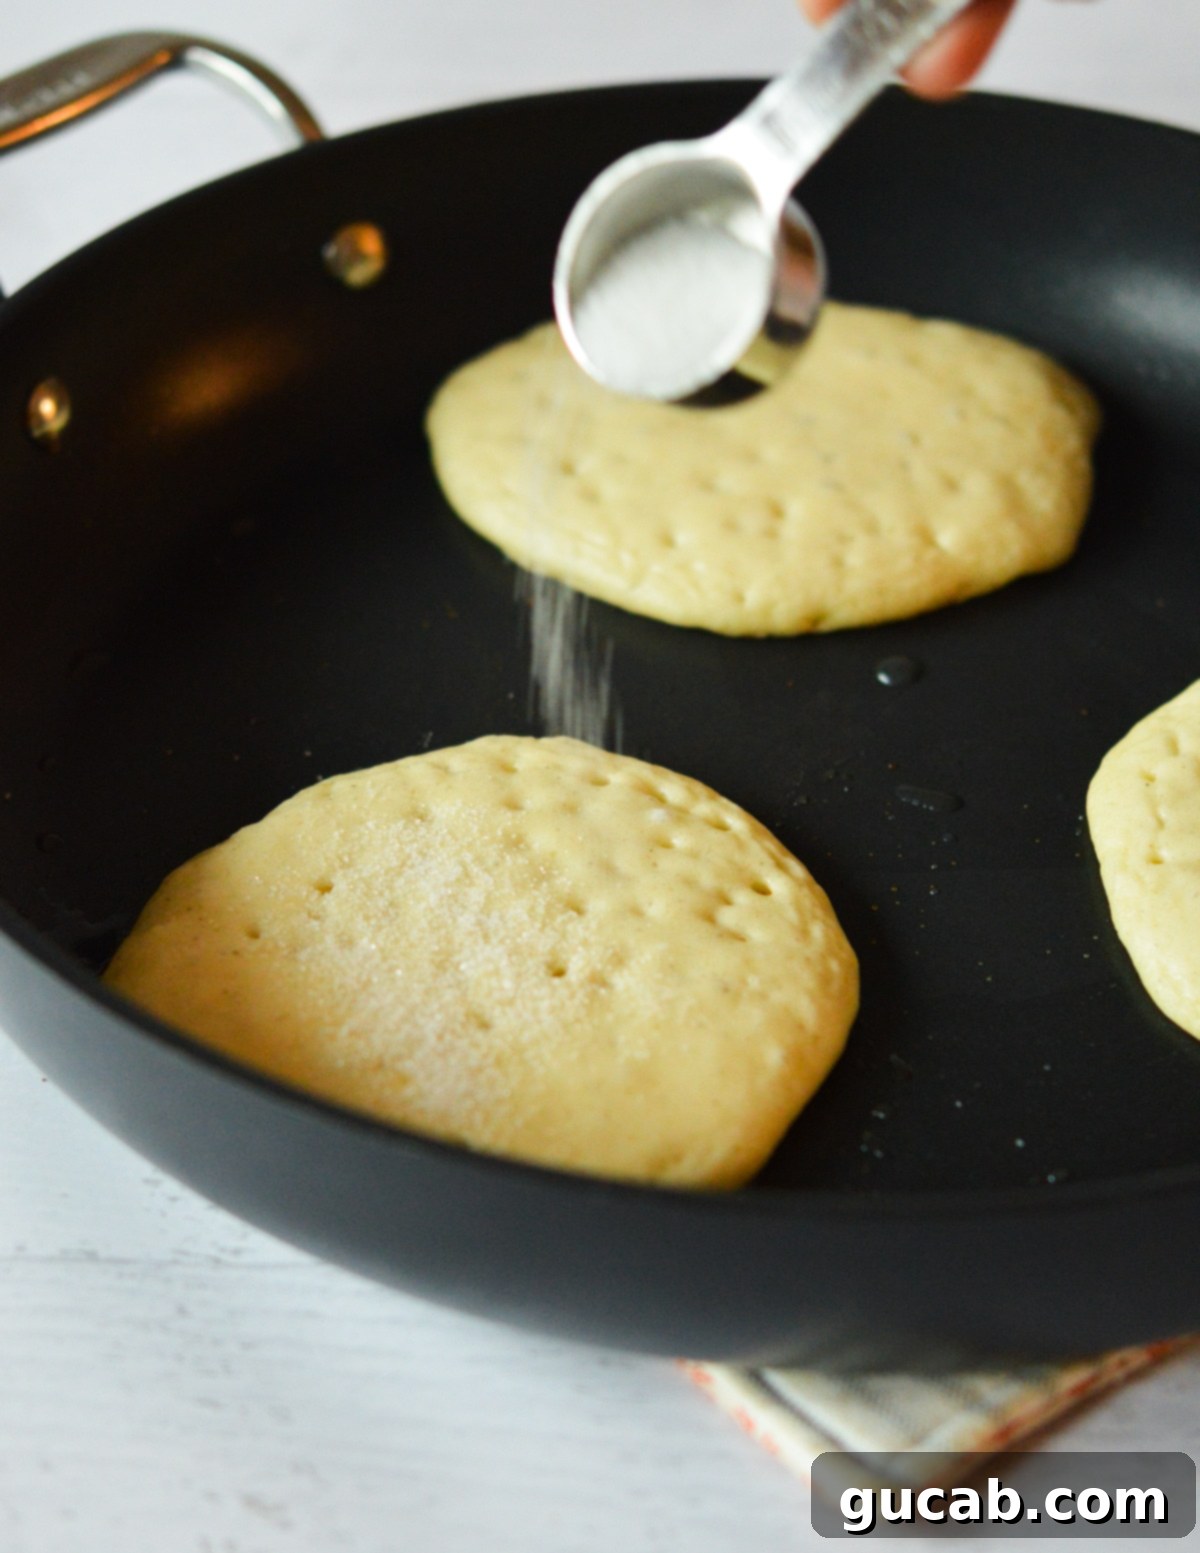
- First Side & Sugar Sprinkle: Let the pancakes cook for approximately 2 to 3 minutes on the first side. You’ll know they’re ready to flip when you see numerous bubbles forming and popping across the surface, and the edges appear set and lightly golden. At this point, and this is a vital step for crispiness, lightly sprinkle about ½ teaspoon of granulated sugar over the top of each pancake. This sugar will caramelize beautifully against the hot skillet when flipped, creating that desirable crispy, golden-brown bottom.
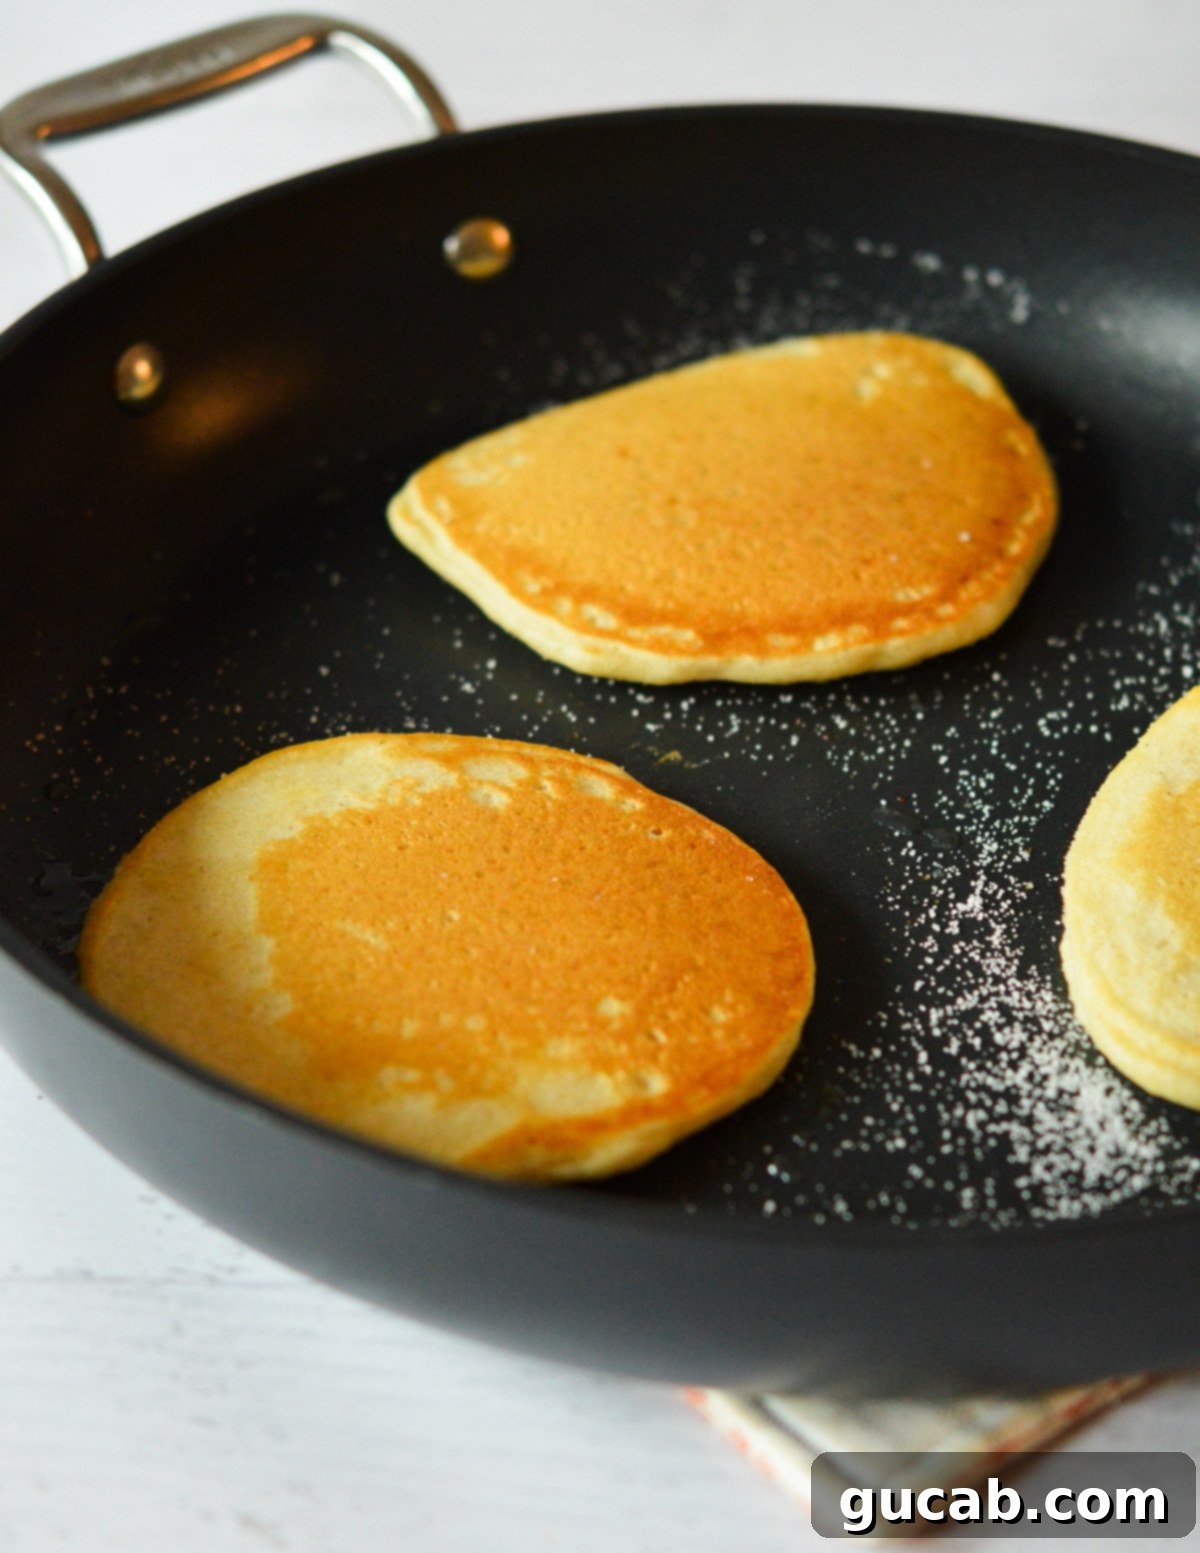
- Second Side & Serve: Carefully flip the pancakes using a thin spatula. Cook for another 1 to 2 minutes on the second side. The sugar you sprinkled will now be in direct contact with the hot skillet, caramelizing into a gorgeous deep golden brown and developing a wonderfully crispy texture. Once done, remove from the skillet and enjoy immediately with your favorite toppings. Repeat with the remaining batter, adding a little more oil if needed for each batch, ensuring every pancake gets its chance to become perfectly crispy.
Expert Tips for the Crispiest Pancakes
Achieving perfectly crispy pancakes isn’t hard, but a few expert tips can elevate your breakfast game from good to extraordinary. Keep these pointers in mind for consistent success, ensuring every batch comes out golden, light, and irresistibly crunchy.
- Don’t Skimp on the Oil: A light coating of oil in the hot pan is your best friend for crispy edges. The oil conducts heat efficiently and helps to fry the edges, rather than just bake them, creating a truly delicious texture. You can use canola oil, vegetable oil, or even a blend of butter and oil for added flavor and browning. Just ensure there’s enough to create that sizzle without drowning the pancakes.
- Master the Medium Heat: Resist the urge to crank up the heat! While a hot pan is essential, setting the heat too high will cause the pancake bottoms to burn before the interior has a chance to cook through and become fluffy. Medium heat allows for gradual cooking, ensuring the inside is perfectly tender while the outside gets golden and crisp. If your pan is smoking excessively, it’s too hot and needs to be lowered immediately.
- Always Preheat Your Skillet Thoroughly: This cannot be stressed enough. Don’t add batter to a cold or lukewarm pan. The skillet must be properly hot. Test it by sprinkling a few drops of water – if they sizzle and evaporate quickly, you’re good to go. If the pan isn’t hot enough, the pancakes will simply absorb the oil, leading to a greasy, rather than crispy, result. Patience in preheating pays off big time!
- The “Test Pancake” Method: Before committing to a full batch, always cook a single test pancake. This allows you to assess if the batter consistency is right, if the heat is perfect, and if the flavors are balanced. If it’s too thin for your liking, add a tablespoon or two more flour to the batter. If it’s not crisping enough, adjust the heat slightly or add a touch more oil. This simple step saves you from an entire batch of less-than-perfect pancakes.
- Serve Immediately for Optimal Crispness: The crispy edges are a fleeting delight! Like most fried or pan-cooked items, the crispness will soften over time as the pancakes cool and moisture redistributes. For the best experience, serve these pancakes hot off the skillet. If you must keep them warm, a wire rack placed over a baking sheet in a warm (not hot) oven can help preserve some crispness for a short period, but truly, fresh is best.
Delightful Variations & Serving Suggestions
While these crispy pancakes are magnificent on their own, they also serve as a fantastic canvas for various toppings and modifications. Feel free to get creative and customize them to your liking, transforming your breakfast into a personalized culinary adventure!
- Toppings Galore: Elevate your pancake experience with an array of delightful toppings. For freshness and a tangy contrast, consider vibrant fresh berries (strawberries, blueberries, raspberries) or thinly sliced bananas. For a delightful crunch and added texture, sprinkle on some homemade granola or a handful of chopped nuts like pecans or walnuts. Sweet additions like mini chocolate chips, colorful sprinkles, a swirl of Nutella, or a spoonful of fruit jam are always a hit, especially with children. And of course, a dollop of fluffy whipped cream or a melting pat of softened butter are classic, comforting choices that never disappoint. Don’t be afraid to mix and match to find your perfect combination!
- Syrup Adventures: Maple syrup is the traditional choice, and for very good reason—its rich sweetness perfectly complements the savory notes of the pancakes. However, why not explore other options to add an exciting twist? For a surprising kick, try making this spicy maple syrup, where a hint of cayenne pepper adds a wonderful sweet heat that beautifully complements the crispy texture of the pancakes. Other delicious alternatives include fruit syrups (like blueberry or peach), a drizzle of chocolate syrup, or even a warm, homemade berry compote.
- For Thicker Pancakes: If you sometimes crave a heartier, thicker pancake but still want that hint of crisp, you can easily achieve this by swapping the whole milk for buttermilk. The buttermilk’s acidity reacts more vigorously with the baking soda to create a greater rise, resulting in a thicker, yet still wonderfully fluffy, pancake. You could also slightly increase the flour content by 1-2 tablespoons for a denser but still tender crumb.
- Gluten-Free Option: Don’t let dietary restrictions keep you from enjoying these delicious crispy pancakes! You can easily make them gluten-free by swapping the all-purpose flour with a high-quality 1-to-1 Gluten-Free Baking Flour, such as Bob’s Red Mill’s blend. Ensure your chosen blend contains xanthan gum for proper binding and structure, as this is crucial for replicating the texture of gluten. Be aware that the texture might be slightly different, perhaps a tad more delicate, but you can still achieve a wonderfully crispy and flavorful result that everyone can enjoy.
Storage and Reheating Recommendations
Leftover pancakes are a wonderful treat to have on hand for a quick breakfast or snack. Proper storage ensures they remain delicious, and effective reheating methods can even help bring back some of their original crispness.
- Storing Leftovers: Allow any leftover crispy pancakes to cool completely to room temperature before storing. This crucial step prevents condensation from forming inside the storage container, which can make them soggy and lose their desirable texture. Once cooled, transfer them to an airtight zip-top bag or container. They can be stored in the refrigerator for up to one week, making them perfect for meal prepping.
- Freezing for Longer: For longer storage, freezing is an excellent option. To prevent them from sticking together, first place the cooled pancakes in a single layer on a baking sheet and freeze for about 15-30 minutes until firm. This flash-freezing step makes them easy to separate later. Once firm, transfer them to a freezer-safe zip-top bag or container, separating layers with parchment paper if desired. Frozen pancakes will keep well for up to 3 months, offering a convenient, ready-to-eat breakfast whenever you need it. I personally always freeze mine; it’s a great way to ensure I have a quick, satisfying breakfast whenever the craving strikes, and I don’t risk forgetting them in the fridge!
- Reheating: For quick reheating, the microwave works well. Place one or two pancakes on a microwave-safe plate and heat in 20-second increments until warmed through. Be cautious not to overheat them in the microwave, as this can lead to a rubbery or greasy texture. For a crispier reheat, which is ideal for these pancakes, you can use a toaster oven, a regular oven (at 300°F/150°C for a few minutes), or even a lightly oiled skillet over medium-low heat until heated through and re-crisped to perfection.
Frequently Asked Questions About Crispy Pancakes
Why do my pancakes get crispy?
The secret to achieving truly crispy pancakes lies in a combination of factors: a properly hot skillet, the right amount of oil, and a touch of sugar. The skillet must be hot enough to instantly start caramelizing the sugar and cooking the batter, but not so hot that it burns the pancakes before they cook through. The oil in the pan acts as a conductor of heat and helps to ‘fry’ the edges, while the sugar you sprinkle on top caramelizes beautifully against the hot surface, creating that irresistible golden-brown crispness. Always ensure your skillet is sizzling hot and has a thin layer of oil before adding the batter.
Can I make the pancake batter ahead of time?
While it’s best to cook pancakes with freshly made batter for optimal fluffiness (as the leavening agents start reacting immediately upon mixing wet and dry ingredients), you can prepare the dry and wet ingredients separately and combine them just before cooking. If you must prepare the full batter ahead, refrigerate it in an airtight container for up to 24 hours. Be aware that the pancakes might be slightly less fluffy due to reduced leavening activity over time, but they will still be delicious and retain their crispy potential.
What kind of skillet is best for crispy pancakes?
A good quality nonstick skillet is highly recommended for these crispy pancakes. It ensures easy flipping and prevents sticking, which is crucial for maintaining those delicate crisp edges and achieving even browning. Cast iron skillets can also work wonderfully for achieving great crispness and even browning, thanks to their excellent heat retention, but they require careful seasoning and precise temperature management.
How do I get perfectly round pancakes?
For perfectly round pancakes, consistency in scooping the batter is key. A ¼-cup measure or a dedicated cookie scoop works well to portion out uniform amounts. Pour the batter from a consistent, low height (about an inch) above the skillet, and resist the urge to spread the batter with your spoon – let it spread naturally. A slightly thicker batter will also hold a rounder shape better, but for these thin crispy pancakes, embrace their slightly more organic, irregular shapes, as they often contribute to more crispy edges, adding to their rustic charm!
Explore More Delicious Pancake Recipes:
- Fluffy Gluten Free Pancakes
- Light & Fluffy Oat Flour Pancakes
- Paleo Sweet Potato Pancakes
- Almond Flour Pancakes [The Best]
- Silver Dollar Pancakes
Thin & Crispy Pancakes
Carolyn
Pin Recipe
10
minutes
15
minutes
25
minutes
Breakfast
American
9
pancakes
140
kcal
Equipment
-
Large nonstick skillet
Ingredients
-
1
cup
all-purpose flour -
2
tablespoons
sugar -
1½
teaspoons
baking powder -
½
teaspoon
baking soda -
¼
teaspoon
kosher salt -
1
large egg -
1
cup
whole milk -
5
tablespoons
unsalted butter
melted but cool
Instructions
-
Heat a large nonstick skillet over medium heat. This is crucial for crisp edges.
-
In a large bowl, combine the all-purpose flour, sugar, baking powder, baking soda, and kosher salt. Whisk well to distribute.
-
In a measuring cup, whisk the egg and milk together until fully combined.
-
Pour the milk mixture into the flour mixture and stir gently until just incorporated. Add the melted and cooled butter and stir again until a smooth batter forms, being careful not to overmix.
-
Add a couple of teaspoons of canola oil to the hot skillet. Use a cookie scoop to drop about three spoonfuls of batter into the skillet, leaving room for them to spread.
-
Let them cook for 2 to 3 minutes, or until you see plenty of bubbles on top and the edges are set. Sprinkle each pancake with a light coating of sugar (approx. ½ teaspoon) then carefully flip them.
-
Cook for another 1 to 2 minutes, or until the bottoms are deep golden brown and wonderfully crispy from the caramelized sugar.
-
Repeat with the remaining pancake batter, adding more oil to the skillet as needed. Serve immediately with maple syrup and your favorite toppings.
Nutrition
Calories:
140
kcal
Carbohydrates:
15
g
Protein:
3
g
Fat:
8
g
Saturated Fat:
5
g
Polyunsaturated Fat:
0.4
g
Monounsaturated Fat:
2
g
Trans Fat:
0.3
g
Cholesterol:
38
mg
Sodium:
214
mg
Potassium:
64
mg
Fiber:
0.4
g
Sugar:
4
g
Vitamin A:
265
IU
Calcium:
79
mg
Iron:
1
mg
crispy pancakes, thin pancakes, breakfast recipe
Tried this recipe?
Let us know how it was!
