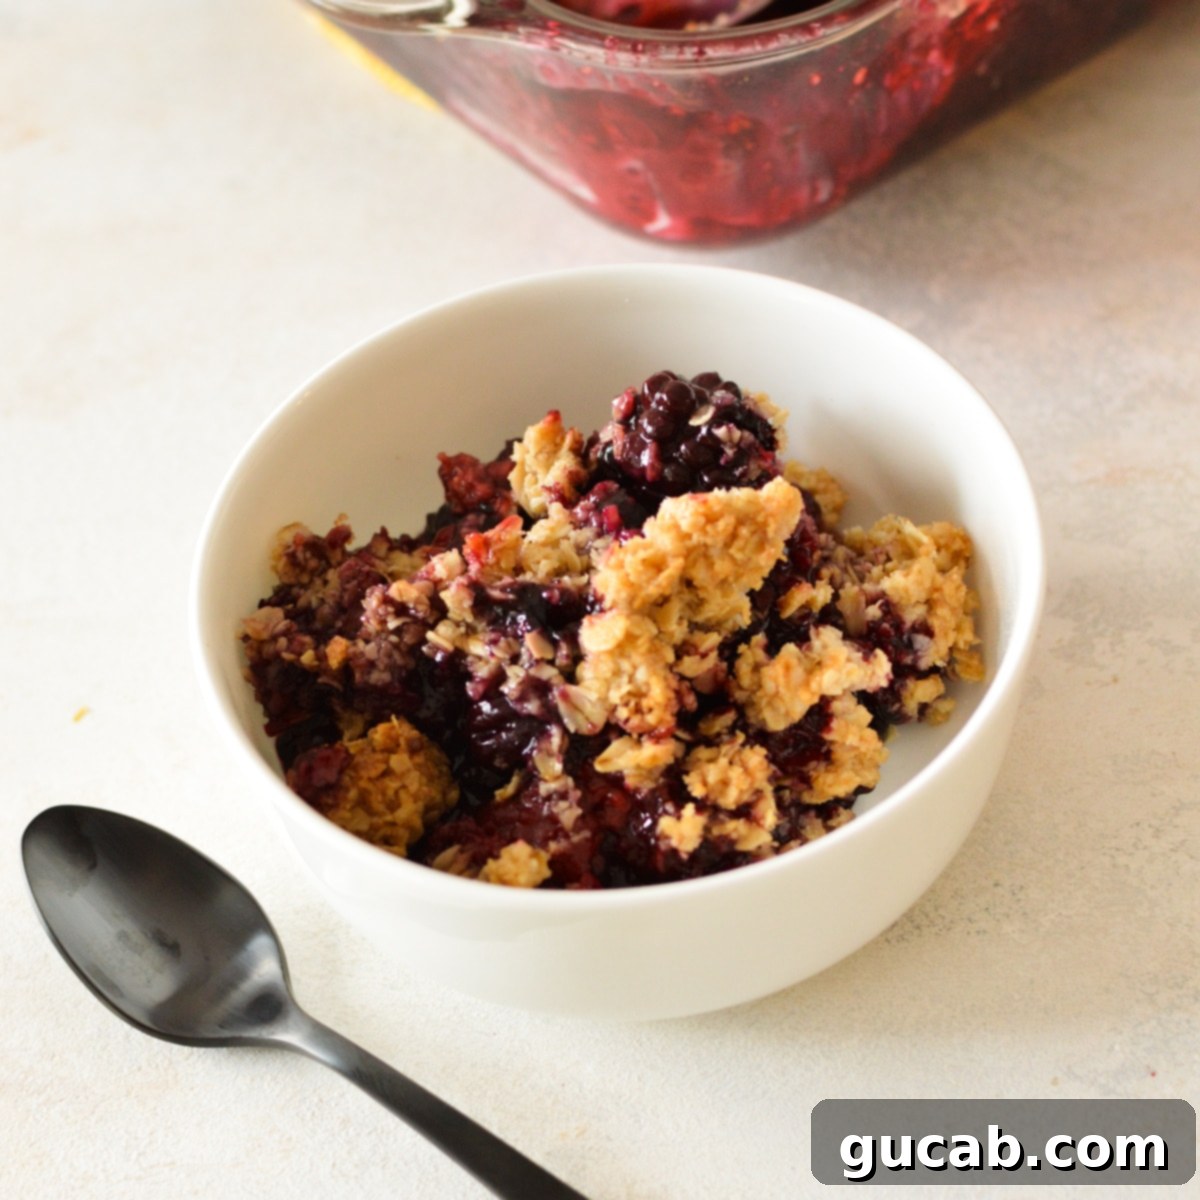
The Ultimate Triple Berry Crisp: Easy, Irresistible, and Made with Frozen Berries
Few desserts evoke the comforting warmth and sweet satisfaction quite like a homemade fruit crisp. And when it comes to fruit crisps, this **Triple Berry Crisp with Oat Crumble** stands in a league of its own. Imagine plump, juicy mixed berries, perfectly sweetened and kissed with a hint of tart lime, all tucked beneath a golden-brown, buttery oat topping that’s delightfully crunchy, never soggy. This recipe, featuring readily available frozen berries, is designed for simplicity and maximum flavor, making it an absolute must-try for any dessert lover.
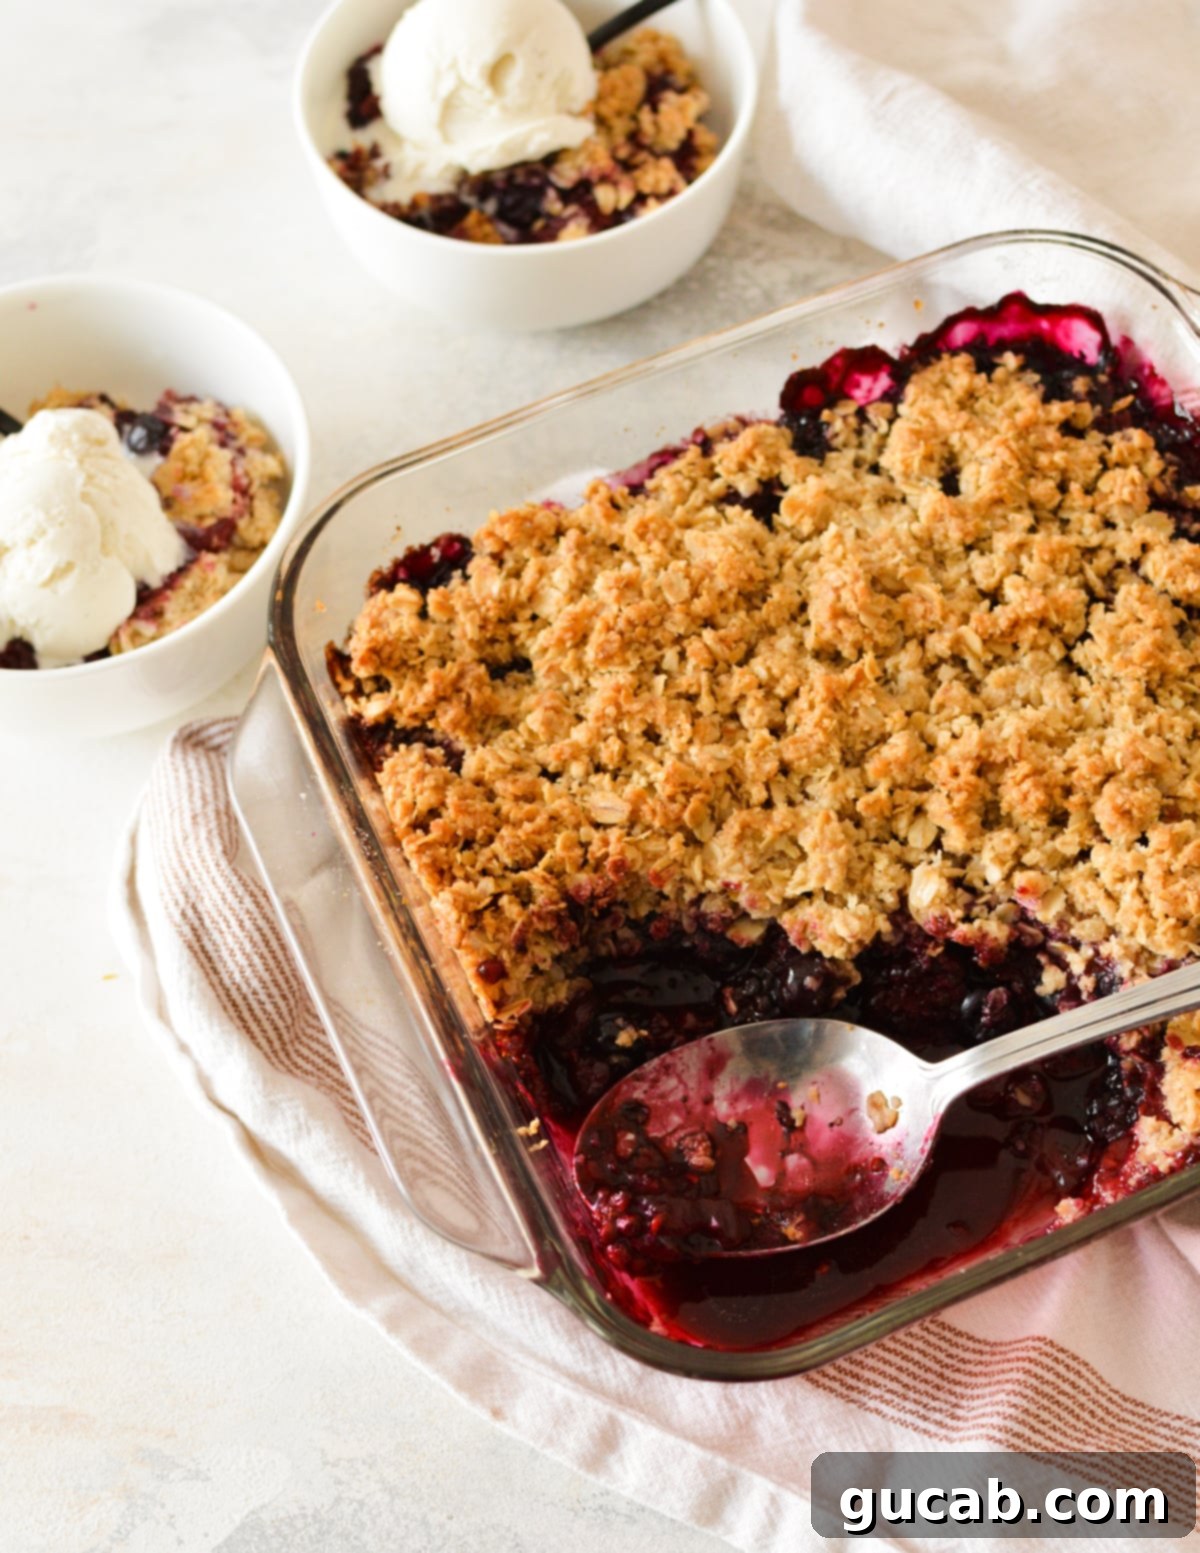
My love affair with mixed berries runs deep. Almost daily, I find myself gently simmering them on the stovetop with a splash of fresh lime juice for a quick, wholesome snack. The bright, tangy citrus beautifully complements the natural sweetness of the berries, creating a flavor profile that’s simply divine, even without the added luxury of a crisp or crumble. This particular mixed berry crisp captures that same magical combination, delivering a dessert that’s sweet yet perfectly balanced, ensuring every bite is a delightful experience.
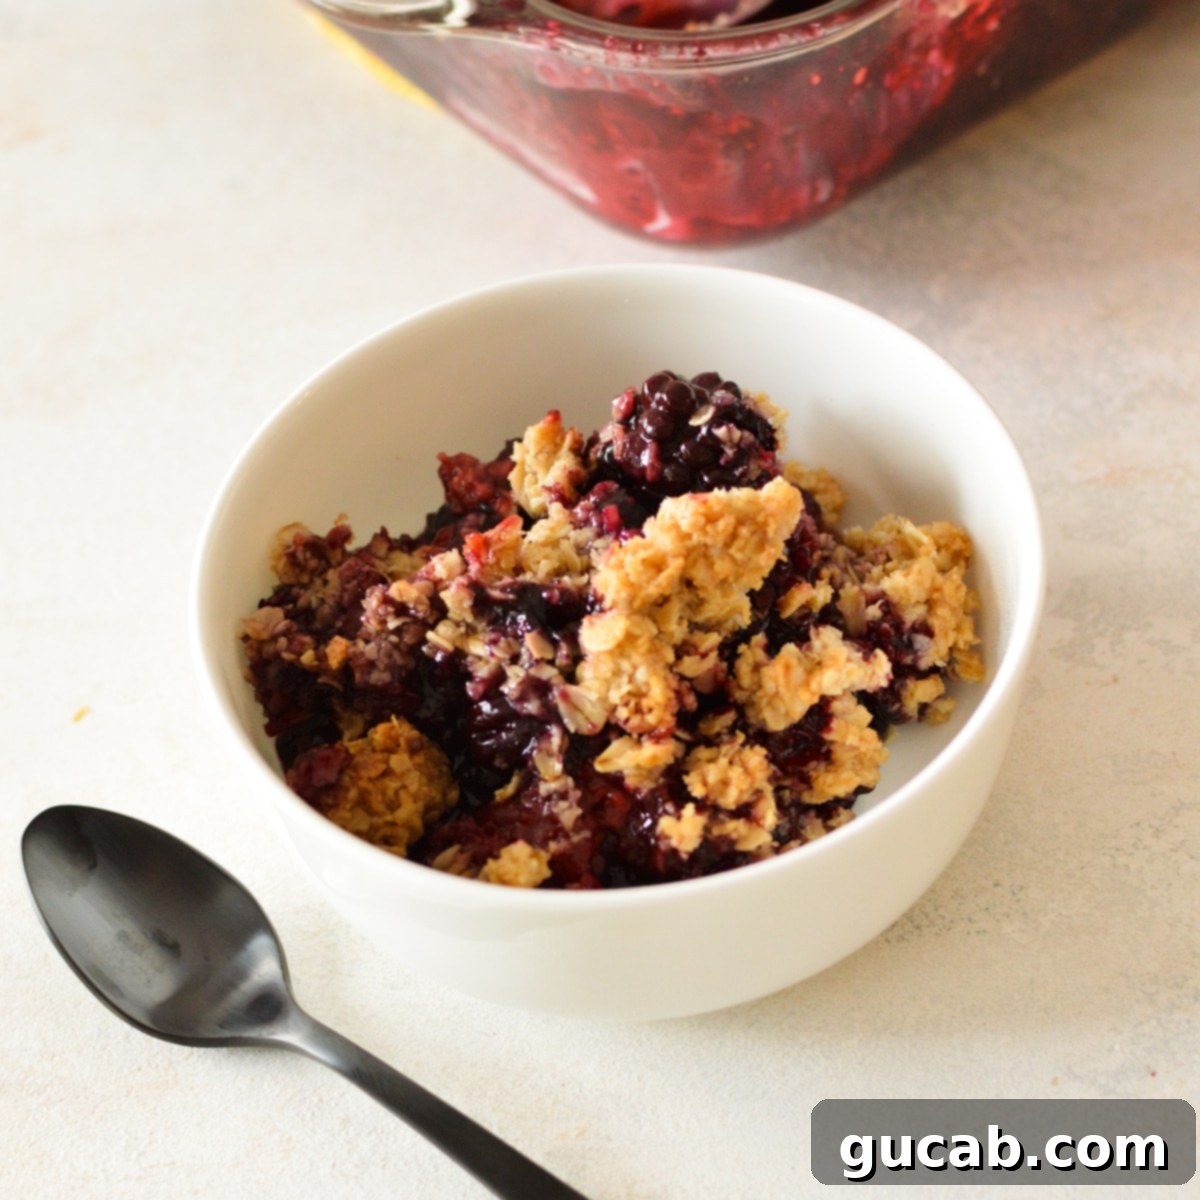
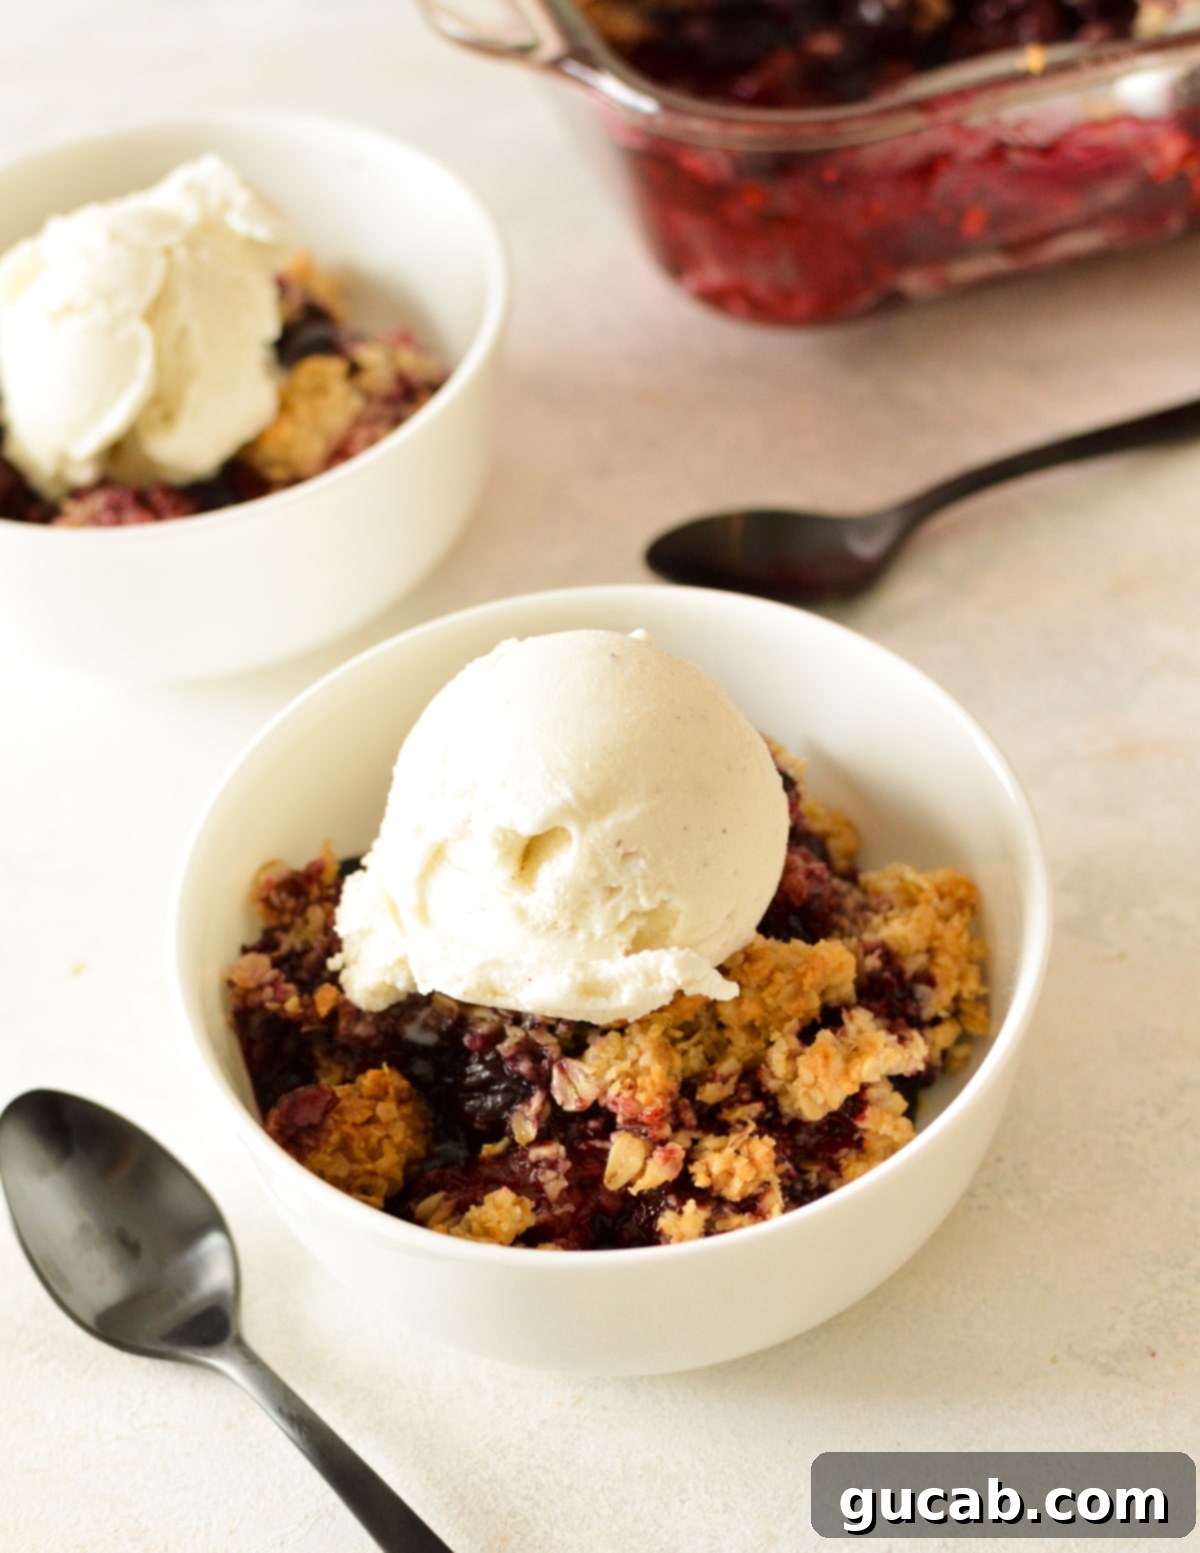
The hallmark of this recipe is its irresistibly crunchy topping. I’ve experimented with countless crisp recipes over the years, and many fall short, yielding a mushy, disappointing texture. Not this one! Our secret lies in the carefully chosen blend of oats and cold butter, which guarantees that signature crispiness that makes this dessert so addictive. When it emerges from the oven, golden and bubbling, my favorite way to serve it is with a generous scoop of creamy vanilla ice cream, slowly melting into the warm berries, or a cloud-like dollop of freshly whipped cream. Pure bliss!
What truly makes this **frozen berry crisp** a weeknight champion is its straightforward preparation. It’s not uncommon for me to whip up a batch of this mixed berry crumble just before tucking the kids into bed, letting the oven work its magic while they drift off to sleep. There’s something uniquely special about indulging in a warm, homemade dessert late at night, a sweet reward after a long day. It’s simple enough for beginners, yet delivers a gourmet taste that will impress even the most discerning palates.
Disclosure: This post contains affiliate links. In other words, if you click a link and purchase something, I will receive a commission at no cost to you. I only recommend products I use and enjoy myself.
Essential Ingredients for Your Perfect Berry Crisp
Crafting this incredible berry crisp with frozen berries requires only a handful of common ingredients, many of which you likely already have in your pantry. The key to its phenomenal success lies in the specific combination of rolled and quick-cooking oats for the topping, which creates that perfectly buttery, crumbly texture we all adore. Let’s dive into what makes each component so crucial.
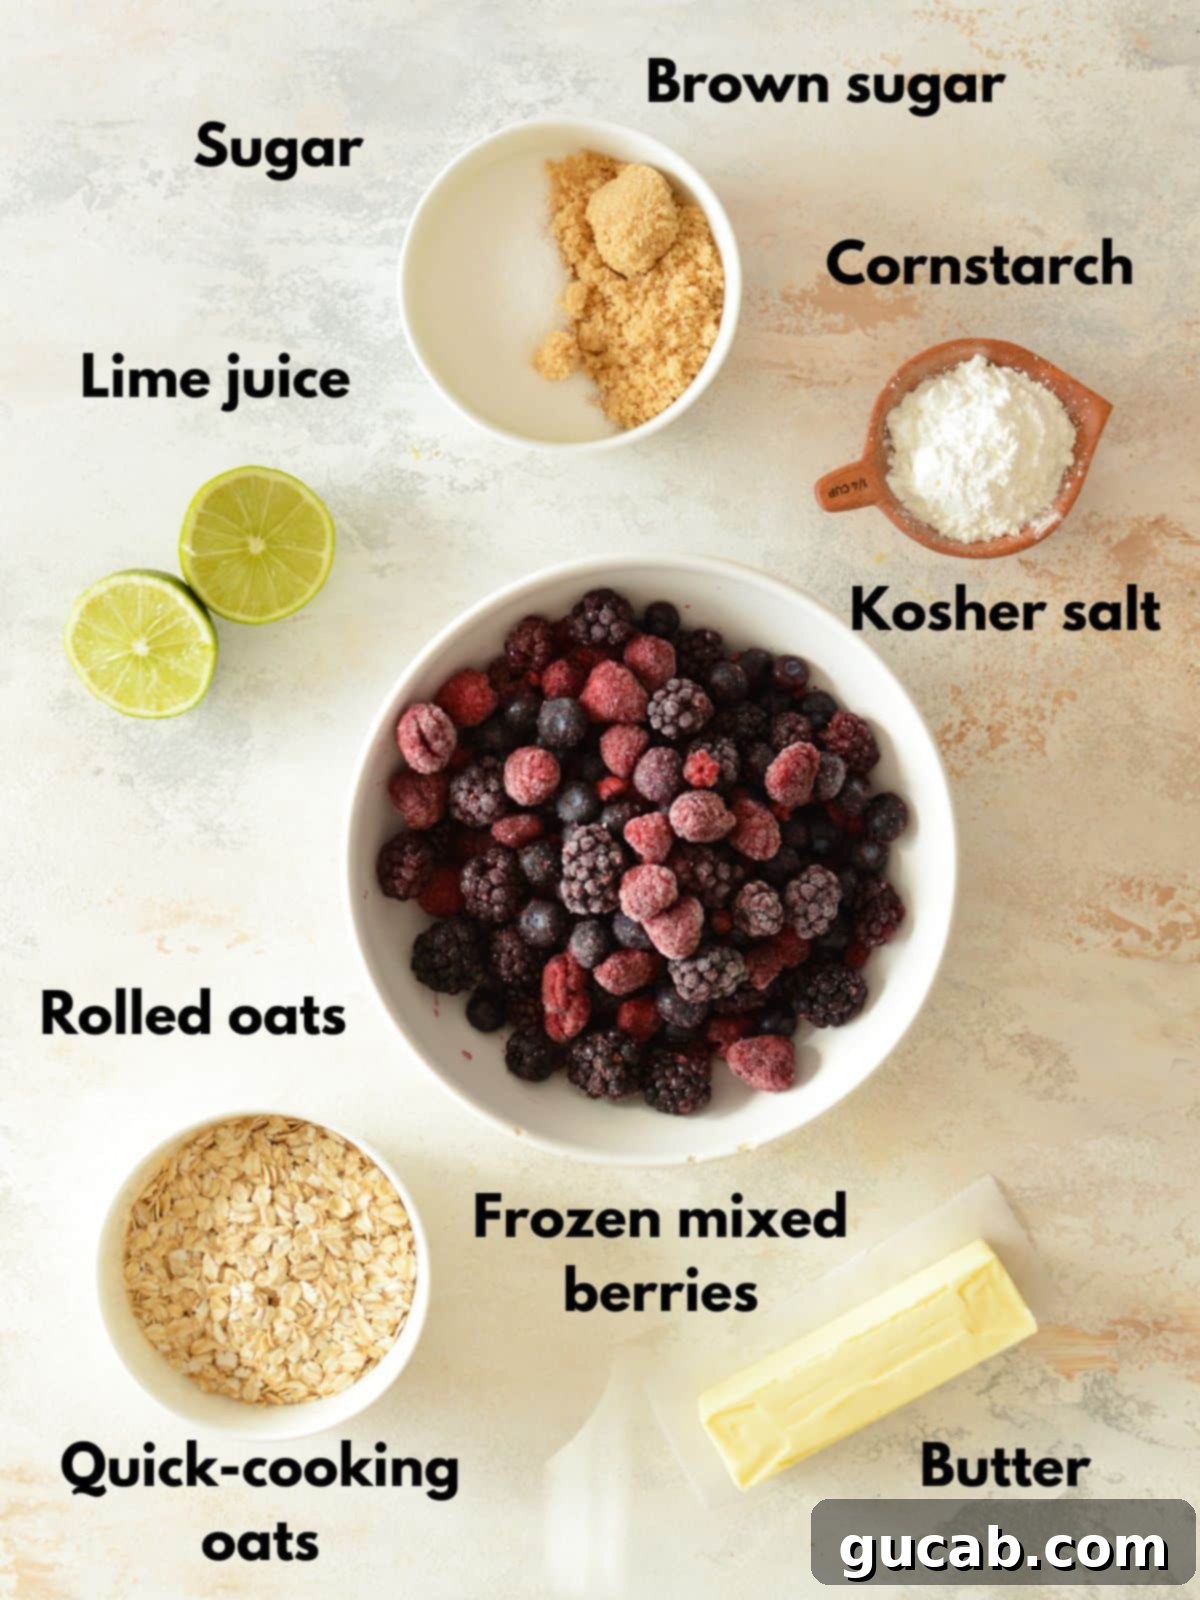
Frozen Mixed Berries: These are the stars of our show! I exclusively use frozen berries for several compelling reasons. Firstly, when fresh berries are at their peak ripeness, I can barely resist devouring them straight from the carton – it feels almost sacrilegious to cook them! Secondly, frozen berries offer unparalleled convenience and consistent accessibility year-round, without the wild price fluctuations seen with fresh produce. During colder months, a tiny punnet of blueberries can cost a small fortune. Opting for frozen berries allows you to enjoy this delightful dessert anytime, without breaking the bank. They also maintain their vibrant flavor and nutritional value beautifully.
Cornstarch: A vital thickener for the berry filling. Berries naturally release a good deal of liquid when baked, and frozen berries tend to release even more as they thaw in the oven. Cornstarch works its magic by absorbing this excess moisture, ensuring your berry crisp filling is wonderfully thick and luscious, never watery or too runny. This means every spoonful holds together perfectly, delivering a burst of concentrated berry flavor.
Lime Juice: This is my secret weapon for making the berry flavors truly sing! A squeeze of fresh lime juice adds a bright, zesty counterpoint to the sweetness of the berries, elevating their natural taste. While lemon juice can also be used, I find lime offers a slightly more exotic and vibrant note. Always opt for fresh juice over bottled – the difference in brightness and aroma is truly remarkable. I always keep a few citrus fruits in my fridge; they’re an instant flavor enhancer for countless dishes.
Granulated Sugar: Used to sweeten both the fruit filling and the crumb topping, providing that classic dessert sweetness. I designed this **mixed berry crisp** to be sweet, but not cloyingly so, allowing the natural tartness of the berries to shine through. If you have a sweet tooth, feel free to add an extra tablespoon or two to the berry mixture to suit your preference. Adjusting sweetness is one of the joys of home baking!
Brown Sugar: This ingredient is reserved for our glorious crumb topping. Brown sugar brings a deep, caramel-like sweetness and a touch of moisture that enhances the topping’s flavor and texture. I typically use light brown sugar, but dark brown sugar will work just as well, imparting an even richer, molasses-like note. It contributes significantly to the golden-brown color and delightful chew of the crumble.
Unsalted Butter: Absolutely essential for achieving that perfect, buttery, crisp topping. Cold, unsalted butter is cut into pieces and incorporated into the dry ingredients, creating pockets of butter that melt and steam during baking, resulting in a flaky, crunchy texture. If you need a dairy-free option, coconut oil can be a suitable substitute, though the flavor and texture will vary slightly. If you only have salted butter on hand, simply omit the pinch of kosher salt from the recipe to balance the flavors.
Oats (Quick-Cooking and Old-Fashioned): The combination of these two oat types is critical for the ideal crumb texture. Quick-cooking oats are processed to be thinner and smaller, allowing them to absorb liquid faster and act somewhat like flour, binding the topping together. Old-fashioned (rolled) oats, on the other hand, are thicker and more prominent, providing a wonderful chewy texture and hearty structure to the crisp. Using just one type will not yield the same balanced result. For those interested in the nuances, you can read more about different oat types here.
Kosher Salt: A small but mighty ingredient! A tiny pinch of kosher salt in both the berry mixture and the topping doesn’t make the dessert salty; instead, it cleverly enhances and balances the overall sweetness and brightens the flavors, making every component taste more vibrant and well-rounded.
How to Make a Heavenly Berry Crisp: A Step-by-Step Guide
Creating this delicious **frozen berry crisp** is surprisingly simple, requiring just a few easy steps. Follow along to bake a dessert that’s sure to become a family favorite!
1. Preheat Oven & Prepare Baking Dish: Begin by preheating your oven to 350°F (175°C). While the oven heats up, lightly spray an 8×8-inch (or similar sized) baking dish with nonstick spray. This crucial step prevents the bubbling berry filling from sticking, making cleanup a breeze. Set the prepared dish aside until you’re ready to fill it.
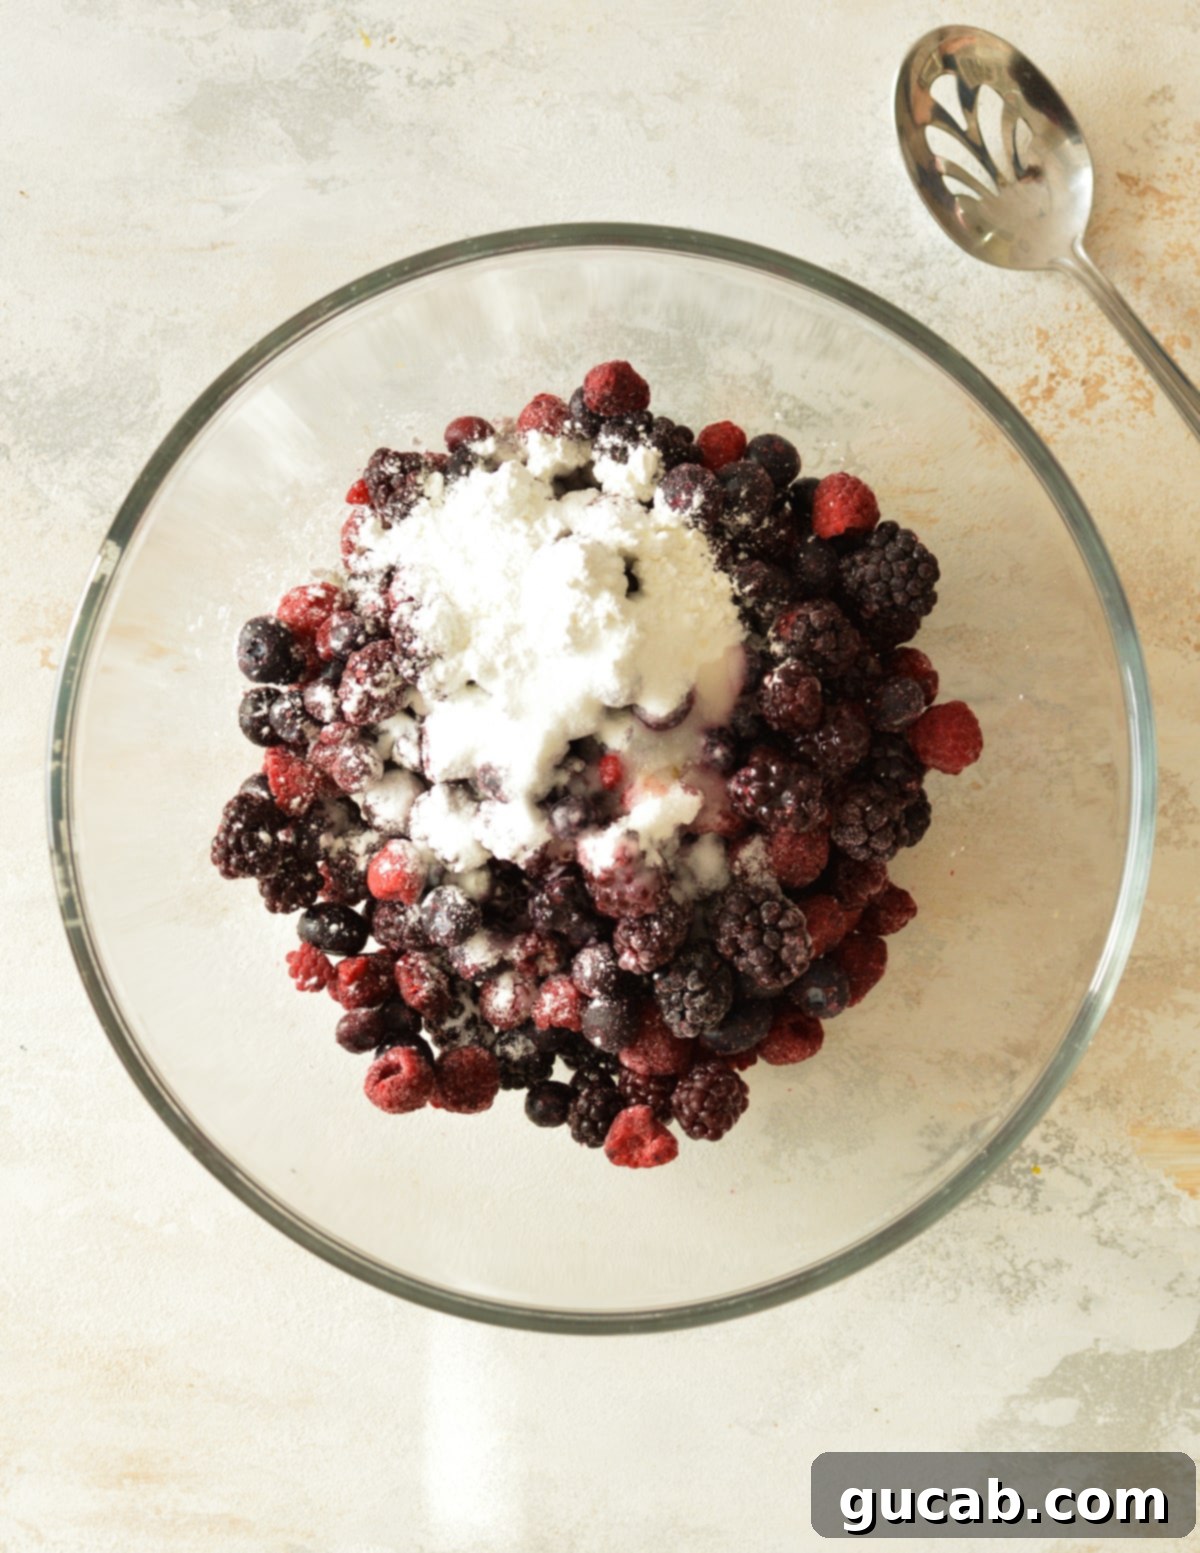
2. Prepare the Berry Mixture: In a large mixing bowl, combine your glorious frozen mixed berries, granulated sugar, fresh lime juice, and cornstarch. Using a large spoon, stir these ingredients together thoroughly. Continue stirring until the cornstarch is evenly distributed and coats all the berries. This ensures proper thickening and consistent flavor throughout the filling.

3. Transfer Berries to Baking Dish: Carefully pour the cornstarch-coated berry mixture into your greased baking dish. Make sure to scrape out any remaining cornstarch and sugar mixture from the bowl and add it on top of the berries in the dish. This ensures all the thickening agent is utilized, preventing a watery filling.
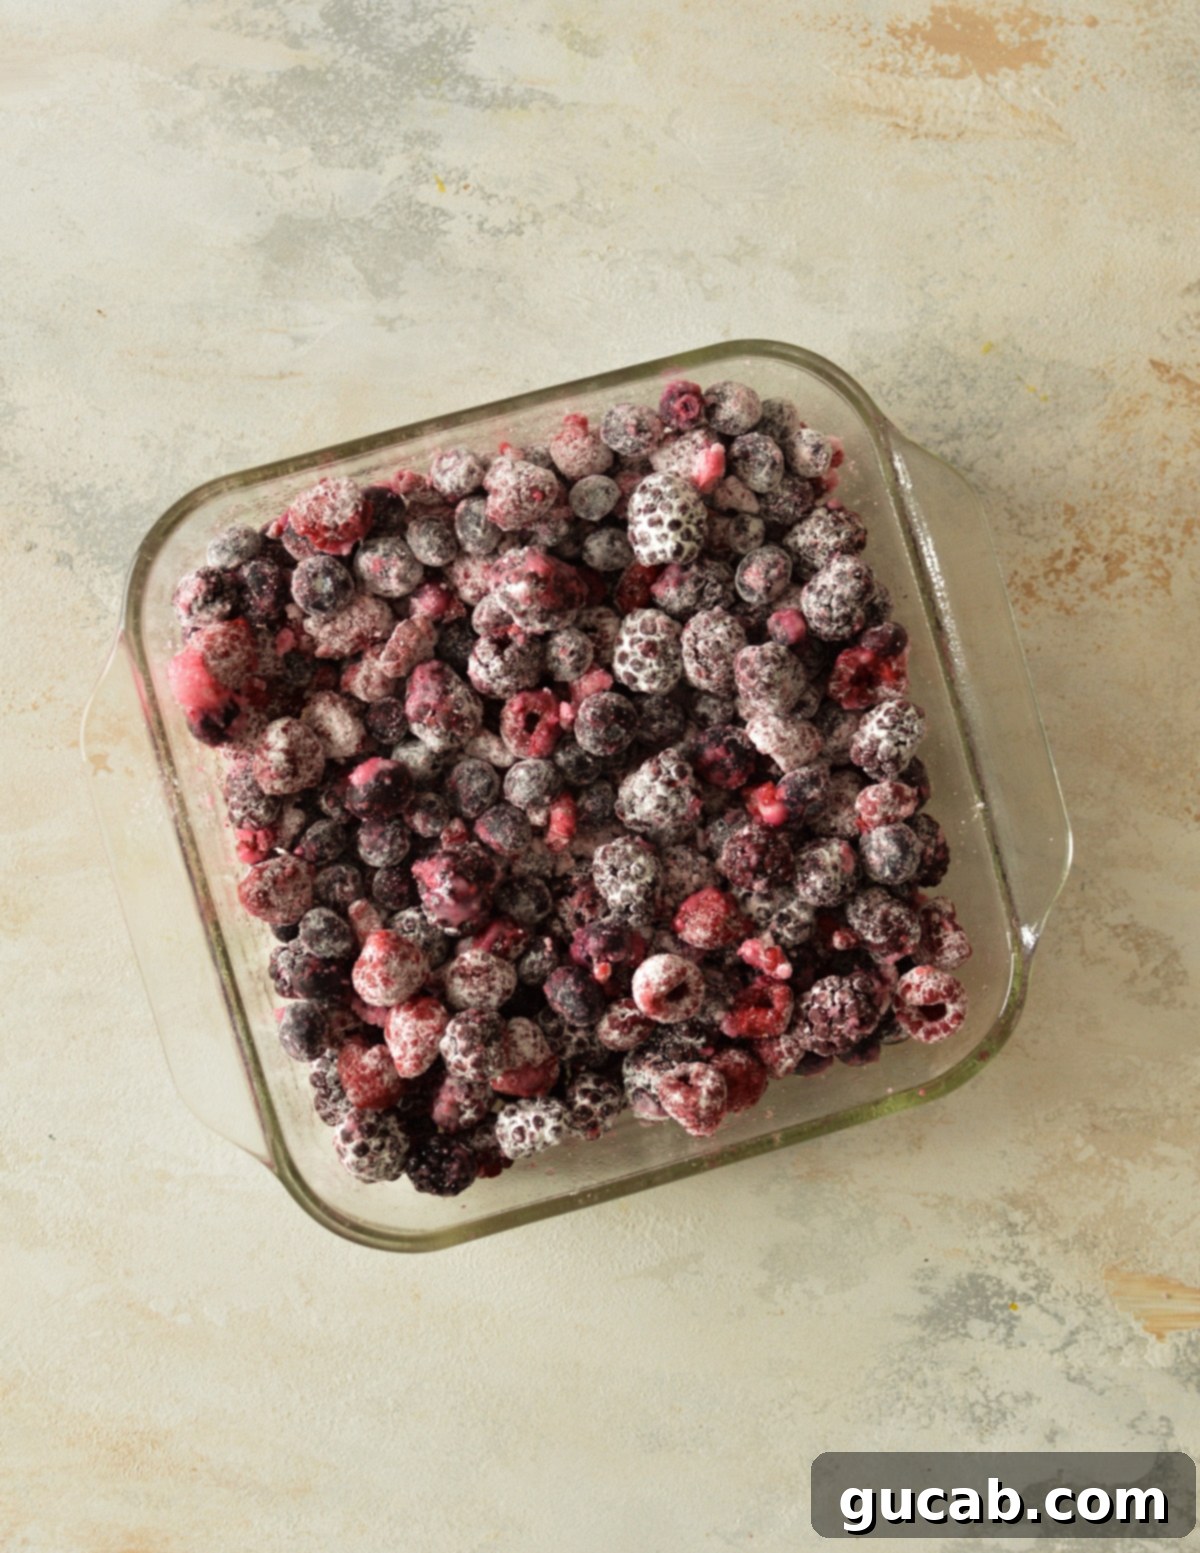
4. Create the Crumb Topping: Give that same mixing bowl a quick wipe with a paper towel – no need for extra dishes! In it, combine the rolled oats, quick-cooking oats, granulated sugar, kosher salt, and brown sugar. Stir these dry ingredients together well until they are thoroughly mixed. This base is what will become your signature crispy topping.
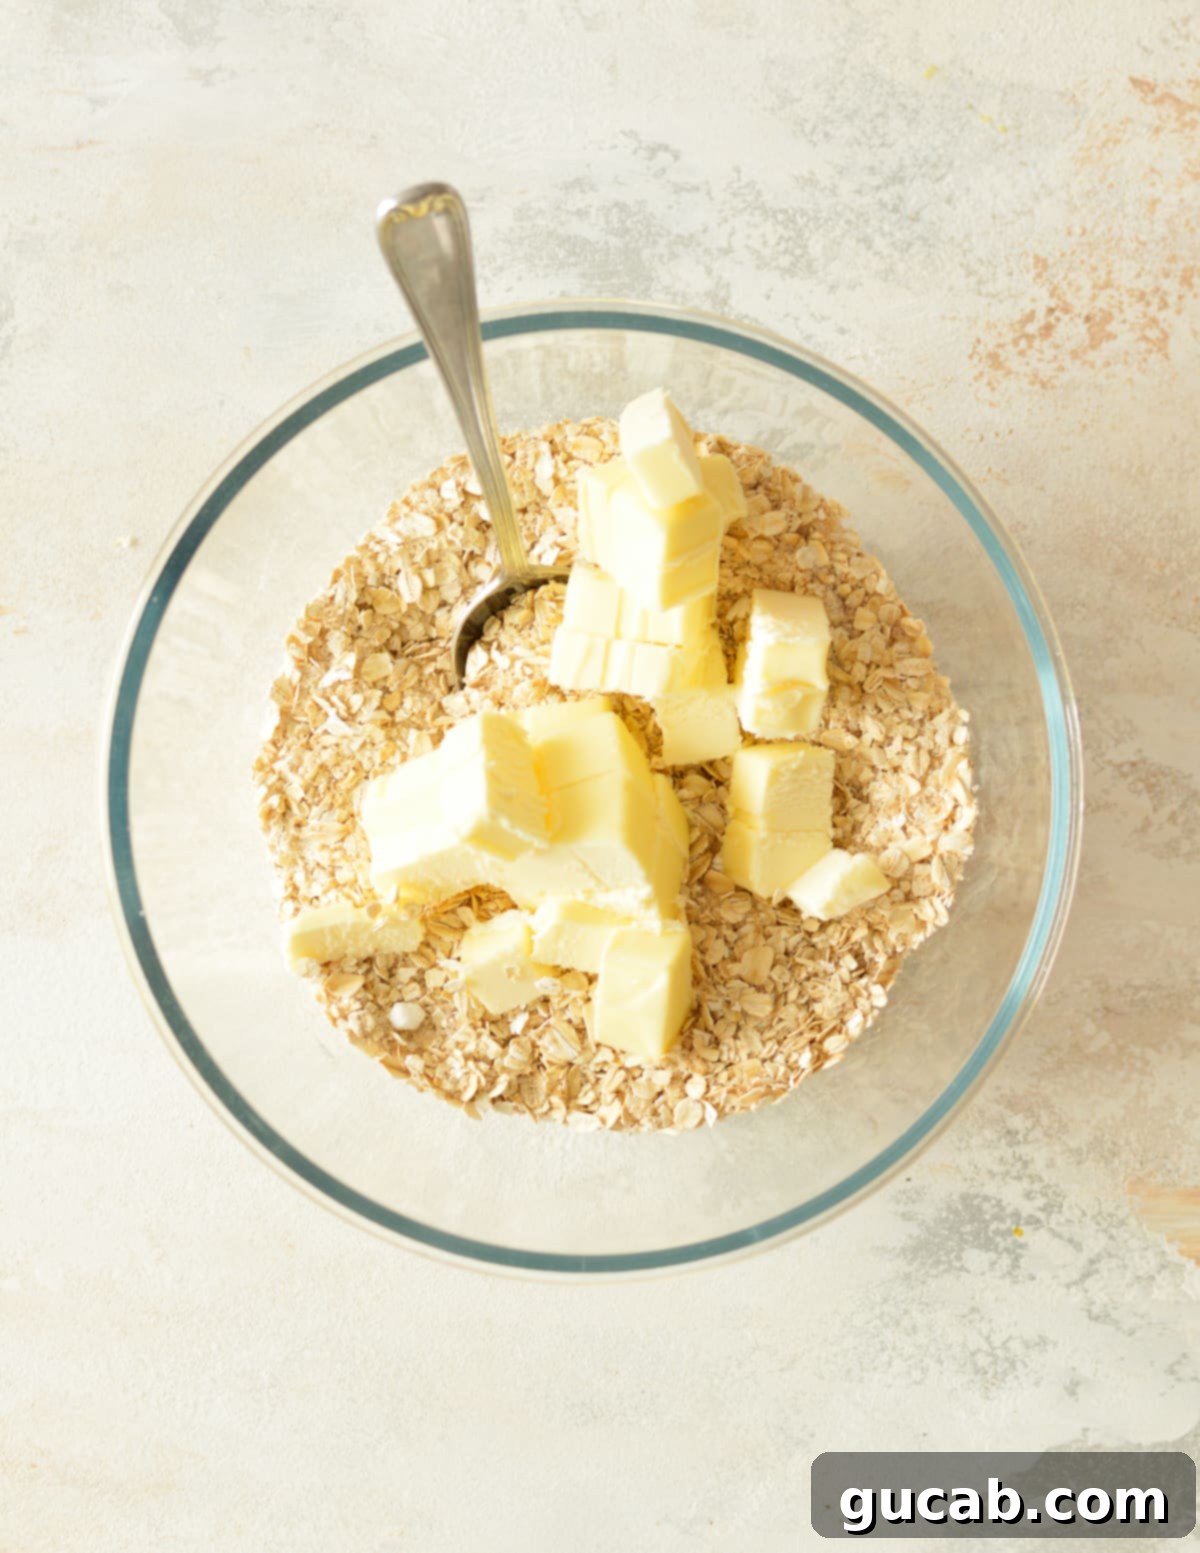
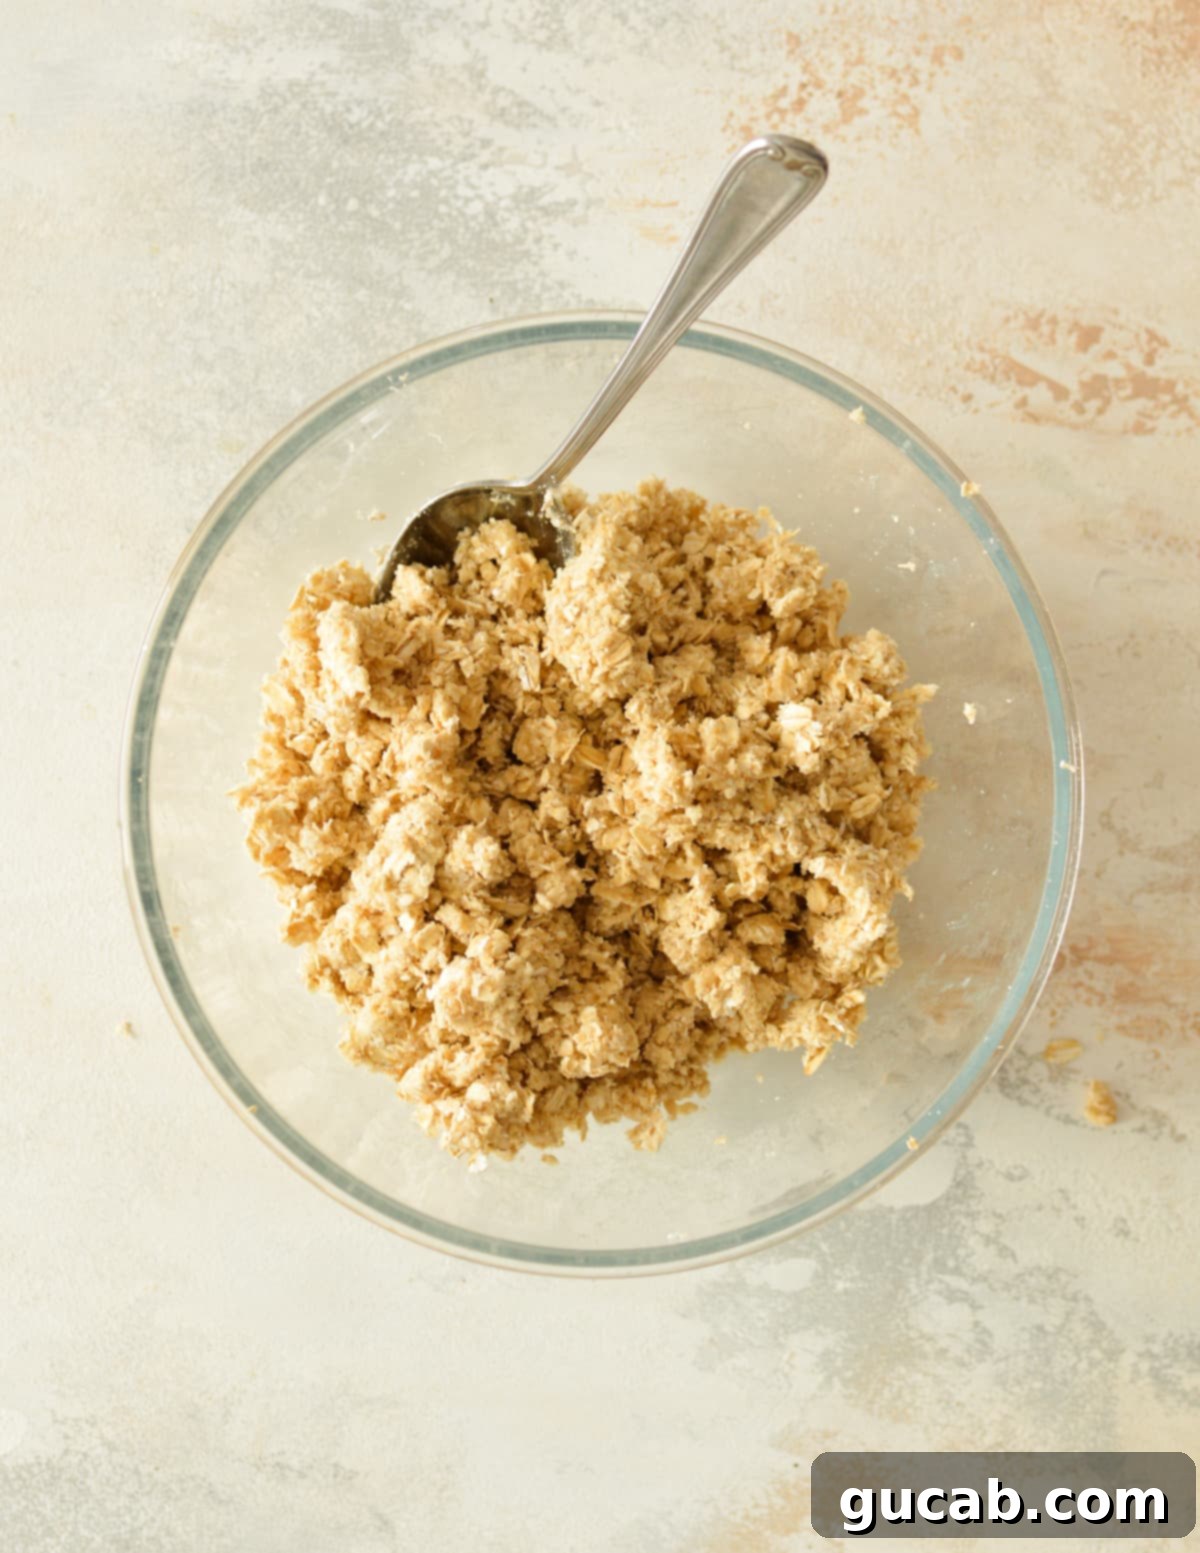
5. Cut in the Butter: Add the cold butter pieces (ensure they are cold, as this helps achieve a crispier topping!) to the oat and sugar mixture. Now, it’s time to incorporate that butter. You can use your hands, rubbing the butter into the dry ingredients with your fingertips until crumbly, or use a pastry cutter for a quicker, less messy approach. The goal is to have the mixture resemble coarse crumbs, with no large pieces of butter remaining. This texture is key to the crisp’s success.
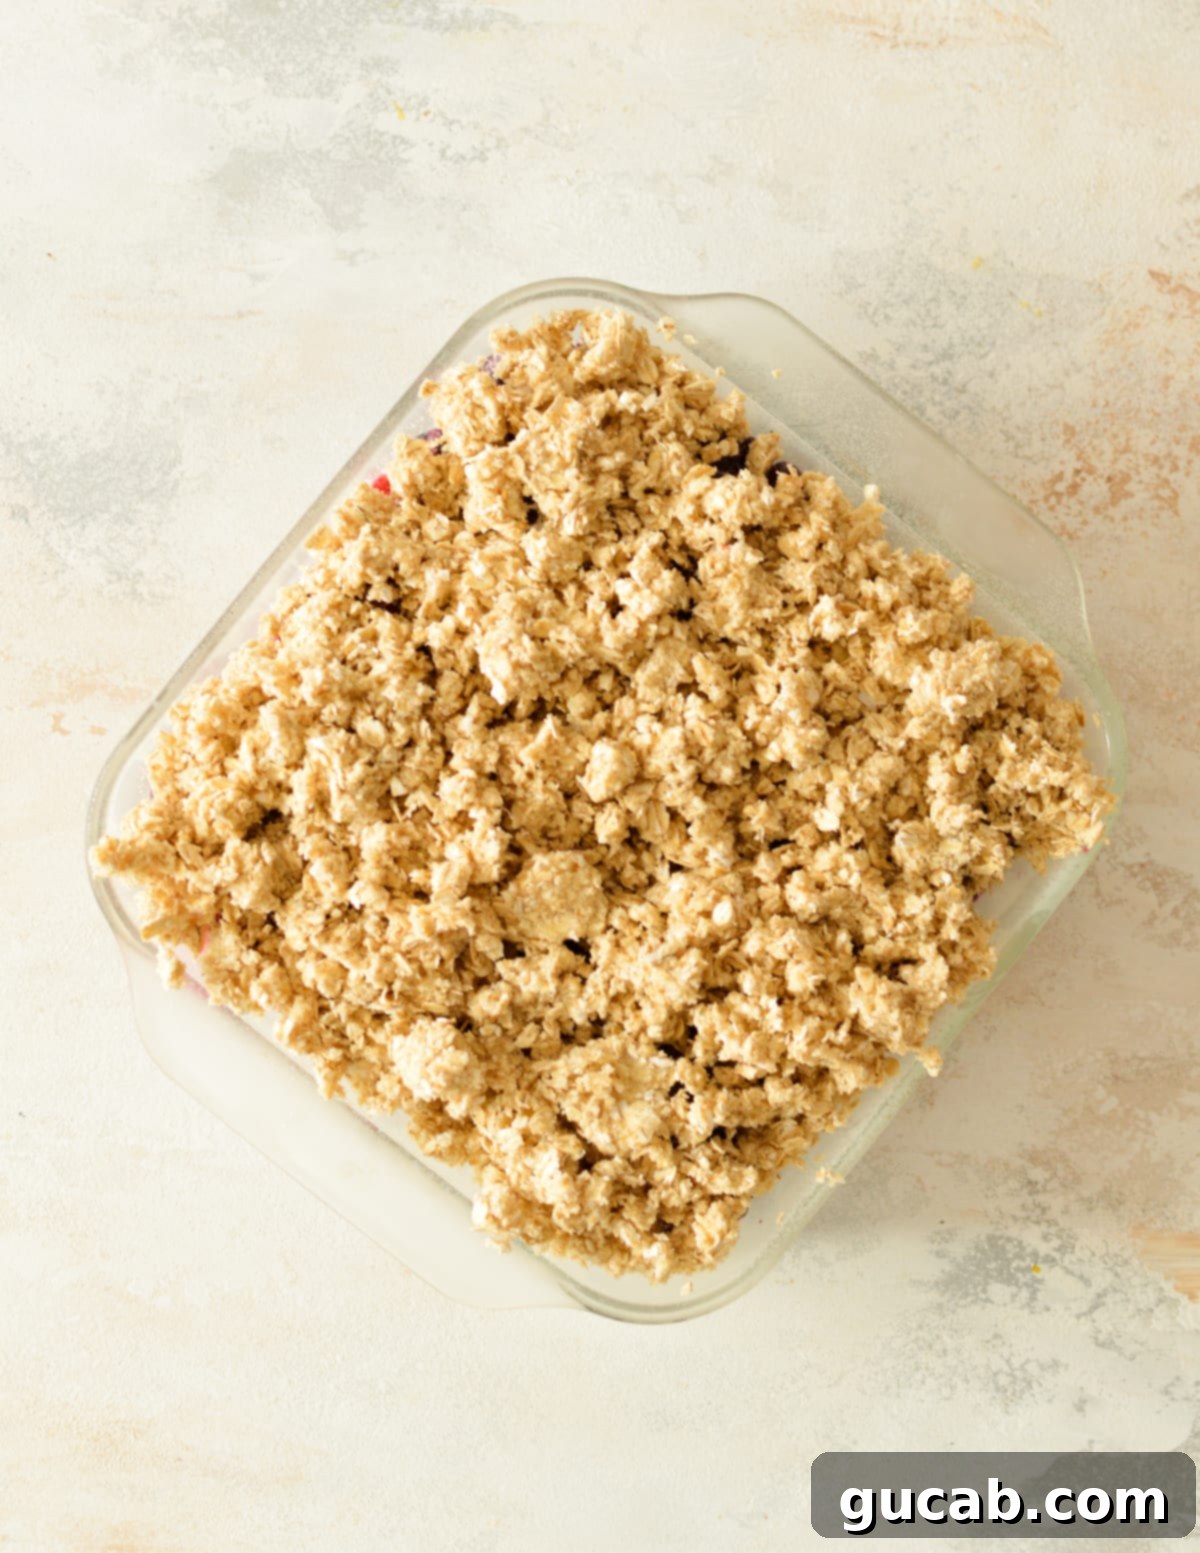
6. Top the Crisp: Using your hands, generously and evenly sprinkle the prepared crumb topping over the entire surface of the berry mixture in the baking dish. Don’t be shy – a good, even layer ensures every bite has that delightful crunch. This creates a protective layer that helps the berries cook perfectly underneath.
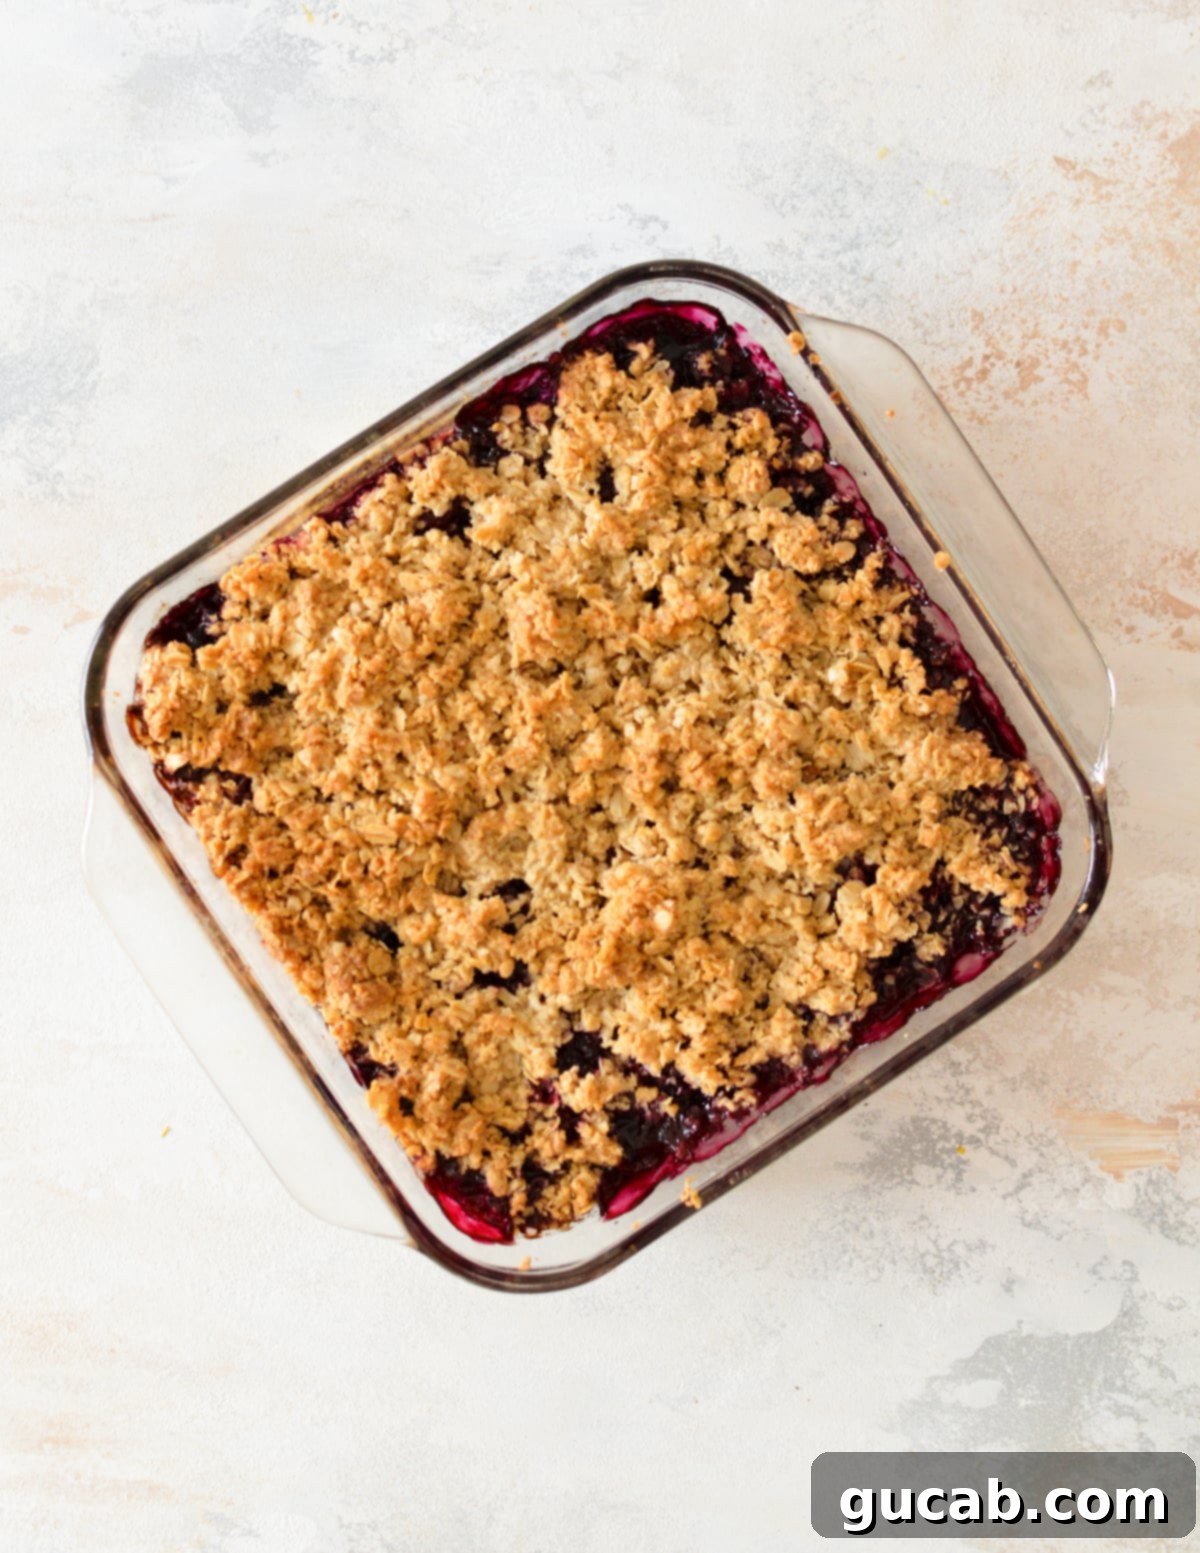
7. Bake & Serve: Place the baking dish on the middle rack of your preheated oven and bake for 55 to 60 minutes. You’ll know it’s ready when the edges are visibly bubbling with rich berry juices, and the crumb topping is beautifully golden brown and fragrant. If the topping starts to brown too quickly, you can loosely tent the dish with aluminum foil. Once baked, allow the crisp to cool for a few minutes before serving. This brief resting period allows the filling to set slightly. Serve warm, ideally with a large scoop of vanilla ice cream or a dollop of whipped cream, and prepare for a chorus of delighted sighs!
Expert Recipe Tips for the Best Berry Crisp Ever
- Embrace Both Oat Varieties! This is not a suggestion, it’s a golden rule for the perfect topping. Quick-cooking oats are thinner and behave more like a binder, helping to create a cohesive crumble, while old-fashioned (rolled) oats contribute that essential chewy texture and robust crunch. Together, they form an unparalleled, delicious topping that’s neither too dense nor too flimsy.
- Keep Your Butter Chilly: Always use cold, unsalted butter, cut into small chunks, for your crumb topping. Cold butter creates pockets of air and steam as it melts during baking, which is what gives the crisp its delightful flakiness and prevents it from becoming greasy. If your butter is too warm, it will blend too easily, resulting in a less crumbly and less crispy topping.
- Don’t Overmix the Topping: Once you’ve cut in the butter, mix just until coarse crumbs form. Overmixing can develop the gluten in the oats, leading to a tougher, less tender topping. A light hand is all you need for that perfect texture.
- Prevent a Soggy Bottom: If you’re concerned about a watery filling, ensure your cornstarch is thoroughly mixed with the berries. For an extra layer of protection, you can sprinkle a tablespoon of flour or finely crushed plain cookies (like Nilla Wafers) at the bottom of the dish before adding the berries.
- Baking Dish Size Matters: An 8×8-inch baking dish is ideal for this recipe, allowing the berries to bubble up without overflowing and ensuring the topping gets evenly crisp. A slightly larger dish might result in a thinner crisp and topping, while a smaller one could lead to overflow.
Delectable Substitutions & Creative Variations
- Mix Up Your Berries: While a triple berry blend is classic, feel free to experiment with other frozen berries. A single-fruit crisp with frozen blueberries, strawberries, or blackberries is equally delicious. You can also try a mix of two berries, like strawberry-rhubarb, or even incorporate other fruits like sliced peaches or apples for a seasonal twist.
- Add a Nutty Crunch: For an extra layer of flavor and texture, fold in a half cup of chopped walnuts, pecans, or sliced almonds into your crumb topping mixture. Toasting the nuts lightly before adding them will intensify their flavor.
- Spice it Up: Warm spices like a pinch of cinnamon, nutmeg, or even a dash of cardamom can beautifully complement the berries. Add a half teaspoon of your chosen spice to the oat topping for an aromatic twist.
- Citrus Zest Boost: For an even brighter flavor, add the zest of one lime (or lemon) to the berry mixture. The zest contains essential oils that impart a more intense citrus aroma than juice alone.
- Sweetener Alternatives: While sugar is standard, you can explore other sweeteners. A portion of the granulated sugar could be replaced with maple syrup or honey in the berry mixture for a different kind of sweetness, though this might affect the consistency slightly.
- Gluten-Free Flour Option: If you need the topping to be extra firm or are looking for a completely gluten-free option beyond just oats, you can replace a quarter cup of the quick-cooking oats with an equal amount of almond flour or a gluten-free all-purpose flour blend in the topping. Remember to ensure your oats are certified gluten-free as well.
Storing Your Delicious Berry Crisp: Tips & Tricks
One of the best things about this **easy berry crisp recipe** is how well it stores, meaning you can enjoy its comforting deliciousness for days, or even weeks!
How to store:
Once your triple berry crisp has completely cooled to room temperature, wrap it tightly in plastic wrap or transfer it to an airtight container. Store it in the refrigerator for up to 1 week. This helps maintain its freshness and prevents any bacterial growth. For best results, consume within 3-4 days to enjoy the topping’s crunchiest texture.
How to Reheat: Reheating your berry crisp is incredibly simple, and you have a couple of great options depending on your preference. If you’re reheating individual portions, a quick zap in the microwave for 20-30 second increments works wonders until piping hot. I personally prefer the microwave method for speed and convenience; the topping magically retains much of its crispiness, and the berry filling becomes deliciously hot in a flash. There’s truly no downside, unless you consider how dangerously accessible such amazing desserts become! Alternatively, you can reheat a larger portion in the oven at 350°F (175°C) for about 15-25 minutes, or until warmed through and the topping crisps up again.
How to freeze a berry crisp:
Can you freeze a berry crisp? Absolutely, and it’s one of my favorite meal-prep hacks! My freezer is truly my best friend in the kitchen, allowing me to enjoy homemade treats without constantly starting from scratch. I’m considering giving her a hug right now!
You can freeze this **frozen berry crisp** in three fantastic ways, each yielding excellent results:
1. Freeze Before Baking: This method is perfect for make-ahead desserts. Assemble your berry crisp exactly as the recipe instructs, but stop before baking. Tightly wrap the entire unbaked crisp in several layers of plastic wrap, followed by a layer of aluminum foil, to prevent freezer burn. Freeze for up to 3 months. When you’re ready to bake, simply pull it directly from the freezer, unwrap, and pop it into a preheated 350°F (175°C) oven. It will likely need an additional 10-15 minutes of baking time (totaling 55-65 minutes) compared to a fresh crisp, until the berries are bubbly and the topping is golden and crisp. Check for doneness by observing the bubbling edges and golden topping.
2. Freeze the Topping Separately: Want to cut your prep time in half for future crisps? Make a double or triple batch of the oat crumble topping. Once prepared, spread it onto a parchment-lined baking sheet and freeze for about 30 minutes until firm. Then, transfer the frozen crumble to a plastic freezer bag. Store it in the freezer for up to 3 months. The next time you crave a berry crisp, just pull out the bag, let it sit on the counter for a few minutes to soften slightly so you can easily crumble it over your fresh berry mixture, and bake as usual. This is what I call “killin’ it in the kitchen” – ultimate convenience!
3. Freeze After Baking (Individual Portions): If you love having single-serve desserts ready to go, this method is for you. Bake the crisp as directed and enjoy a hearty portion. Once the remaining crisp has completely cooled to room temperature, use a spoon or ice cream scoop to portion it out onto a Silpat-lined (or parchment paper-lined) sheet pan. Place the sheet pan in the freezer until the portions are solid. You can use a half-sheet pan if a full one doesn’t fit your freezer. Once frozen, peel the individual berry crisp portions off the sheet pan and transfer them to a gallon-sized freezer bag or an airtight container. Now, whenever a craving strikes, simply grab one of these delightful frozen portions, place it in an oven-safe bowl, and reheat at 350°F (175°C) until warmed through, or microwave for a quick treat. No work, no mess, just pure enjoyment, my friend!
Frequently Asked Questions (FAQs) About Berry Crisps
When a recipe refers to a “triple berry” mix, it most commonly includes blackberries, raspberries, and blueberries. This combination is popular because it offers a delightful balance of sweet and tart flavors, and these are the berries most frequently found together in frozen mixed berry blends at the grocery store. Sometimes, strawberries are also included in commercial mixed berry packages, making it a “four berry” or simply a “mixed berry” blend.
For a berry crisp, you absolutely do not need to thaw frozen berries before baking! In fact, it’s often better to use them straight from the freezer. Not only does this save you time and prevent a messy thawing process, but the berries hold their shape better during baking and release their juices more gradually, contributing to a perfectly thick and flavorful filling. For other recipes, like muffins or tarts, thawing and draining berries might be necessary to prevent too much liquid from affecting the batter, but a crisp is designed to handle that moisture.
The terms “crumble” and “crisp” are often used interchangeably these days, and for good reason, as they are very similar. Technically, the primary distinction lies in the topping: a “crisp” specifically includes oats in its topping, which become wonderfully crispy and golden brown during baking. A “crumble” traditionally has a streusel-like topping made from flour, sugar, and butter, but without oats, resulting in a more uniform, cakey crumb. The difference is subtle, and both are equally delicious fruit desserts. However, a “cobbler” is distinctly different, featuring a biscuit-like or scone-like topping that is dropped onto the fruit and bakes into a soft, cakey layer.
This recipe can easily be made gluten-free, but it’s crucial to make a specific substitution for the oats. While oats are naturally gluten-free, they are very often processed in facilities that also handle wheat, barley, and rye, leading to cross-contamination. Therefore, if you require this recipe to be strictly gluten-free, you must purchase certified gluten-free oats. Look for a clear “gluten-free” label on the packaging. I highly recommend brands like Bob’s Red Mill, which offers both quick-cooking and old-fashioned gluten-free oats, and I appreciate the quality of their products. Always double-check your nonstick spray as well, as some contain flour and would not be gluten-free.
Yes, you absolutely can use fresh berries! If using fresh, ensure they are ripe and sweet. You might find that fresh berries release slightly less liquid than frozen ones, but the cornstarch in the recipe will still ensure a perfectly set filling. There’s no need to adjust the quantities if you’re swapping fresh for frozen, just proceed as directed.
A perfectly baked berry crisp will have several tell-tale signs. The fruit filling should be visibly bubbling around the edges of the dish, indicating it’s hot and thickened. The oat topping should be a beautiful golden brown color and feel firm and crispy to the touch. If the topping is browning too quickly before the filling is bubbly, loosely tent the dish with aluminum foil for the remainder of the baking time.
Other Must-Try Oat-Based Recipes
If you love the comforting versatility of oats, here are a few more recipes you’ll adore:
- Flourless Oatmeal Cookies – A definite fan favorite! These chewy, wholesome cookies are one of my most popular recipes.
- Peanut Butter Oatmeal Cookies – The classic pairing of peanut butter and oatmeal is pure heaven in cookie form.
- Gluten-Free Blueberry Crisp – A wonderfully delicious blueberry crisp that can easily be made gluten-free. If you’re not gluten-free, simply swap the gluten-free flour blend for regular all-purpose flour.
If you’re as passionate about this delightful **triple berry crisp recipe** as I am, be sure to follow me on Pinterest for more delectable gluten-free recipes and inspiring dessert ideas!
Triple Berry Crisp with Oat Crumble
Carolyn
Pin Recipe
Equipment
-
8 by 8 oven safe pan
-
Mixing bowls
-
Measuring cups & spoons
Ingredients
- 6 cups frozen mixed berries
- 3 tbsp cornstarch
- 1 tbsp lime juice, freshly squeezed
- 3 tbsp granulated sugar
Crumb Topping:
- 8 tbsp unsalted butter, cut into 1-inch pieces (1 Stick, cold)
- ¼ Cup + 2 tbsp granulated sugar
- ¼ Cup brown sugar
- ¼ t. kosher salt
- 1 Cup quick-cooking oats (ensure they are certified gluten-free for a gluten-free berry crisp)
- ½ Cup old-fashioned oats (ensure they are certified gluten-free for a gluten-free berry crisp)
Instructions
-
Preheat oven to 350°F (175°C) and generously spray an 8×8-inch baking pan with nonstick spray*.
-
In a large bowl, combine the frozen berries, cornstarch, fresh lime juice, and granulated sugar. Stir vigorously with a large spoon until all the berries are thoroughly coated and mixed. Pour the coated berries into your prepared baking pan, ensuring any remaining sugar/cornstarch mixture from the bowl is also added to the pan. Set aside.
-
Wipe out the same bowl to prepare the topping. Add both the granulated sugar, brown sugar, kosher salt, quick-cooking oats, and old-fashioned oats to the bowl and stir well to combine all dry ingredients. Add the cold butter, cut into 1-inch pieces, to the oat mixture.
-
Using your hands (rubbing with fingertips) or a pastry blender, cut the butter into the oat mixture until it forms coarse, uniform crumbs and is well combined. Evenly sprinkle this delicious crumb topping over the berries in the baking dish. Bake for 55 to 60 minutes on the middle rack of your oven, until the berry filling is bubbling vigorously around the edges and the topping is golden brown and crispy.
-
If the crisp topping appears to be browning too quickly during the last portion of cooking, carefully remove the berry crisp from the oven and loosely tent it with aluminum foil, then return it to the oven to finish baking until the berries are thoroughly hot and bubbly. Let cool for a few minutes before serving.
Notes
Nutrition
