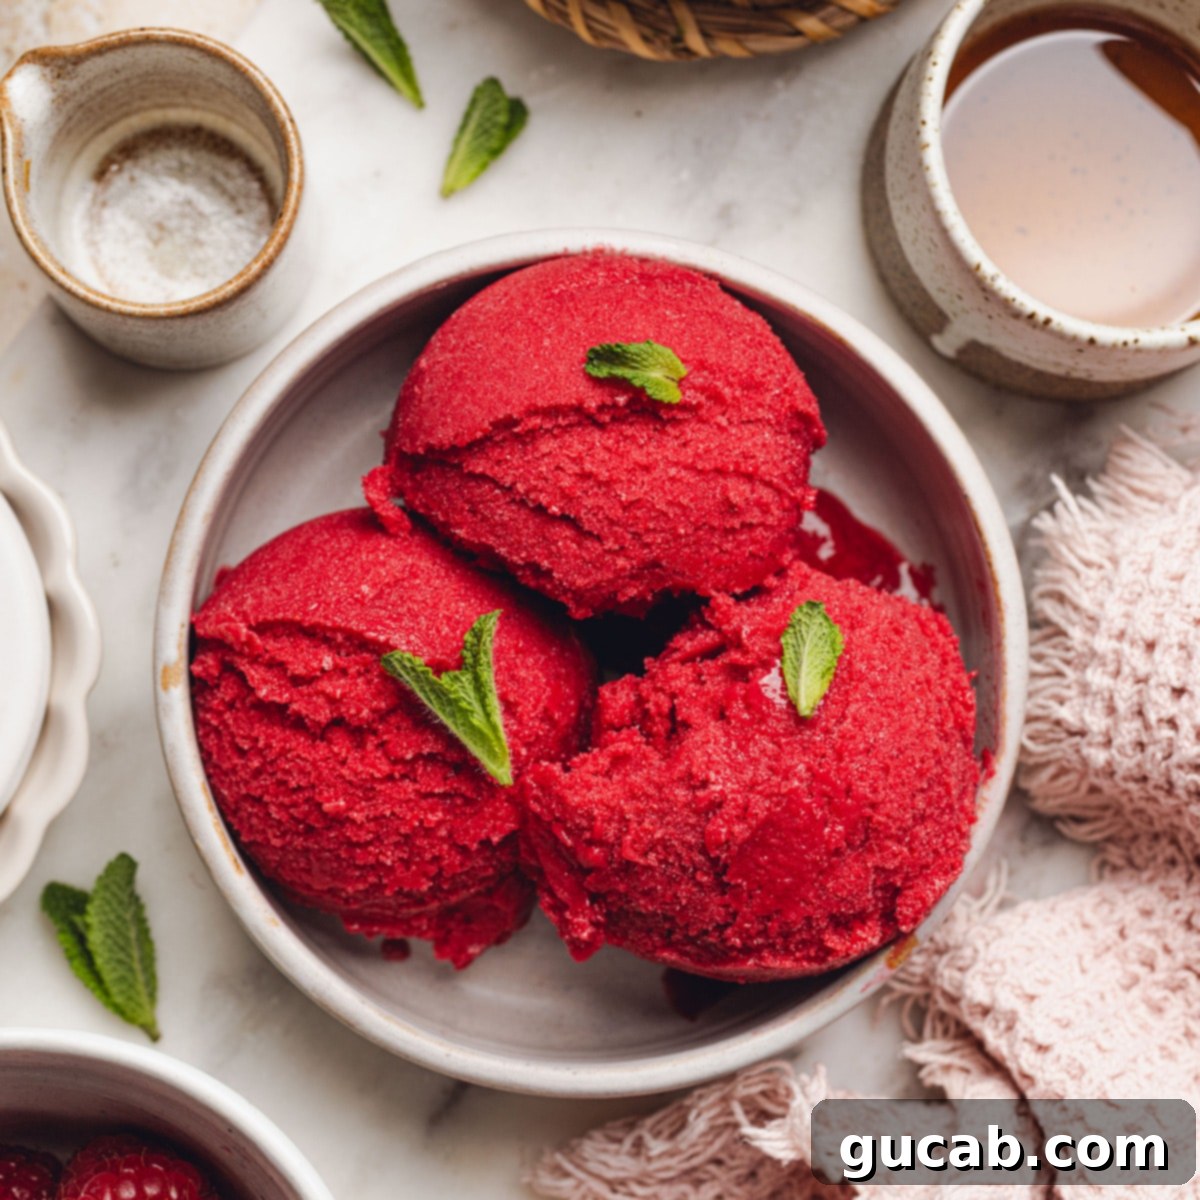
Effortless Blender Raspberry Sorbet: Homemade, Healthy & No Ice Cream Maker Needed!
Indulge in the vibrant, sweet-tart goodness of this incredibly easy **raspberry sorbet** recipe! Perfect for a refreshing dessert or a healthy treat, this sorbet delivers a powerful raspberry punch without the need for an expensive ice cream maker. In just about 5 minutes, you can transform a few simple, wholesome ingredients into a thick, scoopable, and utterly delicious frozen delight. Get ready to enjoy the freshest flavors with minimal effort!
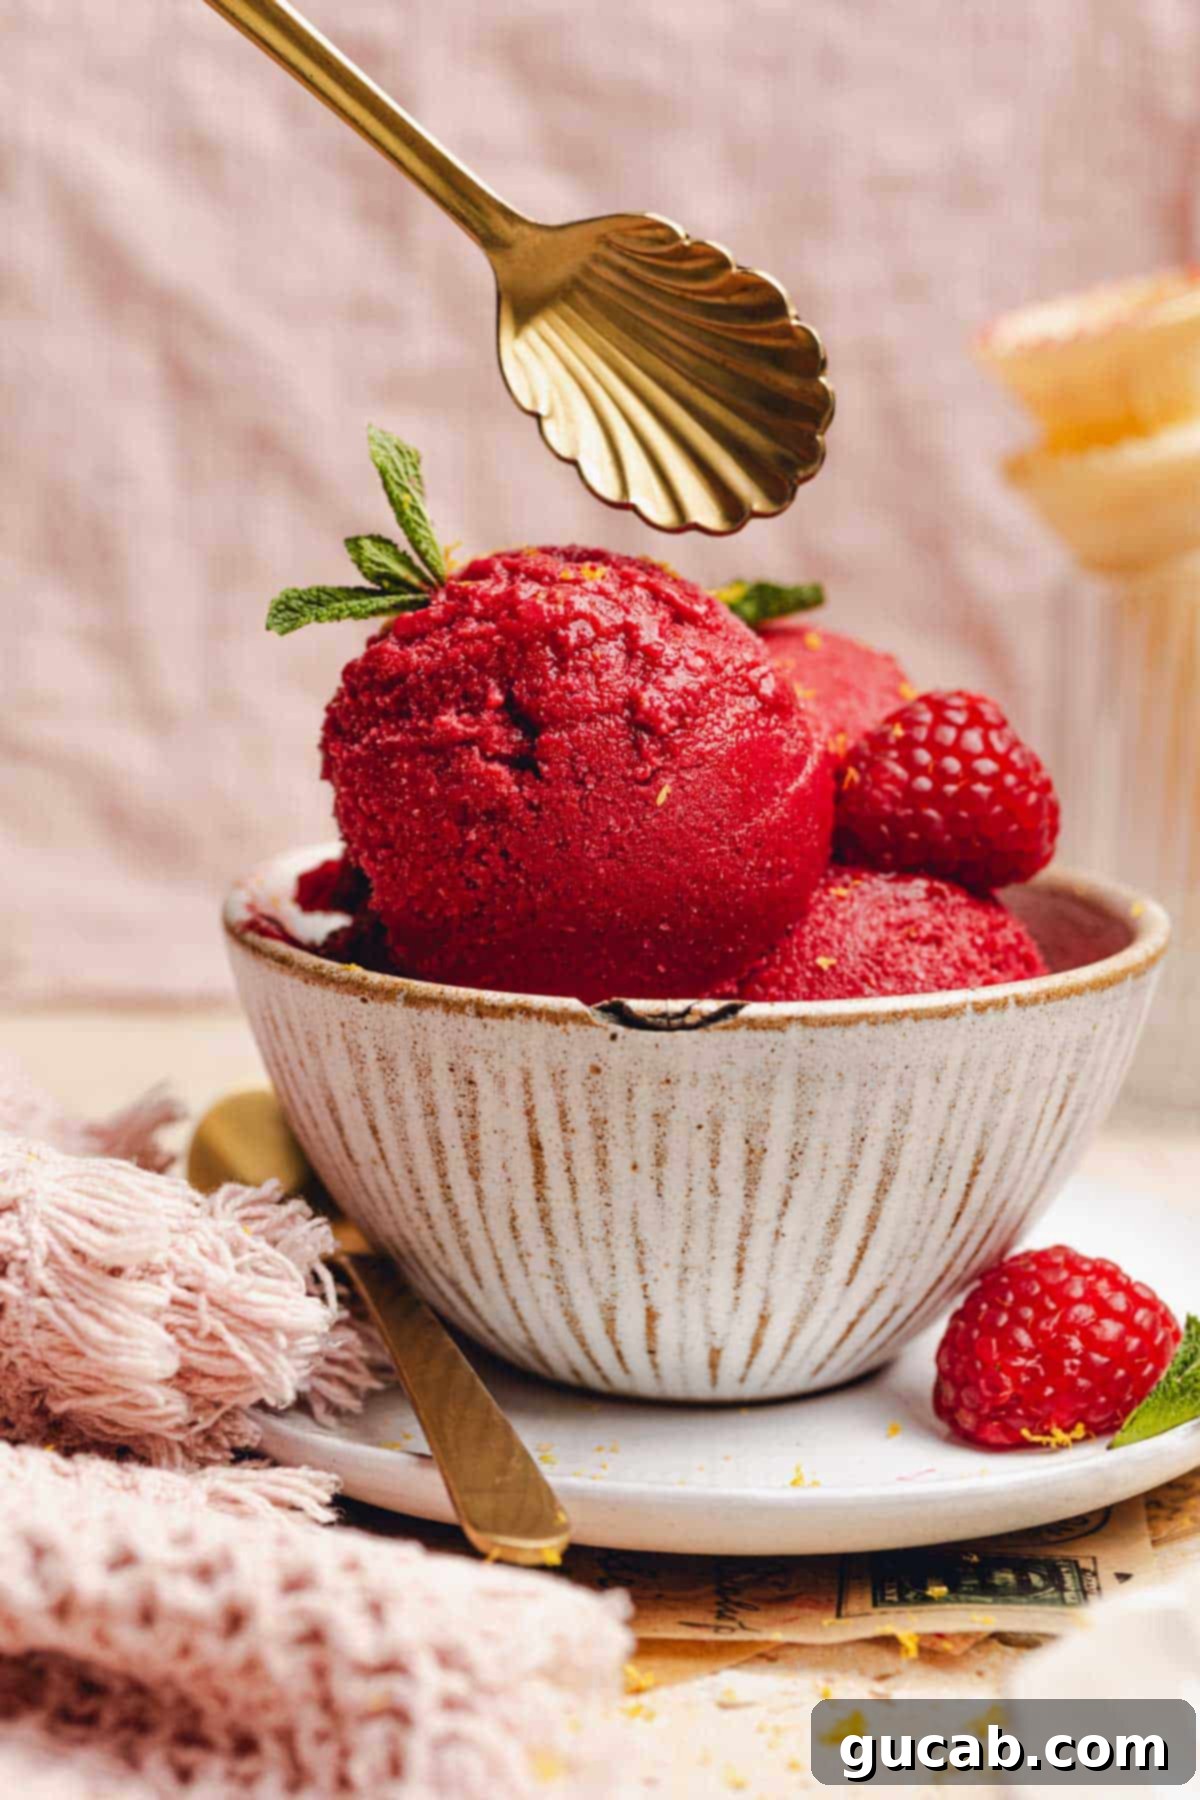
Revolutionary Blender Sorbet: Skip the Churn!
When you think of sorbet, images of traditional ice cream makers churning away for what seems like an eternity might come to mind. While that method certainly has its place, it often requires specialized equipment and a bit of patience. Our mission here is to create something wonderfully quick, incredibly easy, and just as satisfying – a homemade raspberry sorbet that comes together in your everyday kitchen blender, preferably a high-powered one like a Vitamix.
This innovative blender sorbet technique relies on the magic of frozen fruit and a minimal amount of liquid. By pureeing these simple ingredients at high speed, the frozen raspberries break down into a miraculously thick, creamy, and instantly scoopable mixture. It’s a game-changer for anyone craving a fast, fresh, and naturally delicious frozen dessert without the fuss. You’ll be amazed at how quickly you can achieve that perfect sorbet texture.
Beyond its speed and convenience, this raspberry sorbet is a treat you can truly feel good about. It’s bursting with natural fruit flavor, wonderfully tart yet balanced, and completely free of refined white sugar. We achieve its delightful sweetness using ripe bananas and a touch of maple syrup, making it a healthier option for the whole family. Enjoy a guilt-free dessert that’s packed with antioxidants and real fruit goodness!
Essential Ingredients for Your Perfect Raspberry Sorbet
Creating this delectable blender sorbet requires just a handful of straightforward ingredients. Each component plays a crucial role in achieving the ideal flavor and creamy, scoopable texture. Here’s a closer look at what you’ll need:
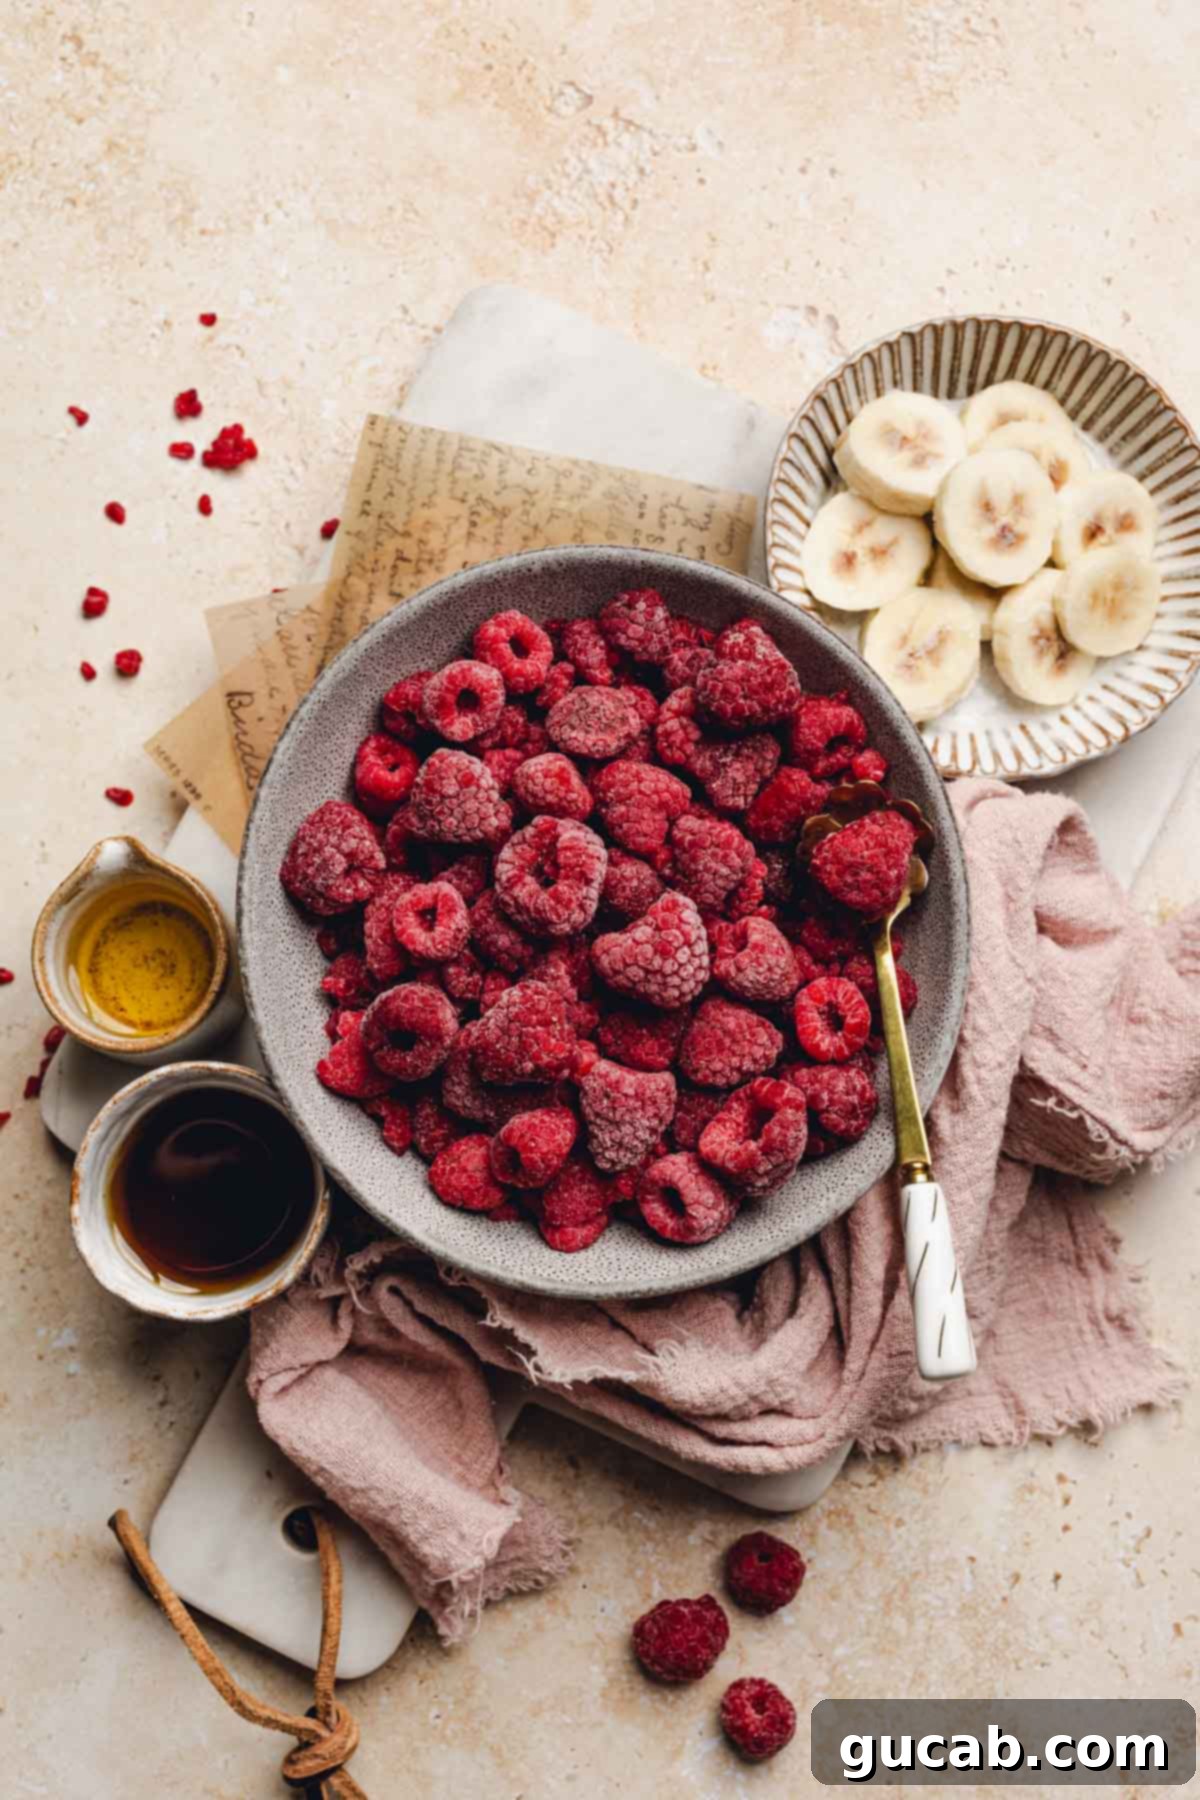
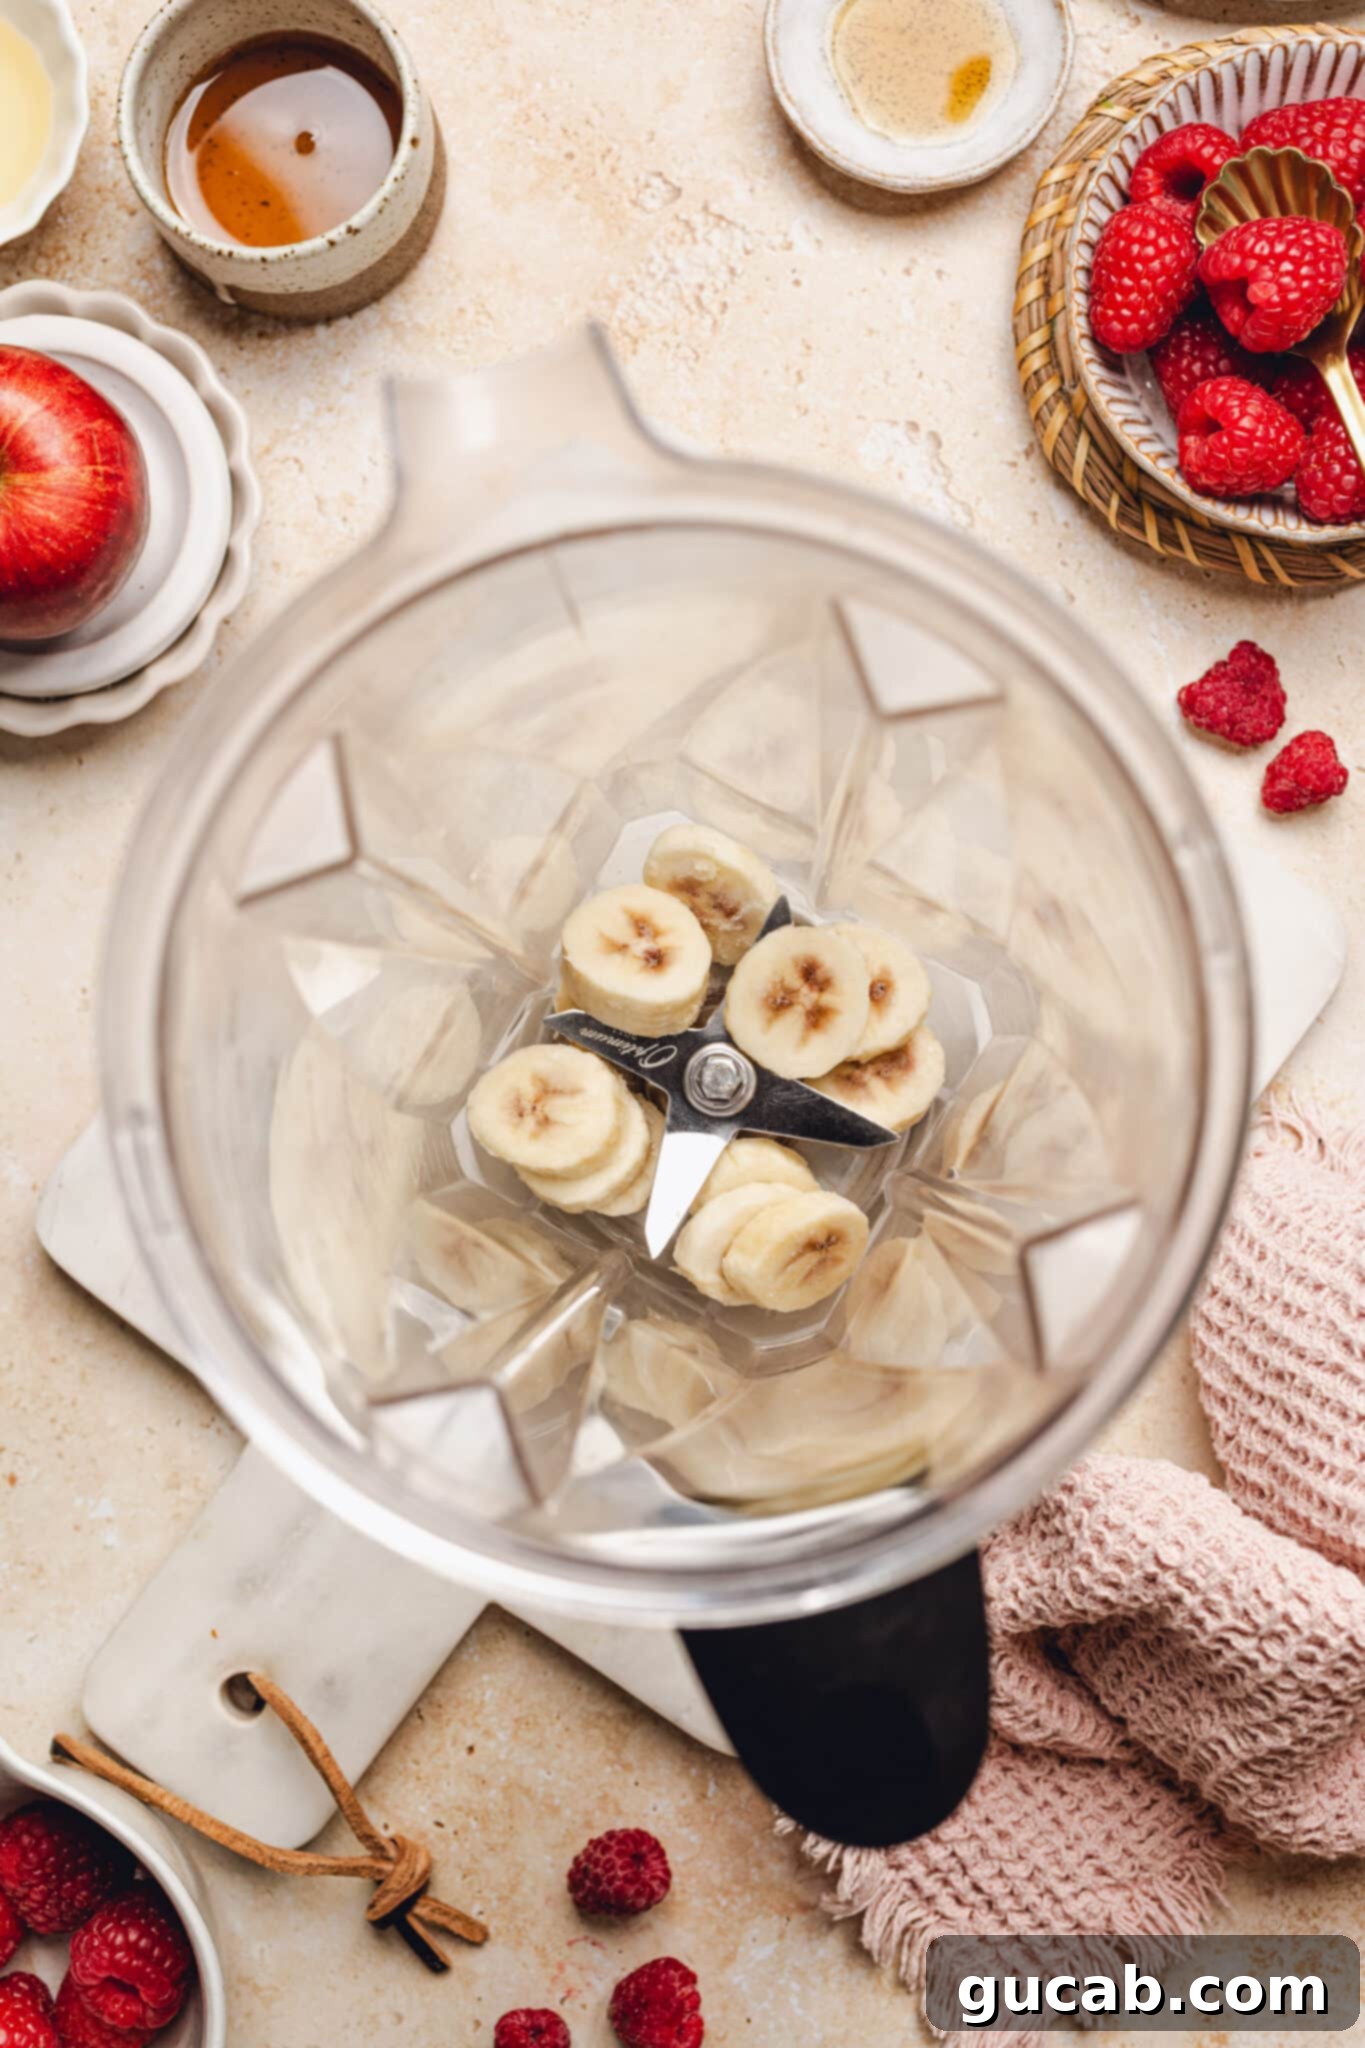
- Frozen Banana: This isn’t just a sweetener; it’s the secret to the sorbet’s incredible creaminess and smooth texture, acting as a natural thickener. For best results, use a very ripe banana. The riper the banana, the sweeter it will be, reducing the need for additional sweeteners. To prepare, simply peel a ripe banana, cut it into chunks or slices, place it in a zip-top bag, and freeze overnight (or for at least 4 hours). If your banana is smaller, feel free to use a whole one instead of just half to ensure sufficient volume and creaminess. Want to omit banana? You can try adding more frozen raspberries for bulk, along with a bit more maple syrup for sweetness, though the texture might be slightly less creamy.
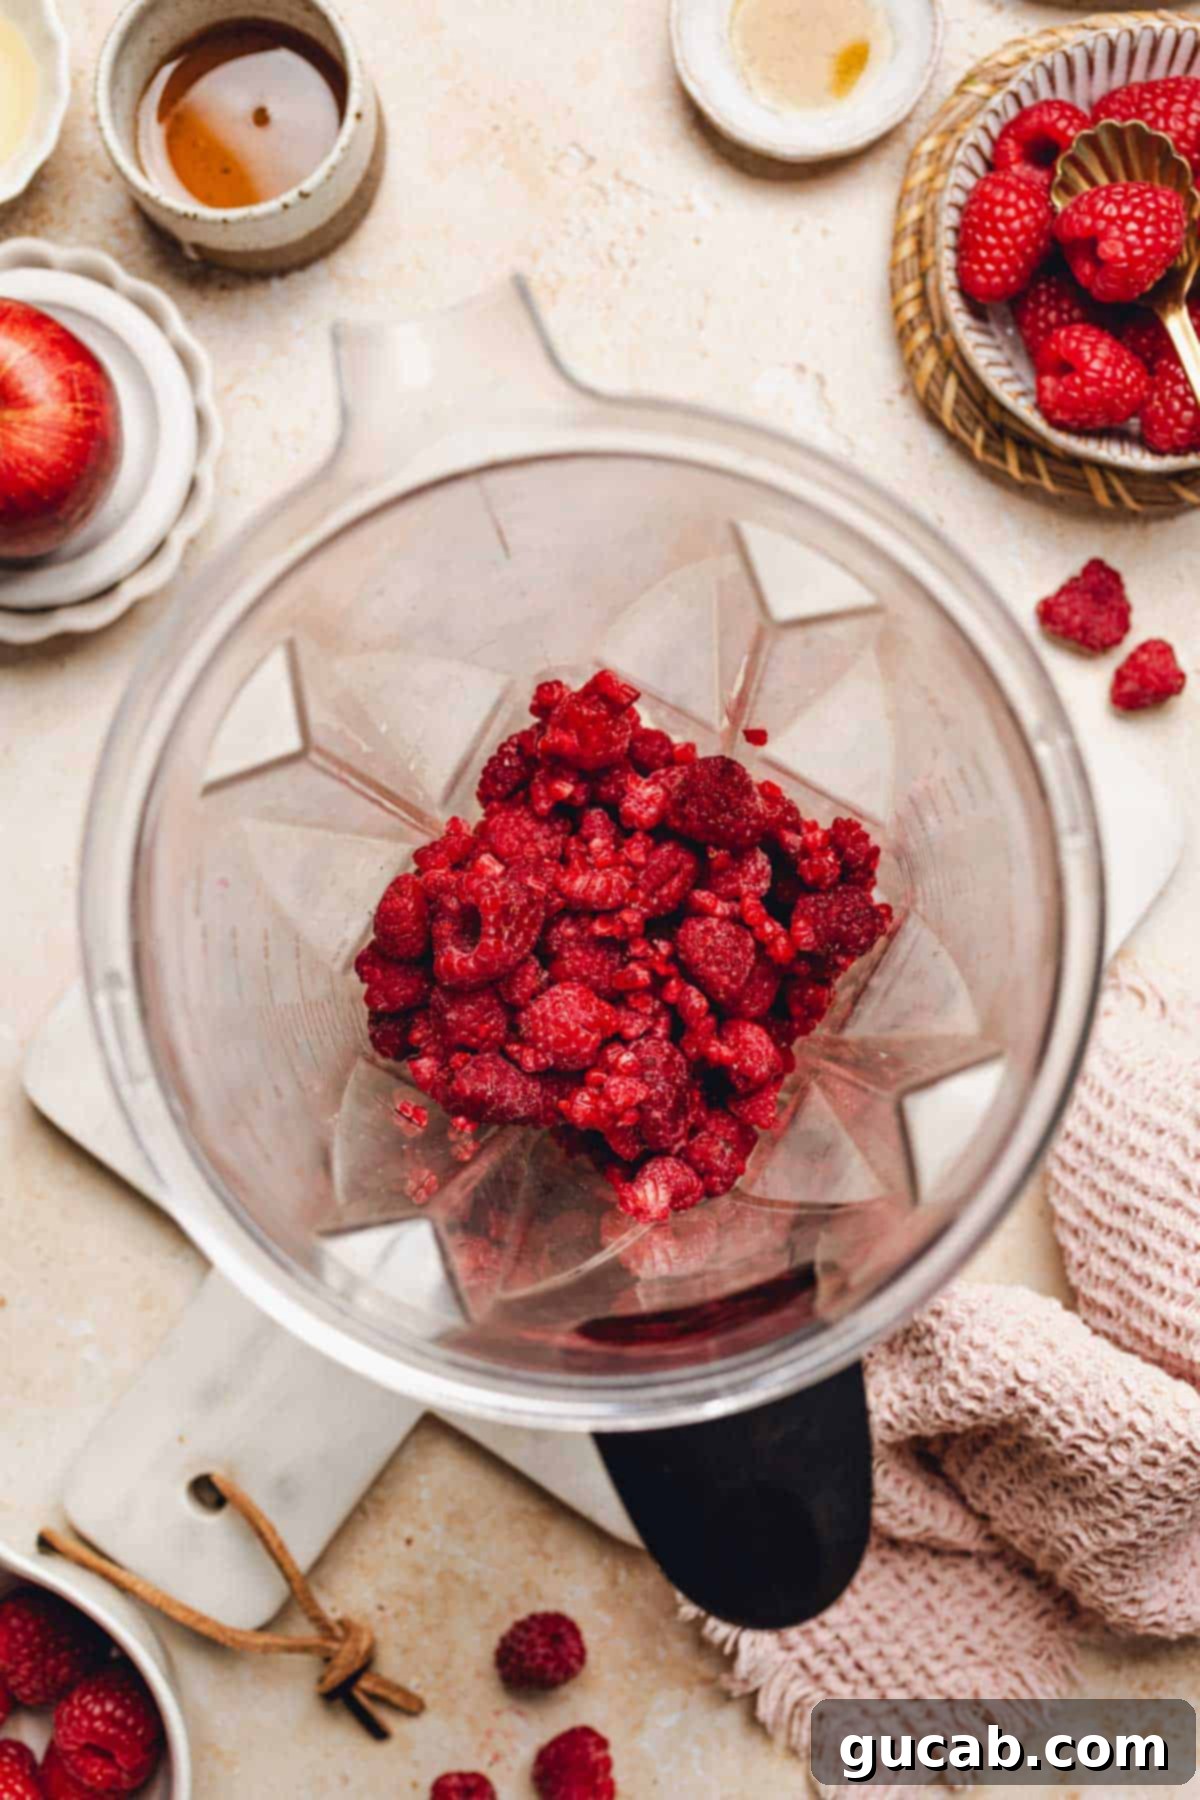
- Frozen Raspberries: The star of our show! Frozen raspberries provide that intensely fruity, sweet-tart flavor and form the bulk of the sorbet. While some local grocery stores might not always stock them, larger chains like Target or Walmart often do, or you can check specialty frozen food sections. Using frozen raspberries is absolutely crucial for the instant “ice cream” consistency. Fresh raspberries won’t work for this recipe as they’ll create a smoothie, not a thick sorbet. If you only have fresh raspberries, you’ll need to freeze them for several hours beforehand. Raspberries are also packed with fiber and antioxidants, making this sorbet a nutritious choice.
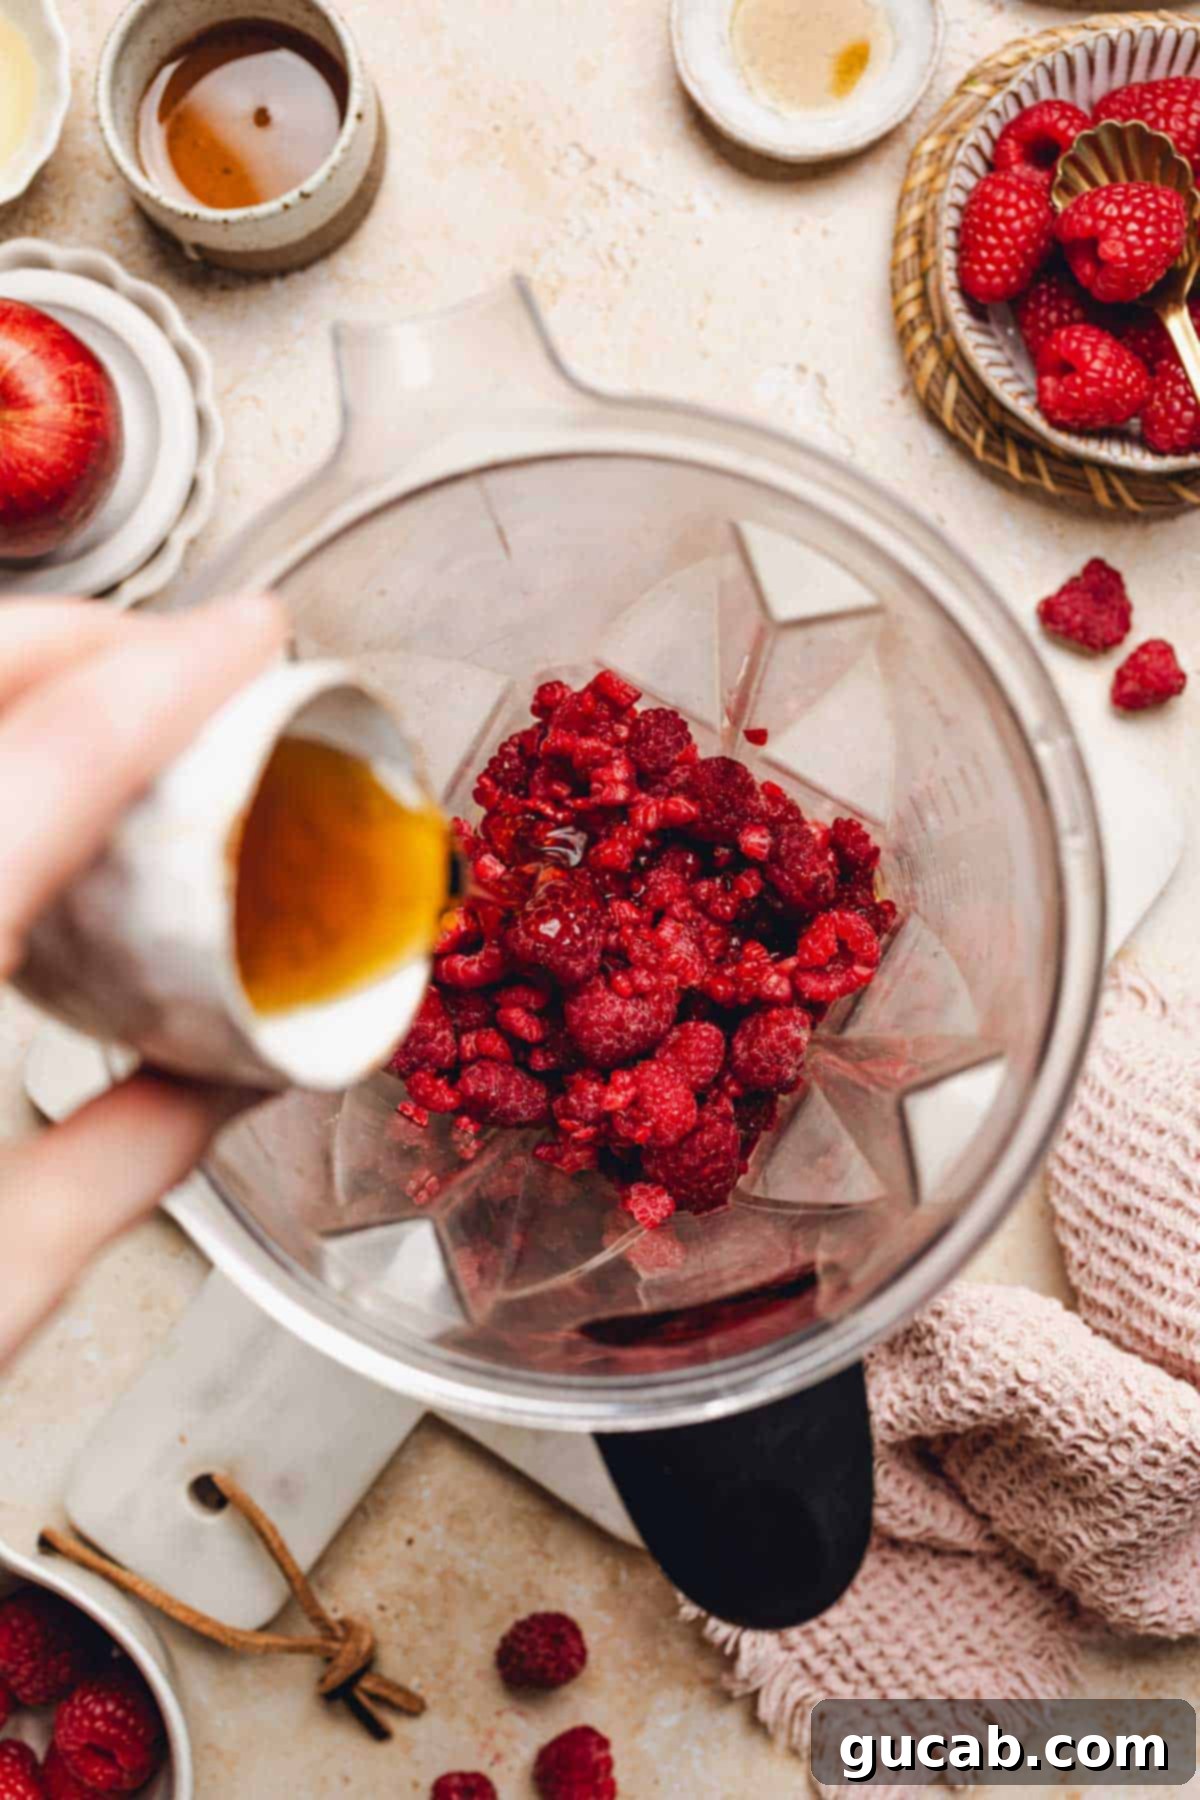
- Maple Syrup: Raspberries are naturally quite tart, and maple syrup steps in to perfectly balance that tang with a rich, natural sweetness. The amount specified in the recipe is a guideline; feel free to adjust it to your personal preference. If you enjoy a bolder, more tart flavor, use less; if you prefer it sweeter, add more! Maple syrup is a fantastic unrefined sweetener that offers a unique depth of flavor. Other natural sweeteners like agave nectar or honey (if not vegan) can also be used as substitutes, but maple syrup complements raspberries beautifully.
- Apple Juice: This ingredient acts as a minimal liquid to help your blender blades get moving and achieve a smooth consistency. The key word here is *minimal*. Resist the urge to add too much liquid, as this will result in a smoothie-like consistency rather than a thick, scoopable sorbet. Start with the recommended amount, and only add a tiny splash more if your blender is struggling significantly. You can also use water, cranberry juice, or even a splash of lemon juice for an extra zing, but apple juice offers a subtle, complementary sweetness.
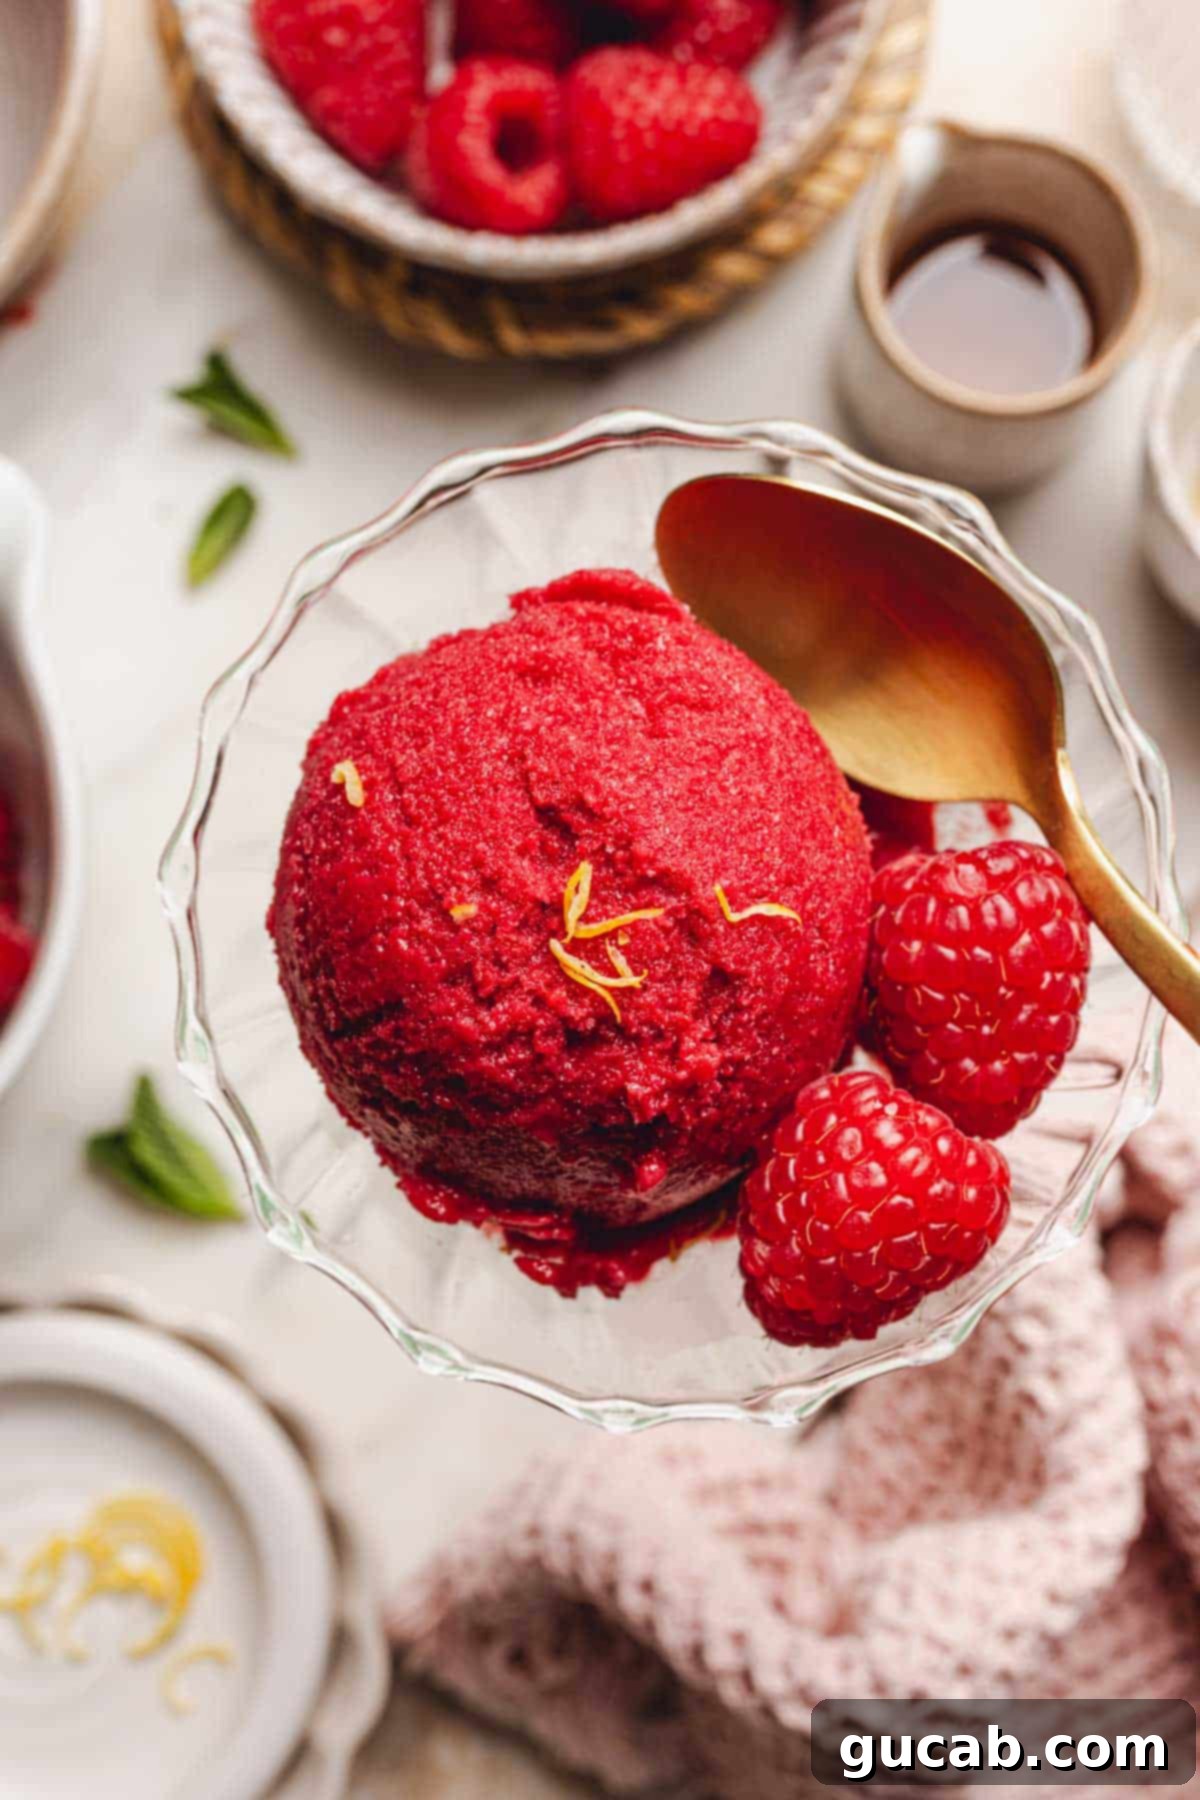
Mastering the Art of Blender Raspberry Sorbet: Step-by-Step Guide
Making this incredible blender sorbet is surprisingly simple and requires no culinary expertise. For those who appreciate a clear, guided approach, here’s everything you need to know to achieve perfect results every time:
- Start with a High-Speed Blender: This is arguably the most critical piece of equipment for this recipe. A standard, low-wattage blender from decades past simply won’t have the power to pulverize dense, frozen fruit into a creamy consistency without excessive liquid. You need a blender with a powerful motor that can handle tough, frozen ingredients. Brands like Vitamix, Blendtec, or even modern Ninja models with strong motors are ideal. If you don’t have a high-speed blender, consider letting your frozen fruit thaw for about 5-10 minutes before blending, and be prepared to stop and scrape more frequently, or add an extra tablespoon of liquid, very cautiously.
- Combine All Ingredients in the Blender: Begin by adding your precisely measured frozen banana slices, frozen raspberries, maple syrup, and apple juice to the blender jar. It’s vital to use *fully frozen* fruit for this recipe. Frozen fruits provide the necessary coldness and structure for that thick, scoopable sorbet texture right out of the blender. I always keep a stash of frozen bananas in my freezer – they’re incredibly versatile for smoothies, banana bread, and, of course, this amazing sorbet. Layering can sometimes help; place the liquid at the bottom, followed by softer frozen fruit (like banana), then the harder frozen raspberries.
- Blend, Stop, and Scrape (The Key Technique): Because this recipe uses very little liquid to achieve its thick consistency, you’ll need to employ a specific blending technique. Start your blender on a low speed, then gradually increase it, if possible. Once the mixture stops moving freely around the blades, immediately stop the blender. Use a sturdy spatula (not a metal utensil while the blender is on!) to scrape down the sides of the jar, pushing the frozen fruit mixture towards the blades. Repeat this process as many times as necessary until you achieve a uniformly smooth, thick, and creamy consistency. If your blender comes with a tamper (like a Vitamix), use it to push the ingredients down towards the blades while blending, which can significantly speed up the process and minimize scraping. Be patient; this step ensures the perfect sorbet texture.
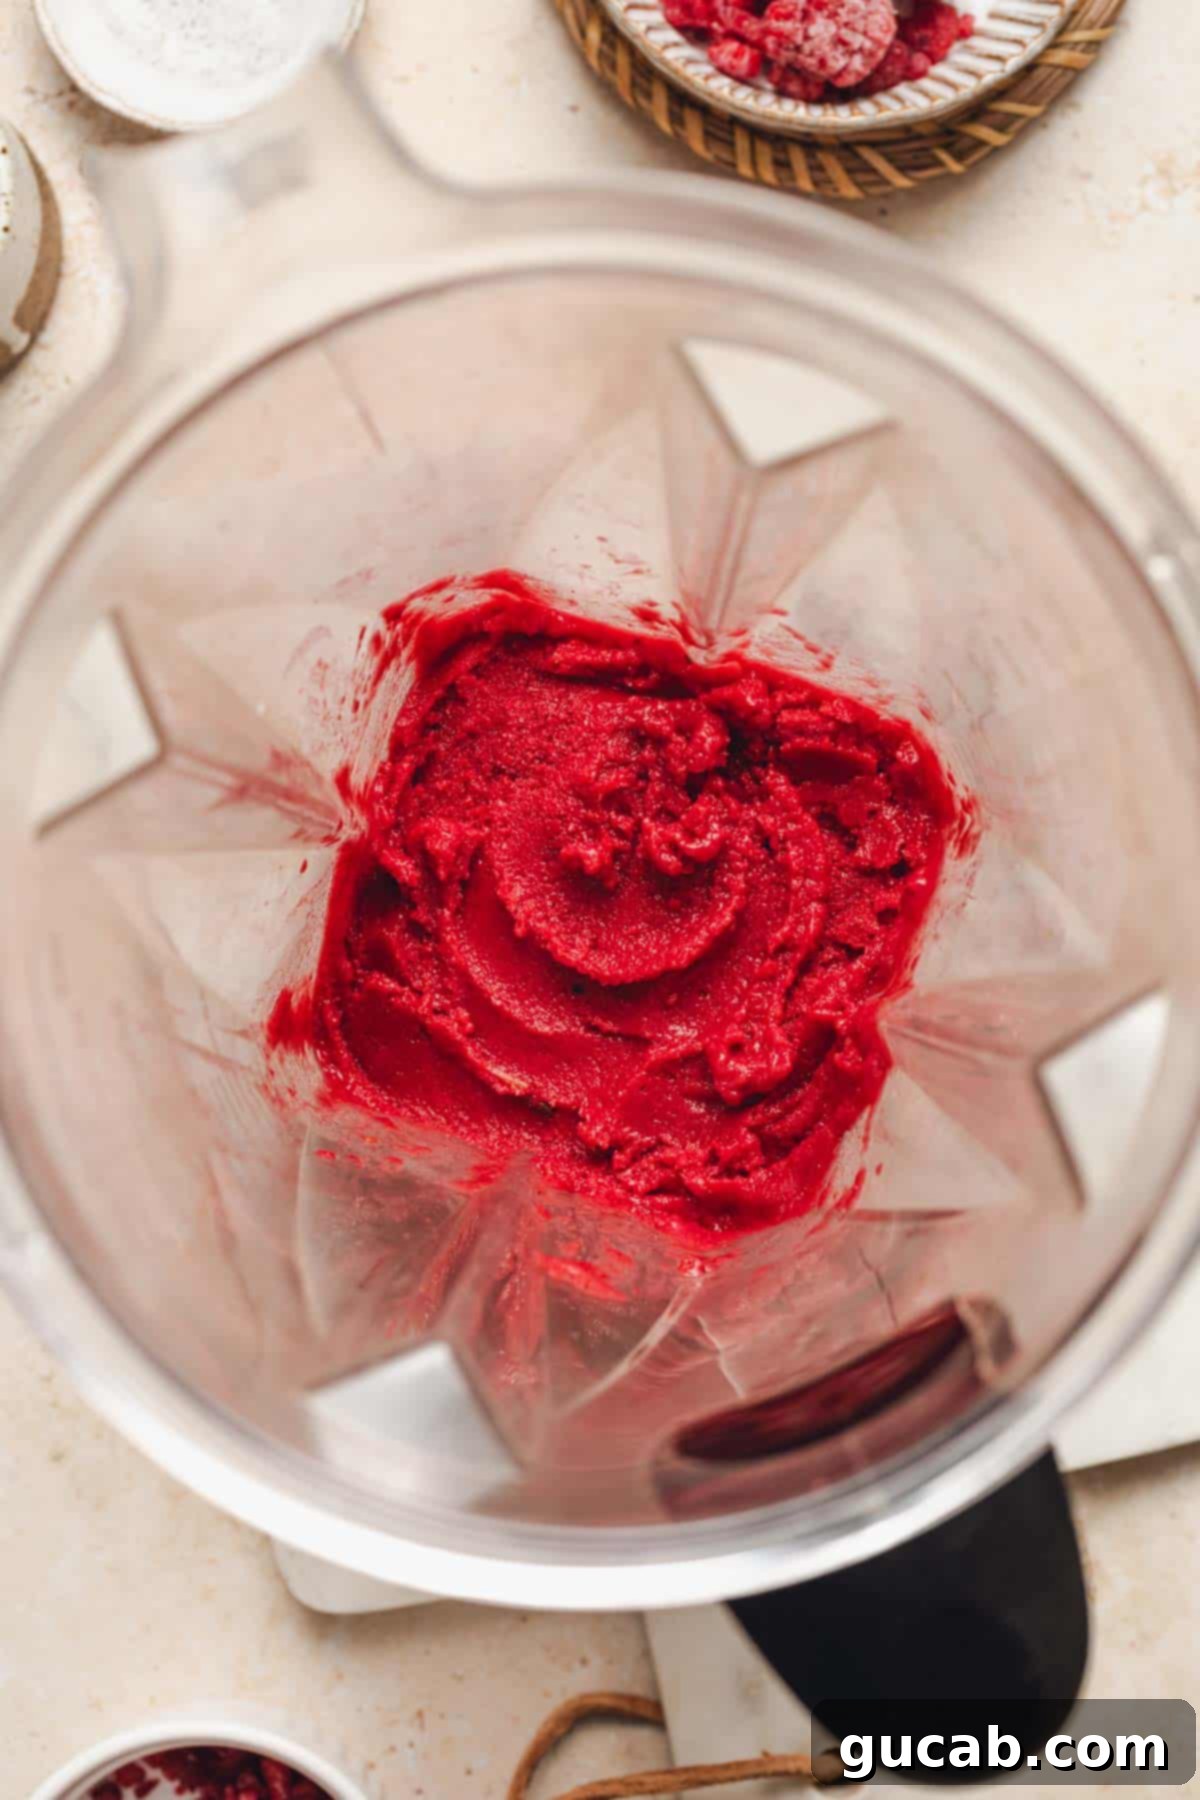
- Taste and Adjust Sweetness: Once your sorbet has reached a beautifully smooth, thick consistency, give it a taste. Raspberries are naturally tart, and while I personally adore that tangy “pucker” factor, your preference might be different. If you find it too tart, simply add another tablespoon or two of maple syrup and blend again briefly to ensure it’s fully incorporated. Continue to taste and adjust until you achieve your perfect balance of sweet and tart.
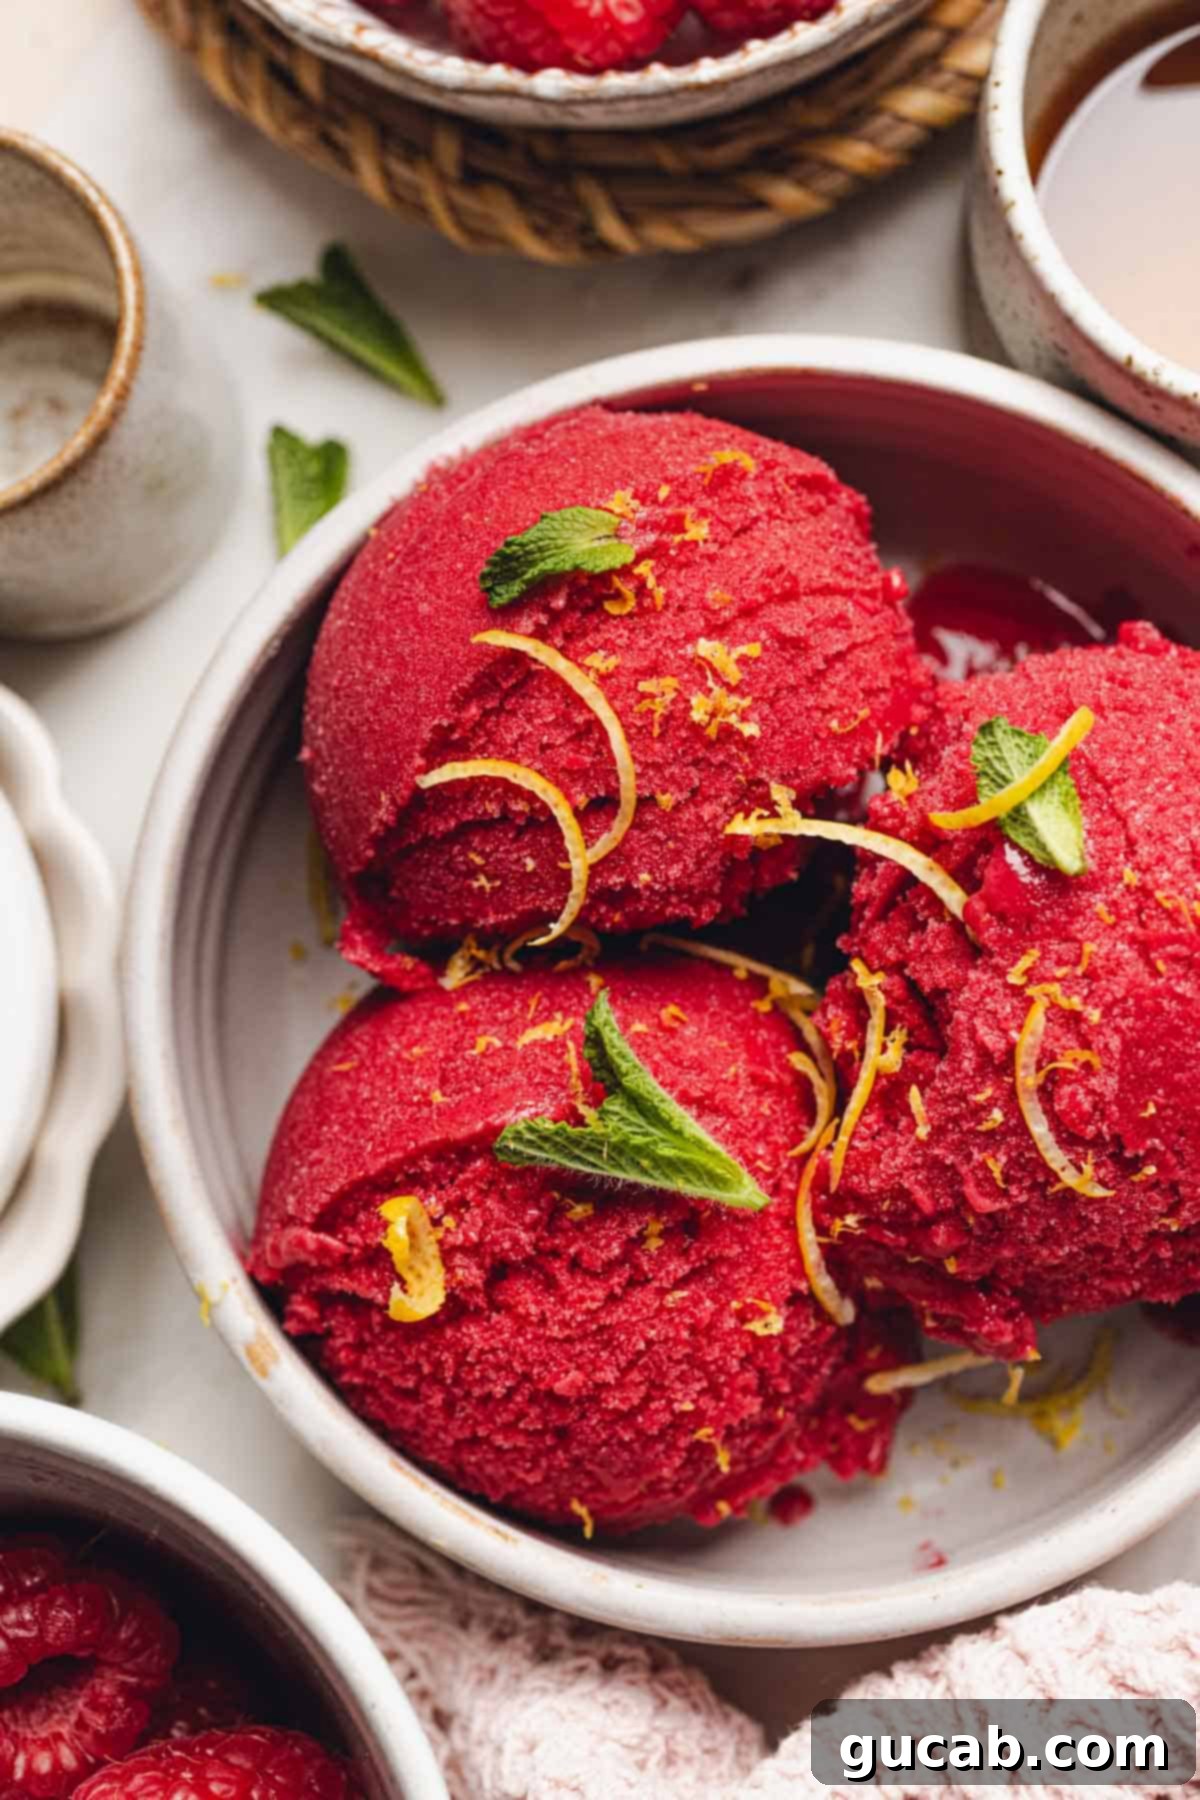
- Serve Immediately or Freeze for Later: The beauty of this blender sorbet is that it’s ready to enjoy right away! Scoop it into bowls, garnish with fresh raspberries or mint leaves, and serve. If you’ve made a larger batch or want to save some for later, transfer the sorbet to a freezer-safe, airtight container. It can be frozen for up to one month. Remember that homemade sorbets tend to freeze harder than commercial varieties due to the lack of stabilizers. If it becomes too firm, simply let it sit at room temperature for 10-15 minutes before attempting to scoop for a perfectly softened texture.
Expert Tips for the Best Blender Raspberry Sorbet
Achieving a consistently perfect, scoopable, and delicious raspberry sorbet is easy with a few insider tricks. Here are some expert tips to ensure your homemade frozen treat is always a success:
- The Frozen Fruit Rule is Absolute: This cannot be stressed enough – always use frozen bananas and frozen raspberries. This is the cornerstone of this recipe’s success. Using fresh fruit will result in a delicious smoothie, not a thick, immediately scoopable sorbet. The ice crystals in the frozen fruit are what create that perfect frozen texture without requiring an ice cream maker. Make it a habit to keep peeled, sliced ripe bananas in your freezer so you’re always ready for this recipe!
- Tailor the Sweetness to Your Palate: Raspberry sorbet is known for its delightful sweet-tart balance. The amount of maple syrup suggested in the recipe provides a balanced flavor for most. However, taste is personal! If you prefer a sweeter sorbet, don’t hesitate to add an extra tablespoon or two of maple syrup (or your preferred natural sweetener) after the initial blend. Blend again for just a few seconds to fully incorporate, then re-taste. You’re the chef here, so make it perfect for you!
- Invest in a Quality High-Speed Blender: While technically any blender *might* eventually get the job done, a high-speed blender truly elevates this recipe. These powerful machines are designed specifically to pulverize tough, frozen ingredients into silky-smooth textures in seconds. A Vitamix is a top-tier recommendation if your budget allows, but there are many excellent budget-friendly high-speed blenders from brands like Ninja or other reputable kitchen appliance manufacturers that will work wonders. The stronger the motor, the less liquid you’ll need, and the creamier your sorbet will be.
- Layer Your Ingredients Thoughtfully: To aid in the blending process, especially with less powerful blenders, try layering your ingredients. Place the apple juice first, then the softer frozen banana pieces, and finally the frozen raspberries on top. This helps the liquid reach the blades first and creates a vortex that pulls the frozen fruit down more efficiently.
- Experiment with Flavor Boosts: While this raspberry sorbet is fantastic on its own, don’t be afraid to experiment! A squeeze of fresh lemon juice can enhance the tartness and brightness of the raspberries. A tiny splash of vanilla extract can add a subtle warmth. For an exotic twist, try adding a few mint leaves to the blend.
- Achieving Softer or Firmer Textures: If you prefer a slightly softer sorbet, you can add half a tablespoon more apple juice at a time during the blending process until you reach your desired consistency. For a firmer sorbet, simply transfer the freshly made sorbet to an airtight container and freeze for an additional 30-60 minutes before serving. Remember, freezing for too long will make it rock hard, so refer to our storage tips below.
Smart Storage Solutions for Your Raspberry Sorbet
Of course, the best place to store your homemade raspberry sorbet is the freezer! Proper storage ensures that your delightful treat maintains its flavor and texture for as long as possible. Here’s everything you need to know about keeping your sorbet fresh:
- Choose the Right Container: It’s crucial to transfer your sorbet to a freezer-safe container. Not all plastic or glass containers are designed to withstand extreme cold and can crack or shatter in the freezer. Look for containers explicitly labeled “freezer-safe.” Airtight containers are also key to preventing ice crystals from forming on the surface of your sorbet, which can lead to freezer burn.
- Maximize Freshness – Up to One Month: This homemade raspberry sorbet can be stored in an airtight, freezer-safe container for up to one month. Beyond this period, you run a higher risk of developing freezer burn, which can negatively impact the sorbet’s texture and fresh flavor. While it might still be edible, the quality will diminish. For optimal taste and texture, try to enjoy it within 2-3 weeks.
- Combat Freezer Burn: To further protect against freezer burn, press a piece of plastic wrap directly onto the surface of the sorbet before sealing the container with its lid. This creates an extra barrier against air, which is the primary cause of freezer burn and off-flavors.
- Softening for Perfect Scooping: Unlike commercial sorbets which often contain emulsifiers and stabilizers, homemade sorbet tends to freeze quite hard. If your sorbet is rock solid and difficult to scoop, don’t fret! Simply remove it from the freezer and let it sit out at room temperature for approximately 10 to 15 minutes. This brief thaw period will soften it just enough to make it perfectly scoopable again, revealing that creamy, fresh texture. For very large batches, it might take a few extra minutes.
More Refreshing Fruity Recipes to Explore:
- Strawberry Mango Smoothie Bowl
- Protein Acai Bowl
- Panera’s Green Passion Smoothie
- Banana Swirl Nice Cream
Blender Raspberry Sorbet
Carolyn
Pin Recipe
Equipment
-
High speed blender
Ingredients
- ½ frozen banana cut into slices
- 2½ cups frozen raspberries
- 3-4 tablespoons maple syrup see note
- 1½ tablespoons apple juice
Instructions
-
In a high-speed blender, combine the frozen banana, frozen raspberries, maple syrup, and apple juice.
-
Start the blender on low speed. Stop the blender and use a spatula to scrape the raspberries toward the blades. Repeat as often as necessary until you achieve a smooth consistency. If your blender has a tamper, you can use it to push the fruit toward the blades.
-
Once the mixture is thick and smooth, scoop it into a bowl and enjoy with whipped cream. Or transfer it to an airtight container and freeze for later. If the sorbet gets too hard, let it sit at room temperature for 10 to 15 minutes before scooping.
Video
Notes
Nutrition
