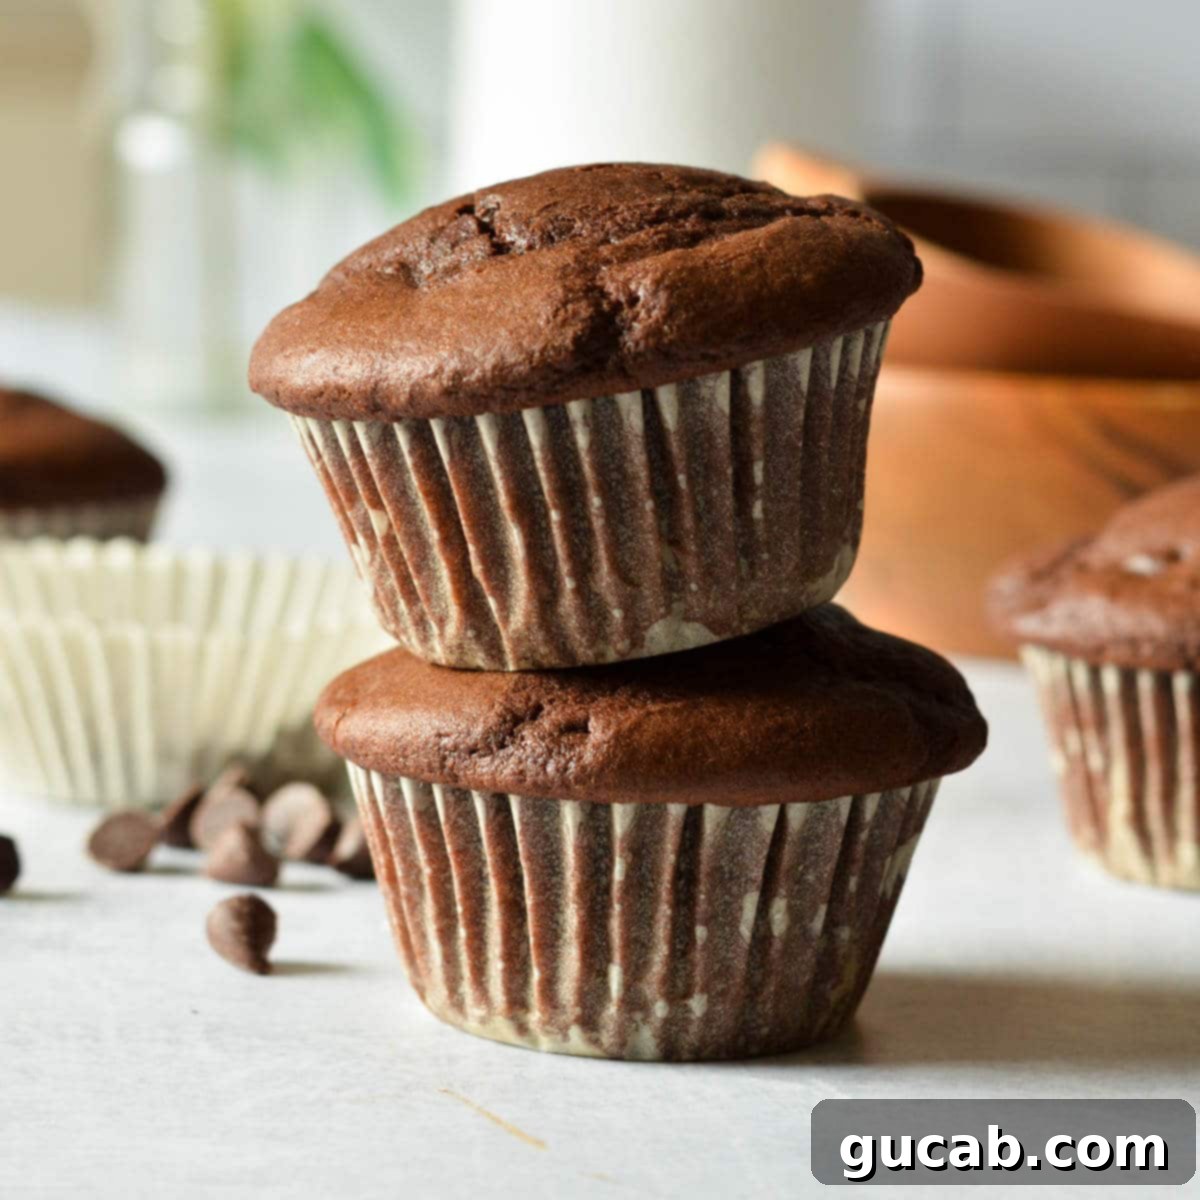
Perfectly Fluffy & Rich Gluten-Free Chocolate Muffins: Your Go-To Recipe
Indulge in these incredibly decadent and delightfully light **gluten-free chocolate muffins**! Bursting with intense chocolate flavor and generously studded with melty chocolate chips, they offer an unparalleled treat. Prepare yourself for a fluffy crumb that rivals any traditional muffin, making them an instant favorite for everyone, whether they follow a gluten-free diet or not.
Discover the Magic of Homemade Gluten-Free Chocolate Muffins
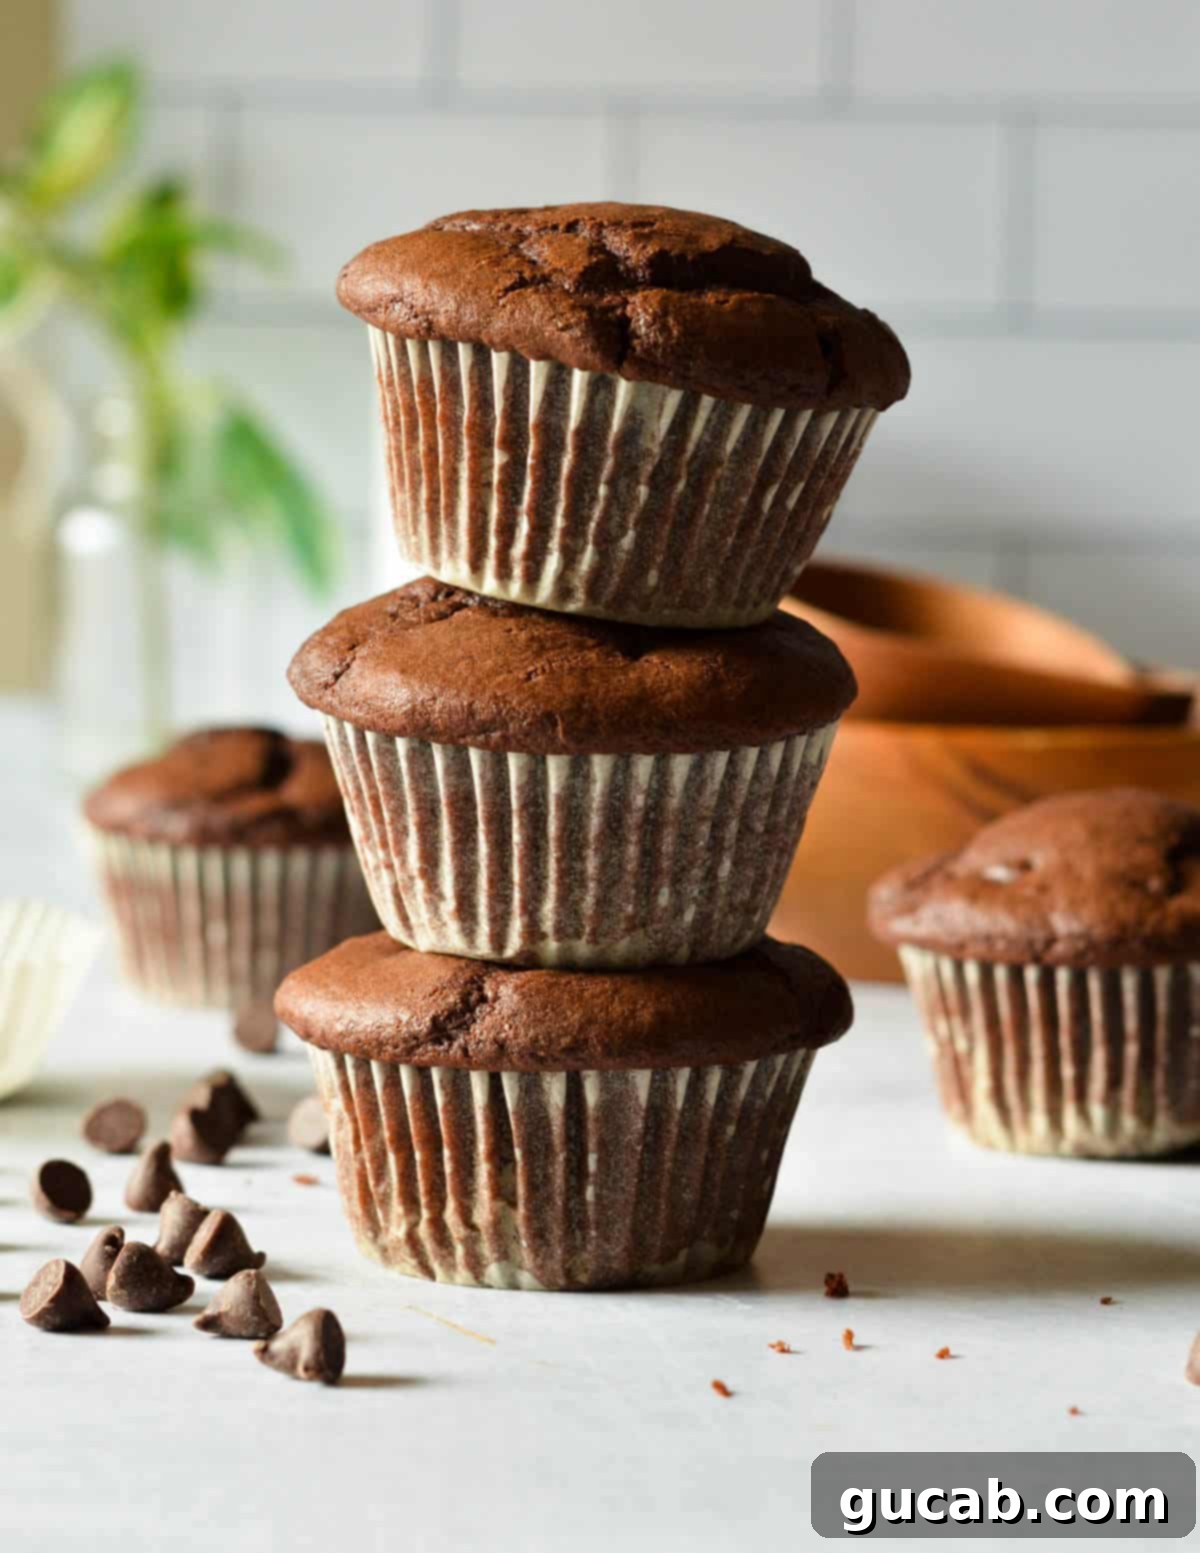
There’s nothing quite like the aroma of freshly baked muffins filling your home, and these gluten-free chocolate muffins take that experience to a whole new level. They are truly magnificent – so utterly delicious that you might find it hard to stop at just one! Many skeptics, even those who regularly enjoy gluten, are surprised by their incredible taste and texture. I often bake a large batch, knowing that they disappear quickly, especially with eager family members around. My secret? I freeze some immediately, hoping to secure a few for myself later!
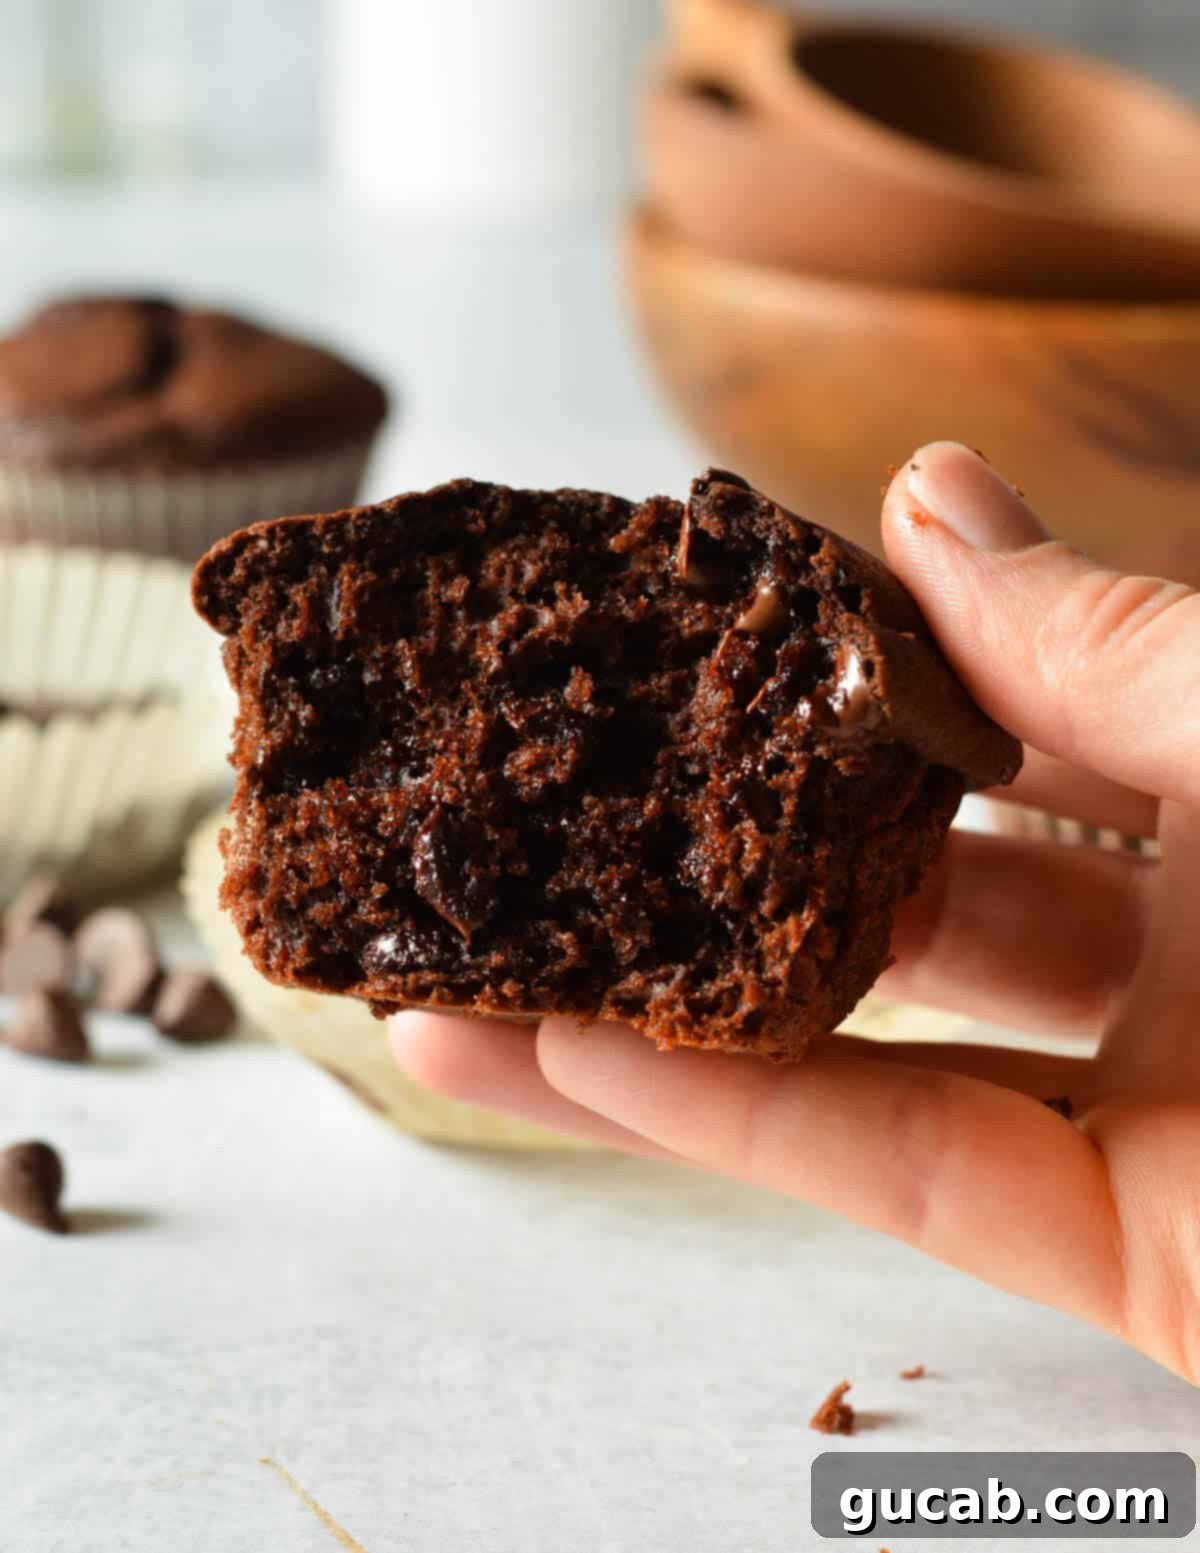
What makes these chocolate muffins so special? They strike the perfect balance: light and airy, yet profoundly rich in chocolate flavor. Unlike some dense gluten-free baked goods, these maintain a wonderfully fluffy texture. Each bite delivers a burst of intense cocoa combined with pockets of melted chocolate chips, creating a truly irresistible sensation. Whether you’re looking for a delightful breakfast, a satisfying snack, or a sweet treat to share, this recipe is guaranteed to impress. You won’t believe they’re gluten-free!
Disclosure: This post may contain affiliate links. In other words, if you click a link and purchase something, I will receive a commission at no cost to you. I only recommend products I use and enjoy myself.
Essential Ingredients for Your Gluten-Free Chocolate Muffins
Crafting the perfect gluten-free chocolate muffin starts with selecting high-quality ingredients. Each component plays a vital role in achieving that incredible taste and texture. Here’s a detailed look at what you’ll need and why:
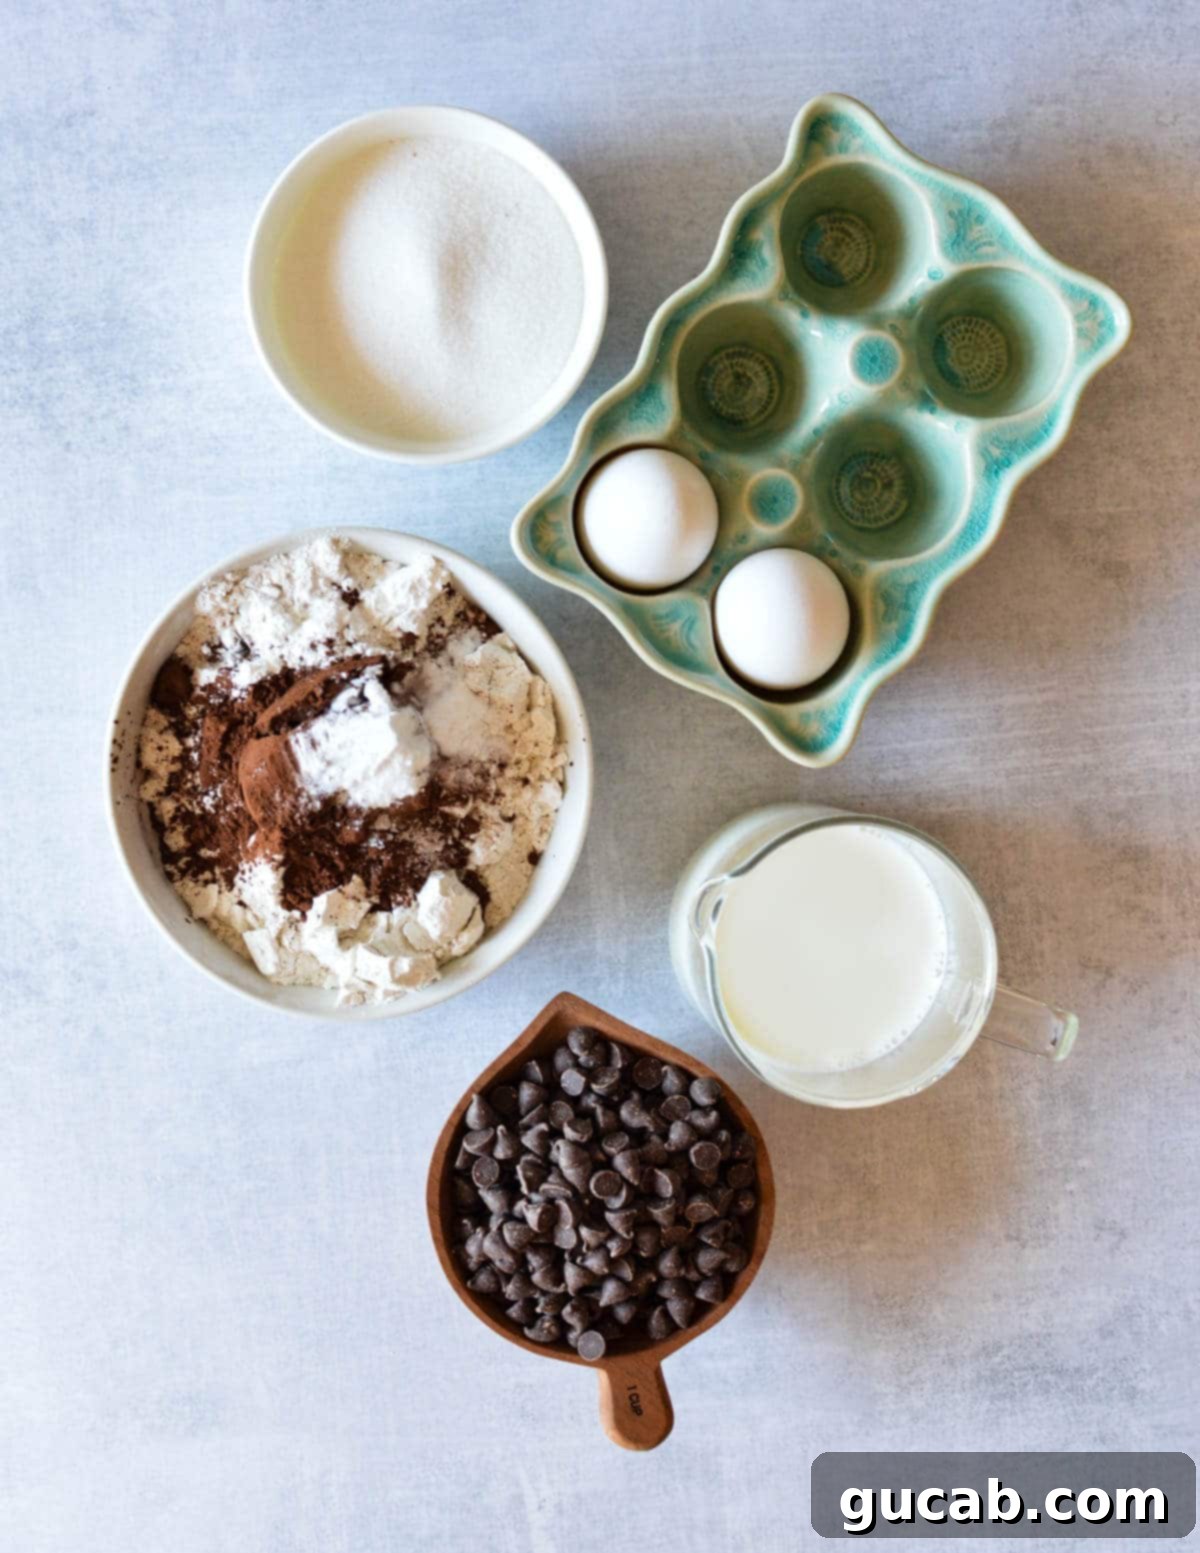
- Unsalted Butter: Using unsalted butter allows you to control the total amount of salt in your recipe, ensuring a balanced flavor. Softened butter is crucial for proper creaming with sugar, which incorporates air and contributes to the muffins’ light texture. I often buy butter in bulk and freeze portions to always have some on hand for baking.
- Granulated Sugar: Beyond sweetness, sugar plays a key role in the muffin’s structure, moisture, and browning. It helps tenderize the crumb and prevents the muffins from drying out.
- Large Eggs: Eggs are multifunctional in baking. They act as a powerful binder, holding the ingredients together, and provide essential structure. Additionally, they contribute moisture, richness, and aid in leavening, helping the muffins rise beautifully. Ensure your eggs are at room temperature for better emulsification with the butter and sugar.
- Gluten-Free Flour Blend: This is arguably the most critical ingredient for gluten-free baking success. For this recipe, I specifically developed and tested it using Bob’s Red Mill 1-to-1 Gluten Free Baking Flour. This blend is my top recommendation because it consistently delivers excellent results, mimicking traditional flour in both texture and performance. Different gluten-free flour blends have varying ratios of alternative flours and starches, which can significantly impact the outcome. For optimal results, stick with the recommended brand or a reputable 1:1 blend designed for baking.
- Dark Cocoa Powder: To achieve that intensely rich, deep chocolate flavor and a gorgeous dark color, dark cocoa powder (like Hershey’s Special Dark) is preferred over natural cocoa. It has undergone an alkalization process, which mellows its acidity and creates a smoother, less bitter taste. If you can’t find dark cocoa, Dutch-processed cocoa powder is an excellent substitute, as it shares similar properties.
- Whole Milk: Whole milk contributes richness and moisture to the muffin batter, resulting in a tender crumb. Its fat content enhances flavor and texture. For a dairy-free alternative, you can use a full-fat non-dairy milk like almond or soy, though the texture might vary slightly.
- Apple Cider Vinegar: This might seem like an unusual ingredient, but it’s a secret weapon for lift and tenderness! When combined with milk, apple cider vinegar curdles it, effectively creating a homemade buttermilk substitute. The acidity of the vinegar then reacts with the baking soda, producing carbon dioxide bubbles that give the muffins their airy, fluffy rise. Regular white vinegar works just as well if you don’t have apple cider vinegar.
- Baking Powder & Baking Soda: These are your primary leavening agents. Baking soda requires an acid (like the vinegar) to activate, while baking powder is double-acting, providing lift both when it’s mixed with liquid and when it’s exposed to heat in the oven. Using both ensures maximum fluffiness.
- Kosher Salt: A small amount of salt is essential for balancing and enhancing all the sweet and chocolatey flavors in the muffins. Don’t skip it!
- Semisweet Chocolate Chips: These delightful morsels melt beautifully into gooey pockets of chocolate within the muffins. Feel free to experiment with dark chocolate chips for a more intense flavor, or milk chocolate chips for a sweeter, creamier profile. Mini chocolate chips or chocolate chunks can also be used for different textures.
Step-by-Step Guide to Making Fluffy Gluten-Free Chocolate Muffins
Baking these gluten-free chocolate muffins is a straightforward process, but paying attention to each step will ensure perfect results every time. Follow these instructions carefully for the best ultra-chocolatey, fluffy muffins:
- Prepare Your Oven and Muffin Tin: Start by preheating your oven to 350 degrees Fahrenheit (175°C). This ensures the oven is at the correct temperature when the muffins go in, promoting an even rise. Line your muffin tin with paper liners or grease it thoroughly with nonstick cooking spray. Muffin liners are highly recommended for easy removal and cleanup.
- Cream Butter and Sugar: In a large mixing bowl, using an electric mixer fitted with the paddle attachment, cream together the softened unsalted butter and granulated sugar. Beat on medium speed for a full six minutes. This step is crucial: the mixture should transform into a very light, airy, and pale yellow consistency. Stop halfway through to scrape down the sides of the bowl to ensure everything is thoroughly combined. This aeration process is key to a light and fluffy muffin.
- Combine Dry Ingredients: In a separate medium-sized bowl, whisk together your gluten-free flour blend, dark cocoa powder, baking powder, baking soda, and kosher salt. Stir well with a spoon to ensure all ingredients are evenly distributed. Set this aside.
- Prepare Milk Mixture: In a liquid measuring cup, measure out the whole milk. Then, add the apple cider vinegar to the milk. Give it a quick stir. You’ll notice the milk will start to curdle slightly; this is exactly what you want, as it creates a buttermilk substitute that reacts with the baking soda for superior leavening.
- Incorporate Eggs: Once your butter and sugar mixture is light and fluffy, beat in the large eggs, one at a time. Add an egg, beat until fully incorporated, then scrape down the bowl before adding the next. This ensures each egg is properly mixed into the butter mixture, adding moisture and structure without deflating the air you’ve already incorporated.
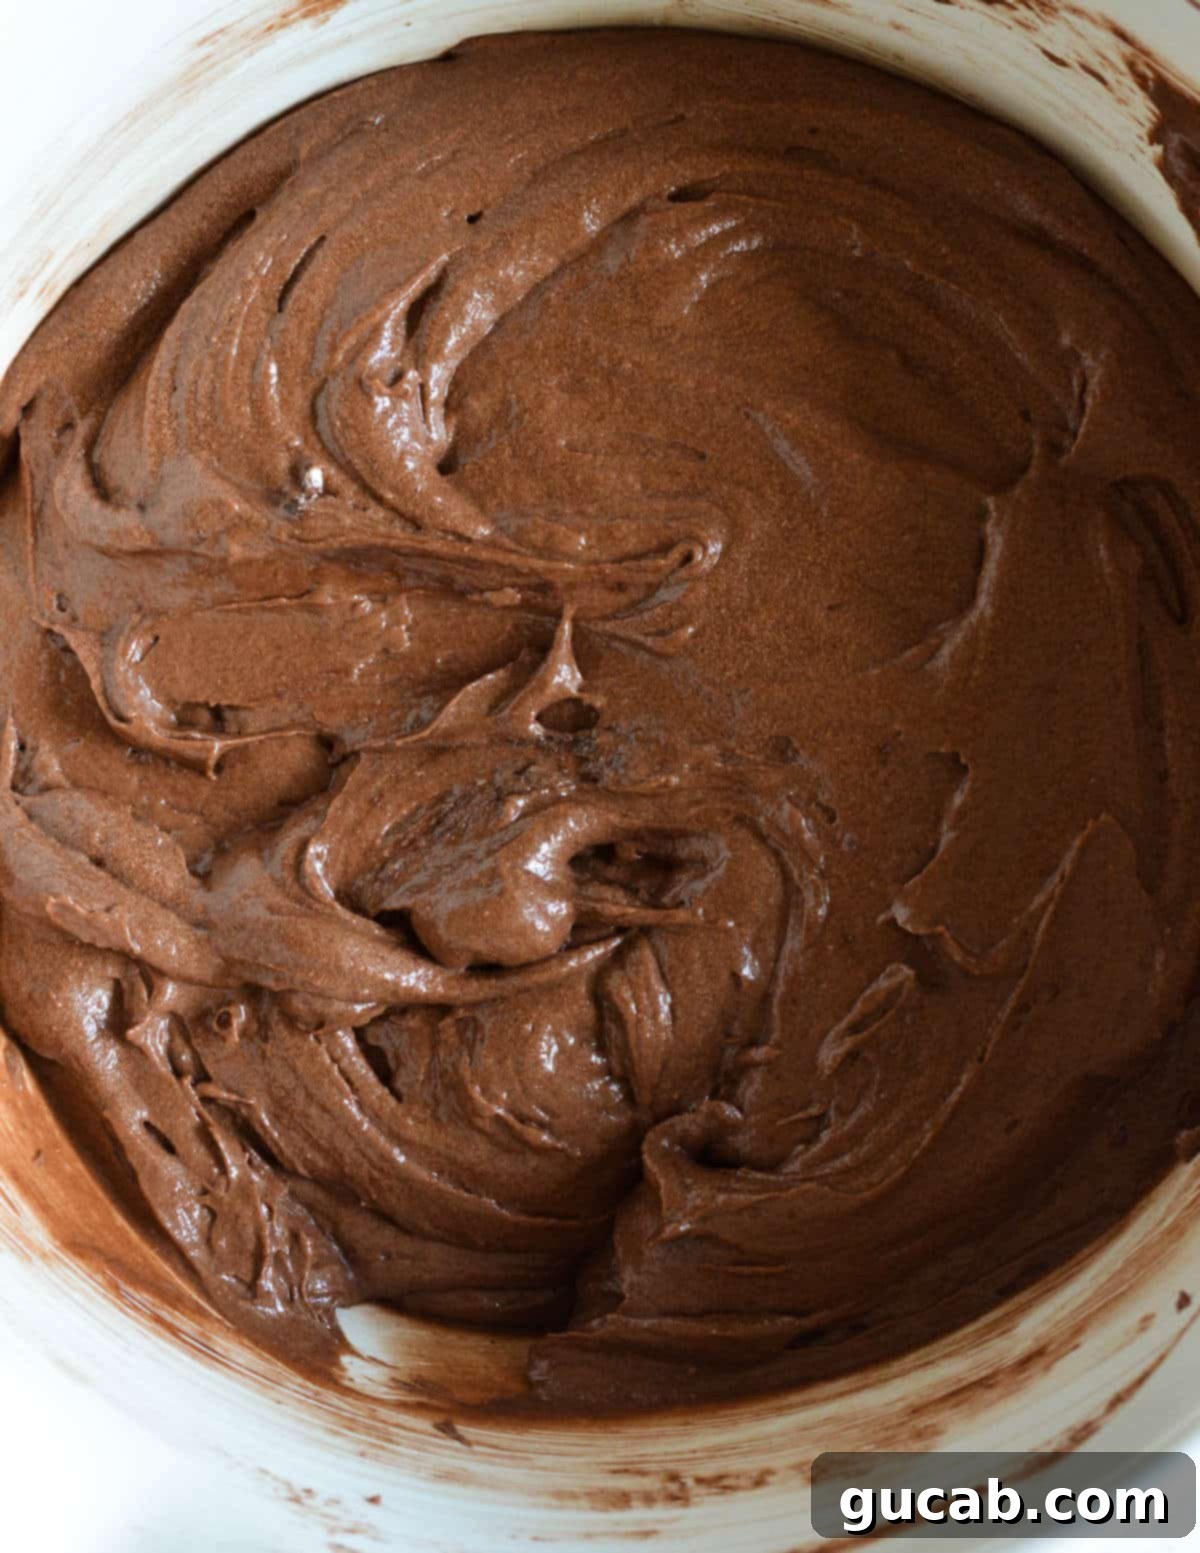
- Alternate Dry and Wet Ingredients: With the mixer on low speed, alternate adding the dry ingredients and the milk mixture to the butter-egg batter. Start by adding about a third of the dry ingredients, mixing until just combined. Then, add a third of the milk mixture, mixing until incorporated. Continue this process, alternating between dry and wet, until all ingredients are added, always ending with the dry. Remember to scrape down the bowl as needed. The final batter should be thick but notably light and fluffy, almost like a rich chocolate mousse. Be careful not to overmix, as this can lead to tough muffins, even with gluten-free flour.
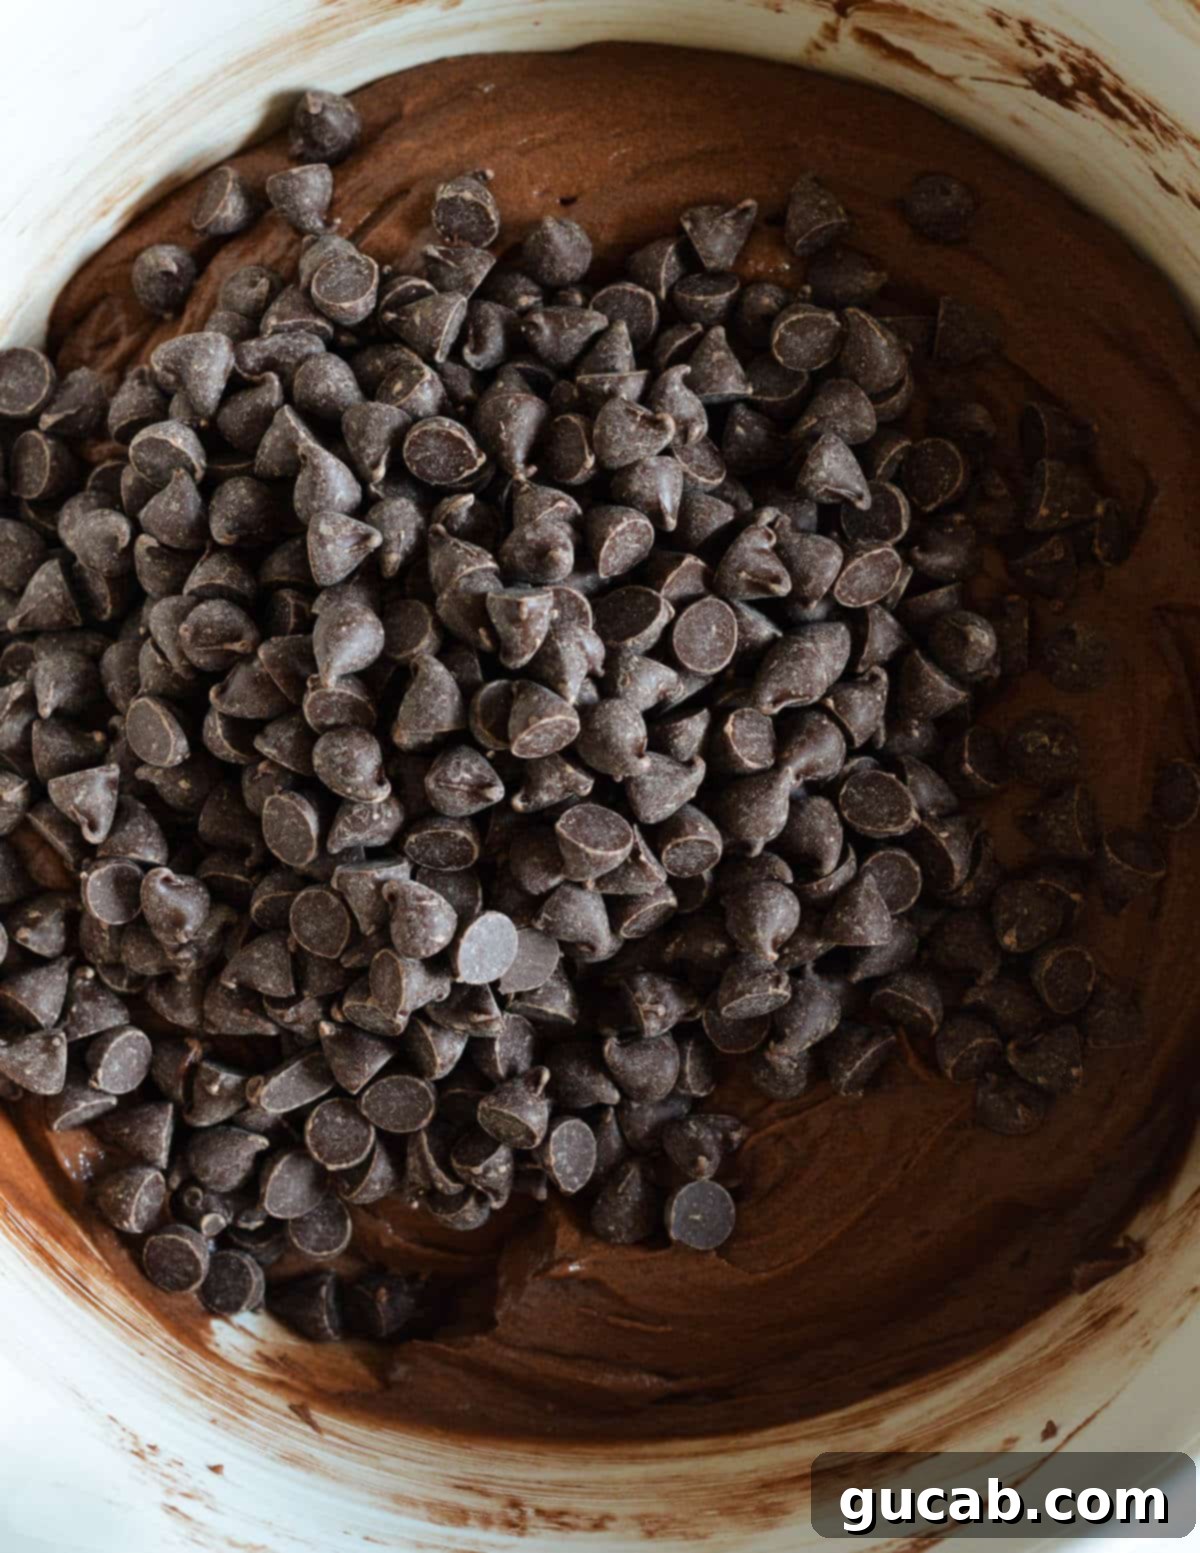
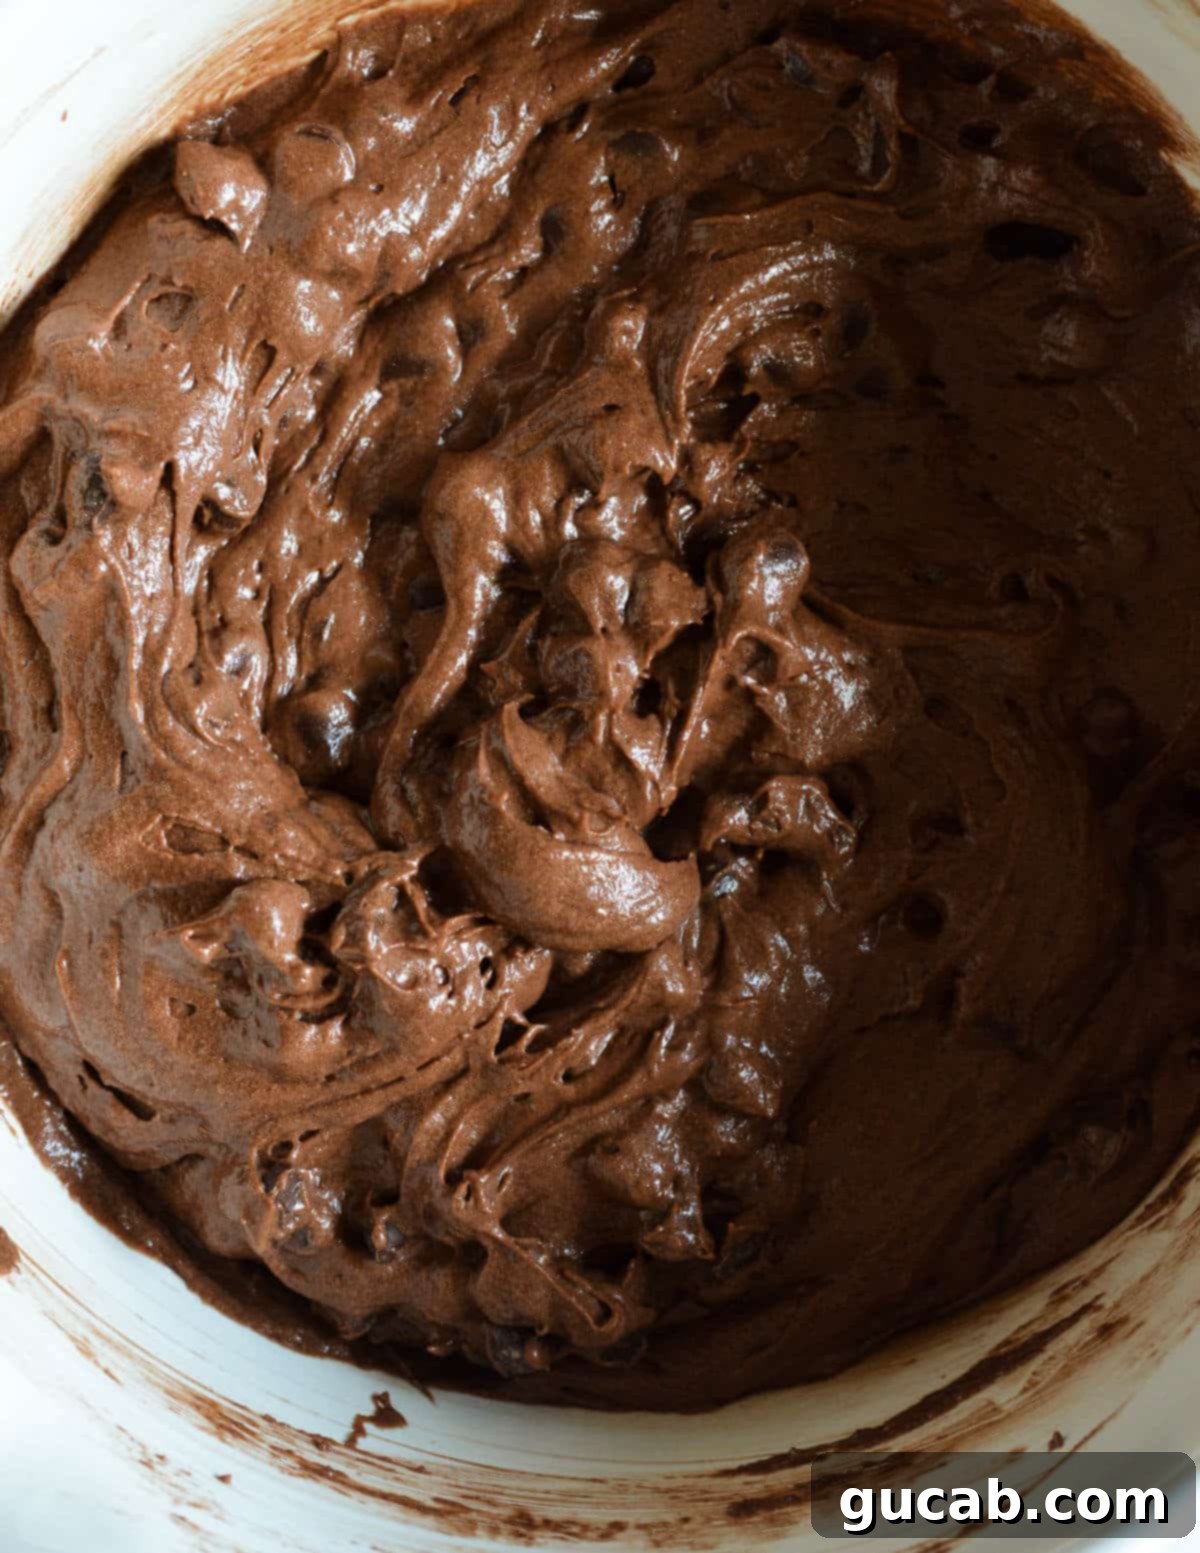
- Fold in Chocolate Chips: Gently stir in the semisweet chocolate chips using a rubber spatula. Mix just enough to distribute them evenly throughout the batter.
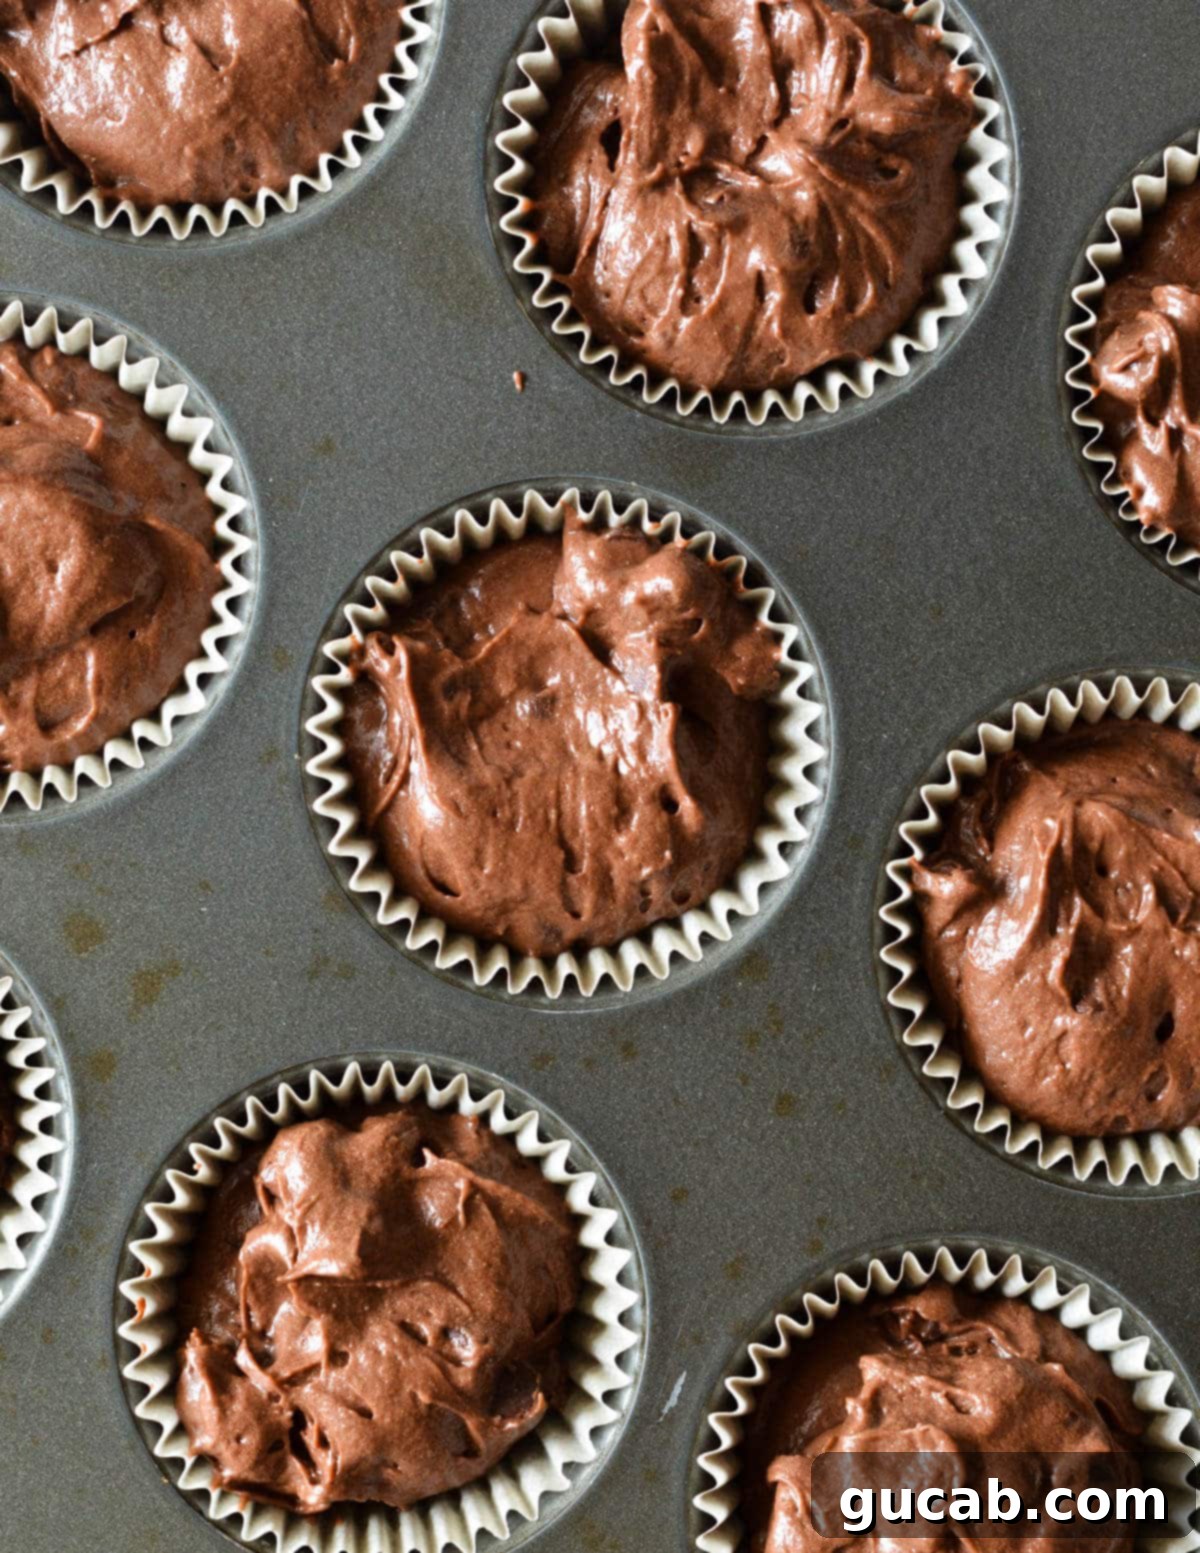
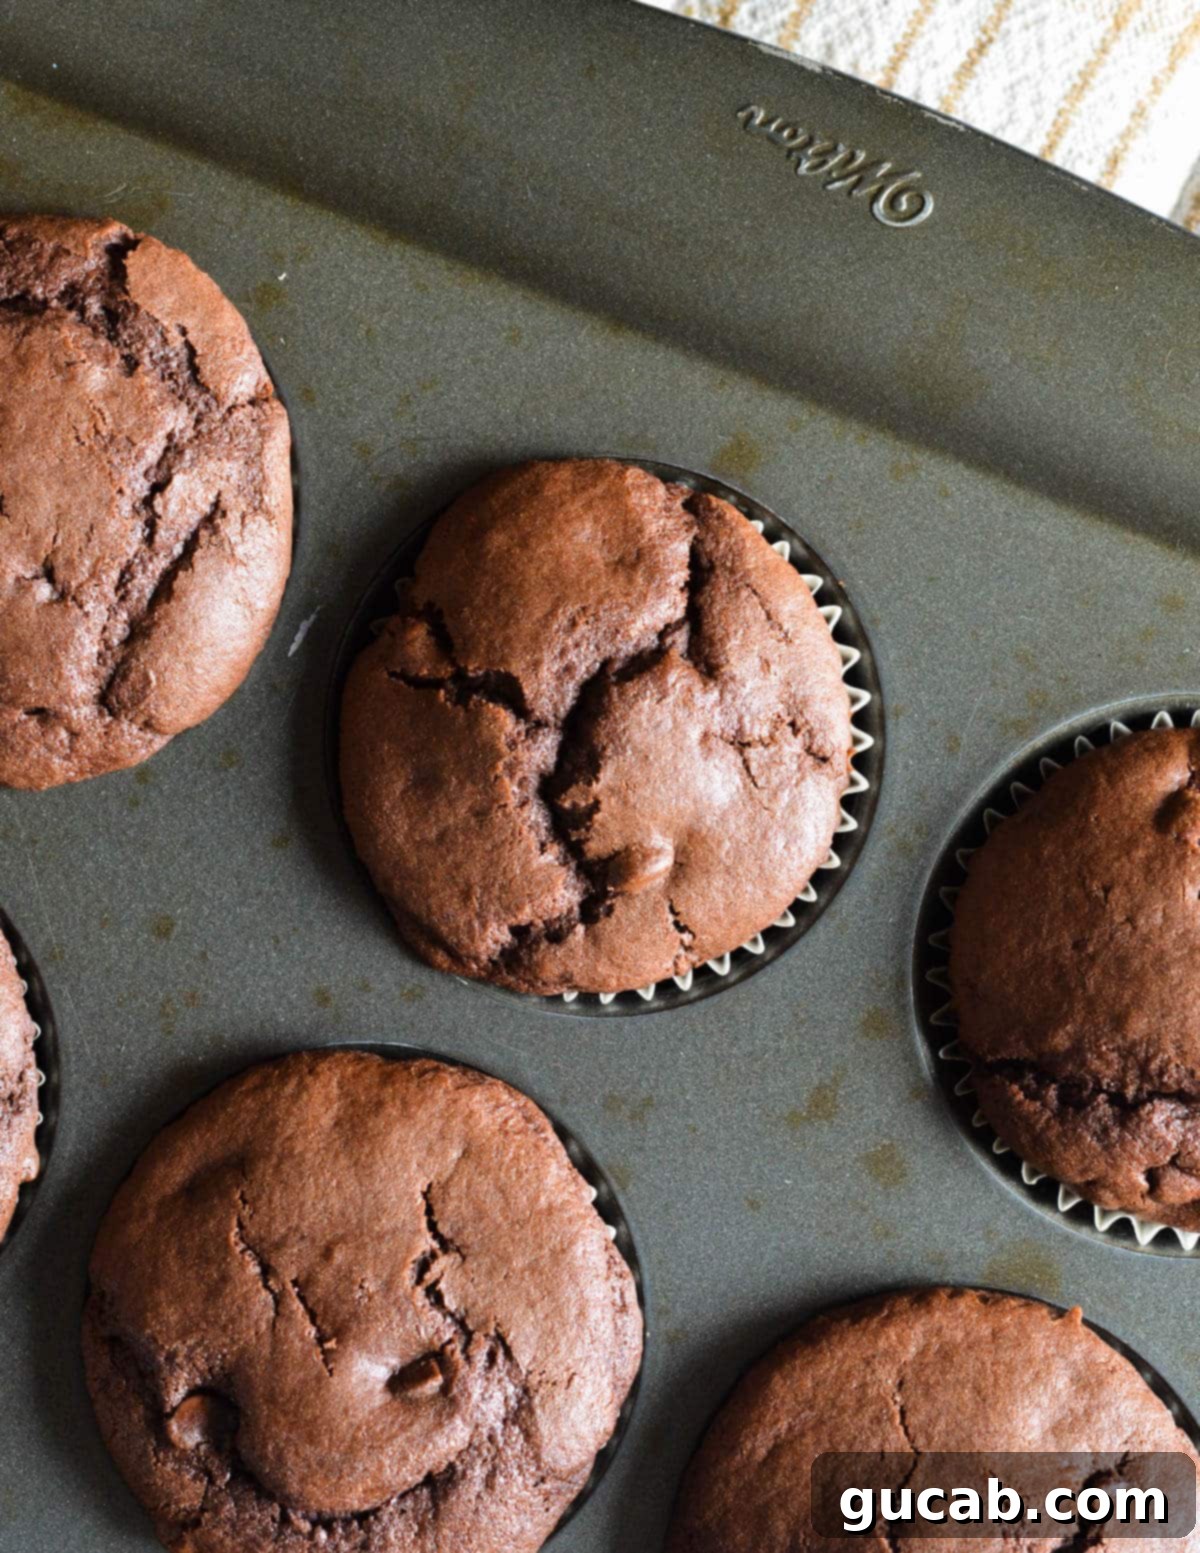
- Fill Muffin Tins and Bake: Scoop the batter into the prepared muffin tin, filling each cup almost all the way to the top. Don’t be shy – filling them generously helps create those coveted tall, domed muffin tops! Bake for approximately 22 minutes, or until the muffins have risen, feel springy to the touch, and a toothpick inserted into the center comes out clean. Be sure to test multiple spots with the toothpick, as melted chocolate chips can give a false “wet” reading.
Expert Tips for Gluten-Free Muffin Perfection
Achieving perfectly fluffy and moist gluten-free chocolate muffins is easy with a few key strategies:
- Do Not Overbake! This is the golden rule for all muffin baking, but it’s especially critical for gluten-free recipes. Gluten-free flours can dry out quickly if baked for too long, resulting in crumbly or dense muffins. Keep a close eye on them towards the end of the baking time. They should be just set and spring back gently when lightly pressed.
- Master the Toothpick Test: When checking for doneness, remember that the muffins are packed with melty chocolate chips. A toothpick might come out with melted chocolate on it, even if the muffin is fully baked. To ensure accuracy, insert the toothpick into several different spots in the center of the muffins. If it comes out clean (no wet batter, just melted chocolate or crumbs), your muffins are ready.
- Flour Blend Matters Significantly: Not all gluten-free flour blends are created equal. The specific blend you use can drastically affect the taste and texture of your muffins. As mentioned, I highly recommend Bob’s Red Mill 1-to-1 Gluten Free Baking Flour for this recipe. If you use a different brand, especially one not labeled “1-to-1” or “all-purpose gluten-free,” results may vary. Some blends can be gritty or lead to a gummy texture.
- Fill Muffin Cups Generously for Tall Tops: These aren’t cupcakes where you want a small, neat rise. For classic, bakery-style muffin tops, fill your muffin holes almost completely to the brim. This generous filling allows the batter to dome beautifully as it bakes.
- Allow Adequate Cooling Time: Resist the urge to dive into hot muffins right out of the oven! Hot muffins are delicate and can easily fall apart. Let them cool in the muffin tin for at least 10 minutes before gently transferring them to a wire rack to cool completely. This resting period allows their structure to set properly.
- Do Not Overmix the Batter: While gluten-free flours don’t develop gluten like wheat flour, overmixing can still lead to tough or dense baked goods. Mix the wet and dry ingredients just until combined. A few small lumps are perfectly fine.
- Use Room Temperature Ingredients: Ensure your butter and eggs are at room temperature. This helps them combine more easily and evenly, creating a smoother batter and a more consistent texture in the final muffins.
Storage and Freezing Instructions
To keep your gluten-free chocolate muffins fresh and delicious, proper storage is key. They are wonderful fresh, but also freeze exceptionally well for a quick grab-and-go treat.
To store at room temperature:
- Always allow the muffins to cool completely to room temperature before storing them. Placing warm muffins in an airtight container will create condensation, making them soggy.
- Once cooled, place the muffins in a zip-top bag or an airtight container. They will stay fresh at room temperature for up to 3 days. For best results, consider adding a paper towel to the bottom of the container to absorb any excess moisture.
To freeze for longer enjoyment:
I am a strong advocate for freezing gluten-free muffins, even if I plan to eat them within a few days. Freezing immediately after cooling locks in moisture and freshness, preventing them from drying out prematurely.
- Once completely cool, transfer the muffins to a large zip-top freezer bag or a freezer-safe airtight container. You can stack them with parchment paper in between if needed.
- Freeze for up to 3 months. Freezing individual muffins allows for easy portion control.
- To thaw: Simply remove a muffin (or several) from the freezer and let it thaw at room temperature for about 30-60 minutes. For a warm, freshly baked experience, you can also gently reheat them in the microwave. Microwave in 10-second increments until just warm and soft, being careful not to overheat, which can dry them out.
Frequently Asked Questions (FAQs) About Gluten-Free Chocolate Muffins
Here are answers to some common questions you might have about making these delicious gluten-free chocolate muffins:
- Can I make these muffins dairy-free? Yes, you can! Replace the whole milk with a full-fat non-dairy milk (like almond or soy milk) and use a dairy-free butter substitute (like a vegan butter stick) or coconut oil. Ensure your chocolate chips are also dairy-free.
- What if I don’t have apple cider vinegar? Regular white vinegar works perfectly as a substitute. Its acidity will react with the baking soda just as effectively to provide lift. Lemon juice can also work in a pinch.
- Can I reduce the sugar? While you can slightly reduce the sugar, it’s not just for sweetness; it also contributes to the muffin’s moisture and tender texture. Reducing it too much might result in a drier, tougher muffin.
- Can I add other mix-ins besides chocolate chips? Absolutely! These muffins are versatile. Consider adding chopped nuts (walnuts, pecans), dried cranberries, or even a sprinkle of espresso powder to enhance the chocolate flavor. Just be mindful not to add too many wet mix-ins, which could alter the batter consistency.
- Why are my gluten-free muffins dry? The most common reasons for dry gluten-free muffins are overbaking, using the wrong type of gluten-free flour blend, or insufficient moisture in the recipe. Follow the baking times closely and use the recommended flour blend for the best results.
- How can I get really tall muffin tops? Beyond filling the cups almost to the top, starting with a slightly higher oven temperature for the first 5 minutes (e.g., 400°F/200°C) and then reducing it to 350°F (175°C) for the remainder of the baking can help create a sudden burst of steam and a significant rise, leading to beautiful muffin tops.
Pairing and More Gluten-Free Muffin Inspiration
These rich gluten-free chocolate muffins are simply divine with a warm cup of coffee. If you appreciate a truly excellent brew (and who doesn’t enjoy a good coffee pairing?), I highly recommend Counter Culture Coffee. It’s our preferred choice and makes for an exceptional pairing with these chocolatey delights.
If you loved this recipe and are looking for more delicious gluten-free muffin options, be sure to explore these other fantastic recipes:
- Gluten Free Pumpkin Muffins
- Gluten Free Chocolate Chip Muffins
- Gluten Free Blueberry Muffins
- Gluten Free Blackberry Muffins
- Gluten Free Gingerbread Muffins

Gluten Free Chocolate Muffins
Carolyn
Pin Recipe
Equipment
-
Stand Mixer with the Paddle Attachment
-
muffin tins
Ingredients
- ½ cup butter softened (4 ounces)
- ¾ cup sugar
- 2 large eggs
- 1 ½ cup + 2 tbsp Bob’s Red Mill All Purpose 1:1 Gluten Free Flour
- ¼ cup dark cocoa powder or Dutch processed cocoa
- 2 teaspoons baking powder
- 1 teaspoon baking soda
- ¼ teaspoon kosher salt
- 1 cup whole milk
- 1 tablespoon Apple Cider Vinegar
- 1 ½ cups semisweet chocolate chips
Instructions
-
Preheat oven to 350 degrees Fahrenheit (175°C). Cream softened butter and sugar with an electric mixer on medium speed for approximately 6 minutes, until fluffy and significantly lighter in color. Scrape the bowl halfway through to ensure even mixing.
-
In a medium-sized bowl, combine the gluten-free flour, cocoa powder, baking powder, baking soda, and kosher salt. Stir well with a spoon. Meanwhile, line two muffin tins with cupcake liners (you should yield 14 muffins).
-
Using a liquid measuring cup, measure the whole milk, then add the apple cider vinegar to it. Stir gently; the milk will begin to curdle.
-
Once the butter mixture is light and fluffy from creaming, add the eggs one at a time, beating until each is fully combined. Scrape the bowl as necessary to ensure all ingredients are incorporated.
-
With the mixer on low speed, alternate adding the dry ingredients and the milk mixture to the batter. Add a third of the dry ingredients, mix until just combined, then add a third of the milk mixture. Continue this alternation until all the dry ingredients and milk mixture are incorporated. The batter should be thick but light, resembling mousse. Avoid overmixing.
-
Using a rubber spatula, gently fold in the semisweet chocolate chips until evenly distributed. Then, using a portion scoop or spoon, fill each muffin hole almost entirely full to achieve beautiful, tall muffin tops.
-
Bake at 350 degrees Fahrenheit (175°C) for approximately 22 minutes, or until the muffins have risen, are springy to the touch, and a toothpick inserted into the center comes out clean. (Remember to poke in more than one spot to ensure you’re not just hitting a melted chocolate chip.) Allow to cool in the pan for 10 minutes before transferring to a wire rack.
Nutrition
