The Ultimate Guide to Oat Flour Chocolate Chip Cookies: Crispy Edges, Gooey Centers, and Naturally Gluten-Free
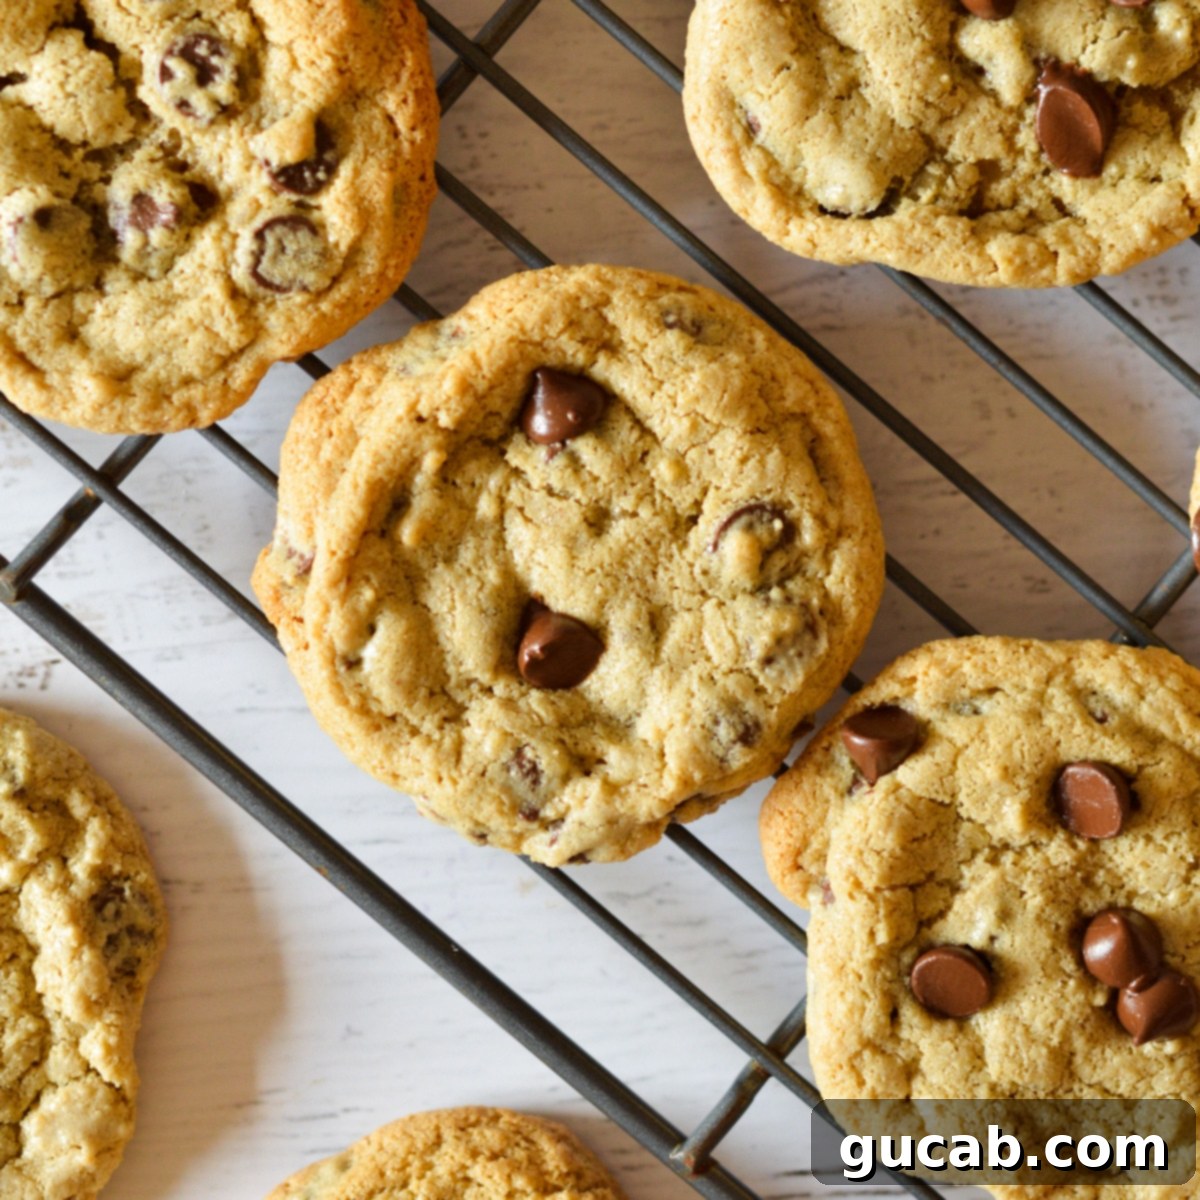
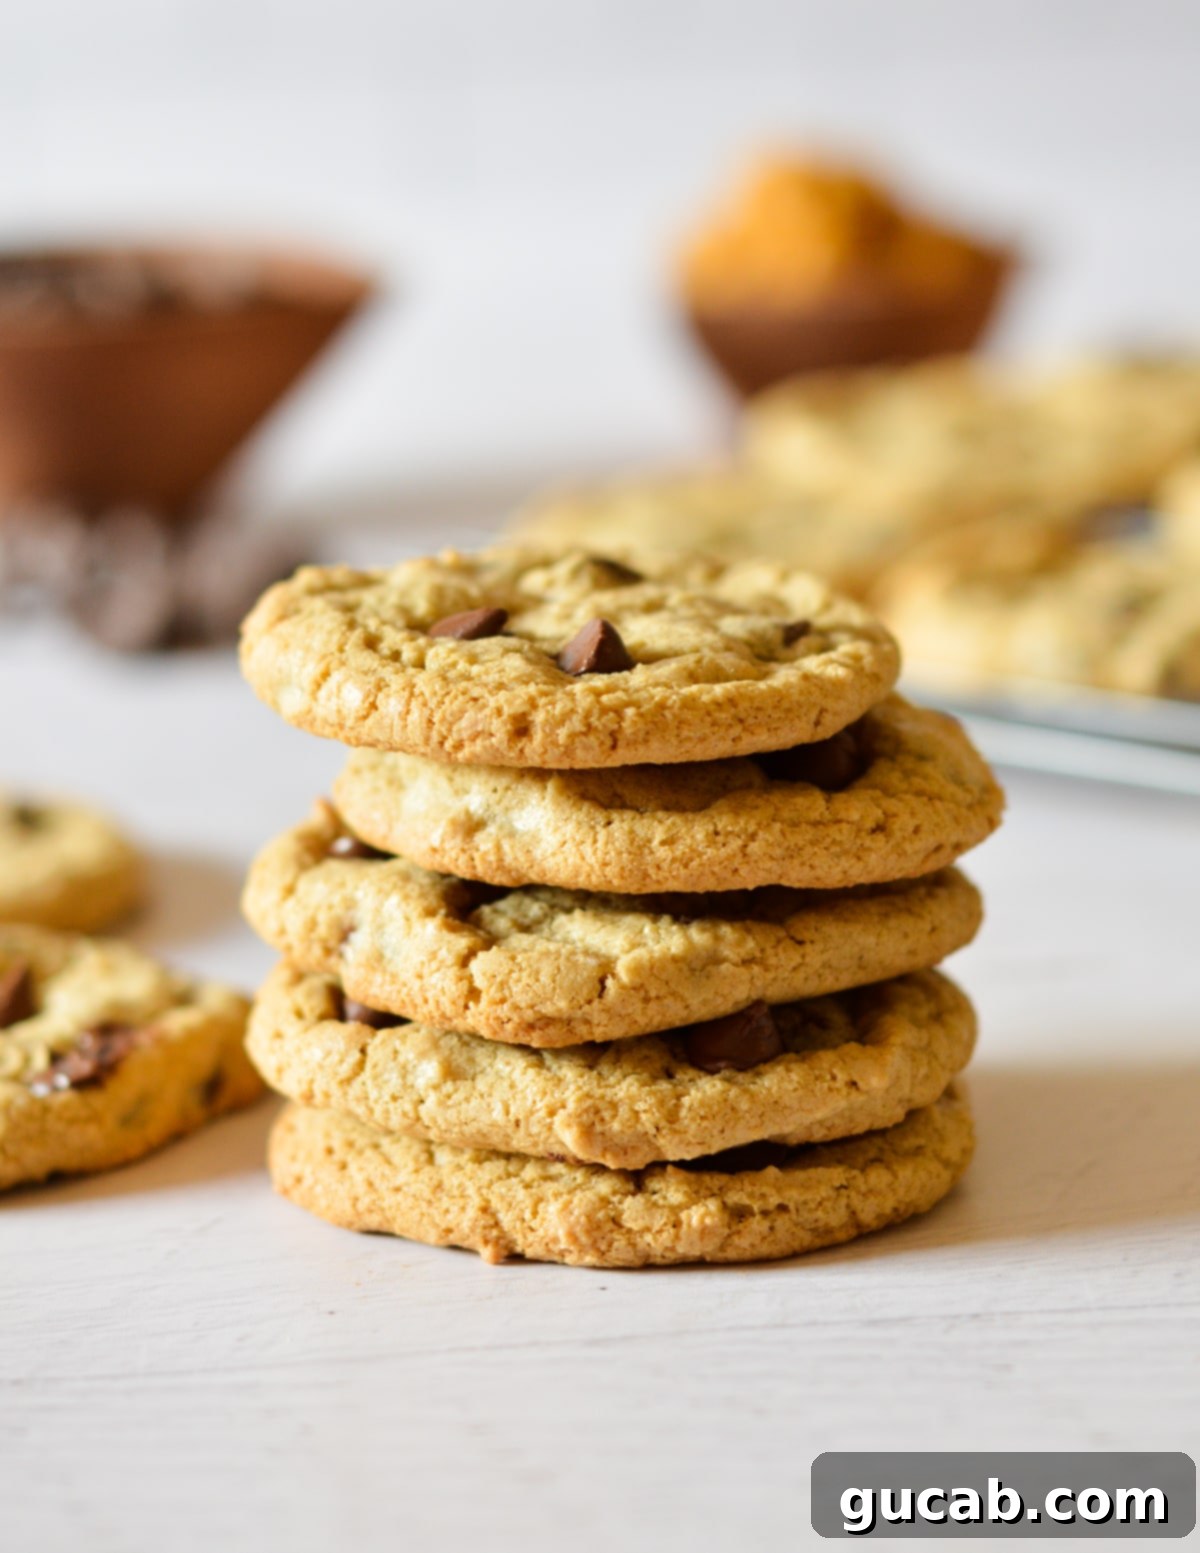
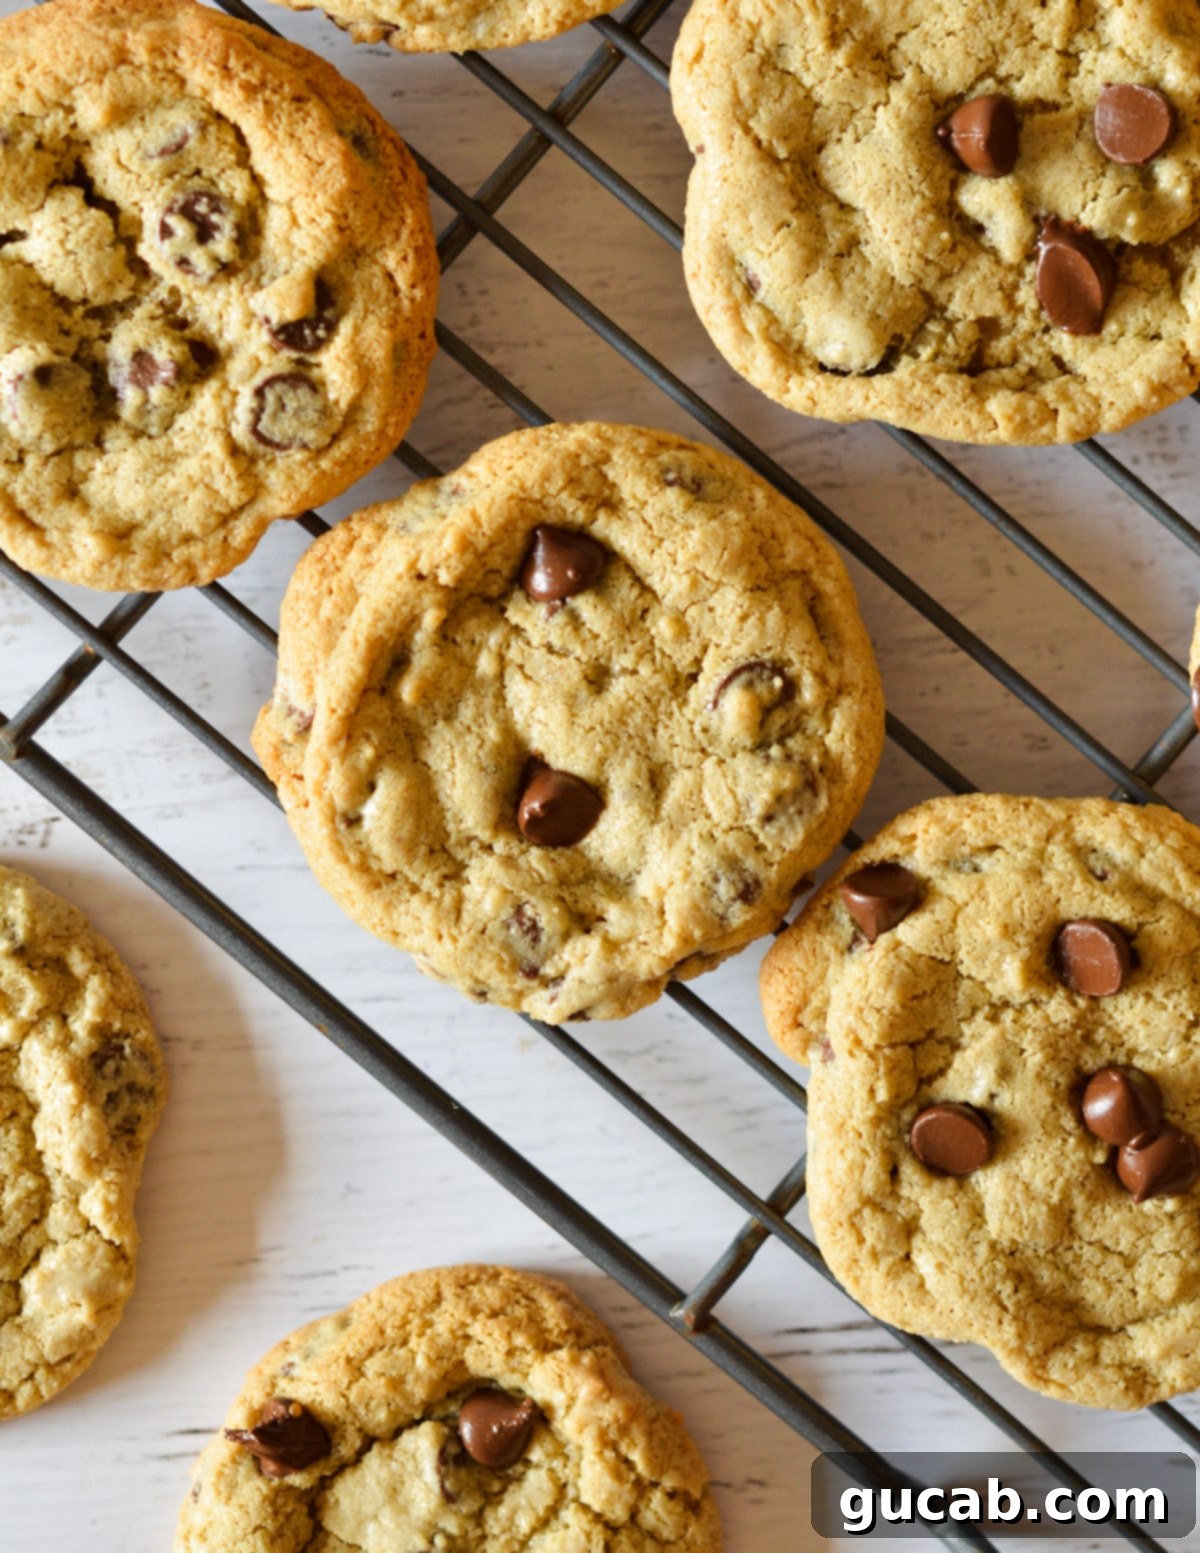
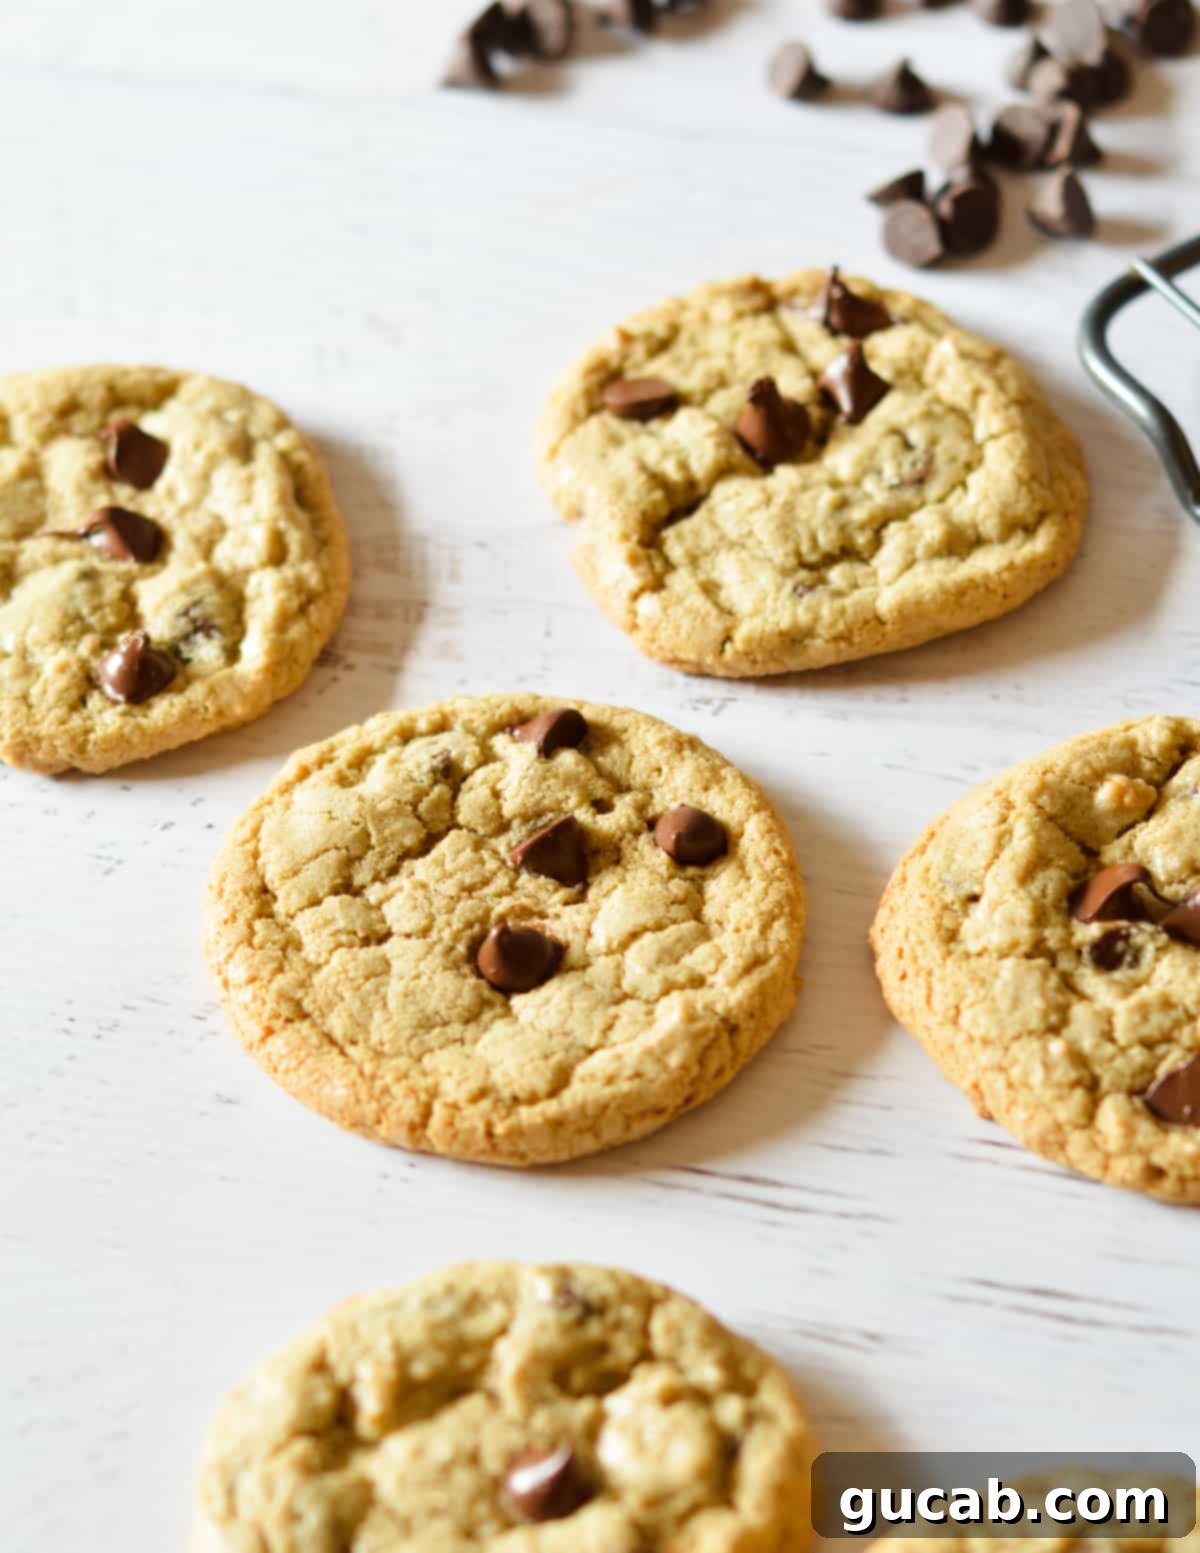
Prepare yourself for the ultimate oat flour chocolate chip cookie experience! These delightful treats boast irresistibly crisp, golden-brown edges, wonderfully soft and gooey centers, and a generous abundance of rich chocolate chips in every bite. They are so incredibly satisfying that you’ll find it nearly impossible to stop at just one. Perfect for any occasion, these cookies prove that gluten-free can be utterly delicious and truly unforgettable.
Why These Oat Flour Chocolate Chip Cookies Will Become Your New Favorite
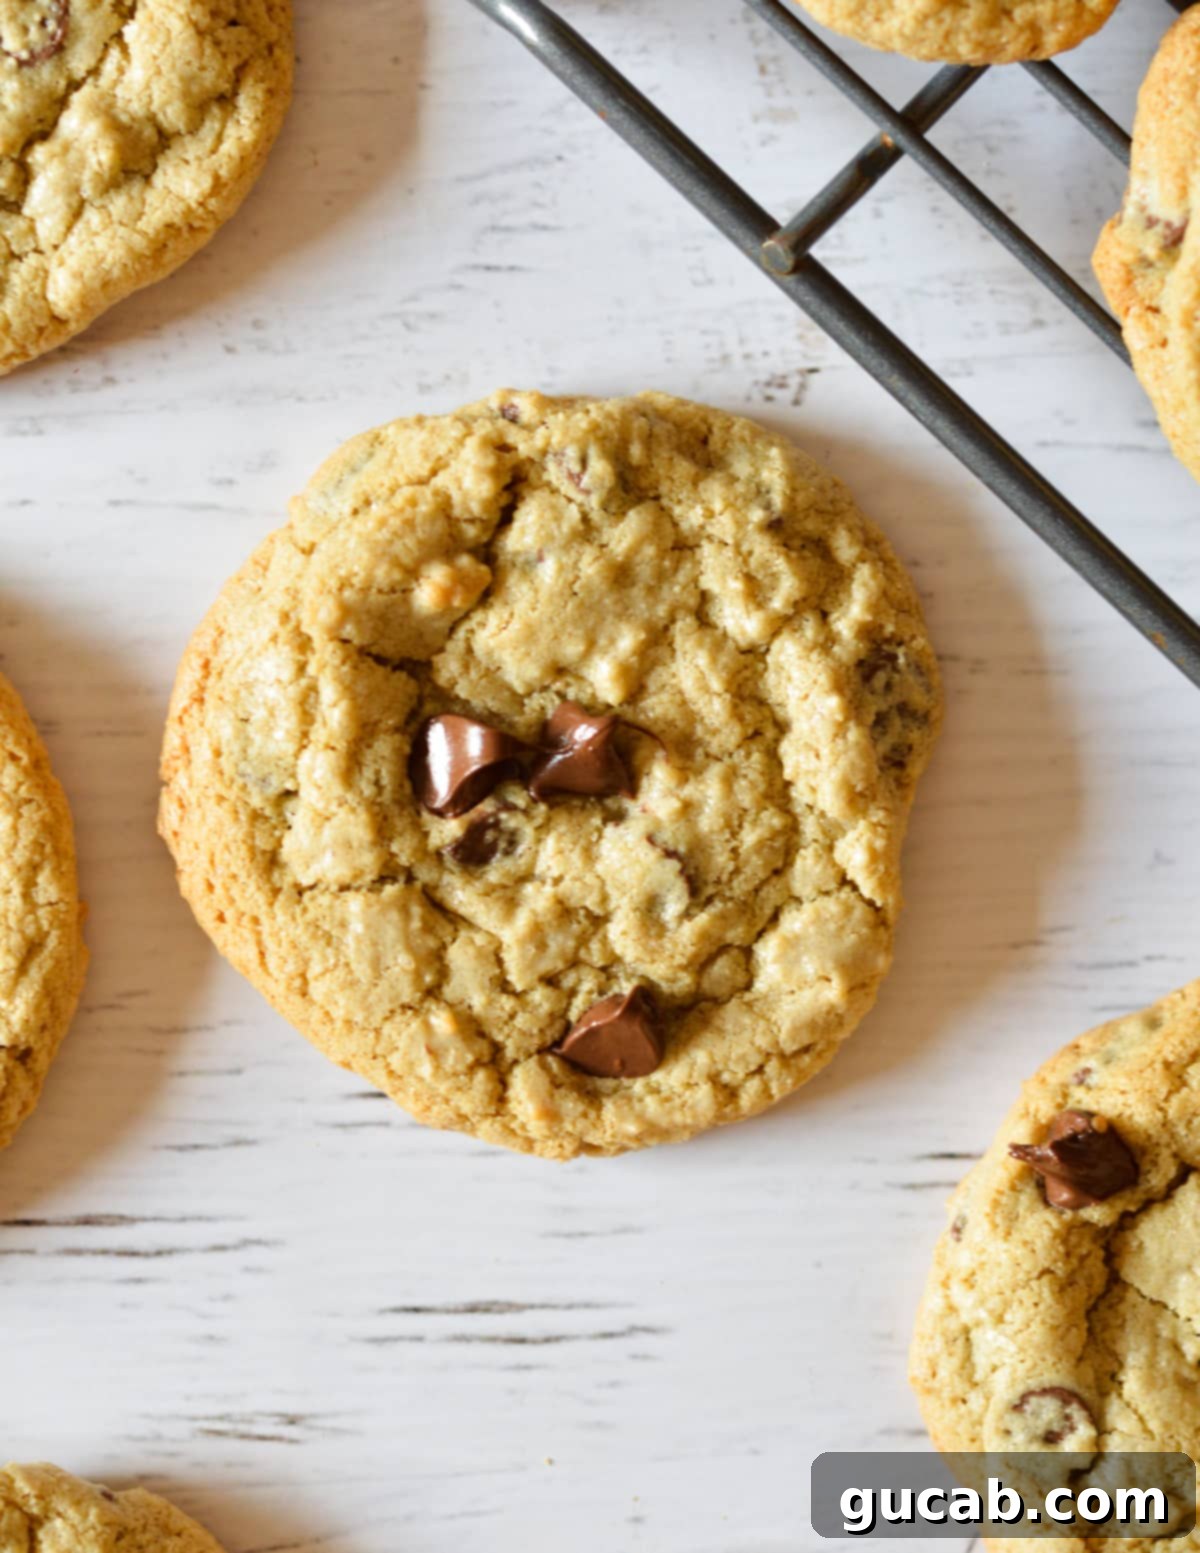
These oat flour chocolate chip cookies are more than just a dessert; they are a culinary dream come true! Crafted to perfection, they feature a harmonious blend of textures and flavors that will captivate your palate. With their enticing crisp edges, incredibly ooey-gooey centers, and an abundance of melty chocolate chips, these cookies truly stand out.
- Authentic, Delicious Flavor: Despite being gluten-free, these cookies taste like the real deal! The oat flour imparts a subtle, wholesome oatmeal flavor that perfectly complements the rich chocolate, creating a depth of taste that’s both comforting and exciting. You won’t miss traditional flour at all.
- Dietary-Friendly & Inclusive: This recipe is naturally gluten-free and nut-free, making it an excellent choice for those with specific dietary needs or allergies. Plus, with a simple substitution, they can easily be made dairy-free, ensuring everyone can enjoy these heavenly treats.
- Effortlessly Simple to Bake: Forget complicated recipes! Even the best cookies shouldn’t require a culinary degree. This oat flour cookie recipe is designed for simplicity, making it incredibly easy and straightforward to prepare. You’ll be enjoying warm, fresh-baked cookies in no time.
- Customizable to Your Liking: While classic chocolate chips are my absolute favorite, this versatile dough is a fantastic canvas for various mix-ins. Feel free to experiment with nuts, colorful M&M’s, chewy dried cranberries, or even white chocolate chips to create your unique cookie masterpiece.
This oat flour chocolate chip cookie recipe truly offers the best of both worlds: it’s naturally gluten-free yet delivers such an authentic, rich taste that no one will guess its secret. It’s my go-to recipe for holiday cookie swaps, potlucks, and any get-together where I want to impress with a universally loved dessert.
Essential Ingredients for Perfect Oat Flour Cookies
Achieving bakery-quality oat flour chocolate chip cookies starts with selecting the right ingredients and understanding their role in the baking process. Here’s a closer look at the key components that make these cookies so special:
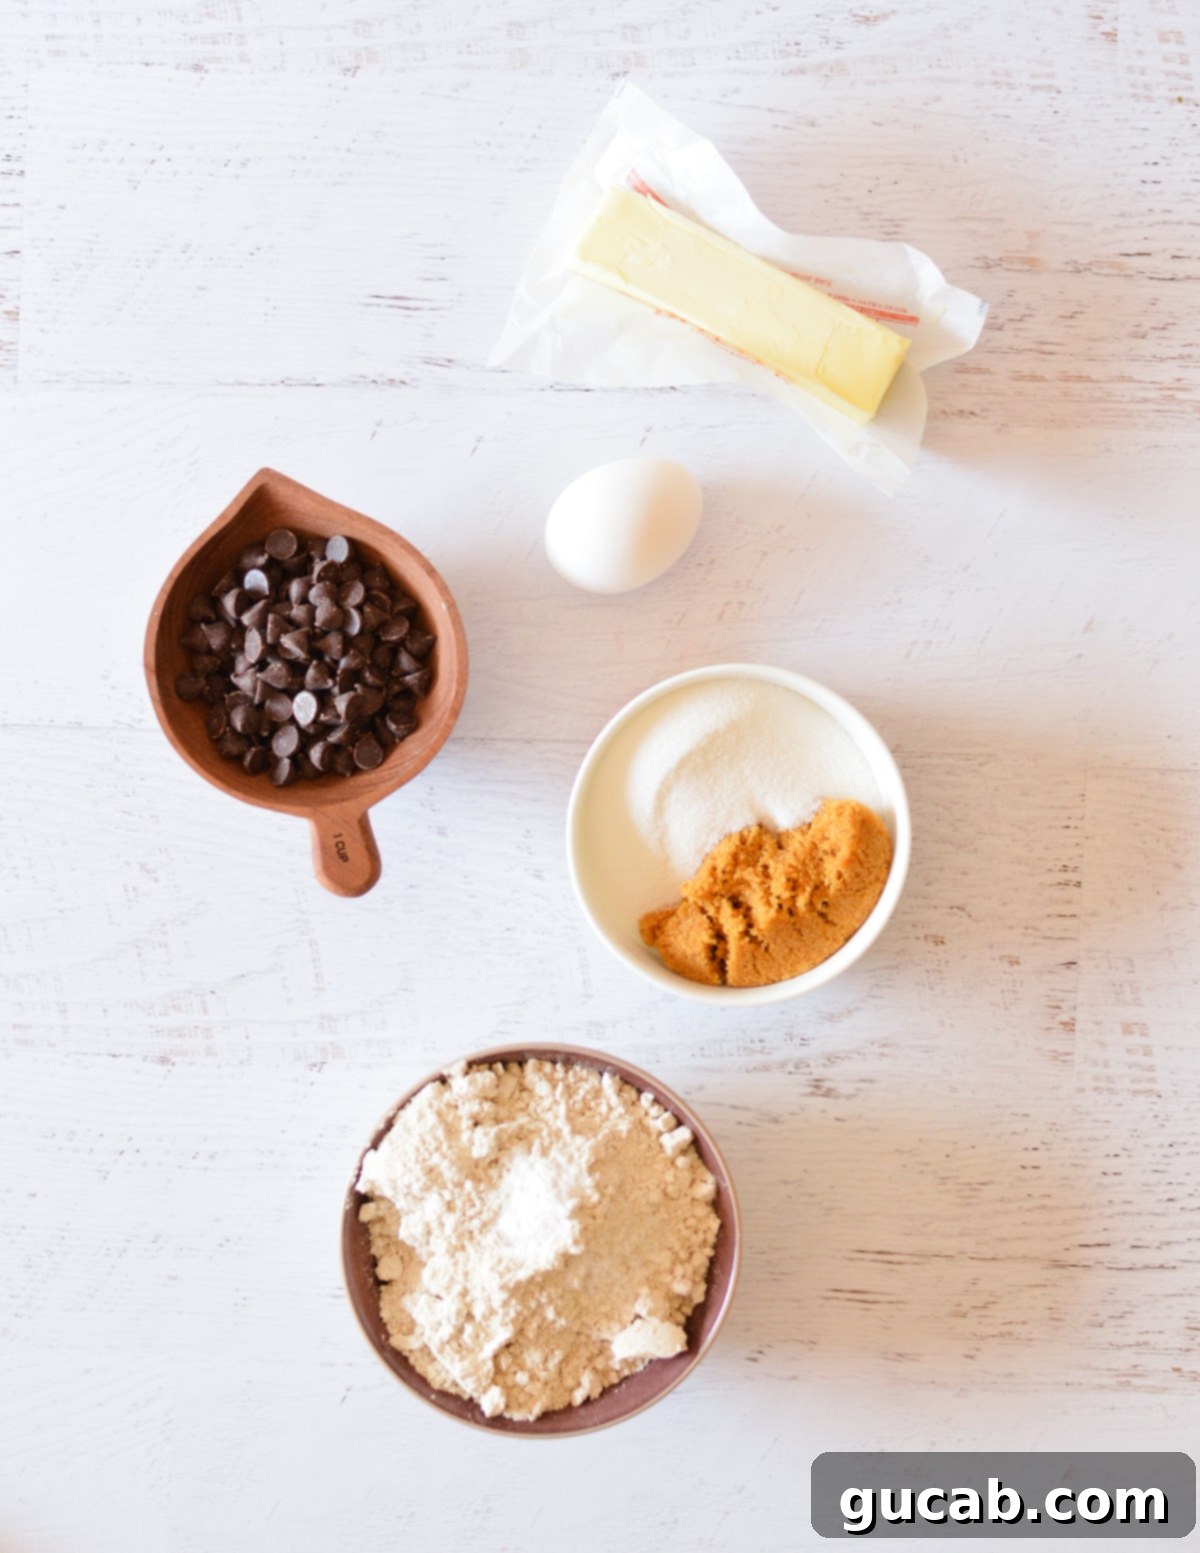
Unsalted Butter: Always opt for unsalted butter when baking, as it gives you complete control over the salt content in your cookies. Ensure your butter is at room temperature – it should be soft enough to indent with your finger but not melted. This is crucial for properly creaming with the sugars, creating a light and airy base. If you’re short on time, you can microwave cold butter in 5-second bursts, but be careful not to melt it, as melted butter will result in a flatter, greasier cookie.
Granulated Sugar & Brown Sugar: The combination of these two sugars is key to achieving the perfect cookie texture and flavor. Granulated sugar contributes to crisp edges and aids in spread, while brown sugar adds moisture, chewiness, and a rich, caramel-like depth of flavor. Together, they create a beautifully balanced sweetness and an ideal spread during baking.
Egg + Extra Yolk: Don’t underestimate the power of that extra egg yolk! The full egg provides structure and binding, but the additional yolk is a game-changer for texture. It boosts fat content without adding too much liquid, resulting in an exceptionally rich, tender, and chewy cookie. Always use large eggs unless your recipe specifies otherwise for consistent results.
Vanilla Extract: A good quality vanilla extract is essential for enhancing the overall flavor profile of your cookies. Its sweet, aromatic essence complements the chocolate and oat notes beautifully. While it primarily affects flavor rather than texture, it adds a layer of sophistication that makes these cookies truly outstanding. If you don’t have it on hand, the cookies will still be good, but vanilla elevates them to the next level.
Oat Flour: Oat flour is a fantastic gluten-free alternative that brings a wonderful, subtle nutty and wholesome flavor. It behaves similarly to wheat flour in many recipes, making it relatively easy to work with. For best results, I highly recommend using commercially produced oat flour, such as Gold Medal brand, which tends to be finely ground and consistent. Homemade oat flour, while possible, can be coarser and may yield a slightly grainier texture, which might affect the final cookie consistency. Always measure carefully for accurate results.
Baking Soda & Salt: These are your essential leavening agent and flavor enhancer. Baking soda reacts with the acidic brown sugar to help the cookies rise and spread, contributing to their soft interior. Kosher salt balances the sweetness, making the flavors pop and preventing the cookies from tasting overly saccharine. Don’t skip the salt – it’s crucial for flavor!
Chocolate Chips: I firmly believe in never skimping on the chocolate chips! They are the star of the show. I prefer Ghirardelli semi-sweet chocolate chips for their balanced sweetness and excellent melting quality, but feel free to use your favorite variety. Milk chocolate chips will give a sweeter, creamier cookie, while dark chocolate chips offer a more intense, sophisticated flavor. For an even more decadent experience, use a mix of different chocolate types!
How to Master Oat Flour Chocolate Chip Cookies
Crafting these delectable oat flour cookies is a straightforward process, but following these steps carefully will ensure consistently perfect results. Get ready to bake a batch of cookies that will disappear as quickly as they’re made!
1. Prepare Your Workspace: Before you begin mixing, preheat your oven to 350 degrees Fahrenheit (175°C). Line one or two baking sheets with parchment paper or silicone baking mats. Using two sheets allows you to bake more cookies efficiently, though you can bake one at a time if preferred. Proper lining prevents sticking and ensures even baking.
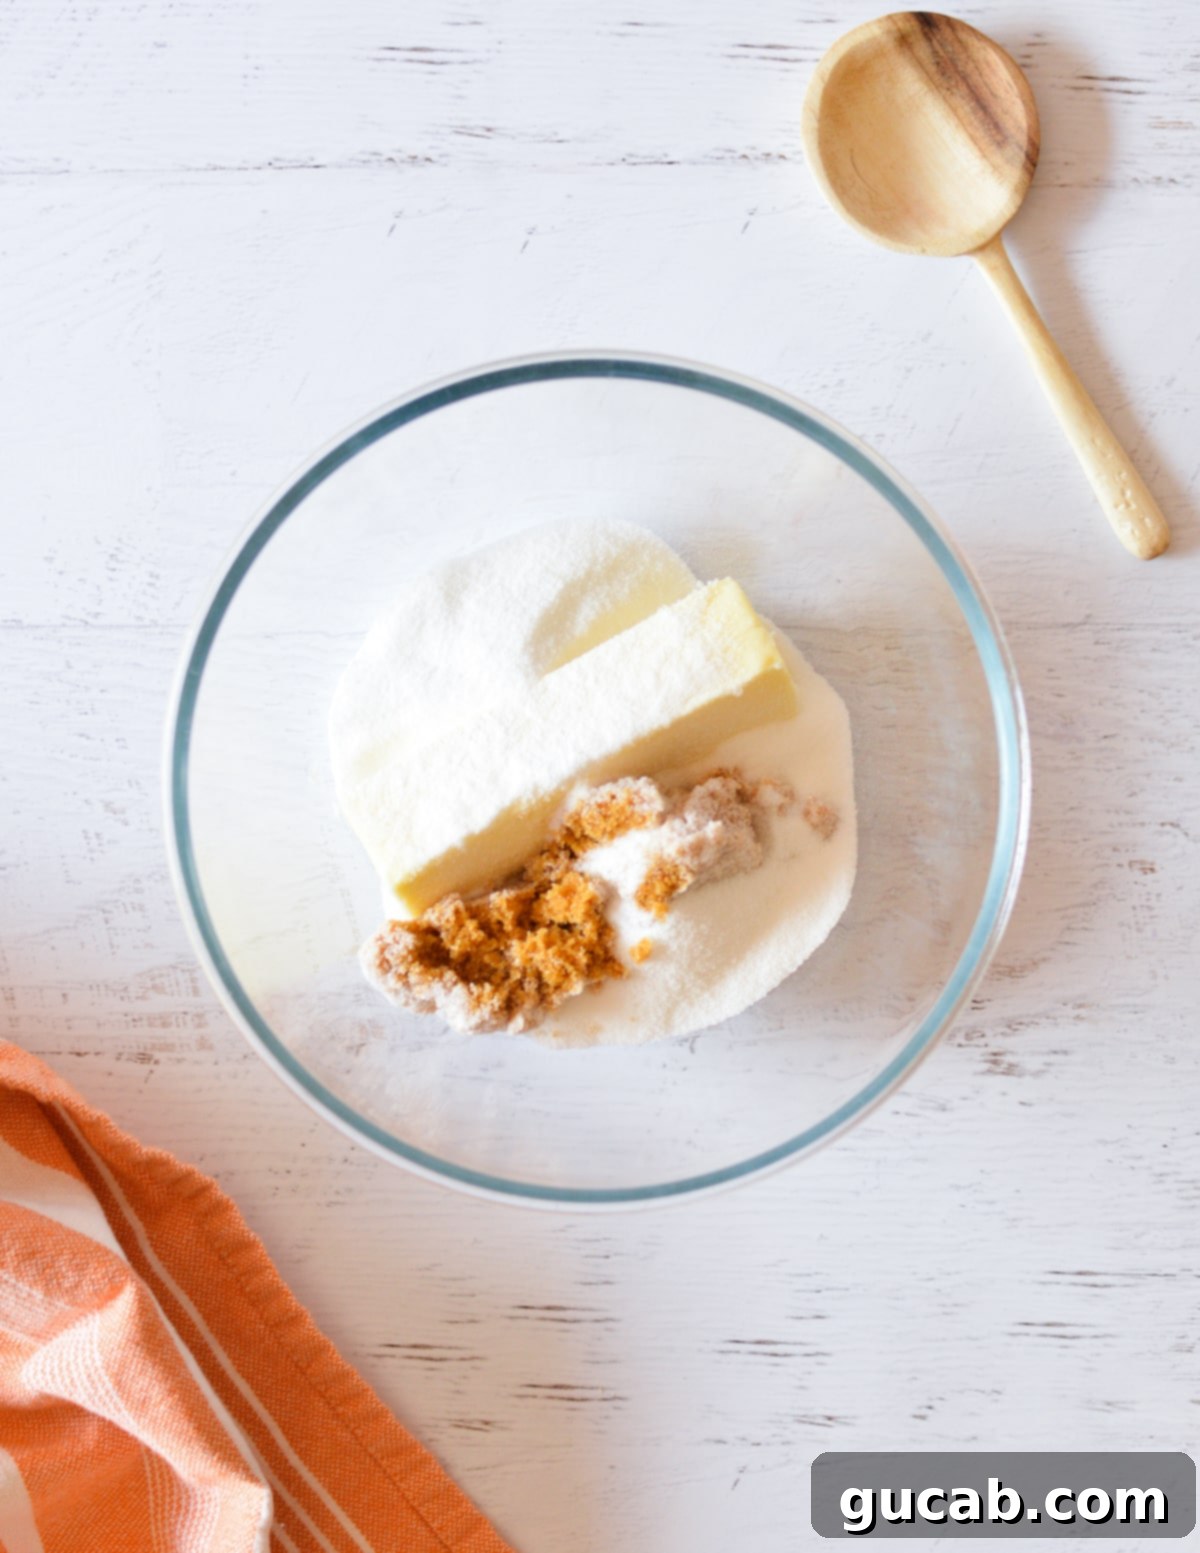
2. Cream the Butter and Sugars: In the bowl of a stand mixer fitted with the paddle attachment, or using a large bowl and a hand mixer (which requires a bit more effort), combine the room-temperature unsalted butter, granulated sugar, and brown sugar. Beat on medium speed for about 2-3 minutes until the mixture is light, fluffy, and pale in color. This creaming process incorporates air, which is vital for the cookies’ texture.
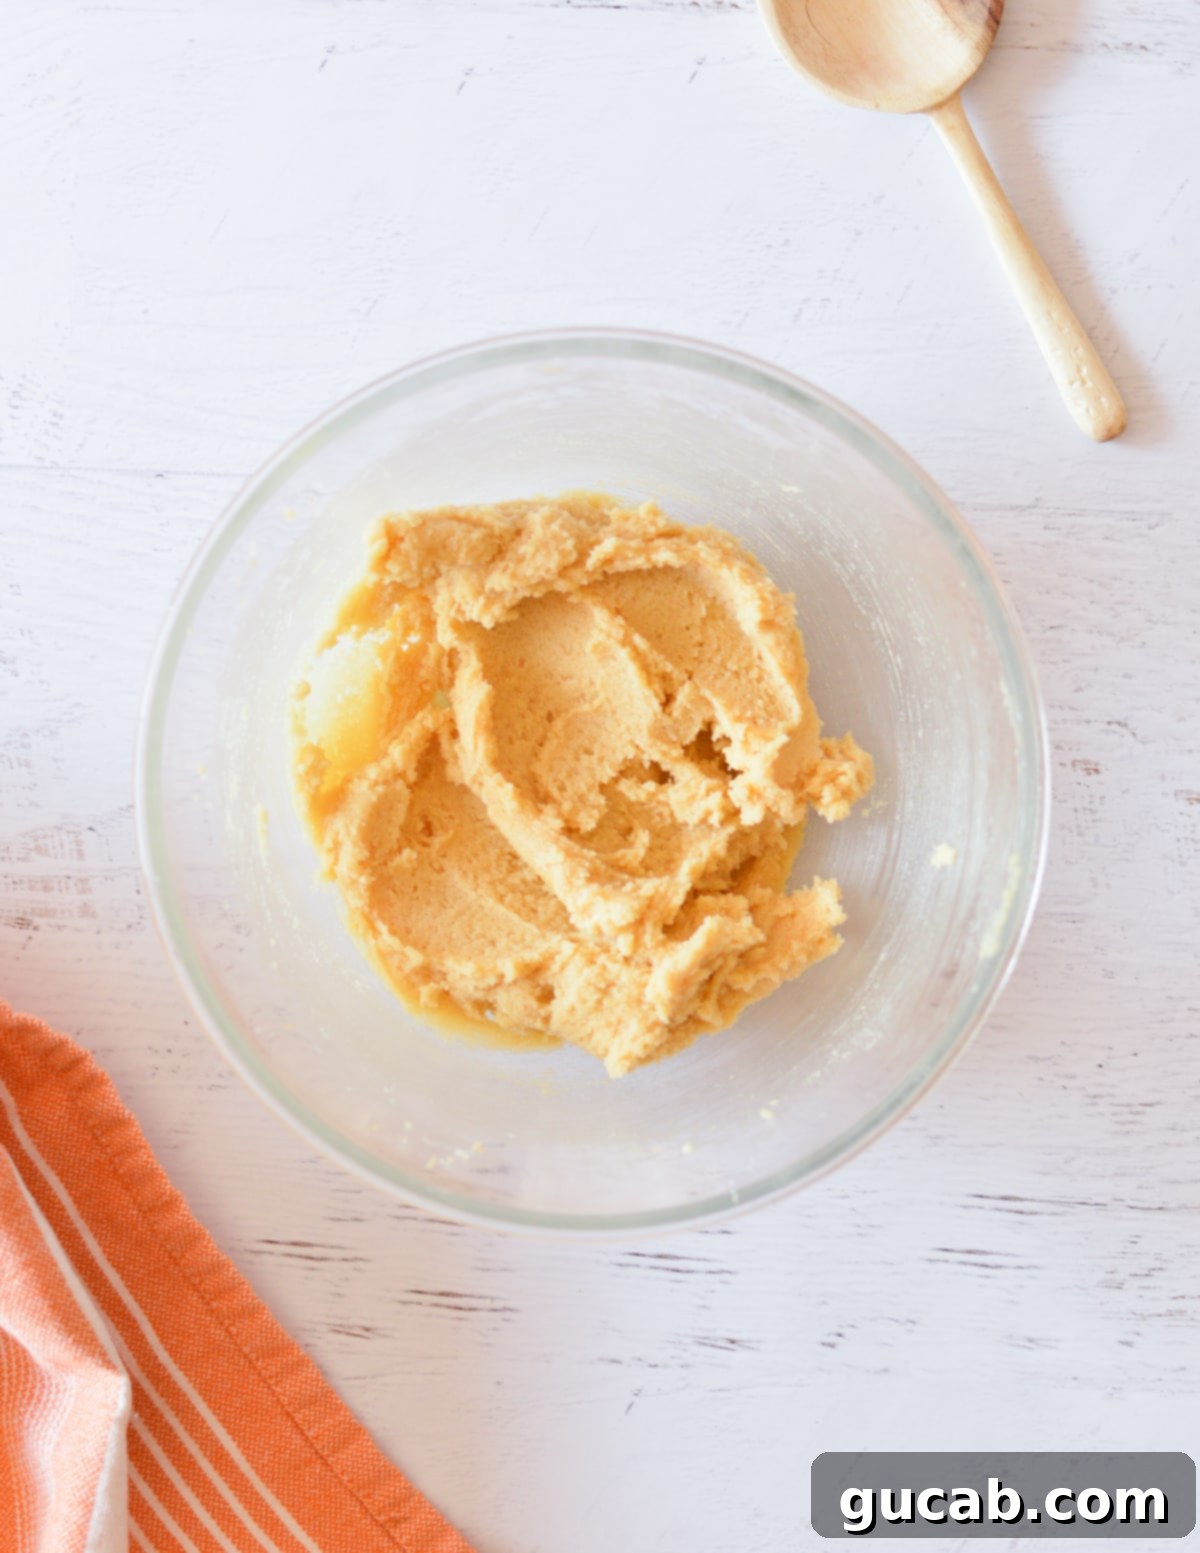
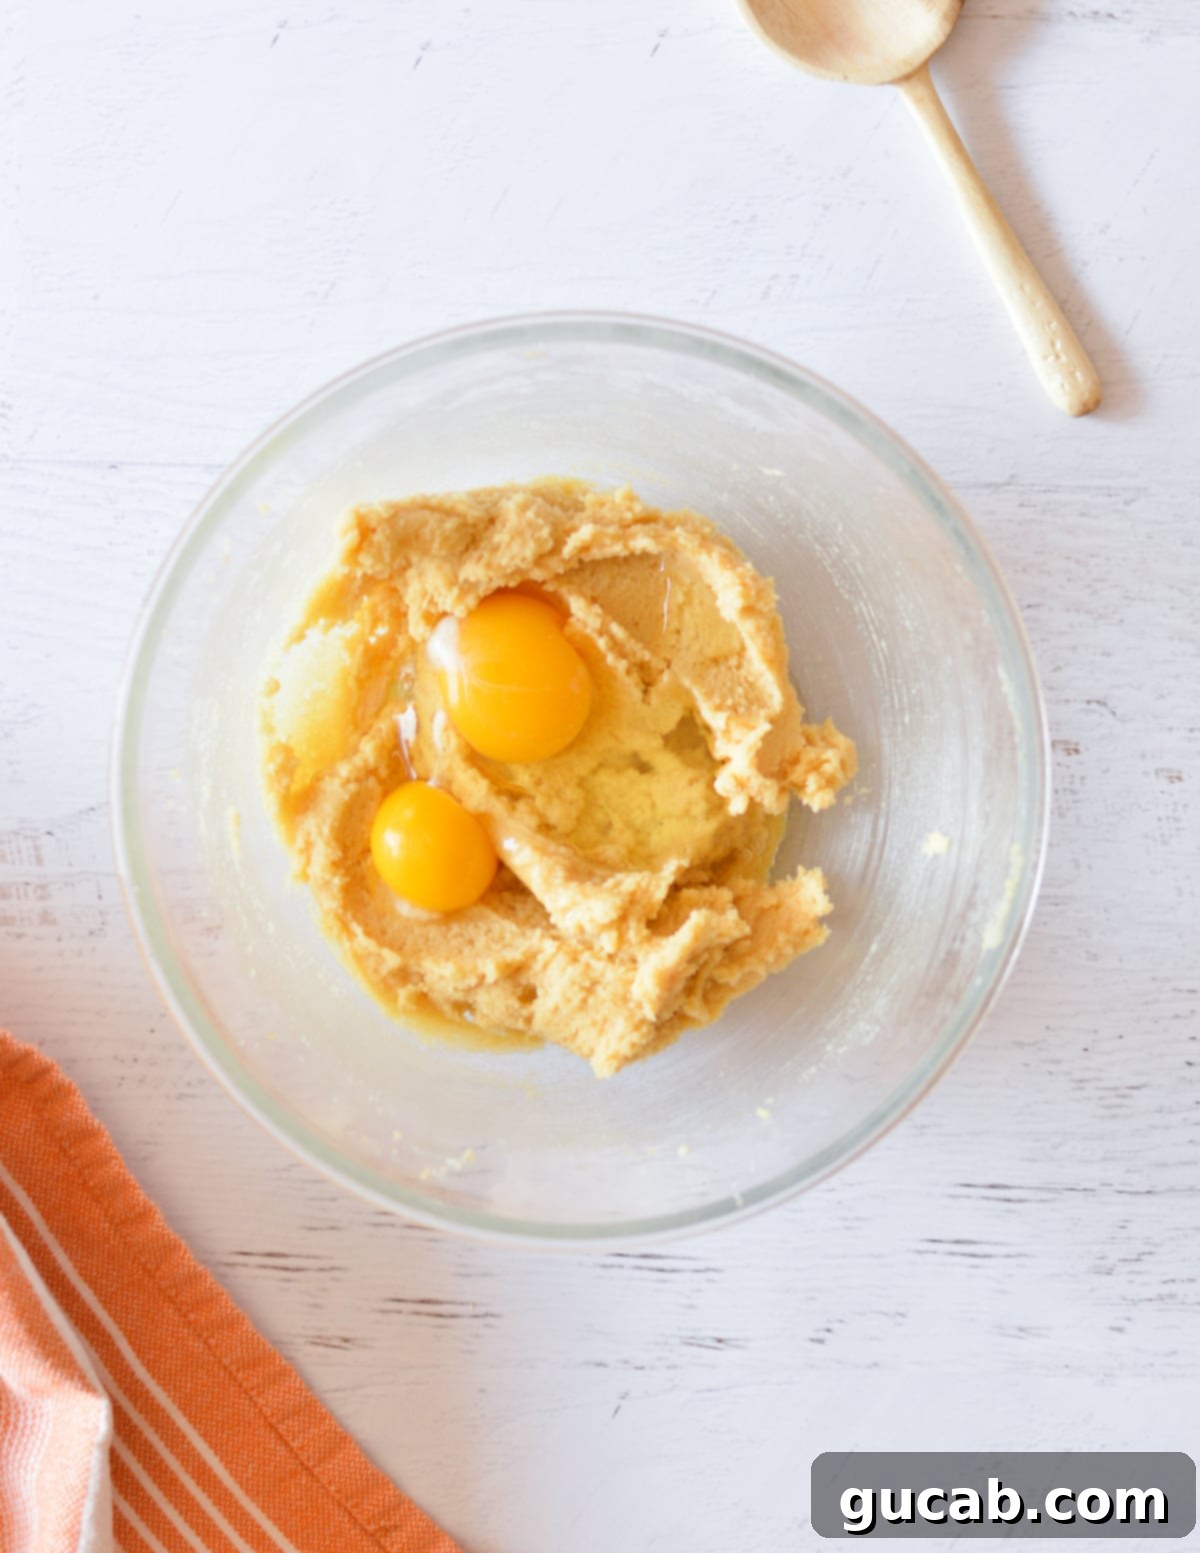
3. Incorporate Egg and Vanilla: Add the large egg, extra egg yolk, and vanilla extract to the creamed butter mixture. Beat on medium speed until just combined, being careful not to overmix at this stage. Stop the mixer and use a rubber spatula to scrape down the sides and bottom of the bowl, ensuring all ingredients are fully incorporated and no pockets of unmixed batter remain.
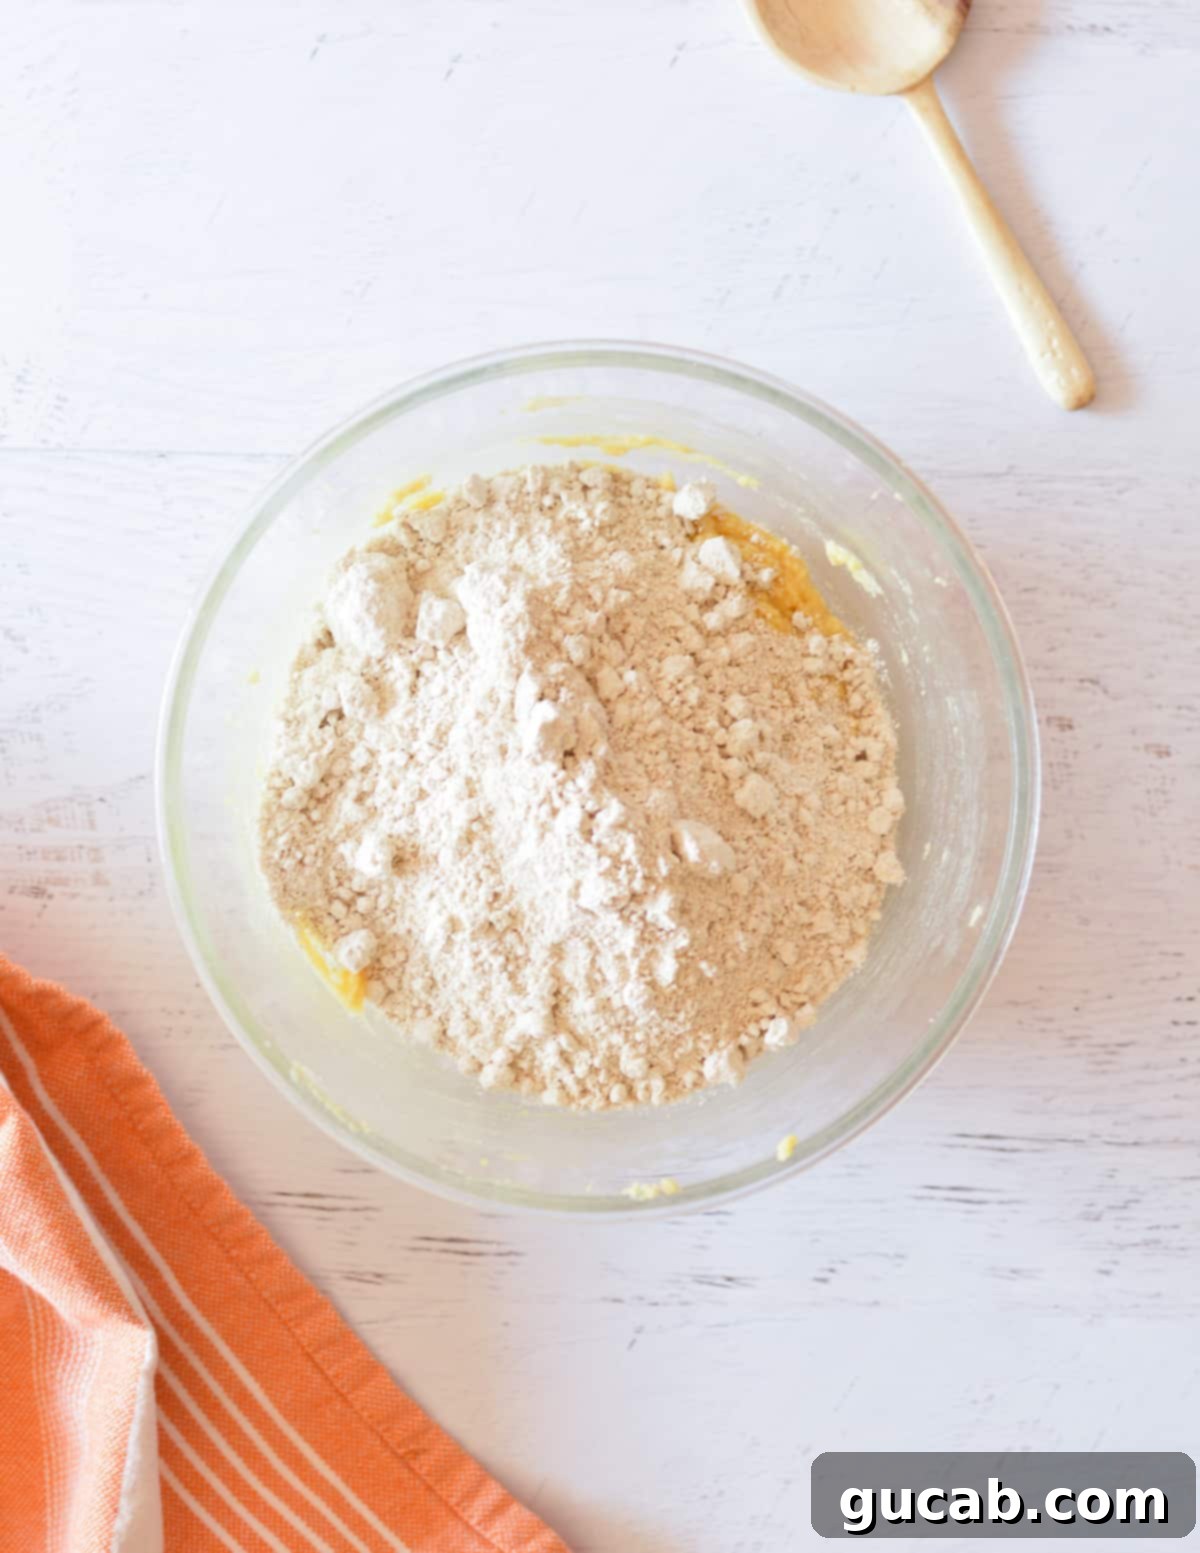
4. Add Dry Ingredients: Gradually add the oat flour, baking soda, and kosher salt to the wet ingredients. Start beating on low speed initially to prevent the flour from “poofing” out of the bowl and creating a mess. Once the flour is mostly incorporated, you can increase the speed.
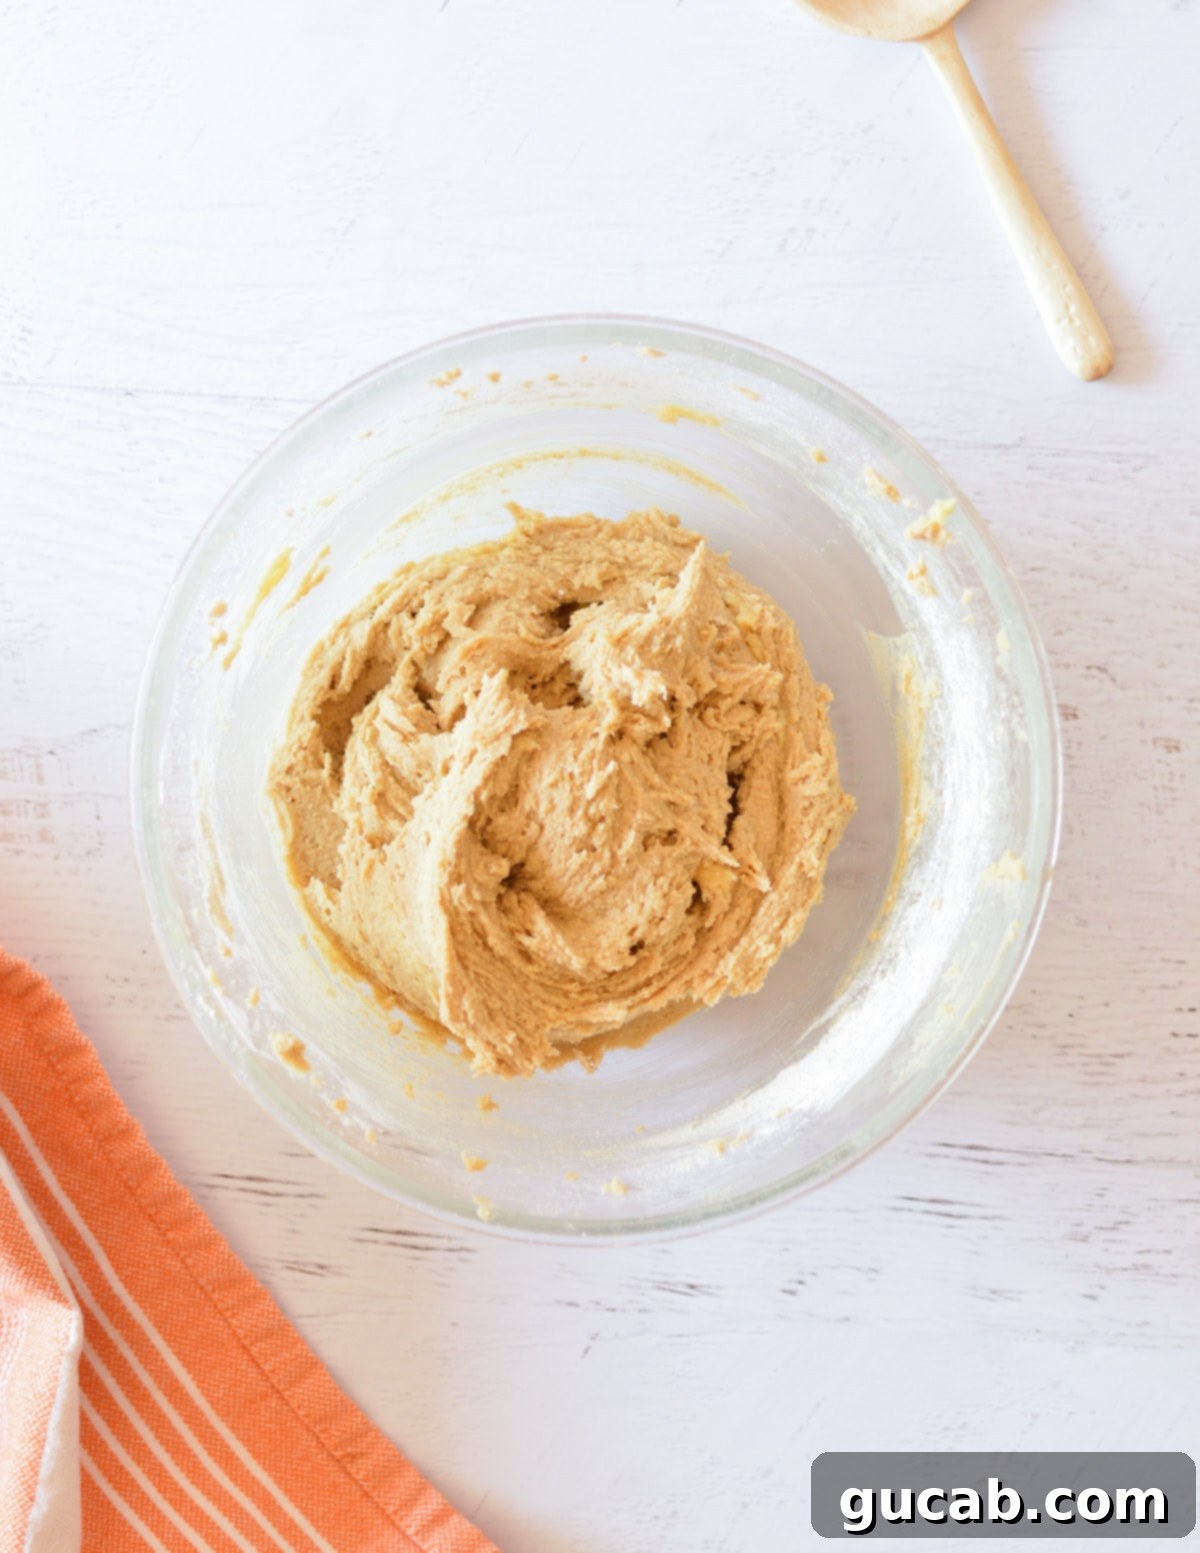
5. Form the Cookie Dough: Increase the mixer speed to medium and beat until a cohesive cookie dough forms. It’s crucial not to overmix the dough after adding the dry ingredients, as this can lead to tougher cookies. Mix just until everything is combined and no streaks of dry flour are visible. The dough should be soft and pliable.
6. Fold in Chocolate Chips: Add your chosen chocolate chips to the dough. Gently stir them in using a spatula or beat on very low speed until they are evenly dispersed throughout the cookie dough. This ensures every bite gets a generous amount of chocolate goodness.
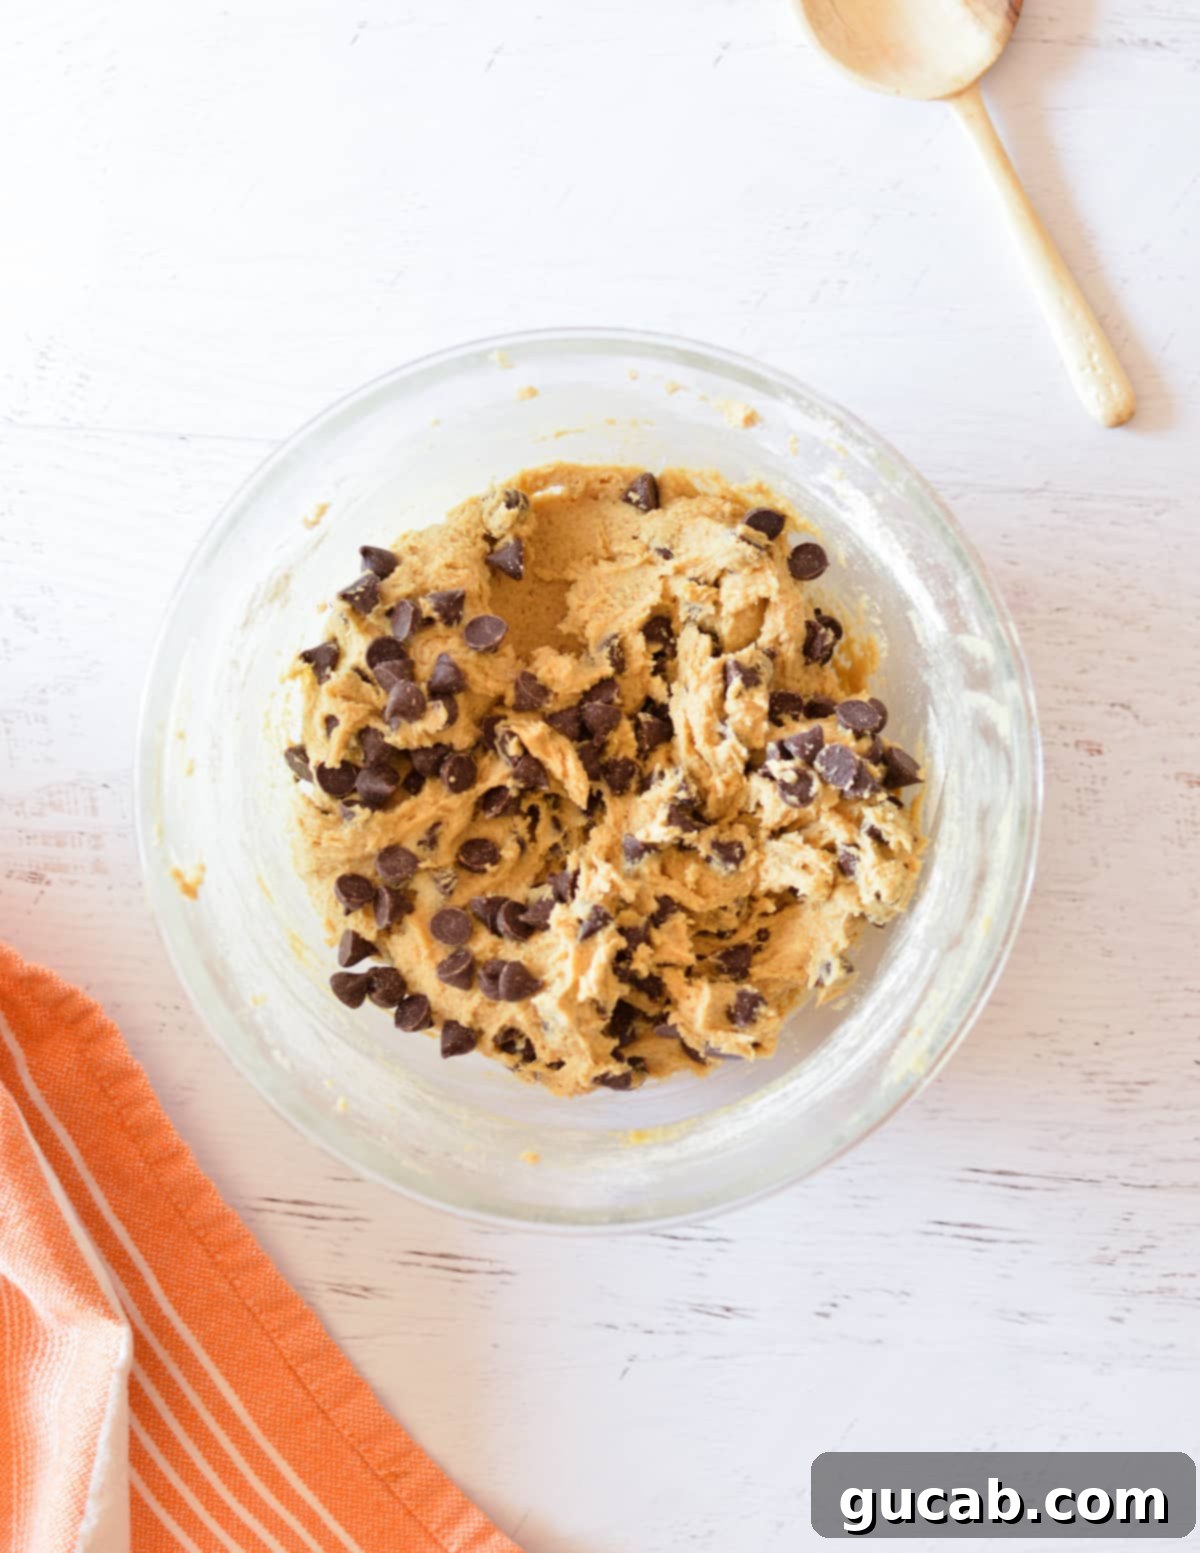
7. Scoop and Arrange: Use a small portion scoop (about 1.5-2 tablespoons) to scoop six uniform cookie dough balls onto the prepared baking sheet. Make sure to give them ample space – at least 2 inches apart – to allow for proper spreading during baking. For that picture-perfect finish, press a few extra chocolate chips onto the top of each cookie dough ball before baking.
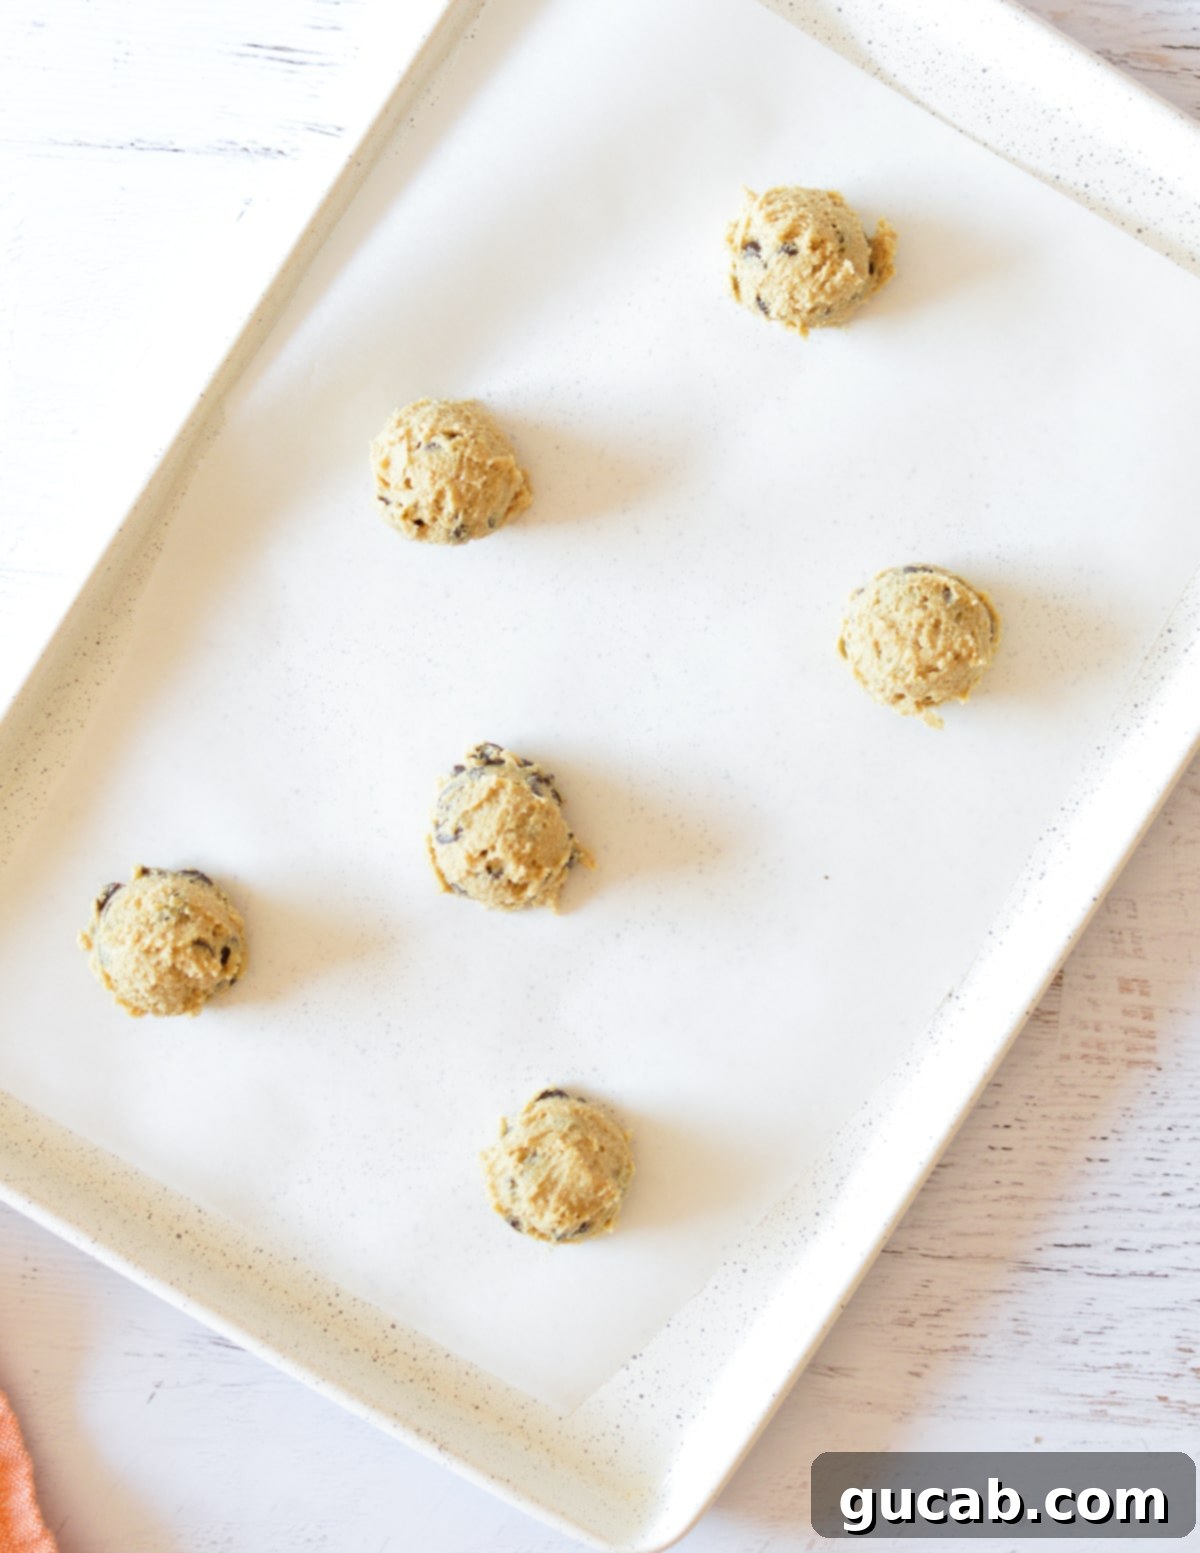
8. Bake to Perfection: Place the baking sheet in the preheated oven and bake for approximately 11 minutes. The cookies are done when their edges are golden brown, but their centers still appear slightly underbaked and soft. If the entire cookie looks fully golden and set, it’s likely overbaked and will result in a crispier rather than gooey cookie. The residual heat from the baking sheet will continue to cook them as they cool.
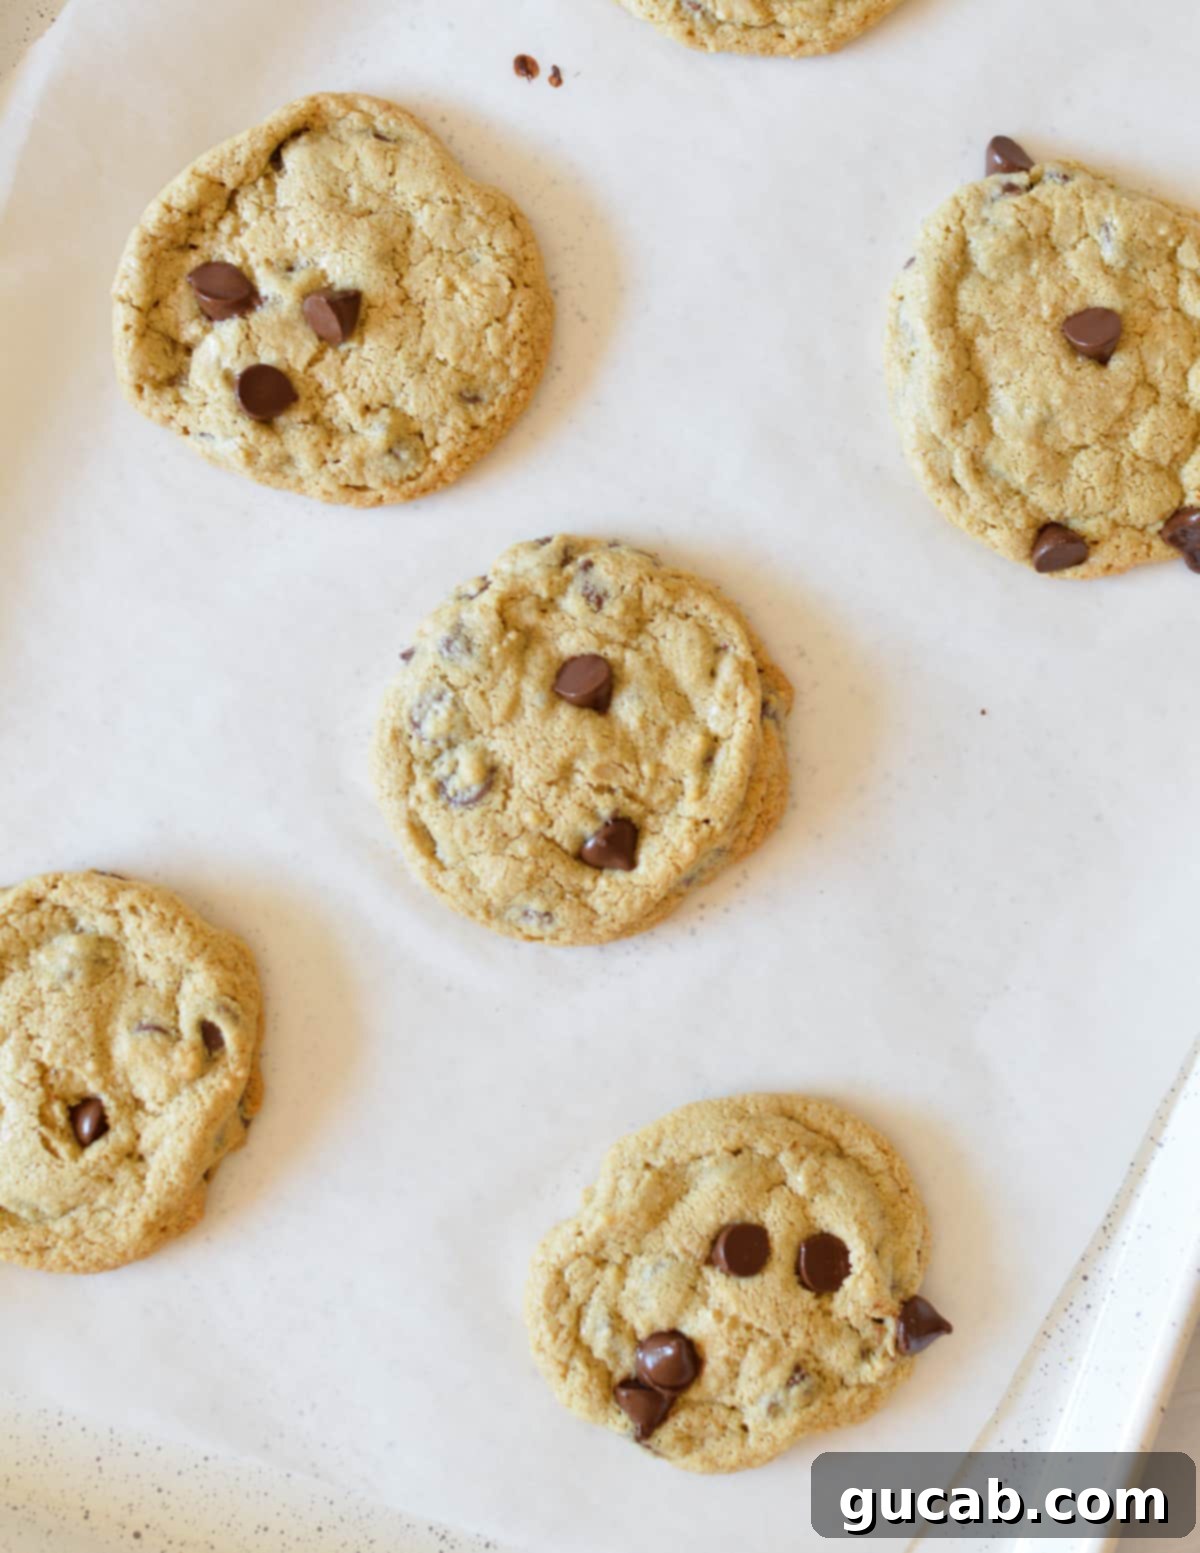
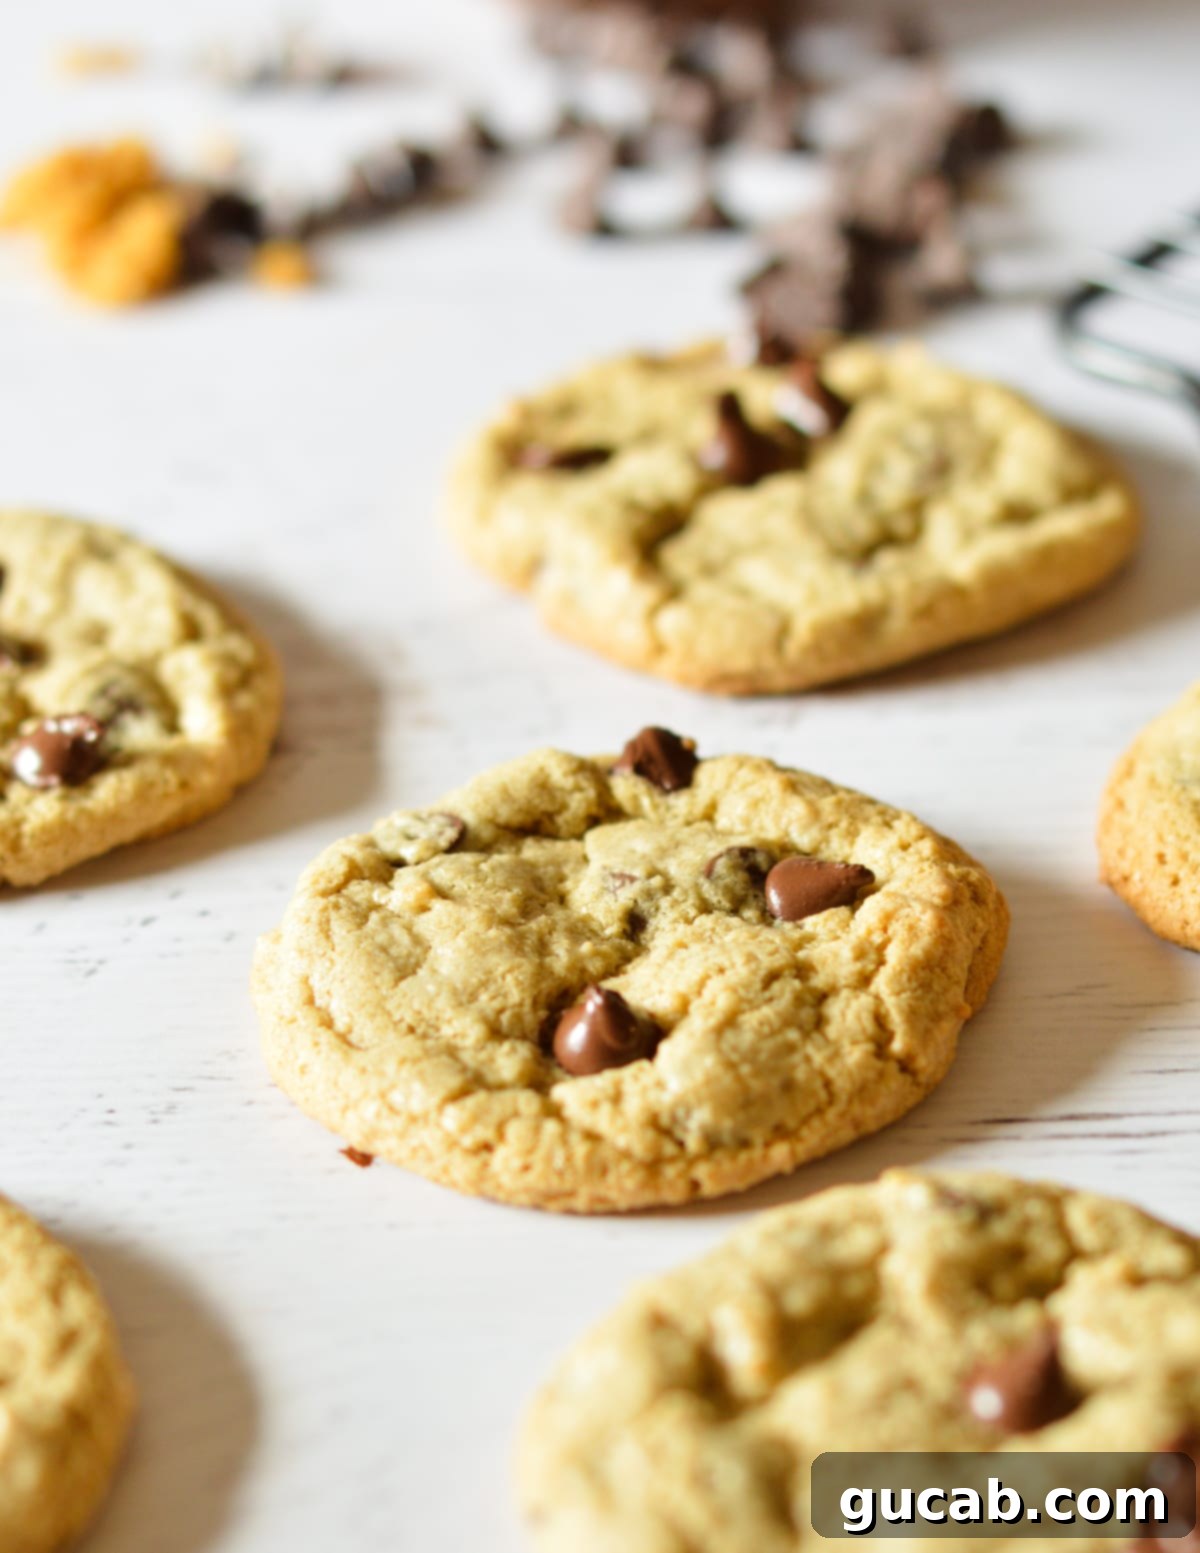
9. Cool and Enjoy: Once baked, remove the sheet pan from the oven and let the cookies cool on the pan for at least 5 minutes. This crucial step allows them to set up properly. Attempting to move hot cookies too soon will cause them to fall apart. After 5 minutes, carefully transfer them to a wire rack to cool completely. Repeat the process with any remaining cookie dough. Enjoy these warm, tender, and incredibly flavorful oat flour chocolate chip cookies!
Expert Cookie Making Tips for Flawless Results
Achieving the perfect cookie every time involves a few simple, yet crucial, techniques. Here are some insider tips to ensure your oat flour chocolate chip cookies turn out perfectly:
- Avoid Overmixing the Dough: Once you’ve added the dry ingredients, mix the cookie dough only until it’s just combined. Overmixing develops gluten (even in gluten-free flours like oat, it can affect texture negatively by making it gummy or tough) and can lead to cookies that are flatter, tougher, and less tender than desired. A perfectly mixed dough will be cohesive but not overworked.
- Resist Moving Hot Cookies: Patience is a virtue when it comes to cooling cookies. Freshly baked cookies are delicate and very soft straight out of the oven. They continue to set and firm up as they cool on the hot baking sheet. If you try to transfer them too soon, they are likely to crumble or lose their shape. Allow them to cool on the baking sheet for at least 5-10 minutes before gently moving them to a wire rack to finish cooling completely.
- Don’t Overbake Your Cookies: This is arguably the most important tip for achieving those coveted soft and gooey centers. Cookies should look slightly underdone and pale in the middle when you pull them out of the oven, with only the edges appearing golden brown. They will continue to bake from the residual heat of the pan. If the entire cookie looks fully golden and firm in the oven, it’s already overbaked, and you’ll end up with a crunchy, dry cookie instead of a chewy one.
- Use Room Temperature Ingredients: Ensure your butter and egg are at room temperature. This allows them to emulsify better, creating a smoother, more uniform dough, which in turn leads to a superior texture in your baked cookies.
- Chill the Dough (Optional but Recommended): For an even chewier cookie with less spread and a more developed flavor, consider chilling your cookie dough for at least 30 minutes, or even overnight. Chilling solidifies the butter, preventing excessive spreading, and allows the flavors to meld.
- Even Scoops for Even Baking: Using a cookie scoop ensures that each cookie is the same size, which means they will all bake evenly and be done at roughly the same time. This prevents some cookies from being underbaked while others are overbaked.
- Rotate Baking Sheets: If you’re baking multiple sheets of cookies, rotate them halfway through the baking time. Ovens often have hot spots, and rotating ensures that all cookies bake uniformly.
Delicious Variations to Customize Your Oat Flour Cookies
This oat flour cookie dough is incredibly versatile and serves as the perfect base for a myriad of delightful variations. If you’re looking to switch things up from the classic chocolate chip, or simply want to explore new flavor combinations, try one of these simple and exciting twists:
- Peanut Butter Chip Bliss: Replace half or all of the semi-sweet chocolate chips with creamy peanut butter chips for a rich, nutty, and undeniably comforting flavor profile.
- White Chocolate & Cranberry Delight: For a burst of color and a balance of sweet and tart, swap the chocolate chips for white chocolate chips and dried cranberries. This combination is particularly lovely during the holidays.
- Cookies & Cream Dream: Crush some Oreo cookies and fold them into the dough along with a handful of mini chocolate chips. This adds a delightful crunch and a familiar, beloved flavor.
- Colorful M&M’s Fun: Add a festive touch by mixing in M&M’s or mini M&M’s instead of chocolate chips. They’re perfect for celebrations and loved by kids and adults alike.
- Tropical Pecan & Coconut: For a unique texture and exotic flavor, incorporate chopped pecans and shredded coconut into your cookie dough. The crunch of pecans paired with the chewiness of coconut is fantastic.
Don’t be afraid to get creative! Take a peek into your pantry – you might find inspiration for other wonderful mix-ins like chopped nuts, toffee bits, or other dried fruits. The possibilities are endless with this adaptable base!
Make Them Dairy-Free: For those avoiding dairy, these cookies can easily be adapted. Simply swap the unsalted butter for your favorite dairy-free buttery sticks. Ensure they are at room temperature, just like regular butter, for the best creaming results. This small change allows everyone to enjoy these magnificent gluten-free cookies.
Storage & Freezing Tips for Freshness
Whether you’ve baked a big batch and want to save some for later, or you prefer to prep dough in advance, these storage and freezing tips will help you enjoy your oat flour chocolate chip cookies at their best.
Storing Baked Cookies: Once your delicious oat flour cookies have cooled completely to room temperature (this is key to prevent condensation and sogginess), store them in an airtight container. They will remain wonderfully fresh and chewy at room temperature for up to 5 days. For optimal freshness, you can place a slice of bread in the container; it helps keep the cookies soft by imparting its moisture.
Freezing Baked Cookies: If you want to enjoy your cookies over a longer period, freezing them is a great option. After they are completely cool, place the baked cookies in a single layer in a freezer-safe container, separating layers with parchment paper if stacking. Alternatively, place them in a heavy-duty zip-top freezer bag, squeezing out as much air as possible. They will keep well in the freezer for up to 3 months. Beyond that, you risk freezer burn, which can affect their taste and texture. To thaw, simply let them sit at room temperature for an hour, or warm them briefly in the microwave for a fresh-from-the-oven feel.
Freezing Unbaked Cookie Dough: This is a fantastic time-saver for future cookie cravings! Scoop the cookie dough into individual balls onto a parchment-lined baking sheet or plate. Place the entire sheet in the freezer for at least an hour, or until the dough balls are solid. Once frozen, transfer the hardened cookie dough balls to a zip-top freezer bag or airtight container. They can be stored for up to 3 months. Label with the date and baking instructions for convenience.
Baking from Frozen Dough: When you’re ready to bake, simply place the frozen cookie dough balls directly onto a lined baking sheet. There’s no need to thaw them! You may need to add an extra minute or two to the baking time (check for golden edges and slightly underbaked centers), but otherwise, bake as directed in the recipe. This method yields perfectly fresh, warm cookies whenever you desire!
Frequently Asked Questions About Oat Flour Cookies
I strongly recommend against using homemade oat flour for this specific recipe. While making oat flour at home is possible, achieving the right consistency can be challenging, and the particle size often varies significantly from store-bought versions. Homemade oat flour tends to be slightly grainier, which can impact the final texture and absorbency in baked goods. For consistent and optimal results, I highly recommend using commercially ground oat flour. I personally used the Gold Medal brand with great success.
Yes, oat flour can be used in cookies, but it’s crucial to understand that it’s generally not a 1:1 substitution for all-purpose flour. Oat flour absorbs liquids differently and has unique textural properties. For this reason, it’s always best to follow a recipe specifically developed for oat flour, like this one! Simply swapping oat flour for all-purpose flour without adjusting other ingredients can lead to cookies that are too dry, crumbly, or spread too much.
Both oat flour and almond flour are excellent gluten-free options for baking delicious cookies, each offering unique characteristics. Almond flour typically has a slightly sweet, nutty flavor and a finer texture. It doesn’t absorb liquids as readily as oat flour or wheat flour, often requiring more binding agents like eggs or slight adjustments to liquid content. Oat flour, on the other hand, has a mild, wholesome oatey taste and behaves more similarly to regular flour in terms of absorption and structure, often producing a softer, chewier cookie that’s very familiar in texture. The “better” choice depends on your desired flavor profile and the specific recipe’s requirements.
Yes, these cookies are truly gluten-free, provided you use certified gluten-free oat flour. While oats are naturally gluten-free, they are often processed in facilities that also handle wheat, barley, or rye, leading to cross-contamination. To ensure your cookies are completely gluten-free, always look for oat flour explicitly labeled “certified gluten-free” to guarantee purity.
Room temperature butter is essential for proper creaming. The ideal temperature is around 65-70°F (18-21°C). It should be soft enough to leave an indentation when gently pressed but not so soft that it’s greasy or shiny. To achieve this, take it out of the refrigerator 1-2 hours before baking. If you’re short on time, you can cut the butter into smaller pieces to speed up the process, or microwave it in 5-second intervals, flipping it each time, until it reaches the desired softness. Just be careful not to melt it!
More Delicious Oat-Based Recipes You’ll Love
If you’re a fan of oat flour and looking for more ways to incorporate this wholesome ingredient into your baking, check out these other fantastic recipes:
- Light & Fluffy Oat Flour Pancakes: Start your day with these incredibly airy and delicious pancakes, a healthier twist on a breakfast classic.
- Oat Flour Peanut Butter Cookies: Another gluten-free cookie option that combines the goodness of oat flour with the irresistible flavor of peanut butter.
- Flourless Oatmeal Cookies: For those who love the rustic texture of traditional oatmeal cookies, these flourless versions are a must-try.
- Oat Flour Oatmeal Cookies: A delightful blend of oat flour and rolled oats, offering a chewy texture and a hearty, wholesome flavor.

Oat Flour Chocolate Chip Cookies
Carolyn
Pin Recipe
Equipment
-
Stand Mixer with the Paddle Attachment (or a hand mixer and large bowl)
-
Baker’s Half Sheet Pan
-
Silicone Baking Mats or Parchment Paper
-
Small Cookie Scoop (approx. 1.5-2 tbsp)
-
Rubber Spatula
-
Wire Cooling Rack
Ingredients
- ½ cup unsalted butter room temperature (for dairy-free, use buttery sticks)
- ⅔ cup granulated sugar
- ¼ cup packed brown sugar
- 1 large egg + 1 large egg yolk
- 1 teaspoon vanilla extract
- 1¾ cup + 2 tablespoons oat flour (store-bought, certified gluten-free, e.g., Gold Medal brand)
- ½ teaspoon baking soda
- ¼ teaspoon kosher salt
- 1 cup semi-sweet chocolate chips (plus more for topping, as desired)
Instructions
-
Preheat your oven to 350 degrees Fahrenheit (175°C).
-
Line a baking sheet with a silicone baking mat or a sheet of parchment paper.
-
In the bowl of a stand mixer fitted with the paddle attachment, cream together the room temperature butter, brown sugar, and granulated sugar until the mixture is light, pale, and fluffy, typically about 3 minutes.
-
Add the whole egg, extra egg yolk, and vanilla extract to the creamed butter mixture. Beat until just incorporated, then stop the mixer and scrape down the sides of the bowl with a rubber spatula to ensure all ingredients are well combined.
-
Gradually add the oat flour, baking soda, and kosher salt to the wet mixture. Beat on low speed initially to prevent the flour from scattering, then increase to medium speed until a cohesive cookie dough forms. Avoid overmixing.
-
Fold in the chocolate chips (or your preferred mix-ins) with a spatula or on very low speed until they are evenly dispersed throughout the dough.
-
Using a small cookie scoop (about 1.5-2 tablespoons), scoop 6 cookie dough balls onto the prepared baking sheet, leaving ample space between them for spreading. Press a few extra chocolate chips onto the top of each dough ball for a bakery-style finish.
-
Place the baking sheet in the preheated oven and bake for 11 minutes, or until the edges are golden brown and the centers still appear slightly soft and underbaked. Do not overbake!
-
Carefully remove the baking sheet from the oven and let the cookies cool on the sheet pan for at least 5-10 minutes. This allows them to set before transferring.
-
Once slightly cooled, transfer the cookies to a wire rack to cool completely. Repeat the process with any remaining cookie dough. Enjoy your perfectly baked oat flour chocolate chip cookies!
Nutrition
