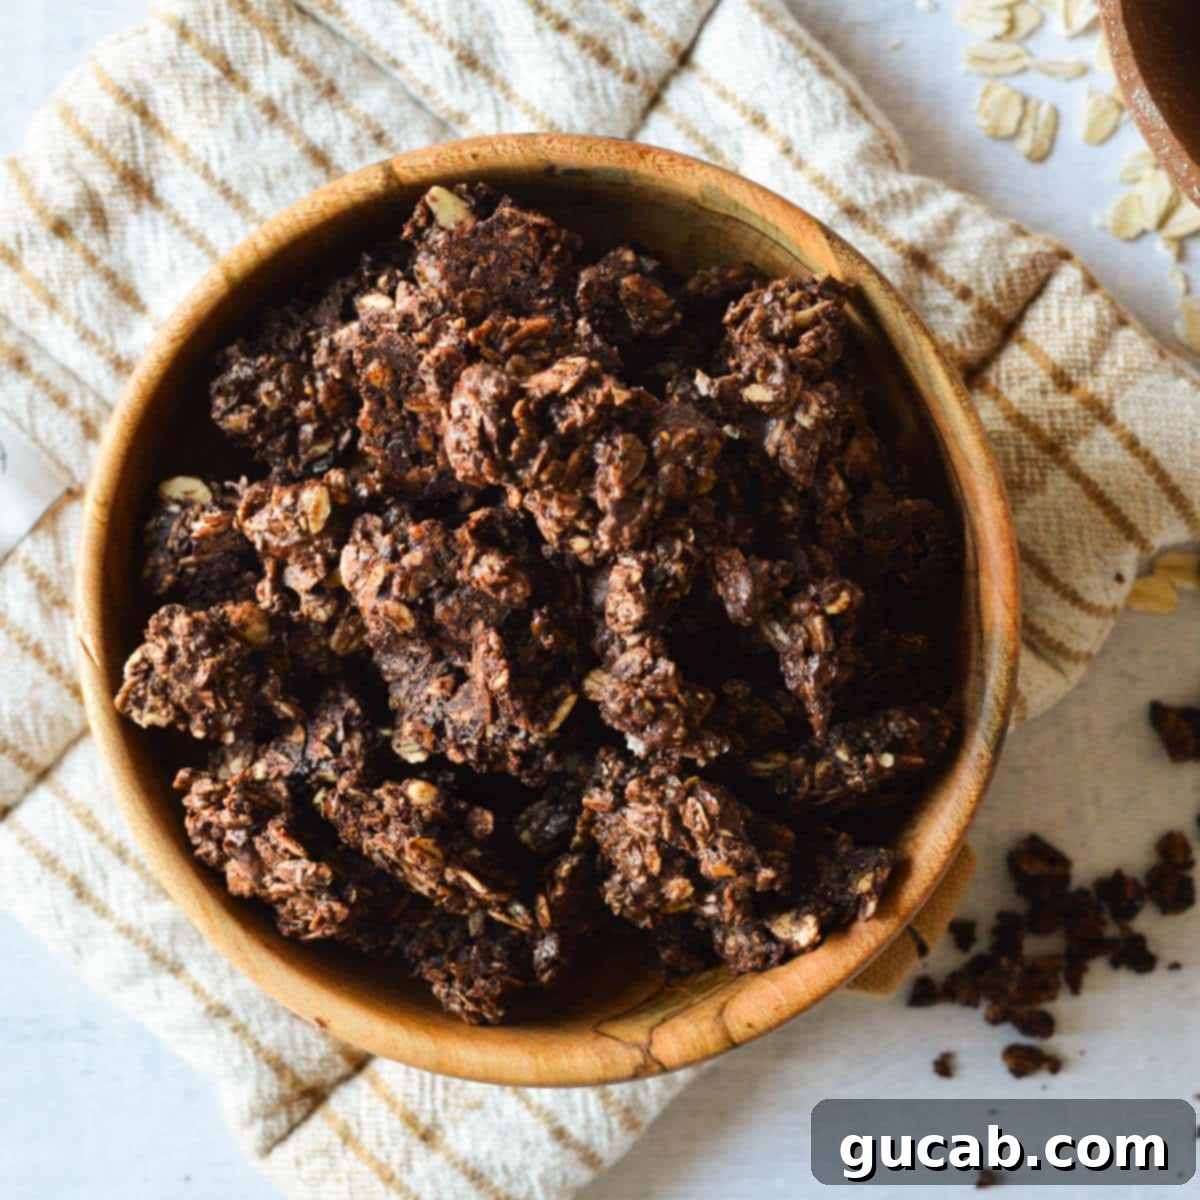
Homemade Dark Chocolate Granola: Crunchy Clusters, Maple Sweetness & Wholesome Goodness
Indulge in the rich, satisfying crunch of this homemade dark chocolate granola! Sweetened naturally with maple syrup and packed with delightful, crispy clusters, it’s a perfect wholesome snack, a fantastic breakfast option, or a guilt-free treat. Not only is it incredibly easy to make, but whipping up your own batch at home is also significantly more budget-friendly than buying high-quality granola from the store. Get ready to transform your pantry with this irresistible recipe!
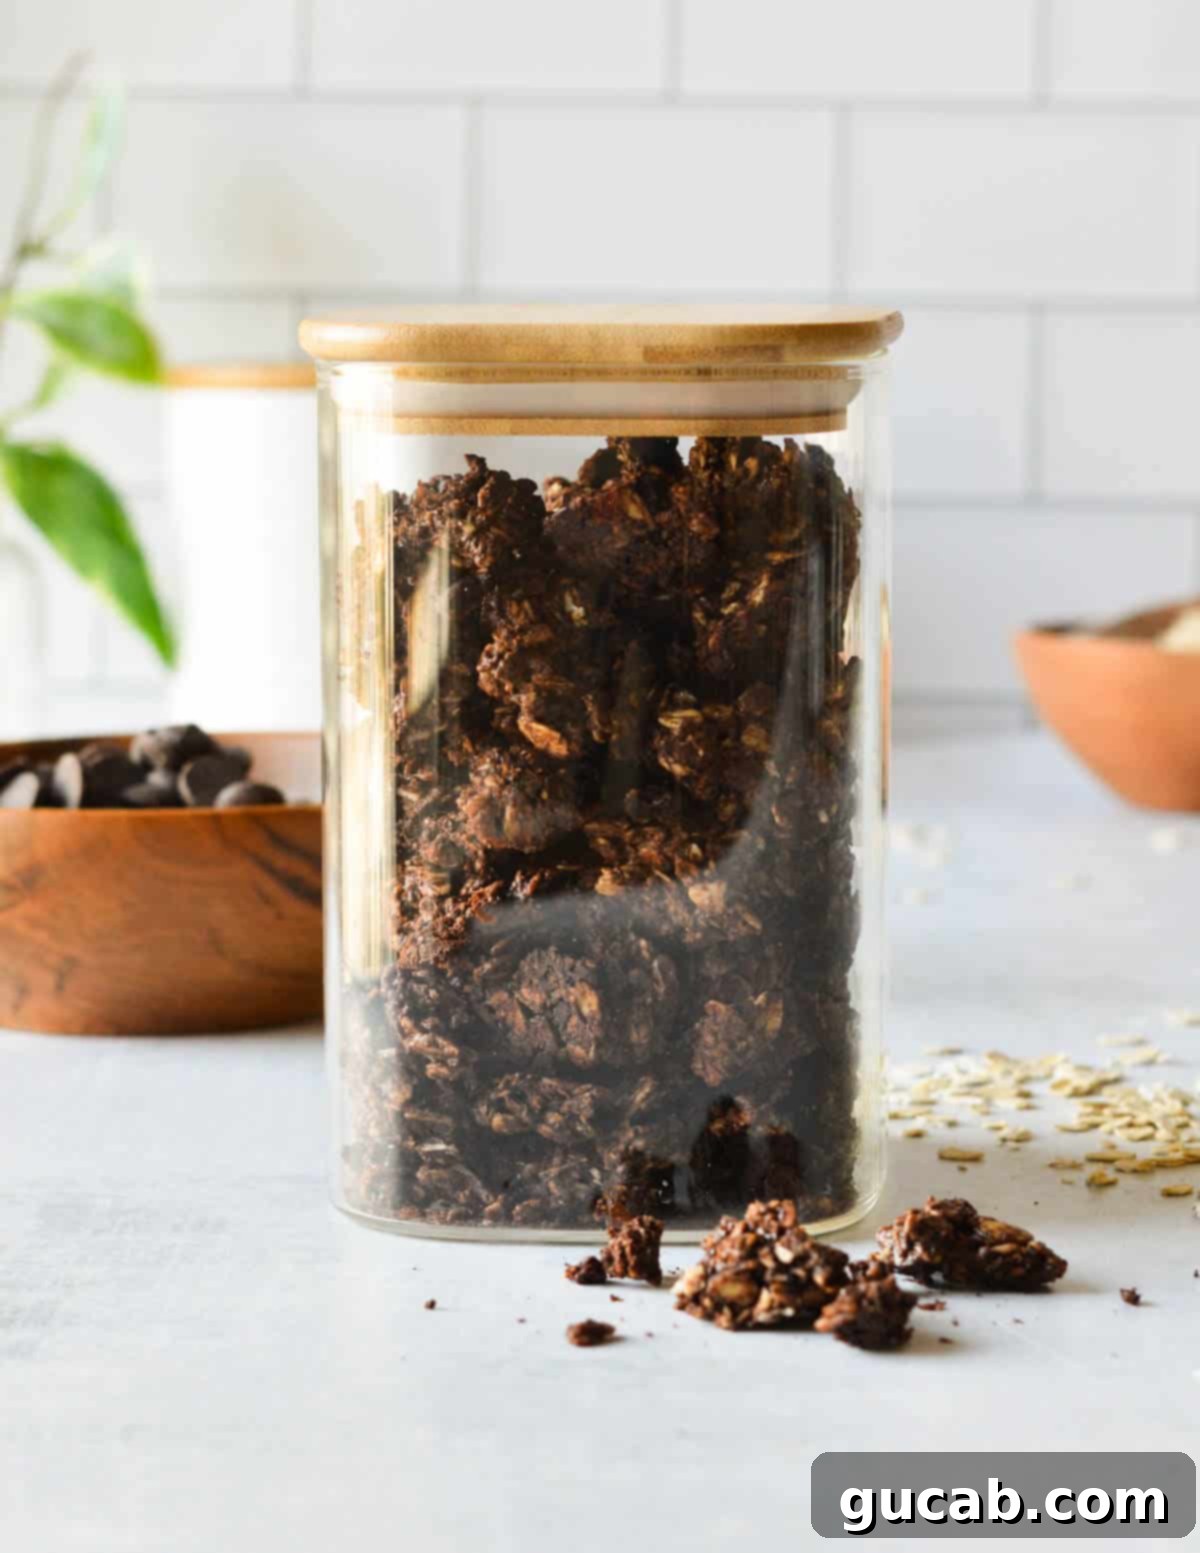
Why You’ll Be Obsessed with This Dark Chocolate Granola Recipe
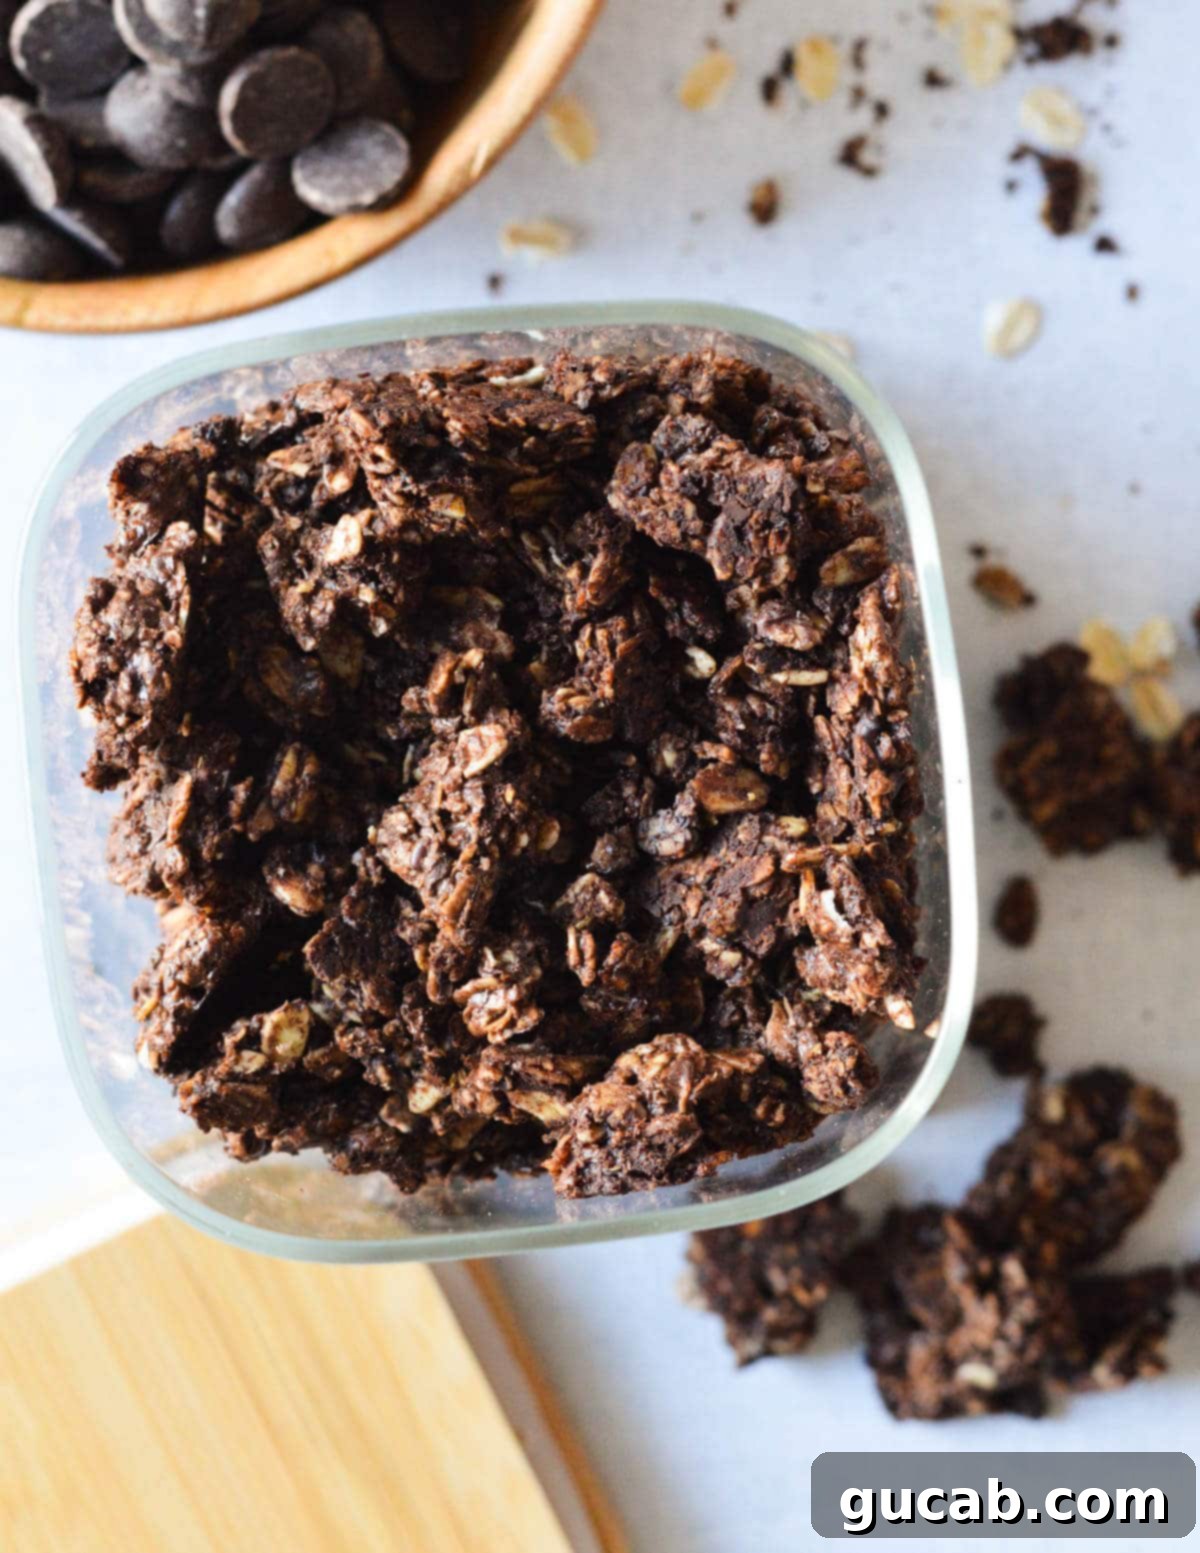
There’s nothing quite like the aroma of freshly baked granola filling your home, and this dark chocolate version takes that experience to a whole new level. I confess, I’m absolutely obsessed with homemade granola, often keeping a couple of different flavors on hand. While my maple walnut granola holds a special place, this dark chocolate rendition is a very close second, captivating hearts (and taste buds!) with its intense chocolatey flavor, generous bits of real dark chocolate, and those coveted crispy, crunchy clusters that make every bite a pure delight.
This isn’t just a treat for grown-ups; it’s a family favorite! Even my sometimes-picky 7-year-old gives it a resounding thumbs-up, which, as any parent knows, is the ultimate seal of approval. Beyond the incredible taste and kid-friendliness, the real magic lies in its simplicity and cost-effectiveness. Making your own granola is surprisingly straightforward and yields a superior product at a fraction of the cost of store-bought gourmet options. You have complete control over the ingredients, ensuring it’s packed with wholesome goodness and free from unnecessary additives. It’s the perfect balance of indulgence and health, providing sustained energy without a sugar crash.
Key Ingredients for the Perfect Dark Chocolate Granola
Crafting exceptional granola starts with high-quality ingredients. Each component plays a vital role in achieving that perfect balance of flavor, texture, and nutritional value. Here’s a closer look at what you’ll need to create your own batch of dark chocolate heaven:
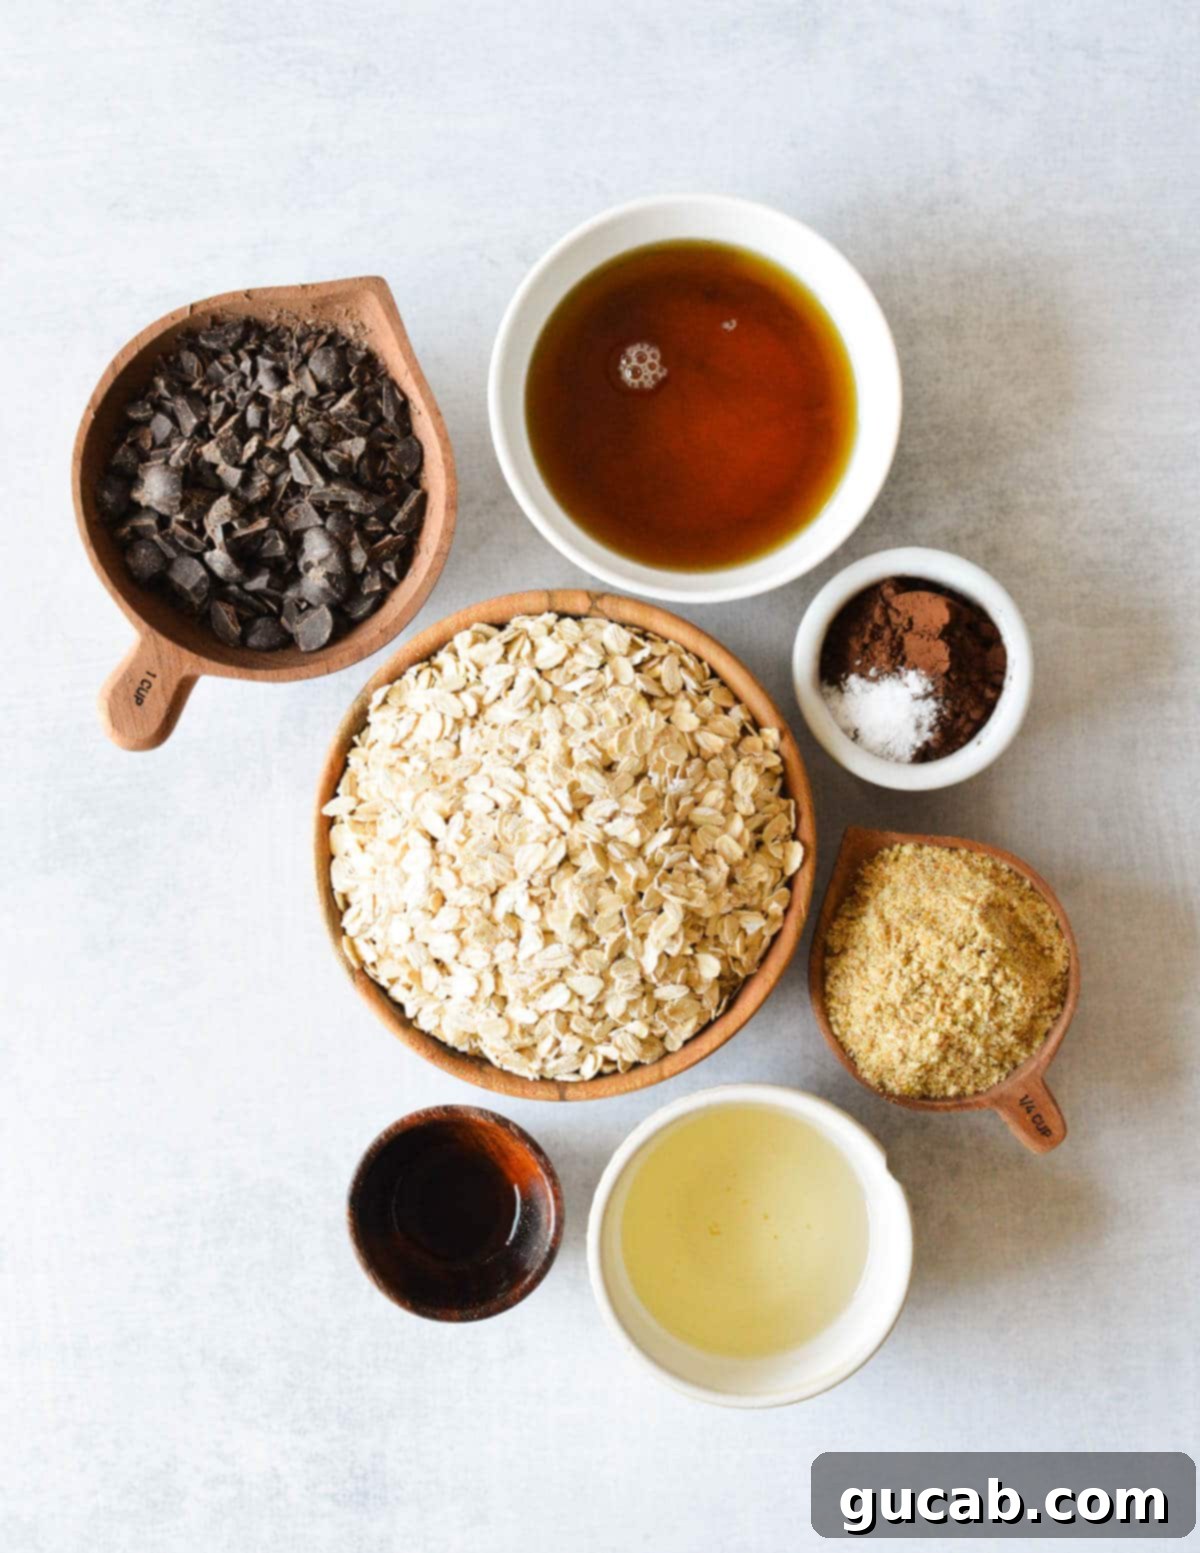
- Old Fashioned Oats: These are the backbone of our granola. I always recommend old-fashioned rolled oats because they provide the ideal texture—chewy yet crisp—and are sturdy enough to form those desirable clusters. Avoid quick oats, which can become mushy, and steel-cut oats, which require longer cooking times. I often buy large bags of organic rolled oats, like those from Costco, to ensure I’m always ready to make granola. If you are gluten intolerant or have celiac disease, always opt for certified gluten-free oats to prevent cross-contamination.
- Golden Flax Meal: This superfood adds a nutritional boost and contributes to the granola’s binding properties, helping to create those wonderful clusters. I prefer Bob’s Red Mill’s golden flax meal because of its mild, subtly buttery flavor, which is less assertive than brown flax. Flaxseeds are renowned for being an excellent source of essential nutrients, including plant-based protein, dietary fiber, and beneficial omega-3 fatty acids, making your granola even healthier. For best results, use flax meal rather than whole flaxseeds, as the ground form allows for better nutrient absorption.
- Dutch Processed Cocoa Powder: For that deep, rich dark chocolate flavor and color, Dutch processed cocoa is a must. I personally use Hershey’s dark cocoa, which delivers a smooth, mellow, and intensely chocolatey taste without the bitterness often associated with natural cocoa powder. Dutch processing neutralizes the acidity in cocoa, resulting in a less acidic and more luxurious flavor profile that perfectly complements the maple syrup.
- Dark Chocolate: Bits of real dark chocolate are crucial for an “ultra-chocolatey” experience. You can use high-quality dark chocolate chips (Ghirardelli is a great option) or finely chop a dark chocolate bar. The key is to chop it finely so that it disperses evenly throughout the granola and melts just enough during baking to meld into the clusters, but not so much that it burns. Aim for a cacao percentage that you enjoy, typically between 60-75% for a rich, balanced flavor.
- Coconut Oil: This is an essential ingredient for achieving the perfect crispy texture and forming those coveted crunchy clusters. When melted, coconut oil helps coat the oats, and as it cools, it solidifies, binding the granola together. Make sure to use refined coconut oil if you prefer a neutral flavor, or virgin coconut oil if you enjoy a subtle coconut aroma.
- Maple Syrup: Our natural sweetener of choice! Pure maple syrup not only lends a beautiful caramel-like sweetness but also provides a distinct, complex flavor that pairs wonderfully with dark chocolate. Unlike refined sugars, maple syrup contains antioxidants and minerals, making it a more wholesome option. Its sticky consistency also aids in binding the granola for those perfect clusters.
- Kosher Salt: Just a pinch of salt is vital for enhancing all the other flavors, especially the chocolate. It balances the sweetness and brings out the depth of the cocoa.
- Vanilla Extract: A splash of pure vanilla extract adds warmth and complexity, rounding out the chocolate and maple notes beautifully.
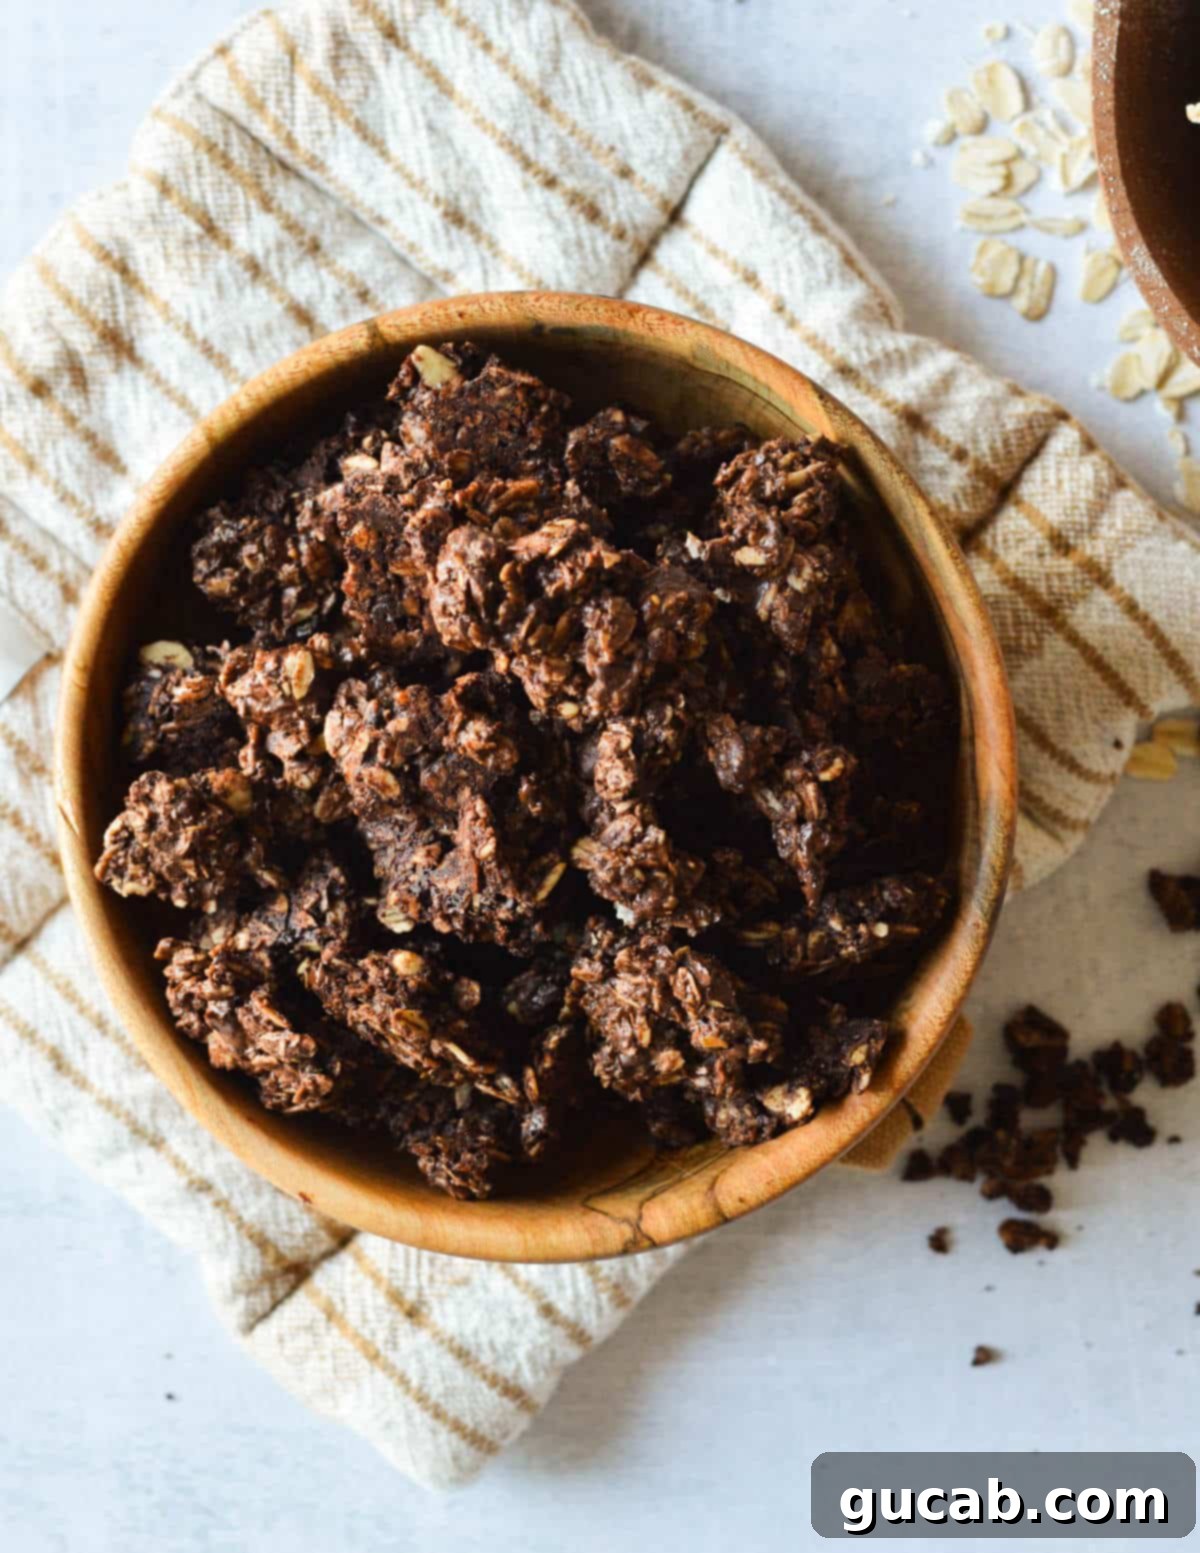
How to Make the Best Dark Chocolate Granola: A Step-by-Step Guide
Making homemade granola might seem intimidating, but it’s incredibly simple, especially with this recipe! All of my granola recipes follow a similar, easy-to-follow process. Here’s how you’ll create your perfectly crunchy, chocolatey clusters:
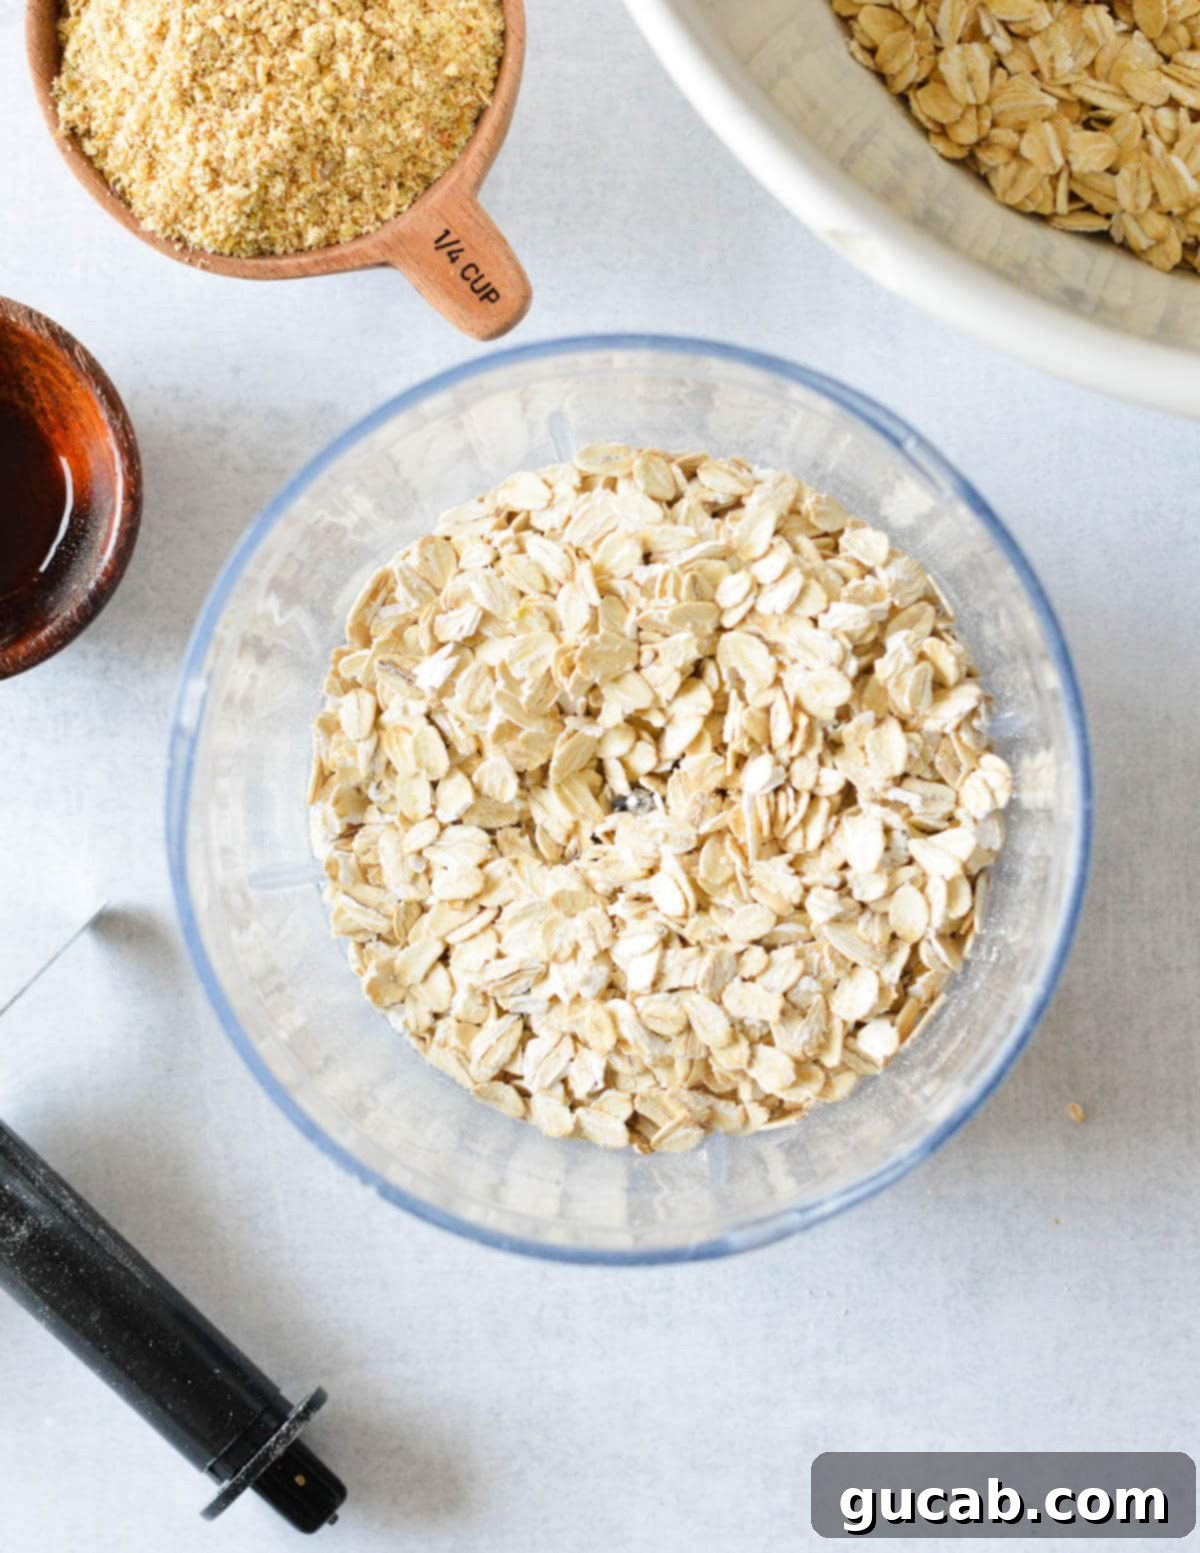
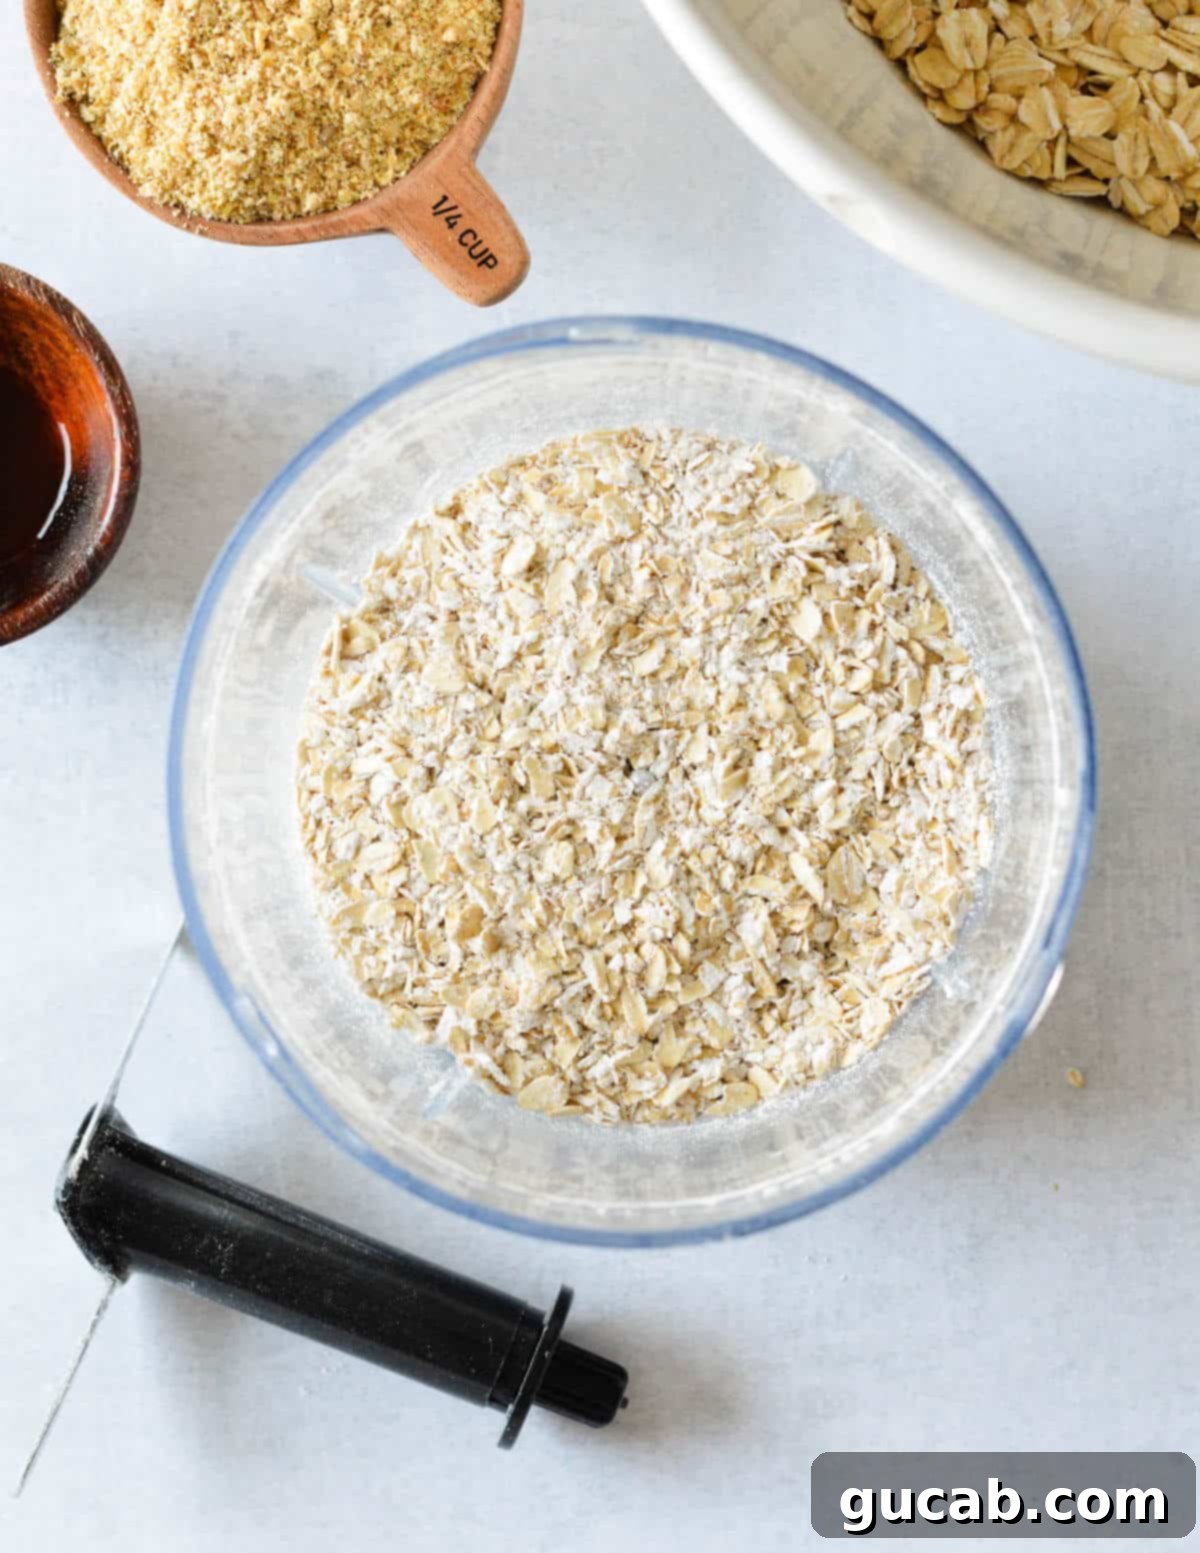
- Prepare Your Oats for Optimal Crunch and Clusters: This is a secret weapon for achieving truly outstanding clusters. Instead of using all whole oats, we’ll grind a portion of them. Transfer about ¾ cup of your old-fashioned oats to a food processor. Pulse them until they are finely ground, resembling a coarse flour or fine meal, but be careful not to over-process them into a powdery flour. This combination of ground and whole oats creates a diverse texture that allows for perfect binding and results in those beloved, super crunchy clusters that are so satisfying. It’s this step that truly elevates the texture of this homemade granola, making it stand out from typical recipes.
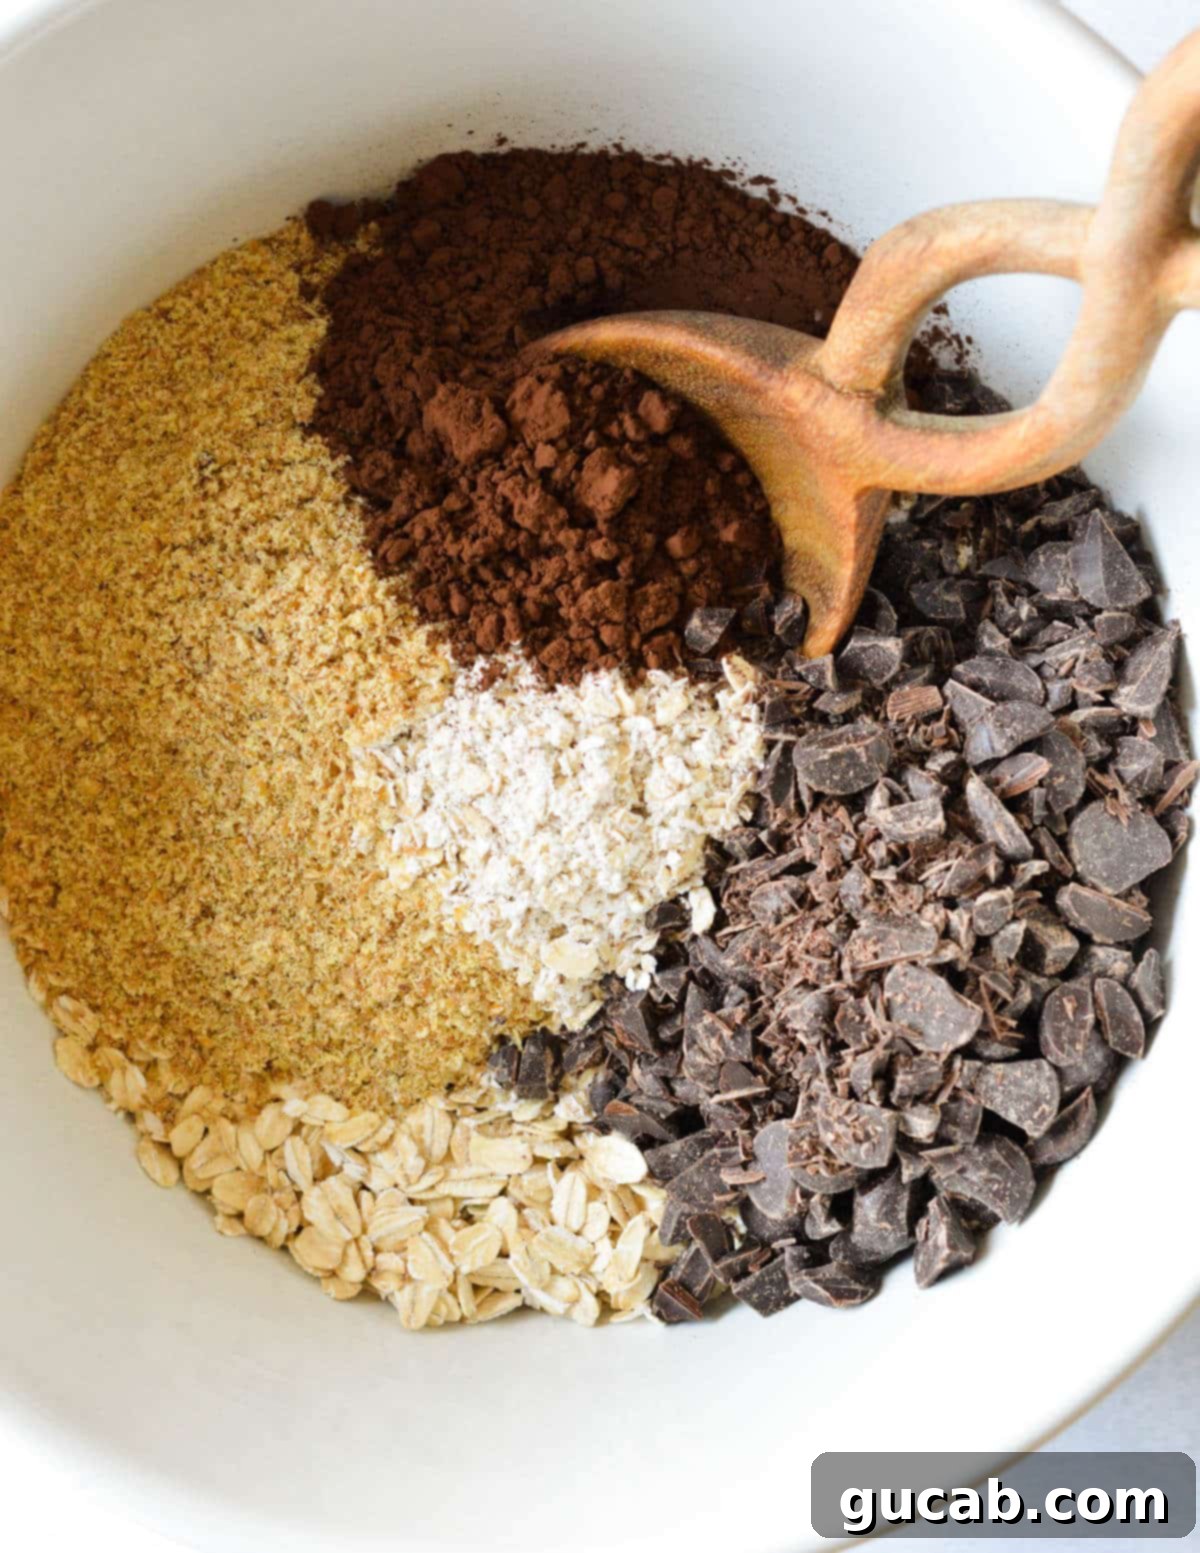
- Combine Dry Ingredients Thoroughly: In a spacious large bowl, combine all your dry ingredients. This includes the finely ground oats from your food processor, the remaining whole old-fashioned oats, the golden flax meal, rich Dutch processed cocoa powder, finely chopped dark chocolate, and a pinch of kosher salt. Use a large spoon or whisk to stir everything together until all components are evenly distributed. This ensures every cluster gets a dose of that delicious chocolate flavor.
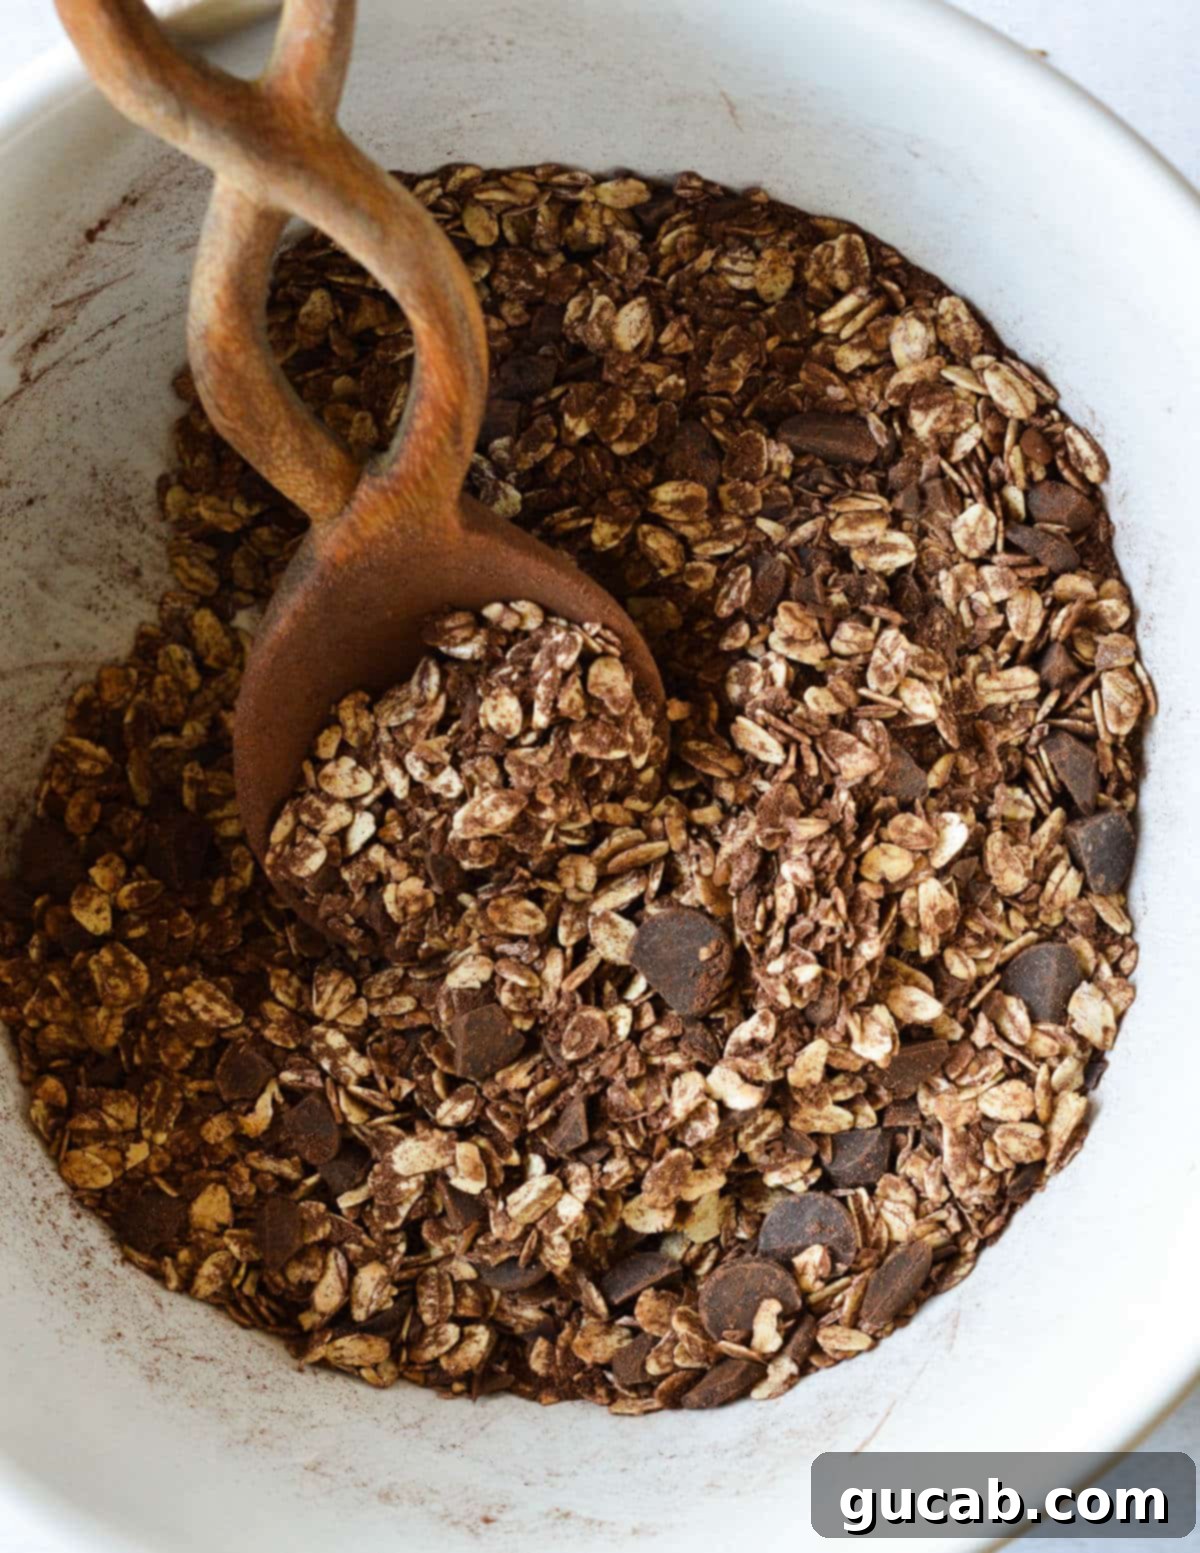
- Incorporate the Wet Ingredients for Binding: In a separate medium bowl, whisk together your liquid sweeteners and fats: the melted coconut oil, pure maple syrup, and vanilla extract. Once well combined, pour this wet mixture over the dry ingredients in the large bowl. Stir diligently with a sturdy spoon or spatula until every oat and chocolate piece is thoroughly coated. The mixture should appear uniformly moist and sticky, ready to be transformed into crunchy clusters.
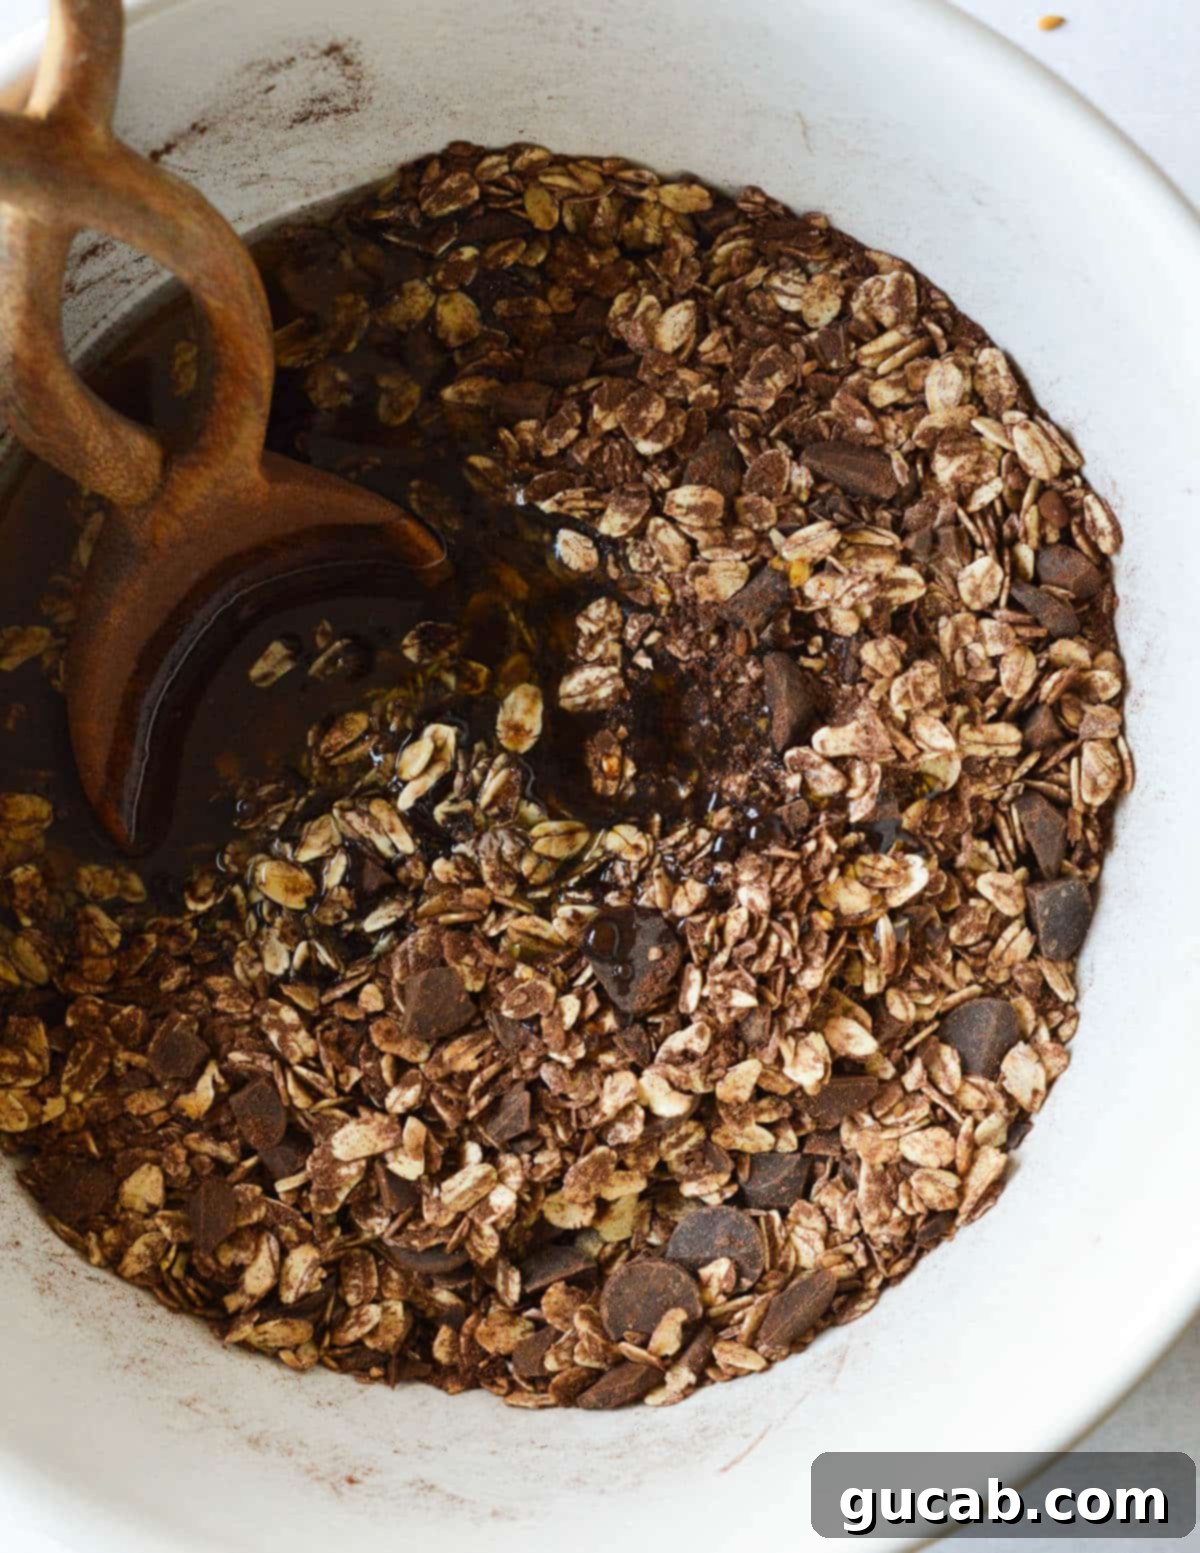
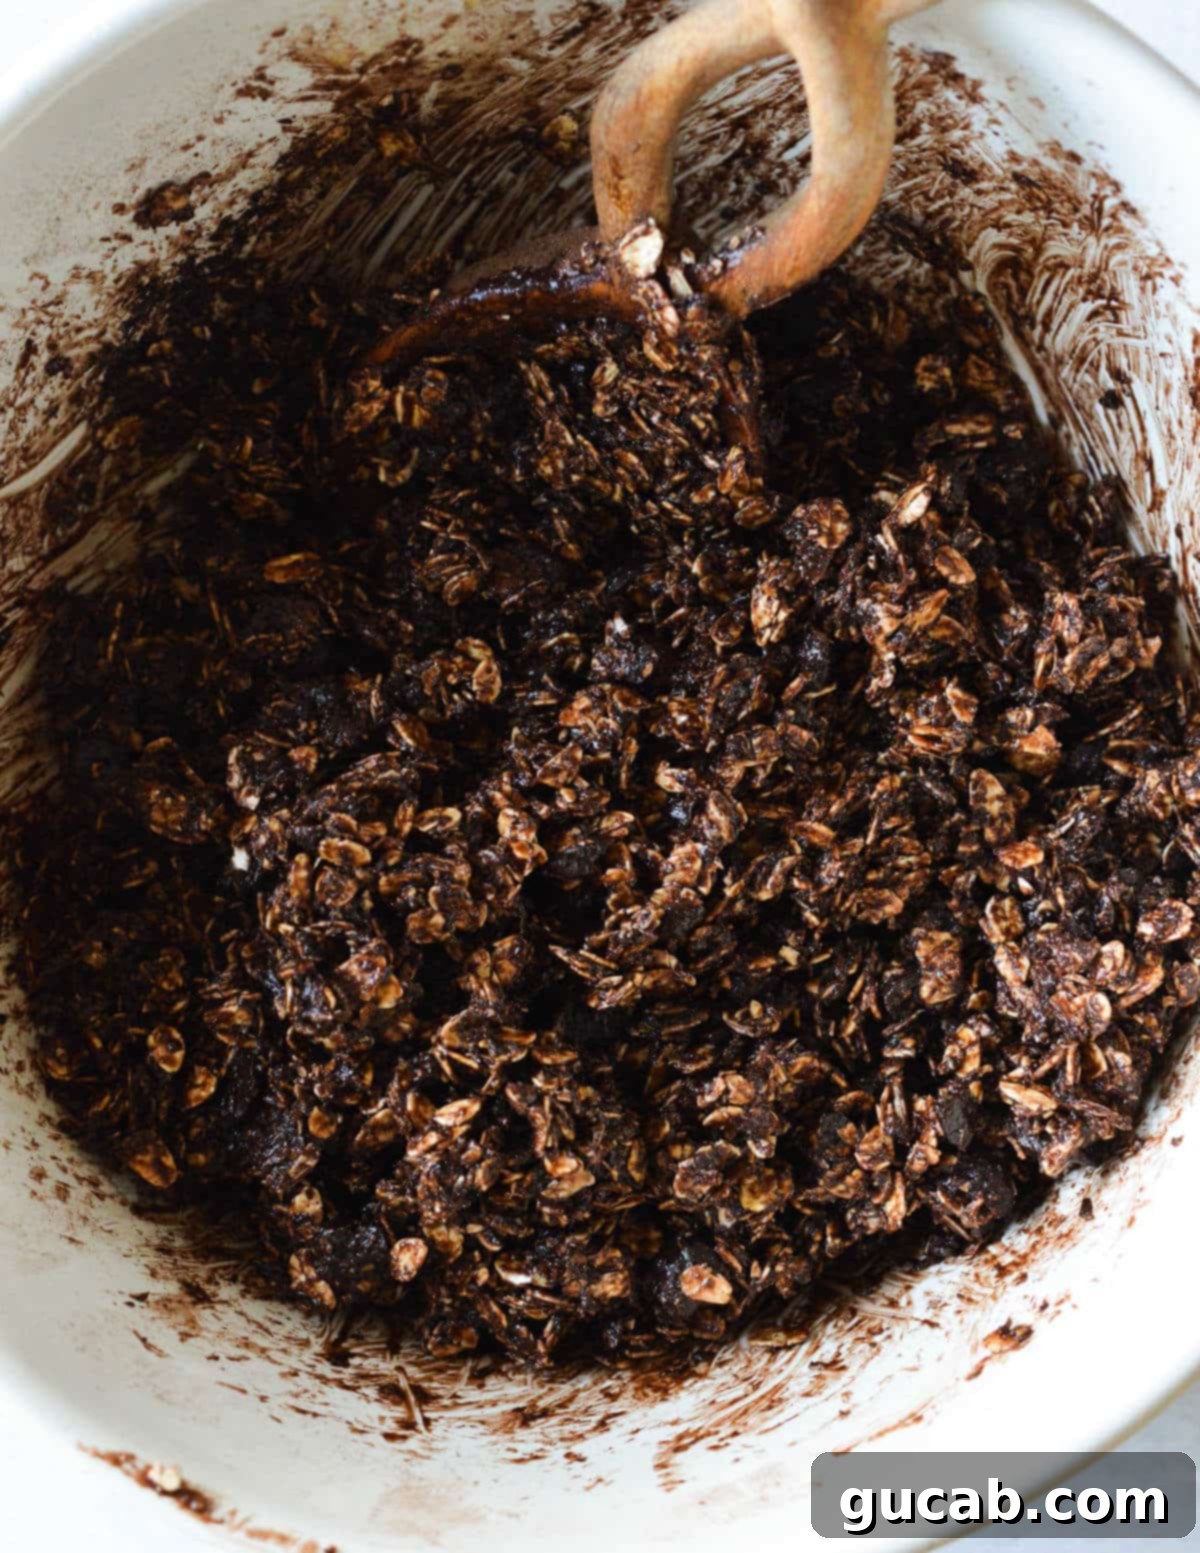
- Press the Granola Mixture Firmly Onto the Pan: This is another critical step for achieving those large, satisfying clusters! Transfer the entire granola mixture onto a large baking sheet lined with parchment paper or a silicone baking mat (this prevents sticking and aids in cleanup). Using clean hands or the back of a spatula, firmly press the mixture down into a single, large, even rectangle. Think of it like forming a giant granola bar, but aim for a relatively thin layer, approximately ½ inch or less. This compact arrangement allows the granola to bake uniformly and bind together beautifully, ensuring it crisps up perfectly as it cools, giving you plenty of those sought-after clusters. Avoid spreading it too thin or leaving it too loose, which will result in individual, non-clustered oats.
- Bake to Golden Perfection: Preheat your oven to 300 degrees Fahrenheit (150°C). Bake the pressed granola for a total of 45 minutes. To ensure even browning and crispiness, make sure to rotate the pan halfway through the baking process, typically around the 20-minute mark. The low and slow baking temperature is key to drying out the granola without burning it, allowing it to become perfectly crisp.
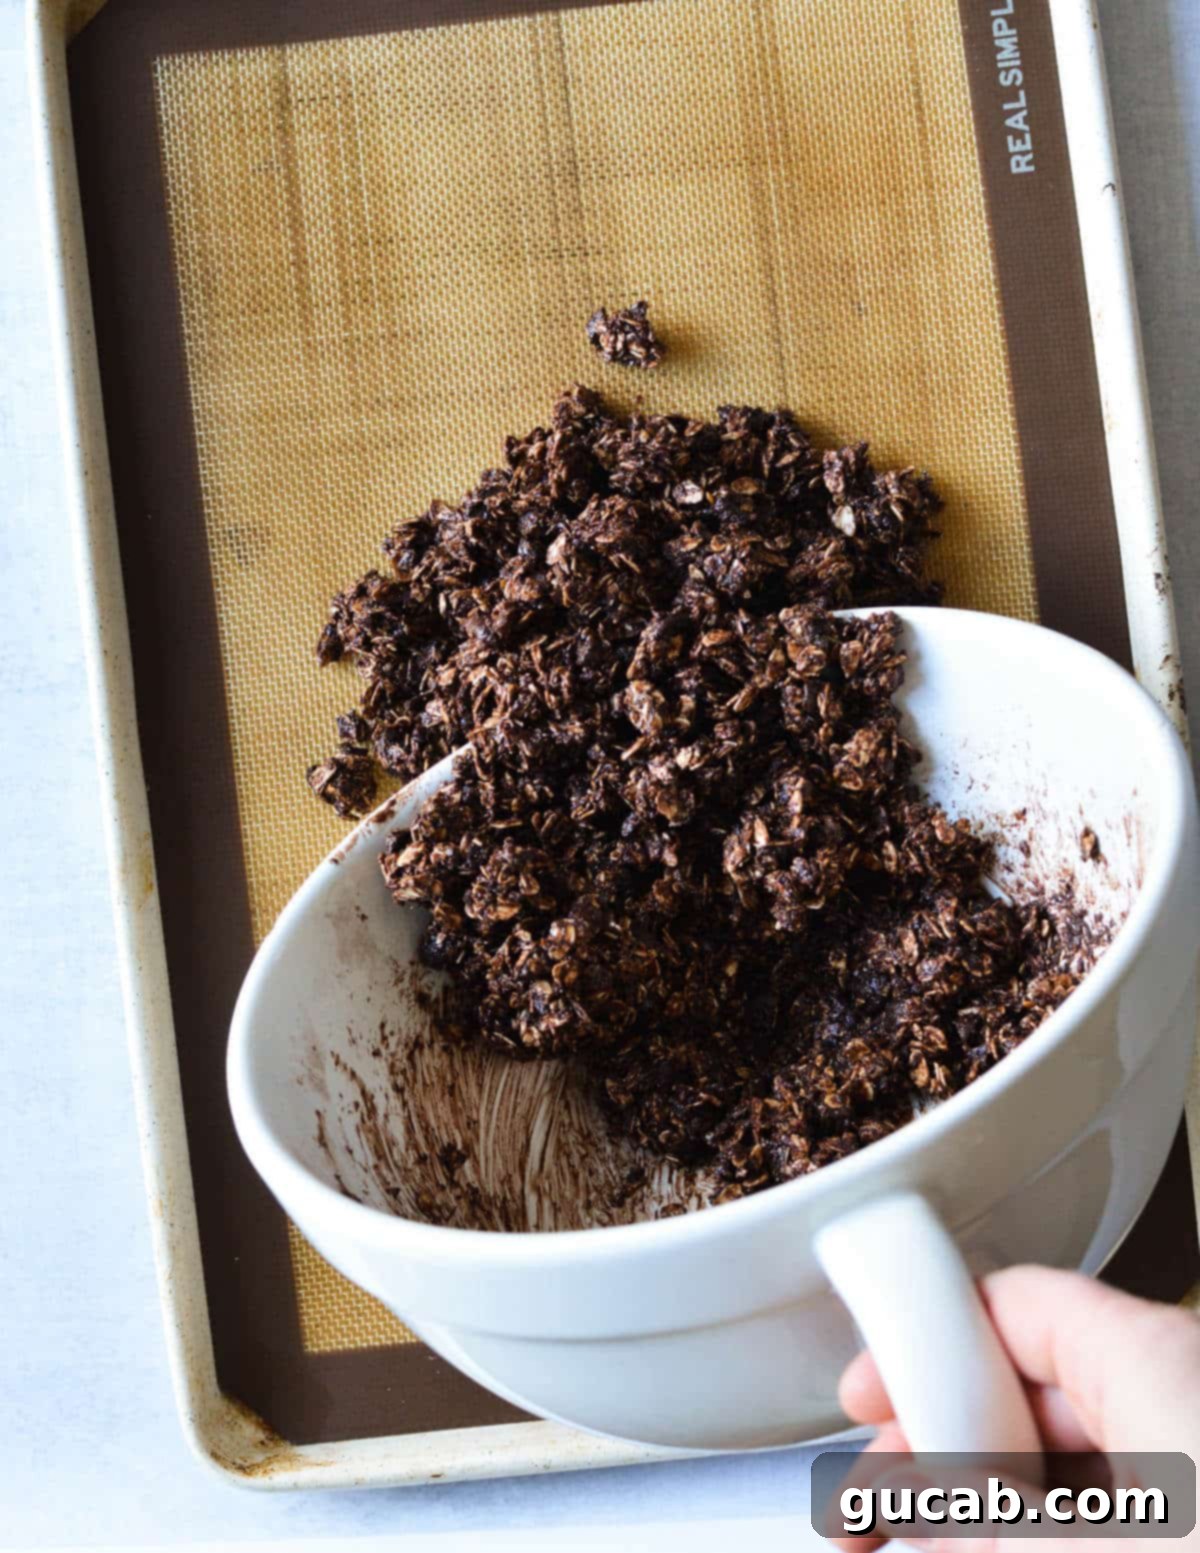
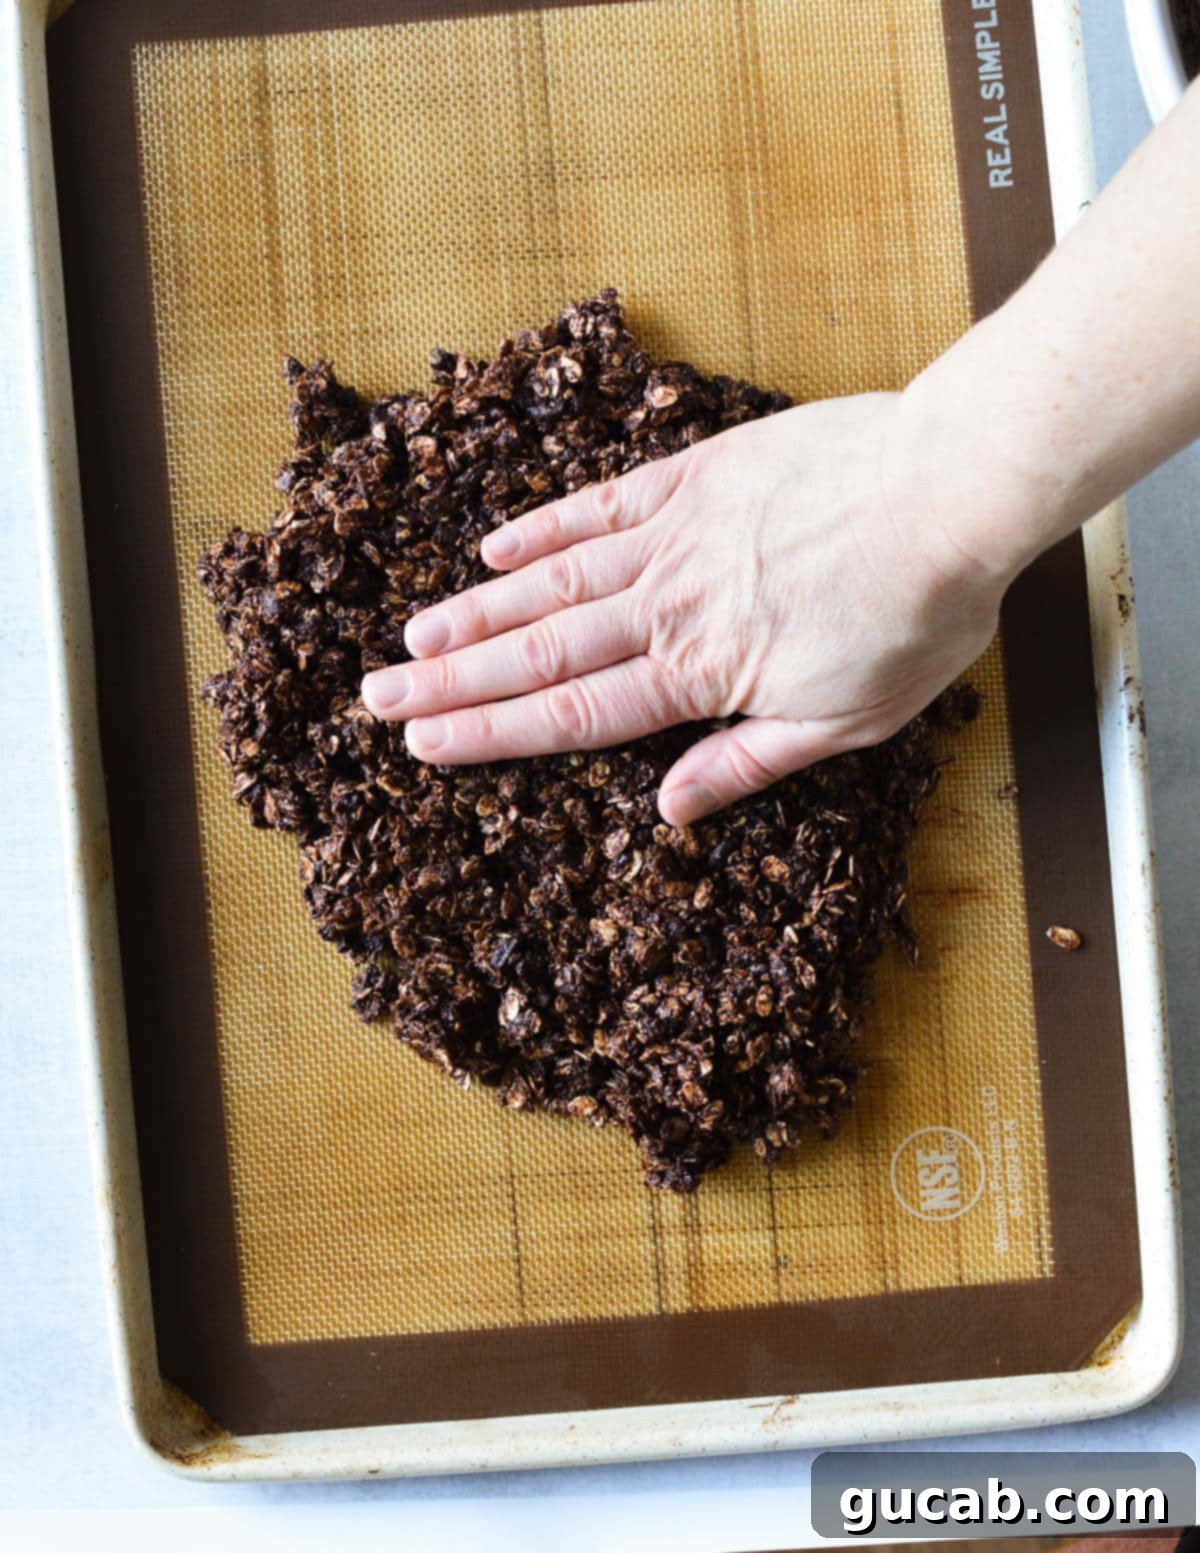
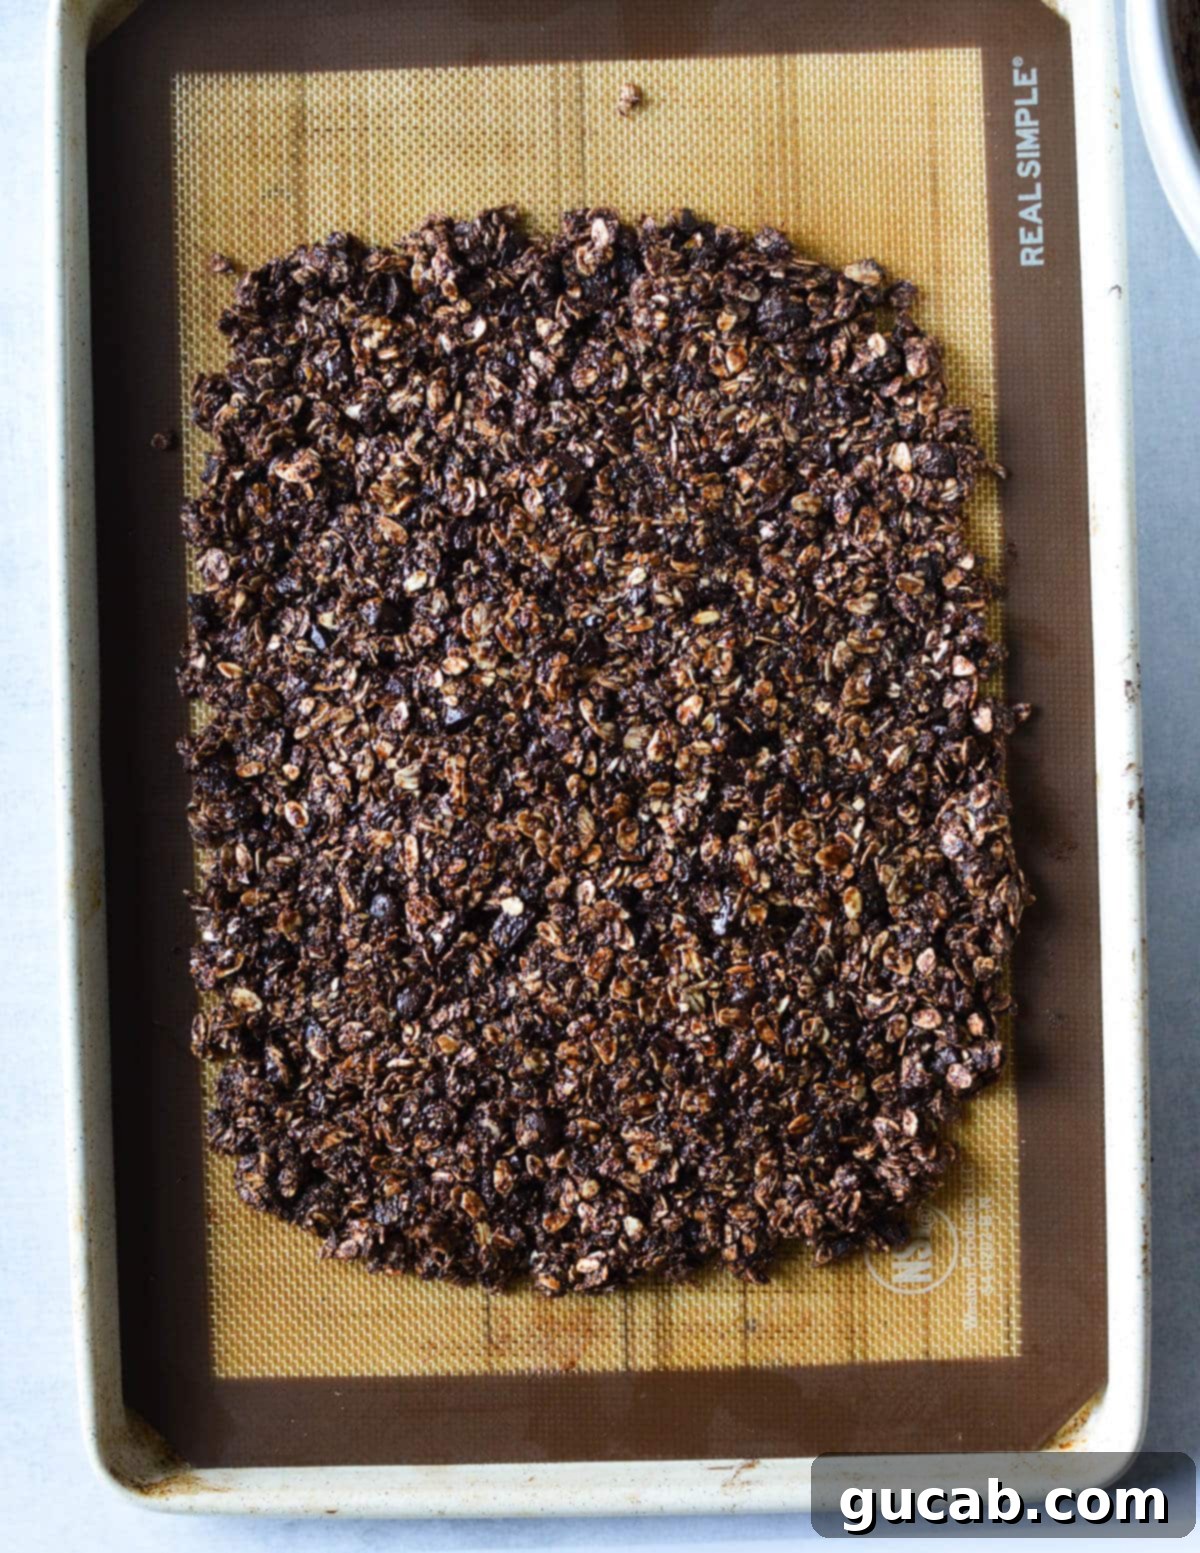
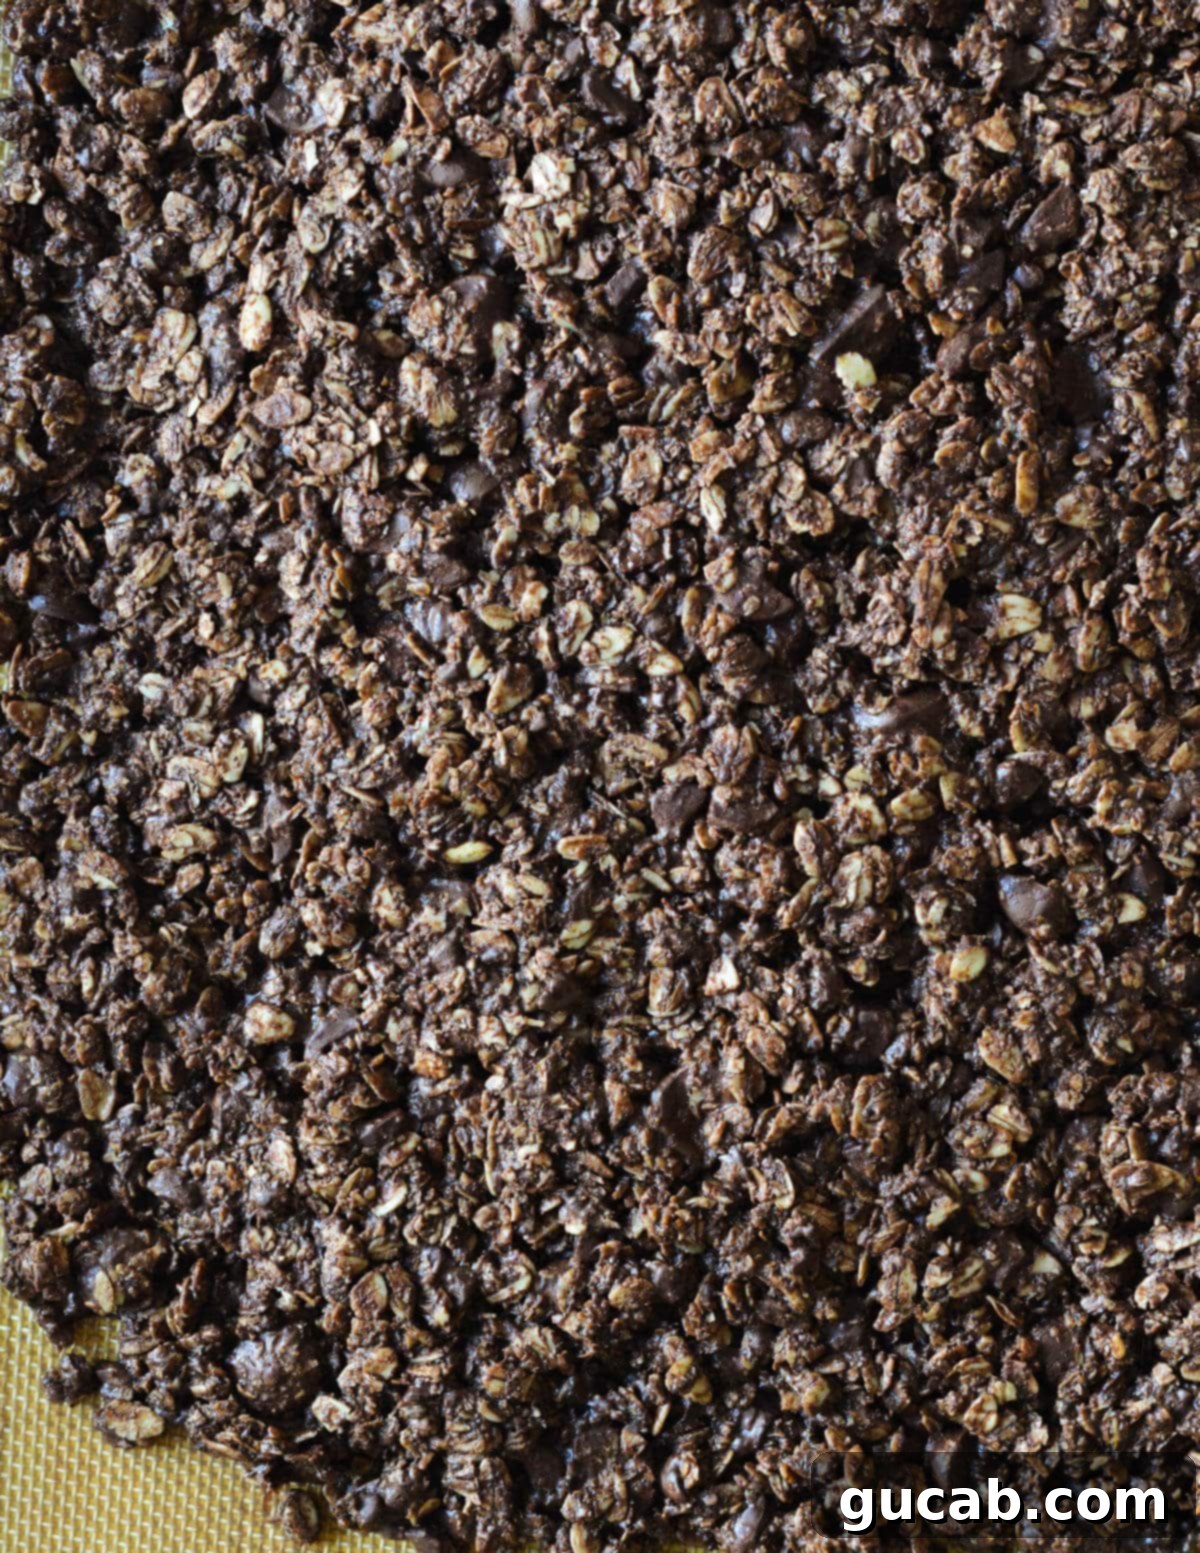
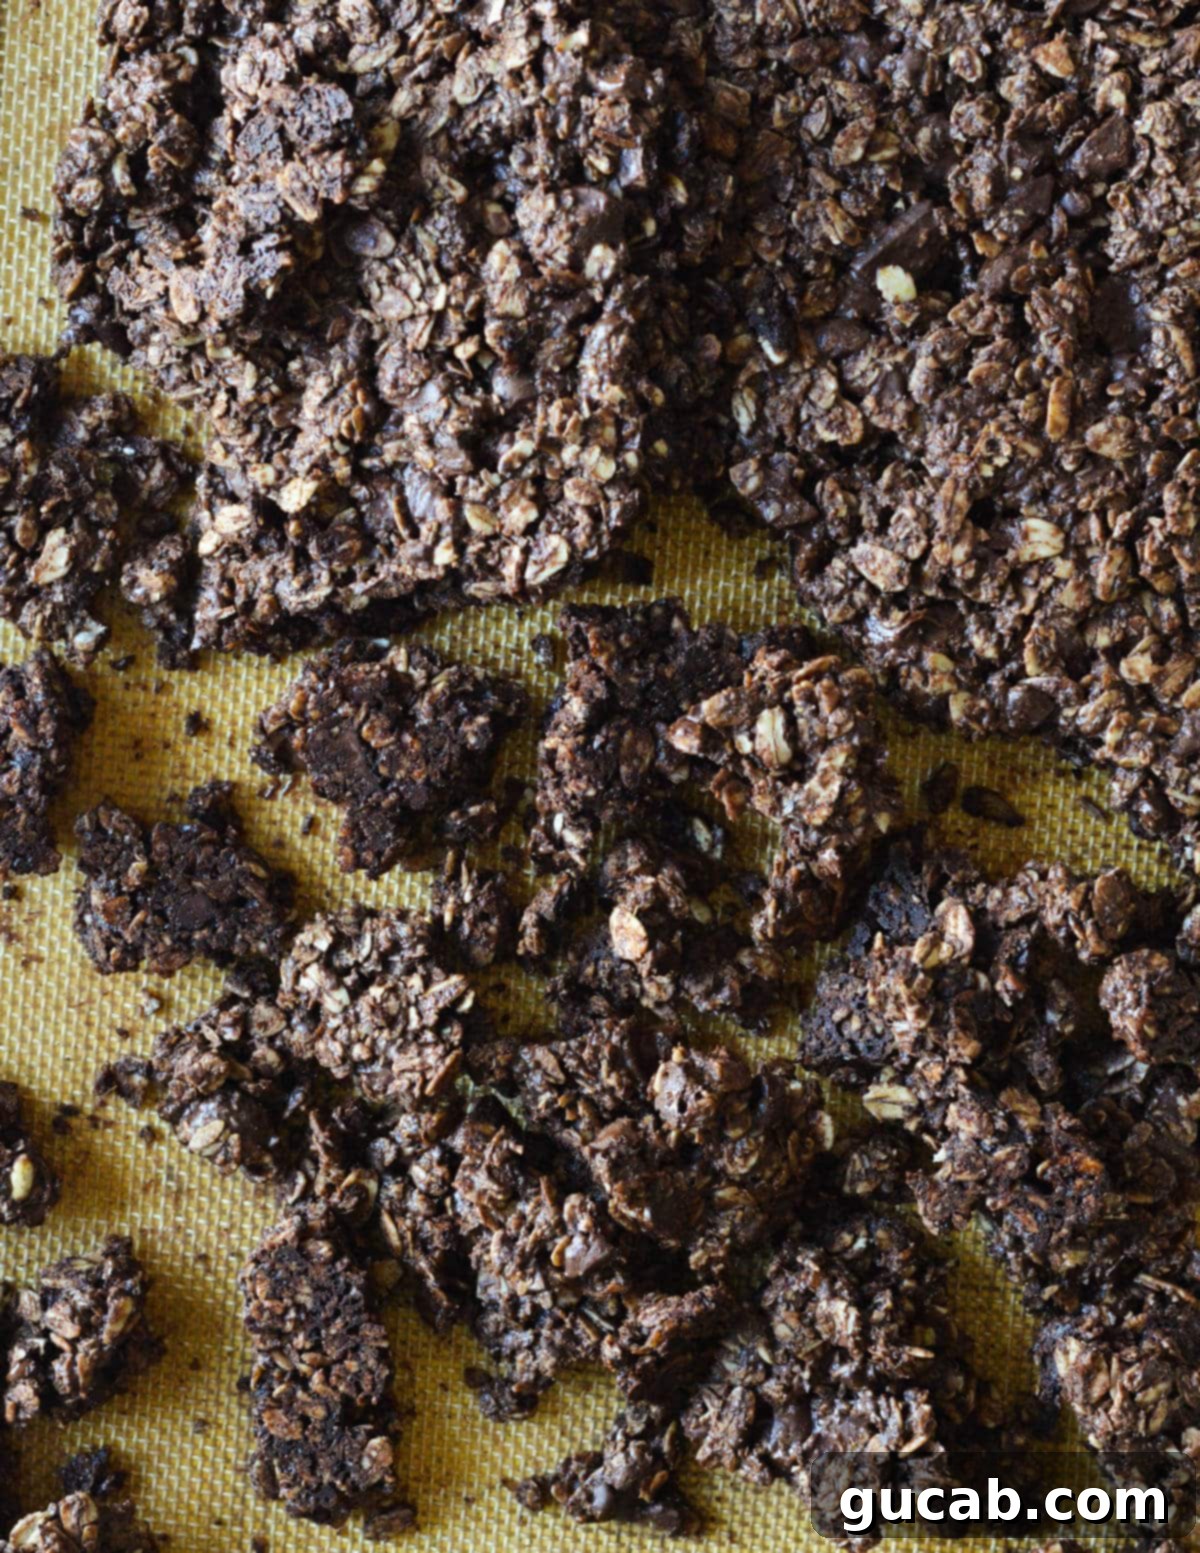
- The Essential Cooling Process for Clusters: Once baked, remove the pan from the oven. Resist the urge to touch or break up the granola immediately! This is an absolutely essential step for cluster formation. Let the entire rectangle of granola cool undisturbed on the pan for at least 30 minutes, or even longer. As it cools, the coconut oil and maple syrup will solidify, causing the granola to set up and harden into firm clusters. If you attempt to break it up while it’s still warm, it will crumble into individual oats, and you’ll miss out on those glorious chunks.
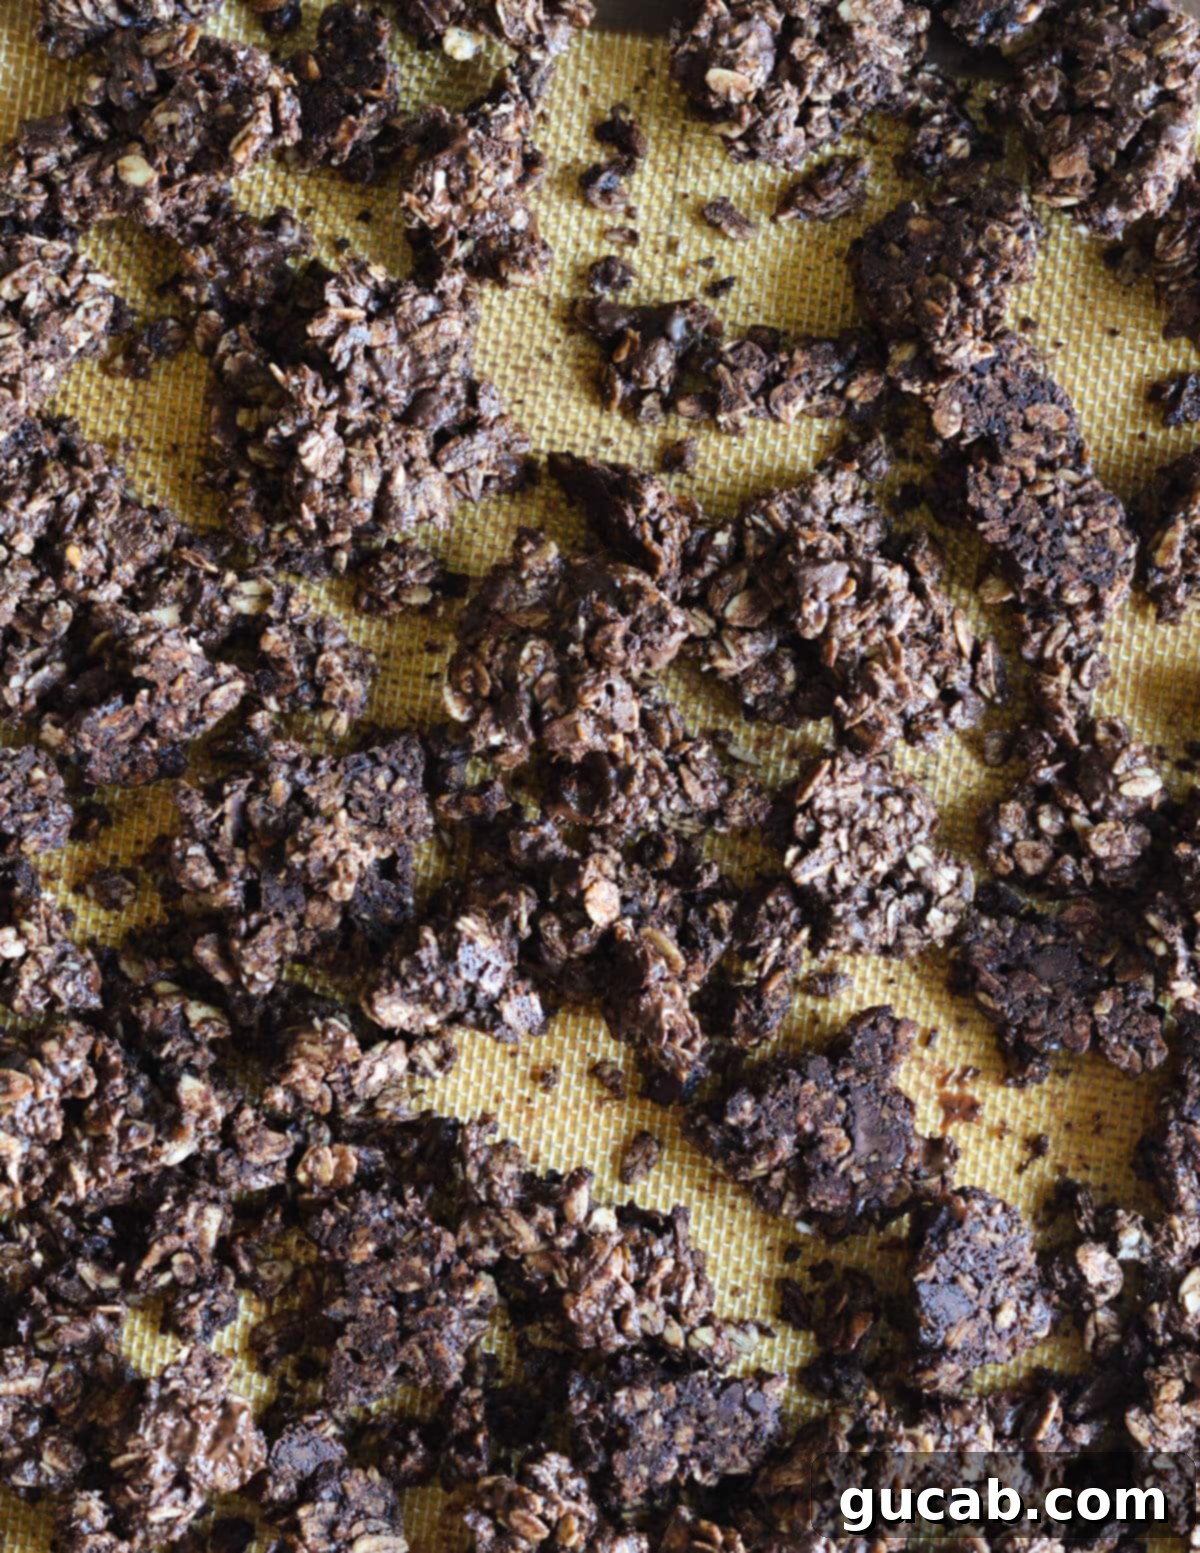
- Break and Cool Further: After the initial cooling period, you can gently break the large granola slab into your desired cluster sizes using your hands. Once broken into pieces, let the clusters continue to cool completely on the pan for at least another 30 minutes, or until they reach room temperature and are entirely firm and crunchy. This final cooling ensures maximum crispiness and optimal storage. Then, it’s ready to be stored for later enjoyment.
Essential Tips for Granola Success
While this recipe is straightforward, a few key tips will guarantee perfect, crunchy, clustered granola every time:
- Patience is a Virtue: Don’t Rush the Cooling Process! I know the intoxicating smell of fresh chocolate granola makes you want to dive in immediately, but seriously, don’t do it! This is arguably the most crucial step for achieving those delightful clusters. The granola relies on the gradual cooling process for the oils and sugars to solidify and bind everything together. If you break it up while it’s still warm, it will simply crumble into loose oats. Give it ample time – at least 30 minutes on the pan before breaking, and then another 30 minutes (or more) for the individual clusters to cool completely and harden.
- Ensure Complete Cooling Before Storing. Just as important as the initial cooling for cluster formation, allowing the granola to cool completely before transferring it to storage is vital for maintaining crispness. Any residual warmth can create condensation inside an airtight container, leading to soggy granola. I typically let my granola cool on the counter for at least an hour, ensuring it’s at full room temperature and completely solid before storing it.
- Press the Granola into a Thin, Even Rectangle. The thickness of your granola layer on the baking sheet directly impacts its texture. For optimal crispiness and cluster formation, the mixture should be pressed into a fairly thin, even rectangle, ideally around ½ inch thick or less. It should definitely not be thick like a pre-baked granola bar. A thinner layer allows for better air circulation and even baking, ensuring that the granola dries out sufficiently and becomes wonderfully crisp, not chewy or soft, once cooled. Use consistent pressure when pressing to avoid uneven baking.
- Use Parchment Paper or a Silicone Mat. This not only makes cleanup a breeze but also helps the granola lift off the pan easily after it’s cooled and hardened. Granola can be quite sticky, and these liners prevent it from adhering to the baking sheet.
- Avoid Over-Stirring During Baking. Unlike some granola recipes that call for stirring midway, for cluster formation, we want to leave the pressed rectangle largely undisturbed while baking. The rotation is for even heating, but the continuous slab helps it bind.
- Check for Doneness by Color and Texture. Your granola should be deep golden brown and feel firm to the touch when gently pressed (even before it fully hardens). If it still feels soft or looks pale, it might need a few more minutes, but watch carefully to prevent burning, especially with dark cocoa.
Delicious Ways to Enjoy Your Dark Chocolate Granola
This versatile dark chocolate granola isn’t just a breakfast cereal; it’s a culinary chameleon! Its rich flavor and satisfying crunch make it a fantastic addition to various meals and snacks:
- A Wholesome Treat on its Own: Sometimes, the best way to enjoy this granola is straight from the jar! For an extra burst of indulgence, you can toss in a few more dark chocolate chips after the granola has completely cooled. It’s the perfect pick-me-up for an afternoon slump or a satisfying late-night craving, offering a healthier alternative to store-bought cookies or candy.
- Elevate Your Parfaits: Layer this crunchy granola with creamy yogurt and fresh fruit for an absolutely stunning and delicious parfait. Try a combination of Greek yogurt, mixed berries, and a generous sprinkle of dark chocolate granola. Or, follow the lead of this delightful strawberry pineapple yogurt parfait, swapping in your homemade chocolate granola for an added depth of flavor and texture. The contrast between the creamy yogurt and crunchy granola is simply divine.
- Crunchy Smoothie Bowl Topping: Transform your everyday smoothie bowl into an exciting textural experience. After blending your favorite smoothie base (like a vibrant green smoothie or a fruity berry blend), pour it into a bowl and top it generously with this dark chocolate granola. It adds a satisfying crunch that elevates the entire dish. It would be an incredible addition to a hearty protein acai bowl, providing an energy boost and a delightful counterpoint to the smooth acai.
- Classic Cereal Style with Milk: For a comforting and familiar breakfast, simply pour your dark chocolate granola into a bowl and add your favorite milk – dairy, almond, oat, or soy. Enjoy it like traditional cereal. The milk softens the edges just slightly while keeping the core crunch, and the chocolatey milk at the bottom is a special treat!
- Ice Cream Topping: Sprinkle a handful over a scoop of vanilla or coffee ice cream for an instant gourmet dessert. The cold creaminess of the ice cream with the warm notes of chocolate and maple is a match made in heaven.
- Baked Goods Booster: Add crunch to muffins, quick breads, or even cookies by folding in some crushed granola before baking. It introduces a delightful texture and flavor dimension.
- Salad Topping (Yes, Really!): For a surprisingly delicious savory-sweet crunch, consider adding a small sprinkle to certain salads, especially those with fruit or cheese. Think a spinach salad with goat cheese, berries, and a light vinaigrette.
Storage Solutions for Your Homemade Granola
One of the many wonderful things about homemade granola is its impressive shelf life, especially when stored correctly. This makes it perfect for meal prepping healthy snacks and breakfasts for the week (or month!) ahead. Plus, storing it in beautiful glass containers on your kitchen counter not only keeps it fresh but also adds a charming, rustic touch to your decor.
- Room Temperature Storage: Once your granola has cooled completely to room temperature (this is critical to prevent condensation and maintain crispness), transfer it to an airtight container. Glass jars, metal tins, or even heavy-duty Ziploc bags work perfectly. Store it on your kitchen counter or in a pantry, away from direct sunlight or heat, for up to 1 month. The airtight seal is key to keeping it fresh and crunchy.
- Freezer Storage for Extended Freshness: For even longer preservation, homemade granola freezes beautifully. Again, ensure the granola is entirely cool before freezing. Transfer it to a freezer-safe container or a heavy-duty freezer bag, making sure to remove as much air as possible to prevent freezer burn. It can be stored in the freezer for up to 3 months. When you’re ready to enjoy it, simply take out the desired amount and let it thaw at room temperature for a few minutes. It thaws quickly and will retain its amazing crunch!
Explore More Wholesome & Delicious Recipes:
If you loved this healthy and delicious dark chocolate granola, you’ll surely enjoy these other nutritious recipes perfect for snacks or breakfast:
- Almond Butter Energy Balls: Quick, no-bake bites packed with protein and flavor.
- Almond Butter Oatmeal: A creamy, comforting, and hearty breakfast to start your day right.
Dark Chocolate Granola
Carolyn
Pin Recipe
Equipment
-
Large Sheet Pan (approximately 18×13 inches)
-
Food Processor
-
Large Mixing Bowl
-
Medium Mixing Bowl
-
Parchment Paper or Silicone Baking Mat
Ingredients
- 2 cups old fashioned rolled oats (use certified gluten-free if needed)
- ¼ cup golden flax meal
- 3 tablespoons Dutch processed cocoa powder (such as Hershey’s Special Dark)
- ¼ teaspoon kosher salt
- ½ cup finely chopped dark chocolate (chips or bar, 60-75% cacao)
- ¼ cup coconut oil, melted (refined for neutral flavor, virgin for subtle coconut notes)
- ½ cup pure maple syrup
- ½ teaspoon pure vanilla extract
Instructions
-
Preheat your oven to 300 degrees Fahrenheit (150°C). Line a large sheet pan (approx. 18×13 inches) with parchment paper or a silicone baking mat; this will prevent sticking and help with easy removal.
-
Transfer ¾ cup of the old-fashioned rolled oats to a food processor. Pulse until the oats are finely ground but still have some texture – they should resemble a coarse meal, not a fine flour. This step is crucial for achieving sturdy clusters.
-
In a large mixing bowl, combine the ground oats, the remaining 1 ¼ cups of whole rolled oats, golden flax meal, Dutch processed cocoa powder, finely chopped dark chocolate, and kosher salt. Stir thoroughly with a spoon or whisk until all the dry ingredients are evenly distributed.
-
In a separate medium bowl, whisk together the melted coconut oil, pure maple syrup, and vanilla extract until well combined. Pour this wet mixture over the dry oat mixture in the large bowl. Using a large spoon or sturdy spatula, stir vigorously until every single oat and chocolate piece is completely coated and the mixture is uniformly moist.
-
Transfer the entire granola mixture onto the prepared sheet pan. Using clean hands or the back of a spatula, firmly press the mixture down into a single, compact, and even rectangle, about ½ inch thick. Ensure the thickness is consistent across the entire surface to promote even baking and optimal cluster formation.
-
Bake for 20 minutes. After 20 minutes, carefully rotate the pan 180 degrees to ensure even baking. Continue to bake for an additional 25 minutes, or until the granola is golden brown and feels firm to the touch. Remove the pan from the oven and, without touching the granola, let it cool completely undisturbed on the sheet pan for at least 30 minutes. This is CRITICAL for clusters to form!
-
Once the granola has cooled for at least 30 minutes, you can gently break the large rectangle into your desired cluster sizes using your hands. Let the granola pieces cool completely, at least 30 more minutes (or longer) at room temperature, until they are entirely firm and crunchy, before transferring them to an airtight storage container or bag. Enjoy!
Nutrition
