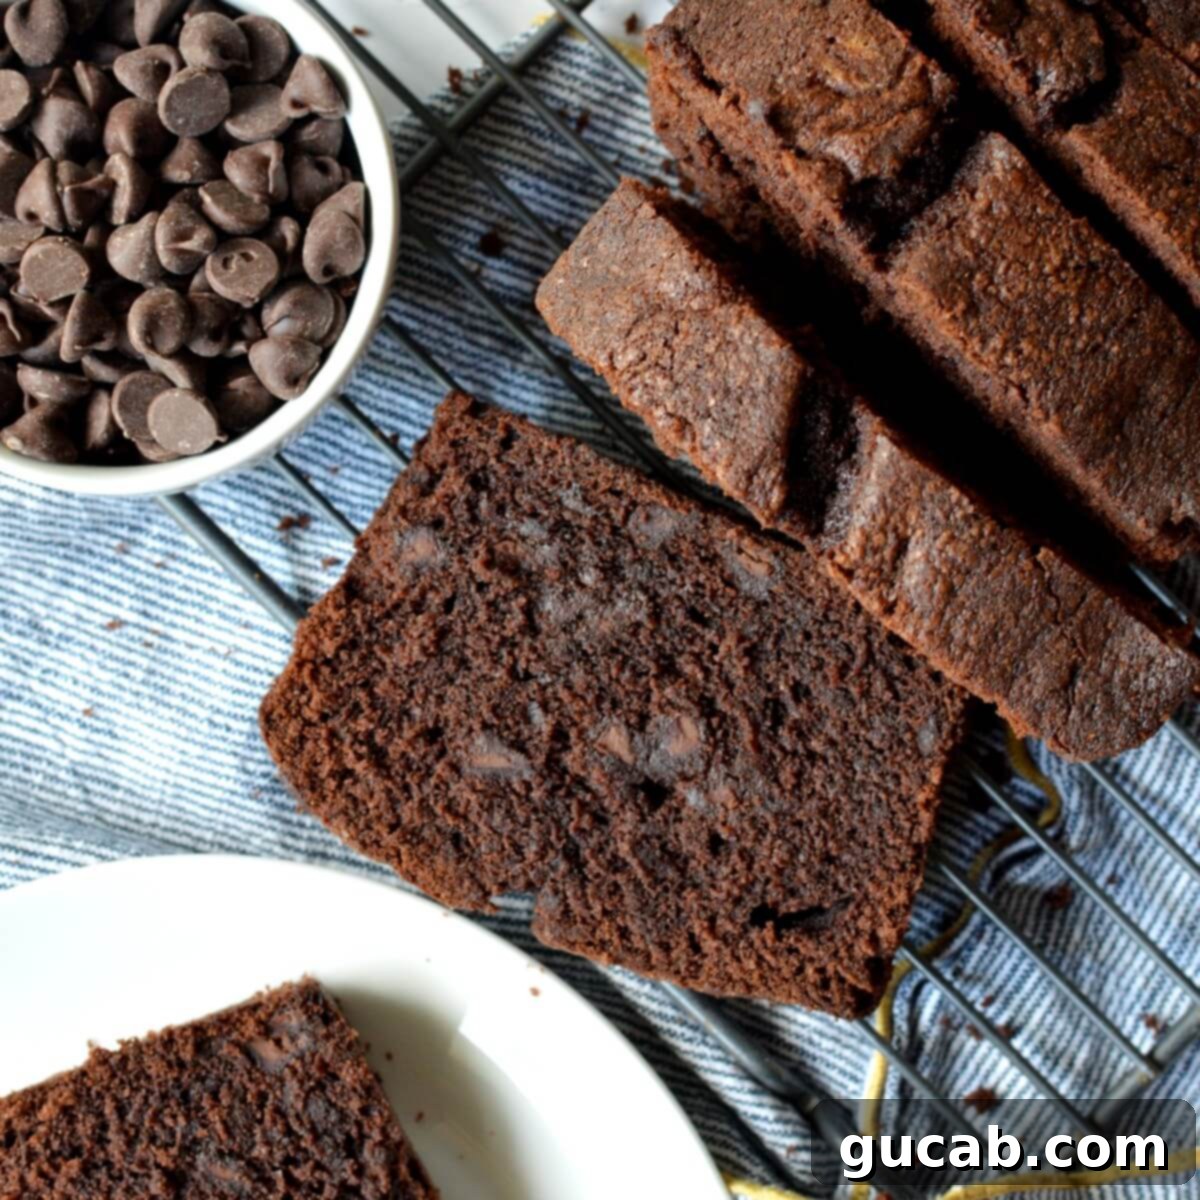
Decadent & Moist Gluten-Free Chocolate Pound Cake: Your New Favorite Recipe
Indulge in the ultimate chocolate experience with this incredibly **moist, rich, and intensely chocolatey gluten-free pound cake**. Loaded with luscious chocolate chips, it’s the perfect dessert for any chocolate enthusiast, proving that gluten-free baking can be utterly decadent and satisfying. Prepare to impress everyone with a cake so good, they’ll never guess it’s gluten-free!
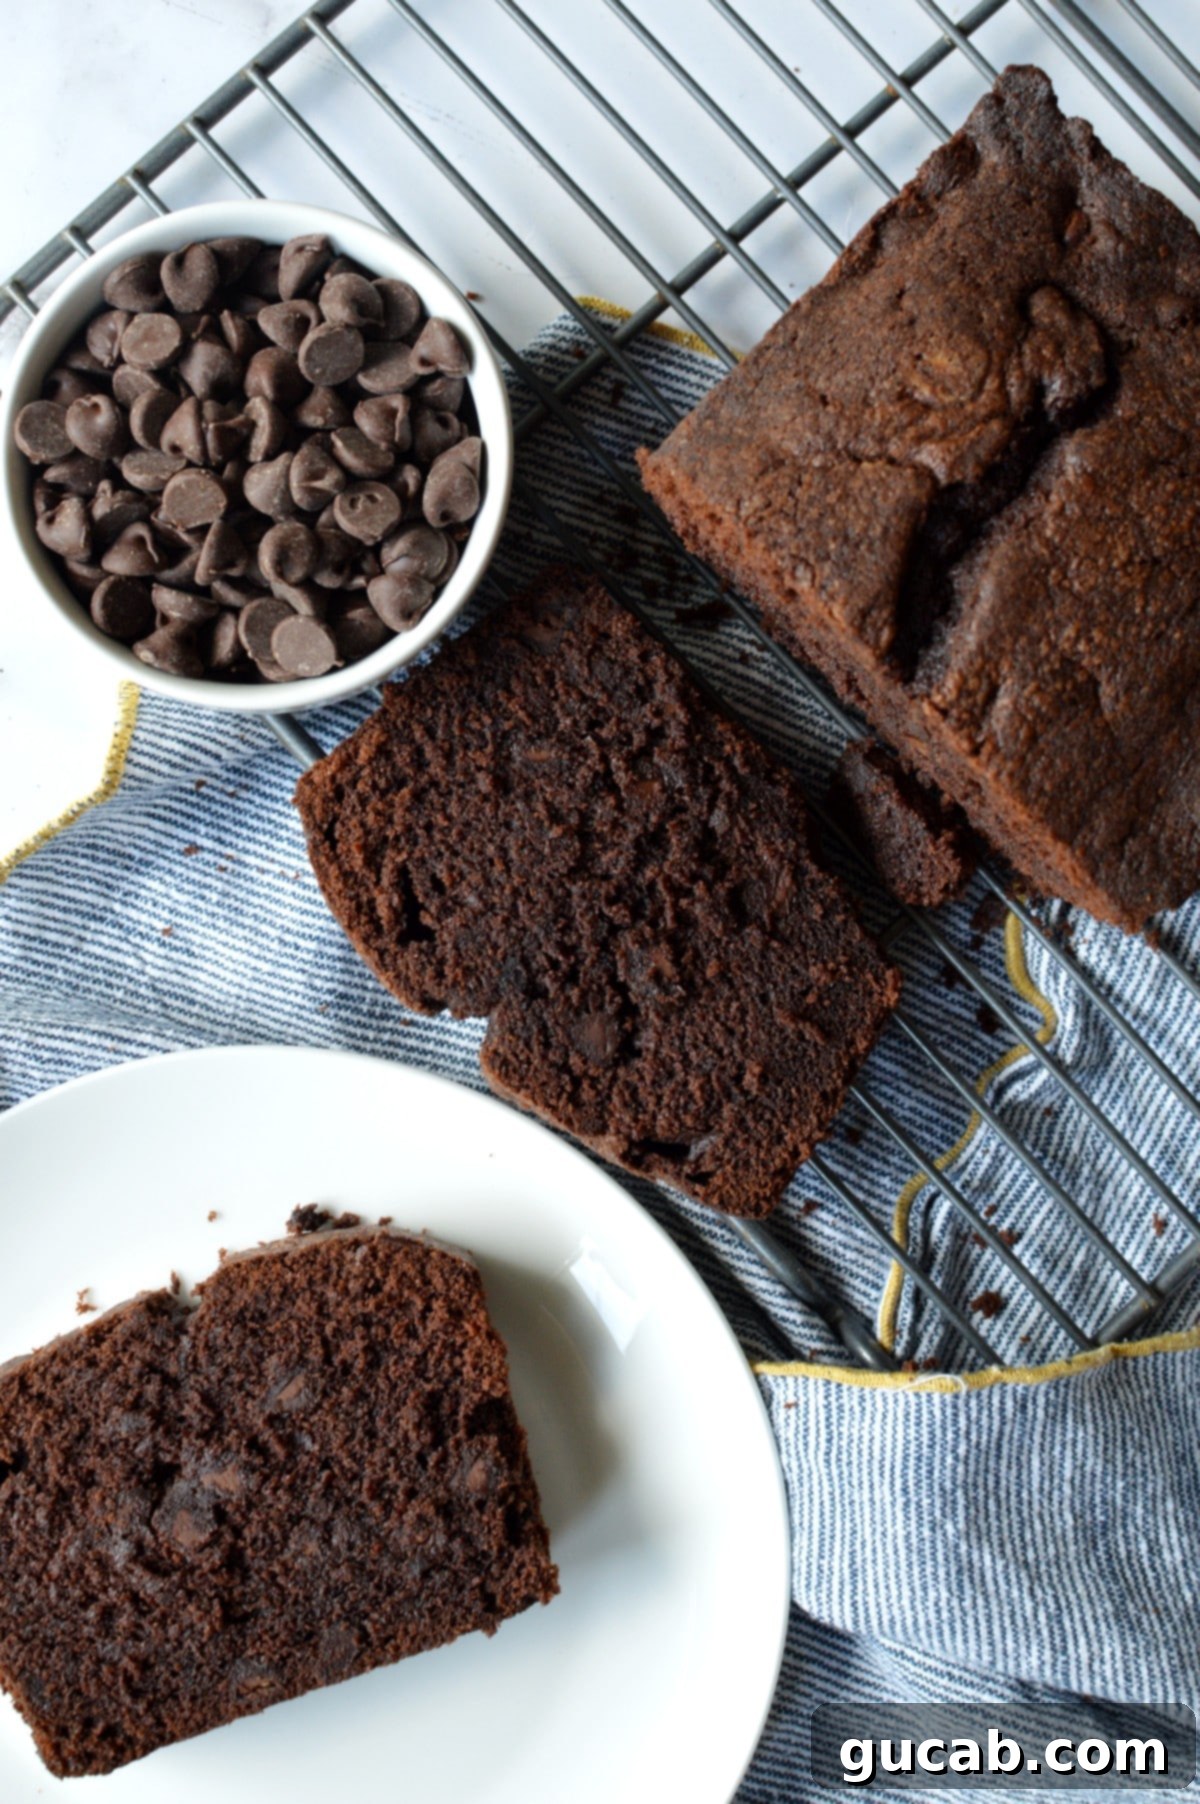
After successfully perfecting my classic gluten-free sour cream pound cake recipe, a delightful and moist base that quickly became a fan favorite, my culinary adventure naturally led me to one irresistible conclusion: it absolutely needed a chocolate counterpart. In my kitchen, if there’s an opportunity to infuse a dessert with the deep, comforting flavor of chocolate, it’s a non-negotiable mission. I often joke that I’d eat an old shoe if it were generously dipped in rich, dark chocolate – that’s how profound my love for cocoa is!
This particular gluten-free chocolate pound cake recipe is the culmination of that passion. It’s not just rich and moist; it’s an explosion of deep cocoa flavor that will have everyone reaching for a second slice. The beauty of this recipe lies in its texture and taste, which are so remarkably authentic that nobody will ever suspect it’s entirely gluten-free. It’s a game-changer for anyone managing a gluten sensitivity or simply looking for an exceptionally delicious chocolate cake.
Key Ingredients for the Perfect Gluten-Free Chocolate Pound Cake
Crafting a truly spectacular chocolate pound cake, especially a gluten-free one, hinges on understanding the role of each ingredient. Here’s a closer look at what makes this recipe shine:
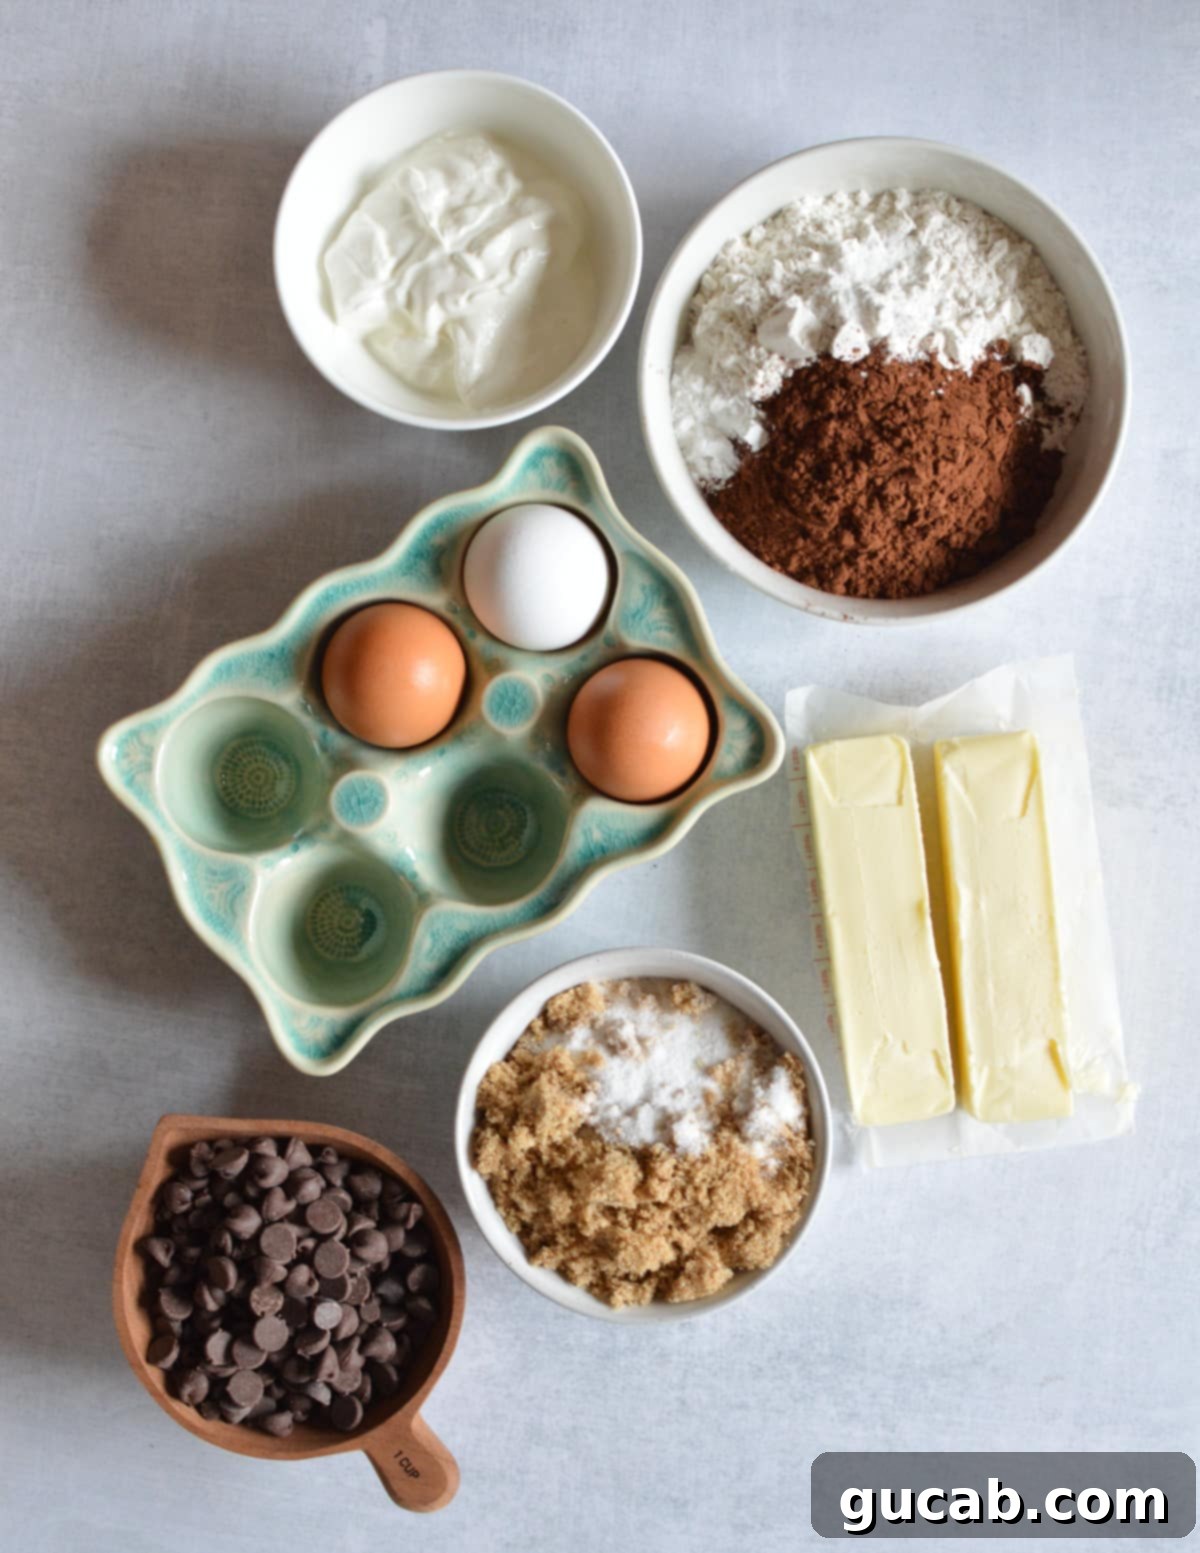
- Unsalted Butter: At the heart of any great pound cake is a substantial amount of butter, and this gluten-free chocolate version is no exception. Using unsalted butter allows you to control the total salt content in the recipe. Butter is crucial for creating that characteristic dense yet tender crumb, contributing immense richness and flavor. Always ensure your butter is at room temperature for optimal creaming with the sugars, which helps incorporate air and leads to a lighter texture.
- White Sugar & Brown Sugar: A blend of both white granulated sugar and packed light brown sugar is used to achieve the perfect balance of sweetness and moisture. White sugar provides crisp sweetness, while brown sugar adds depth with its molasses notes and helps keep the cake exceptionally moist due due its hygroscopic properties.
- Large Eggs: Eggs are vital for structure, binding the ingredients together, and contributing to the rich flavor and moisture of the cake. Adding them one at a time is key for proper emulsification, ensuring a smooth, stable batter. Make sure your eggs are also at room temperature; this prevents the batter from curdling when combined with the creamed butter and sugar.
- Dutch Cocoa Powder (Hershey’s Dark): This is one of my absolute favorite ingredients for baking anything chocolate! Dutch-processed cocoa powder, like Hershey’s Dark, is treated with an alkali to reduce its acidity. This results in a darker color and a smoother, less bitter, and richer chocolate flavor compared to natural cocoa. Because it’s less acidic, it reacts differently with leavening agents, often requiring baking powder instead of or in addition to baking soda. This ensures a beautifully deep chocolate hue and an unparalleled flavor profile in your gluten-free chocolate pound cake.
- Bob’s Red Mill 1:1 All-Purpose Gluten-Free Flour: Finding a reliable gluten-free flour blend is paramount for successful gluten-free baking. Bob’s Red Mill 1:1 All-Purpose Baking Flour is my top choice because it consistently delivers an excellent taste and texture that closely mimics traditional wheat flour. Its balanced blend of gluten-free flours and starches, including xanthan gum, ensures your pound cake has the perfect structure without being gritty or crumbly. It’s also widely available at major retailers like Walmart, Target, and Amazon, making it convenient to source.
- Baking Powder: As Dutch-processed cocoa powder is used, baking powder is the primary leavening agent in this recipe. It helps the cake rise, contributing to a tender crumb and preventing it from becoming too dense.
- Kosher Salt: A small amount of kosher salt is essential for enhancing all the other flavors in the cake, particularly the chocolate. It balances the sweetness and brings out the depth of the cocoa.
- Full-Fat Sour Cream: To truly achieve that moist, rich, and dense texture characteristic of a classic pound cake, full-fat sour cream is indispensable. It adds a tangy richness and an incredible amount of moisture, making the cake tender and velvety. Always opt for full-fat sour cream for the best results; low-fat alternatives can alter the texture and moisture content.
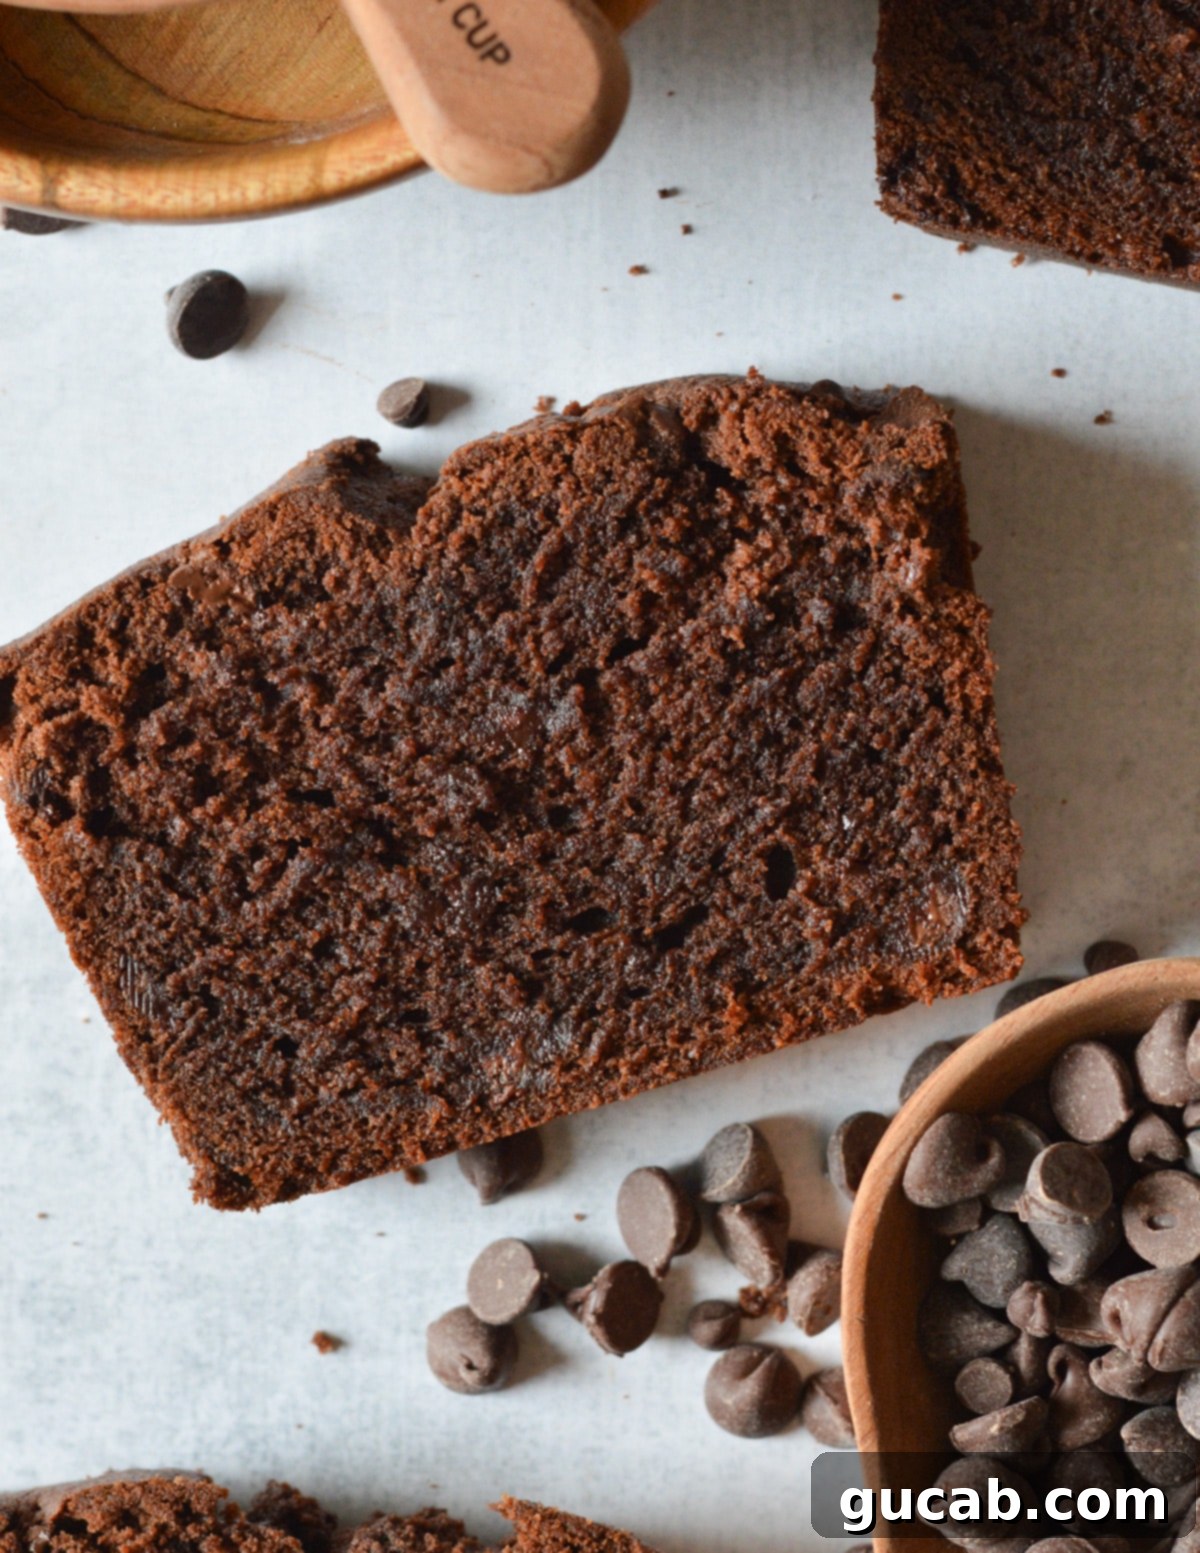
- Semisweet Chocolate Chips: These little gems are folded into the batter to add bursts of melted chocolate in every bite, intensifying the chocolatey flavor. It’s like a delightful cross between a rich bakery-style chocolate muffin and a classic pound cake, elevating the indulgence factor significantly. You can also experiment with dark chocolate chips for an even more intense flavor.
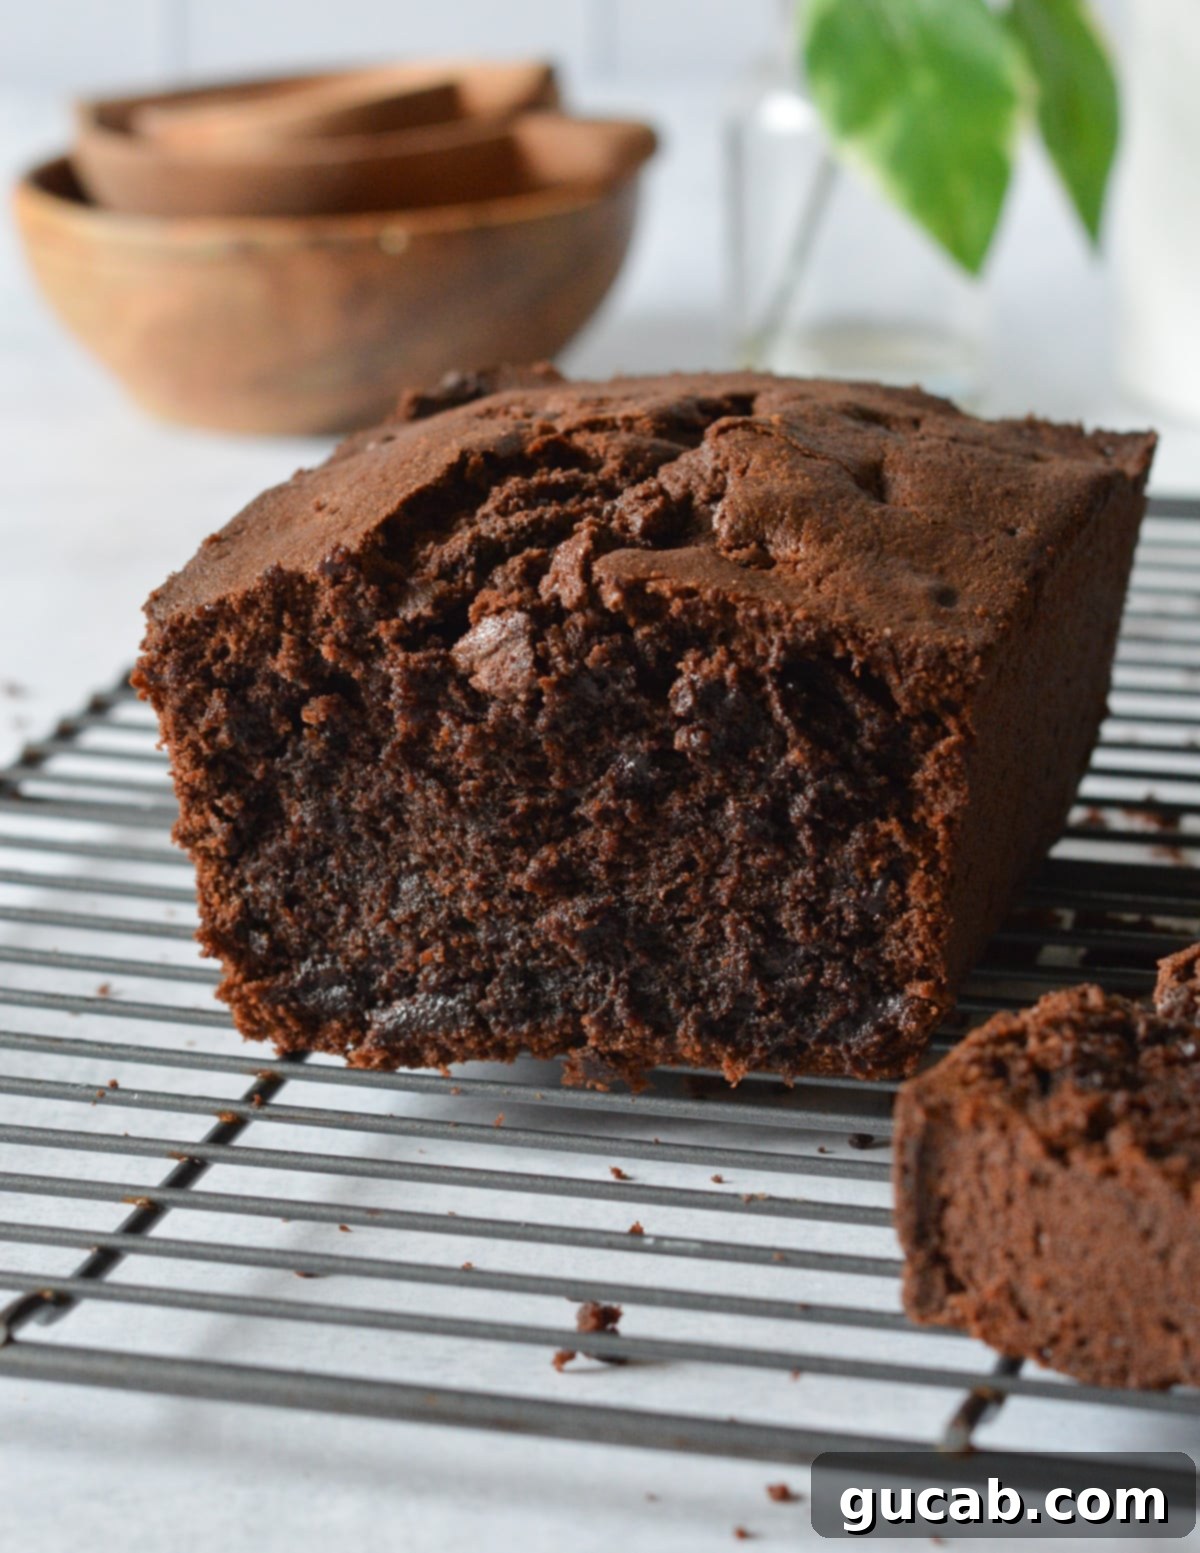
How to Make Gluten-Free Chocolate Pound Cake: Step-by-Step Guide
Making this gluten-free chocolate pound cake is a straightforward process, but attention to detail ensures a perfect result every time. Follow these steps for a moist, rich, and utterly delicious cake:
Preparation is Key: Before you begin mixing, always preheat your oven to 350°F (175°C). This ensures the oven is at the correct temperature when the cake goes in, promoting even baking. Next, prepare your 9×5-inch loaf pan. I recommend generously greasing it with nonstick cooking spray. For extra assurance and easy removal, you can also line the bottom and long sides of the pan with parchment paper, leaving an overhang on the sides to use as “handles.” A crucial tip for gluten-free baking: double-check that your nonstick cooking spray is indeed gluten-free, as some brands contain added flour.
- Cream the Butter and Sugars: In the bowl of a stand mixer fitted with the paddle attachment (or using a hand mixer), combine the softened, room-temperature unsalted butter with both the white and brown sugars. Beat them together on medium speed for about 3 minutes. This creaming process is vital; as you beat, air is incorporated into the mixture, which lightens its color and creates a fluffy, aerated base for your cake. This aeration contributes to the pound cake’s tender crumb.
- Add the Eggs Gradually: With the mixer still on medium speed, add the large eggs one at a time. It’s important to mix well after each addition, ensuring each egg is fully incorporated before adding the next. This prevents the batter from curdling and helps create a stable, emulsified batter, leading to a smoother, more consistent cake texture. Don’t forget to stop and scrape down the sides of the bowl with a rubber spatula frequently to ensure all ingredients are evenly combined.
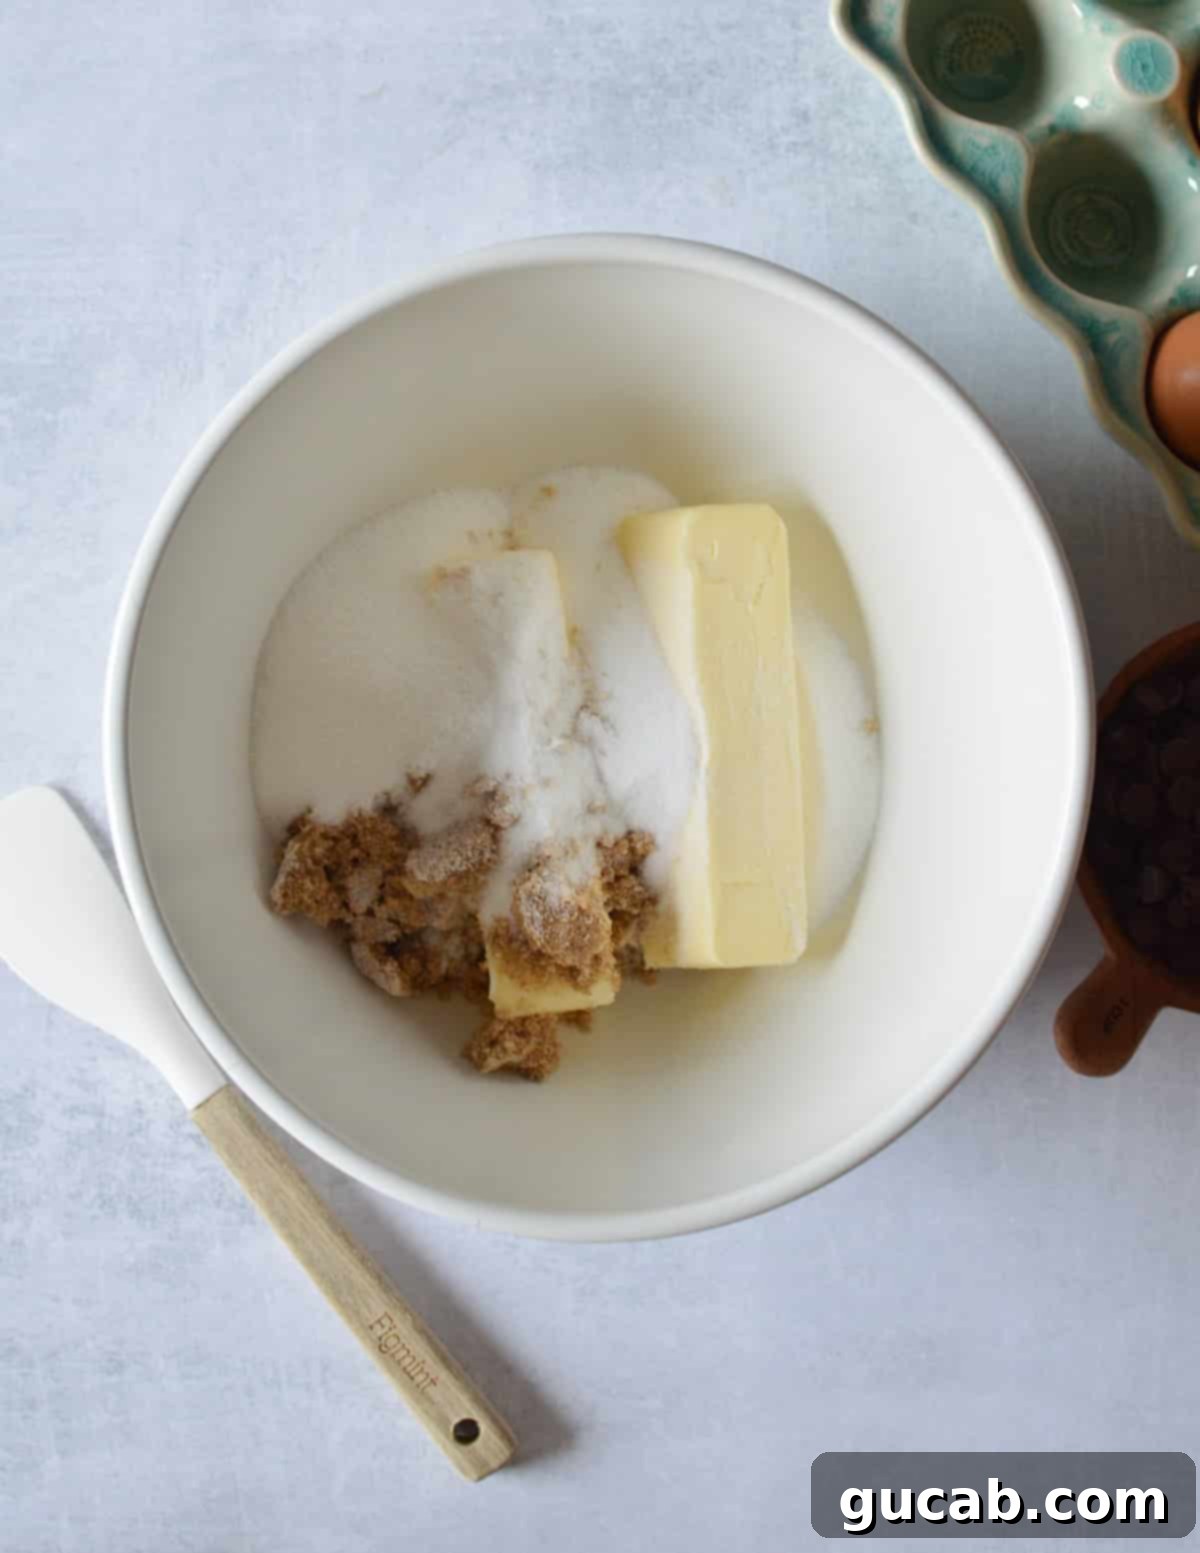
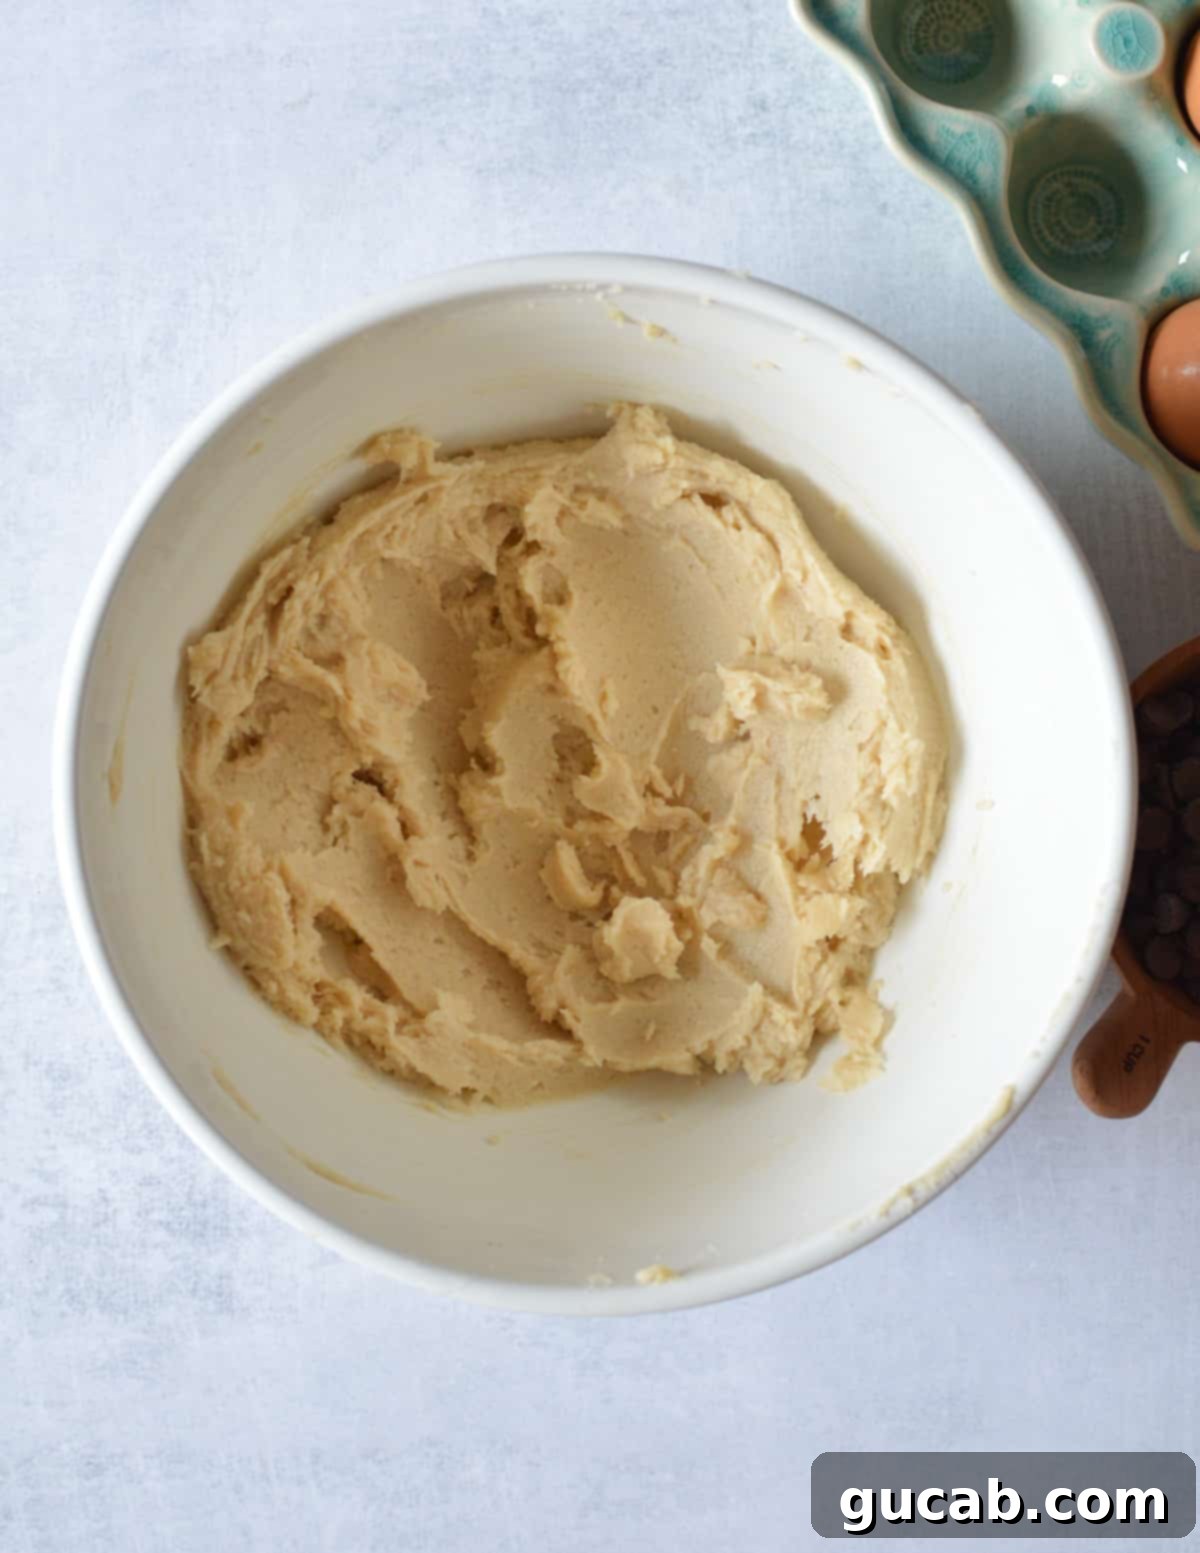
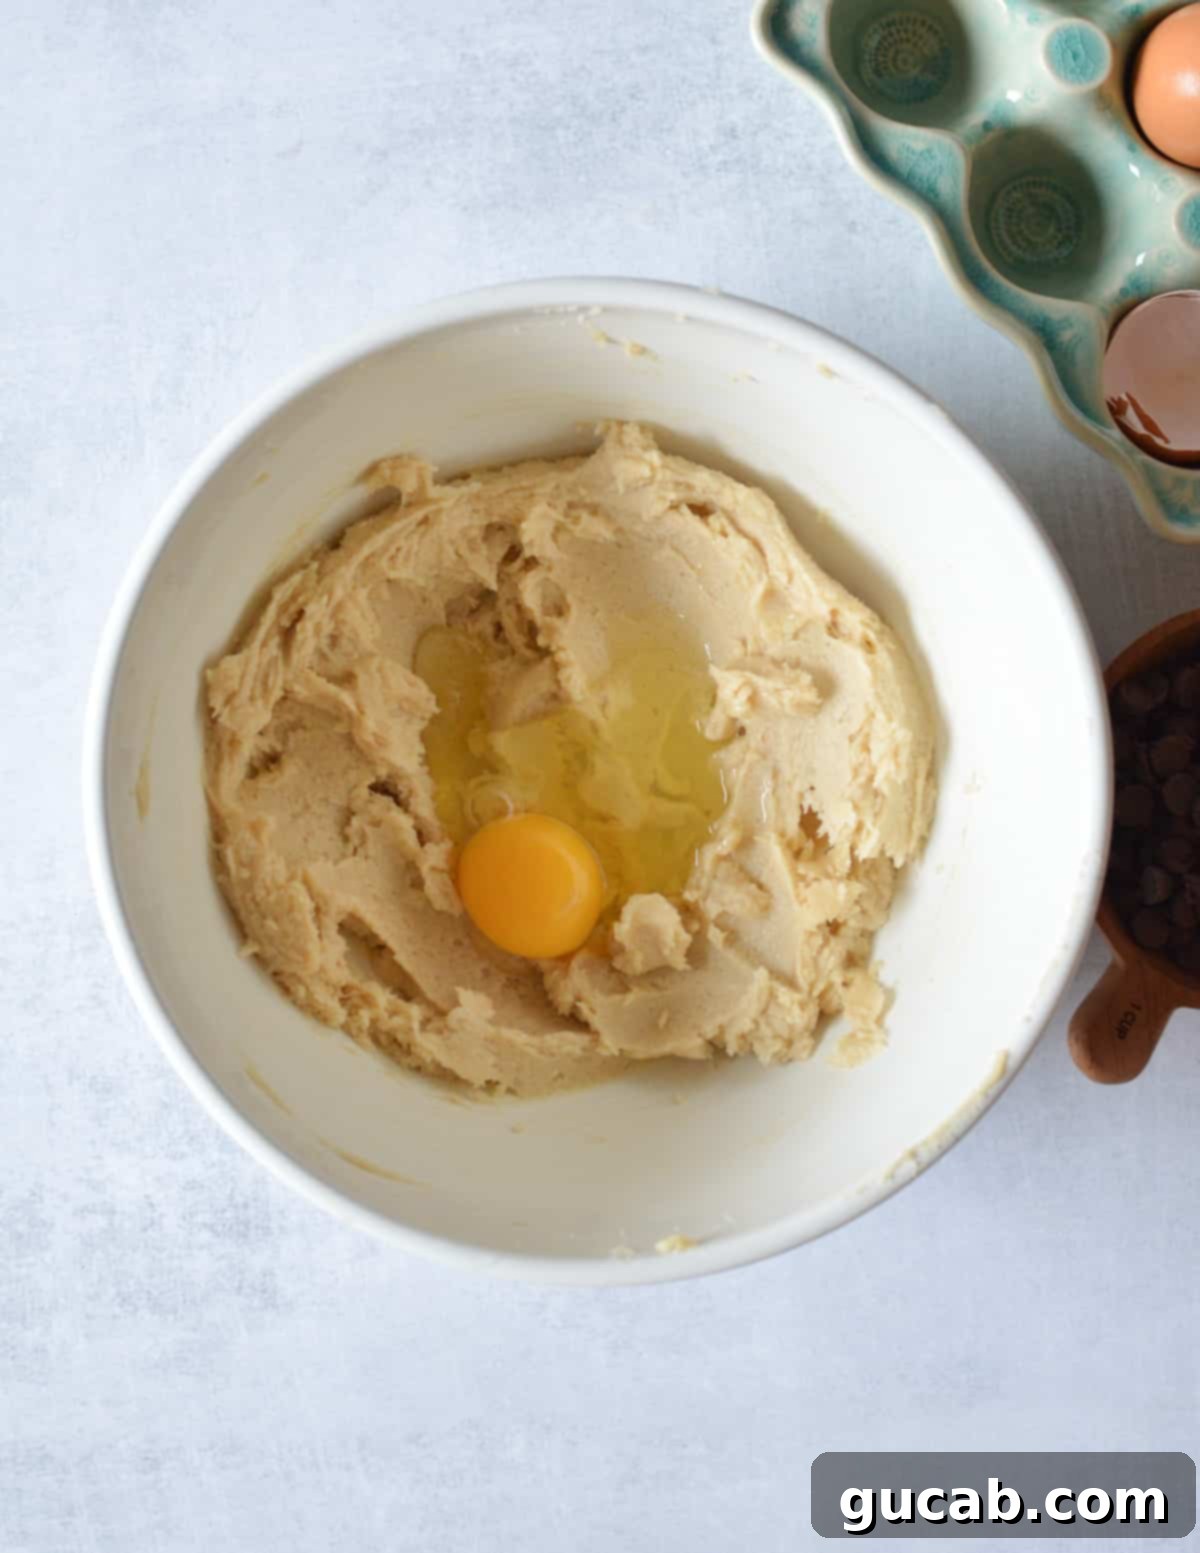
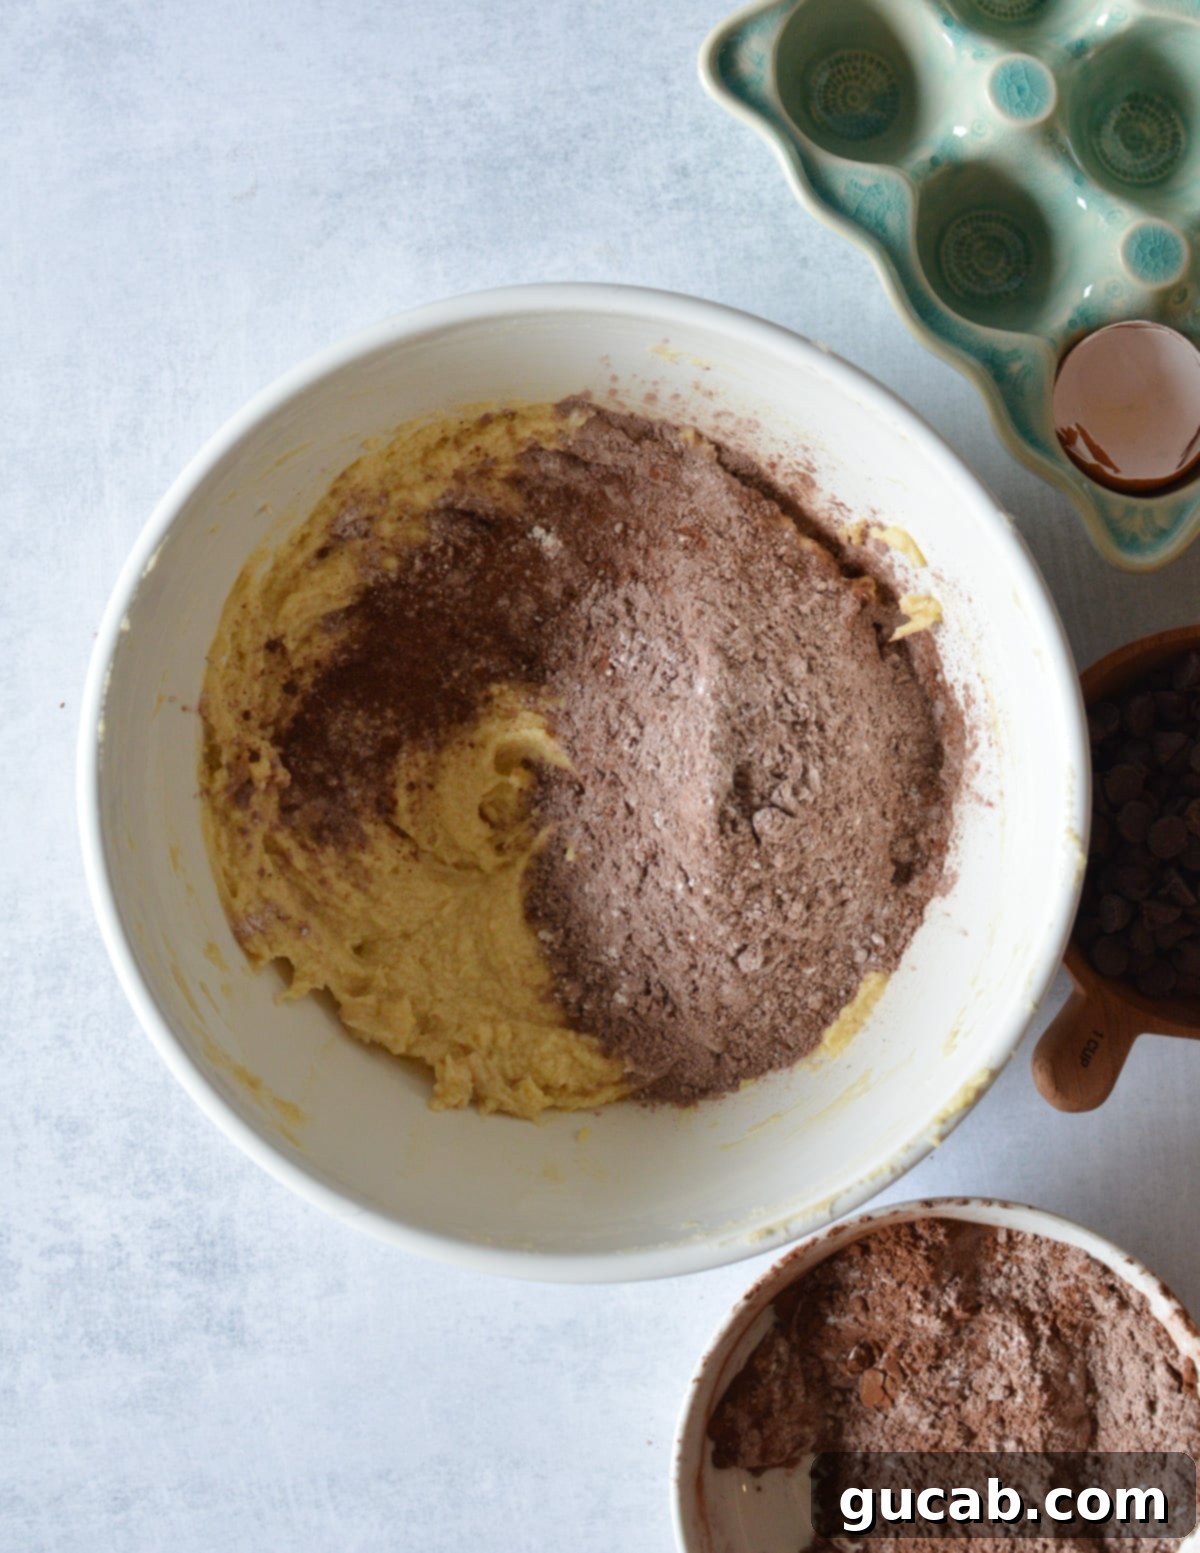
- Incorporate the Dry Ingredients: In a separate medium bowl, whisk together the Dutch cocoa powder, Bob’s Red Mill 1:1 All-Purpose Gluten-Free Flour, baking powder, and kosher salt until thoroughly combined. This ensures that the leavening agents and flavorings are evenly distributed throughout the flour. Add half of this dry mixture to the wet ingredients in the stand mixer and mix on low speed just until combined. Repeat with the remaining half of the dry ingredients. At this point, the batter will be quite thick and dense – this is perfectly normal for a pound cake! Avoid overmixing, as this can lead to a tough cake.
- Fold in Sour Cream and Chocolate Chips: Now it’s time to add the room-temperature full-fat sour cream. Beat it into the thick batter until it’s just combined. The sour cream will work its magic, lightening up the batter slightly and giving it a texture that resembles a thick, rich mousse. Finally, gently stir in the semisweet chocolate chips using a rubber spatula. This ensures they are evenly distributed without overmixing the batter.
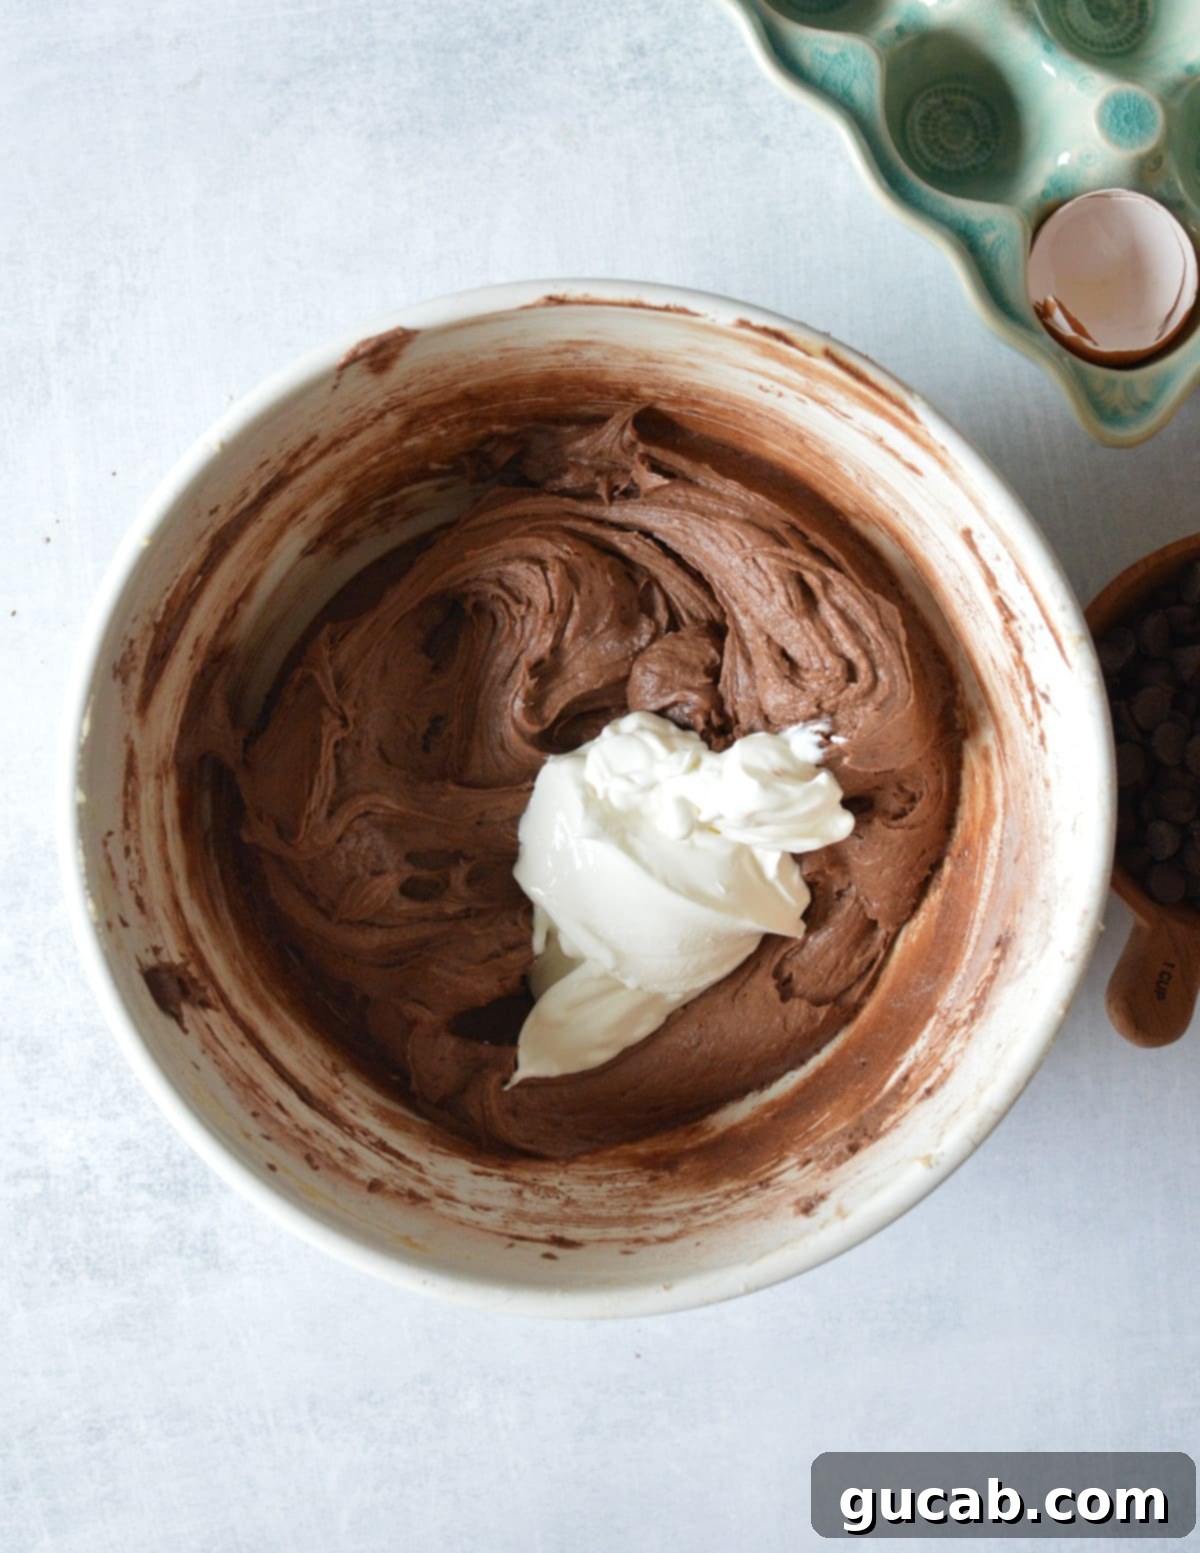
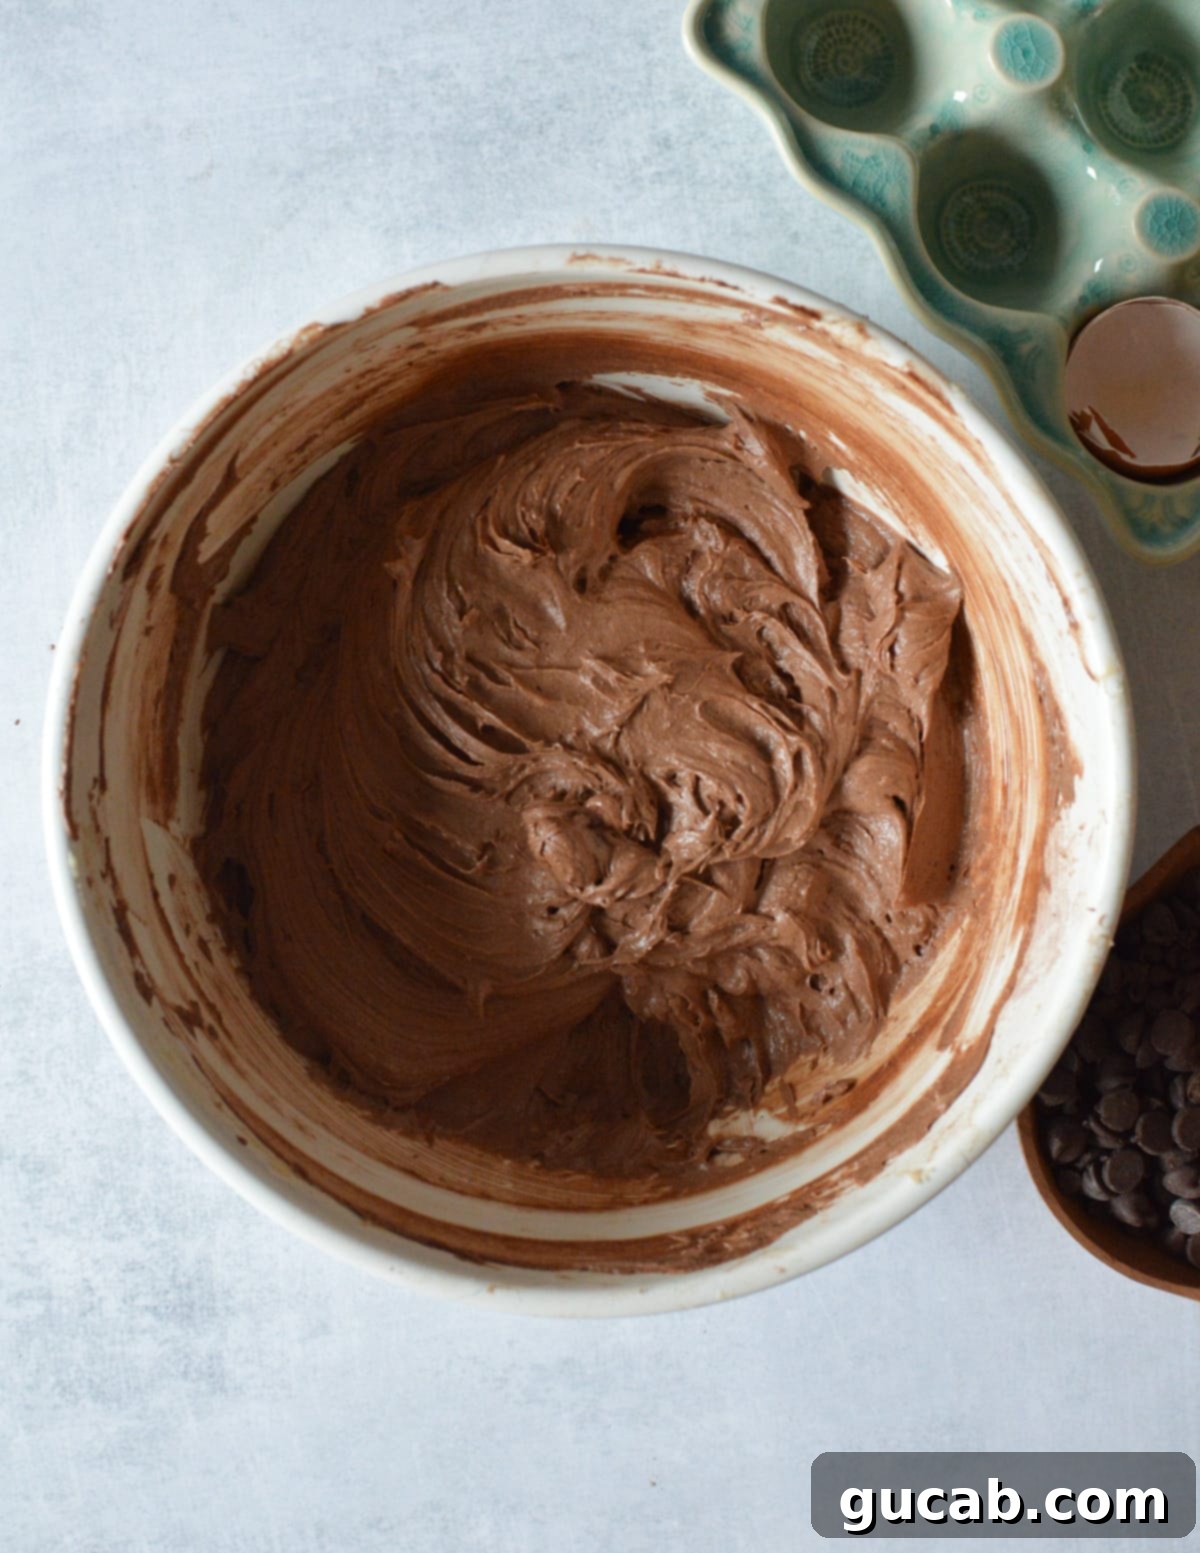
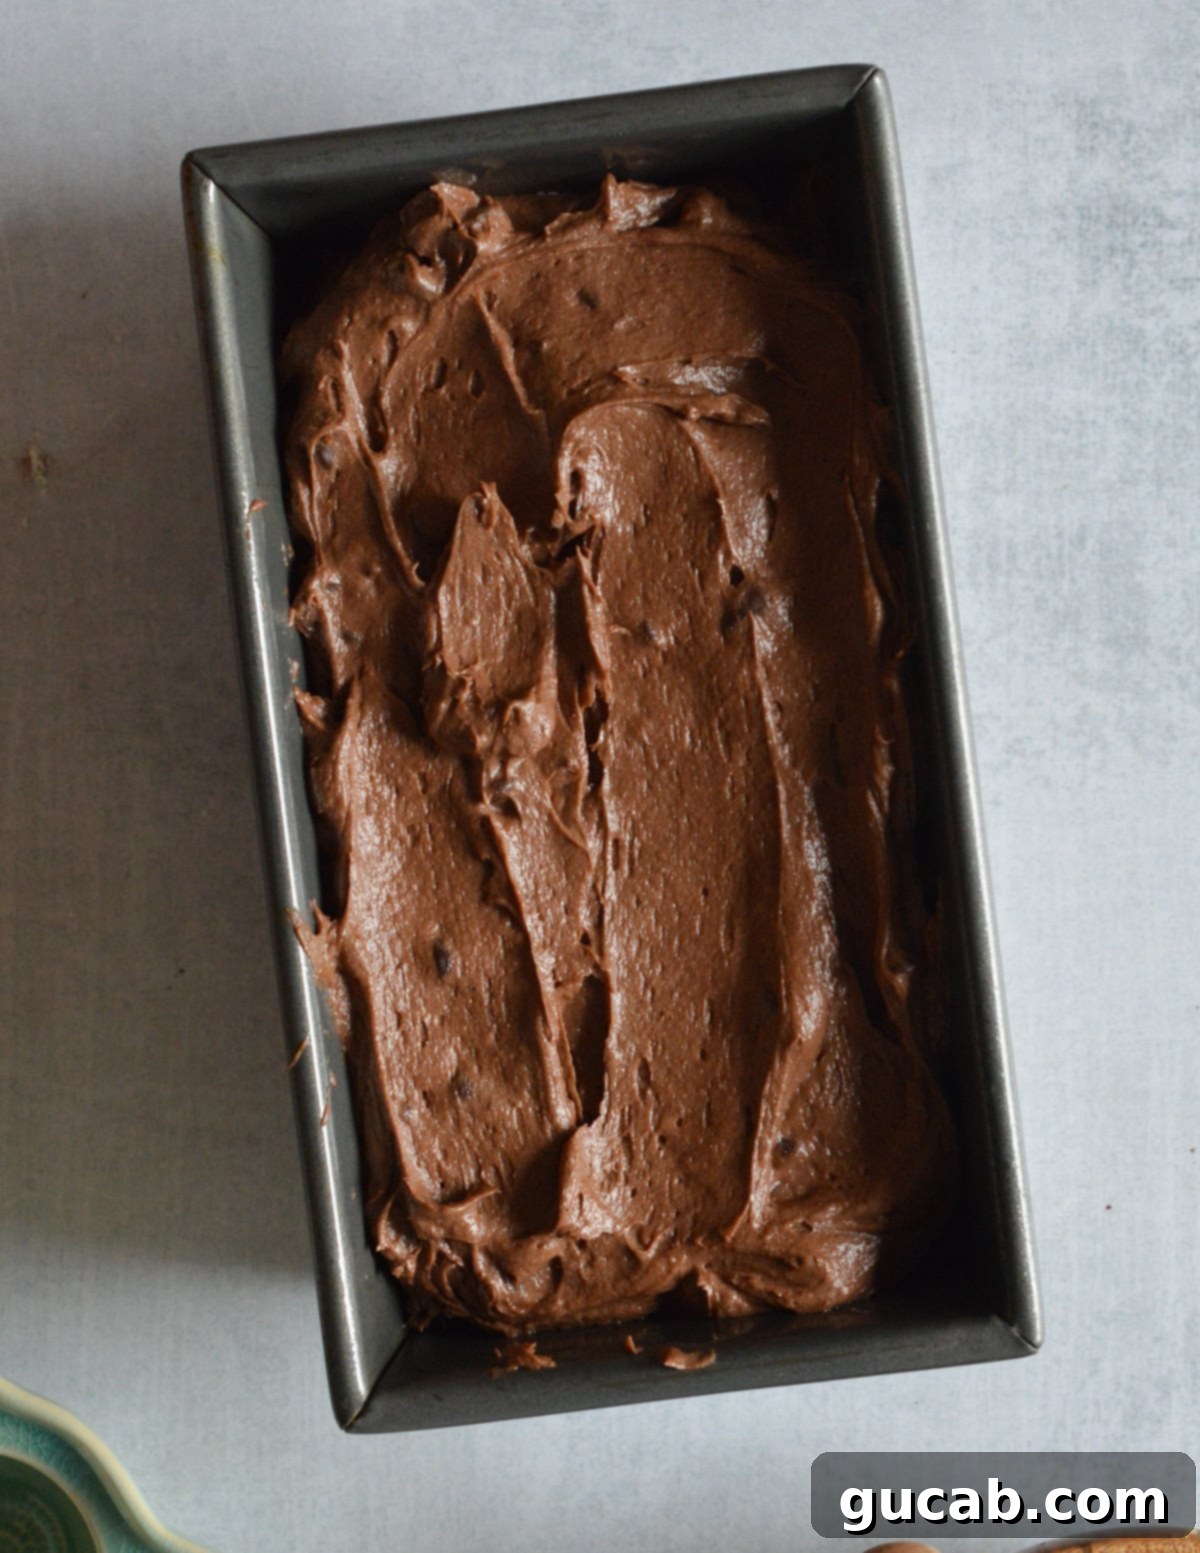
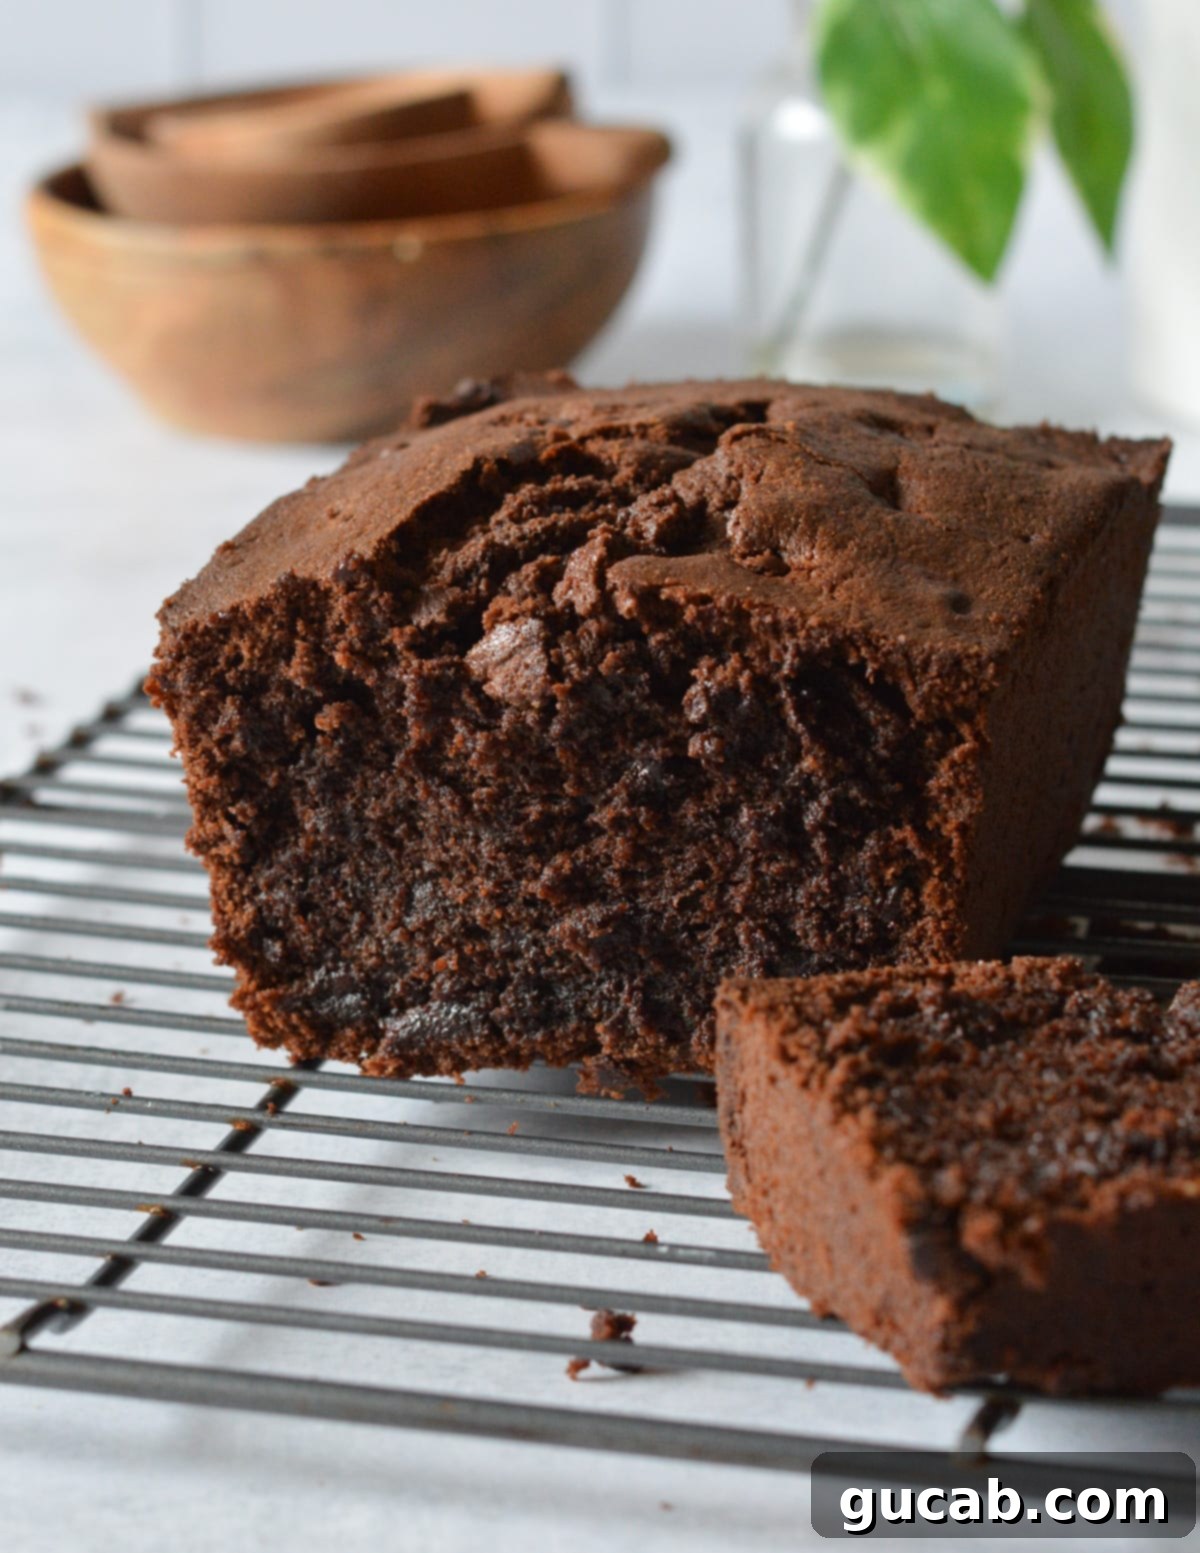
- Scoop and Bake: Transfer the thick chocolate pound cake batter into your prepared loaf pan, spreading it evenly with an offset spatula. Bake for approximately 70 minutes, or until a wooden skewer or toothpick inserted into the center of the cake comes out clean. Baking times can vary depending on your oven, so keep an eye on it. The top of the cake may develop a characteristic crack, which is completely normal for pound cakes. Once baked, remove the pan from the oven.
Helpful Tips for Gluten-Free Chocolate Pound Cake Success
Achieving the perfect gluten-free chocolate pound cake involves a few key practices. These tips will help you bake a cake that’s not only delicious but also holds its structure beautifully:
- Patience is a Virtue: Let it Cool in the Pan! This tip is incredibly difficult to follow because your kitchen will be filled with the intoxicating aroma of warm chocolate cake. It looks and smells absolutely amazing, but do not let all that hard work go to waste! Allow the cake to cool in the loaf pan for at least 15 minutes after removing it from the oven. This crucial resting period allows the cake’s structure to set properly. If you try to remove it too soon, it’s prone to crumbling or falling apart.
- Embrace Room Temperature Ingredients: This cannot be stressed enough for pound cake recipes. Ensure your butter, eggs, and sour cream are all at room temperature before you start mixing. Room temperature butter creams better with sugar, incorporating more air, which leads to a lighter texture. Room temperature eggs and sour cream emulsify more smoothly into the batter, preventing curdling and resulting in a more uniform and moist cake.
- A Cooler Cake is a Denser, Better Cake: While warm cake straight from the oven is comforting, room temperature pound cake develops a much denser, more characteristic crumb than warm pound cake. The cake truly settles and its flavors deepen as it cools completely. I always wait until mine is completely at room temperature before diving in to appreciate its full texture and flavor profile.
- Precision with Gluten-Free Flour: When measuring gluten-free flour, it’s best to weigh it using a kitchen scale for accuracy. If you don’t have a scale, lightly spoon the flour into your measuring cup and then level it off with a straight edge. Don’t scoop directly from the bag, as this can compact the flour and lead to adding too much, resulting in a dry cake.
- Do Not Overmix: Once you add the dry ingredients to the wet, mix only until just combined. Overmixing gluten-free flour can still lead to a tough or gummy texture, even without gluten present. Gentle mixing is key to a tender crumb.
- Cool Completely Before Storing: This is another vital step to prevent spoilage. Wait for your pound cake to cool completely before wrapping it in plastic wrap or storing it in an airtight container. It shouldn’t be even slightly warm! If wrapped while still warm, condensation will form inside the bag or container, creating moisture that can make the cake soggy and encourage mold growth, causing it to perish quickly.
- Serving Suggestions: This gluten-free chocolate pound cake is fantastic on its own, but you can elevate it further. Serve it with a dusting of powdered sugar, a dollop of whipped cream, a scoop of vanilla bean ice cream, fresh berries, or even a simple chocolate ganache or raspberry sauce.
Storage Tips for Your Gluten-Free Chocolate Pound Cake
One of the best things about pound cake is how well it stores and freezes, making it perfect for meal prepping desserts or enjoying a slice whenever a craving strikes. You certainly don’t have to eat the entire loaf in one sitting, although I completely understand the temptation!
- Room Temperature Storage: To store your gluten-free chocolate pound cake at room temperature, ensure it is completely cool first (as mentioned above!). Once cooled, transfer the entire loaf or individual slices to a gallon-sized zip-top bag or an airtight container. Seal tightly to prevent it from drying out. Stored this way, the cake will remain fresh and moist for up to 3 days.
- Freezing for Longer Enjoyment: This pound cake is incredibly freezer-friendly, making it ideal for future treats. I highly recommend freezing the pound cake in individual slices. This allows you the convenience of thawing and warming just one slice at a time, perfect for a quick indulgence.
- First, cut the cooled loaf into your desired slice thickness.
- Arrange the slices in a single layer on a plate or baking sheet lined with parchment paper.
- Freeze for about an hour, or until the slices are firm. This “flash freezing” step prevents them from sticking together.
- Once firm, transfer the frozen slices to a freezer-safe zip-top bag or an airtight container. Remove as much air as possible before sealing.
- The frozen pound cake will keep well for up to 3 months.
- To thaw, simply take out a slice or two and let them come to room temperature on the counter for about 30-60 minutes, or gently warm them in the microwave for 15-30 seconds for a “freshly baked” feel.
FAQs About Gluten-Free Chocolate Pound Cake
Here are answers to some common questions you might have when baking this delightful gluten-free chocolate pound cake:
The short answer is no, it’s generally not recommended for this recipe. While almond flour can create incredibly delicious cakes and baked goods, it’s not a direct 1-to-1 substitute for gluten-free all-purpose flour blends like Bob’s Red Mill 1:1. Almond flour has a different fat and protein content, absorbs liquids differently, and lacks the structural properties (like elasticity and binding) that a blend of various flours and xanthan gum provides. It typically requires a different balance of ingredients, often more eggs, to achieve a similar structure, and the resulting texture will be significantly different – usually denser and moister in a unique way that might not suit a pound cake.
Unfortunately, this isn’t a straightforward answer, as the “best” gluten-free flour can depend on the specific recipe and personal preference. Gluten-free all-purpose flour isn’t a single flour but typically a carefully formulated mixture of alternative flours (like rice flour, sorghum flour, potato starch, tapioca starch) and often contains binders like xanthan gum. Each brand’s blend has different ratios and ingredients, impacting taste and texture. However, for cakes and especially for this pound cake recipe, my top recommendation is Bob’s Red Mill 1:1 Gluten-Free Baking Flour. It consistently yields a fantastic gluten-like taste and texture, with great structure and moisture. Always check that the blend includes xanthan gum; if not, you might need to add a small amount separately according to package directions.
While you technically *can* use natural cocoa powder, it will alter the flavor and texture of your gluten-free chocolate pound cake. Natural cocoa is acidic and typically reacts with baking soda to create lift. Dutch-processed cocoa, being less acidic, is usually paired with baking powder, as it is in this recipe. If you use natural cocoa, the cake may not rise as much, and the flavor will be slightly fruitier and more bitter than the rich, smooth taste achieved with Dutch-processed cocoa. For the best results and the deep, dark chocolate flavor intended for this recipe, I highly recommend sticking to Dutch-processed cocoa powder.
The most reliable way to check for doneness is the toothpick test. Insert a wooden skewer or toothpick into the very center of the pound cake. If it comes out clean, with no wet batter attached, your cake is ready. If it has wet crumbs or batter, continue baking for another 5-10 minutes and test again. The top should also be firm to the touch and a rich, deep brown color. Don’t be afraid to test in a couple of spots, as oven hot spots can sometimes lead to uneven baking.
Other Gluten-Free Cake Recipes You Might Love
- Gluten Free Italian Cream Cake
- Gluten Free Red Velvet Cupcakes
- Gluten Free Spice Cake
- Gluten Free Gingerbread Cake with an Orange Glaze
- Soft Gluten Free Chocolate Cupcakes
Gluten Free Chocolate Pound Cake
Carolyn
Pin Recipe
Equipment
-
Stand Mixer with the Paddle Attachment (or hand mixer)
-
9×5 inch Loaf Pan
Ingredients
- 1 cup unsalted butter room temperature, softened
- ¾ cup + 2 tablespoons white granulated sugar
- ⅓ cup brown sugar packed
- 3 large eggs room temperature
- 1 cup Bob’s Red Mill 1:1 All Purpose Gluten-Free Flour
- ⅓ cup Dutch-processed dark cocoa powder I used Hershey’s Special Dark
- 1 t. baking powder
- ¼ t. kosher salt
- ½ cup full-fat sour cream room temperature
- 1 cup semisweet chocolate chips
Instructions
-
Preheat your oven to 350°F (175°C). Prepare a 9×5 inch loaf pan by generously spraying it with a gluten-free nonstick cooking spray. For easier removal, you can also line the bottom and long sides with parchment paper, leaving an overhang.
-
In a medium bowl, combine the Dutch cocoa powder, gluten-free flour blend, baking powder, and kosher salt. Whisk these dry ingredients together thoroughly to ensure even distribution, then set aside.
-
In the bowl of a stand mixer fitted with the paddle attachment (or using a hand mixer), cream together the room-temperature unsalted butter with both the white granulated sugar and packed brown sugar. Beat on medium speed for about 3 minutes until the mixture is light in color and fluffy. This incorporates air, which is crucial for the cake’s texture.
-
Add the room-temperature large eggs one at a time, mixing well after each addition until fully incorporated. Remember to scrape down the sides of the bowl with a rubber spatula as needed to ensure all ingredients are evenly mixed and the batter remains smooth.
-
Gradually add the dry flour mixture to the wet ingredients. Add half of the dry mixture and mix on low speed until just combined, then repeat with the remaining half. Be careful not to overmix; overmixing can lead to a tough cake. The batter will be very thick at this stage. Finally, add the room-temperature sour cream and beat until a thick, mousse-like batter forms. Stir in the semisweet chocolate chips by hand using a spatula.
-
Scrape the batter evenly into the prepared loaf pan. Bake for approximately 70 minutes, or until a wooden skewer or toothpick inserted into the center of the cake comes out clean. Once baked, remove the pan from the oven and let the cake cool in the pan for at least 15 minutes before carefully removing it to a wire rack to cool completely.
Nutrition
