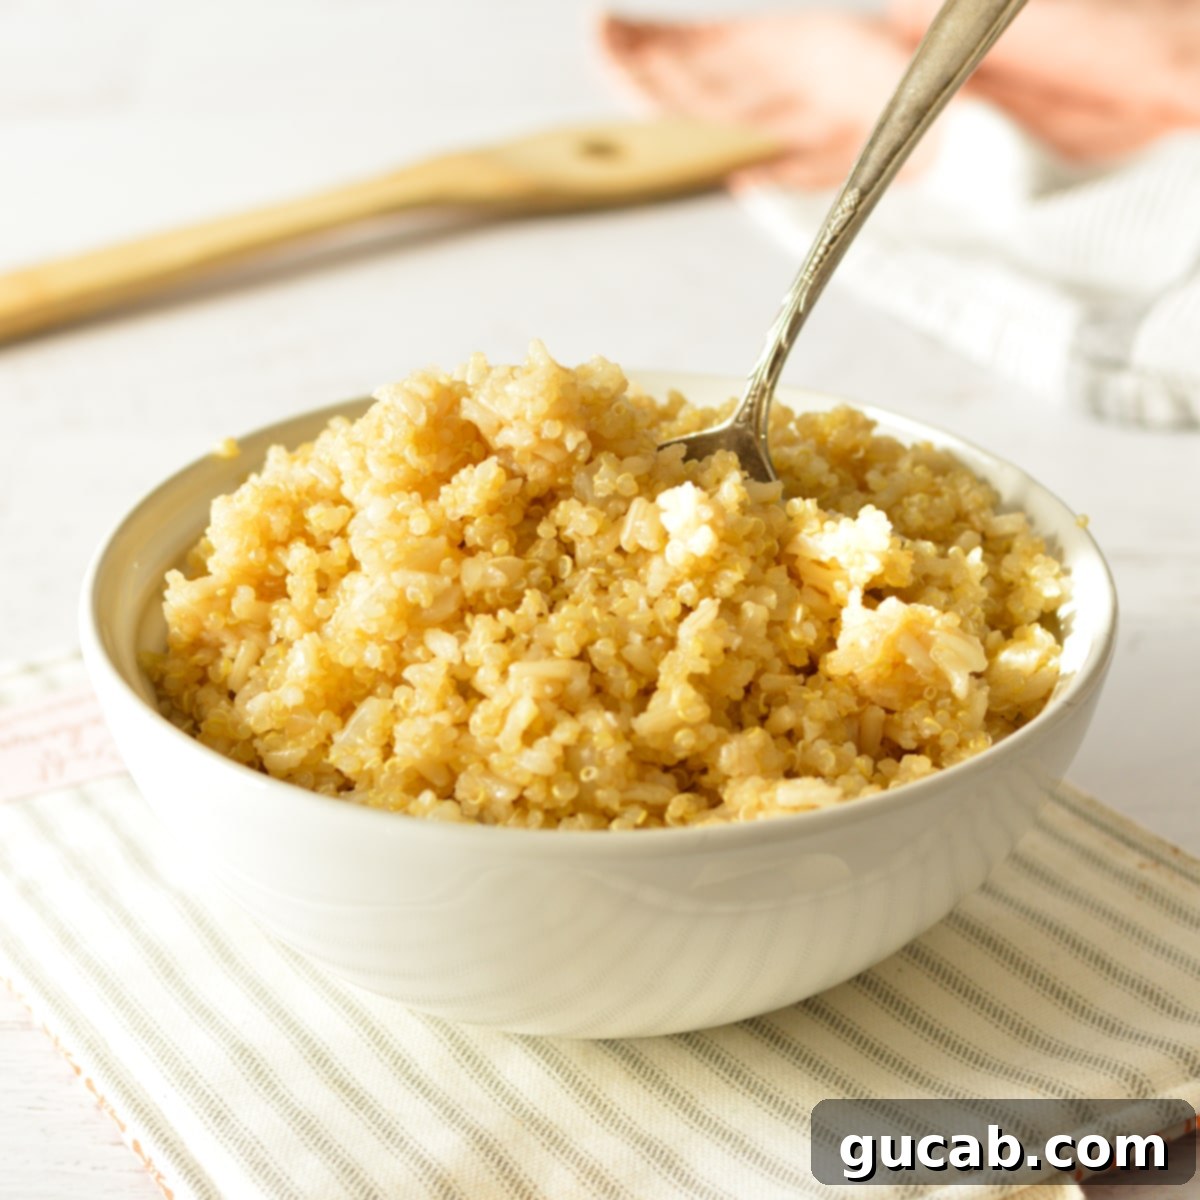
Easy & Healthy Brown Rice and Quinoa Recipe: A Versatile Side Dish for Any Meal
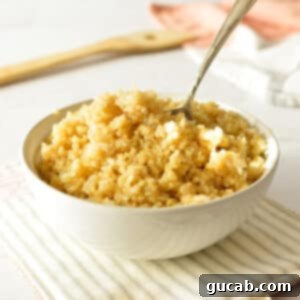
Discover the ultimate wholesome side dish with our easy-to-follow brown rice and quinoa recipe. This delightful blend offers a perfect balance of fluffy texture and nutty flavor, making it an incredibly versatile addition to any meal. Packed with plant-based protein and fiber, this nutritious duo is not just healthy but also incredibly satisfying. Forget expensive pre-packaged mixes; learn how to make this budget-friendly staple from scratch and elevate your home cooking with ease.
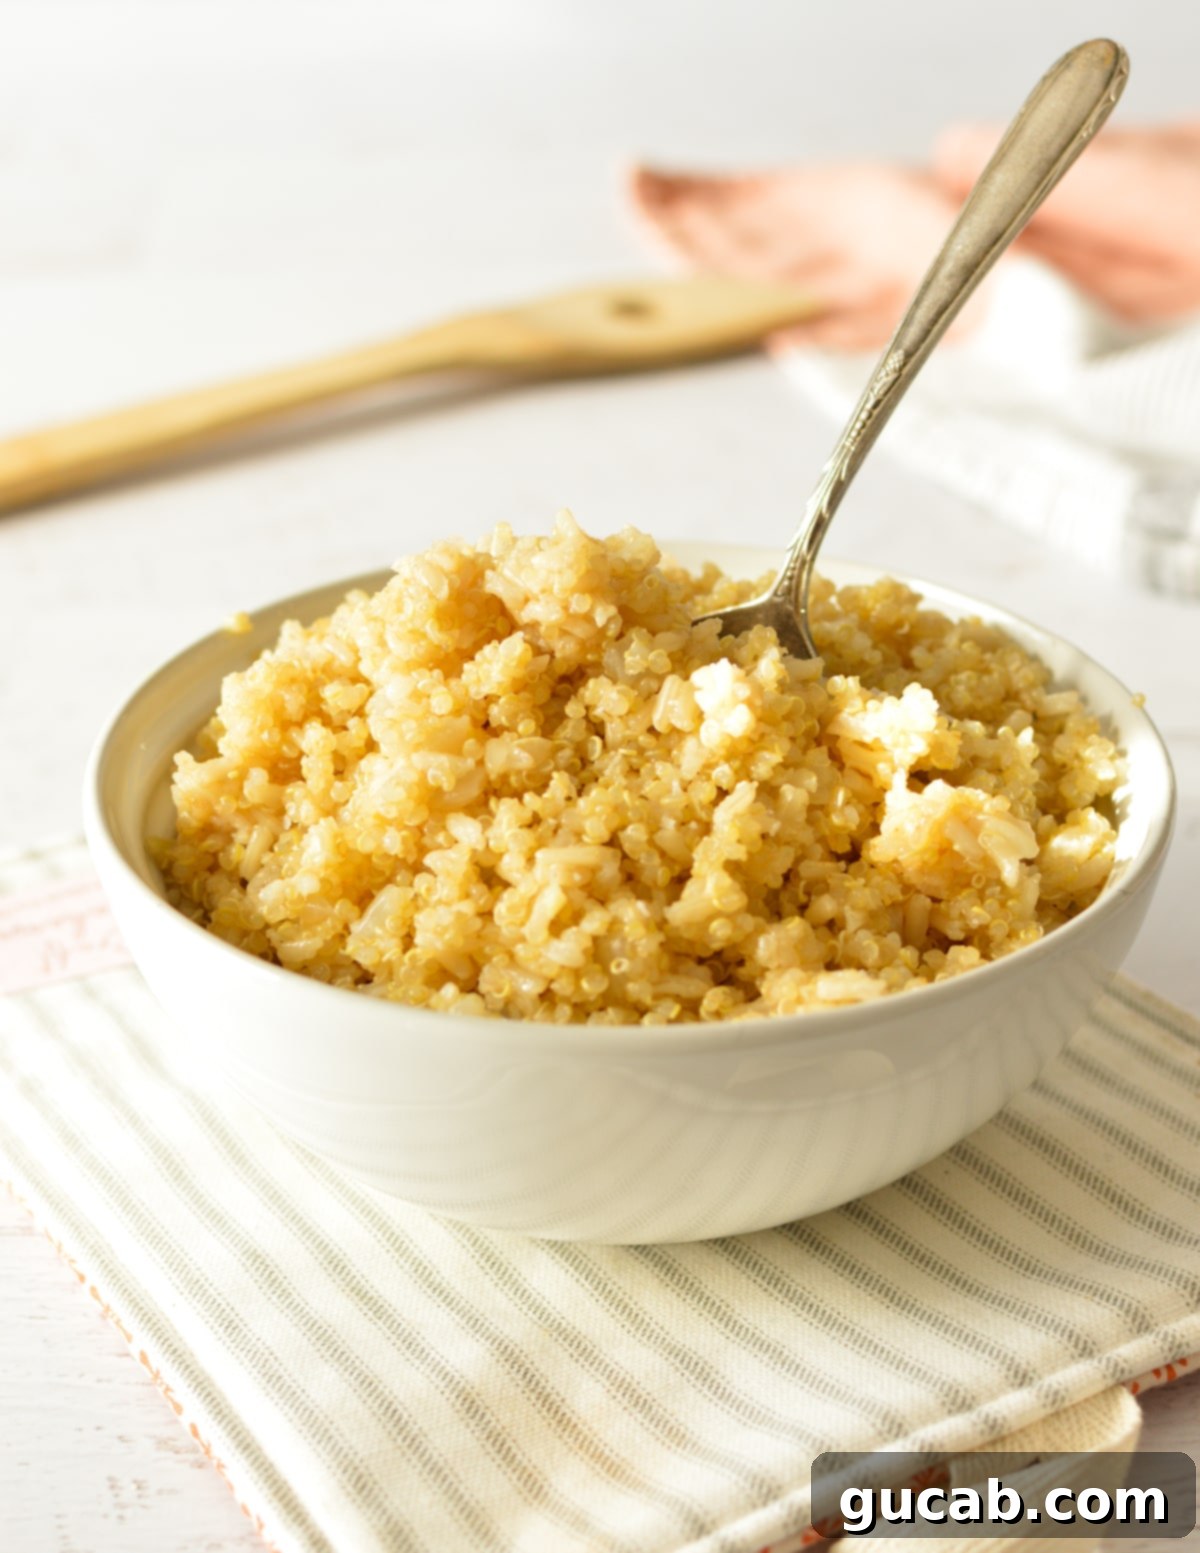
Preparing this brown rice and quinoa recipe is surprisingly simple, yielding a consistently delicious result that will become a go-to in your kitchen. While we all appreciate the convenience of store-bought mixes like Seeds of Change Quinoa & Brown Rice, the cost can quickly add up, especially if you enjoy this grain blend regularly. Our homemade version not only saves you money but also gives you complete control over the ingredients, ensuring the freshest and most flavorful outcome.
Why This Brown Rice and Quinoa Recipe Will Become Your New Favorite
In our household, we are truly passionate about quinoa! It’s a staple we always have on hand, often buying it in bulk to ensure we never run out. We love incorporating it into various dishes, from refreshing tri-color quinoa recipes and fun popped quinoa snacks to vibrant quinoa salads. Its light, fluffy texture and subtle nutty taste make it incredibly adaptable to a wide range of culinary applications.
But what truly sets quinoa apart, and makes this brown rice and quinoa combination so exceptional, are its incredible health benefits. Quinoa is renowned as a complete protein, meaning it contains all nine essential amino acids that our bodies require but cannot produce on their own. This makes it a powerful ingredient for those seeking plant-based protein sources. When combined with brown rice, you get an added boost of complex carbohydrates and dietary fiber, contributing to sustained energy levels and digestive health.
Beyond its nutritional prowess, this brown rice and quinoa mix is also incredibly versatile and budget-friendly. You can effortlessly integrate it into a myriad of dishes, serving as a wholesome base for salads, grain bowls, hearty casseroles, and even as a nutritious stuffing for vegetables. I often prepare a large batch at the beginning of the week, transforming it into the perfect foundation for quick and healthy meals like roasted vegetables paired with grilled chicken, or topped with a flavorful bean chili. This smart meal-prep strategy not only saves time but also ensures you have healthy options readily available throughout your busy week.
Key Ingredients for Perfect Brown Rice and Quinoa
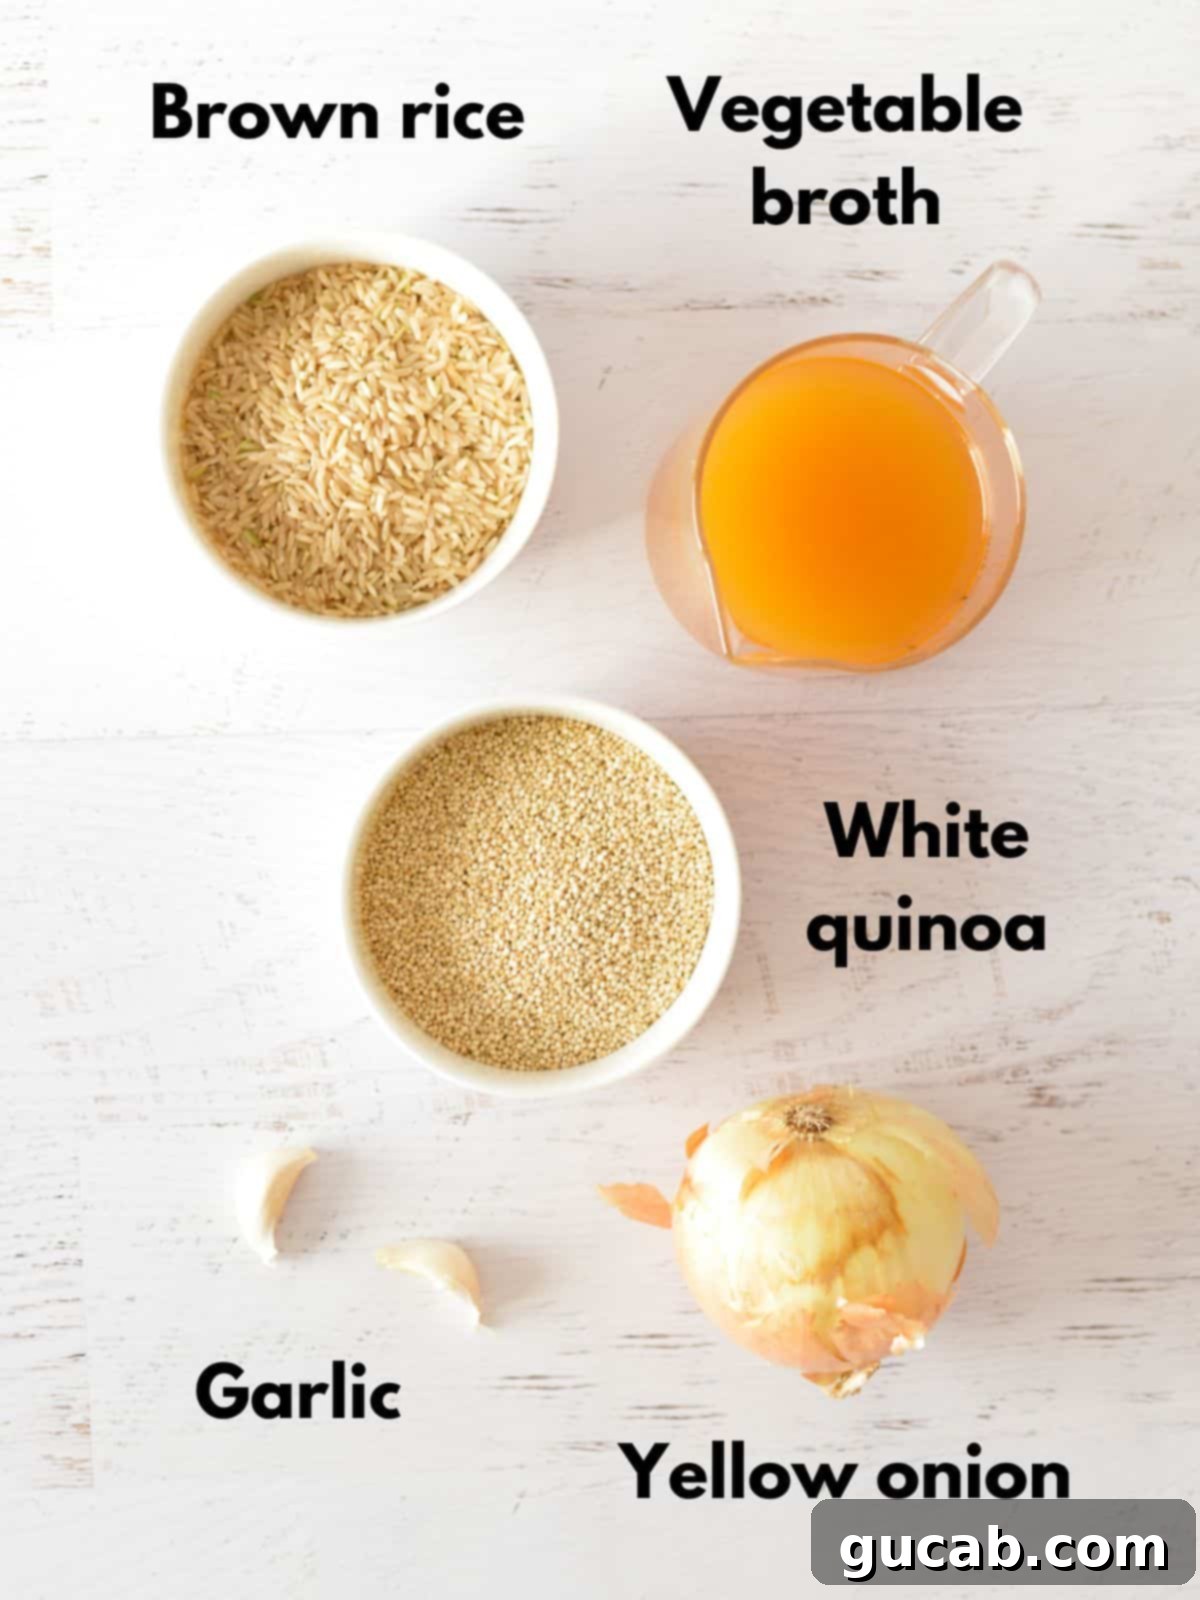
Crafting the perfect brown rice and quinoa blend starts with selecting quality ingredients and understanding their role in the overall dish. Here’s a closer look at what you’ll need:
- Brown Rice: For this recipe, opt for long-grain brown rice. Its distinct texture holds up well, providing a satisfying chew that complements the fluffiness of the quinoa. A crucial step often overlooked is rinsing the brown rice thoroughly. This process removes excess surface starch, which is the primary culprit behind sticky, gluey rice. Don’t skip this step for perfectly separated grains.
- White Quinoa: The choice of white quinoa for this recipe is intentional. White quinoa tends to be lighter and fluffier when cooked compared to its tri-color or red counterparts. This creates a wonderful textural contrast with the slightly firmer brown rice, resulting in a harmonious blend that’s not too chewy or too soft. While other quinoa varieties can be used, white quinoa offers the ideal balance here.
- Vegetable Broth: While plain water can certainly be used, vegetable broth is highly recommended for an infusion of rich, savory flavor. It adds depth and complexity that water simply cannot. If you’re not strictly plant-based, chicken broth is also an excellent alternative to give your grains an extra “oomph.” The subtle notes from the broth permeate the grains as they cook, enhancing the overall taste experience.
- Onion & Garlic: These aromatic powerhouses are essential for building a flavorful base. Sautéing finely diced yellow onion until translucent releases its natural sugars, contributing a delicate sweetness and depth. Minced garlic, added towards the end of the sautéing process, introduces a pungent, savory kick. We recommend using two cloves of fresh garlic for the best flavor, but for convenience, one teaspoon of jarred minced garlic can be substituted. Just be careful not to burn the garlic, as it can turn bitter.
- Olive Oil: A good quality olive oil is used to sauté the onion and garlic. It not only prevents sticking but also helps to extract and carry the flavors of the aromatics, creating a fragrant foundation for your grains. Beyond its functional role, olive oil also adds healthy monounsaturated fats to the dish, contributing to its overall nutritional value.
How to Make the Best Brown Rice and Quinoa: Step-by-Step Guide
Achieving perfectly cooked, fluffy brown rice and quinoa is simpler than you might think. Follow these steps for a consistently excellent result:
Step 1: Rinse Thoroughly
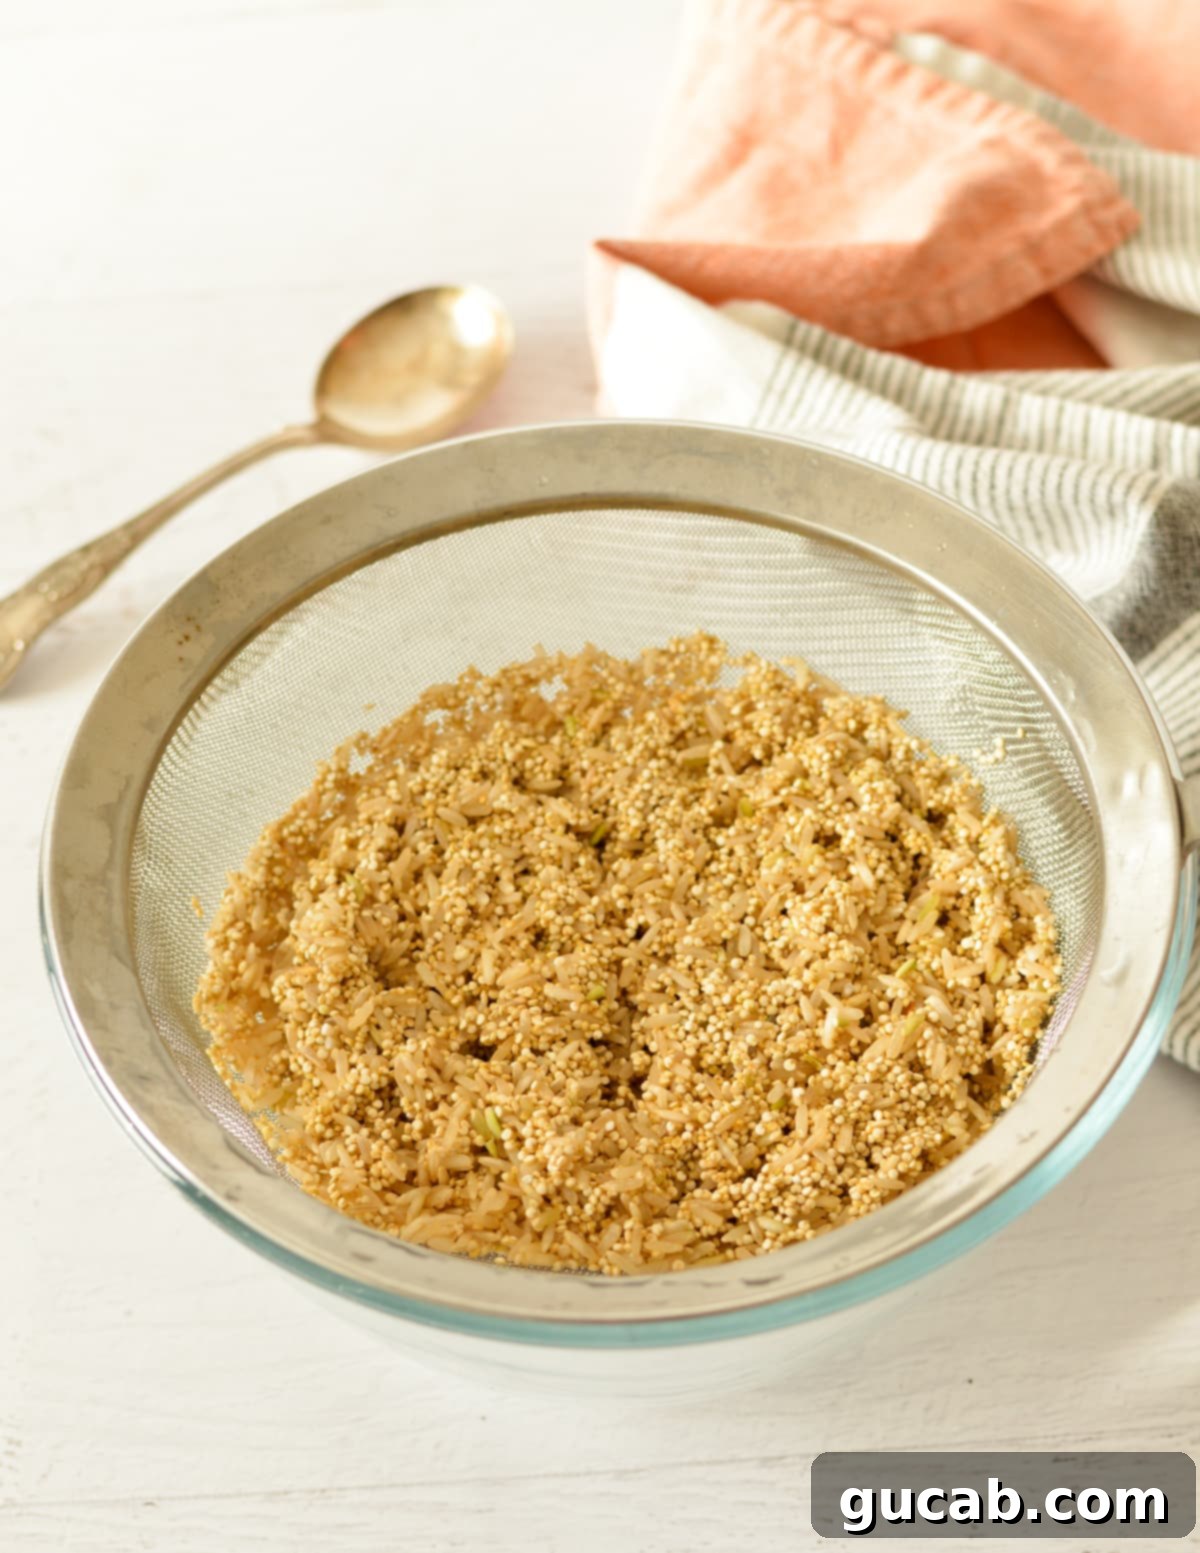
Combine both the brown rice and white quinoa in a fine-mesh sieve. Place the sieve under cool running water and rinse the mixture for at least 30 seconds. Use your hands to gently move the grains around, ensuring all surfaces are rinsed. This crucial step removes the saponin coating from the quinoa (which can cause a bitter taste) and the excess starch from the brown rice, preventing a sticky, mushy outcome.
Step 2: Sauté Aromatics
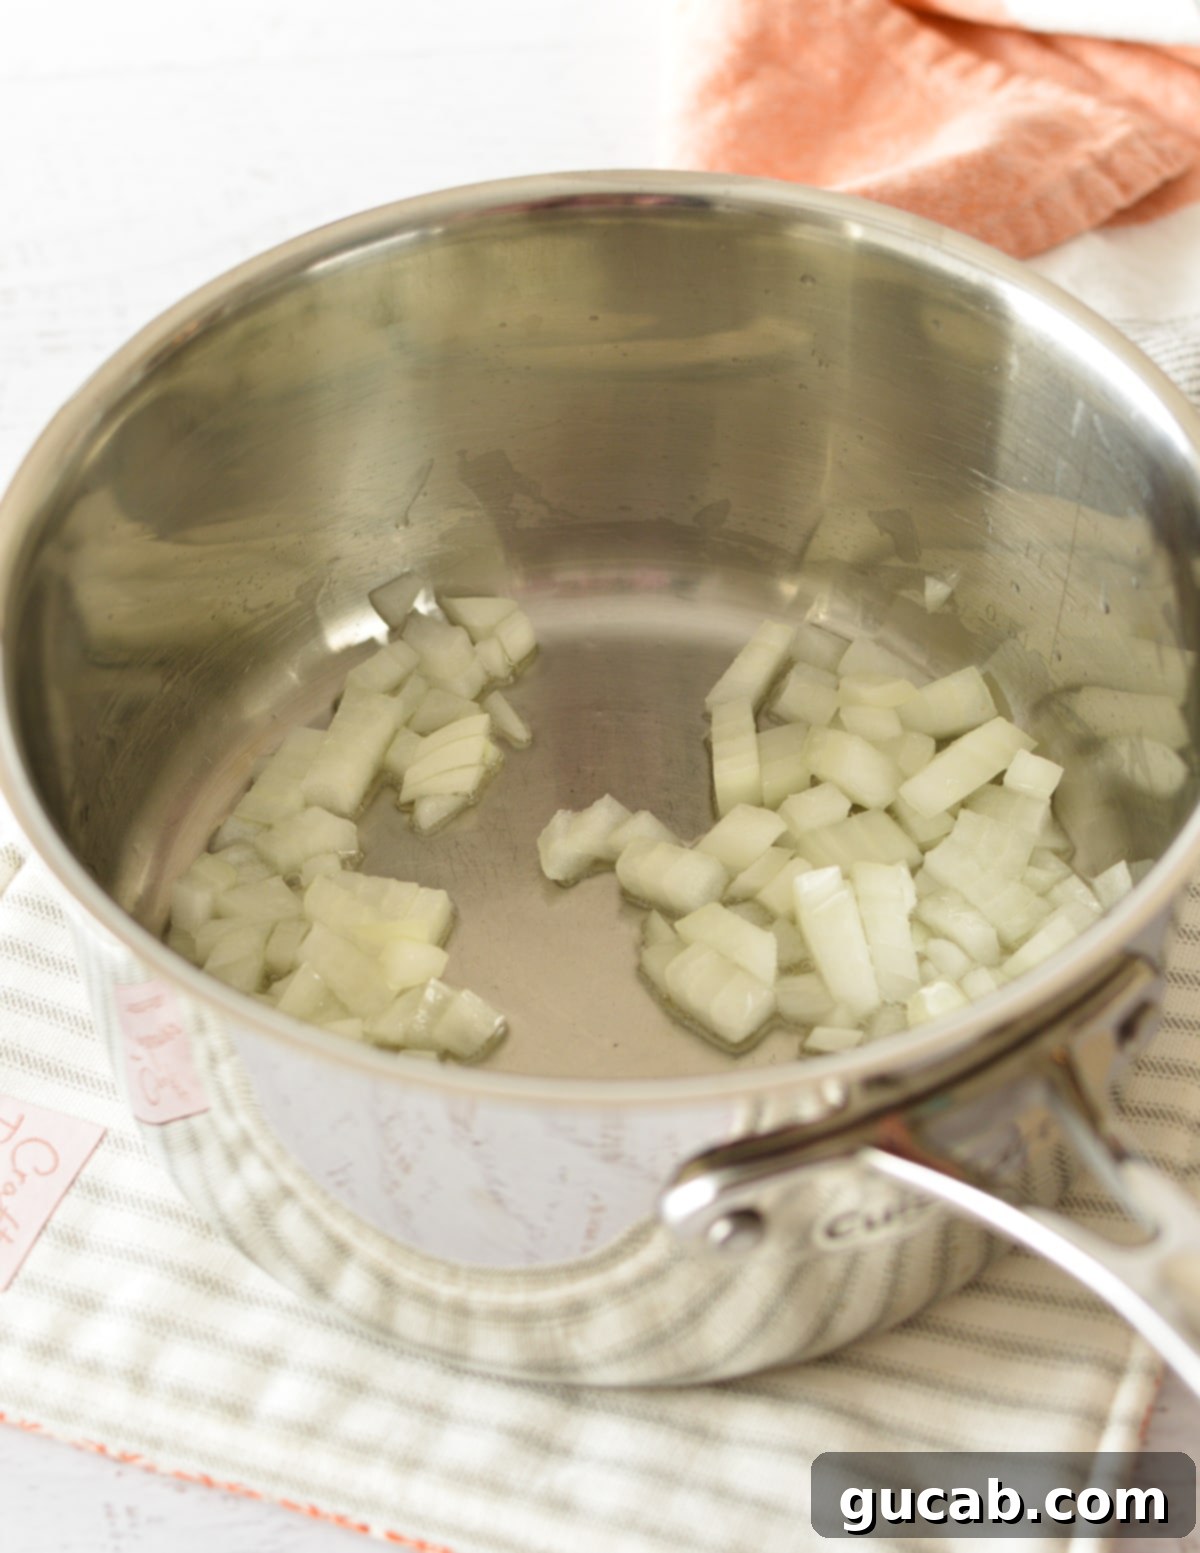
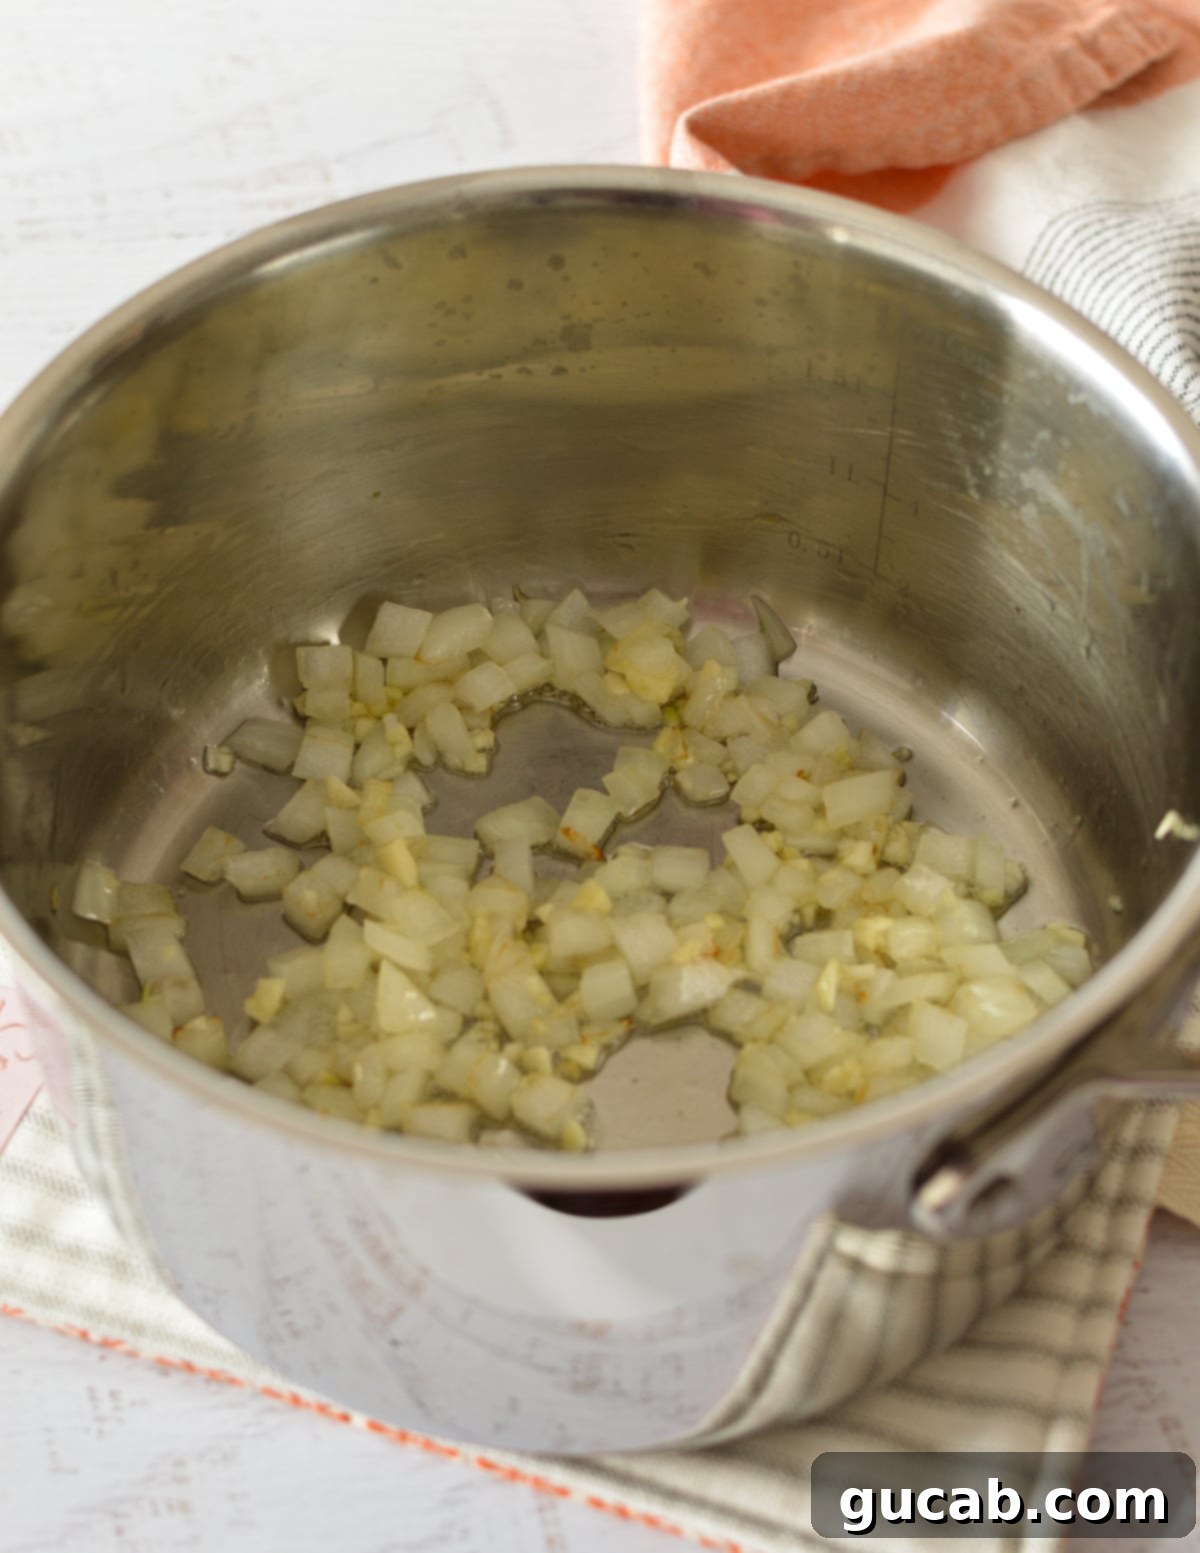
In a medium saucepan with a tight-fitting lid, heat one tablespoon of olive oil over medium heat. Once the oil is shimmering, add the diced yellow onion. Sauté the onion, stirring occasionally, until it becomes translucent and slightly softened, typically for 3-5 minutes. Then, add the minced garlic and continue to sauté for an additional 30 seconds, until fragrant. Be careful not to let the garlic brown or burn, as this can make it bitter.
Step 3: Toast and Boil
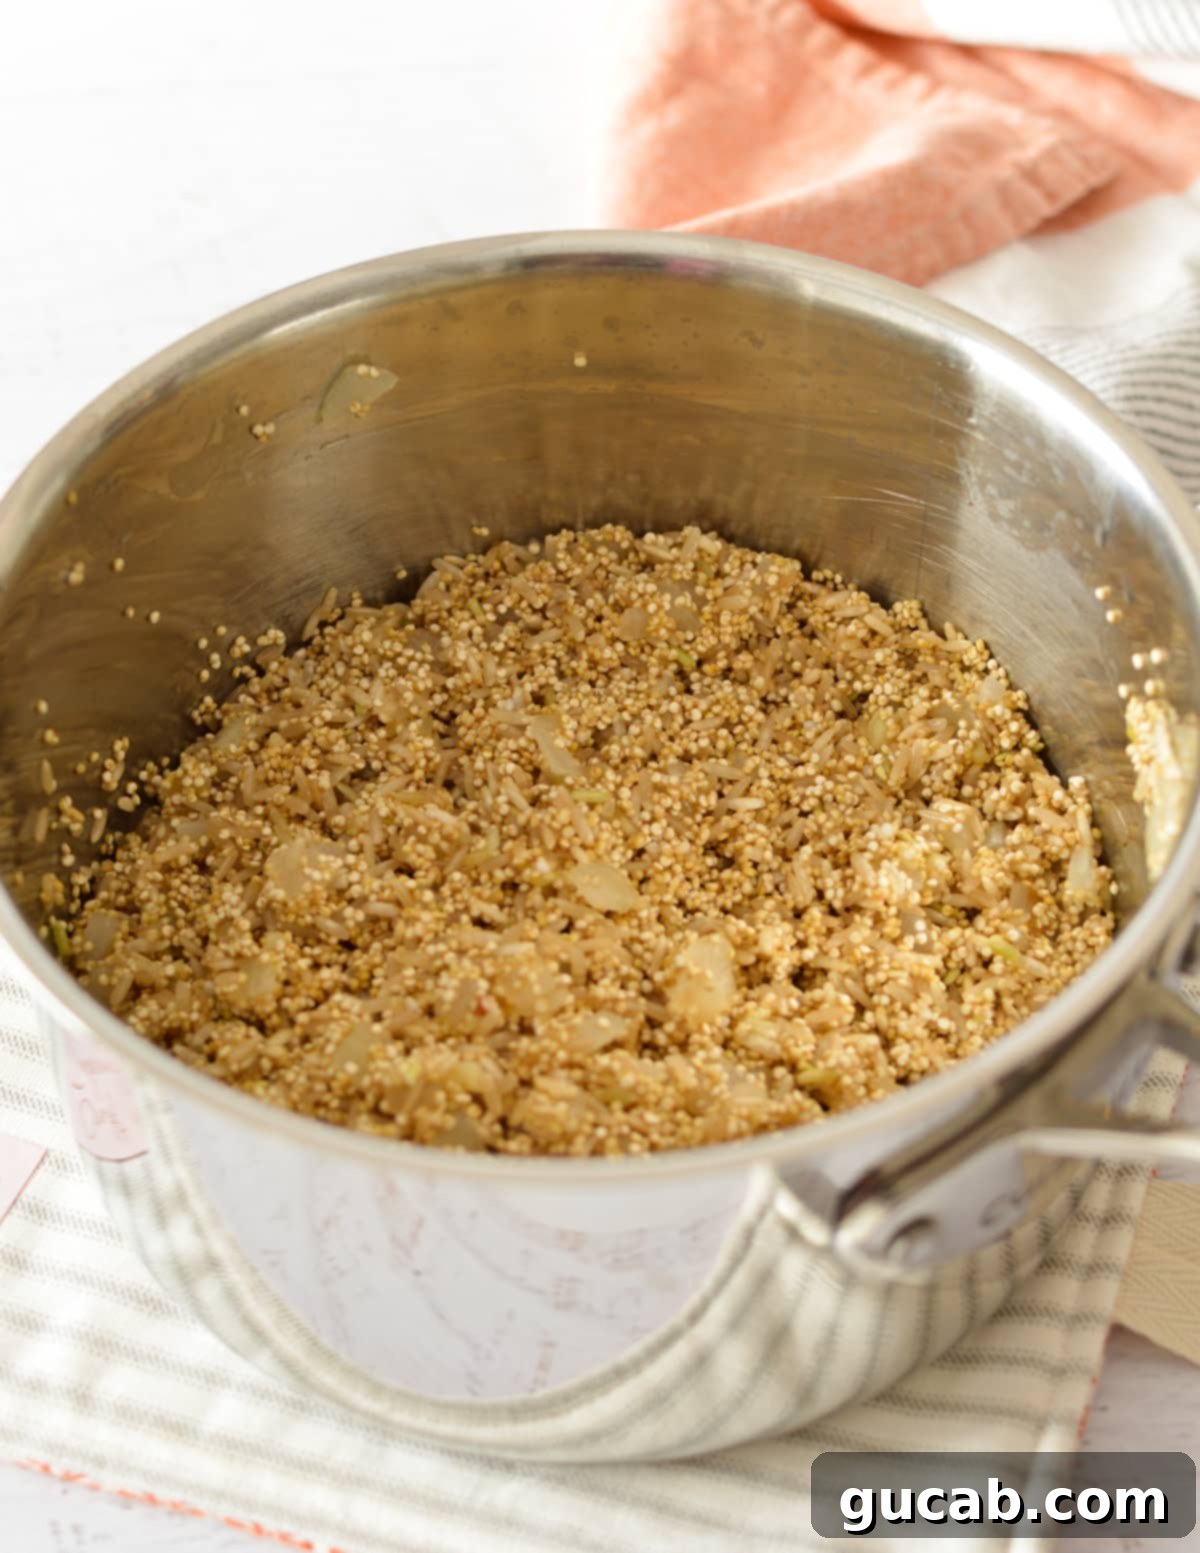
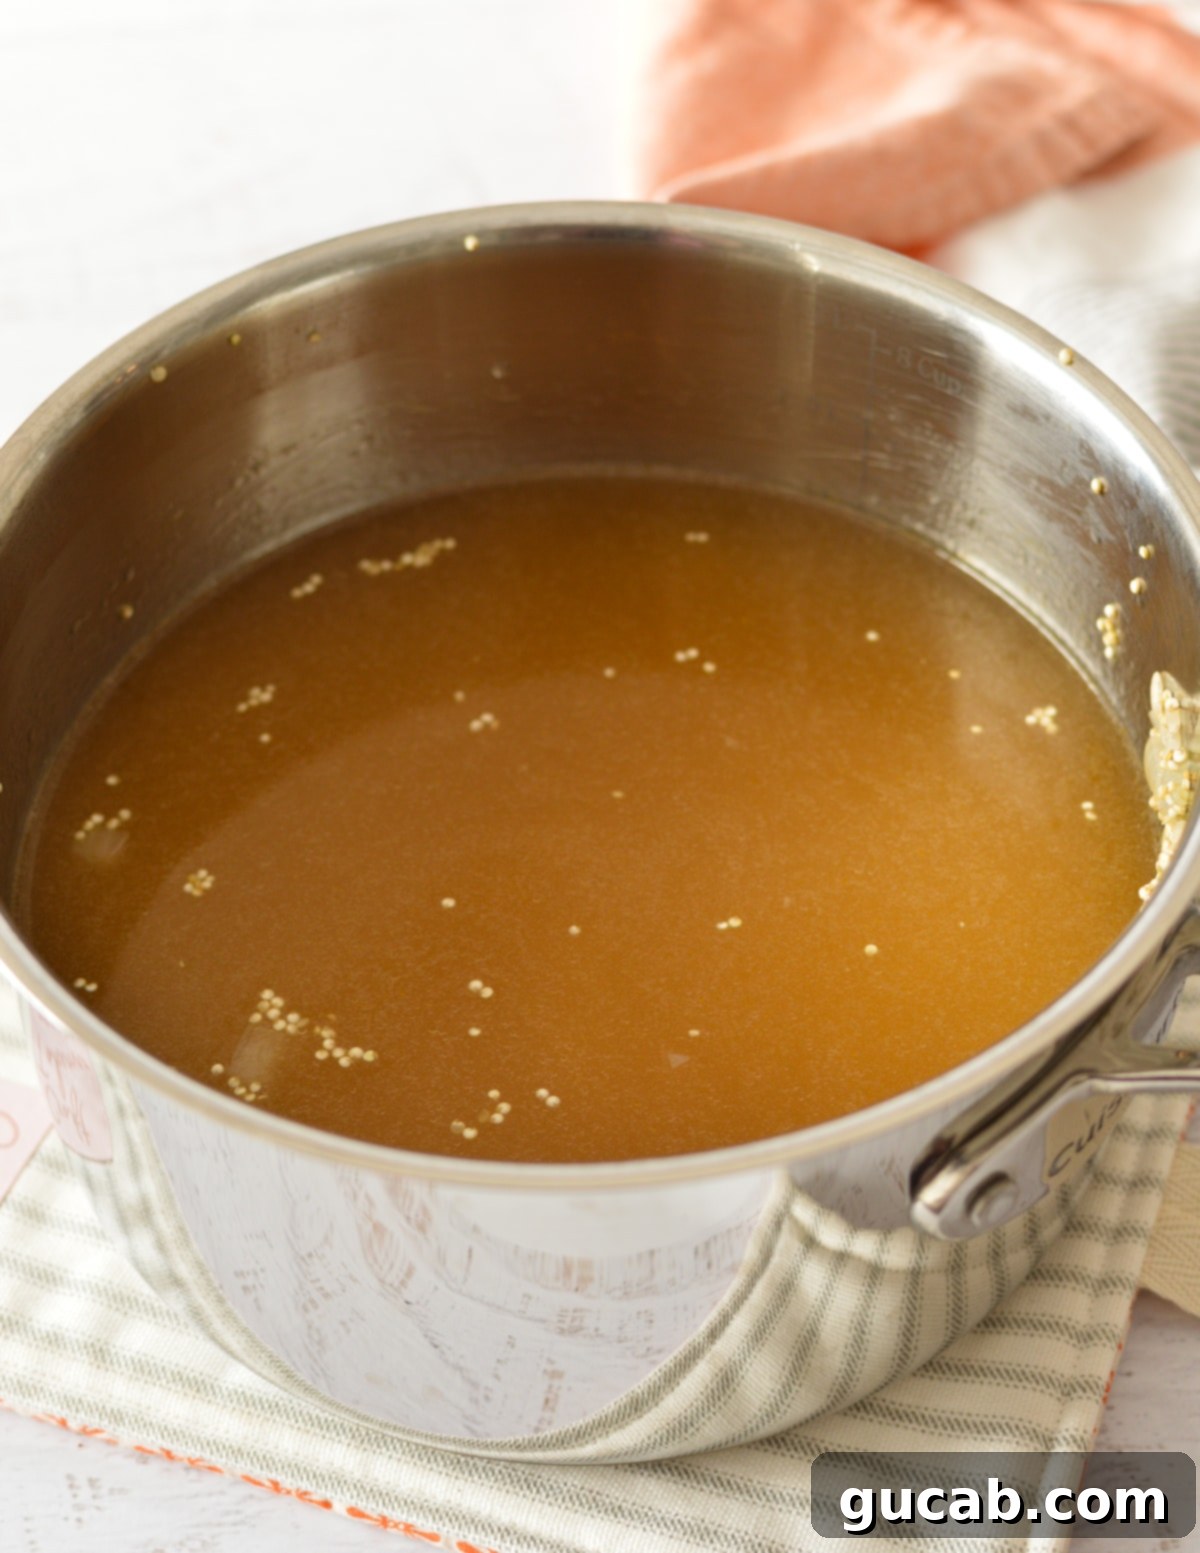
Add the rinsed brown rice and quinoa mixture to the saucepan with the sautéed aromatics. Stir the grains for about 30 seconds, allowing them to lightly toast in the olive oil. This step helps to enhance their nutty flavor. Pour in the vegetable stock and water, along with a pinch of kosher salt. Increase the heat to medium-high and bring the mixture to a rolling boil.
Step 4: Simmer to Absorb Liquid
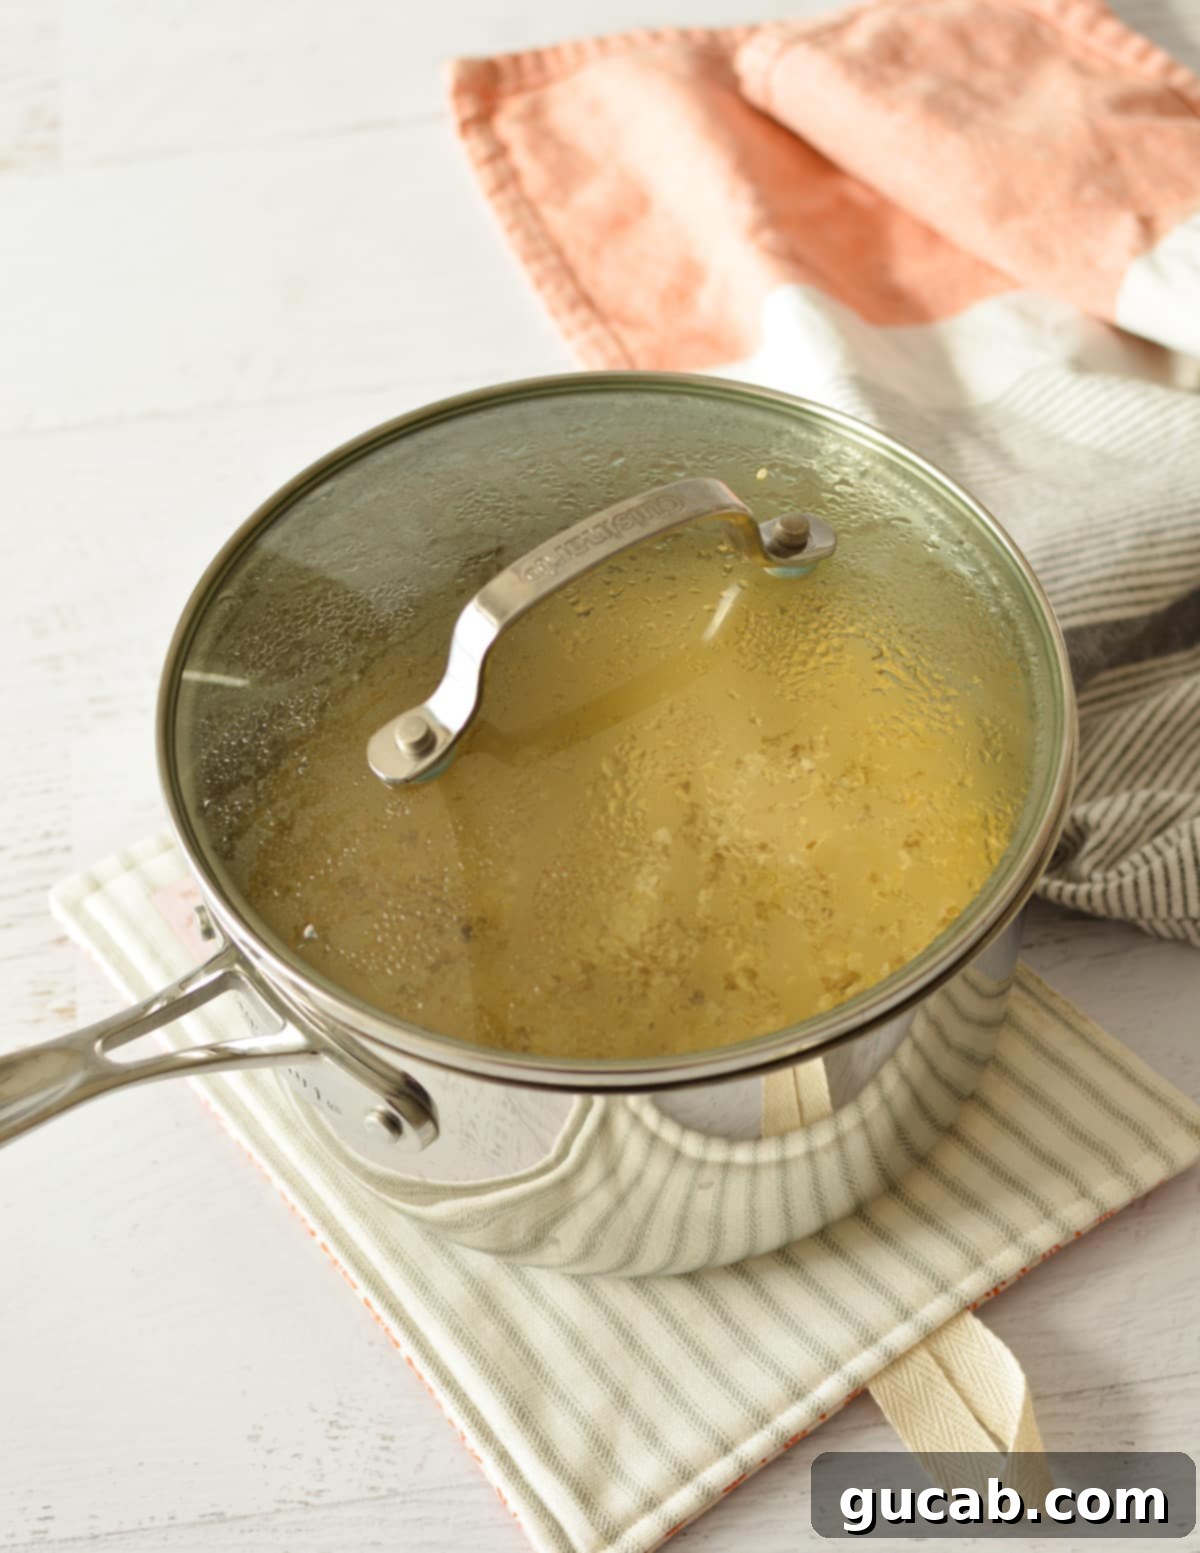
Once the mixture reaches a vigorous boil, immediately reduce the heat to medium-low. Cover the pot tightly with its lid and let it simmer gently. The goal is to cook the grains until all the liquid has been absorbed. This process typically takes about 25 to 28 minutes. Avoid lifting the lid during this time, as it allows steam to escape, which is crucial for proper cooking.
Pro Tip: To check if the liquid has been fully absorbed without disturbing the grains too much, carefully tilt the pot slightly. If you see liquid pooling at the bottom, continue simmering for a few more minutes. Alternatively, after the recommended cooking time, gently insert a spatula or spoon to the bottom of the pot to confirm no standing liquid remains.
Step 5: Steam for Perfect Texture
This step is vital for ensuring both the brown rice and quinoa reach their optimal texture. Once the liquid is absorbed, remove the saucepan from the heat, but keep it covered. Allow the pot to sit undisturbed for an additional 10 minutes. This resting period allows the residual heat to continue steaming the brown rice, helping it to finish cooking and become tender, while simultaneously preventing the quicker-cooking quinoa from becoming mushy. Do not skip this essential step!
Step 6: Fluff and Serve
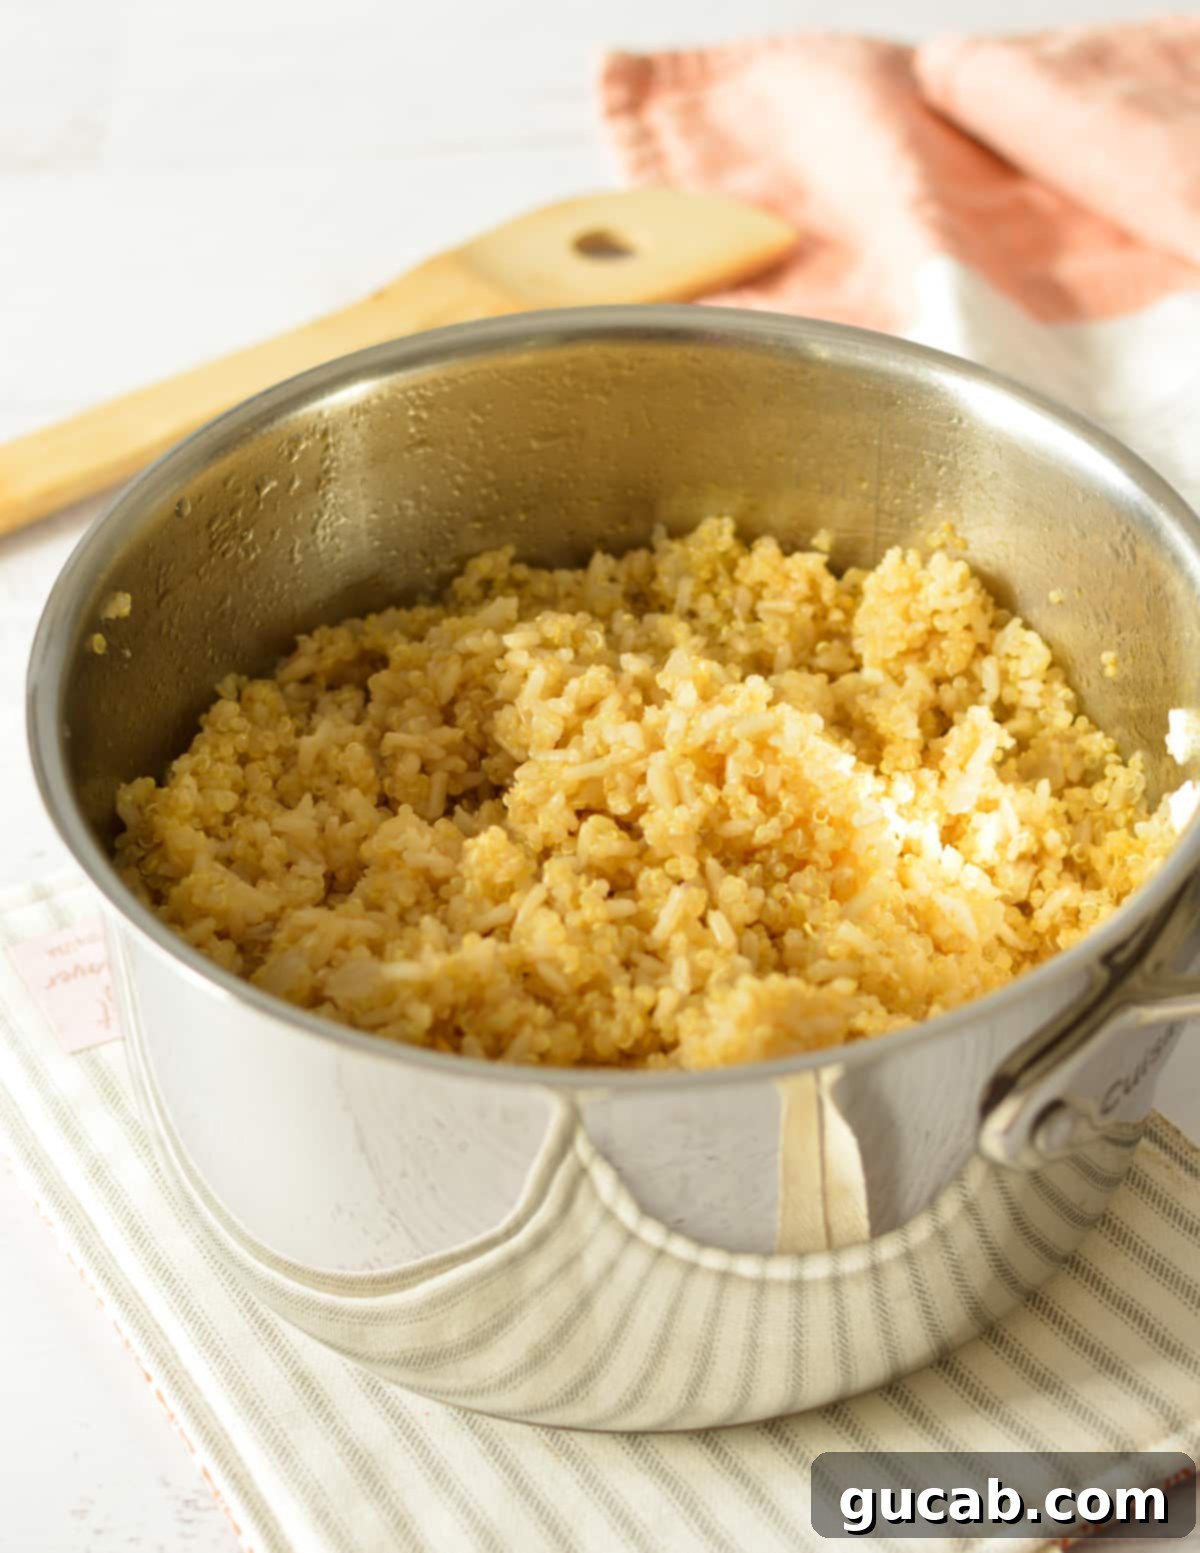
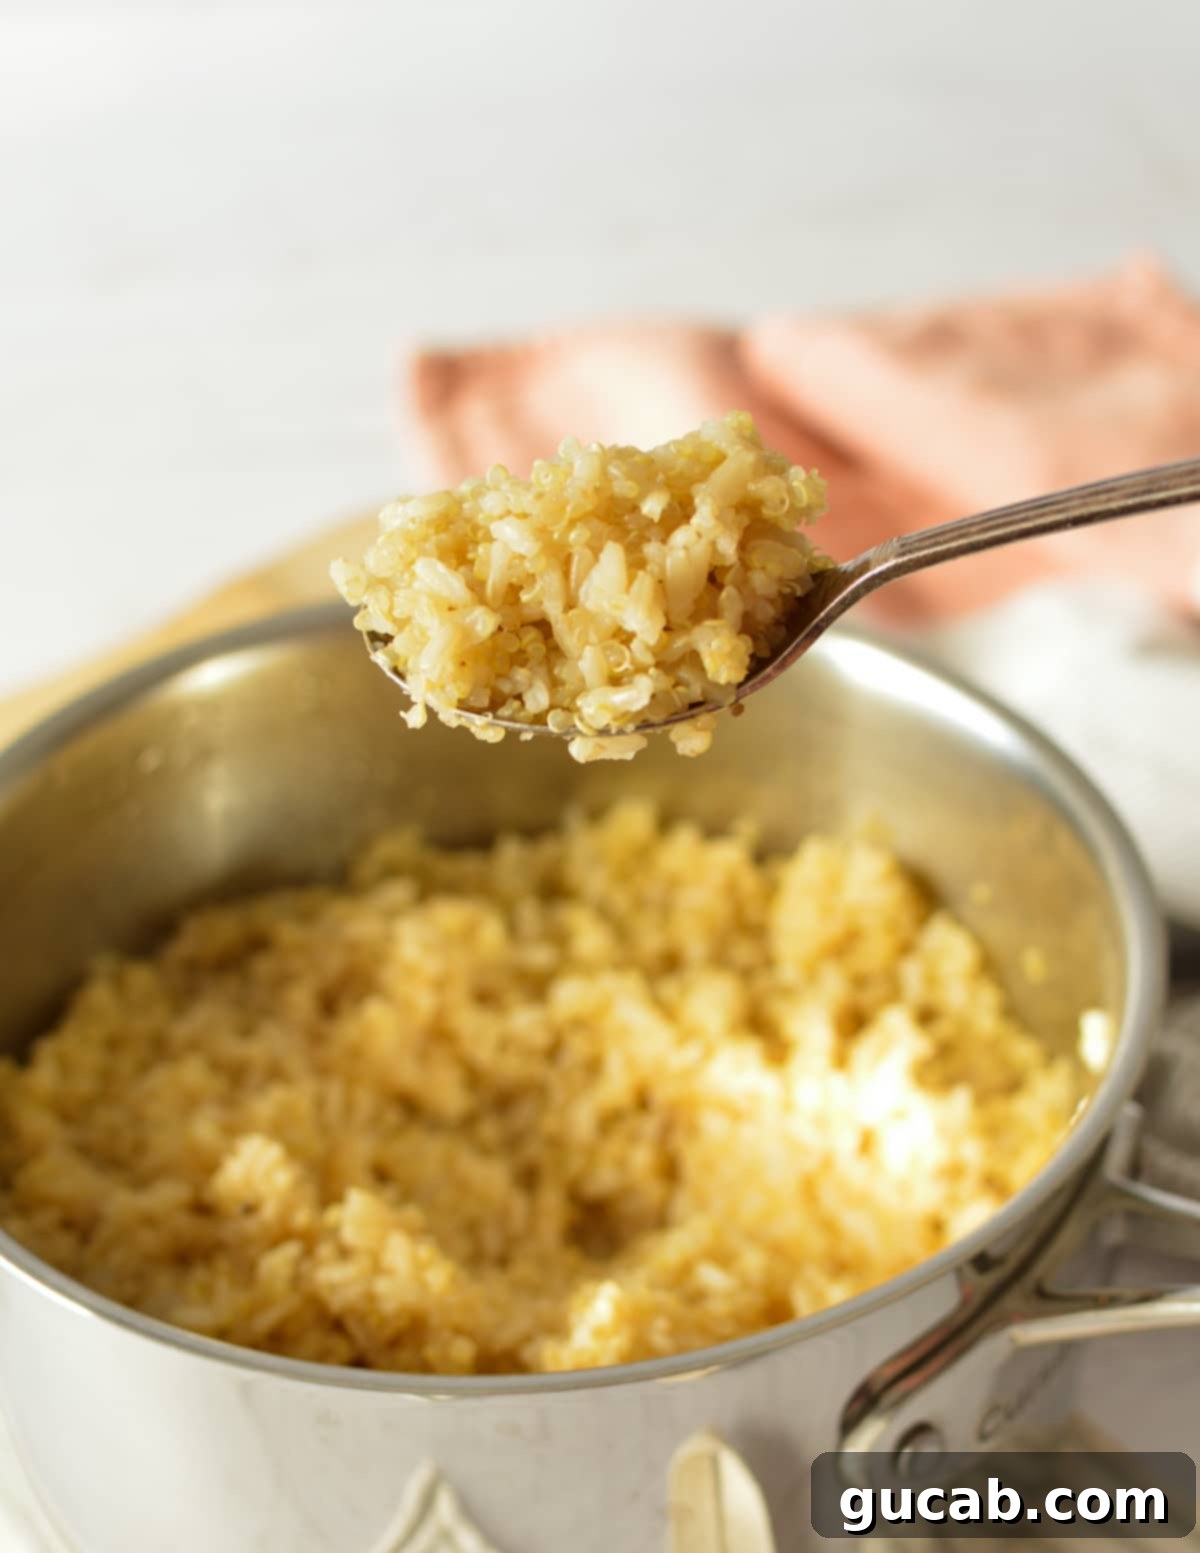
After the 10-minute steaming period, remove the lid from the pot. Use a fork to gently fluff the brown rice and quinoa. This separates the grains and creates that wonderfully light, airy texture. Serve immediately, seasoned with a sprinkle of kosher salt to taste. It’s now ready to be enjoyed as a side dish or incorporated into your favorite recipes!
Recipe Tips for Consistently Perfect Results
Achieving consistently fluffy and delicious brown rice and quinoa is all about mastering a few key techniques. Here are our top tips to ensure your recipe turns out perfectly every time:
- Choose the Right Quinoa: While tri-color quinoa is beautiful, it’s generally not as light or fluffy as white quinoa. For this particular recipe, white quinoa is preferred because its delicate texture perfectly complements the slight chewiness of brown rice. If you opt for tri-color quinoa, be aware that the final product might have a firmer, more chewy mouthfeel.
- Rinse, Rinse, Rinse!: This cannot be stressed enough – rinsing both the brown rice and quinoa is a crucial step for achieving the ideal texture. Rinsing removes excess surface starch from the rice, which is what often leads to a sticky, gluey mess. For quinoa, rinsing helps to wash away saponins, a natural bitter coating, ensuring a cleaner taste. Dedicate at least 30 seconds to this step, gently agitating the grains under cool running water.
- The Power of the Rest Period: Do not skip the 10-minute rest period after cooking, keeping the pot covered. This essential steaming phase allows the brown rice to fully absorb any remaining moisture and finish cooking to a tender perfection, without overcooking or making the quinoa mushy. It uses residual heat to gently steam the grains, resulting in an even, pleasant texture for both.
- Maintain a Gentle Simmer: During the cooking phase, after the mixture has come to a boil, reduce the heat significantly. The quinoa and brown rice should cook at a very gentle simmer. If you notice a rapid, aggressive boil, reduce the heat further, even to low, to prevent the grains from sticking to the bottom of the pot and ensuring even cooking.
- Resist the Urge to Peek: While tempting, avoid lifting the lid during the simmering process. Every time you lift the lid, precious steam escapes, which is vital for the grains to cook properly and evenly. The trapped steam creates an optimal cooking environment.
- Adjust Water-to-Grain Ratio for Altitude: If you live at a high altitude, you might need to slightly increase the amount of liquid or extend the cooking time. Water boils at a lower temperature at higher altitudes, so grains may require more time and moisture to cook thoroughly.
- Season to Taste: While kosher salt is added during cooking, always taste your finished product and adjust seasoning as needed before serving. A little extra salt, a squeeze of lemon juice, or a sprinkle of fresh herbs can truly make the flavors pop.
Storage & Freezing: Meal Prep Made Easy
This brown rice and quinoa recipe is perfect for meal prepping, allowing you to enjoy healthy and delicious meals throughout the week with minimal effort. Here’s how to store and freeze your leftovers effectively:
To Store (Refrigeration):
Once the cooked brown rice and quinoa have cooled completely to room temperature, transfer them to an airtight container. Refrigerate for up to 5 days. Ensuring the grains are fully cooled before sealing prevents condensation, which can lead to sogginess and premature spoilage. When ready to eat, simply reheat portions in the microwave until thoroughly hot. You can add a tablespoon of water or broth during reheating to help restore moisture if the grains seem a little dry.
To Freeze:
For longer storage, brown rice and quinoa freeze beautifully. Once completely cooled, transfer the cooked mixture to a freezer-safe zip-top bag or an airtight freezer-safe container. If using a bag, press out all excess air before sealing to prevent freezer burn. You can also portion the grains into individual servings for convenient grab-and-go meals later. Freeze for up to 3 months. To use, thaw the frozen grains in the refrigerator overnight. Once thawed, reheat in the microwave or on the stovetop with a splash of water or broth, stirring until heated through. Freezing cooked grains is an excellent way to always have a healthy side dish ready!
Nutritional Powerhouse Duo: Benefits of Brown Rice and Quinoa
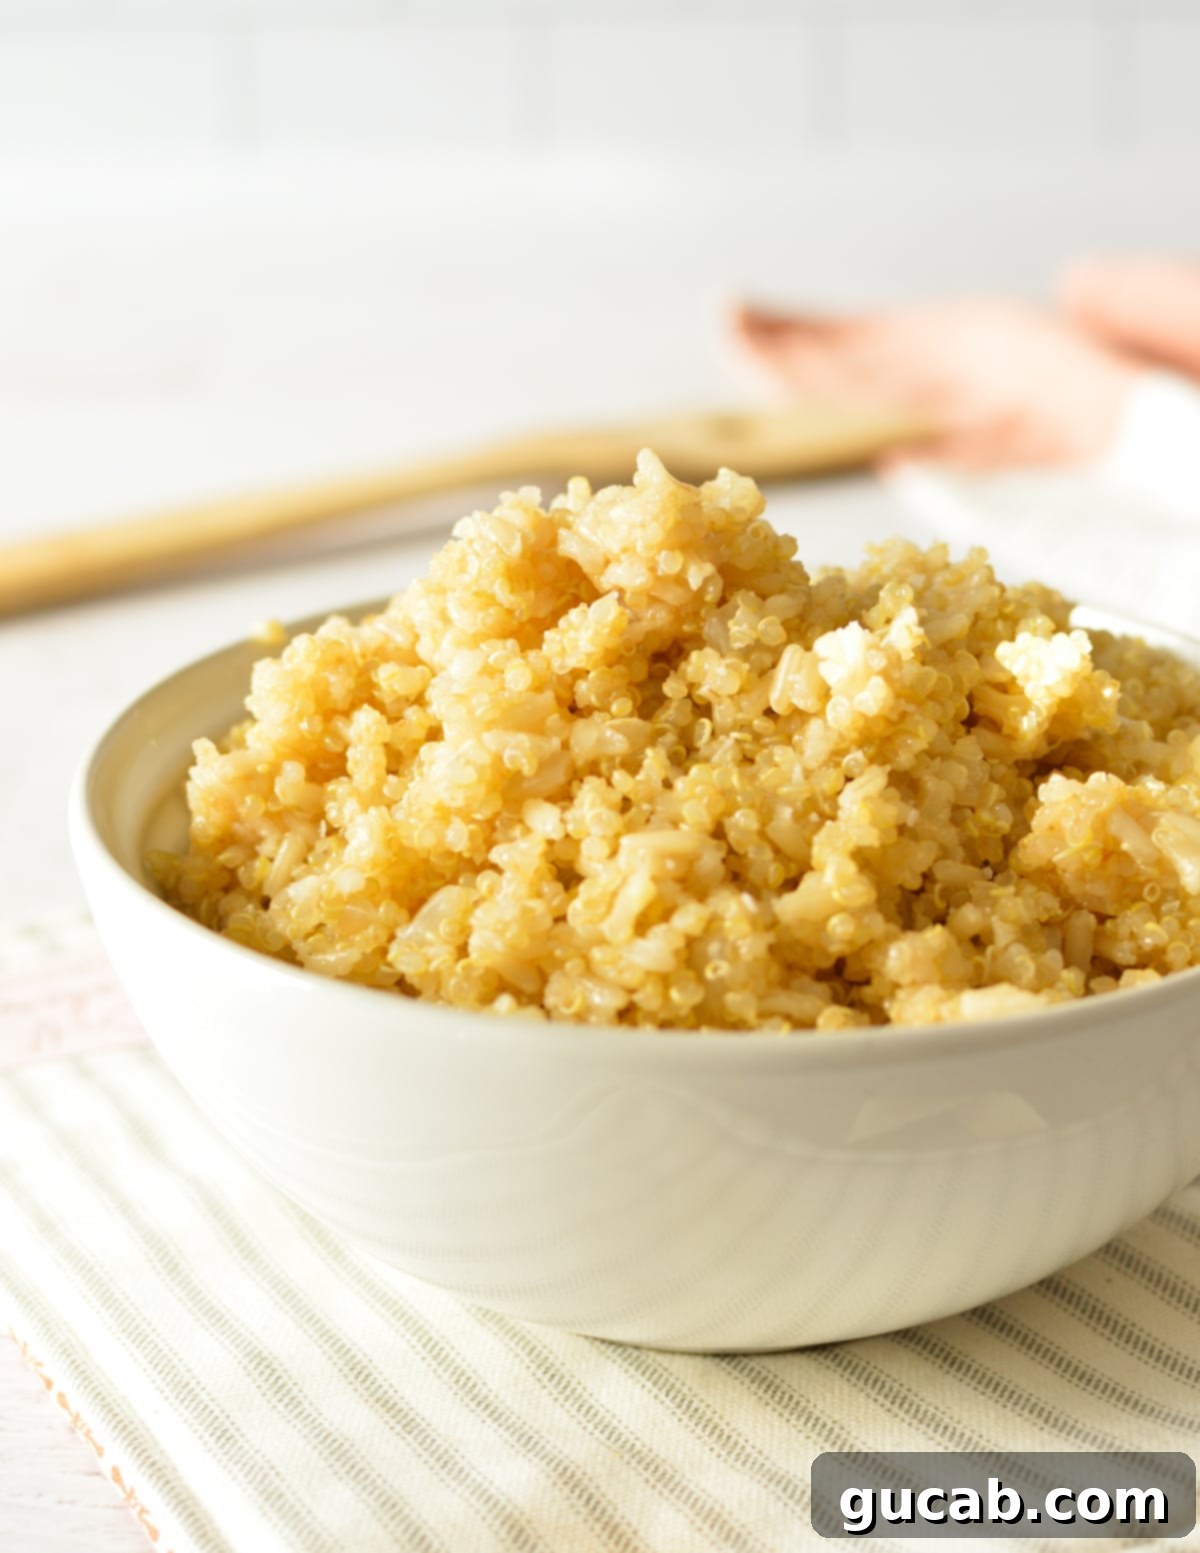
This simple combination of brown rice and quinoa isn’t just delicious; it’s a nutritional powerhouse that offers a wealth of health benefits, making it an excellent choice for a balanced diet. Both grains contribute significantly to your well-being, but together they create an even more comprehensive nutritional profile.
- Complete Protein: Quinoa stands out as one of the few plant-based foods that is considered a complete protein. This means it contains all nine essential amino acids that our bodies cannot produce and must obtain from food. This is particularly beneficial for vegetarians, vegans, and anyone looking to increase their plant-based protein intake.
- Rich in Fiber: Both brown rice and quinoa are excellent sources of dietary fiber. Fiber is crucial for digestive health, promoting regularity and preventing constipation. It also plays a significant role in managing blood sugar levels by slowing down the absorption of glucose, and contributes to satiety, helping you feel fuller for longer and potentially aiding in weight management.
- Abundant in Minerals: This grain duo provides a good dose of essential minerals. Quinoa is particularly rich in magnesium (important for muscle and nerve function, blood glucose control, and blood pressure regulation), phosphorus, manganese, folate, and iron. Brown rice adds to this with selenium, zinc, and B vitamins.
- Antioxidant Properties: Both grains contain various antioxidants, which help to combat oxidative stress in the body. Antioxidants protect cells from damage caused by free radicals, potentially reducing the risk of chronic diseases.
- Gluten-Free: Naturally gluten-free, this recipe is a fantastic option for individuals with celiac disease or gluten sensitivity, offering a safe and nutritious alternative to wheat-based grains.
- Heart Health: The fiber content, combined with beneficial minerals, contributes to cardiovascular health by helping to lower cholesterol levels and maintain healthy blood pressure.
By incorporating this brown rice and quinoa mix into your diet, you’re not just enjoying a tasty side; you’re fueling your body with vital nutrients that support overall health and well-being.
Versatile Serving Suggestions for Any Occasion
One of the greatest strengths of this brown rice and quinoa recipe is its incredible versatility. It can be easily adapted to complement almost any meal, making it an invaluable staple for quick dinners, elaborate feasts, and everything in between. Here are some ideas to inspire your next meal:
- Base for Grain Bowls: Create vibrant and nutritious grain bowls by topping a generous serving of brown rice and quinoa with roasted vegetables (like sweet potatoes, broccoli, or bell peppers), grilled chicken or fish, a fried egg, avocado, and a drizzle of your favorite sauce (tahini dressing, balsamic glaze, or peanut sauce).
- Side Dish Extraordinaire: Serve it alongside grilled meats, such as steak, chicken, or lamb chops, or with pan-seared fish like salmon or cod. It’s a fantastic alternative to mashed potatoes or white rice, offering more texture and nutrients.
- Stuffed Vegetables: Use the mixture as a savory stuffing for bell peppers, zucchini, tomatoes, or even mushrooms. Combine it with herbs, cheese, and extra vegetables for a hearty main course.
- Salad Booster: Add cooled brown rice and quinoa to your green salads for an extra boost of protein, fiber, and texture. It works wonderfully in Mediterranean-inspired salads with feta, olives, and cucumbers, or in a vibrant summer salad with fresh berries and nuts.
- Burrito or Taco Filler: Incorporate it into your burritos, tacos, or enchiladas for a wholesome and filling component. It pairs well with black beans, corn, salsa, and guacamole.
- Soups and Stews: Stir a scoop of cooked brown rice and quinoa into your favorite vegetable or chicken soup, minestrone, or lentil stew during the last few minutes of cooking for added body and nutrition.
- Breakfast Bowls: Believe it or not, it can even be adapted for breakfast! Sweeten it with a touch of maple syrup or honey, add fresh fruit, nuts, and a splash of milk for a warm and hearty morning meal.
Flavor Variations and Customizations
Once you’ve mastered the basic recipe, don’t hesitate to experiment with different flavors and ingredients to make this brown rice and quinoa mix uniquely yours. The possibilities are endless!
- Herbs & Spices: Stir in fresh chopped herbs like parsley, cilantro, or mint after cooking for a burst of freshness. For a savory profile, add dried herbs like oregano, thyme, or a pinch of rosemary during the sautéing stage. Spices such as cumin, paprika, turmeric, or even a touch of chili powder can transform the flavor profile entirely.
- Citrus Zest & Juice: A squeeze of fresh lemon or lime juice and a sprinkle of their zest just before serving can brighten the entire dish, adding a zesty, aromatic finish.
- Toasted Nuts & Seeds: For added crunch and healthy fats, fold in toasted pine nuts, slivered almonds, chopped walnuts, pumpkin seeds (pepitas), or sunflower seeds after fluffing.
- Dried Fruits: For a touch of sweetness and chewiness, consider adding dried cranberries, raisins, chopped apricots, or golden berries, especially if pairing with savory-sweet dishes.
- Roasted Vegetables: Stir in leftover roasted vegetables like carrots, zucchini, mushrooms, or bell peppers for a complete, vibrant side dish.
- Cheese: A sprinkle of crumbled feta, grated Parmesan, or a mild goat cheese can add a creamy, tangy, or salty dimension.
- Liquid Base Variations: Experiment with different broths. Mushroom broth can add an earthy depth, while chicken broth offers a richer, more robust flavor.
- Heat: For a kick, add a pinch of red pepper flakes with the garlic or stir in a dash of your favorite hot sauce at the end.
These simple additions can dramatically change the character of your brown rice and quinoa, allowing you to tailor it to your preferences and the main course you’re serving.
Troubleshooting Common Cooking Issues
Even with a straightforward recipe, sometimes things don’t go exactly as planned. Here are solutions to common problems you might encounter while cooking brown rice and quinoa:
- Mushy Grains:
- Too Much Liquid: The most common cause. Ensure you’re measuring your liquid precisely.
- Overcooking: Keep an eye on the clock and reduce heat to a gentle simmer. Avoid a vigorous boil during the simmering phase.
- Lifting the Lid: Each time you lift the lid, steam escapes, which can disrupt the cooking process and lead to unevenly cooked or mushy grains.
- Skipping the Rest: The 10-minute rest off the heat is crucial for the grains to fully absorb moisture and firm up.
Solution: If your grains are already mushy, gently spread them on a baking sheet to cool and dry out slightly. You can then use them in dishes where texture is less critical, like soups or patties. For future batches, ensure accurate liquid measurements, maintain a gentle simmer, and let the grains rest.
- Sticky Grains:
- Not Rinsed Properly: The primary reason for sticky rice is excess starch.
- Over-Stirring: Stirring too much during cooking releases starch and breaks down grains.
Solution: Always rinse your brown rice and quinoa thoroughly before cooking. After the initial toast, avoid stirring the grains once the liquid is added and it starts simmering.
- Undercooked/Hard Grains:
- Not Enough Liquid: Double-check your measurements.
- Heat Too Low: The grains need consistent heat to cook. Ensure your simmer is gentle but active.
- Lid Not Tight: A loose lid allows steam to escape, preventing proper cooking.
- Insufficient Rest Time: The rest period is crucial for the brown rice to finish cooking.
Solution: If the grains are still hard after cooking and resting, but all liquid is absorbed, you can try adding a splash (1/4 to 1/2 cup) of hot water or broth, covering tightly, and simmering on very low heat for another 5-10 minutes, followed by a full rest period.
- Scorched/Burned Bottom:
- Heat Too High: The heat during simmering was too strong.
- Pot Size: Using a pot that is too large can spread the liquid too thin, causing the bottom to dry out and burn.
Solution: Reduce the heat to a very gentle simmer. If using an electric stove, you might need to move the pot to a cooler burner or place a heat diffuser under it. Ensure you are using a medium-sized saucepan that allows the grains to form a good layer for even cooking.
By understanding these common issues and their solutions, you’ll be well on your way to consistently cooking perfect brown rice and quinoa.
FAQs About Brown Rice and Quinoa
Absolutely, yes! Both brown rice and quinoa are incredibly healthy and offer a multitude of nutritional benefits. Brown rice is a whole grain, providing complex carbohydrates, fiber, and essential minerals like selenium and manganese. Quinoa is even more impressive, being a complete protein (meaning it contains all nine essential amino acids) and rich in fiber, magnesium, B vitamins, iron, potassium, calcium, phosphorus, and vitamin E. Together, they form a powerful duo that supports digestive health, provides sustained energy, aids in muscle repair and growth, and contributes to overall well-being. This combination is an excellent choice for a balanced diet, suitable for many dietary preferences including vegetarian, vegan, and gluten-free.
Yes, they absolutely can! This recipe specifically demonstrates how to cook them together to achieve the best texture for both. The key is to manage their slightly different cooking times. Brown rice typically takes a bit longer to cook through than quinoa. This recipe accounts for that by utilizing a specific simmer time followed by a crucial 10-minute covered rest period off the heat. This resting phase allows the residual heat to continue steaming the brown rice, ensuring it becomes perfectly tender, while preventing the quinoa from overcooking and turning mushy. This method ensures both grains are cooked to their ideal consistency.
For this specific recipe, using ¾ cup of brown rice and ¾ cup of white quinoa (totaling 1.5 cups of grains), we use 2 cups of vegetable stock and 1¼ cups of water, for a total of 3.25 cups of liquid. This gives you a liquid-to-grain ratio of approximately 2.16 cups of liquid per 1 cup of grains. This ratio, combined with the cooking technique (sautéing, simmering, and resting), is calibrated to produce perfectly fluffy and separated grains.
The total active and inactive time for this recipe is about 40 minutes. This breaks down into approximately 5 minutes for prep (rinsing and sautéing aromatics), 25-28 minutes for simmering until the liquid is absorbed, and a final, essential 10-minute resting period off the heat. This allows the grains to fully steam and become tender, especially the brown rice, without overcooking the quinoa.
While you can technically use other types of quinoa, this recipe specifically recommends white quinoa for its lighter, fluffier texture. Tri-color or red quinoa varieties tend to have a firmer, chewier texture when cooked. If you opt to use them, the final dish might have a slightly different mouthfeel, being less fluffy and more substantial. The cooking time should remain similar, but keep an eye on the texture and adjust the resting period slightly if needed to ensure the brown rice is fully cooked.
More Wholesome Side Dishes
- How to Make Perfect White Rice
Brown Rice & Quinoa Recipe
Carolyn
Pin Recipe
Equipment
-
Saucepan with a tight-fitting lid
-
Fine mesh sieve
Ingredients
- ¾ cup long-grain brown rice
- ¾ cup white quinoa
- 1 tablespoon olive oil
- ½ cup small diced yellow onion
- 2 garlic cloves minced (or 1 tsp jarred minced garlic)
- 2 cups vegetable stock
- 1¼ cup water
- ¼ teaspoon kosher salt
Instructions
-
Rinse: Combine the brown rice and quinoa in a fine-mesh sieve and rinse thoroughly under cool running water for at least 30 seconds, using your hands to move the grains around. This removes excess starch and bitterness.
-
Sauté Aromatics: In a medium saucepan, heat the olive oil over medium heat. Add the diced onion and cook, stirring occasionally, until it becomes translucent (about 3-5 minutes). Then, add the minced garlic and cook for an additional 30 seconds until fragrant, being careful not to burn it.
-
Toast Grains: Add the rinsed quinoa and brown rice to the saucepan. Stir and cook for 30 seconds, allowing the grains to lightly toast and enhance their nutty flavor.
-
Add Liquid and Boil: Pour in the vegetable stock, water, and kosher salt. Increase the heat to medium-high and bring the mixture to a rolling boil.
-
Simmer: Once boiling, reduce the heat immediately to medium-low. Cover the pot tightly with a lid and let it simmer gently until all the liquid is absorbed. This typically takes about 25 to 28 minutes. Avoid lifting the lid during this process.
-
Steam: Remove the saucepan from the heat, but keep the lid on. Let it sit, undisturbed and covered, for an additional 10 minutes. This essential resting period allows the brown rice to finish cooking and ensures both grains achieve a perfect, fluffy texture.
-
Fluff and Serve: Finally, remove the lid and use a fork to gently fluff the brown rice and quinoa, separating the grains. Serve warm, with an optional extra sprinkle of kosher salt to taste.
Nutrition
