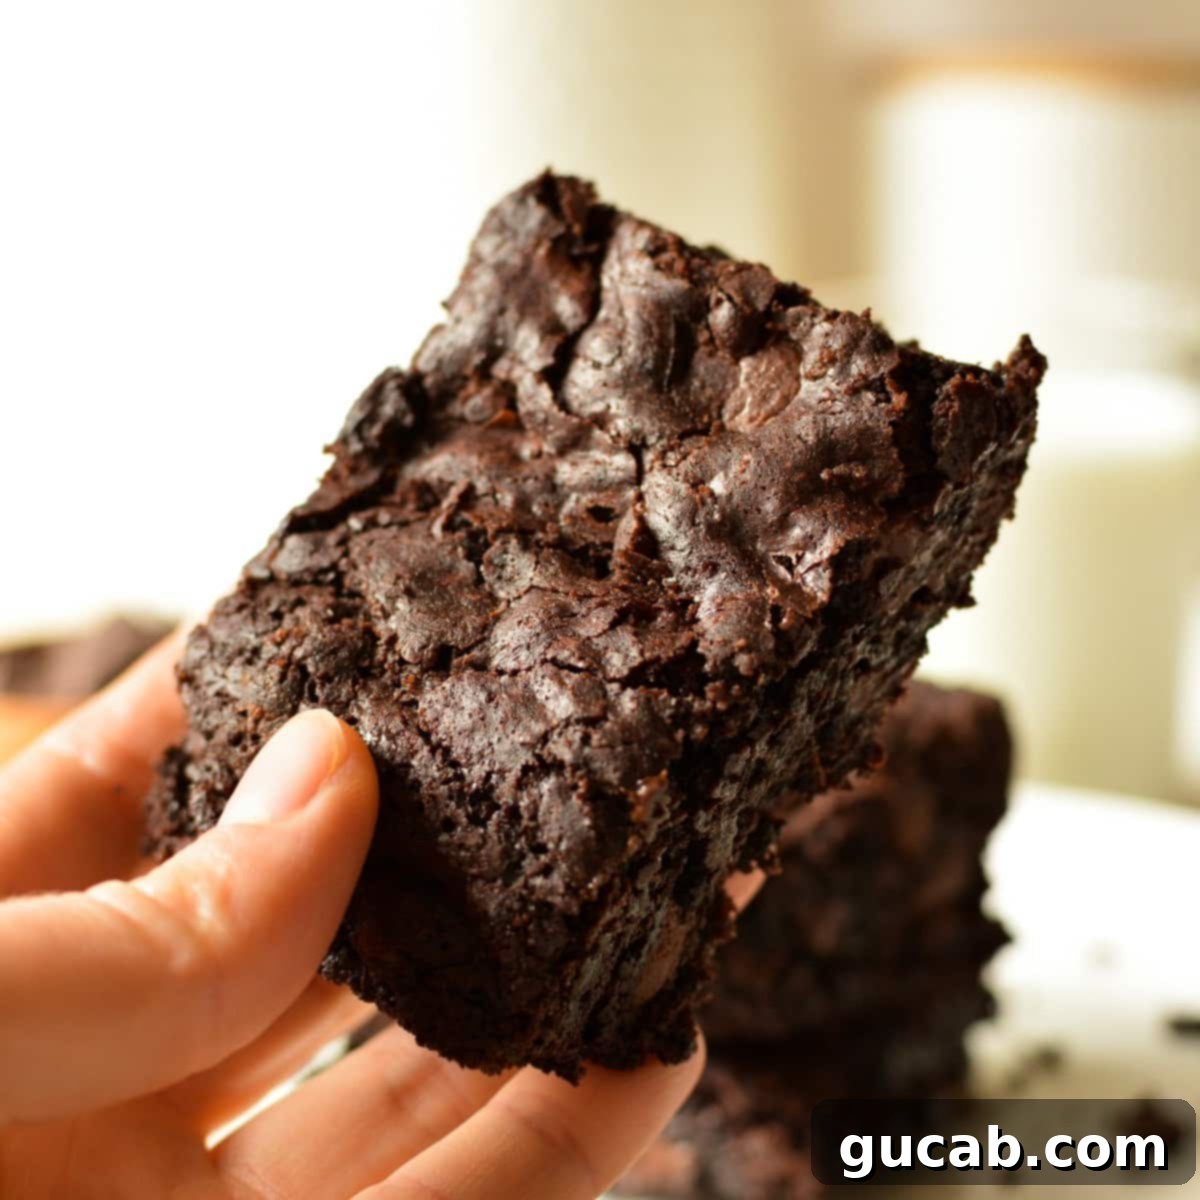
The Ultimate Guide to Fudgy Gluten-Free Brownies: Achieve Perfect Crackled Tops and Gooey Centers Every Time
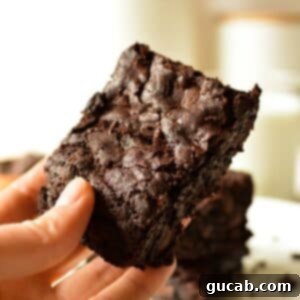
Craving that classic, irresistible fudgy brownie experience but need it to be gluten-free? You’ve come to the right place! These gluten-free brownies aren’t just ‘good for gluten-free’; they taste absolutely identical to their conventional counterparts, delivering everything you adore about a perfect brownie. Prepare for those coveted crackled tops, incredibly ooey-gooey centers, and an intensely rich chocolatey flavor that will make you forget they’re gluten-free at all.
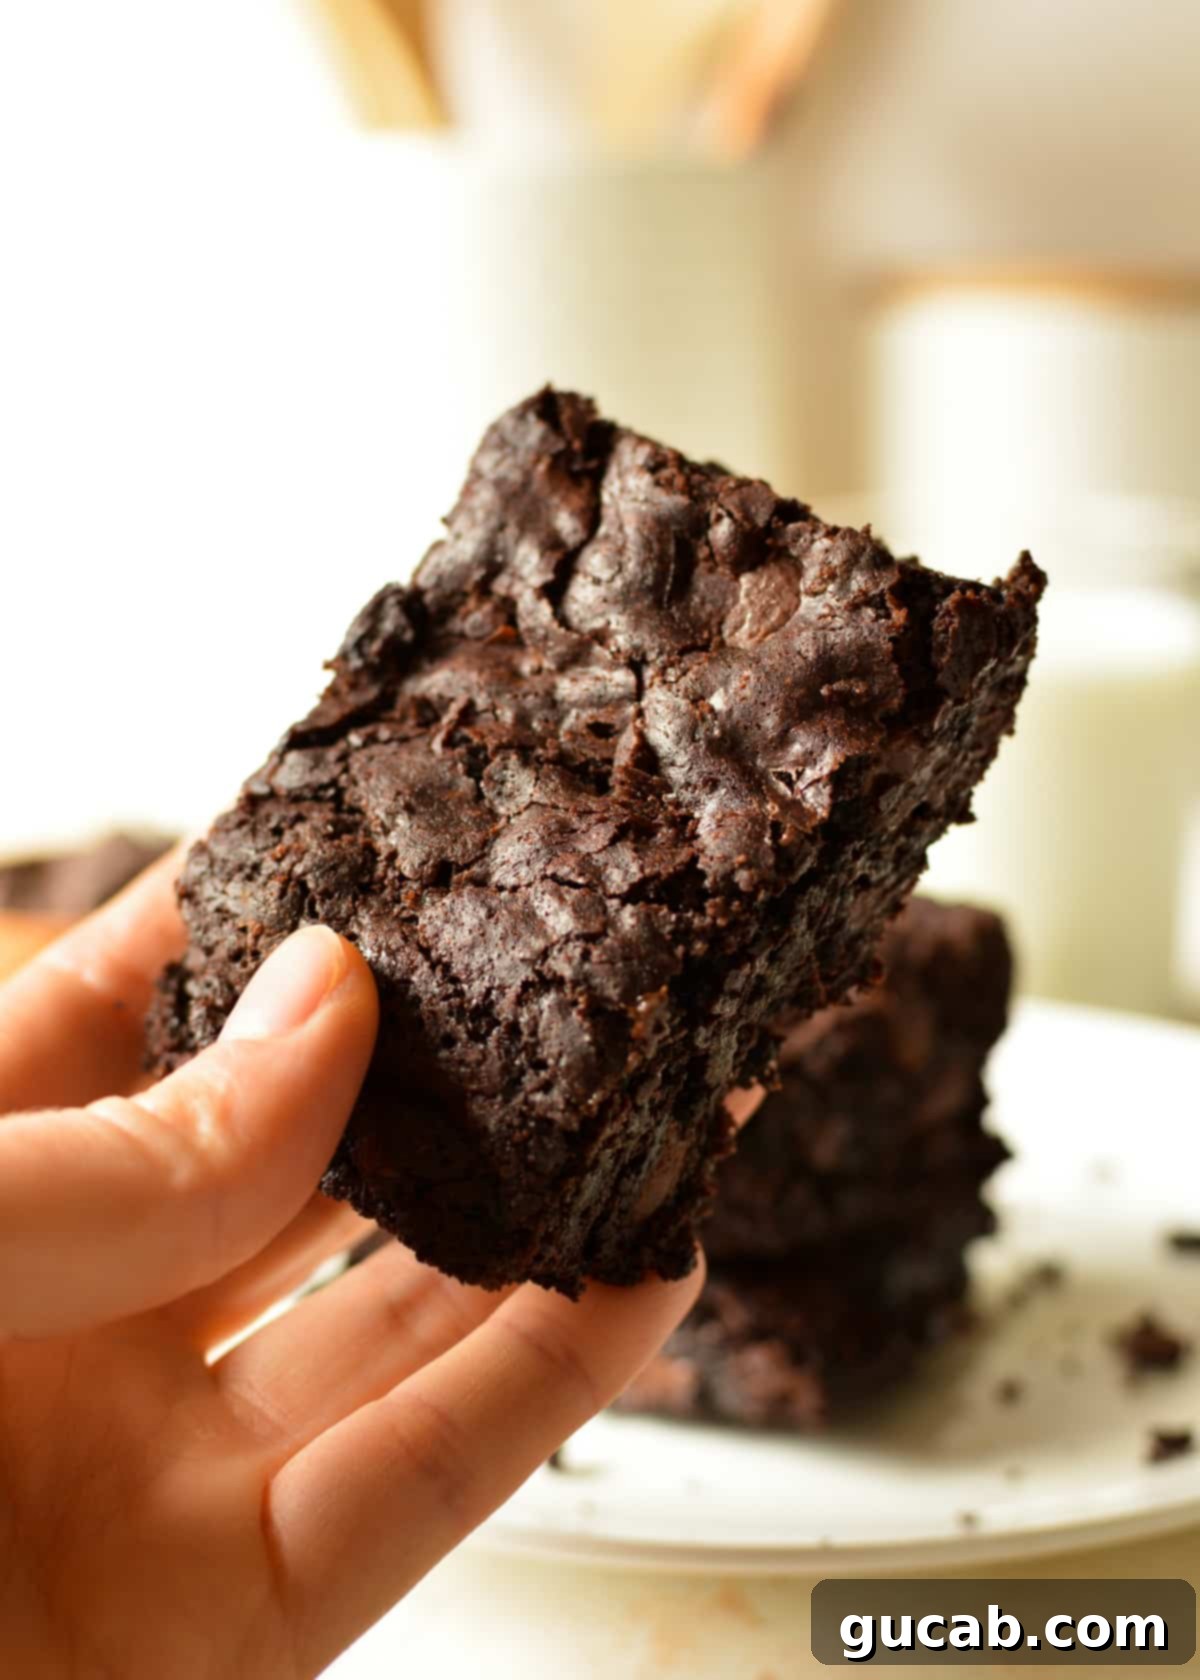
The world of gluten-free baking can be a minefield of dry, crumbly, or cake-like disappointments, especially when it comes to something as beloved as a brownie. Not all gluten-free brownies are created equal, and finding a recipe that truly delivers on the promise of fudginess and intense chocolate flavor can feel like a culinary quest. While I appreciate the vibrant flavors of fruit desserts like a crisp apple crumble or a zesty key lime pie, my culinary heart unequivocally belongs to chocolate – specifically, dark, rich, and utterly fudgy chocolate.
You might assume that finding a stellar brownie recipe, even a gluten-free one, would be a straightforward task, given that most ingredients are common pantry staples. However, my journey taught me otherwise. I endured numerous bland, dry, and distinctly “un-brownie” attempts before finally setting aside the endless search for existing recipes and taking matters into my own hands, spatula in tow, determined to craft the ultimate gluten-free brownie.
After much experimentation and a relentless pursuit of perfection, I’ve distilled the essence of a truly exceptional brownie down to a few non-negotiable elements. For me, a brownie must absolutely possess these qualities:
- **A Distinctive Crackled, Crisp Top:** That beautiful, thin, shiny crust that shatters slightly when you bite into it is a hallmark of a well-made brownie. It adds textural contrast and visual appeal.
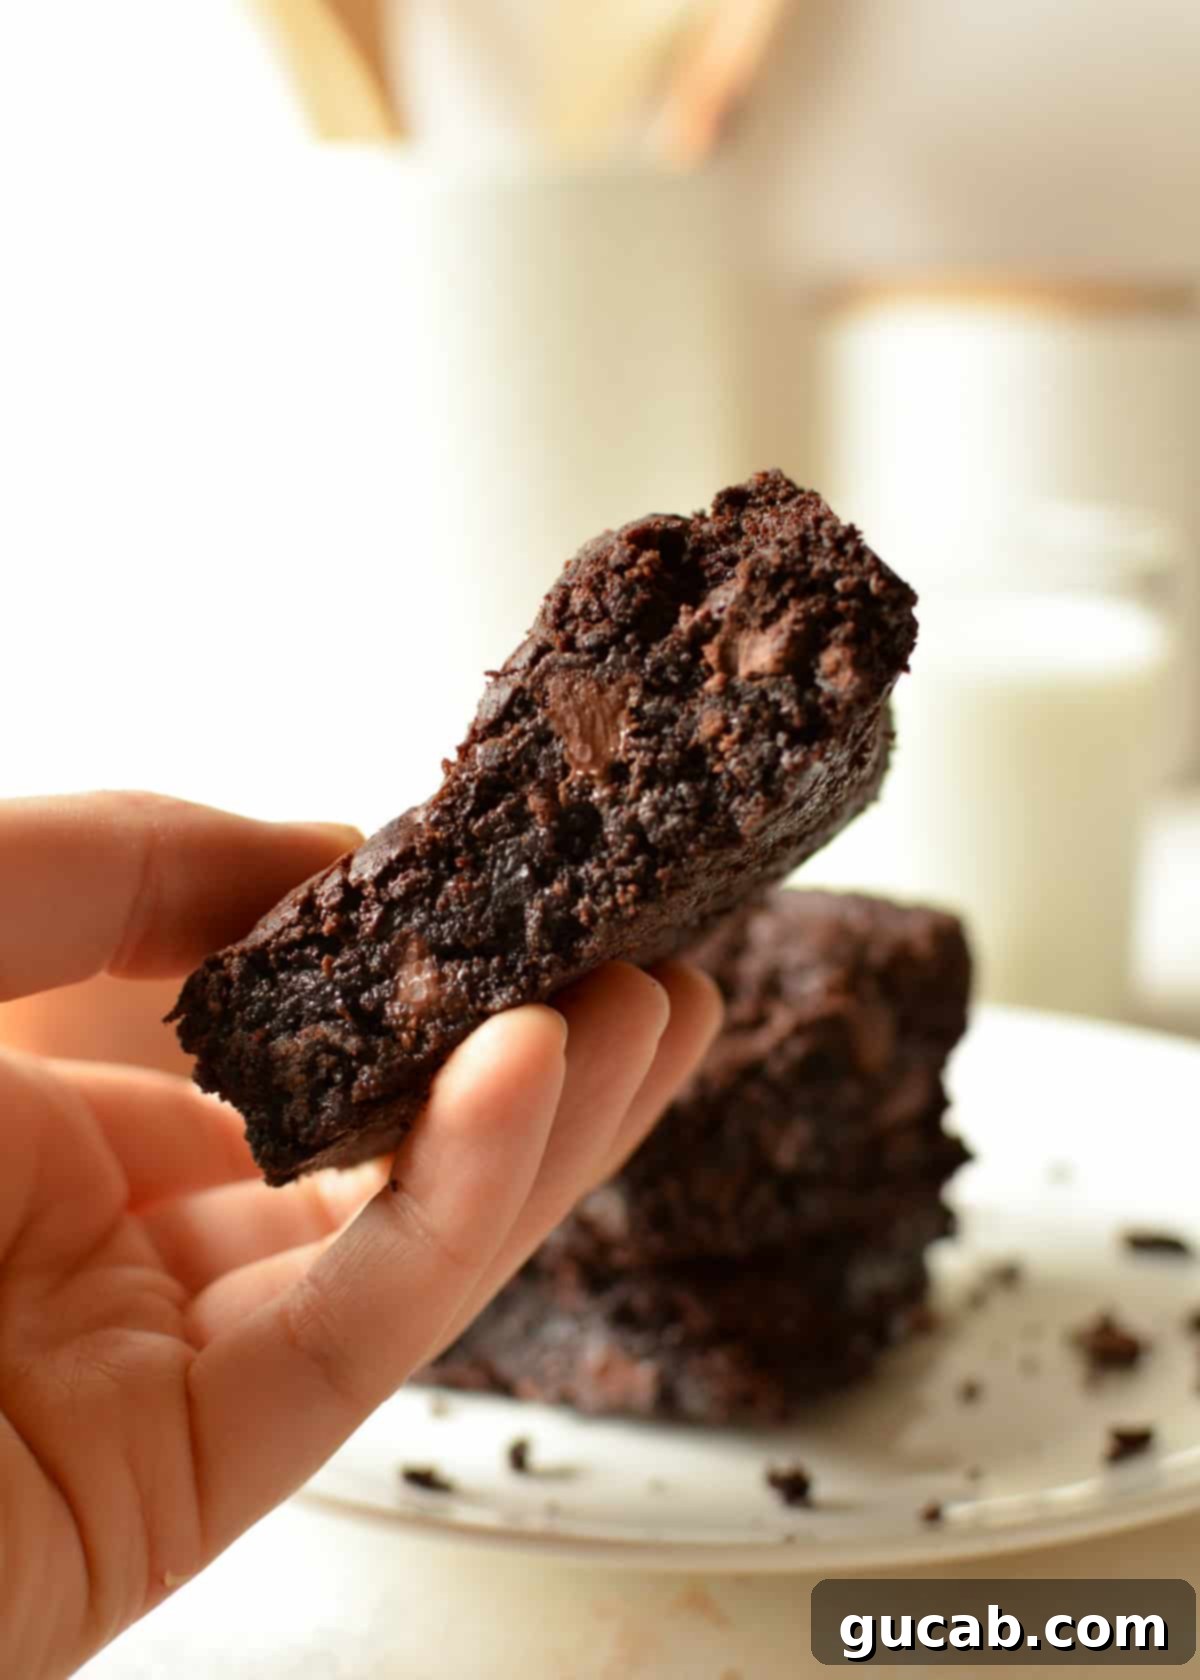
- **A Fudgy, Ultra-Gooey Interior:** No dry, cakey brownies allowed! The core should be dense, moist, and almost melt-in-your-mouth, reminiscent of rich fudge.
- **An Abundance of Oozing Chocolate Chips:** For me, a brownie isn’t complete without pockets of melted, warm chocolate chips scattered throughout, enhancing every bite with an extra burst of molten goodness. (Is it just me, or do you live for this too?)
The best part? This isn’t just a recipe that ticks all the boxes; it’s also incredibly simple to make. It’s a “one-bowl wonder,” which, in my kitchen, is the ultimate win. As someone who feels compelled to wash every dish before it even sees the inside of the dishwasher, a minimal-mess recipe translates directly into maximum good vibes and less kitchen anxiety. This recipe streamlines the process, ensuring you spend less time cleaning and more time savoring.
And for those rare occasions when you’re truly short on time or energy and can’t whip up a batch from scratch, a great shortcut exists. My current go-to for a reliable gluten-free brownie mix is Betty Crocker – it’s a fantastic emergency option that won’t let you down.
Essential Ingredients for the Perfect Gluten-Free Fudge Brownies
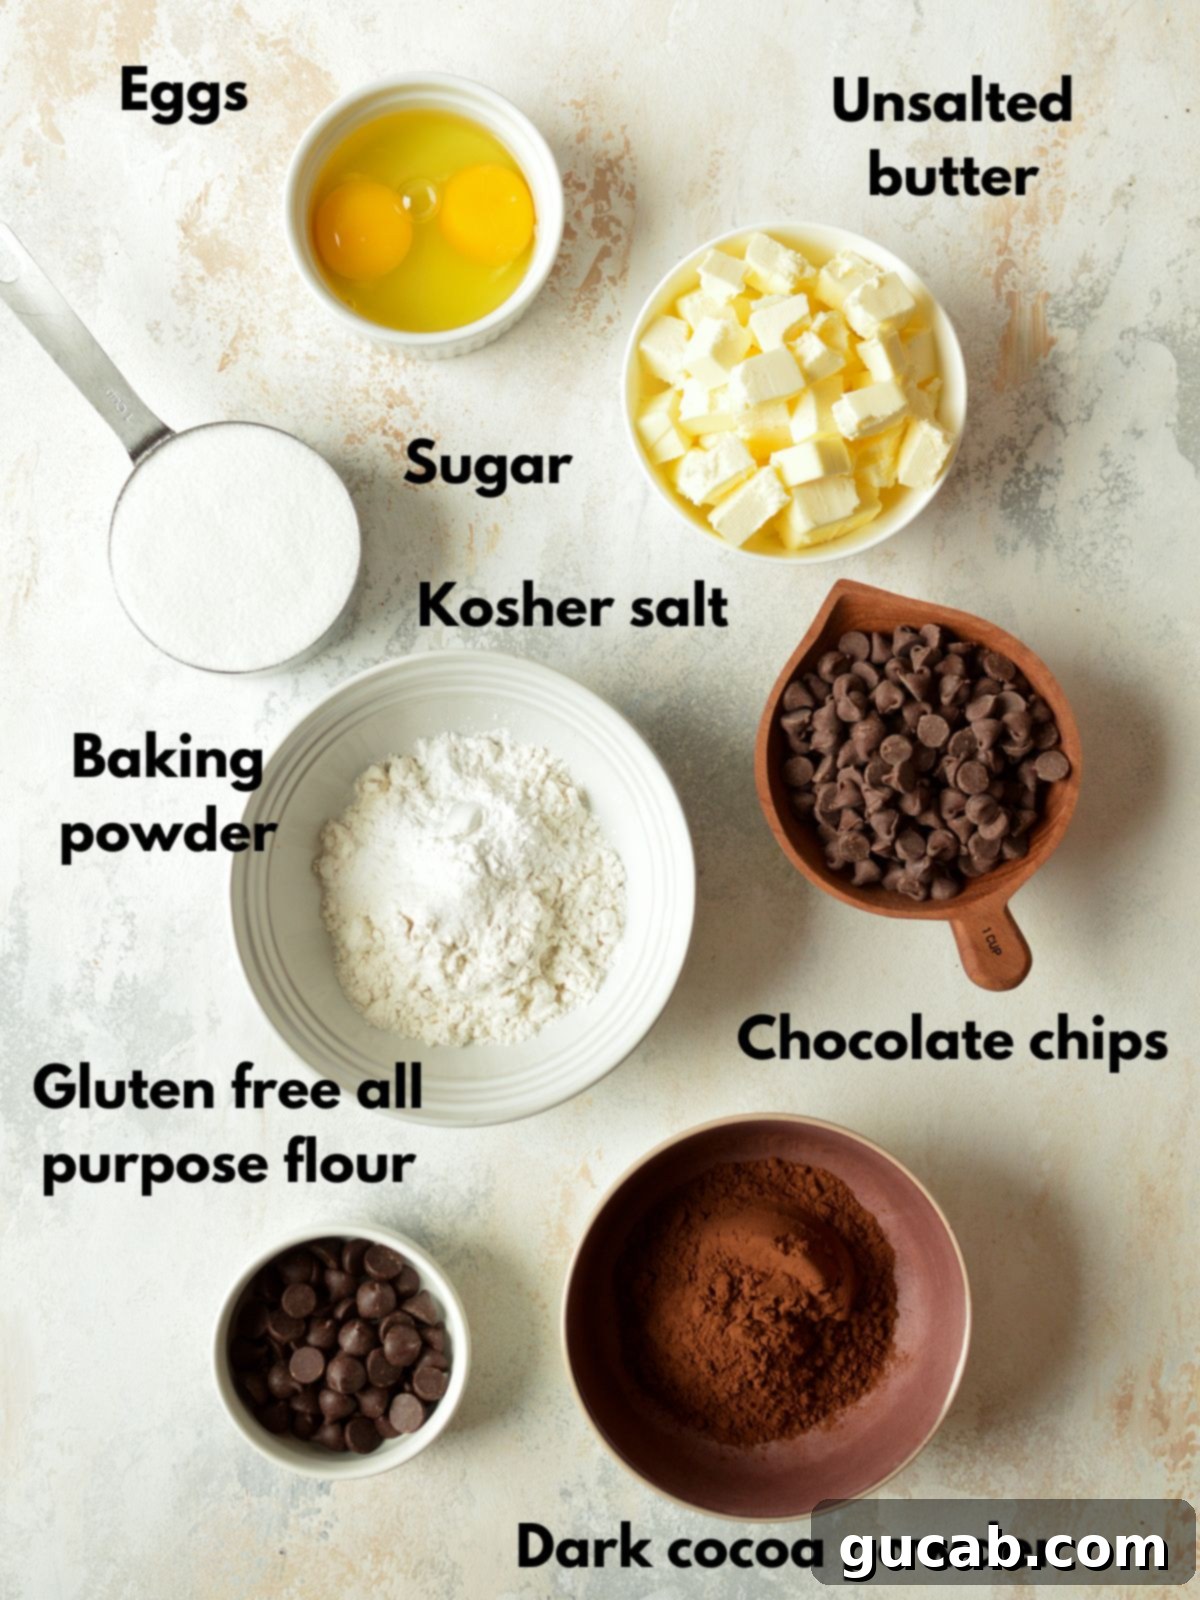
Crafting these exceptional gluten-free brownies relies on a precise combination of high-quality ingredients. Each component plays a vital role in achieving that perfect fudgy texture, rich flavor, and signature crackled top. Here’s a detailed look at what you’ll need and why:
- Unsalted Butter: This is arguably the most crucial ingredient for achieving that truly fudgy, dense texture we all crave in a brownie. Plenty of butter provides richness and contributes to the moist, melt-in-your-mouth consistency. I always opt for unsalted butter because it gives me complete control over the total salt content in the recipe, allowing me to perfectly balance the flavors. Using high-quality butter will elevate the overall taste.
- Dark Chocolate Chips: For an intense, profound chocolate flavor that truly stands out, dark chocolate chips are essential in the base of this recipe. They melt smoothly and blend seamlessly with the butter and cocoa powder, creating a deep, complex chocolate foundation. Ghirardelli is a brand I frequently use and recommend for its consistent quality and flavor.
- Dark Cocoa Powder (Dutch-Processed): The choice of cocoa powder significantly impacts the brownie’s color and flavor profile. Dark or Dutch-processed cocoa powder offers a smoother, richer, and less bitter chocolate taste compared to natural cocoa. It also gives the brownies a beautifully dark, almost black, color which is incredibly appealing. Hershey’s Special Dark cocoa powder is an excellent and widely available option for this.
- Granulated Sugar: Beyond just providing sweetness, sugar plays a critical role in the texture of these brownies. It helps create that desirable thin, crackly crust on top and contributes to the moistness of the interior. The amount used here is carefully balanced to ensure a sweet, but not cloyingly so, final product that highlights the chocolate.
- Large Eggs: Eggs are indispensable for structure and emulsification in brownie batter. They bind the ingredients together, provide moisture, and contribute to the perfect dense, yet tender, texture. Using large eggs ensures consistent results. Be sure to add them one at a time and mix just until incorporated to avoid overdeveloping the batter.
- Gluten-Free All-Purpose Flour (with Xanthan Gum): This is where careful selection is key for gluten-free baking. I highly recommend using a high-quality 1:1 gluten-free baking flour blend that already contains xanthan gum. Xanthan gum is vital in gluten-free recipes as it mimics the binding properties of gluten, preventing your brownies from becoming crumbly or falling apart. Bob’s Red Mill 1:1 Gluten Free Baking Flour is my personal favorite, as it yields a taste and texture remarkably similar to conventional flour, without any noticeable aftertaste.
- Baking Powder: While many traditional brownie recipes omit leavening agents, a small amount of baking powder is my secret weapon for achieving that coveted crackled top. It causes the brownie batter to rise slightly in the oven before gently falling as it cools. This subtle rise and fall creates the characteristic fissures on the surface, contributing to a truly authentic brownie appearance and texture.
- Kosher Salt: A small but mighty ingredient, kosher salt is essential for balancing and enhancing all the sweet flavors in the brownies. It doesn’t make the brownies taste salty; instead, it brightens the chocolate notes and prevents the sweetness from being flat, adding depth and complexity to every bite.
- Additional Chocolate Chips (Semi-Sweet or Dark): For those glorious pockets of oozing, melted chocolate that truly elevate a brownie, a generous cup of additional chocolate chips is folded into the batter. You can choose semi-sweet or dark chocolate chips based on your preference for sweetness and chocolate intensity. Ghirardelli semi-sweet chips are a great choice for a classic flavor. These chips ensure a truly decadent chocolate experience in every single bite.
Disclosure: This post may contain affiliate links. In other words, if you click a link and purchase something I will receive a commission at no cost to you. I only recommend products I use and enjoy myself.
How to Make These Irresistible Gluten-Free Fudge Brownies: Step-by-Step
Making these decadent gluten-free brownies is a straightforward and enjoyable process, especially since it’s a one-bowl recipe! Follow these simple steps for perfect results:
Step 1: Prepare Your Oven and Pan
Preheat your oven to 350°F (175°C). While the oven heats up, generously spray an 8×8-inch (20×20 cm) baking pan with a nonstick cooking spray. It’s crucial to ensure your cooking spray doesn’t contain any flour if you’re avoiding gluten. For extra assurance and easy removal, you can also line the pan with parchment paper, leaving an overhang on two sides to create “handles.”
Step 2: Melt Butter & Dark Chocolate
In a large, microwave-safe bowl, combine the unsalted butter (cut into chunks for quicker melting) and the dark chocolate chips. Microwave on high for 30-second intervals, stirring well after each interval. Continue until the butter is mostly melted and the chocolate chips are partially softened. At this point, remove from the microwave and stir vigorously until the mixture is completely smooth and glossy. The residual heat will melt the remaining chocolate. This controlled melting prevents the chocolate from scorching.
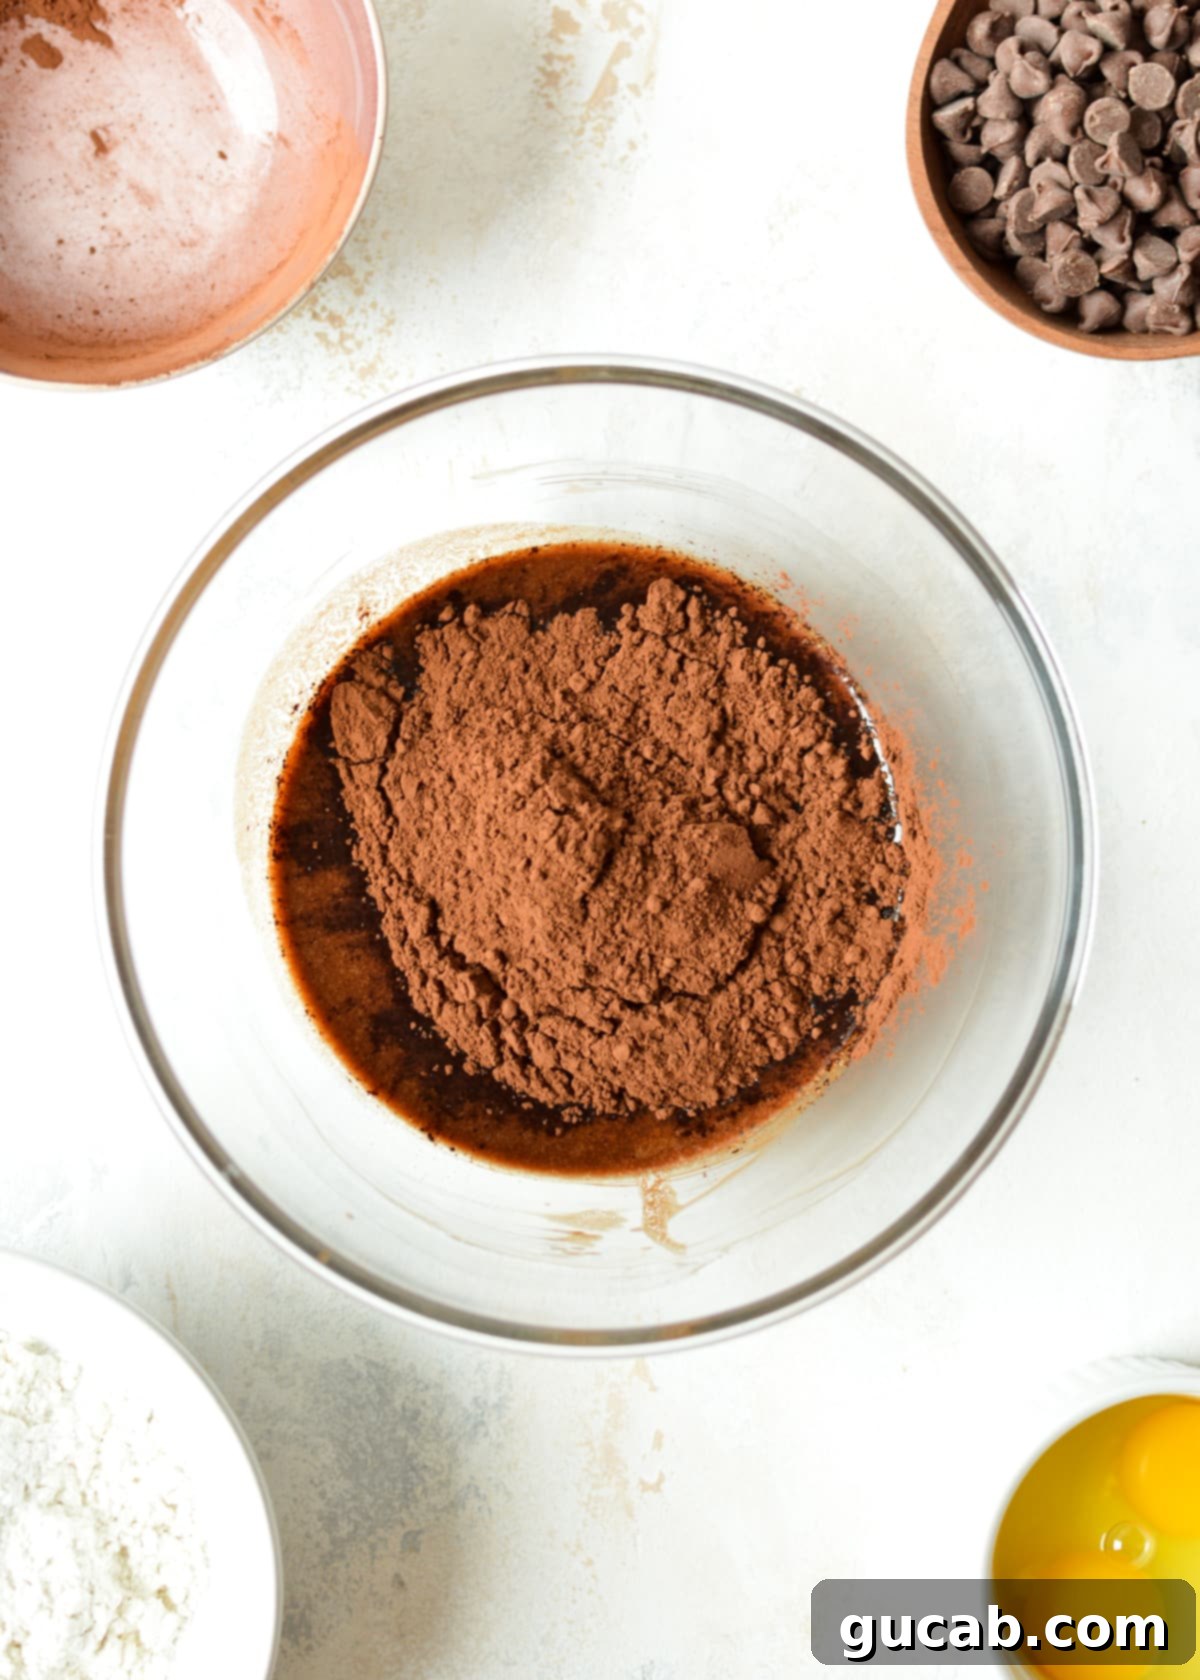
Step 3: Incorporate Cocoa Powder
Once the butter and dark chocolate mixture is perfectly smooth, add the dark cocoa powder to the bowl. Stir it in thoroughly until there are no dry streaks and the mixture is uniformly dark and rich. This helps to deepen the chocolate flavor and color even further.
Step 4: Add Sugar
Pour the granulated sugar into the chocolate-butter-cocoa mixture. Stir well with a spoon or whisk until the sugar is fully incorporated and the mixture is thick and homogenous. This step is important for creating the crackled top.
Step 5: Introduce Eggs Gradually
Add the large eggs to the bowl, one at a time. After adding each egg, mix just until it is fully incorporated into the batter. It’s vital not to overmix at this stage, as over-aerating the eggs can lead to a more cake-like texture rather than the desired fudgy consistency. The batter will become glossy and slightly thickened.
Step 6: Fold in Dry Ingredients & Chocolate Chips
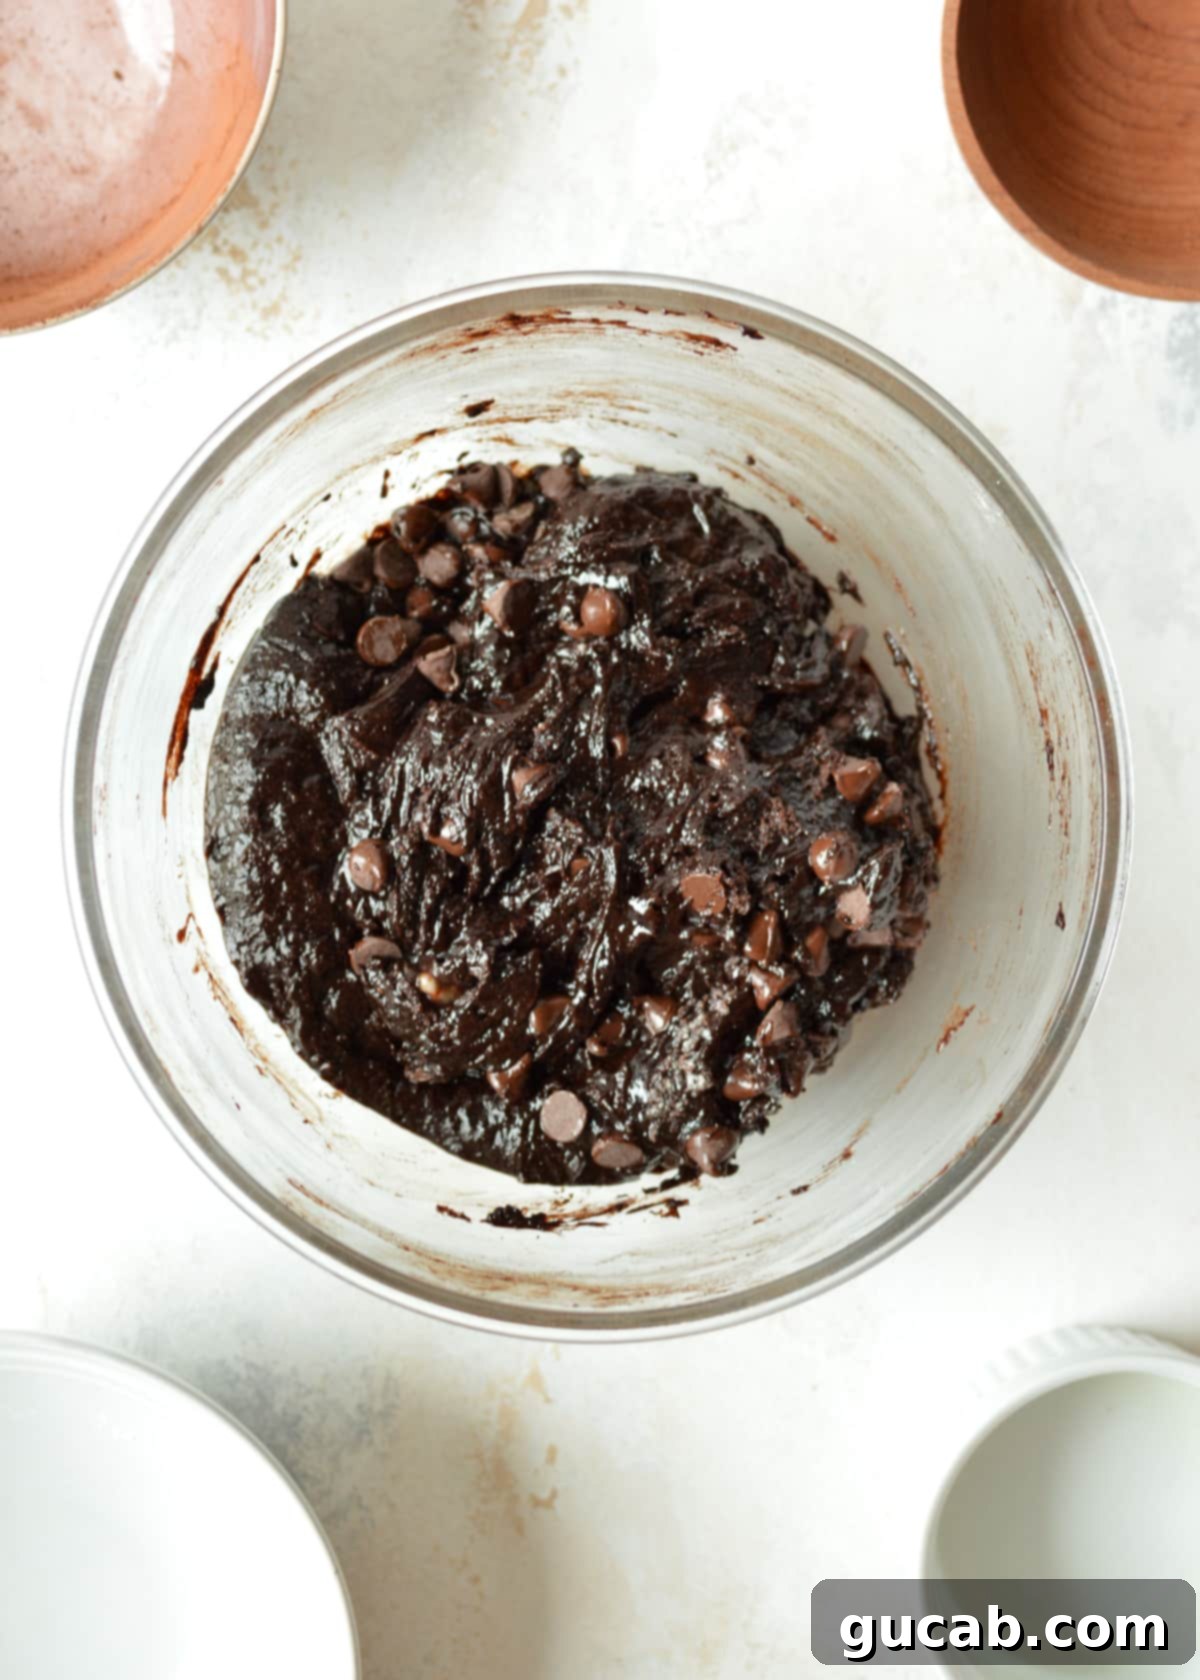
Now, add the gluten-free all-purpose flour blend, baking powder, and kosher salt to the bowl. Gently fold these dry ingredients into the wet mixture using a spatula until they are just combined and no pockets of dry flour remain. Be careful not to overmix. Finally, stir in the additional cup of semi-sweet or dark chocolate chips, ensuring they are evenly distributed throughout the rich batter.
Step 7: Bake to Perfection
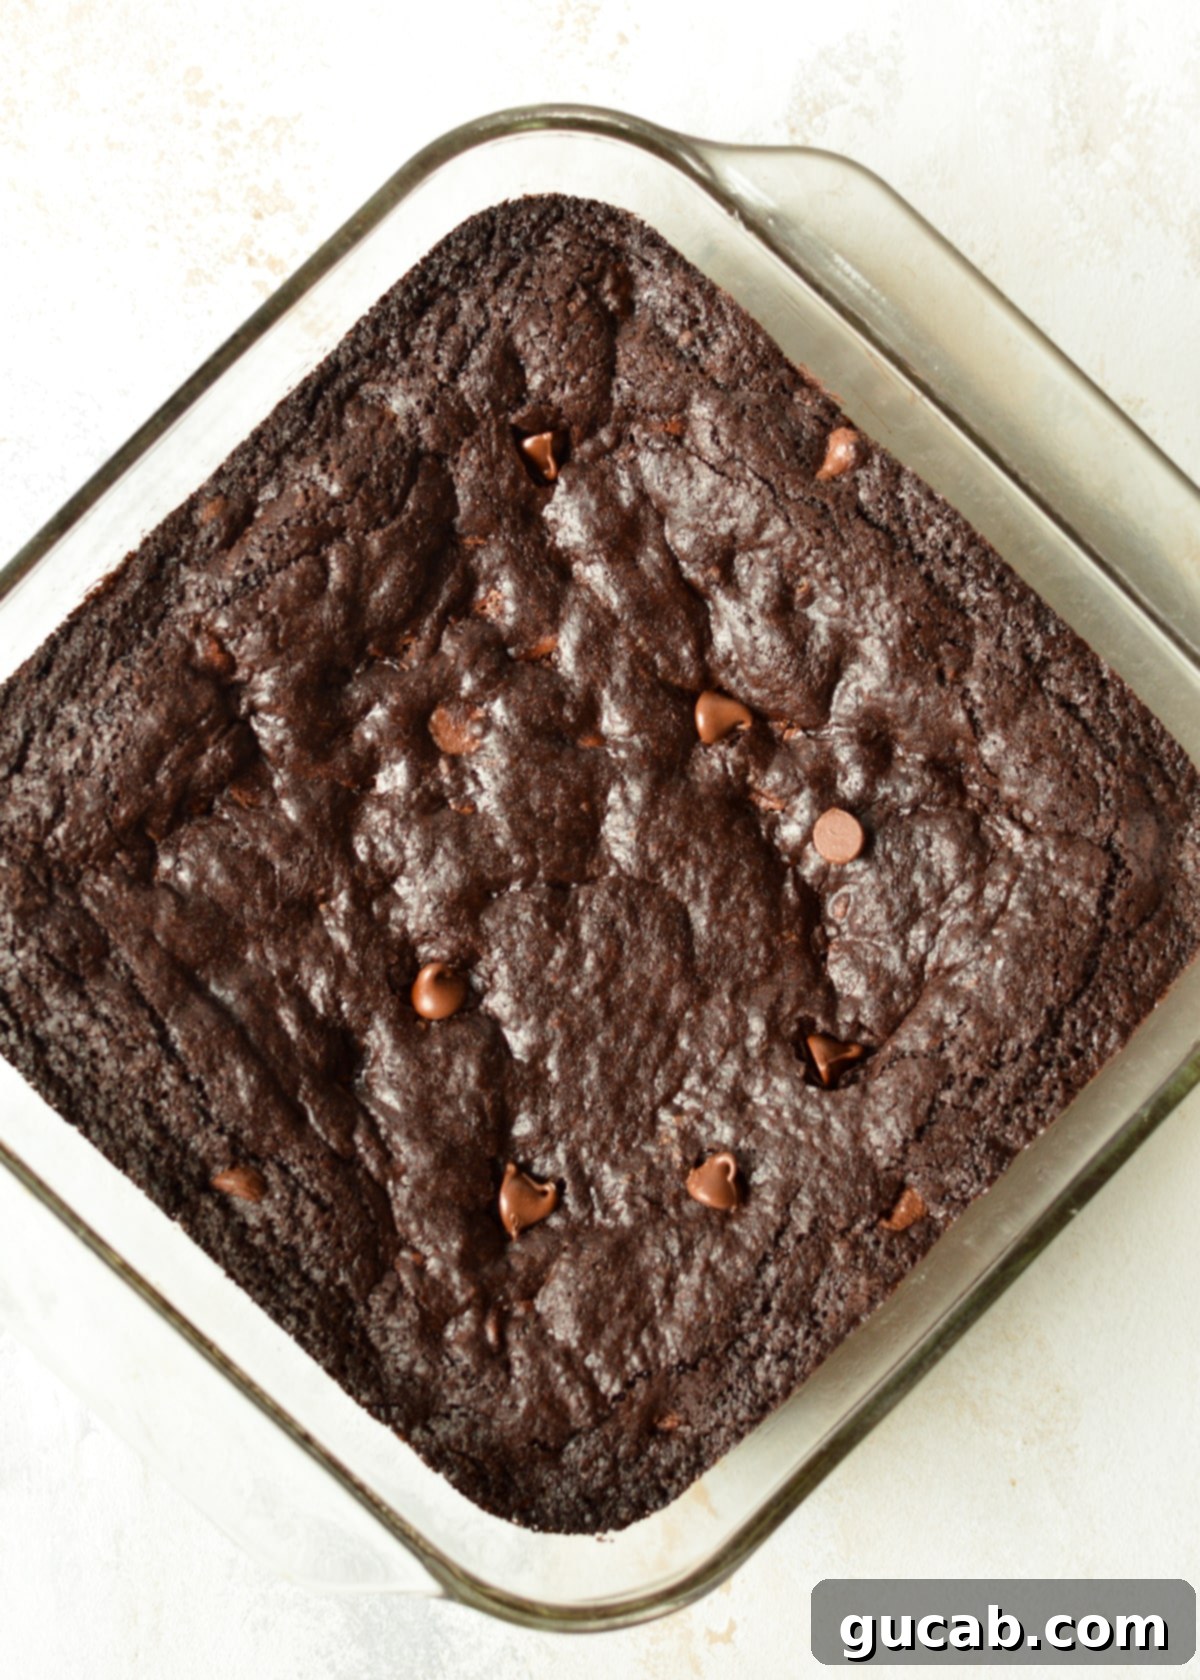
Scrape the entire brownie batter into your prepared 8×8-inch baking pan. Use your spatula to spread it evenly into all corners. Place the pan in the preheated oven and bake for 28 to 30 minutes. Baking times can vary slightly depending on your oven, so keep a close eye on them. The brownies are done when the top looks beautifully crackled and the edges appear set and slightly crisp. A toothpick inserted into the center should come out with moist crumbs, not wet batter (but also not completely dry, as that indicates overbaking). Mine typically take exactly 30 minutes for that perfect balance of fudgy and set.
Top Tips for Baking the Best Gluten-Free Brownies
Achieving the perfect fudgy gluten-free brownie isn’t complicated, but a few key tips can elevate your results from good to absolutely phenomenal. Pay close attention to these details for consistently delicious brownies:
- Control Chocolate Melting Temperature: When melting the butter and dark chocolate, only microwave them until they are partially melted. Then, remove the bowl from the microwave and stir continuously until the mixture becomes completely smooth and glossy from the residual heat. This prevents the chocolate from overheating or scorching, which can affect its flavor and texture. Why is this important? Because if your chocolate mixture is piping hot, adding the eggs immediately can result in scrambled eggs in your batter – a texture nobody wants in their brownies! Waiting for it to cool slightly ensures a silky-smooth batter without the risk of cooking the eggs.
- Avoid Overmixing the Batter: This is a golden rule for fudgy brownies, whether gluten-free or not. Once you’ve added each ingredient, especially the eggs and flour, mix only until it’s just incorporated. Overmixing develops gluten (even in GF flour blends that contain xanthan gum, which can become gummy) and incorporates too much air, leading to a cake-like, less dense texture. We are aiming for that intensely rich, oozing, fudgy chocolate insanity, not a fluffy cake!
- Do Not Over-bake Your Brownies: Overbaking is the quickest way to turn fudgy brownies into dry, crumbly disappointments. Keep a close watch on your oven. For an 8×8-inch pan, 28 to 30 minutes is typically the sweet spot. Look for visual cues: the top should appear beautifully crackled, and the edges will look set and slightly crisp. A toothpick inserted into the center should come out with moist crumbs attached, not wet batter, but also not completely clean (which indicates they might be slightly overdone). Trust your oven and these visual cues – my brownies consistently achieve perfection at exactly 30 minutes.
- Embrace the Leavening (Baking Powder): It might seem unconventional since many classic brownie recipes skip baking powder, but I’ve found it to be a game-changer for that signature crackled top. A small amount of baking powder encourages the brownies to rise a tiny bit while baking. Then, as they cool outside the oven, they gently sink back down. This subtle rise and fall action creates those beautiful, delicate cracks on the surface, while simultaneously helping to compress the center, resulting in an even denser and fudgier interior. It’s a simple trick for maximum crackage and ultimate fudginess.
- Quality Ingredients Matter: Especially with a recipe as straightforward as brownies, the quality of your chocolate, butter, and cocoa powder will shine through. Invest in good quality dark chocolate chips and Dutch-processed cocoa powder for the deepest, most satisfying chocolate flavor.
- Cool Completely for Best Texture: While it’s incredibly tempting to cut into warm brownies, resist the urge! Brownies continue to set as they cool. For the cleanest cuts and the most perfectly fudgy, dense texture, allow them to cool completely in the pan on a wire rack for at least 2-3 hours, or even chill them in the refrigerator for an hour for extra firm fudginess before slicing.
- Measure Flour Correctly: For gluten-free flour, accurate measurement is crucial. Spoon the flour into your measuring cup and then level it off with a straight edge (like the back of a knife). Do not scoop the flour directly from the bag with the measuring cup, as this compacts it and can lead to using too much flour, resulting in dry brownies.
Storage & Freezing Tips for Gluten-Free Brownies
To keep your delicious gluten-free brownies fresh and fudgy for as long as possible, proper storage is key:
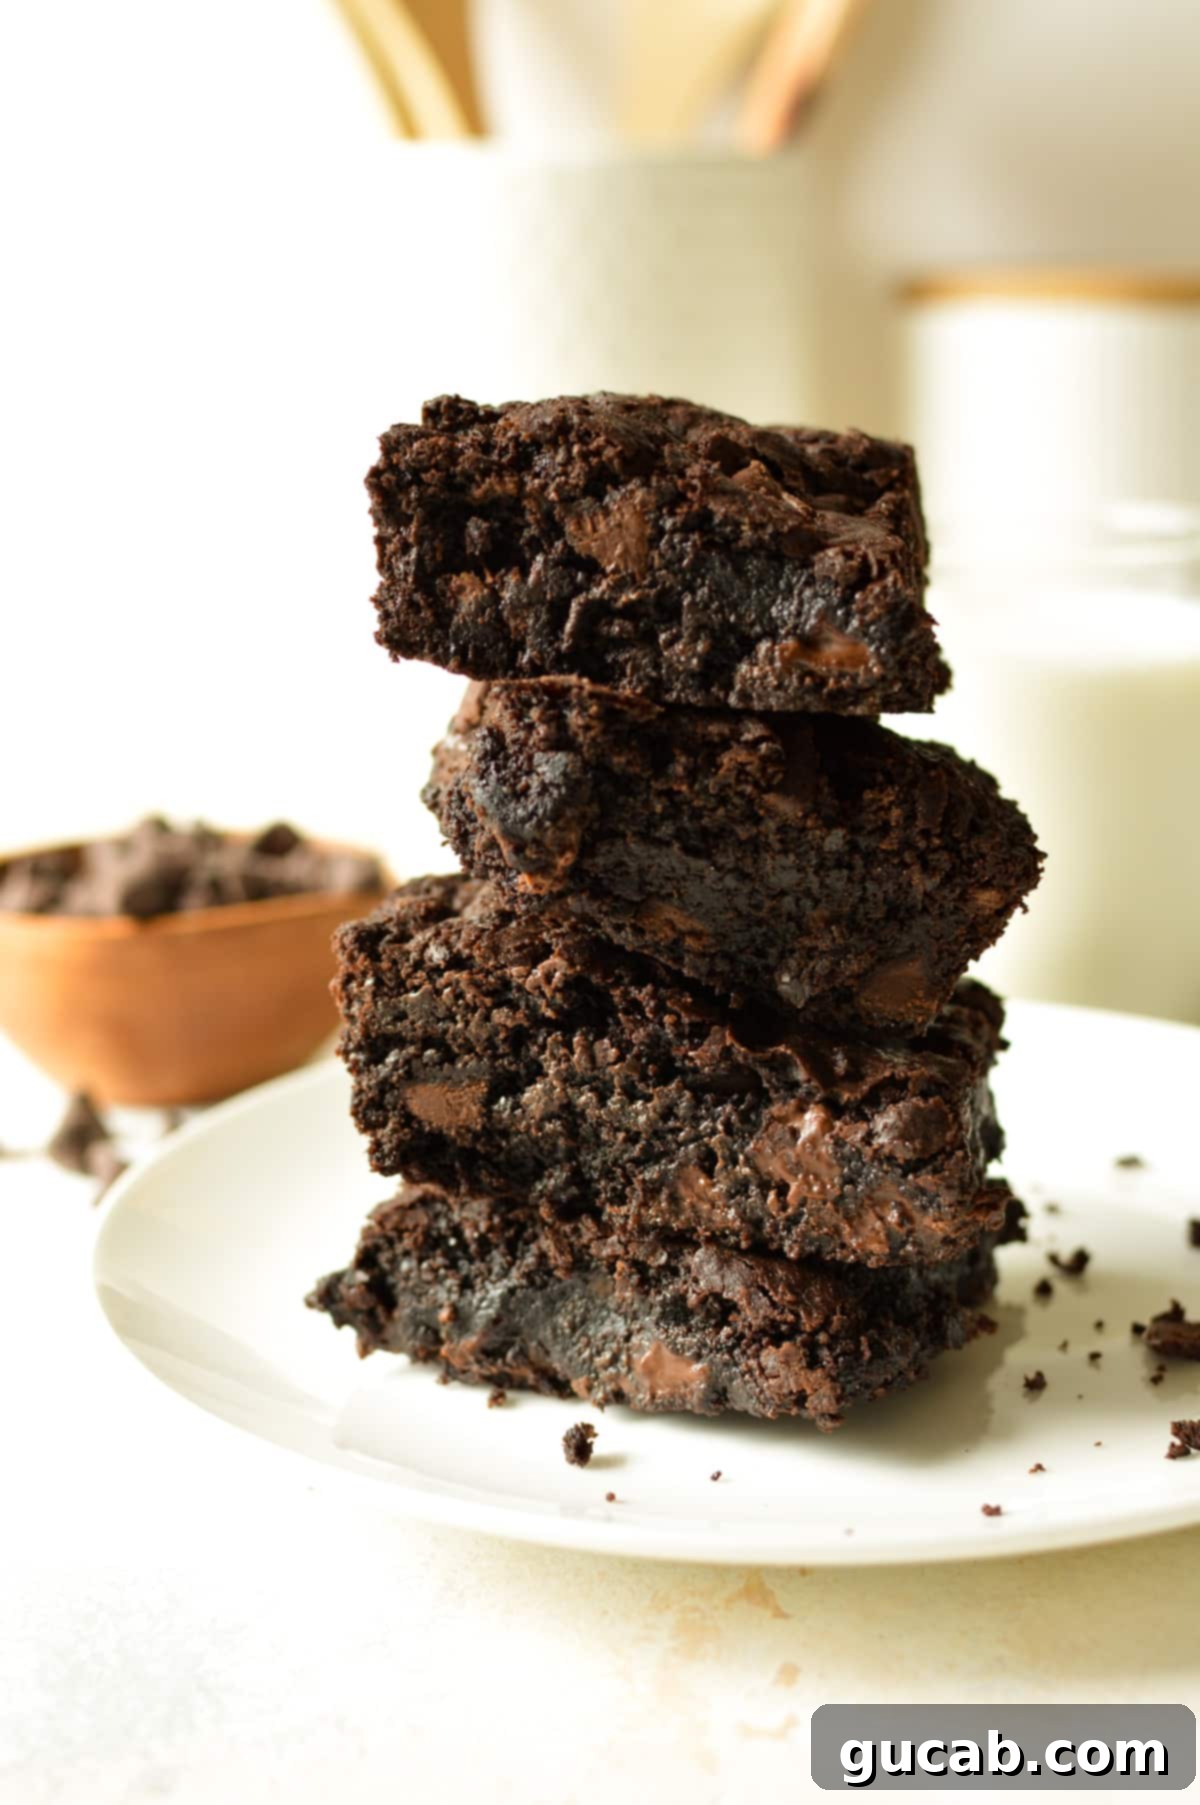
- Countertop Storage: Once completely cooled, store your gluten-free brownies in an airtight container at room temperature on your kitchen counter. Layer them between sheets of parchment paper if stacking to prevent sticking. They will remain wonderfully fresh and fudgy for up to three days. Beyond that, they might start to dry out slightly, though they’ll still be tasty!
- Refrigerator Storage: For an even denser, chewier brownie, you can store them in an airtight container in the refrigerator for up to a week. The cold enhances their fudgy texture, making them incredibly satisfying straight from the fridge. Allow them to come to room temperature or warm slightly in the microwave for a softer experience.
- Freezing for Long-Term Enjoyment: Gluten-free brownies made from scratch freeze exceptionally well, making them perfect for meal prepping or having a stash of treats on hand!
- Ensure the brownies are completely cooled before freezing.
- For individual servings, slice the brownies and wrap each one tightly in plastic wrap, then aluminum foil. This double layer provides excellent protection against freezer burn.
- Alternatively, you can freeze the entire slab of brownies by wrapping it tightly in plastic wrap, then foil.
- Carefully place the wrapped brownies into a freezer-safe container or a heavy-duty ziplock freezer bag, removing as much air as possible.
- Freeze for up to 3 months. When you’re ready to enjoy, simply thaw them at room temperature for a few hours, or warm individual brownies gently in the microwave for a fresh-baked feel.
Exciting Gluten-Free Brownie Variations to Try
While these fudgy gluten-free brownies are perfect on their own, they also serve as an excellent base for endless delicious variations. Get creative and customize your batch:
- Delicious Mix-ins: Fold a generous half-cup to a full cup of your favorite additions into the batter along with the chocolate chips.
- **Nuts:** Toasted walnuts, pecans, or almonds add a delightful crunch and earthy flavor.
- **Other Chocolates:** White chocolate chips, milk chocolate chips, or even chopped caramel-filled chocolates can add new dimensions of flavor.
- **Candies:** Crushed gluten-free Oreos (yes, there are GF versions!), M&M’s, Reese’s Pieces, or chopped candy bars make for fun, colorful, and extra indulgent brownies.
- **Dried Fruits:** For a slightly different twist, consider dried cranberries or cherries, which pair beautifully with dark chocolate.
- **Marshmallows:** Mini marshmallows can be folded in or sprinkled on top during the last few minutes of baking for a s’mores-like experience.
- Luscious Swirls: Elevate your brownies by swirling flavorful additions into the top of the batter just before baking. Use a knife or skewer to create beautiful patterns.
- **Caramel Sauce:** Warm a good quality caramel sauce and drizzle it over the batter, then swirl for a rich caramel-chocolate combination.
- **Peanut Butter/Nutella:** Melted and slightly cooled peanut butter or Nutella can be swirled in for a nutty, creamy element.
- **Marshmallow Fluff:** Warmed marshmallow fluff swirled in creates a delightful, gooey top reminiscent of rocky road or s’mores.
- **Cream Cheese:** A simple cream cheese mixture (softened cream cheese, a little sugar, and an egg yolk) can be swirled in for a cheesecake-brownie hybrid.
- Flavor Extracts: A teaspoon of an extract like peppermint, almond, or orange can transform the flavor profile of your brownies. Add it with the wet ingredients.
- Sea Salt Flakes: For a sophisticated touch, sprinkle a pinch of flaky sea salt over the top of the brownies immediately after taking them out of the oven. It enhances the chocolate flavor beautifully.
Frequently Asked Questions About Gluten-Free Brownies
When made correctly, a proper fudgy gluten-free brownie recipe should taste virtually indistinguishable from a traditional brownie! Because fudgy brownies inherently contain very little flour, the absence of gluten has minimal impact on the final taste and texture, provided you use a good quality gluten-free flour blend. If you encounter a gluten-free brownie that tastes dry, gritty, or “off,” it means the recipe or preparation wasn’t optimized. Keep searching for recipes like this one that deliver on authentic brownie flavor!
Absolutely! This recipe is easily adaptable to be both gluten-free and dairy-free. Simply swap the regular unsalted butter for a high-quality vegan or dairy-free butter alternative (like Miyoko’s Kitchen or Earth Balance sticks). Additionally, ensure you use dairy-free chocolate chips for both the melted chocolate base and the mix-ins. It’s truly that easy to enjoy these decadent brownies without dairy!
There are a couple of common culprits if your gluten-free brownies turn out crumbly instead of fudgy. Firstly, it’s incredibly important to use a gluten-free all-purpose flour blend that contains xanthan gum. Xanthan gum acts as a crucial binder, replicating the elasticity and structure that gluten provides in traditional baked goods. Without it, your gluten-free treats can easily fall apart. Secondly, overbaking is a frequent cause of crumbly brownies. An overbaked brownie loses too much moisture, becoming dry and brittle rather than soft and gooey. Always aim for a slight jiggle in the center when you remove them from the oven, and trust that they will continue to set as they cool.
For these fudgy gluten-free brownies, an 8×8-inch (20×20 cm) light-colored metal baking pan is ideal. Metal pans conduct heat evenly and quickly, promoting good browning on the edges and bottom, which contributes to the desired fudgy texture. Glass pans can also be used but tend to retain heat more, sometimes leading to slightly drier edges or requiring a slight reduction in oven temperature and baking time. Make sure to grease your chosen pan thoroughly or line it with parchment paper for easy removal.
Knowing when brownies are perfectly baked is key to achieving that fudgy interior. Look for these signs: the edges should appear set and slightly pulled away from the pan, and the top should be beautifully crackled and shiny. When you insert a toothpick into the center (about 1 inch from the edge), it should come out with moist crumbs attached, but no wet batter. If the toothpick comes out completely clean, they are likely overbaked. A slight jiggle in the center is also a good indicator that they’re still wonderfully fudgy and will set up perfectly as they cool.
More Delicious Gluten-Free Dessert Recipes
- Gluten Free Whoopie Pies
- Gluten Free Chocolate Chip Cookies
- Gluten Free Cookie Cake
- Gluten Free Peanut Butter Swirl Brownies
- Gluten Free Browned Butter Blondies
Ultimate Fudgy Gluten-Free Brownie Recipe
Carolyn
Pin Recipe
Equipment
-
Large microwave safe bowl
-
8×8-inch baking pan
-
Spatula or whisk
Ingredients
- 6 oz Unsalted Butter (12 Tablespoons, cut into chunks)
- ¼ cup Dark Chocolate Chips (e.g., Ghirardelli)
- ½ cup Dark Cocoa Powder (Dutch-processed, e.g., Hershey’s Special Dark)
- 1 cup Granulated Sugar
- 2 Large Eggs
- ½ cup Gluten-Free All-Purpose Flour Blend (with xanthan gum, e.g., Bob’s Red Mill 1:1)
- 1 ½ tsp Baking Powder
- ¼ tsp Kosher Salt
- 1 cup Semi-Sweet Chocolate Chips (or dark, e.g., Ghirardelli)
Instructions
-
Preheat your oven to 350°F (175°C). Prepare an 8×8-inch (20×20 cm) baking pan by spraying it generously with nonstick cooking spray. Ensure the spray is flour-free if strictly avoiding gluten. For easier removal, you can also line the pan with parchment paper, leaving an overhang on two sides.
-
In a large, microwave-safe bowl, combine the unsalted butter chunks and dark chocolate chips. Microwave in 30-second bursts, stirring after each, until the butter is mostly melted and the chocolate is partially softened. Remove from microwave, then stir vigorously until the mixture is completely melted and smooth.
-
Once the chocolate mixture is perfectly smooth, add the dark cocoa powder to the bowl. Stir thoroughly until it is fully incorporated and the mixture is uniformly dark and rich.
-
Add all of the granulated sugar to the bowl and stir vigorously until it is well combined and the mixture becomes thick and glossy.
-
Next, add the large eggs one at a time, mixing only until each egg is just incorporated before adding the next. Do not overmix at this stage to prevent a cakey texture.
-
Spoon in the gluten-free all-purpose flour, baking powder, and kosher salt. Gently fold these dry ingredients into the wet mixture with a spatula until they are just combined and no dry spots remain. Finally, stir in the additional semi-sweet chocolate chips, ensuring even distribution.
-
Scrape the rich brownie batter into the greased 8×8-inch pan and spread it evenly with your spatula. Bake for 28 to 30 minutes. The brownies are ready when the top is beautifully crackled and the edges appear set. A toothpick inserted into the center should come out with moist crumbs (not wet batter). Allow to cool completely for the best fudgy texture before slicing.
Nutrition
