Mastering Pan Seared Shrimp: Your Ultimate Guide to Juicy, Flavorful Perfection in Minutes
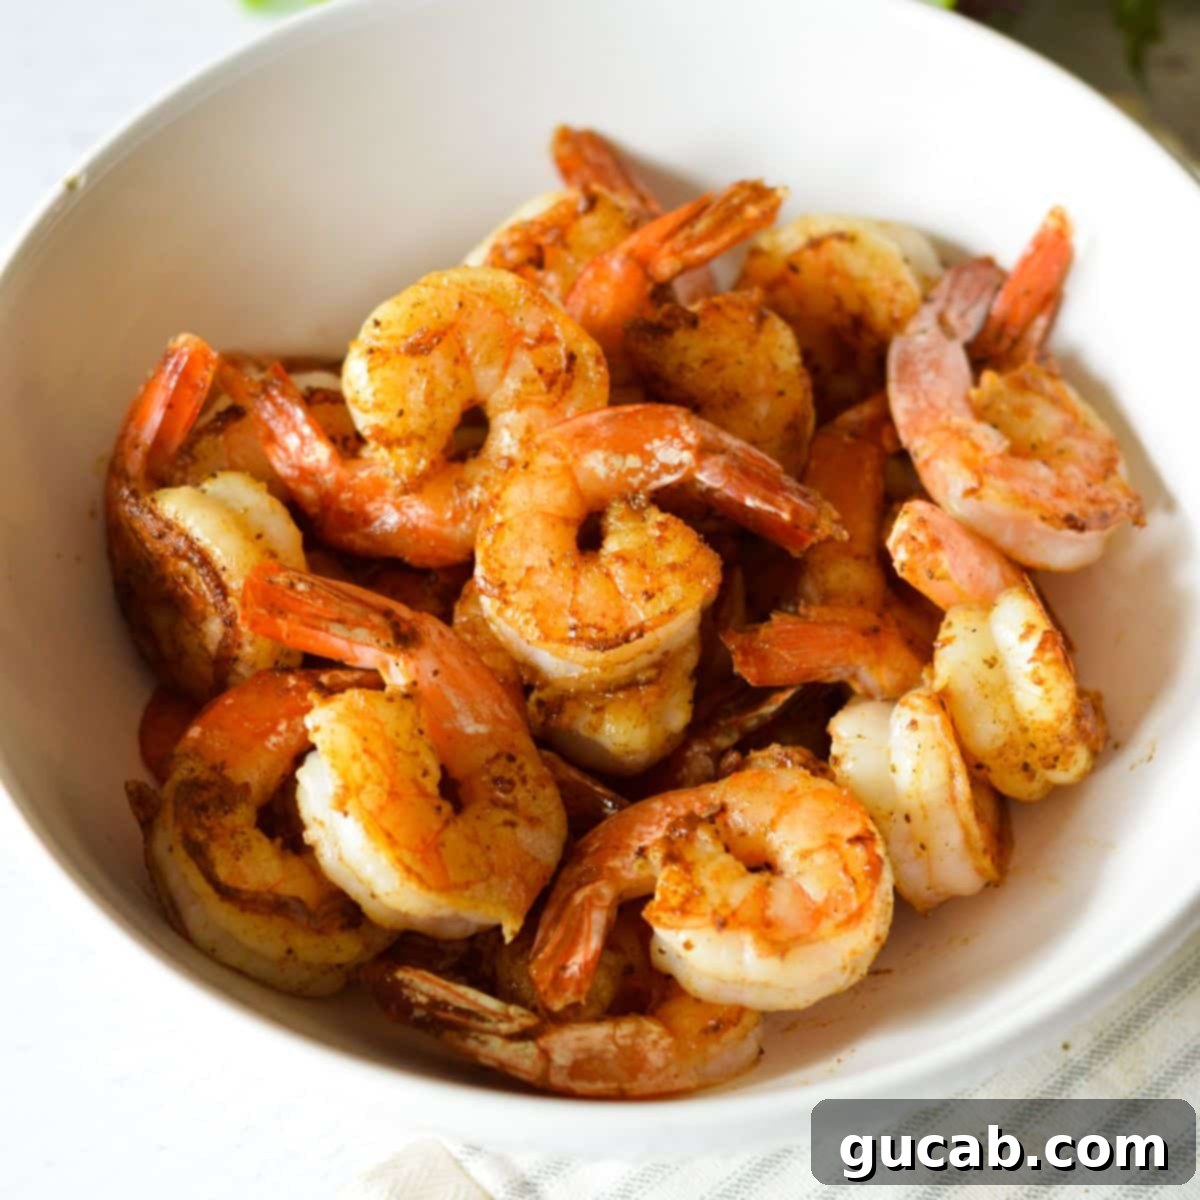
There’s truly nothing quite as satisfying as biting into a perfectly cooked shrimp – succulent, bursting with flavor, and boasting those irresistible caramelized edges. This guide will walk you through the simplest yet most effective method to achieve just that: pan seared shrimp. Forget rubbery, bland seafood; this recipe promises juicy middles and a delightful crust in every single seasoned bite. Best of all, it’s incredibly fast, going from raw ingredients to a delicious meal on your table in under 15 minutes. Whether you’re a seafood enthusiast or new to cooking shrimp, this foolproof technique ensures delicious results every time.
Why This Pan Seared Shrimp Recipe Will Become Your Go-To
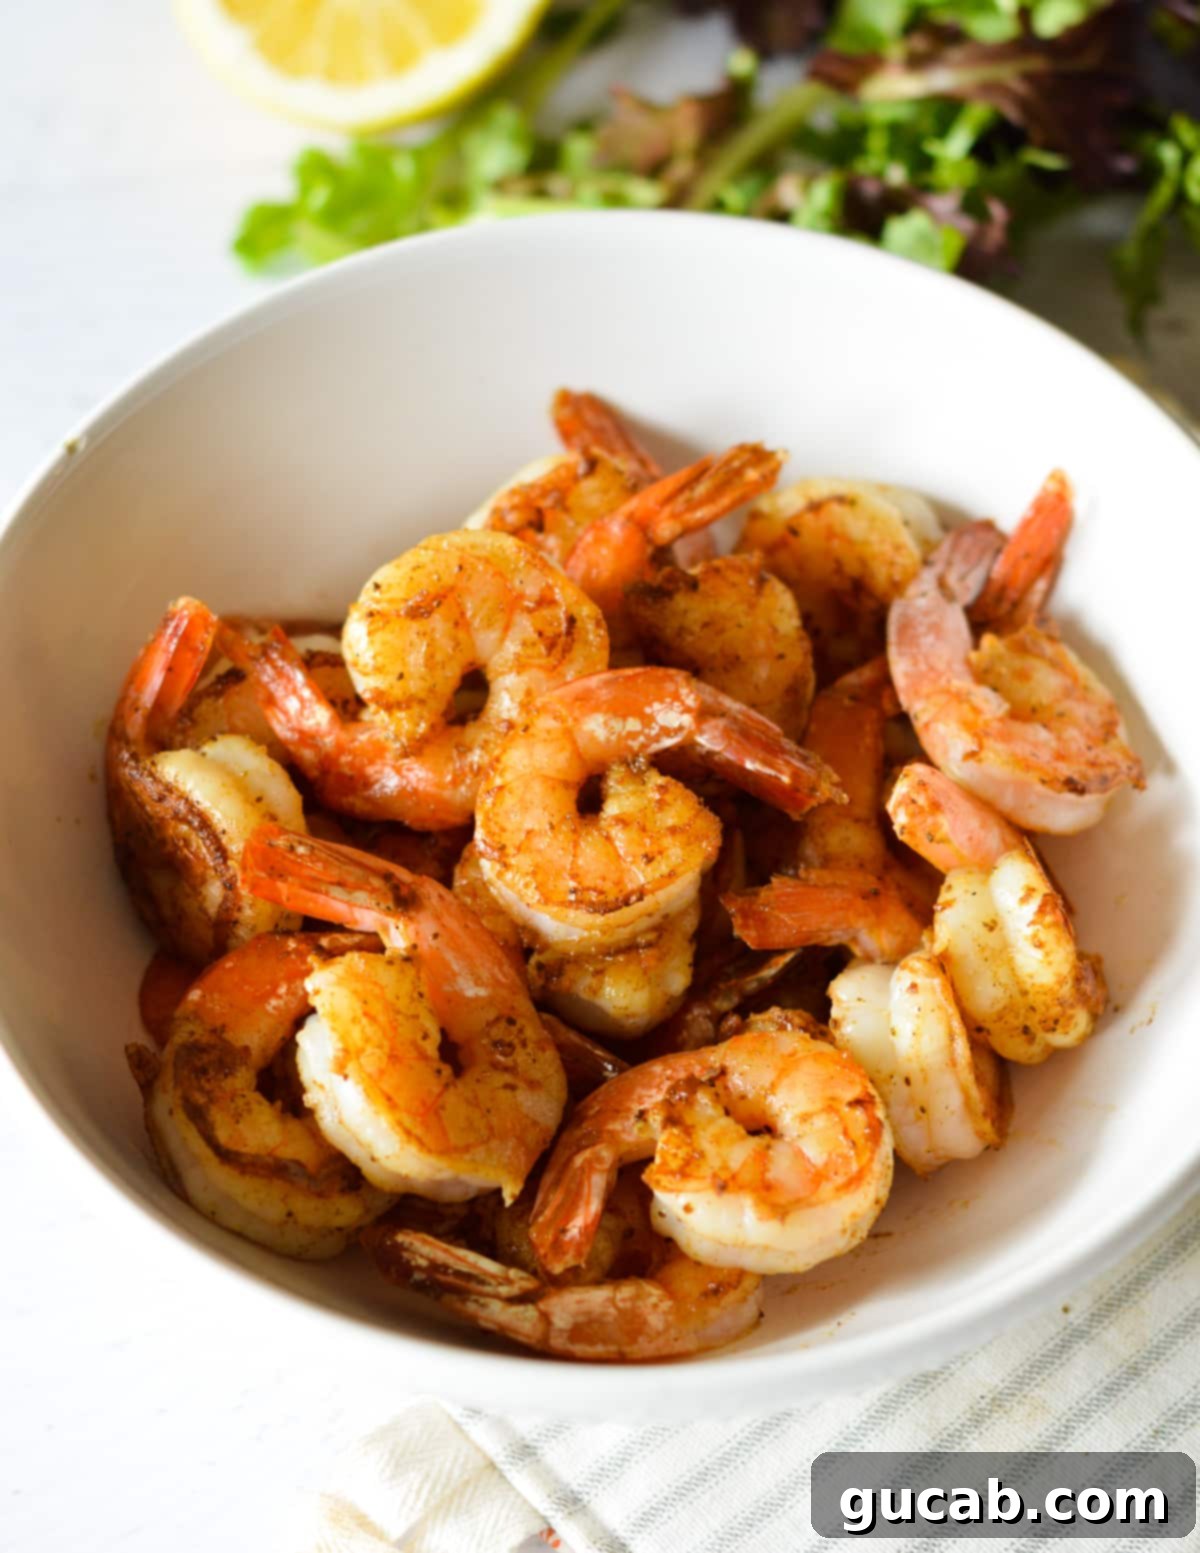
I am an unapologetic admirer of juicy, tender, and incredibly flavorful pan seared shrimp! This isn’t just another recipe; it’s a culinary lifesaavor for those busy weeknights when time is of the essence but you still crave something wholesome and delicious. The fact that it’s ready in about 15 minutes makes it a genuine game-changer. When life gets chaotic, this pan-fried shrimp is my ultimate dinner solution, consistently delivering outstanding results with minimal effort.
- Incredibly Versatile – While it’s tempting to devour every last shrimp in seconds, this recipe is also fantastic for meal prep. Cook a larger batch ahead of time, then effortlessly incorporate these flavorful shrimp into various dishes throughout the week. They’re excellent in vibrant salads, mixed into cold pasta dishes, or as a quick protein boost for lunch boxes.
- Packed with Protein – Shrimp is a nutritional powerhouse! Just three ounces of cooked shrimp provides an impressive 20 grams of lean protein while containing a mere 84 calories. It’s an ideal choice for anyone looking for a healthy, low-calorie, and high-protein meal option.
- Explosive Flavor – My secret to maximizing flavor is tossing the shrimp in Old Bay seasoning before searing. This iconic spice blend infuses the shrimp with a robust, savory, and slightly spicy kick that perfectly complements the natural sweetness of the seafood. Of course, you can always customize the seasoning to your preference – try it with a zesty lemon herb butter, a smoky paprika blend, or a simple garlic and herb mix!
Mastering the art of pan-searing shrimp means achieving that beautiful caramelization on the exterior while keeping the inside tender and incredibly juicy. This super simple recipe guarantees perfect results every single time, making you feel like a pro chef in your own kitchen.
Key Ingredients for Sizzling Shrimp
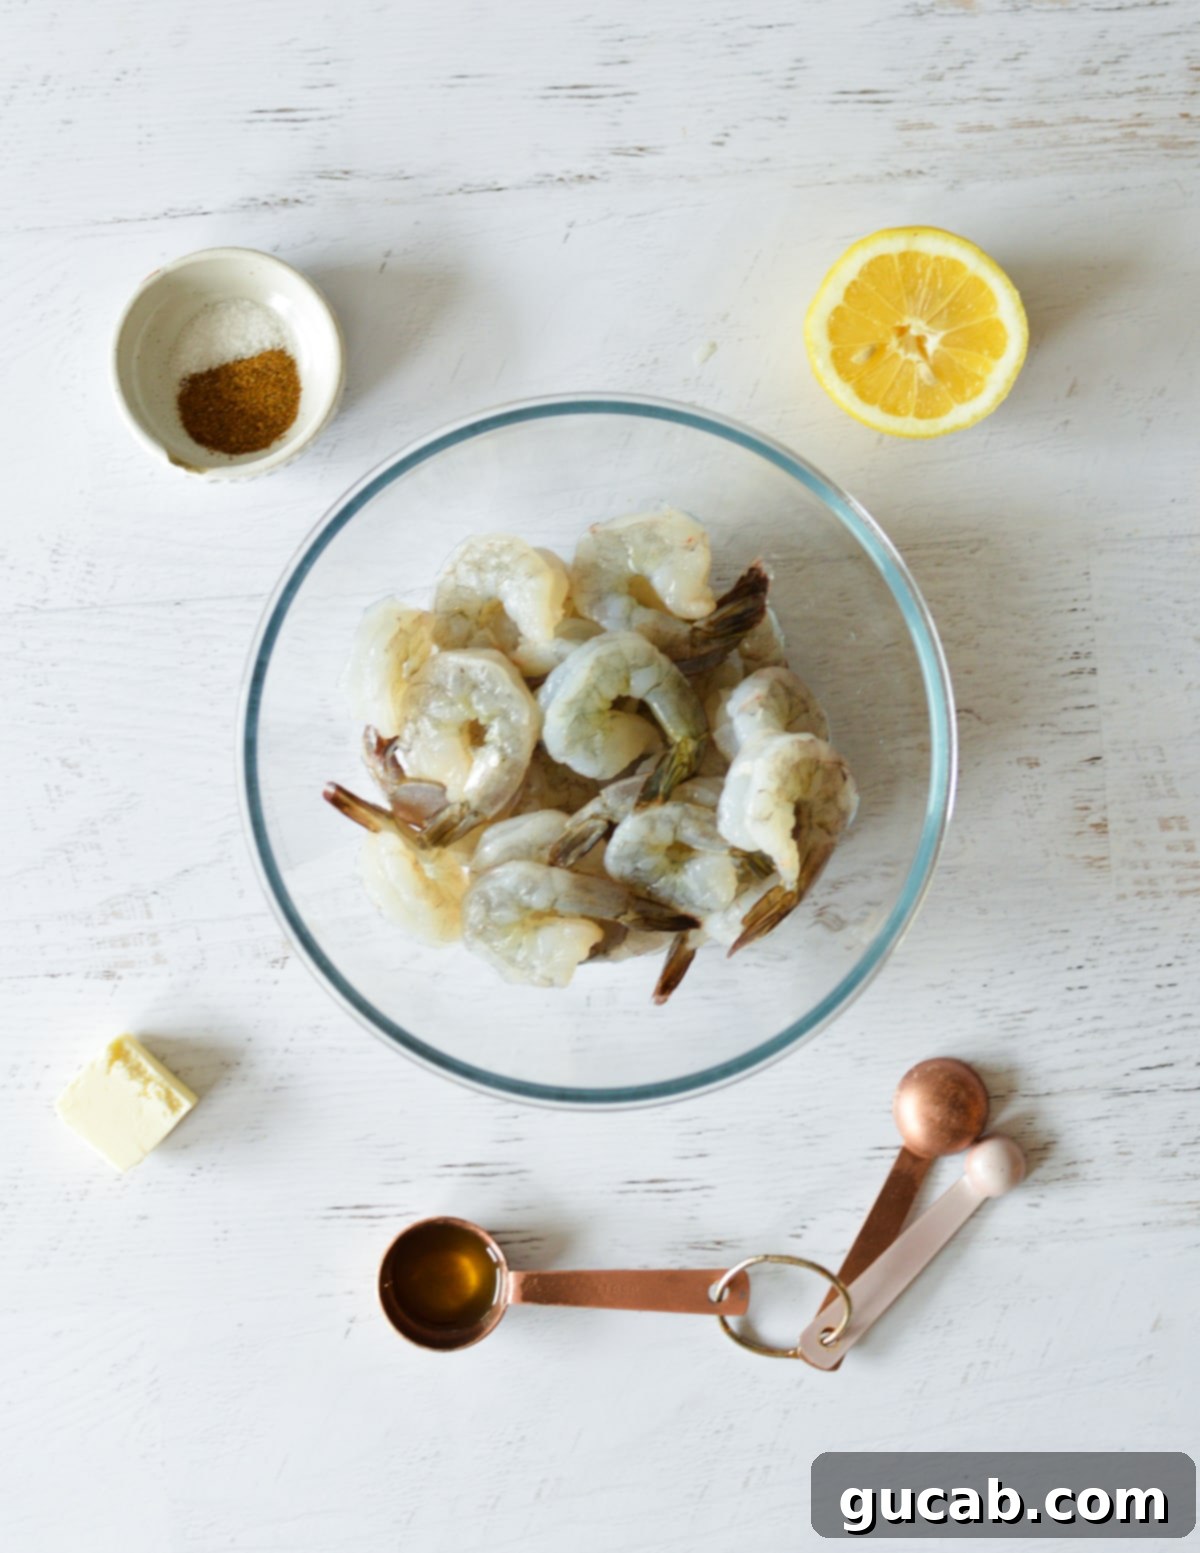
Simplicity is key when it comes to truly allowing the natural flavors of shrimp to shine. You don’t need a long list of exotic ingredients to create an unforgettable dish. Here’s what you’ll need for this quick and delicious pan seared shrimp:
Large Shrimp (21/30 Count) – The size of your shrimp matters for both cooking time and final texture. I highly recommend buying large shrimp, specifically those labeled as 21/30 count per pound. This means there are approximately 21 to 30 shrimp in one pound, which is a great size for achieving that perfect sear without overcooking too quickly. Always opt for peeled and deveined shrimp to save precious prep time. You can use either fresh or frozen shrimp, but it’s crucial to thaw frozen shrimp completely before you begin pan frying to ensure even cooking and optimal texture. While fresh shrimp are wonderful, they are highly perishable. If you don’t plan to cook them immediately, frozen shrimp is often the more practical and equally delicious choice.
Butter & Olive Oil – This dynamic duo is essential for achieving the perfect pan sear. Using a combination of butter and olive oil provides the best of both worlds: the rich, nutty flavor of butter and the higher smoke point of olive oil. Butter alone can burn quickly over the medium-high heat required for searing, leading to a bitter taste. The olive oil helps to elevate the butter’s smoke point, allowing it to brown beautifully and create a flavorful crust on the shrimp without scorching.
Old Bay Seasoning – A true staple for seafood lovers! Old Bay is a classic American spice blend featuring a complex yet harmonious mix of celery salt, paprika, mustard, red pepper, and black pepper. It’s specifically formulated to enhance the taste of seafood, adding a savory, slightly spicy, and aromatic profile that is simply irresistible. Remember that Old Bay already contains salt, so be mindful when adding any additional kosher salt to your shrimp.
Kosher Salt (a pinch) – Even with Old Bay, a small pinch of kosher salt can further enhance the overall flavor, especially if your shrimp are completely unsalted. Always season to taste!
How to Safely Thaw Frozen Shrimp
Properly thawing frozen shrimp is a critical step that often gets overlooked, yet it significantly impacts the final texture of your dish. Improper thawing can lead to rubbery, unappetizing shrimp. There are two correct and safe ways to thaw frozen shrimp, and one crucial method to avoid: never place shrimp under hot or warm running water. Doing so will inevitably partially cook the outer layers of the shrimp, resulting in a tough, rubbery texture. You definitely want to avoid that!
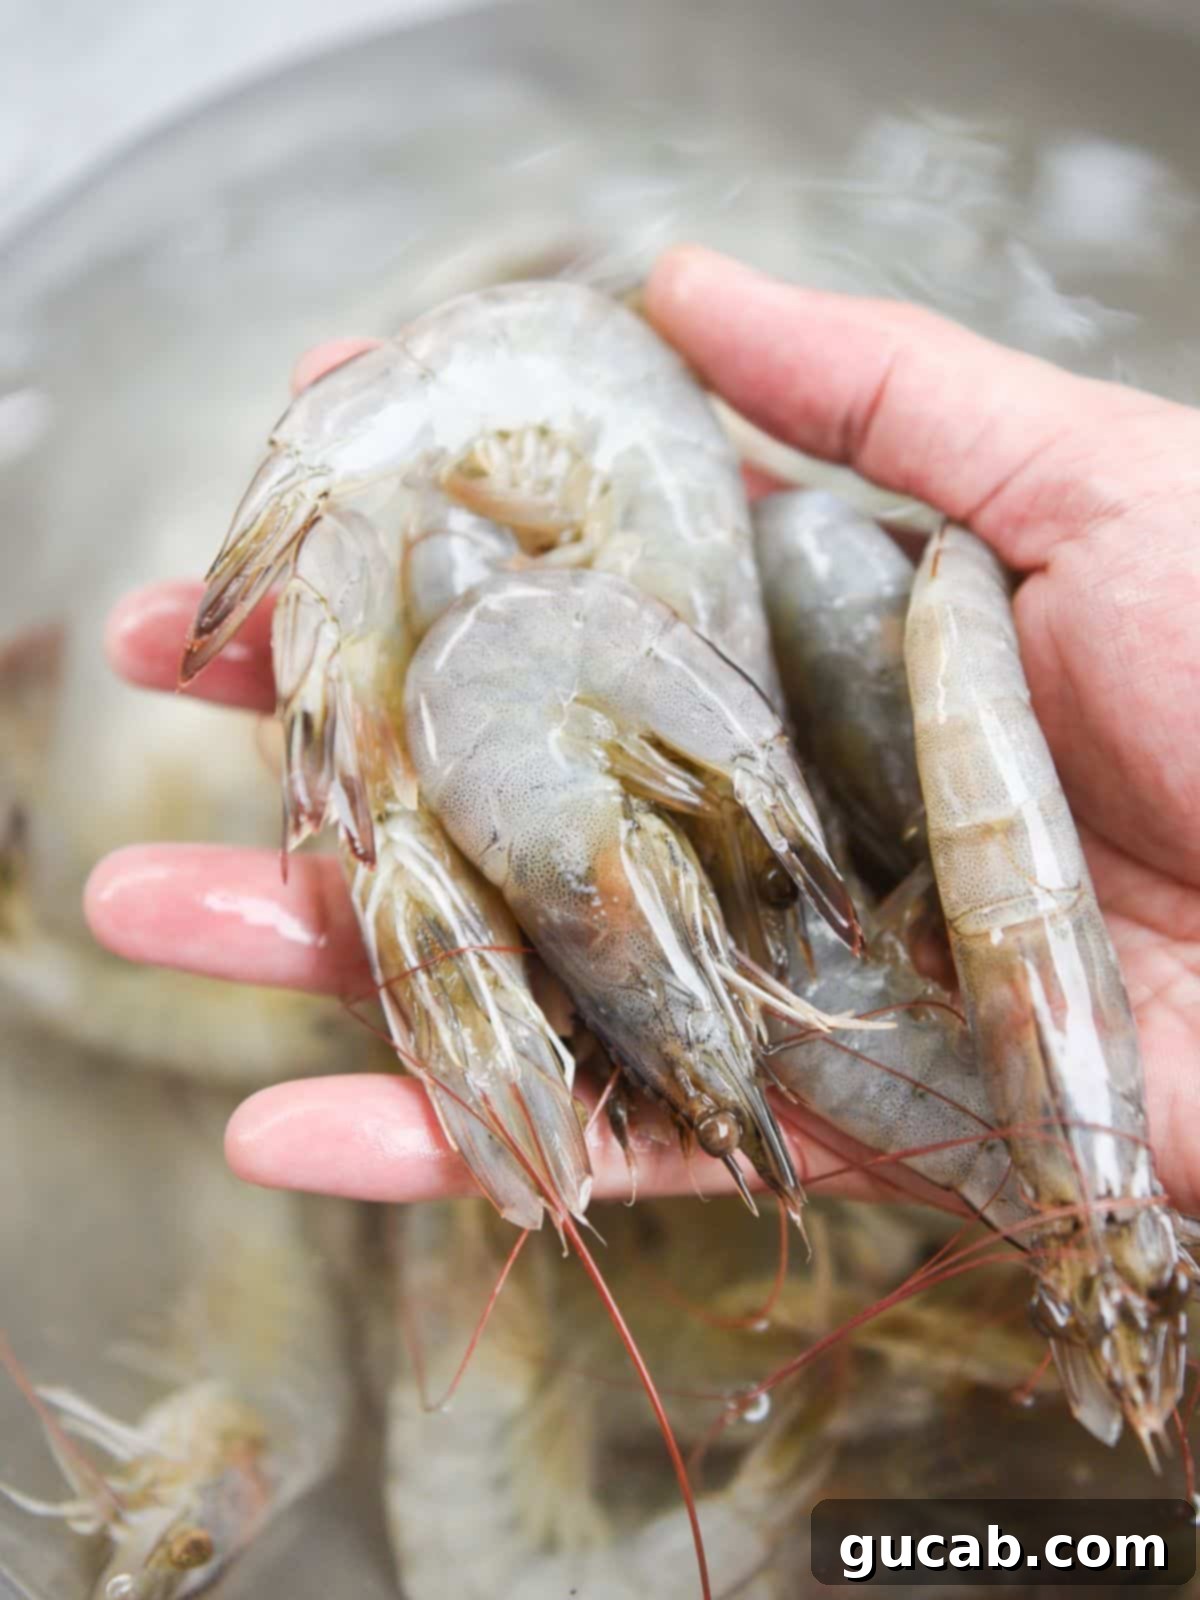
Here are the two approved methods for thawing frozen shrimp to perfection:
- Thaw in the Refrigerator. This is the best method if you have the foresight to plan your meals a day in advance. Simply transfer the bag of frozen shrimp from the freezer to the refrigerator the day before you intend to cook them. This allows the shrimp to thaw slowly and safely, maintaining their delicate texture and flavor. It’s an excellent option for meal planners who appreciate being prepared.
- Thaw Under Cold Running Water. If you need a quicker solution, this method works wonders. Remove the frozen shrimp from their packaging and place them in a large bowl. Position the bowl in your sink and run a gentle stream of cool (not cold, not warm) tap water over the shrimp. The running water will circulate and rapidly thaw the shrimp in just a few minutes, typically 5-10 minutes depending on the quantity. Make sure the water is continuously flowing to ensure proper thawing and prevent them from sitting in stagnant water. Once thawed, immediately pat them dry.
Once thawed using either method, proceed immediately to the drying and seasoning steps to prepare your shrimp for searing.
How to Pan Fry Shrimp for the Best Texture and Flavor
Pan searing shrimp is remarkably simple, but it requires your full attention for just a few minutes. The absolute key to success is to avoid overcooking. Shrimp cooks incredibly fast, so this is not the time to walk away, check your phone, or open emails. Stay focused, watch the shrimp intently, and be ready to flip and remove them as soon as they reach perfection.
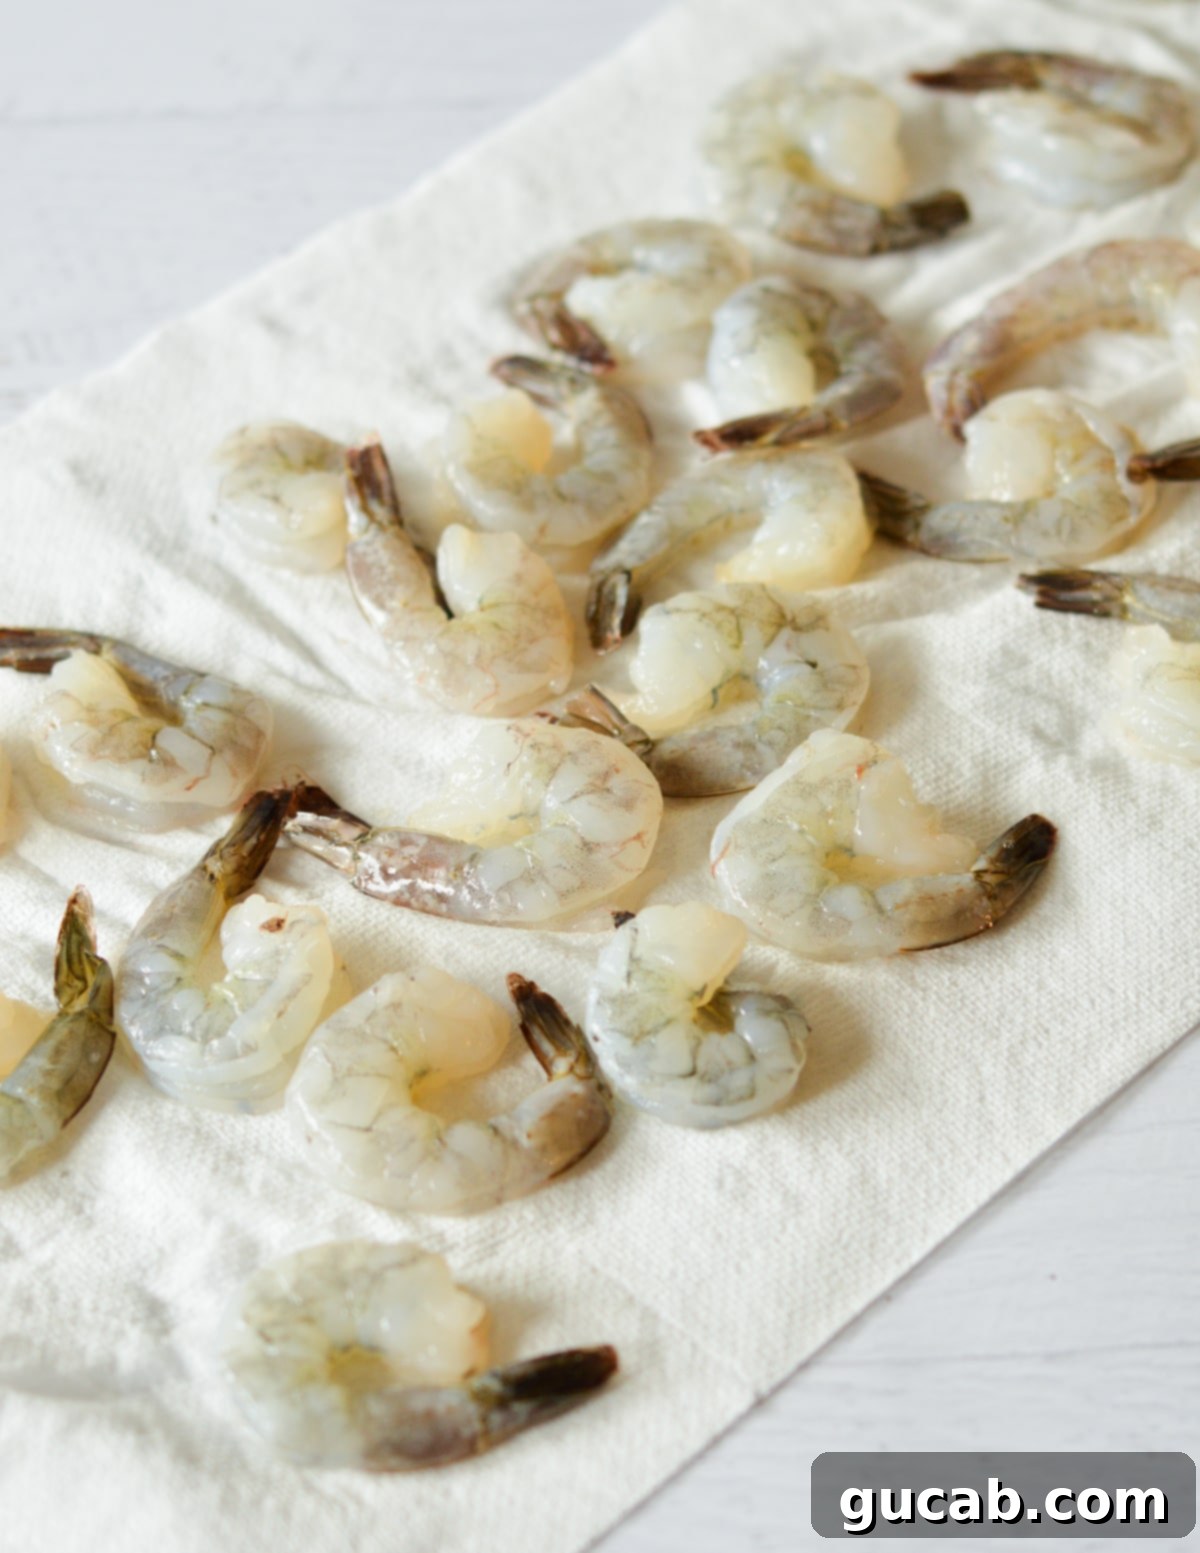
1. Dry the Shrimp Thoroughly: This is arguably the most crucial step for achieving that coveted caramelization and a perfect sear. Wet shrimp will steam in the pan rather than brown, resulting in a limp, less flavorful outcome. To properly dry them, spread the thawed (or fresh) shrimp in a single, even layer on a clean dish towel or several layers of paper towels. Gently pat both sides of each shrimp completely dry. You’ll be surprised how much moisture comes off!
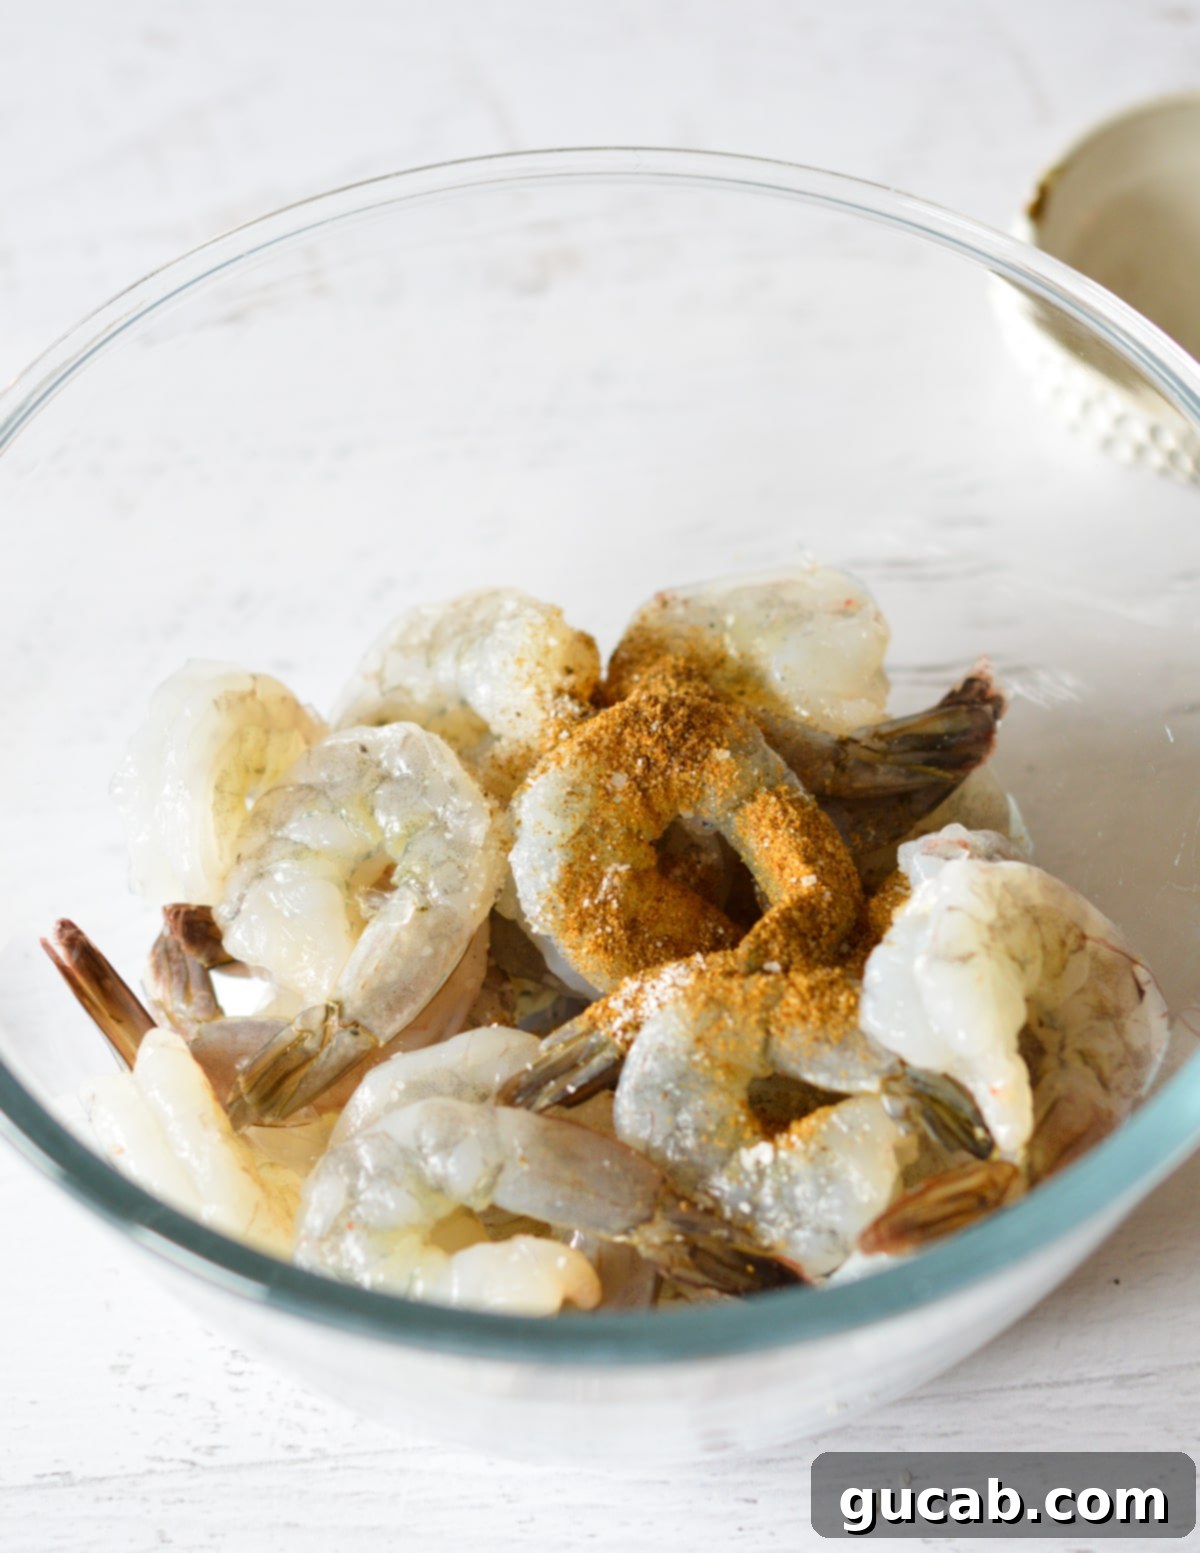
2. Season the Shrimp: Once thoroughly dried, transfer the shrimp to a large mixing bowl. Add the Old Bay seasoning and a small pinch of kosher salt (remembering Old Bay already contains salt). This blend will infuse your shrimp with a classic, savory, and slightly spicy flavor that perfectly complements the seafood.
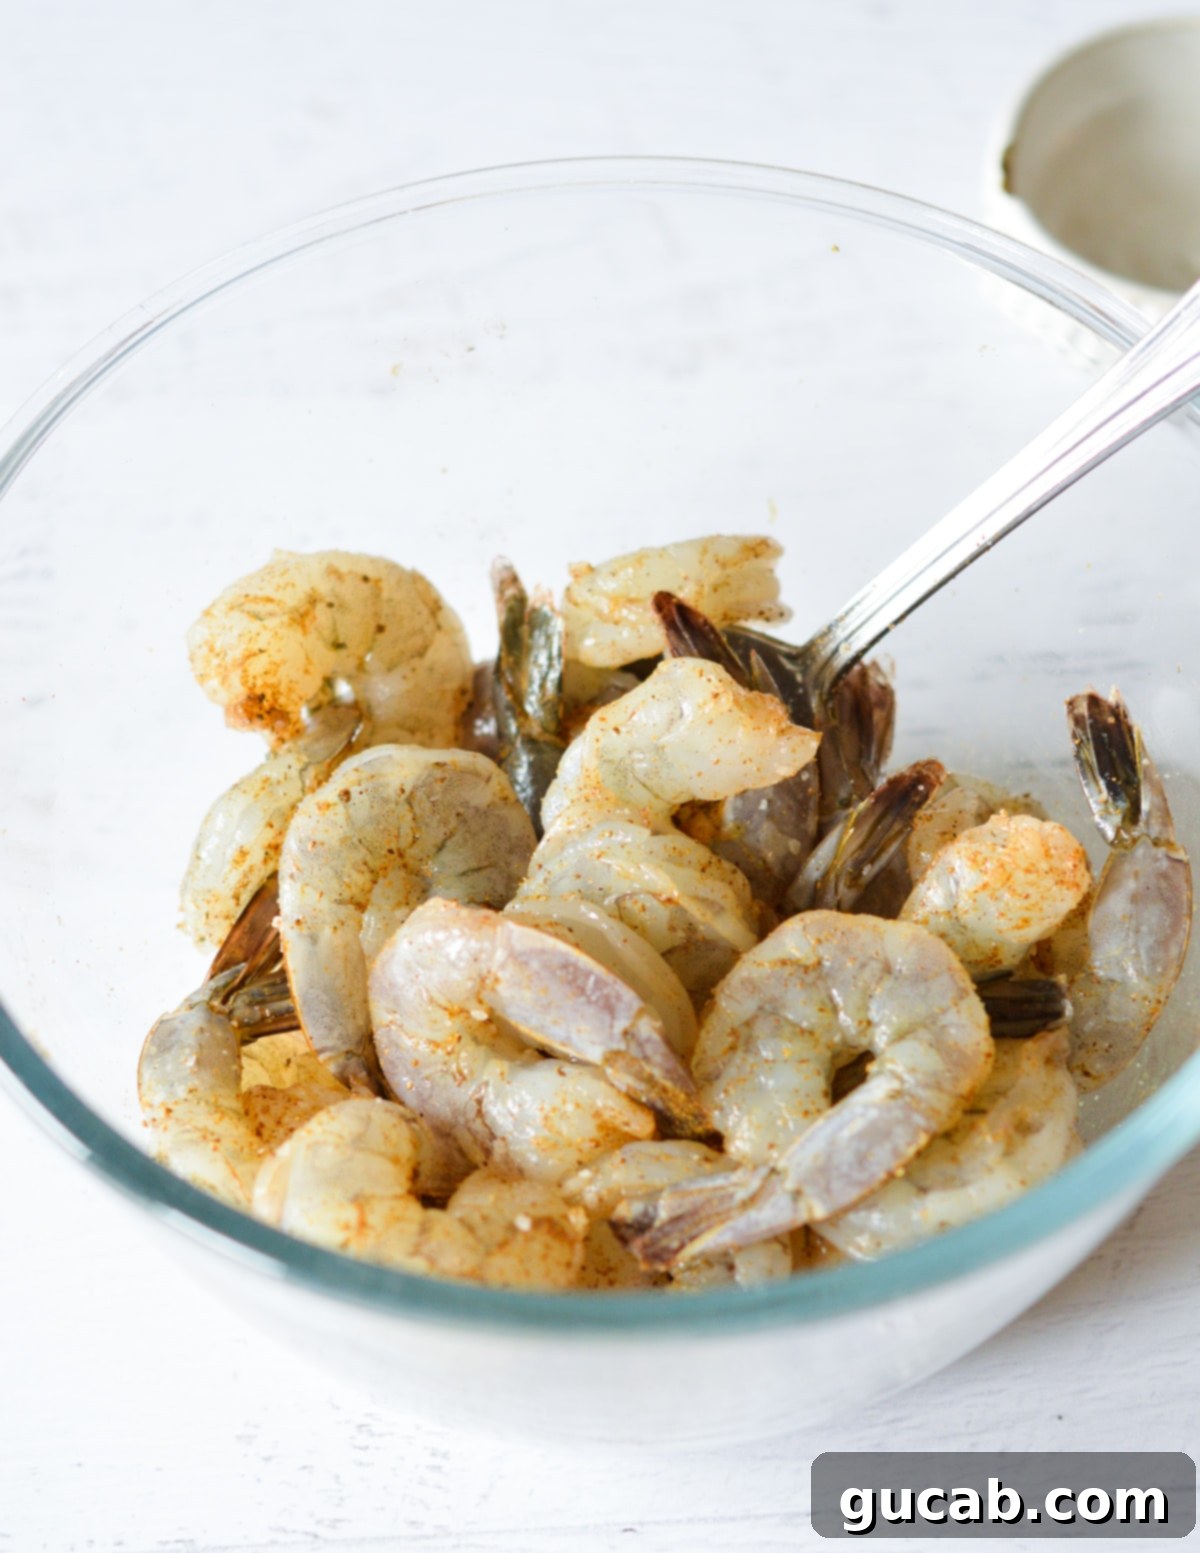
3. Toss the Shrimp Evenly: Using a large spoon or your hands, gently toss the shrimp with the seasoning until each piece is evenly coated. Be careful not to rip or damage the delicate shrimp flesh during this process. An even coating ensures every bite is packed with flavor.
4. Pan-Fry in Batches: Heat a large stainless steel skillet over medium-high heat. Once the pan is hot, add the olive oil and butter. Allow the butter to fully melt and start sizzling, indicating the pan is at the optimal temperature for searing. Now, add about half of the seasoned shrimp to the pan in a single, even layer. It’s crucial not to overcrowd the pan, as this will drop the pan’s temperature and cause the shrimp to steam rather than sear. Cook for precisely 1 ½ minutes on the first side. You should see a beautiful golden-brown crust forming.
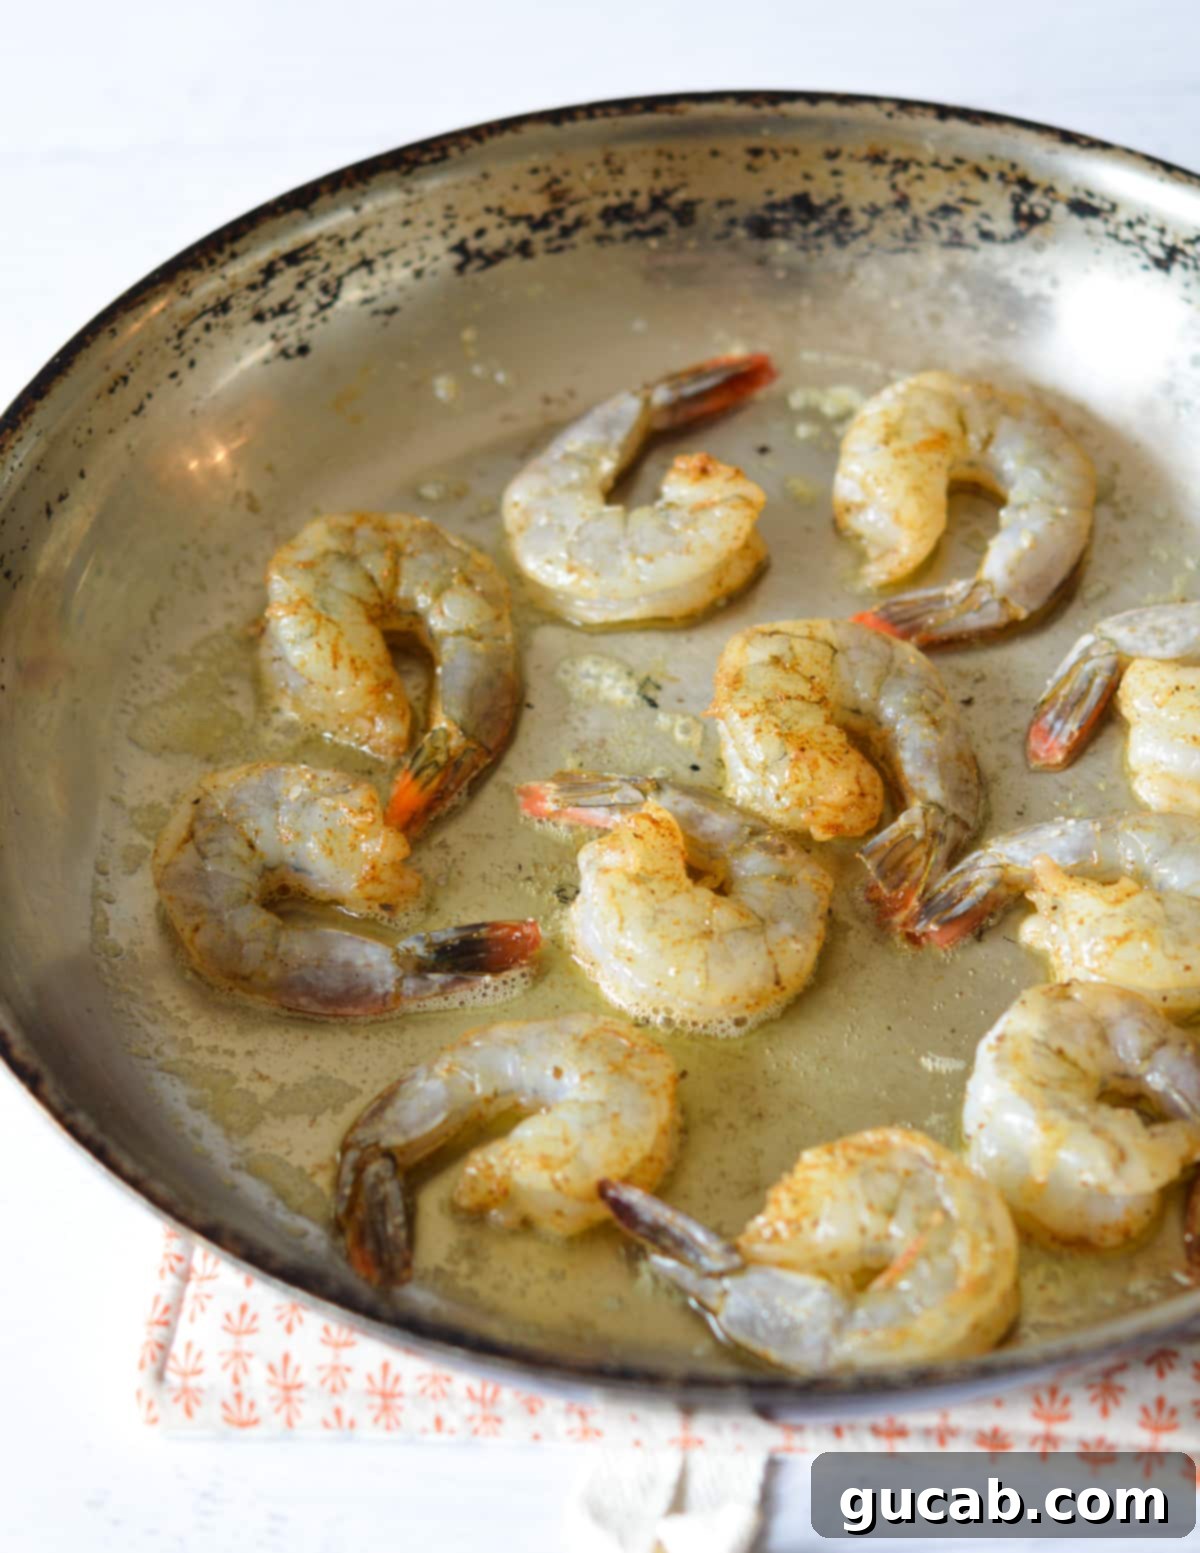
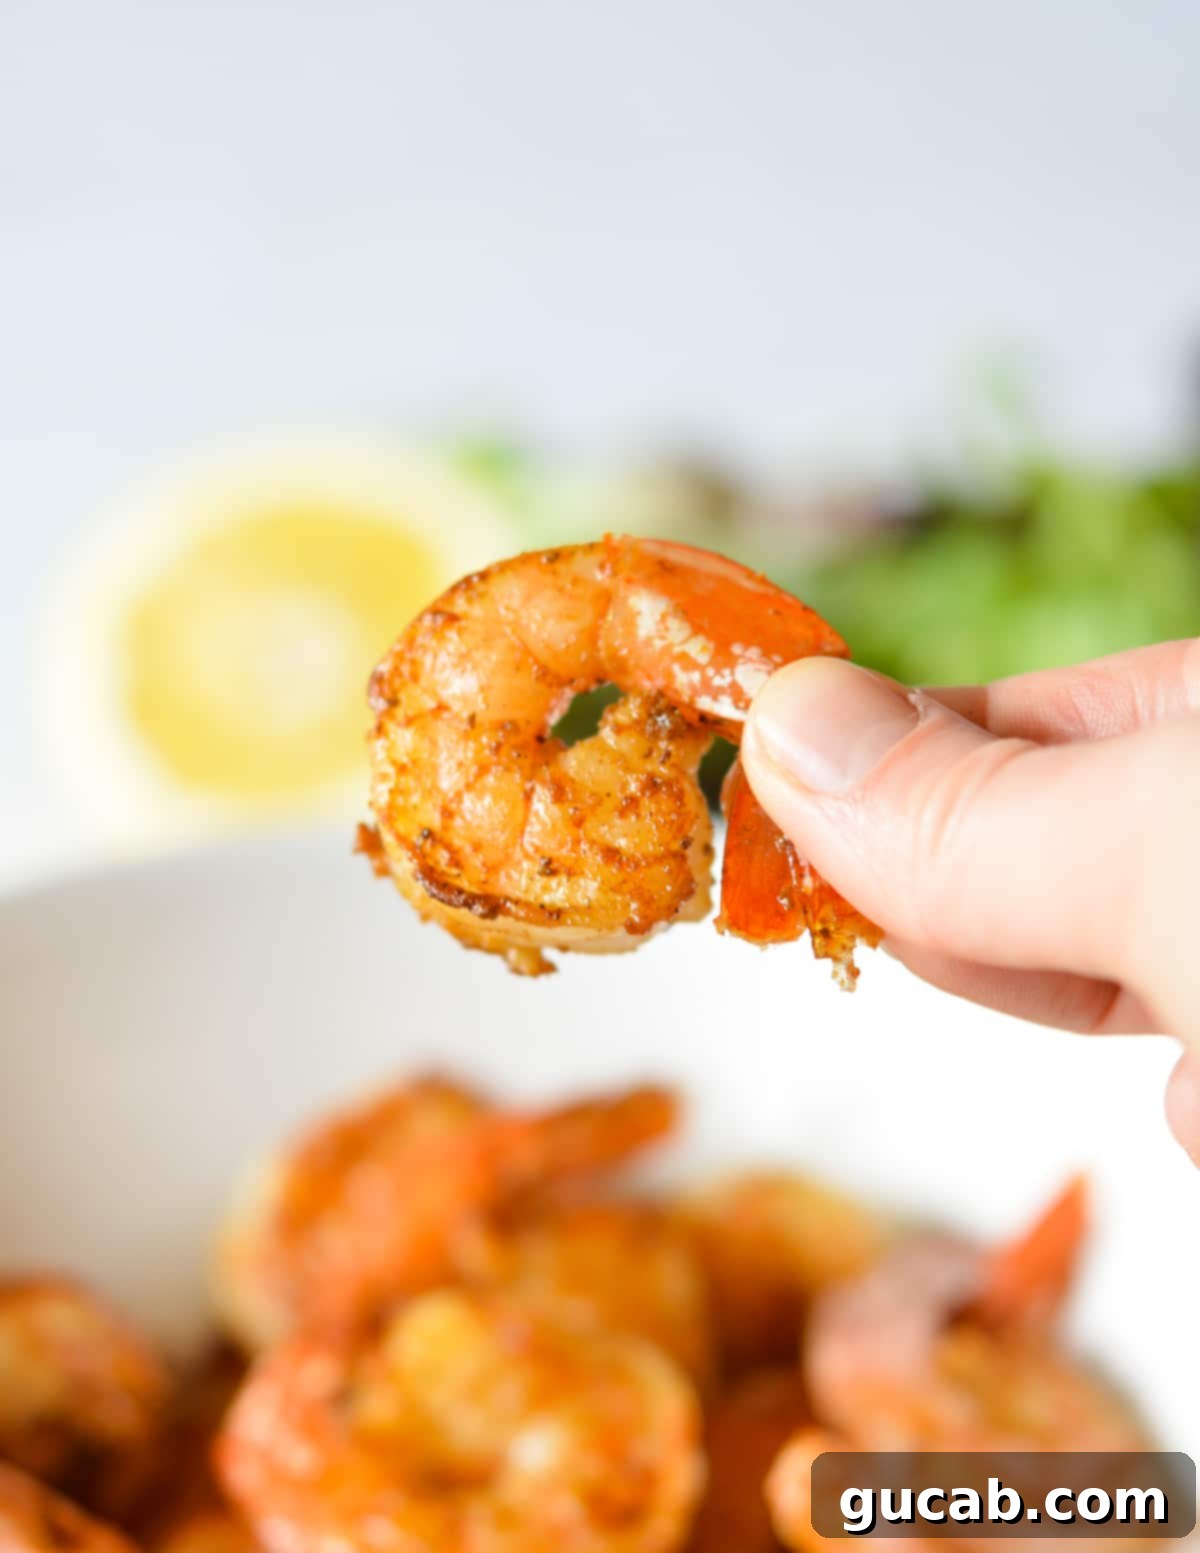
5. Flip and Finish Cooking: Using a fork or small tongs, carefully flip each shrimp over to its other side. Cook for an additional 1 to 1 ½ minutes. The shrimp are done when they turn opaque and pink throughout, and the thickest part of the shrimp no longer looks translucent. They will curl into a loose “C” shape. An “O” shape often indicates overcooking, making them rubbery. This brief cooking time is why vigilance is key – do not overcook the shrimp!
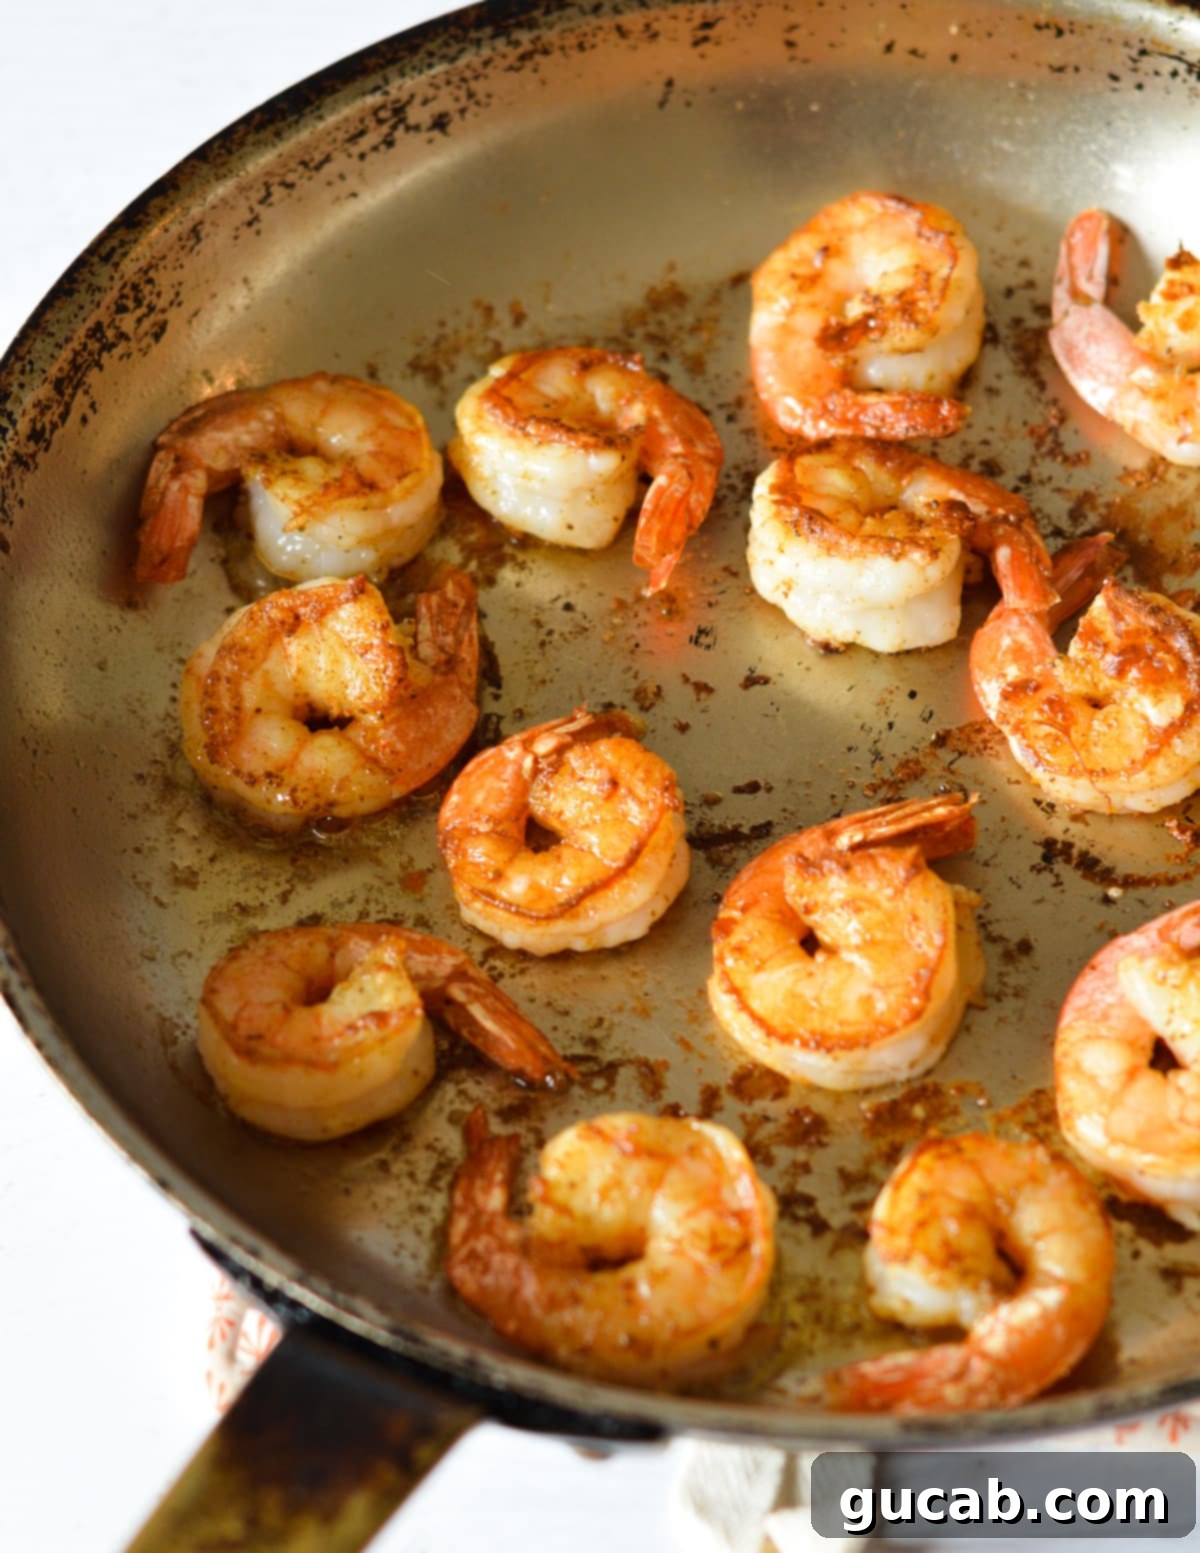
6. Repeat and Serve: Transfer the perfectly cooked shrimp to a clean plate immediately. Repeat the pan-frying process with the remaining half of the shrimp. Serve your delicious pan seared shrimp immediately to enjoy them at their peak freshness, or store them in the fridge for up to 3 days for later enjoyment.
Expert Tips for Flawless Pan Seared Shrimp
Achieving consistently perfect pan seared shrimp isn’t difficult, but a few key techniques can elevate your results from good to outstanding. Pay close attention to these tips to ensure your shrimp are always juicy, tender, and beautifully caramelized.
- Let the Pan Get Sizzling Hot. This is foundational for a proper sear and excellent caramelization, also known as the Maillard reaction. A hot pan ensures the shrimp cooks quickly on the outside, forming a crust, while remaining tender inside. I find that stainless steel pans are exceptional for this as they heat up rapidly and provide an even, high heat distribution, leading to the best sear. Cast iron skillets also work wonderfully.
- Use a Large Enough Pan. Pan size directly impacts searing quality. For one pound of large shrimp, I typically use a 12-inch stainless steel skillet. If your pan is too small for the amount of shrimp you’re cooking, it won’t allow enough space for air circulation, which is vital for searing.
- Do Not Crowd the Shrimp. This tip goes hand-in-hand with using a large enough pan. If you overload the skillet with too many shrimp, they will release moisture and effectively steam each other instead of searing. This drops the pan’s temperature and prevents the coveted caramelization, leaving you with grayish, rubbery shrimp. Always cook shrimp in batches, ensuring each piece has direct contact with the hot surface of the pan.
- Do Not Overcook the Shrimp. I cannot emphasize this enough – shrimp cooks incredibly quickly! Overcooked shrimp becomes tough, chewy, and rubbery, losing its delicate texture and sweet flavor. Keep a close eye on them; once they turn opaque and pink with a gentle “C” shape, they are done. This usually takes just 1-2 minutes per side for large shrimp.
- Pat Them Dry, Dry, Dry. As mentioned earlier, moisture is the enemy of a good sear. Take the extra minute to thoroughly pat your shrimp dry with paper towels. This allows the heat to immediately start caramelizing the surface rather than evaporating excess water.
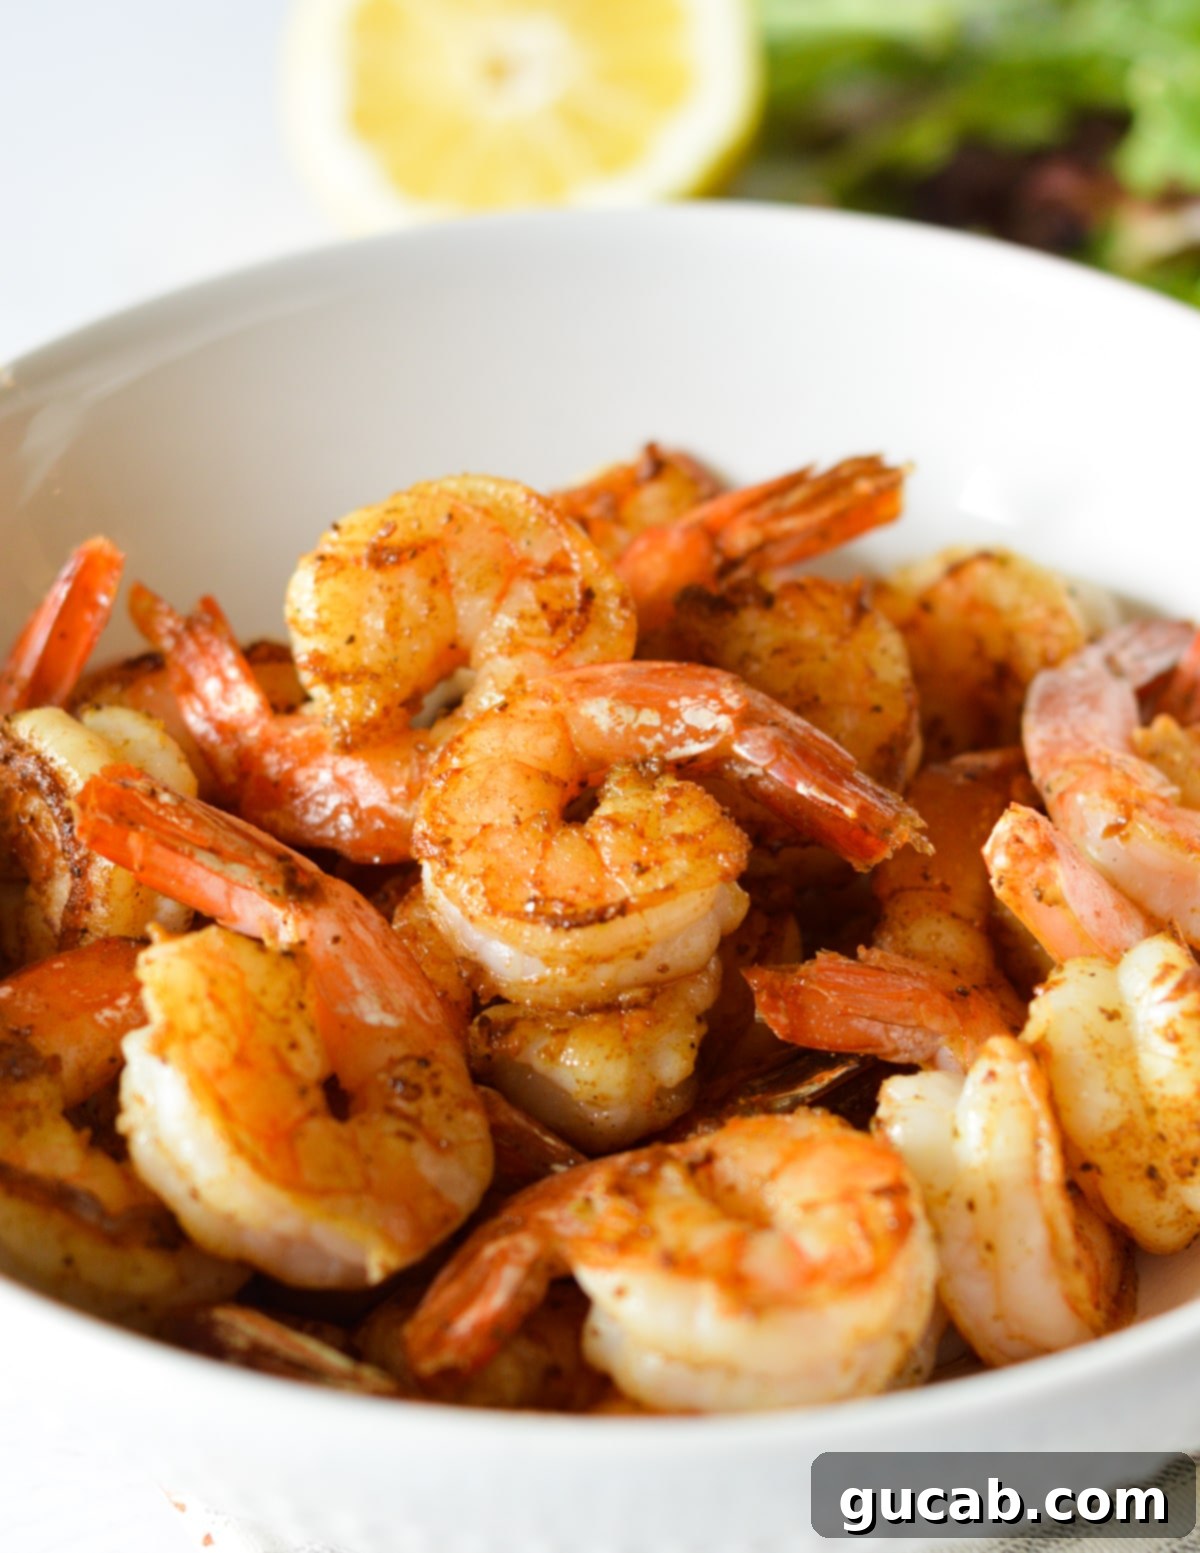
Delightful Ways to Enjoy Your Pan Seared Shrimp
Beyond simply popping them straight into your mouth – which is definitely a valid and delicious option! – pan seared shrimp are incredibly versatile. I frequently pan-fry shrimp as part of my weekly meal prep because they add a fantastic source of lean protein and incredible flavor to all sorts of dishes. Here are a few of my favorite ways to incorporate this delicious seafood:
- Elevate Your Green Goddess Salad – Transform a simple mixed greens salad into a gourmet experience. Add your pan seared shrimp to fresh mixed greens alongside cherry tomatoes, crumbled feta cheese, and thinly sliced red onion. Drizzle with a creamy green goddess dressing for a vibrant and satisfying meal.
- Hearty Pasta Salad Addition – Chop the cooked shrimp into smaller pieces and fold them into your favorite macaroni salad recipe or any cold pasta salad. The savory shrimp adds a wonderful texture and protein boost that makes it a more substantial meal.
- Classic Shrimp Salad Sandwiches – Just like a chicken salad, but with the sweet and delicate flavor of shrimp! Chop the shrimp, mix with mayonnaise, celery, a touch of lemon juice, and fresh dill. Serve on toasted bread, lettuce wraps, or over a bed of greens.
- Flavorful Rice Bowls – Create custom burrito or rice bowls with pan seared shrimp as the star protein. Pair with cilantro lime rice, black beans, corn salsa, avocado, and a dollop of your favorite crema or hot sauce for a quick and satisfying meal.
- Delectable Shrimp Tacos – Use these perfectly seared shrimp as the flavorful base for amazing tacos! Fill warm tortillas with the shrimp, then top with sliced avocado, crunchy shredded cabbage, tangy pickled red onions, and a creamy lime crema for a burst of fresh flavors and textures.
- Quick Stir-Fries – Toss the cooked shrimp into a last-minute vegetable stir-fry with your favorite sauce for an incredibly fast and healthy weeknight dinner.
- Garlic Butter Shrimp Scampi – While already delicious, you can quickly toss these shrimp with some extra garlic, butter, and a splash of white wine to make a lightning-fast “scampi” to serve over pasta or with crusty bread.
Storage & Freezing Guidance
Proper storage is essential to maintain the quality and safety of your delicious pan seared shrimp. Here’s how to handle leftovers:
- Refrigeration: Store any leftover pan seared shrimp in a clean, airtight container in the refrigerator for up to 3-4 days. It’s best to cool them down quickly before refrigerating to prevent bacterial growth.
- Reheating: To reheat, gently warm the shrimp in a skillet over medium-low heat with a tablespoon of butter or olive oil. The key is low heat to prevent overcooking, which will make them rubbery. Stir occasionally until just heated through. Avoid cooking them over high heat, as this almost guarantees a rubbery texture. You can also carefully microwave them for short bursts (30 seconds at a time) until warm, but the skillet method yields better results.
- Best Enjoyed Cold: For optimal texture, I highly recommend enjoying leftover shrimp in cold dishes. They are absolutely perfect chopped into salads, mixed into pasta salads, or used for shrimp cocktail. This way, you avoid any risk of overcooking during reheating.
- Freezing: While technically possible, freezing cooked shrimp can sometimes alter its texture, making it slightly tougher when thawed and reheated. If you must freeze, place cooked and cooled shrimp in an airtight, freezer-safe container or bag for up to 1-2 months. Thaw in the refrigerator overnight before using.
Frequently Asked Questions (FAQs) About Pan Seared Shrimp
The exact cooking time for raw shrimp in a skillet can vary depending on several factors, including the size of your shrimp and the heat of your pan. As a general guideline, for large (21/30 count) shrimp, it typically takes about 1 ½ to 2 minutes per side over medium-high heat. Instead of strictly relying on time, it’s much better to focus on visual cues. Shrimp are done when they lose their translucent, grayish appearance and turn opaque and pink throughout. They will also curl into a gentle ‘C’ shape. Never wait for them to form a tight ‘O’ shape, as this indicates they are already overcooked and will be rubbery.
This often comes down to personal preference, but I find that a combination of both olive oil and unsalted butter yields the best results. Olive oil has a higher smoke point, which means it can withstand higher temperatures without burning, helping to achieve a great sear. Butter, on the other hand, adds a rich, desirable flavor that enhances the natural sweetness of the shrimp. However, butter has a lower smoke point and can burn quickly if cooked too long over high heat. By using both, you get the delicious buttery flavor without the risk of scorching, leading to beautifully browned and flavorful shrimp.
Knowing when your pan seared shrimp is perfectly cooked is crucial to avoid a rubbery texture. Raw shrimp have a shiny, translucent, grayish appearance. As they cook, their color changes to opaque and a vibrant pink/white. The thickest part of the shrimp should no longer be translucent. They will also curl slightly into a loose ‘C’ shape. If the shrimp has curled tightly into an ‘O’ shape, it is typically overcooked. This transformation happens very quickly, usually within a couple of minutes per side, so it’s essential to keep a close eye on them.
Yes, you can adapt this recipe for different shrimp sizes, but you will need to adjust the cooking time accordingly. Smaller shrimp (e.g., 31/40 count) will cook even faster, perhaps only 1 minute per side. Larger shrimp (e.g., U15 or jumbo) may require an extra 30 seconds to 1 minute per side. Always rely on the visual cues of the shrimp turning opaque and pink, rather than strictly sticking to the time. The goal is always to avoid overcooking, regardless of size.
If you don’t have Old Bay, don’t worry! You can easily create a delicious alternative or use another spice blend. A simple mix of paprika, garlic powder, onion powder, a pinch of cayenne pepper (for a kick), and some salt and black pepper will give you a similar savory flavor. Other great alternatives include Cajun seasoning, lemon pepper seasoning, or a simple combination of dried oregano, thyme, garlic powder, and red pepper flakes. The key is to choose a blend that complements seafood and provides the flavor profile you enjoy.
More Quick and Easy Dinner Recipes to Love
If you’re a fan of fast, delicious, and satisfying meals, explore some of these other fantastic recipes that come together in a flash. Perfect for any night of the week!
- Creamy Alfredo Sauce with Half & Half – A lighter take on a classic, ready in minutes.
- The BEST One Pound Meatloaf Recipe – Comfort food made simple and incredibly flavorful.
- Baked Swordfish with Lemon Basil Butter – An elegant yet easy seafood dish.
- Zesty Lemon Pepper Salmon – Healthy, quick, and bursting with citrusy flavor.
- Blackened Swordfish with Cajun Butter – Spicy, bold, and surprisingly fast to prepare.
- Mahi Mahi Sandwich with Lemon Aioli – A gourmet sandwich experience in under 20 minutes.
Perfect Pan Seared Shrimp
Recipe by Carolyn
Pin Recipe
Equipment
-
Large skillet stainless steel, nonstick, or cast iron is recommended for best searing results
Ingredients
- 1 pound large shrimp (21/30 count) peeled and deveined, fresh or thawed frozen
- 1 tablespoon unsalted butter
- 1 tablespoon olive oil
- 1 ½ teaspoon Old Bay seasoning
- Pinch kosher salt or to taste
Instructions
-
Ensure shrimp are thoroughly dry. Spread them on a paper towel or a clean hand towel and gently pat both sides until no moisture remains. This step is crucial for proper caramelization and prevents steaming.
-
Transfer the dried shrimp to a large bowl. Add the Old Bay seasoning and a pinch of kosher salt. Toss gently but thoroughly to ensure the shrimp are evenly coated with the seasoning.
-
Heat a large stainless steel or cast-iron skillet over medium-high heat. Once hot, add the unsalted butter and olive oil to the pan.
-
Once the butter is fully melted and sizzling, and the pan is visibly hot, add about half of the seasoned shrimp to the skillet in a single, even layer. Avoid overcrowding the pan. Cook for exactly 1 ½ minutes on the first side to achieve a golden sear.
-
Carefully flip each shrimp to its other side using tongs or a fork. Cook for an additional 1 to 1 ½ minutes, or until the shrimp are completely opaque, pink throughout, and the thickest part no longer looks translucent. Remove immediately from heat to prevent overcooking, which will make them rubbery.
-
Transfer the perfectly cooked shrimp to a plate and repeat the searing process with the remaining shrimp. Serve immediately for the best flavor and texture!
Nutrition
