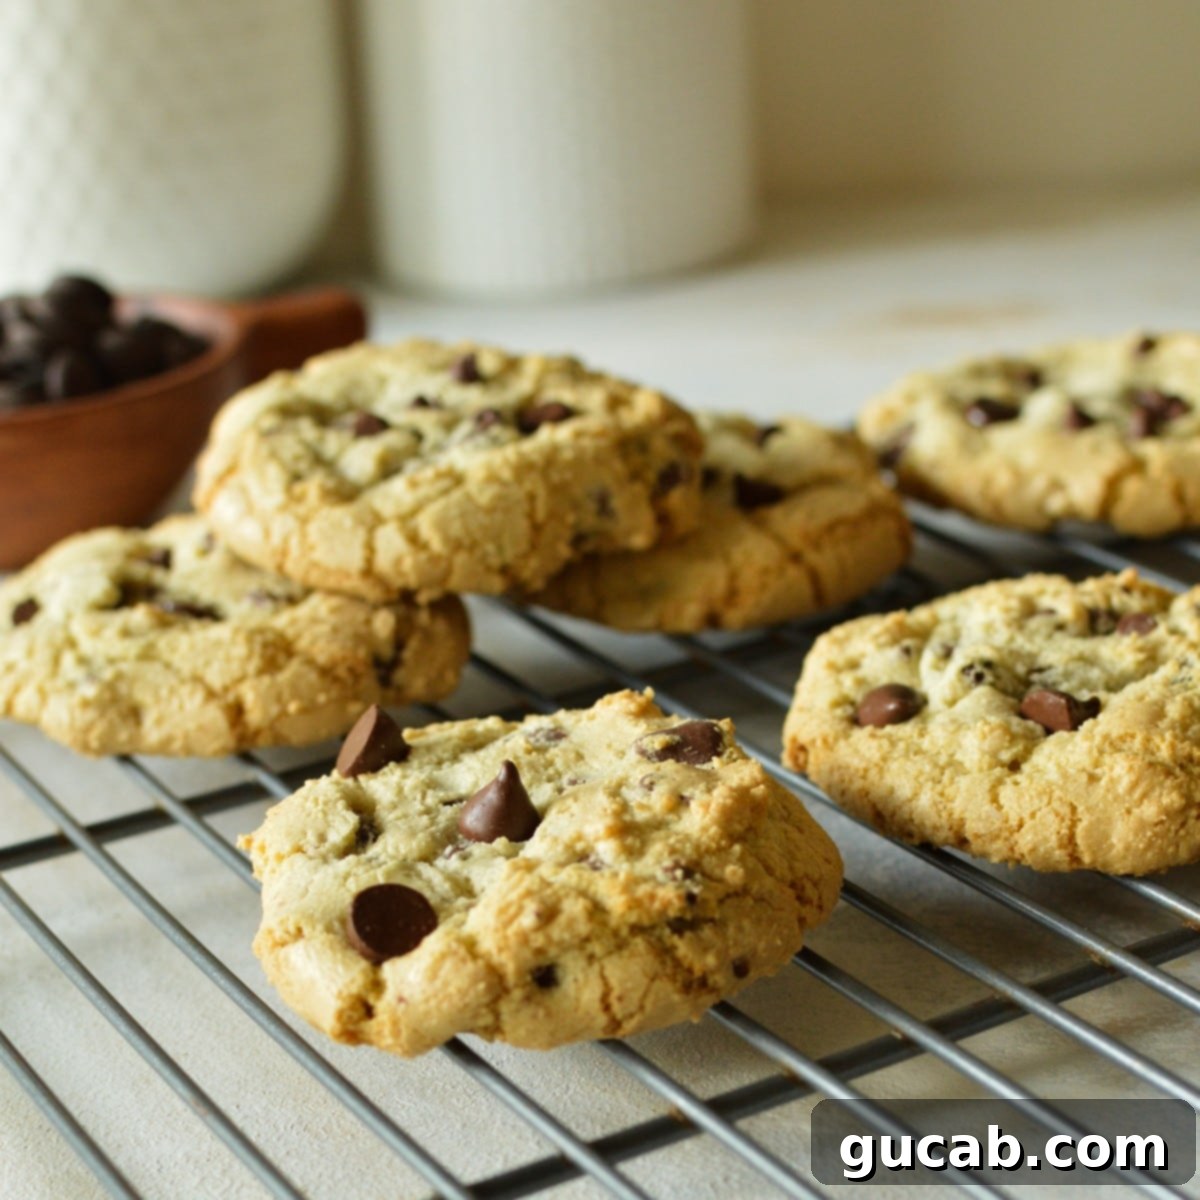
Irresistibly Chewy & Crispy No Butter Chocolate Chip Cookies (Oil-Based Recipe)
Ever found yourself craving warm, gooey chocolate chip cookies only to discover an empty butter wrapper in the fridge? Don’t let a butter shortage derail your cookie dreams! These incredible no-butter chocolate chip cookies are here to save the day, proving that you don’t need butter to bake truly spectacular treats. With their perfectly crispy edges, delightfully chewy centers, and an abundance of melted chocolate chips, these cookies are so good, you might just prefer them to their butter-laden counterparts. They achieve their magic by substituting vegetable oil for butter, yielding a uniquely moist and tender crumb that will surprise and delight even the most dedicated butter enthusiasts.
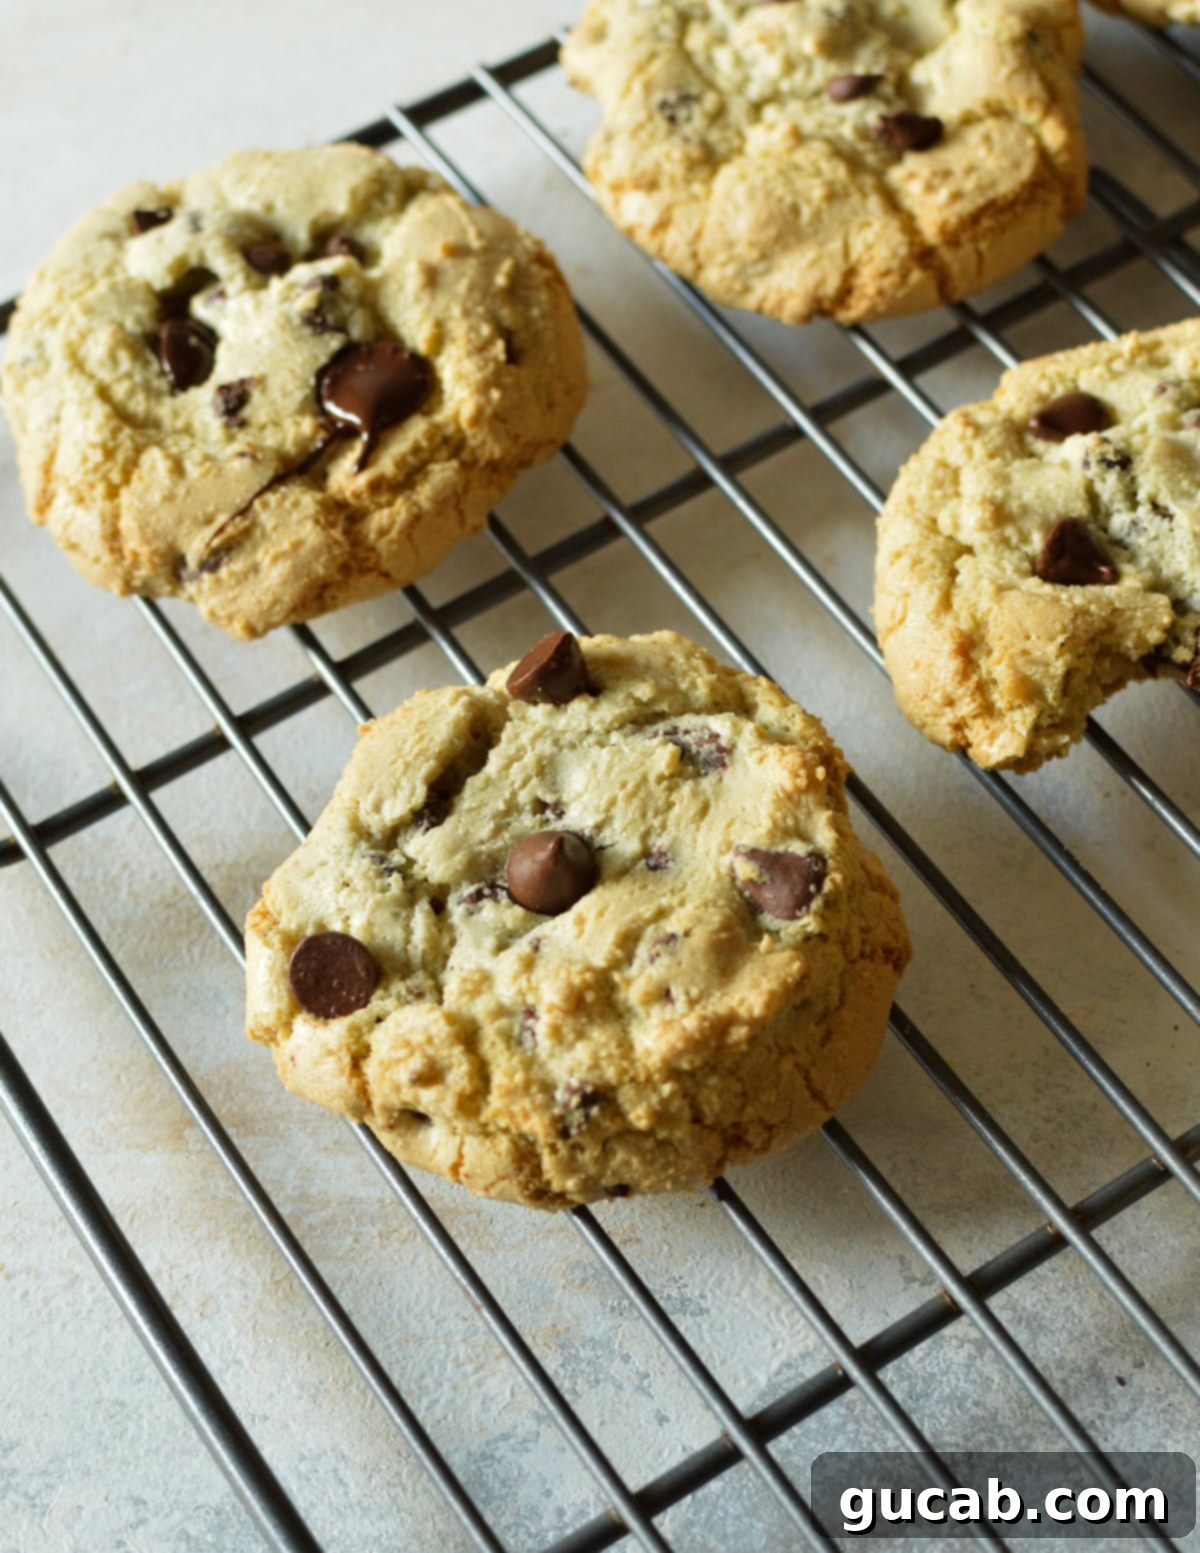
Whether you’re completely out of butter, adhering to a dietary restriction, or simply looking for a new, exciting cookie recipe, these butterless cookies are an absolute game-changer. They consistently deliver golden, crisp edges that give way to wonderfully soft, pillowy interiors, generously studded with gooey, melted semisweet chocolate chips. The flavor profile is rich and satisfying, with a subtle depth that comes from the carefully balanced blend of sugars and the neutral notes of the vegetable oil, allowing the pure essence of the chocolate to shine through.
I can personally attest to the frustration of opening the refrigerator, visions of homemade cookies dancing in my head, only to be met with the stark reality of no butter. In those moments of despair, a conventional cookie recipe feels impossible. That’s when I decided to experiment. I grabbed a trusty mixing bowl, my favorite cookie scoop, and a bottle of vegetable oil, ready to challenge the notion that butter is non-negotiable for delicious cookies. And oh, the delicious results! These chocolate chip cookies made with vegetable oil are, dare I confess, just as satisfying, if not more so, than many traditional butter-based recipes I’ve tried. And trust me, that’s high praise coming from someone who truly adores butter!
This recipe is not merely a substitute; it’s a revelation. It offers a quick, simple, and utterly delicious path to homemade chocolate chip cookies, proving that a little ingenuity in the kitchen can lead to truly unforgettable desserts. Get ready to bake a batch that will disappear faster than you can say “no butter, no problem!”
Essential Ingredients for Perfect Oil-Based Cookies
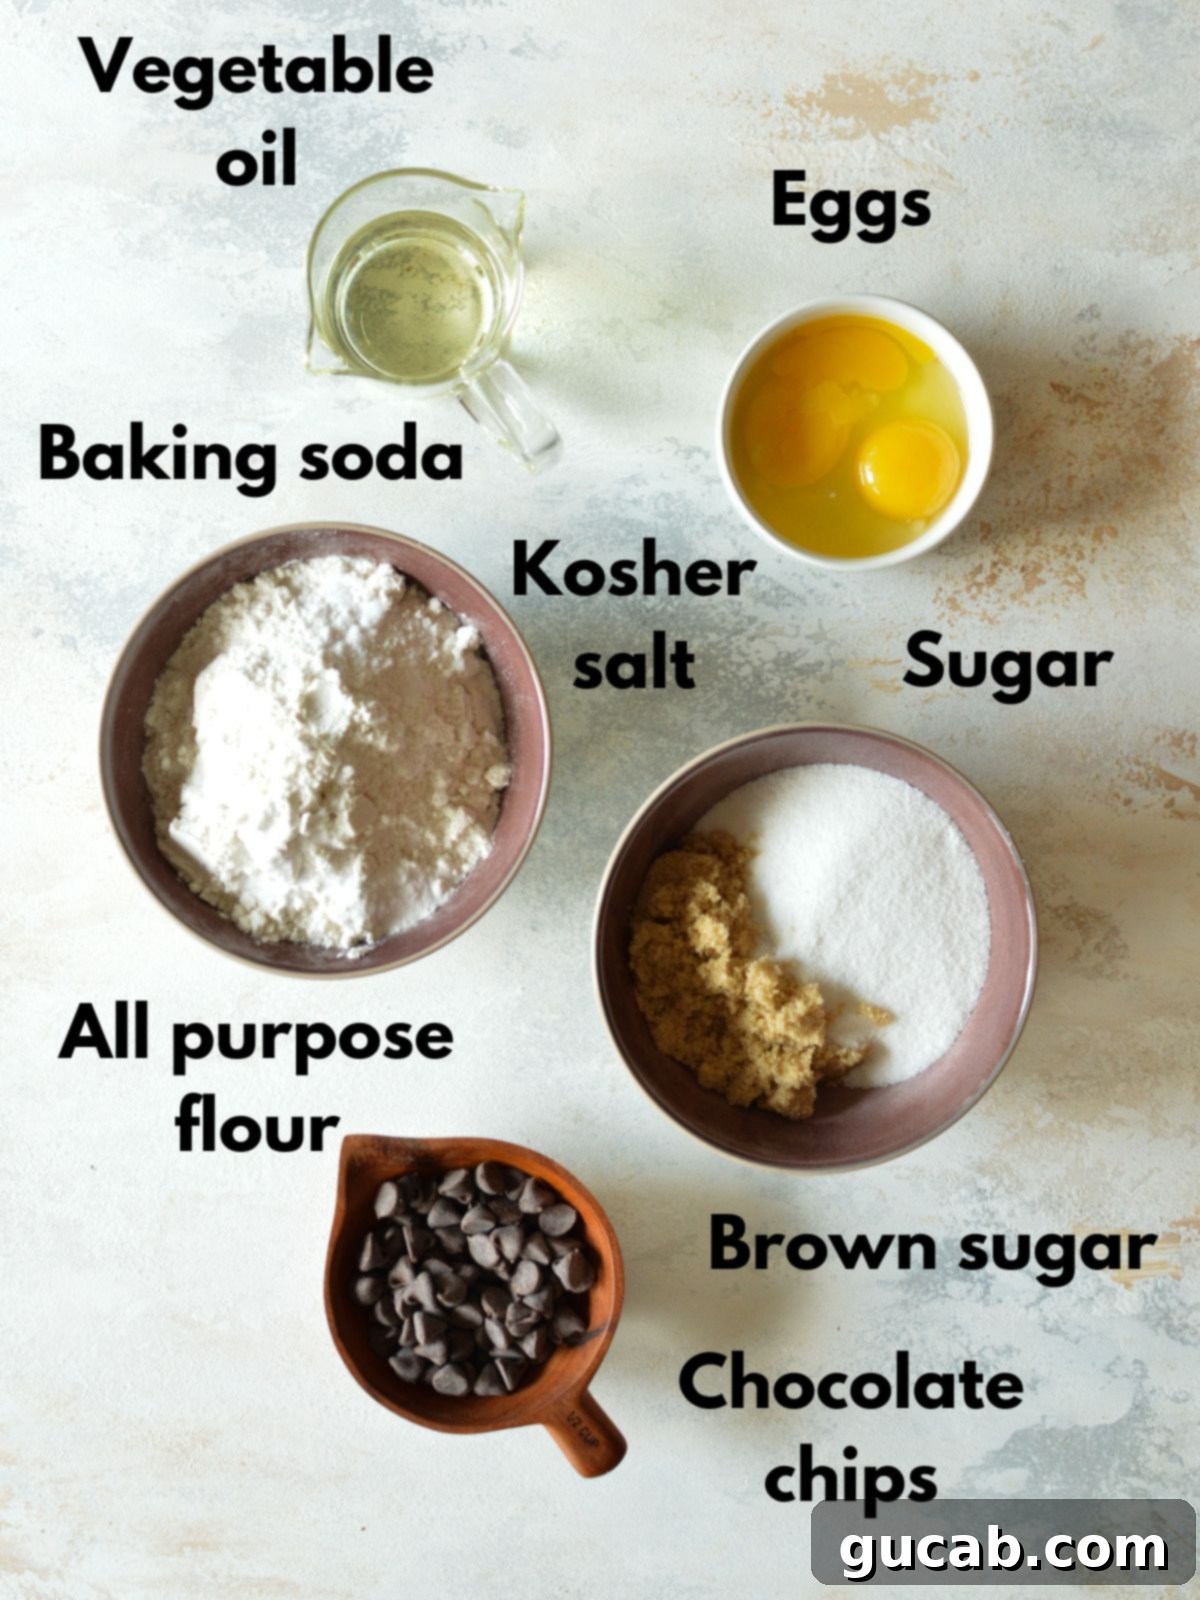
- Vegetable Oil: This is the star of our butterless show! Vegetable oil provides the necessary fat for a tender crumb and helps create those coveted crispy edges without the need for butter. It has a neutral flavor, which is crucial for allowing the chocolate and other sweet notes to dominate. Other neutral-flavored oils like canola oil or grapeseed oil work beautifully as well. However, steer clear of strong-flavored oils such as olive oil or coconut oil (unless you specifically want that flavor profile), as their distinct tastes will significantly alter the cookie’s final flavor in an undesirable way for a classic chocolate chip cookie.
- Granulated Sugar: Essential for sweetness, of course, but also plays a key role in the cookie’s texture. White granulated sugar contributes to the crispiness of the edges and helps the cookies spread perfectly in the oven, creating that classic chocolate chip cookie silhouette.
- Brown Sugar: This ingredient is vital for adding depth of flavor and creating a wonderfully chewy texture. The molasses in brown sugar provides moisture and a rich, caramelized note. Furthermore, the mild acidity in molasses reacts with the baking soda, contributing to the cookie’s rise and overall soft structure. The combination of brown and white sugar ensures a complex flavor and the ideal balance of crisp and chewy.
- Egg + Extra Yolk: While one whole egg binds the ingredients, the addition of an extra egg yolk is my secret weapon for truly exceptional cookies. The yolk is packed with fat and emulsifiers, dramatically enhancing the richness, chewiness, and density of the cookies. It contributes to a softer, more decadent mouthfeel, making these butterless cookies feel incredibly luxurious. The difference an extra yolk makes is truly noticeable and highly recommended.
- All-Purpose Flour: The structural backbone of our cookies, all-purpose flour binds all the wet and dry ingredients together. For best results, measure your flour accurately using the spoon and level method (spoon flour into a measuring cup, then level off with a straight edge) to avoid compacting it, which can lead to dry, dense cookies. If you need a gluten-free option, Bob’s Red Mill’s 1:1 Baking Flour is an excellent substitute that typically performs well in recipes like this.
- Baking Soda: Our primary leavening agent, baking soda, helps the cookies rise and spread, preventing them from becoming dense “hockey pucks.” As mentioned, it reacts with the acid in the brown sugar to create carbon dioxide, resulting in a light and airy yet chewy texture.
- Kosher Salt: Don’t skip the salt! A pinch of kosher salt (or fine sea salt) is a flavor enhancer that balances the sweetness of the sugars and chocolate. It elevates all the other flavors, making the cookies taste richer and more nuanced, preventing them from being cloyingly sweet.
- Semisweet Chocolate Chips: And plenty of ’em! Semisweet chocolate chips are a classic choice, providing that perfect balance of sweetness and rich cocoa flavor. Feel free to use your preferred brand and quality; better chocolate always means better cookies!
How to Bake Delightful Cookies Without Butter
Crafting these irresistible no-butter chocolate chip cookies is a straightforward process, promising delicious results with minimal fuss. Follow these detailed steps for cookie perfection:
Before you begin mixing, make sure your oven is preheated to 375 degrees Fahrenheit (190 degrees Celsius). This ensures the cookies start baking immediately at the correct temperature, which is crucial for their spread and texture. Also, line a large baking sheet (or two, if you have them) with parchment paper. This prevents the cookies from sticking and promotes even baking, making cleanup a breeze.
Step 1: Combine Wet Ingredients. In a large mixing bowl, or the bowl of a stand mixer fitted with the paddle attachment, combine the vegetable oil, granulated sugar, brown sugar, the whole egg, and the extra egg yolk. Begin on medium speed.
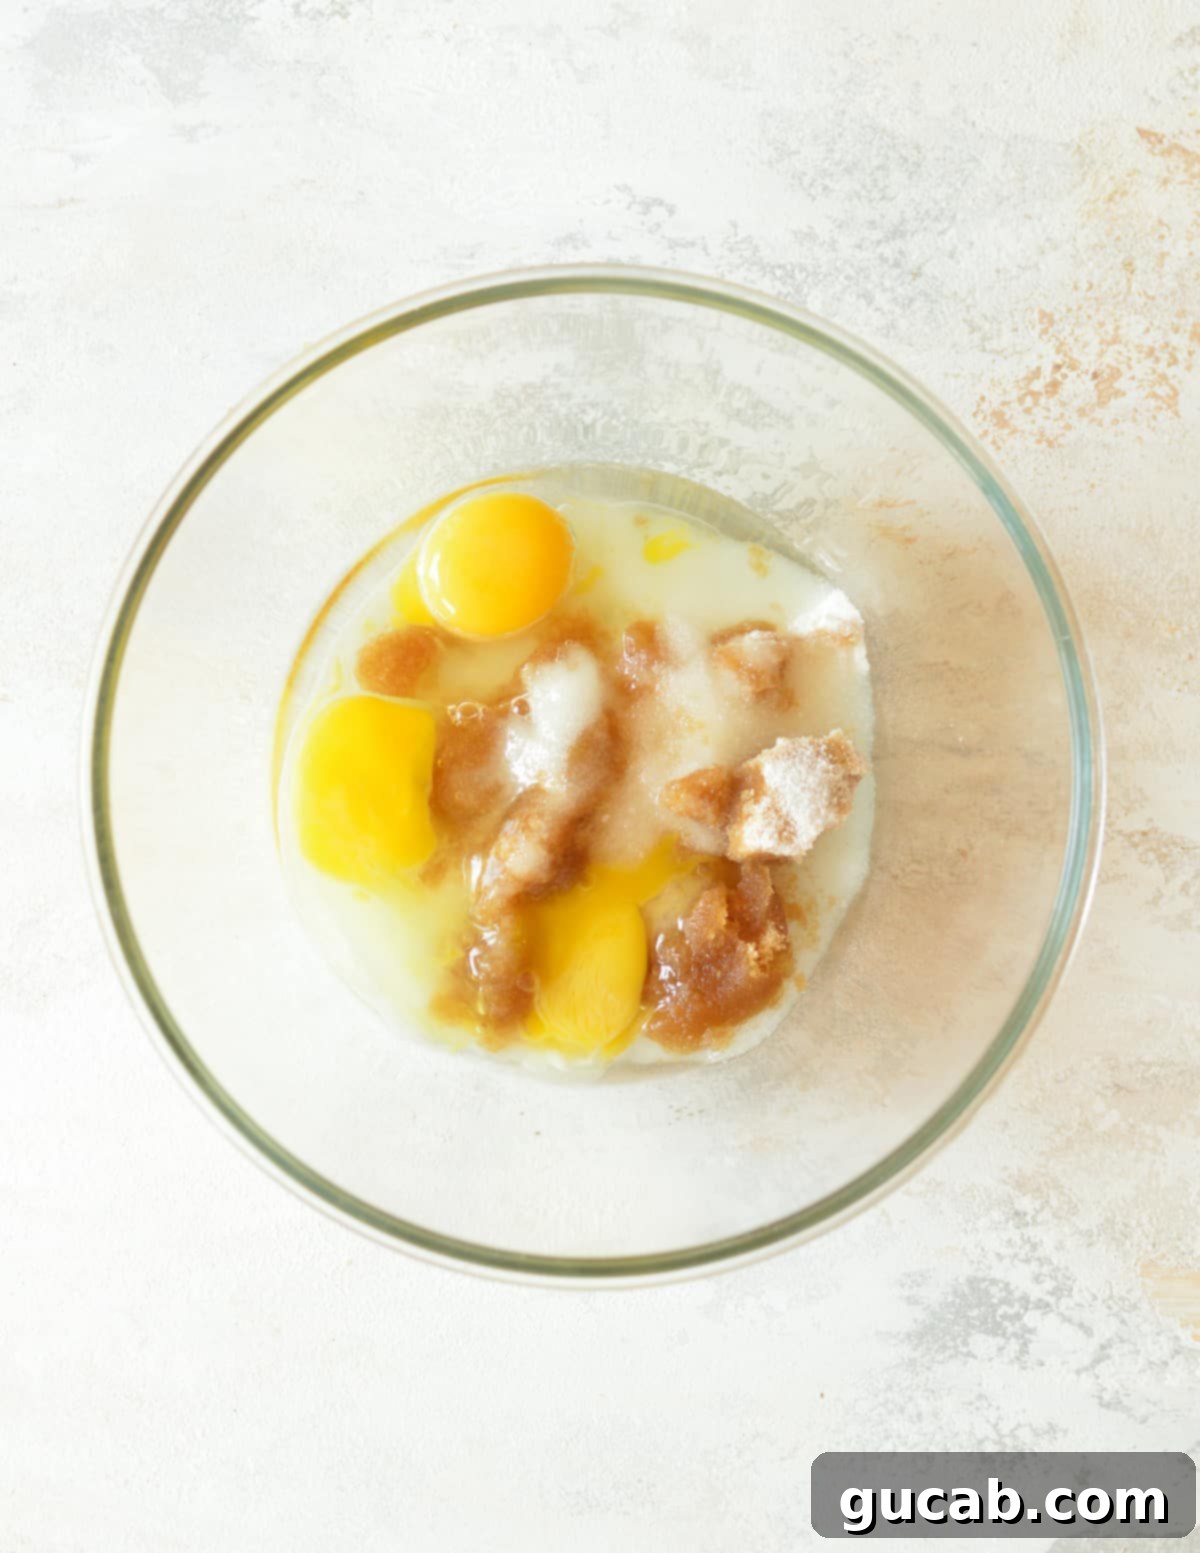
Step 2: Beat the Oil Mixture Until Creamy. Beat the oil, egg, and sugar mixture for about 45 seconds to 1 minute. You’re looking for a noticeable change in consistency – it should become lighter in color, slightly thicker, and beautifully creamy. This step effectively emulsifies the ingredients, creating a stable base for your dough and ensuring a consistent cookie texture.
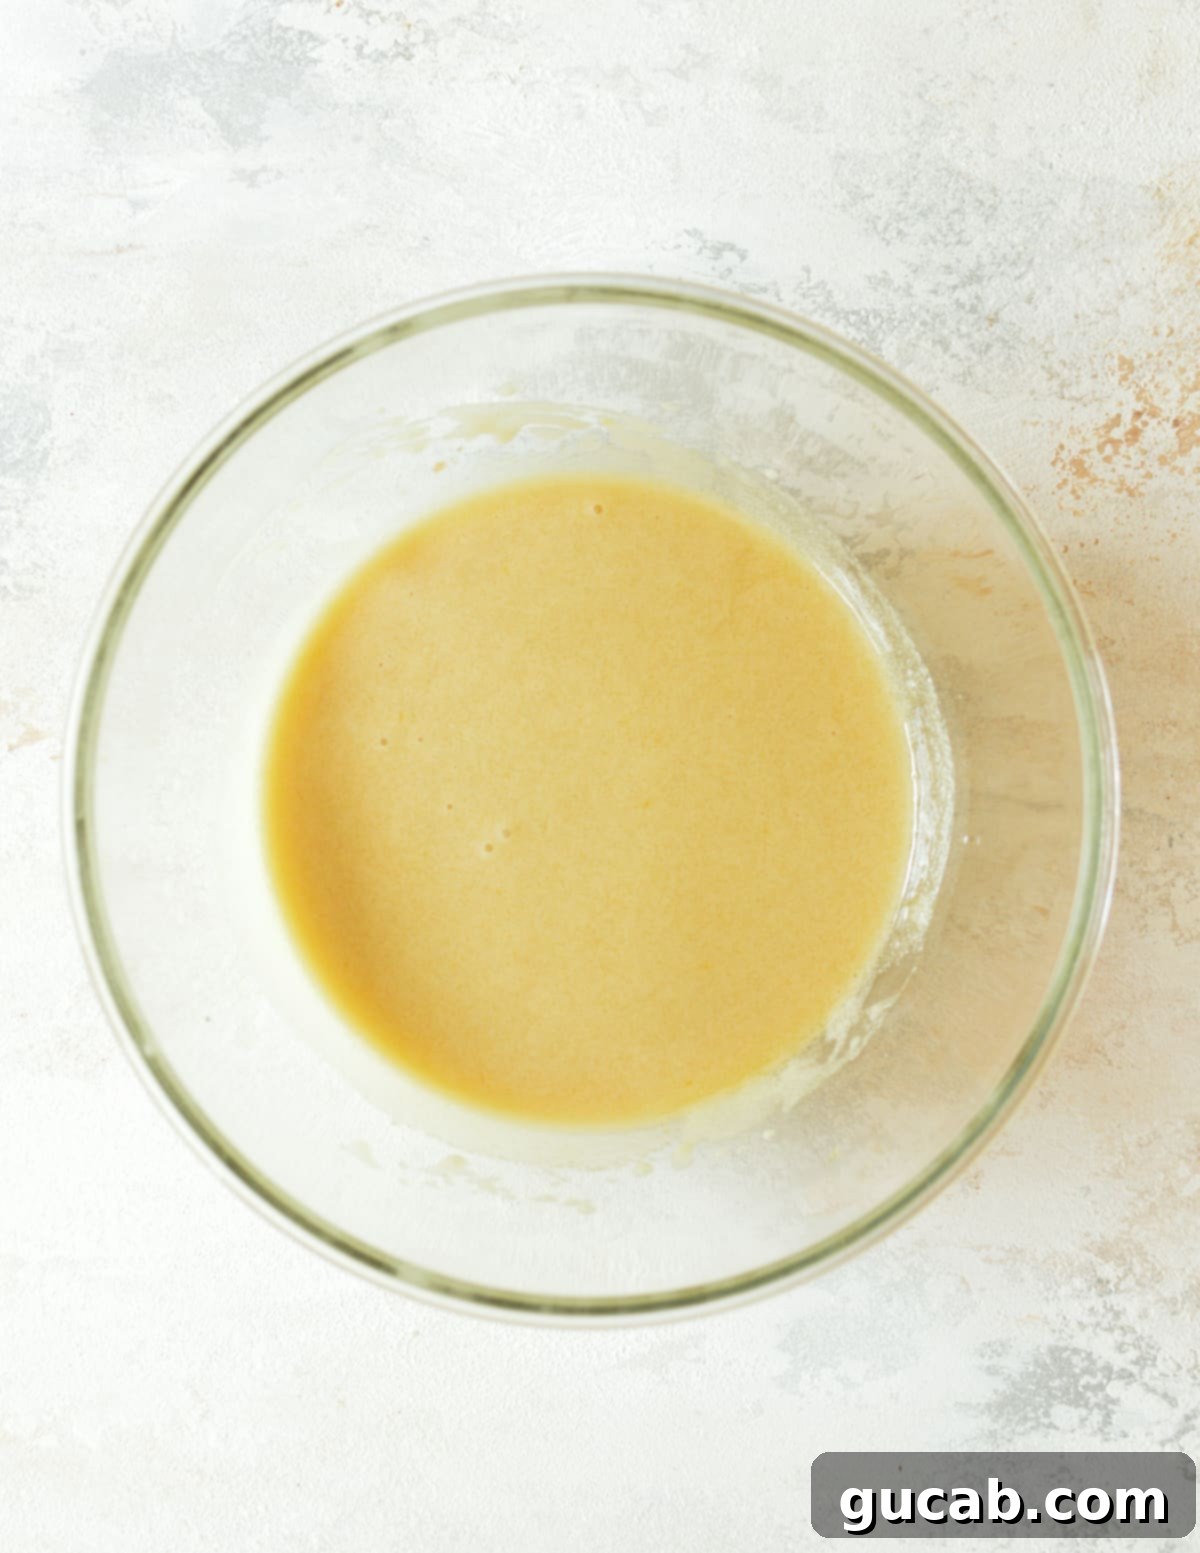
Step 3: Add the Dry Ingredients. Stop your mixer and carefully add the all-purpose flour, baking soda, and kosher salt to the wet mixture. Adding them all at once is fine; just make sure they are somewhat distributed over the wet ingredients.
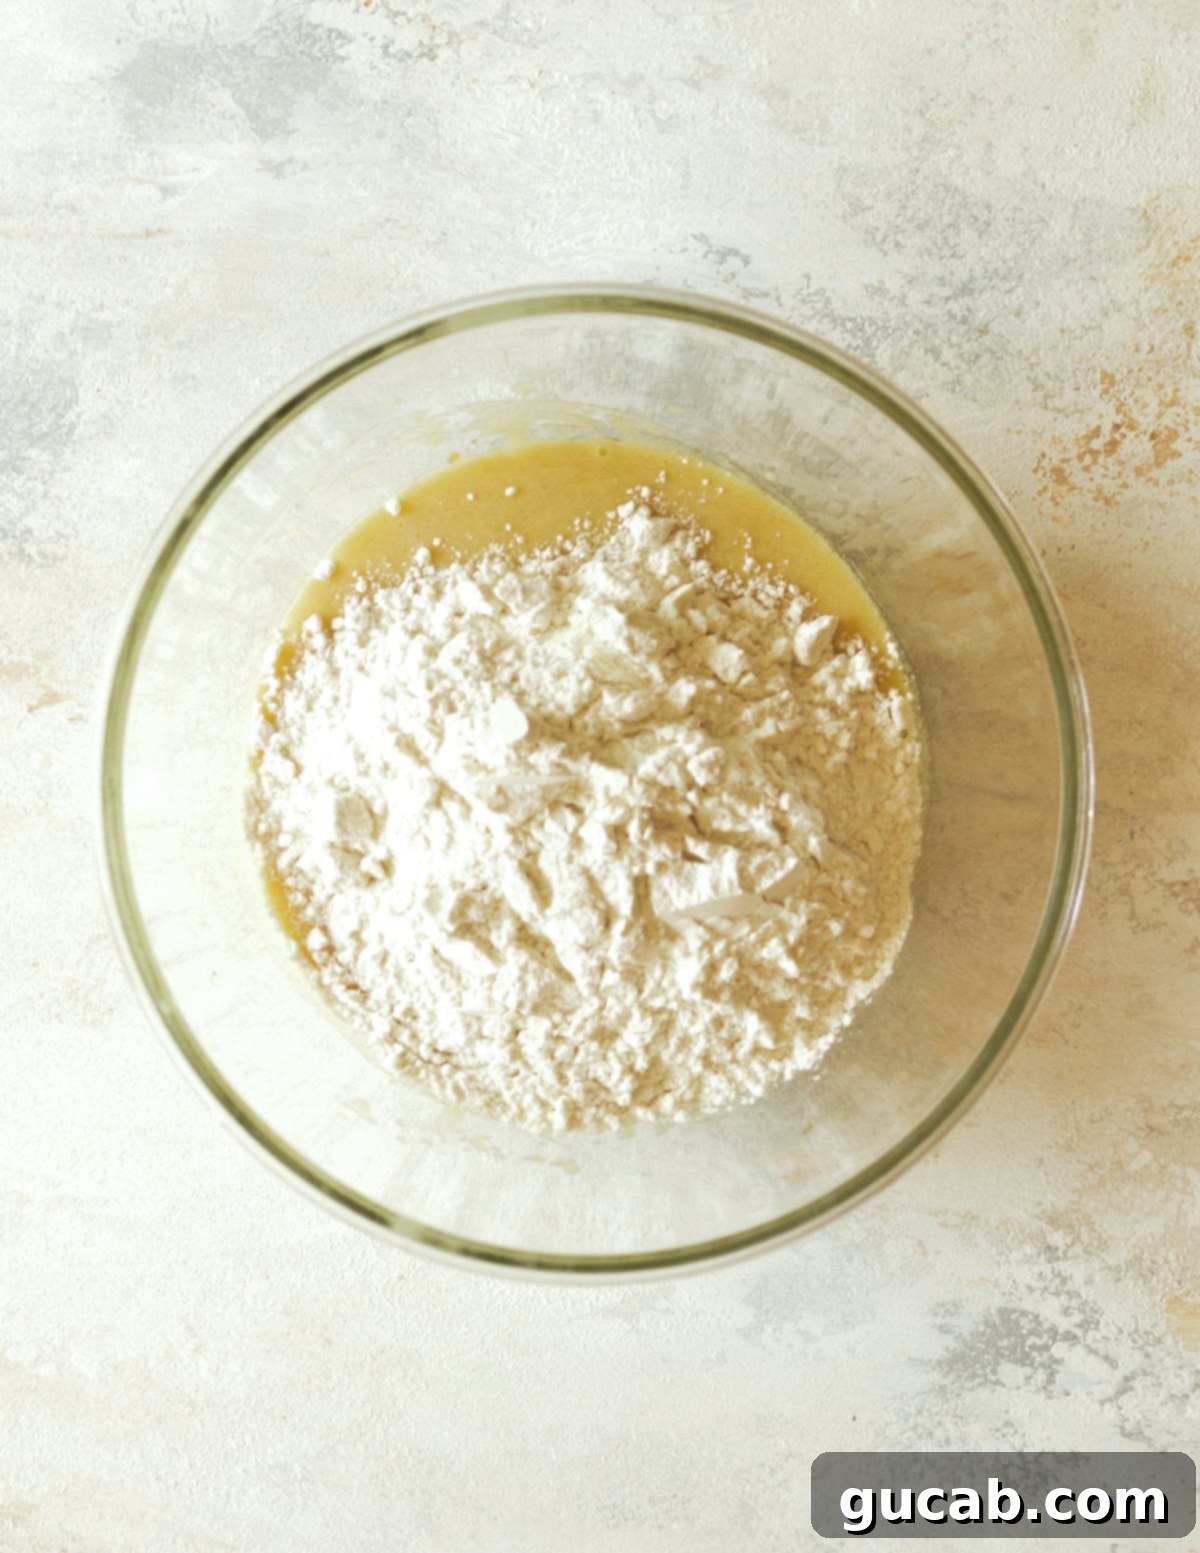
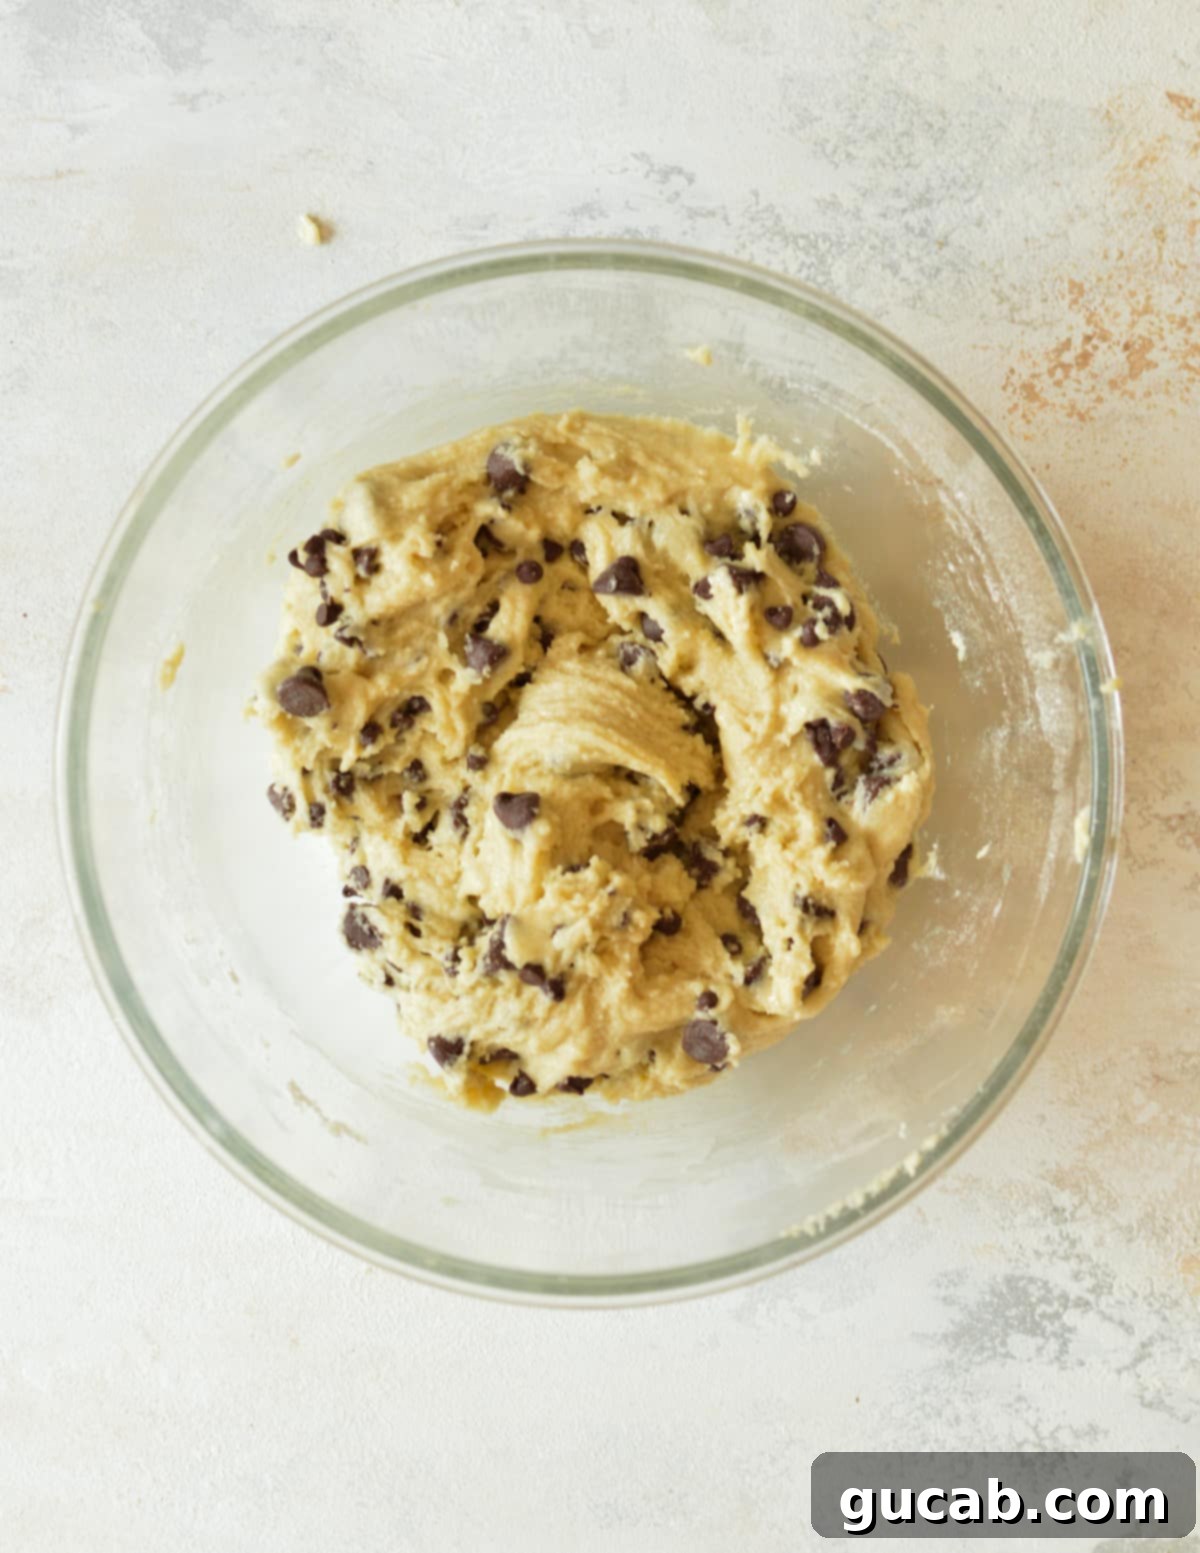
Step 4: Beat Until Cookie Dough Forms. Resume beating on low speed, mixing just until the dry ingredients are fully incorporated into the wet mixture. Be careful not to overmix, as this can develop the gluten in the flour too much, leading to tough cookies. As soon as you see no more streaks of dry flour, stop the mixer. At this point, the dough will be thick and somewhat sticky.
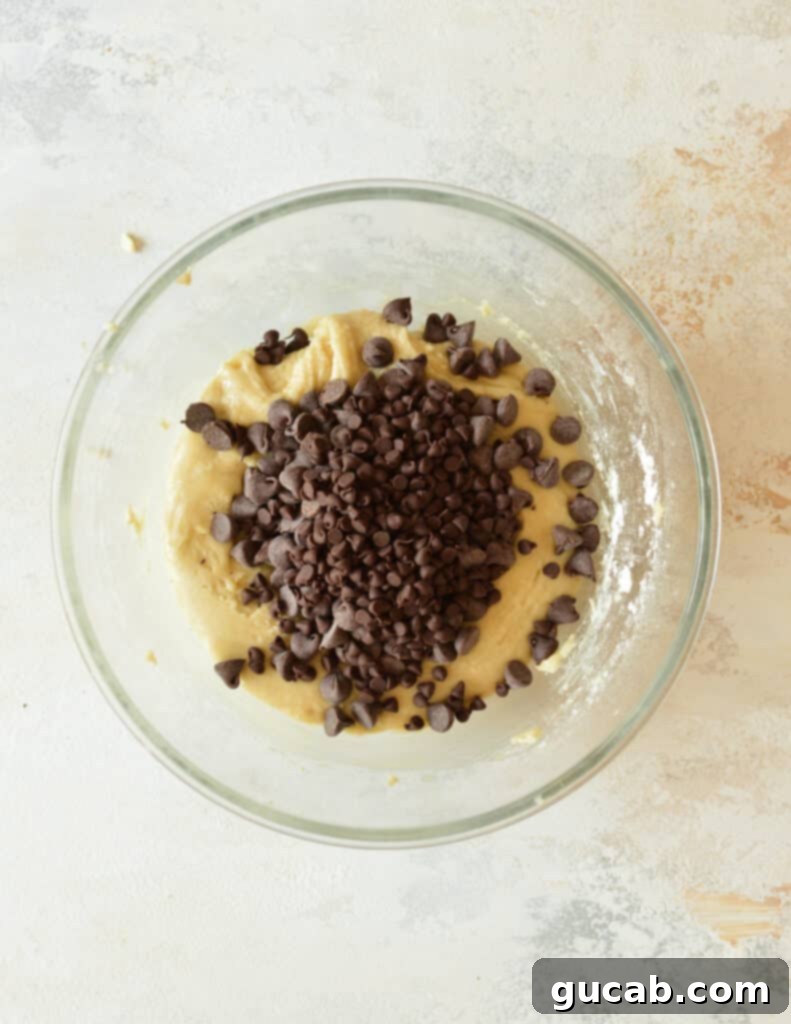
Step 5: Stir in Chocolate Chips by Hand. Gently fold in the semisweet chocolate chips using a sturdy spatula. Hand-stirring prevents the chocolate chips from breaking up and ensures they are evenly distributed throughout the dough. You want every bite to have plenty of chocolatey goodness!
Step 6: Scoop Cookie Dough onto Prepared Pan. Using a small cookie scoop (a 1.5-tablespoon scoop is ideal for standard-sized cookies), drop rounded balls of cookie dough onto your parchment-lined sheet pan. Ensure you leave ample space between each cookie, as they will spread quite a bit during baking. Typically, 5 to 6 cookies per standard baking sheet works well to prevent overcrowding.
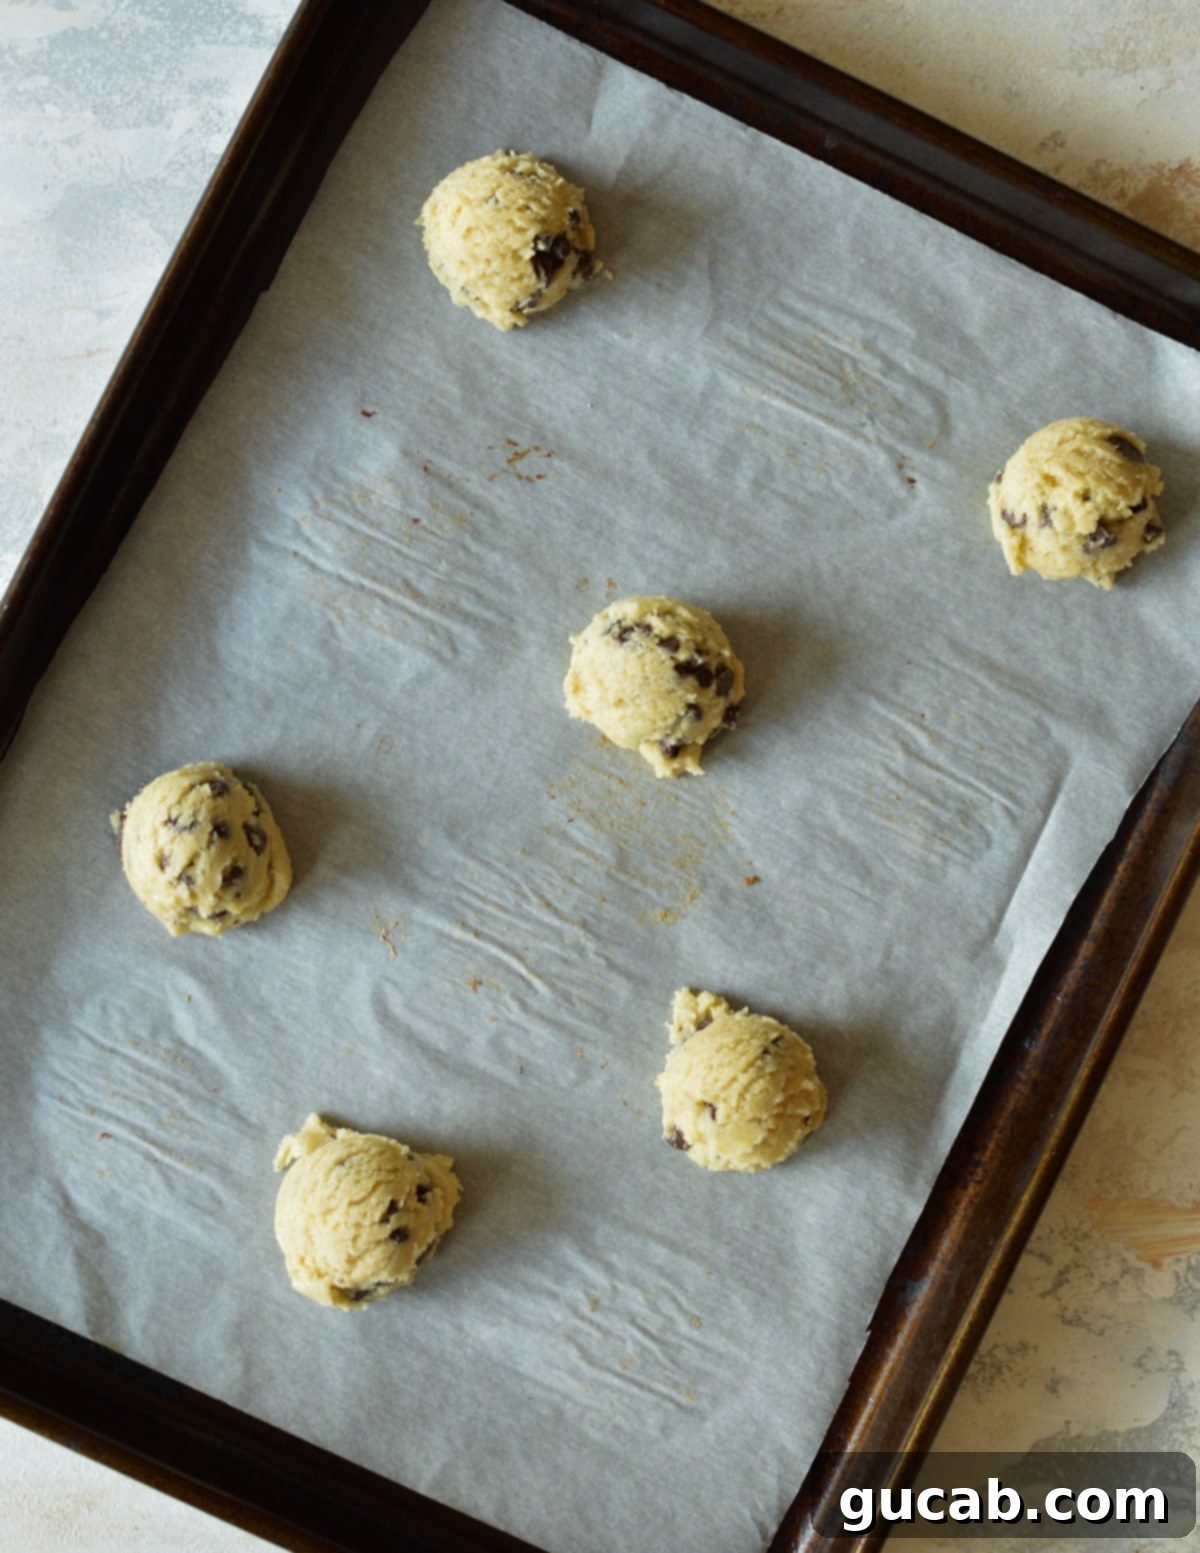
Step 7: Bake Your No-Butter Cookies. Bake the cookies for 10 to 11 minutes. The key here is visual cues: the edges should be a beautiful golden brown, while the centers should still look slightly underdone and soft. It’s crucial that the entire cookie isn’t uniformly brown when you pull them out of the oven! This “underbaked” center is what guarantees a soft, chewy middle after cooling. If they look completely done and firm in the oven, they will be overbaked and crispy once cooled.
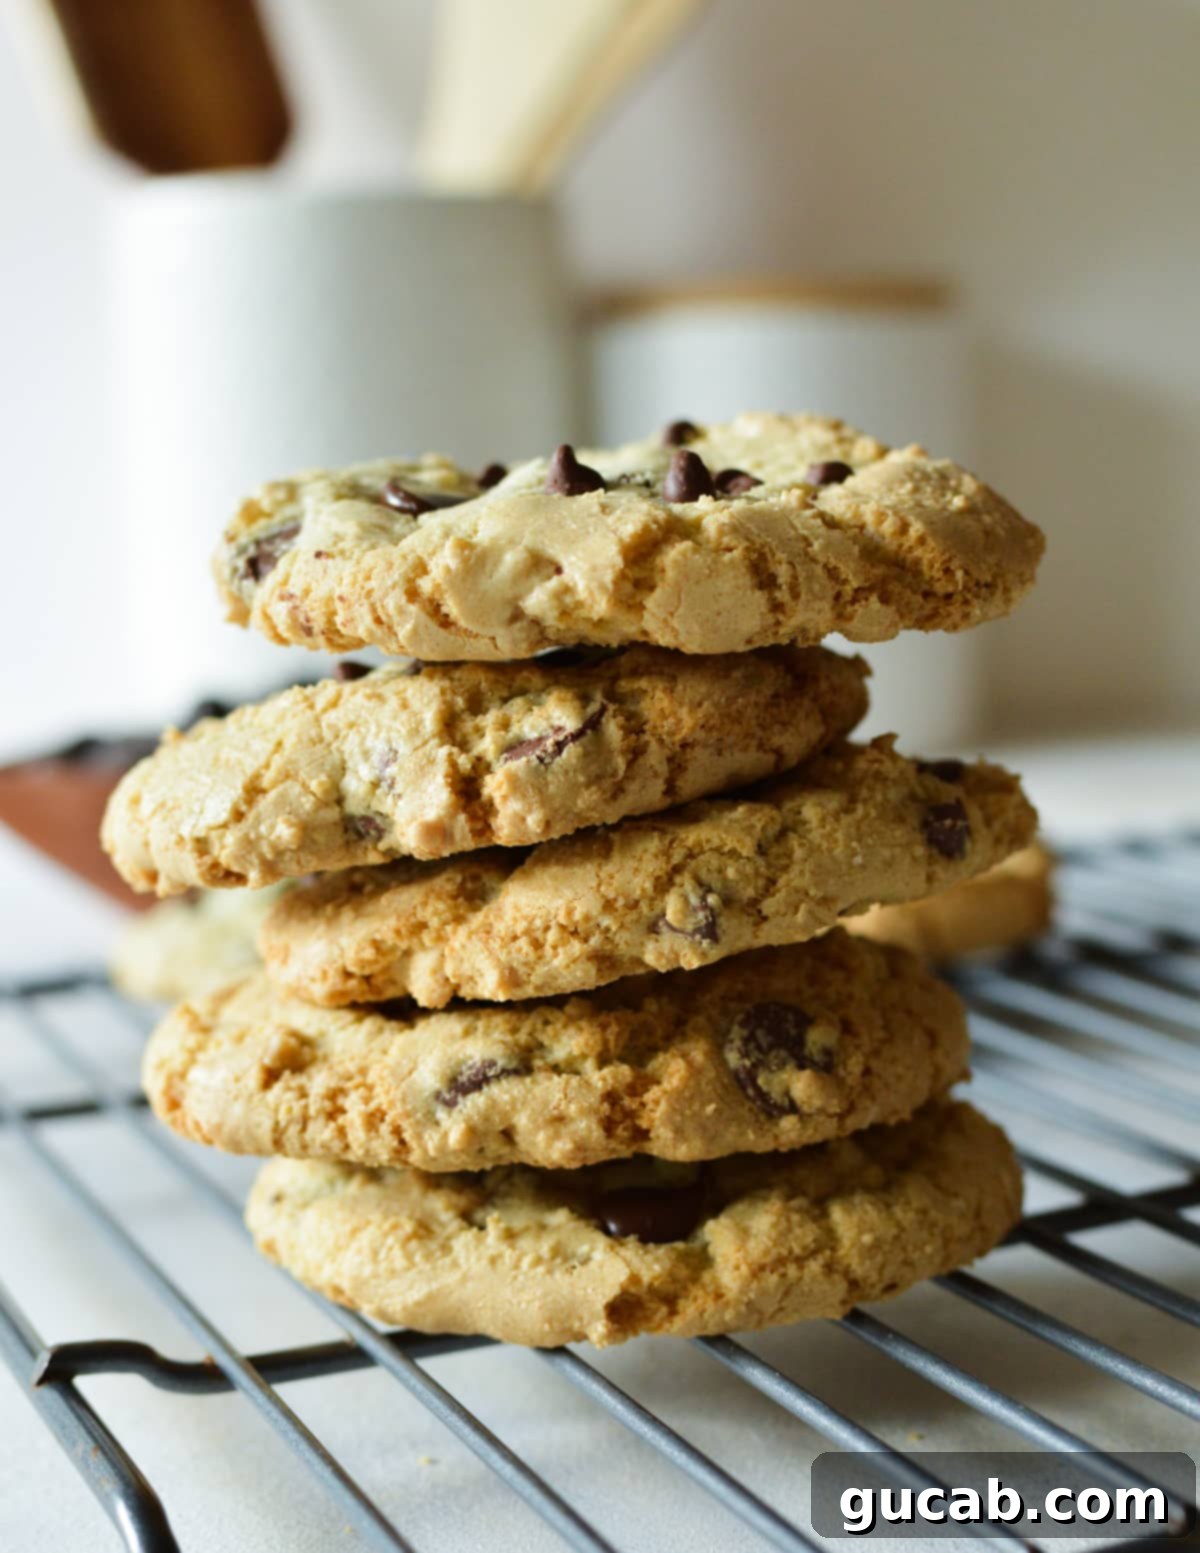
Step 8: Cool and Enjoy! Once out of the oven, let the cookies cool on the hot sheet pan for at least 5 minutes. This crucial resting period allows them to set up and continue baking slightly from the residual heat, preventing them from falling apart when transferred. After a few minutes, carefully move them to a wire rack to cool completely. Then, get ready to savor these perfectly crispy-on-the-outside, chewy-on-the-inside, chocolate-filled delights!
Expert Recipe Tips for Flawless Butterless Cookies
Achieving cookie perfection, even without butter, is absolutely within reach with a few helpful tips:
- Patience is Key for Cooling: It’s tempting to grab a hot cookie right out of the oven, but resist the urge! Let the cookies cool on the sheet pan for a full 5-10 minutes before attempting to move them. They are very delicate when hot and will fall apart easily. This cooling period allows them to firm up and set, ensuring those perfect chewy centers remain intact.
- Trust the “Underbaked” Look: When you pull these no-butter cookies from the oven, their centers should look slightly soft and even a little underdone. The edges will be golden brown, but the middle should still have a lighter hue. This is exactly what you want! The residual heat from the pan will continue to bake them gently as they cool, leading to that ideal soft and chewy texture. If they look fully baked and firm in the oven, you’ve likely overbaked them, and they’ll be too crisp once cooled.
- Embrace the Electric Mixer: This cookie dough can be quite thick and sticky, especially after adding the flour. An electric hand mixer or a stand mixer with the paddle attachment will make the mixing process much easier and more efficient, ensuring all ingredients are thoroughly combined without overworking the dough. Attempting to mix by hand can be a real workout and may not yield as consistent a result.
- Do NOT Substitute Butter for Oil: This recipe is specifically formulated for oil. Butter and oil behave very differently in baking due to their fat composition and melting points. They are not a 1:1 substitution, and directly swapping butter into this recipe will not yield the same delicious results; the texture will be completely off. If you want a butter-based cookie, find a recipe designed for butter.
- Measure Flour Accurately: For consistent results, always spoon your flour into the measuring cup and then level it off with the back of a knife. Scooping flour directly from the bag can compact it, leading to too much flour and a dry, dense cookie.
- Don’t Overmix the Dry Ingredients: Once you add the flour, mix only until just combined. Overmixing develops the gluten in the flour, which can lead to tough, rubbery cookies. As soon as you no longer see streaks of dry flour, stop the mixer.
- Use Room Temperature Eggs: Room temperature eggs incorporate more easily and evenly into the wet ingredients, creating a smoother, more uniform dough. If you forget to take them out ahead of time, place them in a bowl of warm (not hot) water for 5-10 minutes.
Delightful Variations to Customize Your Cookies
While these no-butter chocolate chip cookies are perfect as is, they also serve as a fantastic base for creativity. Feel free to customize them with your favorite mix-ins and flavor enhancements:
- Endless Mix-Ins: Don’t limit yourself to just semisweet chocolate chips! Swap them out or combine them with other exciting options. Consider M&M’s for a pop of color and candy crunch, white chocolate chips for a creamier sweetness, butterscotch chips for a rich, caramel-like flavor, or even cinnamon chips for a warm spice note. For added texture and flavor, try dried cranberries, chopped pecans or walnuts, shredded coconut, sprinkles for a festive touch, or peanut butter chips for a nutty twist. Toffee bits or chopped pretzels can also add a wonderful crunch and salty-sweet contrast.
- Irresistible Dips & Drizzles: Elevate your cookies even further by adding a delicious coating. What’s better than a perfectly baked chocolate chip cookie? One that’s dipped in more chocolate! Melt dark, milk, or white chocolate and dip half of each cooled cookie for an extra layer of indulgence. You could also drizzle them with caramel sauce, a simple powdered sugar glaze, or even a light dusting of cocoa powder.
- Flavor Enhancements: A teaspoon of vanilla extract is already in the recipe, but consider adding a touch of almond extract for a subtle nutty flavor, or a hint of peppermint extract for a festive winter treat. A pinch of ground cinnamon or nutmeg can also add warmth and complexity to the overall flavor profile, especially if paired with certain mix-ins like dried fruit or nuts.
Storage & Freezing Instructions
To ensure your delicious no-butter chocolate chip cookies remain fresh and enjoyable, proper storage is key. You can also prepare and freeze them for future cravings!
How to store baked cookies:
- Allow the baked cookies to cool completely to room temperature on a wire rack. Storing warm cookies will create condensation and make them soggy. Once cool, transfer them to an airtight container or a heavy-duty ziplock bag. Store at room temperature for up to 3 days. For an extra touch to keep them soft, you can place half a slice of plain bread in the container with the cookies; the cookies will absorb moisture from the bread, keeping them wonderfully chewy.
How to freeze cookies (baked or unbaked):
- Freezing Unbaked Cookie Dough: This is a fantastic way to have fresh, warm cookies on demand!
- Scoop the cookie dough into individual balls using your cookie scoop, just as you would for baking.
- Place the dough balls onto a parchment-lined plate or a half sheet pan, ensuring they don’t touch each other.
- Transfer the plate/pan to the freezer and freeze for about 1 hour, or until the dough balls are solid. This “flash freezing” prevents them from sticking together.
- Once frozen solid, dump the cookie dough balls into a sealed freezer-safe bag or an airtight container. Label it with the date.
- Store in the freezer for up to 3 months for the best quality. When ready to bake, simply place the frozen dough balls on a parchment-lined sheet pan and bake for an extra 1-2 minutes compared to the recipe’s recommended baking time. No need to thaw!
- Freezing Baked Cookies: If you’ve baked too many (is that even possible?) or want to save some for later, freezing baked cookies is a great option.
- Ensure the baked cookies are completely cooled to room temperature.
- Arrange them in a single layer on a sheet pan and flash freeze for about 30 minutes to prevent them from sticking together.
- Transfer the frozen cookies to a freezer-safe bag or container, separating layers with parchment paper if stacking them. Label with the date.
- Use within 3 months for optimal freshness. Cookies stored longer may start to develop a “freezer-burnt” taste or texture. To thaw, simply let them sit at room temperature for 30 minutes to an hour, or warm them briefly in the microwave or a low oven for that fresh-baked feel.
Frequently Asked Questions (FAQs)
Absolutely! Vegetable oil can be a surprisingly delicious substitute for butter in cookies, especially in recipes specifically designed for it. The resulting texture is often spot on, offering wonderfully crispy, golden-brown edges and delightfully soft, chewy centers. However, it’s crucial not to simply swap oil for butter in any existing cookie recipe. Butter and oil behave differently, so for successful results, always use a recipe that explicitly calls for oil as the fat component, like this one.
No, for this specific chocolate chip cookie recipe made with oil, there is no need to chill the dough. The precise ratios of ingredients ensure that the cookies spread just the right amount during baking, giving you perfectly shaped and textured cookies without the extra step of chilling.
For classic chocolate chip cookies, a neutral-flavored oil like vegetable oil, canola oil, or grapeseed oil is best. These oils won’t impart any strong flavor to your cookies, allowing the traditional sweet and chocolatey tastes to shine. Avoid oils with dominant flavors like extra virgin olive oil unless you specifically want that unique taste in your dessert.
More Drool-Worthy Cookie Recipes
- Coconut Pecan Cookies
- Peanut Butter Oatmeal Cookies
- Flourless Oatmeal Cookies
- Flourless Peanut Butter Cookies
No Butter Chocolate Chip Cookies
Carolyn
Pin Recipe
Equipment
-
Sheet pans
-
Cookie scoop
-
Stand mixer or electric hand mixer
-
Measuring cups & spoons
Ingredients
- ⅓ cup vegetable oil
- ½ cup sugar
- ¼ cup brown sugar
- 1 egg + 1 yolk
- ½ teaspoon baking soda
- ¼ teaspoon kosher salt
- 1 ⅓ cup all purpose flour If you avoid gluten, use Bob’s Red Mill 1:1 Gluten Free Baking Flour instead.
- ¾ cup semisweet chocolate chips
Instructions
-
Preheat the oven to 375 degrees Fahrenheit (190°C). Line a large baking sheet with parchment paper.
-
In a large bowl or the bowl of a stand mixer, combine the vegetable oil, granulated sugar, brown sugar, one whole egg, and one extra egg yolk. Beat on medium speed for about 45 seconds to 1 minute, until the mixture is light, creamy, and well-emulsified.
-
Stop the mixer. Add the all-purpose flour, baking soda, and kosher salt to the wet mixture. Beat on low speed just until the dry ingredients are thoroughly combined and no streaks of flour remain. Be careful not to overmix.
-
Using a spatula, gently stir in the semisweet chocolate chips by hand until they are evenly distributed throughout the dough.
-
Scoop rounded balls of cookie dough onto the parchment-lined sheet pan, leaving plenty of space between each cookie (approximately 2 inches) as they will spread. I typically scoop 5 to 6 cookies per standard pan.
-
Bake for 10 to 11 minutes. The cookies are done when the edges are golden brown, but the centers still look slightly underdone and soft. The entire cookie should not appear fully brown when you remove it from the oven to ensure a chewy middle.
-
Allow the cookies to cool on the hot sheet pan for at least 5-10 minutes. This allows them to set and firm up. After this initial cooling, carefully transfer them to a wire rack to cool completely. Enjoy your perfect no-butter chocolate chip cookies!
Nutrition
