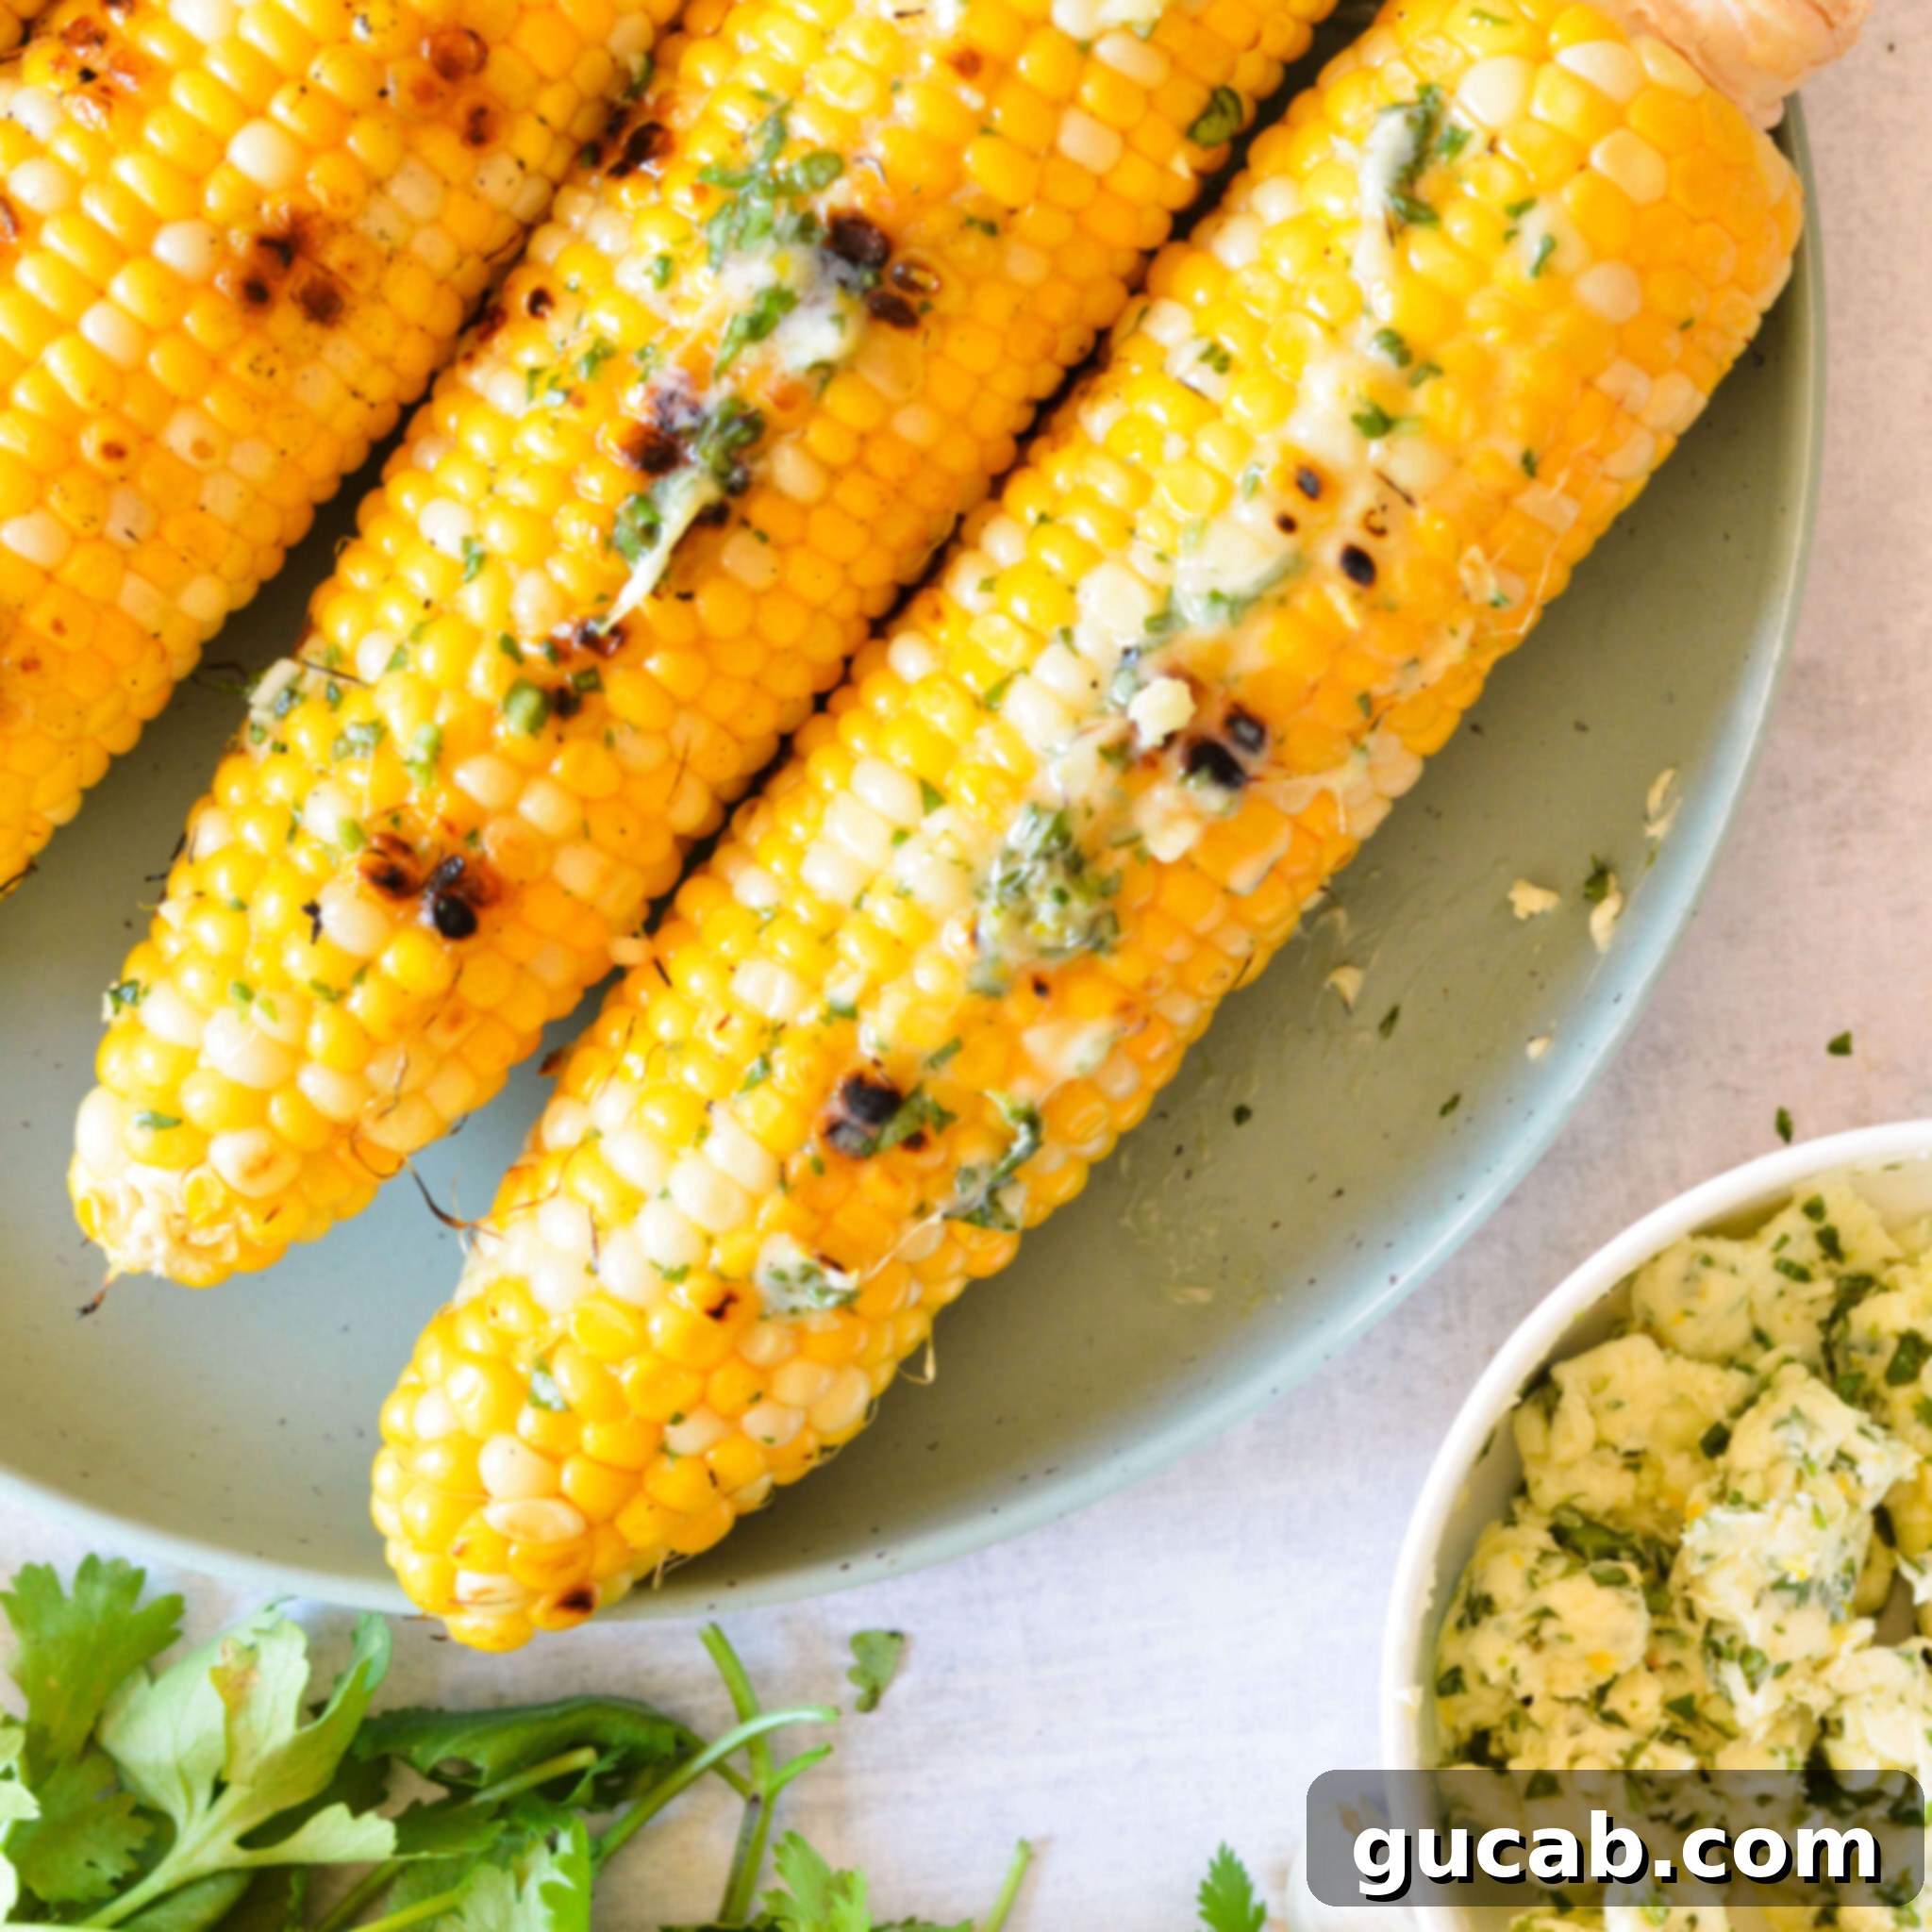
Ultimate Grilled Corn on the Cob with Zesty Lemon Herb Butter: Your Essential Summer Side Dish
Experience the quintessential taste of summer with our incredible grilled corn on the cob recipe. Each sweet, juicy kernel gets perfectly charred on the grill, achieving a delightful caramelization that enhances its natural flavor. But the real magic happens when you slather it with our vibrant, zesty lemon herb butter. This recipe isn’t just simple; it’s bursting with an unforgettable flavor that will make it your new favorite way to enjoy peak-season corn. Prepare for a sensational side dish that perfectly complements any summer meal or BBQ gathering!
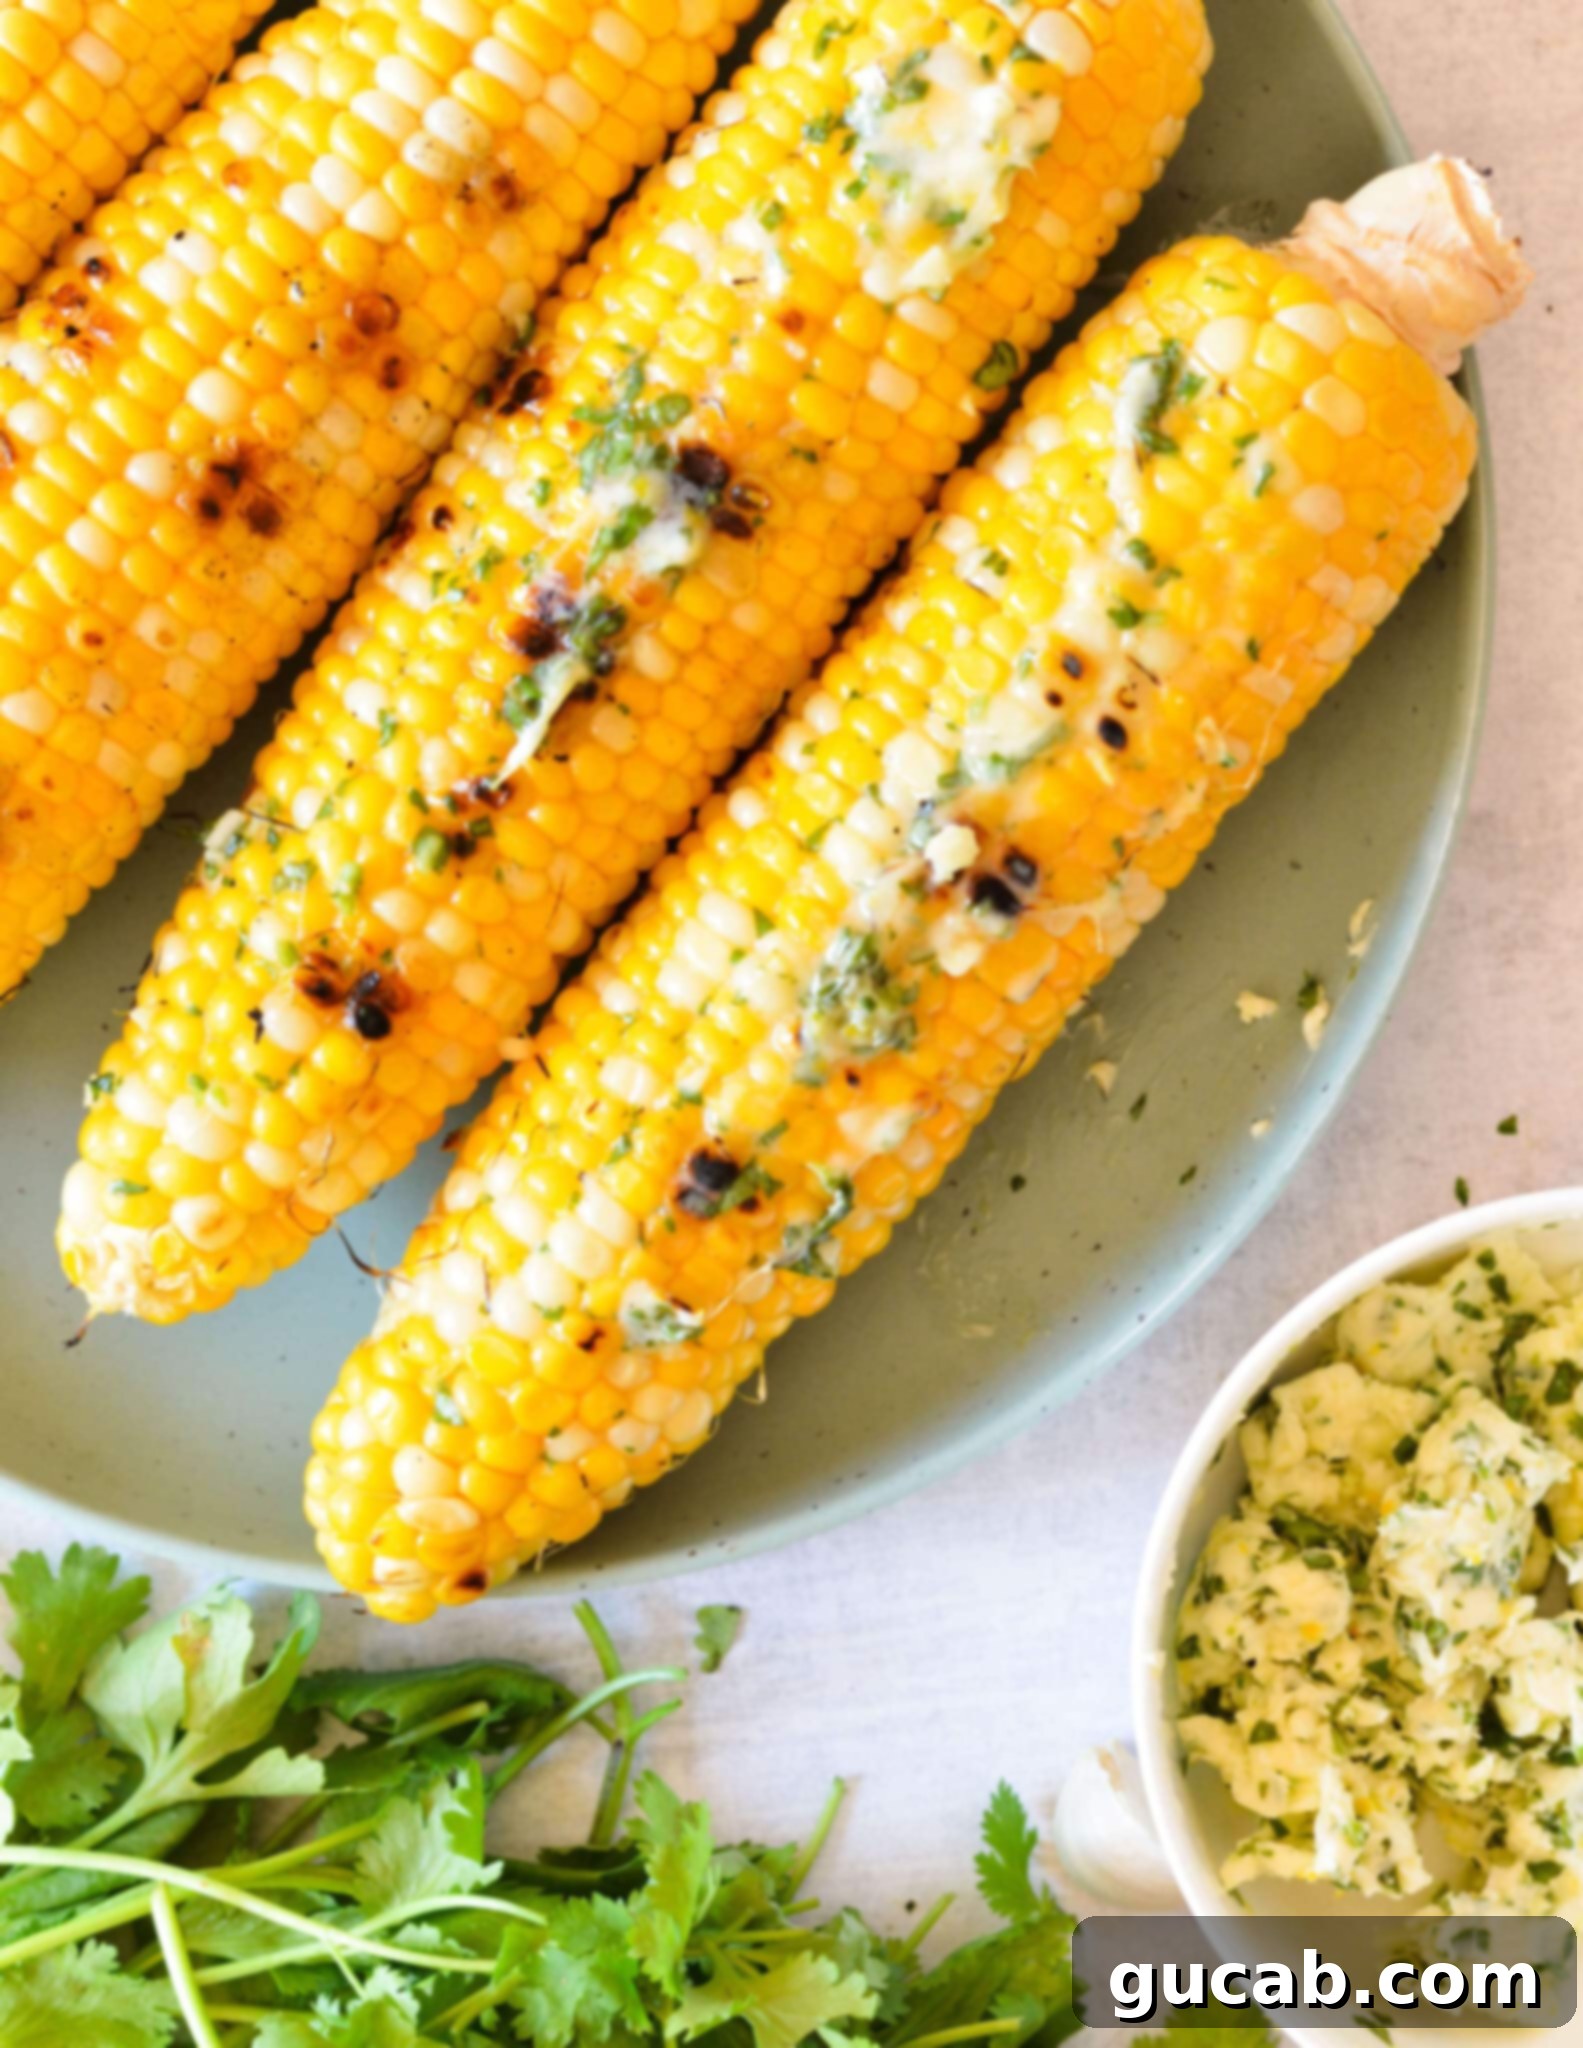
Why Grilled Corn is the Absolute Best for Summer!
There’s something uniquely satisfying about grilled corn. The sweet, tender kernels transform on the hot grates, developing a smoky flavor and a beautiful golden-brown char that you simply can’t achieve with other cooking methods. It’s a taste that instantly evokes backyard BBQs, sunny afternoons, and the joy of summer. My family, especially my kids, absolutely adore fresh corn! We even make a fun family tradition out of shucking it together right at the grocery store. It’s less messy for the kitchen, and it gives us a chance to inspect each ear, ensuring we pick only the freshest, most perfect cobs. This simple ritual has become a cherished part of our summer routine, making the enjoyment of the final dish even sweeter.
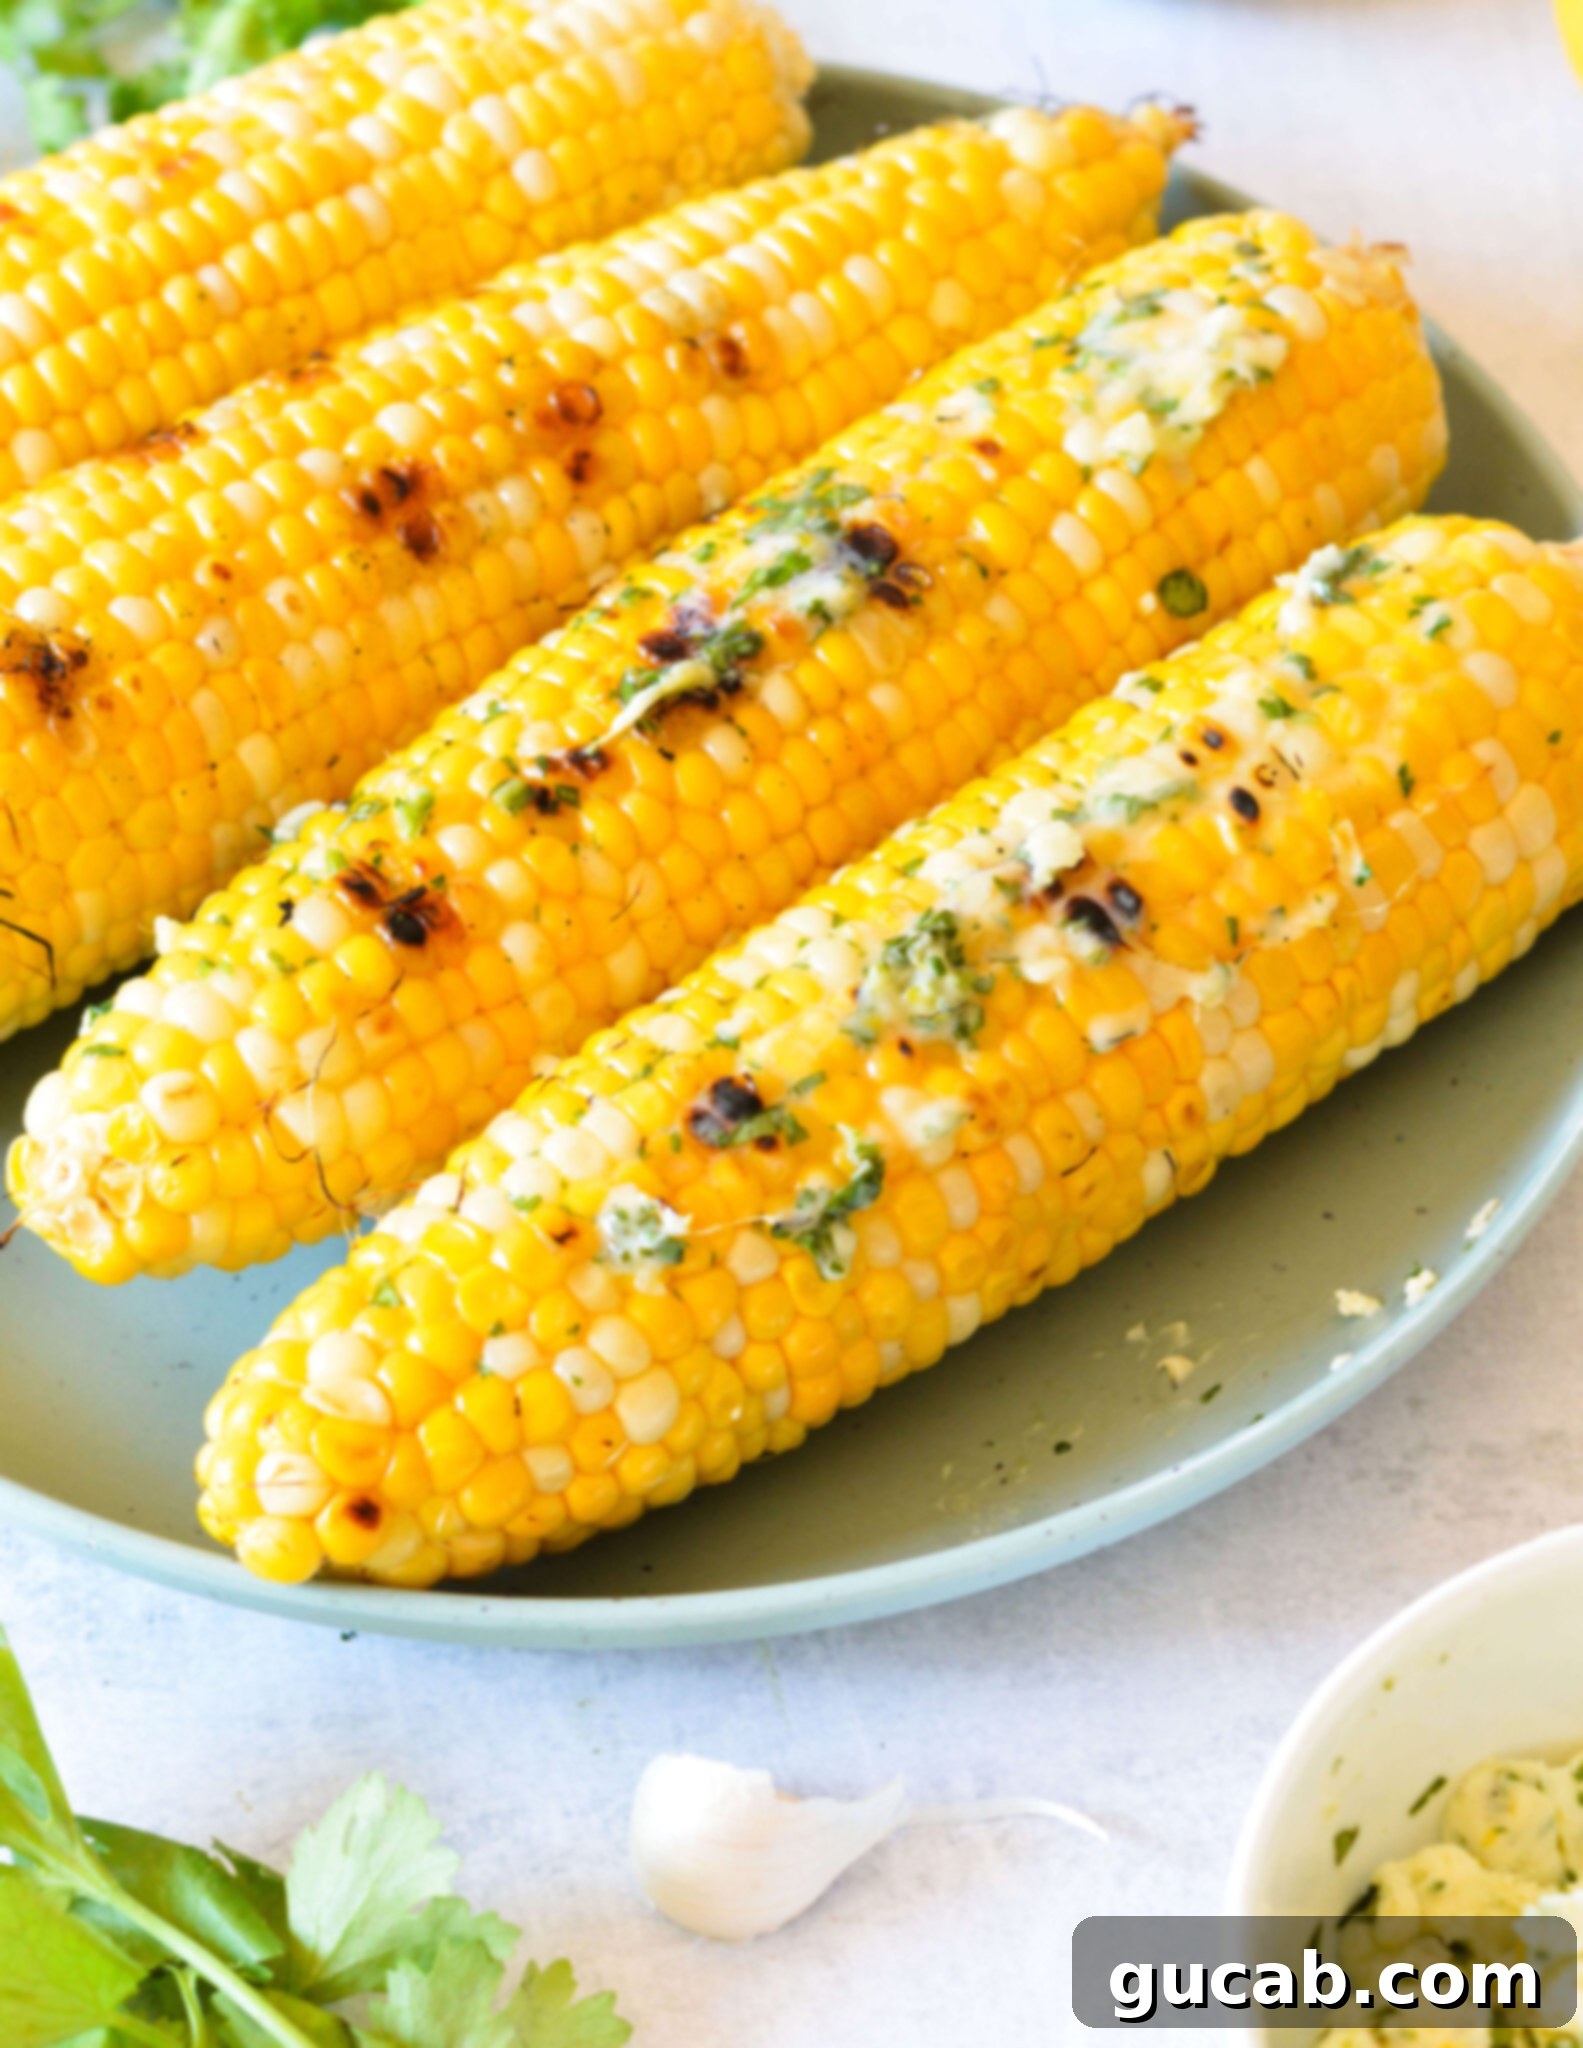
My preferred method for grilling corn is “naked” – directly on the grill grates, completely free of husks or foil. This direct contact with the heat allows the corn to caramelize beautifully, creating those coveted dark spots that are packed with an intense, savory sweetness. The natural sugars in the corn react with the high heat, resulting in a depth of flavor and a visually appealing contrast that elevates humble corn on the cob to gourmet status. Once it’s hot, tender, and slightly smoky, a generous slathering of our homemade lemon herb butter turns it into pure culinary magic. You can use classic fresh herbs like cilantro and basil, as I’ve done, or feel free to experiment with your own favorite aromatic combinations to personalize this delightful summer staple.
Key Ingredients for Flavorful Grilled Corn
Crafting the perfect grilled corn with lemon herb butter requires just a handful of fresh, high-quality ingredients. Each component plays a crucial role in building the vibrant flavors that make this dish so irresistible.
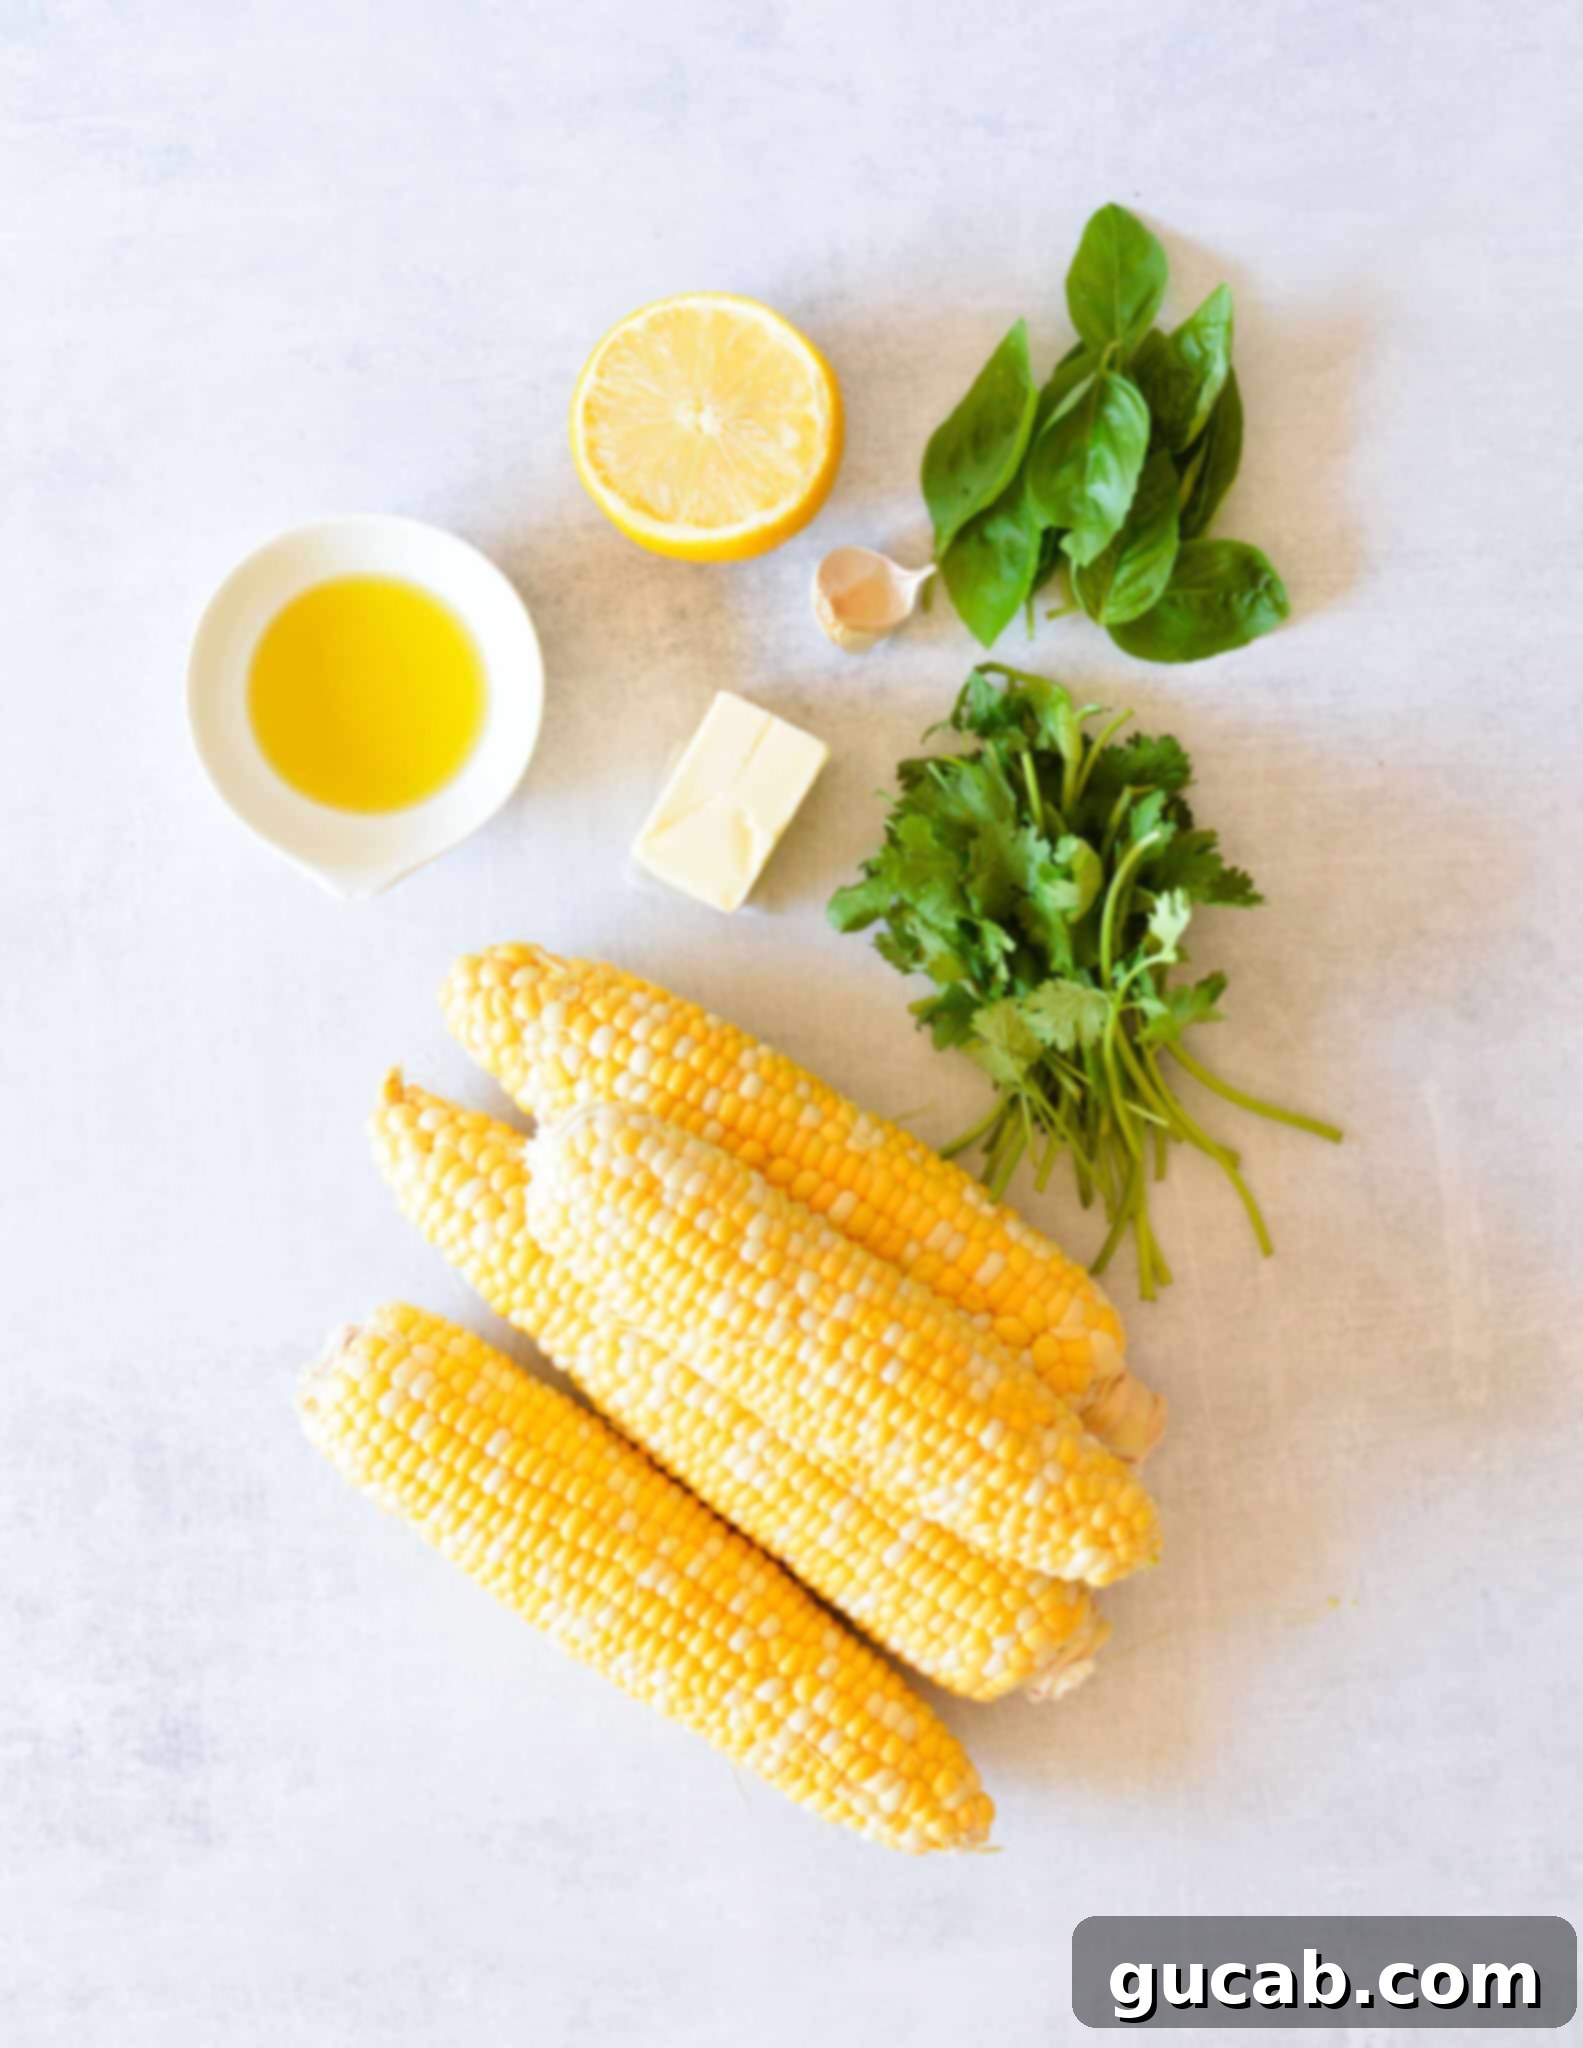
- Fresh Corn on the Cob: The star of our show! When selecting corn, look for bright green husks that are tightly wrapped and slightly damp. Feel for firm, plump kernels through the husk. I highly recommend shucking the corn at the grocery store if possible. Many stores have a designated trash bin near the corn display, making cleanup a breeze and allowing you to check for any moldy spots or undeveloped kernels before you buy. This ensures you bring home only the best ears for grilling.
- Olive Oil: A light coating of olive oil before grilling is essential. It serves multiple purposes: it prevents the corn from sticking to the grates, encourages that beautiful, desirable caramelization, and adds a subtle richness and depth of flavor. Any good quality extra virgin olive oil will work perfectly here.
- Unsalted Butter: For our rich herb butter, unsalted butter is always my go-to choice. Using unsalted butter gives you complete control over the total salt content of the dish. If you only have salted butter on hand, simply omit the additional kosher salt from the herb butter recipe to prevent it from becoming overly salty. Ensure the butter is softened to room temperature for easy mixing.
- Fresh Herbs: The soul of our flavor-packed butter! I particularly love the combination of fresh basil and cilantro for their bright, aromatic notes that perfectly complement sweet corn. However, this recipe is incredibly versatile. Feel free to experiment with other fresh herbs like dill, parsley, chives, or even a touch of fresh oregano. A blend of three herbs can create an even more complex and delightful profile.
- Lemon: Fresh lemon provides a crucial bright, zesty pop of citrus that cuts through the richness of the butter and enhances the corn’s natural sweetness. We’ll be using both the fresh juice for acidity and the finely grated zest for an intense burst of aromatic lemon oil. Don’t skip the zest – it makes a huge difference!
- Fresh Garlic: One small clove of minced garlic is all you need to add a subtle, savory warmth to the herb butter without overpowering the other delicate flavors. Freshly minced garlic is always preferred over pre-minced for the best taste.
- Kosher Salt: Salt is a flavor enhancer, pure and simple. In this recipe, kosher salt not only brings out the incredible sweetness of the corn but also balances the richness of the butter and the brightness of the lemon. A coarse salt like kosher salt dissolves nicely into the butter and provides a pleasant texture.
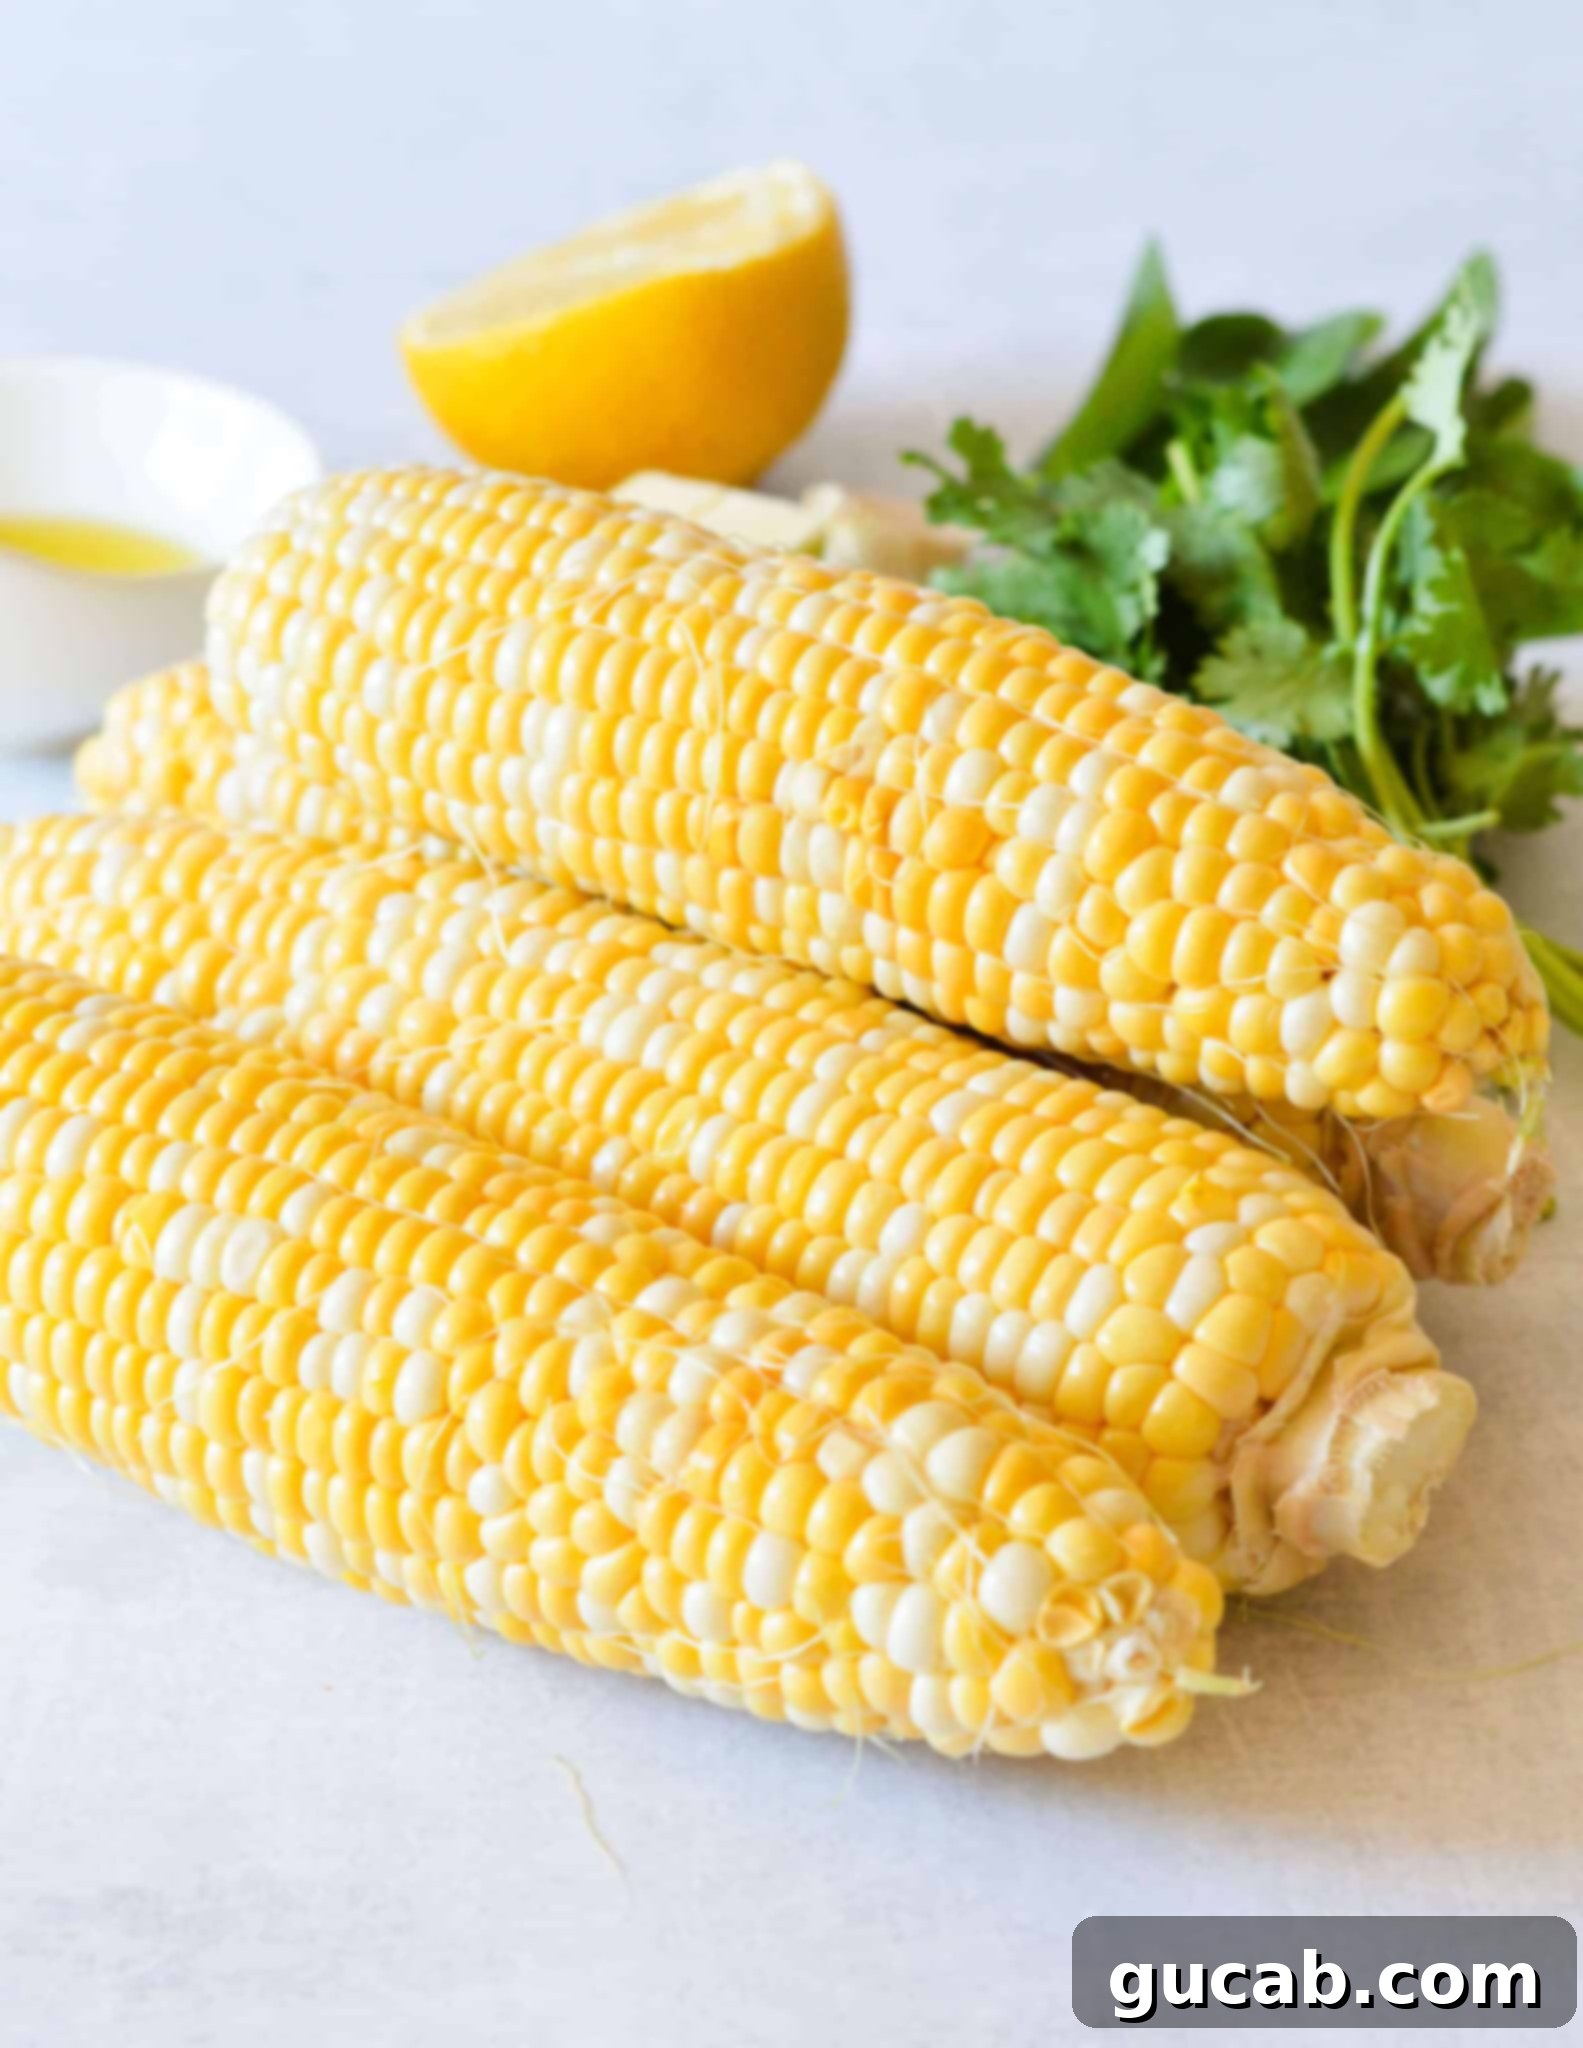
Mastering the Art of Grilling Corn
Grilling corn on the cob is a quintessential summer cooking experience, and there are several popular methods: in the husk, wrapped in foil, or directly on the grates. While each has its merits, I firmly believe that grilling corn directly on the grates (husk-free) yields the most superior results. This “naked” grilling technique is less messy, incredibly straightforward, and most importantly, it allows the corn to develop a magnificent caramelization and smoky char that imparts an unparalleled depth of flavor. Plus, it’s wonderfully simple!
Here’s a detailed breakdown of how to achieve perfectly grilled corn every single time:
- Prepare Your Corn: Shuck and Clean Thoroughly. As mentioned earlier, I prefer to shuck my corn at the grocery store to avoid bringing the silky mess into my kitchen. If you do it at home, simply peel back the husks and remove all the fine silk strands. This is a crucial step for a clean eating experience. Be meticulous; no one wants stray silk in their teeth!
- Coat the Corn Evenly with Olive Oil. Once shucked and cleaned, lightly rub each corn cob with a thin layer of olive oil. You can pour a small amount onto your hands or directly onto the corn and then spread it evenly. This thin film of oil is vital; it helps prevent the corn from drying out, promotes that desired caramelization, and adds a subtle, pleasant flavor to the finished product. Don’t overdo it – a light, even coat is all you need.
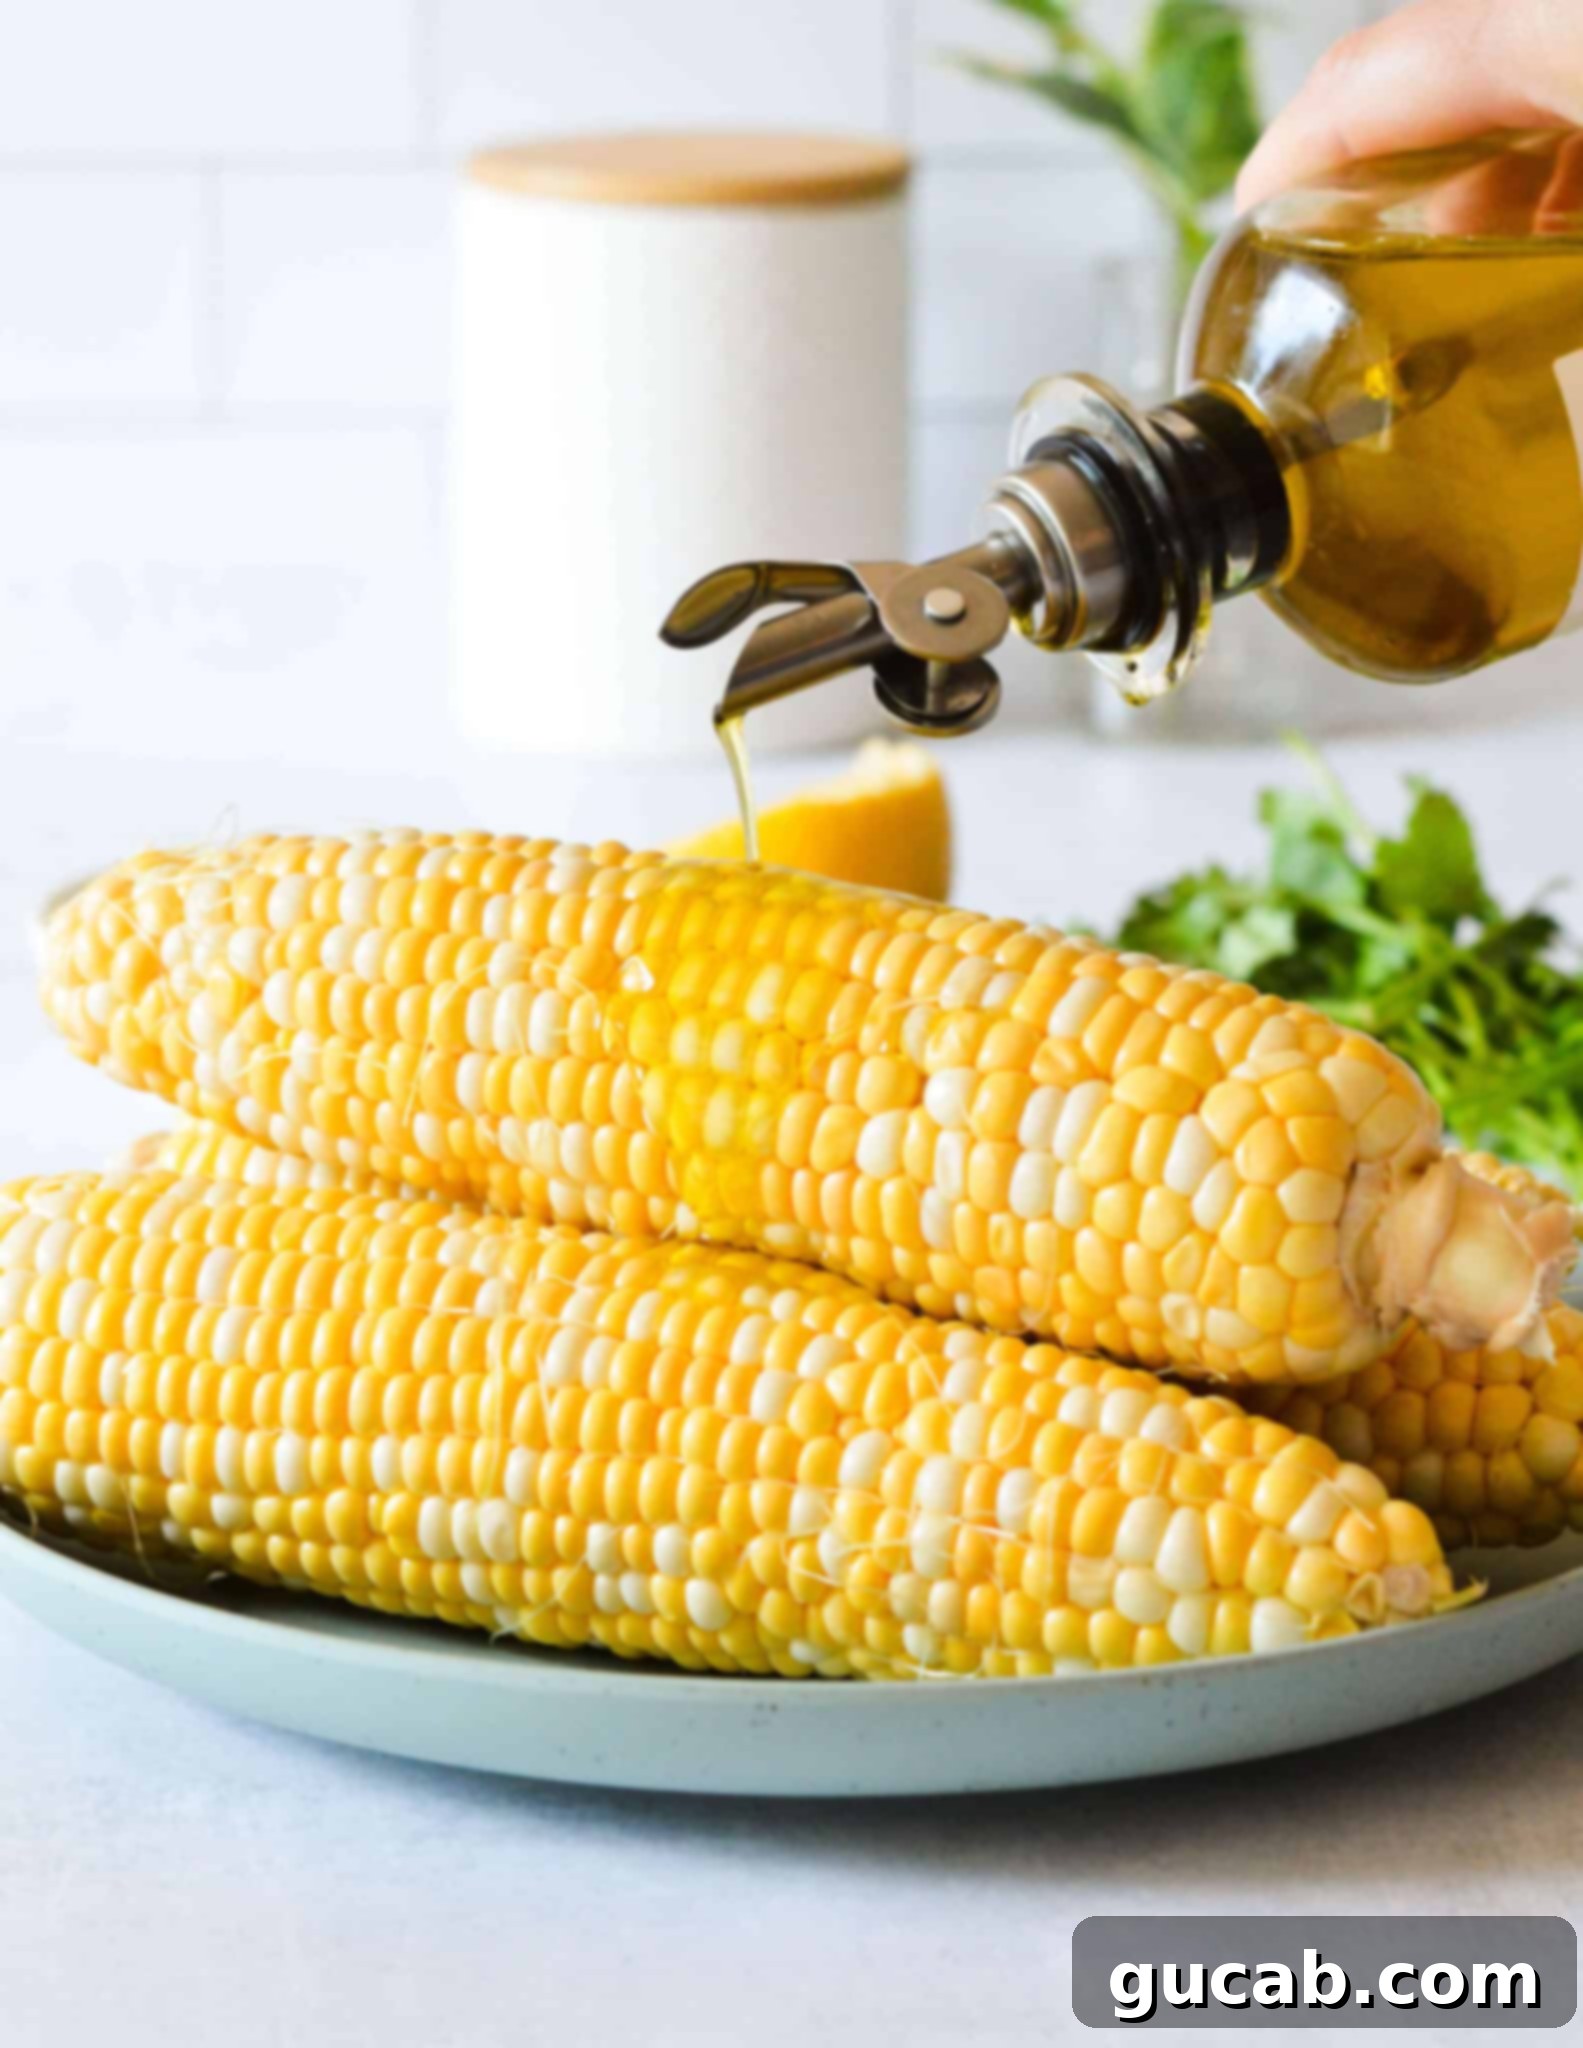
- Grill Until Tender and Beautifully Caramelized. Preheat your grill to medium-high heat, aiming for around 400 degrees Fahrenheit (200 degrees Celsius). Place the oiled corn cobs directly onto the hot grates. Grill the corn for approximately 10 to 15 minutes, turning them every few minutes to ensure even cooking and to achieve that fantastic caramelization on all sides. You’re looking for tender kernels with visible golden-brown to slightly charred spots, which indicate that the natural sugars have caramelized, intensifying the corn’s flavor. Keep an eye on it to prevent burning. The more you move the corn around, the more evenly cooked it will be, but leaving it in one spot for a few minutes at a time will give you those lovely char marks.
- Slather Generously with Herb Butter. The moment the corn comes off the grill, while it’s still piping hot, is when you apply the herb butter. The heat of the corn will melt the butter, allowing its incredible flavors to seep into every nook and cranny. This step truly takes grilled corn from good to absolutely phenomenal! Don’t be shy – a generous amount of herb butter is what makes this dish so utterly delicious.
Crafting Your Signature Lemon Herb Butter
This lemon herb butter is a game-changer, transforming simple grilled corn into an extraordinary culinary experience. The best part? It’s incredibly easy to make, requiring minimal effort for maximum flavor payoff.
The secret to a perfectly blended herb butter lies in using softened butter. This ensures that all the delicious herbs, garlic, and lemon can be easily incorporated without clumping, creating a smooth, spreadable consistency that melts beautifully over hot corn.
If you forgot to take your butter out of the refrigerator in advance, don’t fret! You can quickly soften cold butter in the microwave. Just be cautious not to accidentally melt it entirely, as melted butter won’t incorporate as well. Heat it in short bursts of 5 to 10 seconds, checking its consistency after each interval, until it’s soft enough to yield to gentle pressure but still holds its shape. Alternatively, you can cut the cold butter into smaller cubes and let it sit at room temperature for about 15-20 minutes, which speeds up the softening process.
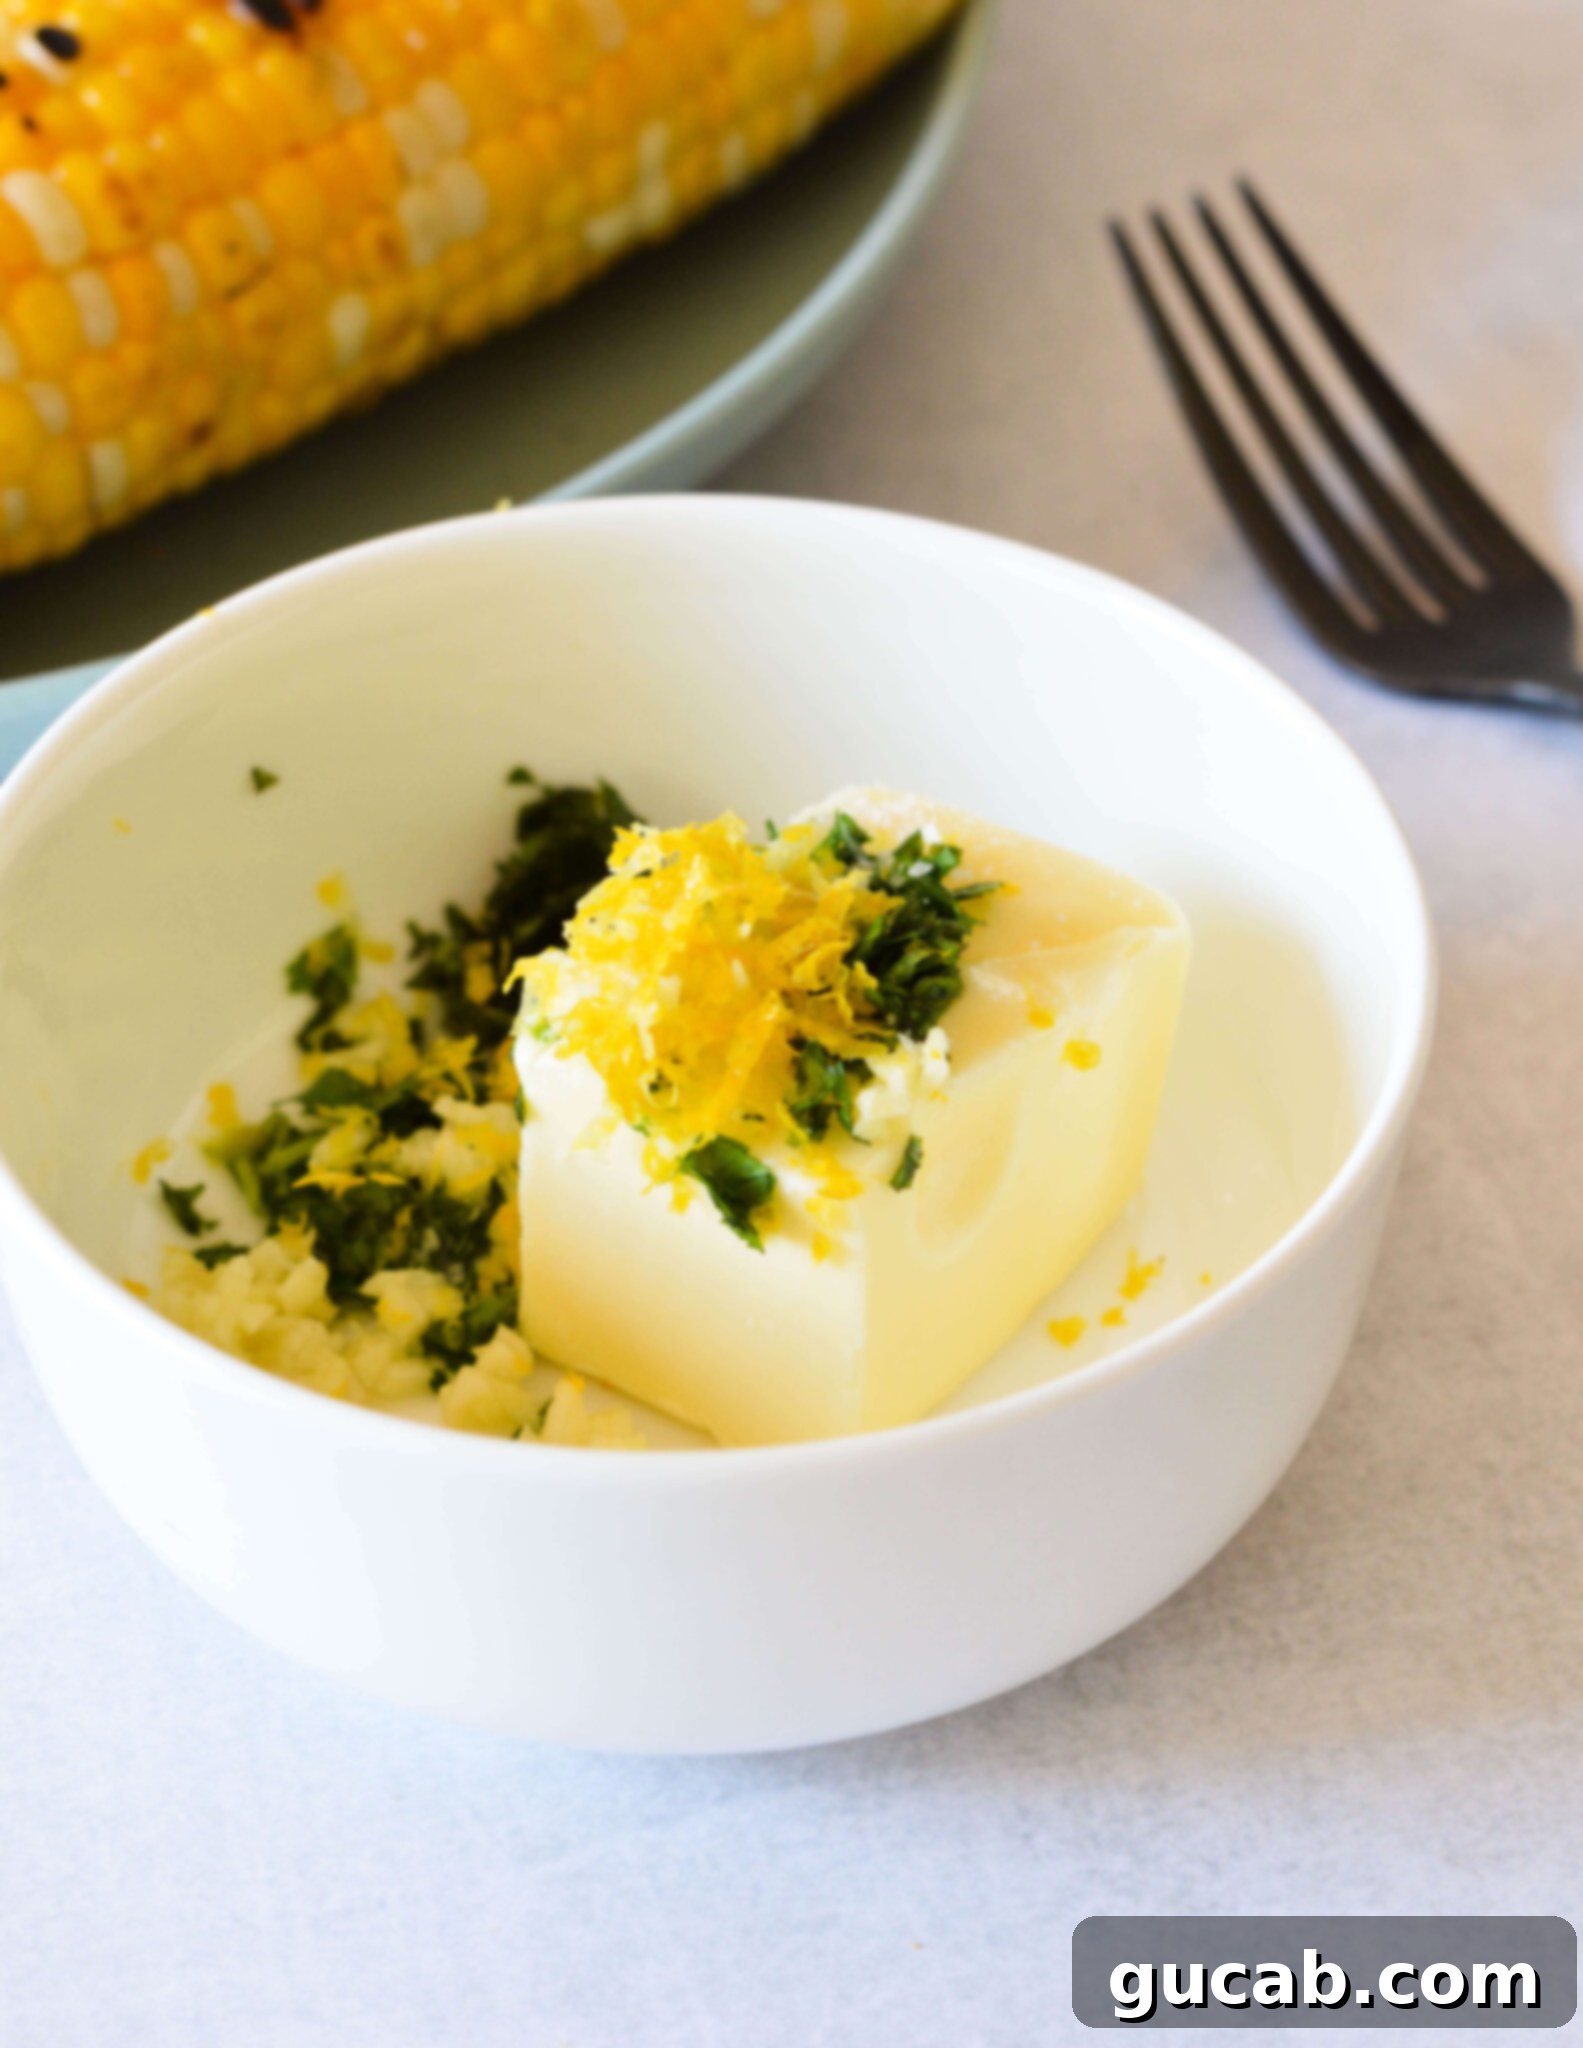
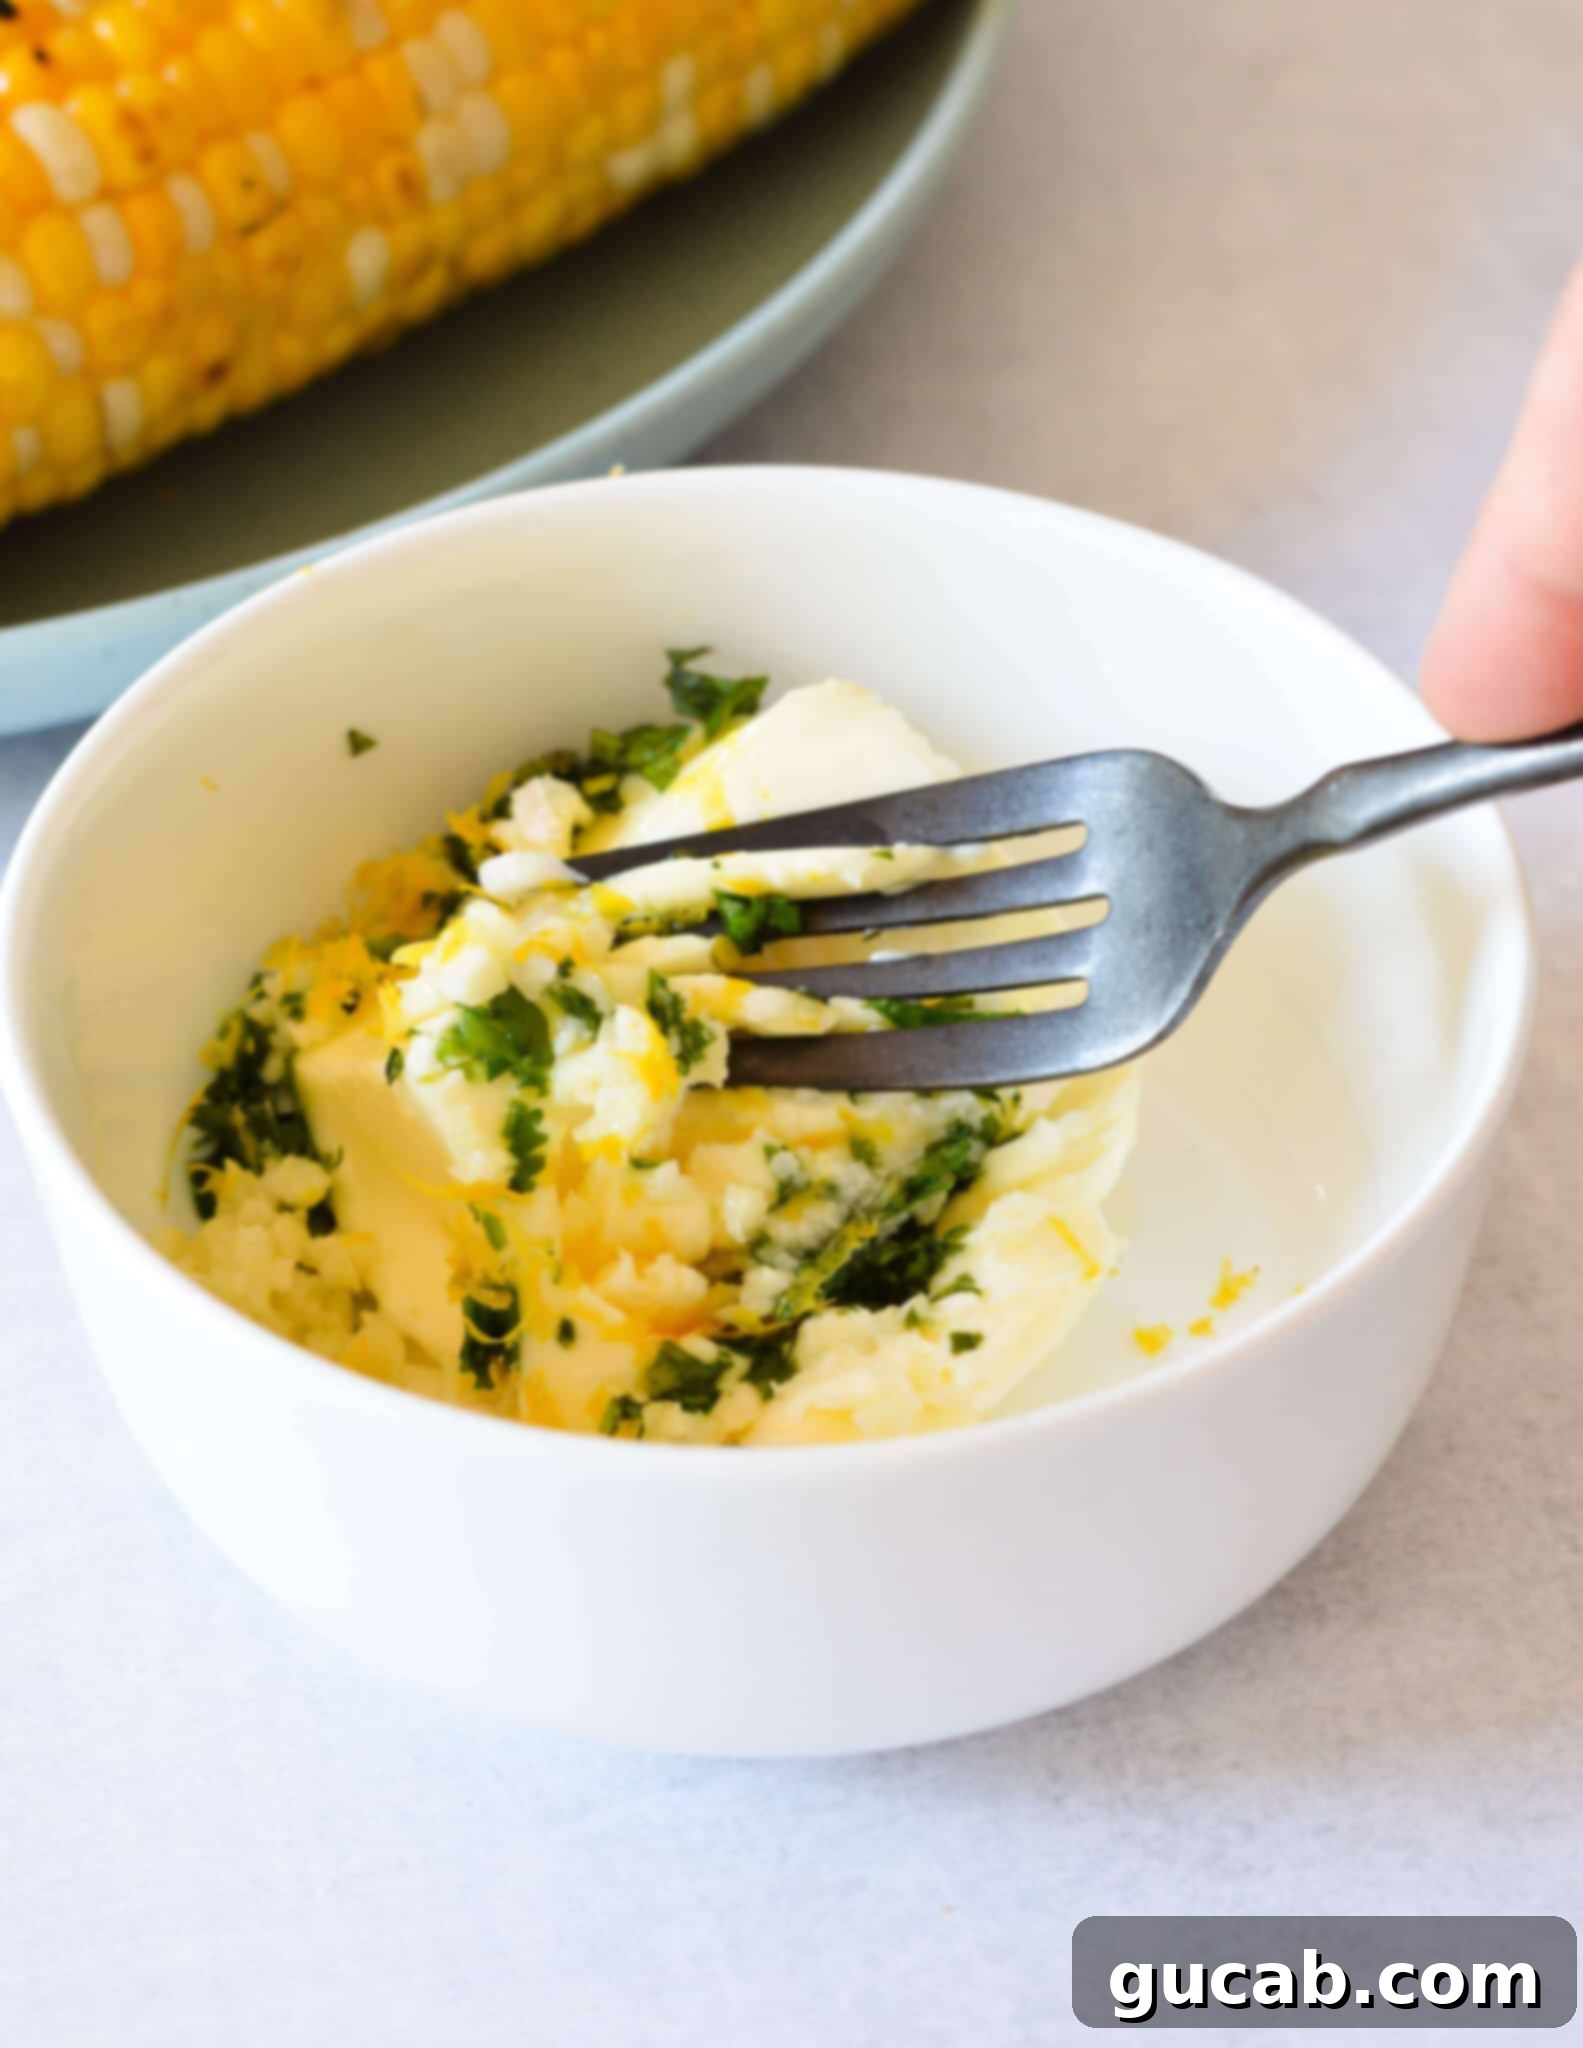
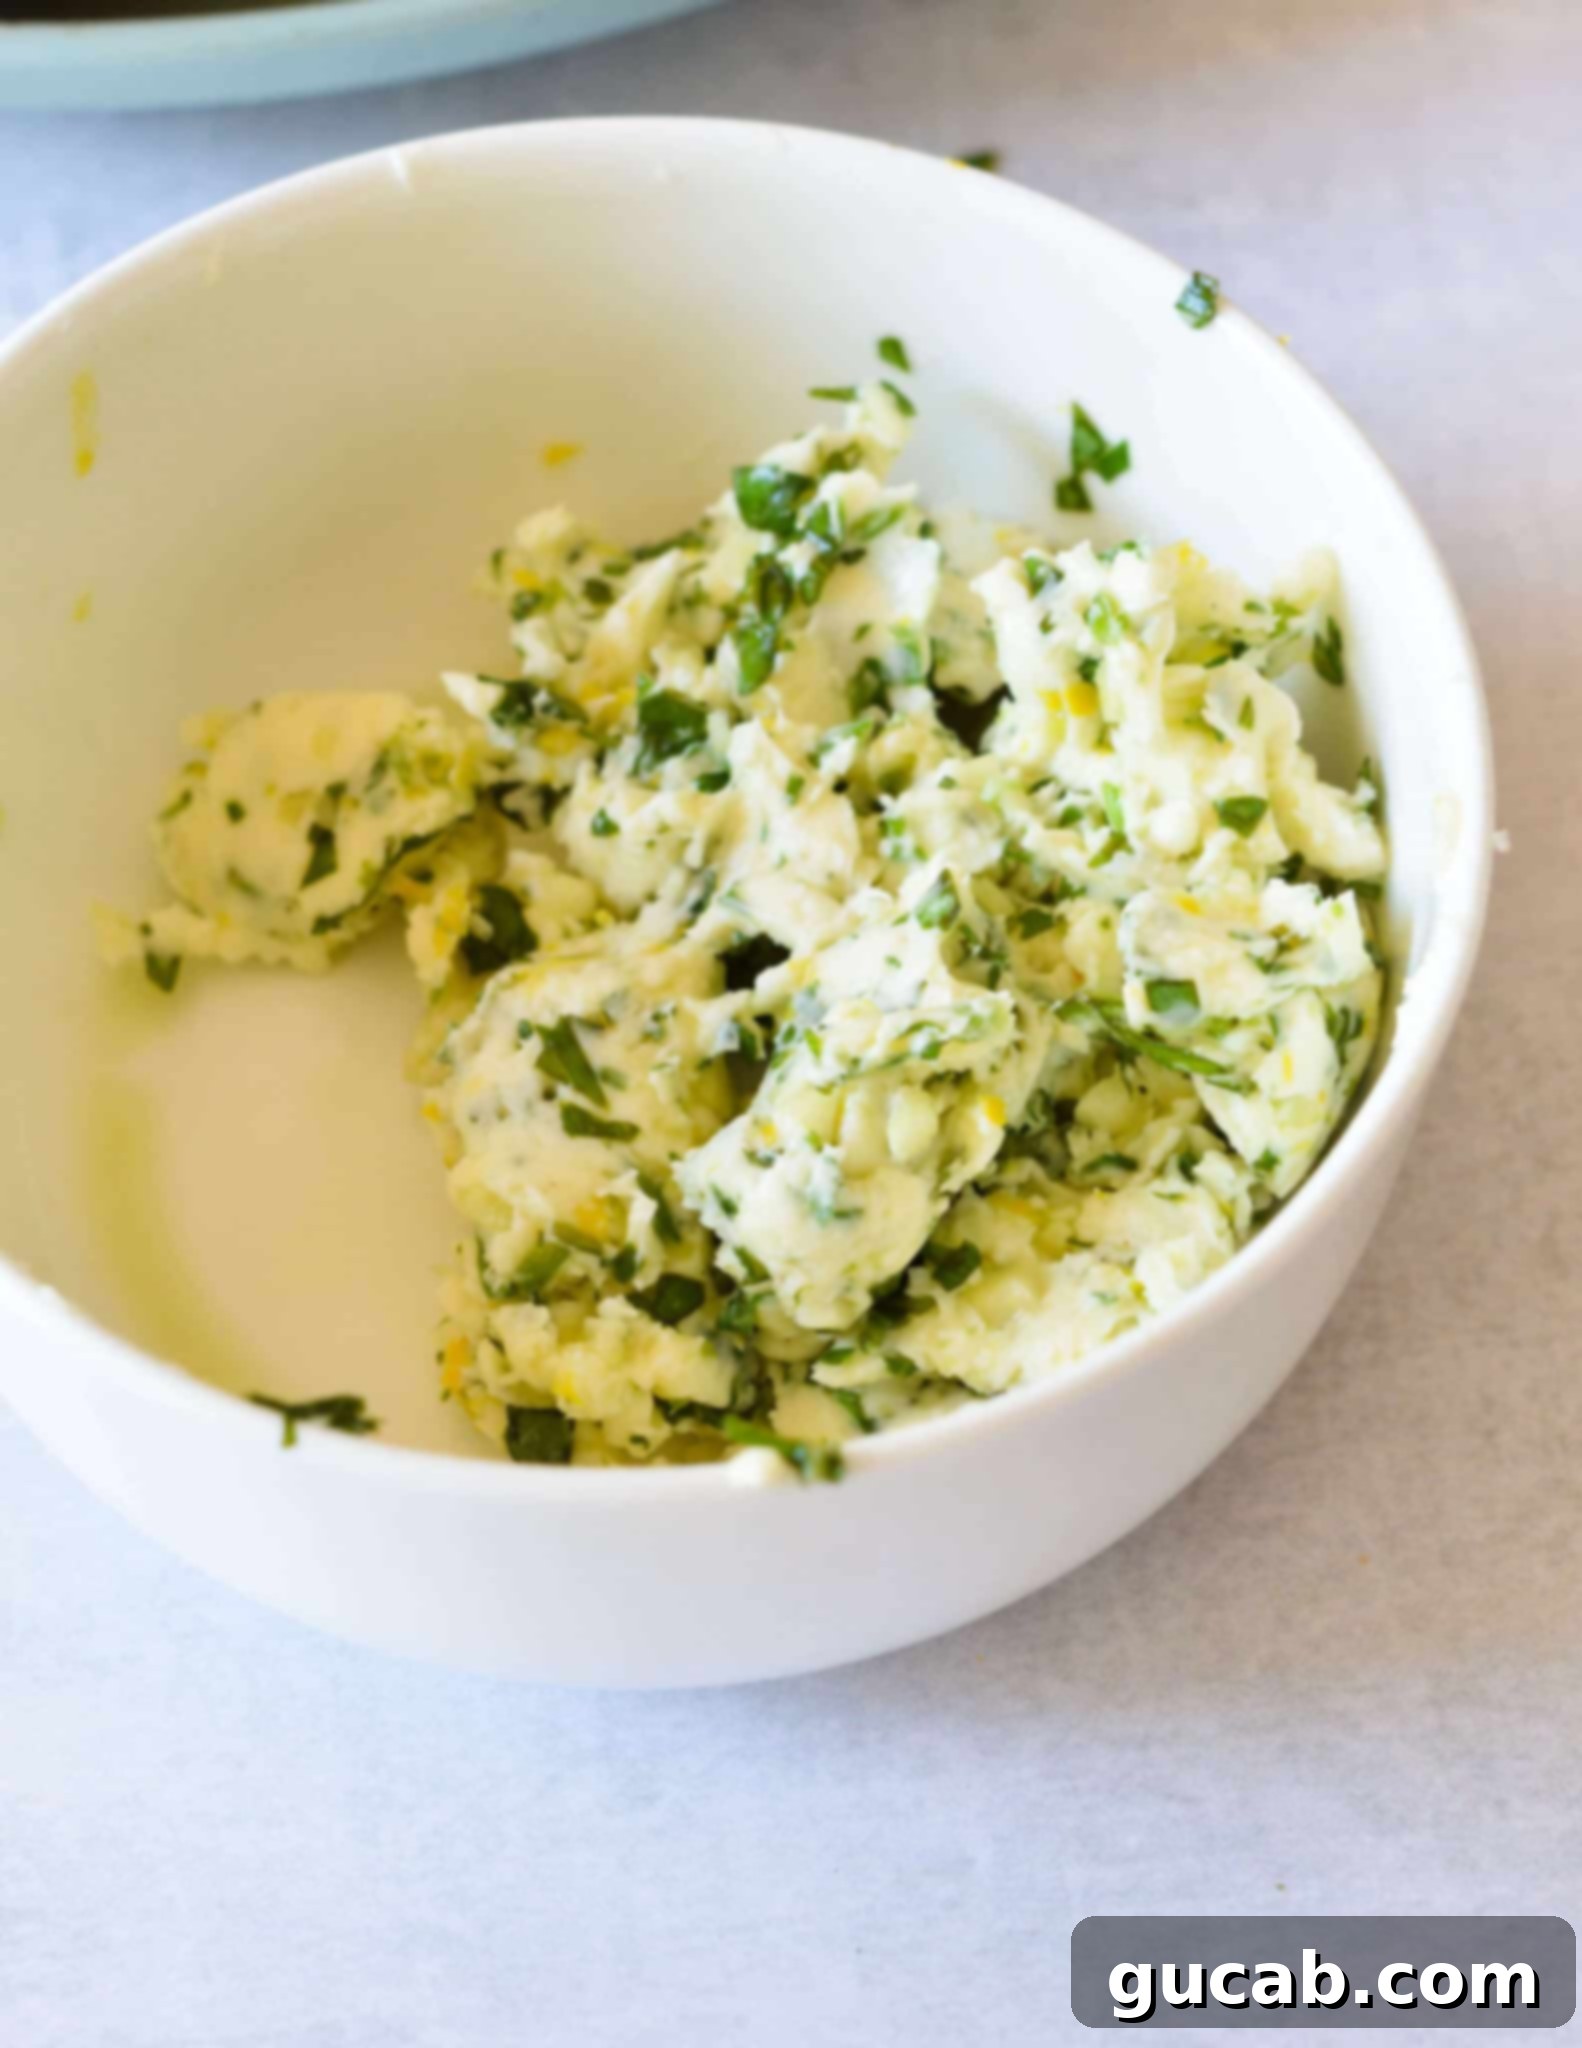
- Soften the Butter: As described above, ensure your unsalted butter is at a soft, room-temperature consistency. This is crucial for easy mixing and a uniform butter.
- Combine with Fresh Ingredients: In a medium bowl, add your softened butter, finely minced fresh herbs (like cilantro and basil, or your preferred combination such as dill and parsley), minced garlic, fresh lemon juice, grated lemon zest, and kosher salt. The lemon zest is key here, as it contains potent essential oils that provide a bright, fragrant aroma.
- Mix Until Fully Combined: Using a fork or a small spatula, thoroughly mix all the ingredients together until they are completely incorporated and the butter is evenly flavored throughout. You can also use a small food processor for an even smoother consistency, though a fork works perfectly well for a slightly rustic texture. And just like that, your incredibly flavorful lemon herb butter is ready to elevate your grilled corn!
Tips for Perfect Grilled Corn Every Time
To ensure your grilled corn on the cob turns out perfectly tender, juicy, and flavorful, here are a few expert tips:
- Don’t Overcrowd the Grill: Give each ear of corn enough space on the grates for even cooking and proper charring. If the grill is too crowded, the temperature drops, and the corn will steam rather than grill, preventing that beautiful caramelization.
- Preheat Properly: Always preheat your grill to medium-high (around 400°F/200°C) before placing the corn on. A hot grill ensures a quick sear and prevents sticking.
- Rotate Frequently: While you want some good char marks, you also want the corn cooked evenly. Rotate the cobs every 2-3 minutes to ensure all sides get kissed by the heat.
- Adjust Heat as Needed: If your corn is charring too quickly, move it to a cooler part of the grill or slightly reduce the heat to prevent burning while ensuring it cooks through.
- Taste and Adjust the Herb Butter: Before slathering, taste a small amount of your lemon herb butter. Adjust the salt, lemon, or herb quantities to suit your preference. A little extra lemon zest or a pinch more salt can make a big difference.
- Serve Immediately: Grilled corn is best enjoyed fresh off the grill while it’s hot and the butter is melting into the kernels. Have your butter ready to go as soon as the corn is done.
Serving Suggestions for Grilled Corn with Lemon Herb Butter
This grilled corn is a star side dish on its own, but it also pairs wonderfully with a variety of summer meals. It’s an absolute must-have for any backyard barbecue or picnic. Here are a few ideas to round out your menu:
- BBQ Favorites: Serve it alongside grilled chicken, juicy burgers, hot dogs, or tender ribs. The smoky flavor of the corn complements these meats perfectly.
- Seafood Dishes: The zesty lemon herb butter makes this corn an ideal accompaniment to grilled fish, shrimp, or scallops.
- Vegetarian Spreads: Pair it with a fresh summer salad, black bean burgers, or other grilled vegetables like zucchini and bell peppers for a delightful plant-based meal.
- As an Appetizer: Cut the grilled corn into smaller “ribs” or slices after cooking for a fun, shareable appetizer.
Storage and Reheating Tips
While grilled corn is best enjoyed fresh, you can certainly store and reheat any leftovers to savor later.
- Storage: Allow any leftover grilled corn to cool completely. Then, transfer it to an airtight container and store it in the refrigerator for up to 3-4 days. You can remove the kernels from the cob before storing if you prefer, which makes them easier to add to salads or other dishes.
- Reheating:
- Microwave: For a quick reheat, place the corn cobs (or kernels) in a microwave-safe dish, add a splash of water, cover, and microwave in 30-60 second intervals until thoroughly warmed through.
- Oven: For best results, especially for cobs, wrap individual cobs in aluminum foil to retain moisture. Reheat in an oven preheated to 350 degrees Fahrenheit (175 degrees Celsius) for about 10-15 minutes, or until heated through.
- Grill: If your grill is already hot, you can quickly reheat corn cobs directly on the grates for a few minutes, turning occasionally, until warm. This might add a little more char, which can be delicious!
Other Delicious Summer Recipes to Try
If you loved this grilled corn, you’re sure to enjoy these other fantastic summer-inspired dishes and complementary flavors:
- Buttered Corn Ribs: A fun, unique way to enjoy corn, perfect for sharing!
- How to Cook Canned Corn – Two Ways: Easy methods for elevating a pantry staple.
- Summer Peach Crisp: A sweet, comforting dessert that highlights seasonal peaches.
- Roasted Green Beans and Carrots: A simple, flavorful vegetable side that complements any meal.
- Rosemary Garlic Butter: Another versatile herb butter that’s great on bread, steak, or other veggies.
- Sauteed Zucchini with Feta and Corn: A light and fresh side dish, making the most of summer produce.
Grilled Corn with Lemon Herb Butter
Carolyn
Pin Recipe
Equipment
-
grill
Ingredients
- 4 corn cobs, shucked
- olive oil for coating the corn
Lemon herb butter:
- 3 tablespoons unsalted butter softened
- 1 teaspoon minced cilantro
- 1 teaspoon minced basil
- 1 garlic clove, minced
- 1 teaspoon lemon juice
- ½ lemon, zested
- ¼ teaspoon kosher salt
Instructions
-
In a medium bowl, combine the softened butter, cilantro, basil, garlic, lemon juice, lemon zest, and kosher salt. Use a spoon or fork to smash the ingredients until incorporated. Set aside.
-
Preheat the grill to medium-high, about 400 degrees.
-
Shuck the corn cobs and remove the silk. Rub a bit of olive oil onto each cob so the entire cob is coated.
-
Use large tongs to place the corn cobs onto the hot grill. Cook the corn for 10 to 15 minutes, turning the corn occasionally. The longer you leave the corn in one spot, the more caramelization you achieve. Keep the grill closed in between turning it, if possible.
-
Remove the corn from the grill. Slather butter onto each corn cob and add a sprinkle of salt. Enjoy while still warm.
Nutrition
There you have it! A truly magnificent grilled corn on the cob recipe, elevated by the bright, aromatic flavors of lemon herb butter. This simple yet profound dish celebrates the best of summer produce and is guaranteed to become a beloved staple at your table. Whether you’re hosting a backyard barbecue, enjoying a casual weeknight dinner, or looking for that perfect potluck contribution, this recipe is sure to impress. So fire up your grill, gather your fresh ingredients, and get ready to create some unforgettable summer flavors. Happy grilling!
