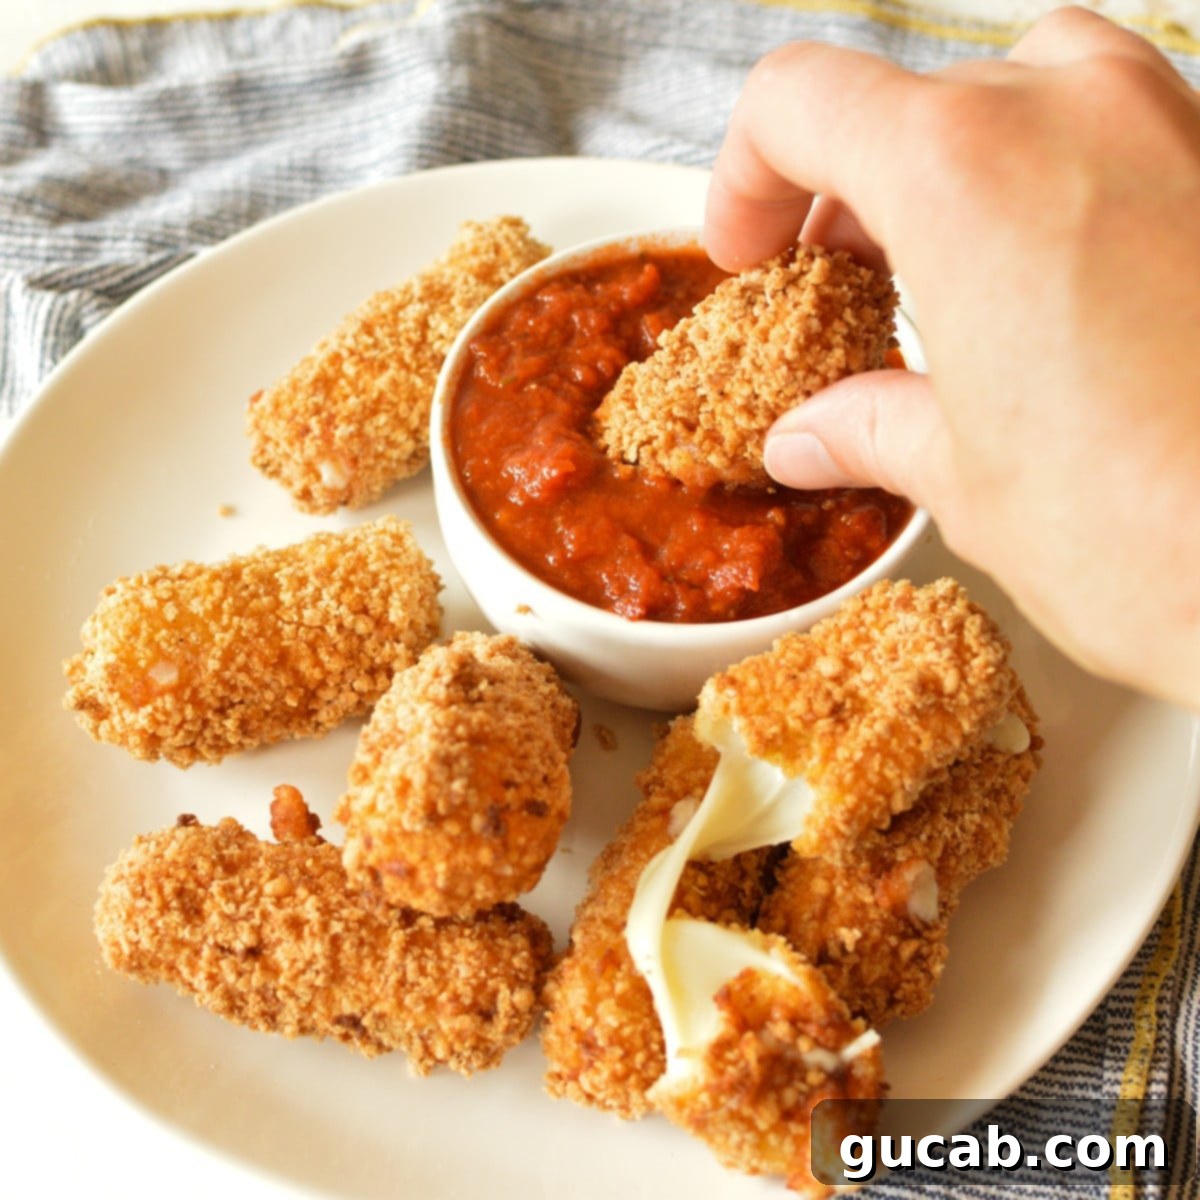
Ultimate Guide to Crispy, Gooey Homemade Gluten-Free Mozzarella Sticks
Craving that irresistible appetizer with a golden-brown, crisp exterior and a center full of hot, gooey, melted mozzarella? Look no further! These homemade gluten-free mozzarella sticks deliver on all fronts, making them the perfect gluten-friendly snack or party appetizer. Whether you’re adhering to a gluten-free diet or simply looking for a delicious twist on a classic, this recipe promises pure cheesy delight.
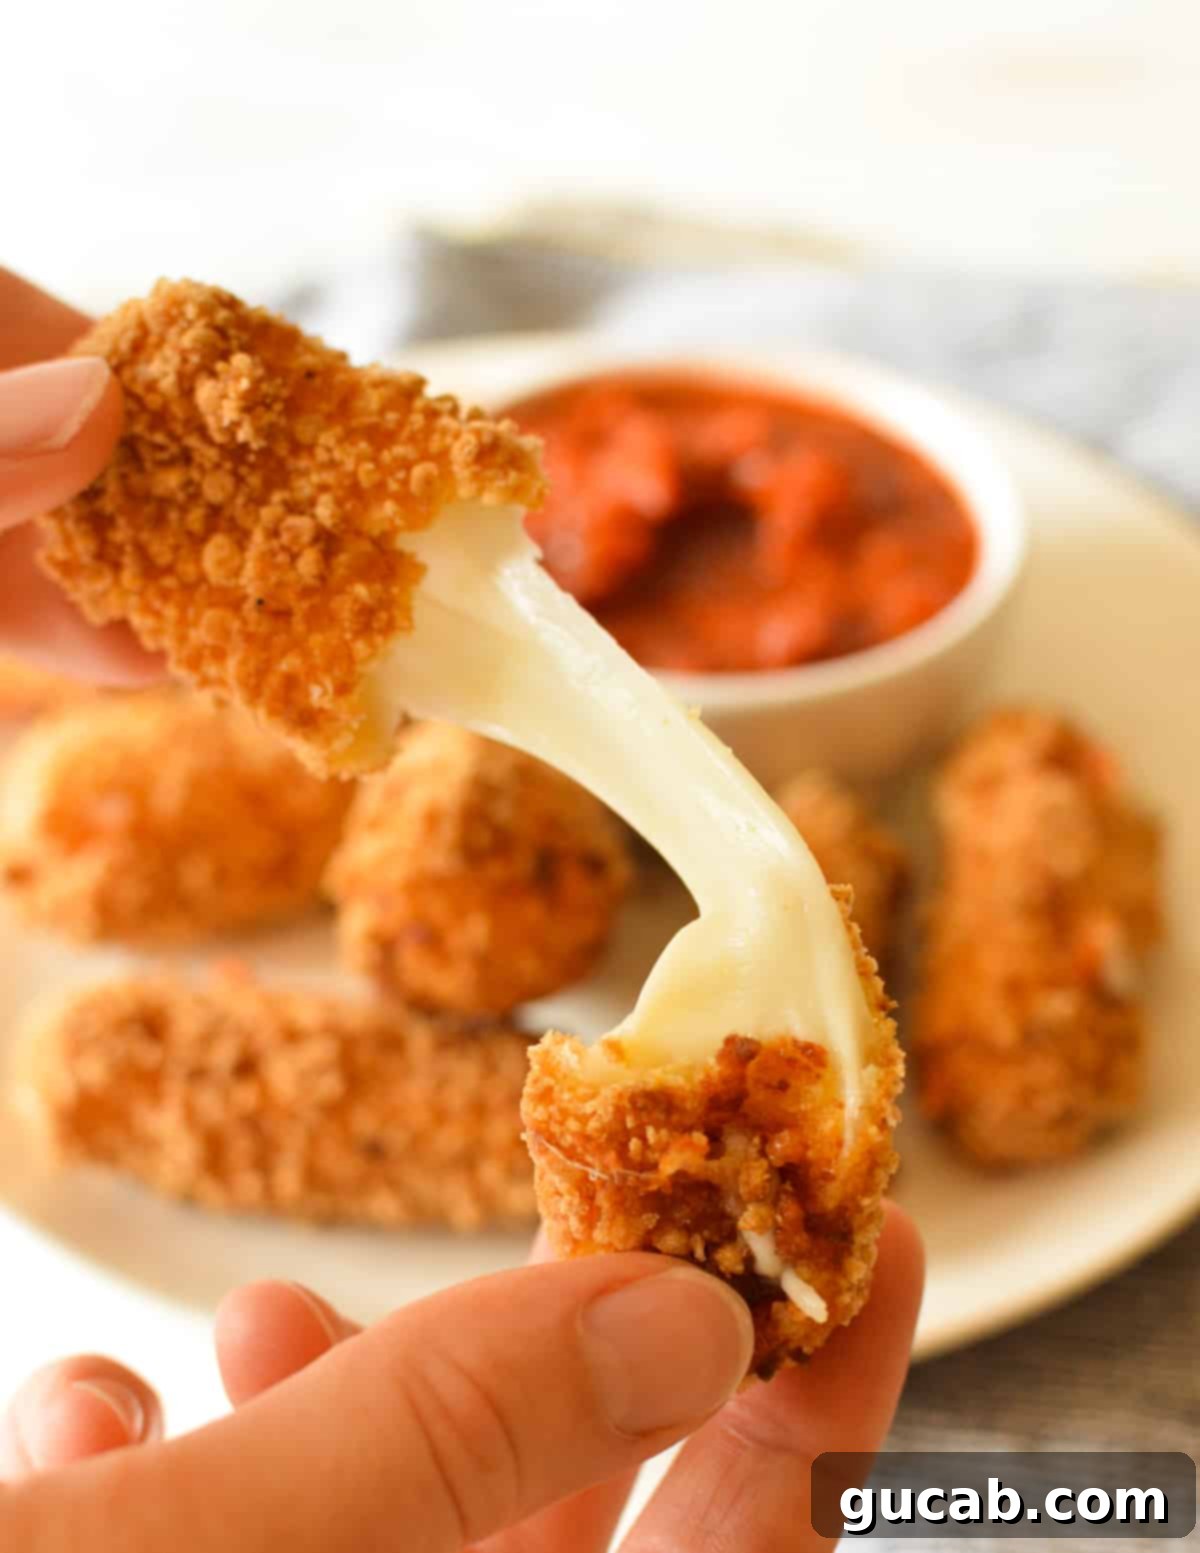
Who can honestly resist the allure of fried cheese? Certainly not me! I wear my cheese-aholic badge with immense pride. However, a common challenge for those avoiding gluten is that most commercially battered and fried cheese products are not gluten-free. This often leaves us yearning for that savory, comforting crunch.
Determined to bring this beloved snack back into my life, I donned my apron and embarked on a mission to create the ultimate gluten-free mozzarella sticks. The results? They far exceeded my cheesiest dreams, offering a crispy shell and an epic cheese pull that rivals any traditional version. Along the way, I discovered crucial tips and tricks that guarantee success and prevent common frying mishaps.
The Art of Frying: Mastering the Perfect Mozzarella Stick
Frying food, especially cheese, is an art. The oil temperature is paramount: if it’s not hot enough, you end up with a greasy, soggy mess. If it’s too hot, the exterior burns before the inside warms properly. When it comes to fried cheese, two elements are absolutely essential for perfection:
- A irresistibly crispy, golden-brown exterior.
- A gloriously melty, hot, and stretchy cheese-pull center.
The biggest challenge? Keeping the cheese contained within its delicious breadcrumb coating. Cheese leakage is a major buzzkill – trust me, friends, an empty breadcrumb shell is a culinary tragedy! But don’t fret; I’ve perfected a method to prevent this common catastrophe, ensuring your mozzarella sticks are beautifully intact every time.
Disclosure: This post contains affiliate links. In other words, if you click a link and purchase something I will receive a commission at no cost to you. I only recommend products I use and enjoy myself.
Essential Ingredients for Your Cheesy Creation
Ready to invite these delicious components to your cheesy party? Here’s what you’ll need to create perfectly crunchy and gooey gluten-free mozzarella sticks:
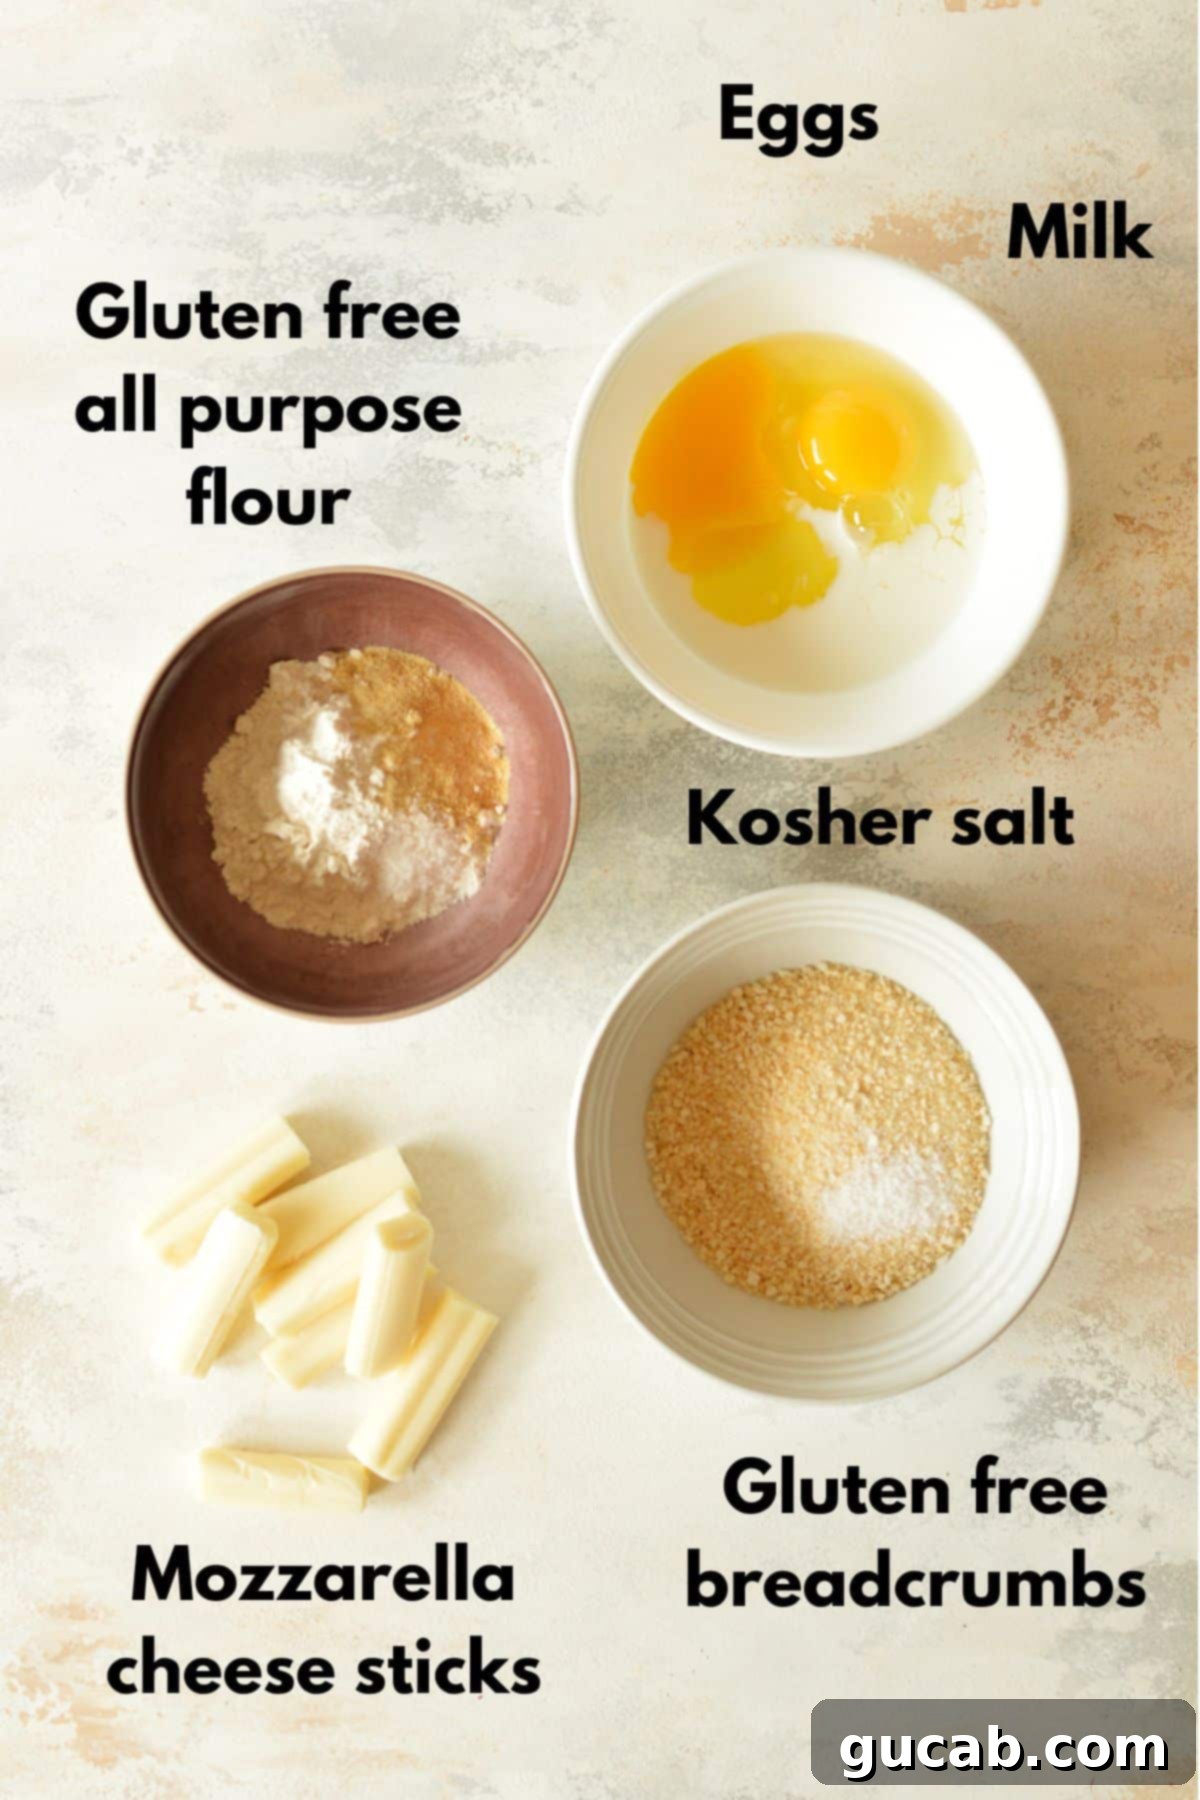
- Canola Oil (or other neutral high-smoke point oil): Any neutral oil with a high smoke point works wonderfully for deep frying. I typically use canola or vegetable oil, depending on what I have readily available. The key is a clean, fresh oil that can reach and maintain high temperatures without smoking excessively.
- Gluten-Free Breadcrumbs: These are the backbone of our crispy coating. I achieved excellent results with 4C Plain Gluten-Free Breadcrumbs, but most reputable gluten-free breadcrumb brands should work just fine. Ensure they are finely milled for best adhesion.
- Gluten-Free All-Purpose Flour: This initial coating creates a dry surface for the egg mixture to cling to, which in turn helps the breadcrumbs adhere firmly to the cheese. My go-to is Bob’s Red Mill 1:1 All-Purpose Gluten-Free Flour, as it’s a reliable staple in my pantry.
- Eggs: Whisked eggs act as the essential “glue” that binds the flour and breadcrumbs to the mozzarella sticks, creating a robust protective layer.
- Milk: A splash of milk helps to thin out the whisked eggs, preventing them from becoming too gloppy and ensuring a smooth, even coating on the cheese sticks. Any type of milk (dairy or non-dairy) will work.
- Seasoning (Salt, Onion Powder, Garlic Powder): Don’t underestimate the power of seasoning! Salt, especially kosher salt, is crucial here. It dramatically enhances the flavor of the mozzarella cheese, making these sticks truly irresistible. Onion and garlic powder add a savory depth to the breading.
- Mozzarella Cheese Sticks: There’s a very good reason why mozzarella cheese is universally used for cheese sticks – it’s all about that glorious, hot, and gooey cheese pull! Opt for good quality, low-moisture part-skim mozzarella sticks for the best texture and meltability. It’s an absolute must for achieving that signature stretch.
Step-by-Step: How to Make Irresistible Gluten-Free Mozzarella Sticks
Follow these detailed steps to create perfectly crispy and melty gluten-free mozzarella sticks that will impress everyone.
1. Prepare Your Breading Station
Begin by taking your mozzarella cheese sticks and cutting each one in half crosswise. This creates smaller, more manageable sticks that fry evenly and are easier to handle.
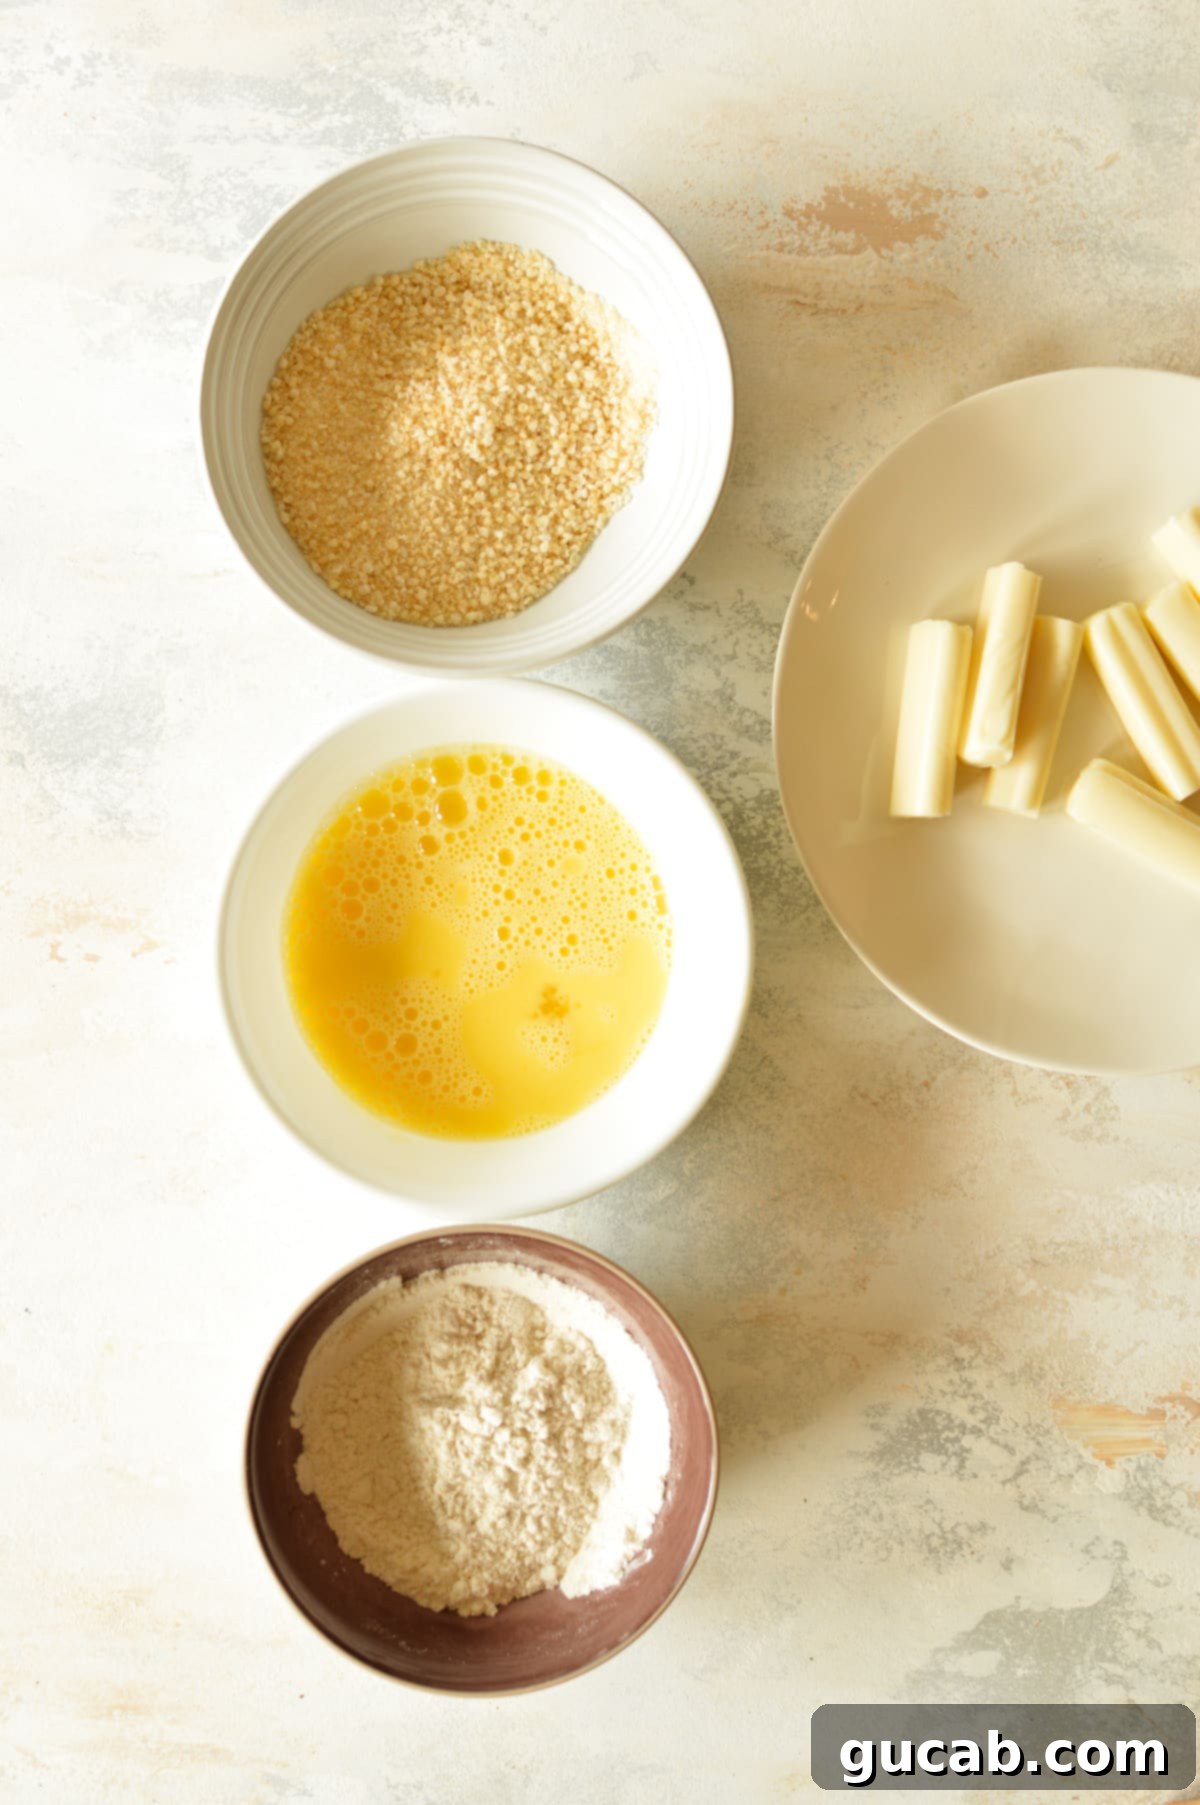
Next, set up your breading station. In your first shallow bowl, combine the gluten-free flour, onion powder, garlic powder, and ¼ teaspoon of kosher salt. Stir thoroughly until well mixed. In your second bowl, whisk the large eggs and milk together until smooth and slightly frothy. Finally, in your third bowl, combine the gluten-free breadcrumbs and ½ teaspoon of kosher salt, mixing them well.
Line up these three bowls on your counter in a specific order: first the flour mixture, then the egg wash, and finally the seasoned breadcrumbs. This organized setup will make the dredging process efficient and mess-free.
2. The Double-Dredge Technique for Optimal Coating
This “double-dredge” method is the secret weapon against cheese leakage, creating a thick, sealed coating.
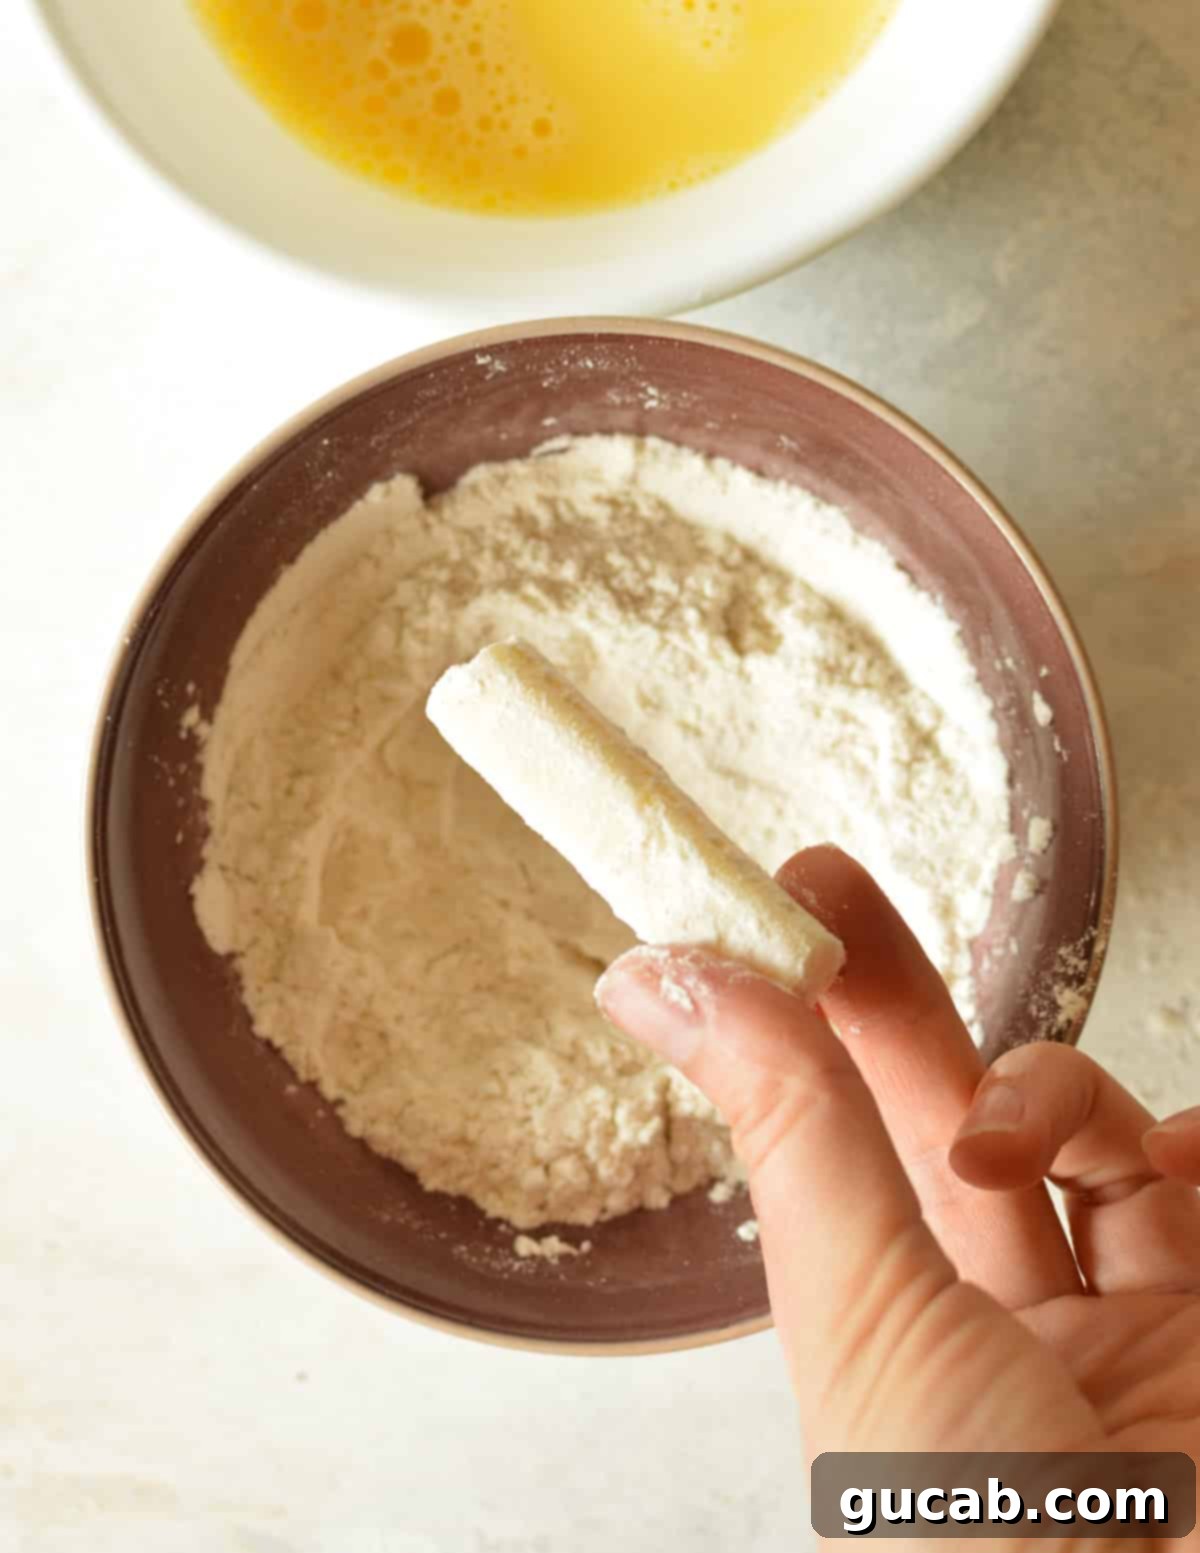
First, take one of the cut cheese sticks and place it into the gluten-free flour mixture. Roll it around until it’s completely coated. Lift it out, tapping off any excess flour to ensure a thin, even layer. This flour layer helps the egg stick better.
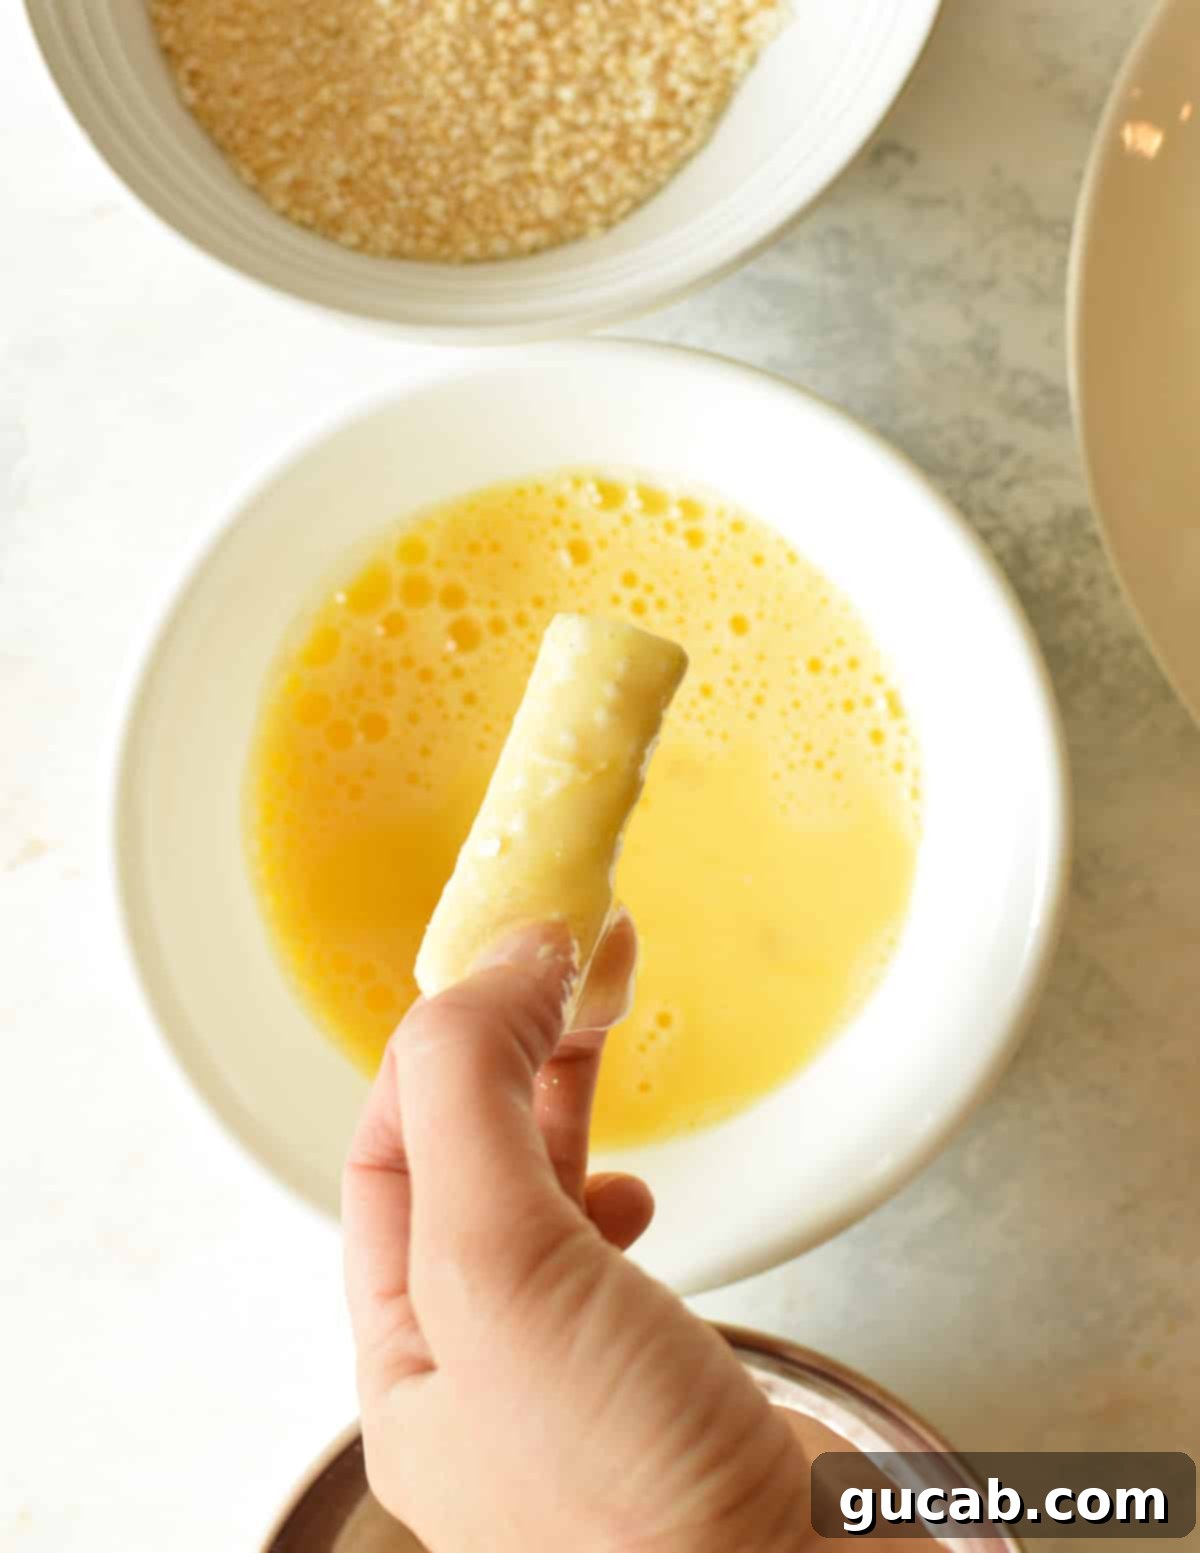
Next, carefully place the floured cheese stick into the whisked egg mixture. Ensure it’s fully submerged and coated. Gently pick up the stick, allowing any excess egg to drip back into the bowl.
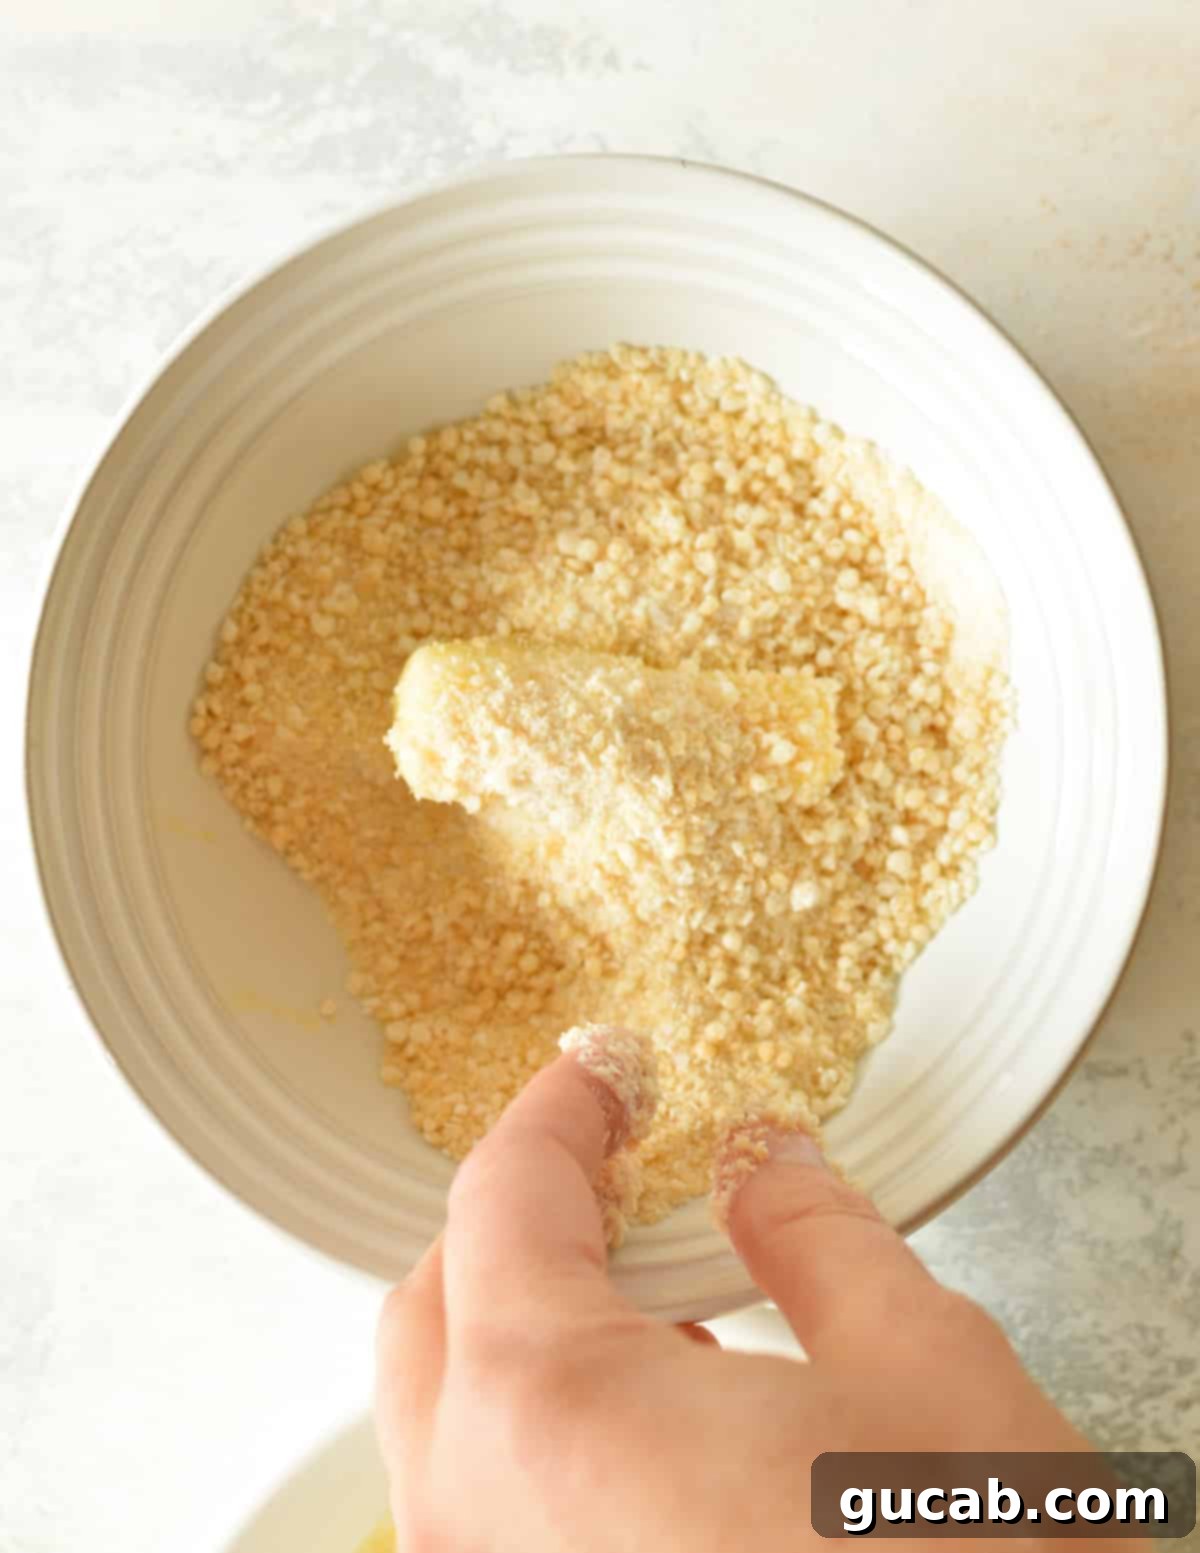
Immediately transfer the egg-coated stick into the breadcrumbs. Roll it carefully, pressing gently to ensure an even and thorough coating on all sides. Don’t worry if your hands get covered in breadcrumbs – it’s part of the fun! Let any excess breadcrumbs fall off.
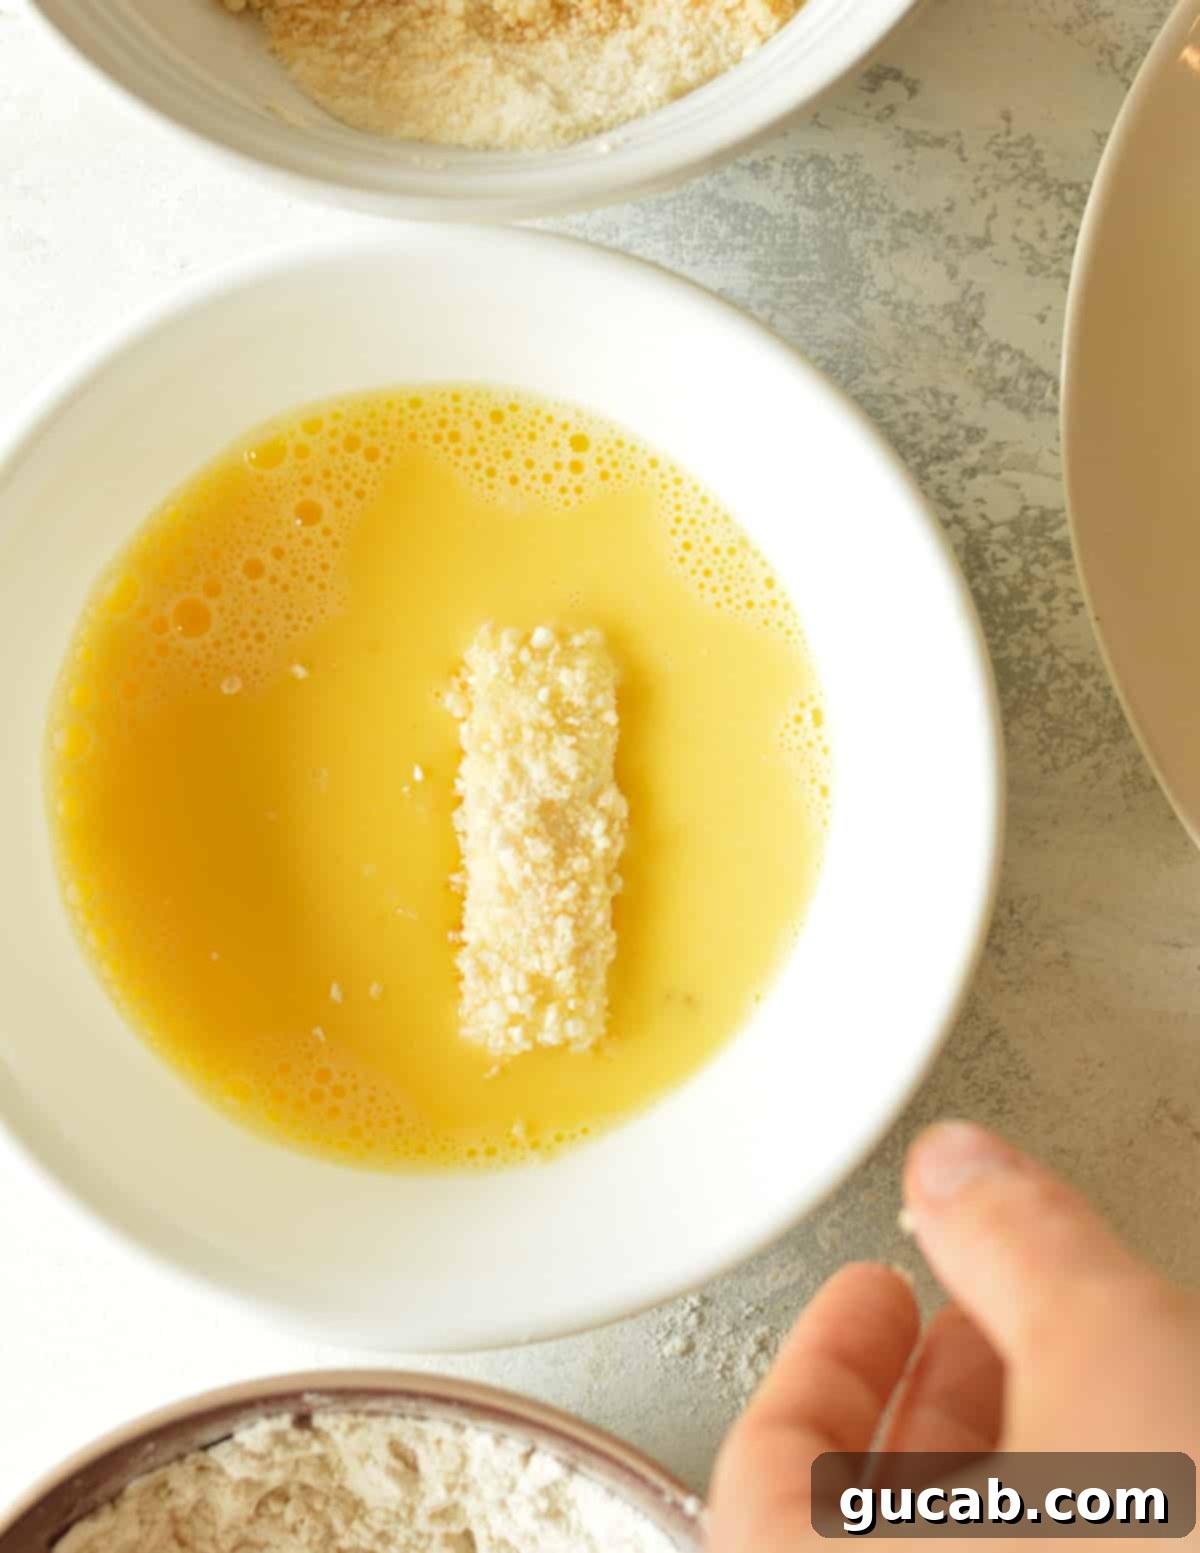
Now, for the “double-dredge” crucial step: place the breaded cheese stick back into the egg mixture for a second dip. This creates an extra layer of protection.
Finally, return the cheese stick to the breadcrumbs for a second coating, ensuring it’s completely and evenly covered. This double layer is key to a super crispy crust and preventing any cheese escapes during frying.
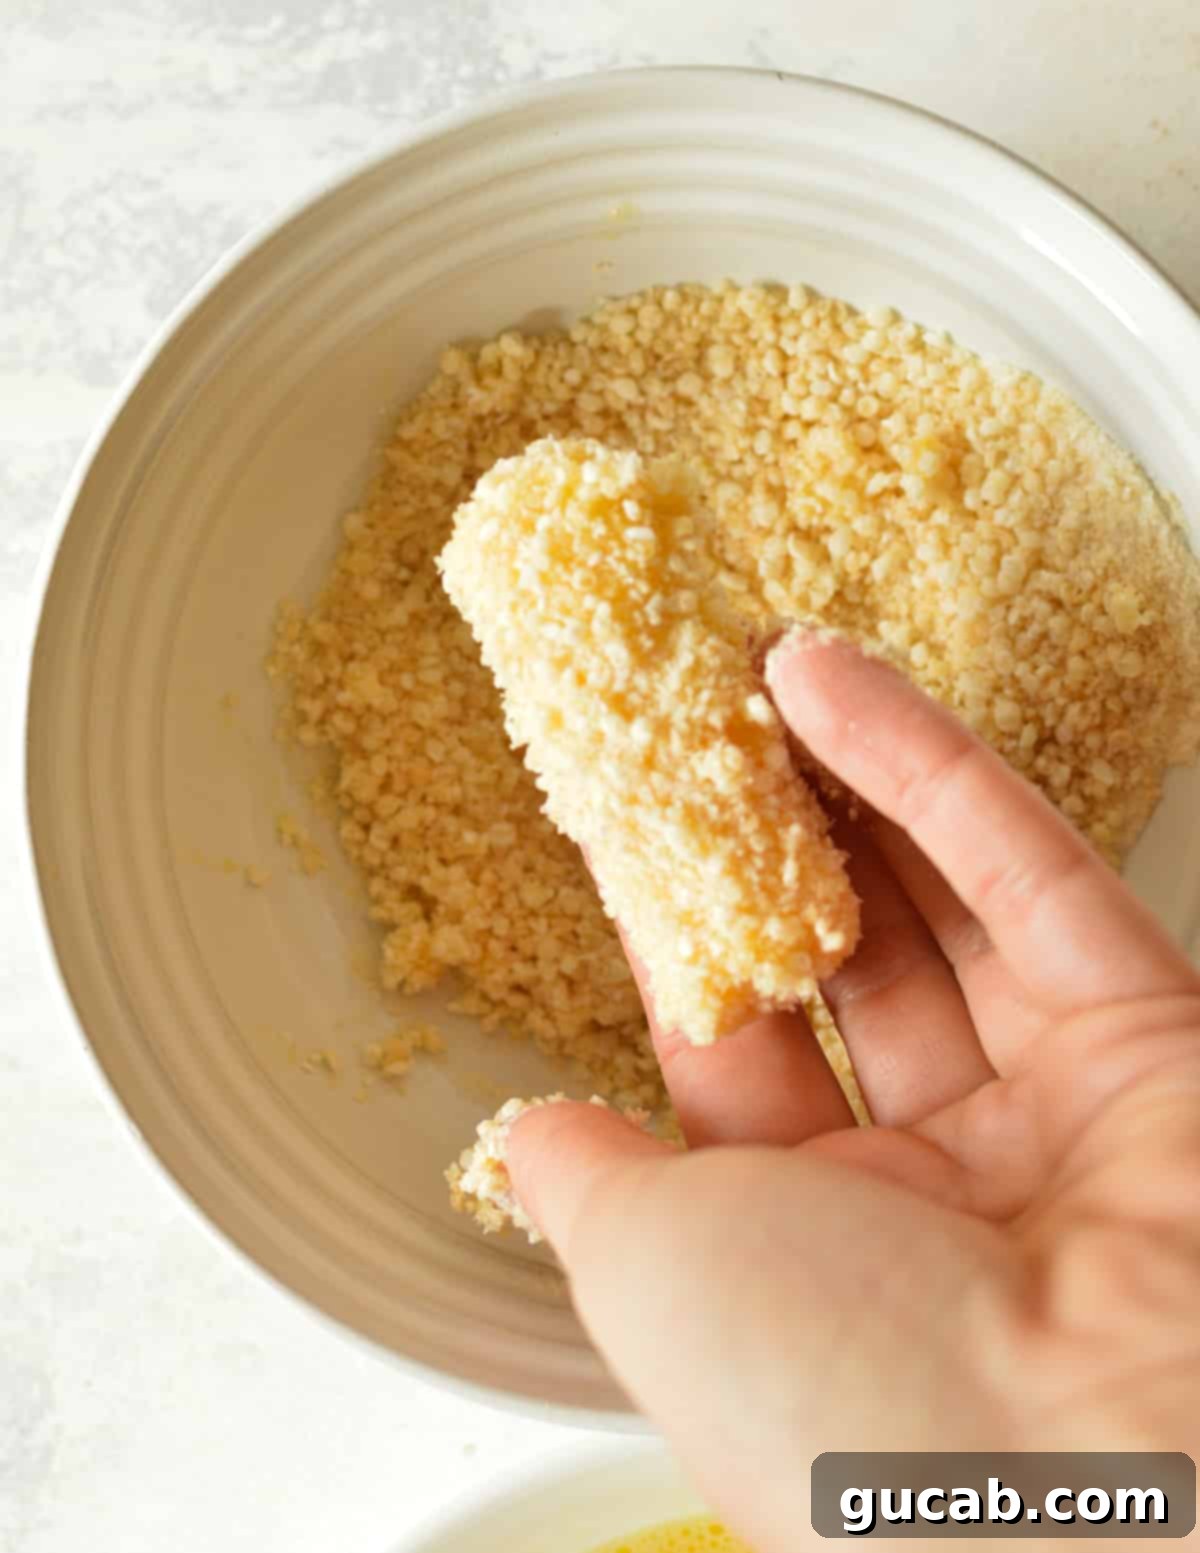
Place the fully coated cheese stick onto a clean plate, and repeat this entire double-dredging process with all the remaining cheese sticks.
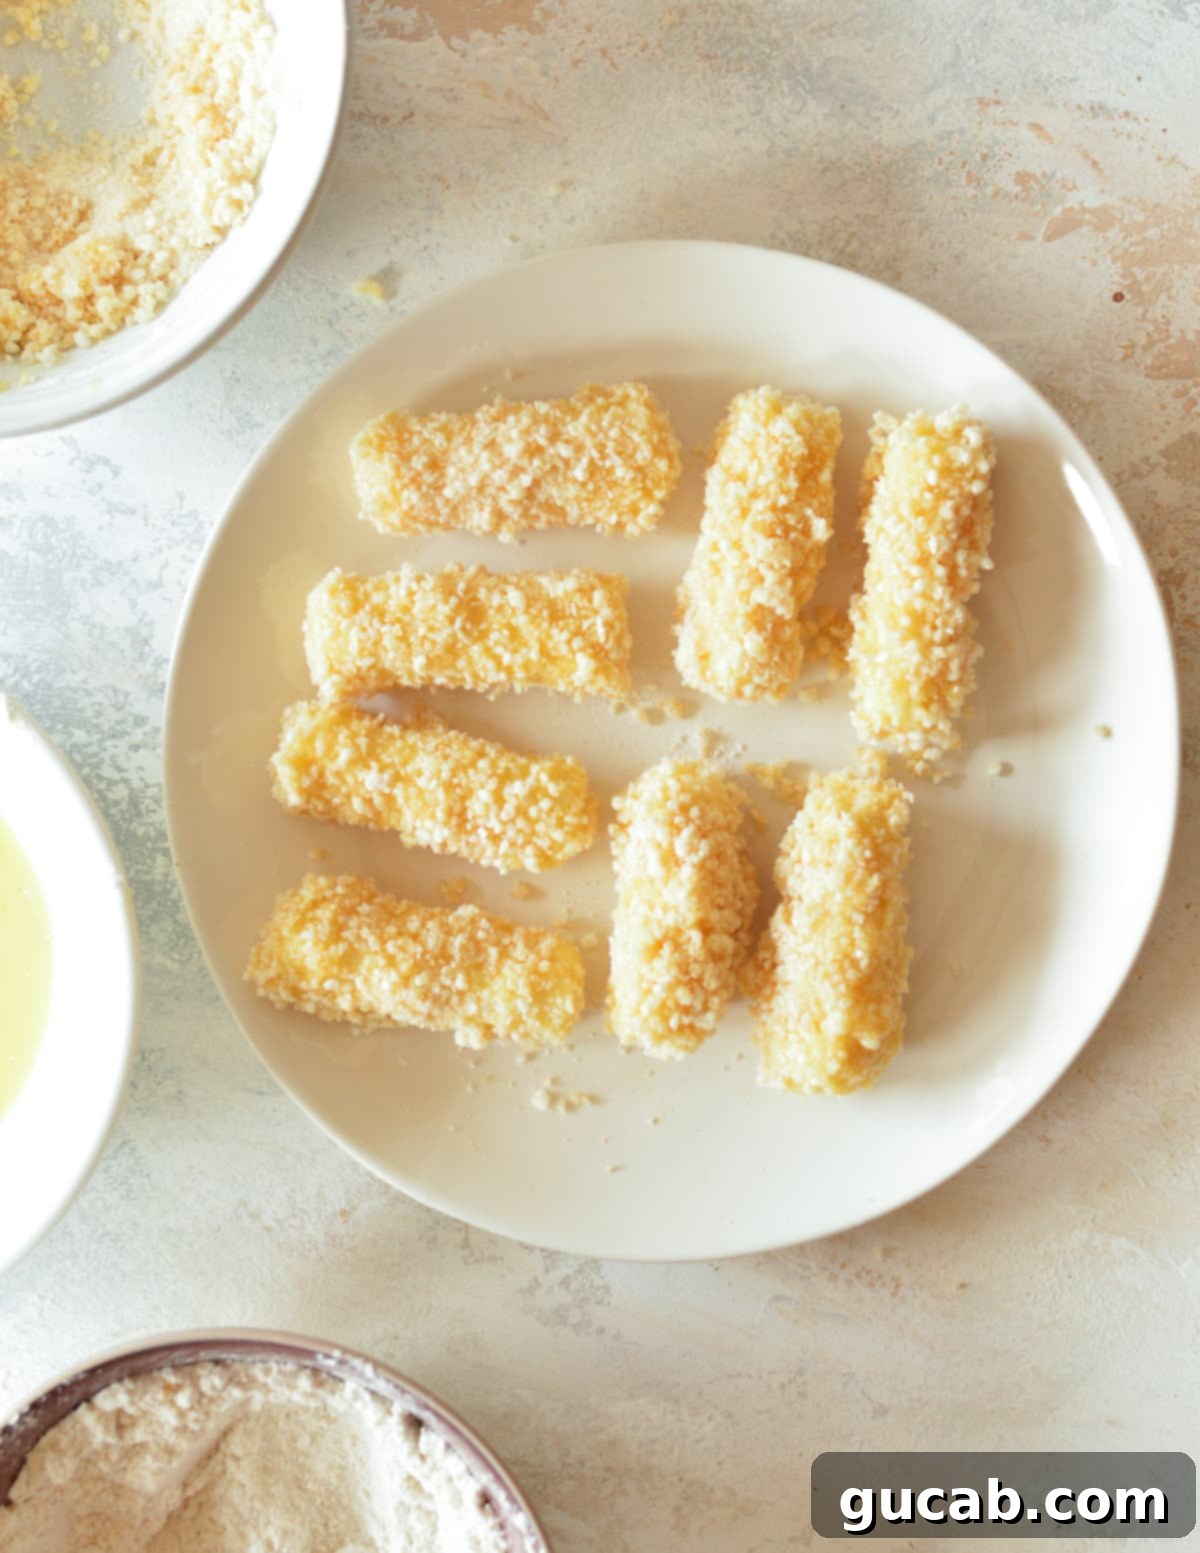
3. Deep-Frying for Golden Perfection
Once all your cheese sticks are coated, place the plate of breaded gluten-free cheese sticks into the freezer for exactly 20 minutes. This timing is critical: if they freeze too long, you won’t get that wonderful gooey cheese pull. If you don’t freeze them at all, the cheese is far more likely to leak! The quick chill firms up the cheese just enough.
While the cheese sticks are chilling, prepare your frying oil. Fill a heavy-bottomed pot or Dutch oven with at least two inches of your chosen frying oil. Attach a deep-fry or candy thermometer to the side of the pot, ensuring the tip is submerged in the oil but not touching the bottom. Turn your stovetop to medium-high heat.

Heat the oil until the thermometer reads 400 degrees Fahrenheit (204°C). Once the oil is at temperature, carefully place two gluten-free mozzarella sticks into the hot oil, being sure not to overcrowd the pot. Let them cook for precisely 20 seconds. Use a slotted spoon or spider to gently turn them over and cook for another 20 seconds.
Overcooking is the enemy here – if you fry them for too long, the cheese will leak! For the best results, use a timer. The goal is a quick, hot fry that cooks the breading to golden perfection while melting the cheese just enough. Repeat this process with the remaining cheese sticks, frying them in batches of two.
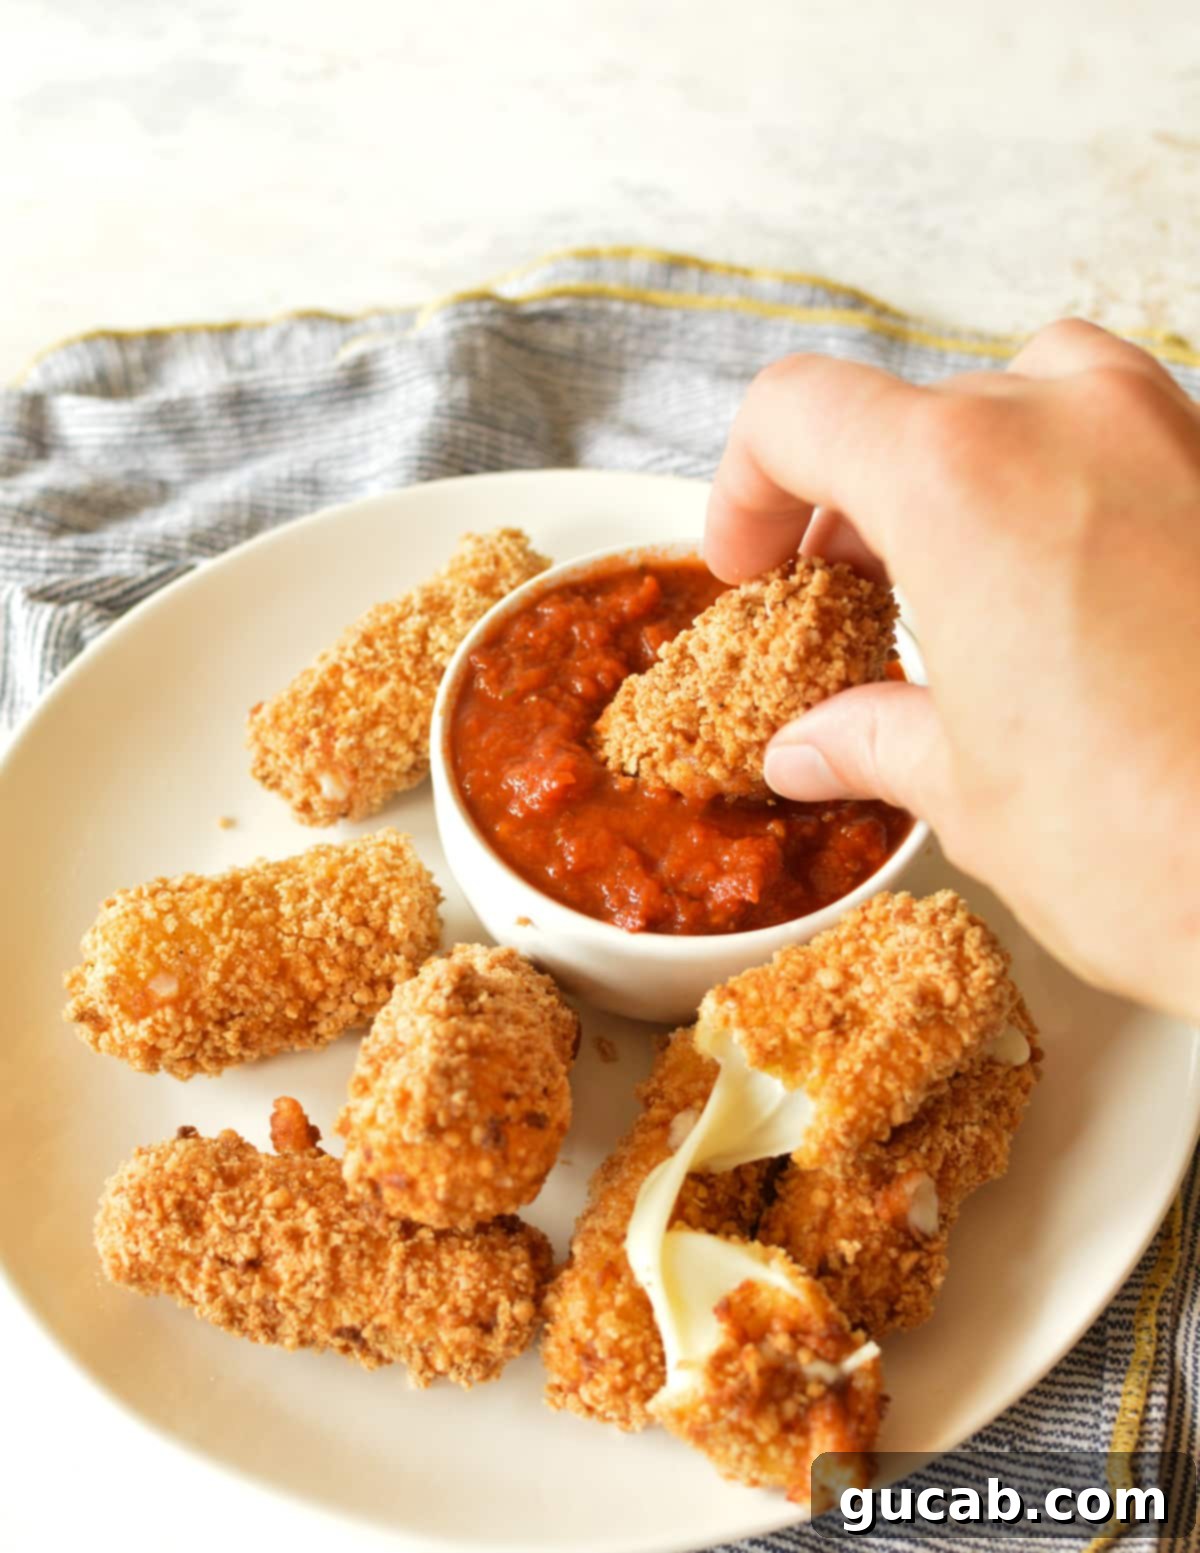
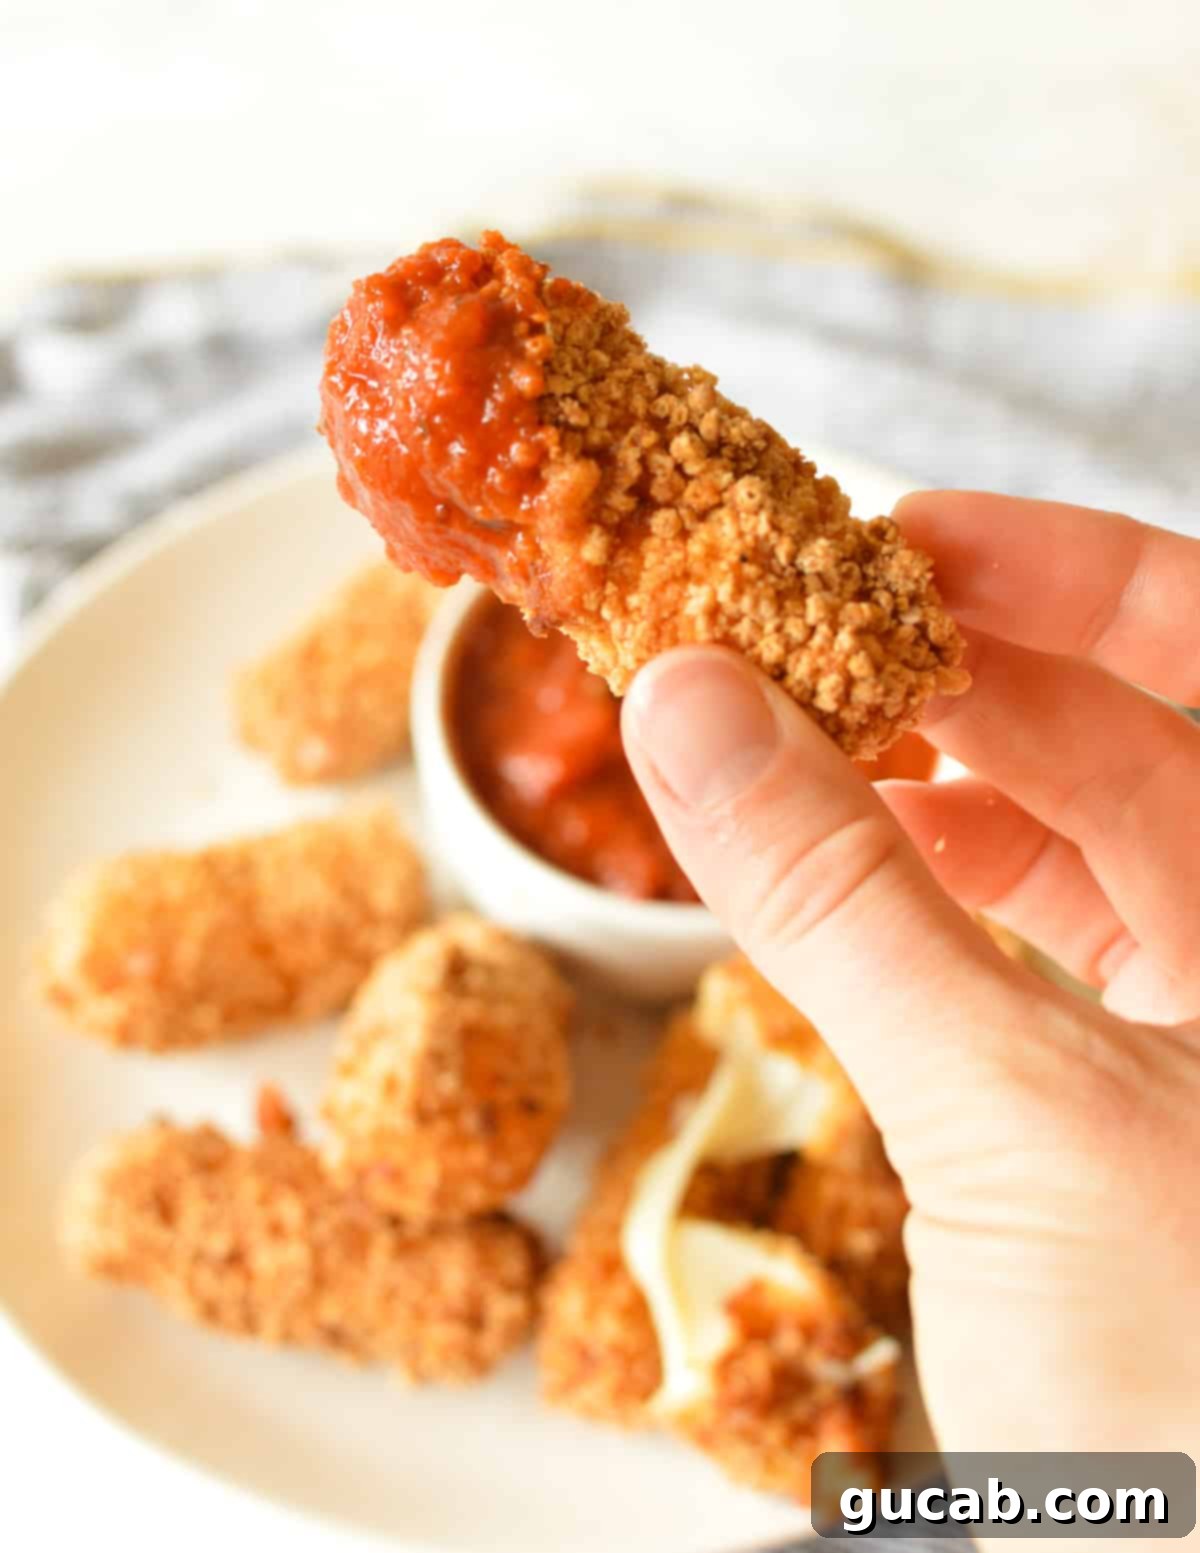
Serve your glorious gluten-free mozzarella sticks immediately with warm marinara sauce! The cheese will be at its peak melty, gooey stage right out of the fryer. If for any reason they cool down and the cheese solidifies, you can pop them into an oven at 300 degrees Fahrenheit (150°C) for a few minutes until they’re warmed through again.
Essential Equipment for Frying Success
Having the right tools makes all the difference for a smooth and successful frying experience:
- Large Cast Iron Dutch Oven or a Pot with Tall Sides: A heavy-bottomed pot ensures even heat distribution and helps maintain a consistent oil temperature. Tall sides are crucial for containing oil splatters and for safety.
- Fry or Candy Thermometer: Absolutely indispensable for deep frying! Maintaining the exact oil temperature (400°F / 204°C) is key to a crispy, non-greasy result and preventing cheese leakage.
- Slotted Spoon or a Spider: Essential for safely placing the cheese sticks into the hot oil, turning them, and retrieving them. A spider allows oil to drain away quickly.
- Three Small Dishes or Bowls: For your organized breading station – one for flour, one for the egg mixture, and one for breadcrumbs. Shallow, wide bowls work best.
Preventing Cheese Leakage: My Top Secrets Revealed
Ah, the age-old question: how do you prevent that devastating moment when the cheese escapes its crispy shell? After extensive trial and error (because losing cheese *is* a catastrophe!), I’ve pinpointed three crucial factors to ensure your mozzarella sticks stay perfectly intact and gooey inside:
- The Mighty Double Dip: This isn’t just a fun dance move; it’s a game-changer! After initially dredging the mozzarella stick in flour, then egg, and finally breadcrumbs, I put it back into the egg mixture and then back into the breadcrumbs for a second coating. This double layer creates an extra-thick, impenetrable seal around the cheese, making it far less likely to burst through.
- The Critical 20-Minute Freeze: Once breaded, I immediately transfer the sticks to the freezer for precisely 20 minutes. This quick chill is vital. It firms up the cheese enough to withstand the initial shock of the hot oil, preventing it from melting too quickly and leaking out. However, do not freeze for much longer than this! Over-frozen sticks will have a perfectly crispy outside but a disappointingly cold, unmelted center. Twenty minutes is the sweet spot for a firm exterior and a melty interior.
- The Rapid Fry & Flip Technique: This is where speed and precision come in. Never leave a cheese stick on one side in the hot oil for more than 20 seconds. If you do, the cheese will begin to push against that sustained heat point and will try to pop out. Instead, fry for 20 seconds, then gently flip it with your slotted spoon. Continue to turn and roll the cheese stick in the oil until all sides are a beautiful golden brown. The entire frying process for each stick should not exceed one minute. You’ll know if leakage occurs because the oil will start to audibly pop and splatter as the cheese escapes. Be vigilant and adhere to the timing!
Can You Freeze Cooked Gluten-Free Mozzarella Sticks?
Absolutely, yes! In fact, preparing a batch and freezing them after frying can be a fantastic way to enjoy all the deliciousness with minimal future cleanup. It’s a lifesaver for quick appetizers or snacks. Here’s how:
After frying your mozzarella sticks, allow them to cool completely on a wire rack. Once cooled, place them on a plate or baking sheet in a single layer and pop them into the freezer for about 30 minutes. This initial freeze prevents them from sticking together. Then, transfer the partially frozen sticks into a freezer-safe plastic bag or airtight container, and store them in the freezer until you’re ready to enjoy them.
When that craving strikes, there’s no need to thaw! Simply preheat your oven to 350 degrees Fahrenheit (175°C). Place the frozen mozzarella sticks on a baking sheet and bake for approximately 10-15 minutes, or until they are warmed through and the cheese is gooey. Keep a close eye on them; if you notice any cheese beginning to leak, pull them out immediately.
Serve with warm marinara sauce for a convenient and delicious treat, anytime!
Smart Tips for Easy Cleanup and Less Mess
Deep frying can sometimes be synonymous with a messy kitchen, but with a few simple tricks, cleanup can be a breeze:
- Paper Breading Bowls: For my breading station (flour, egg, breadcrumbs), I highly recommend using disposable paper bowls. This way, once you’re done coating all your cheese sticks, you can simply toss them directly into the trash, eliminating extra dishes.
- Paper Towel-Lined Plate: After frying, immediately transfer your golden-brown mozzarella sticks to a plate lined with several layers of paper towels. The paper towels will absorb excess oil, ensuring your sticks are perfectly crispy and not greasy. Once they’ve cooled enough to handle, remove the greasy paper towel and enjoy your delicious, perfectly fried gluten-free mozzarella sticks as soon as they’re cool enough to eat.
What Do I Do With Leftover Frying Oil?
So, your delicious gluten-free mozzarella sticks are long gone, and you’re left with a pot full of used frying oil. Now what? You have a couple of options:
- Strain and Reuse: If you fry frequently, you can actually strain and reuse frying oil several times. You can read more about safely reusing fryer oil here. Personally, I don’t typically reuse it because I don’t deep-fry often enough for it to be practical, and fresh oil is relatively inexpensive.
- Safe Disposal: The most common and easiest method for home cooks is to dispose of the oil. First and foremost, ensure the oil is completely cool before handling – never dispose of hot oil! Once cool, carefully pour the oil into a disposable, sealable container (like an old milk jug, plastic bottle, or even a cheap off-brand trash bag) and then throw it in the trash.
My personal method involves using inexpensive, off-brand trash bags. I carefully place the trash bag around the cooled pot of oil, then invert the pot to dump the oil directly into the bag. I tie the bag into a tight knot and immediately place it into my outdoor trash can. Just be absolutely certain the bag is fully secured around the pot before you dump, as oil spills are notoriously difficult to clean!
Frequently Asked Questions (FAQs) About Gluten-Free Mozzarella Sticks
No, traditional mozzarella sticks are typically coated in wheat-based flour and breadcrumbs, which contain gluten. Additionally, they are often deep-fried in oil that may be cross-contaminated with other gluten-containing fried foods, making them unsafe for individuals with celiac disease or gluten sensitivities.
Yes, plain string cheese sticks are generally gluten-free, as they are simply cheese. However, it is always crucial to check the product label for any hidden ingredients or “may contain” warnings. I highly recommend buying brands that explicitly label their products as gluten-free or provide detailed allergen information on their website. For example, Sargento cheese sticks are a popular brand confirmed to be gluten-free!
While deep frying yields the crispiest results, you can bake them. After breading and freezing for 20 minutes, preheat your oven to 400°F (200°C). Place the frozen sticks on a parchment-lined baking sheet and bake for 8-12 minutes, flipping halfway through, until golden and the cheese is just starting to melt. They won’t be as crispy as fried but will still be delicious!
Warm marinara sauce is the classic and most popular choice, offering a delicious tangy contrast to the rich cheese. Other fantastic options include creamy ranch dressing, a spicy sriracha mayo, a sweet and tangy balsamic glaze, or even a pesto aioli for an herbaceous twist.
More Delicious Gluten-Free Appetizer Recipes
Looking for more crowd-pleasing, gluten-free appetizers? Try these delightful recipes:
- Simple Guacamole Recipe with a Twist
- Spicy Mango Habanero Salsa
- Refreshing Pineapple Mango Salsa Recipe
- Creamy Avocado Dip with Cherry Tomatoes and Feta

Gluten Free Mozzarella Sticks
Carolyn
Pin Recipe
Equipment
-
Cast Iron Dutch Oven or a Large Pot with Tall Sides
-
Fry or Candy Thermometer
-
Slotted Spoon or Spider
Ingredients
- 4 Mozzarella Cheese Sticks Cut in half crosswise
- ⅓ Cup Gluten Free All Purpose Flour I used Bob’s Red Mill 1:1 All Purpose Gluten Free Flour
- ½ t. Onion Powder
- ¼ t. Garlic Powder
- ¼ t. Kosher Salt
- ½ Cup Gluten Free Breadcrumbs
- ½ t. Kosher Salt
- 2 Large Eggs
- 1 tbsp Milk
- Canola or Vegetable Oil for frying I used 2 ½ Cups or ¾ in up the side of the pot
Instructions
-
Cut the cheesesticks in half crosswise. In a small bowl, combine gluten-free flour, onion powder, garlic powder, and ¼ tsp kosher salt. Stir well.
-
In a second small bowl, combine gluten-free breadcrumbs and ½ tsp kosher salt. Stir well.
-
In a third bowl, whisk the eggs and milk together until smooth. Arrange the bowls in a line: flour, then egg, then breadcrumbs.
-
Take one cheese stick, dredge it in the flour, tapping off excess. Dip it into the egg wash, allowing extra egg to drain. Immediately place it into the breadcrumbs, covering all sides thoroughly.
-
For a double coating, dip the stick back into the egg wash, then again into the breadcrumbs, ensuring full coverage. Place onto a clean plate and repeat with all remaining cheese sticks.
-
Freeze the coated cheese sticks for 20 minutes. Meanwhile, heat canola or vegetable oil in a large Dutch oven over medium-high heat until it reaches 400°F (204°C) on a deep-fry thermometer.
-
Gently place two breaded cheese sticks into the hot oil. Fry for 20 seconds, then use a slotted spoon to turn and fry for another 20 seconds. Continue turning until golden brown, ensuring total frying time per stick does not exceed 1 minute. Remove onto a paper towel-lined plate. Repeat with remaining sticks. Serve immediately with marinara sauce.
Notes
If your oil starts to get too hot during frying, temporarily lower the heat or remove the pot from the burner until it returns to the target temperature of 400°F (204°C).
