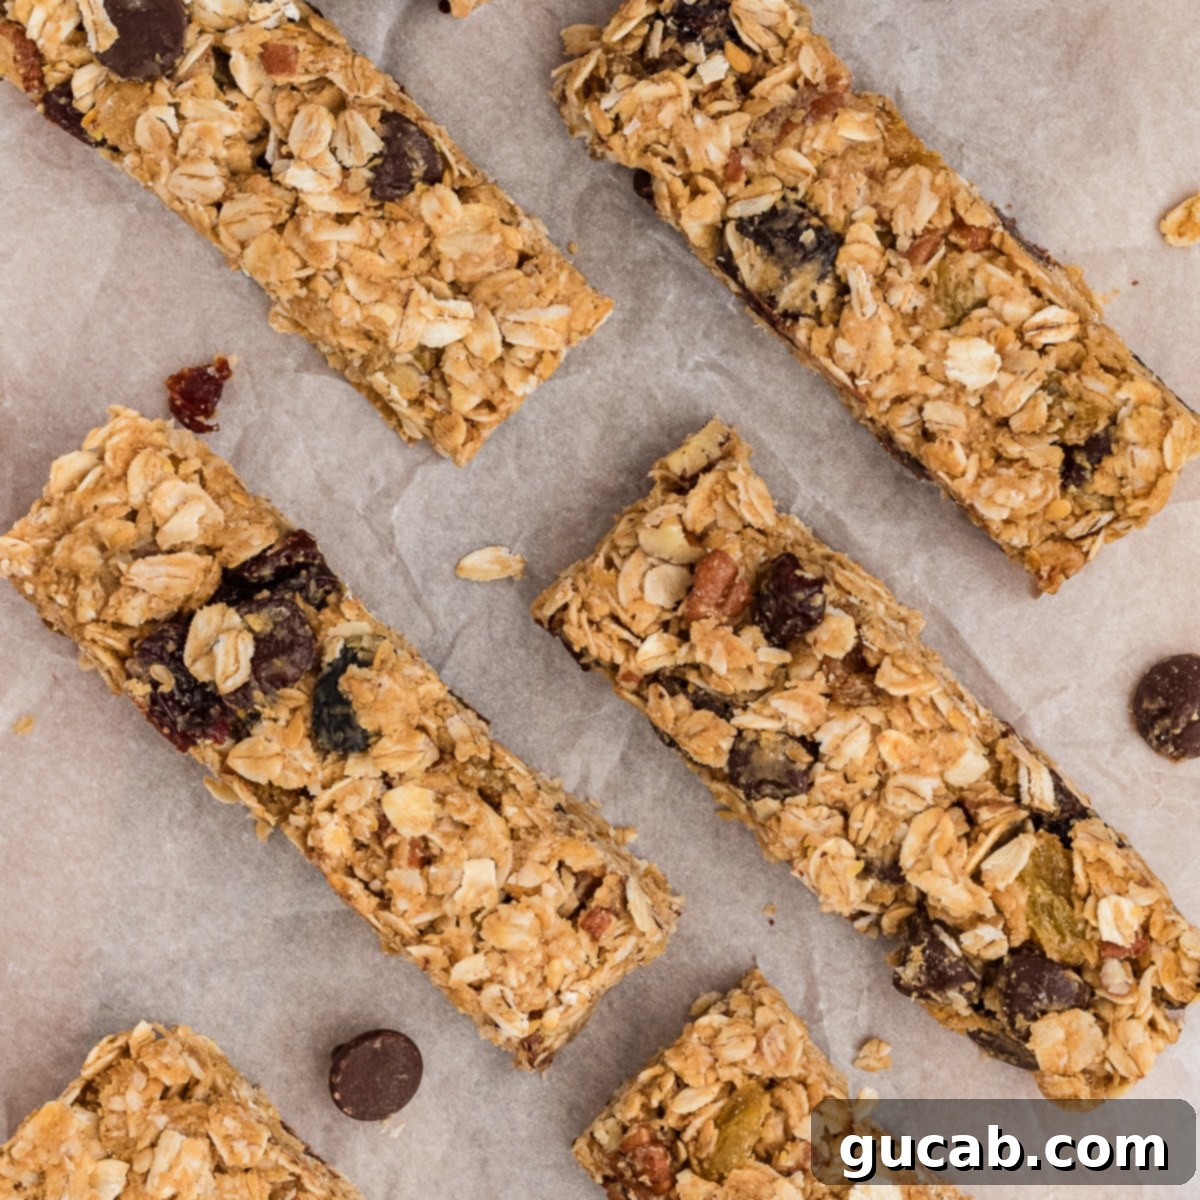
Irresistible Homemade Granola Bars: Your Wholesome & Indulgent Peanut Butter Treat
Craving a snack that’s both deeply satisfying and genuinely good for you? Look no further than these incredible homemade granola bars. Imagine the perfect harmony of a chewy granola bar and the rich, comforting flavor of a no-bake cookie. These bars are a true game-changer, loaded with creamy peanut butter, fiber-rich oats, a delightful mix of dried fruit, and just enough chocolate chips to make every bite feel like a treat. Forget store-bought options filled with obscure ingredients; this recipe empowers you to create delicious, wholesome snacks right in your own kitchen. They are not only easy to prepare but also offer a versatile solution for healthy eating on the go, making them a staple in any busy household.
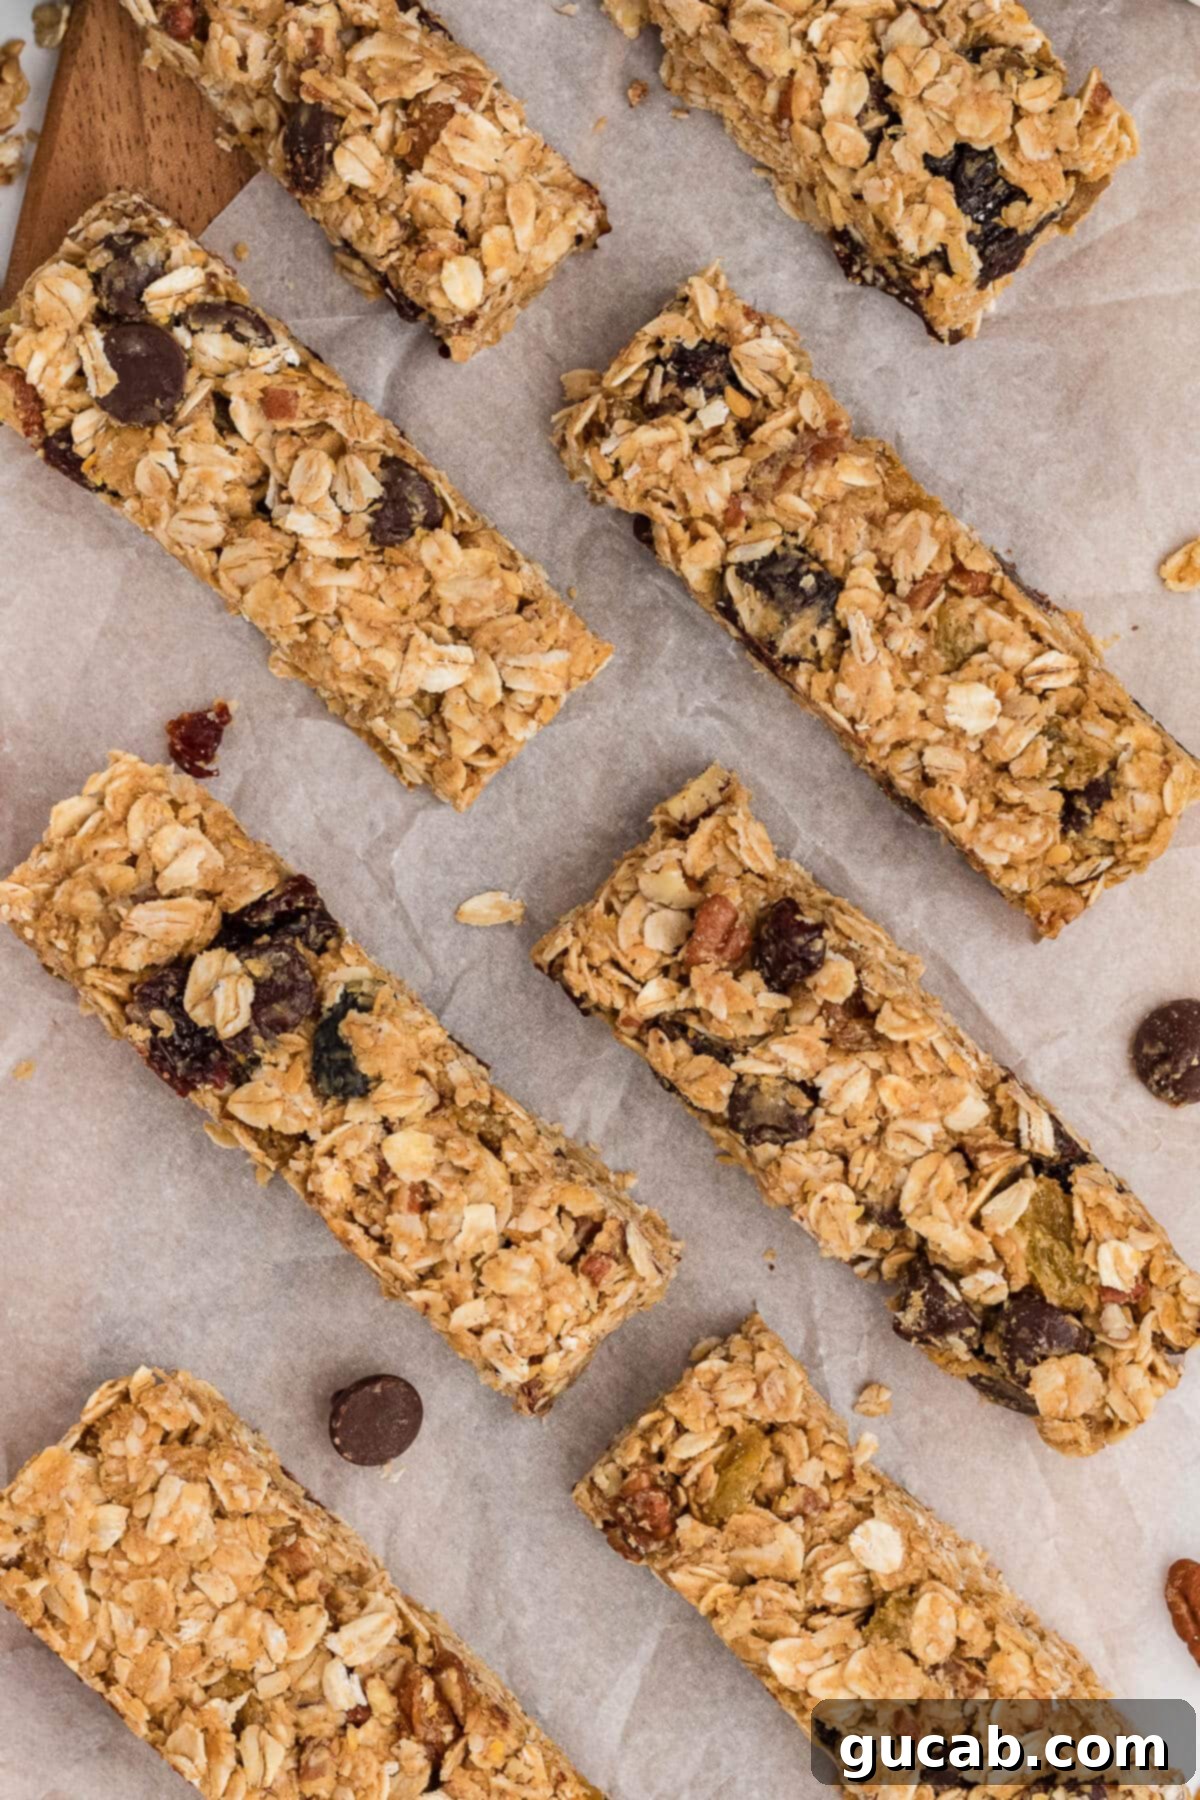
Why You’ll Be Obsessed with These Peanut Butter Granola Bars
From the very first bite, I guarantee you’ll be as obsessed with these granola bars as I am. They are more than just a snack; they’re a convenient, nourishing solution for those busy days when you need a quick energy boost or a wholesome treat. What makes them so special and why do they stand out from countless other snack options?
- Packed with Feel-Good Ingredients: Each bar is a powerhouse of nutrition, featuring wholesome ingredients like protein-rich peanut butter, heart-healthy golden raisins, fiber-packed flax meal, and energy-boosting oats. These carefully selected components work in harmony to nourish your body, provide sustained energy, and keep you feeling full and satisfied throughout your day. It’s a snack you can truly feel good about eating and serving to your family.
- Perfectly Balanced Flavor & Texture: These aren’t just bland health bars. They strike an exquisite balance between natural sweetness from honey and dried fruits, the nutty richness of pecans and peanut butter, and the delightful chewiness that defines a great granola bar. The hint of dark chocolate chips elevates them from simply good to truly irresistible, providing a touch of indulgence without compromising on health. The interplay of textures – from the crunch of pecans to the softness of dried fruit and the chew of oats – makes every bite an exciting experience.
- Ideal for Meal Prep: A single batch yields twelve generous bars, making them perfect for meal prepping your snacks for the week (or longer!). I love to store half in the fridge for immediate enjoyment and freeze the other half. This strategic storage ensures I always have a homemade, grab-and-go snack ready, eliminating the need for less healthy, processed alternatives when hunger inevitably strikes. This foresight is a huge time-saver and a cornerstone of maintaining a healthy lifestyle.
- Customizable & Versatile: While this recipe is fantastic as is, it’s also incredibly forgiving and adaptable. It serves as an excellent base for experimentation. You can easily swap out dried fruits, nuts, or even the type of chocolate to suit your personal preferences, dietary needs, or simply what you have on hand in your pantry. This versatility means you can enjoy a slightly different flavor profile each time, preventing snack fatigue. More on customization options later in the article!
Having a homemade snack like this within reach, especially during a hectic week, is an absolute lifesaver. It’s the kind of snack you genuinely look forward to, making healthy eating both easy and enjoyable. They’re perfect for breakfast on the go, a post-workout refuel, or simply a delicious treat with your afternoon coffee.
Decoding the Key Ingredients for Perfect Granola Bars
The magic of these granola bars lies in the thoughtful selection and combination of their ingredients. Each component plays a crucial role, contributing to both the complex flavor profile and the desirable structural integrity of the bars. Understanding the function and benefits of each ingredient will not only help you appreciate the recipe more but also empower you to make informed substitutions if needed.
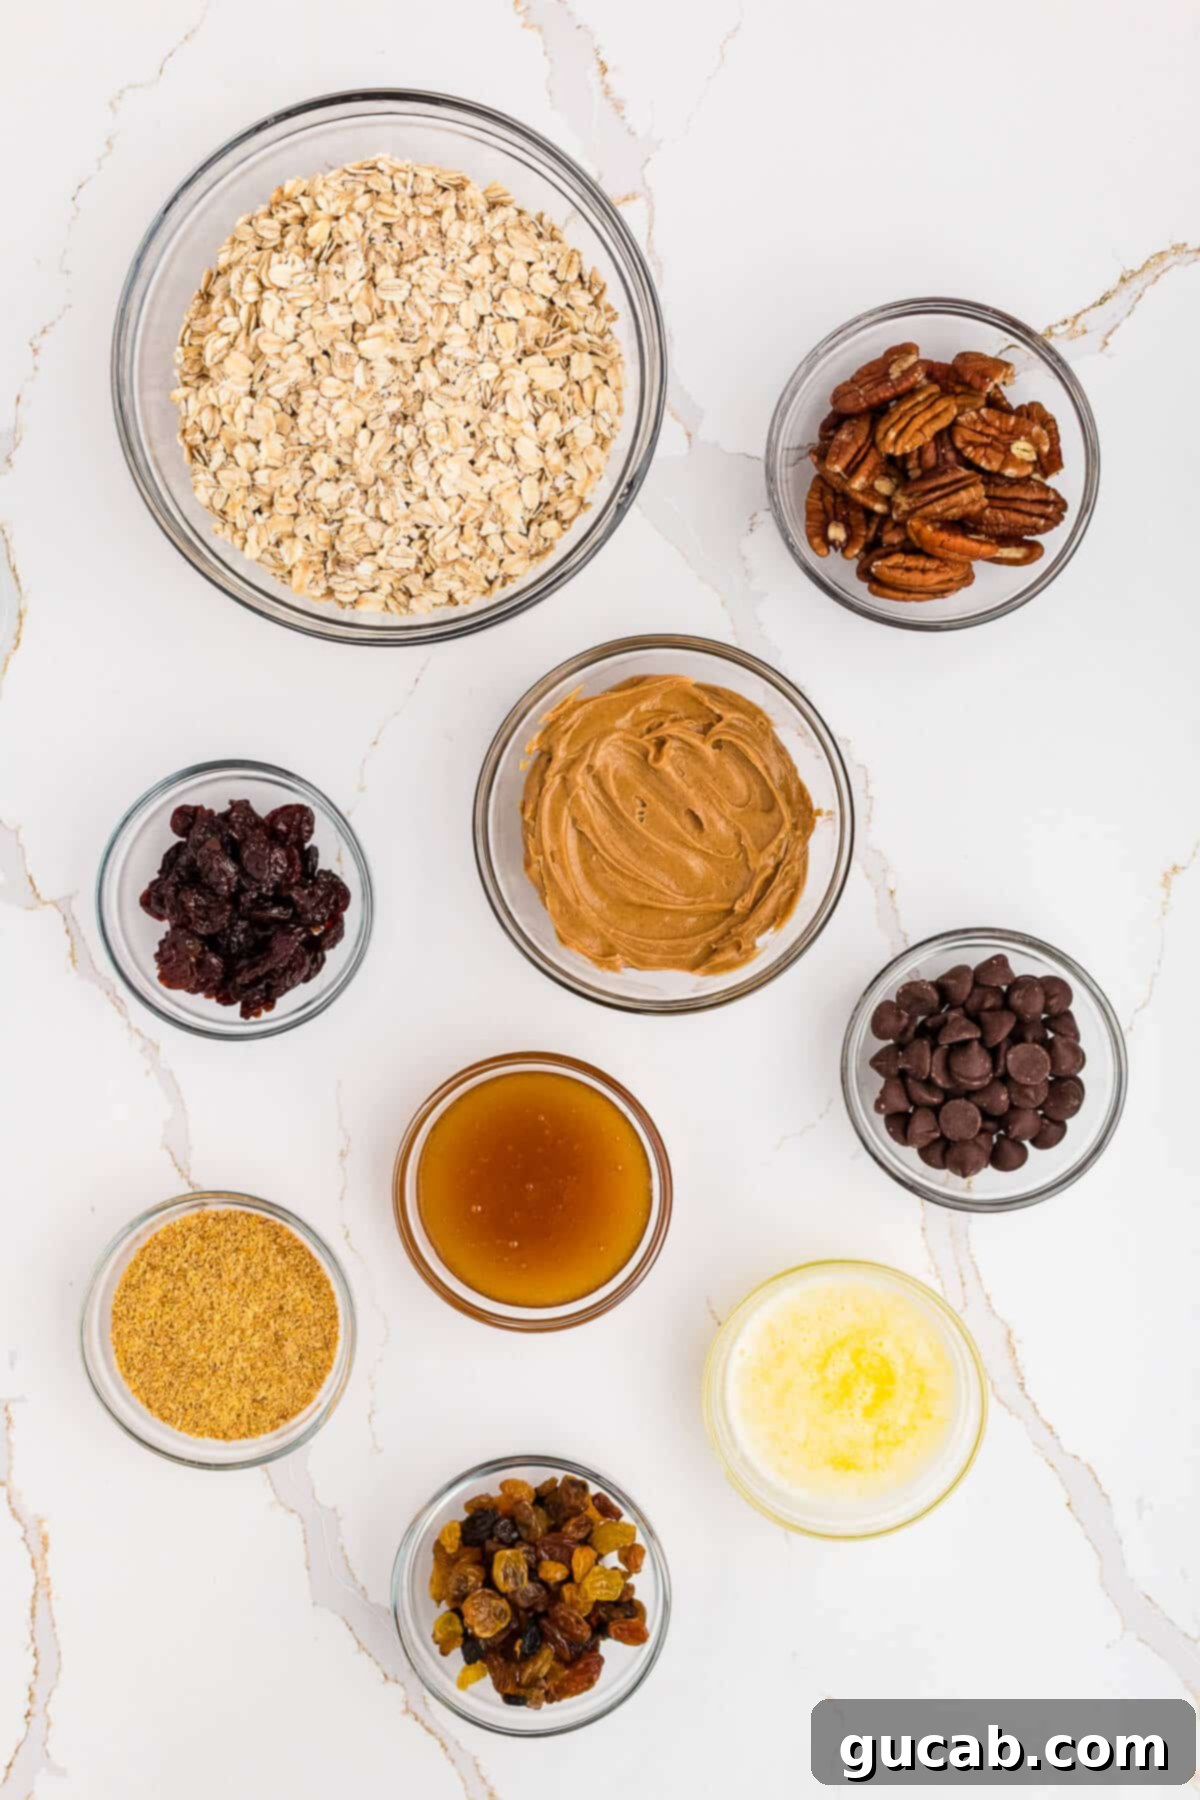
- Pecans: These rich, buttery nuts are a star in this recipe. Toasting them before adding is a game-changer that should not be skipped! Heat brings out their natural oils, intensifying their already delightful, nutty flavor and giving them a satisfying crunch that beautifully contrasts with the chewy oats. Beyond taste and texture, pecans offer healthy monounsaturated fats, which are beneficial for heart health, as well as a good dose of antioxidants and fiber. If pecans aren’t your favorite, feel free to substitute with walnuts, almonds, or even cashews, remembering to toast them for best results and enhanced flavor.
- Peanut Butter: More than just a flavor enhancer, creamy peanut butter is a critical binder, acting as the glue that holds all the dry ingredients together to form cohesive, non-crumbly bars. It also delivers a substantial dose of protein and healthy fats, contributing significantly to the bars’ filling and energizing qualities.
- Choosing Your Peanut Butter: For the best results and a truly wholesome snack, opt for natural, creamy peanut butter that contains minimal added sugar, oils, or artificial ingredients. The “well-mixed” aspect is vital: if your natural peanut butter has separated into oil and solids, stir it thoroughly until smooth and emulsified before measuring. This ensures consistent binding and texture throughout your batch.
- Allergy-Friendly Alternatives: If you or someone you’re baking for has a peanut allergy, don’t worry! Almond butter, cashew butter, or sunflower seed butter (for nut-free options) can work wonderfully as substitutes. Just like with peanut butter, ensure they are also natural, well-mixed, and of a creamy consistency for optimal binding.
- Unsalted Butter: This ingredient adds a luscious richness to the flavor profile, making the bars feel truly indulgent and satisfying. Alongside peanut butter, it acts as a secondary binder, helping achieve that perfect chewy yet firm texture. Using unsalted butter allows you to have complete control over the overall sodium content of your bars. For those seeking a dairy-free or vegan option, a good quality plant-based butter substitute can often be used successfully, though the flavor might vary slightly.
- Honey: Nature’s golden sweetener, honey not only provides a delicious, complex sweetness but also significantly contributes to the bars’ desirable chewiness and acts as another sticky, natural binder. Its natural sugars are a much healthier and more nuanced alternative to refined white sugar.
- Sweetener Alternatives: If you prefer, maple syrup or agave nectar can be excellent vegan substitutes for honey, offering similar binding properties and natural sweetness. Adjust the quantity slightly as needed based on your preferred sweetness level.
- Oats: The foundational ingredient of any great granola bar! Old-fashioned rolled oats (also known as whole oats) are ideal here, providing a hearty, satisfying texture and a wealth of soluble fiber, which is great for digestion, cholesterol management, and sustained energy release. Quick oats can be too mushy, and steel-cut oats are too hard for this no-bake recipe.
- Gluten-Free Assurance: For those with gluten intolerance or celiac disease, it’s absolutely crucial to purchase oats specifically labeled “gluten-free.” While oats are naturally gluten-free, they are very often processed in facilities that also handle wheat, barley, and rye, leading to cross-contamination. Brands like One Degree Organic Foods are highly recommended for their certified gluten-free options, ensuring safety and peace of mind.
- Golden Flax Meal: I truly adore golden flax meal! It’s a nutritional powerhouse with a milder, less earthy flavor profile compared to its darker counterpart, making it perfect for these bars without overpowering other ingredients. It’s an excellent source of dietary fiber, promoting digestive health, and is rich in beneficial omega-3 fatty acids, contributing to heart health and satiety. Furthermore, it absorbs moisture, which aids in binding the ingredients, helping the bars hold their shape.
- Dried Fruit: A thoughtful blend of dried fruits adds bursts of natural sweetness, a pleasant chewiness, and essential vitamins and antioxidants to these bars.
- Golden Raisins: These are a personal favorite! They offer a delightful, mild sweetness without any added sugar, boasting a more delicate and less intense flavor than dark raisins, which I find pairs beautifully with the other ingredients.
- Dried Cherries: The slight tartness of dried cherries provides a wonderful, zesty contrast to the sweetness of the chocolate and other ingredients, creating a more complex and exciting flavor profile that keeps you coming back for more.
- Other Options: Feel free to experiment with other dried fruits like cranberries, finely chopped apricots, dates, or blueberries. Just ensure they are soft and pliable for the best texture in your bars. You might need to chop larger fruits to ensure even distribution.
- Chocolate Chips: What’s a wholesome treat without a little bit of chocolate? Dark chocolate chips are my preference for their deeper, more sophisticated flavor and higher antioxidant content, making these bars feel like a decadent yet healthy indulgence. Semi-sweet chocolate chips also work beautifully if you prefer a classic, sweeter profile.
- Chip Size Matters: While larger chips offer a more intense burst of chocolate in specific bites, mini chocolate chips ensure a more even distribution throughout the bars, meaning you get a hint of chocolate in almost every bite! This is purely a matter of personal preference and can significantly impact the eating experience.
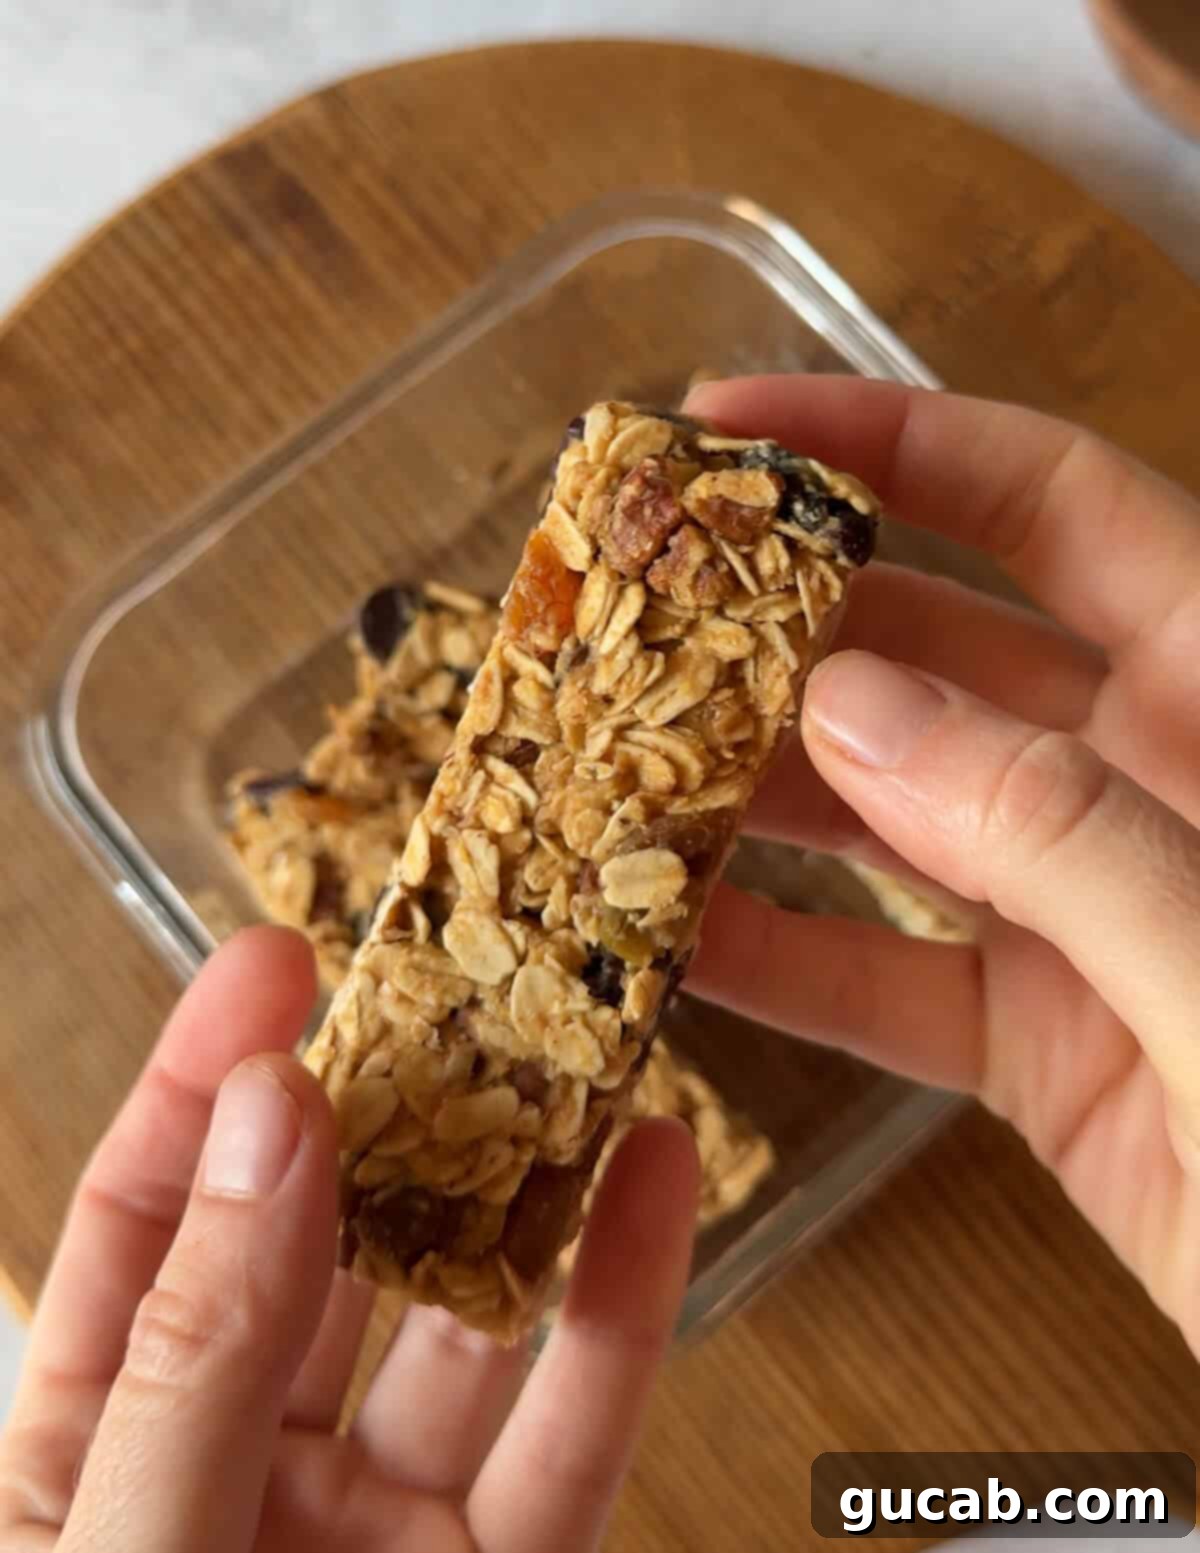
Your Step-by-Step Guide: How to Craft These Delicious Granola Bars
Making these homemade granola bars is incredibly straightforward, requiring no baking and minimal fuss. The beauty of a no-bake recipe is its simplicity and the speed at which you can whip up a batch. Follow these detailed steps to ensure perfectly chewy and flavorful bars every single time.
- Roast the Pecans for Maximum Flavor:
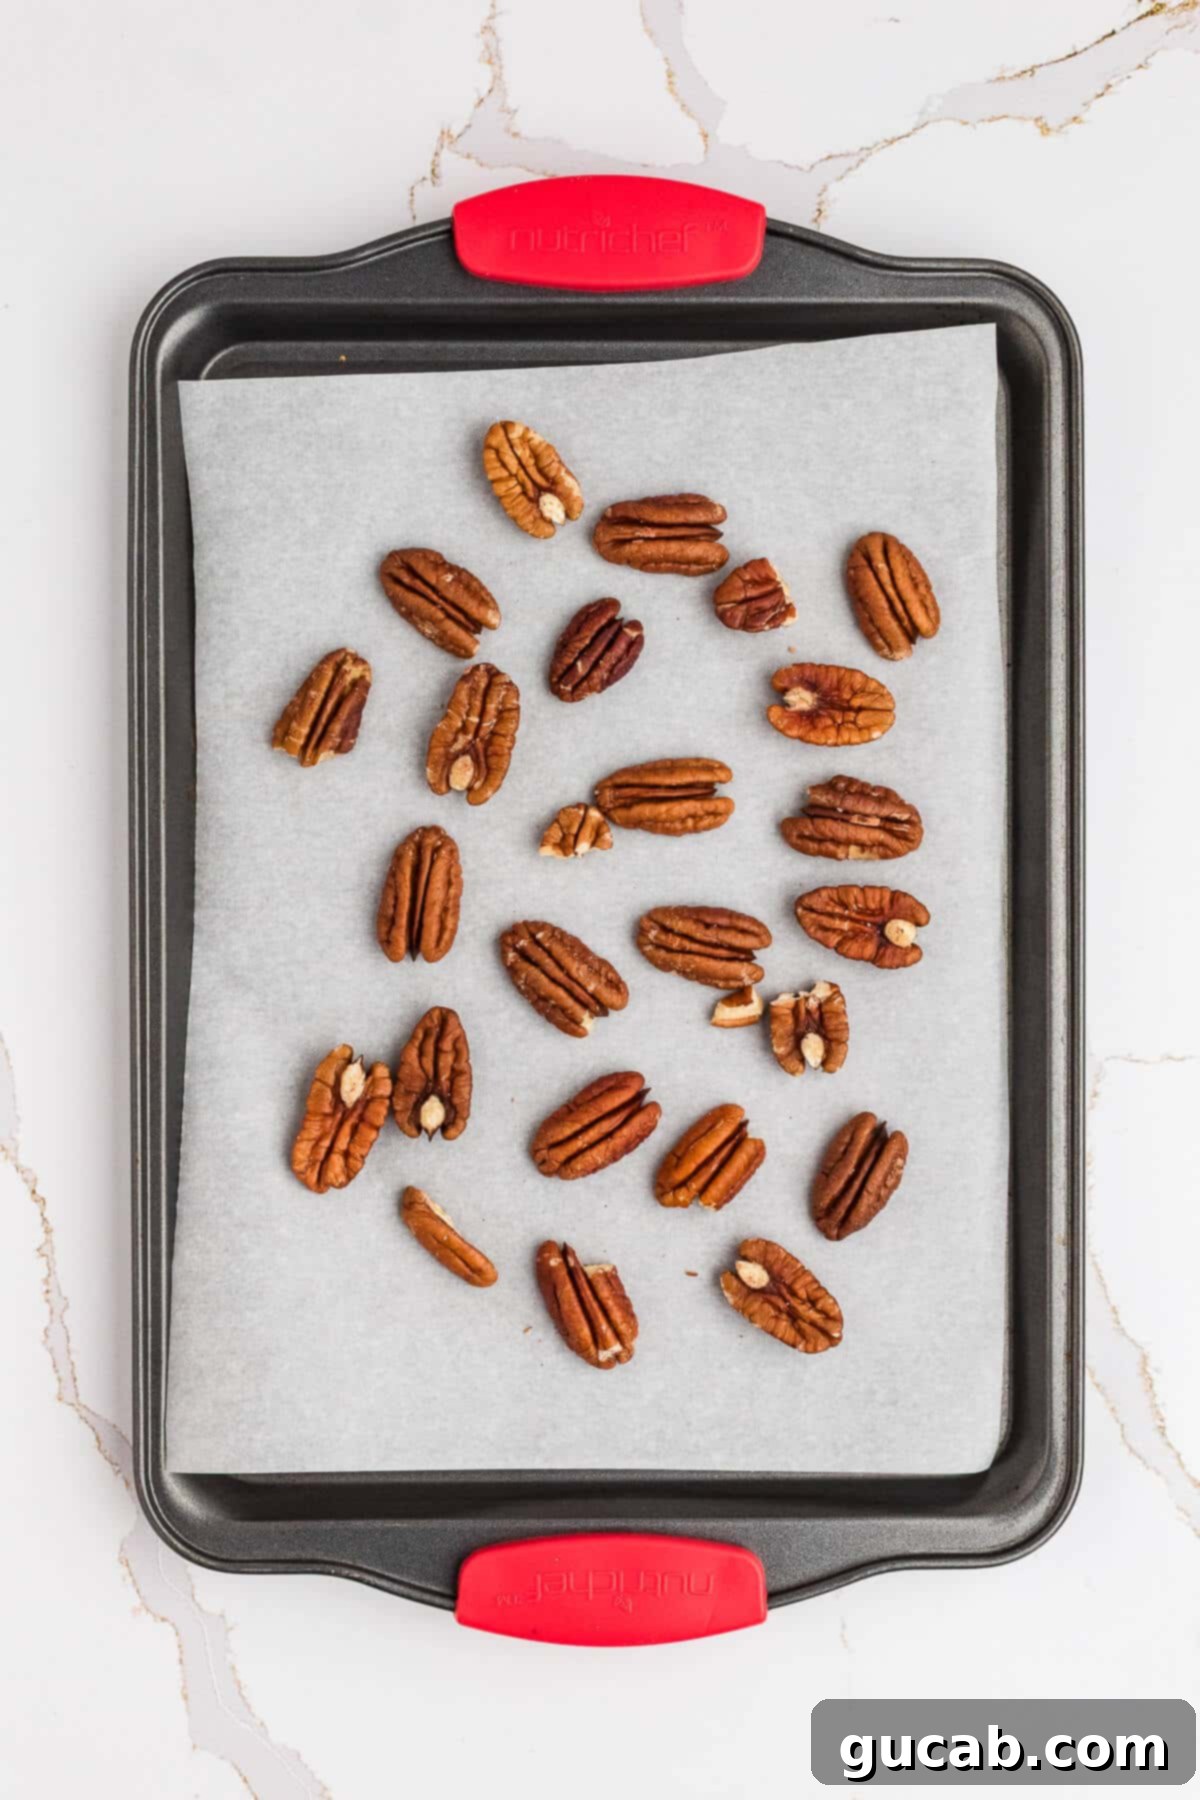
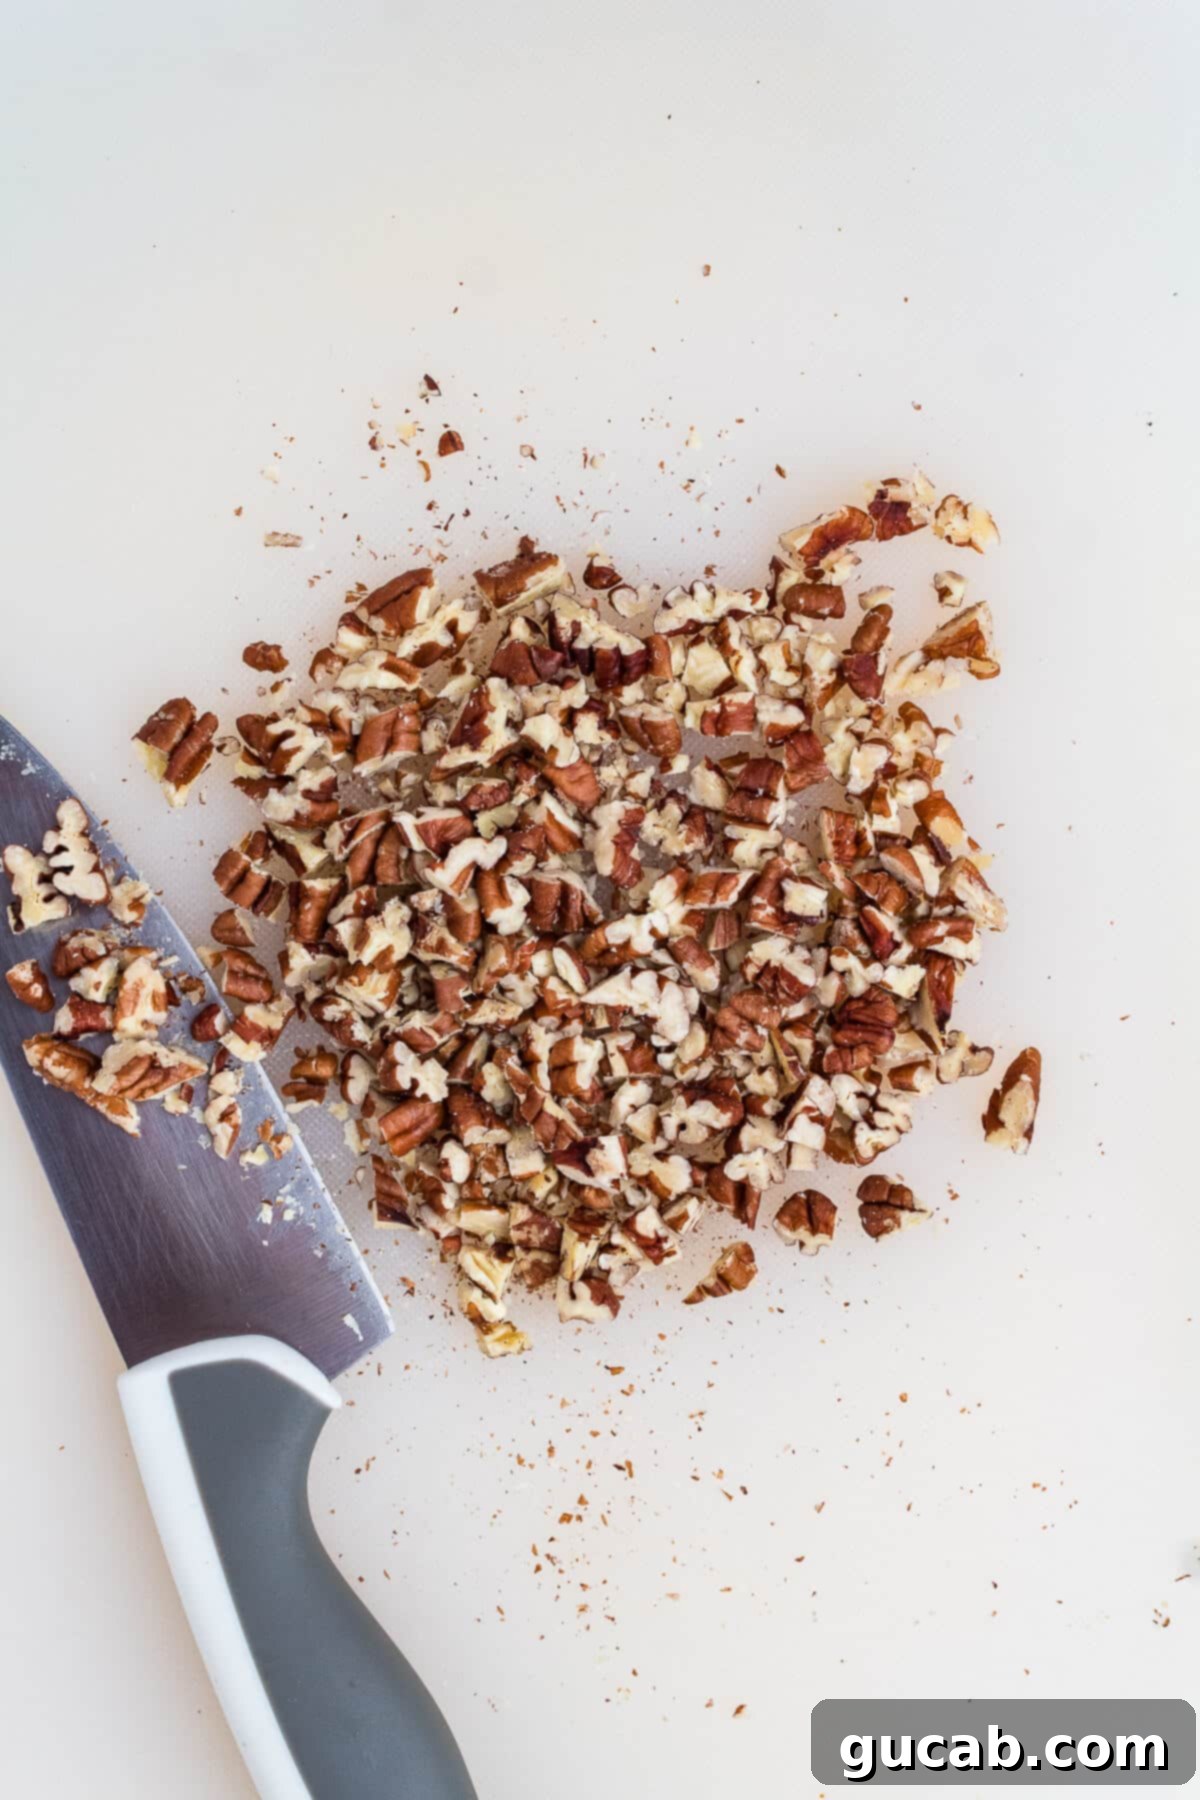
This initial step might seem minor, but it’s crucial for unlocking the full flavor potential of your nuts. Preheat your oven to 350°F (175°C). Spread the pecan halves evenly on a small baking sheet (lined with parchment paper for easy cleanup, if you wish). Toast them for 5 to 6 minutes. Keep a very close eye on them, as nuts can go from perfectly toasted to burnt very quickly – a burnt taste can ruin the entire batch! You’ll know they’re ready when they become wonderfully fragrant and take on a slightly darker, golden-brown hue. Once cooled completely, chop them into smaller, bite-sized pieces. This ensures they are evenly distributed throughout the bars and contribute a satisfying crunch to every bite, rather than large, dominant chunks.
- Prepare Your Pan: The Parchment Paper Trick:
Lining your baking pan is absolutely essential for a hassle-free experience and clean, easy removal of your finished bars. Cut a piece of parchment paper so it fits neatly into the bottom of your 8×8-inch baking pan, but critically, ensure there’s enough excess paper hanging over two opposite sides. These extended pieces will act as sturdy “handles,” allowing you to easily lift the entire slab of granola bars out of the pan once they’ve set. This simple yet ingenious trick prevents sticking, eliminates the need for scraping, and makes cutting a breeze. Without it, you might find yourself struggling to remove the bars cleanly, potentially damaging their perfect shape.
- Create the Flavorful Oat Mixture:
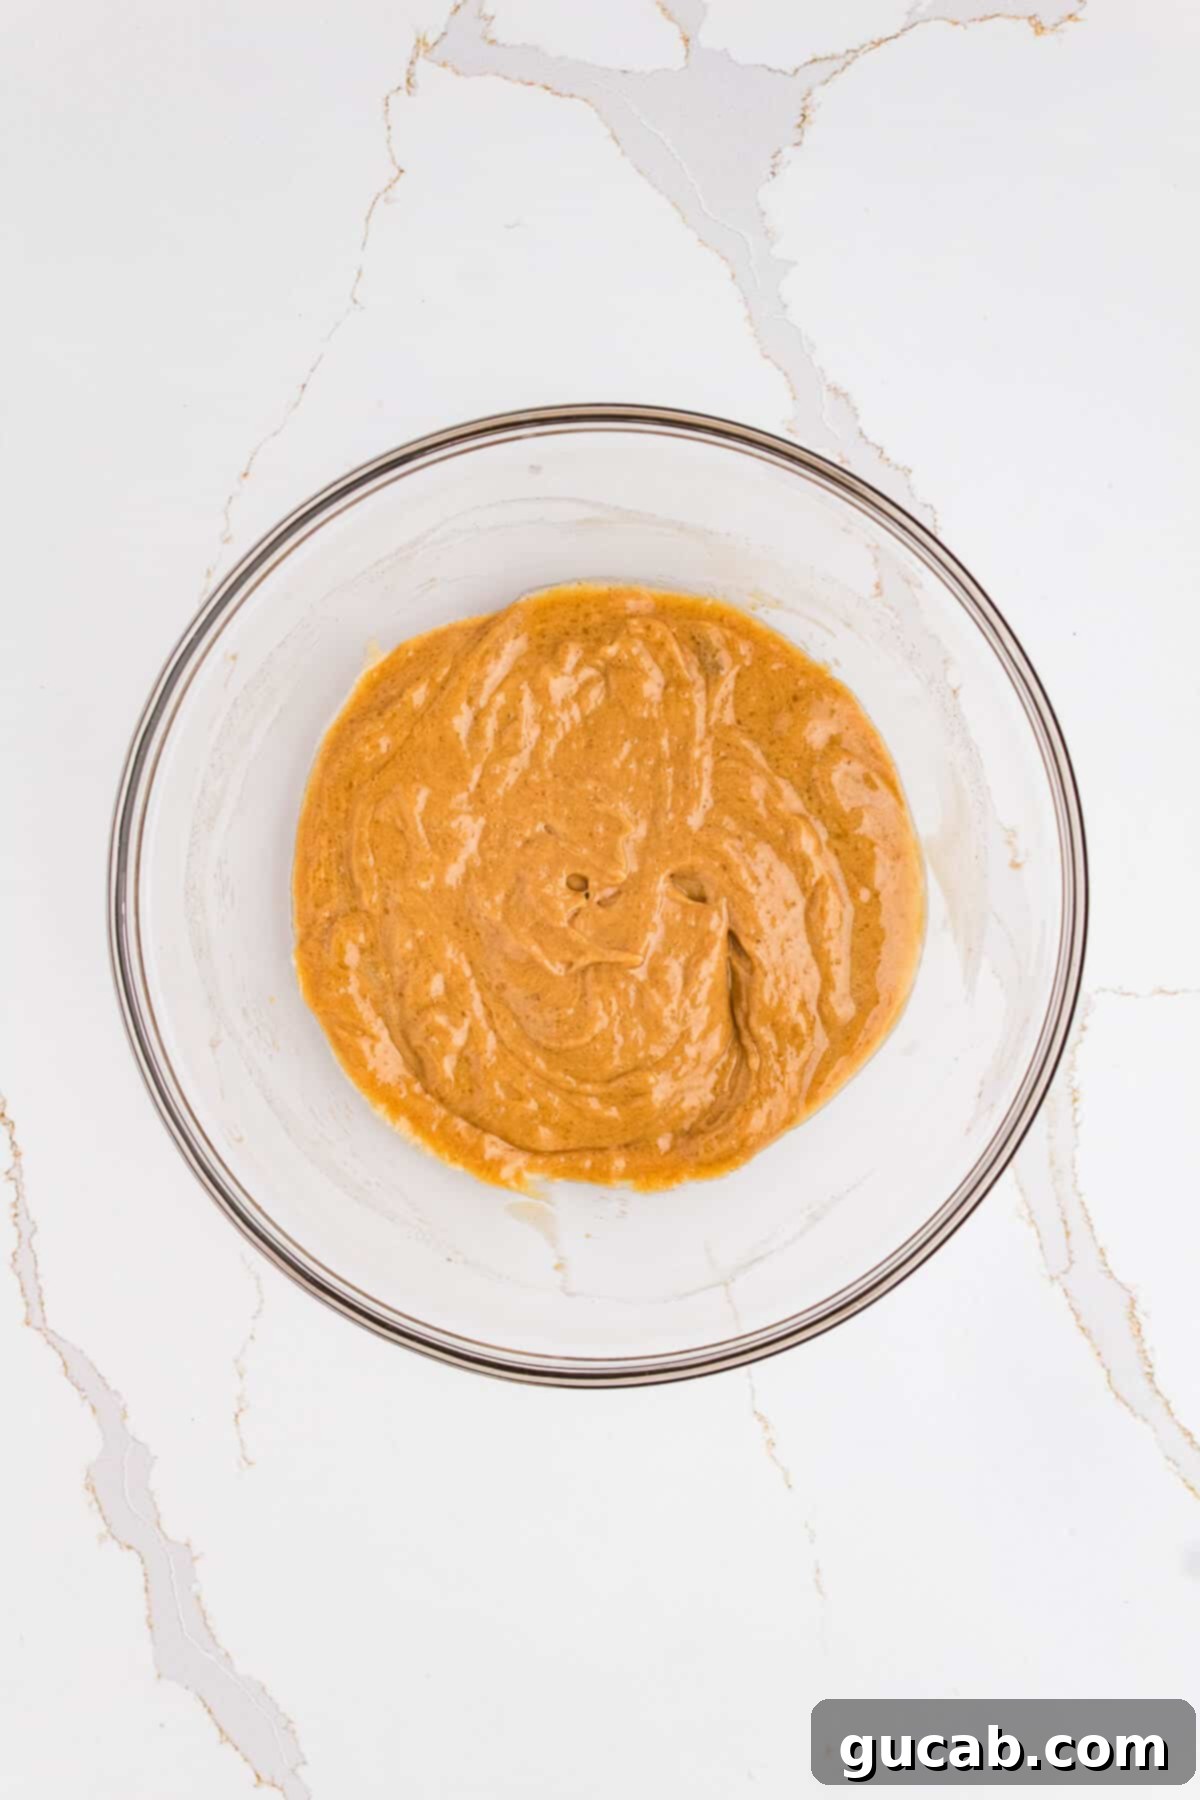
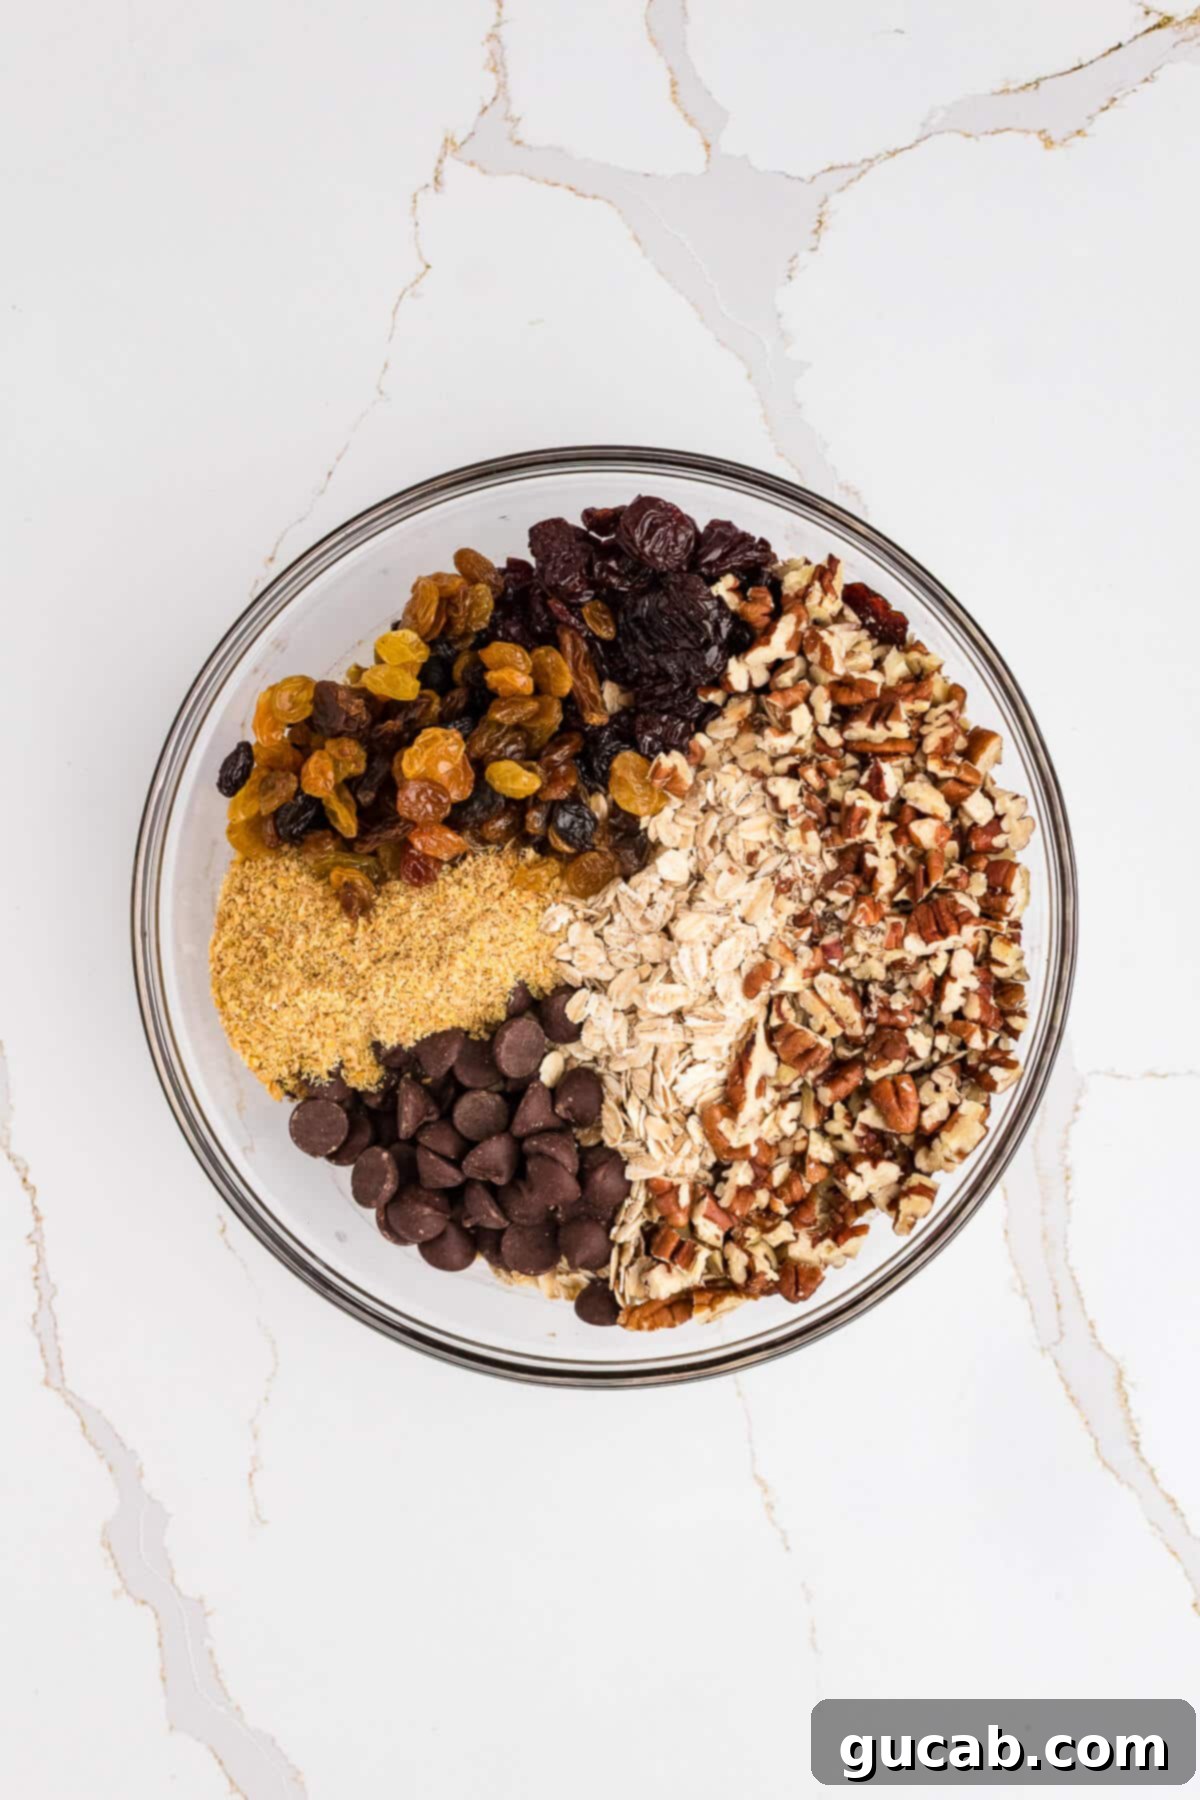
In a large mixing bowl, combine the “wet” ingredients first: creamy peanut butter, melted unsalted butter, and honey. Stir them together vigorously until they are well combined and form a smooth, emulsified base. This liquid foundation is what binds all the dry components together. Next, add your “dry” ingredients and delightful mix-ins: the old-fashioned oats, golden flax meal, dried cherries, golden raisins, and your finely chopped toasted pecans. Finally, gently fold in the dark chocolate chips. Mix thoroughly with a sturdy spatula, ensuring every oat flake, every piece of dried fruit, and every chocolate chip is evenly coated with the rich peanut butter-honey mixture. This thorough mixing is paramount for bars that hold together well and offer consistent flavor in every bite.
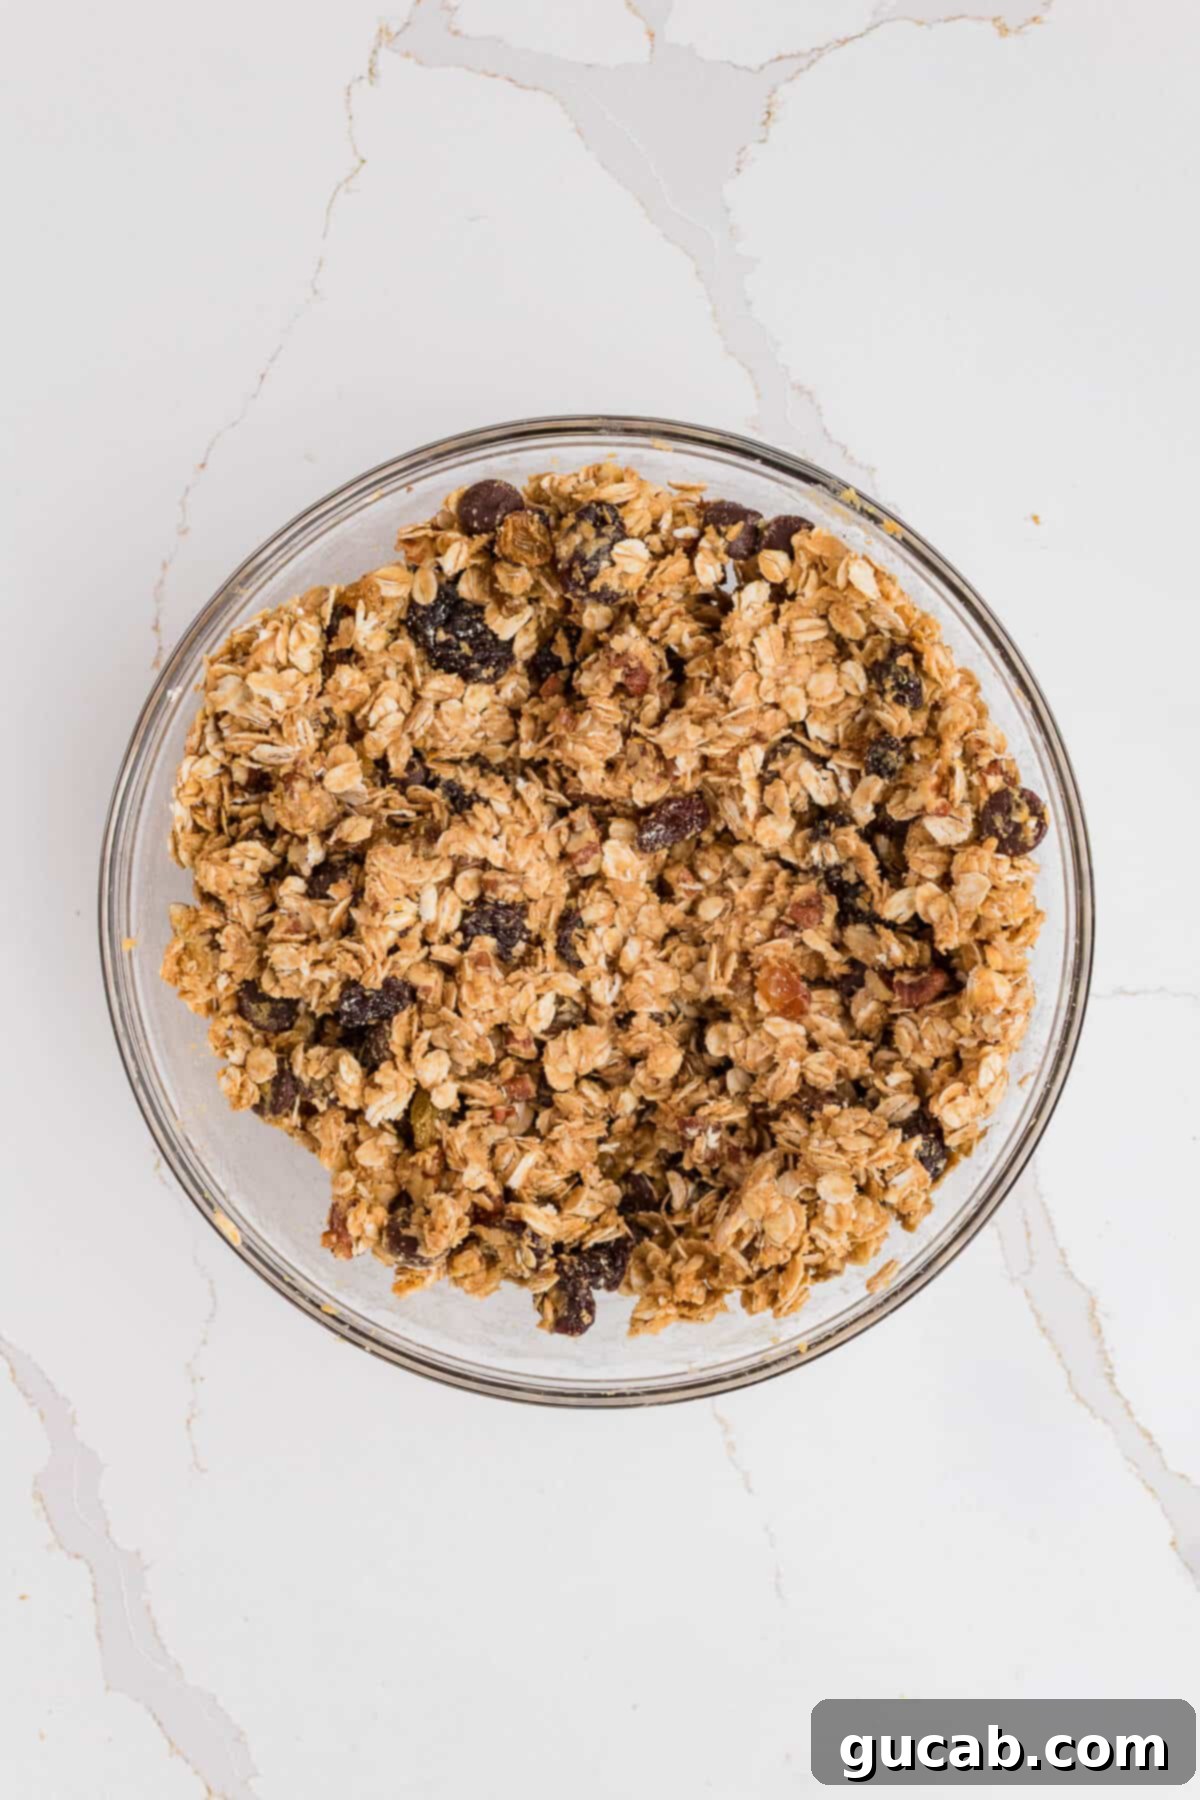
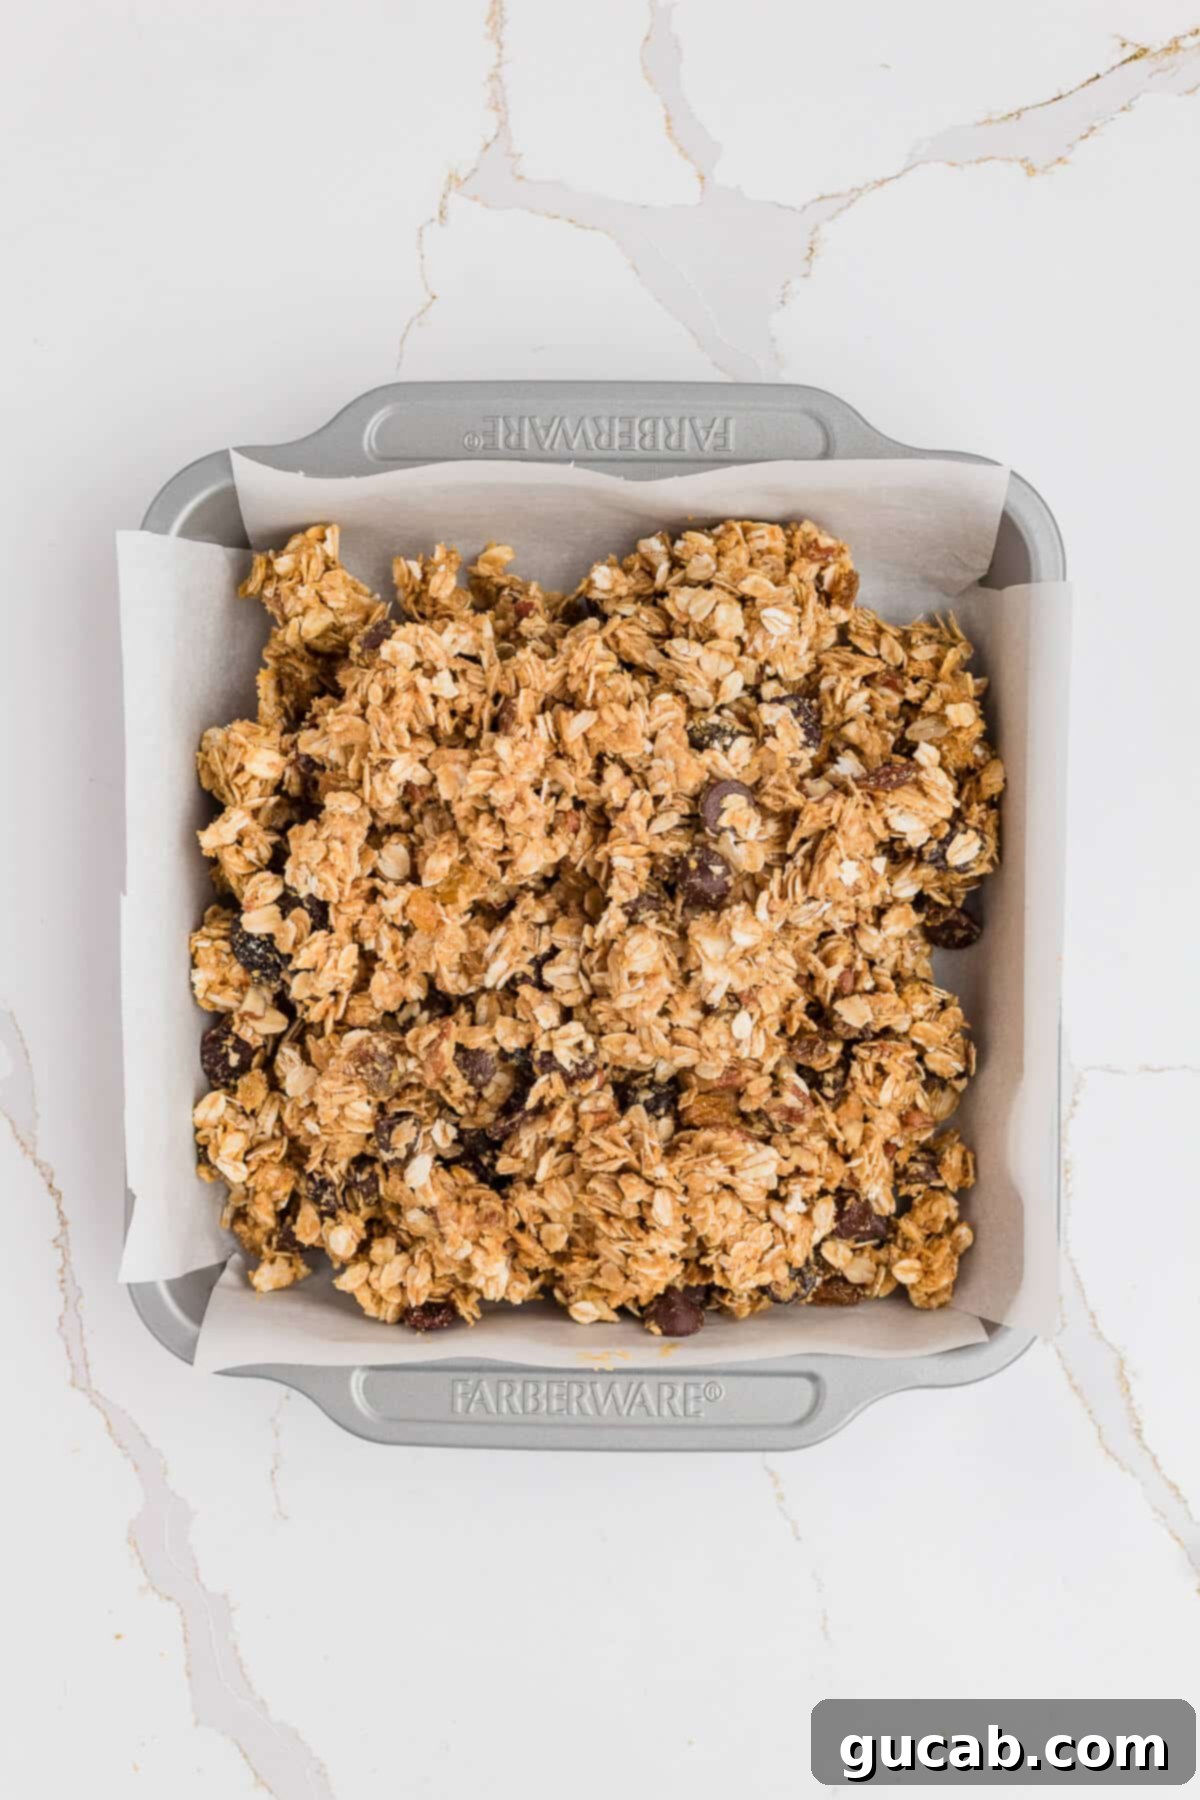
- Firmly Press the Mixture into the Pan:
Once the mixture is transferred to the prepared pan, use your spatula to spread it as evenly as possible from corner to corner, ensuring no gaps. The next step is absolutely critical for bars that don’t crumble and hold their shape beautifully: pressing. Take a fresh square of parchment paper (or even the back of another clean, flat pan) and place it directly over the mixture. Now, use your hands to press down *very firmly* and evenly across the entire surface of the mixture. The goal is to compact the mixture as much as possible, creating a dense, solid slab. The parchment paper creates a hygienic barrier, preventing your hands from getting sticky and ensuring a smooth, flat surface on your bars. Remember, the harder and more uniformly you press, the more cohesive and less crumbly your final bars will be.
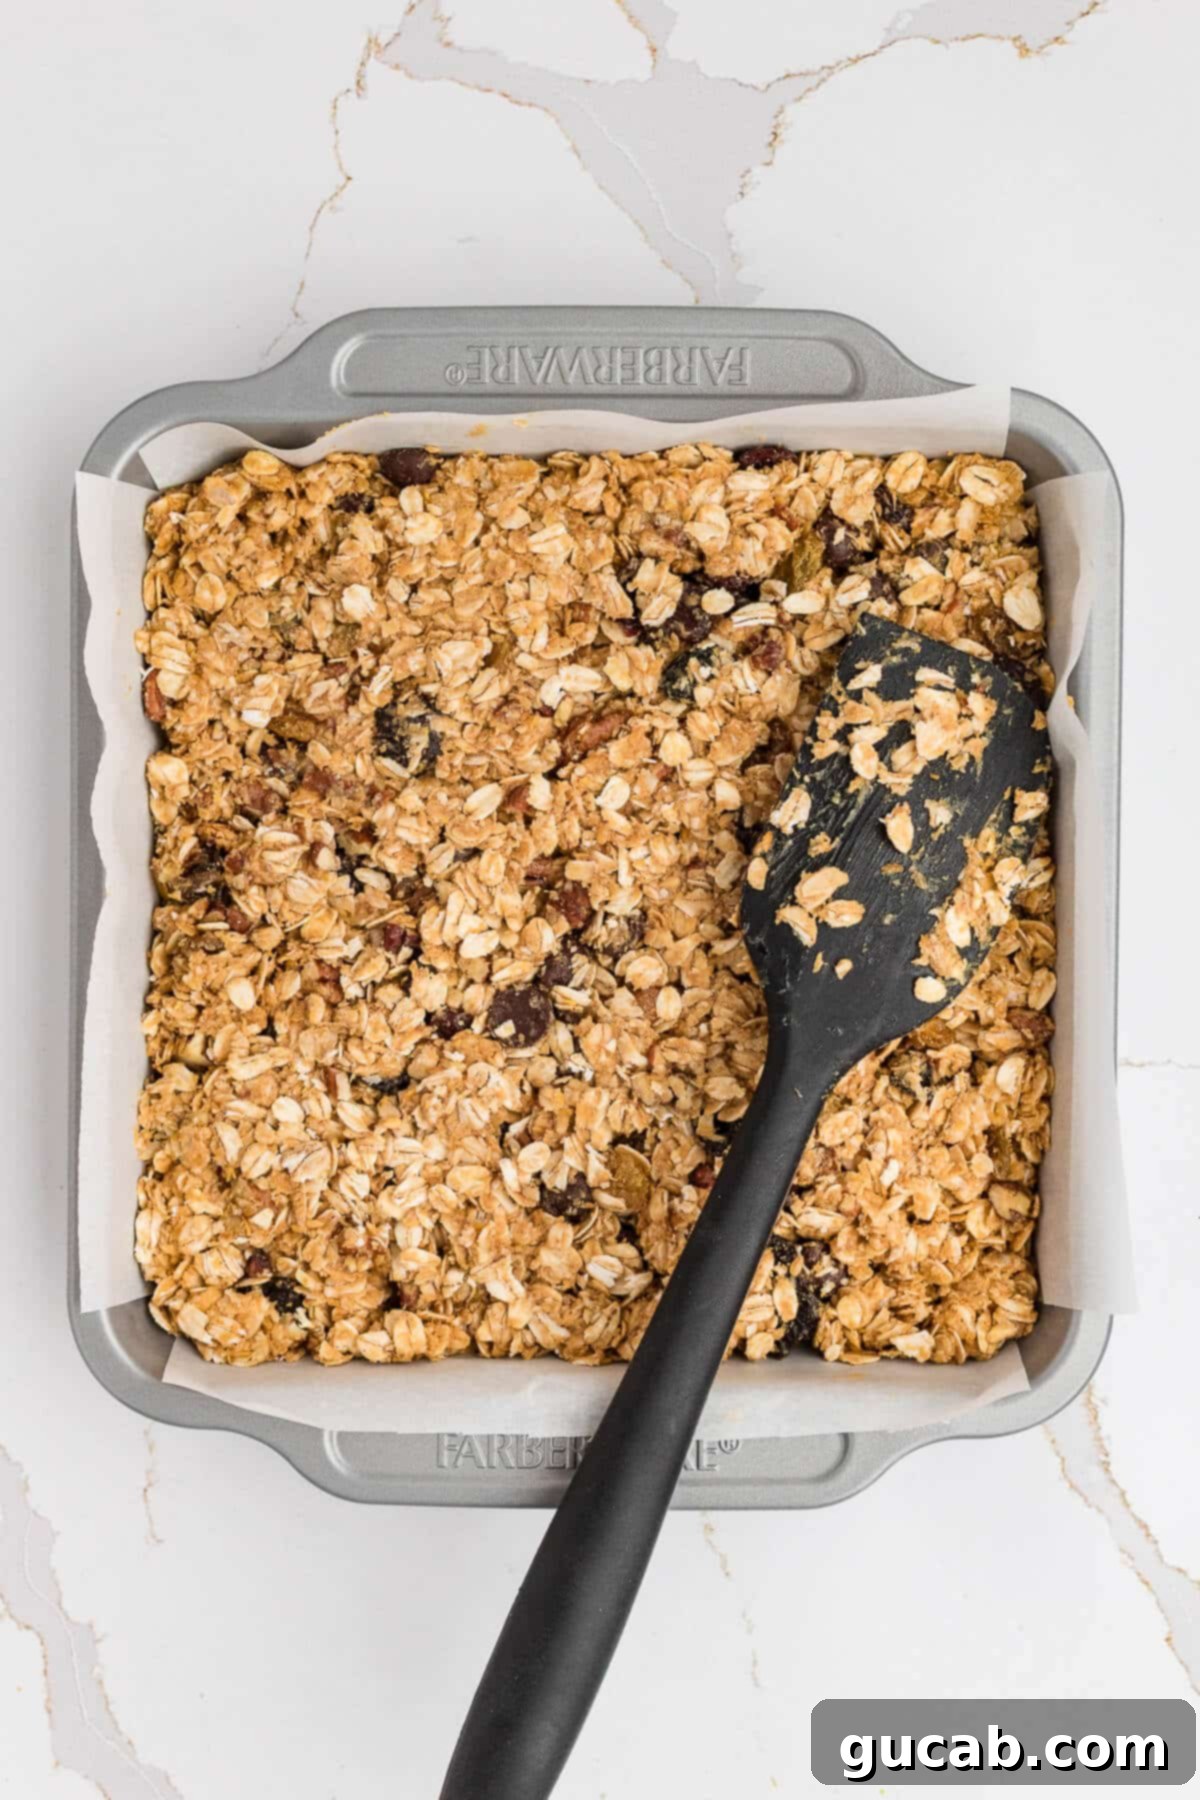
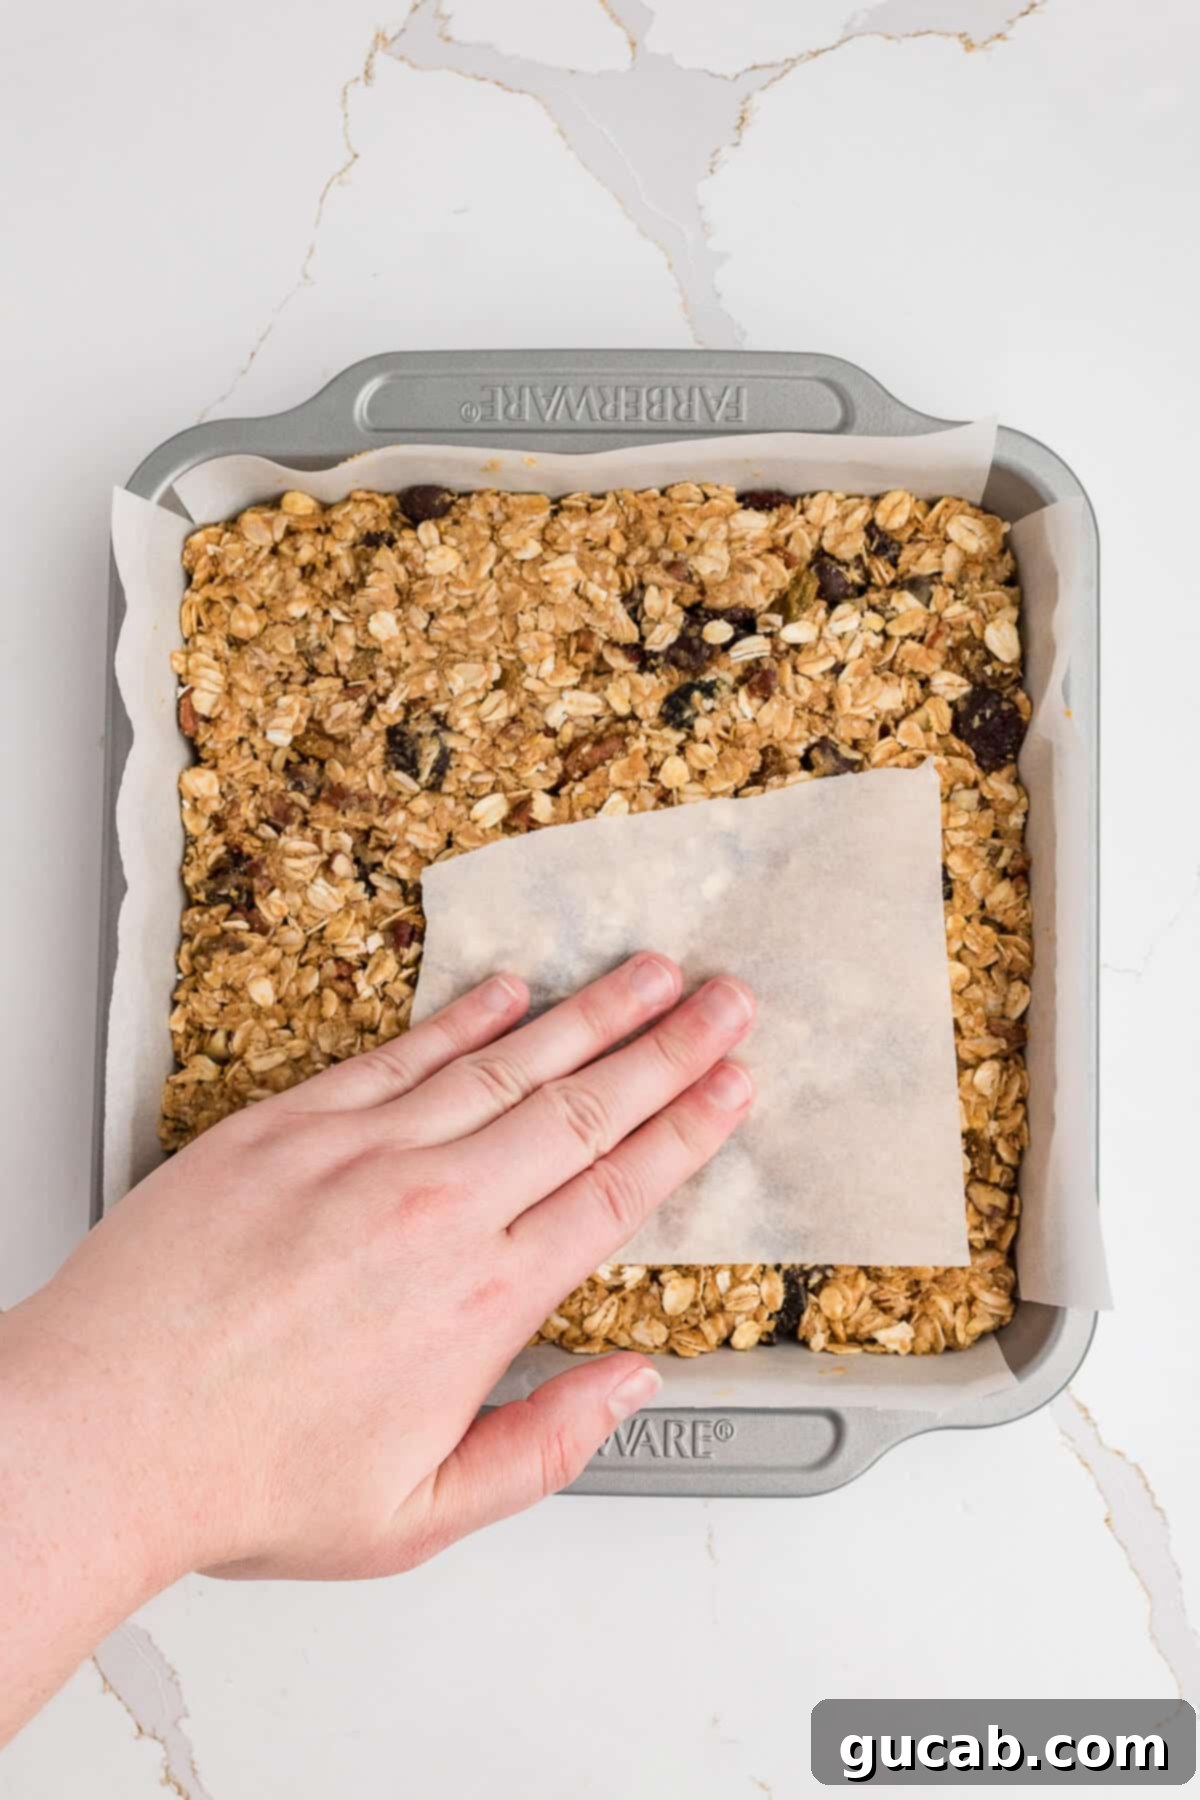
- The All-Important Chill Time:
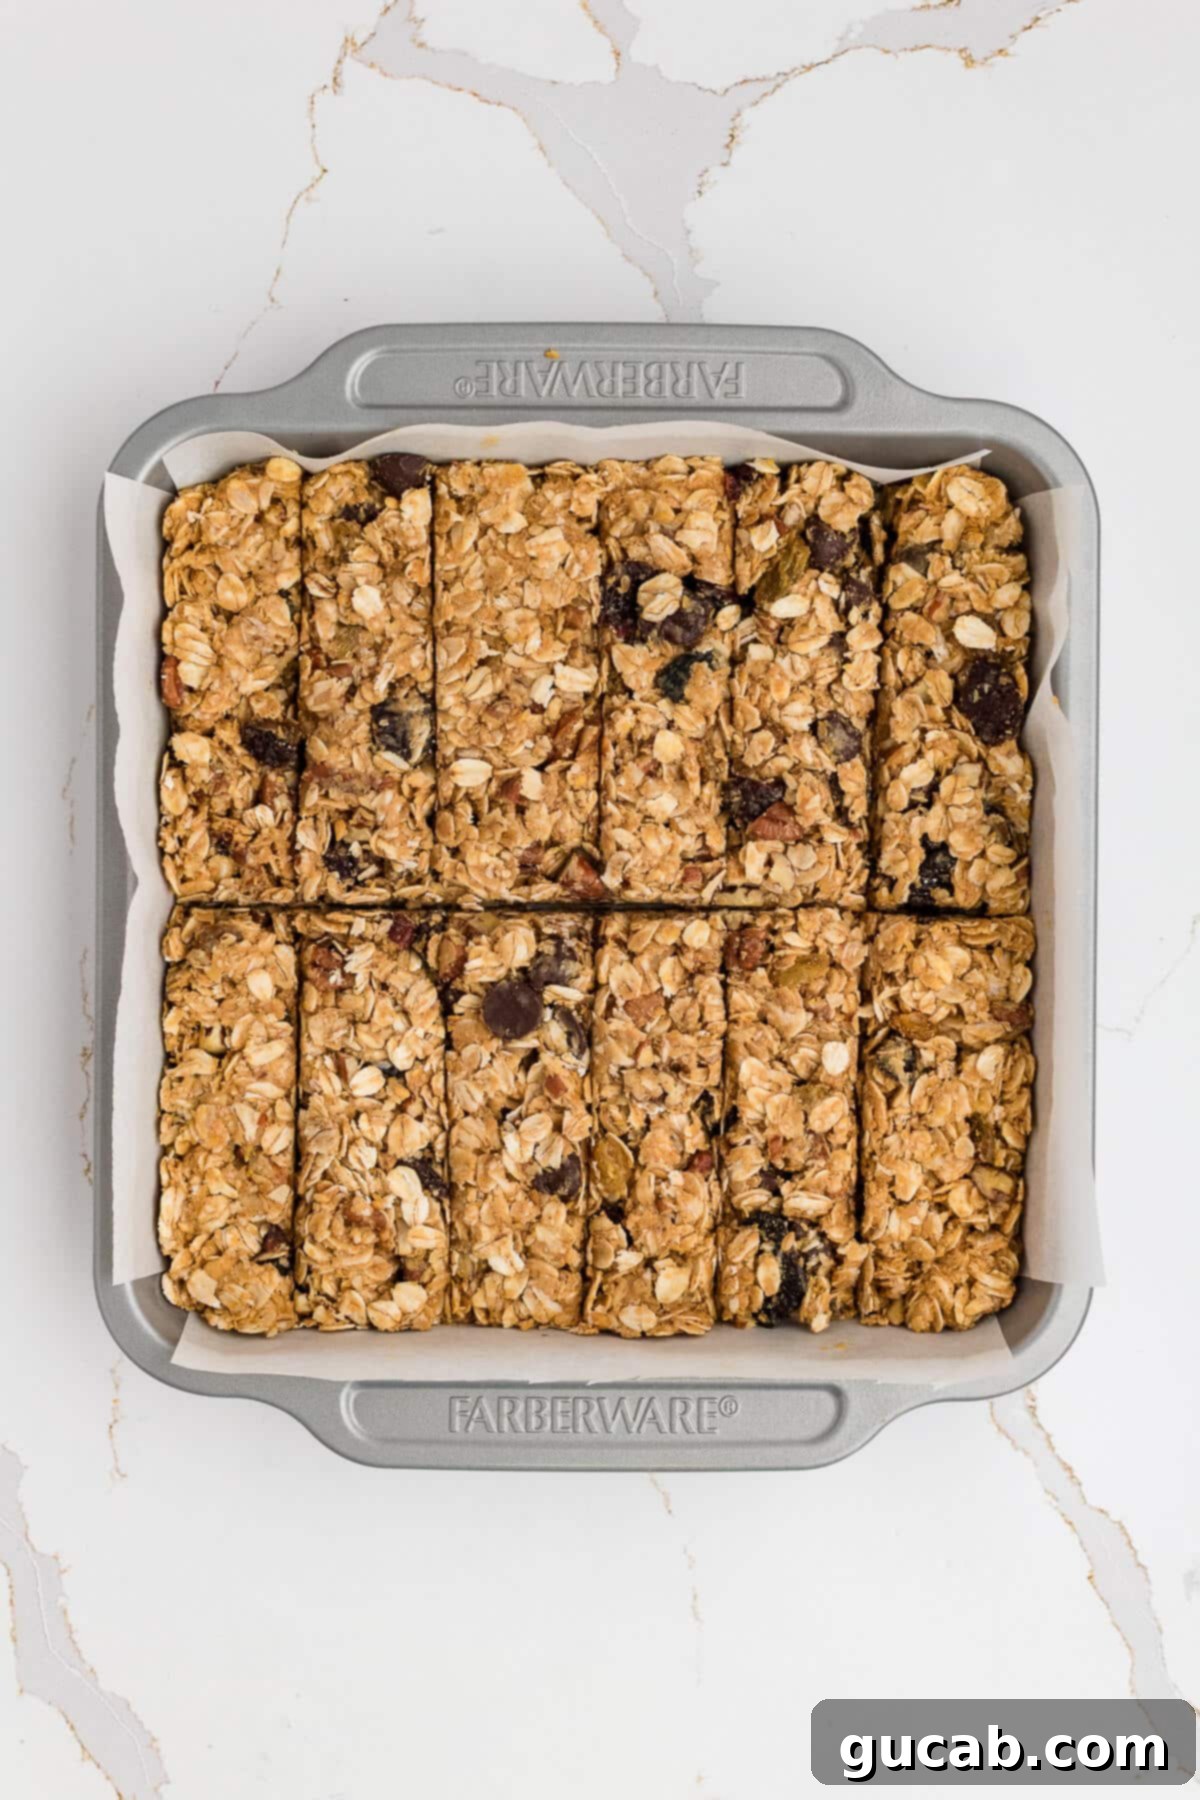
Patience truly is a virtue here, and this step cannot be rushed! Do not attempt to cut the bars immediately after pressing. The binding agents (peanut butter, butter, and honey) are still soft and need time to firm up. Place the entire pan, uncovered, in the refrigerator for at least one hour. This initial chill will make the bars firm enough to cut cleanly without crumbling or squishing. Once you’ve cut them into your desired size (typically 12 bars), return them to the fridge for a longer, more thorough chill – at least 4 hours, but preferably overnight. This extended chill time allows them to fully set and achieve their optimal chewy, dense, and non-crumbly texture. Skipping this step will result in soft, messy bars that fall apart.
Expert Tips for Granola Bar Perfection & Customization
While the recipe itself is simple and straightforward, a few insider tips and creative customization ideas can elevate your homemade granola bars from good to absolutely fantastic. Paying attention to these details will ensure you achieve the best possible results every time and cater to your unique taste preferences.
- Mastering the Parchment Paper Handles: This tip bears repeating because it’s genuinely a lifesaver and makes all the difference in the world for clean extraction. When lining your 8×8-inch pan, ensure your parchment paper extends well beyond two opposite edges. These overhangs become sturdy handles, making it incredibly easy to lift the entire block of set granola bars out of the pan. This means no digging, no mess, and perfectly intact bars ready for precise cutting. Trust me, you’ll thank yourself later!
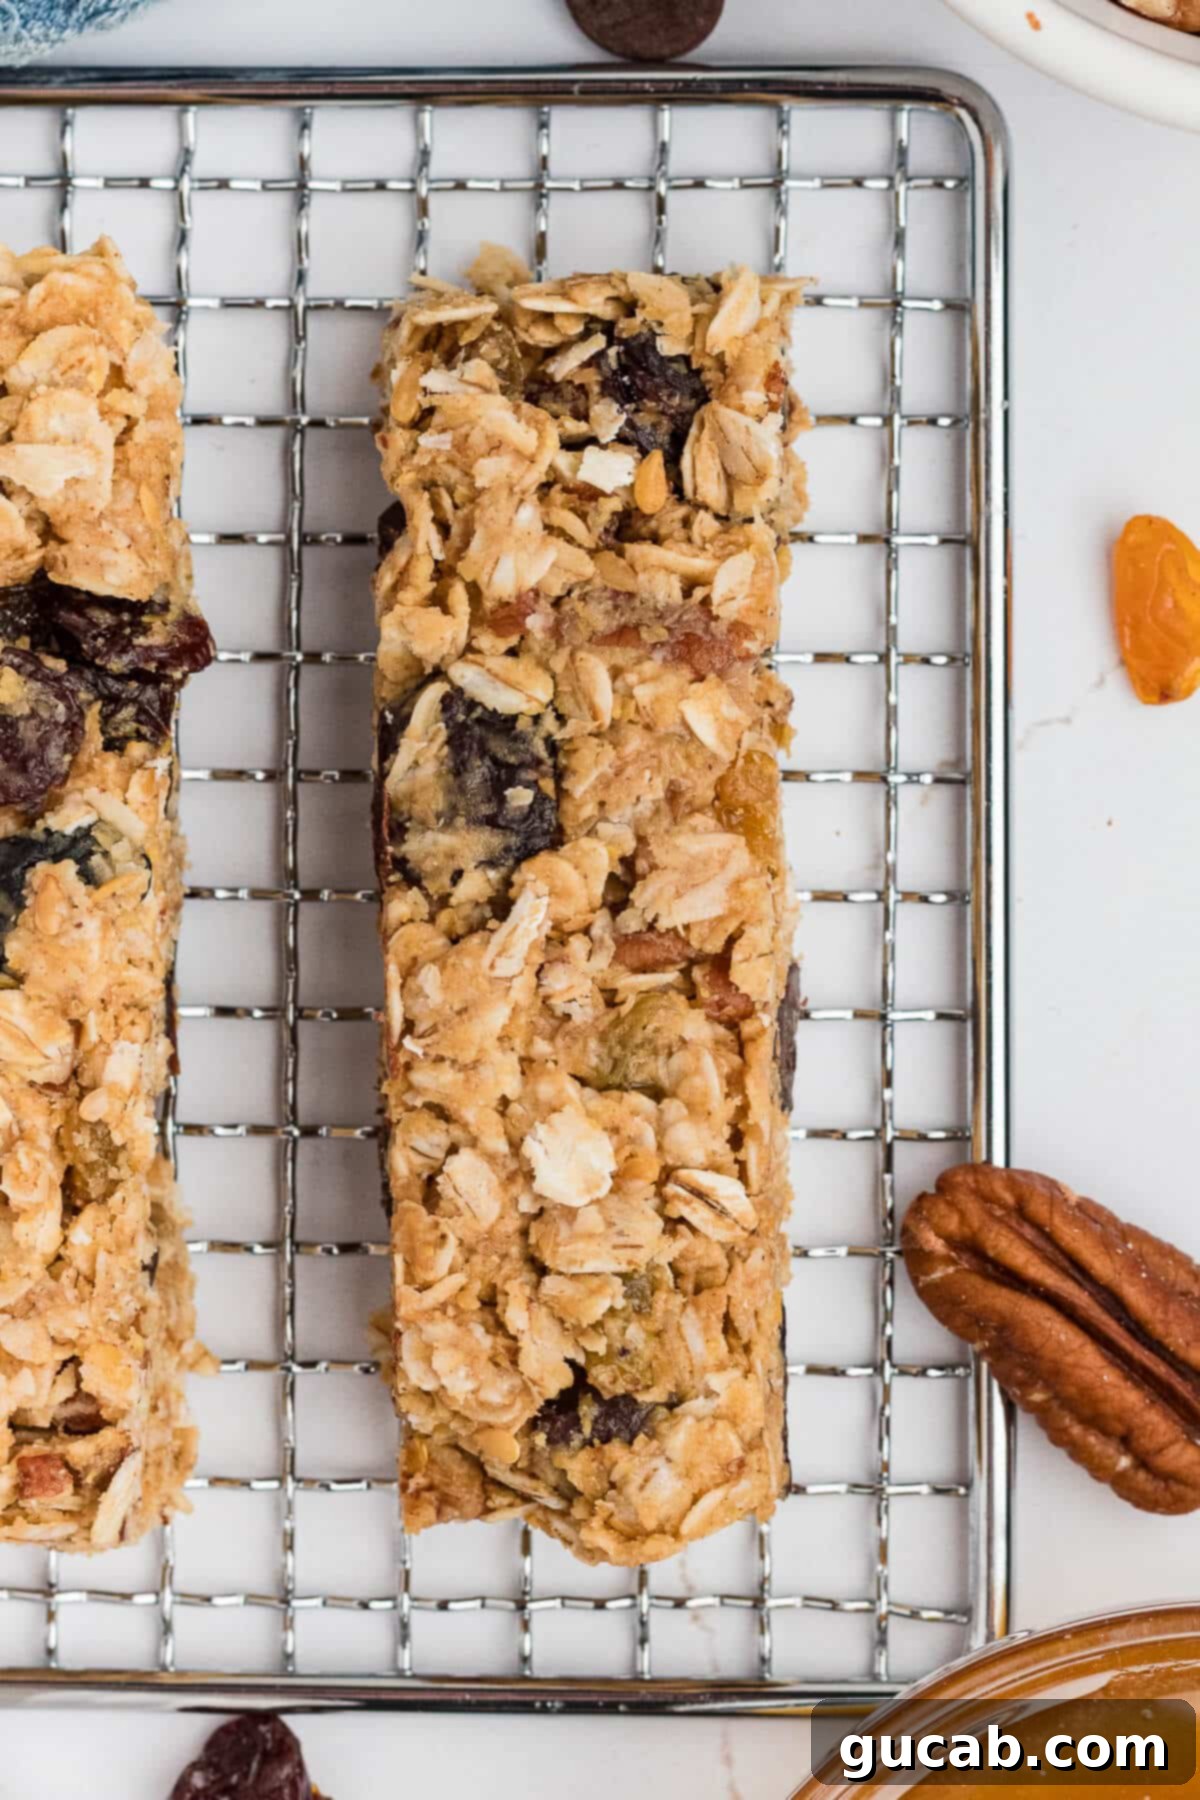
- Chilling is Non-Negotiable for Optimal Texture: The bars truly taste and hold their best when thoroughly chilled. The peanut butter and butter, which are key binding agents in this no-bake recipe, become very soft at room temperature. If not properly chilled, your bars will be crumbly, messy, and far less satisfying to eat. Storing these bars in the refrigerator is crucial for maintaining their firm, chewy texture. If you plan to take one on a hike or to work without refrigeration, consider freezing them for extra structural integrity; they will slowly thaw to a perfect consistency.
- Chocolate Chip Choices: This is a fun area for personal preference and a great way to fine-tune the chocolate experience in your bars!
- Mini Chips for Even Distribution: If you want a consistent, subtle hint of chocolate in every single bite, mini chocolate chips are your best friend. Their smaller size allows them to be more evenly dispersed throughout the mixture, ensuring no bite is left un-chocolated.
- Regular/Dark Chips for Intense Bursts: I personally lean towards using larger dark chocolate chips because I adore the bold, rich, and slightly bitter flavor of dark chocolate. These provide more concentrated pockets of chocolatey goodness, offering an intense burst of flavor that many find delightful. Experiment to see what you prefer – there’s no wrong answer!
- Get Creative with Mix-ins and Flavor Profiles: The base recipe is fantastic, but feel free to make it your own and explore new flavor combinations!
- Different Nuts & Seeds: Swap pecans for other toasted nuts like almonds, walnuts, or pistachios. For an extra nutritional boost and crunch, add sunflower seeds, pumpkin seeds, chia seeds, or hemp hearts.
- Additional Dried Fruits: Apricots, cranberries, figs, or even finely chopped dates can be excellent additions. Just ensure they are soft and pliable or chop them finely to integrate well into the mixture.
- Spices: A pinch of warm spices like cinnamon, nutmeg, a tiny amount of cardamom, or even a hint of ginger powder can add warmth and complexity to the flavor profile, especially during the colder months.
- Coconut Flakes: Toasted unsweetened coconut flakes can add a lovely tropical flavor and a pleasant chewiness. Add them directly to the mixture, or sprinkle some on top before pressing for an appealing visual and textural contrast.
- Citrus Zest: A little lemon or orange zest can add a bright, fresh note that cuts through the richness of the peanut butter.
- Don’t Skimp on the Pressing: We’ve touched on this during the instructions, but it’s such a vital step that it deserves its own emphasis. The firmer you press the mixture into the pan, the better your bars will hold together. Imagine you’re trying to create a solid, dense brick – that’s the level of compaction you’re aiming for. This diligent pressing is the ultimate secret weapon against crumbly, falling-apart granola bars, ensuring they are sturdy enough for on-the-go snacking.
Storage Solutions for Your Homemade Granola Bars
Proper storage is key to enjoying your granola bars at their absolute best, preserving their fresh taste, and extending their shelf life. These bars are fantastic for making ahead, ensuring you always have a convenient and healthy snack option on hand, whether for a busy week or for long-term planning.
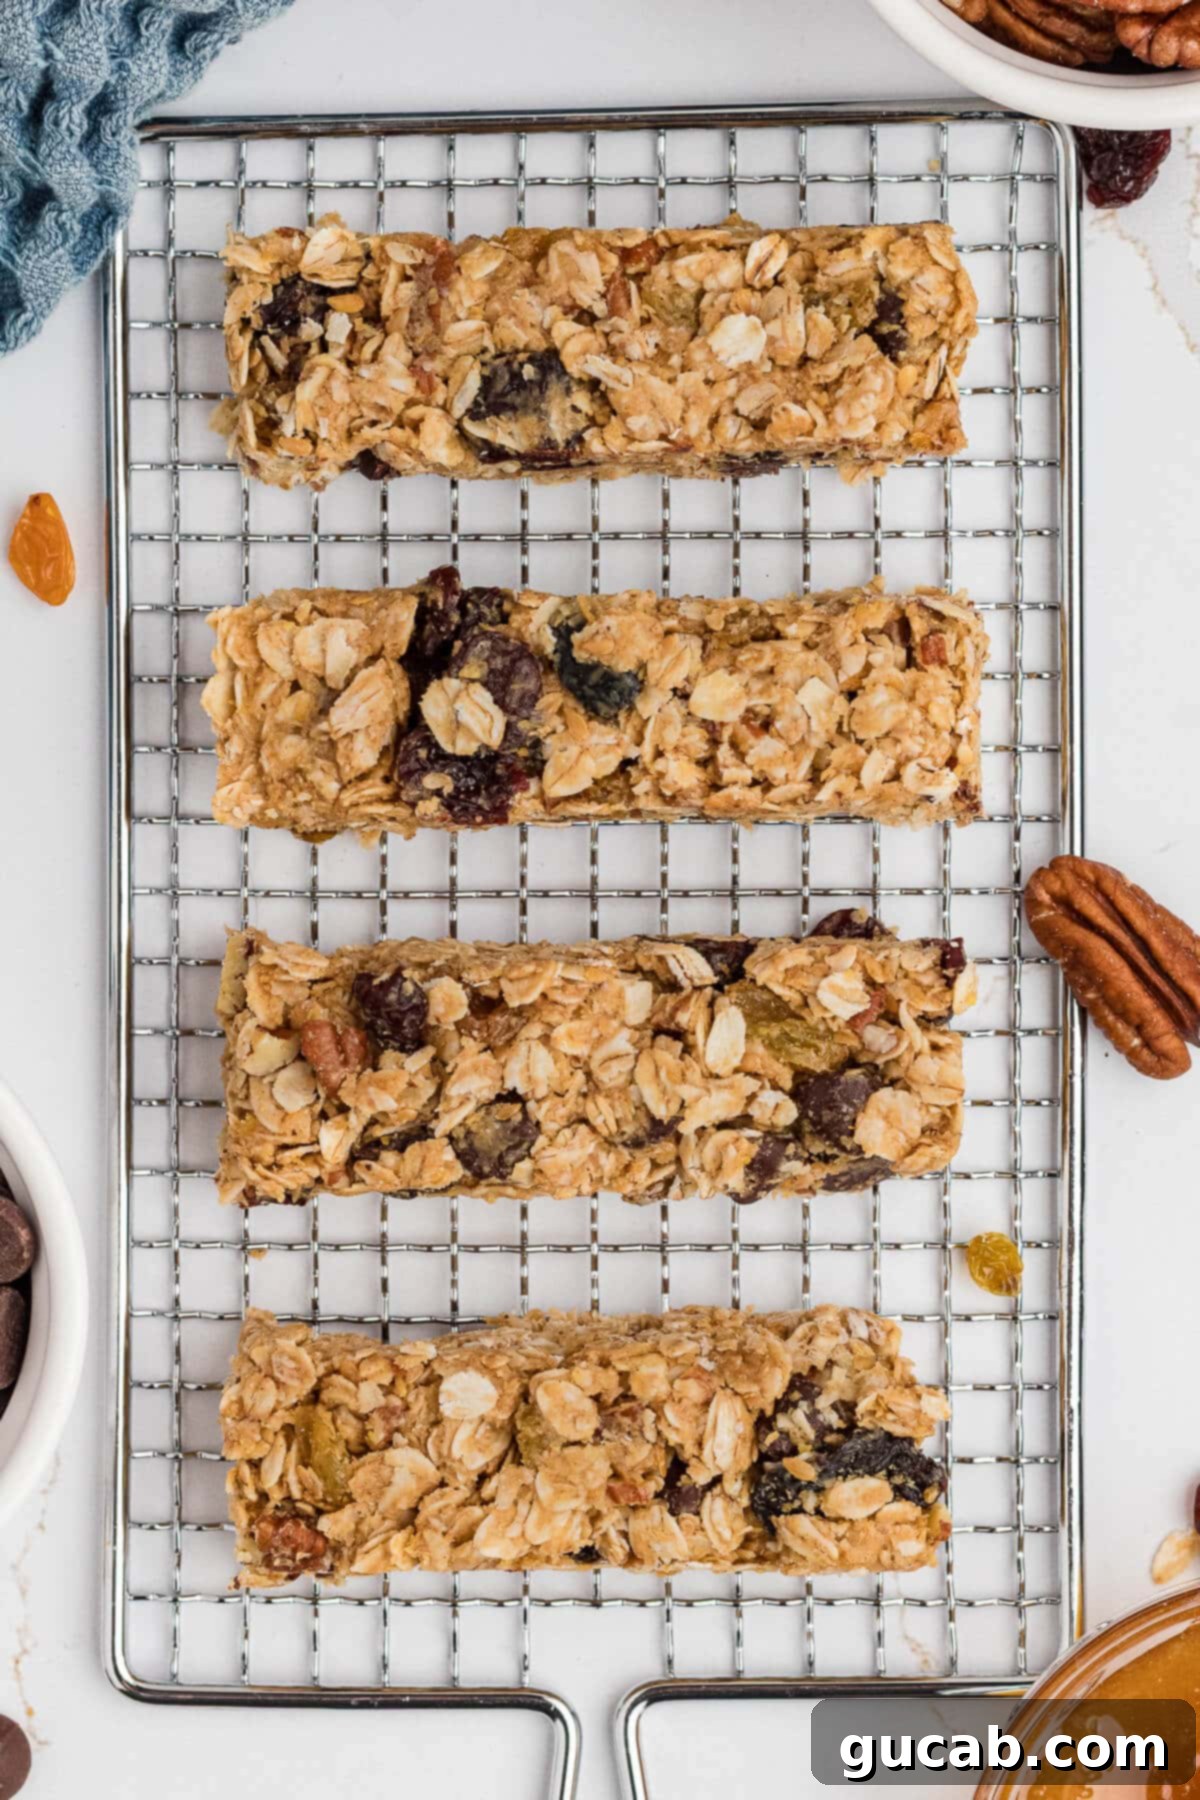
- Refrigerator Storage: For immediate enjoyment and short-term storage, keep your homemade granola bars in an airtight container or a zip-top bag in the refrigerator. They will maintain their freshness, chewy texture, and firm shape for up to one week. Keeping them chilled is paramount to prevent them from becoming too soft and losing their structural integrity, especially due to the peanut butter and butter content, which soften significantly at room temperature.
- Freezer Storage for Longer Enjoyment: This is my preferred method for long-term storage and ultimate grab-and-go convenience! To freeze, individually wrap each bar tightly in parchment paper, wax paper, or plastic wrap, then place them in a freezer-safe airtight container or a heavy-duty freezer bag. Stored this way, they will stay wonderfully fresh and delicious for up to six months.
- Grab-and-Go Convenience: Freezing is particularly brilliant for busy mornings, packing school or work lunches, or for a quick snack when you’re heading out the door. You can grab a frozen bar directly from the freezer, and it will slowly thaw to a perfect, firm consistency by the time you’re ready to eat it. Plus, frozen bars tend to stay firmer for much longer when you’re taking them on the go, making them ideal for picnics or commutes!
More Healthy Snack Ideas to Fuel Your Day
If you love these homemade granola bars, you’re likely always on the lookout for more wholesome and delicious snack options that fit into a healthy lifestyle. Here are a couple of other personal favorites that are equally easy to make and perfect for keeping you energized and satisfied throughout your day:
- Almond Butter Energy Balls: Another fantastic no-bake wonder, these bite-sized treats are packed with protein, fiber, and healthy fats, perfect for a quick energy boost.
- Maple Walnut Granola: Ideal for sprinkling over yogurt, oatmeal, or enjoying with milk, this crunchy granola is full of natural sweetness and nutty goodness.
Homemade Granola Bars
Carolyn
Pin Recipe
Equipment
-
8×8-inch pan
-
Sheet pan
Ingredients
- ½ cup pecan halves
- ½ cup creamy peanut butter
- 4 tablespoons unsalted butter
- ¼ cup honey
- 2 cups old fashioned oats
- ¼ cup golden flax meal
- ⅓ cup dried cherries
- ⅓ cup golden raisins
- ⅓ cup dark chocolate chips
Instructions
-
Preheat the oven to 350 degrees Fahrenheit. Put the pecan halves on a small sheet pan and toast for 5 to 6 minutes, until fragrant. Let the pecans cool then chop or break into small pieces.
-
Cut a piece of parchment paper so it fits into an 8 by 8 inch baking pan (8 inches wide) but keep it long so the extra parchment falls over two sides. It will give you “handles” to remove the bars after they set up.
-
In a large bowl, combine the peanut butter, melted butter, and honey. Stir to combine. Add the oats, Flax meal, dried cherries, golden raisins, chopped pecans, and chocolate chips.
-
Use a spatula to stir the mixture well until everything is incorporated. Transfer the mixture to the prepared pan. Use the spatula to spread the mixture around evenly. Use a piece of parchment paper to press the bars into the pan firmly without getting your hands sticky.
-
Chill the bars for at least 1 hour before cutting into 12 bars. Once the bars are cut, chill for at least 4 hours, preferably overnight, until they firm up.
-
Store them in an airtight container in the fridge for up to 1 week or in the freezer for up to 6 months.
Nutrition
