The Ultimate Guide to Easy Homemade Gluten-Free Vanilla Pudding: Creamy, Delicious & Versatile
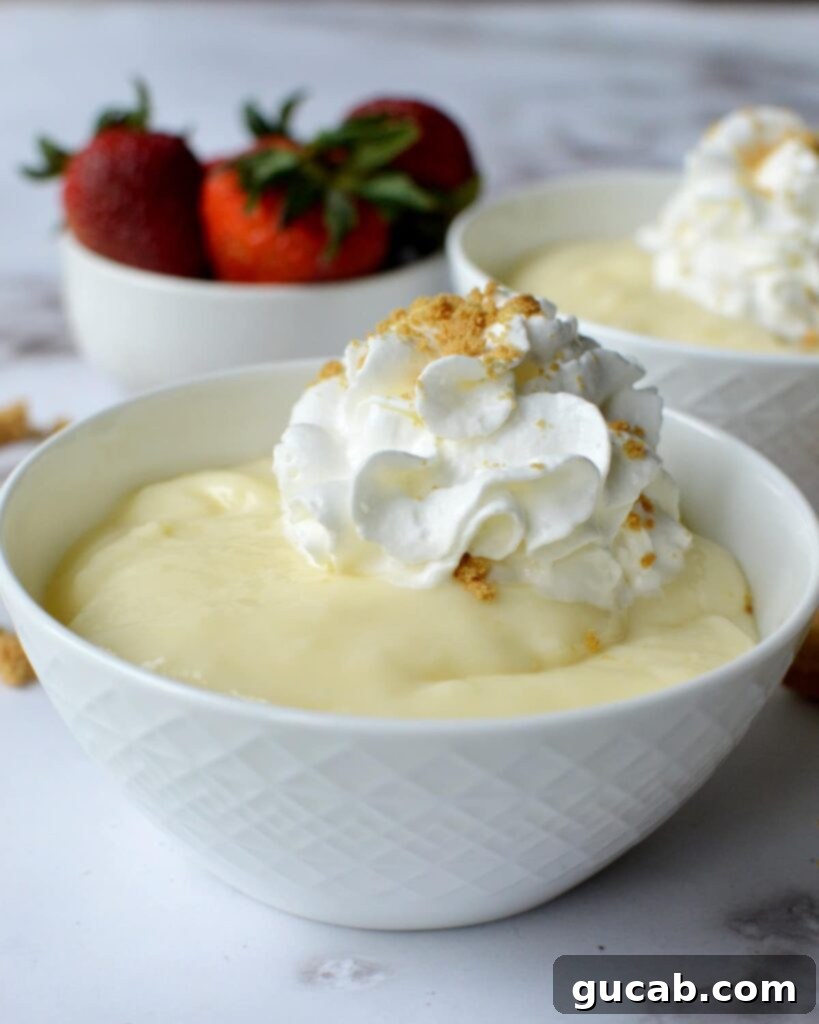
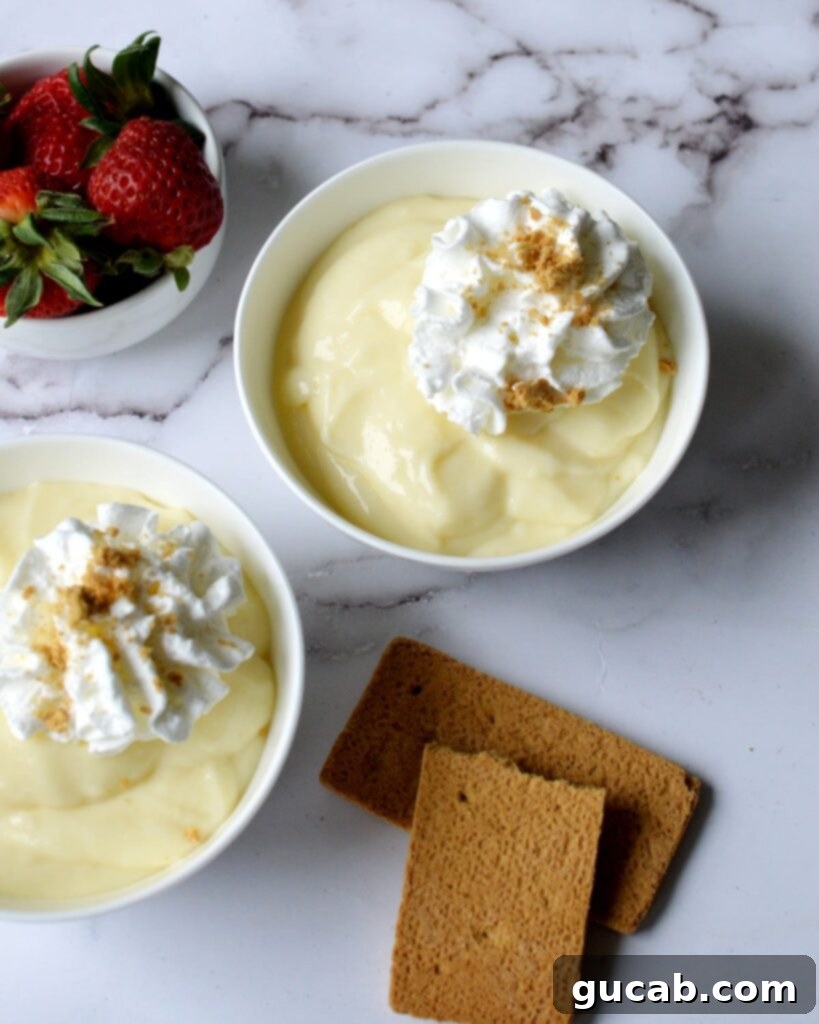
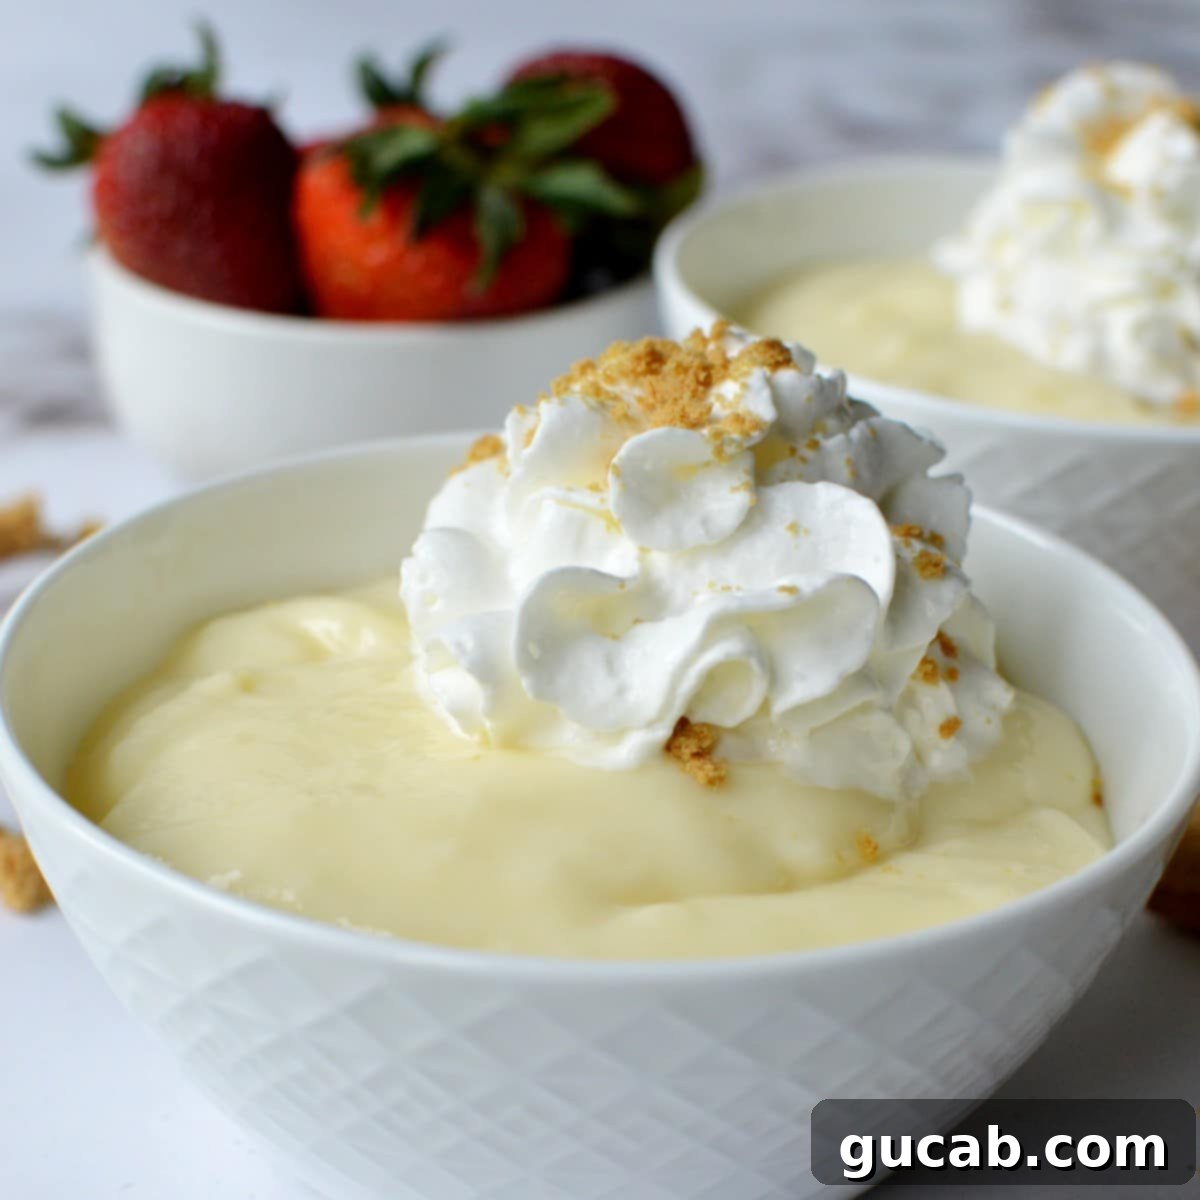
There’s nothing quite like the comforting taste and silky texture of homemade vanilla pudding. It evokes a sense of nostalgia, yet it’s a timeless dessert that never goes out of style. If you’re looking for a dessert that’s both incredibly satisfying and safe for gluten-sensitive diets, you’ve landed in the right place! This homemade gluten-free vanilla pudding recipe is not only creamy and super easy to make but also bursts with a pure vanilla flavor that store-bought versions simply can’t match. Crafted with simple, readily available ingredients, this recipe ensures a rich, smooth, and utterly delicious treat every time.
What makes this recipe truly special is its versatility. Serve it chilled on its own for a classic dessert, or elevate it into something spectacular. Imagine layers of this luscious pudding with sliced bananas, fluffy whipped cream, and crunchy gluten-free vanilla wafers – a dream come true for a delicious gluten-free banana pudding. Whether you’re a seasoned baker or new to the kitchen, this recipe promises a delightful experience and a dessert that will impress without the fuss.

Is Vanilla Pudding Gluten-Free? Understanding Your Ingredients
This is a common and crucial question for anyone following a gluten-free diet. The answer, unfortunately, isn’t always a simple yes or no, especially when it comes to store-bought options. While many instant vanilla puddings, such as Jell-O brand instant vanilla pudding, may not contain gluten ingredients, it’s absolutely vital to always check product labels. Manufacturers frequently change their formulations, and cross-contamination in processing facilities can be a significant concern for those with celiac disease or severe gluten sensitivities. Don’t let yourself be caught by surprise; a quick check of the ingredients list can save you a lot of discomfort.
When it comes to homemade vanilla pudding, the story is usually more straightforward. Traditionally, pudding is thickened with cornstarch, which is naturally gluten-free. This is fantastic news for anyone avoiding gluten! However, some traditional recipes, or those from older generations, might use wheat flour as a thickener. This is exactly why I initially developed this recipe. I recently dined at a fantastic barbecue joint that served an irresistible banana pudding. To my dismay, I discovered that even without the wafers, the pudding itself was thickened with flour, making it off-limits for me. That moment fueled my mission to create a truly delicious, naturally gluten-free vanilla pudding that everyone could enjoy without worry.
By making your vanilla pudding from scratch, you have complete control over every ingredient, ensuring it’s 100% gluten-free and tailored to your dietary needs. Our recipe relies on cornstarch and egg yolks, both excellent and safe thickeners that contribute to a silky-smooth, rich texture without any gluten.
Disclosure: This post contains affiliate links. In other words, if you click a link and purchase something I will receive a commission at no cost to you. I only recommend products I use and enjoy myself.
The Art and Science of How to Make Perfect Vanilla Pudding
Making vanilla pudding from scratch might sound intimidating, but it’s surprisingly simple and incredibly rewarding. The basic process involves gently heating sugar and milk, then thickening the mixture with a combination of egg yolks and cornstarch. This dynamic duo works together to create that luscious, creamy consistency we all adore.
The role of cornstarch is to absorb the liquid and swell, increasing the viscosity of the pudding. Egg yolks, on the other hand, contribute not only to thickening but also add an incredible richness, a beautiful pale yellow color, and a velvety smoothness that elevates the overall experience. The fat in the egg yolks helps emulsify the pudding, making it feel luxurious on the palate.
Traditionally, many pudding recipes call for “tempering” the egg yolks. Tempering in cooking means gradually raising the temperature of a delicate ingredient, like egg yolks, by slowly incorporating a small amount of a hot liquid before combining them fully. This is typically done to prevent the eggs from scrambling or cooking into tiny, unappetizing bits (a definite “yuck” moment!). To temper egg yolks, you’d slowly whisk a bit of the hot milk mixture into the yolks, then add the warmed yolk mixture back into the main saucepan.
While tempering is a valuable technique, I’ve found through extensive testing that it’s often an unnecessary step for this particular pudding recipe. When I make this pudding without tempering, the results are just as smooth, creamy, and delicious as when I go through the extra effort. This means less work for you and a simpler process, without compromising on the quality of your homemade gluten-free vanilla pudding. My goal is to make delicious gluten-free desserts accessible and easy, and skipping the tempering step certainly helps achieve that!

Key Ingredients for Your Creamy Gluten-Free Vanilla Pudding
Making a truly exceptional homemade vanilla pudding starts with understanding the role of each ingredient. This recipe calls for simple, wholesome items that come together to create magic.
- Sugar: Our recipe suggests ⅔ of a cup of granulated sugar, which I find creates a perfectly balanced sweetness – rich enough to feel like a treat, but not overly cloying. However, taste is personal! If you prefer your pudding a bit less sweet, feel free to reduce it to ½ cup. Any less than that might affect the texture slightly, as sugar also contributes to the pudding’s body.
- Cornstarch: This is our primary gluten-free thickener. Cornstarch is a hero in the world of gluten-free baking and desserts. It effectively absorbs the milk and other liquids in the mixture, causing it to thicken into that classic creamy pudding consistency. Ensure you whisk it thoroughly with the cold milk before heating to prevent lumps.
- Whole Milk: For the richest, creamiest texture and flavor, whole milk is highly recommended. Its higher fat content contributes significantly to the pudding’s luxurious mouthfeel. While you could technically use lower-fat milk, it might result in a slightly thinner pudding with less depth of flavor. For a dairy-free alternative, full-fat canned coconut milk or a rich oat milk can work, though the flavor profile will shift slightly.
- Egg Yolks: Beyond thickening, egg yolks are essential for creating a truly decadent pudding. They lend a beautiful richness, a smooth, velvety texture, and a lovely pale yellow hue. They also provide a structural stability that cornstarch alone can’t achieve, contributing to a more robust and satisfying pudding.
- Unsalted Butter: Added at the very end, unsalted butter melts into the hot pudding, giving it an extra layer of richness, a glossy sheen, and an incredibly smooth finish. It also helps to mellow out the sweetness and adds a subtle, savory depth that rounds out the flavor profile.
- Vanilla Extract: The star flavor of our pudding! Use a good quality pure vanilla extract for the best results. The difference between real vanilla and imitation vanilla is vast; pure vanilla will give your pudding an authentic, aromatic, and complex flavor that truly shines. Don’t skimp on this one!
Essential Tips & Tricks for Perfect Gluten-Free Vanilla Pudding
Achieving perfectly smooth, creamy, and skin-free pudding is easier than you think with these simple tips:
- Preventing the “Skin”: One of the most common pudding woes is the formation of a rubbery skin on top as it chills. To completely avoid this, immediately after pouring the hot pudding into its serving bowl or storage container, press a piece of plastic wrap directly onto the surface of the pudding, ensuring it touches every part. This creates a barrier against air, preventing skin formation. When you’re ready to serve, simply remove the saran wrap, give the pudding a good stir to re-emulsify any separated liquids, and enjoy!
- Consistent Stirring is Key: Once your pudding mixture begins to heat up and especially as it starts to thicken, consistent stirring is crucial. Pay particular attention to the bottom and corners of the saucepan. This prevents the pudding from sticking and burning, which can impart an unpleasant flavor and create lumps. A whisk is your best friend here, ensuring even cooking and a smooth consistency.
- Don’t Rush the Chill: While it’s tempting to dive into your delicious pudding right away, patience is a virtue. Refrigerating the pudding for at least 4 hours (or preferably overnight) allows it to fully set and cool, developing its ultimate creamy texture and rich flavor. Rushing this step will result in a thinner, less satisfying pudding.
- For Ultra-Smooth Pudding: If you’re aiming for absolute perfection and want to ensure there are no tiny lumps (even if you’ve whisked diligently), you can pass the hot pudding through a fine-mesh sieve into your serving bowl. This step is optional but guarantees an incredibly silky result.
- Adjusting Sweetness: Remember that the sweetness level can be adjusted. Always taste the mixture (before adding eggs, if you prefer) and adjust sugar to your liking. The pudding will taste slightly less sweet when chilled.
Creative Ways to Spruce Up Your Gluten-Free Vanilla Pudding
While this vanilla pudding is fantastic on its own, it also serves as a perfect canvas for countless delicious variations and toppings. Get creative and transform your basic pudding into a show-stopping dessert!
- Classic Gluten-Free Banana Pudding: This is a must-try! Layer your homemade vanilla pudding with fresh, sliced ripe bananas and crunchy Kinnikinnick vanilla wafers. Their wafers are truly excellent and hold up beautifully in a banana pudding. Finish with a generous dollop of whipped cream for an ultimate comfort dessert.
- Fresh Berries and Cream Delight: A simple yet elegant option. Top your chilled pudding with a medley of fresh seasonal berries like strawberries, blueberries, raspberries, or blackberries. Add a swirl of freshly whipped cream for a light and refreshing dessert.
- Crunchy Cookie Crumble: For a delightful texture contrast, crumble some of Tate’s crispy gluten-free cookies over the top. Their ginger cookies add a wonderful spice, and their chocolate chip cookies are always a crowd-pleaser. These add a sophisticated crunch and extra flavor dimensions.
- Chocolate Lover’s Dream: Stir in a handful of mini chocolate chips while the pudding is still warm for an extra sweet surprise that melts slightly into the creamy base. Or, sprinkle chocolate shavings or a drizzle of chocolate syrup on top for a richer presentation.
- Festive Rainbow Fun: For a playful touch, especially for kids or celebrations, add a mound of whipped cream and finish with a sprinkle of colorful gluten-free rainbow sprinkles. It’s an instant mood booster!
- Nutty Crunch: A sprinkle of toasted chopped nuts like pecans, walnuts, or almonds can add a lovely crunch and earthy flavor.
- Caramel Swirl: Drizzle homemade or store-bought gluten-free caramel sauce over the top for a rich, sweet indulgence.
- Pudding Parfaits: Layer the pudding with fresh fruit, granola, or crushed gluten-free cookies in clear glasses for an attractive and easy-to-serve dessert.
Other Delicious Gluten-Free Desserts You Might Love
If you’re a fan of this easy gluten-free vanilla pudding, you’re likely always on the hunt for more delectable gluten-free treats. Here are a few other fantastic recipes that celebrate deliciousness without gluten:
- Gluten Free Sour Cream Pound Cake: A rich, moist, and tender cake perfect for any occasion.
- Gluten Free Pumpkin Chocolate Bread: A delightful combination of seasonal pumpkin and sweet chocolate chips.
- Gluten Free M&M Cookies: Fun, colorful, and irresistibly chewy cookies that kids and adults adore.
- Gluten Free Chocolate Chip Muffins: The perfect breakfast or snack treat, packed with melty chocolate chips.
Storage and Make-Ahead Tips
This homemade gluten-free vanilla pudding is wonderful for making ahead, which is perfect for meal prep or entertaining. Once cooled and covered with plastic wrap pressed directly onto the surface, it can be stored in an airtight container in the refrigerator for up to 3-4 days. While it’s best enjoyed within the first two days for optimal texture, it will still be delicious for a few more. Give it a good whisk before serving to restore its smooth consistency.
Troubleshooting Common Pudding Problems
Even simple recipes can sometimes present small challenges. Here’s how to tackle common pudding issues:
- Lumpy Pudding: This usually happens if the cornstarch wasn’t fully whisked into the cold liquid before heating, or if it wasn’t stirred consistently as it thickened. If you end up with lumps, don’t despair! You can press the warm pudding through a fine-mesh sieve using the back of a spoon to achieve a smooth texture.
- Pudding is Too Thin: If your pudding hasn’t thickened enough after chilling, it might not have been cooked long enough. You can gently reheat it over medium-low heat, whisking constantly, and cook for an additional minute or two until it reaches the desired thickness. Be careful not to scorch it.
- Pudding is Too Thick: If your pudding becomes too thick after chilling, simply whisk in a tablespoon or two of milk (or cream for extra richness) until it reaches your preferred consistency.
- Burnt Bottom: This is a sign it wasn’t stirred enough, especially at the bottom of the pan, or the heat was too high. If only a small amount is burnt, carefully scoop out the unburnt pudding, leaving the burnt bits behind.
With these tips, you’re well on your way to mastering the art of homemade gluten-free vanilla pudding!

Gluten Free Vanilla Pudding
Carolyn
Pin Recipe
Equipment
-
medium saucepan
Ingredients
- ⅔ cup sugar
- 2 ½ cups whole milk
- 3 tbsp cornstarch
- 3 egg yolks
- 1 t. vanilla extract
- 2 tbsp unsalted butter
Instructions
-
In a medium saucepan, begin by combining all your wet and dry ingredients (except the butter). Whisk together the sugar, whole milk, cornstarch, egg yolks, and vanilla extract until completely smooth and no lumps of cornstarch remain. Place the saucepan over medium heat. Continue to whisk occasionally as the milk gently warms up. This initial whisking is crucial to ensure the cornstarch dissolves evenly and prevents lumps from forming later.
-
Once the milk mixture starts to get warm, you’ll need to switch to consistent whisking. Keep whisking continuously as the mixture slowly heats to a simmer. You’ll notice it will gradually begin to thicken. Continue whisking for about another minute or so after it starts to thicken. The pudding should be thick enough to coat the back of a spoon but still pourable. Remember, it will continue to thicken significantly as it cools in the refrigerator. Immediately remove the saucepan from the heat once it reaches the desired consistency. Stir in the unsalted butter until it’s fully melted and incorporated, adding a beautiful sheen and extra richness. Carefully pour the hot pudding into a large, clean bowl.
-
Allow the pudding to cool down at room temperature for about 15-20 minutes. Then, cover it with plastic wrap. This is a critical step to prevent a “skin” from forming on the surface as it cools further. Make sure to press the plastic wrap directly onto the top of the pudding, ensuring no air is trapped between the pudding and the wrap. Refrigerate for a minimum of 4 hours, or ideally overnight, for the best set and flavor. Before serving, give the chilled pudding a good stir to restore its perfectly smooth and creamy texture. Enjoy your delicious homemade gluten-free vanilla pudding!
We hope this comprehensive guide has inspired you to create your own batch of delicious homemade gluten-free vanilla pudding. It’s truly a versatile dessert, offering endless possibilities for customization and enjoyment. Whether you’re making it for a special occasion or simply to satisfy a sweet craving, this recipe guarantees a creamy, flavorful, and perfectly gluten-free treat that will quickly become a household favorite. Happy cooking, and enjoy every spoonful!
