The Ultimate Guide to Homemade Gluten-Free Vanilla Pudding: Creamy, Easy & Delicious
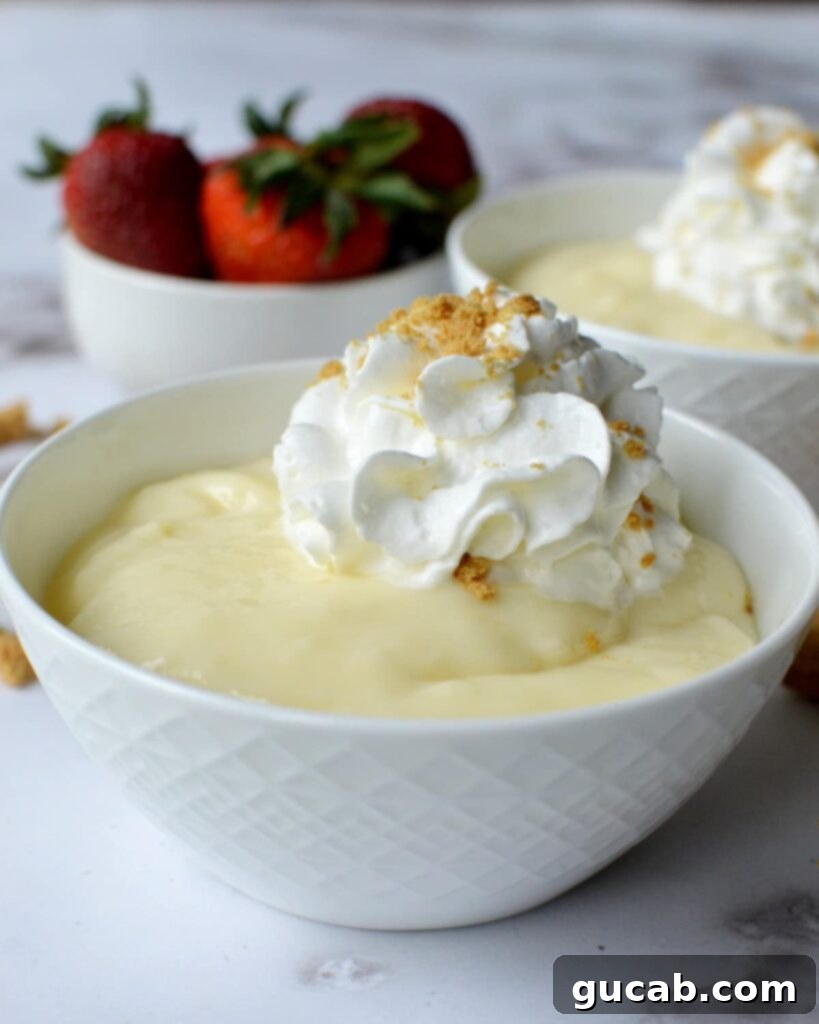
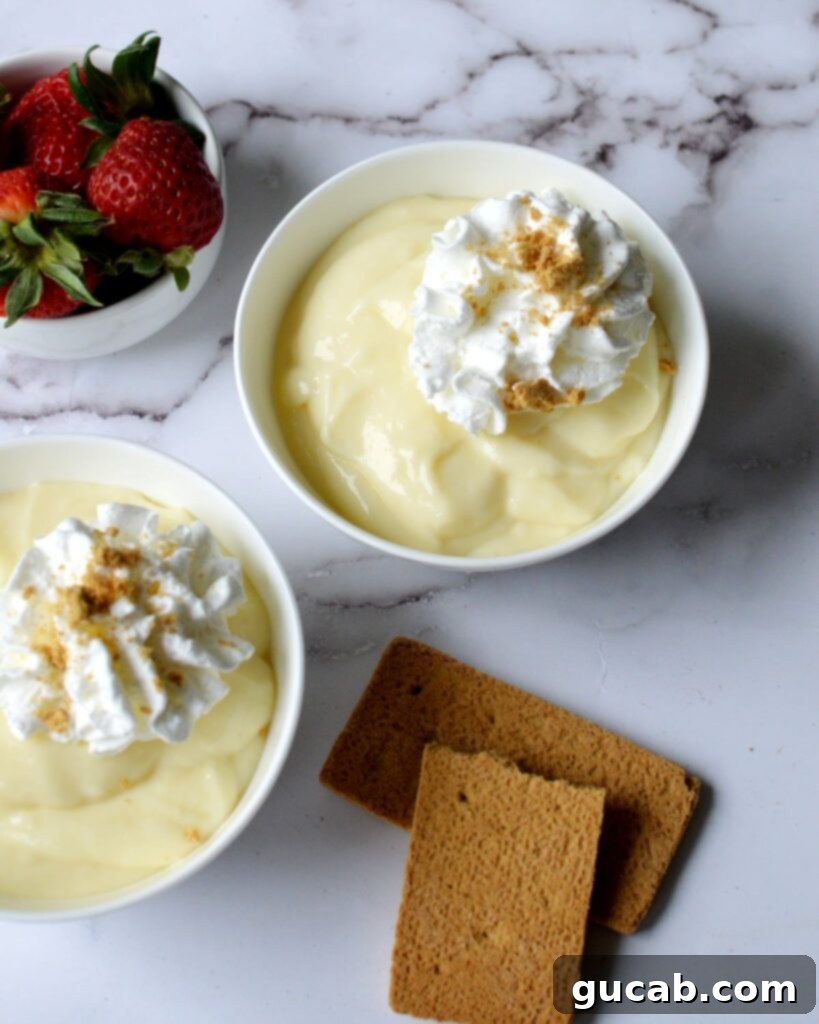
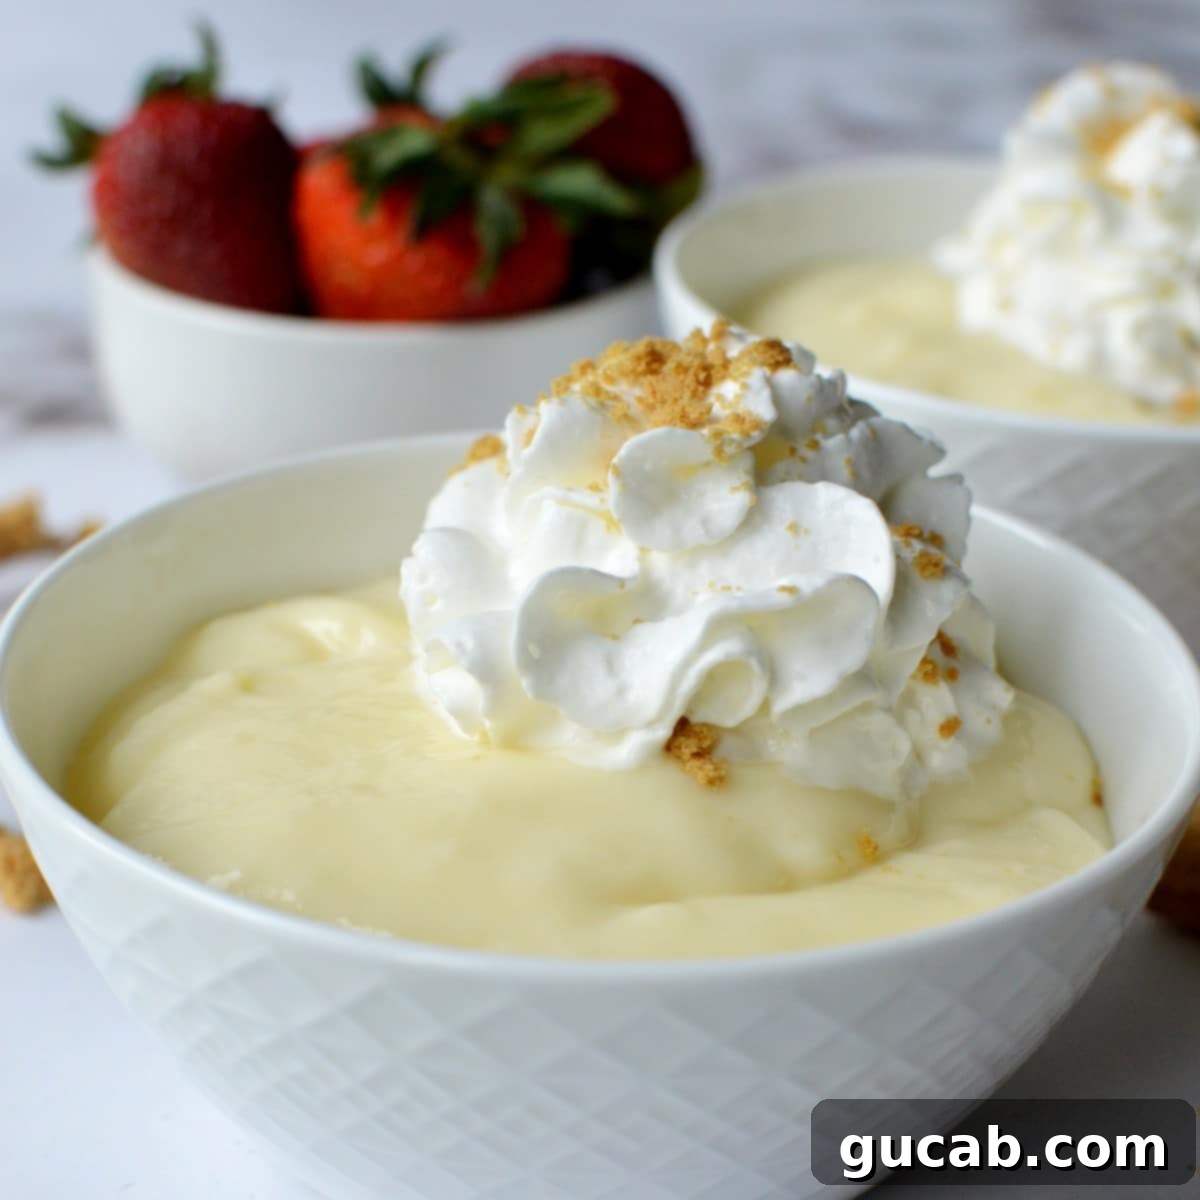
There’s nothing quite like the comforting taste and silky-smooth texture of a perfectly made vanilla pudding. This homemade gluten-free vanilla pudding recipe takes that classic dessert to a whole new level, offering a rich, creamy, and utterly delightful experience that’s surprisingly easy to achieve. Forget the bland, artificial flavors of store-bought versions; with just a few simple, everyday ingredients, you can whip up a batch that’s far superior in taste and texture. Whether you enjoy it plain, layered with sliced bananas and whipped cream for a decadent gluten-free banana pudding, or customized with your favorite toppings, this recipe is guaranteed to become a cherished staple in your dessert repertoire. It’s the ideal treat for those with gluten sensitivities or anyone simply seeking a genuinely delicious, wholesome dessert from scratch.

Is Vanilla Pudding Naturally Gluten-Free? Understanding Your Options
The question of whether vanilla pudding is gluten-free isn’t always straightforward, as it largely depends on how it’s made and the specific ingredients used. When it comes to store-bought instant pudding mixes, brands like Jell-O often do not contain gluten ingredients. However, it’s absolutely crucial for individuals with celiac disease or gluten sensitivities to always meticulously check product labels. Food manufacturers frequently change their ingredient lists, and cross-contamination during processing is a constant concern. A product might be naturally gluten-free but processed on shared equipment, leading to potential issues.
Homemade vanilla pudding offers more control, and thankfully, it’s typically easy to make gluten-free. The most common thickener for traditional pudding is cornstarch, which is naturally gluten-free. This is why many homemade pudding recipes are inherently safe for those avoiding gluten. However, some traditional recipes, particularly older ones or those from certain culinary traditions, might use wheat flour as a thickener instead of cornstarch. This is precisely why caution is necessary. I vividly recall a recent experience at a fantastic barbecue restaurant where I couldn’t enjoy their banana pudding (without the wafers) because the pudding itself was thickened with flour. That incident served as a stark reminder and a catalyst for creating and sharing this reliable gluten-free vanilla pudding recipe, ensuring everyone can enjoy this classic dessert without worry.
By opting for a homemade recipe like this one, where cornstarch is explicitly used, you eliminate the guesswork and can confidently enjoy a delicious, safe, and truly gluten-free treat. It’s a simple swap that makes all the difference for a delightful, worry-free dessert experience.
Disclosure: This post contains affiliate links. In other words, if you click a link and purchase something I will receive a commission at no cost to you. I only recommend products I use and enjoy myself.
How to Make the Perfect Homemade Vanilla Pudding
Crafting homemade vanilla pudding is a surprisingly simple process, relying on just a few fundamental steps to transform humble ingredients into a luxurious dessert. The core of this recipe involves heating sugar and milk, then enriching and thickening the mixture with egg yolks and cornstarch. This combination creates that signature creamy, smooth consistency we all love.
The Simplified Approach to Thickening and Tempering
Traditionally, when working with egg yolks in hot mixtures, a technique called “tempering” is often recommended. Tempering in cooking refers to the gradual process of bringing the temperature of one liquid (in this case, egg yolks) up to match that of another hotter liquid (the warm milk) before combining them fully. This gradual heating prevents the eggs from scrambling when they hit the hot liquid, ensuring a smooth, custard-like texture rather than undesirable “tiny bits of cooked egg.” To temper egg yolks, you typically slowly drizzle a small amount of the hot milk into the whisked egg yolks while continuously whisking the yolks, effectively raising their temperature gently before adding the now-warmed egg mixture back into the main saucepan.
While tempering is a valuable technique in many culinary contexts, I’ve found through extensive testing that for this particular homemade vanilla pudding recipe, it’s not strictly necessary to achieve a perfectly smooth and delicious result. My method streamlines the process, allowing you to combine the ingredients at the beginning and whisk them together as they heat, eliminating an extra step without compromising on quality. This means less fuss and less work for you in the kitchen, making this recipe even more accessible for beginners and busy home cooks alike. You can still achieve that wonderfully silky texture without the extra effort of tempering, as long as you maintain consistent whisking as the mixture heats up.

Key Ingredients for Your Homemade Pudding
The beauty of this vanilla pudding lies in its simplicity and the quality of its few core ingredients. Each component plays a vital role in achieving that perfect creamy texture and rich flavor:
- Sugar: This recipe calls for ⅔ of a cup of granulated sugar, which I find creates a perfectly balanced sweetness – not too overpowering, but delightfully satisfying. If you prefer your pudding slightly less sweet, you can easily reduce the amount to ½ cup. Sugar not only provides sweetness but also contributes to the pudding’s smooth texture and helps prevent it from crystallizing.
- Cornstarch: This is our primary gluten-free thickener. Cornstarch works by absorbing the liquid (milk) as it heats, causing the mixture to thicken and transform into that luxurious, creamy pudding consistency. It’s essential for achieving the right body without any gluten. For best results, ensure it’s fully dissolved before heating to prevent lumps.
- Whole Milk: For the ultimate creamy and rich pudding, whole milk is highly recommended. Its higher fat content contributes significantly to the indulgent mouthfeel and smooth texture. While lower-fat milks can be used, they might result in a slightly less rich and thinner pudding. For a dairy-free option, a full-fat canned coconut milk or a rich oat milk could be considered, though the texture and flavor will be slightly different.
- Egg Yolks: Beyond thickening, egg yolks are crucial for making the pudding rich, smooth, and giving it that beautiful pale yellow hue. They contribute to the custard-like texture and add a depth of flavor that can’t be achieved with cornstarch alone. Don’t discard the whites; save them for meringues or an egg white omelet!
- Unsalted Butter: A small amount of unsalted butter stirred in at the end adds a touch of extra richness and a silky sheen to the finished pudding. It also helps to create a smoother, more emulsified consistency, enhancing the overall luxurious feel of the dessert.
- Vanilla Extract: This is where the “vanilla” in vanilla pudding comes from! Use a good quality pure vanilla extract for the best flavor. It infuses the pudding with its characteristic warm, aromatic notes. Avoid imitation vanilla if possible, as it often has an artificial aftertaste. For an even more intense vanilla flavor, consider adding a tiny pinch of vanilla bean paste or scraping seeds from half a vanilla bean, though extract works perfectly well.
Expert Tips & Tricks for Perfect Pudding Every Time
Making homemade pudding is straightforward, but a few key tips can elevate your results from good to absolutely perfect:
- Preventing the dreaded “skin”: A common issue with puddings is the formation of a rubbery skin on the surface as it cools. To prevent this, once you’ve poured the hot pudding into a serving bowl or container, immediately press a piece of plastic wrap directly onto the surface of the pudding, ensuring no air is trapped between the pudding and the wrap. This creates an airtight seal that prevents moisture evaporation, which is what causes the skin to form. When you’re ready to serve, simply remove the plastic wrap, give the pudding a good stir to restore its silky texture, and enjoy!
- Consistent stirring is key: Once your pudding mixture starts to heat up, especially after it begins to warm, it’s crucial to stir consistently and without interruption. Pudding contains starches and eggs that can easily scorch or stick to the bottom of the saucepan if left unattended. Constant whisking ensures even cooking, prevents lumps, and keeps the bottom from burning, resulting in a perfectly smooth and uniformly thickened pudding. Use a good whisk and scrape the bottom and sides of the pan frequently.
- Use a heavy-bottomed saucepan: A heavy-bottomed saucepan distributes heat more evenly, which significantly reduces the risk of scorching your pudding. Thin-bottomed pans tend to create hot spots, making it harder to cook evenly.
- Cook over medium heat: Resist the urge to crank up the heat to speed up the process. Cooking pudding over medium heat (or even medium-low once it starts to thicken) allows the starches and eggs to cook and thicken gradually, leading to a smoother, more stable pudding. High heat can cause the eggs to curdle and the mixture to seize.
- Patience during chilling: While it’s tempting to dig in right away, allowing the pudding to chill in the refrigerator for at least 4 hours (and preferably longer) is essential. This cooling time allows the pudding to fully set and for the flavors to meld and deepen, resulting in the best possible texture and taste.
Creative Ways to Spruce Up Your Gluten-Free Vanilla Pudding
While this homemade vanilla pudding is absolutely divine on its own, its simple, elegant flavor makes it an incredibly versatile base for a variety of delicious toppings and additions. Get creative and transform your pudding into an even more spectacular dessert:
- Gluten-Free Banana Pudding Parfaits: This is a classic for a reason! Layer your creamy vanilla pudding with freshly sliced ripe bananas and Kinnikinnick vanilla wafers (or your favorite gluten-free vanilla cookies) for an authentic and incredibly delicious gluten-free banana pudding. The soft bananas, crunchy wafers, and smooth pudding create a textural and flavor masterpiece.
- Fresh Berries and Whipped Cream: For a lighter, summery twist, top your pudding with a generous dollop of homemade whipped cream and a medley of fresh seasonal berries like strawberries, blueberries, raspberries, or blackberries. The tartness of the berries beautifully complements the sweet vanilla.
- Crunchy Cookie Topping: Crumble some of Tate’s crispy gluten-free cookies (their ginger or chocolate chip varieties are both absolutely delish!) over the top for an added crunch and burst of flavor. This is a simple yet effective way to add texture and a secondary flavor profile.
- Chocolate Lover’s Dream: Stir in a handful of mini chocolate chips while the pudding is still warm for a sweet surprise in every spoonful, or sprinkle them on top for a delightful garnish. A drizzle of homemade chocolate sauce also works wonders!
- Festive Fun with Sprinkles: Add a festive touch by topping with whipped cream and a generous amount of colorful gluten-free rainbow sprinkles. This is perfect for birthdays, celebrations, or simply to brighten up your day.
- Caramel or Butterscotch Swirl: For an extra layer of decadence, swirl in a homemade or good-quality store-bought caramel or butterscotch sauce just before serving. The rich, buttery notes pair wonderfully with vanilla.
- Toasted Coconut and Nuts: Lightly toast some shredded coconut or chopped nuts (like pecans or almonds) and sprinkle them over the pudding for added flavor and a delightful crunch.
- Coffee Infusion: For coffee lovers, a small amount of instant espresso powder or strong brewed coffee can be added to the milk mixture to create a subtle coffee-vanilla pudding.
Other Gluten-Free Desserts You Might Love
- Gluten Free Sour Cream Pound Cake
- Gluten Free Pumpkin Chocolate Bread
- Gluten Free M&M Cookies
- Gluten Free Chocolate Chip Muffins

Gluten Free Vanilla Pudding
Carolyn
Pin Recipe
10 minutes
15 minutes
25 minutes
Dessert
American
4 servings
Equipment
-
medium saucepan
Ingredients
- ⅔ cup sugar
- 2 ½ cups whole milk
- 3 tbsp cornstarch
- 3 egg yolks
- 1 t. vanilla extract
- 2 tbsp unsalted butter
Instructions
-
In a medium saucepan whisk together the sugar, milk, cornstarch, egg yolks, and vanilla extract. Turn the burner on to medium heat and whisk occasionally until the milk starts to heat up.
-
Once the milk gets warm whisk consistently until the mixture begins to thicken and then for another minute or so. It should be thick but still pourable. It will thicken more as it cools in the fridge. Once thickened take it off the heat and stir in the butter then carefully pour the hot pudding into a large bowl.
-
Let the pudding cool down and then cover with plastic wrap. Press the plastic wrap onto the top of the pudding so it doesn’t form a crust. Refrigerate for at least 4 hours. Stir before serving.
gluten free
Making your own gluten-free vanilla pudding from scratch is a rewarding experience that yields a dessert far superior to anything you can buy. Its creamy texture and rich vanilla flavor make it a perfect stand-alone treat or a versatile base for countless other desserts. We encourage you to try this recipe and discover how easy and delightful homemade gluten-free pudding can be. Don’t forget to share your creations and any favorite topping ideas with us in the comments below!
