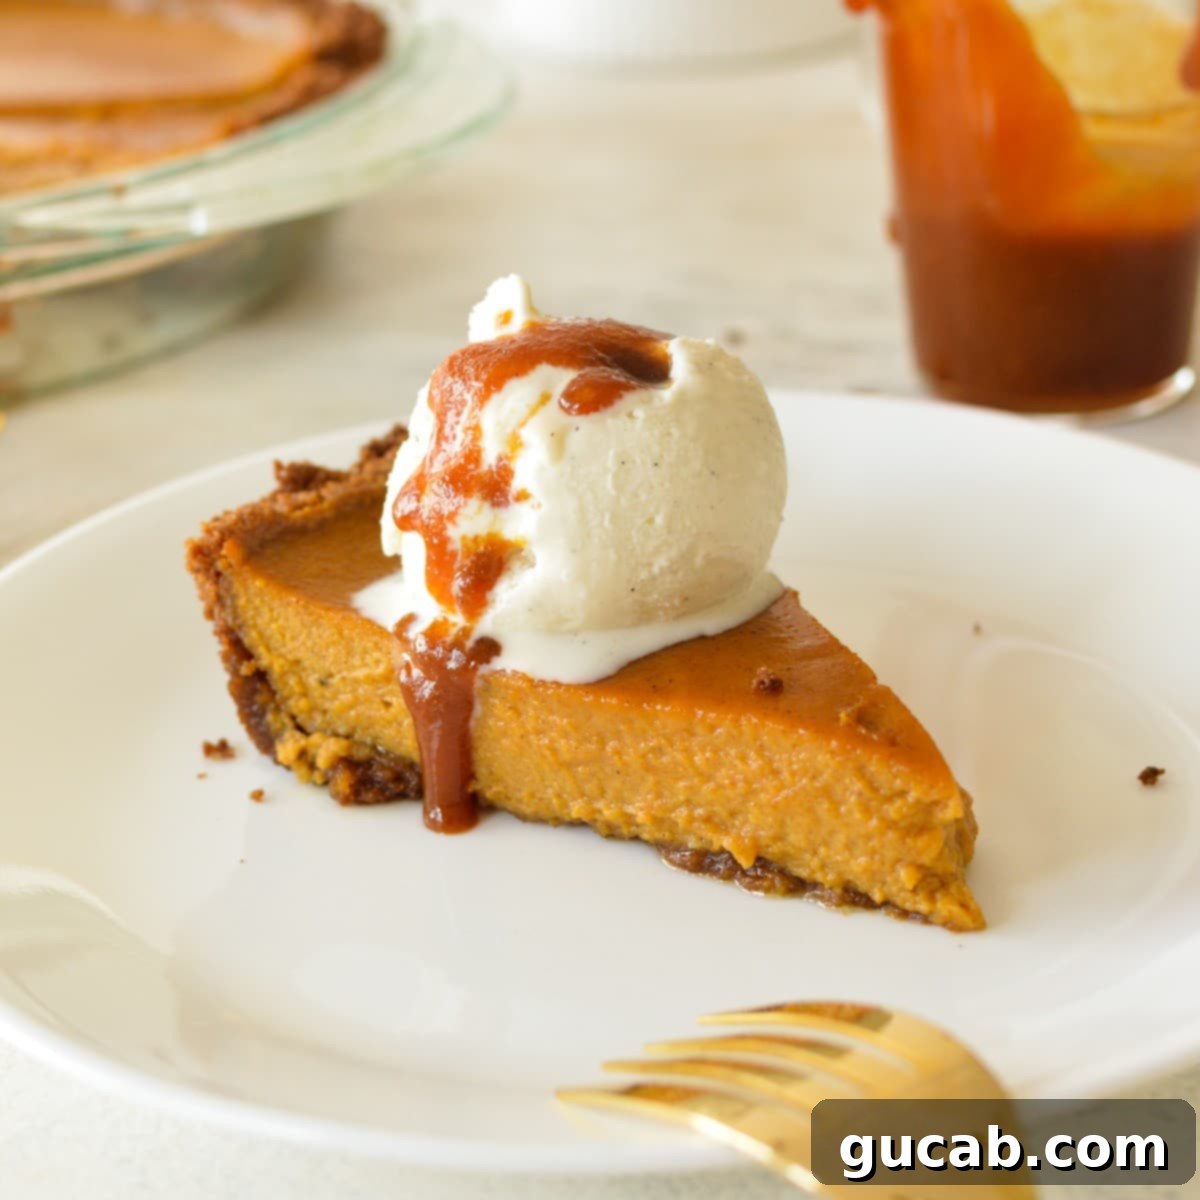
Effortless & Irresistible: The Best Pumpkin Pie with Graham Cracker Crust for Stress-Free Holidays
Say goodbye to the stress of tricky pie dough and hello to pure pumpkin pie perfection! This incredible recipe for pumpkin pie features a delightfully crisp graham cracker crust, making it not only super simple to prepare but also irresistibly delicious. It’s the ultimate hassle-free dessert, absolutely perfect for Thanksgiving, Christmas, and all your cherished holiday gatherings. Prepare to impress your family and friends with minimal effort and maximum flavor!
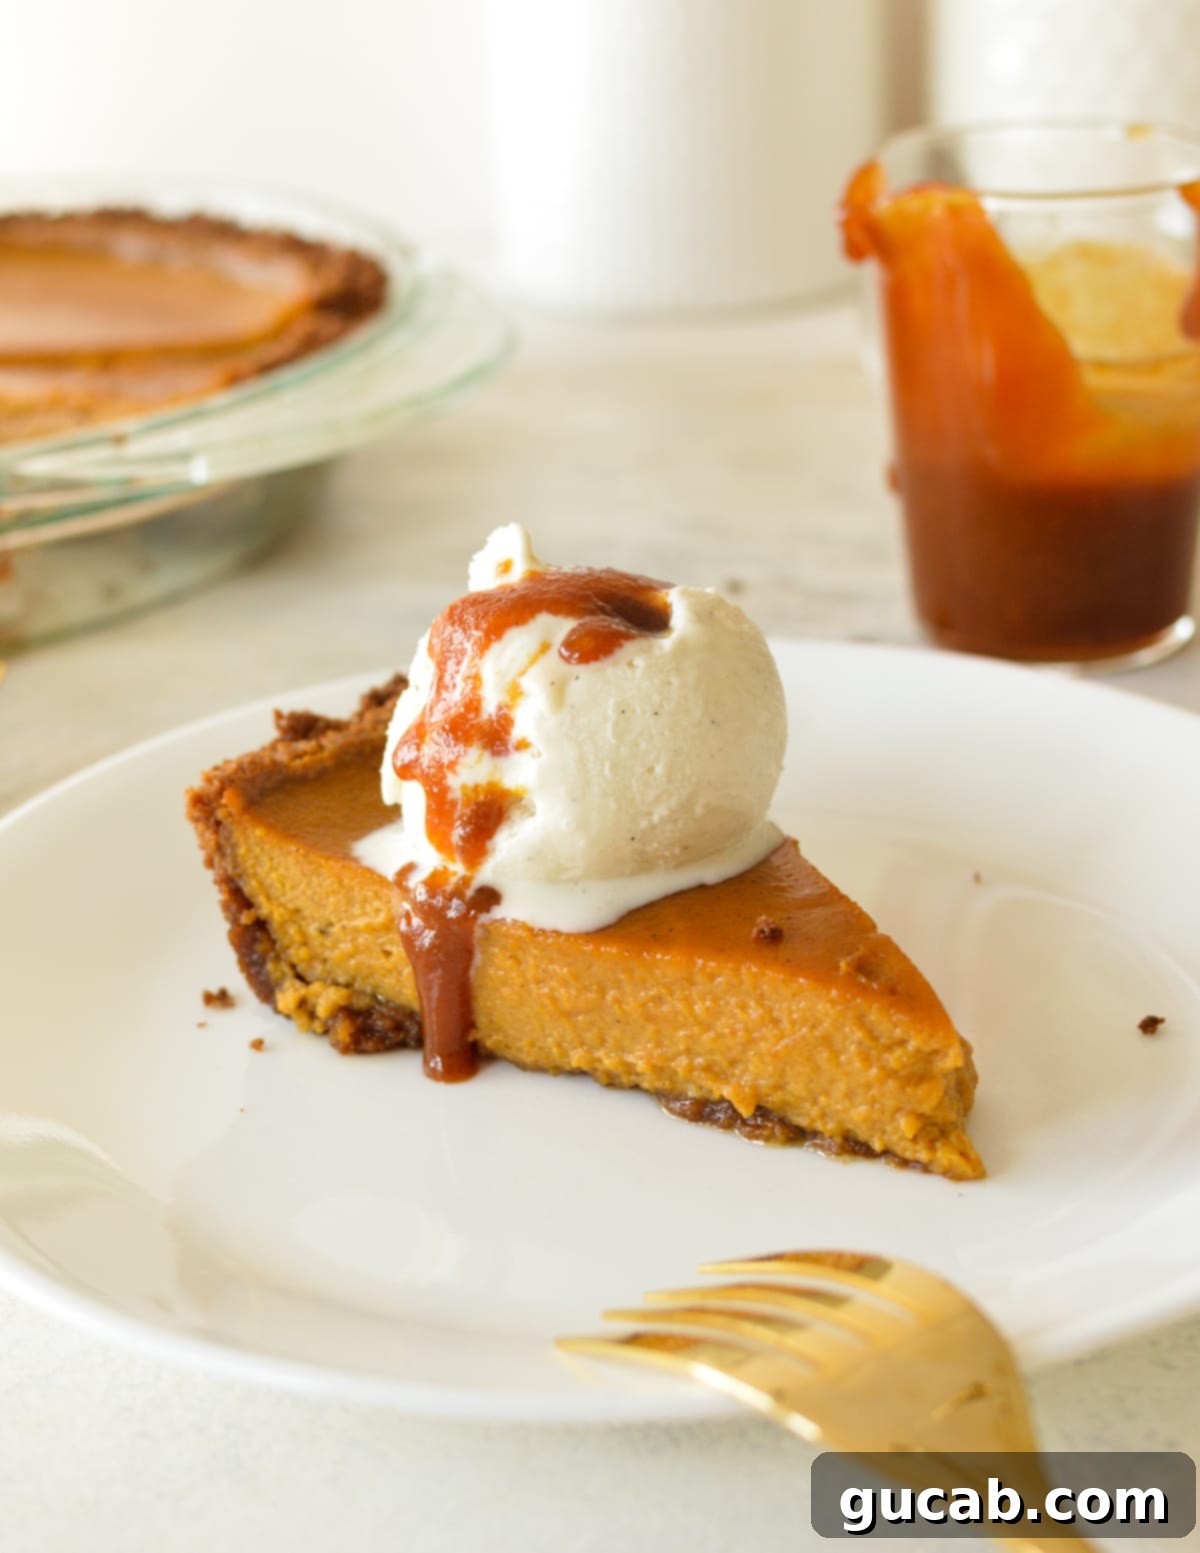
Why You’ll Absolutely Love This Easy Pumpkin Pie
There’s a special place in my heart for classic pumpkin pie, but let’s be honest, sometimes the thought of wrestling with traditional pie dough can be a daunting task. Crafting a perfectly flaky pie crust from scratch is a time-consuming process that requires a certain level of finesse and a good chunk of patience. If you’re anything like me and often find yourself short on time or energy, especially during the bustling holiday season, then this recipe is your new best friend!
This graham cracker crust pumpkin pie is truly a game-changer. It’s incredibly easy to make, yet delivers a taste that is utterly crave-worthy. The pumpkin filling itself is a dream – lusciously creamy, rich with warm spices, and baked to a perfect, sliceable consistency. The beauty of this recipe lies in its simplicity: you just whip up the smooth pumpkin custard, pour it into a readily available store-bought graham cracker crust, and bake. No rolling, no chilling, no crimping – just pure, unadulterated pumpkin pie bliss.
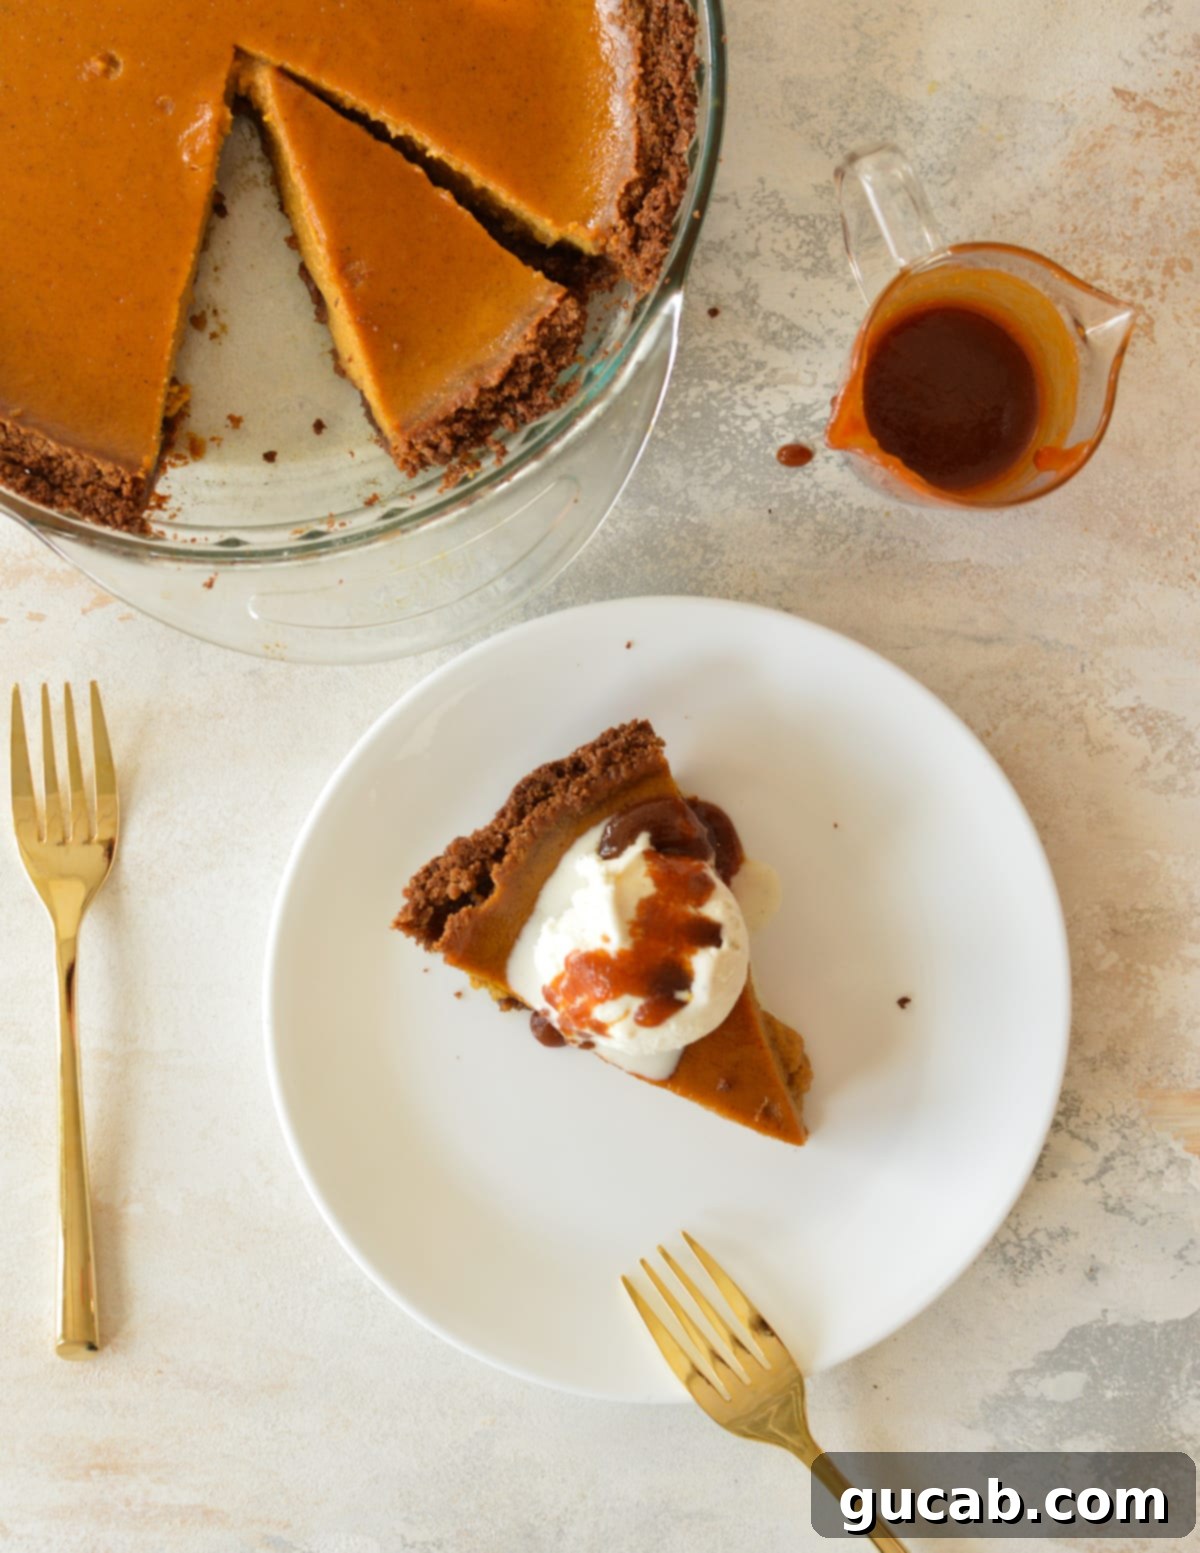
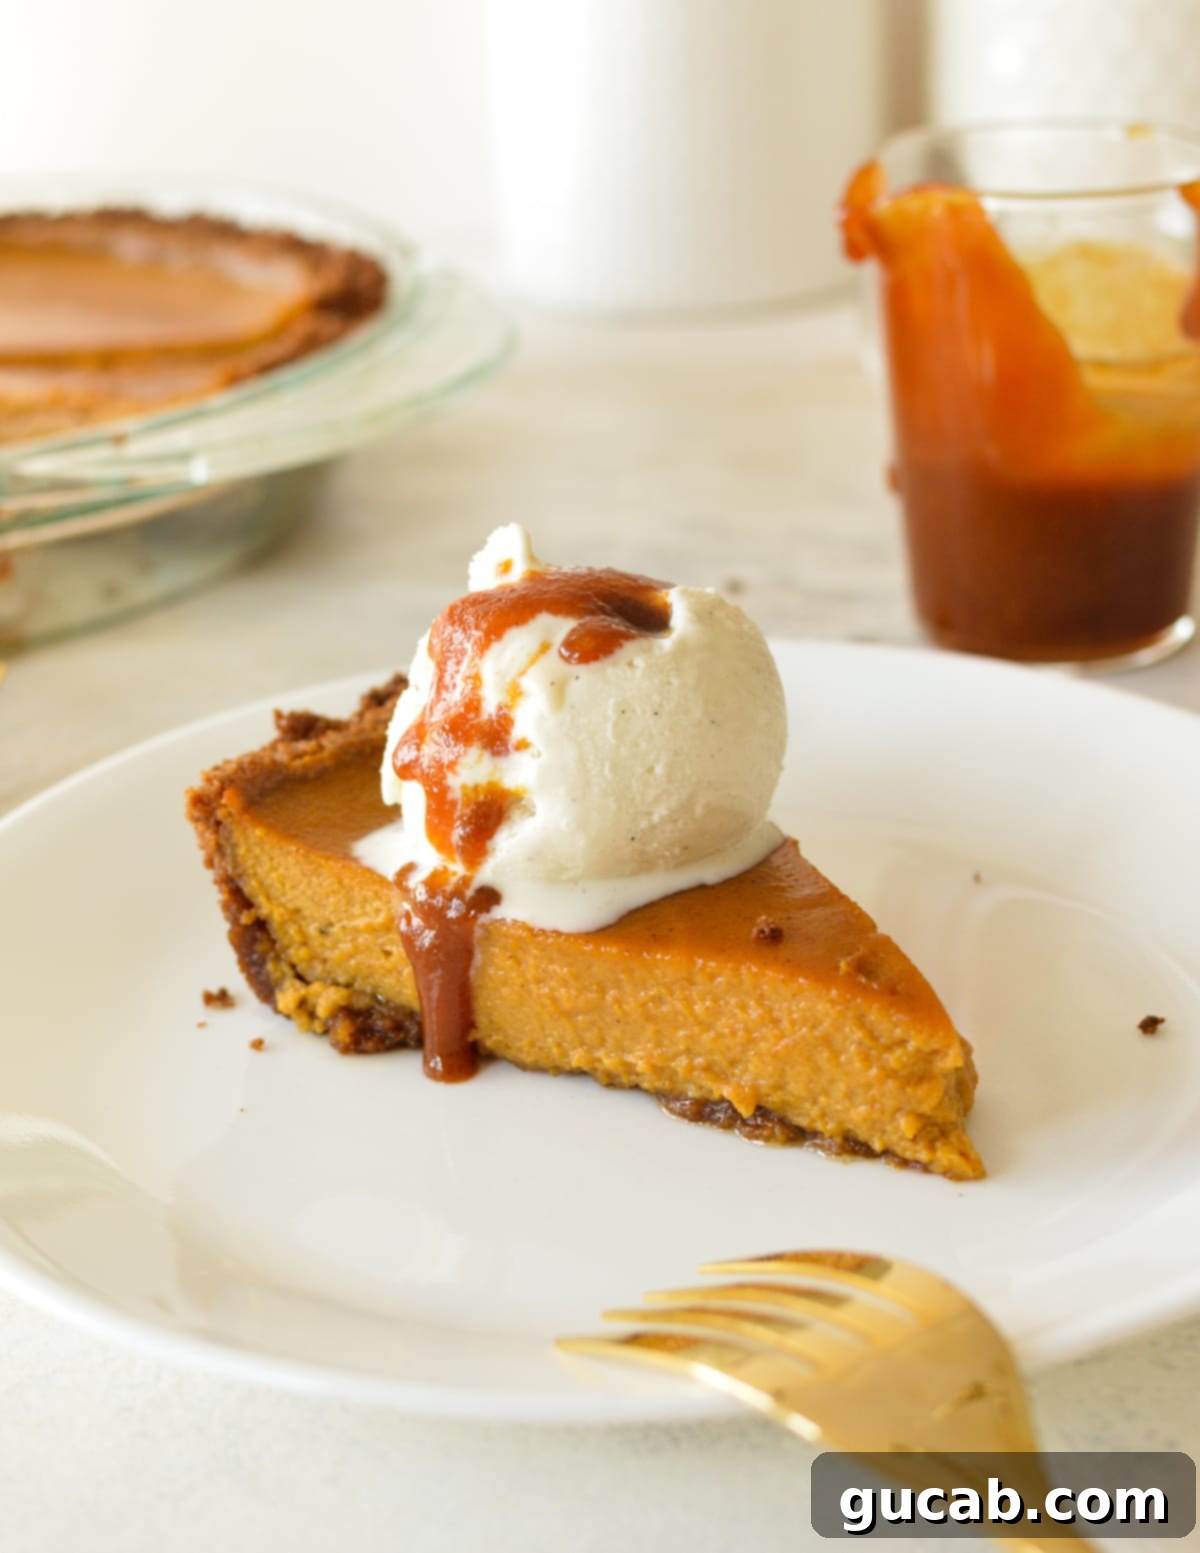
The sweet, slightly crunchy graham cracker crust provides a wonderful textural contrast to the silky filling, creating a harmonious blend of flavors and textures in every bite. It’s a comforting dessert that truly embodies the spirit of autumn and the holiday season, filling your home with a warm, inviting aroma as it bakes. I personally love serving it warm with a generous scoop of vanilla ice cream that slowly melts into the pie, and a drizzle of homemade caramel sauce for an extra touch of decadence. It’s also fantastic with a dollop of freshly whipped cream!
Essential Ingredients for Your Perfect Pie
One of the many reasons to adore this pumpkin pie recipe is its reliance on simple, accessible ingredients. You won’t need to hunt down anything exotic; everything you need can be found at your local grocery store. Here’s a detailed look at what goes into creating this delightful dessert:
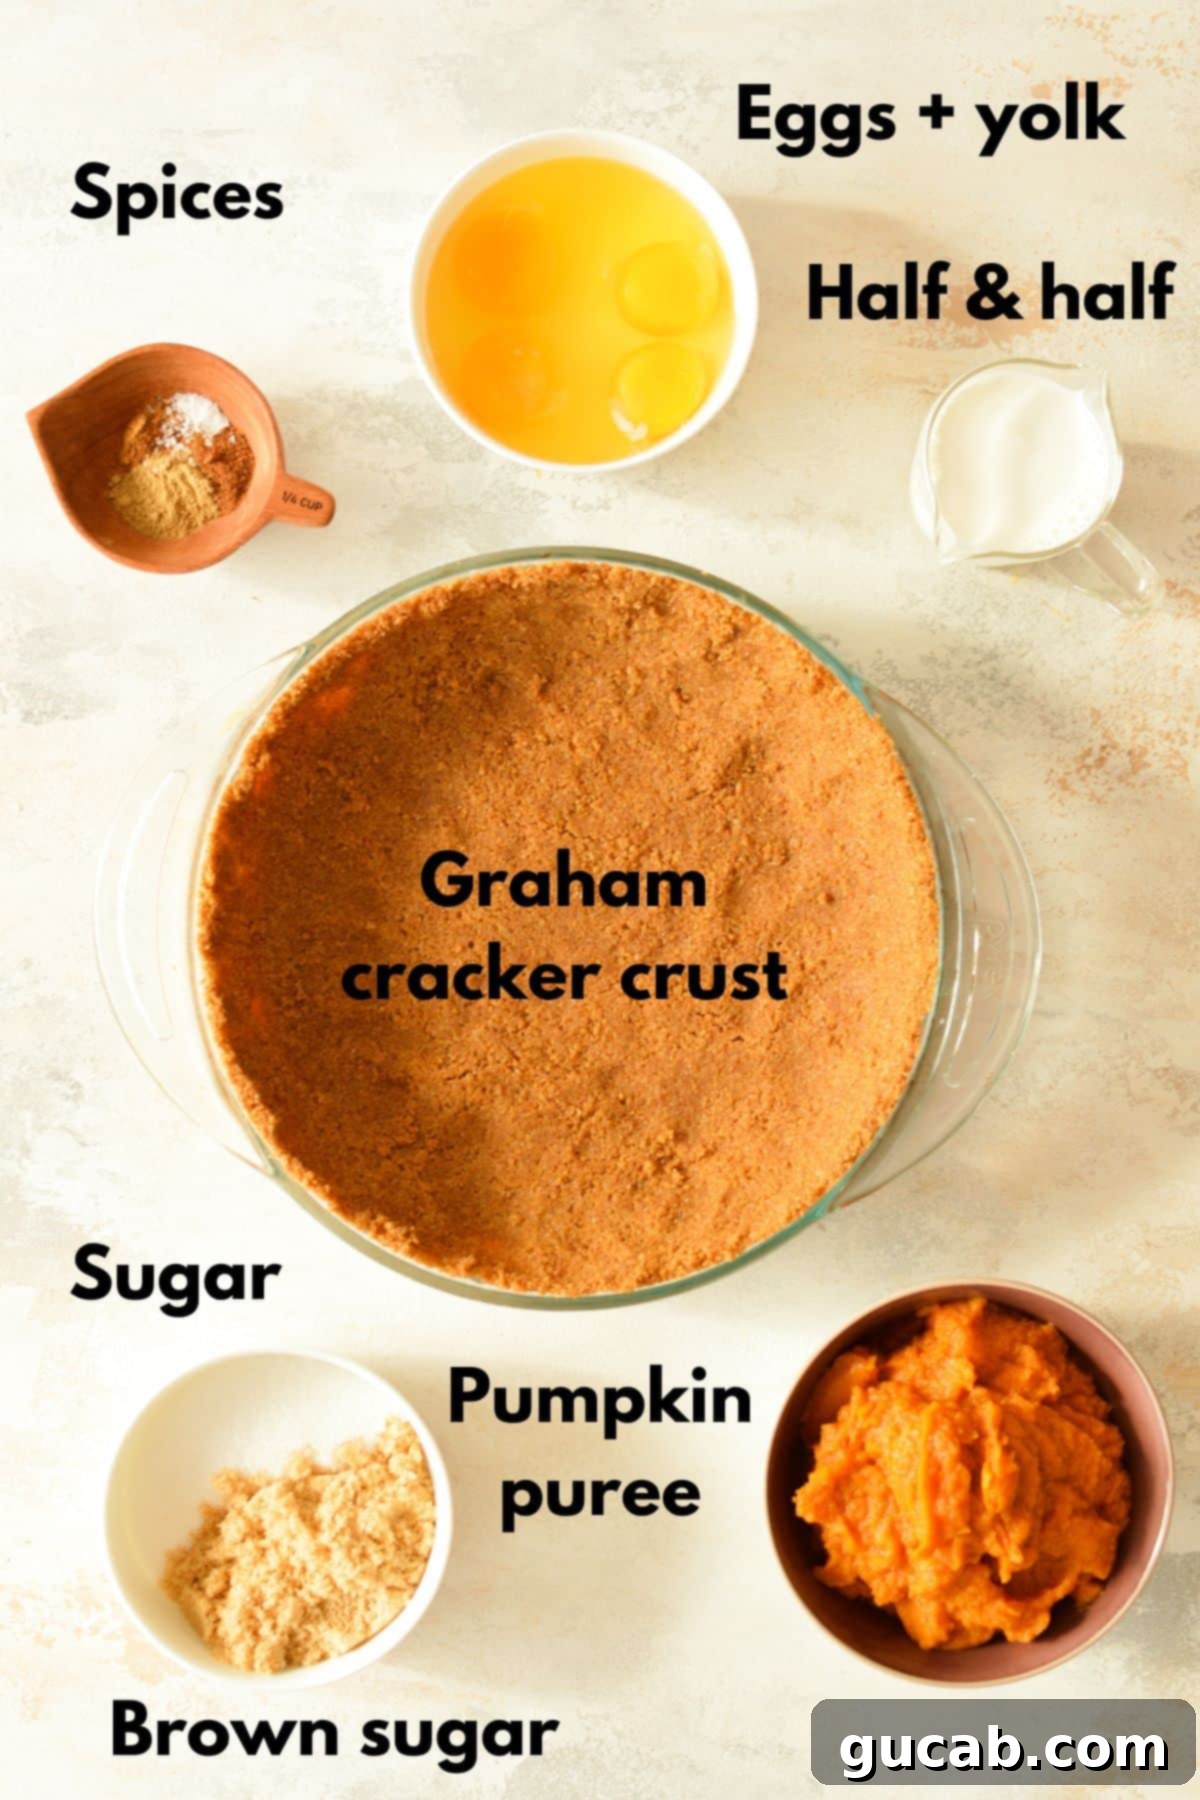
Graham Cracker Crust: This is the star of the “easy” factor! You have the flexibility to use either a pre-made, store-bought graham cracker crust or a homemade one. If opting for store-bought, which saves significant time, ensure you purchase a 10-inch crust. This size is crucial to accommodate the generous amount of filling this recipe yields. Using a smaller crust will leave you with excess filling. If you prefer a traditional pastry crust, that works beautifully too, but for the ultimate ease, graham cracker is the way to go. For those following a gluten-free diet, simply swap in gluten-free graham crackers (like Pamela’s brand) to make your own delicious and compliant crust.
Pumpkin Puree: The heart of any great pumpkin pie. You’ll need one standard 15-ounce can of pure pumpkin puree. It’s essential to make sure you’re buying “100% pure pumpkin” and *not* “pumpkin pie filling,” as pie filling already contains sugar and spices and will alter the flavor balance of this recipe. If you can only find larger 29-ounce cans, simply measure out 15 ounces. While any brand will work, I’ve found that well-known brands like Libby’s often provide a thicker consistency and superior flavor, which translates to a richer, more robust pumpkin pie. The vibrant orange color also looks fantastic!
Granulated Sugar & Brown Sugar: A delightful combination of both white granulated sugar and packed brown sugar is used to sweeten the pie. Granulated sugar provides clean sweetness, while brown sugar contributes a deeper, more nuanced, caramel-like sweetness and a touch of molasses flavor, which is absolutely quintessential for an authentic pumpkin pie experience. This blend helps to create a perfectly balanced and complex sweetness that complements the pumpkin and spices.
Eggs + Extra Yolk: Pumpkin pie is fundamentally a type of baked custard, and eggs are the key to its structure and richness. The proteins in the eggs coagulate as they bake, thickening the filling to that perfectly sliceable, yet creamy, texture. The addition of an extra egg yolk contributes to a richer mouthfeel and a more vibrant golden color, ensuring your pie is both beautiful and incredibly satisfying.
Half & Half: This dairy product is a blend of equal parts heavy cream and whole milk, making it an ideal choice for pumpkin pie. It’s richer than milk, lending a luxurious creaminess to the filling without being as heavy as using pure heavy cream. This perfect balance ensures a smooth, silky custard that sets beautifully without becoming overly dense. If you don’t have half and half, you can make your own by combining equal parts heavy cream and whole milk, or use a combination of heavy cream and milk, adjusting slightly for desired richness.
Spices: The aromatic backbone of this festive dessert! We use a classic trio of warm, earthy spices: cinnamon, nutmeg, and ground ginger. These spices are synonymous with fall and winter holidays, providing that signature cozy, comforting flavor profile. If you prefer, you can simplify by swapping all three individual spices for 2 teaspoons of pre-blended pumpkin pie spice, which typically includes these and sometimes cloves and allspice. A small pinch of kosher salt is also included to enhance all the flavors, making them pop!
Step-by-Step: How to Make This Easy Pumpkin Pie
The beauty of using a pre-made crust means your prep time for this delightful pumpkin pie is drastically cut down – we’re talking about a mere 5 minutes! Here’s how to assemble your perfect holiday dessert:
-
Preheat Your Oven: Start by preheating your oven to 350 degrees Fahrenheit (175 degrees Celsius). Ensuring your oven is at the correct temperature before the pie goes in is crucial for even baking.
-
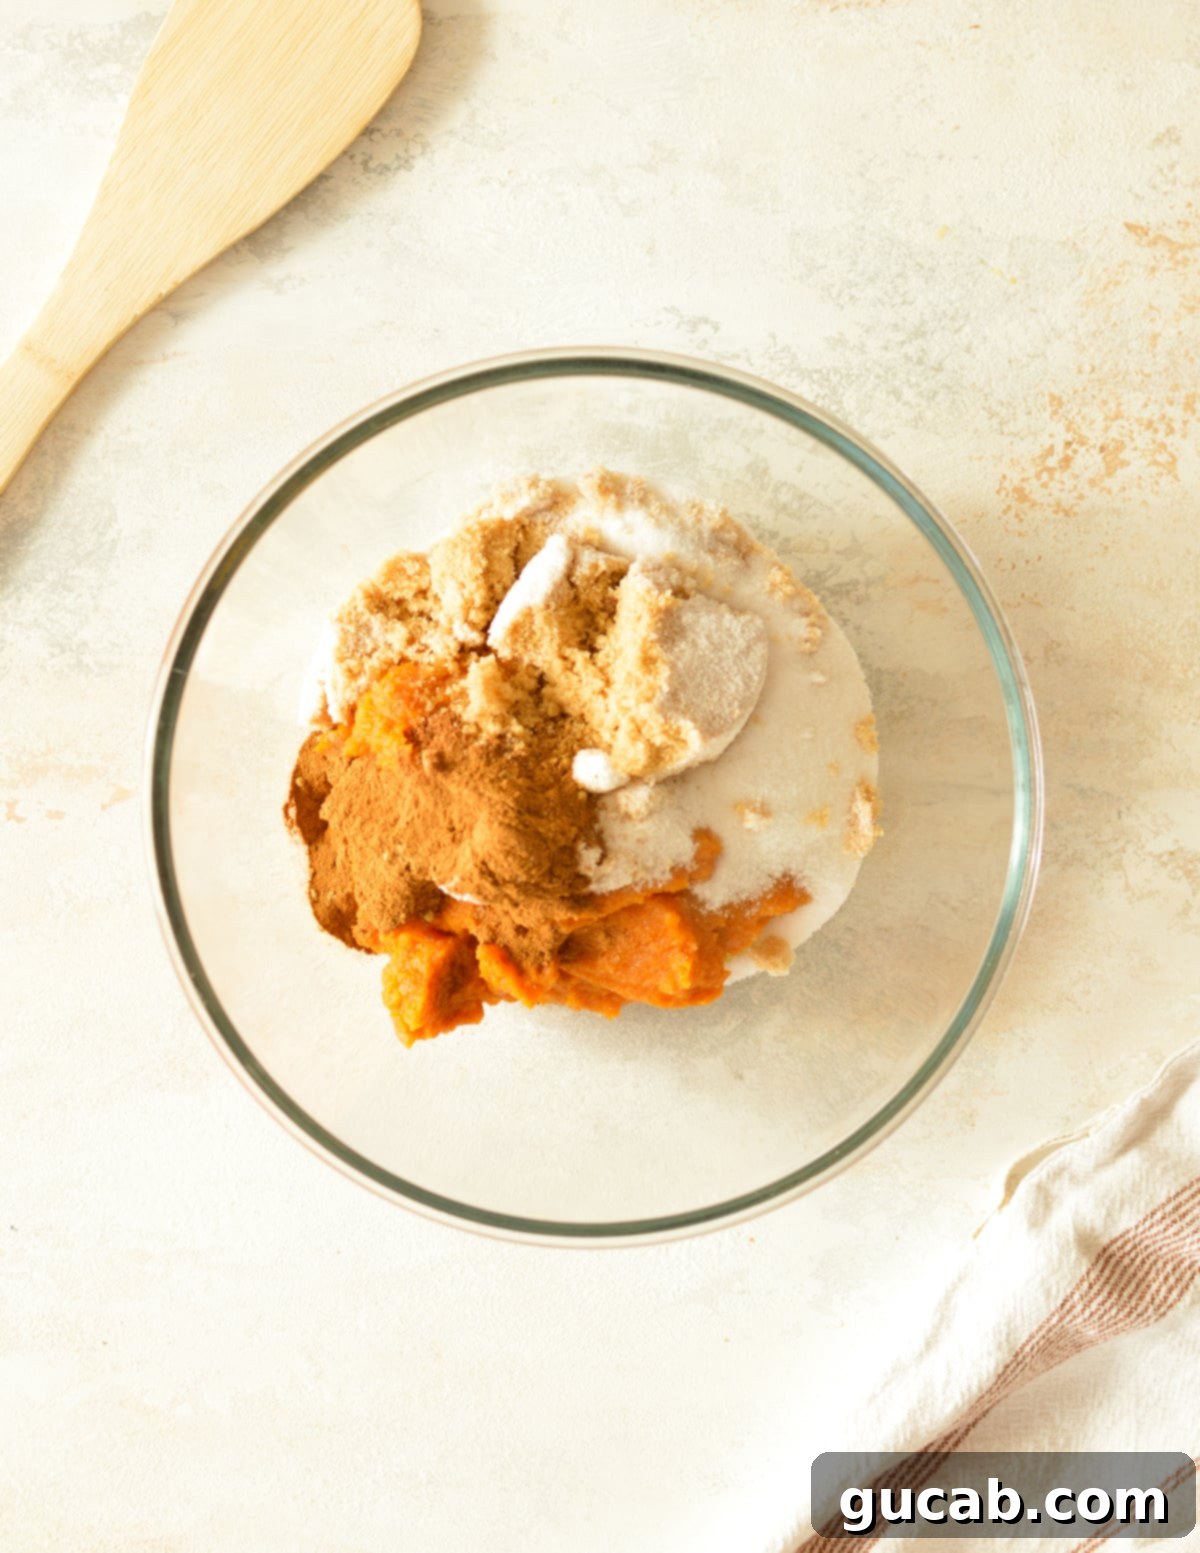
Combine Pumpkin & Sugars: In a large mixing bowl, scoop in the entire can of pumpkin puree. Add the granulated sugar, brown sugar, cinnamon, nutmeg, ground ginger, and kosher salt. Use a whisk or a sturdy spoon to combine these ingredients thoroughly until they are well integrated and the mixture is smooth and evenly spiced. This initial mixing helps to break down any clumps of brown sugar and ensures the spices are well distributed.
-
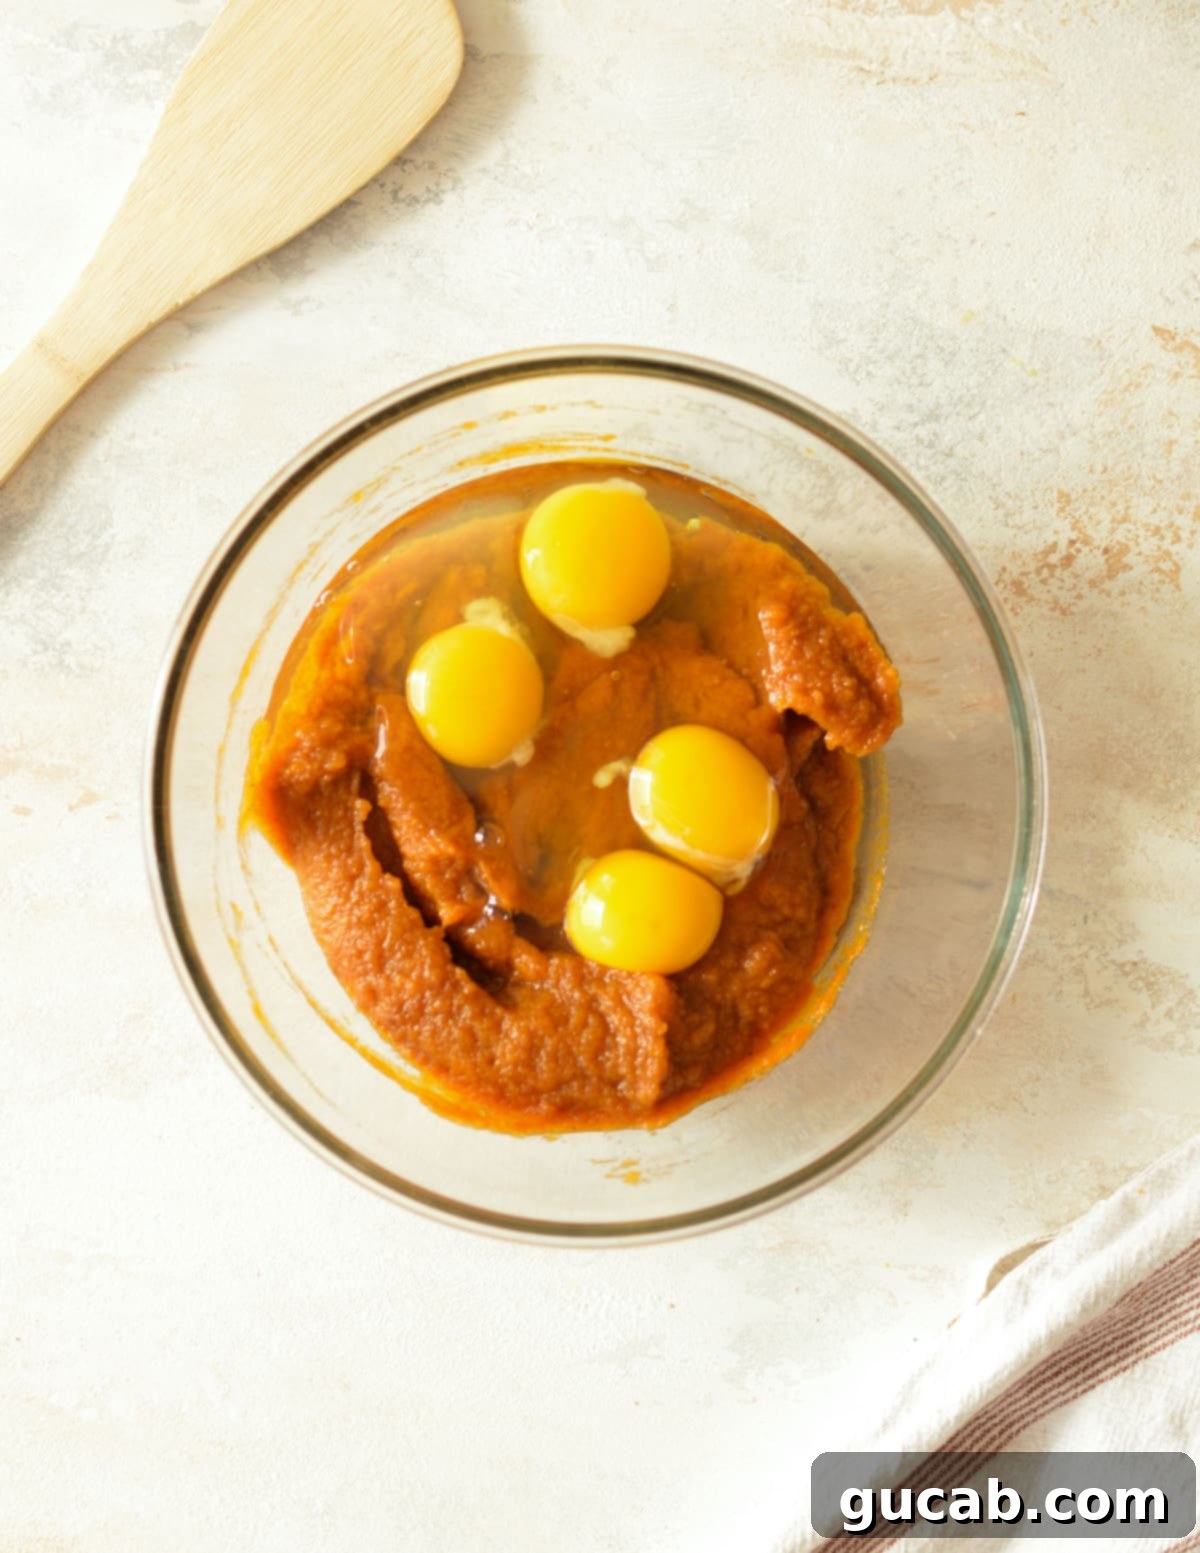
Add Eggs: Crack the three eggs and add the extra egg yolk directly into the spiced pumpkin mixture. Whisk vigorously until the eggs are completely incorporated. Continue whisking for about 30 seconds to ensure the egg proteins are well distributed throughout the mixture, which is essential for the pie to set properly and have a smooth, creamy texture.
-
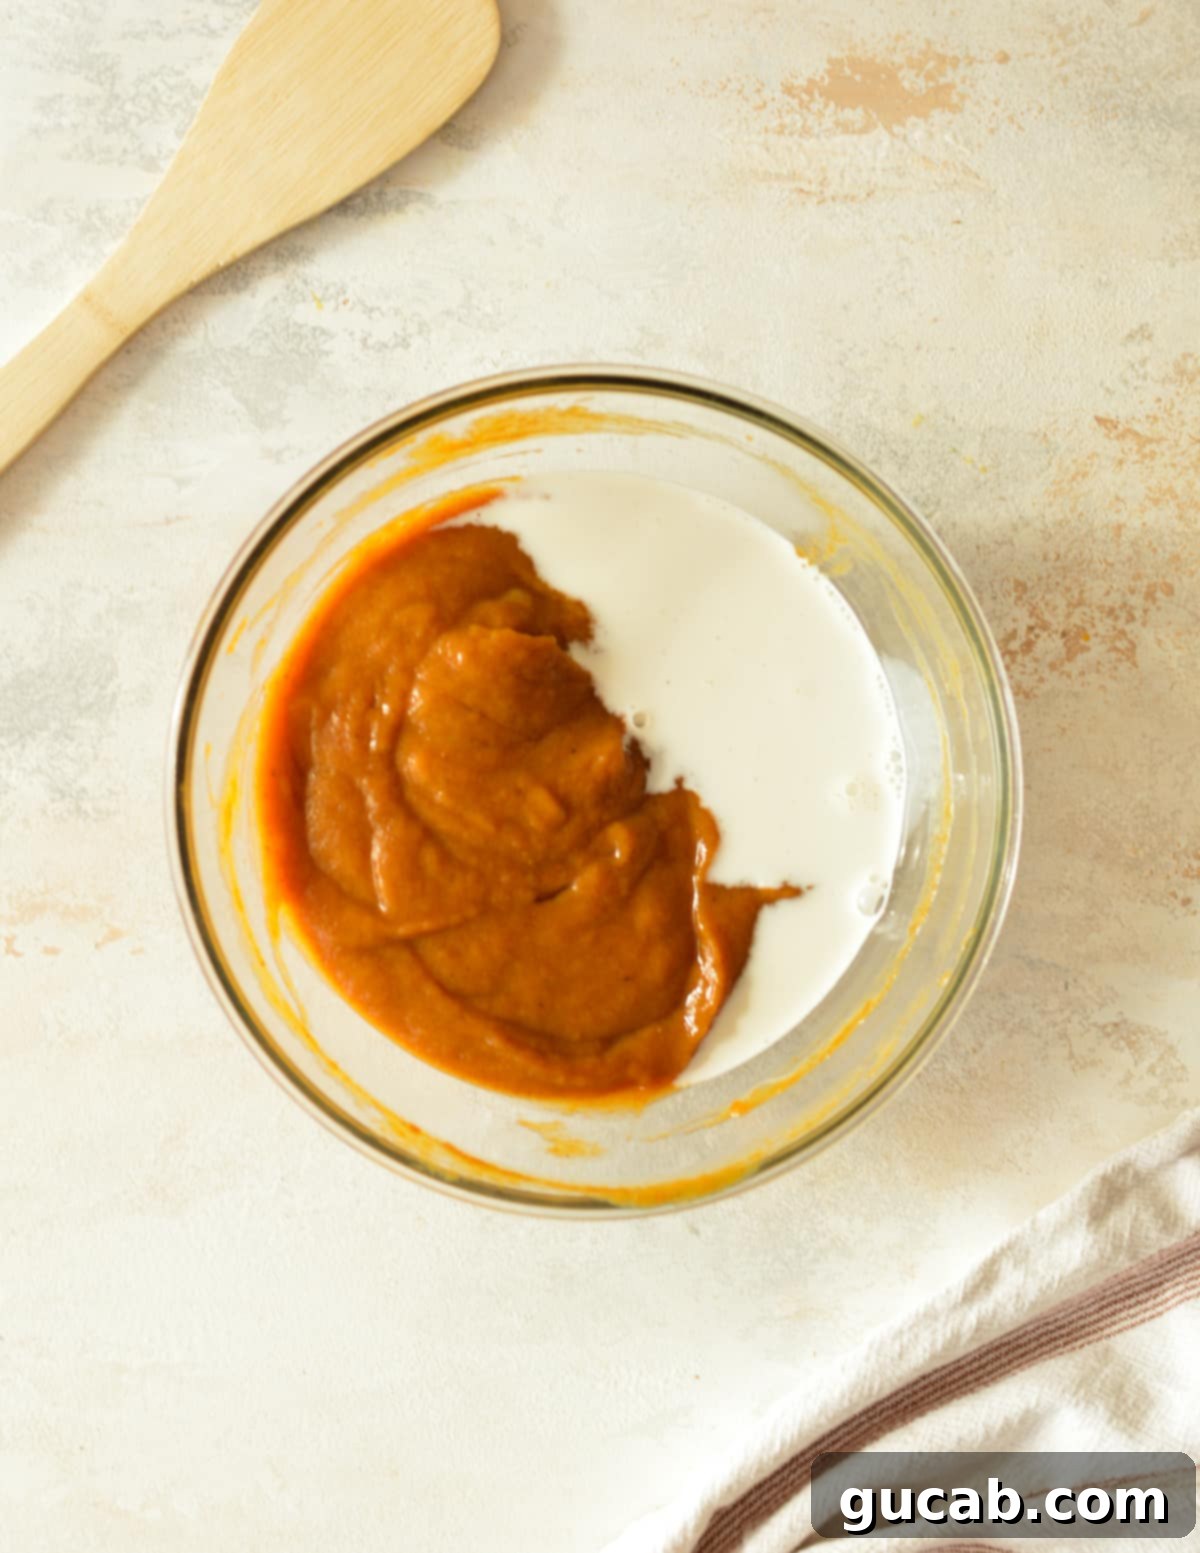
Incorporate the Half & Half: Gently pour the half and half into the pumpkin mixture. Carefully whisk it in until everything is just combined. Be careful not to overmix at this stage, as too much air can lead to cracks in your pie. The batter will appear relatively thin – this is perfectly normal! It will thicken considerably as it bakes in the oven, transforming into that luscious, firm custard you expect.
-
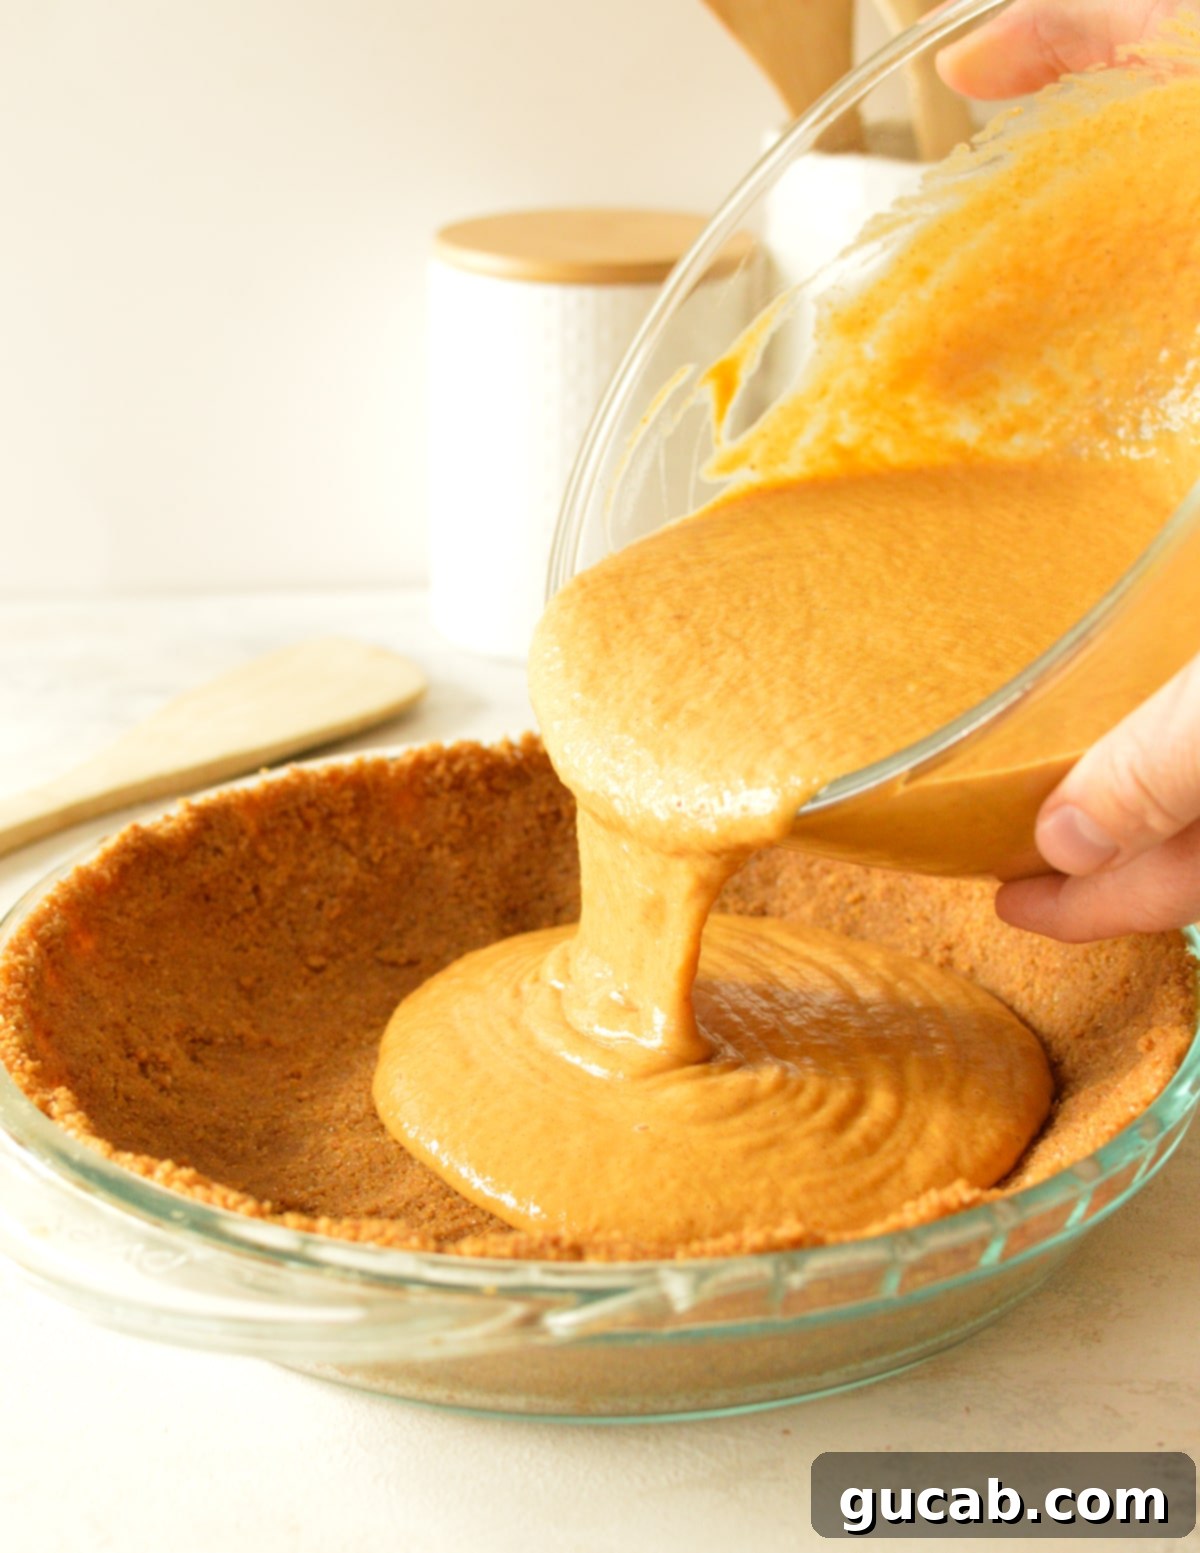
Pour Batter into Graham Crust: Place your prepared 10-inch graham cracker crust on a baking sheet (this makes it much easier to transfer to and from the oven, and catches any potential spills). Carefully pour the pumpkin pie batter into the crust, filling it almost to the top. The baking sheet also helps to distribute heat more evenly to the bottom of the pie.
-
Bake the Graham Cracker Pumpkin Pie: Carefully transfer the baking sheet with the pie to the middle rack of your preheated oven. Bake for approximately 45 to 50 minutes. The pie is done when the edges are set and slightly puffed, and the center still has a slight, gentle jiggle when you carefully move the pan. A knife inserted about an inch from the edge should come out clean. Overbaking can lead to cracks and a dry texture, so keep a close eye on it!
-
Cool and Enjoy: Once baked, carefully remove the pie from the oven and place it on a wire rack to cool completely. This cooling process is crucial for the pie to fully set and achieve its proper texture. It’s best to let it cool for at least 2 hours, or even longer, before attempting to slice it. For the cleanest slices and best texture, chilling the pie in the refrigerator for a few hours (or overnight) is highly recommended. Then, slice, serve, and savor!
Expert Recipe Tips for Pumpkin Pie Perfection
Achieving a flawless pumpkin pie with a graham cracker crust is simple, especially with these insider tips to guide you:
- Avoid Overbaking for a Creamy Custard: This is perhaps the most important tip! A perfect pumpkin pie custard should still have a slight “jiggle” in the very center when you gently shake the pie. It might look a little underdone, but trust the process. The residual heat will continue to cook the pie as it cools, allowing it to fully set. Overbaking will result in a dry, cracked pie, so err on the side of slightly underbaked.
- Patience is Key for Slicing: Resist the temptation to slice into your warm pumpkin pie right out of the oven! A hot pie will be soft and runny, making for a messy presentation. Pumpkin pie needs ample time to cool and set up. Aim for at least 2 hours of cooling at room temperature, and for truly pristine, clean slices, chilling the pie in the refrigerator for several hours or even overnight is highly recommended. If you’re in a hurry, you can carefully place it in the freezer for about 30-60 minutes to speed up the cooling of the bottom crust, but never rush the setting of the custard.
- Utilize the Middle Oven Rack for Even Baking: To ensure your pie bakes evenly without the top browning too quickly or the bottom burning, always place it on the middle rack of your oven. This position allows for optimal heat distribution.
- Blind Bake Homemade Graham Crusts: If you choose to make your own graham cracker crust (which is also delicious!), it’s highly advisable to blind bake it first. This step helps prevent the bottom of the crust from becoming soggy once the wet filling is added. Bake your homemade graham cracker crust at 350°F (175°C) for about 10 minutes, then let it cool slightly before adding the filling.
- Chill for the Cleanest Slices: As mentioned, a cold pie is a firm pie. Chilling your pumpkin pie thoroughly in the refrigerator will make it much easier to slice into neat, beautiful wedges, perfect for serving.
- Prevent Crust Edge Burning: Graham cracker crusts can sometimes brown faster than the custard bakes. If you notice the edges of your crust getting too dark during baking, you can gently cover them with aluminum foil or a pie crust shield for the remaining baking time.
- Room Temperature Ingredients for Smoothness: For the smoothest, most uniform custard, try to bring your eggs and half and half to room temperature before mixing. Room temperature ingredients emulsify better, leading to a silkier filling.
- Use a Baking Sheet: Always place your pie on a sturdy baking sheet before putting it into the oven. This not only makes transferring the pie much easier and safer but also catches any potential drips, keeping your oven clean.
Delicious Variations to Customize Your Pie
While this classic pumpkin pie with a graham cracker crust is phenomenal as is, there are many ways to customize it to your personal taste or occasion:
Crust Alternatives: Although this recipe highlights the ease and flavor of a graham cracker crust, the pumpkin filling is wonderfully versatile and tastes fantastic in various other crusts. Feel free to experiment! You could use a store-bought shortbread crust for a buttery, crisp base, a gingersnap crust for an extra layer of spice, or even a traditional flaky pastry crust if you’re up for making one. Remember to blind bake any homemade or unbaked crust if the recipe calls for it to prevent a soggy bottom.
Exciting Toppings: I’m partial to the classic pairing of vanilla ice cream and a drizzle of rich caramel sauce on pumpkin pie, but the possibilities are endless!
- Whipped Cream: A dollop of freshly whipped cream is a perennial favorite. You can even flavor it with a touch of vanilla extract, maple syrup, or a pinch of cinnamon for an extra festive touch.
- Chopped Nuts: Toasted pecans, walnuts, or even candied almonds sprinkled on top add a delightful crunch and nutty flavor.
- Chocolate Shavings: A sprinkle of dark chocolate shavings can provide a sophisticated contrast to the sweet pumpkin.
- Cinnamon or Nutmeg Dusting: A simple dusting of ground cinnamon or freshly grated nutmeg adds an aromatic finish.
- Bourbon Caramel Sauce: For an adult twist, add a splash of bourbon to your caramel sauce.
Flavor Enhancements:
- Citrus Zest: A little orange or lemon zest added to the filling can brighten the flavors and add a subtle complexity.
- Extracts: A teaspoon of vanilla extract or a hint of rum extract can deepen the overall flavor profile.
- Spiced Whipped Cream: Whip your cream with a dash of pumpkin pie spice or cinnamon for an extra layer of flavor.
Storage & Freezing Instructions
Proper storage is essential to keep your pumpkin pie tasting fresh and delicious, especially if you’re making it ahead of time for the holidays.
- Refrigerator Storage: Leftover pumpkin pie, or pies made ahead of time, should always be stored in the refrigerator. Cover the pie loosely with plastic wrap or aluminum foil. Alternatively, if you’ve already sliced it, you can place individual slices in an airtight container. When stored correctly, pumpkin pie will remain fresh and delicious for up to 4 days.
- Freezing for Longer Shelf Life: Pumpkin pie is wonderfully freezer-friendly, making it an excellent candidate for meal prep or enjoying holiday flavors year-round. I recommend cutting the pie into individual slices first. Arrange the slices on a baking sheet lined with parchment paper, ensuring they don’t touch. Pop the baking sheet into the freezer until the slices are solid (this prevents them from sticking together). Once frozen solid, transfer the slices to a heavy-duty freezer bag or an airtight freezer-safe container. Label with the date. Frozen pumpkin pie slices can be kept for up to 3 months without significant loss of quality.
- Thawing Instructions: To thaw frozen pumpkin pie, simply transfer the desired number of slices to the refrigerator and let them thaw slowly overnight. If you’re craving a quick single serving, you can microwave an individual slice in 10-second increments until it’s defrosted and slightly warmed. Be careful not to overheat it, as this can melt the custard and alter its creamy texture. Enjoy thawed pie chilled or gently warmed.
Frequently Asked Questions (FAQs) About Pumpkin Pie
Absolutely, and it’s a fantastic idea! When you’re looking to skip the more involved process of preparing a regular pie crust, a graham cracker crust is an excellent, convenient, and flavorful alternative. It’s incredibly versatile and works perfectly for a variety of desserts, including cheesecakes, creamy custard pies like this pumpkin pie, and even fruit pies such as apple pie! The slightly sweet and crunchy texture of a graham cracker crust often complements the filling beautifully.
This is a crucial distinction! Pumpkin puree is simply cooked, mashed pumpkin, with no other ingredients added. Pumpkin pie filling, on the other hand, is a pre-mixed product that contains pumpkin puree along with sugar, spices (like cinnamon, nutmeg, ginger), and sometimes evaporated milk. For this recipe, always use 100% pure pumpkin puree, as we add our own specific blend of sugars and spices to control the flavor precisely.
Cracks in pumpkin pie are a common issue, usually caused by overbaking. When a pie bakes for too long, the custard becomes too firm and continues to cook and shrink as it cools, leading to cracks on the surface. To avoid this, remember to pull your pie from the oven when the edges are set but the very center still has a slight jiggle. Rapid cooling can also sometimes contribute to cracking, so allow the pie to cool gradually at room temperature.
Yes, absolutely! Pumpkin pie is an excellent dessert to prepare in advance, which is perfect for busy holiday schedules. You can bake the pie up to 2-3 days before you plan to serve it. Once fully cooled, cover it loosely and store it in the refrigerator. This allows the flavors to meld and the custard to set even further, often resulting in an even better tasting and easier-to-slice pie.
While half and half offers an ideal balance of richness and lightness for this pie, you can make substitutions. Using heavy cream will result in a slightly richer, denser pie, while whole milk will yield a lighter, possibly less firm custard. If using heavy cream, you might slightly reduce the amount to prevent it from becoming too dense. If using whole milk, be aware the pie might be a bit softer. For the best results as intended, half and half is recommended, or you can create your own by mixing equal parts heavy cream and whole milk.
More Crave-Worthy Pie Recipes to Explore
If you loved this easy pumpkin pie, be sure to check out these other delightful pie recipes perfect for any occasion:
- Pumpkin Pie without Evaporated Milk
- Apple Pie With Graham Cracker Crust
- Gluten Free Blueberry Pie
- Flaky Gluten Free Pie Crust
Pumpkin Pie with Graham Cracker Crust
Carolyn
Pin Recipe
Equipment
-
Large mixing bowl
-
Measuring cups & spoons
Ingredients
- 1 10-inch store-bought graham cracker pie crust
- 15 ounce can of pumpkin puree
- ⅓ cup sugar
- ½ cup brown sugar
- 1 teaspoon cinnamon
- ½ teaspoon nutmeg
- ½ teaspoon ground ginger
- ¼ teaspoon kosher salt
- 3 eggs + 1 yolk
- ½ cup half and half
Instructions
-
Preheat the oven to 350 degrees Fahrenheit.
-
In a large bowl, combine the pumpkin, sugar, brown sugar, and spices. Mix well.
-
Add the eggs and yolk to the pumpkin mixture and whisk until incorporated.
-
Pour the half and half into the pumpkin mixture and gently stir so it doesn’t splash outside of the bowl. Stir until incorporated.
-
Pour the batter into a store-bought 10-inch graham cracker crust. Carefully transfer the pie to the middle rack of the oven.
-
Bake for 45 to 50 minutes, or until the top is golden brown and the middle is just slightly jiggly.
-
Let the pie cool for 2 hours, then slice and enjoy!
Nutrition
