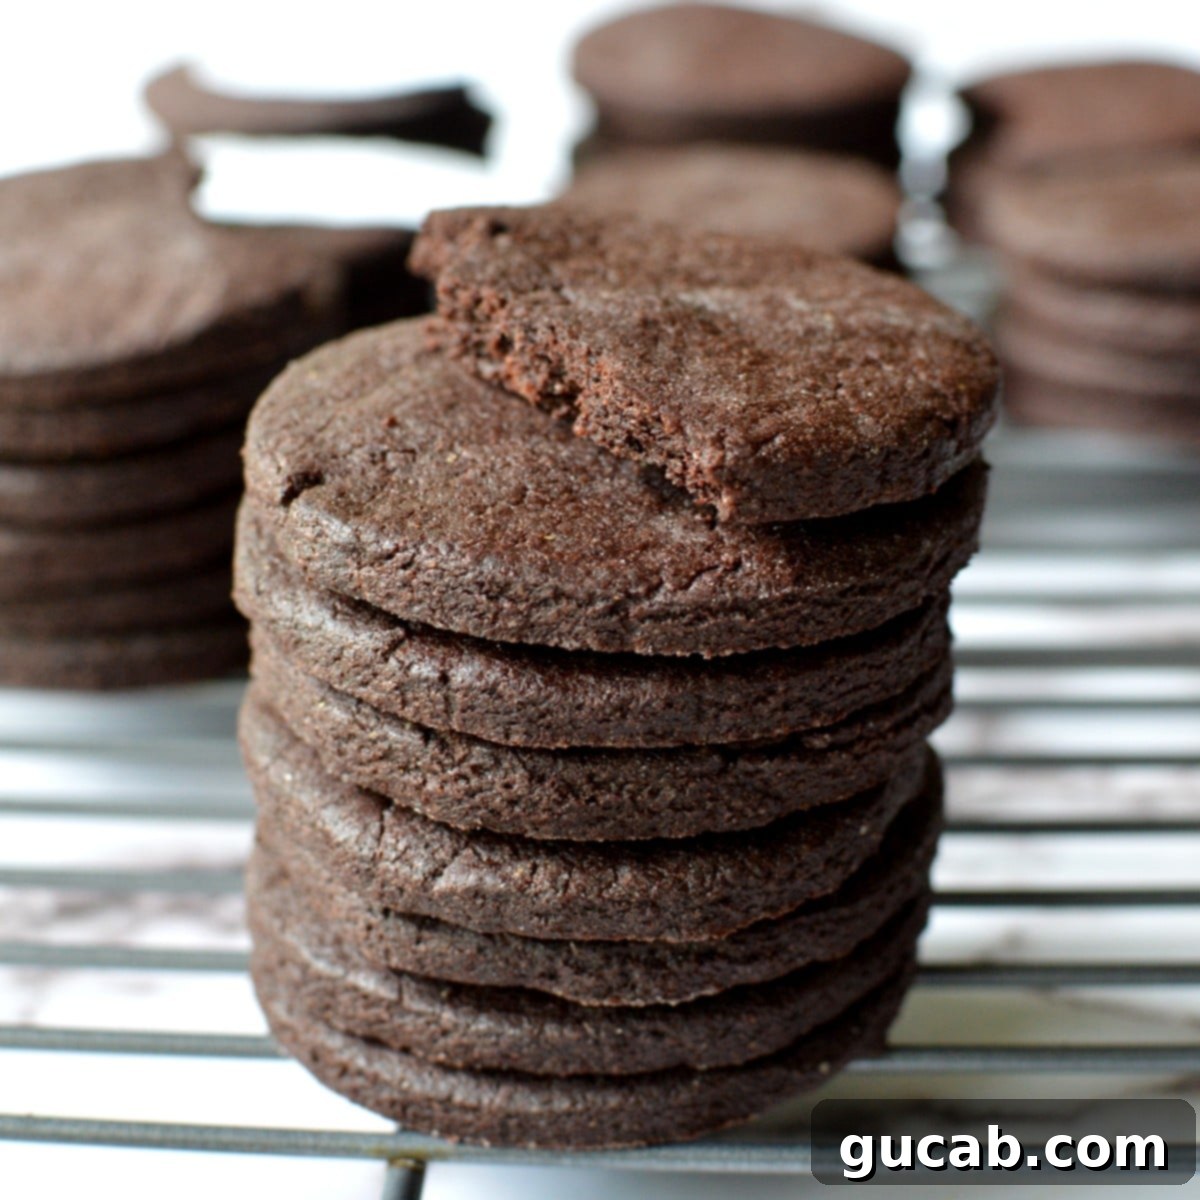
Irresistibly Crispy: The Ultimate Gluten-Free Chocolate Wafer Cookies Recipe
These gluten-free chocolate wafer cookies are an absolute dream for any chocolate lover! Crafted to be wonderfully thin, exquisitely crispy, and packed with a deep, rich chocolate flavor, they are downright delicious. Each cookie is rolled out to a perfect ⅛-inch thickness and baked until it reaches that ideal snap-worthy crispiness, all without any gluten. Prepare to fall in love with your new favorite gluten-free treat!
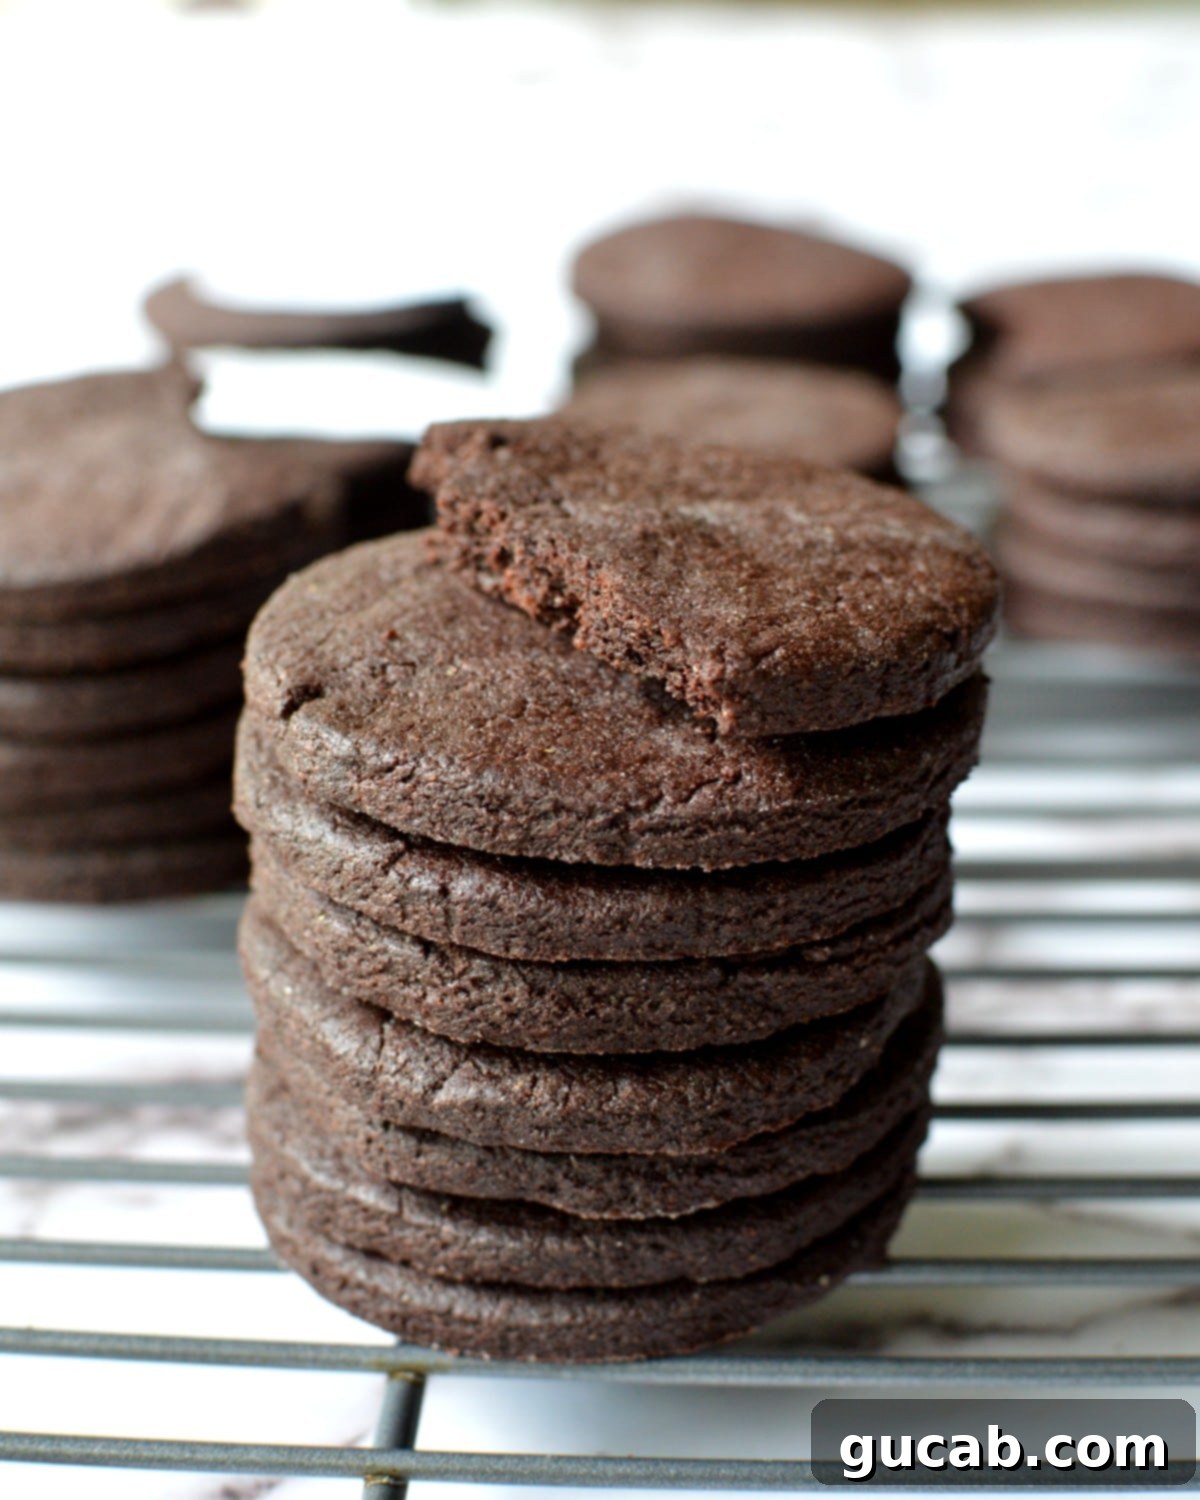
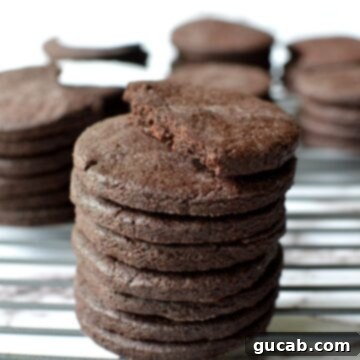
Don’t be deceived by this tempting close-up of a stack of chocolate cookies. While they might appear substantial in the picture, these delightful treats are incredibly thin, measuring just about ⅛ of an inch thick when they enter the oven. I even pulled out a ruler to confirm their delicate stature! Achieving this precise thinness is key to their signature crisp texture, making them vastly different from your average chewy chocolate chip cookie.
Looking back, I wish I had captured a photo of these gluten-free chocolate wafer cookies next to a standard cookie for a clearer size reference. But as the saying goes, hindsight is always 20/20! Rest assured, despite their delicate appearance, these wafers deliver an impressive punch of chocolate flavor and a satisfying crunch that makes them utterly addictive.
Disclosure: This post contains affiliate links. In other words, if you click a link and purchase something, I will receive a commission at no cost to you. I only recommend products I use and enjoy myself.
What Exactly is a Chocolate Wafer Cookie?
Chocolate wafer cookies are distinctive confections known for their thin, crisp texture and intense chocolate flavor. Unlike a typical soft or chewy chocolate cookie, wafers are designed to be snappy and light. They boast a deep, often dark, cocoa taste, making them incredibly versatile in the dessert world. While they are certainly delicious enough to be enjoyed on their own as a simple, satisfying snack – perhaps with a glass of milk or a cup of coffee – their true superpower often lies in their ability to be transformed. These crispy chocolate wafers are frequently crushed into fine cookie crumbs, which then become the base for decadent pie crusts, no-bake cheesecakes, or elegant icebox cakes. They also serve as an excellent topping for ice cream or other desserts, adding both texture and a rich chocolate essence. Their delicate nature makes them a beloved ingredient for creating layered desserts, where their crispness provides a wonderful contrast to creamy fillings. Think of them as the unsung heroes of many classic dessert recipes, now made accessible for those following a gluten-free diet.
The Art of Making Perfect Gluten-Free Chocolate Wafer Cookies
Crafting these delicious gluten-free chocolate wafer cookies is a straightforward and rewarding process. The key to their success lies in careful ingredient preparation and precise execution of a few simple steps. Let’s walk through the journey from basic ingredients to delightful, crispy cookies:
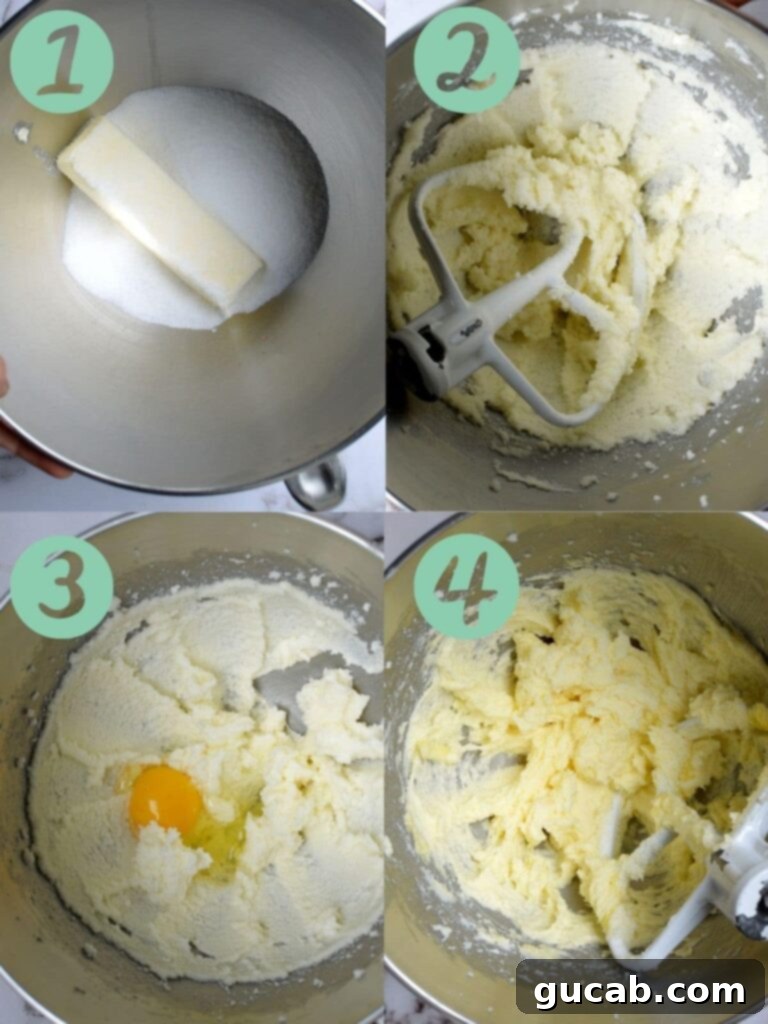
- Cream the Butter and Sugar: Begin by creaming together your room temperature unsalted butter and granulated sugar until the mixture is visibly light and fluffy. This step is crucial for incorporating air into your dough, which contributes to the cookies’ light texture. Aim for a pale, airy consistency that takes about 4-5 minutes with a stand mixer on medium speed.
- Integrate Wet Ingredients: Once the butter and sugar are perfectly creamed, add the large egg and vanilla extract. Continue to beat until these wet ingredients are fully combined into the mixture. Don’t forget to pause and scrape down the sides of the bowl with a spatula, ensuring every bit of butter and sugar is incorporated and you achieve a homogenous base for your cookie dough.
- Form the Dough: Next, gradually add your pre-mixed dry ingredients (gluten-free flour blend, Dutch-processed dark cocoa powder, baking powder, and kosher salt) to the wet mixture. Beat on low speed until everything just comes together and a rich chocolate cookie dough forms. Avoid overmixing, as this can lead to a tougher cookie, even with gluten-free flours.
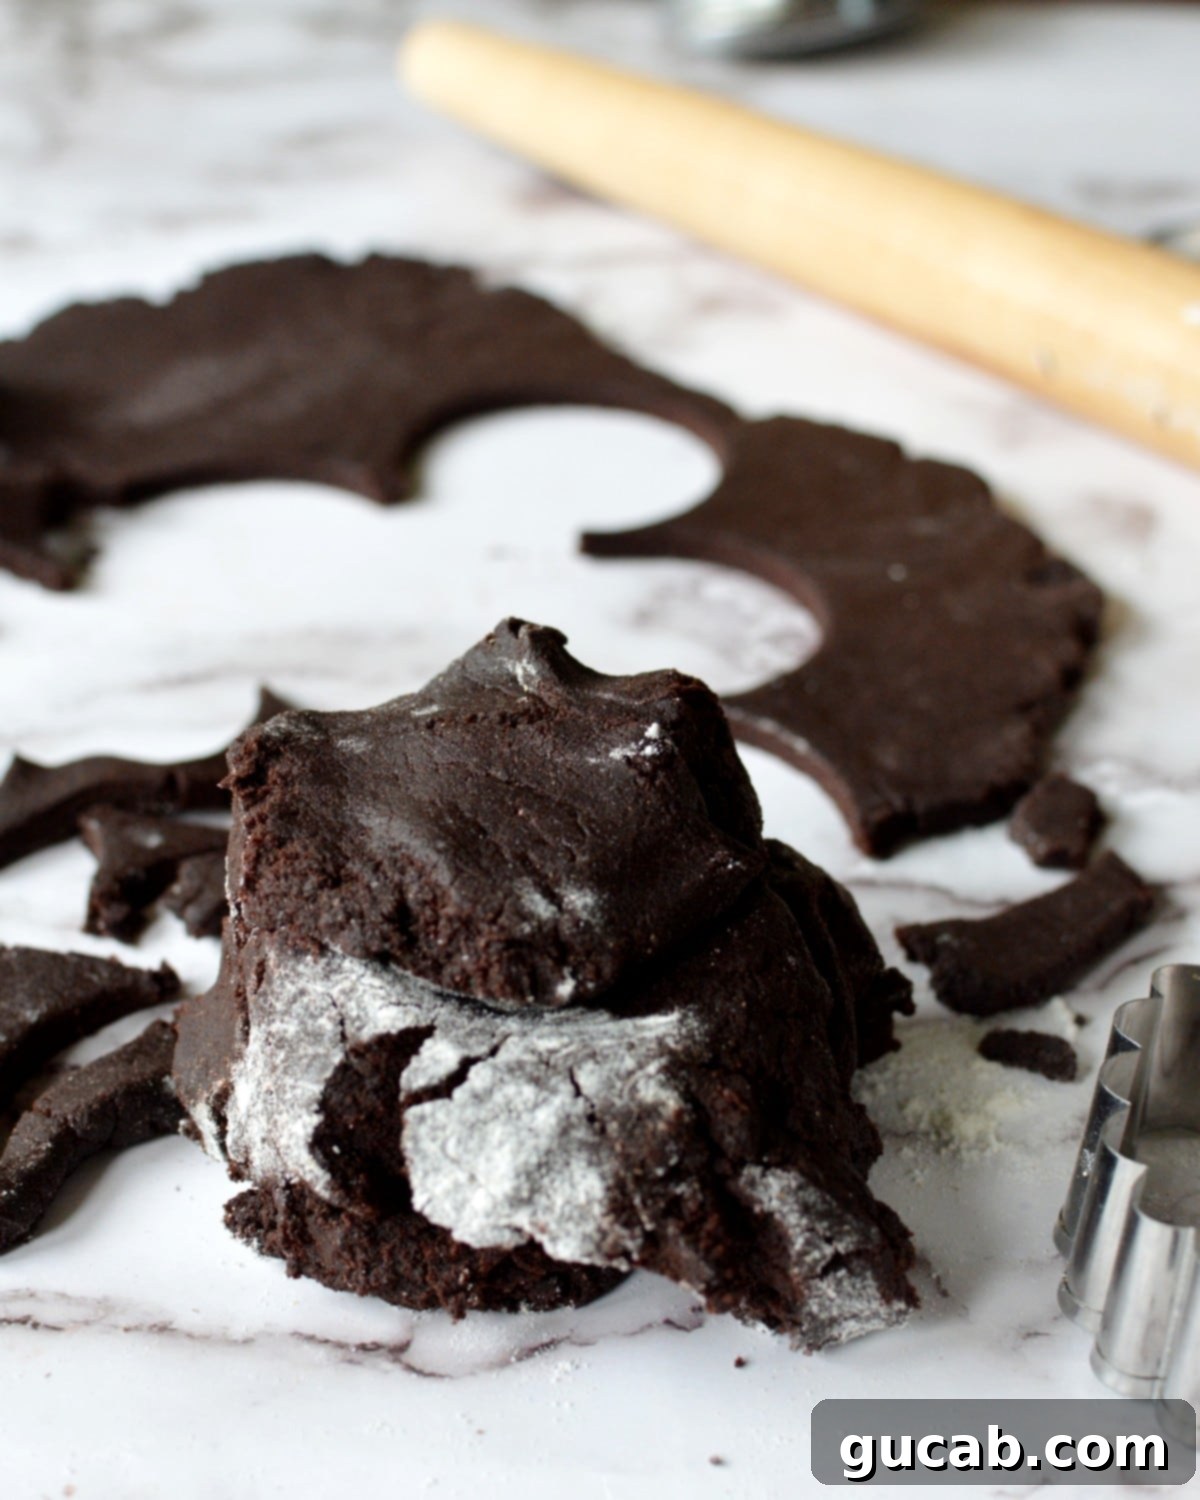
- Roll and Cut: Prepare your work surface by generously flouring it with a little extra gluten-free flour. Divide your dough in half to make it more manageable. Roll out one half of the cookie dough very thinly, aiming for exactly ⅛ inch thick. This precise thickness is fundamental to achieving the desired crisp wafer texture. Use a round cookie cutter, about 2 ¼ inches wide, to cut out your cookies. If you find the dough too soft or sticky to work with, don’t hesitate to chill it in the refrigerator for a couple of hours. This will make it firmer and much easier to roll and cut clean shapes.
- Bake to Perfection: Place the cut cookies on a parchment-lined baking sheet, leaving a little space between them. Bake at 350 degrees Fahrenheit for approximately 14 minutes, rotating the pan halfway through the baking time to ensure even cooking. Once baked, let them set on the hot pan for just 1 minute before carefully transferring them to a wire rack to cool completely. This brief rest period helps them firm up before handling.
- Cool and Crumble: Allow the cookies to cool entirely before you consider crushing them in a food processor to make cookie crumbs. Warm cookies will just become mushy. Once cool, they will be perfectly crisp and ready for any application, from pie crusts to delicious snacks!
Essential Tips for Gluten-Free Chocolate Wafer Cookie Success
Achieving the perfect thin, crispy, and deeply flavorful gluten-free chocolate wafer cookies comes down to a few key techniques and considerations. Here are some invaluable tips and things to remember:
- The Benefits of Chilled Cookie Dough: While this dough is generally lovely to work with, chilling it can significantly improve your experience, especially if you’re new to baking or less familiar with rolling out dough. Chilled dough is firmer, less sticky, and holds its shape much better, making it easier to roll to an even thickness and cut clean circles. If you find the dough too soft after mixing, simply wrap it in plastic wrap and refrigerate for at least 30 minutes, or up to a couple of hours. This step prevents the cookies from spreading too much in the oven, ensuring they maintain their delicate wafer form.
- Reviving Overly Chilled Dough: If you decide to chill your dough overnight or for several hours, it will likely be too hard to roll immediately out of the fridge. Let it sit out at room temperature for 15-30 minutes, or until it’s still firm but pliable and easy to work with without cracking. This allows the butter to soften slightly, making rolling much easier.
- Thinness is Absolutely Key: For true gluten-free chocolate wafer cookies, their characteristic crispiness relies entirely on being rolled out very thin. Aim for an exact ⅛-inch thickness. Any thicker, and you’ll end up with a crisp-chewy cookie rather than a snappy wafer. You can use a ruler or even rolling pin guides (strips of wood or dowels placed on either side of the dough) to help you achieve consistent thinness across the entire batch.
- Flour Your Work Surface Generously (but smartly!): There’s nothing more frustrating than meticulously rolling out cookies only to have them stubbornly stick to your counter when you try to lift them. Liberally flour your work surface and lightly dust the top of your dough before rolling. However, be mindful not to incorporate too much extra flour into the dough, as this can make the cookies dry. Dust off any excess flour from the cut cookies before placing them on the baking sheet.
- The Perfect Bake Time for Ultimate Crispness: I conducted extensive tests with varying bake times (10, 12, 14, and 16 minutes) to find the sweet spot. Ultimately, 14 minutes at 350°F (175°C) was the precise amount of time to achieve a perfectly crispy cookie that audibly snaps when you break it. If your goal is primarily to make cookie crumbs for a pie crust or icebox cake, this crispy texture is ideal. However, if you prefer a slightly chewier cookie to enjoy on its own (though these are best crispy!), you could reduce the baking time to 8 to 10 minutes. Adjust timing slightly based on your oven’s calibration.
- The Power of Dutch Processed Hershey’s Special Dark Cocoa Powder: This recipe specifically calls for Dutch-processed cocoa powder, such as Hershey’s Special Dark. Dutch-processed cocoa has been treated with an alkali to reduce its acidity. This results in a cocoa that is significantly darker in color, possesses a milder and richer chocolate flavor, and is less bitter than natural cocoa powder. Its reduced acidity also reacts differently with leavening agents; since it’s not acidic, it requires baking powder (which contains its own acid) rather than baking soda (which needs acid to activate). Using Dutch-processed cocoa is crucial here for achieving the deep, classic chocolate wafer taste and a beautiful dark hue. You can learn more about the differences between cocoa powders here.
- Proper Storage for Lasting Crispness: Once fully cooled, store your gluten-free chocolate wafer cookies in an airtight container at room temperature. This will help maintain their crisp texture for up to a week. If you plan to make crumbs, you can store the crushed crumbs in an airtight container as well, ready for your next dessert creation.
Creative Ways to Enjoy Your Gluten-Free Chocolate Wafer Cookies
Beyond being fantastic as a stand-alone snack, these gluten-free chocolate wafer cookies are incredibly versatile and can elevate a variety of desserts:
- Classic Icebox Cakes: The quintessential use! Layer them with whipped cream, chocolate mousse, or a creamy pudding for an easy, no-bake dessert that tastes incredible as the wafers soften slightly from the cream.
- Pie and Tart Crusts: Crush them into fine crumbs and mix with melted butter for a rich, dark, and perfectly gluten-free pie crust. Ideal for chocolate cream pies, cheesecakes, or key lime pies.
- Ice Cream Sandwiches: Pair two wafers with your favorite ice cream flavor (vanilla, mint chip, or coffee are fantastic choices!) for a homemade gluten-free ice cream sandwich. The wafers will soften slightly, creating a delicious texture.
- Dessert Topping: Roughly chop or crumble them over a bowl of ice cream, yogurt, puddings, or fruit crisps for an added layer of crunch and chocolate flavor.
- Decorations: Use whole or half wafers to decorate the sides of cakes or trifles for an elegant touch.
- Plain with a Beverage: Sometimes, the simplest pleasure is the best. Enjoy them with a cold glass of milk, a warm cup of coffee, or a rich hot chocolate for a comforting treat.
Other Gluten-Free Cookies You Might Love
If you’re enjoying the world of gluten-free baking, here are some other fantastic cookie recipes to add to your repertoire:
- Soft Gluten-Free Gingerbread Cookies
- Gluten-Free Funfetti Sugar Cookies
- Gluten-Free M&M Cookies
- Classic Gluten-Free Chocolate Chip Cookies
- Wholesome Flourless Oatmeal Cookies
Gluten-Free Chocolate Wafer Cookies
By Carolyn
Pin Recipe
20 minutes
14 minutes
34 minutes
Dessert
American
38
cookies
Equipment
-
Stand mixer
-
Rolling pin
-
Round cookie cutter (approx. 2.25 inches)
-
Parchment paper
-
Baking sheets
-
Wire cooling rack
Ingredients
- 8 tbsp unsalted butter, room temperature
- 1 cup granulated sugar
- 1 large egg
- 1 t. vanilla extract
- 1 cup Bob’s Red Mill 1:1 All Purpose Gluten-Free Flour Blend
- ⅔ cup Dutch-processed dark cocoa powder
- ½ t. baking powder
- ¼ t. kosher salt
Instructions
-
Preheat your oven to 350 degrees Fahrenheit (175°C). In a medium bowl, thoroughly combine the gluten-free flour blend, Dutch-processed cocoa powder, baking powder, and kosher salt. Stir well to ensure all dry ingredients are evenly distributed, then set this mixture aside.
-
In the bowl of a stand mixer fitted with the paddle attachment, cream the room temperature unsalted butter and granulated sugar together on medium speed. Beat for about 4 to 5 minutes, or until the mixture becomes noticeably light in color and fluffy in texture. This aeration is key for a tender cookie. Don’t forget to stop and scrape down the sides and bottom of the bowl with a spatula to ensure everything is fully incorporated.
-
Add the large egg and vanilla extract to the creamed butter and sugar. Beat again on medium speed until all ingredients are well combined and smooth. Scrape the bowl once more if needed.
-
Gradually add the reserved flour mixture to the wet ingredients. Beat on low speed until the mixture just comes together and forms a cohesive, rich chocolate cookie dough. Be careful not to overmix; stop as soon as the dry streaks disappear.
-
Lightly flour your work surface and rolling pin with a little extra gluten-free flour. Divide the cookie dough in half. Roll out one half of the dough to a precise ⅛ inch thickness. This is crucial for the wafer-like crispness! Use a round cookie cutter, approximately 2 ¼ inches wide, to cut out individual cookies. Carefully transfer the cut cookies to a parchment-lined baking sheet, leaving about an inch between each cookie. Bake for 14 minutes, rotating the pan halfway through baking (around the 7-minute mark) to ensure even cooking. Repeat this process with the remaining cookie dough.
-
Once baked, allow the cookies to set on the baking sheet for 1 minute before gently transferring them to a wire cooling rack to cool completely. They will crisp up as they cool. Ensure they are fully cooled before stacking or crushing them for crumbs.
gluten free, chocolate, wafer, cookies, crispy
Tried this recipe?
Let us know how it was!
