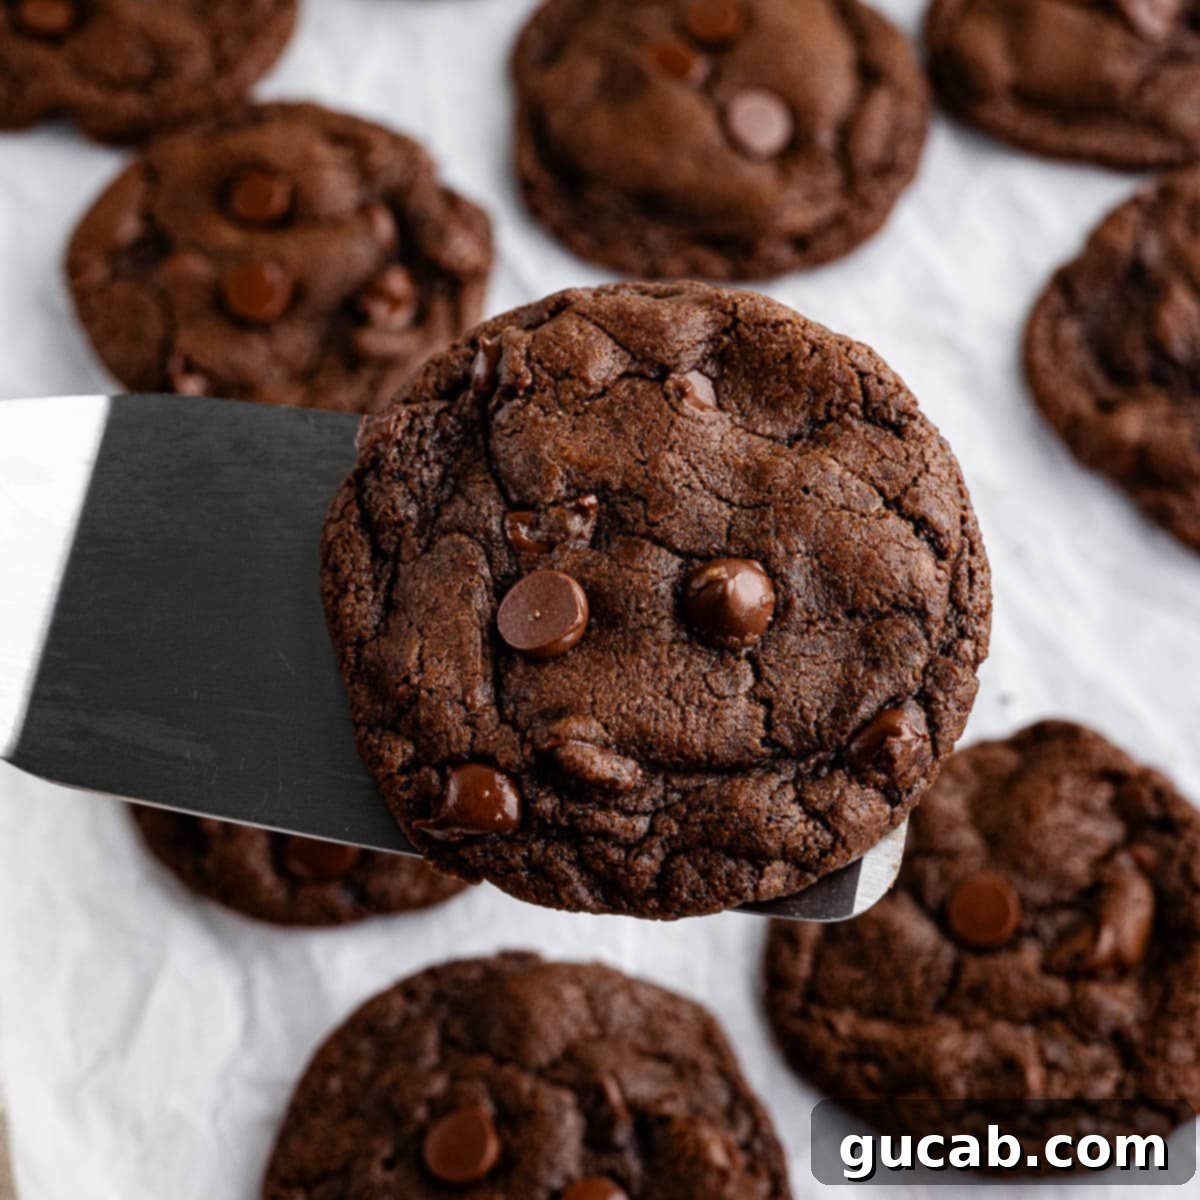
Indulge Guilt-Free: The Ultimate Chewy Gluten-Free Double Chocolate Cookies (No Mixer Needed!)
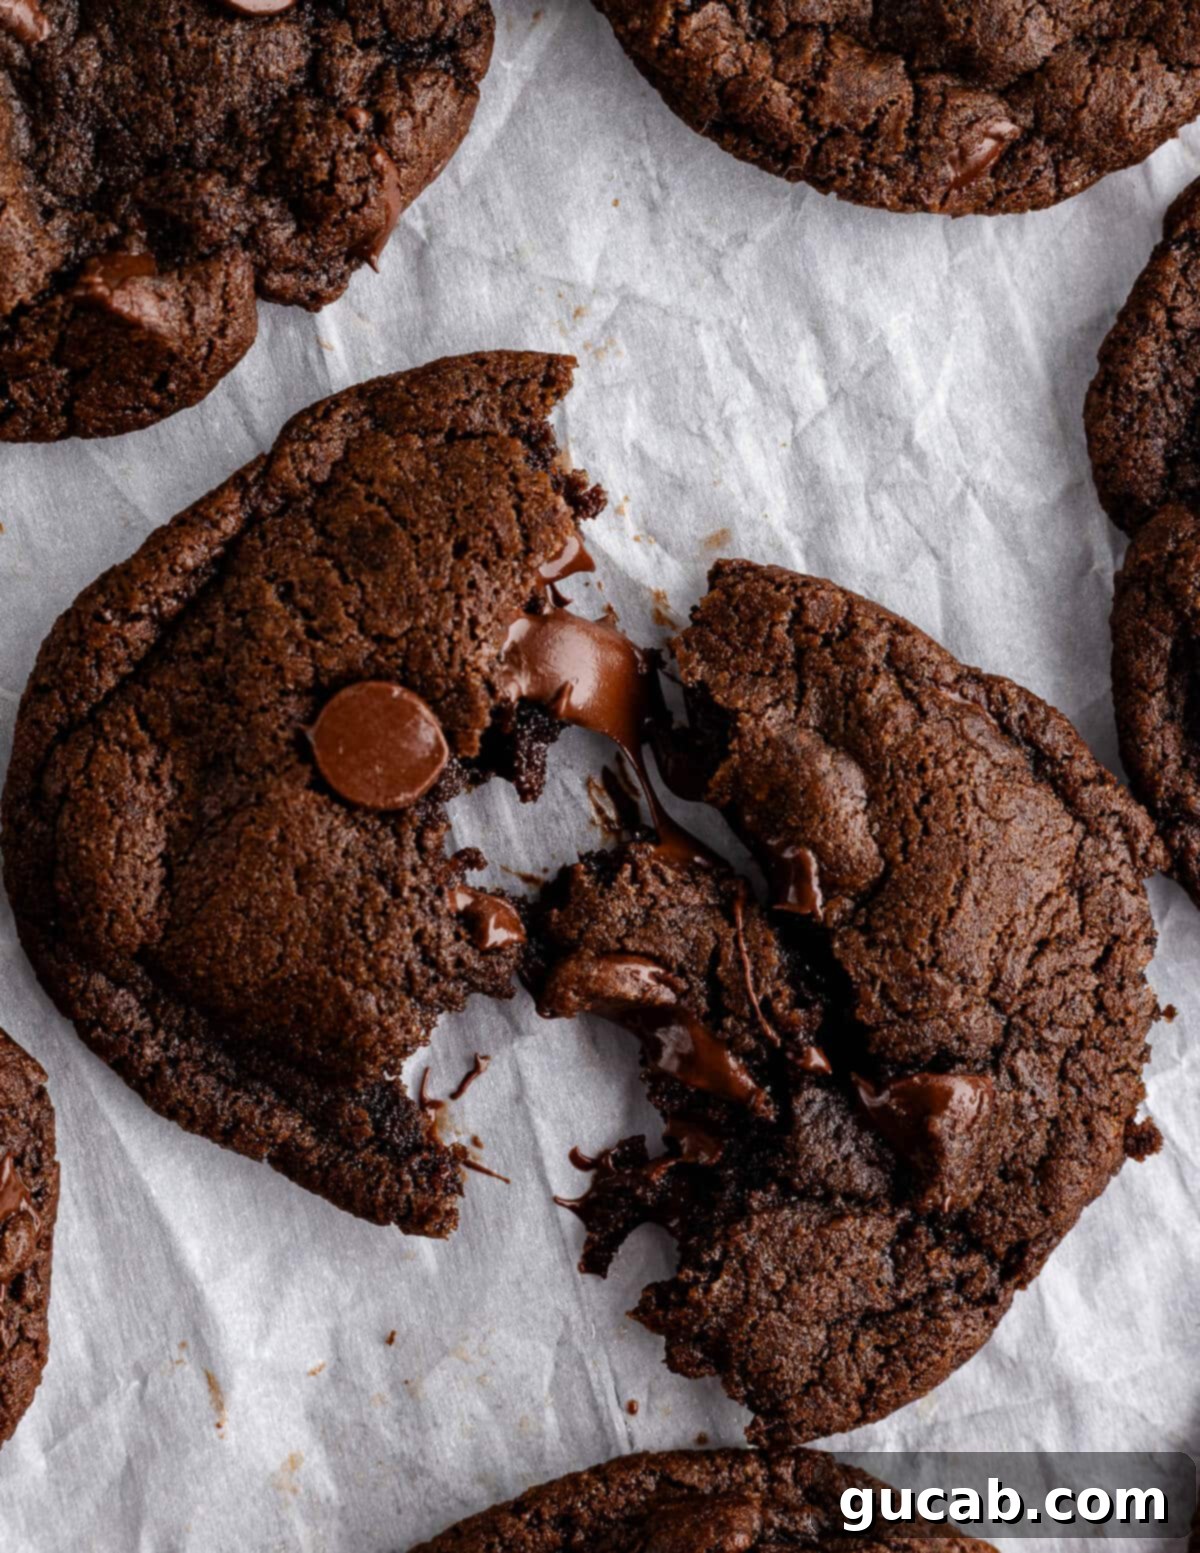
Get ready to fall in love with these gluten-free double chocolate cookies that are so incredibly good, you’ll barely believe they’re gluten-free! We’re talking about an irresistible combination of ultra-chocolatey flavor, soft and delightfully chewy centers, and an abundance of melted chocolate chips in every bite. The best part? You don’t even need a stand mixer or hand mixer to whip up a batch of these beauties. Just a bowl and a spoon are all it takes to create cookie perfection.
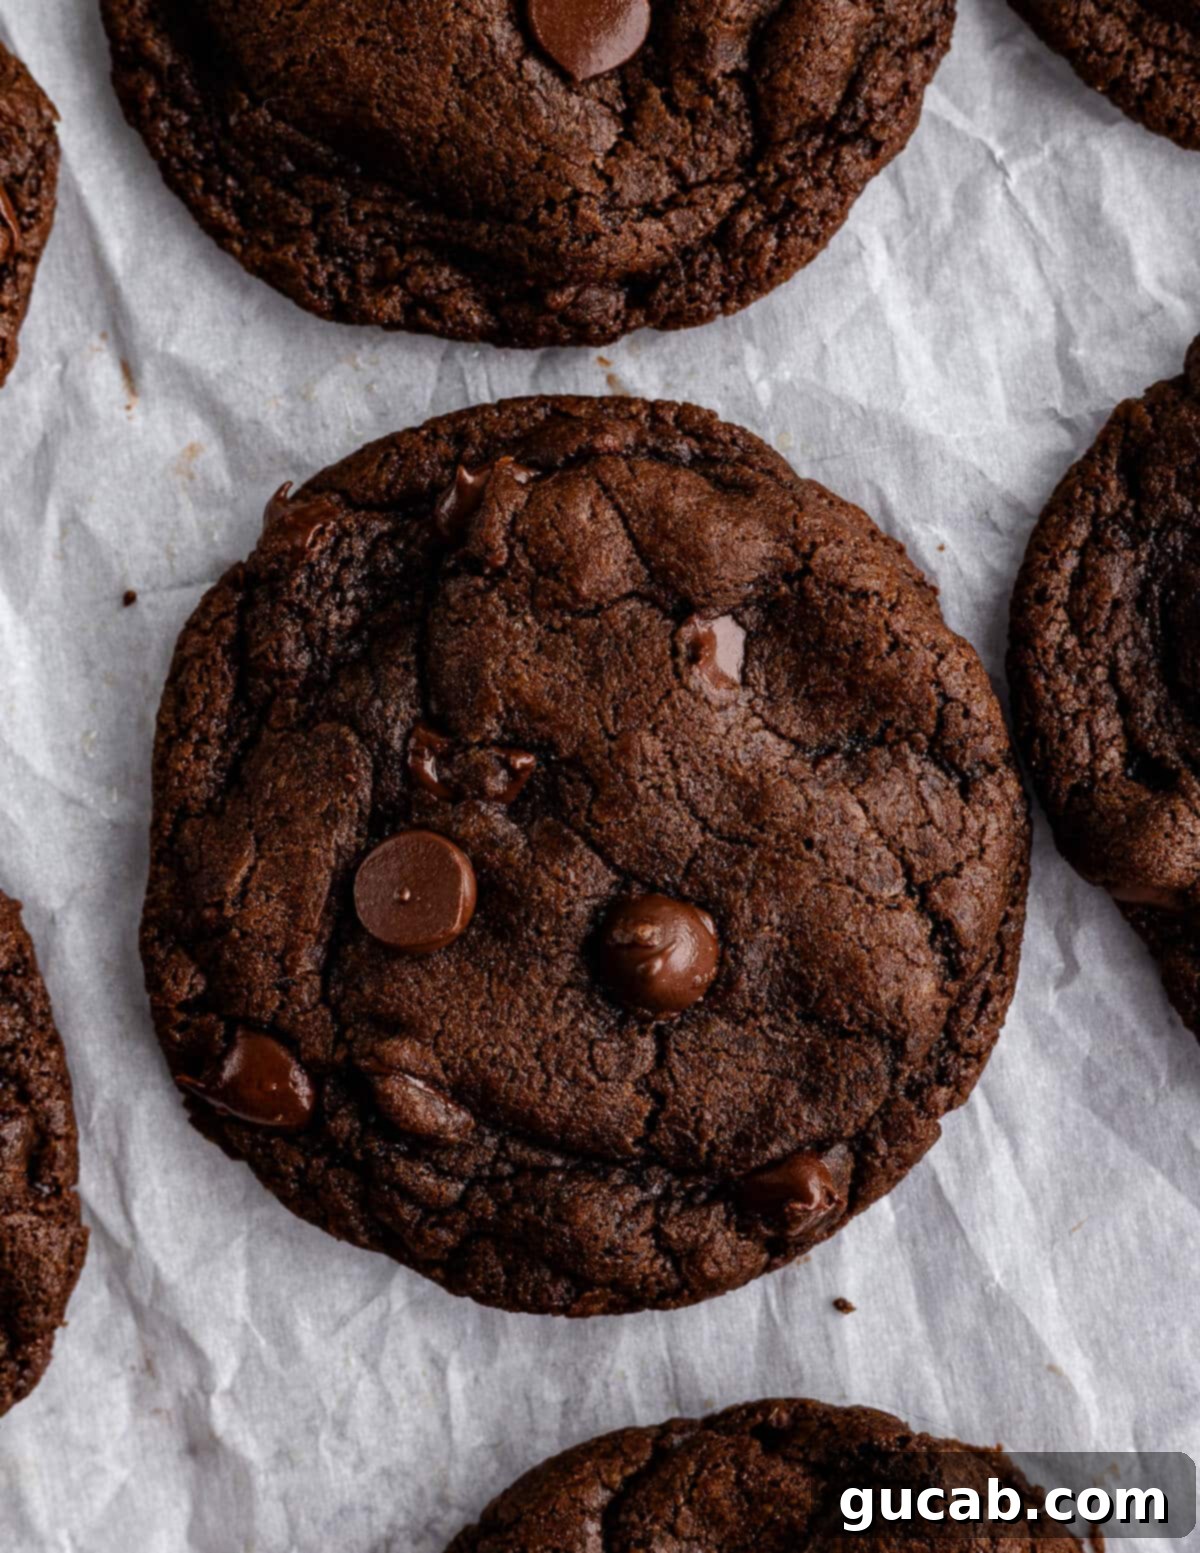
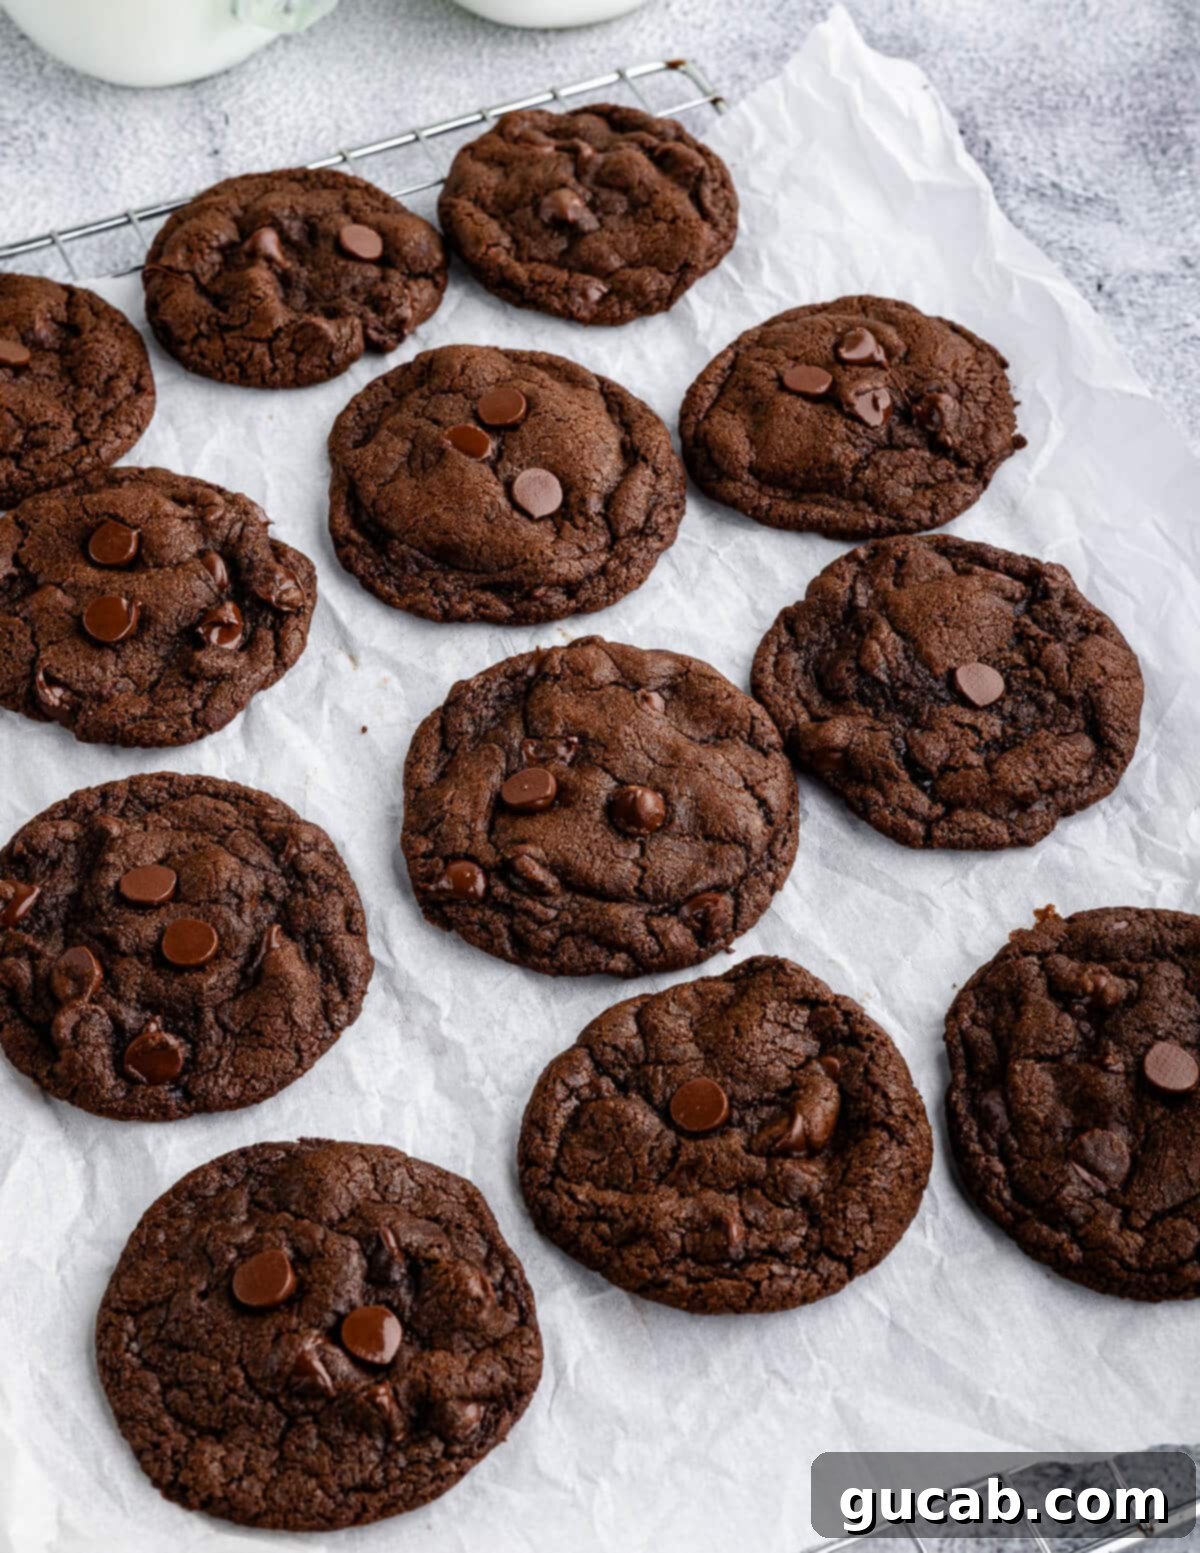
Let’s be honest, I’m almost certainly going to turn into one of these delicious gluten-free chocolate cookies if I keep making them, but I wouldn’t have it any other way! These cookies are a true revelation for anyone seeking an indulgent treat without the gluten. They boast a rich, deep chocolate flavor that satisfies even the most intense cravings, coupled with a texture that is simply divine. Each cookie rises beautifully in the oven, then gently sinks to create those signature crackled tops that hint at the soft, fudgy interior awaiting you.
Don’t just take my word for it; make these chewy gluten-free double chocolate cookies today! You absolutely will not regret it, and all your friends – gluten-free or not – will thank you for introducing them to such a phenomenal dessert. With minimal effort required and no fancy equipment, this recipe is a win-win for busy bakers and dessert enthusiasts alike. Prepare for an abundance of ooey-gooey melted chocolate and perfect chewy bites!
The Magic of Gluten-Free Baking: Unlocking Flavor and Texture
For many, the phrase “gluten-free baking” often conjures images of dry, crumbly, or flavorless treats. But these gluten-free double chocolate cookies are here to prove that gluten-free can be utterly delicious and even superior in texture. The secret lies in a careful selection of ingredients and a few clever techniques that ensure moisture, chewiness, and that coveted fudgy consistency. You’ll find that these cookies are so good, they’ll become a staple in your recipe rotation, regardless of dietary needs. We’re not just making gluten-free cookies; we’re crafting truly exceptional chocolate cookies that just happen to be gluten-free.
Diving Deep into Our Key Ingredients for Perfect Cookies
Every ingredient in this recipe plays a crucial role in achieving the perfect texture and flavor for your gluten-free double chocolate cookies. Here’s a detailed look at what you’ll need and why:
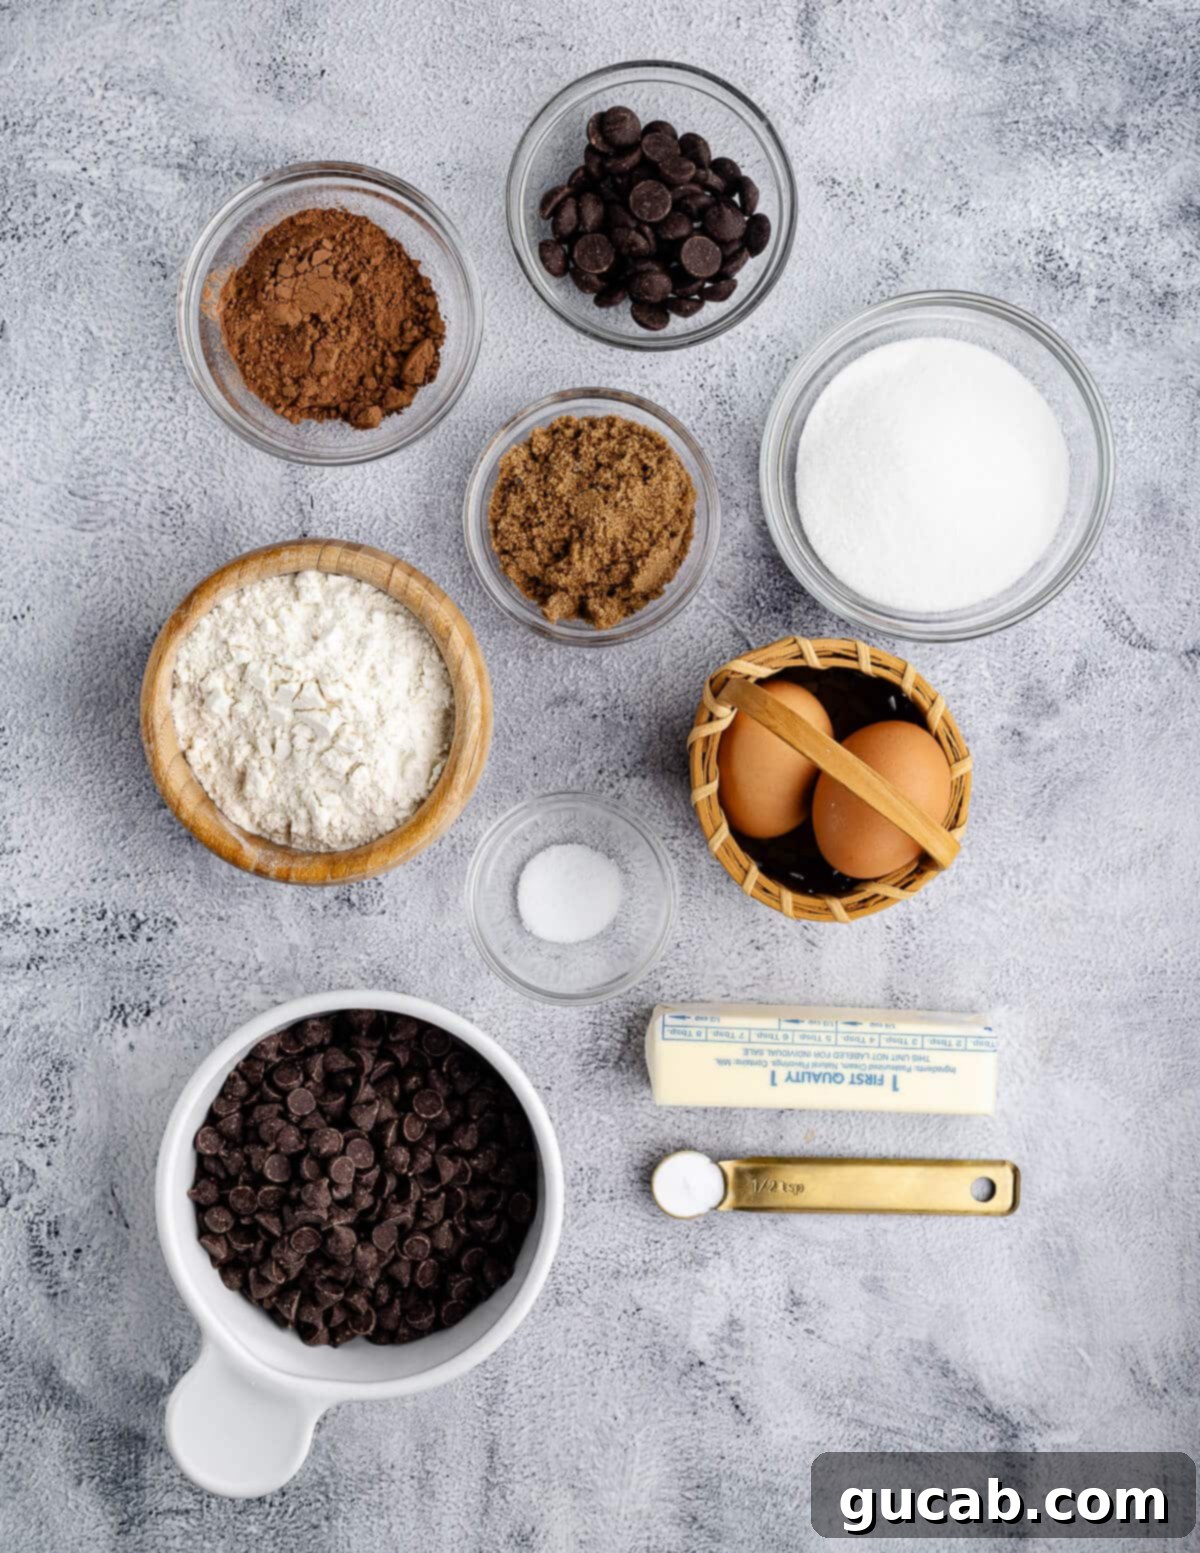
- Unsalted Butter: Using unsalted butter allows you to control the exact amount of salt in your recipe, which is essential for balancing the rich chocolate flavors. I always stock up on butter, often buying it in bulk, and it freezes wonderfully for up to 6 months. If you only have salted butter on hand, simply omit the additional kosher salt from the recipe.
- Dark Chocolate Chips: These are paramount for achieving that deep, ultra-fudgy texture and intense chocolate flavor. I personally love Ghirardelli dark chocolate chips, which, while not explicitly labeled “gluten-free,” do not contain gluten ingredients. Feel free to use your preferred brand, ensuring it aligns with your dietary needs.
- White and Dark Brown Sugar: This combination is key! Granulated sugar provides a slight crispness to the edges and contributes to those beautiful crackled tops, while dark brown sugar adds essential moisture, ensuring a soft, chewy texture and a subtle, rich caramel note that complements the chocolate perfectly.
- Egg + Extra Yolk: The whole egg provides structure, but that additional egg yolk is our secret weapon for an incredibly rich, moist, and chewy cookie. It adds extra fat without additional liquid, enhancing the fudginess.
- Gluten-Free All-Purpose Flour: This is a non-negotiable ingredient, and selecting the right brand makes all the difference! Steer clear of generic or unproven gluten-free flour blends, as some can yield unpleasant textures or flavors. I wholeheartedly recommend Bob’s Red Mill 1-to-1 Gluten Free Baking Flour. Look for the distinctive blue bag; it’s widely available at stores like Target and delivers consistent, delicious results, behaving very similarly to traditional wheat flour.
- Dutch Processed Cocoa Powder: Pay close attention here – be sure to buy Dutch processed cocoa, NOT natural cocoa. Dutch cocoa has a higher pH, giving it a darker color and a smoother, less acidic, and richer chocolate flavor that is unparalleled in these cookies. It also interacts differently with baking soda for optimal lift. Hershey’s Special Dark is an excellent choice if you’re looking for a readily available brand.
- Baking Soda: Our leavening agent! Even fudgy cookies need a little lift to prevent them from becoming too dense. Baking soda reacts with the acidic components (even in Dutch cocoa, which is mildly acidic) to create air pockets, contributing to a lighter chew.
- Kosher Salt: A pinch of salt is crucial for enhancing all the chocolate flavors and balancing the sweetness. Don’t skip it!
- Semisweet Chocolate Chips: Why stop at one type of chocolate? I never skimp on chocolate chips, and adding semisweet chips alongside the dark chocolate ensures a delightful variety of chocolate intensity and gooey pockets throughout the cookie.
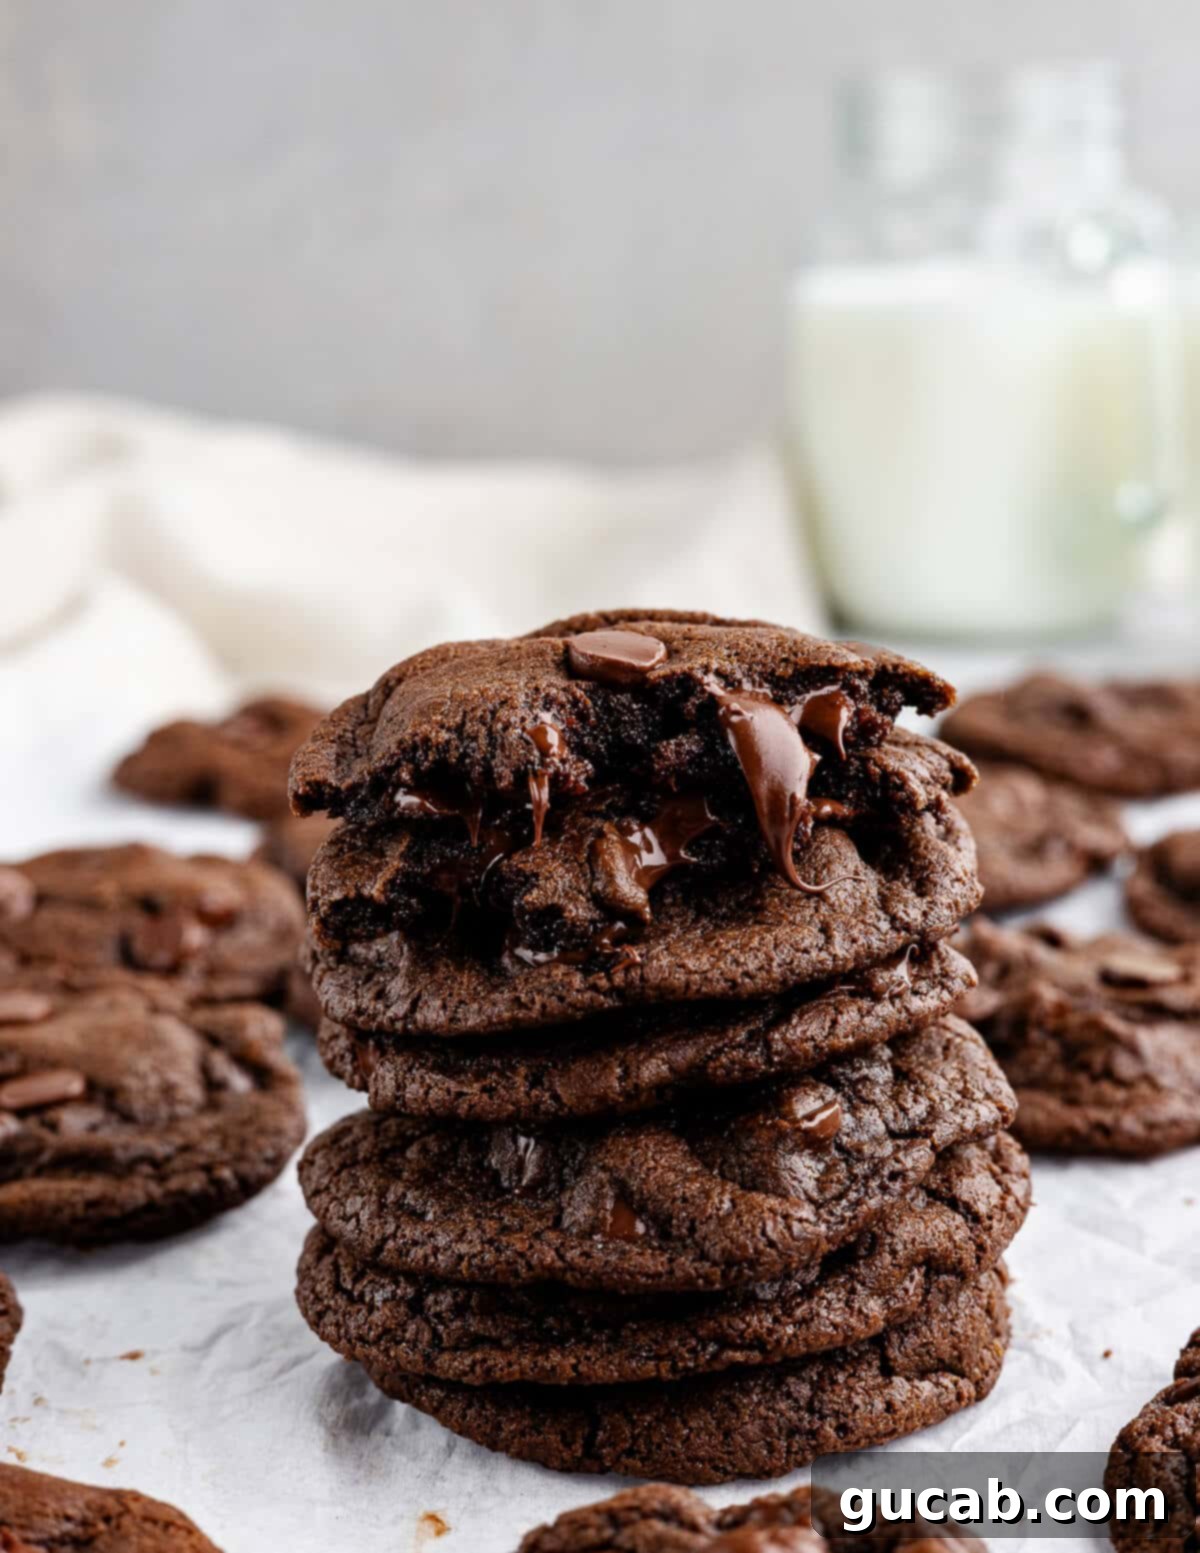
Crafting Your Gluten-Free Chocolate Masterpiece: Step-by-Step
One of the best features of this recipe for gluten-free chocolate cookies is its simplicity – no mixer needed! You’ll be amazed at how quickly this dough comes together. Here’s how to achieve cookie perfection:
- Prepare Your Baking Environment: Start by preheating your oven to 375°F (190°C). Line a baking sheet with parchment paper or a silicone baking mat. This step is crucial for preventing sticking and ensuring even baking, especially for these delicate gluten-free cookies.
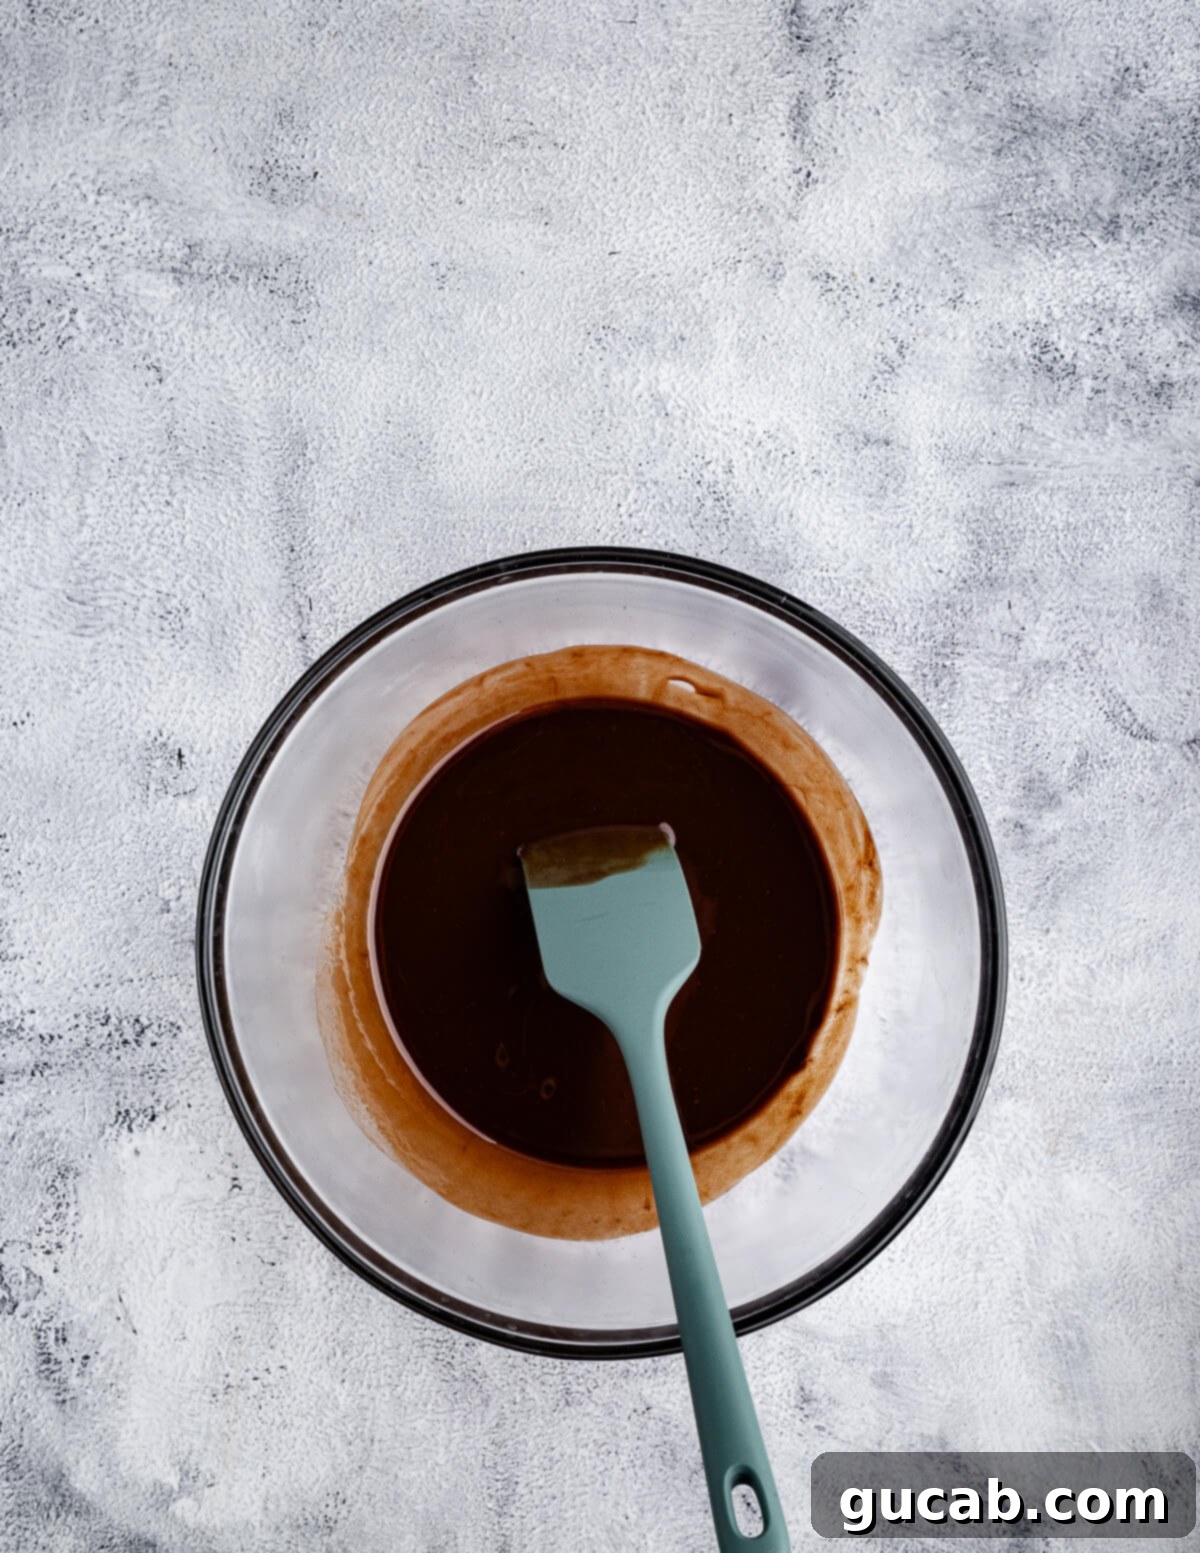
- Melt Butter and Dark Chocolate: In a large, microwave-safe bowl (the bigger the better, as you’ll be making the entire dough in it!), combine your unsalted butter and dark chocolate chips. Microwave in 30-second intervals, stirring thoroughly after each, until the mixture is smooth and completely melted. Be careful not to overheat the chocolate, as this can cause it to seize or burn. The goal is just enough heat to melt, not to make it scorching hot. This single bowl method means less cleanup – a definite win!
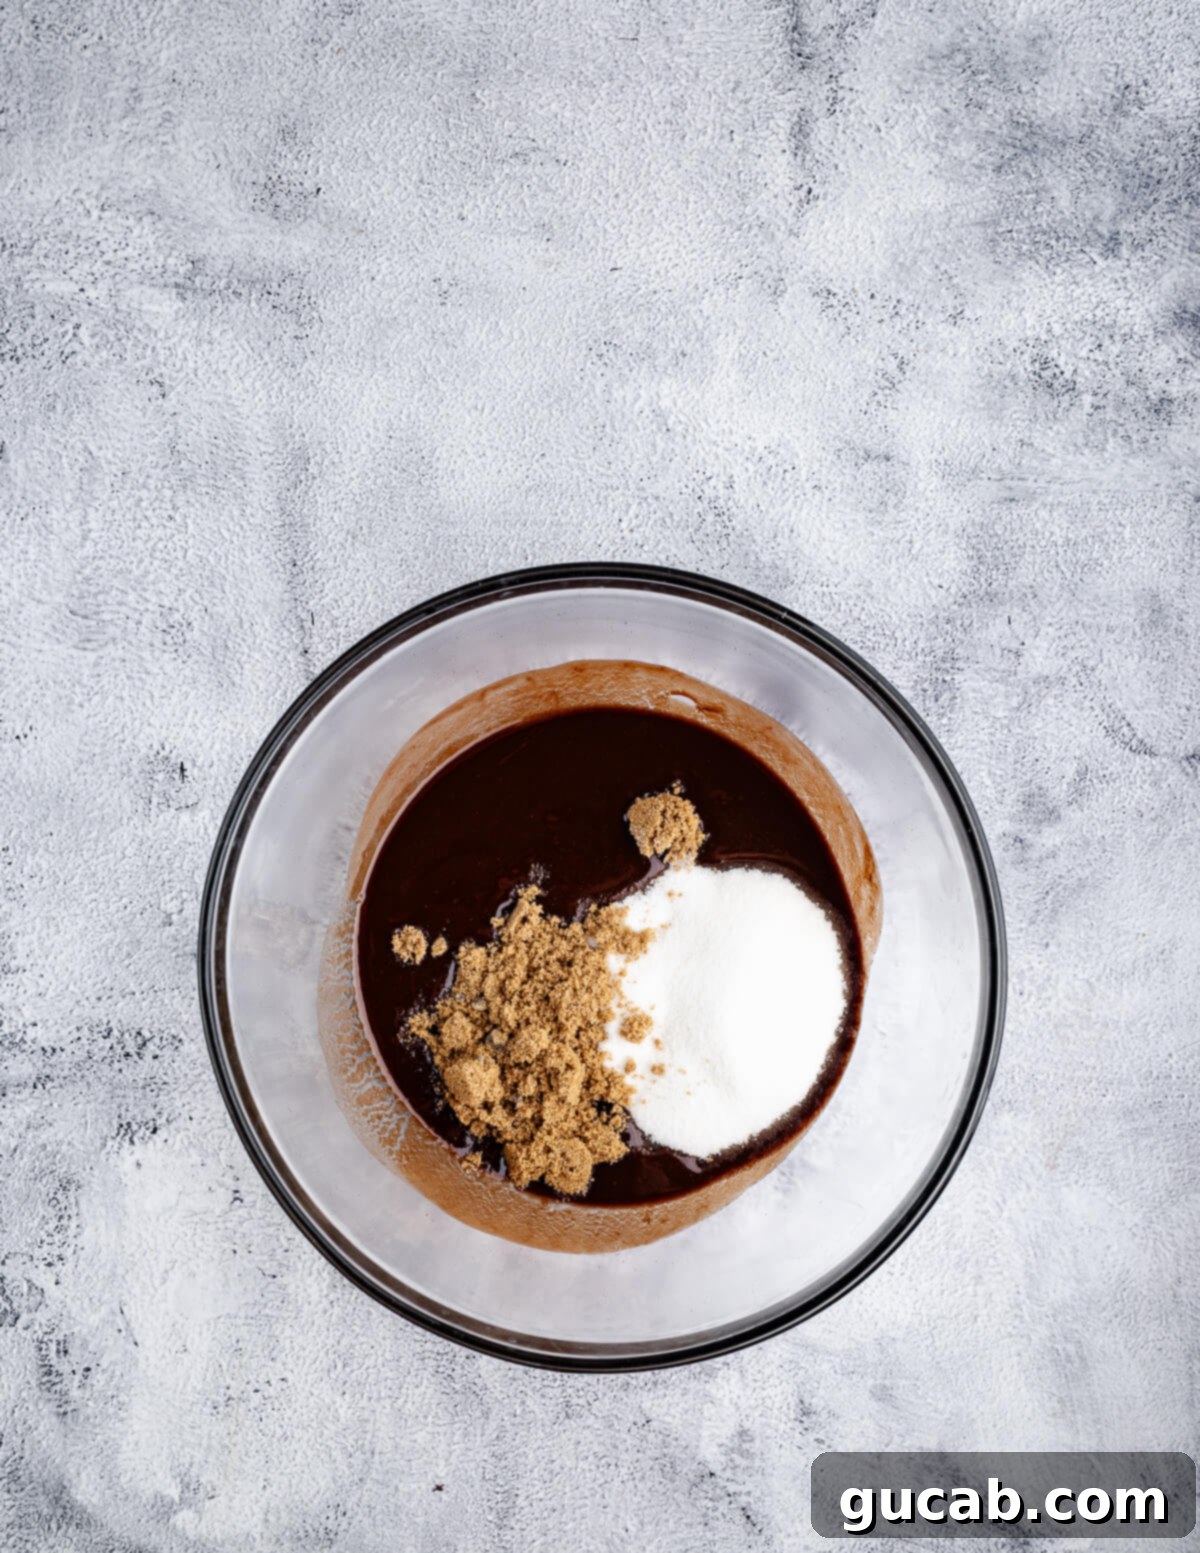
- Introduce the Sugars: To the still-warm melted chocolate and butter, add both the granulated sugar and the dark brown sugar. Stir vigorously with a spatula or wooden spoon until the sugars are completely dissolved and the mixture is smooth and glossy. This step ensures an even distribution of sweetness and contributes to the cookies’ final texture.
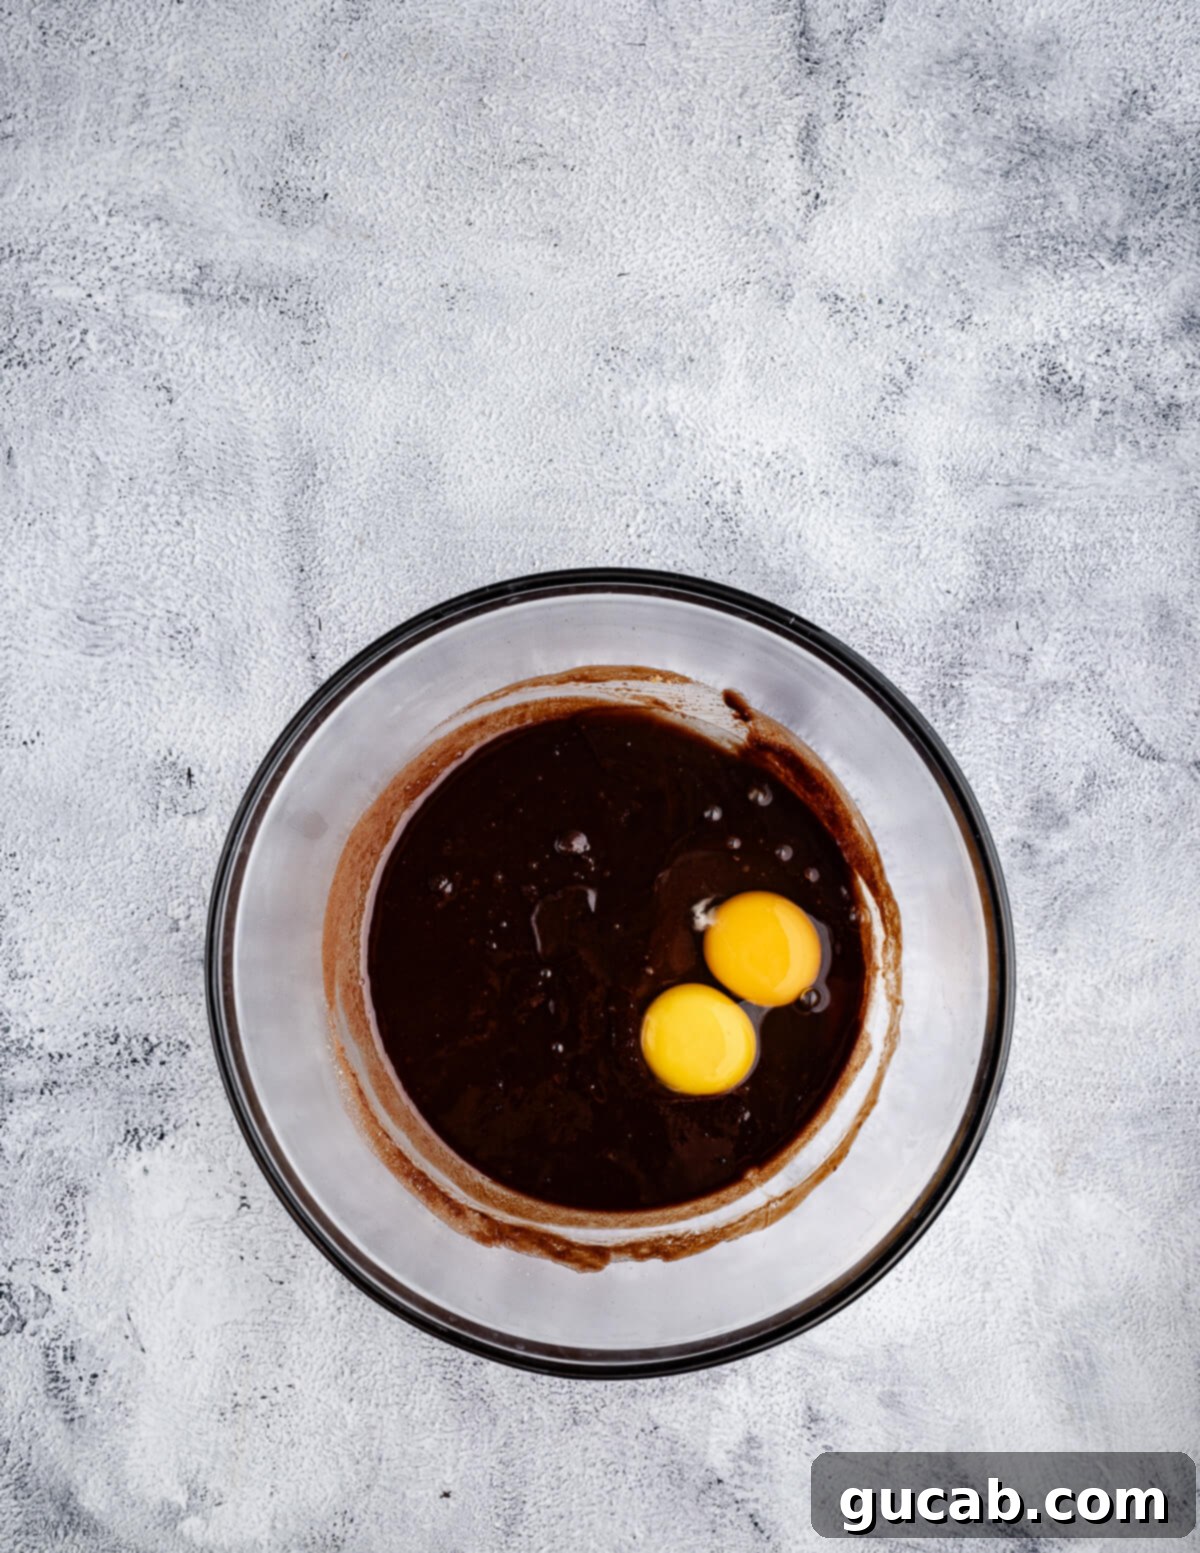
- Add the Egg + Yolk: Ensure the chocolate mixture isn’t piping hot before adding the egg and extra yolk, as you don’t want to accidentally scramble them! Stir well until they are fully incorporated and the mixture is uniform and smooth. The eggs add crucial moisture and richness, contributing to the chewy texture.
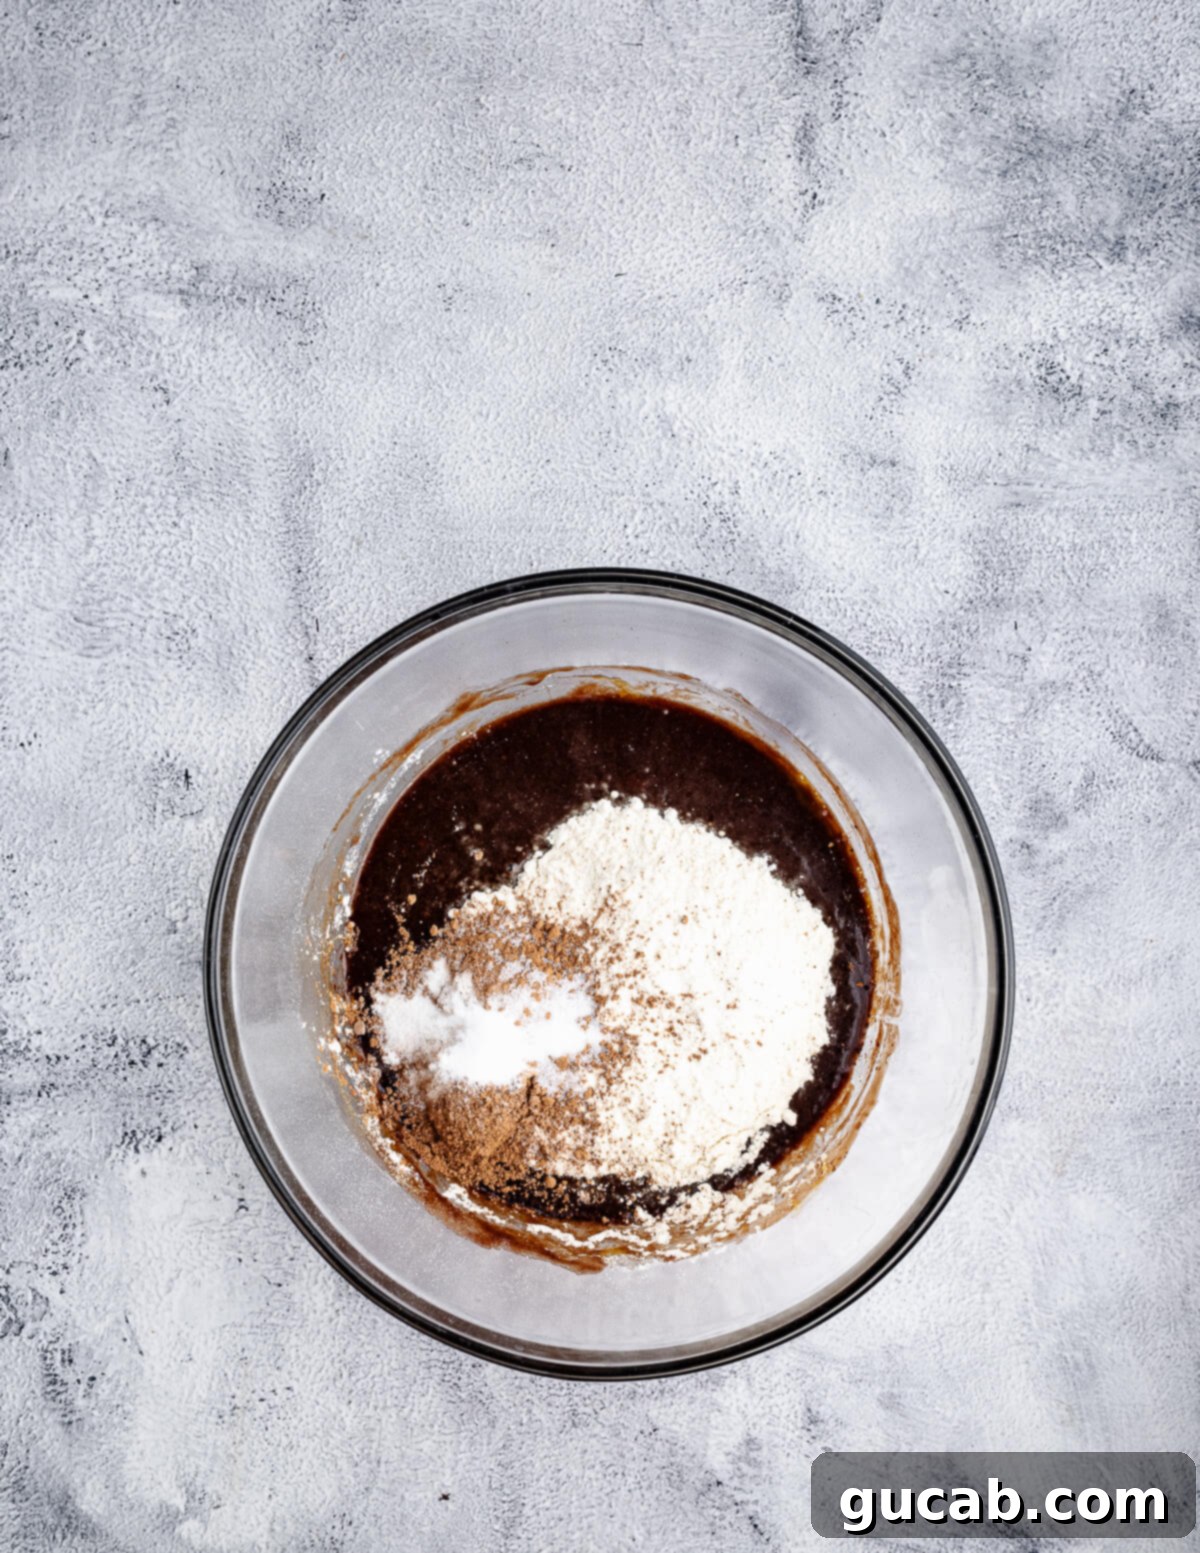
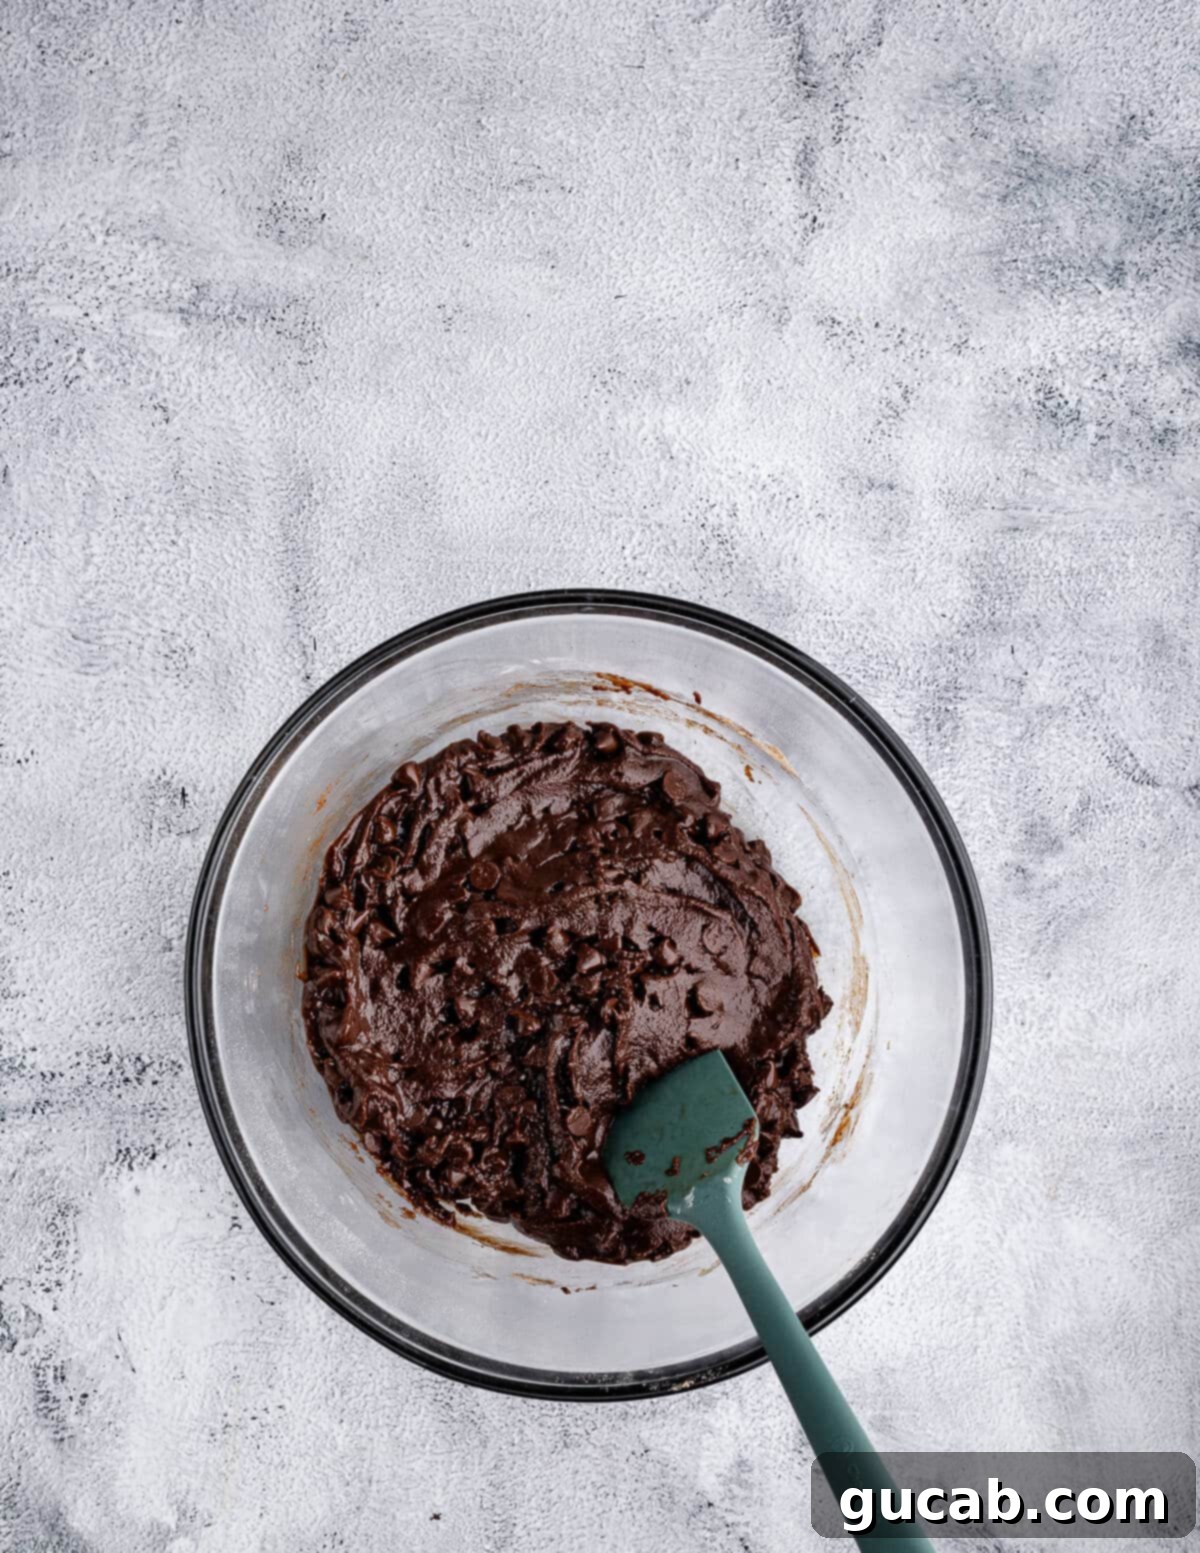
- Incorporate the Dry Ingredients: Now, add your gluten-free all-purpose flour, Dutch processed cocoa powder, baking soda, and kosher salt directly to the wet mixture. Stir gently until just combined. Overmixing gluten-free flour can sometimes lead to a tougher texture, so mix until no dry streaks remain but don’t overwork it. Don’t be alarmed if the cookie dough seems softer and more like a very thick brownie batter than traditional cookie dough – this is exactly the consistency we’re aiming for to get that fudgy result. Resist the urge to add more flour!
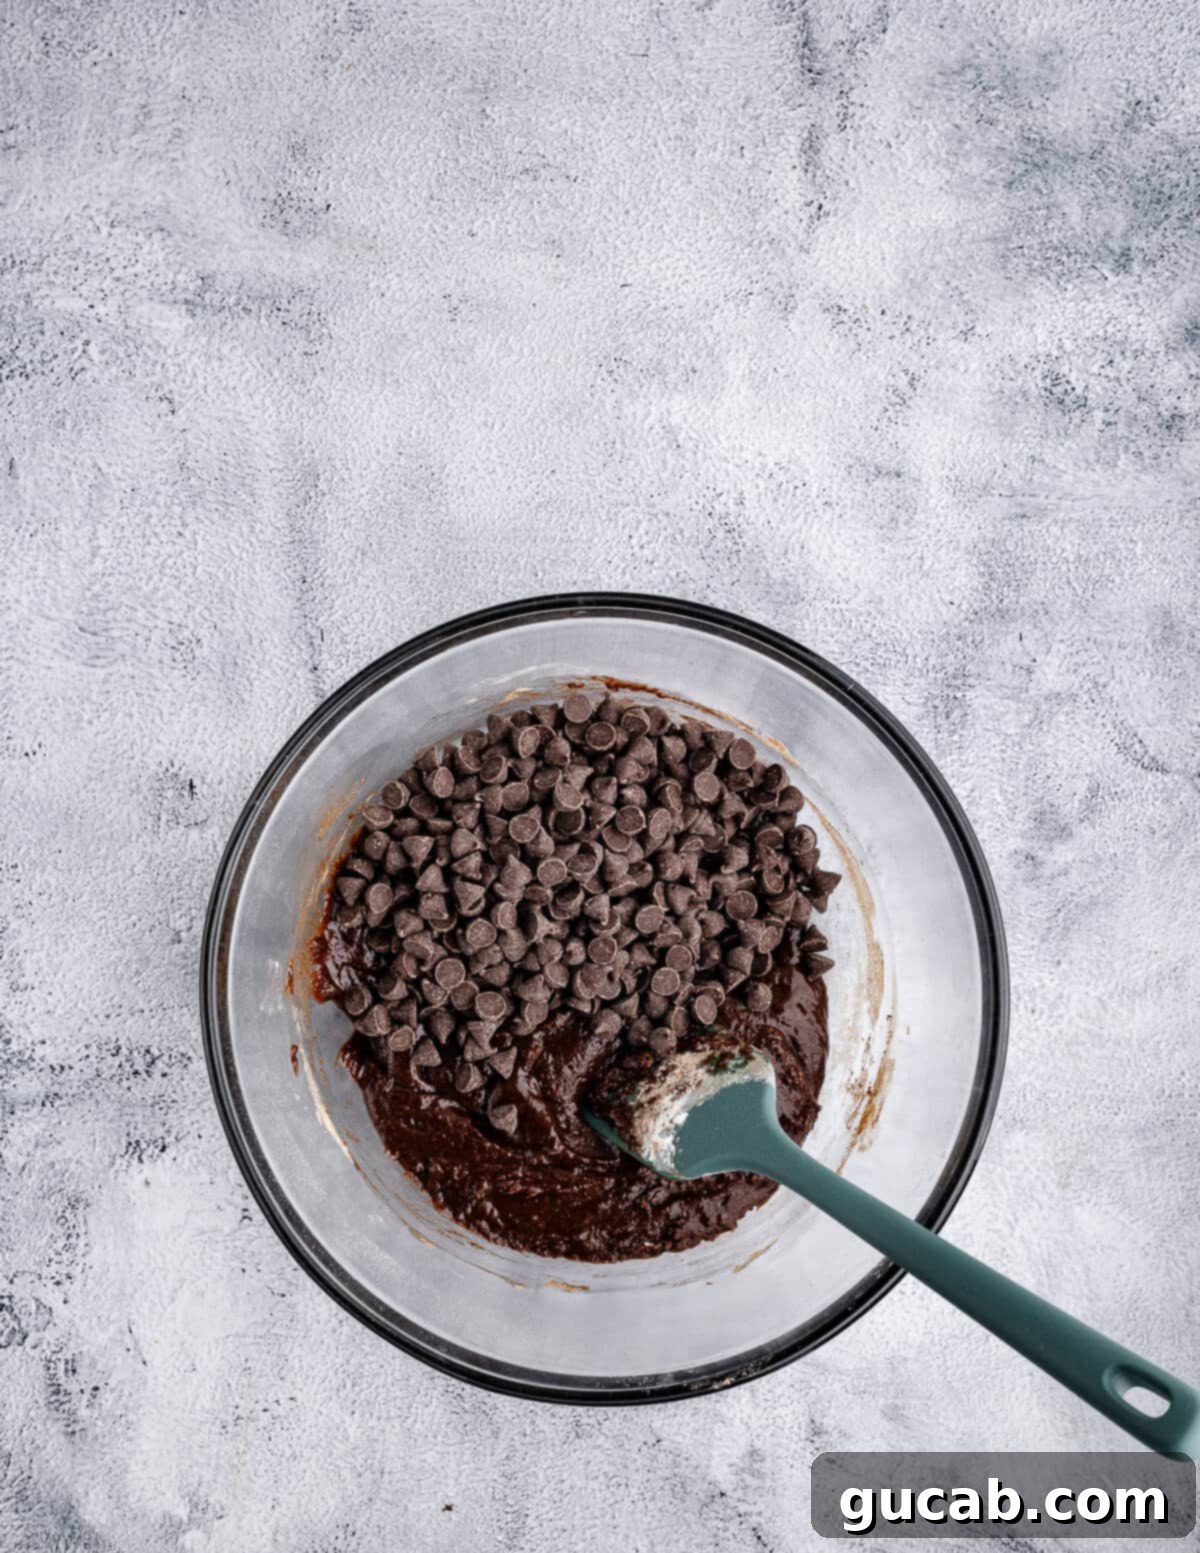
- Add the Semisweet Chocolate Chips: Stir in a generous 1¼ cups of semisweet chocolate chips. We want an abundance of melty chocolate in every bite – nobody likes to hunt for chocolate chips! Mix just enough to distribute them evenly throughout the dough.
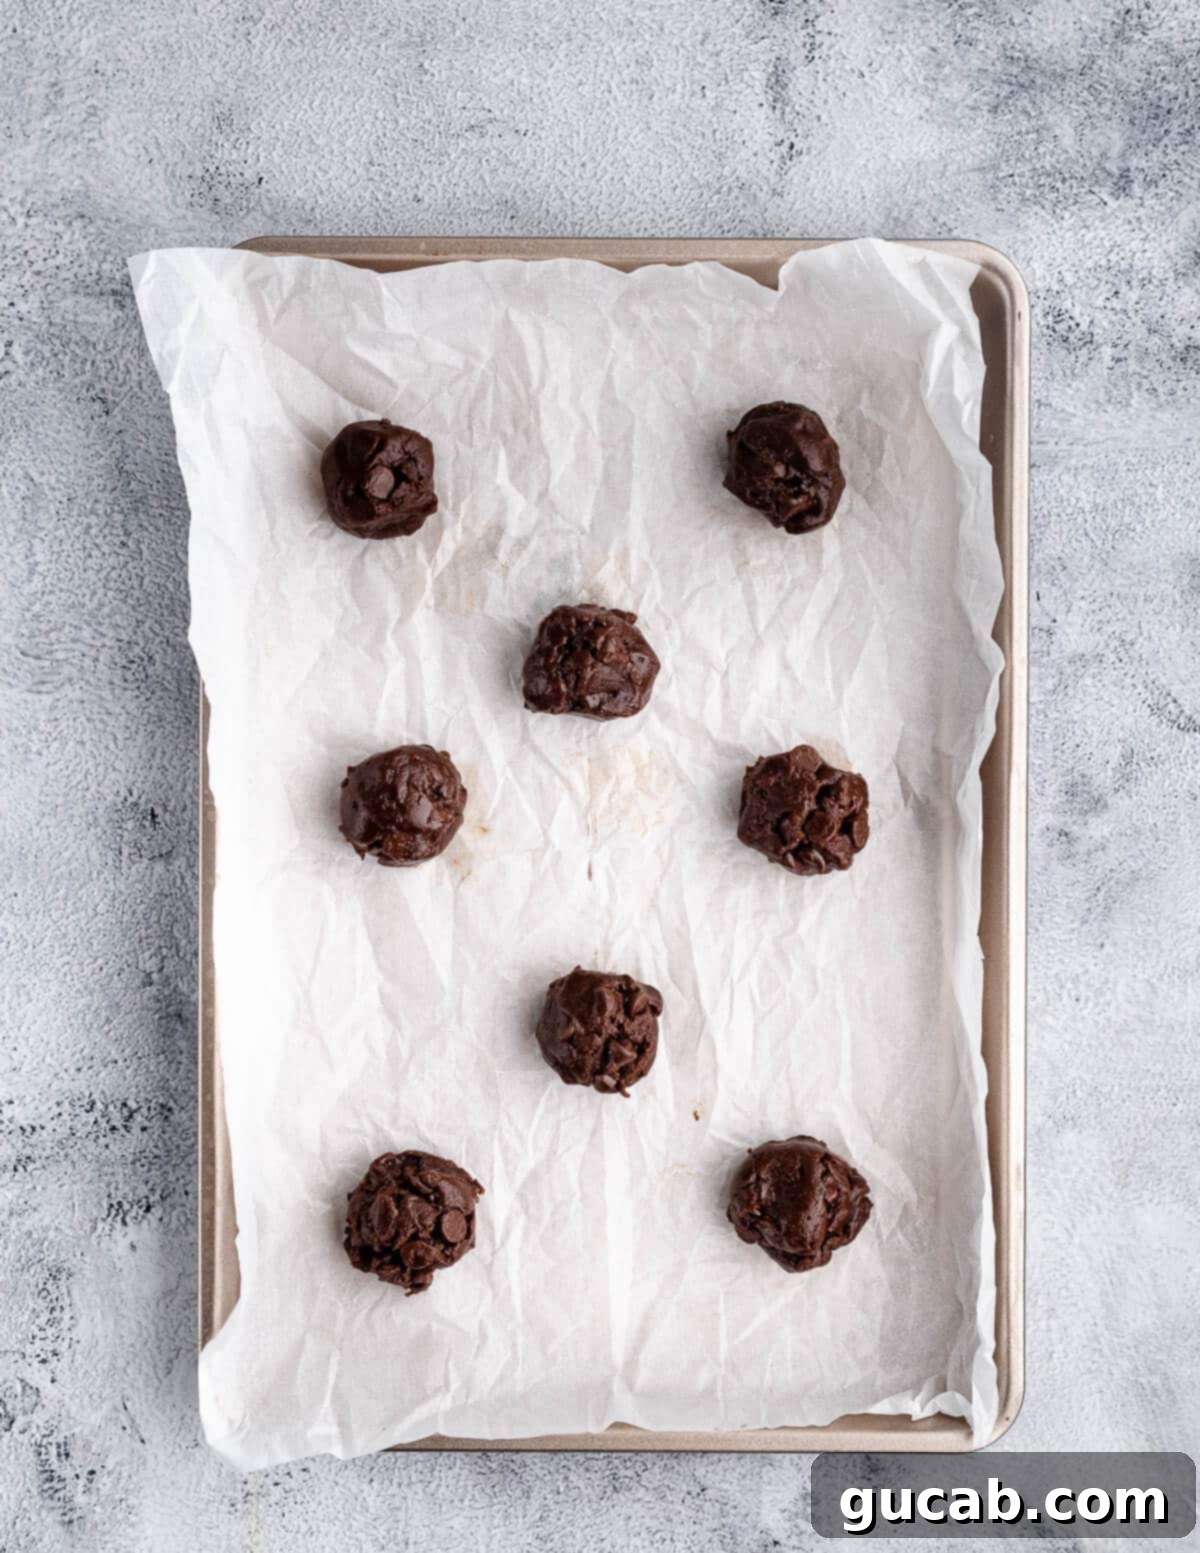
- Scoop and Bake: Using a portion scoop (I highly recommend one for consistent cookie sizes!), scoop roughly 8 cookie dough balls onto your prepared sheet pan. Ensure they have ample space to spread as they bake. These cookies only need about 7 to 8 minutes in the oven. It’s crucial not to overbake them – they should look slightly underbaked in the center when you pull them out. They will continue to set and firm up as they cool on the hot baking sheet, resulting in that perfect soft and chewy interior.
- Cool and Enjoy: Once out of the oven, let your cookies cool on the sheet pan for at least 10 minutes. This critical step allows them to fully set up and prevents them from falling apart when you transfer them. After 10 minutes, you can carefully move them to a wire rack to cool completely, or, if you’re like me, grab a warm one and enjoy the moment!
Pro Tips for Perfect Gluten-Free Chocolate Cookies Every Time
Achieving bakery-quality gluten-free chocolate cookies is easier than you think with these expert tips:
- Invest in a Portion Scoop: For beautifully uniform cookies that bake evenly, a portion scoop is your best friend. I own both a small and a large one, and they are truly indispensable. Beyond cookies, I use them for meatballs, chicken salad, and falafels – everything turns out consistently perfect!
- Gentle Melting is Key: When melting the butter and dark chocolate, use short bursts in the microwave and stir frequently. The mixture should be smooth and liquid, but not boiling hot. Overheating can cause the chocolate to seize or burn, affecting the flavor and texture of your cookies.
- Choose Dutch Processed Cocoa: This is a critical distinction! Ensure your cocoa powder specifically states “Dutch processed” on the package. Its unique alkalized nature contributes to a darker color, less bitterness, and an incredibly smooth, rich chocolate flavor that truly elevates these cookies. Natural cocoa, while good for other recipes, will yield a different flavor and color profile here.
- Do Not Overbake: This is perhaps the most important tip for chewy cookies, especially gluten-free ones. When you pull the cookies from the oven, their centers should still look slightly soft and glossy, perhaps even a little “underbaked.” The edges should be set, but the middle should still have some give. This slight underbaking is what guarantees a soft, fudgy, and chewy interior after they cool.
- Cool on the Sheet Pan: Resist the urge to transfer your hot cookies immediately. Gluten-free baked goods are often more delicate when warm. Allowing them to cool on the hot baking sheet for at least 10 minutes gives them time to firm up and set. This prevents them from breaking apart when you move them to a wire rack to finish cooling.
- Room Temperature Eggs: While not strictly necessary for this melted butter recipe, using room temperature eggs can lead to a more uniform and emulsified dough, which contributes to a better overall texture.
- Don’t Overcrowd the Pan: Give your cookies space! Placing too many dough balls on one baking sheet can lead to uneven baking and prevent them from spreading properly. Stick to 8 cookies per standard sheet pan.

Storage & Freezing: Enjoying Your Cookies Anytime
These gluten-free double chocolate cookies are so delicious, you’ll want to savor them for as long as possible. Here’s how to store and freeze them effectively:
- Room Temperature Storage: Ensure the cookies are completely cool before storing. Transfer them to an airtight container or a zip-top bag. They will stay wonderfully soft and chewy at room temperature for up to 4 days.
- Freezing Cookie Dough: For freshly baked cookies on demand, freezing the dough is a fantastic option. Scoop the dough into individual cookie dough balls and place them on a parchment-lined tray. Freeze for about 1 hour until solid. Once frozen, transfer the solid dough balls to a freezer-safe zip-top bag and store them for up to 3 months. When you’re ready to bake, simply place the frozen dough balls on a prepared baking sheet and bake as directed, adding a minute or two to the baking time.
- Freezing Baked Cookies: If you have leftover baked cookies (a rare occurrence!), you can also freeze them. Once completely cooled, place them in a single layer in a freezer-safe zip-top bag or airtight container, separated by parchment paper if stacking. Freeze for up to 3 months. To enjoy, simply pop a frozen cookie into the microwave for 15-30 seconds until warm and gooey again.
Troubleshooting & Variations
Common Questions & Solutions
- My cookies are too flat! This often happens if your butter was too warm when combined with the sugars and egg, or if your baking soda isn’t fresh. Ensure your melted butter and chocolate mixture has cooled slightly before adding the egg. Also, make sure your baking soda hasn’t expired. Chilling the dough for 30 minutes can also help prevent spreading.
- My cookies are dry or crumbly. Overbaking is the usual culprit for dry cookies. Remember to pull them from the oven when they still look slightly underdone in the center. Using a good quality 1:1 gluten-free flour blend and precise measurements of wet ingredients also contributes to moisture.
- Can I make these dairy-free? You absolutely can! Substitute dairy-free butter (like Miyoko’s Kitchen or Earth Balance sticks) and ensure your dark and semisweet chocolate chips are dairy-free. The flavor and texture will still be incredible.
Exciting Variations to Try
- Add a pinch of sea salt: A sprinkle of flaky sea salt on top of the cookies before baking will enhance the chocolate flavor and add a sophisticated touch.
- White chocolate twist: Swap out some of the semisweet chips for white chocolate chips for a delightful contrast in flavor and color.
- Nutty addition: Fold in a ½ cup of chopped walnuts or pecans with the chocolate chips for added crunch and flavor.
- Espresso boost: For an even deeper chocolate flavor, add 1 teaspoon of instant espresso powder to the dry ingredients. It won’t make the cookies taste like coffee, but it will intensify the chocolate.
More Irresistible Gluten-Free Cookie Recipes:
- 21 Irresistible Gluten Free Cookies
- Gluten Free Shortbread Cookies
- Gluten Free Chocolate Chip Cookies
- Gluten Free Chocolate Wafer Cookies
Gluten Free Double Chocolate Cookies
Carolyn
Pin Recipe
Equipment
-
Large microwaveable safe bowl
-
Spatula
Ingredients
- ½ cup unsalted butter (4 ounces/1 stick)
- ¼ cup dark chocolate chips
- ½ cup granulated sugar
- ¼ cup dark brown sugar
- 1 large egg
- 1 egg yolk
- 1 cup Bob’s Red Mill 1:1 Gluten Free Baking Flour
- 2½ tablespoons Dutch processed cocoa powder (I used Hershey’s Special Dark cocoa)
- ½ teaspoon baking soda
- ½ teaspoon kosher salt
- 1¼ cup semisweet chocolate chips
Instructions
-
Preheat oven to 375 degrees Fahrenheit. Line a sheet pan with parchment paper or a silicone baking mat.
-
In a large microwaveable-safe bowl, melt the butter and dark chocolate chips in the microwave. Stir until all the chocolate is fully melted and mixed with the butter, creating a smooth, glossy mixture. Do not overheat.
-
Add the granulated sugar and dark brown sugar to the butter-chocolate mixture. Stir thoroughly with a spatula or wooden spoon until well combined and the sugars are dissolved.
-
Ensure the mixture is not too hot, then add the large egg and the extra egg yolk. Stir vigorously until fully incorporated. Next, add the gluten-free all-purpose flour, Dutch processed cocoa powder, baking soda, and kosher salt to the egg mixture. Stir until a rich, soft cookie dough forms. The dough will have a consistency softer than traditional cookie dough, resembling a thick brownie batter – this is perfectly normal and desired. Do not add more flour.
-
Fold in the semisweet chocolate chips until evenly distributed throughout the dough. Using a small cookie scoop, portion out 8 cookie dough balls onto the prepared sheet pan, ensuring to leave enough space between them for spreading.
-
Bake for 7 to 8 minutes. The cookies should still look slightly underdone and gooey in the center when you remove them from the oven, with the edges just set. They will continue to set and firm up as they cool. Allow them to cool on the sheet pan for at least 10 minutes before carefully transferring them to a wire rack to cool completely.
-
Repeat the scooping and baking process with the remaining cookie dough. This recipe should yield approximately 21 delicious cookies.
Notes
Nutrition
