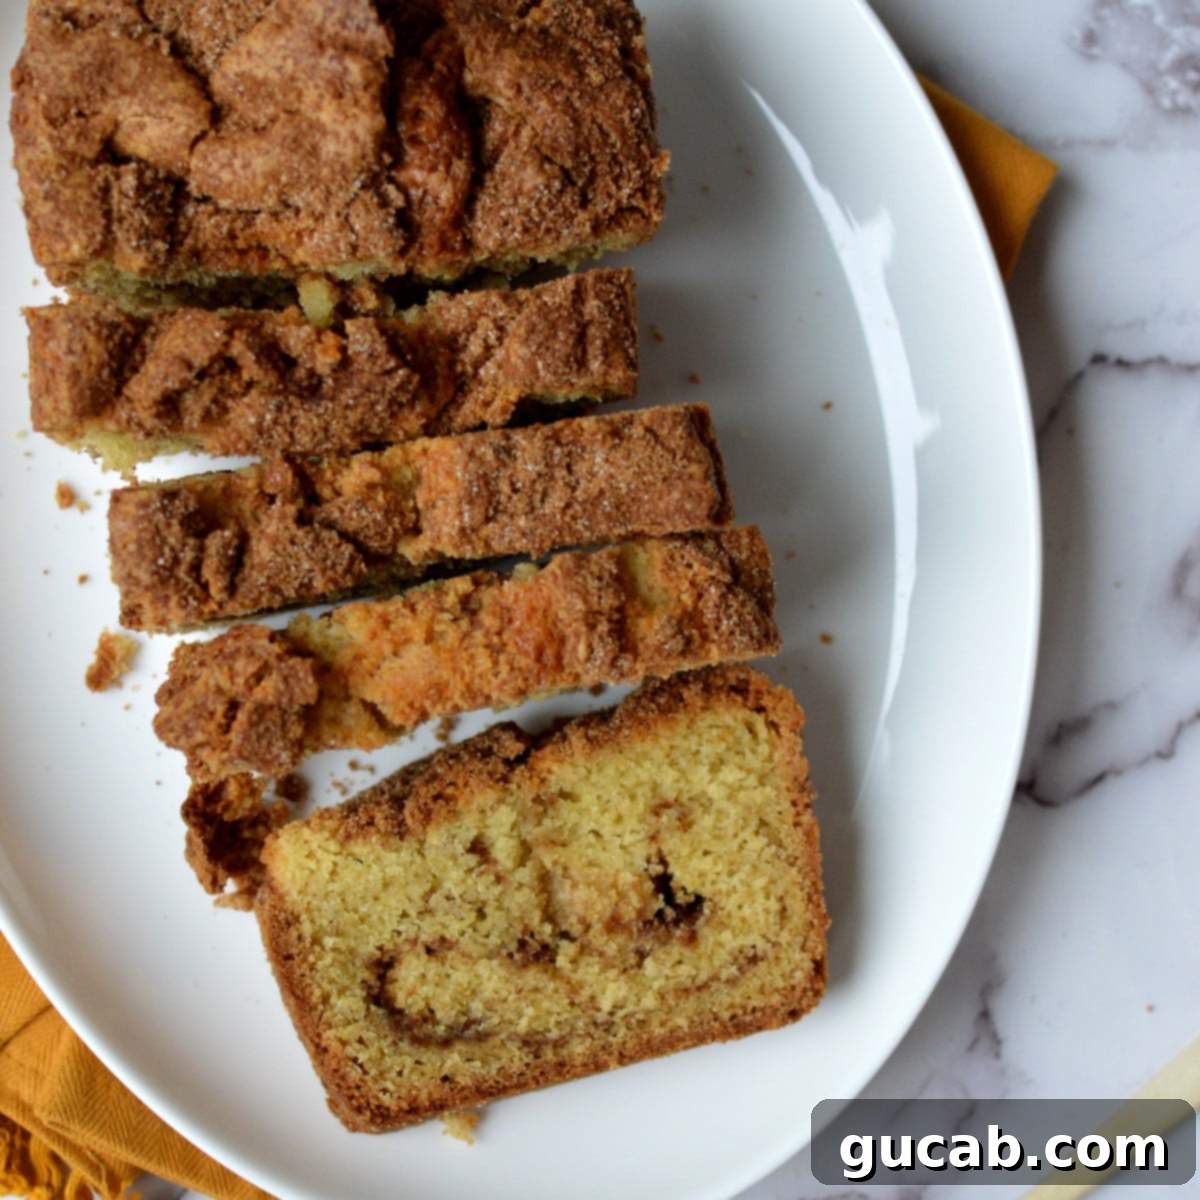
Easy & Fluffy Gluten-Free Cinnamon Swirl Quick Bread: Your Perfect Breakfast & Dessert
Prepare to fall in love with this incredibly delicious gluten-free cinnamon bread! It’s a remarkably light and fluffy quick bread, featuring a delightful brown sugar and cinnamon swirl that runs through every slice. This recipe is designed to be simple, relying on common pantry staples, yet it delivers a taste and texture reminiscent of a warm, gooey cinnamon roll – without all the fuss of yeast. Whether you’re navigating a gluten-free diet or simply seeking a wonderfully flavorful and easy-to-make treat, this cinnamon quick bread is guaranteed to become a new favorite in your kitchen.
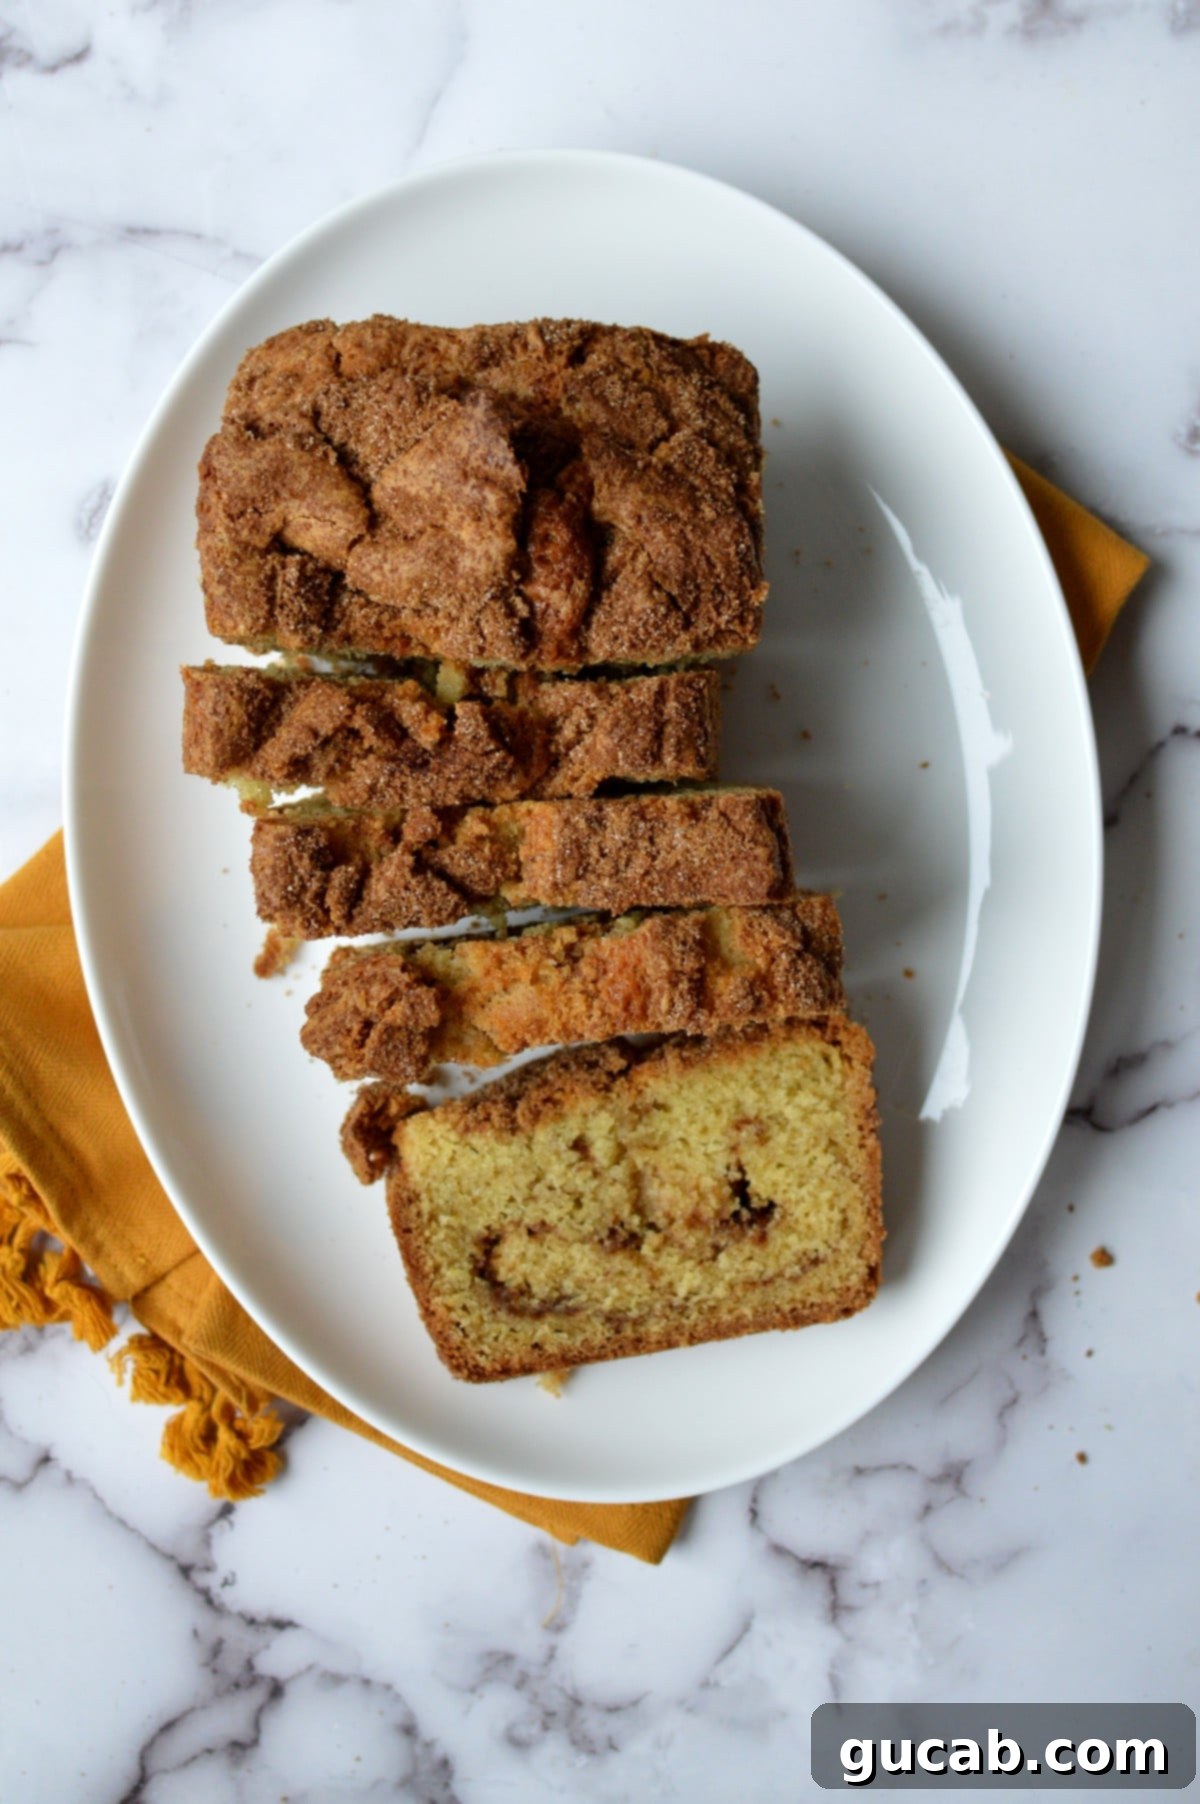
For those who adore a sweet start to their day, or simply can’t resist a delicious carb, this gluten-free cinnamon bread is a dream come true. While we call it “bread,” its tender crumb and rich flavor profile often make it feel more like a decadent cinnamon cake – and honestly, who says you can’t have a little cake for breakfast? This versatile treat blurs the lines between a hearty breakfast loaf and a delightful dessert, making it perfect for any time of day, whether you’re enjoying a quiet morning or entertaining guests.
Whether you choose to enjoy this amazing gluten-free cinnamon swirl bread as a breakfast staple alongside your morning coffee or tea, or reserve it as a comforting dessert with a glass of milk, its irresistible flavor will quickly make it a household favorite. Just be warned: it’s incredibly hard to stop at just one slice! Consider baking an extra loaf to share with friends, family, or neighbors – it’s a wonderful way to spread joy and ensure you don’t accidentally devour the entire loaf yourself!
What is a Gluten-Free Quick Bread? Understanding the Basics
Quick breads are a fantastic category of baked goods that get their rise from chemical leavening agents like baking powder or baking soda, rather than relying on yeast. This distinction is key: it means no long proofing times or extensive kneading, making them incredibly convenient and “quick” to prepare, often mixing up in just minutes. Common examples of quick breads include muffins, cornbread, scones, biscuits, and various loaf breads like classic banana bread, pumpkin bread, or zucchini bread. They can be wonderfully sweet, like our fluffy gluten-free cinnamon quick bread, or savory, featuring ingredients such as herbs, cheese, or even bacon.
A gluten-free quick bread follows the same fundamental principles but utilizes gluten-free ingredients, most notably a carefully formulated gluten-free all-purpose flour blend in place of traditional wheat flour. The absence of gluten – the protein complex responsible for providing structure, elasticity, and chewiness in conventional baked goods – presents unique challenges in baking. To compensate, gluten-free flour blends often incorporate a mix of different flours (like rice, tapioca, potato, and sorghum) along with binders such as xanthan gum. Xanthan gum is particularly crucial as it helps mimic the binding and elastic properties that gluten would otherwise offer, preventing your gluten-free baked goods from becoming dry, crumbly, or dense. Our recipe is meticulously developed to work harmoniously with these gluten-free blends, ensuring a consistently light, moist, and tender result every time you bake.
Essential Ingredients for Your Homemade Gluten-Free Cinnamon Bread
This bread offers a taste profile that is beautifully similar to a rich gluten-free cinnamon coffee cake but boasts a delightfully lighter, more delicate texture, closer to that of a gourmet muffin. The best part? It’s made with straightforward, accessible ingredients you likely already have in your pantry, making it an ideal recipe for a spontaneous baking session. Here’s a detailed look at what you’ll need to create this comforting loaf, along with a few insights into each component:
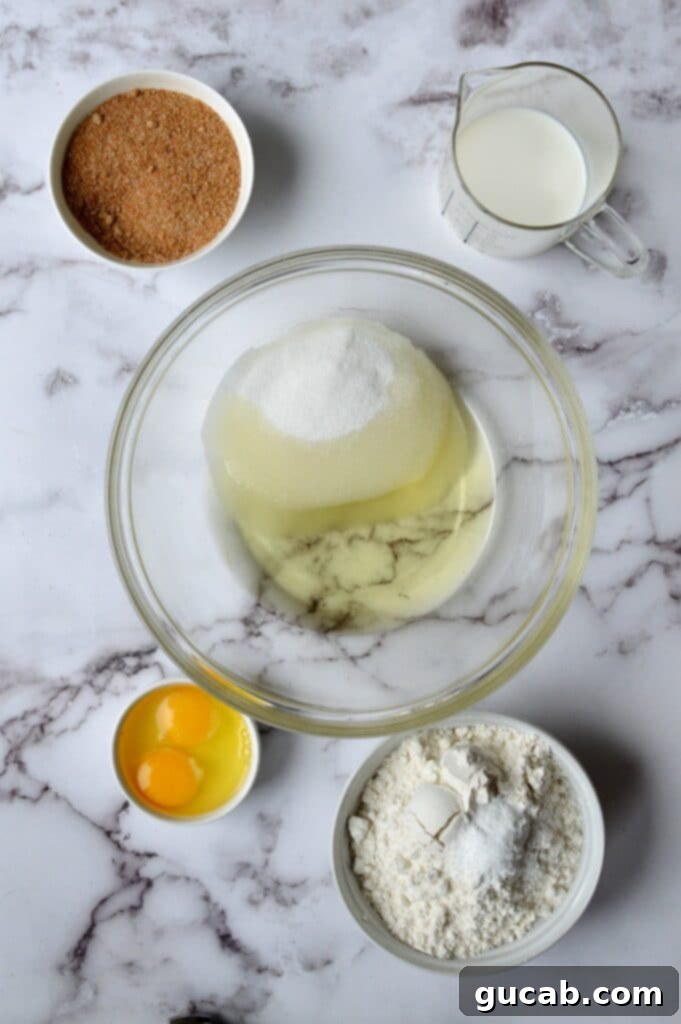
- Canola Oil: While butter often takes center stage in baking, a neutral oil like canola is a secret weapon for achieving truly moist, tender, and incredibly fluffy muffins, cakes, and quick breads. It helps retain moisture far better than butter, ensuring your loaf stays wonderfully tender for days without drying out.
- Sugar: Granulated white sugar provides the foundational sweetness for our light and fluffy quick bread batter. It perfectly balances the warm spices and contributes to the bread’s golden-brown crust.
- Eggs: Large eggs are essential for several reasons: they provide structure, act as a binder, and add richness to the batter. Eggs emulsify the ingredients, contribute to the bread’s rise, and ensure a tender, cohesive crumb. Always use large eggs for consistent results in this gluten-free cinnamon bread recipe.
- Gluten-Free Flour: For many of my successful gluten-free dessert recipes, including this particular loaf, I enthusiastically recommend Bob’s Red Mill 1:1 All-Purpose Gluten-Free Flour. This specific brand has consistently delivered fantastic taste and a perfectly tender texture in my kitchen. It’s crucial to specify a brand because gluten-free all-purpose flour blends can vary significantly in their composition, balance of flours and starches, and overall performance. While I can’t guarantee identical results with other brands, if you do choose an alternative, please ensure it explicitly states it’s a “1:1” or “cup-for-cup” blend and, most importantly, that it contains xanthan gum. Xanthan gum is vital for providing the necessary structure and preventing a crumbly texture. If you discover another brand that works wonderfully, please share your experience in the comments to benefit our baking community!
- Baking Powder: This powerful chemical leavening agent is a primary driver of the quick bread’s rise. It reacts when wet and again with heat, creating the air pockets that give quick breads their characteristic light and airy texture. Always ensure your baking powder is fresh for the best lift.
- Baking Soda: Another crucial leavener, baking soda reacts with acidic ingredients (even the mild acidity found in brown sugar or milk) to produce carbon dioxide. This reaction further contributes to the bread’s lift, tenderness, and a beautiful, open crumb.
- Kosher Salt: Salt is more than just a seasoning; it’s essential for balancing and enhancing all the flavors in the bread. It makes the sweetness more pronounced, brightens the cinnamon notes, and prevents the loaf from tasting bland. If you only have regular table salt, remember to reduce the amount by half, as table salt is finer and therefore saltier by volume than kosher salt.
- Whole Milk: Whole milk adds essential richness and moisture to the batter, contributing significantly to a tender and flavorful bread. The batter might appear somewhat thick, and this is perfectly normal. Resist the temptation to add additional milk; too much liquid can simply weigh the bread down, resulting in a dense, heavy, and potentially gummy loaf instead of the light and fluffy texture we’re aiming for.
- Cinnamon: The star spice of our recipe! Generous amounts of ground cinnamon are used to create the irresistible cinnamon-sugar swirl, infusing the entire loaf with its warm, aromatic, and comforting flavor. Good quality cinnamon makes a noticeable difference.
- Brown Sugar: Used in conjunction with regular granulated sugar for the luxurious swirl, brown sugar adds a deeper, molasses-rich sweetness and contributes to a wonderfully moist and slightly gooey texture within the swirl layers, creating pockets of intense flavor.
How to Make Delicious Gluten-Free Cinnamon Bread: A Step-by-Step Guide
Crafting this delightful gluten-free cinnamon bread is a surprisingly straightforward process, making it perfect for bakers of all skill levels. Follow these simple, clear steps for a perfect, moist, and tender loaf every time:
1. Preheat Your Oven & Prepare the Baking Pan
Begin by preheating your oven to 350 degrees Fahrenheit (175°C). Ensuring your oven is at the correct temperature before the bread goes in is vital for an even rise and proper baking. Next, generously spray or grease a standard 9×5-inch loaf pan with non-stick cooking spray or butter and a dusting of gluten-free flour. A properly prepared pan is key to preventing sticking and ensuring easy removal of your beautifully baked loaf.
2. Whisk Wet Ingredients Together for the Batter
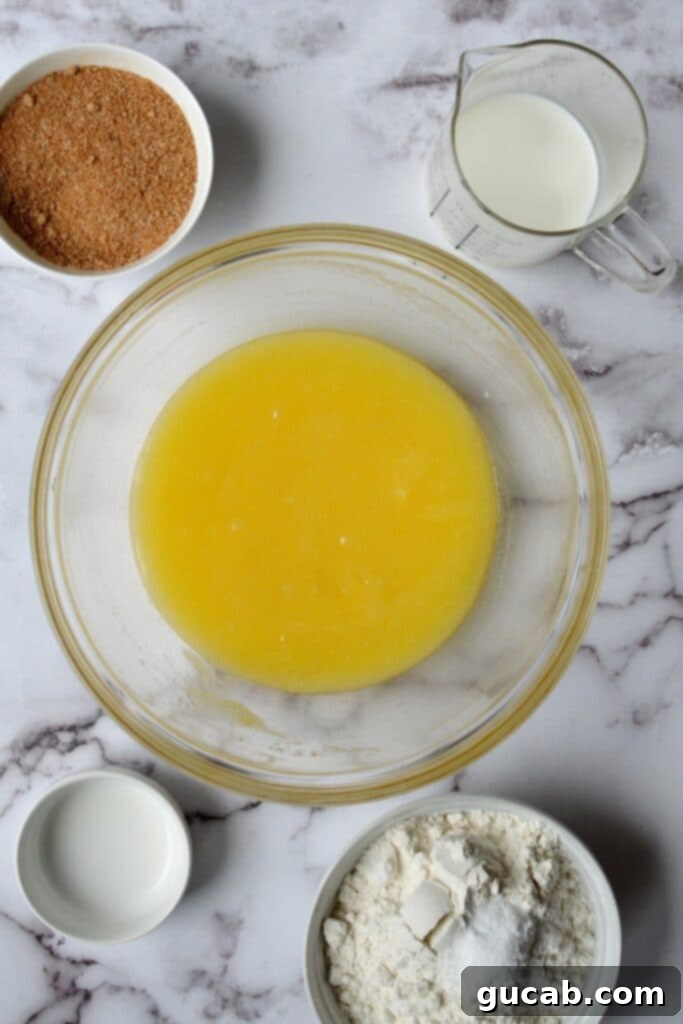
In a large mixing bowl, or the bowl of your stand mixer fitted with the paddle attachment, combine the granulated sugar and canola oil. Whisk them together thoroughly until they are well incorporated and the mixture looks smooth. Next, add both large eggs and continue whisking until the mixture is smooth and all ingredients are thoroughly combined. This creates the essential moist foundation for your tender crumb.
3. Incorporate the Dry Ingredients into the Batter
Add the gluten-free all-purpose flour blend, baking powder, baking soda, and kosher salt to the prepared wet mixture. If mixing by hand with a spatula, stir vigorously until a thick batter forms, ensuring no dry pockets of flour remain. If using a stand mixer, operate it on low speed with the paddle attachment and beat until the ingredients are just combined. It’s important to be careful not to overmix at this stage; overmixing gluten-free flour blends can sometimes lead to a tougher or gummier texture, even without gluten.
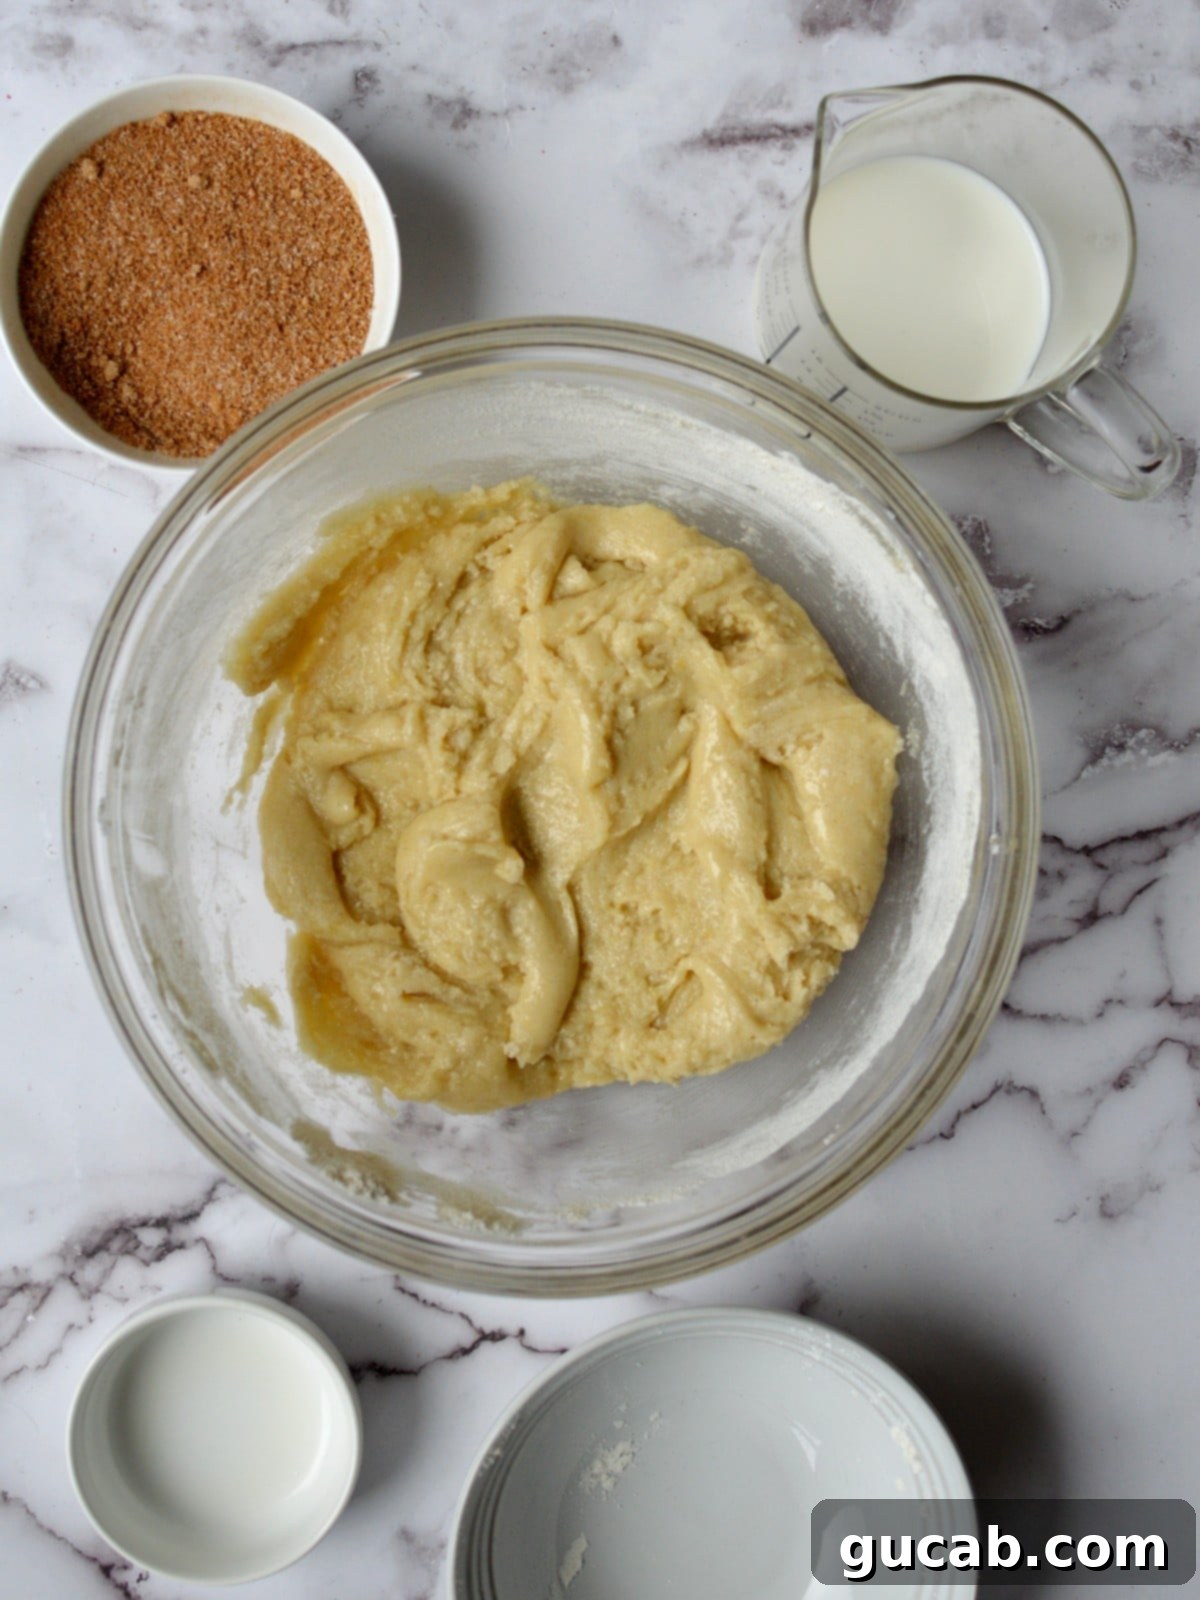
4. Add the Milk Gradually for a Smooth Batter
Now, it’s time to add the whole milk. If you’re mixing by hand with a spatula, incorporate the milk into the thick batter in thirds, mixing gently but thoroughly after each addition until fully combined and smooth. If using a stand mixer, set it to low speed and slowly stream the milk into the batter. As you mix, ensure you scrape down the sides of the bowl as needed to guarantee all ingredients are well incorporated and you achieve a consistently smooth batter. Remember, the batter will be relatively thick, and this is perfectly normal and desired for achieving a robust yet tender gluten-free quick bread texture.
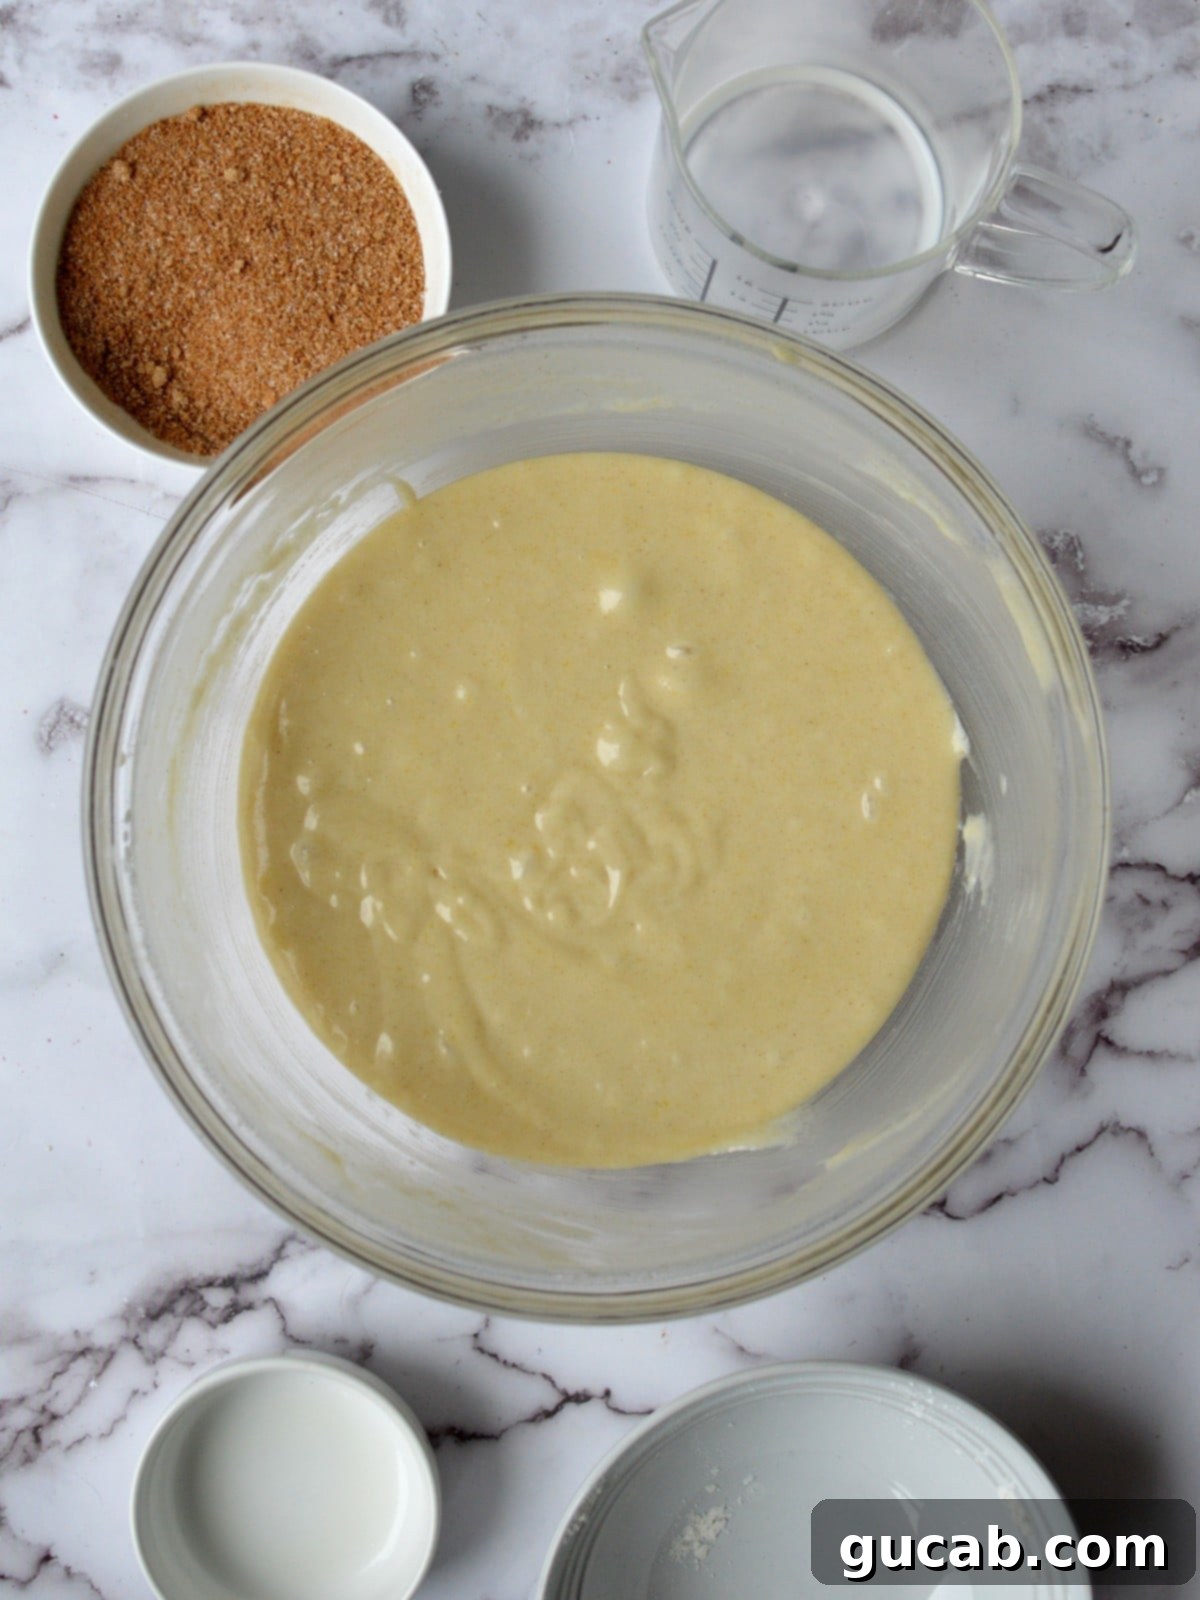
5. Prepare the Aromatic Cinnamon Swirl Mixture
In a separate, smaller bowl, combine the brown sugar, the additional 3 tablespoons of regular granulated sugar, and the 2 teaspoons of ground cinnamon. Stir these ingredients together thoroughly until you have a uniform, fragrant, and crumbly cinnamon-sugar mixture. This blend will form the irresistible heart of your cinnamon swirl bread, adding beautiful layers of flavor and a stunning visual appeal to the finished loaf.
6. Assemble & Bake Your Gluten-Free Cinnamon Bread to Perfection
Now for the exciting part – assembling your loaf! Scoop approximately half of the prepared batter into your greased baking pan and spread it out evenly with a spatula. Next, evenly sprinkle half of your delicious cinnamon-sugar mixture over this first layer of batter, ensuring good coverage. Carefully scoop the remaining batter on top, gently spreading it to cover the cinnamon layer without disturbing it too much. Finally, sprinkle the remaining cinnamon mixture generously over the very top of the batter. For that signature swirl effect, take a butter knife or a thin skewer and gently cut two or three figure-eight patterns (or just a few elegant zig-zags) into the batter. This light marbling creates beautiful pockets of cinnamon goodness throughout the loaf. Bake for 70 minutes, or until a wooden skewer or toothpick inserted into the center comes out clean, indicating it’s perfectly cooked through. The heavenly aroma filling your kitchen will be a wonderful bonus!
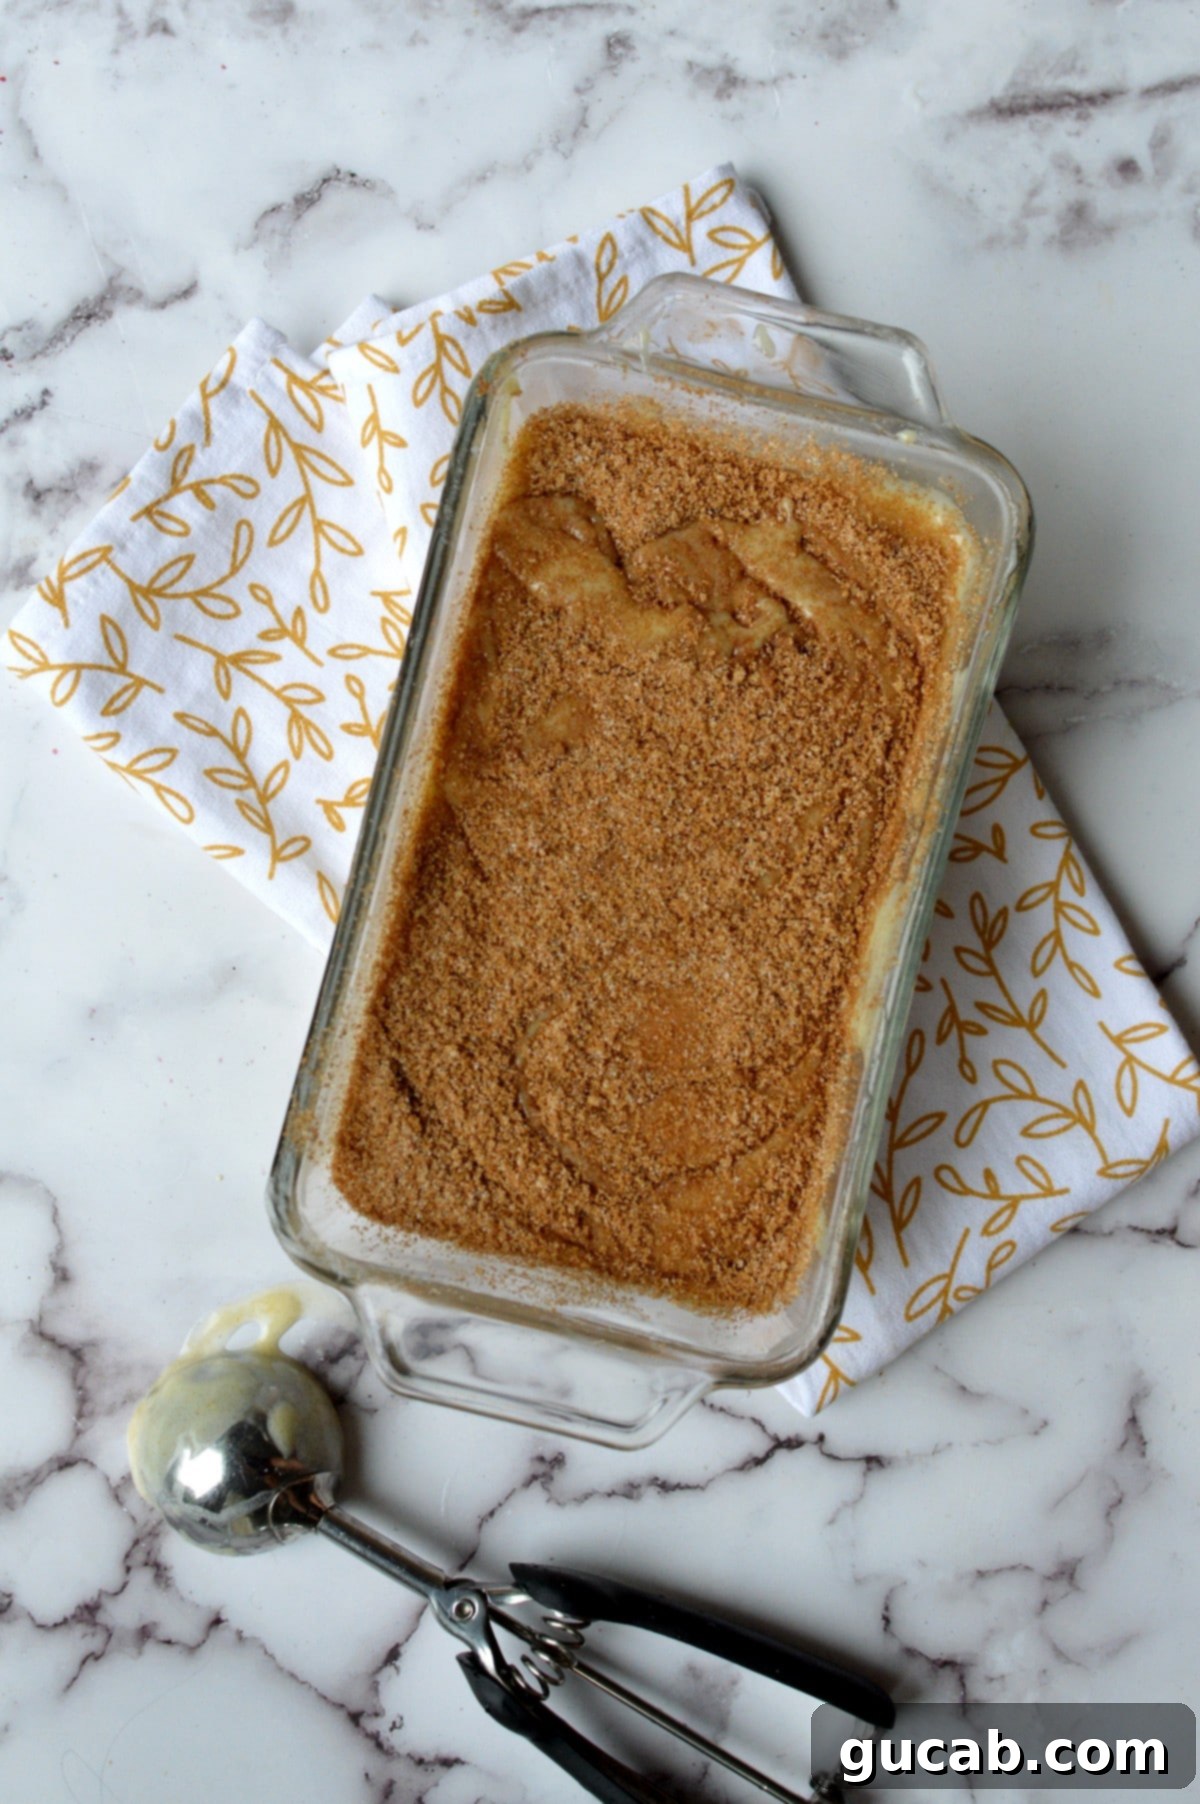
Choosing the Right Gluten-Free Flour for Your Cinnamon Bread Success
The choice of gluten-free all-purpose flour is perhaps the single most critical factor in the success of your gluten-free baking, and this cinnamon bread recipe is certainly no exception. As mentioned earlier, not all gluten-free flour blends are created equal, and understanding these differences is key to achieving consistently delicious results. It’s completely understandable to have your personal preferences, but it’s important to delve into the nuances of these blends to ensure your baked goods turn out beautifully light and moist.
Most commercially available gluten-free flours, especially those marketed as “all-purpose” or “1:1” (meaning they can be substituted cup-for-cup for regular wheat flour), are actually a sophisticated combination of various flours and starches. Common components include rice flour (white or brown), tapioca starch, potato starch, and sorghum flour, among others. These blends are meticulously formulated to try and mimic the complex properties of wheat flour, which contains gluten. A key component often included in the most successful blends, and particularly important for this recipe, is xanthan gum. This ingredient acts as a vital binder and emulsifier, providing the elasticity, structure, and chewiness that gluten would otherwise offer, thereby preventing your gluten-free baked goods from becoming dry, crumbly, or falling apart.
For this specific gluten-free cinnamon bread, I consistently achieve the best results with Bob’s Red Mill 1:1 All-Purpose Gluten-Free Flour. This blend has been extensively tested with this recipe and reliably yields a wonderfully moist, light, and flavorful loaf with the perfect texture. If you choose to opt for a different brand, please double-check that it explicitly states “1:1” or “cup-for-cup” substitution on the packaging and, crucially, confirm that it contains xanthan gum within its ingredients list. The absence of xanthan gum will almost certainly result in a very different, and often less desirable, texture. Feel free to share your experiences with other brands in the comments section below; collective knowledge and experimentation benefit everyone in the gluten-free baking community!
It’s vital to stress the importance of avoiding substituting this versatile all-purpose blend with single-ingredient gluten-free flours such as almond flour, coconut flour, or cassava flour. While these individual flours are absolutely wonderful and excel in their own specialized recipes, they cannot be directly substituted 1:1 for an all-purpose blend in a recipe like this. Each single-ingredient flour possesses unique absorption properties, protein content, and fiber levels that would drastically alter the moisture balance, density, and overall texture of your gluten-free cinnamon quick bread. Attempting such a substitution would typically lead to a dense, gummy, or overly crumbly result that isn’t enjoyable. Stick to a tried-and-true 1:1 blend for best results here.
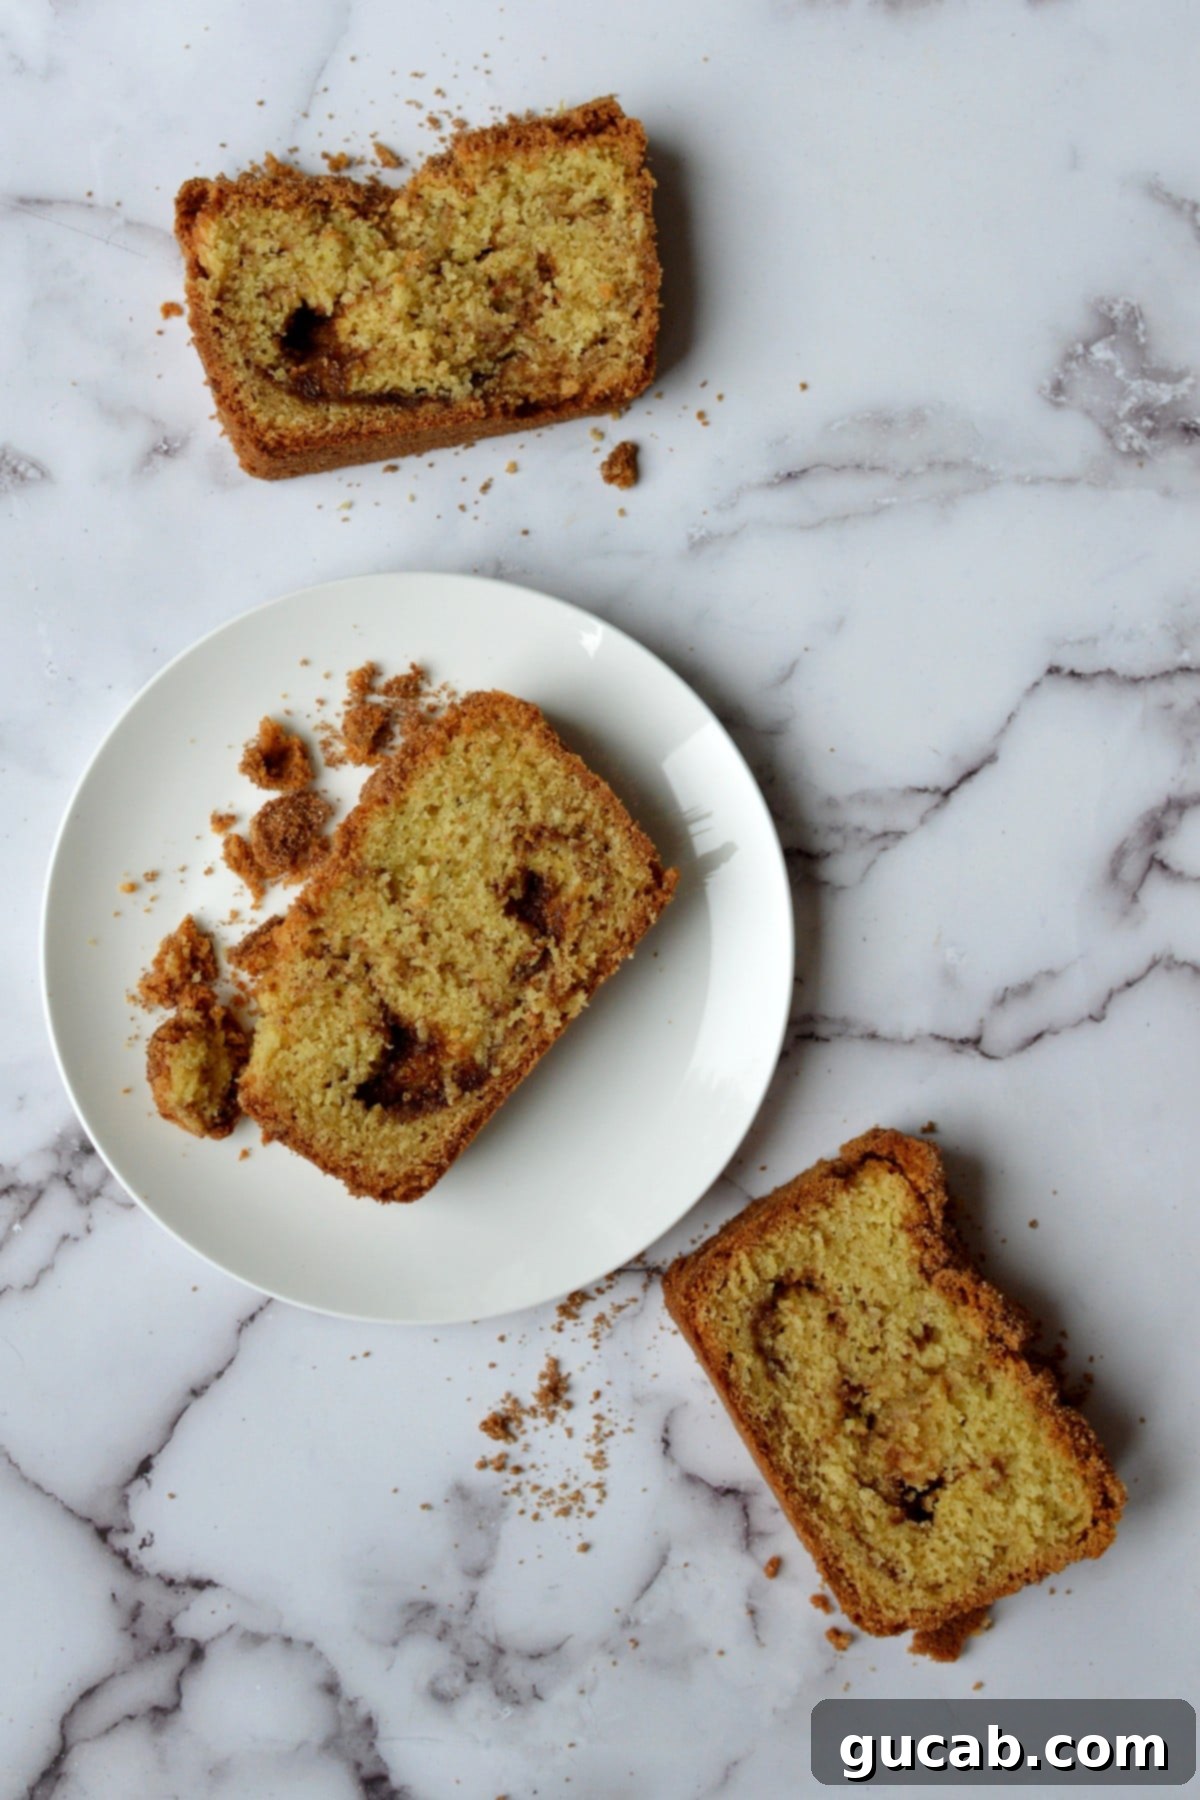
Storage and Freezing Your Delicious Gluten-Free Cinnamon Bread
One of the many wonderful qualities of this gluten-free quick bread is its excellent versatility when it comes to storage, making it perfect for meal prepping, enjoying a fresh slice later in the week, or stashing away for future cravings. Proper storage is crucial to ensure your homemade loaf remains as moist and delicious as the day it was freshly baked.
Can I freeze this Gluten-Free Bread? Absolutely, yes! Freezing is an excellent and highly recommended method to extend the shelf life of your cinnamon bread significantly, ensuring you always have a comforting treat readily available. Here’s how to do it effectively to maintain its optimal taste and texture:
If you prefer to freeze the whole loaf, the most important step is to ensure it is **completely cool** before wrapping – not even slightly warm to the touch. Any residual warmth can lead to condensation forming inside the wrapping, which can result in undesirable ice crystals and freezer burn, compromising the texture. Once fully cooled, wrap the entire loaf tightly in several layers of plastic wrap, then place it into a large freezer-safe zip-top bag, removing as much air as possible, or an airtight freezer container. Label it clearly with the date and freeze for up to 3 months for best quality. To thaw, simply unwrap the frozen loaf and let it sit at room temperature for several hours, or preferably overnight, until fully defrosted.
I personally find it most convenient and efficient to freeze the bread in individual slices. This method offers incredible flexibility and convenience, allowing you to enjoy a single serving whenever a craving strikes without having to thaw the entire loaf. To do this, first, allow the baked bread to cool completely. Then, slice it into your desired serving sizes. Arrange these individual slices in a single layer on a baking sheet or a flat plate and place them in the freezer for about an hour, or until they are solid. This flash-freezing step prevents the slices from sticking together. Once frozen solid, transfer the individual slices into a freezer-safe zip-top bag or an airtight container, press out any excess air, and label clearly with the date. When you’re ready for a warm, comforting slice, simply pull one out and microwave it for 30-60 seconds (depending on your microwave’s power), or lightly toast it in a toaster oven until warmed through. It’s truly like having freshly baked bread anytime you wish!
Recipe Tips, Smart Substitutions & Delicious Variations for the Perfect Loaf
To help you achieve the absolute best results with your gluten-free cinnamon bread, and to offer some exciting ideas for customization and variation, here are a few additional tips, clever substitutions, and delicious twists:
- Cooling is Crucial for Structure: Patience is truly a virtue, especially after baking any quick bread! **It is essential to let the gluten-free cinnamon bread cool significantly in its pan before attempting to remove it.** If you try to unmold it right out of the oven when it’s still hot, its delicate structure might cause it to fall apart or crack. Waiting until it’s slightly warm (about 15-20 minutes) or even completely cool ensures it sets properly and holds its beautiful shape when sliced.
- Add Raisins for a Classic Twist: If you’re a devoted fan of gluten-free cinnamon raisin bread, then by all means, incorporate some plump raisins into your loaf! Simply fold in about ½ to ¾ cup of dried raisins into the batter after you’ve mixed in the milk, just before assembling the layers in the pan. Other dried fruits like dried cranberries, chopped dried cherries, or finely diced dried apples would also be wonderfully delicious additions.
- Introduce a Nutty Crunch: For an added layer of texture and complementary flavor, consider folding in ½ cup of finely chopped walnuts or pecans into the batter. The nutty crunch pairs beautifully with the soft bread and aromatic cinnamon swirl, adding another dimension to this delightful treat.
- Elevate with a Simple Glaze: While this cinnamon bread is absolutely scrumptious on its own, a simple powdered sugar glaze can take it to an even more elevated, bakery-style level. To make one, whisk together 1 cup of powdered sugar with 2-3 tablespoons of milk (or water, or fresh lemon juice for a tangy contrast) until smooth and pourable. Drizzle this delightful glaze generously over the completely cooled loaf for an extra touch of sweetness and an elegant finish.
- Adjusting Sweetness Levels: If you prefer a slightly less sweet bread overall, you can subtly reduce the amount of granulated sugar in the batter by about ¼ cup. However, for the best flavor balance and visual appeal, it’s generally recommended to keep the cinnamon swirl mixture as specified, as it’s key to the bread’s signature taste and moist texture.
- Avoid Overmixing the Batter: Even with gluten-free flours, overmixing can still lead to a dense or rubbery texture. Once you add the dry ingredients and then the milk, mix the batter only until the ingredients are just combined. A few small lumps in the batter are perfectly fine and often contribute to a tender crumb, so resist the urge to keep mixing until it’s perfectly smooth.
- Always Check for Doneness: Baking times can vary slightly from oven to oven due to calibration differences. Therefore, always rely on a visual check and the trusty toothpick test: insert a wooden skewer or toothpick into the very center of the loaf. If it comes out clean or with only a few moist crumbs attached, your bread is perfectly cooked through. If it emerges with wet batter, continue baking in short 5-10 minute increments until done.
- High-Altitude Baking: For bakers at high altitudes, minor adjustments may be necessary, such as slightly increasing liquids, decreasing leavening agents, or adjusting oven temperature. Research specific high-altitude baking tips if you live above 3,000 feet.
Perfect Pairings & Serving Suggestions for Your Cinnamon Bread
This wonderfully versatile gluten-free cinnamon bread can be enjoyed in a myriad of delicious ways, making it suitable for any meal or snack occasion. For breakfast, a slice toasted lightly and slathered with a pat of butter, perhaps alongside your morning coffee or favorite tea, is pure bliss. It also makes a fantastic mid-afternoon snack to curb those sweet cravings or a comforting dessert after a meal. Here are some delightful serving suggestions to enhance your experience:
- Serve it warm with a generous dollop of cream cheese frosting for an even more decadent, cake-like experience, reminiscent of a frosted cinnamon roll.
- Enjoy it alongside a bowl of fresh seasonal berries or thinly sliced bananas for a wholesome and flavorful treat that balances the sweetness.
- Drizzle a touch of pure maple syrup or golden honey over a warm slice for an extra layer of sweetness and complexity.
- Transform leftover slices into a truly indulgent and comforting bread pudding, a perfect way to repurpose this delicious loaf.
- Pair with a scoop of vanilla bean ice cream for a delightful dessert.
Other Delicious Gluten-Free Dessert Recipes You’ll Love
If you’ve thoroughly enjoyed baking and tasting this incredible gluten-free cinnamon swirl bread, then you’re definitely in for a treat! Our extensive collection of gluten-free dessert recipes is thoughtfully designed to bring pure joy back to baking for individuals managing dietary restrictions, or simply for anyone seeking wholesome, delicious, and easy-to-make alternatives to classic treats. Dive into these other fantastic and equally satisfying gluten-free options:
- Gluten Free Zucchini Bread
- Gluten Free Banana Bread
- Gluten Free Pumpkin Chocolate Bread
- Gluten Free Chocolate Chip Muffins
- Gluten Free Blueberry Muffins
- Gluten Free Cinnamon Rolls
- Gluten Free Coffee Cake with Berry Swirl
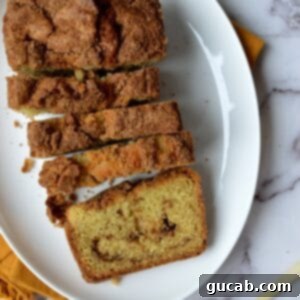
Gluten Free Cinnamon Bread
Carolyn
Pin Recipe
Equipment
-
Stand mixer or a large bowl
-
Spatula
-
9 by 5-inch baking dish
Ingredients
For the cinnamon swirl:
- ⅓ cup brown sugar
- 3 tbsp sugar
- 2 teaspoon ground cinnamon
For the batter:
- 1 cup canola oil
- 1 cup white sugar
- 2 eggs, large
- 2 cups + 2 tbsp Bob’s Red Mill 1:1 All Purpose Gluten Free Flour
- 2 teaspoon baking powder
- ½ teaspoon baking soda
- ½ teaspoon kosher salt
- ½ cup whole milk
Instructions
-
Preheat your oven to 350 degrees Fahrenheit (175°C). Lightly grease a 9 by 5-inch baking dish (loaf pan) and then set it aside.
-
In a large bowl, or the bowl of a stand mixer, stir together the canola oil and white sugar until well combined. Add the two large eggs and whisk thoroughly until they are fully incorporated into the mixture.
-
Add the gluten-free all-purpose flour, baking powder, baking soda, and kosher salt to the wet ingredients. Use a spatula or the paddle attachment of your stand mixer to beat or stir until a thick, uniform batter forms. Avoid overmixing.
-
Gradually add the whole milk to the batter. If using a spatula, add it in thirds, mixing gently after each addition. If using a stand mixer, slowly stream the milk in on low speed. Scrape down the sides of the bowl as necessary to ensure everything is well combined and the batter is smooth.
-
In a separate small bowl, combine the brown sugar, the additional 3 tablespoons of white sugar, and the 2 teaspoons of ground cinnamon. Stir these ingredients thoroughly to create your cinnamon swirl mixture.
-
Scoop half of the bread batter into the prepared baking pan and spread it evenly with a spatula. Evenly sprinkle half of the cinnamon swirl mixture over this first layer of batter. Then, carefully scoop the remaining batter on top and gently spread it to cover the cinnamon layer. Sprinkle the remaining cinnamon mixture evenly over the very top of the batter.
-
Use a butter knife or a thin skewer to gently create two or three figure-eight patterns (or simple zig-zags) in the batter. This will create a beautiful marble effect and ensure the cinnamon mixture is distributed throughout the loaf for that irresistible swirl.
-
Bake the gluten-free cinnamon bread in the preheated oven for 70 minutes, or until a toothpick inserted into the center comes out clean. Once baked, let the bread cool in the pan for at least 15-20 minutes before carefully transferring it to a wire rack to cool completely. Enjoy your homemade, light, and fluffy cinnamon bread!
Nutrition
