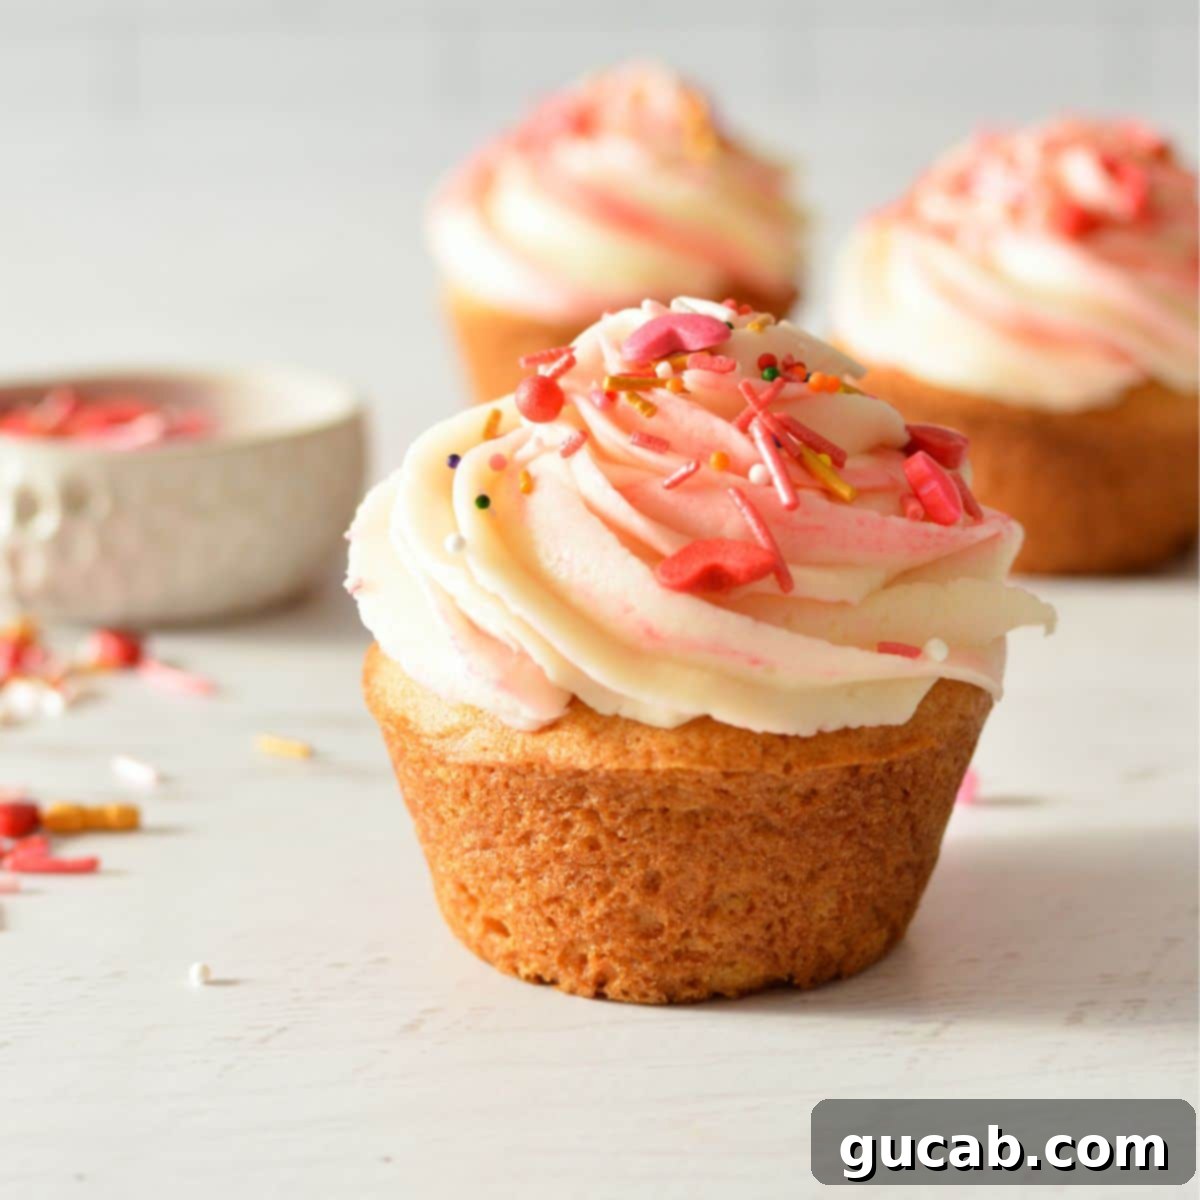
The Ultimate Guide to Fluffy & Moist Gluten-Free Vanilla Cupcakes
These gluten-free vanilla cupcakes are a game-changer! Forget everything you thought you knew about gluten-free baking. We’re talking light, airy, and incredibly moist cupcakes that taste exactly like their gluten-filled counterparts – but without a trace of gluten. Prepare to fall in love with these delightful, perfectly baked treats.
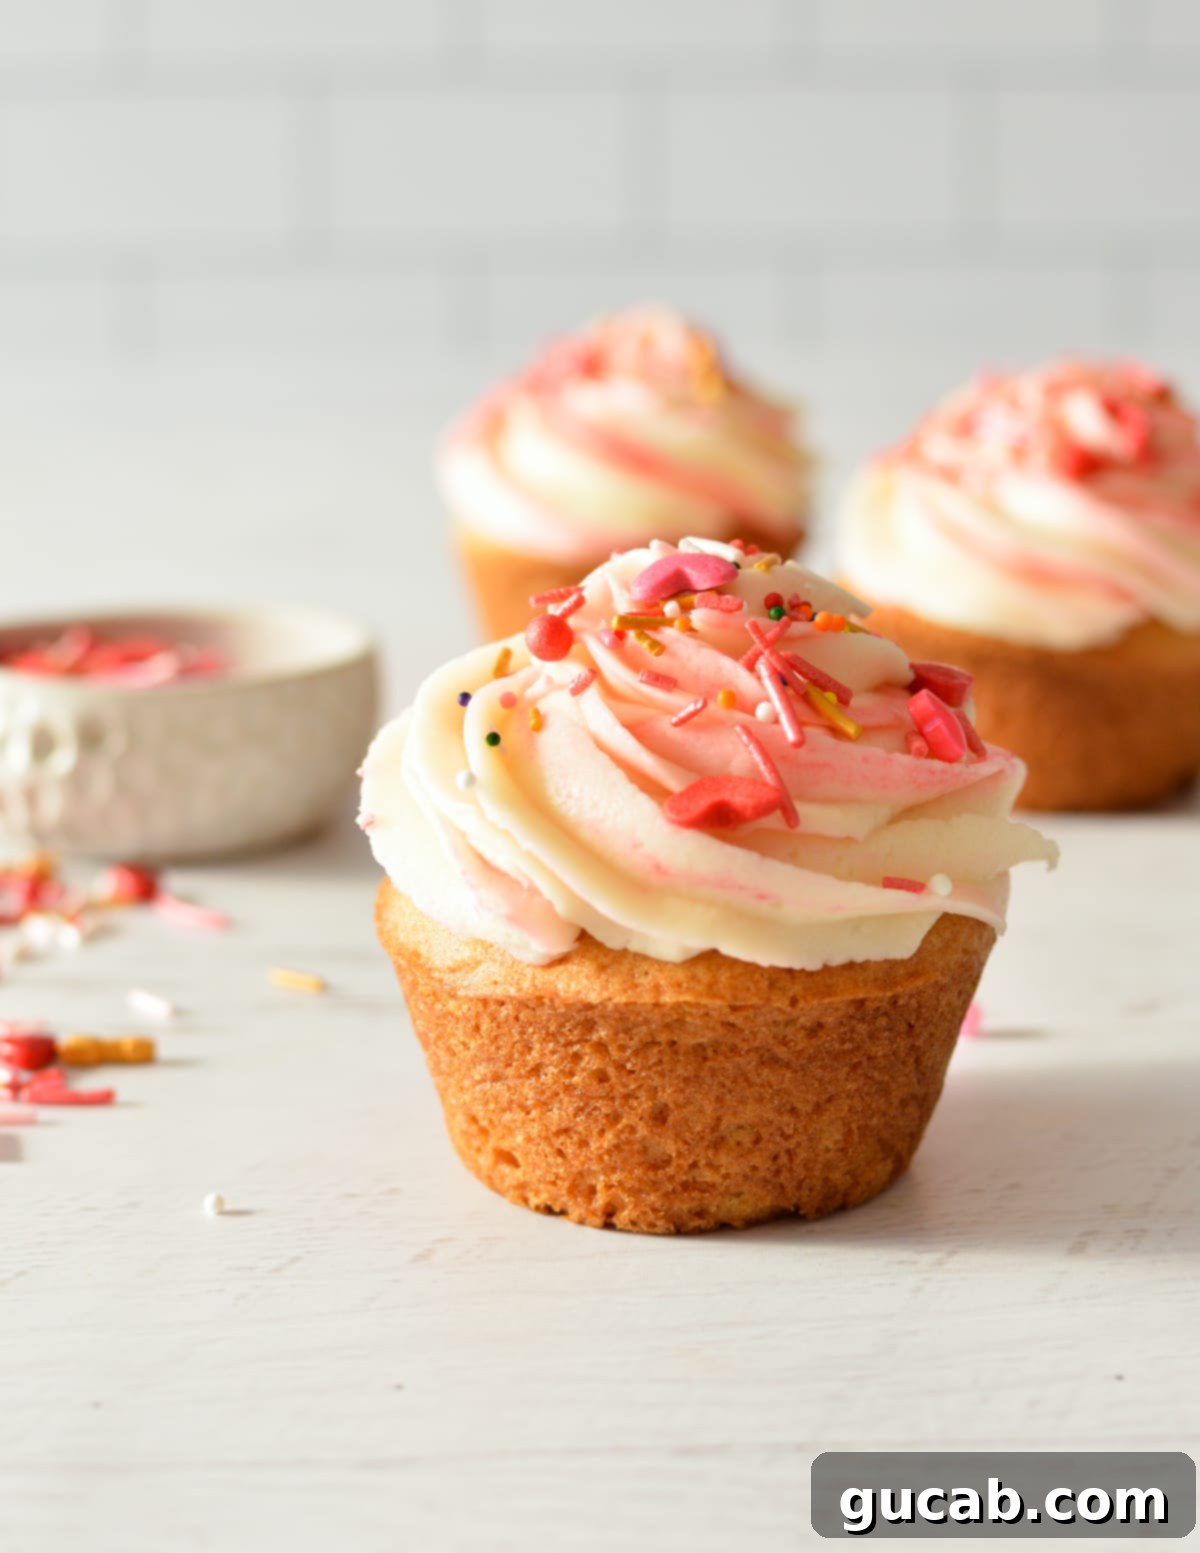
Let’s be honest, finding a truly good gluten-free cupcake can be a challenge. I’ve personally encountered my fair share of dense, dry, and altogether disappointing gluten-free options masquerading as cupcakes. It seems many bakeries offering a “gluten-free alternative” often deliver a heavy, somewhat sad excuse for a treat. This unfortunate reality often leaves those of us seeking gluten-free options feeling like we have to compromise on taste and texture.
Driven by this persistent culinary disappointment, I finally decided enough was enough. I headed into my kitchen with a mission: to create a batch of gluten-free vanilla cupcakes that I could be truly proud of. My goal was simple yet ambitious: they had to be light, fluffy, and incredibly moist, just like the best classic vanilla cupcakes, but entirely free of gluten. I refused to settle for anything less than perfection.
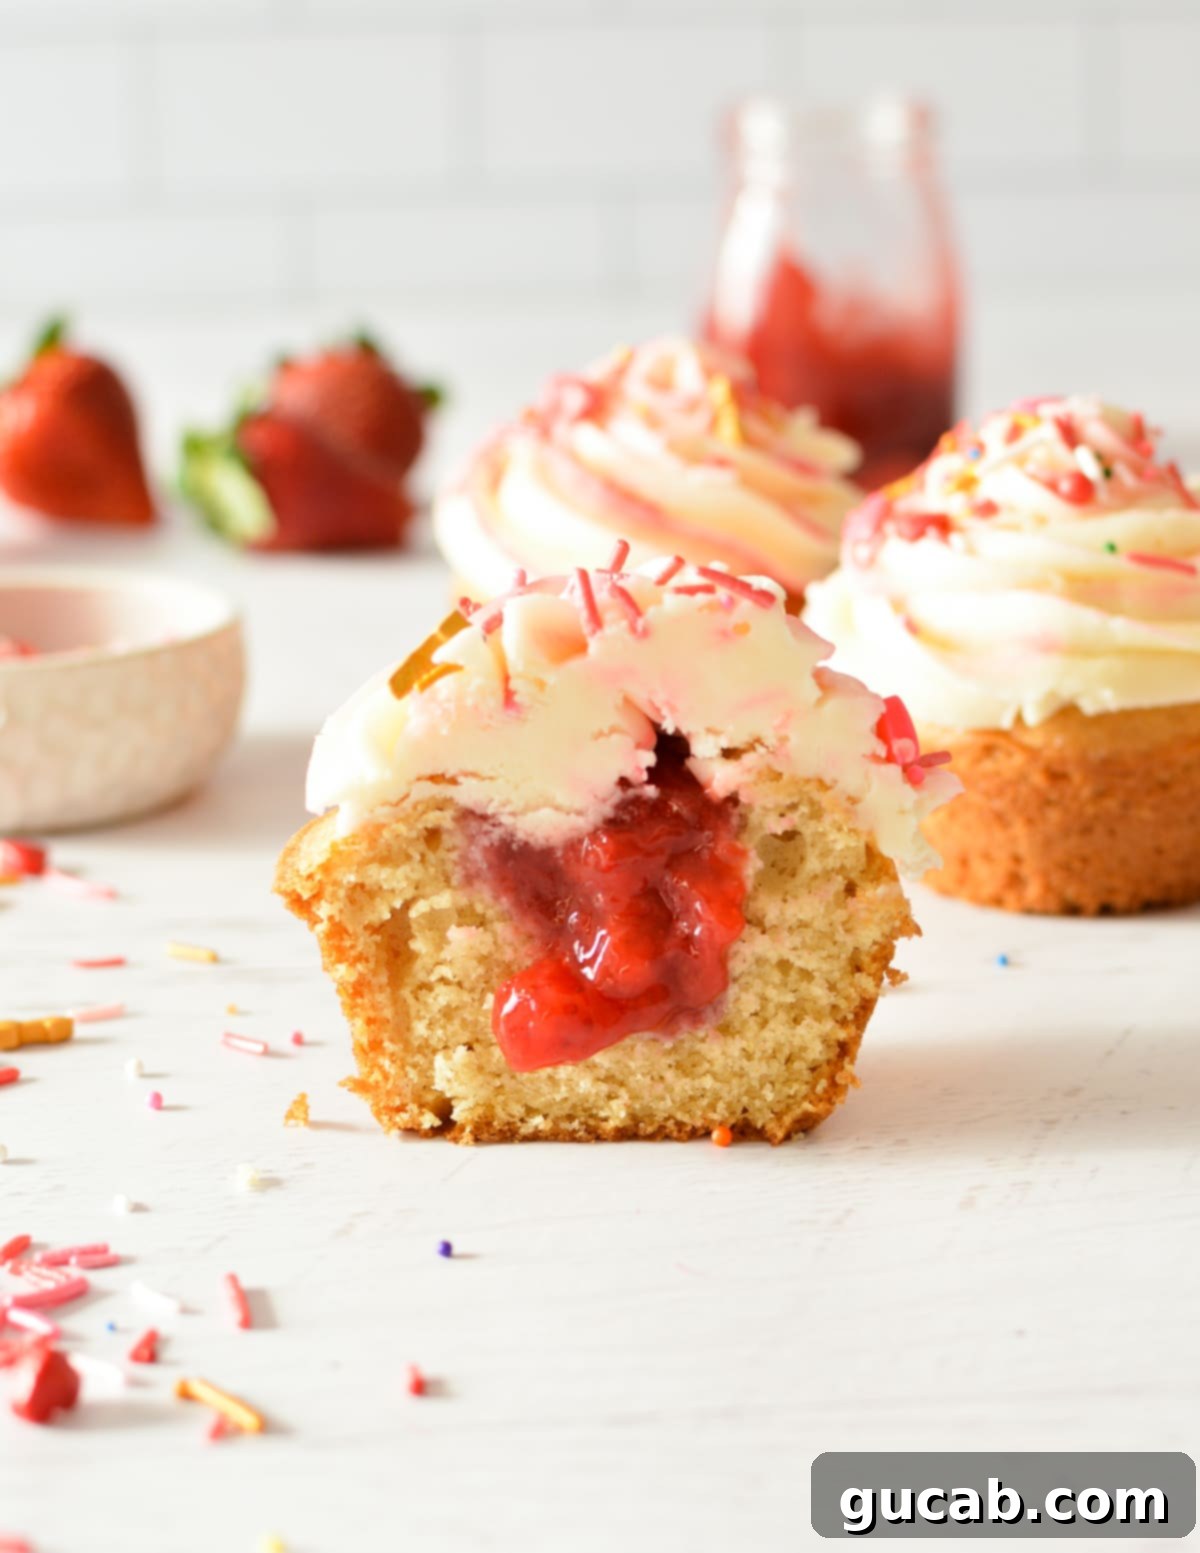
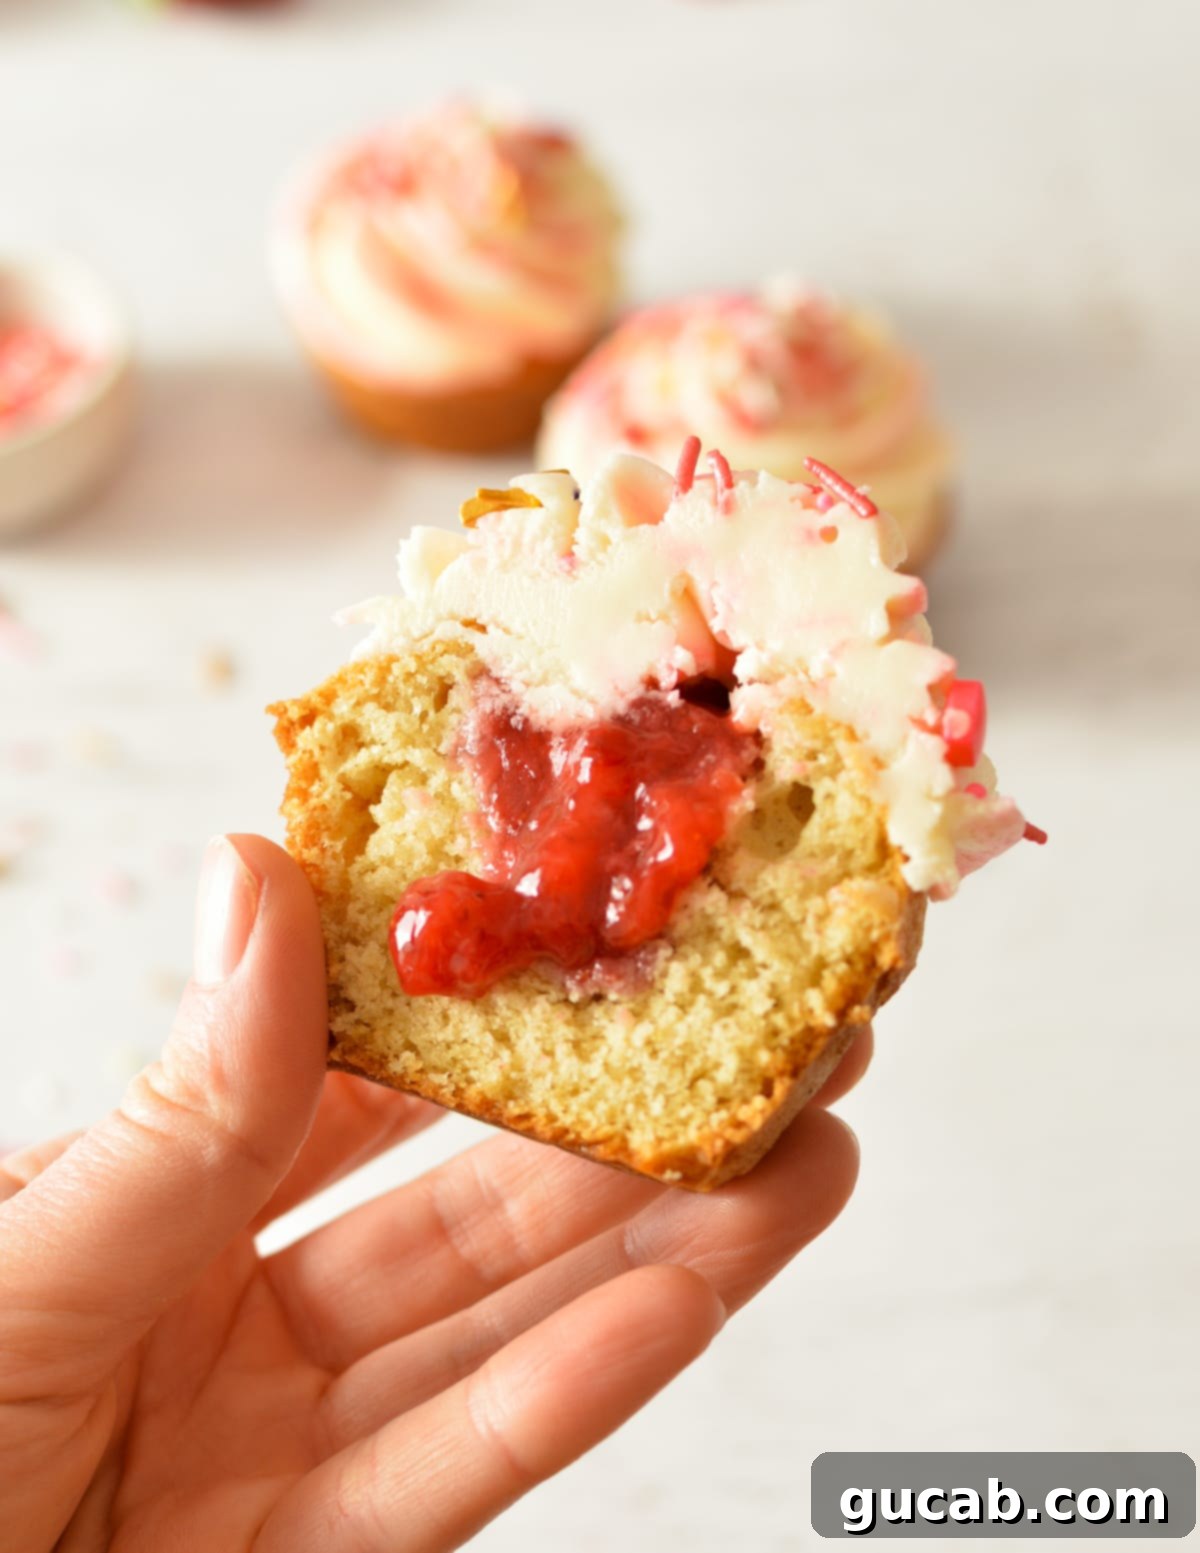
After much experimentation, I’m thrilled to announce that these gluten-free vanilla cupcakes not only meet but exceed all expectations! They boast an irresistibly soft, light texture, rising beautifully in the oven to create that signature domed top every cupcake lover dreams of. The delicate crumb and rich vanilla flavor make them a standalone delight, but they truly sing when paired with a luscious frosting. While I’ve experimented with a sweet strawberry filling for an extra burst of flavor, these cupcakes are utterly irresistible even on their own. They are the perfect canvas for your favorite buttercream or glaze, making them incredibly versatile for any occasion.
Disclosure: This post contains affiliate links. In other words, if you click a link and purchase something, I will receive a commission at no cost to you. I only recommend products I use and enjoy myself.
Why You’ll Adore These Gluten-Free Vanilla Cupcakes
These cupcakes aren’t just another gluten-free recipe; they’re a revelation. Here’s why they’ll quickly become your go-to for all your baking needs:
- Unrivaled Texture: The number one challenge in gluten-free baking is often achieving the right texture. These cupcakes defy expectations, offering an incredibly light, fluffy, and moist crumb. They rise beautifully and hold their shape, ensuring every bite is a delightful experience that rivals traditional cupcakes. No more dense or gummy surprises!
- Effortlessly Simple to Make: Don’t be intimidated by the idea of gluten-free baking. This recipe is designed for simplicity, requiring no complex techniques or hard-to-find ingredients. With straightforward steps and common kitchen tools, you’ll whip up a batch of these delicious treats in no time, even if you’re a novice baker.
- Significantly More Budget-Friendly: Indulging in gluten-free baked goods from bakeries often comes with a hefty price tag. Not only can they be expensive, but the quality can also be inconsistent. By making these delectable gluten-free vanilla cupcakes at home, you save money without sacrificing flavor or quality, ensuring you get perfect results every time.
- Enhanced Safety and Peace of Mind: For individuals with celiac disease or severe gluten intolerance, cross-contamination is a serious concern. Baking at home gives you complete control over your ingredients and environment, drastically reducing the risk of accidental gluten exposure. Enjoy your treats with confidence, knowing they are safe and pure.
- Versatile and Customizable: While they shine on their own, these vanilla cupcakes are incredibly versatile. They serve as the perfect base for any frosting – from classic vanilla buttercream to a rich chocolate ganache, or even a tangy cream cheese frosting. You can also add various fillings, sprinkles, or toppings to match any theme or personal preference, making them ideal for birthdays, holidays, or just an everyday treat.
Essential Ingredients for Perfect Gluten-Free Cupcakes
Every great recipe relies on quality ingredients. Here’s a closer look at what makes these gluten-free vanilla cupcakes so special, along with some helpful tips for each:
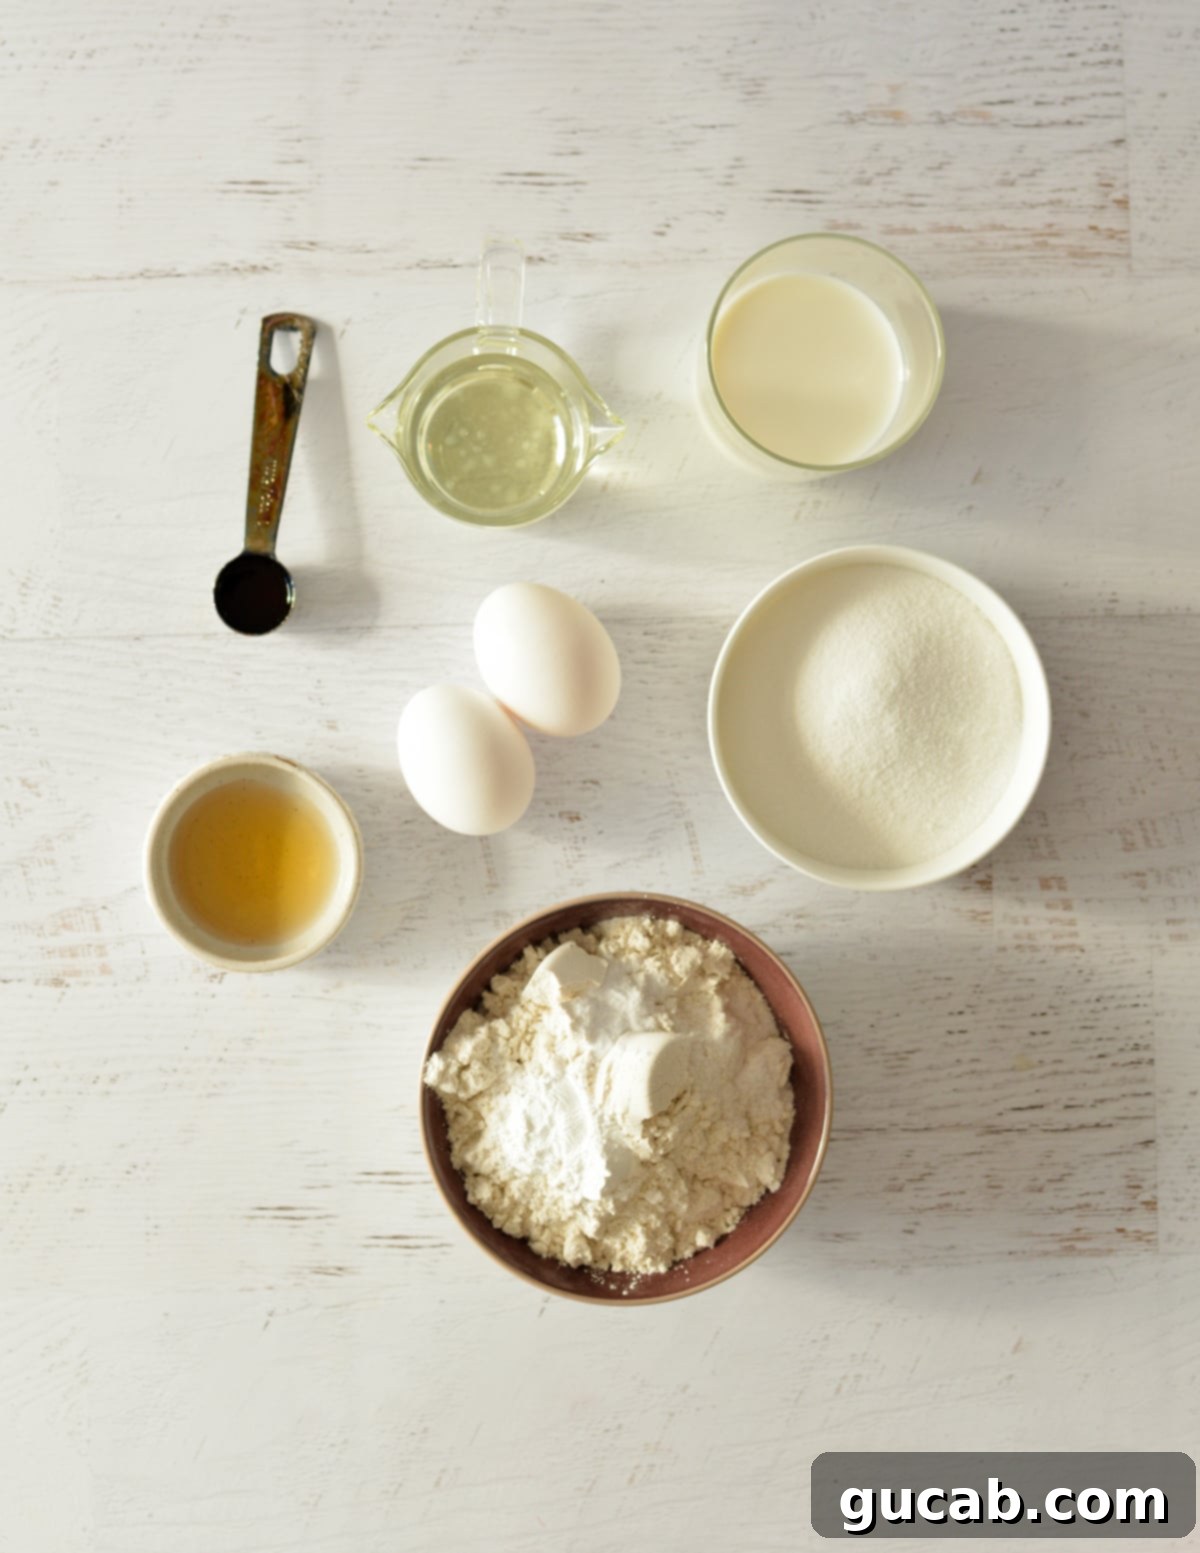
- Vegetable Oil: While butter often takes center stage in baking, vegetable oil is the unsung hero of this recipe. It’s crucial for achieving that wonderfully moist and light texture. Unlike butter, which can make gluten-free baked goods dense when cooled, oil helps keep the cupcakes tender and soft for longer. Opt for a neutral-flavored oil like canola or sunflower oil.
- Gluten-Free All-Purpose Flour: This is arguably the most critical ingredient. I highly recommend Bob’s Red Mill 1:1 All-Purpose Gluten-Free Baking Flour. In my experience, it consistently delivers superior taste and texture compared to many other gluten-free flour blends. Its balanced mix of flours and starches mimics traditional wheat flour remarkably well. If Bob’s Red Mill isn’t available, King Arthur’s Measure for Measure Gluten-Free Flour is another excellent, reliable alternative for this recipe. Remember that not all gluten-free flour blends are created equal, so sticking to a reputable 1:1 blend is key.
- Baking Powder: A primary leavening agent, baking powder is essential for helping these cupcakes achieve their beautiful rise and fluffy texture. Ensure your baking powder is fresh and active; if it’s been sitting in your pantry for ages, it’s best to replace it. To test its activity, mix a teaspoon with a bit of hot water – if it bubbles vigorously, it’s good to go!
- Baking Soda: A small amount of baking soda works in conjunction with the vinegar in this recipe. When combined with an acidic ingredient, baking soda produces carbon dioxide gas, which creates additional lift and contributes to the cupcakes’ tender crumb. It’s a powerful leavener that complements the baking powder perfectly.
- Kosher Salt: Salt is vital for enhancing all the other flavors in your cupcakes, preventing them from tasting flat or overly sweet. If you only have table salt on hand, be sure to halve the amount, as table salt crystals are much finer and denser, making it saltier by volume. Too much salt will result in an unappetizingly savory cake.
- Milk & Vinegar: This dynamic duo creates a homemade “buttermilk” effect, which is incredibly beneficial for gluten-free baking. The acid in the vinegar reacts with the baking soda to promote a superior rise, while the milk provides essential moisture. This combination helps tenderize the gluten-free flour blend, resulting in an exceptionally moist and delicate cupcake. Any milk can be used, including dairy-free alternatives.
- Sugar (Granulated and Brown): A combination of white granulated sugar and a touch of brown sugar ensures the perfect balance of sweetness and moisture. Granulated sugar provides structure and tenderness, while brown sugar adds a subtle depth of flavor and contributes to the cupcakes’ moistness.
- Vanilla Extract: Use good quality pure vanilla extract for the best flavor. It’s the star of these vanilla cupcakes, so don’t skimp on it!
- Eggs: Eggs act as a binder, provide structure, add moisture, and contribute to the leavening. Ensure your eggs are at room temperature for better emulsification with the other ingredients, leading to a smoother, more uniform batter.
Step-by-Step Guide: Crafting Your Gluten-Free Vanilla Cupcakes
Before we dive into the steps, a crucial piece of advice for baking, especially gluten-free baking: always follow the recipe precisely, particularly on your first attempt. Baking is a science, and gluten-free baking can be particularly finicky. If you make too many substitutions or deviations from the recipe early on and the results aren’t perfect, it might not be the recipe itself but the alterations that caused the issue.
While I encourage experimentation in the kitchen, it’s truly amazing how a seemingly minor change – like an extra tablespoon of flour or a different type of fat – can significantly impact the final texture and rise of a cupcake. Once you’ve mastered the original recipe, then feel free to play around with flavors and add-ins!
Here’s what you need to do to create these delightful treats:
- Prepare Your Workspace: Begin by preheating your oven to 350 degrees Fahrenheit (175°C). Line a 12-cup muffin tin with paper liners or spray it thoroughly with nonstick cooking spray. This crucial step prevents sticking and ensures easy removal. In a separate small bowl, combine your milk and vinegar and set it aside to curdle slightly – this creates a homemade “buttermilk” effect that adds moisture and tenderness.
- Combine Dry Ingredients: In a medium-sized mixing bowl, whisk together your gluten-free flour (remembering to spoon and level for accuracy), baking powder, baking soda, and kosher salt. Ensure these are thoroughly combined to distribute the leavening agents evenly throughout the batter.
- Cream Wet Ingredients (Part 1): In the bowl of a stand mixer fitted with the paddle attachment (or using a hand mixer), combine the vegetable oil, both sugars (granulated and brown), and vanilla extract. Beat these together on medium speed until the mixture is light in color and well combined, which usually takes about 2-3 minutes. This step helps to dissolve the sugar and incorporate air, contributing to a lighter cupcake.
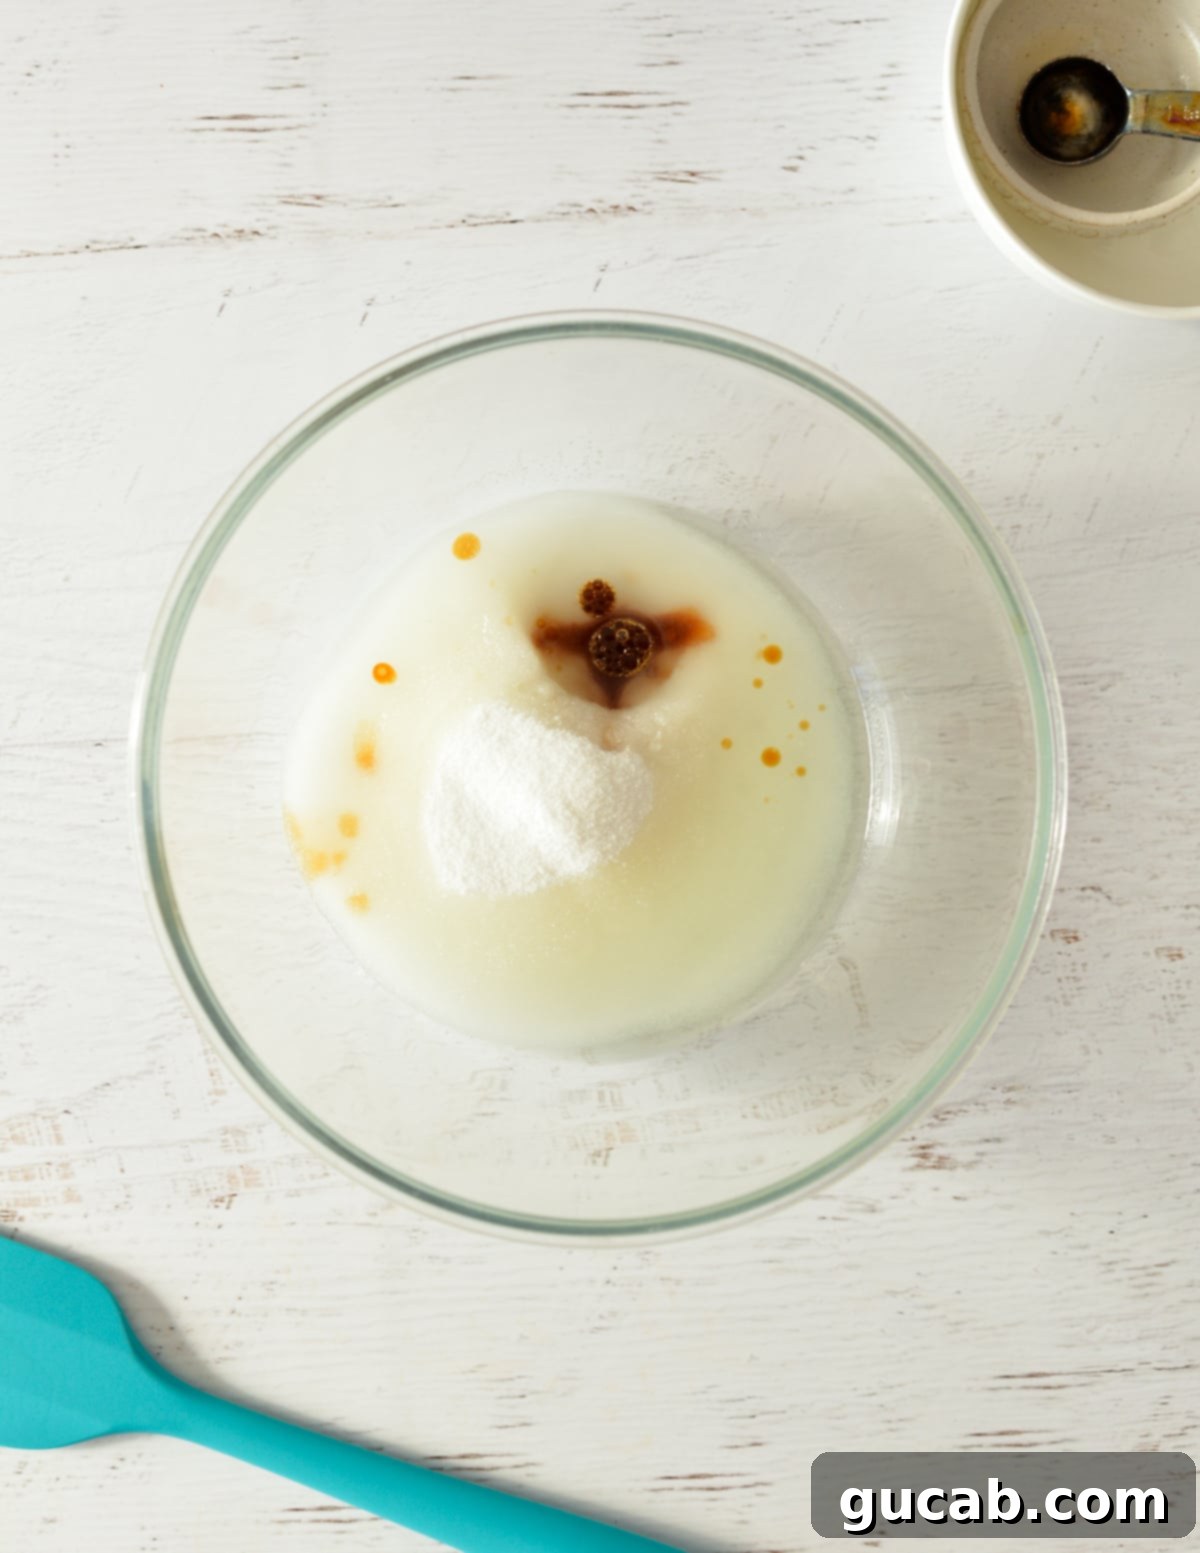
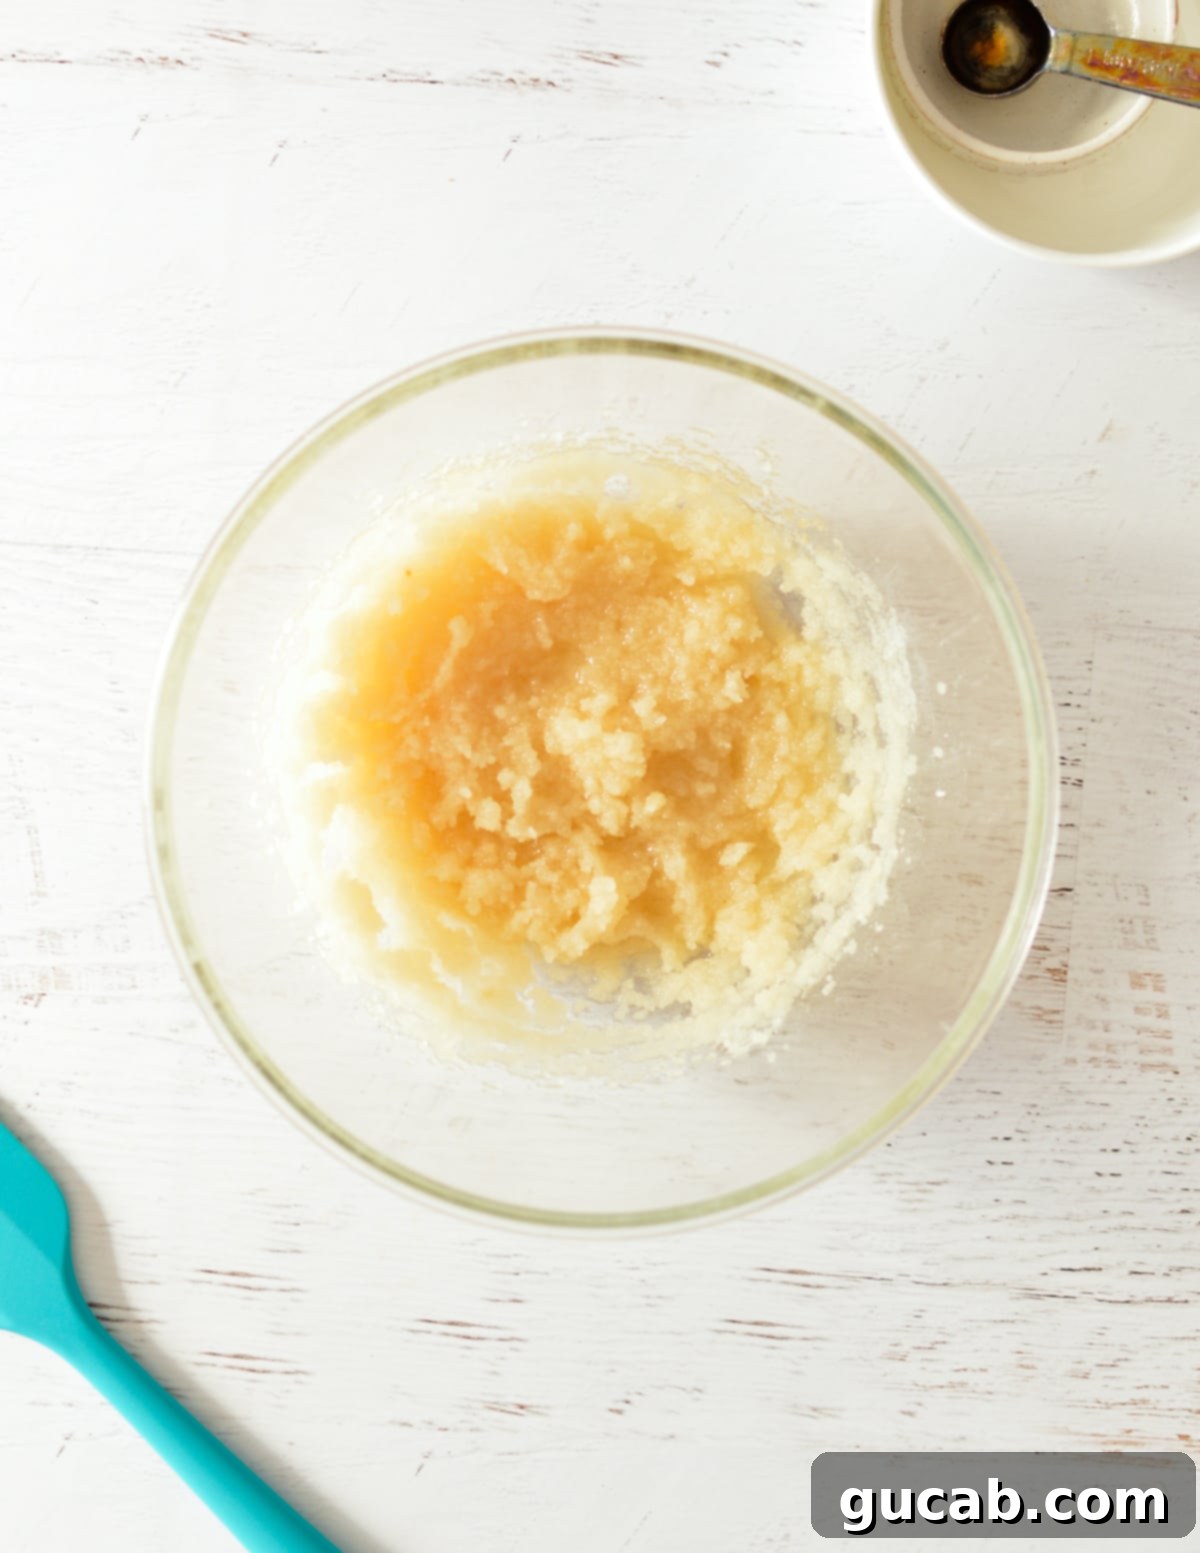
- Incorporate Eggs: Add the eggs one at a time to the oil and sugar mixture. Beat well after each addition, allowing each egg to fully incorporate before adding the next. This creates a stable emulsion, contributing to the cupcakes’ structure and preventing a greasy texture. Don’t forget to scrape down the sides of the bowl with a spatula after each egg to ensure everything is thoroughly mixed.
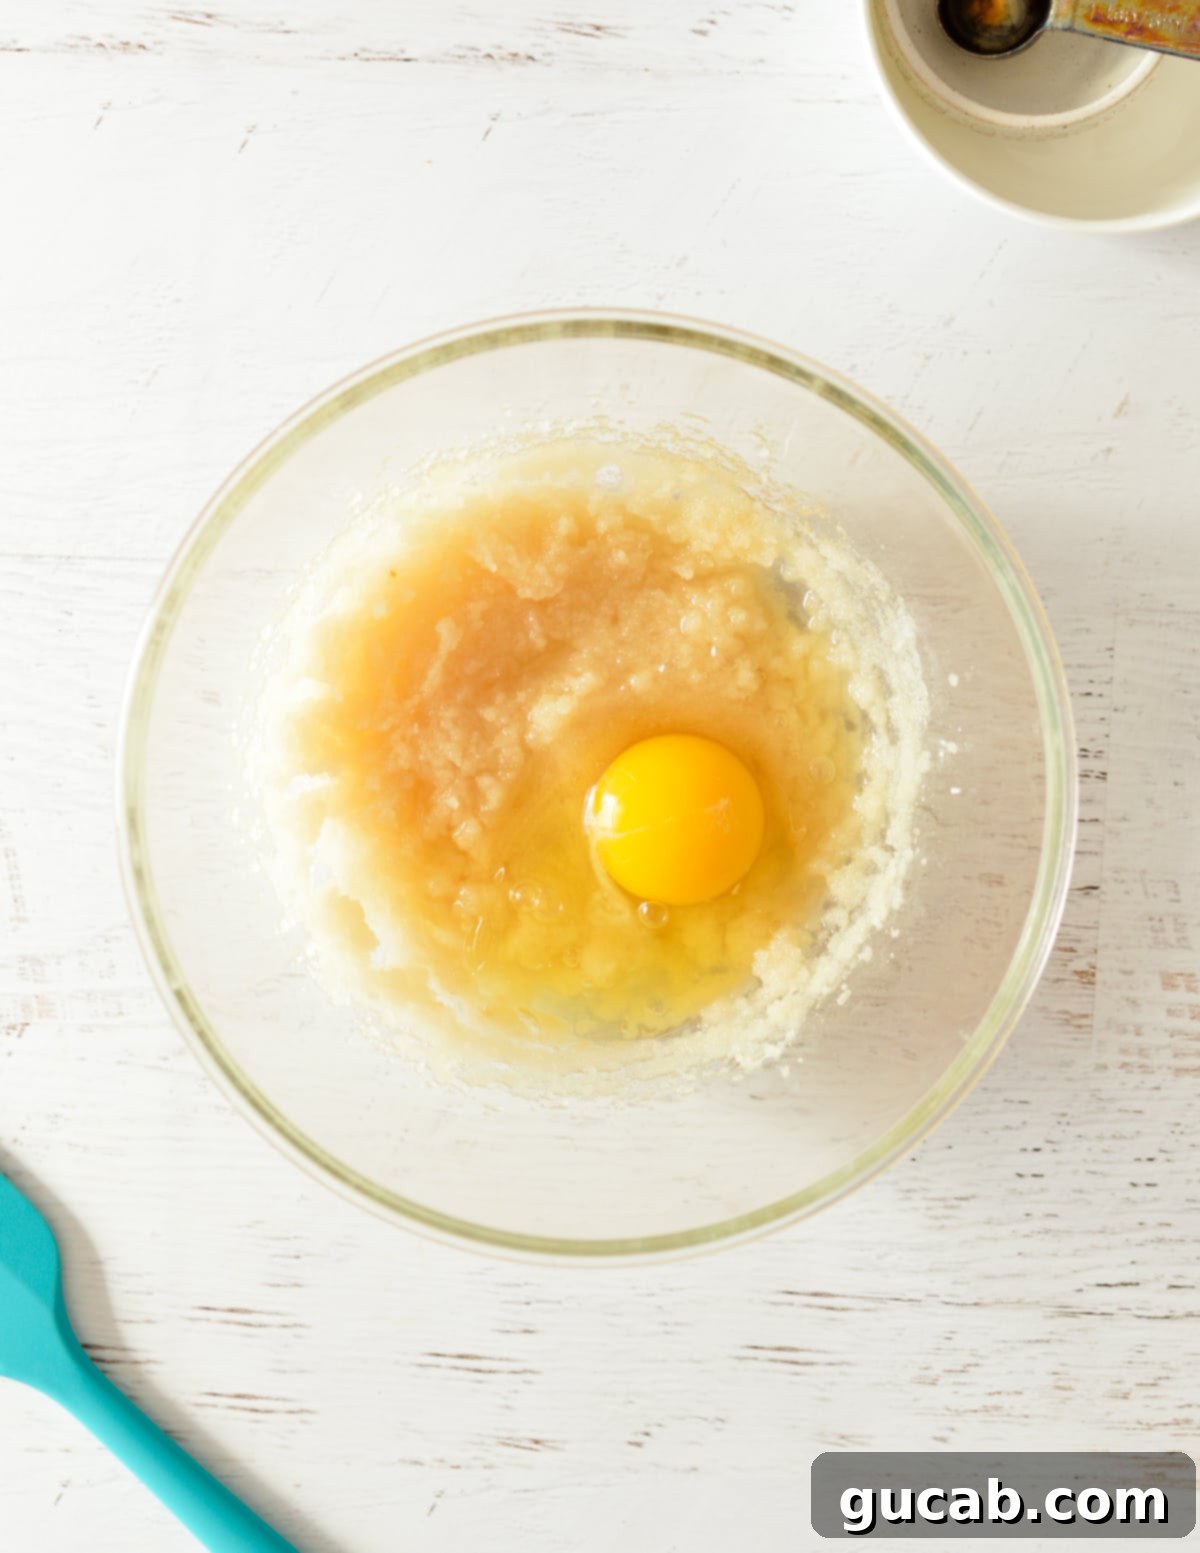
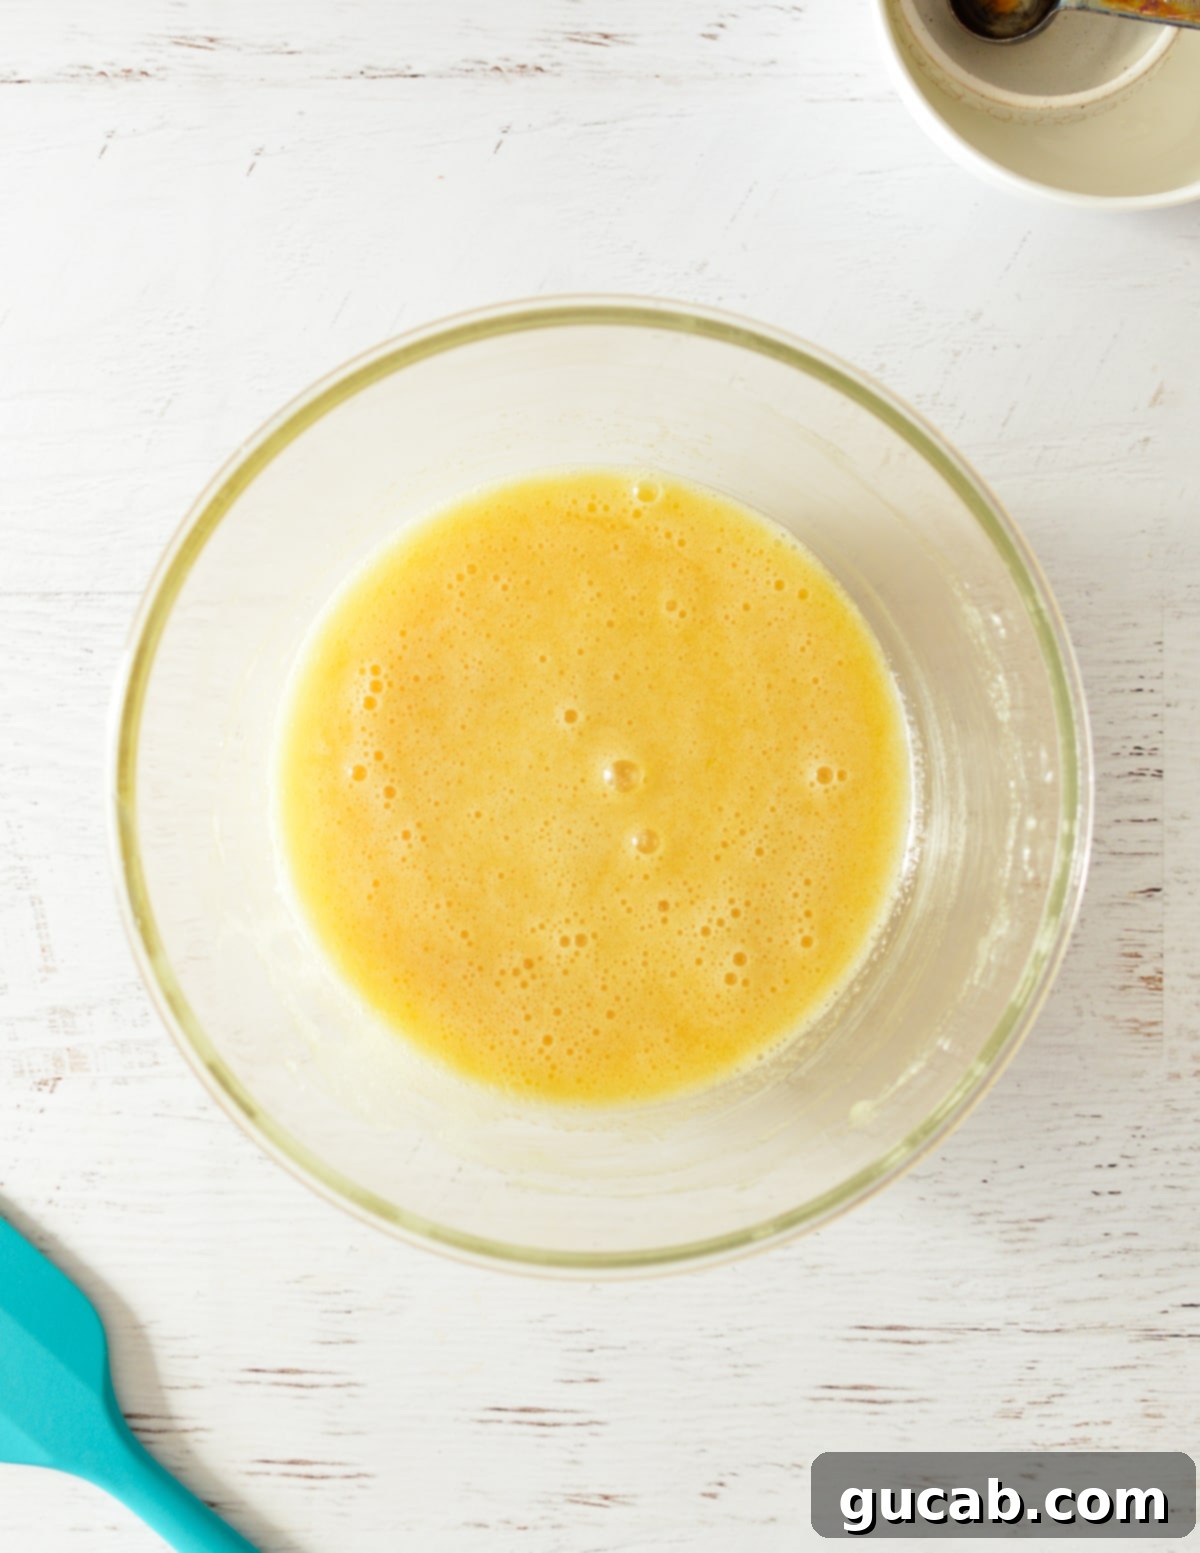
- Add Dry Ingredients: With the mixer on low speed, gradually add the dry ingredient mixture to the wet ingredients. Mix until just incorporated. Overmixing gluten-free flour can sometimes lead to a tougher texture, so mix only until no streaks of flour remain. Use a spatula to scrape down the sides of the bowl to ensure all ingredients are fully combined.
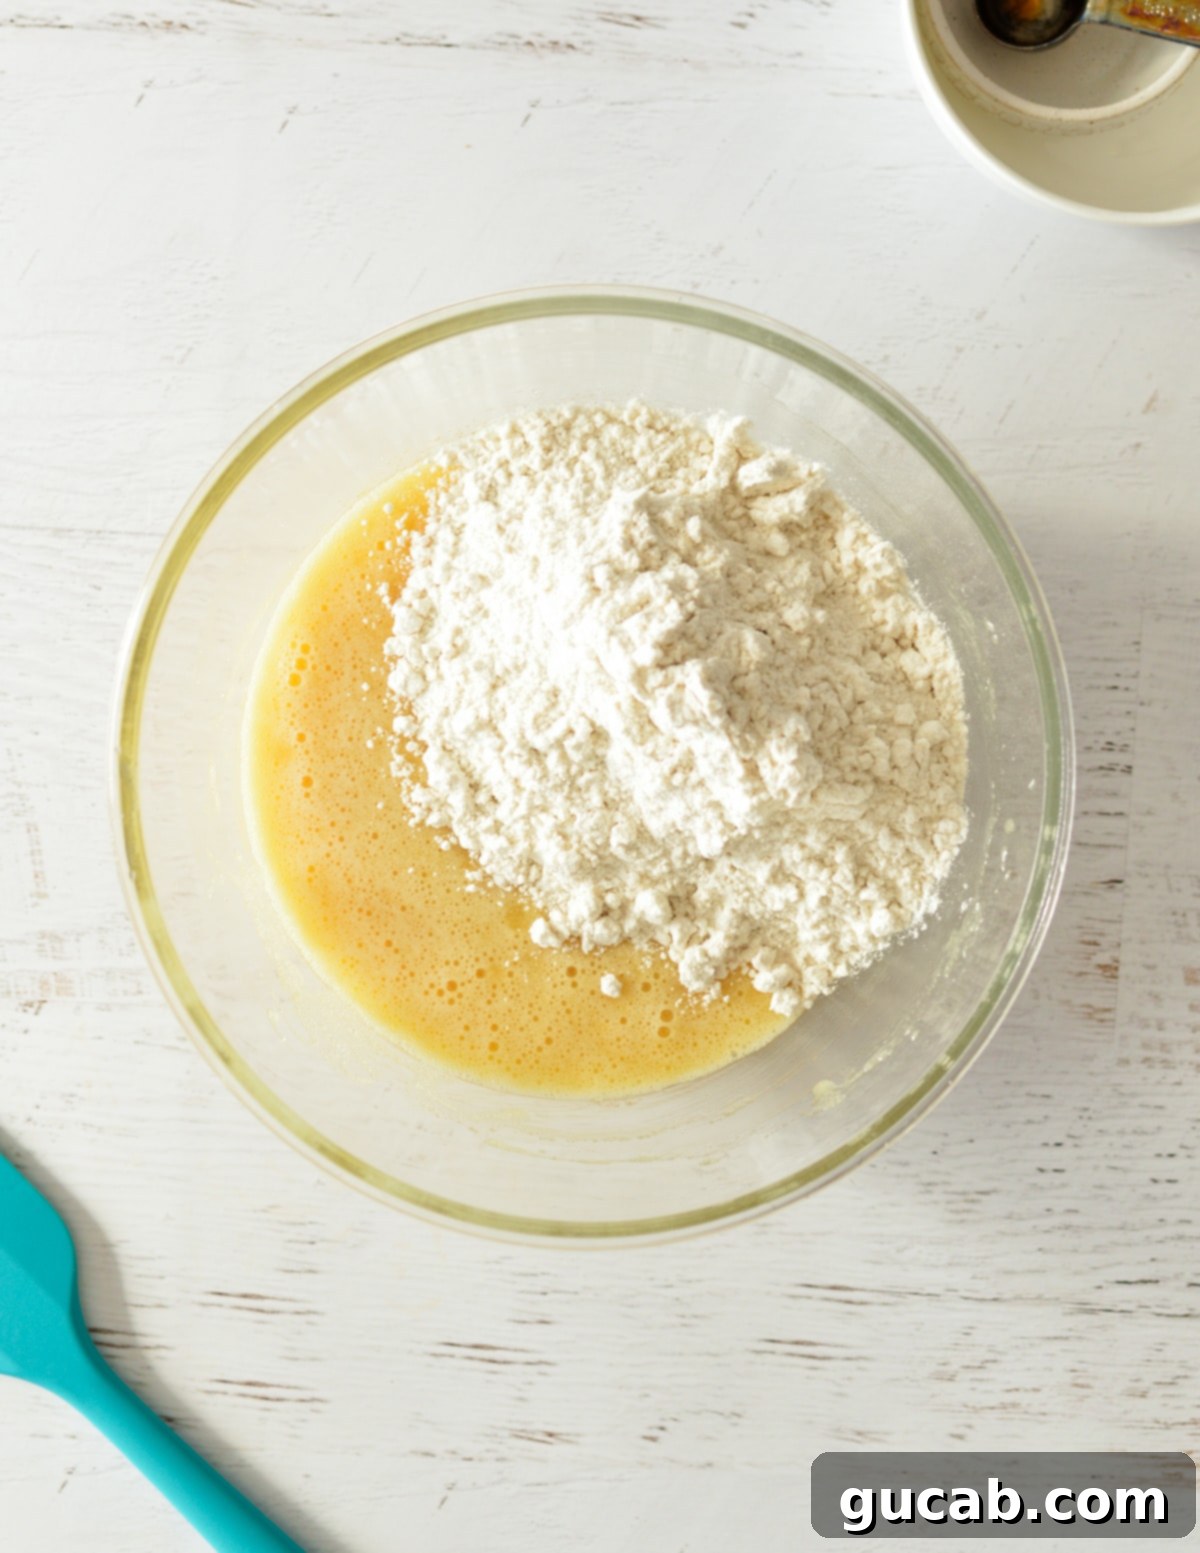
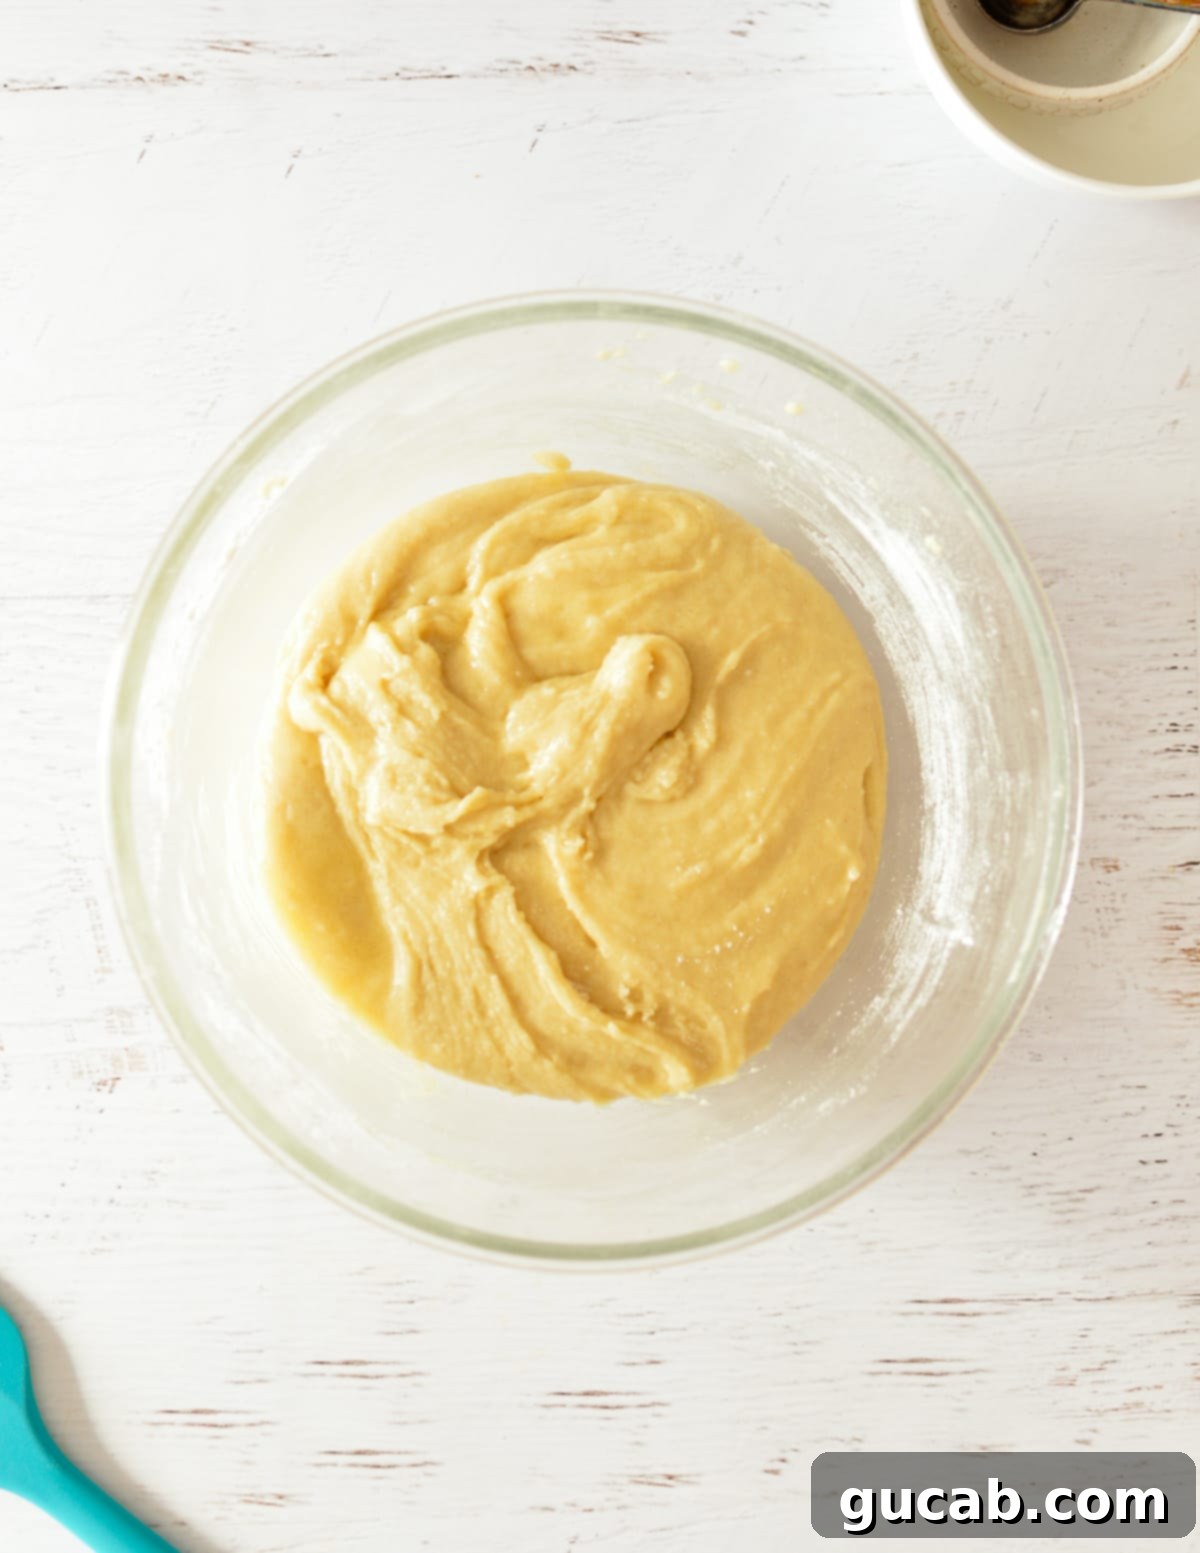
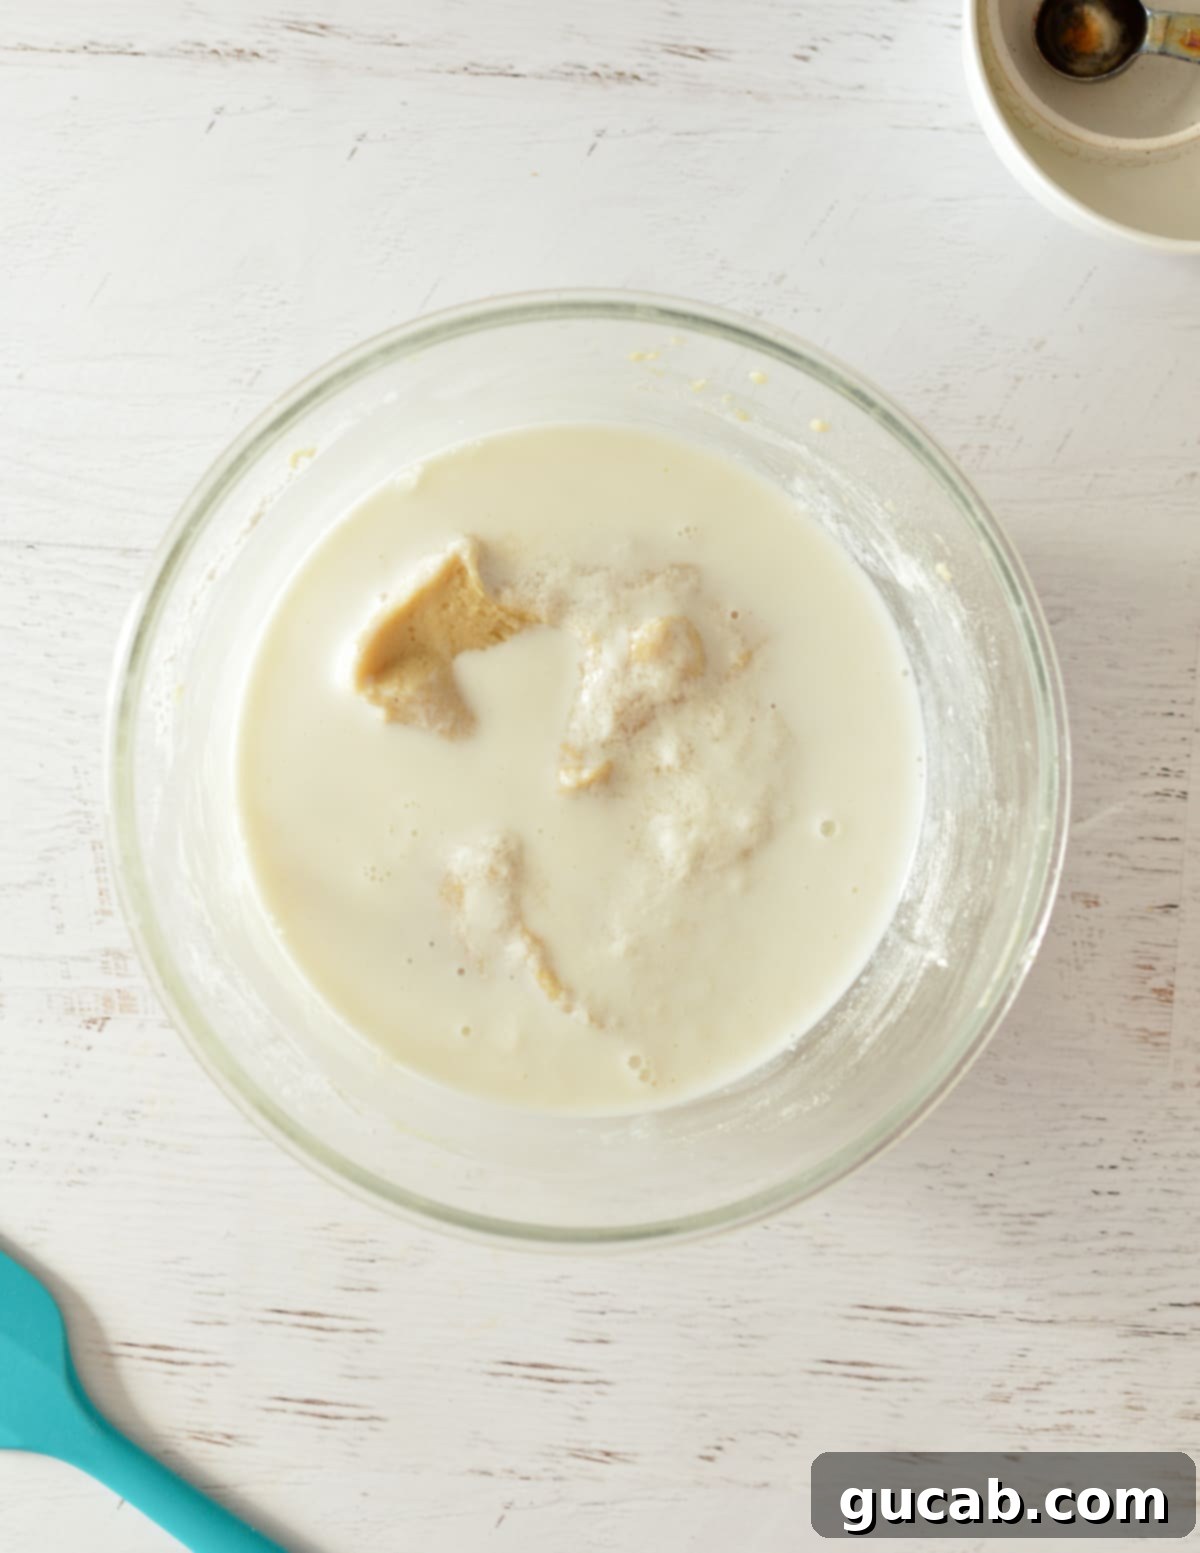
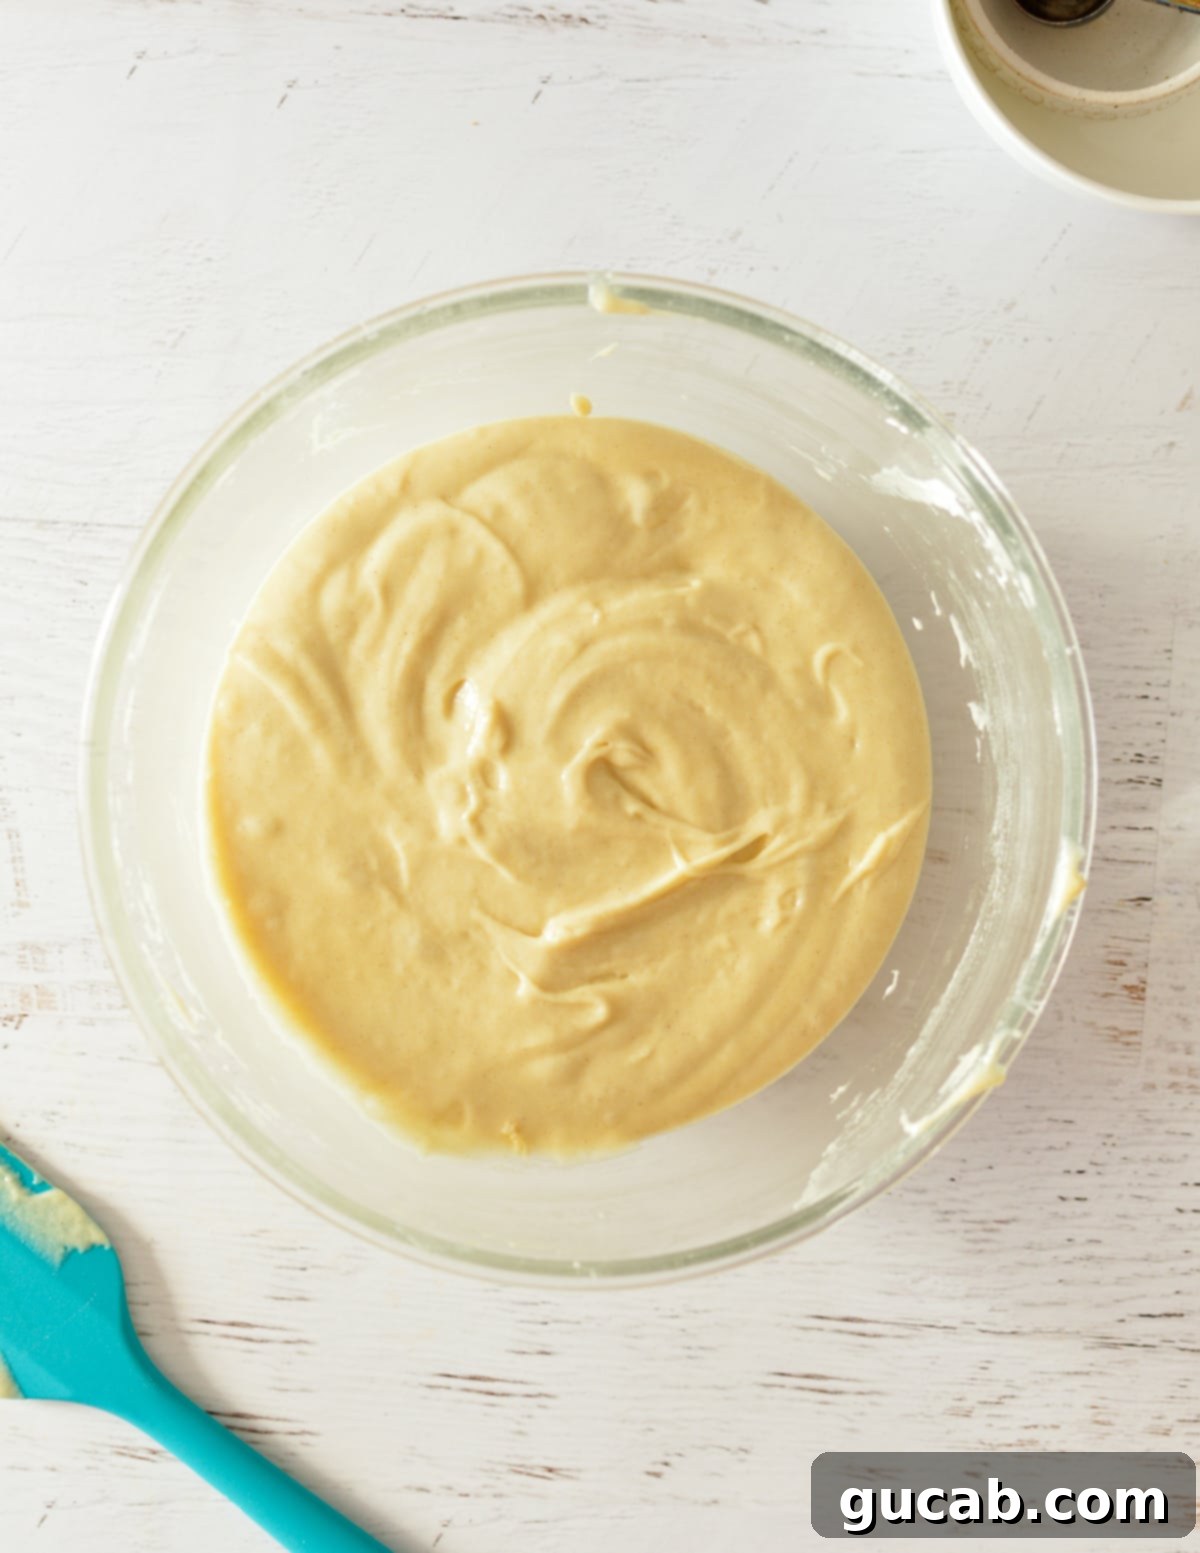
- Stir in Milk Mixture: Finally, add the milk and vinegar mixture to the batter. Mix on low speed until just combined. Scrape the sides of the bowl one more time with a spatula and give it a final quick mix for about 30 seconds to ensure a perfectly smooth and uniform gluten-free cake batter. The batter should be thick but pourable.
- Fill Muffin Tins: Scoop the batter into the prepared muffin tins, filling each cavity only ⅔ of the way full. It’s crucial not to overfill, as these gluten-free cupcakes will rise beautifully. Overfilling can lead to overflow and misshapen cupcakes.
- Yield Check: This recipe is designed to yield exactly 12 perfect cupcakes. If you find yourself with less than 12 cavities filled, it likely means you’ve overfilled the initial ones. Simply adjust by scooping a small amount out of the fuller cups and distributing it to fill any remaining empty spots, ensuring an even bake.
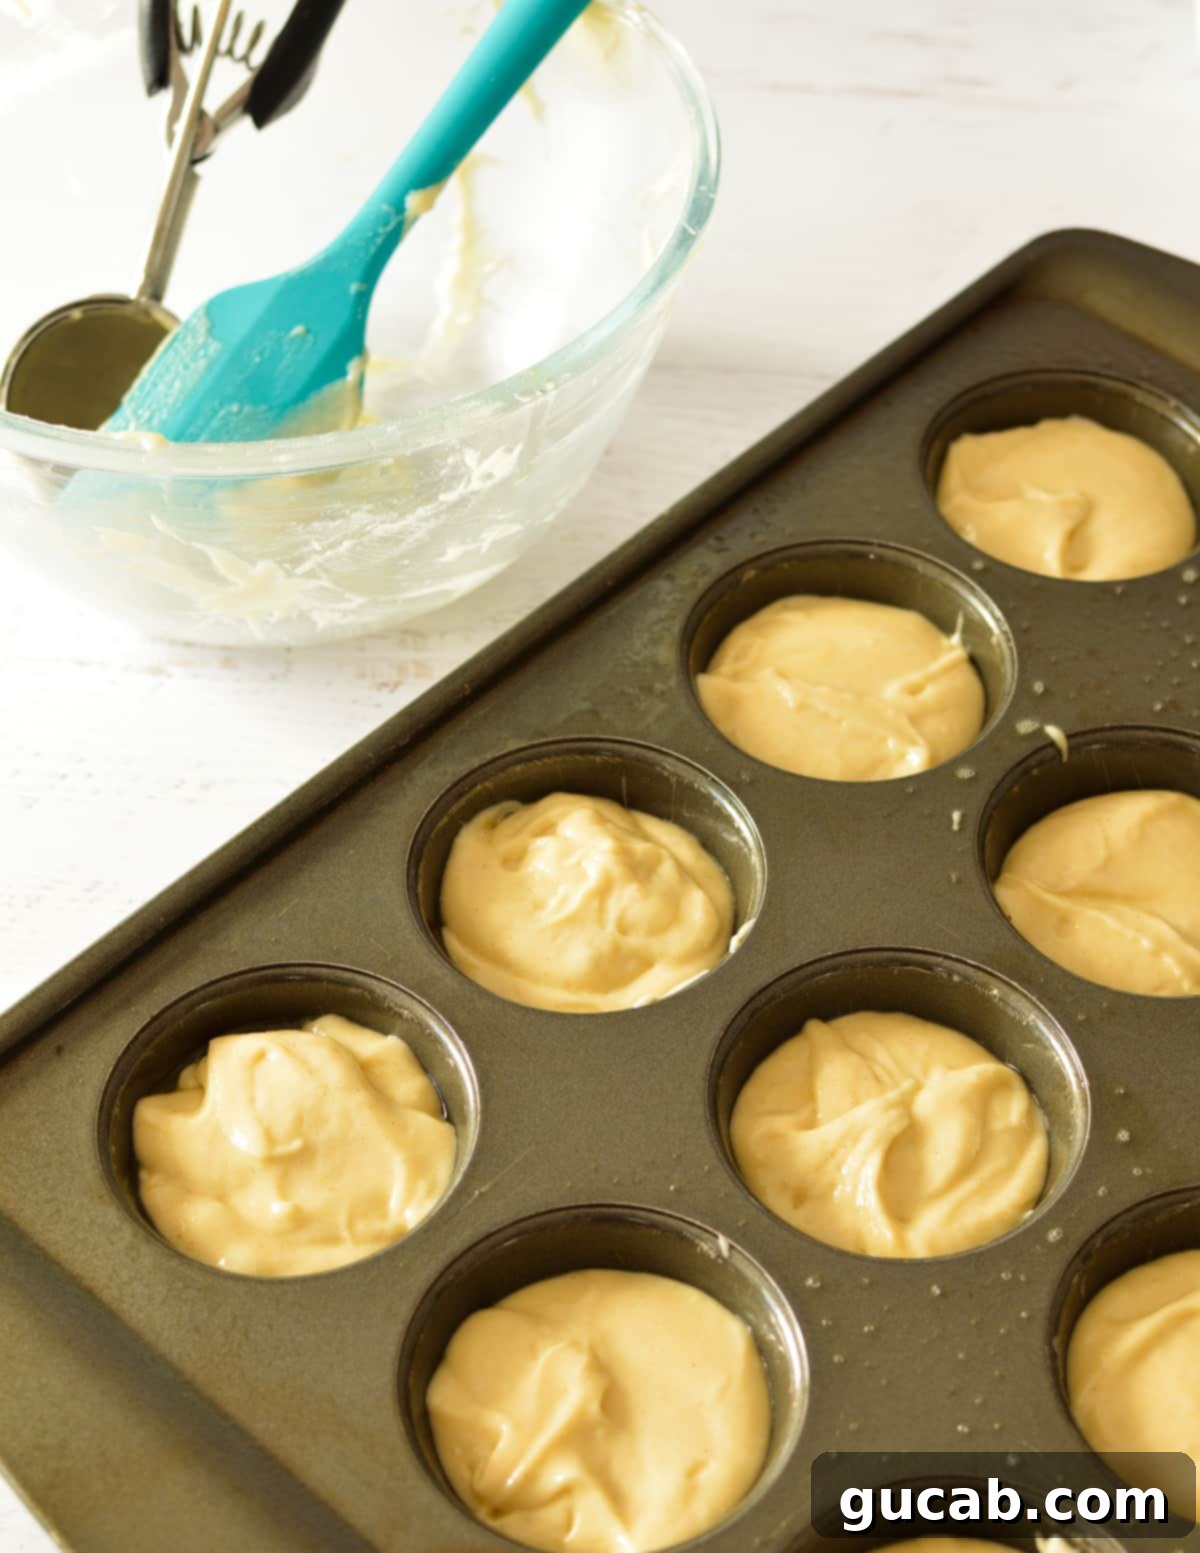
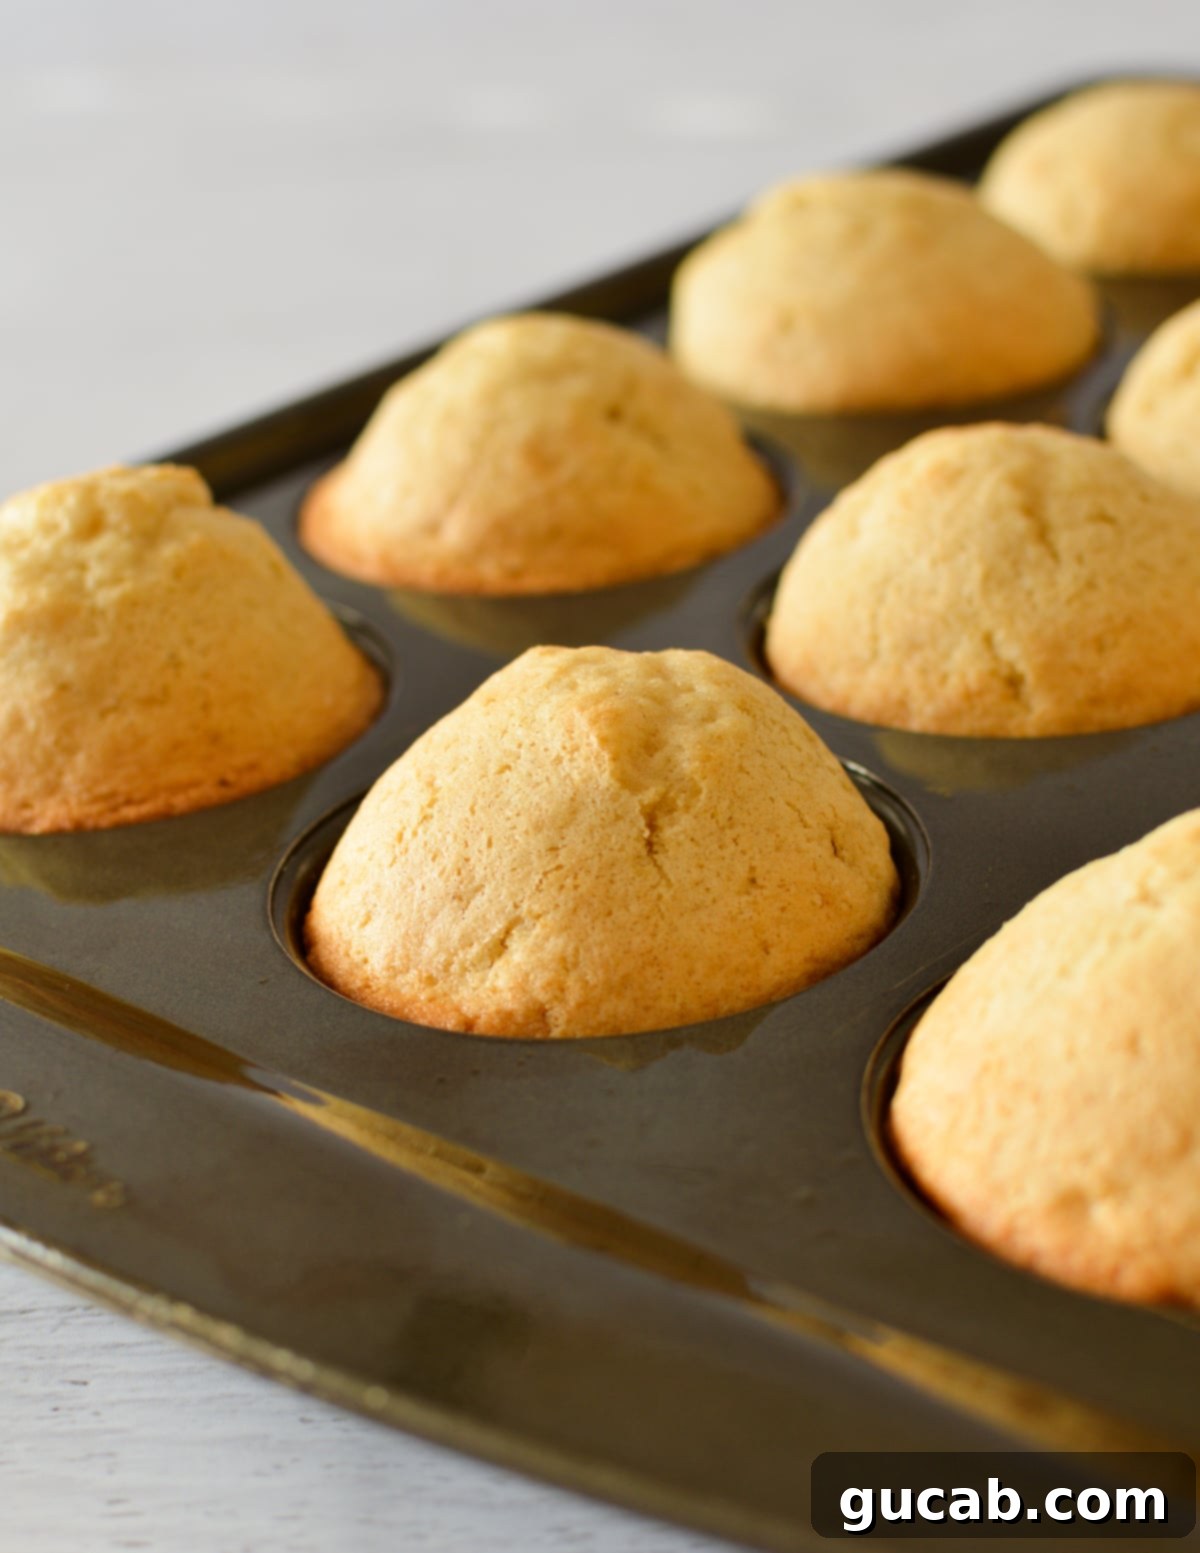
- Bake to Perfection: Bake the cupcakes for 16 to 18 minutes. You’ll know they’re done when the tops gently spring back when lightly pressed, or when a toothpick inserted into the center comes out clean or with a few moist crumbs attached.
- Monitor Carefully: Keep a close eye on your cupcakes during the last few minutes of baking. Overbaking can quickly lead to dry gluten-free treats, so pull them out as soon as they pass the doneness test to preserve their moisture and tenderness.
Expert Tips for Gluten-Free Cupcake Success
Achieving bakery-quality gluten-free cupcakes is entirely possible with a few insider tips:
- Avoid Overfilling the Cavities: As mentioned, these gluten-free vanilla cupcakes rise beautifully and expand nicely. For optimal dome shape and to prevent overflow, stick to filling each cupcake cavity only ⅔ of the way full. This ensures each cupcake bakes evenly and maintains its perfect individual portion size. You should get exactly 12 cupcakes from this recipe.
- Allow Initial Cooling in the Pan: It’s tempting to remove cupcakes from the pan immediately, but resist the urge! Hot cake is still very delicate and hasn’t fully set its structure. Attempting to remove them too soon will likely result in tearing or crumbling. Let them sit in the muffin tin for at least 5-10 minutes after coming out of the oven. This allows the internal structure to stabilize as they cool slightly, making them much easier to transfer to a wire cooling rack without damage.
- Completely Cool Before Frosting: Patience is a virtue when it comes to frosting! If you try to frost warm cupcakes, especially with butter-based buttercream, the heat will melt the butter, turning your beautiful frosting into a sticky, sad “frosting soup.” Ensure your cupcakes are completely cooled to room temperature – which can take 30-60 minutes – before applying any frosting for a clean, professional finish.
- Master the Spoon and Level Flour Method: Accurate flour measurement is crucial in gluten-free baking. Do not simply scoop your measuring cup directly into the flour bag. This compresses the flour, resulting in far too much flour being added to your recipe, which can lead to dry, dense cupcakes. Instead, use the “spoon and level” method: gently spoon the gluten-free flour into your measuring cup until it overflows, then use the flat edge of a butter knife or a straight-edge spatula to level off the excess. This ensures you’re adding the precise amount of flour needed for that perfect, fluffy texture.
- Don’t Overmix the Batter: While gluten-free flour doesn’t develop gluten like wheat flour, overmixing can still lead to a tough or gummy texture. Mix the batter only until the ingredients are just combined and no dry streaks of flour remain. A few gentle folds with a spatula after initial mixing are often sufficient.
- Room Temperature Ingredients: Ensure your eggs and milk are at room temperature. Room temperature ingredients emulsify more easily, creating a smoother, more uniform batter. This leads to a better overall texture and rise in your baked goods.
Storage & Freezing Instructions for Freshness
Proper storage is key to enjoying your gluten-free vanilla cupcakes for as long as possible:
- To Store Unfrosted Cupcakes: If you’re not frosting them right away, store unfrosted gluten-free cupcakes in an airtight container at room temperature for up to 3 days. For extended freshness, they can be refrigerated for up to a week.
- To Store Frosted Cupcakes: Frosted cupcakes should generally be stored in an airtight container at room temperature for 1-2 days, or in the refrigerator for up to 3-4 days, depending on the type of frosting (cream cheese frosting, for example, needs refrigeration). Always allow refrigerated cupcakes to come to room temperature for the best flavor and texture before serving.
- To Freeze Cupcakes: Both frosted and unfrosted cupcakes freeze exceptionally well. For best results, place them on a baking sheet and freeze them until they are solid – this flash-freezing step prevents them from getting squished or sticking together. Once frozen solid, transfer them to a freezer-safe bag or an airtight container, ensuring as much air as possible is removed to prevent freezer burn.
- For Optimal Freezing: Freeze cupcakes within a day of baking them for peak freshness. They can be stored in the freezer for up to 3 months.
- To Defrost: To enjoy your frozen cupcakes, simply remove them from the freezer and let them come to room temperature on your countertop for a few hours. Alternatively, if you’re in a hurry, you can microwave them in 5 to 10-second intervals until just defrosted, being careful not to warm them up too much, as this will melt the frosting.
Frequently Asked Questions (FAQs) About Gluten-Free Cupcakes
The taste of gluten-free cupcakes can vary significantly depending on the recipe and, most importantly, the specific gluten-free flour blend used. Unlike all-purpose wheat flour, which is a single ingredient, gluten-free all-purpose flour is typically a complex blend of various alternative flours and starches, such as rice flour, brown rice flour, potato starch, tapioca starch, and sometimes sorghum or millet flour. Each blend has its own unique flavor profile and absorption rate. A well-formulated gluten-free recipe, like this one, uses a high-quality 1:1 blend designed to mimic the taste and texture of wheat flour, so the difference is often negligible and pleasantly surprising!
Determining when gluten-free cupcakes are done is much the same as with regular cupcakes. The most reliable method is the classic toothpick test: insert a wooden toothpick into the center of a cupcake; if it comes out clean or with a few moist crumbs attached (not wet batter), they are ready. Another excellent indicator is the “bounce-back” test: gently press the top of a cupcake with your finger. If it springs back slightly and feels firm yet spongy, it’s done. Avoid overbaking, as gluten-free baked goods can dry out quickly.
Absolutely! This recipe can easily be adapted for dairy-free diets. Simply substitute the regular milk with your favorite dairy-free milk alternative, such as almond milk, soy milk, or oat milk. The vinegar will react with any of these milks to create a “buttermilk” effect, and the overall flavor and texture of the cupcakes will remain delicious and moist.
For consistent results, always use the “spoon and level” method when measuring gluten-free flour. Do not scoop the measuring cup directly into the flour container, as this compacts the flour and results in too much being used. Instead, use a spoon to lightly fill your measuring cup, then use a straight edge (like a butter knife or the back of a ruler) to level off the top. This ensures you have the correct amount of flour, which is critical for the delicate balance in gluten-free baking.
Discover More Delicious Gluten-Free Cake Recipes
If you loved these vanilla cupcakes, you’re in for a treat with these other fantastic gluten-free cake and cupcake recipes:
- Gluten Free Marble Cake
- Gluten Free Chocolate Pound Cake
- Gluten Free Italian Cream Cake
- Soft Gluten Free Chocolate Cupcakes
- Gluten Free Red Velvet Cupcakes
- Gluten Free Funfetti Cupcakes
Gluten Free Vanilla Cupcakes
Carolyn
Pin Recipe
10 minutes
17 minutes
27 minutes
Dessert
American
12 cupcakes
223 kcal
Equipment
-
Stand Mixer with the Paddle Attachment
-
Liquid Measuring cup
-
Dry Measuring Cups
-
Muffin tin
-
Bowl
Ingredients
- ½ cup vegetable oil
- ¾ cup sugar
- 2 t. vanilla extract
- 2 eggs
- 1 ½ cup + 2 tbsp Bob’s Red Mill 1:1 All Purpose Gluten Free Flour spooned and leveled
- 1 ½ t. baking powder
- ½ t. baking soda
- ¼ t. kosher salt
- ½ cup milk
- 2 teaspoons apple cider vinegar
Instructions
-
Preheat oven to 350 degrees Fahrenheit. Spray a muffin tin with nonstick spray and set aside. Combine the milk and vinegar. Set aside.
-
In a medium bowl measure the flour, baking powder, baking soda, and kosher salt then set aside.
-
In the bowl of a stand mixer mix together the vegetable oil, sugar, and vanilla on medium speed.
-
Add the eggs one at a time to the oil mixture beating well after each addition. Scrape the sides of the bowl with a spatula to make sure everything is incorporated.
-
Add the flour mixture to the bowl and beat until a batter forms then on low speed gradually add the milk. Scrape down the sides of the bowl with a spatula and then beat for 30 more seconds.
-
Fill the cupcake cavities only ⅔ of the way full. Don’t overfill. Bake until a toothpick comes out clean or the tops bounce back when pressed. This should be around 16 to 18 minutes.
-
Let cupcakes cool and then frost with vanilla or chocolate buttercream.
Notes
Nutrition
cake, gluten free
