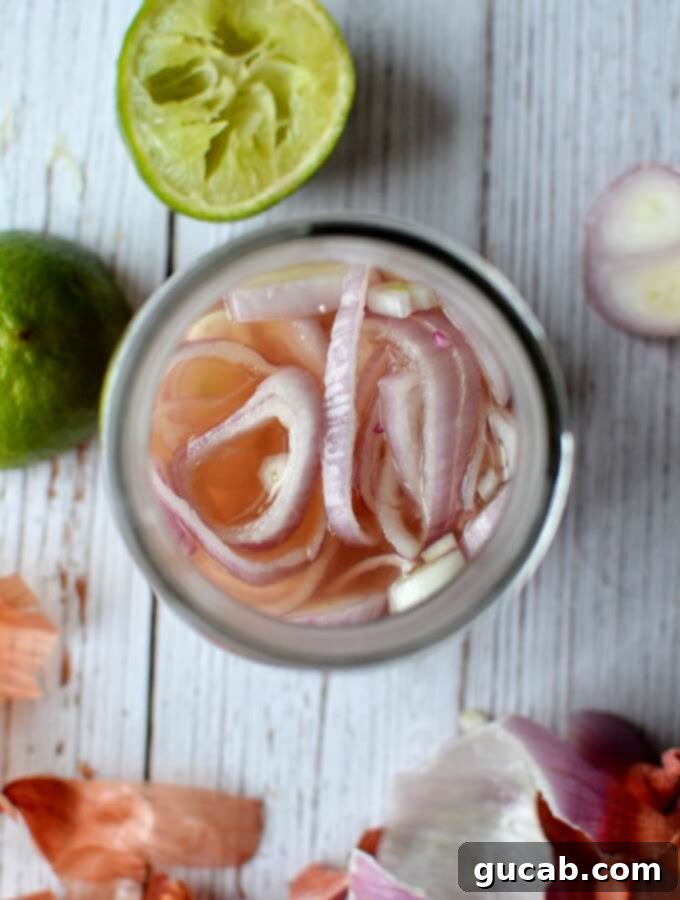
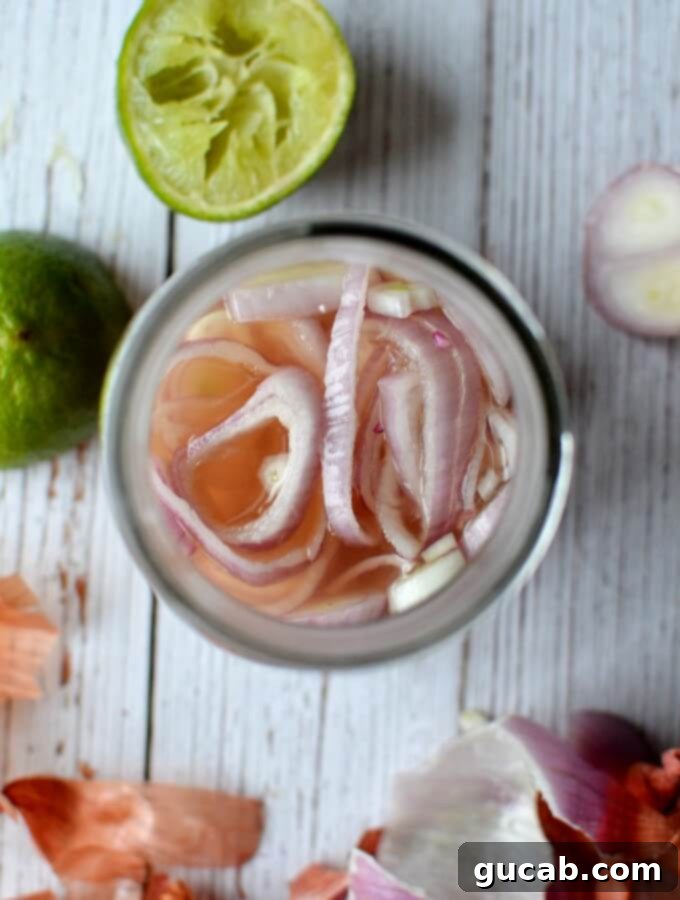
Quick & Easy Pickled Shallots: Your Go-To Recipe for Flavorful Condiments
Prepare to elevate your meals with these incredibly delicious and effortlessly simple quick pickled shallots! Bursting with a delightful sweet and zesty flavor, they are a true game-changer for any home cook looking to add a vibrant touch to their dishes. If you’ve ever found yourself asking what that “something extra” is that makes a recipe truly pop, chances are, a little bright acidity is exactly what you need. These quick pickles deliver just that, transforming humble shallots into a versatile, tangy condiment in under an hour, perfect for last-minute meal enhancements.
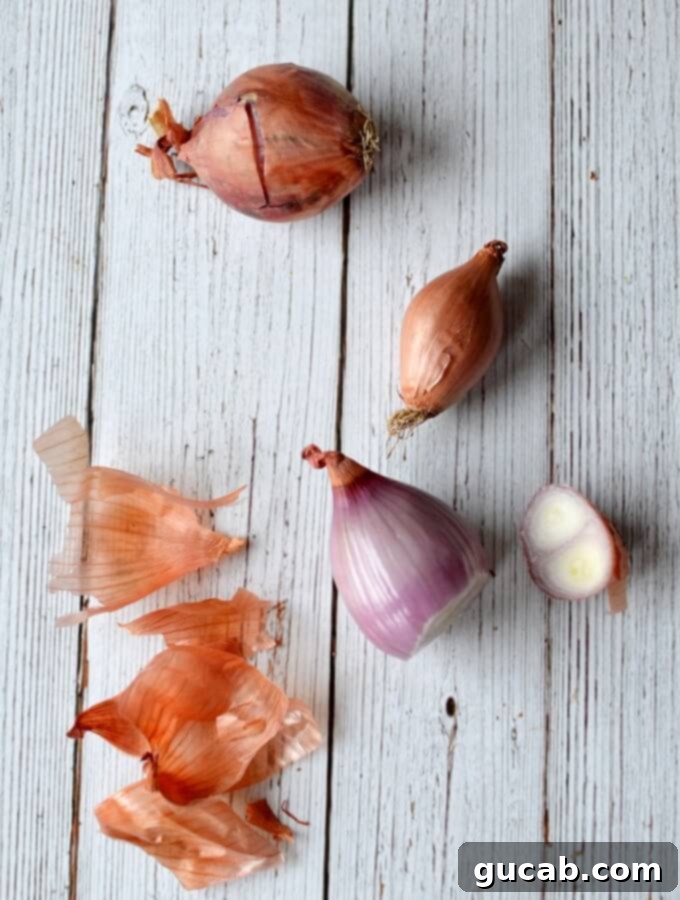
My love affair with pickled red onions is long-standing, so the idea of pickled shallots immediately struck me as a brilliant, natural progression. Shallots, with their milder, more delicate onion flavor compared to their red counterparts, offer a refined tang that complements an astonishing array of foods. From adding a bright counterpoint to rich avocado toast to providing a zesty crunch in tacos, or a sophisticated layer in gourmet salads, these little rings of flavor truly shine. They possess a subtle sweetness and less aggressive bite than red onions, making them a fantastic choice for those who prefer a gentler onion flavor, or simply wish to explore a different kind of pickled allium. For a deeper dive into the world of shallots and their culinary nuances, you can explore this informative article on Bon Appetit.
Disclosure: This post contains affiliate links. In other words, if you click a link and purchase something I will receive a commission at no cost to you. I only recommend products I use and enjoy myself.
Why Quick Pickled Shallots Are a Culinary Secret Weapon
Beyond their incredible taste, quick pickled shallots are a versatile kitchen staple that offers immense culinary value. They are an effortless way to introduce complex flavors, vibrant colors, and satisfying textures to everyday meals. The pickling process not only tenderizes the shallots and mellows their raw sharpness but also infuses them with the vibrant notes of the brine, resulting in a perfectly balanced sweet-sour flavor that is irresistibly addictive. Their beautiful pink hue also adds a stunning visual appeal to any plate, making even simple dishes look more gourmet. Forget bland, store-bought condiments; these homemade pickled shallots are fresher, more flavorful, and incredibly satisfying to make yourself.
Essential Ingredients for Your Homemade Pickled Shallots
Crafting these delectable pickled shallots requires just a handful of simple, readily available ingredients. The magic of this recipe lies in its simplicity and the powerful, harmonious flavor combination these basic components create. Gather these items, and you’ll be on your way to a jar full of tangy goodness:
- Fresh Lime Juice: The secret to a bright, citrusy zing that truly elevates the overall flavor profile.
- Apple Cider Vinegar: The primary pickling agent, chosen for its slightly fruity and tangy base that complements shallots beautifully.
- Water: Used to dilute the vinegar, creating a balanced brine that’s not overly acidic.
- Kosher Salt: Essential for both flavor enhancement and contributing to the desired crisp texture of the pickled shallots.
- Honey: Adds a touch of natural sweetness, perfectly balancing the acidity from the lime and vinegar, achieving that signature “sweet and zippy” taste.
- Shallots: The star of the show, delivering their signature mild, aromatic onion flavor in delicate rings.
Deep Dive into Ingredient Selection and Substitutions
Each component of this pickling brine plays a crucial role in the final flavor and texture of your shallots. Understanding their purpose can help you customize the recipe to your liking.
- Lime Juice: The Power of Freshness
I cannot stress enough the importance of using fresh lime juice. Its vibrant, almost floral citrus notes truly brighten any dish and are far superior to the often dull, less flavorful bottled alternatives. Bottled lime juice frequently contains preservatives and lacks the nuanced aroma and zest of freshly squeezed limes. Since limes are generally inexpensive and readily available, taking a moment to squeeze fresh juice is a small effort with a huge flavor payoff that will make a noticeable difference in your pickled shallots. - Apple Cider Vinegar: The Acidic Backbone
Apple cider vinegar (ACV) is my top choice for this recipe due to its slightly sweet, apple-infused tang, which provides a wonderful depth of flavor. However, flexibility is key in the kitchen! If you don’t have ACV, don’t fret. You can easily substitute it with other mild vinegars such as red wine vinegar, white wine vinegar, or even rice wine vinegar. Each will impart a slightly different nuance to the brine – red wine vinegar for a bolder fruitiness, white wine vinegar for a cleaner, sharper taste, and rice wine vinegar for a more subtle, delicate tang. While you could technically use plain distilled white vinegar, opting for one of these flavored vinegars adds an extra layer of complexity and depth without any additional work. - Honey: The Sweet Counterpoint
Honey, a natural sweetener, beautifully complements the sharpness of the vinegar and lime, creating that irresistible sweet-sour dynamic that makes these shallots so addictive. The honey also contributes to the slightly thicker, more syrupy texture of the brine. If you prefer a vegan option or simply don’t have honey on hand, maple syrup or granulated sugar can be used as a 1:1 substitute. Feel free to adjust the amount to your taste preference, but remember that a little sweetness is key to achieving that perfectly balanced “zippy” quality. - Kosher Salt: For Flavor and Texture
Using kosher salt is important for pickling as it typically lacks the anti-caking agents found in iodized table salt, which can sometimes make the brine cloudy or impart an off-flavor. Kosher salt dissolves easily and provides a clean, briny flavor that is essential for both the taste and the crisp texture of your pickled shallots. If you only have table salt, reduce the amount by about a quarter, as it’s finer and denser.
Step-by-Step Guide: How to Quickly Pickle Shallots to Perfection
The process of making these quick pickled shallots is incredibly straightforward, perfect for even novice cooks. Follow these simple steps for perfect results every time, turning raw shallots into a vibrant condiment in minutes.
-
Prepare Your Shallots with Precision
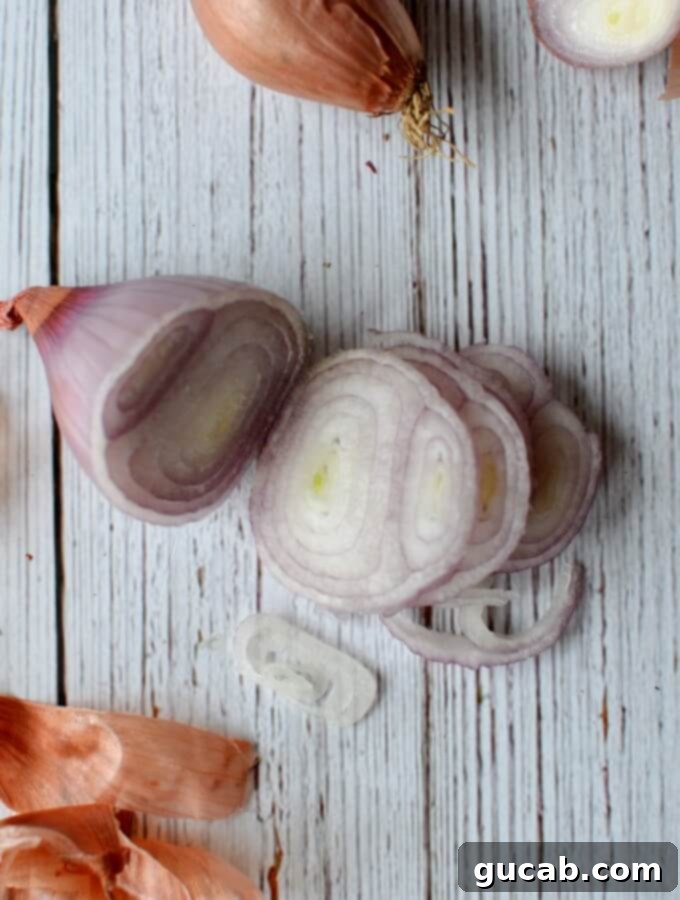
First, begin by peeling your shallots. To do this efficiently, I typically trim off the very end of the root (the part with the fine hairs) and the top stem, then peel away the papery outer layers with ease. Once peeled, thinly slice the shallots crosswise. This technique will yield beautiful, delicate rings that are not only aesthetically pleasing but also ideal for quick pickling, as they absorb the brine more efficiently. For optimal results and a tender-crisp texture, aim for slices that are roughly 1/8 inch thick. A sharp knife or a mandoline can help achieve consistent, thin slices.
Once sliced, gently separate the rings and transfer all the shallot rings into a clean, pint-sized mason jar. Ensure the jar is thoroughly clean and sanitized to prevent any unwanted bacteria from affecting your pickles.

-
Craft the Flavorful Pickling Brine
In a small saucepan, combine the fresh lime juice, apple cider vinegar, water, kosher salt, and honey. Place the saucepan over medium-high heat and bring the mixture to a rolling boil, stirring occasionally to ensure that the salt and honey completely dissolve into the liquid. It’s important that the brine reaches a full boil to properly sanitize and infuse the shallots. Once boiling, immediately remove the saucepan from the heat.
-
Combine Shallots and Hot Brine
Carefully pour the hot pickling liquid directly over the sliced shallots in the mason jar. Be cautious as the liquid will be very hot. The hot brine will immediately begin to soften the shallots and kickstart the pickling process, giving them their beautiful pink hue. Using a fork or a spoon, gently push the shallots down to ensure they are fully submerged in the liquid. This step is crucial for even pickling and to prevent any parts from remaining raw or spoiling. Ensure every delicate ring is bathed in the flavorful brine.
-
Rest, Chill, and Savor!
Allow the jar of shallots and brine to sit undisturbed at room temperature for at least 30 minutes. During this brief resting period, the shallots will absorb the vibrant flavors of the brine, tenderize slightly, and their color will transform into a lovely, appetizing pink hue. After 30 minutes, they are ready to enjoy immediately! For longer storage and enhanced flavor development, tightly seal the jar with a lid and transfer it to the refrigerator. These quick pickled shallots will keep wonderfully in the refrigerator for up to two weeks, often becoming even more flavorful and tender with each passing day.
Essential Tips for Onion Slicing Without Tears
If you’re also a fan of pickled white or red onions but find yourself tearing up every time you slice them, you’re certainly not alone! Many people struggle with onion-induced tears, a common kitchen challenge. Luckily, there’s a super simple and effective method to cut onions without crying. Forget old wives’ tales about holding matches in your mouth, chewing gum, or dancing in circles with your hands behind your head; this proven technique really works every time and will make your onion and shallot prep much more pleasant and tear-free.
Creative Ways to Incorporate Your Pickled Shallots into Meals
The versatility of these quick pickled shallots is truly remarkable. They add a bright, tangy, and slightly sweet counterpoint to an incredibly wide range of dishes, instantly upgrading their flavor profile. Once you have a jar of these beauties in your fridge, you’ll find yourself reaching for them constantly. Here are just a few ideas to get your culinary creativity flowing:
- Tacos: Sprinkle generously over any taco – from savory carne asada to spicy fish or vegetarian options – for an irresistible pop of freshness, crunch, and acidity that cuts through richness.
- Pulled Pork Sandwiches: The acidity of the shallots cuts through the richness of slow-cooked pulled pork, balancing the flavors beautifully and adding a much-needed zing.
- Burgers: A spoonful of these pickled shallots adds a gourmet touch and sophisticated tang to any burger, whether beef, chicken, or veggie. Imagine them paired with my homemade chipotle mayo for an absolutely killer combination of creamy and tangy!
- Salads: Elevate simple green salads, hearty grain salads, vibrant beet salads, or classic creamy potato salads with their tangy bite, beautiful color, and delightful texture.
- Main Meats & Fish: They are a fantastic accompaniment to almost any protein. Serve them alongside grilled chicken, flaky baked or pan-seared fish, succulent pork chops, or a juicy steak for an instant flavor upgrade that brightens the entire dish.
- Avocado Toast: Transform your morning avocado toast into a gourmet experience with a scattering of these zesty shallots, adding a layer of flavor and texture.
- Black Bean Burgers: A perfect and flavorful topping for hearty black bean burgers, especially when paired with creamy avocado slices and a drizzle of hot sauce.
- Nachos: Add a bright, tangy element to your loaded nachos, cutting through the richness of cheese, beans, and other toppings for a more balanced bite.
- Sandwiches & Wraps: Elevate any everyday sandwich or wrap with their unique flavor and texture, turning ordinary into extraordinary.
- Eggs: A surprising but delightful topping for scrambled eggs, omelets, frittatas, or even deviled eggs, providing an unexpected tang.
- Charcuterie Boards: They make an excellent addition to cheese and charcuterie platters, offering a tangy contrast to rich cheeses, cured meats, and sweet fruits.
Expert Tips for Perfect Pickled Shallots and Exciting Variations
To ensure your quick pickled shallots turn out perfect every single time, keep these key tips in mind. They’ll help you achieve the best flavor, texture, and longevity for your homemade condiment:
- Freshness Matters: Always begin with fresh, firm shallots and freshly squeezed lime juice. The quality of your raw ingredients directly impacts the final flavor. Avoid shallots that are soft, sprouting, or have blemishes.
- Thin Slices are Key: The thinner your shallot slices, the faster and more evenly they will absorb the brine. This is crucial for “quick” pickling. Aim for uniform 1/8-inch slices.
- Full Submersion: It’s absolutely vital that all shallot pieces are fully covered by the hot brine. Any exposed pieces will not pickle properly and could potentially spoil. Use a fork to gently press them down if necessary.
- Taste and Adjust: The beauty of homemade recipes is the ability to customize. Feel free to adjust the amount of honey or even salt in the brine to suit your personal preference for sweetness, tanginess, or saltiness. A little more honey can yield a sweeter pickle, while less will result in a tangier one.
Feeling adventurous? Expand your culinary horizons with these delightful variations to your basic pickled shallot recipe:
- Spicy Kick: For those who love a bit of heat, add a few thin slices of fresh jalapeño or serrano pepper, or a pinch of red pepper flakes, directly to the jar with the shallots before pouring in the brine.
- Herbal Infusion: Tuck a sprig of fresh dill, thyme, rosemary, or a bay leaf into the jar for an aromatic twist that complements the shallots beautifully. Experiment with your favorite herbs!
- Garlicky Goodness: A couple of thinly sliced garlic cloves can add a wonderful depth of savory flavor to the brine, creating a more pungent and robust pickled shallot.
- Whole Spices: For an extra layer of complexity, add a few whole black peppercorns, coriander seeds, mustard seeds, or even a star anise pod to the brine as it boils. These spices will infuse their flavors into the liquid, resulting in a more intricate pickle.
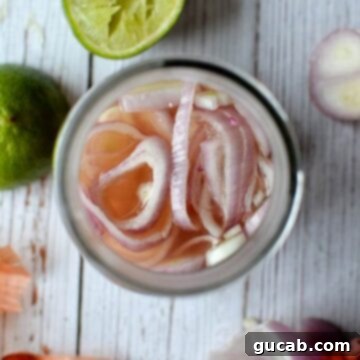
Pickled Shallots – Quick and Easy
Carolyn
Pin Recipe
Equipment
-
A small sauce pot
-
A mason jar with lid
Ingredients
- 1 oz. Lime Juice, fresh squeezed About 1 lime
- ⅓ cup Apple Cider Vinegar
- ¼ cup Water
- 1 tbsp Honey
- ¾ t. Kosher Salt
- 3 whole Shallots, peeled and cut into rings
Instructions
-
Place peeled and cut up shallots into a pint sized mason jar.
-
Bring lime juice, apple cider vinegar, water, honey and kosher salt to a boil in a small sauce pan and then pour over shallots.
-
Use a fork to make sure shallots are covered with the liquid. Let sit for 30 minutes and then enjoy or refrigerate for up to two weeks.
