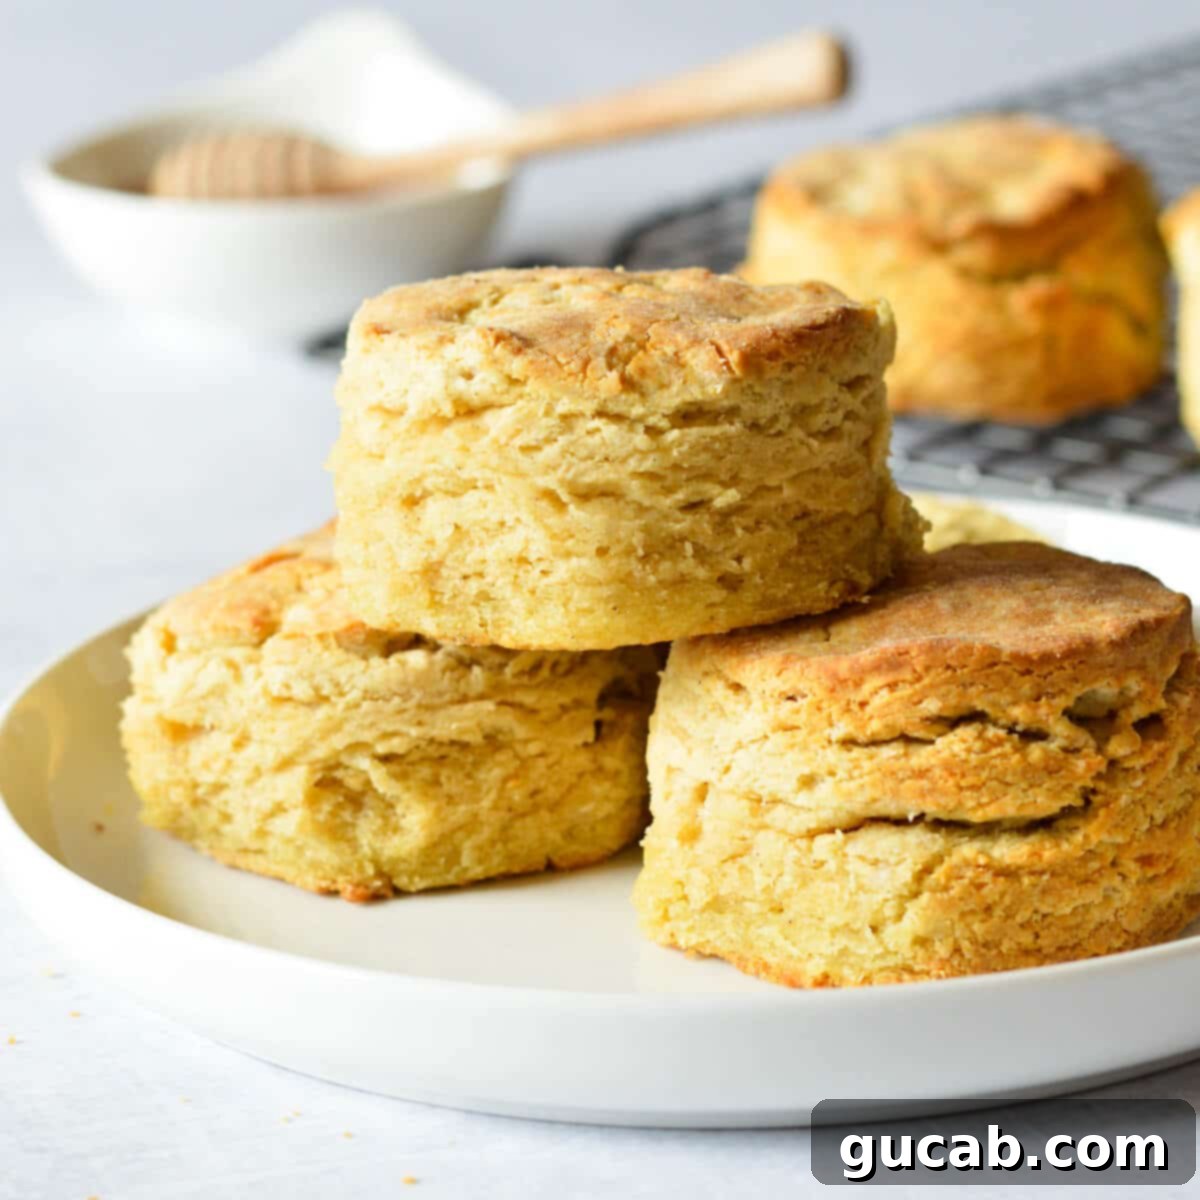
Master the Art of Fluffy & Flaky Gluten-Free Biscuits: A Foolproof Homemade Recipe
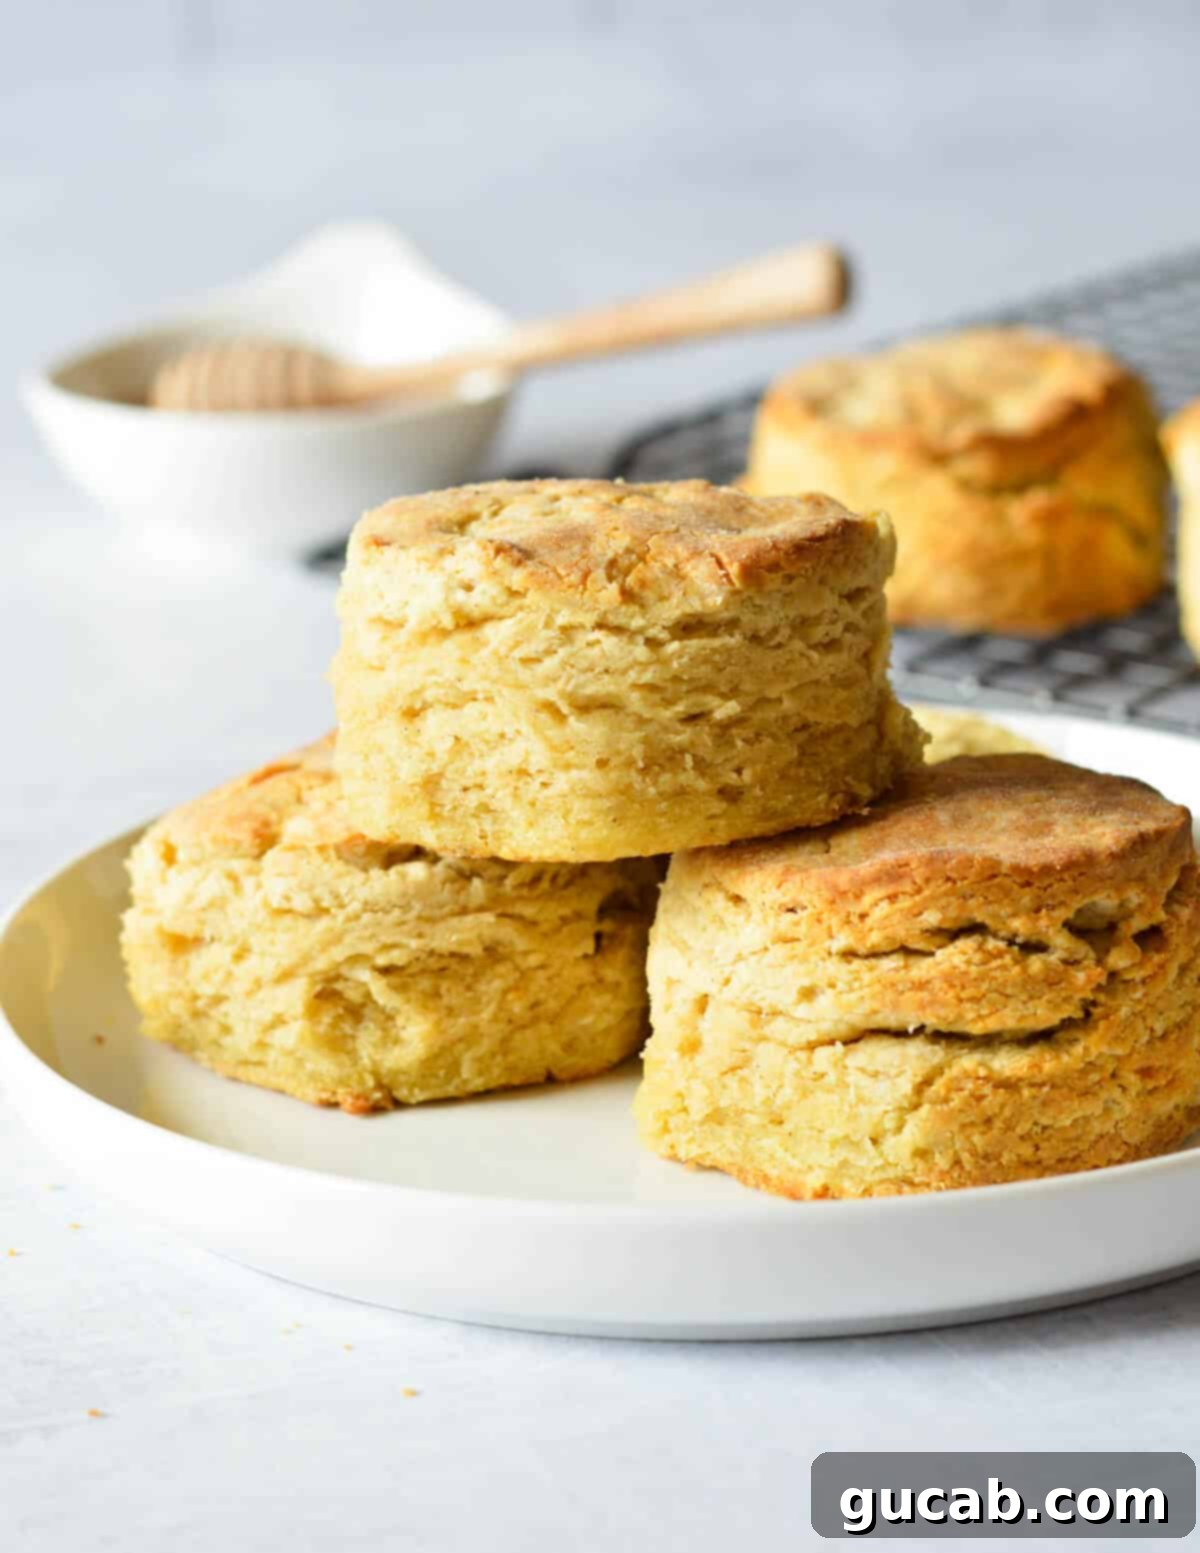
Welcome to the ultimate guide for crafting the most incredible gluten-free biscuits you’ve ever tasted! Prepare to be amazed by their impossibly flaky layers, tender crumb, and rich, buttery flavor. This foolproof recipe promises perfect results every time, making these biscuits a sublime addition to any breakfast, brunch, or dinner table.
Why These Gluten-Free Biscuits Are a Game Changer
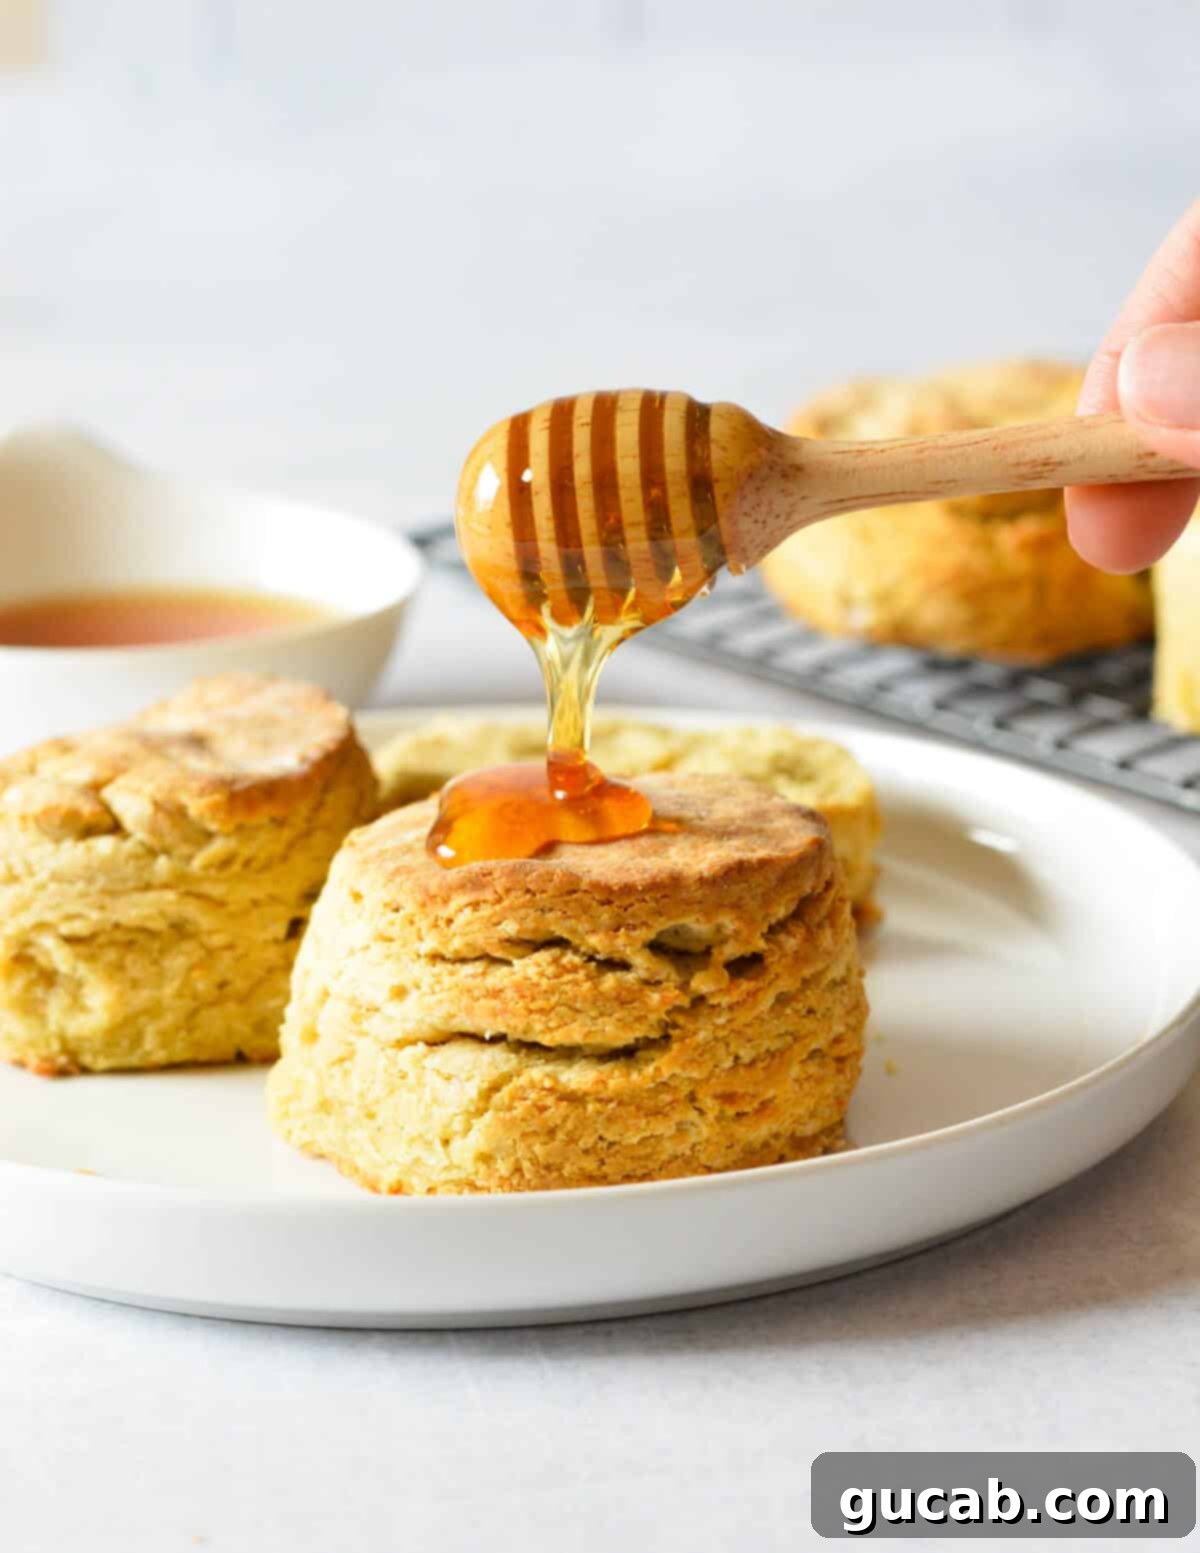
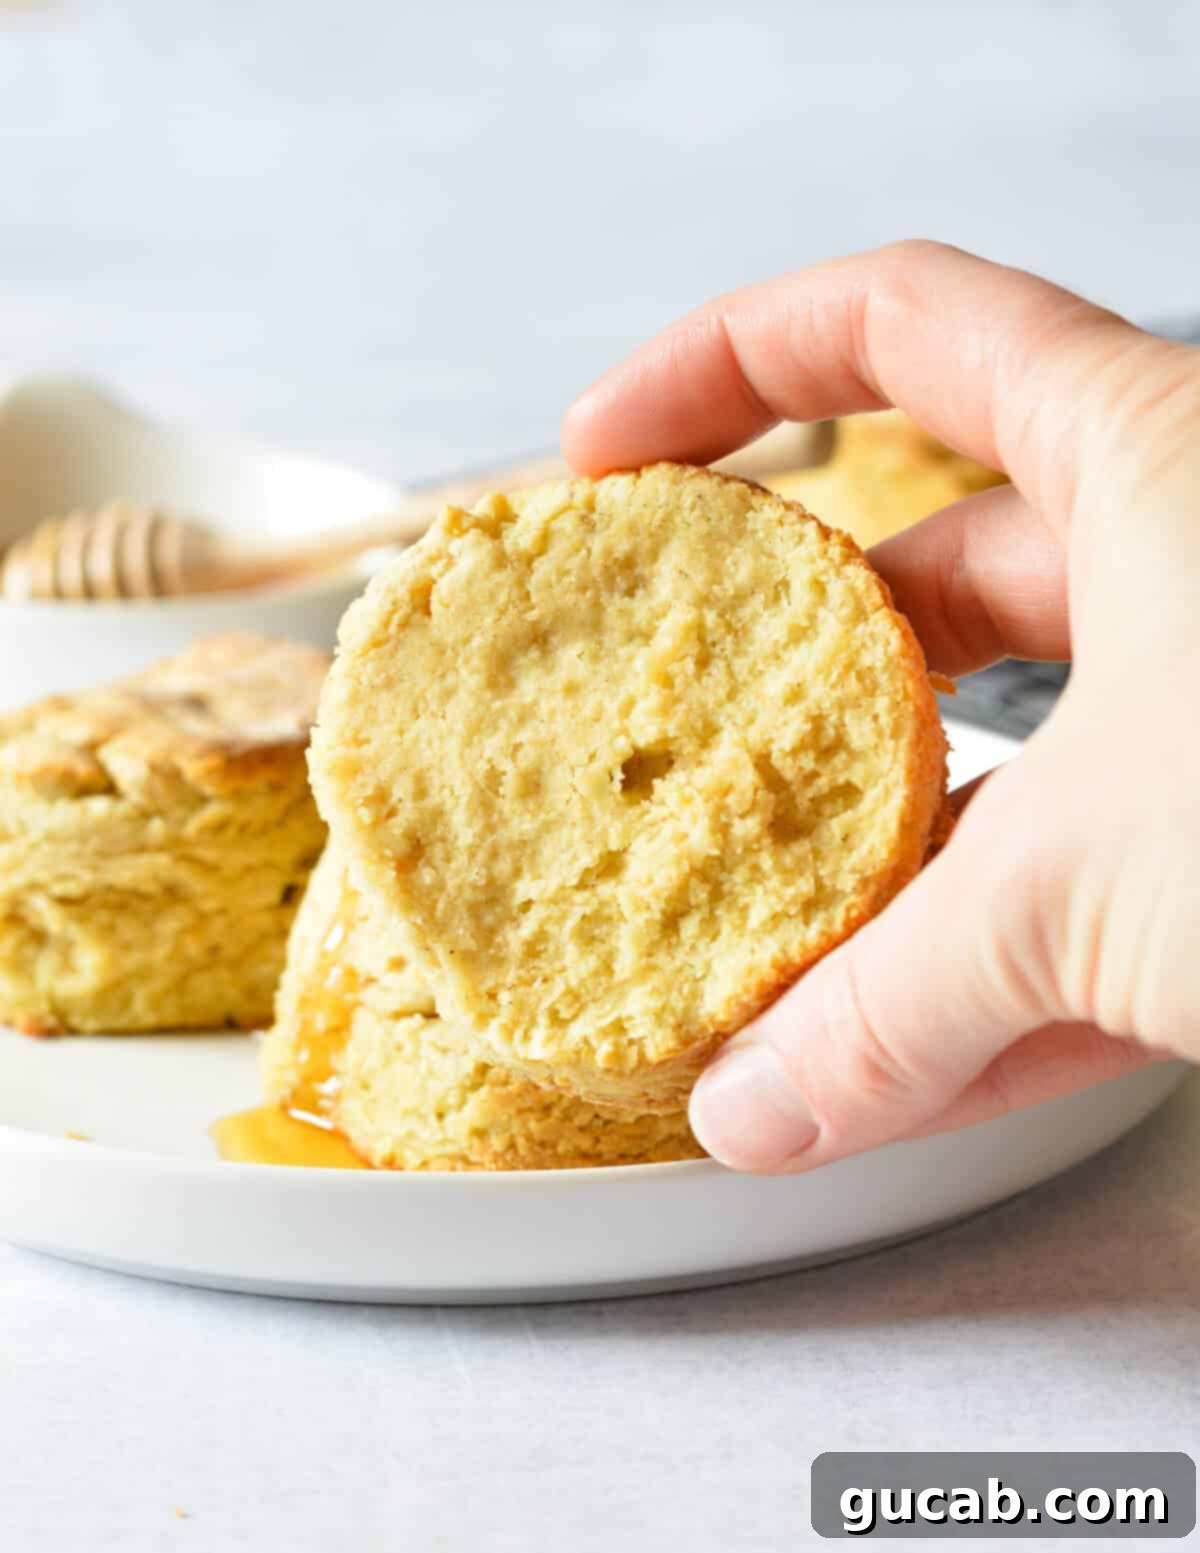
For anyone who follows a gluten-free diet, finding a truly exceptional biscuit can feel like searching for a culinary unicorn. Many recipes yield dry, crumbly, or dense results, leaving you longing for the classic buttery, flaky texture. But fear not! These gluten-free biscuits are a breakfast (or anytime) dream come true, boasting a rich buttery taste and soft, sky-high layers that will make you forget they’re gluten-free. Seriously, your guests won’t even notice the difference!
Beyond their amazing taste, these biscuits are incredibly versatile. While a warm drizzle of honey and a dollop of homemade honey butter is my personal favorite topping, they are equally delicious alongside savory dishes, as a base for breakfast sandwiches, or simply enjoyed plain with a cup of coffee. Their tender texture makes them perfect for soaking up gravy, too!
If you’re a fan of comforting baked goods, and especially if you love biscuits, there’s a good chance you’ll adore our equally amazing gluten-free cinnamon rolls. They’re another must-try recipe that proves gluten-free baking can be just as decadent and delightful.
Essential Ingredients for Perfect Gluten-Free Biscuits
Crafting perfect gluten-free biscuits starts with understanding the role each ingredient plays. Below is a detailed look at what you’ll need and why specific choices are recommended for the best results.
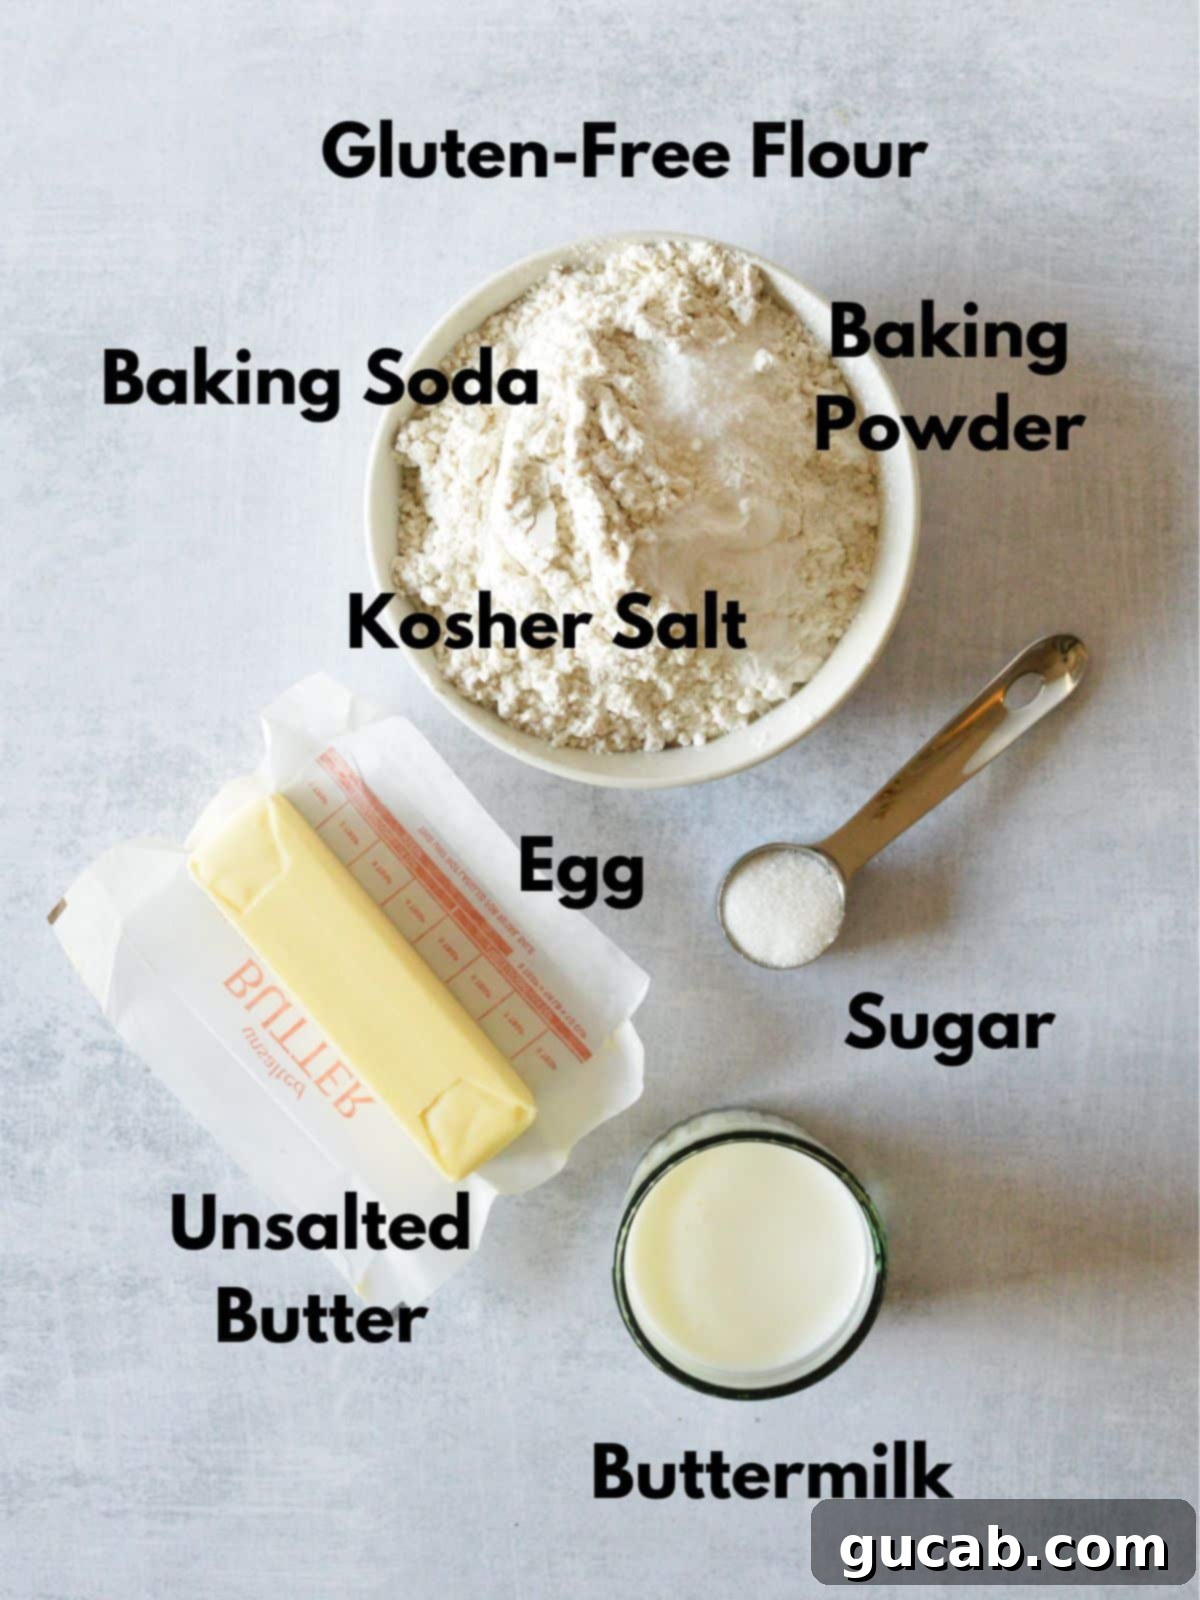
- Gluten-free flour – For this recipe, I highly recommend Bob’s Red Mill’s 1 to 1 Gluten Free Baking Flour. This particular blend is designed to mimic the taste and texture of traditional wheat flour, making it ideal for baking projects like biscuits. It has a balanced mix of starches and binders that prevent the crumbly texture often associated with gluten-free goods. It’s crucial to use the recommended brand because different gluten-free flour blends have varying absorption rates and gum contents, which can significantly alter the outcome. Always remember to spoon and level your flour for accurate measurement.
- Baking powder – This is a powerhouse leavening agent, absolutely vital for giving your biscuits that magnificent rise. Baking powder can lose its potency over time, so always check the expiration date. An old can will result in flat, dense biscuits, so investing in a fresh one when needed is key.
- Baking soda – Often mistakenly seen as a secondary leavener, baking soda is critical in this recipe. It reacts with the acidity in the buttermilk, creating carbon dioxide bubbles that expand during baking, contributing to an even lighter and fluffier texture. Don’t leave it out!
- Kosher salt – Salt isn’t just for seasoning; it enhances all the other flavors in your biscuits, bringing out the richness of the butter and the subtle sweetness. If kosher salt isn’t available and you’re using table salt, remember to cut the amount in half as table salt is finer and more concentrated.
- Sugar – Just a small amount of granulated sugar goes a long way. It doesn’t make the biscuits overtly sweet, but rather enhances their natural buttery flavor and aids in achieving that beautiful golden-brown crust. It also helps tenderize the dough, ensuring a soft bite.
- Unsalted butter – The secret to flaky biscuits lies in cold butter! When small pieces of cold butter melt in the hot oven, they release steam, which separates the layers of dough, creating those coveted flaky pockets. Using unsalted butter allows you to control the overall salt content of the recipe. Ensure your butter is straight from the fridge and cut into small pieces.
- Buttermilk – While homemade buttermilk (milk + lemon juice/vinegar) can work in some recipes, for these biscuits, store-bought buttermilk is highly recommended. It offers a consistent level of acidity and fat, which is essential for reacting with the baking soda and achieving the perfect rise and tang. Homemade versions can sometimes be less consistent, leading to variations in texture.
- Egg – This is not a typical ingredient in traditional biscuit recipes, but it’s a game-changer for gluten-free versions. The egg acts as a binder, providing much-needed structure and moisture to the dough. Without it, gluten-free biscuits can be notoriously crumbly, falling apart easily. The egg ensures a cohesive, tender biscuit that holds its shape beautifully.
How to Make Perfectly Flaky Gluten-Free Biscuits
Making homemade biscuits, especially gluten-free ones, might seem daunting, but it’s actually quite straightforward if you follow the steps carefully. The key to success with gluten-free baking is precision and attention to detail. Biscuits are particularly sensitive to ingredient ratios and temperature, so stick to this recipe exactly for the best results. A slight variation can be the difference between a gloriously flaky biscuit and a dense, flat one!
Before you begin, make sure your oven is preheated to 425 degrees Fahrenheit. This high temperature helps activate the leavening agents quickly and creates that beautiful crust and rise.
1. Combine Dry Ingredients & Cut in the Butter
- Combine the gluten-free flour, sugar, baking powder, baking soda, and kosher salt in a large bowl. Use a whisk or a spoon to thoroughly mix them. This ensures the leavening agents and salt are evenly distributed throughout the flour, guaranteeing a consistent rise and flavor in every biscuit.
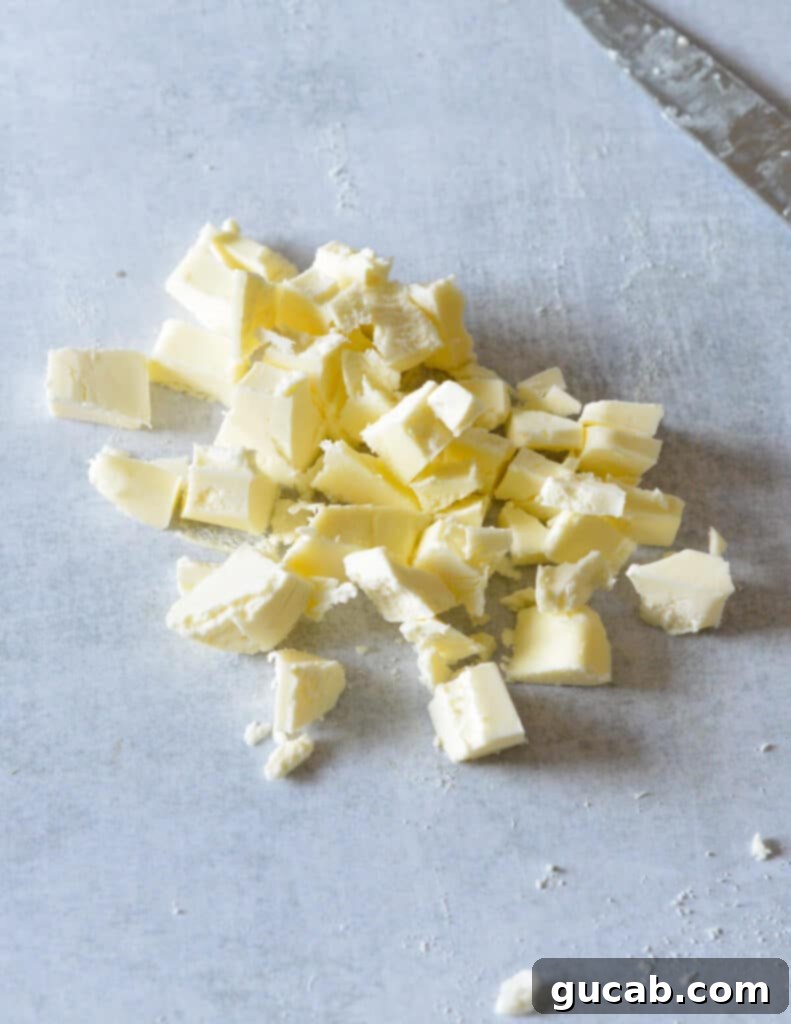
- Cut your cold, unsalted butter into small, uniform pieces. Aim for pieces that are about ½-inch cubes. The smaller and colder the butter pieces, the less you’ll need to handle the butter once it’s incorporated into the flour, which prevents it from melting too quickly.
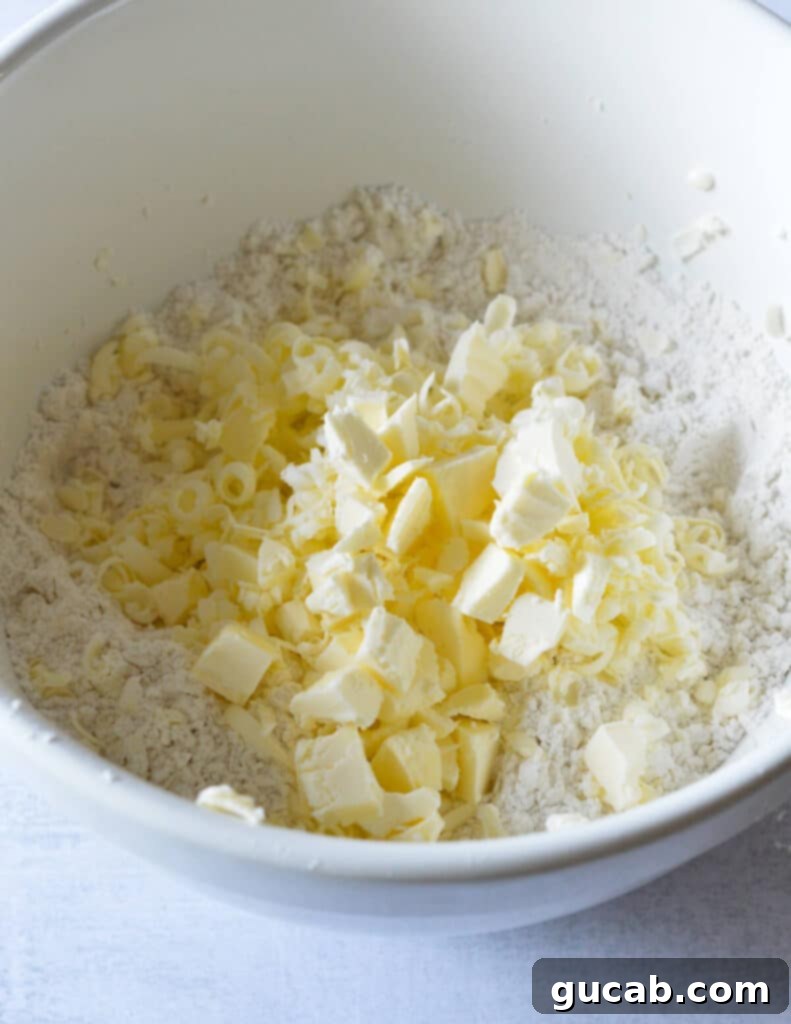
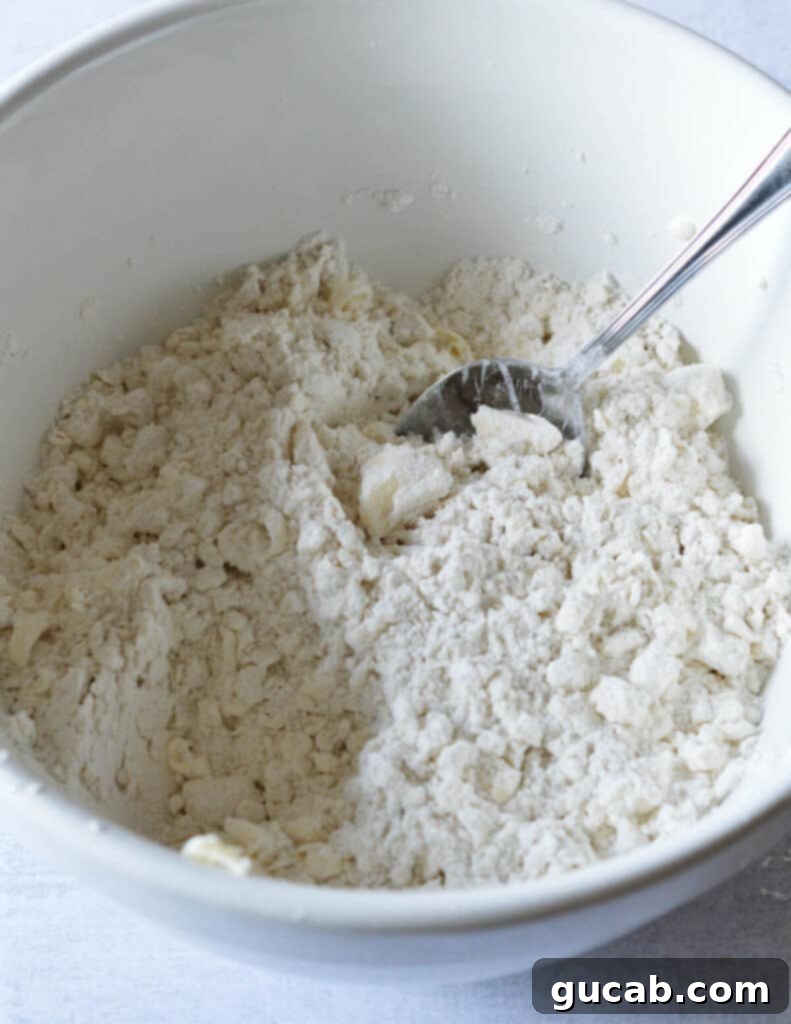
- Using your hands (the quickest method to avoid warming the butter) or a pastry cutter, cut the butter into the flour mixture. Work quickly until the butter is mostly in pea-sized pieces, though a few larger chunks are perfectly fine and even desirable for flakiness. The goal is to distribute the butter without melting it.
- Place the entire bowl containing the flour and butter mixture into the freezer for at least 10 minutes. This critical step ensures the butter remains perfectly cold before adding the wet ingredients, which is essential for achieving those distinct, flaky layers. Do not skip this!
2. Prepare the Gluten-Free Biscuit Dough
- In a separate liquid measuring cup, whisk together the buttermilk and the large egg until they are well combined. The egg adds vital structure and moisture to gluten-free dough, preventing it from being too crumbly.
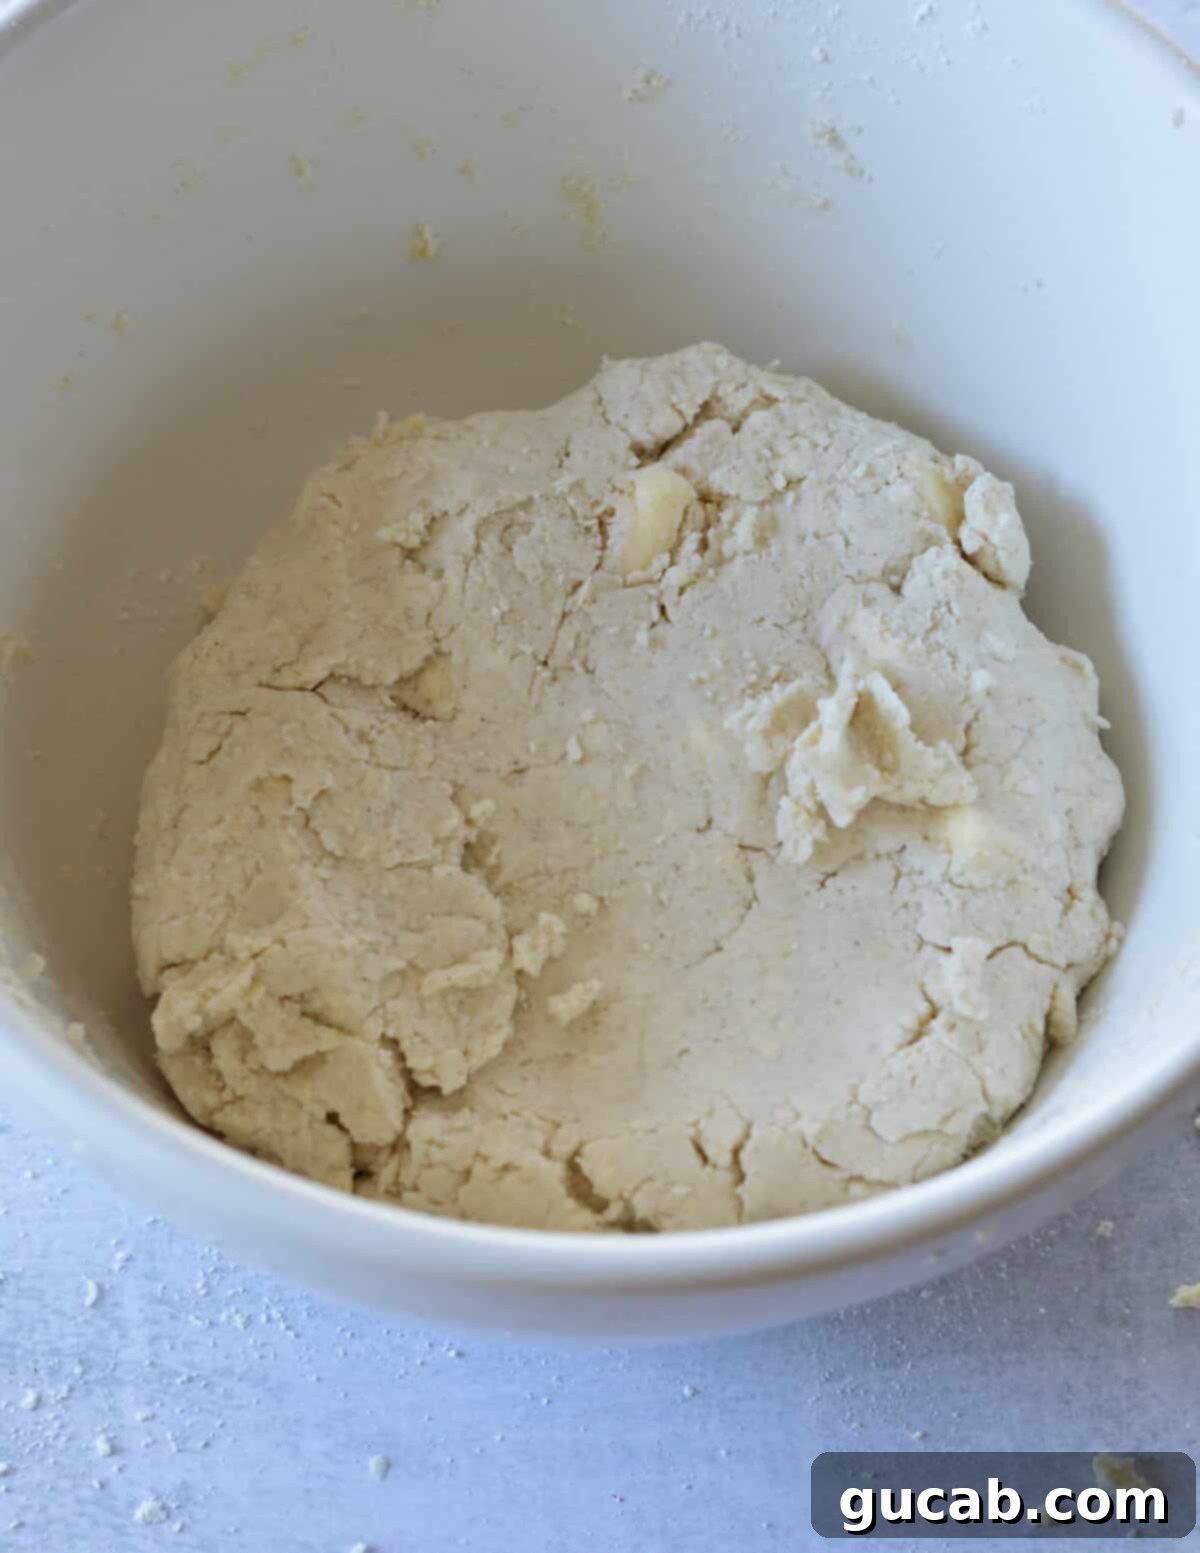
- Retrieve the cold flour-butter mixture from the freezer. Add the buttermilk and egg mixture to the dry ingredients. Use a large spoon to gently stir until the flour is mostly moistened. Then, switch to your hands to gently form the mixture into a large, cohesive disc. The key here is to avoid overworking the dough, as this can develop toughness and a gummy texture, especially with gluten-free flours. Work just enough to bring everything together.
3. Cut, Arrange, Chill, and Bake the GF Biscuits
- Lightly flour a clean work surface to prevent sticking.
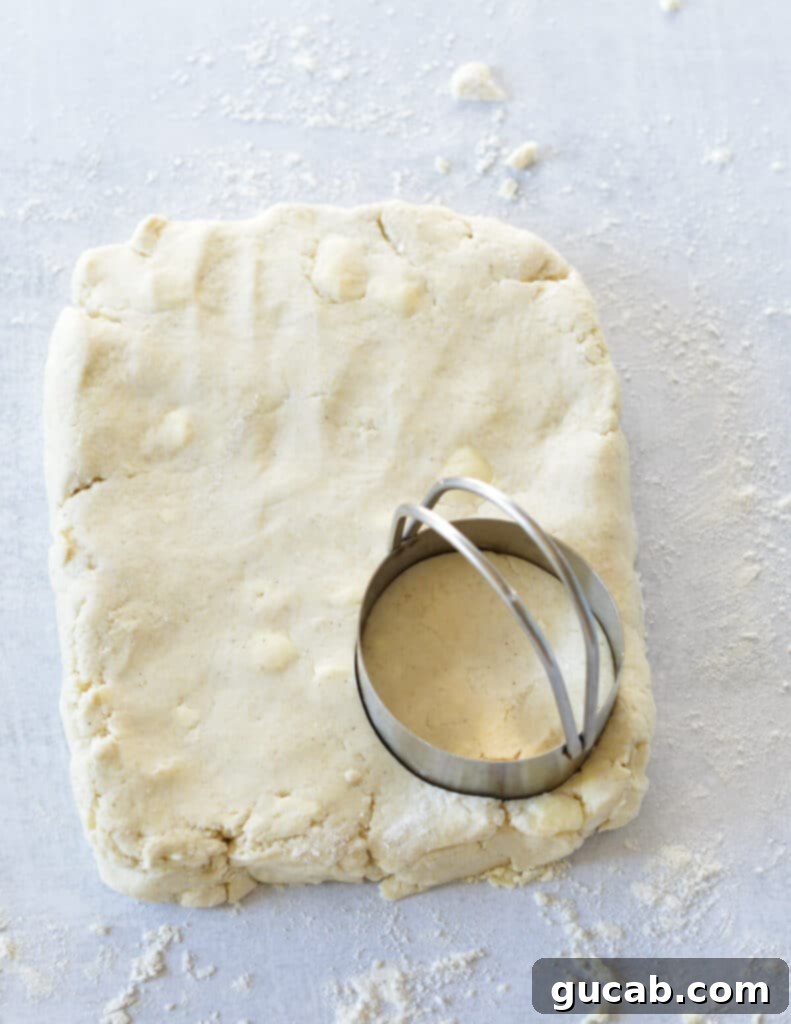
- Transfer the biscuit dough onto the floured surface. Using your hands, gently pat the dough into a 1-inch thick rectangle. Resist the urge to use a rolling pin, as this can compress the dough and inhibit its rise.
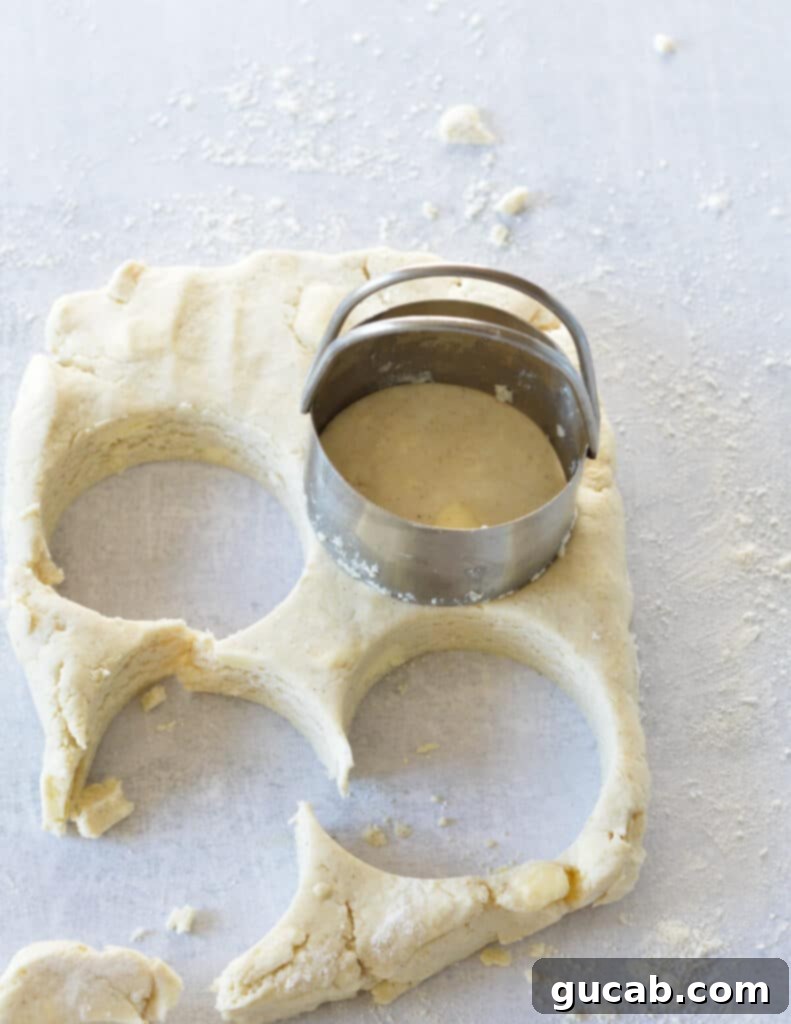
- Using a sharp, 2-½ inch biscuit cutter, firmly cut out the biscuits. Press straight down without twisting the cutter to ensure clean edges, which allows for better layers. You should yield about seven biscuits from the first cut. For any leftover dough, gently press the scraps together without overworking and cut additional biscuits.
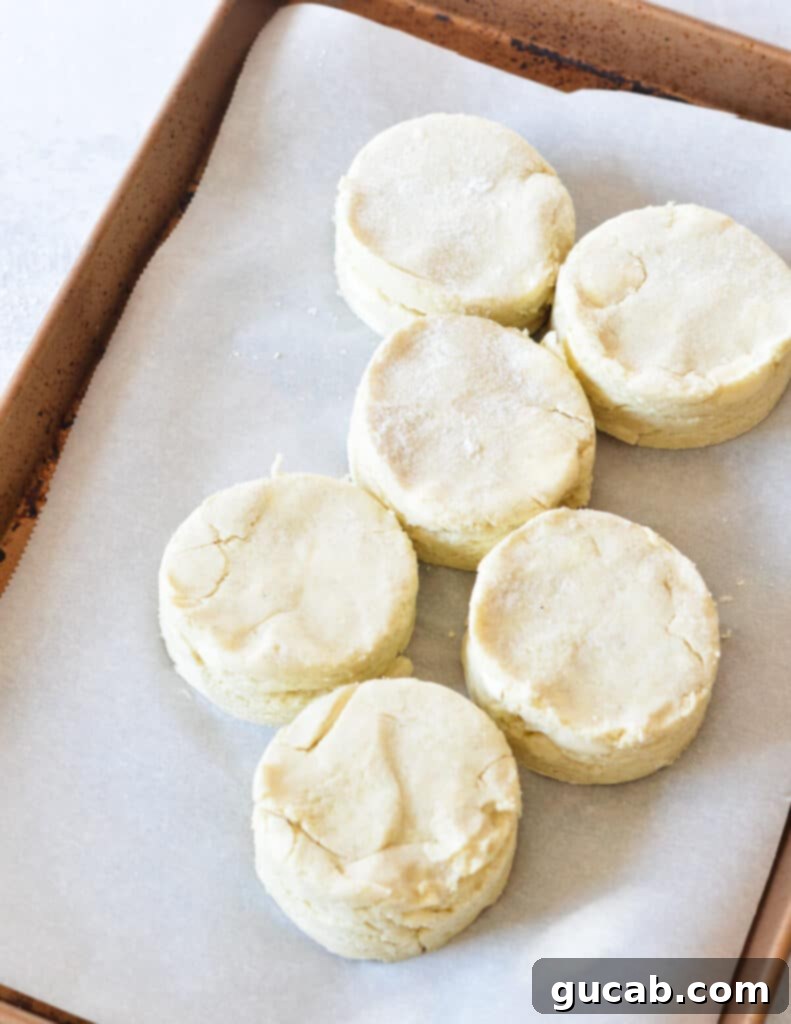
- Arrange the cut biscuits on a parchment-lined baking sheet. Place them about ½ inch apart. Arranging them relatively close together helps them rise taller and maintain moisture.
- Pop the baking sheet with the biscuits into the freezer for at least 30 minutes. This second chilling step is crucial! It ensures the butter is absolutely firm before hitting the hot oven, which leads to maximum flakiness and prevents the biscuits from spreading too much.
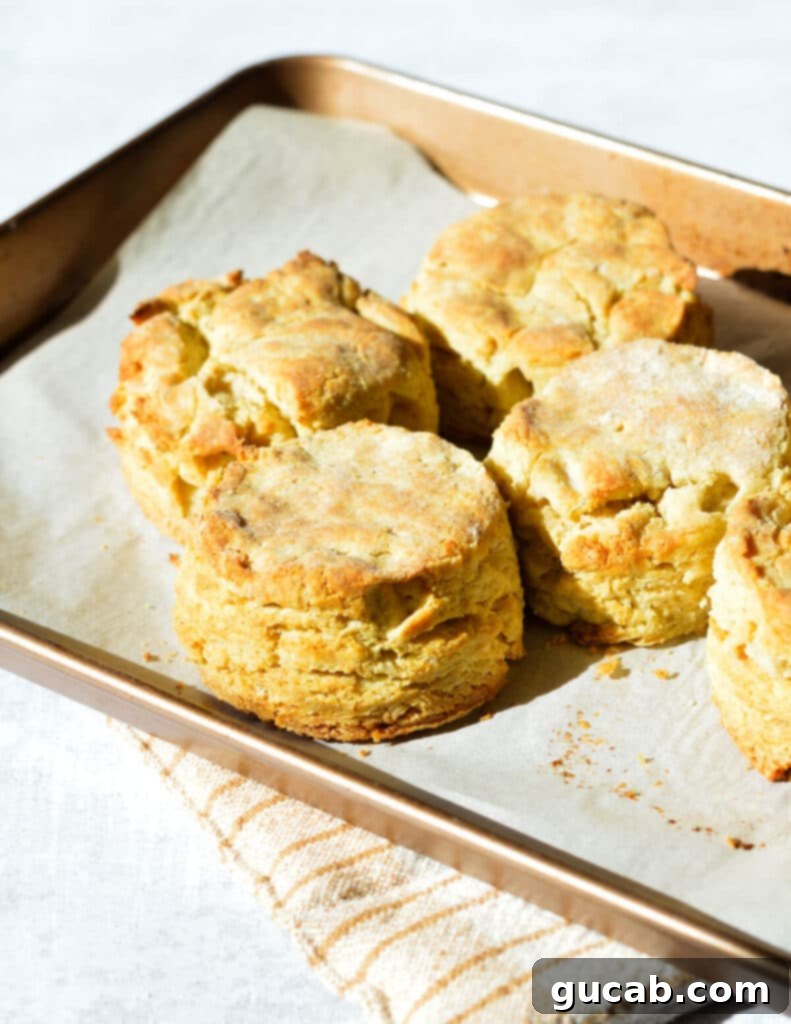
- Finally, bake the chilled biscuits for 18 minutes, or until their tops are beautifully golden brown and they are cooked through. You can check for doneness by ensuring the internal temperature reaches around 200 degrees Fahrenheit.
Expert Tips for Biscuit Perfection
Achieving bakery-quality gluten-free biscuits is entirely possible with a few key techniques. These expert tips will help ensure your biscuits turn out light, fluffy, and perfectly flaky every time.
- Keep the butter ice cold at all times: This is arguably the most critical tip for flaky biscuits. If the butter warms up and melts into the dough before baking, you’ll end up with dense, cake-like biscuits instead of distinct, airy layers. Work quickly, use cold hands if possible, and don’t hesitate to pop the dough back into the fridge or freezer if it starts to feel too warm or sticky. You can even cube your butter and then freeze it for 10-15 minutes before mixing for extra coldness.
- Do not overwork the dough: Overworking the dough, especially gluten-free dough, can make it tough and gummy. Unlike wheat flour, which benefits from some kneading to develop gluten, gluten-free flours can become unpleasantly elastic or dense when handled too much. Gentle mixing and minimal handling with your hands are all that’s needed to bring the dough together. Think “just combined” rather than thoroughly kneaded.
- Avoid cutting the dough in quarters and stacking it: Some traditional biscuit recipes suggest cutting the dough, stacking it, and re-flattening it to create extra layers. While this works well for gluten-containing doughs, I’ve found it doesn’t consistently produce lighter or flakier gluten-free biscuits in this specific recipe, and often just adds unnecessary handling and potential for overworking the dough. Stick to gently patting the dough and cutting the biscuits directly.
- Press straight down with the biscuit cutter: When cutting your biscuits, press the cutter straight down into the dough. Do not twist the cutter. Twisting seals the edges of the biscuit, which can prevent it from rising properly and inhibit the formation of those beautiful, separate layers.
Storage and Reheating Tips for Gluten-Free Biscuits
While these biscuits are undeniably at their absolute best when enjoyed fresh from the oven, still warm and tender, there are ways to store and reheat them to extend their deliciousness.
- Room Temperature Storage: Once the biscuits have cooled completely to room temperature, they can be stored in an airtight container or a zip-top bag for up to 2 days. To prevent them from drying out, you might consider wrapping individual biscuits in plastic wrap before placing them in the container.
- Freezer-Friendly Option: Biscuits are wonderfully freezer-friendly, allowing you to enjoy fresh-baked goodness whenever a craving strikes. You can freeze baked biscuits in a freezer-safe container or zip-top bag for up to 3 months. For best results, consider freezing them in a single layer on a baking sheet first until solid, then transferring to a bag to prevent sticking.
- Reheating Instructions: To revive your gluten-free biscuits, there are a few options:
- Microwave: For a quick reheat, warm individual biscuits in the microwave in 15-second increments until heated through. Be cautious not to over-microwave, as this can make them tough.
- Oven/Toaster Oven: For a crisper exterior and tender interior, preheat your oven or toaster oven to 300°F (150°C). Place the biscuits directly on the rack or a baking sheet and heat for 5-10 minutes, or until warmed through. If reheating from frozen, this method works best and may take 15-20 minutes.
More Delicious Gluten-Free Recipes to Try
If you’re loving these gluten-free biscuits, be sure to explore more of our fantastic gluten-free creations:
- Fluffy Gluten Free Pancakes
- Gluten Free Blueberry Muffins
- Flaky Gluten Free Pie Crust
- Gluten Free Pumpkin Pancakes
Gluten Free Biscuits
Carolyn
Pin Recipe
Equipment
-
Large Bowl
Ingredients
- 2 cups + 2 tablespoons Bob’s Red Mill’s 1 to 1 Gluten Free Baking Flour spooned and leveled for accuracy
- 1 tablespoon granulated sugar
- 1 tablespoon baking powder
- 1 teaspoon baking soda
- ½ teaspoon kosher salt
- 8 tablespoons cold unsalted butter (4 ounces), cut into small cubes
- ¾ cup store-bought buttermilk
- 1 large egg
Instructions
-
Preheat your oven to a precise 425 degrees Fahrenheit (220°C). This high heat is crucial for the biscuits’ rise.
-
In a large mixing bowl, combine the gluten-free all-purpose flour (remember to spoon and level!), granulated sugar, baking powder, baking soda, and kosher salt. Whisk these dry ingredients together thoroughly to ensure even distribution of leavening agents.
-
Using a sharp knife, carefully cut the cold unsalted butter into small, ½-inch cubes. Transfer these butter pieces into your bowl with the flour mixture.
-
Work quickly with your hands or a pastry cutter to cut the cold butter into the flour. Mix until the butter is mostly in pea-sized pieces; a few slightly larger pieces are perfectly fine. Immediately place the bowl with this mixture into the freezer for at least 10 minutes to ensure the butter stays firm.
-
While the flour mixture chills, whisk the store-bought buttermilk and the large egg together in a liquid measuring cup until fully combined.
-
Pour the buttermilk-egg mixture into the chilled flour-butter mixture. Use a large spoon to gently stir until the ingredients are just combined and most of the flour is moistened. Then, use your hands to very gently bring the dough together and form it into a large, slightly shaggy disc. Be careful not to overwork the dough.
-
Lightly flour a clean work surface. Transfer the biscuit dough onto it and gently pat it down with your hands to form a rectangle approximately 1-inch thick. Avoid using a rolling pin, as it can compress the dough too much.
-
Using a 2-½ inch biscuit cutter, cut out seven biscuits from the dough. Press straight down firmly without twisting the cutter to achieve clean edges. For any dough scraps, gently press them together just enough to cut additional biscuits as needed. You should yield approximately 7 biscuits in total.
-
Arrange the cut biscuits on a parchment-lined baking sheet, placing them about ½ inch apart. Keeping them fairly close helps them rise taller and more evenly.
-
Place the entire baking sheet with the biscuits into the freezer for at least 30 minutes. This final chill is absolutely essential for maximum flakiness and optimal rise. Do not skip this critical step!
-
Bake the chilled biscuits in the preheated 425°F (220°C) oven for 18 minutes, or until the tops are a beautiful golden brown and the internal temperature reaches 200 degrees Fahrenheit (93°C). Serve warm and enjoy!
Nutrition
