Delicious & Fluffy Gluten-Free Pumpkin Pancakes: Your Ultimate Fall Breakfast Guide
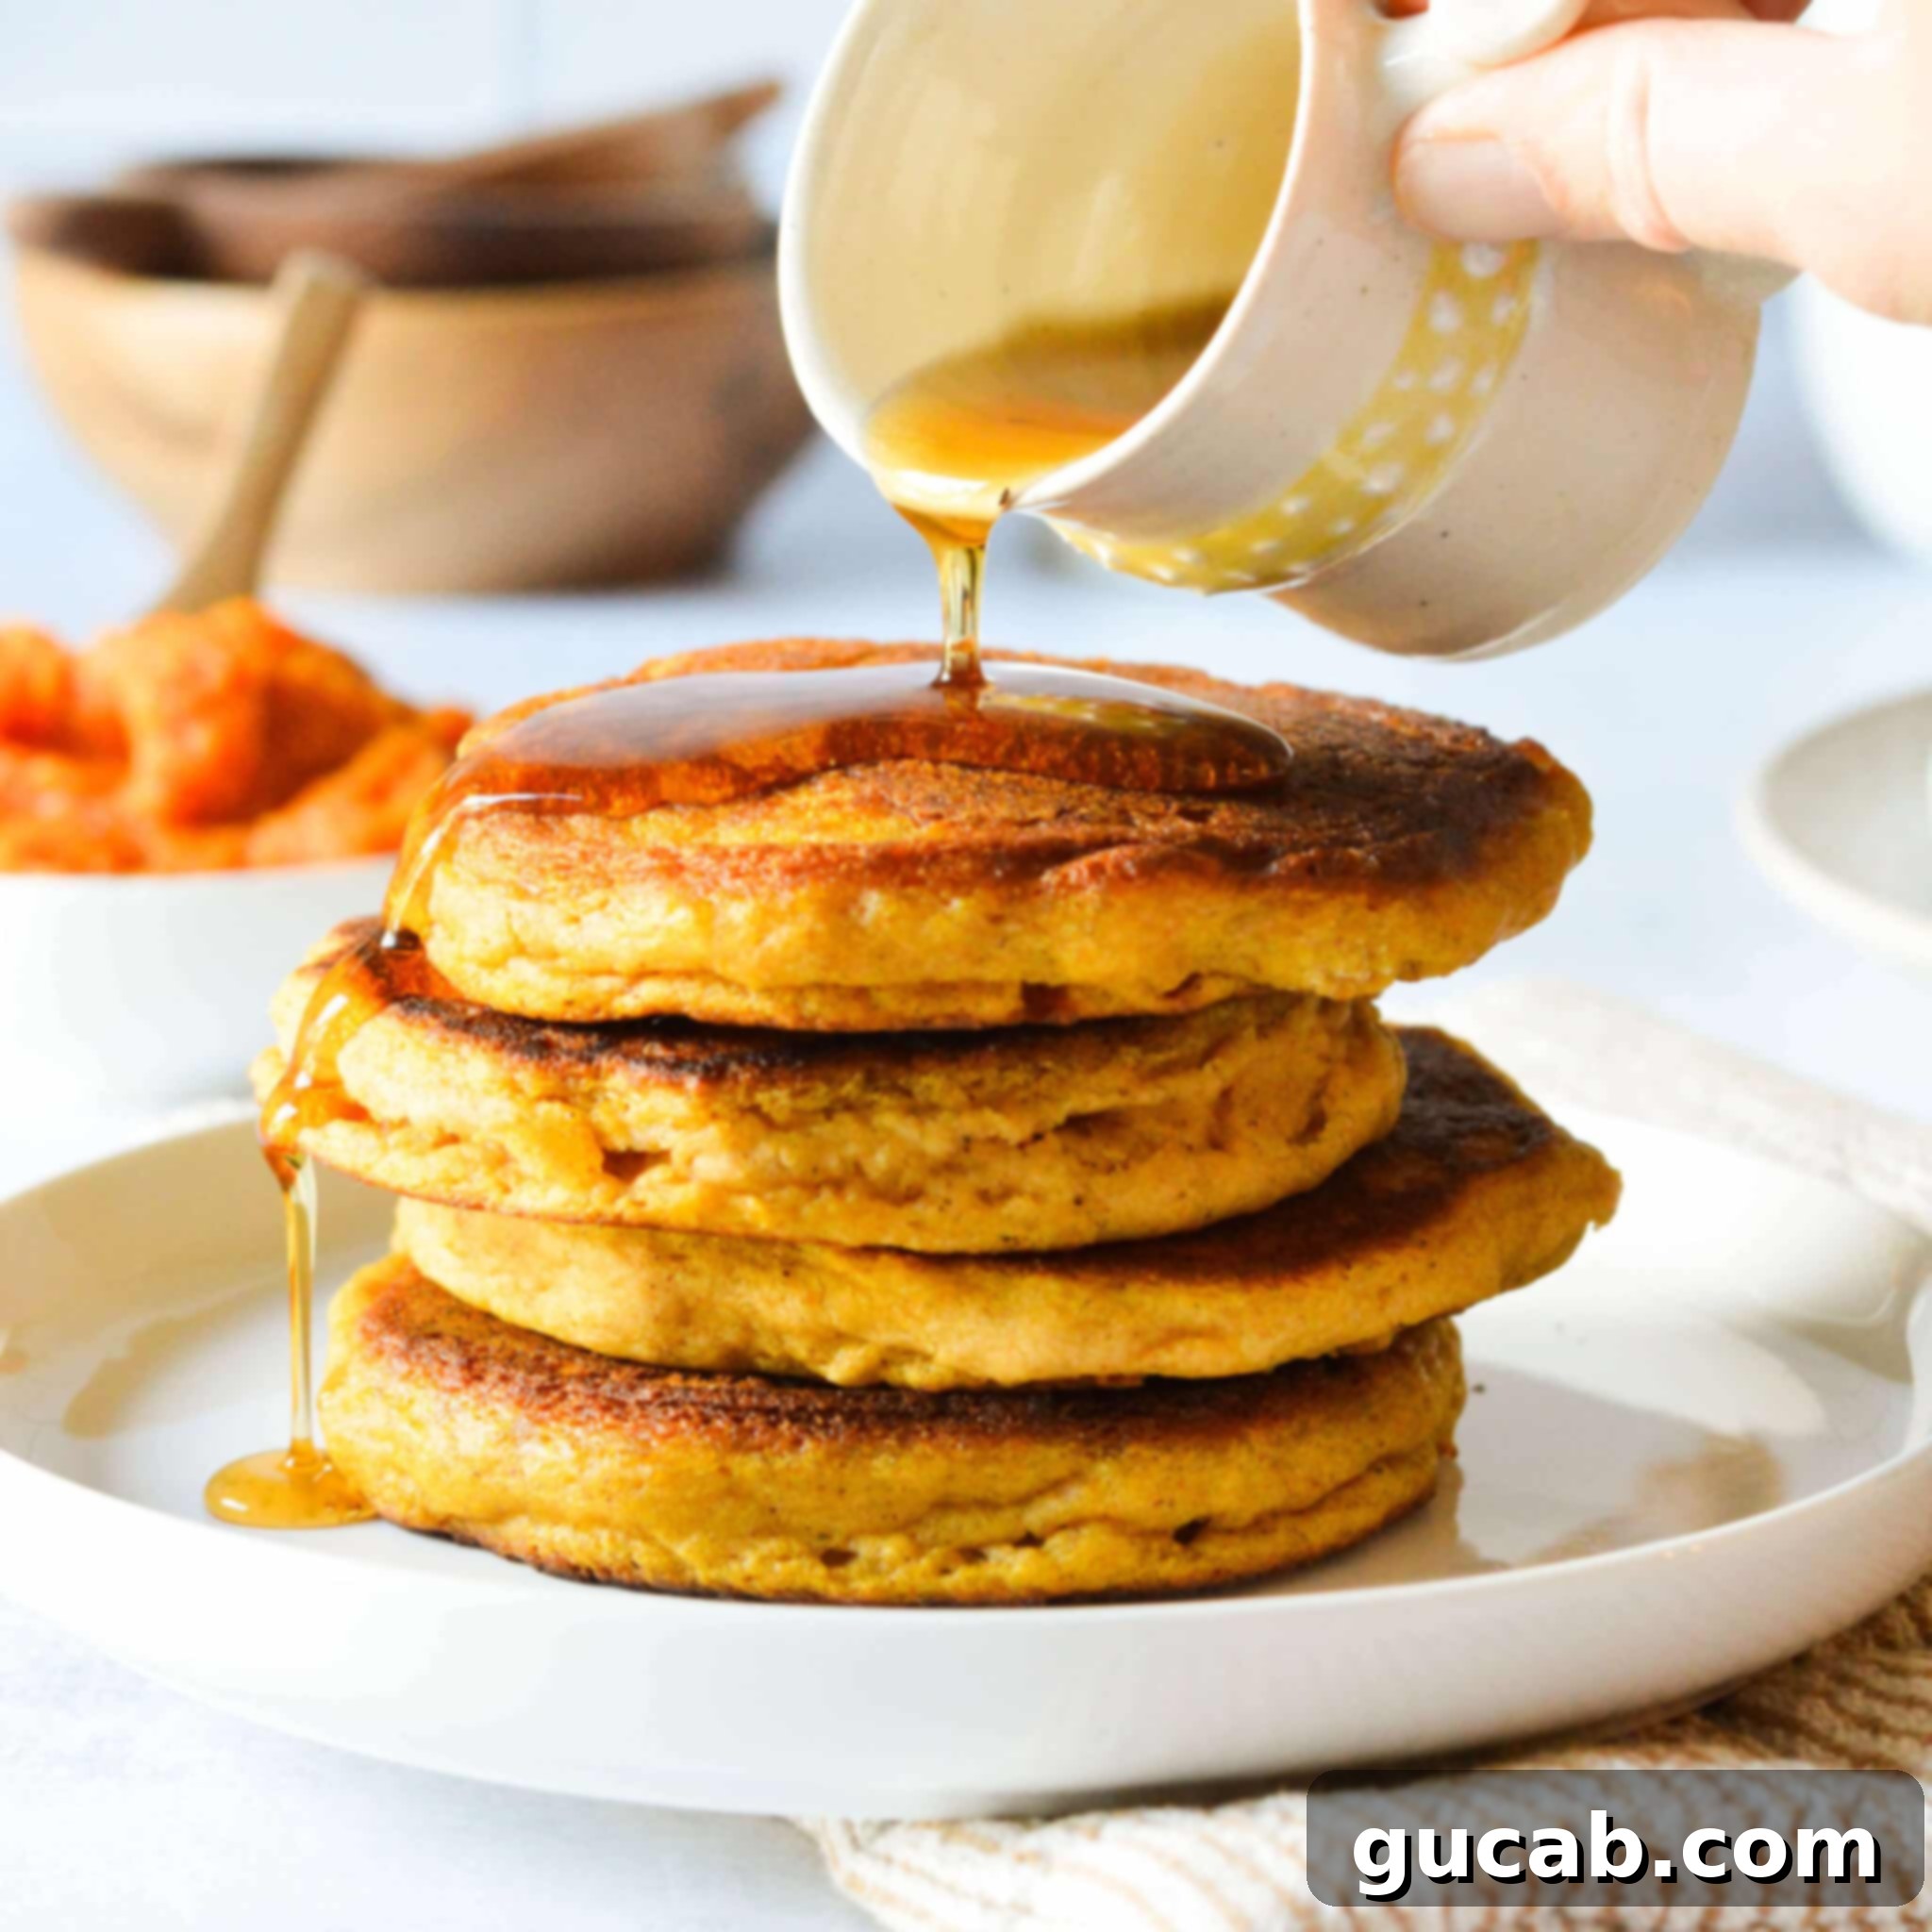
These gluten-free pumpkin pancakes are an absolute dream: light, wonderfully fluffy, and seasoned to perfection. Infused with rich pumpkin puree and aromatic pumpkin pie spice, they offer that familiar, comforting taste of autumn in every single bite. Imagine a stack of these golden-brown beauties, ready to kickstart your day with warmth and flavor.
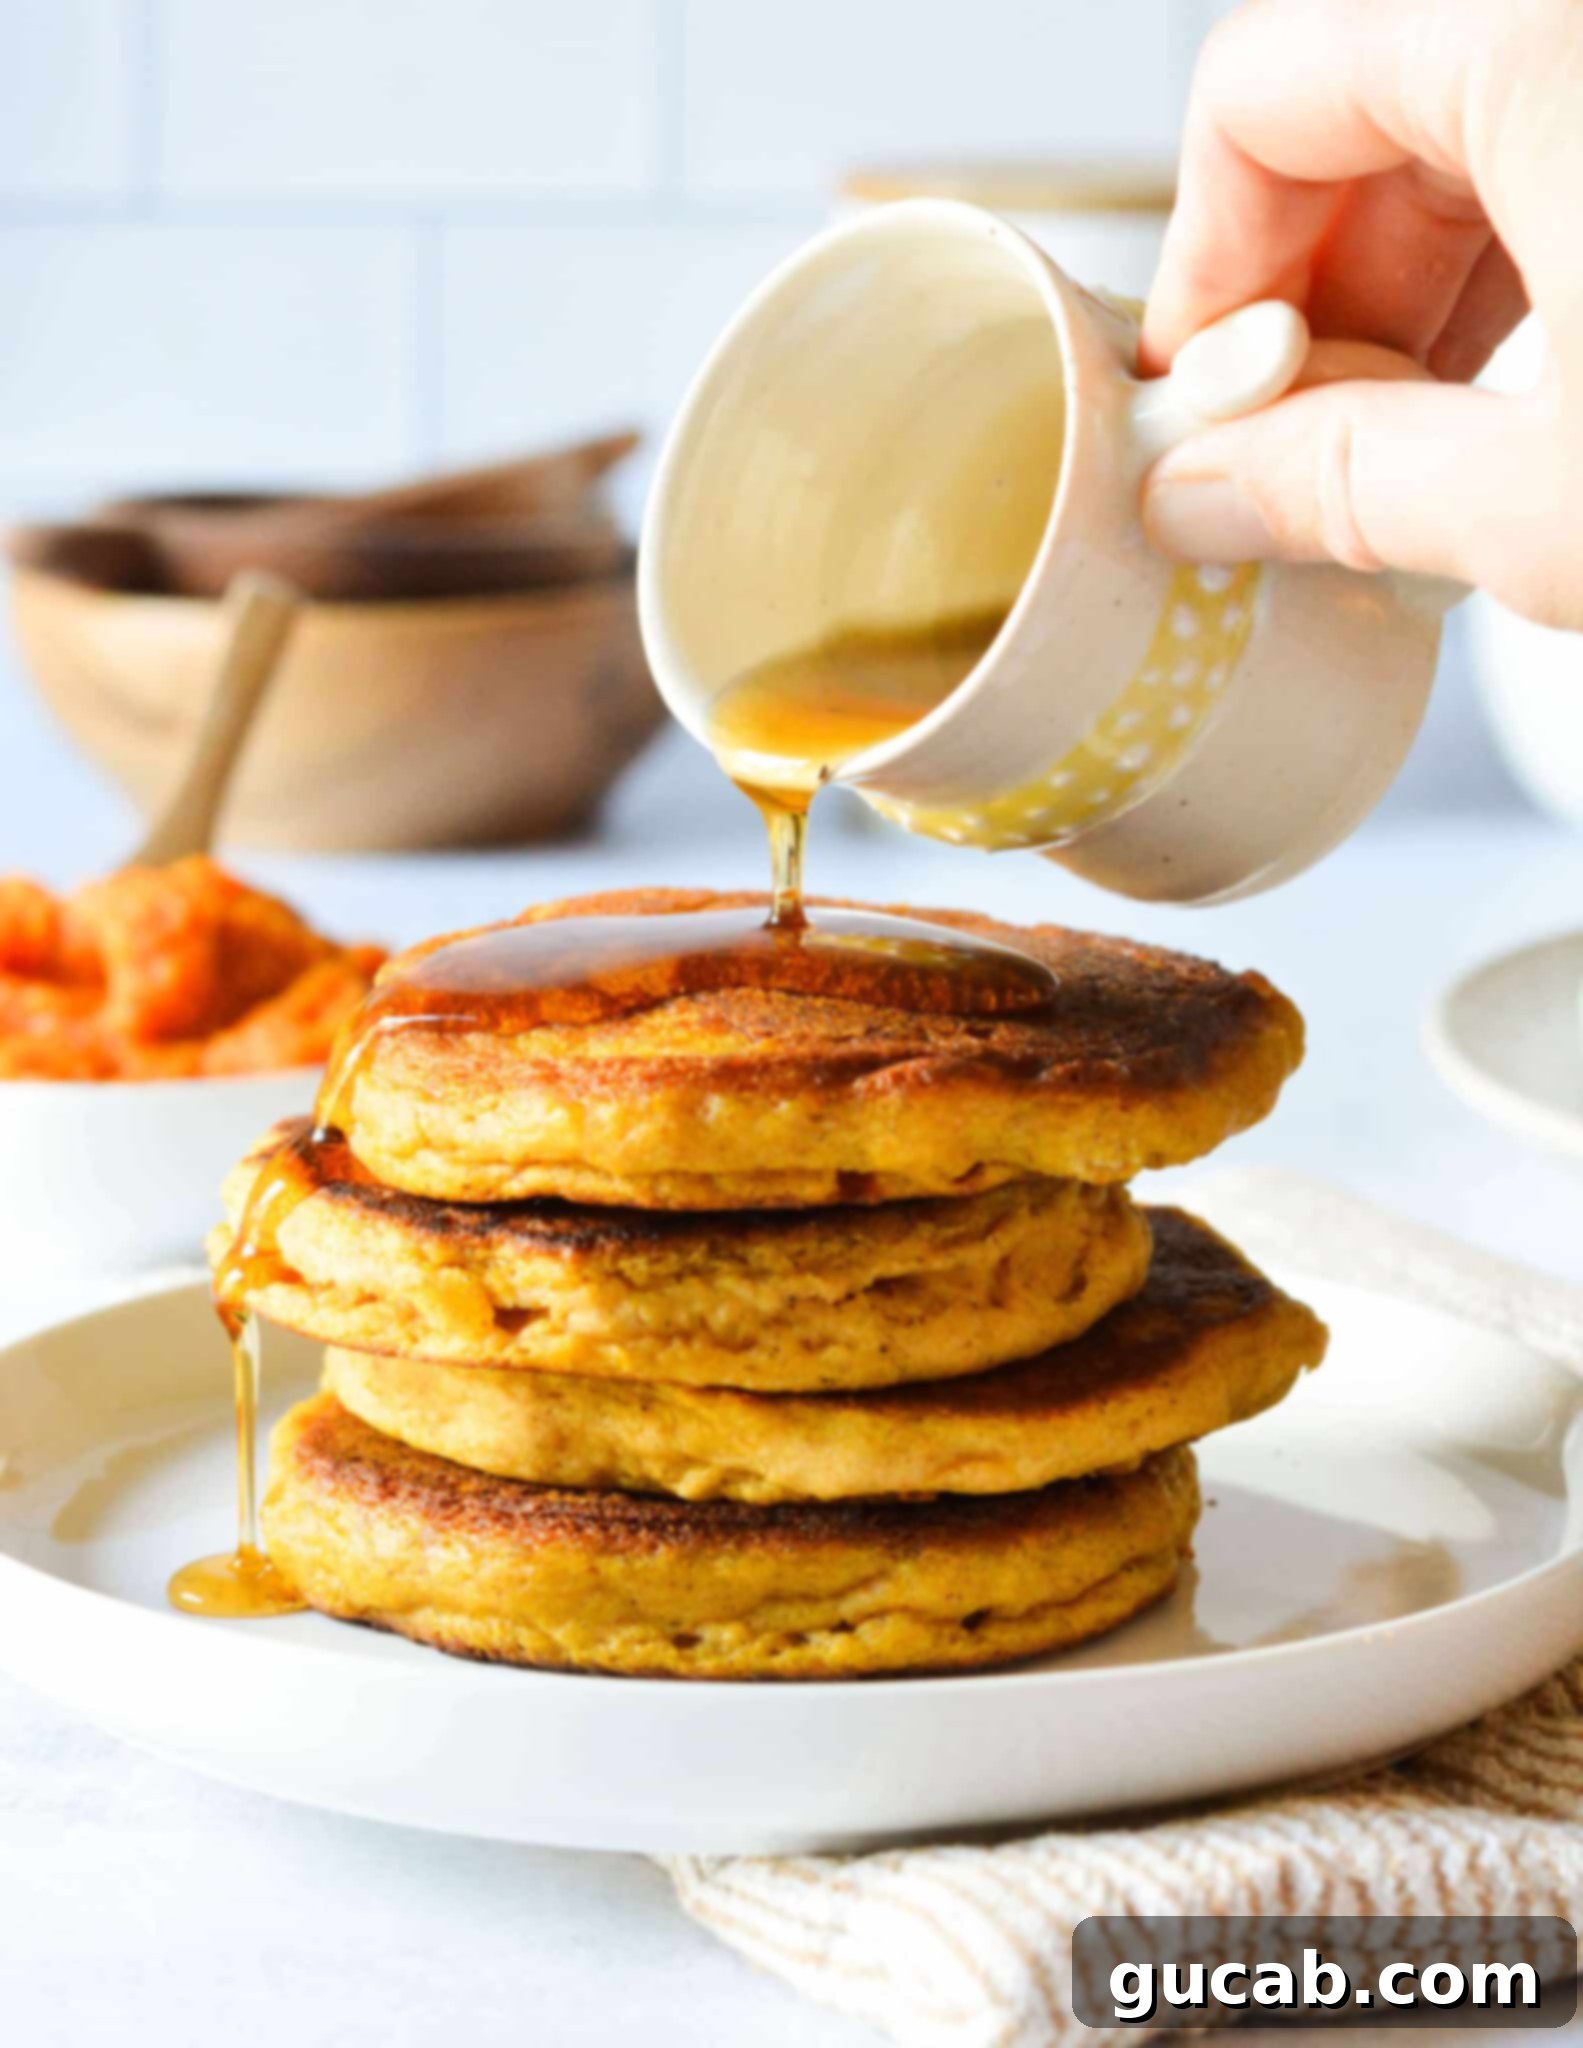
For me, breakfast isn’t just a meal; it’s a cherished ritual, especially when homemade pancakes are involved. I confess, I’m a self-proclaimed “carbs-for-breakfast” enthusiast, and the thought of waking up to a plate of warm, fluffy pancakes is often what gets me through the evening. Whether they’re freshly made or simply reheated from a previous batch, they bring an unparalleled joy to my mornings.
My ideal pancake plate is always accompanied by a generous dollop of creamy peanut butter, a cascade of pure maple syrup, and a refreshing glass of iced coffee. It’s a combination that never fails to satisfy.
Crafting the Perfect Gluten-Free Pumpkin Pancakes
Given my deep affection for pancakes, I’m constantly experimenting with new flavors and textures. That quest led me to these utterly perfect gluten-free pumpkin pancakes. Developing this recipe was a journey, involving no less than four test batches to ensure it met my exacting standards. I envisioned a pancake that was incredibly fluffy, substantial without being too dense, and bursting with delightful pumpkin flavor and warm spices. After much tweaking, I’m thrilled to share a recipe that delivers on all fronts.
This recipe isn’t just for those avoiding gluten; it’s for anyone who loves a truly great pancake. The subtle sweetness of pumpkin, combined with the classic notes of cinnamon, ginger, and nutmeg, makes for an irresistible breakfast or brunch item that captures the essence of the fall season. It’s comfort food at its finest, ensuring a cozy start to any day.
Disclosure: This post contains affiliate links. In other words, if you click a link and purchase something, I will receive a commission at no cost to you. I only recommend products I use and enjoy myself, ensuring transparency and trustworthiness in my suggestions.
Understanding Canned Pumpkin Vs. Pumpkin Pie Filling
A crucial distinction for this recipe, and indeed many fall baking projects, is the difference between canned pumpkin and pumpkin pie filling. While they may look similar on the shelf, they are not interchangeable.
This recipe specifically calls for canned pumpkin, often labeled as “100% pure pumpkin” or “pumpkin puree.” This product is simply pureed, cooked pumpkin, with no added sugar, spices, or other ingredients. It’s the ideal choice for baking and cooking because it gives you complete control over the flavor profile. You get to decide exactly how much spice and sweetness goes into your pancakes, allowing you to tailor the recipe to your personal preference.
On the other hand, pumpkin pie filling is a pre-mixed product that already contains pumpkin puree along with a blend of spices and sugar. While convenient for making a quick pumpkin pie, it’s not recommended for these pancakes. Using pumpkin pie filling would likely result in an overly sweet and potentially unbalanced flavor, as you wouldn’t be able to adjust the spice levels independently. Always double-check the label to ensure you’re grabbing the right can!
Essential Ingredients for Fluffy Pumpkin Pancakes
Creating these delightful pancakes requires a few key ingredients, each playing a vital role in achieving that perfect texture and taste. Here’s a closer look at what you’ll need and why:
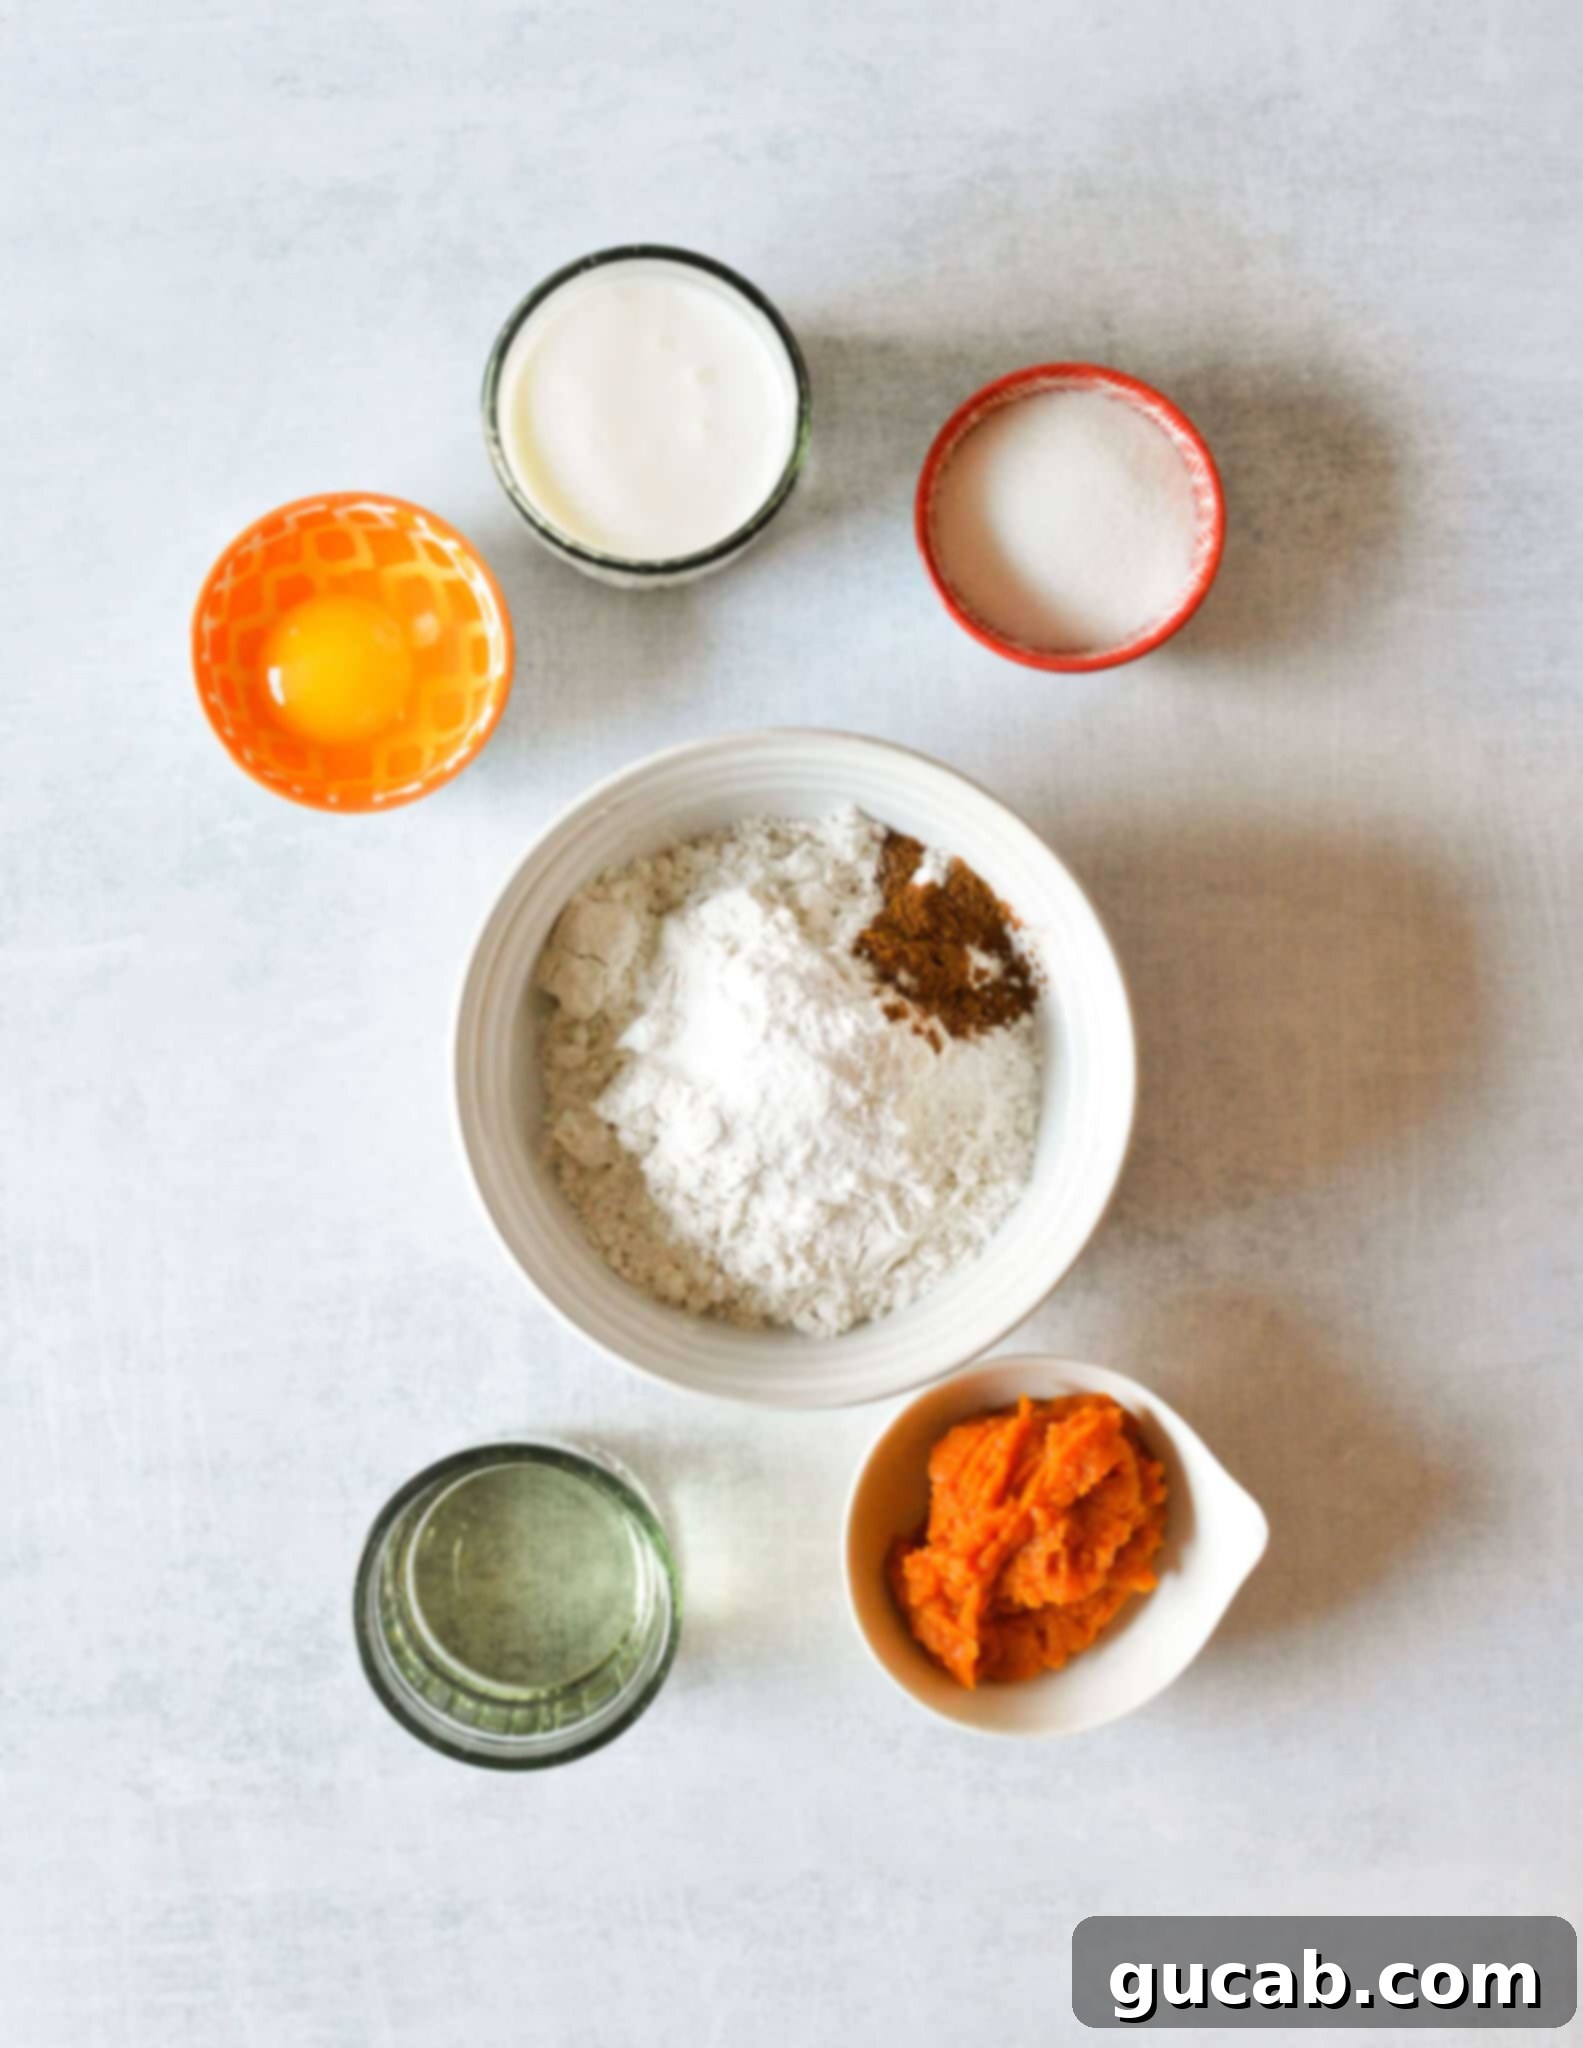
- Gluten-Free All-Purpose Flour: My absolute favorite and highly recommended for this recipe is Bob’s Red Mill 1:1 Gluten Free Baking Flour (the one in the blue bag). It consistently delivers a taste and texture remarkably similar to traditional gluten-filled baked goods, earning approval even from my gluten-eating friends. This blend is reliable, and importantly, it contains xanthan gum – an essential ingredient in gluten-free baking that mimics gluten’s elasticity and helps with binding and structure. If you opt for a different brand, always ensure it includes xanthan gum, or you may need to add it separately.
- Pumpkin Pie Spice: This spice blend is the heart of our fall flavor. It’s a warm, aromatic mix typically comprising cinnamon, ginger, nutmeg, and allspice. If you can’t find pre-made pumpkin pie spice or prefer to make your own for a fresher flavor, it’s quite simple! You can find many recipes online, like this one for homemade pumpkin pie spice, to whip up your own blend. Adjust the ratios to suit your preference for a bolder or milder spice profile.
- Buttermilk: Don’t skip the buttermilk! It’s a star ingredient that reacts with the baking soda to create those signature light, airy, and fluffy pancakes we all crave. The acidity in buttermilk helps to activate the leavening agents, resulting in a tender crumb and a slight tang that complements the pumpkin beautifully. If you don’t have buttermilk on hand, you can make a quick substitute by adding one tablespoon of white vinegar or lemon juice to a liquid measuring cup, then filling the rest with regular milk until it reaches one cup. Let it sit for 5-10 minutes until it slightly curdles before using.
- Vegetable Oil: The right amount of vegetable oil is key to keeping these pancakes wonderfully moist without making them heavy or greasy. It contributes to a soft interior and a slightly crispy edge, enhancing the overall texture. You can also use other neutral-flavored oils like canola oil or light olive oil.
- Pumpkin Puree: As discussed, this is 100% pure pumpkin, cooked and pureed, with no added sugars or spices. It’s what gives our pancakes their distinct pumpkin flavor and beautiful orange hue. Make sure the can explicitly states “100% Pure Pumpkin” and not “Pumpkin Pie Filling.”
- Baking Powder & Baking Soda: These are the leavening agents working in tandem with the buttermilk to create a light and airy texture. They’re essential for that desirable rise.
- Sugar: Just enough to subtly sweeten the pancakes and balance the earthy pumpkin flavor.
- Egg: Acts as a binder, helping to hold the pancakes together and contributing to their structure and richness.
- Kosher Salt: A pinch of salt enhances all the other flavors, making the pumpkin and spices truly shine.
Step-by-Step Guide: How to Make Gluten-Free Pumpkin Pancakes
Making these gluten-free pumpkin pancakes is a straightforward process that yields incredibly rewarding results. Follow these simple steps for a perfect batch every time:
- Prepare Your Skillet: Begin by heating a 10-inch nonstick skillet over medium to medium-low heat. Add just a small amount of vegetable oil – enough to lightly coat the entire surface of the pan. A great trick is to use a paper towel to wipe the oil evenly across the pan, ensuring a thin, even layer without excess. This prevents the pancakes from tasting fried and ensures even browning. While your skillet is heating, you can start preparing the batter.
- Combine Dry Ingredients: In a large mixing bowl, combine your gluten-free all-purpose flour, baking powder, baking soda, granulated sugar, pumpkin pie spice, and a pinch of kosher salt. Whisk these dry ingredients together thoroughly until they are well combined and there are no visible lumps. This ensures the leavening agents and spices are evenly distributed throughout the batter.
- Whisk Wet Ingredients: In a separate liquid measuring cup, combine the buttermilk, vegetable oil, and pumpkin puree. Crack in the egg, then whisk all these wet ingredients together vigorously until they are completely smooth and well incorporated.
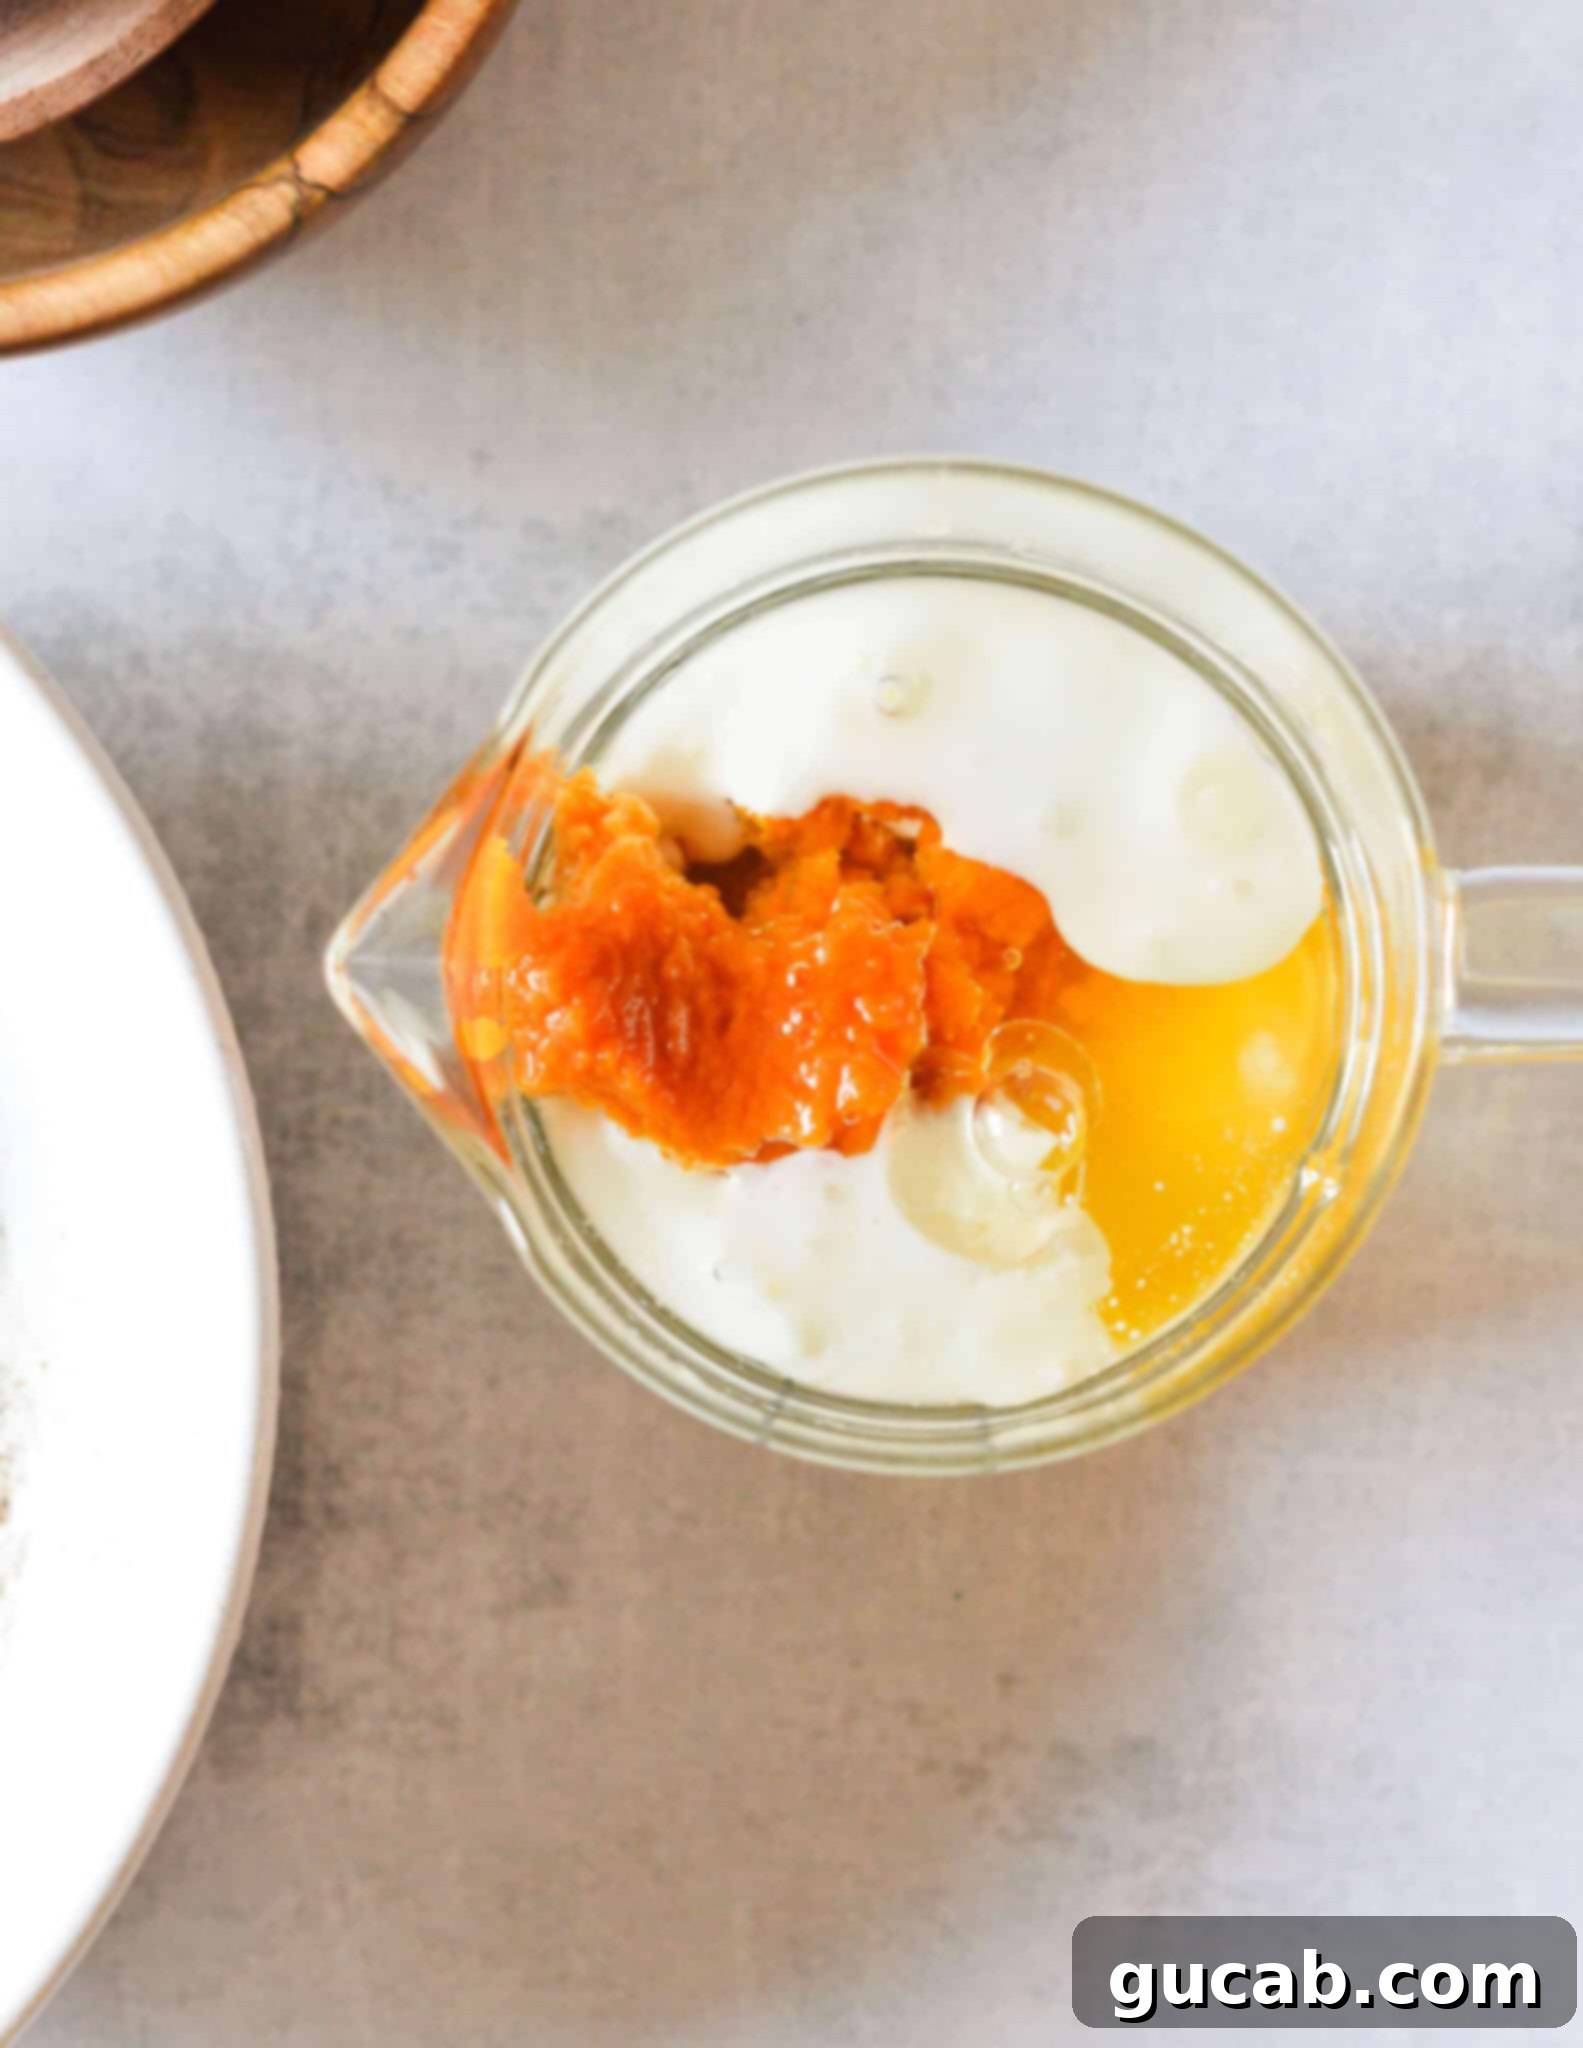
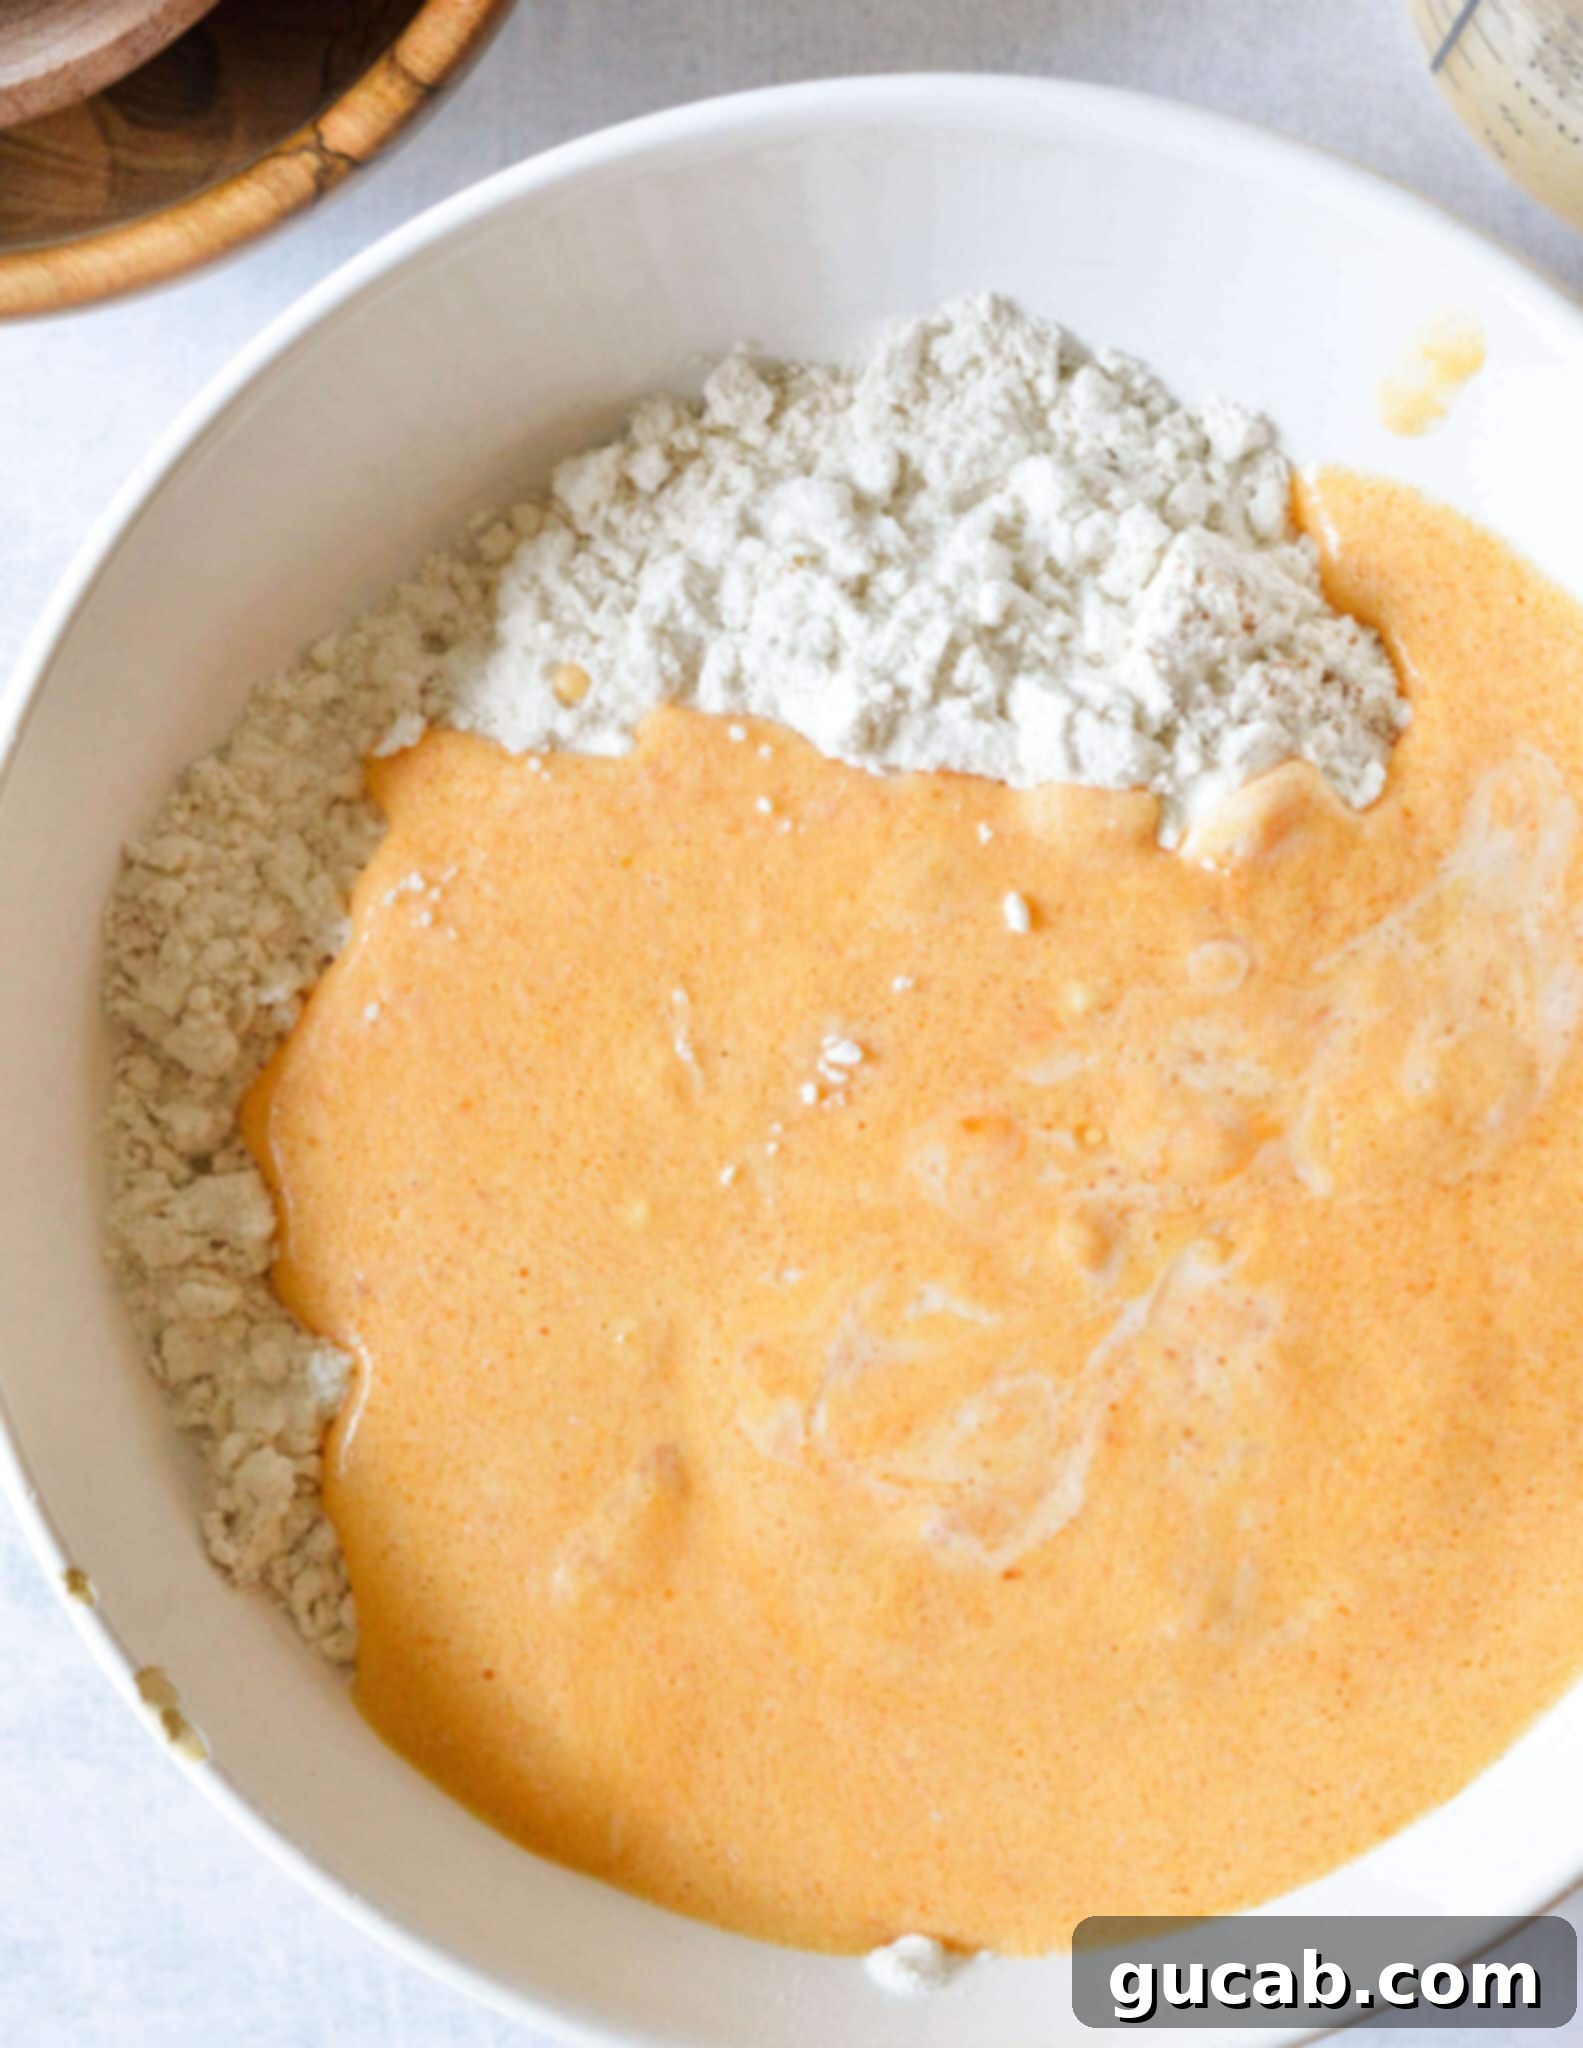
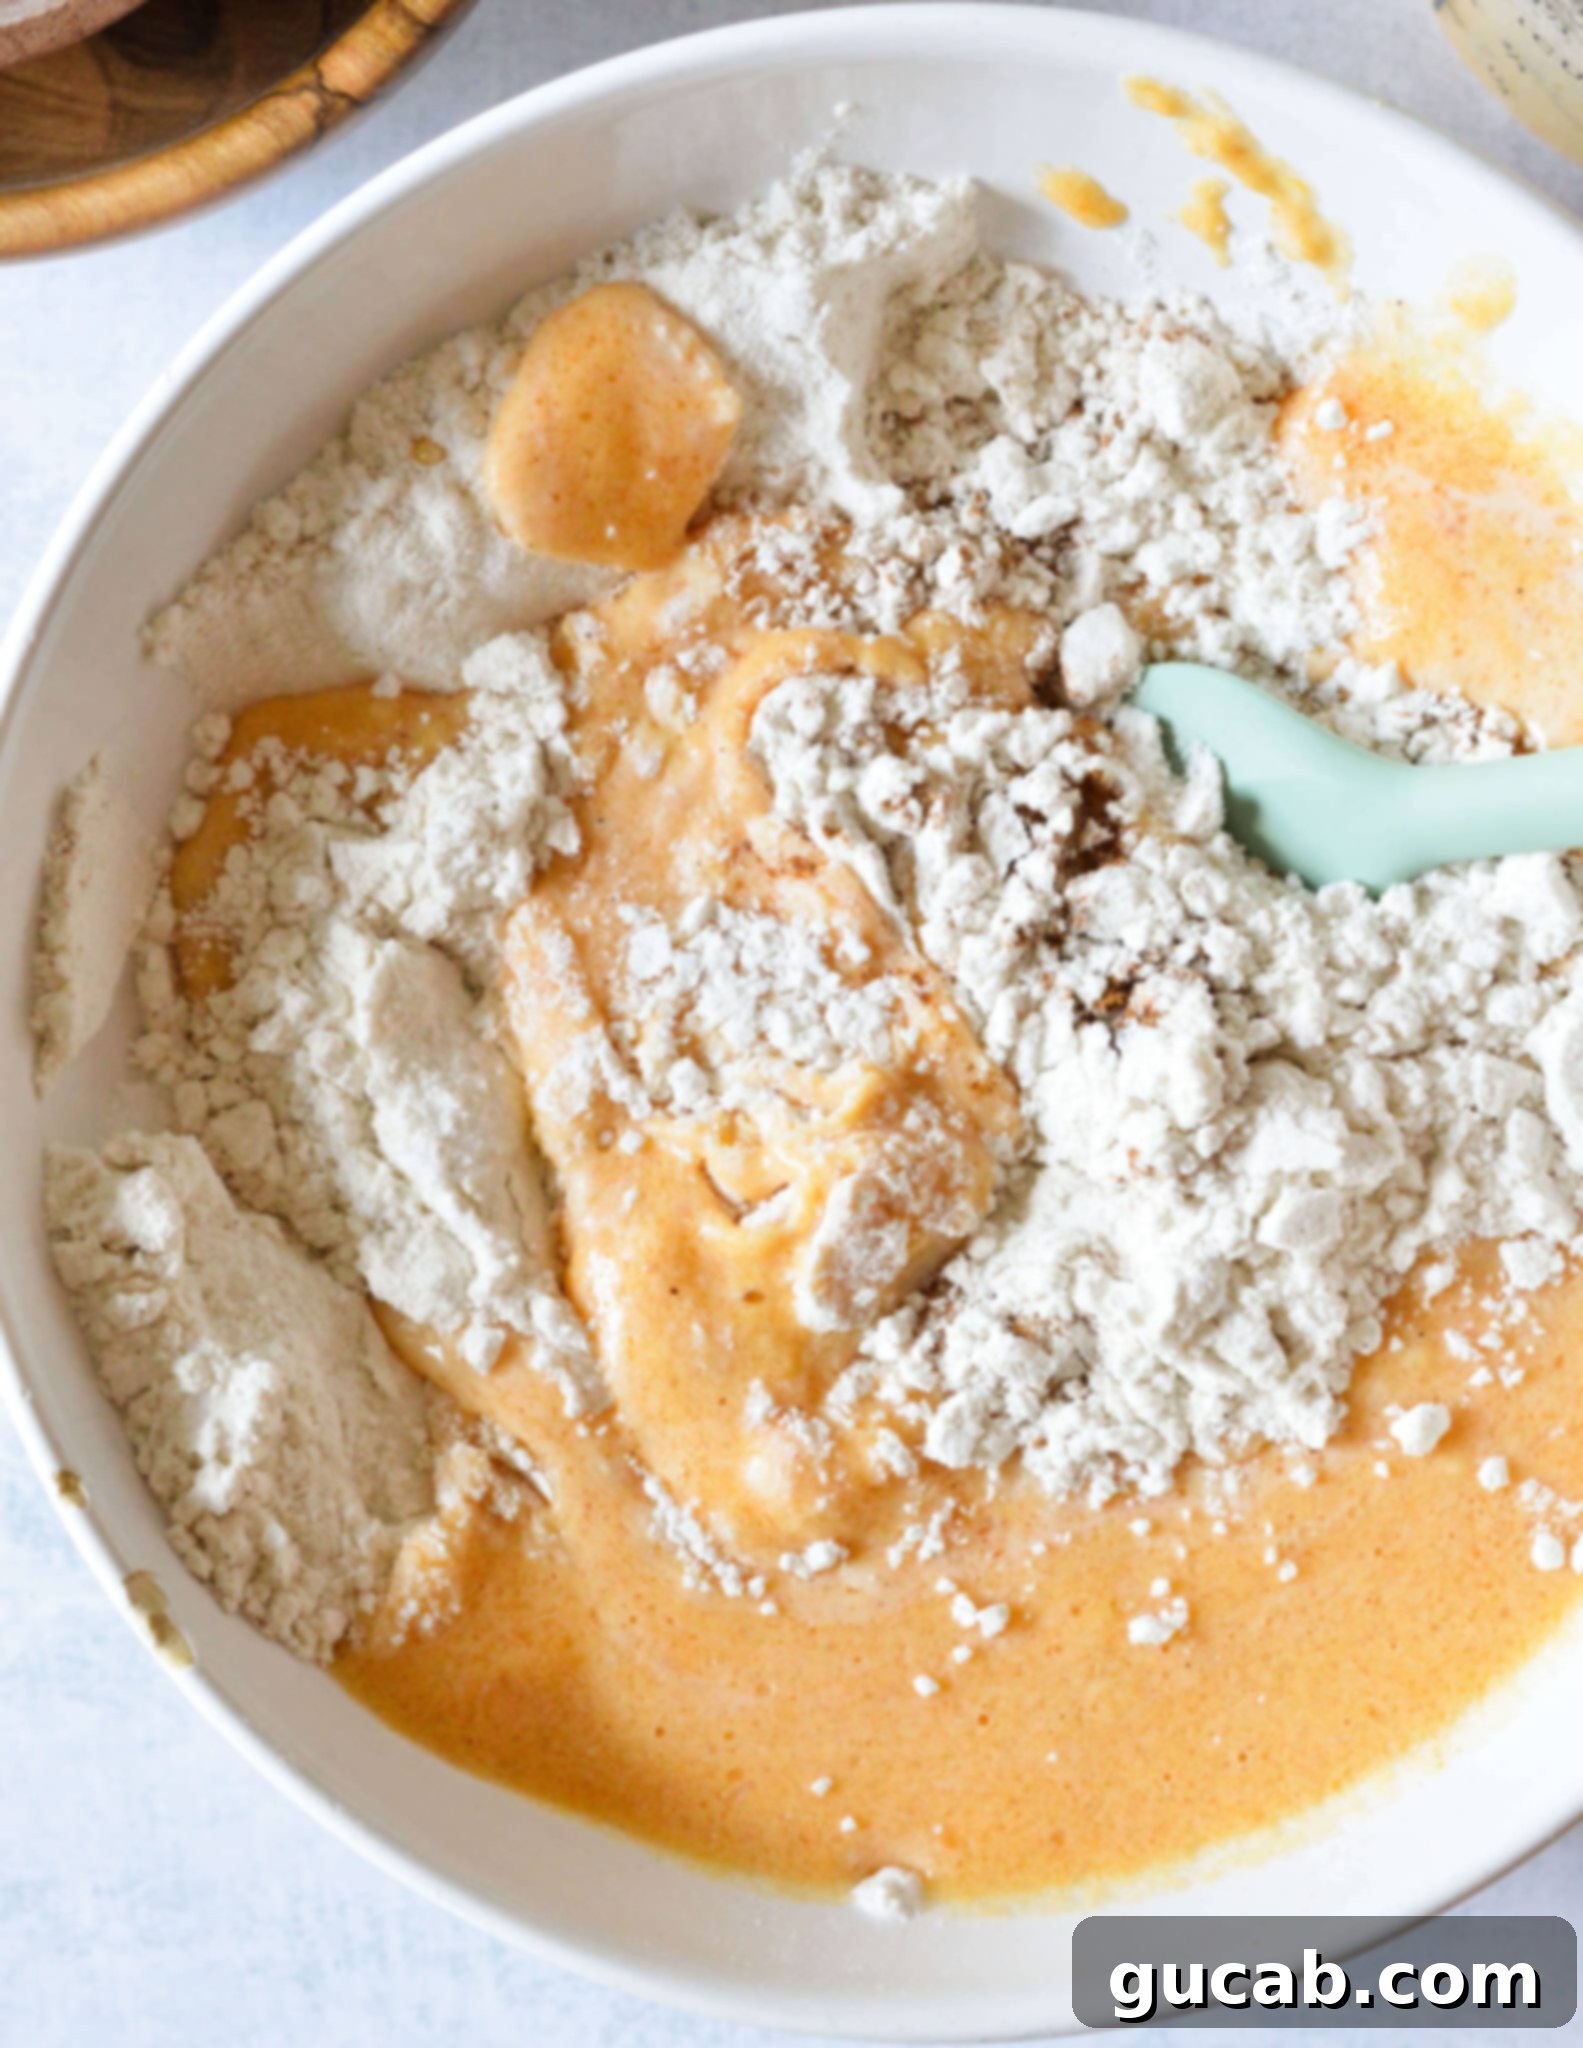
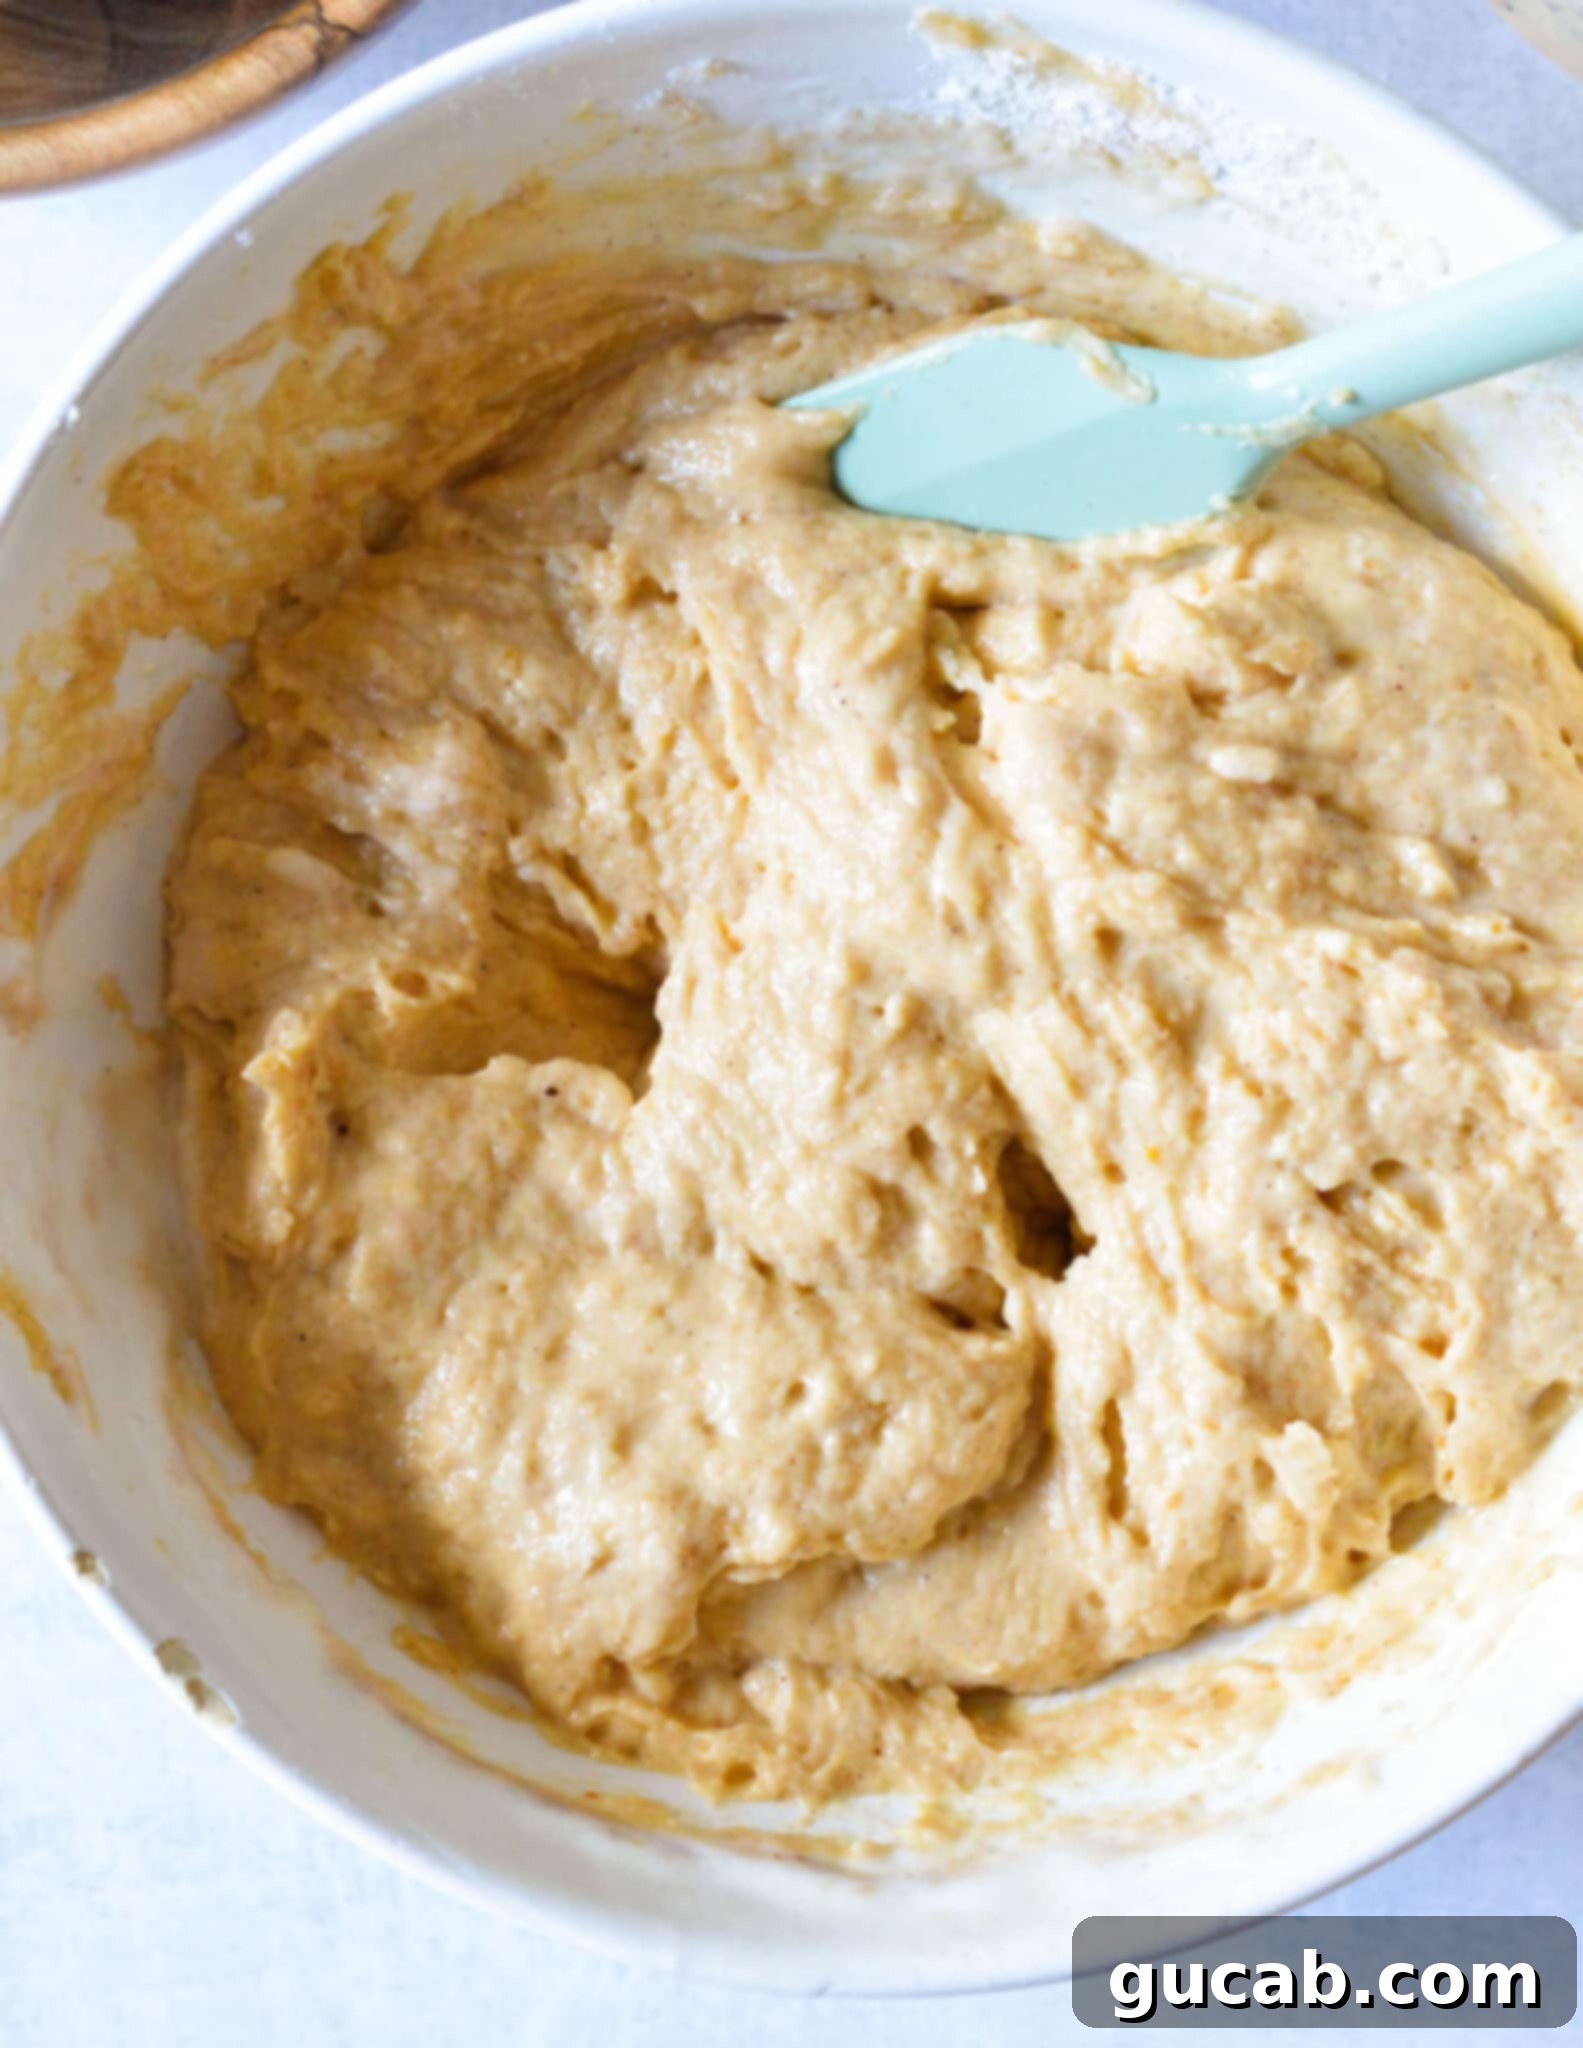
- Combine Wet and Dry: Pour the whisked wet ingredients directly into the bowl with the dry ingredients. Whisk everything together thoroughly until just combined. A few small lumps are perfectly fine and even desirable; overmixing can lead to tough pancakes. The batter should be thick but pourable.
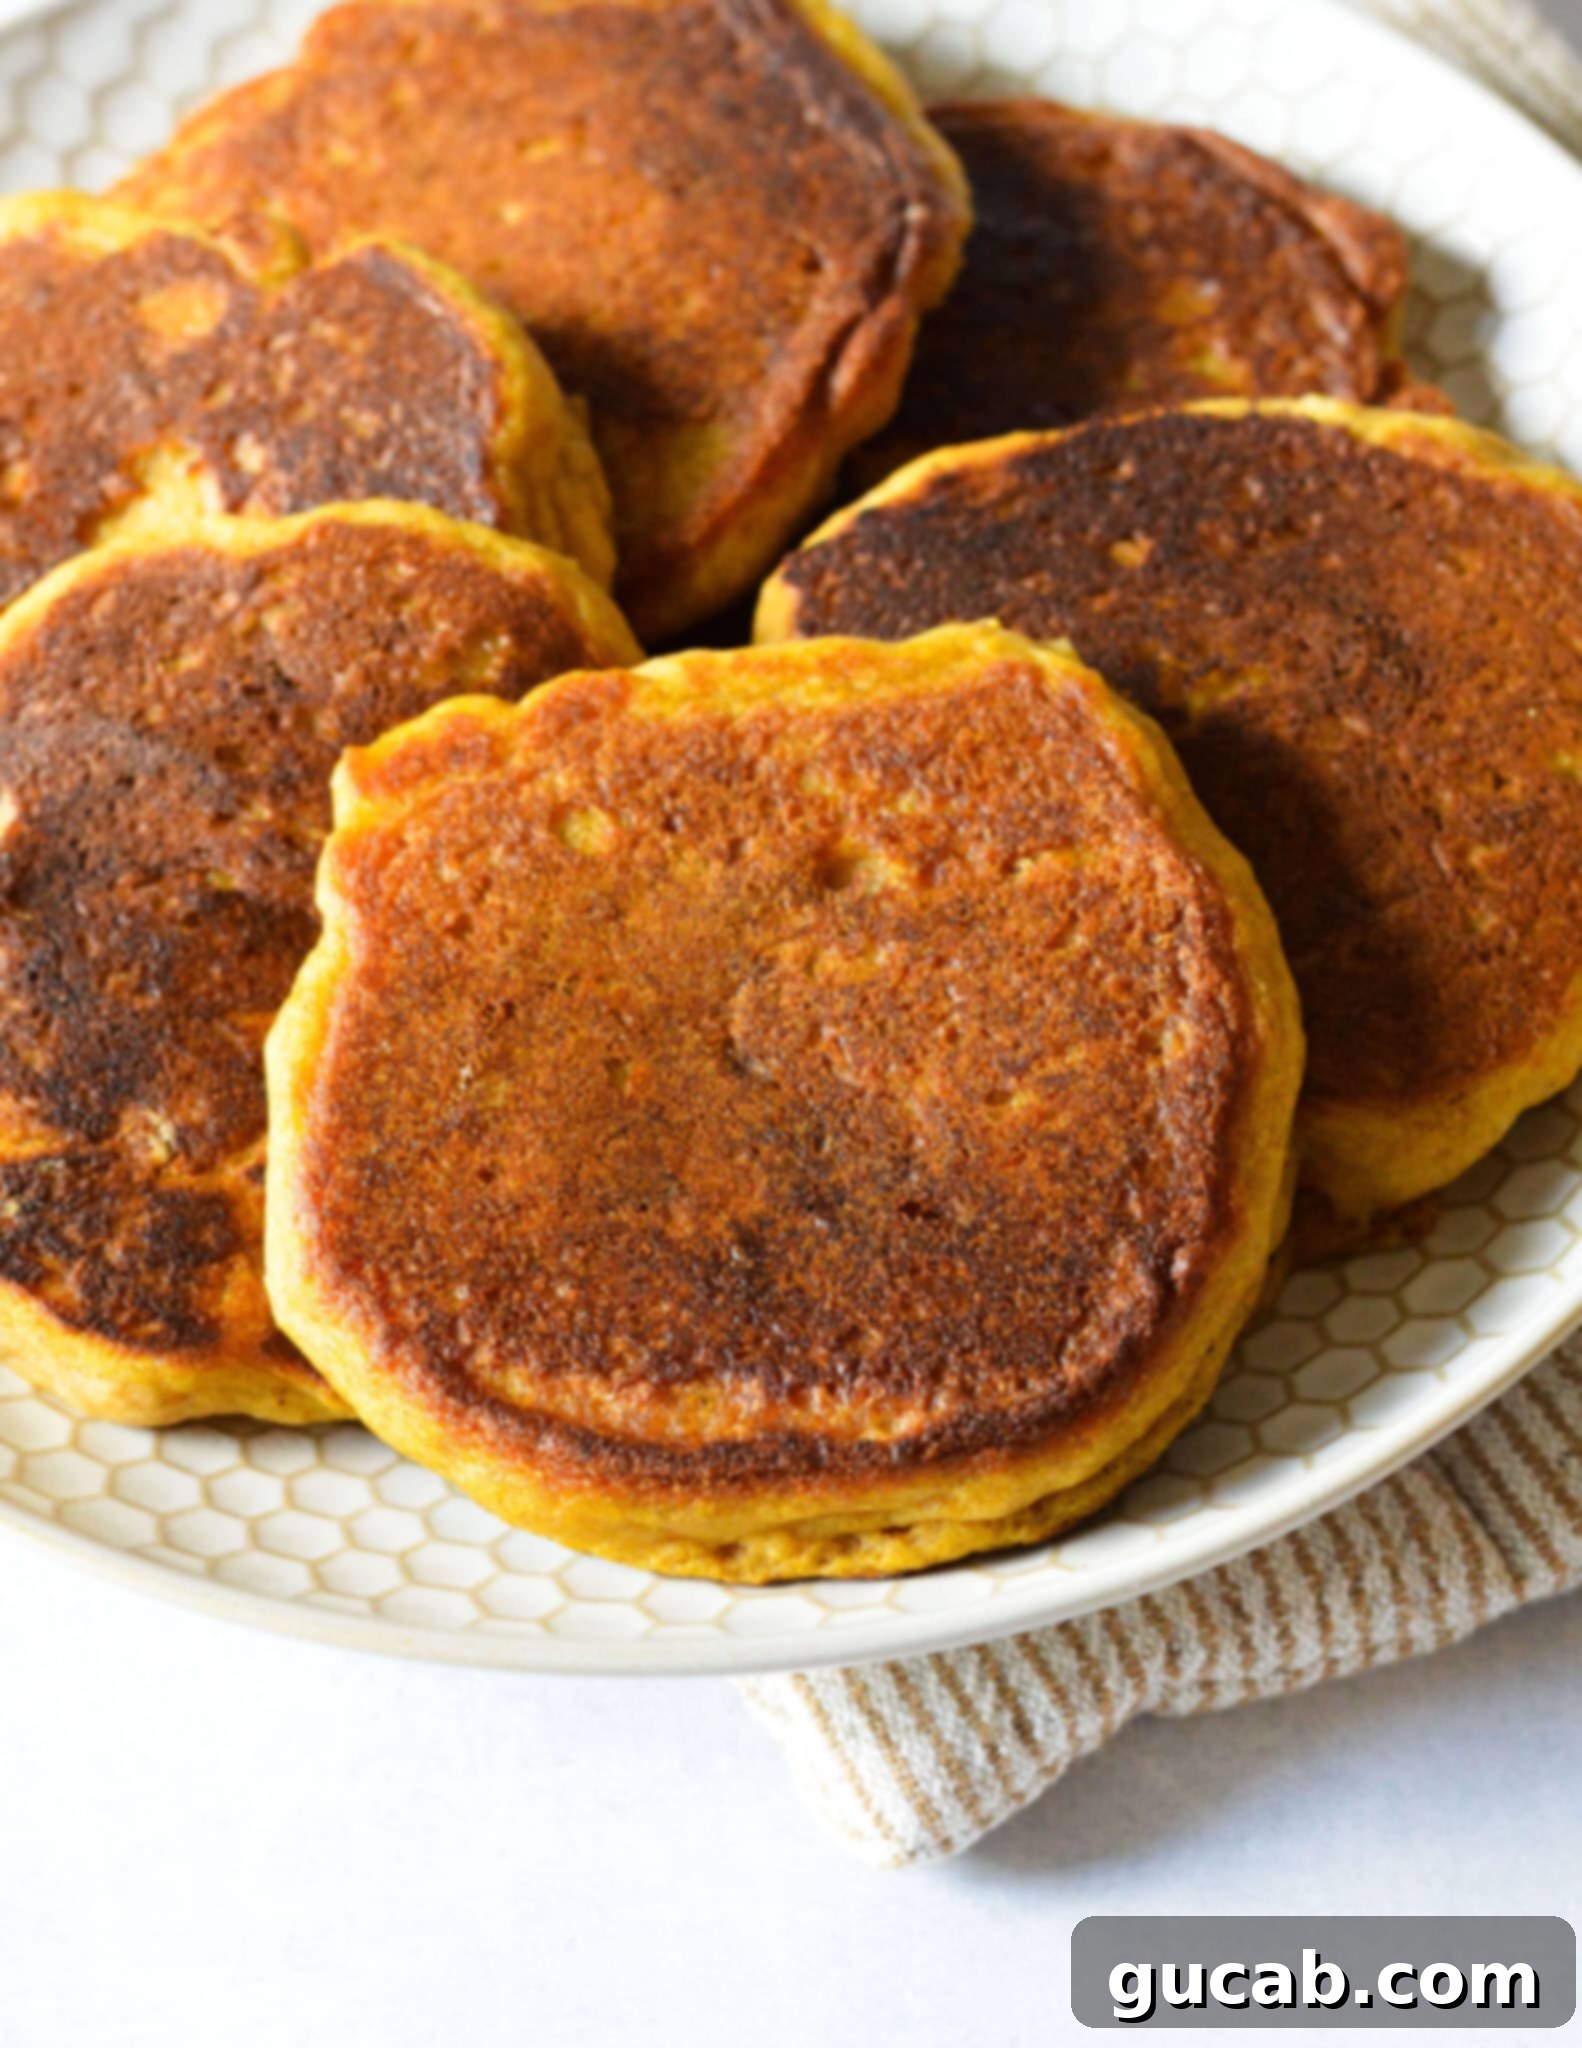
- Cook the Pancakes: Once your skillet is hot, use a portion scoop (or a ¼ cup measuring cup) to scoop approximately three pancakes into the pan at a time, depending on its size. The batter might be slightly thick due to the buttermilk, so gently spread them out a bit with the back of your scoop to achieve your desired thickness and round shape. Cook for approximately 3 to 4 minutes on the first side, or until you see small bubbles forming on the surface and the edges appear set and slightly dry. The bottom should be golden brown.
- Flip and Finish: Carefully flip each pancake with a spatula and cook for another 3 to 4 minutes on the second side, or until golden brown and cooked through. If the pancakes are browning too quickly, slightly reduce the heat to prevent burning and ensure the insides cook evenly. Repeat this process with the remaining batter, adding a small amount of oil to the pan between batches if needed.
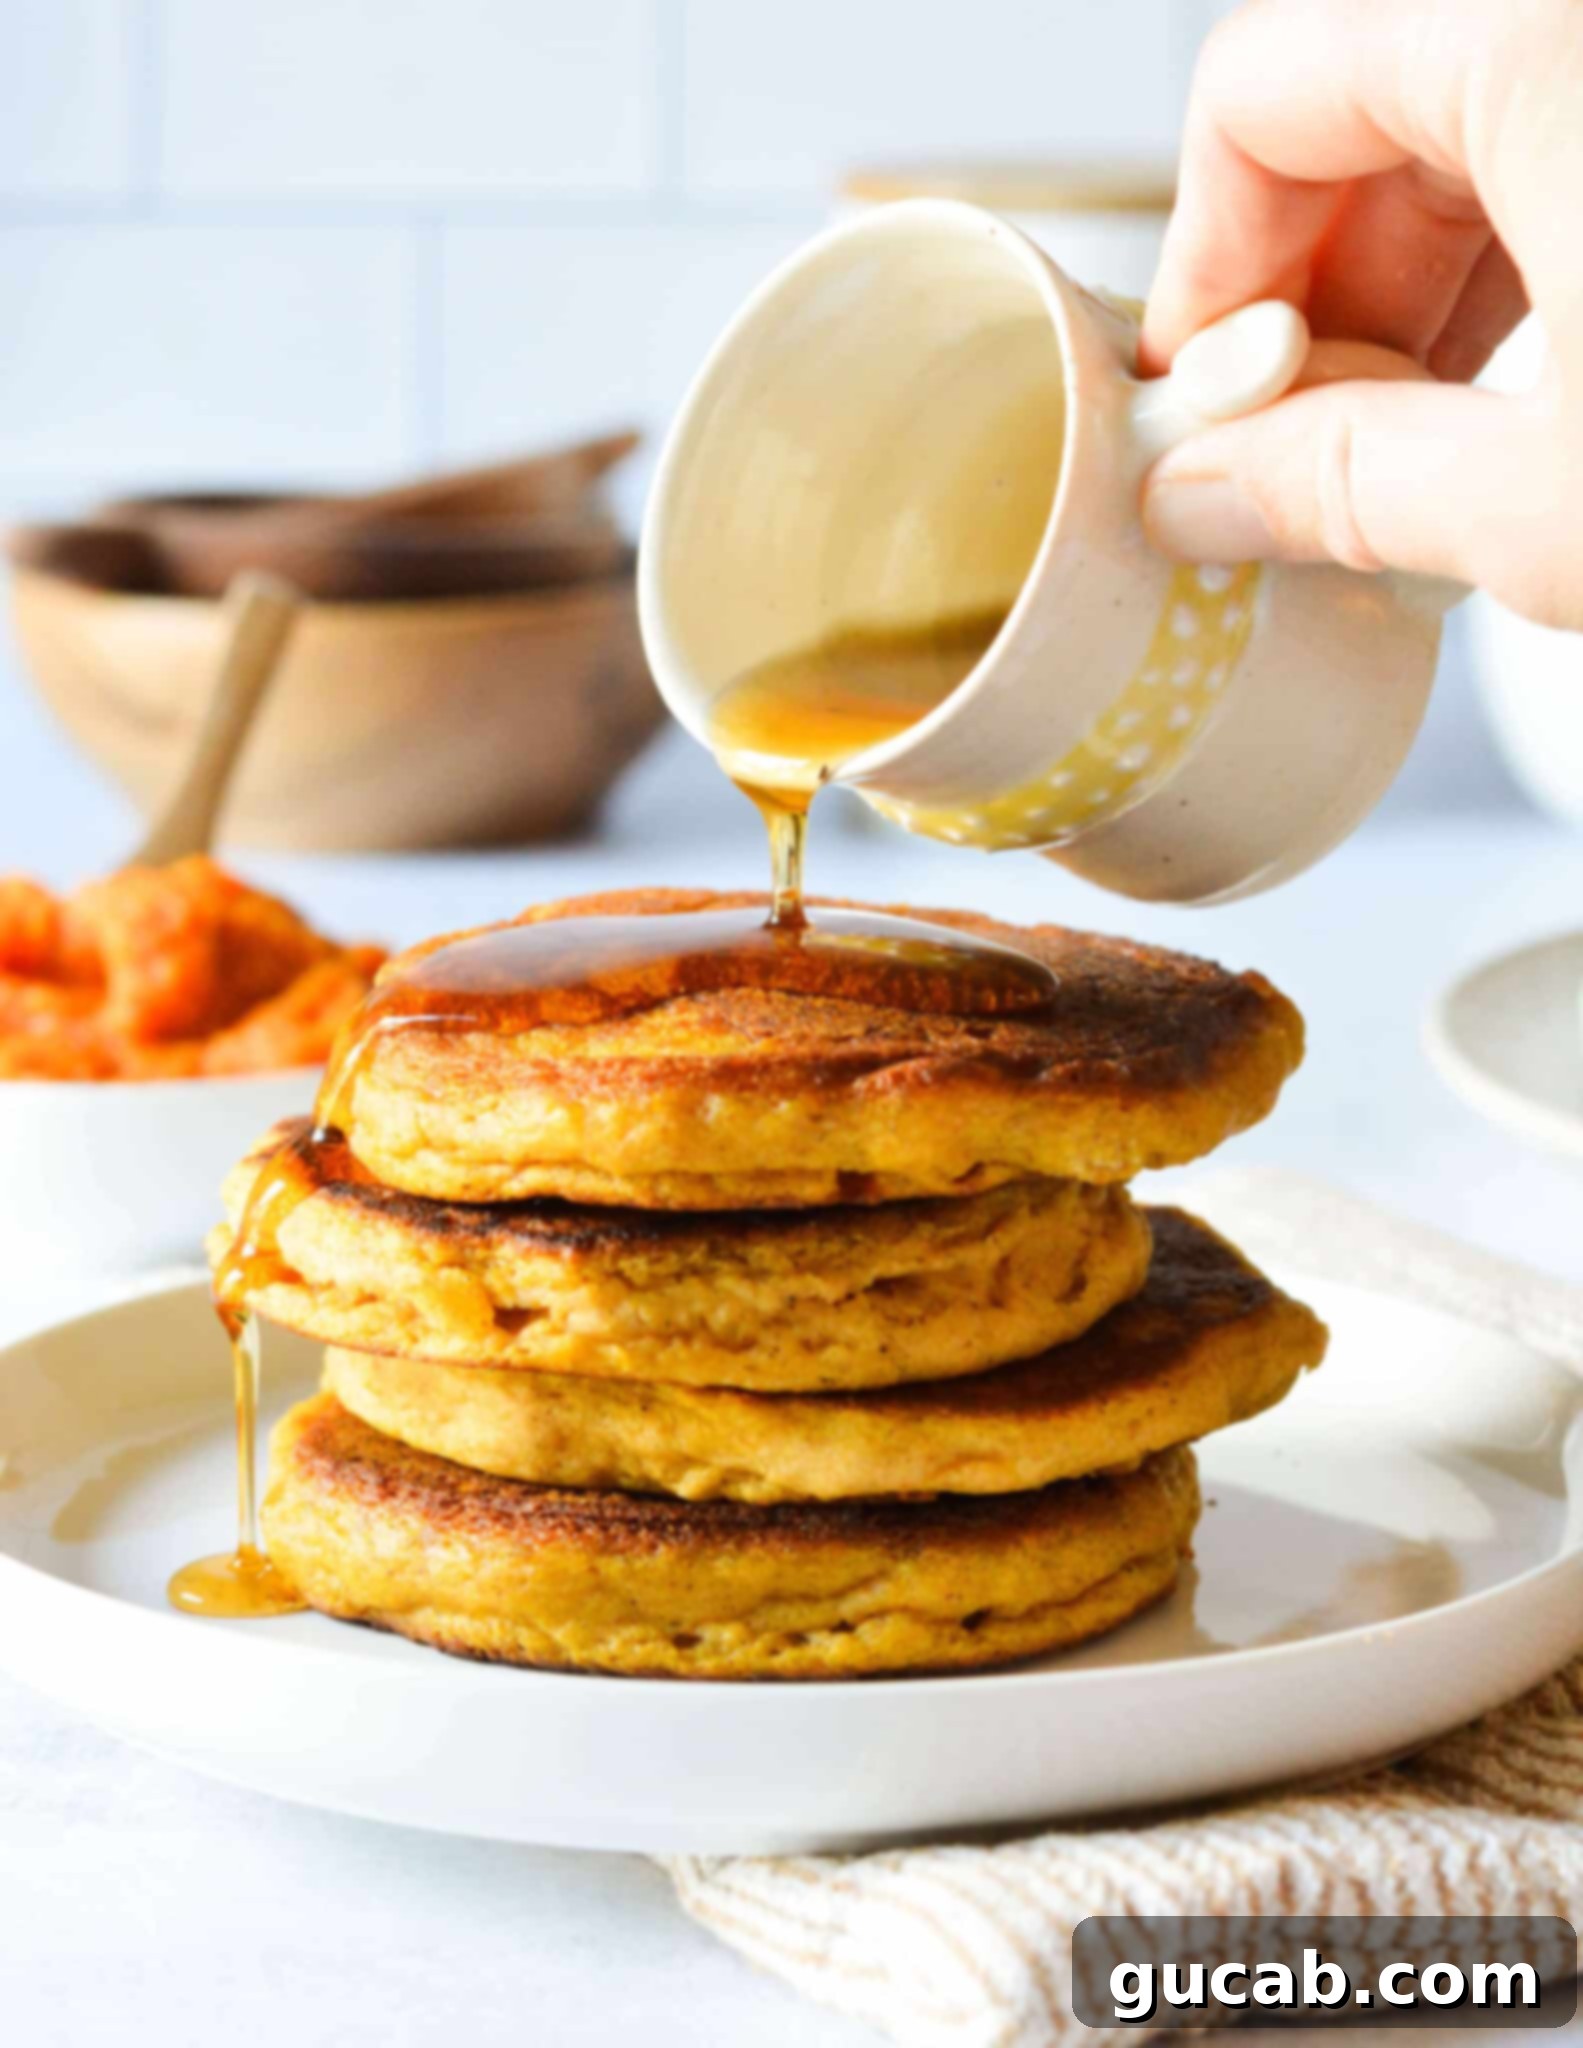
- Serve and Enjoy: Transfer the cooked pancakes to a plate. Serve them immediately with a drizzle of maple syrup, or your favorite toppings, and savor the warm, spiced goodness!
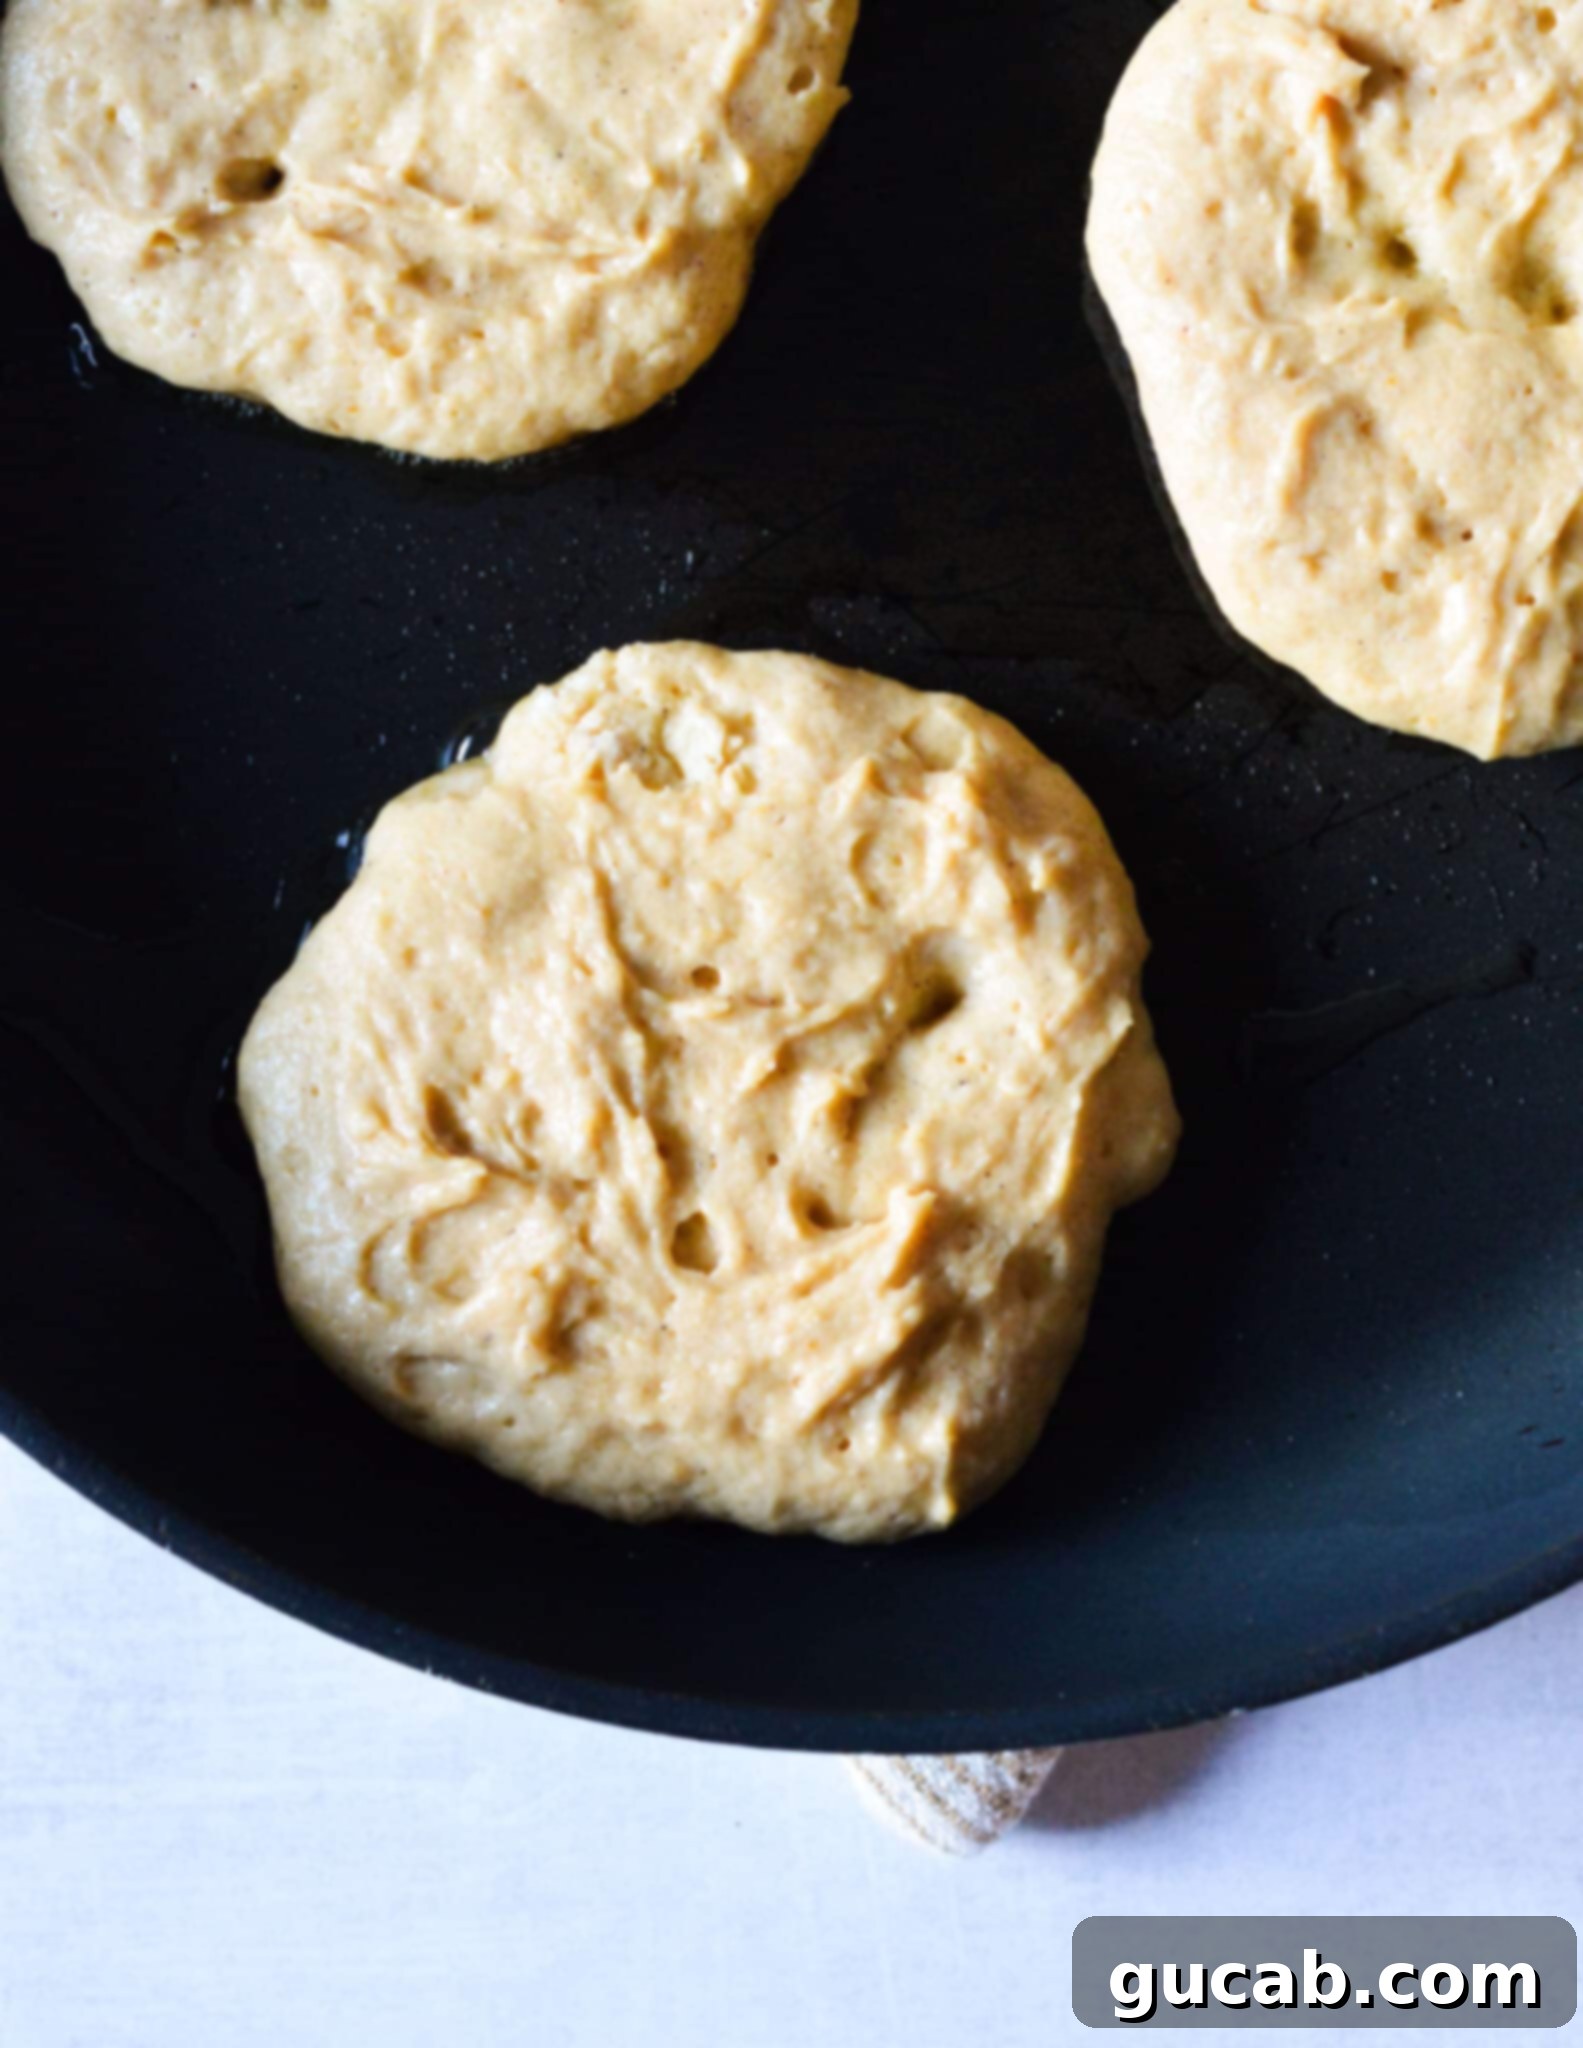
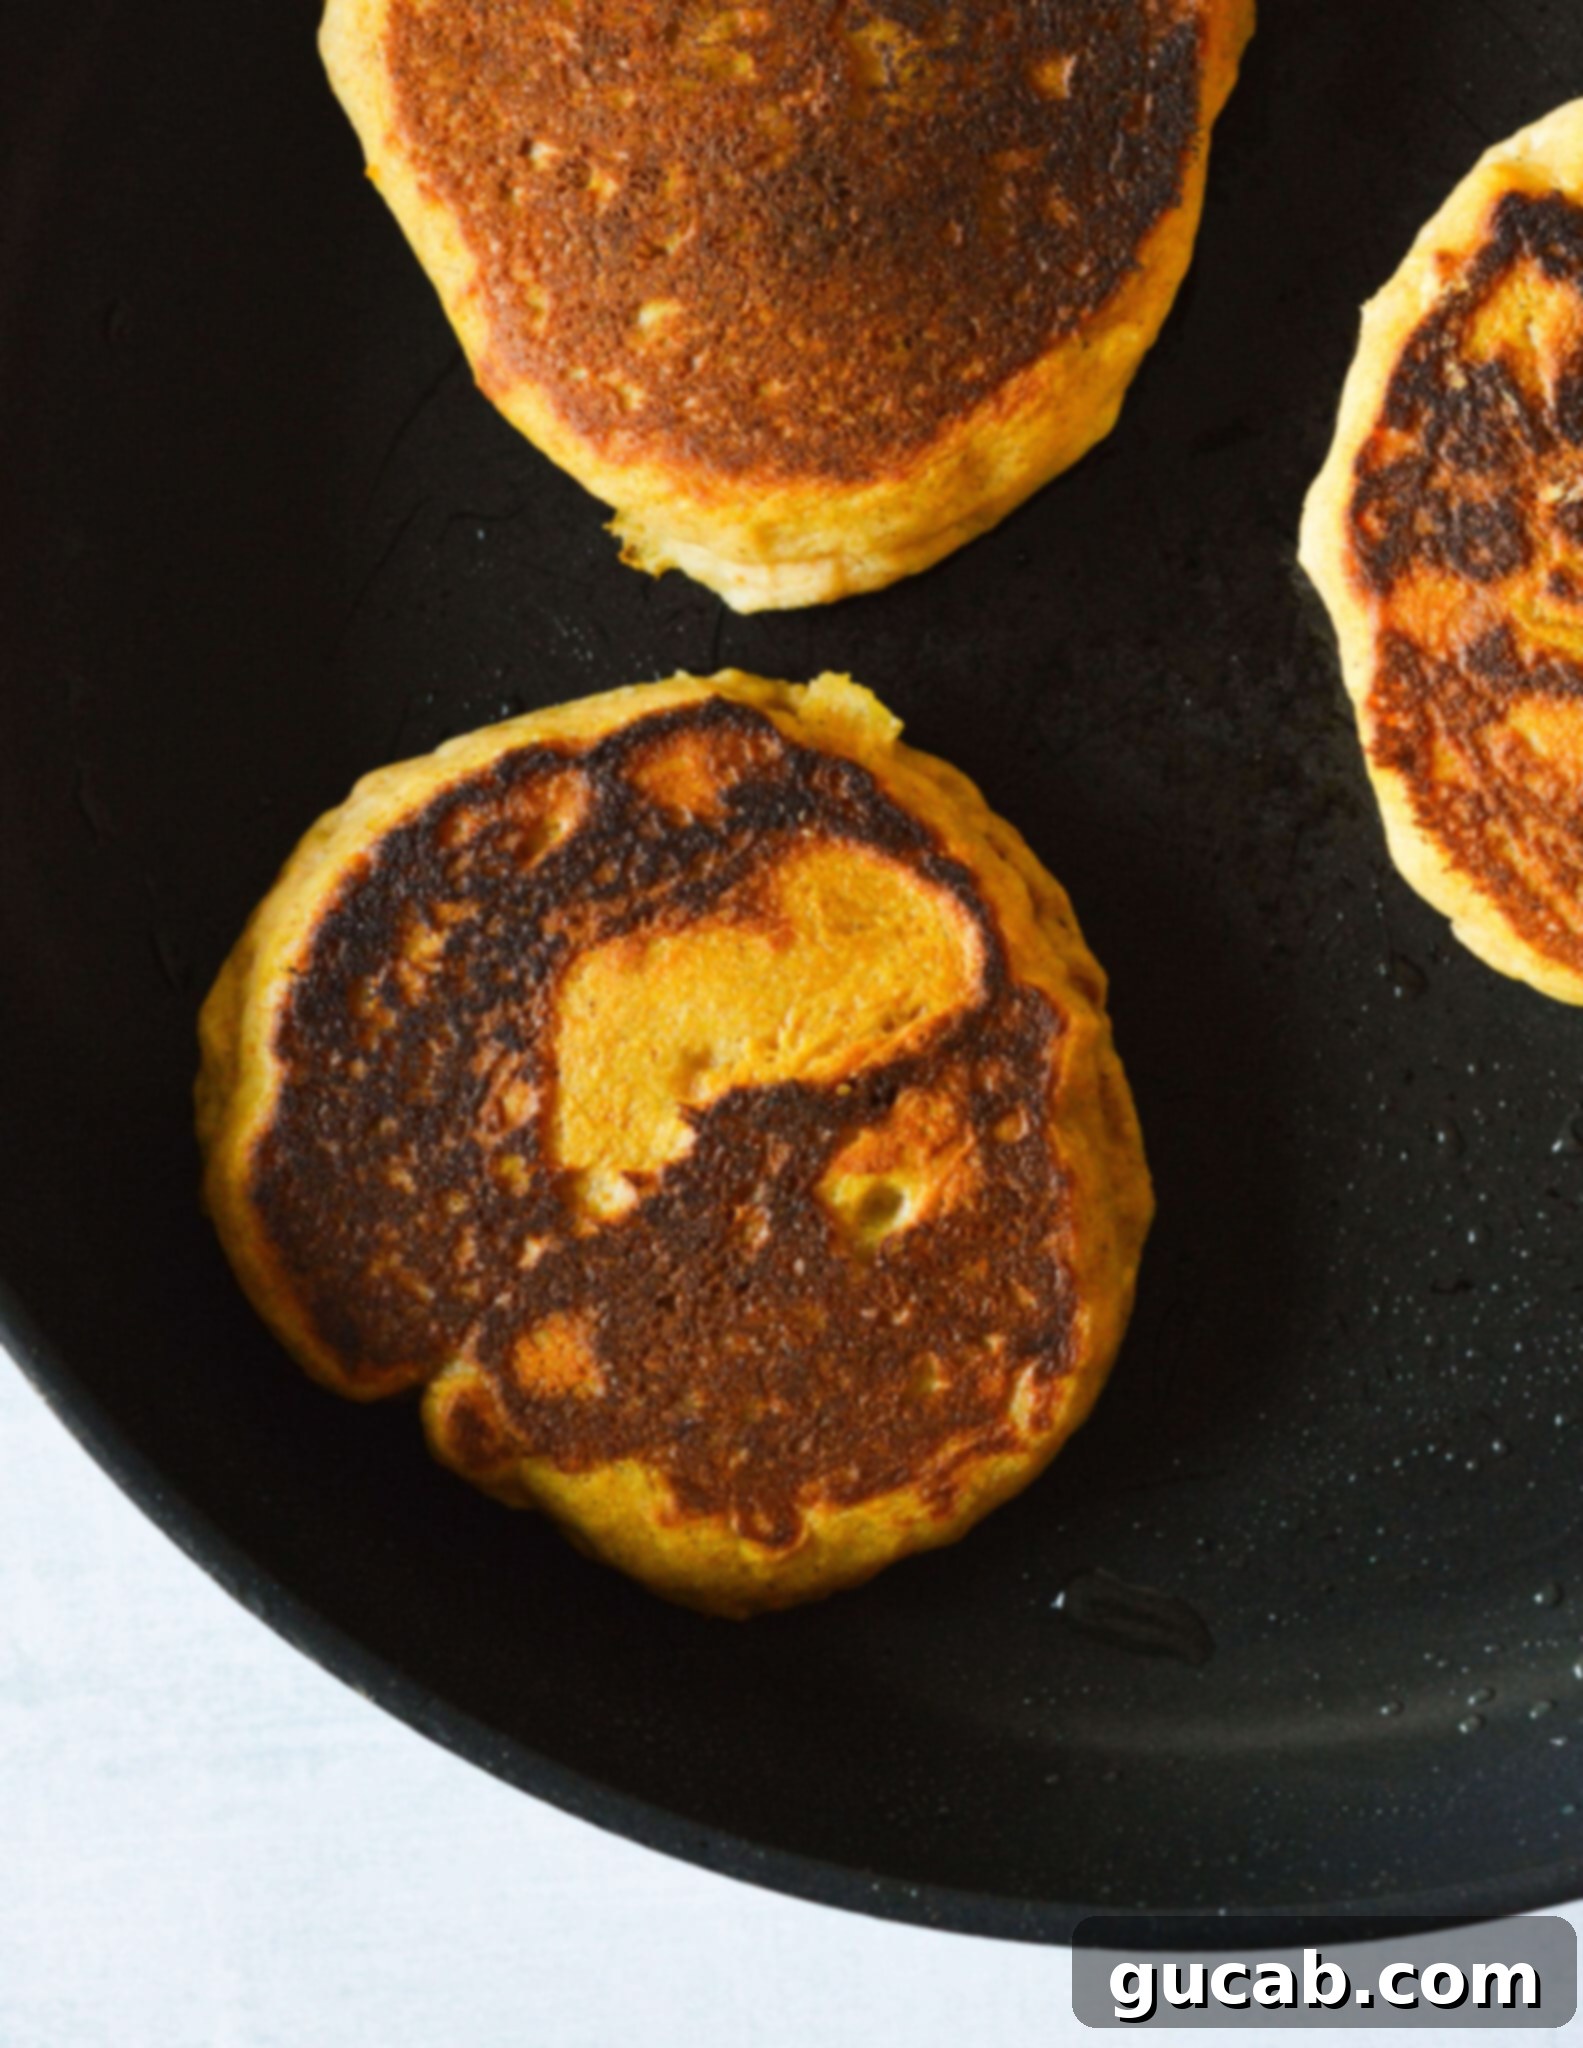
Expert Tips for Pancake Perfection
Achieving consistently perfect pancakes takes a little practice, but these tips will help you master the art of making fluffy gluten-free pumpkin pancakes:
- Mastering Your Heat: This is arguably the most crucial tip! If your pan is too hot, the outsides of your pancakes will burn long before the insides have a chance to cook through. Conversely, a pan that’s too cool will result in pale, greasy pancakes. The ideal heat setting is typically medium to medium-low. You want a steady, even heat that allows the pancakes to slowly rise and cook. If you notice the bottoms are browning too quickly, don’t hesitate to turn the heat down a notch.
- A Little Spread Goes a Long Way: Gluten-free batters can sometimes be a bit thicker than traditional batters, especially with the addition of buttermilk. Don’t be afraid to gently assist your pancakes. Once you’ve scooped the batter into the pan, use the back of your spoon or scoop to lightly spread it outwards into your desired circular shape. This ensures an even thickness and helps them cook uniformly.
- Judicious Oil Application: While some oil is necessary for non-stick cooking, too much can make your pancakes taste fried and heavy. You only need a thin, even layer. I find it most effective to add a tiny amount of vegetable oil to a warm pan, then quickly wipe it around with a paper towel. This ensures the entire surface is lightly coated without pooling oil, giving your pancakes a beautiful golden crust without excess greasiness.
- Taste the Batter (Safely!): While it’s generally not recommended to taste raw batter with eggs, a small taste of this batter (before adding the egg, or just a tiny amount after) can help you gauge the spice level. If you prefer a stronger pumpkin spice flavor, feel free to add a little more, a quarter teaspoon at a time, until it perfectly matches your palate. Remember, the flavors can intensify slightly during cooking.
- Patience for the Flip: Resist the urge to flip too early! Wait until you see plenty of bubbles forming on the surface of the pancake and the edges begin to look dry and firm. This indicates that the bottom is cooked and sufficiently browned, and the pancake has developed enough structure to flip without falling apart. A confident, quick flip is best.
Freezing & Storage Tips: Enjoy Them Later!
These gluten-free pumpkin pancakes are so delicious, you’ll want to enjoy them beyond breakfast! They’re perfect for meal prepping or having a quick, wholesome option on busy mornings.
How to Freeze:
Freezing pancakes is incredibly simple and an excellent way to extend their freshness. First, ensure your pancakes are completely cooled to room temperature. Stacking warm pancakes in the freezer bag will create condensation, leading to soggy pancakes. Once cool, place them into a single layer on a baking sheet and freeze for about 30 minutes. This flash-freezing step prevents them from sticking together. After they’re firm, transfer the frozen pancakes into a heavy-duty, zip-top freezer bag or an airtight container. They will keep beautifully in the freezer for up to 1 month.
To Reheat: When you’re ready to enjoy them, simply pop one or two frozen pancakes directly into the microwave. Reheat on high for 30-60 seconds, or until they are warm throughout. Be careful not to overheat them, as this can cause them to become dry and lose their wonderfully fluffy texture. Alternatively, you can reheat them in a toaster or toaster oven for a slightly crispier edge, or even in a warm oven for a larger batch.
A Deeper Dive into Gluten-Free Flour
Understanding gluten-free flour is crucial for successful gluten-free baking. Unlike traditional wheat flour, gluten-free all-purpose flour isn’t a single ingredient but rather a carefully crafted blend of various flours and starches. These blends are designed to mimic the taste, texture, and structural properties of regular wheat flour, which contains gluten – the protein responsible for elasticity and chewiness in baked goods.
Each brand formulates its gluten-free flour blend differently, using combinations of rice flour, potato starch, tapioca starch, sorghum flour, cornstarch, and others. A key component to look for in a good gluten-free all-purpose blend is xanthan gum. Xanthan gum acts as a binder, replacing the elasticity that gluten provides. Without it, gluten-free baked goods can be crumbly and fall apart.
My top recommendation for this recipe, and many others, is Bob’s Red Mill’s 1:1 Gluten Free Baking Flour (in the blue bag). I specifically highlight this brand because of its consistent performance and reliable results. It already contains xanthan gum in the proper ratio, meaning you don’t have to add it separately. Since different brands react uniquely in recipes due to their varied compositions, sticking to a recommended brand can significantly increase your chances of success.
If you decide to try a different brand and achieve fantastic results, please share your experience in the comments below! Your feedback helps the entire community discover new favorites.
Why You’ll Fall in Love with These Pumpkin Pancakes
Beyond being simply delicious, these gluten-free pumpkin pancakes offer a wealth of reasons to make them your go-to fall breakfast:
- Perfectly Seasonal: They truly capture the essence of autumn, making them ideal for harvest season breakfasts, Thanksgiving morning, or any cozy fall day.
- Crowd-Pleaser: Even those who aren’t gluten-free will adore these pancakes for their incredible flavor and texture. They’re a universal hit!
- Versatile Toppings: While maple syrup is a classic, these pancakes also pair wonderfully with a sprinkle of cinnamon sugar, a dollop of whipped cream, chopped nuts, fresh fruit, or even a drizzle of caramel sauce for an extra treat.
- Healthy-ish Indulgence: With the goodness of real pumpkin puree, you’re getting a dose of vitamins and fiber, making this a slightly more nutritious way to enjoy your breakfast indulgence.
- Easy to Make: Despite their gourmet taste, the recipe is surprisingly simple, making it accessible for home cooks of all skill levels.
- Freezer-Friendly: As mentioned, make a big batch and freeze them for quick, satisfying breakfasts throughout the week. Convenience meets comfort!
Other Gluten-Free Breakfast Recipes You Might Like
If you’re a fan of delicious gluten-free breakfast options, I have a few more recipes you might enjoy to keep your mornings exciting:
- Cassava Flour Pancakes [Paleo & Gluten Free]: A great option for those looking for a grain-free and paleo-friendly pancake.
- Almond Flour Pancakes [The Best]: Rich in protein and incredibly moist, these are a fantastic low-carb alternative.
- Whipped Cinnamon Maple Butter: The perfect accompaniment for any pancake or waffle recipe, adding an extra layer of flavor.
- Joanna Gaines Best Buttermilk Pancake Recipe (These taste amazing gluten-free!!): A classic recipe adapted beautifully for a gluten-free diet.
- Gluten Free Chocolate Pancakes: For when you crave a little indulgence first thing in the morning!
I hope you enjoy these gluten-free pumpkin pancakes as much as I do. They are truly a highlight of the autumn season and a perfect way to bring warmth and comfort to your breakfast table. Happy cooking!
Gluten Free Pumpkin Pancakes
Carolyn
Pin Recipe
Equipment
-
Large Bowl
-
Nonstick skillet
-
Turner spatula
-
Liquid Measuring cup
-
Measuring cups and spoons
Ingredients
- 1 cup Bob’s Red Mill 1:1 Gluten Free All Purpose Flour
- 1 teaspoon Baking powder
- 1 teaspoon Baking soda
- 3 tablespoons Sugar
- pinch Kosher salt
- ¾ teaspoon Pumpkin pie spice
- 1 cup Buttermilk
- ⅓ cup Vegetable oil plus more for the pan
- ⅓ cup Pumpkin puree
- 1 egg
Instructions
-
Place a 10 inch nonstick skillet on medium heat. Add a small amount of vegetable oil – just enough to coat the pan. You can use a paper towel to wipe it around the pan.
-
In a large bowl combine the gluten free all purpose flour, baking powder, baking soda, sugar, pumpkin pie spice, and salt. Stir to combine.
-
In a liquid measuring cup, combine the buttermilk, vegetable oil, and pumpkin. Add the egg and whisk until combined.
-
Pour the liquid ingredients into the dry ingredients and whisk together.
-
Make sure the skillet is up to temperature. Using a portion scoop, scoop 3 pancakes into the pan, spreading them out a bit with the back of the scoop. Cook for about 4 minutes and then flip with a spatula.
-
If the pancakes are browning too quickly, turn down the heat a little.
-
Cook for another 3 to 4 minutes and remove from the pan. Repeat with the remaining batter. Enjoy with maple syrup or freeze for later.
Nutrition
