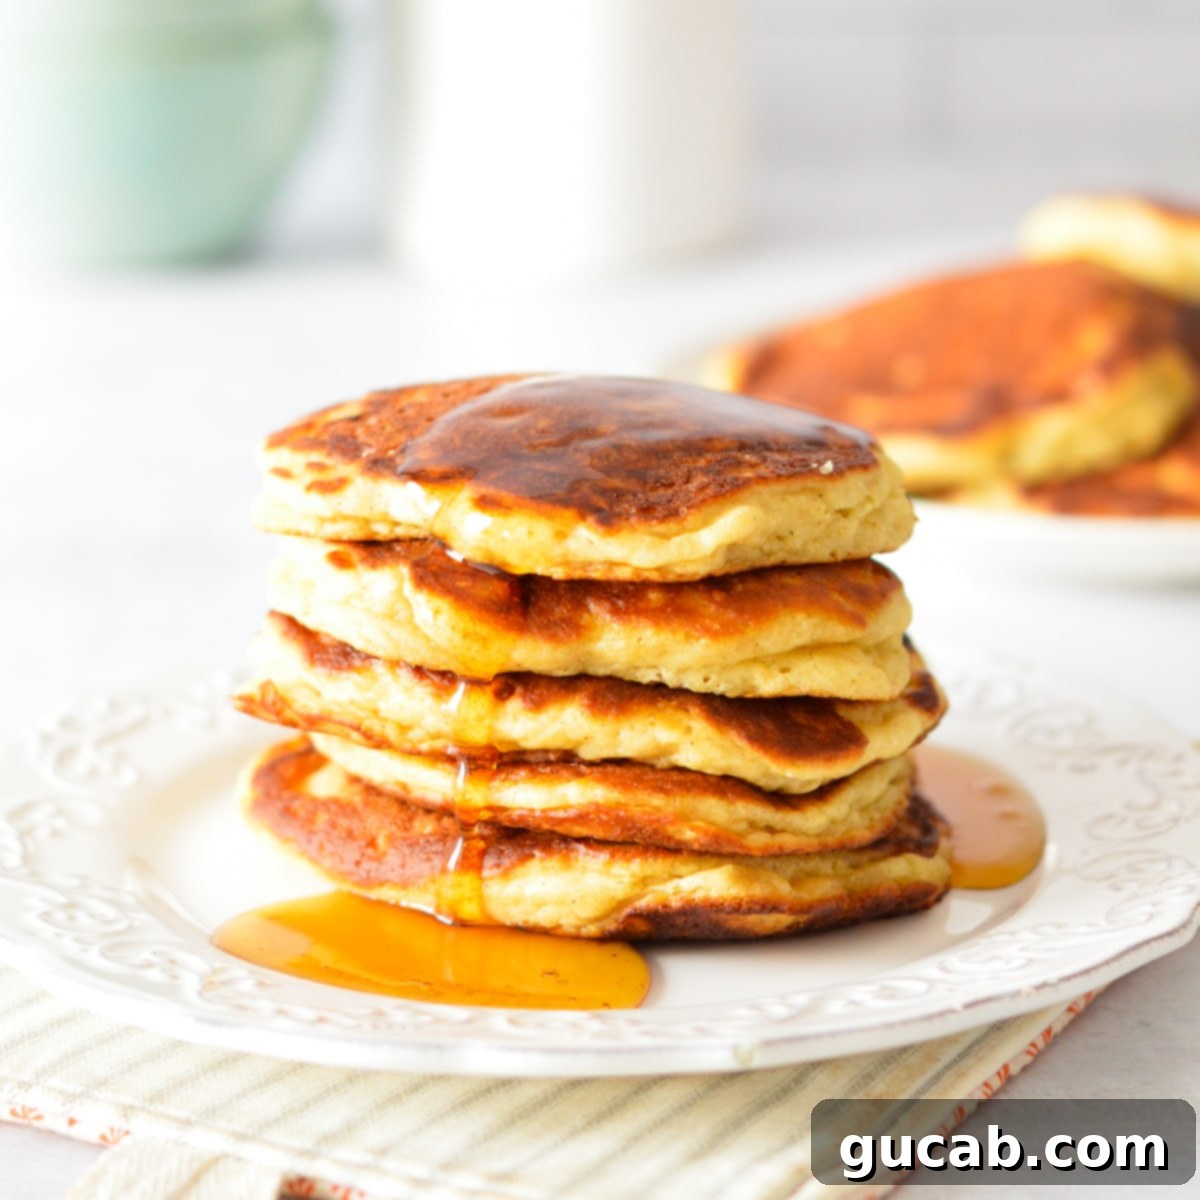
The Ultimate Guide to Fluffy Honey Pancakes: A Sweet & Simple Breakfast Delight
Imagine waking up to the aroma of warm, golden pancakes, perfectly cooked and drizzled with a rich, natural sweetness. These aren’t just any pancakes; these are **Honey Pancakes**, a true breakfast lover’s dream! Light, incredibly fluffy, and boasting a subtly sweet flavor derived purely from honey, they offer a delightful twist on a classic. This recipe is not only straightforward to follow, making your morning routine a breeze, but also incredibly freezer-friendly, ensuring you can enjoy a wholesome, homemade breakfast even on your busiest days. Prepare to elevate your breakfast experience with every single bite.
Why You’ll Fall in Love with These Honey Pancakes
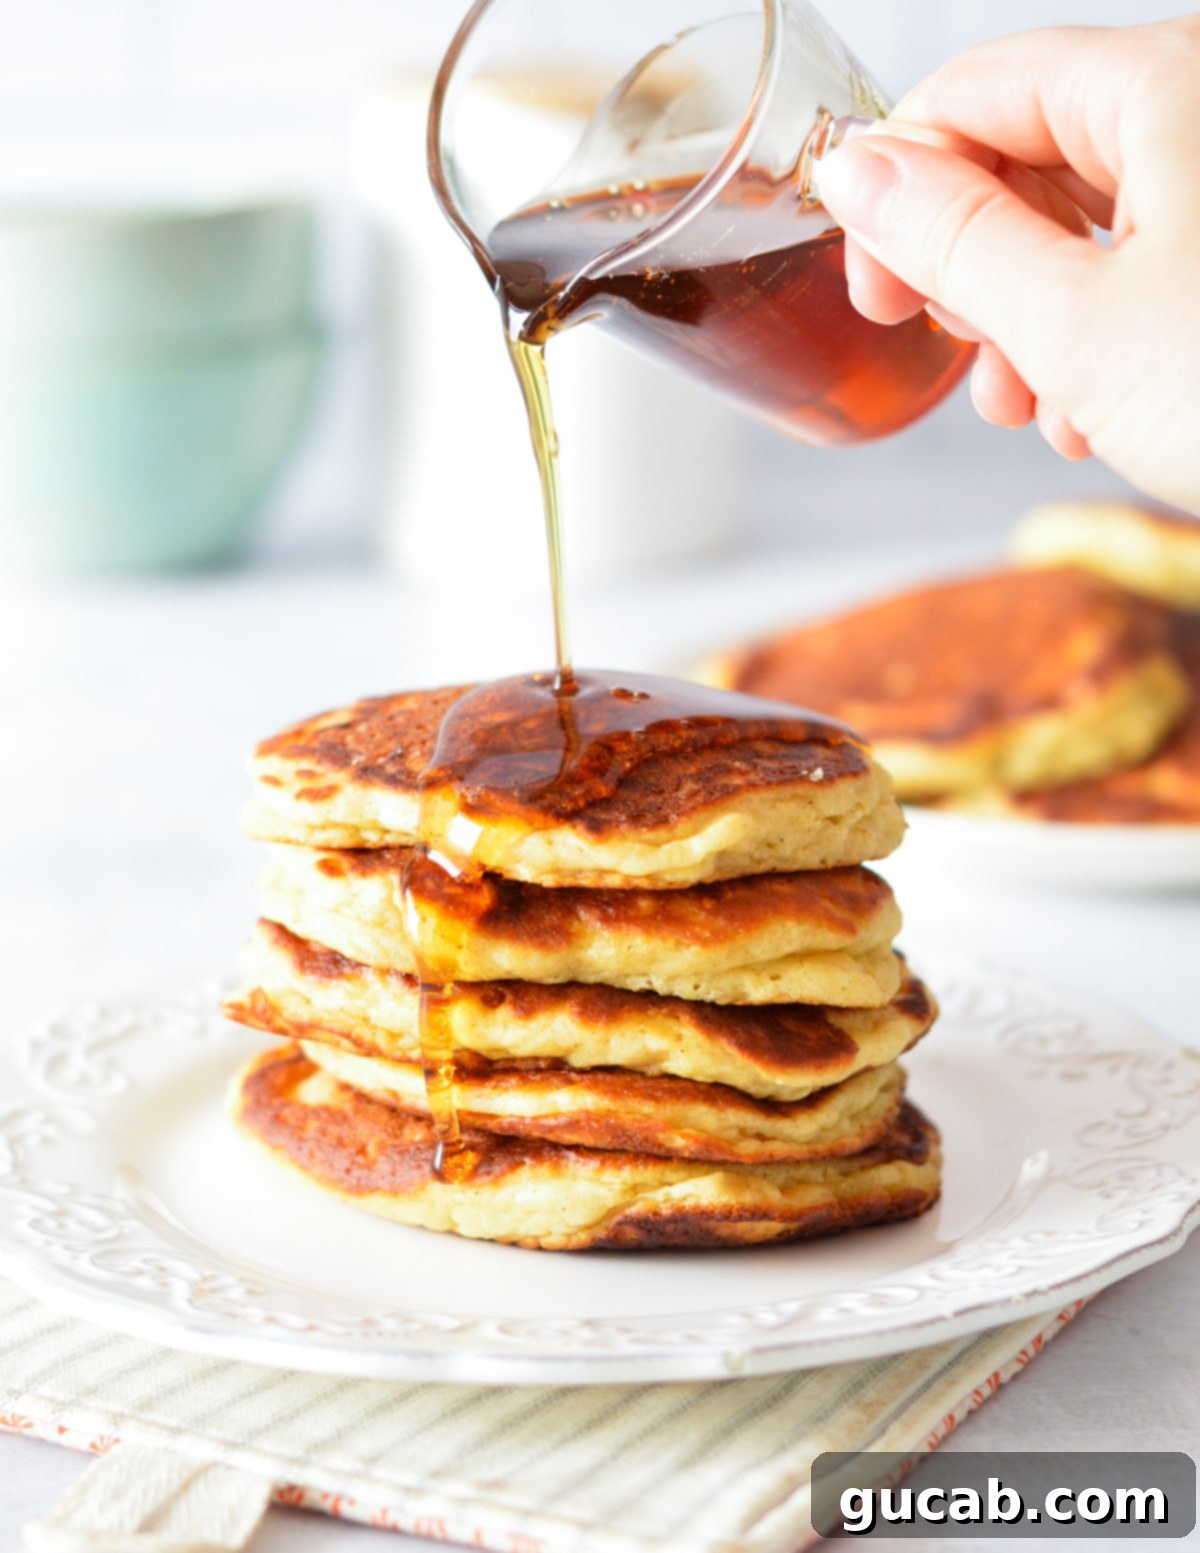
Honestly, I could write an entire ballad dedicated to these honey-infused pancakes! They truly embody everything you desire in a perfect pancake, elevated with that unmistakable, delicate kiss of honey. This isn’t just another pancake recipe; it’s *the* recipe that will redefine your breakfast standards.
What makes them so special? Their texture is simply divine: **light, thick, and wonderfully fluffy, never dense or heavy**. This airy quality is a hallmark of a perfectly crafted pancake, and these achieve it effortlessly. Beyond their irresistible texture, their convenience makes them an absolute winner. They are incredibly **freezer-friendly**, which is a game-changer for anyone with a busy schedule. I personally love whipping up a big batch on the weekend and stashing them away for those hectic school or work mornings. Just a quick 30-second pop in the microwave, and you have a warm, delicious, homemade breakfast ready to fuel your day.
The secret to their unique flavor lies in the use of natural honey instead of traditional white sugar. This subtle change creates a more nuanced sweetness and a slightly richer, more complex taste that is genuinely crave-worthy. And trust me, I don’t make such statements lightly; my standards for breakfast foods are exceptionally high, and these pancakes consistently exceed them!
Key Ingredients for Perfect Honey Pancakes
Crafting the perfect batch of honey pancakes starts with understanding the role each ingredient plays. Here’s a closer look at the key components that come together to create this breakfast masterpiece:
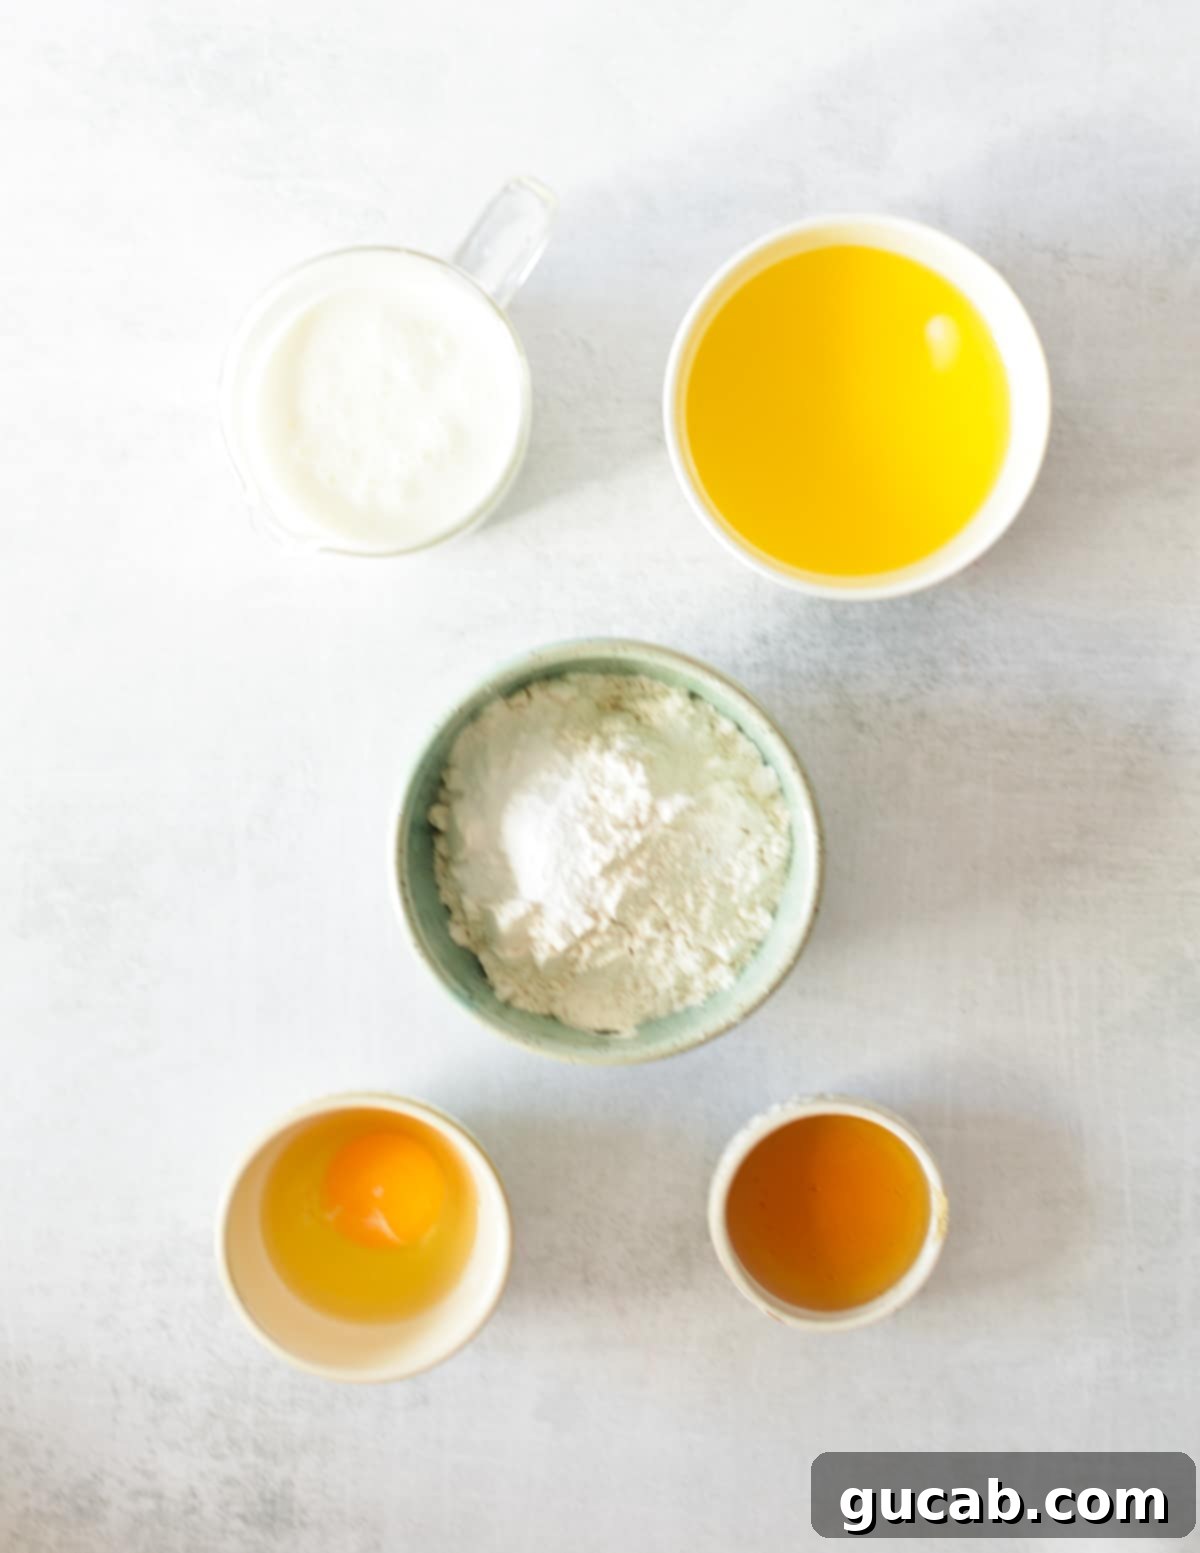
All-purpose flour: This is the foundation of our fluffy pancakes. All-purpose flour is ideal because it creates a wonderfully light and airy texture without making the pancakes too dense. Its moderate protein content allows for just enough gluten development to give structure, yet keeps them tender. I highly recommend sticking to all-purpose flour for this recipe; swapping it with whole wheat flour will result in a much heavier, denser pancake with a different flavor profile.
Baking powder & soda: These are your leavening agents, and they are absolutely crucial for achieving that signature lift and fluffiness! Baking soda reacts with the acidic buttermilk, while baking powder provides a secondary lift, ensuring your pancakes rise beautifully. It’s vital to ensure your leavening agents are fresh and active. If they’ve been sitting in your cabinets for ages, they lose their potency. You can test baking soda by adding a bit to vinegar (it should bubble vigorously) and baking powder by adding it to hot water. Old leavening won’t make your pancakes taste bad, but they simply won’t be as light and airy.
Melted butter: Far from weighing down your batter, butter does the exact opposite! It contributes rich flavor and moisture, helping to create a tender, exceptionally fluffy pancake. The fat in butter helps to tenderize the gluten, preventing a rubbery texture. While you *can* technically swap it with a neutral vegetable oil if absolutely necessary, note that the resulting pancakes won’t be quite as rich in flavor or as fluffy. Butter truly makes a difference here.
Buttermilk: This is a non-negotiable ingredient for truly tender and flavorful pancakes. Use real, store-bought buttermilk for the best results. The acidity in buttermilk reacts with the baking soda, creating air pockets that make the pancakes incredibly light. Furthermore, buttermilk’s thicker viscosity (compared to regular milk) contributes to a perfectly thick batter, which in turn yields thicker pancakes. Homemade buttermilk, made by adding vinegar or lemon juice to whole milk, isn’t as thick and doesn’t provide the same chemical reaction or consistent results due to its different viscosity and fermentation process. Trust me on this one – real buttermilk is key!
Honey: This is where the magic happens, infusing our pancakes with that wonderfully subtle and aromatic honey flavor! Unlike refined sugar, honey brings a depth of flavor and a natural moistness that transforms the entire pancake experience. Feel free to use your favorite brand or type of honey. A local wildflower honey will offer a distinct floral note, while a clover honey will provide a classic, milder sweetness. Experiment to find your personal favorite!
How to Make Irresistible Honey Pancakes: A Step-by-Step Guide
Making pancakes is a relatively simple process, but paying attention to a few crucial details will ensure your honey pancakes turn out perfectly every time. Follow these steps for breakfast perfection:
Step 1: Prepare the Pancake Batter
The foundation of great pancakes is a well-mixed batter. Start by preparing your dry and wet ingredients separately.
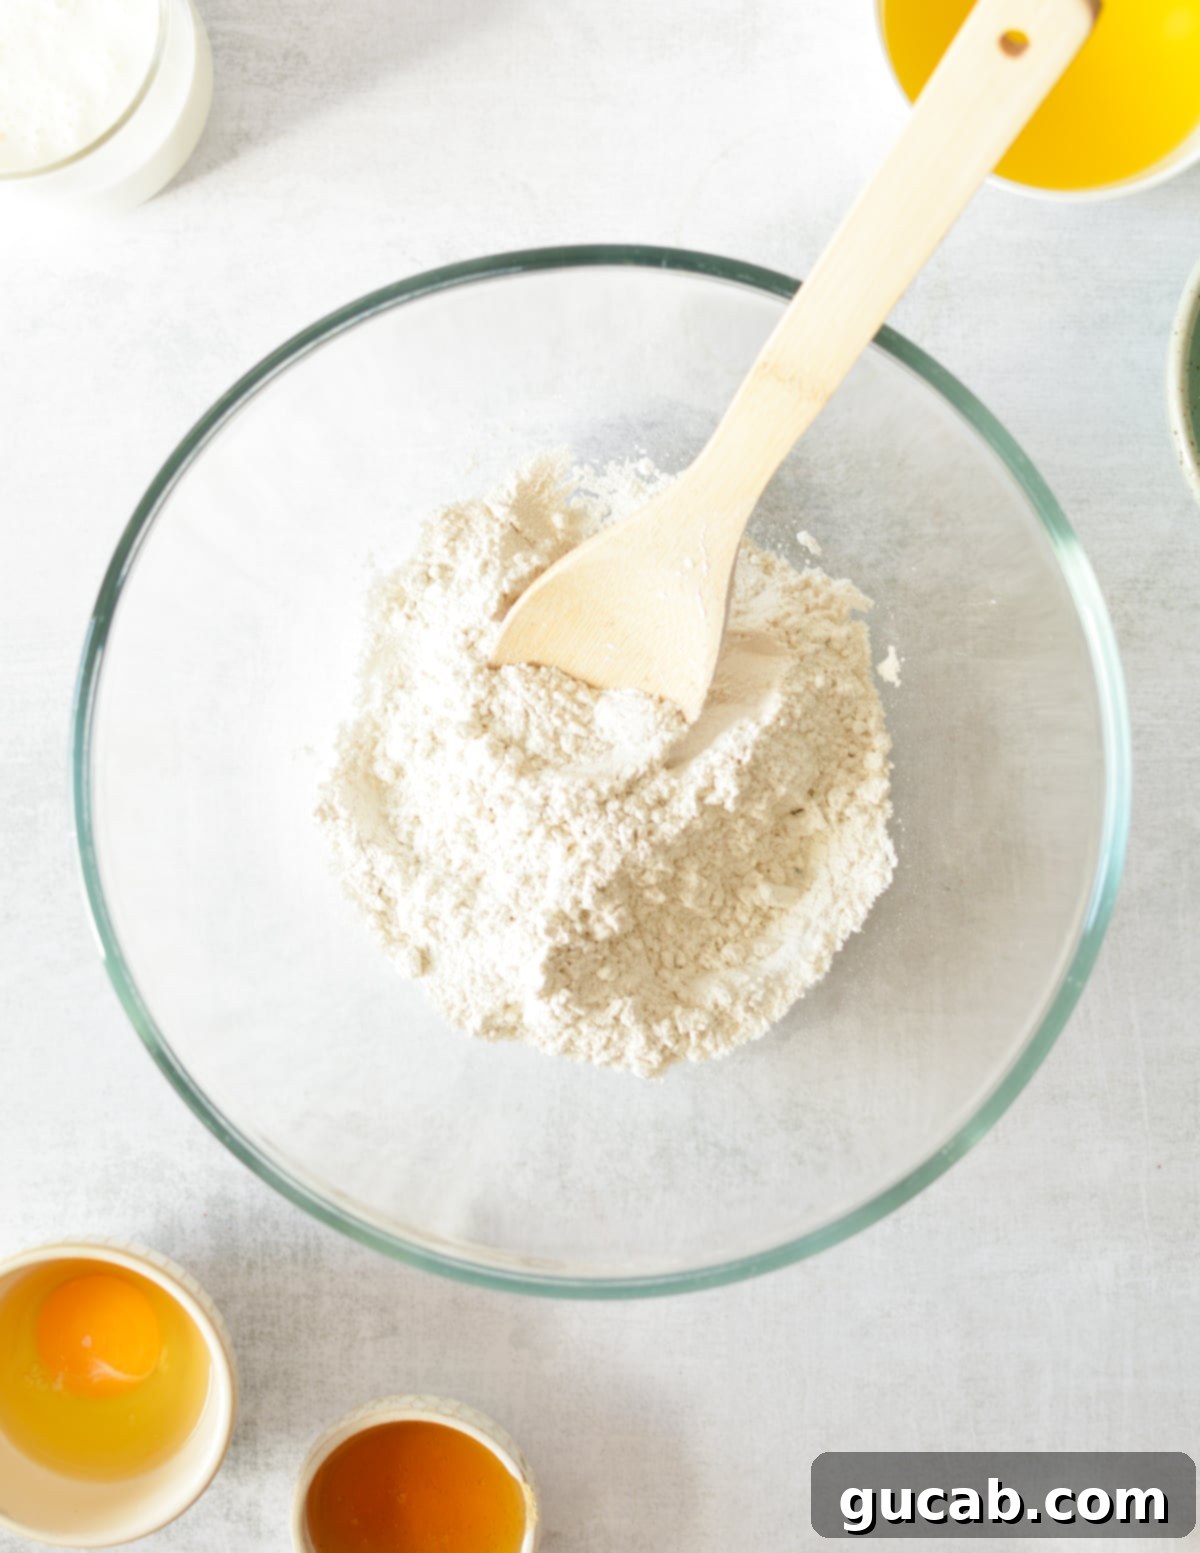
In a large mixing bowl, **combine** the all-purpose flour, baking powder, baking soda, and a pinch of salt. It’s essential to whisk these dry ingredients thoroughly to ensure the leavening agents are evenly distributed throughout the flour. This prevents pockets of unactivated baking powder or soda and guarantees an even rise. A few quick stirs with a whisk will do the trick.
In a separate liquid measuring cup or a medium bowl, **whisk** together the buttermilk, egg, and honey until well combined. Ensure the honey is fully integrated, as it can sometimes be a bit stubborn. Having your wet ingredients ready in a separate container makes for easier pouring and mixing into the dry components.
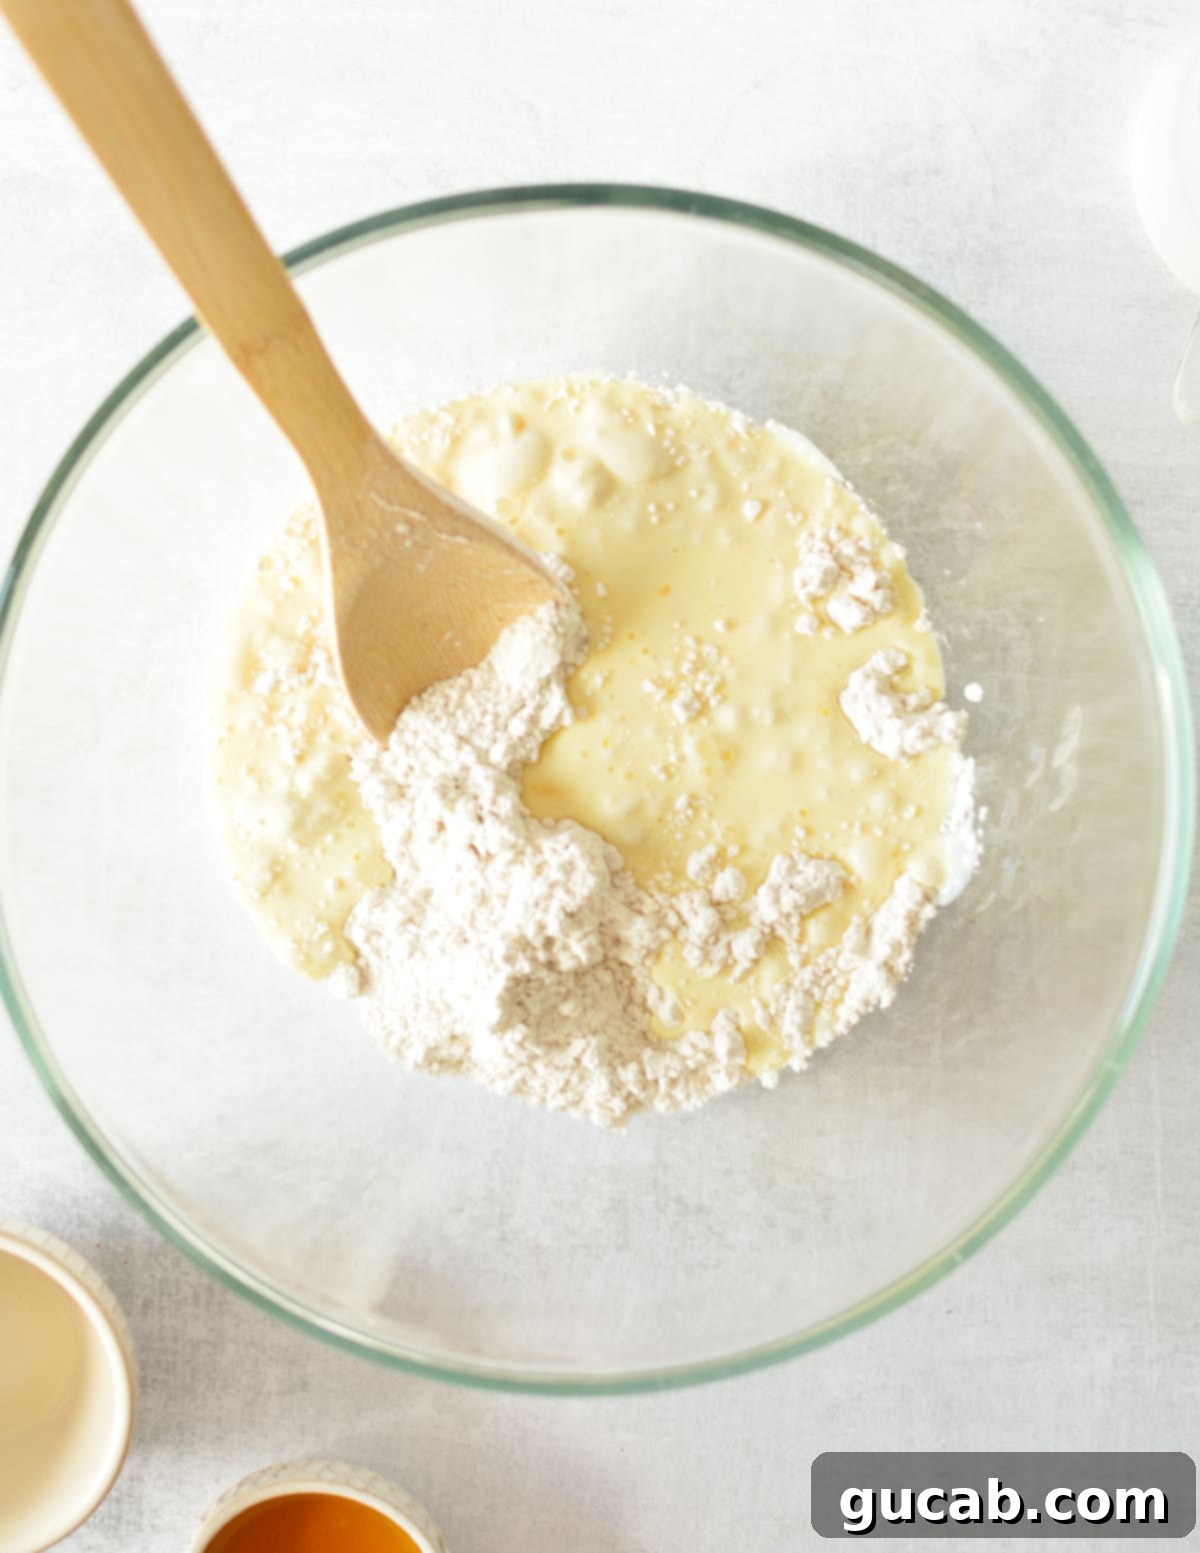
Now, gently **add** the melted butter to the buttermilk mixture, then pour this combined wet mixture into the bowl of dry ingredients. **Stir** just until a pancake batter forms. This is arguably the most critical step: resist the urge to overmix! A few lumps are perfectly fine, even desirable. Overmixing develops the gluten in the flour too much, leading to tough, chewy pancakes instead of light, fluffy ones. Stop stirring as soon as the dry streaks of flour disappear.
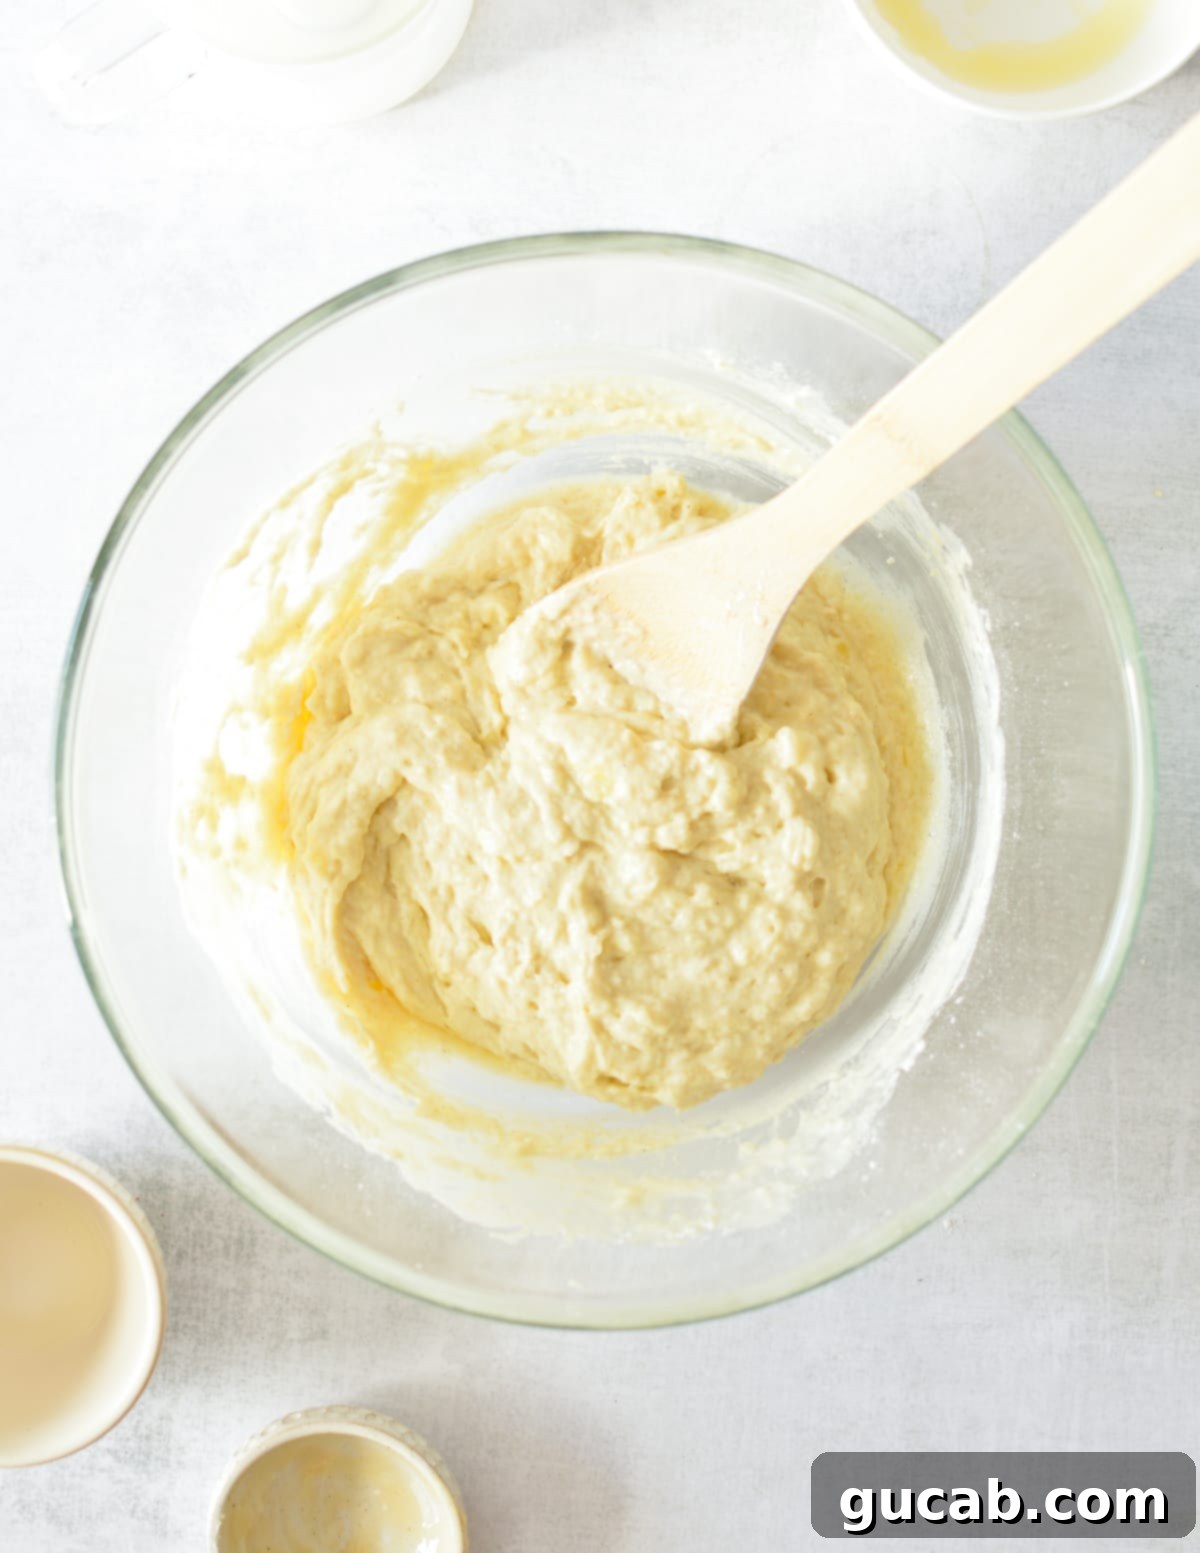
Now you have your perfect pancake batter! Here’s another pro tip: **Let the pancake batter sit for at least 10 minutes** at room temperature. This resting period is crucial as it allows the gluten to relax, resulting in a more tender pancake. More importantly, it gives the baking powder and baking soda time to fully activate, setting the stage for an exceptionally fluffy pancake. While your batter rests, you can proceed to the next step: preparing your cooking surface.
Step 2: Cook the Honey Pancakes to Golden Perfection
While your batter is resting and doing its magic, it’s time to prepare your skillet. **Heat** a 12-inch nonstick skillet or griddle over medium-low heat. The key here is to have a pan that is thoroughly heated but not excessively hot. A common mistake is to add the batter to a cold or lukewarm pan, which results in uneven cooking. Don’t add the pancakes until your pan is adequately hot!
You can test the heat by sprinkling a few drops of water onto the pan. If they sizzle and evaporate within a couple of seconds, it’s ready. If they just sit there, it’s not hot enough; if they instantly disappear in a burst of steam, it’s too hot. Adjust the heat accordingly. Once heated, **add** just a small amount of vegetable oil (or butter) to the skillet, just enough to lightly coat the surface. A thin layer prevents sticking without making the pancakes greasy.
**Use** a large cookie scoop or a ¼ cup measuring cup to scoop pancake batter into the hot skillet. This helps ensure your pancakes are uniform in size, which is essential for even cooking. My 12-inch skillet usually fits three pancakes comfortably. Remember that the batter will spread slightly as it cooks, so leave enough space between each pancake to prevent them from merging.
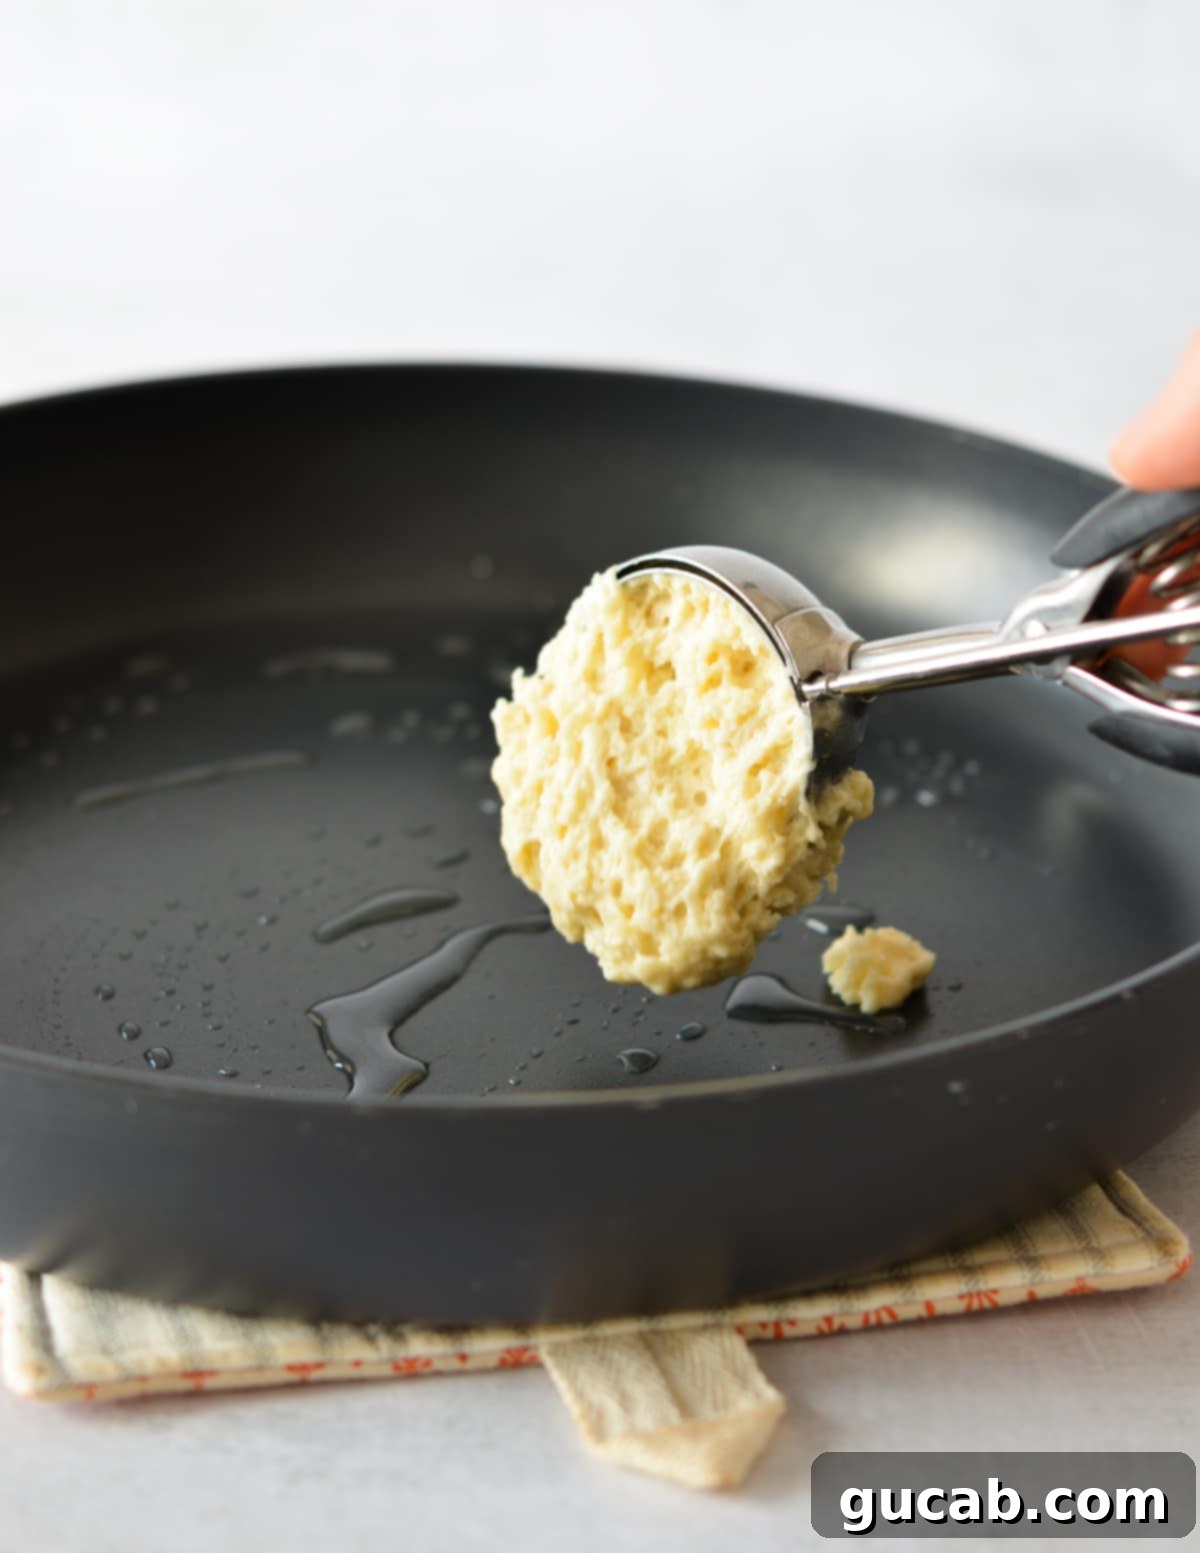
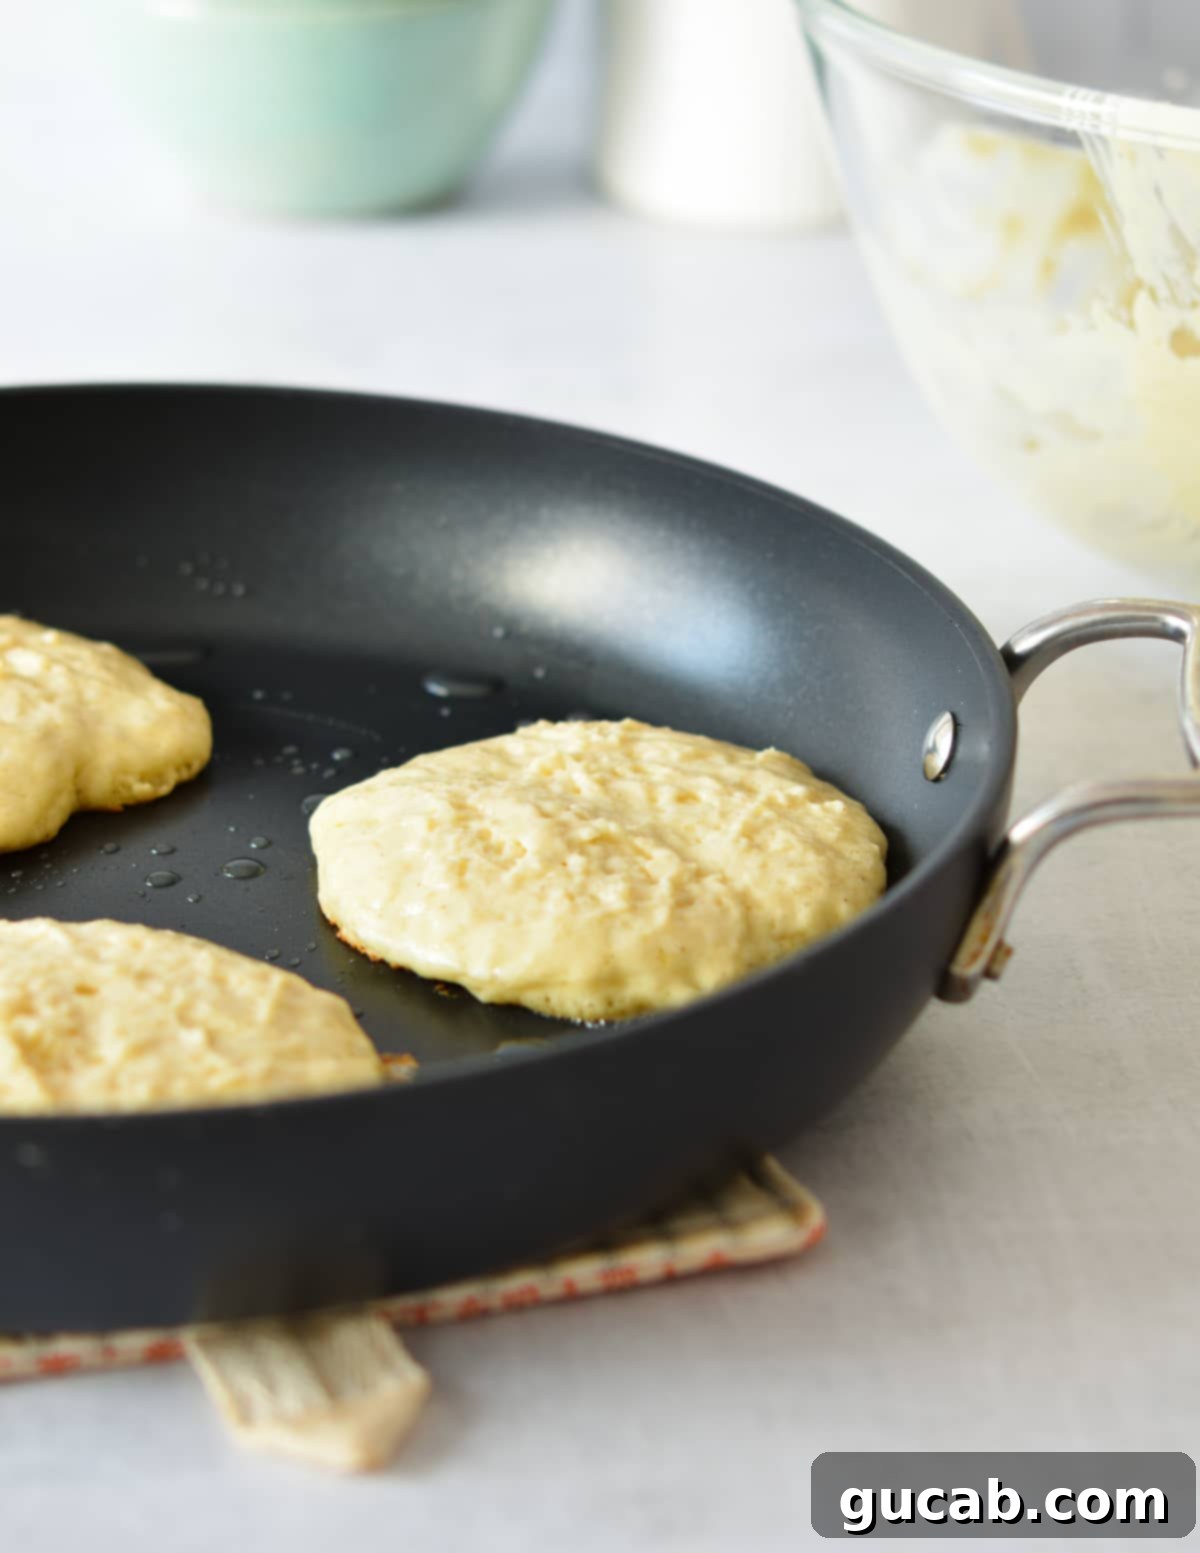
**Cook** the pancakes until the bottoms are a beautiful golden brown, and you see plenty of bubbles forming and popping all over the surface, especially towards the center. This usually takes about 3 to 4 minutes. These visual cues are your signal that it’s time to flip!
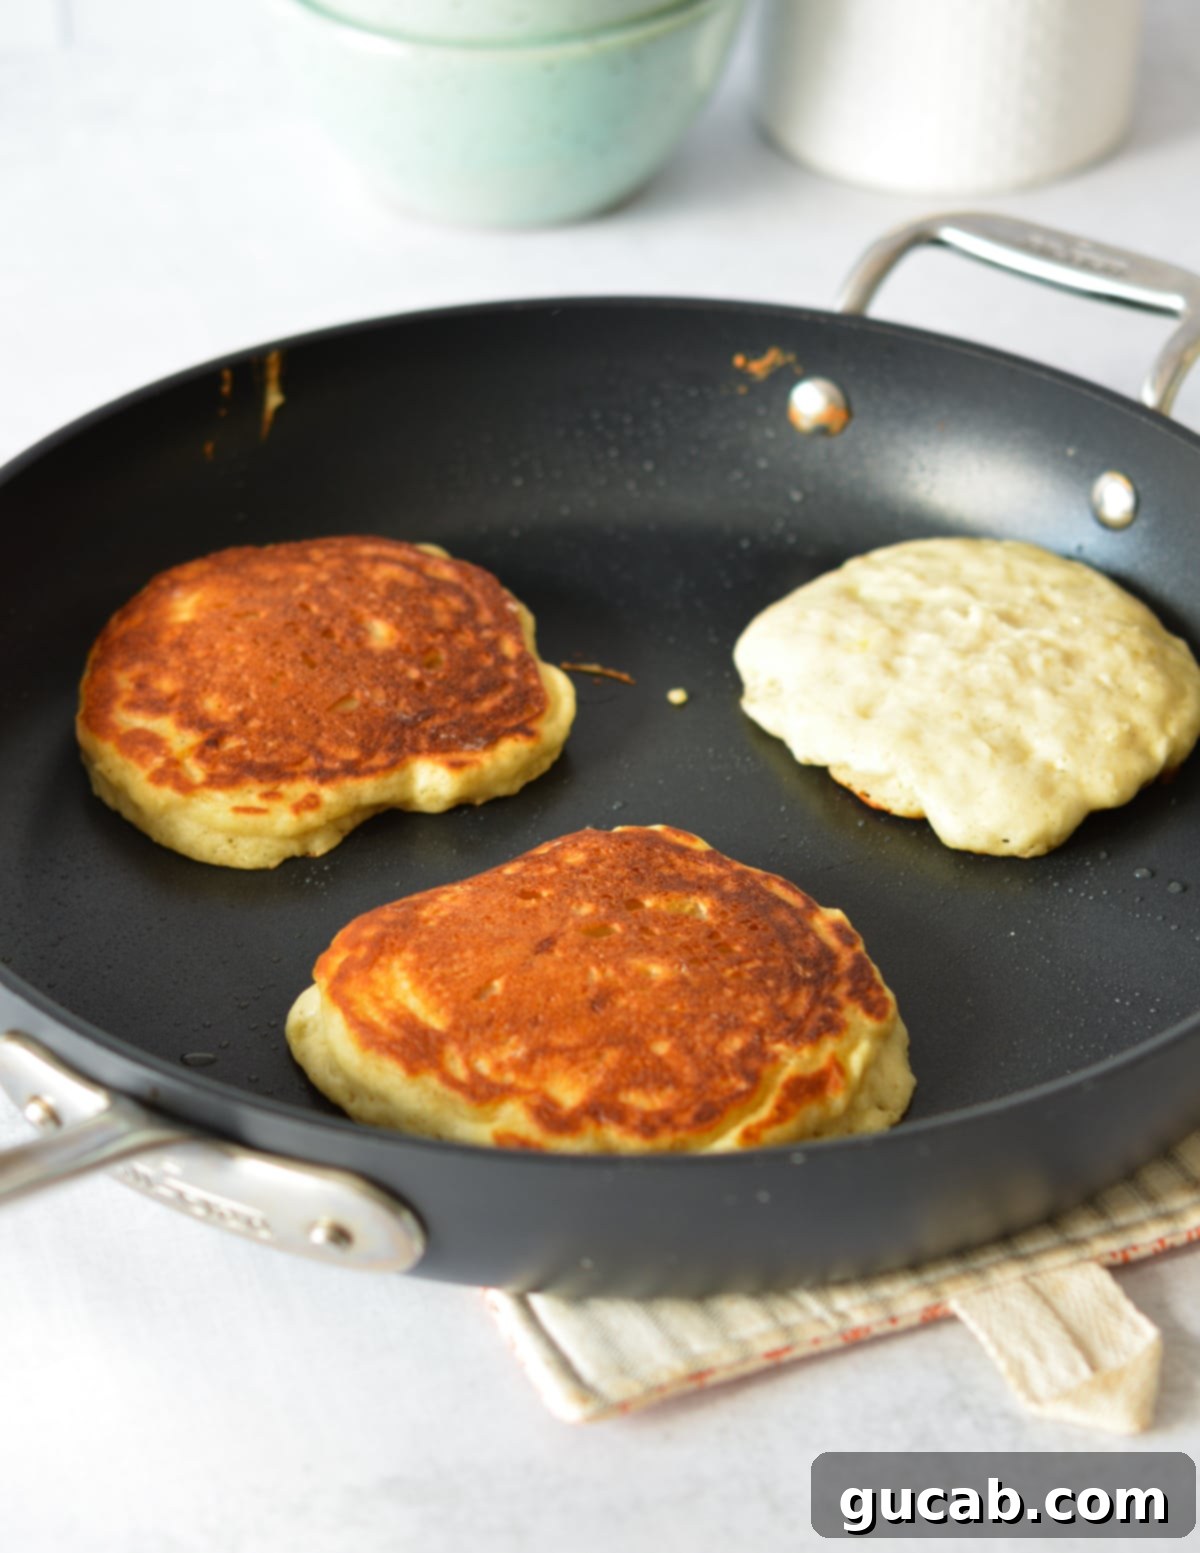
Use a thin-set spatula to carefully **flip** the pancakes over. Cook for another 2 to 3 minutes, or until the second side is also golden brown and the middles are cooked through. You can gently press on the center of a pancake; if it springs back, it’s likely done. If it feels gooey or liquid, give it a bit more time.
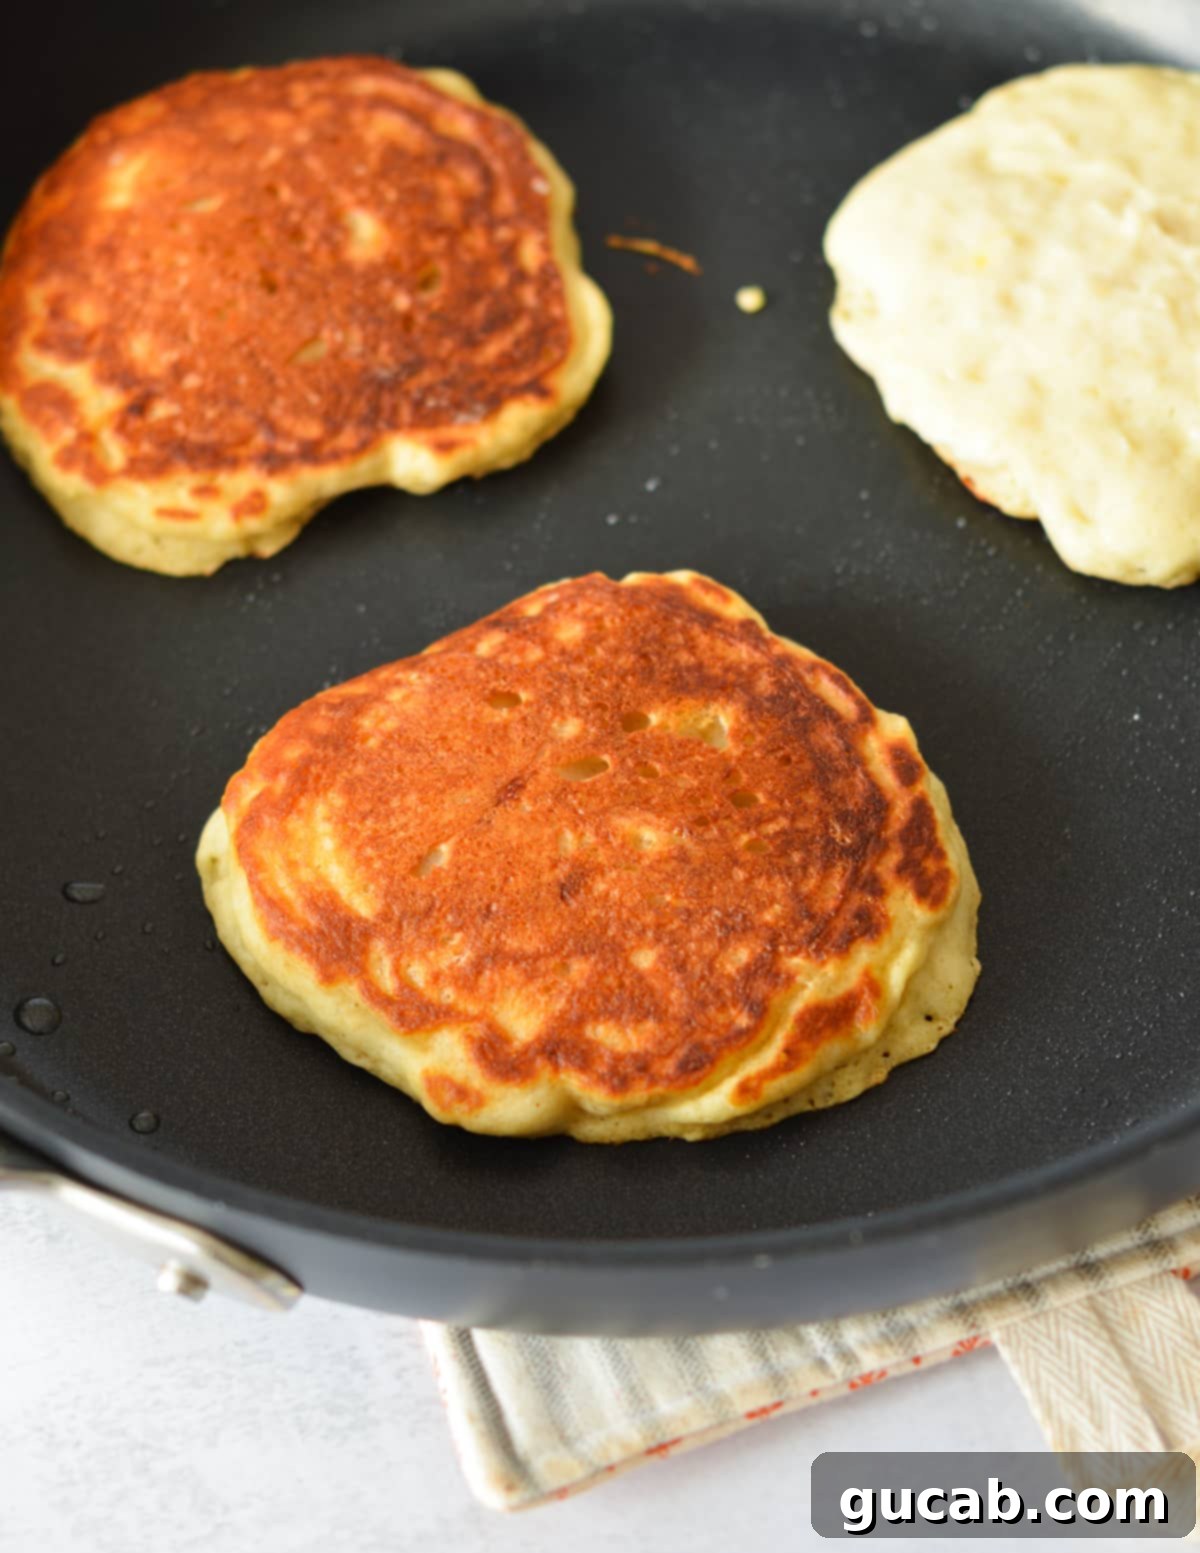
Carefully **remove** the finished pancakes from the skillet and place them on a plate. If you’re cooking multiple batches, you can keep them warm in a preheated oven set to a low temperature (around 200°F / 95°C) while you finish the rest. Serve them immediately and watch them disappear!
Expert Tips for Pancake Perfection
Achieving consistently perfect honey pancakes is simple once you know a few tricks. Here are some essential tips to guide you:
- Don’t skip the buttermilk. As mentioned earlier, store-bought buttermilk is paramount for this recipe. Its unique acidity and thick consistency are key to activating the baking soda effectively, resulting in the light, tender crumb we’re aiming for. Homemade buttermilk (milk + vinegar/lemon juice) simply doesn’t offer the same rich flavor profile or the ideal viscosity, which can lead to a thinner batter and flatter pancakes.
- Ensure your skillet is up to temperature before cooking. Patience is a virtue when it comes to pancakes! It’s tempting to rush, but a properly preheated skillet is vital for even cooking and a beautiful golden crust. If the pan isn’t hot enough, the pancakes will spread too much and absorb excess oil, becoming greasy. If it’s too hot, they’ll burn on the outside before cooking through in the middle. Aim for that perfect medium-low heat.
- Resist the urge to flip the pancakes too early. The bubbles forming on the surface are your primary indicator that the first side is adequately cooked and ready for flipping. You should see numerous bubbles, some even bursting, and the edges should look set. Flipping prematurely will disrupt the cooking process, potentially leading to undercooked centers and deflated pancakes. Wait for those clear signals!
- Maintain a medium-low heat setting. This optimal temperature allows the pancakes to cook thoroughly, developing a beautiful golden-brown color without burning the exterior. High heat will quickly scorch the outside while leaving the inside raw. A lower, consistent heat ensures the leavening agents have enough time to create those airy pockets, resulting in a fully cooked and fluffy pancake from edge to center.
- Don’t overmix the batter. This cannot be stressed enough! Overmixing develops gluten, which makes pancakes tough and chewy. A slightly lumpy batter is actually a good sign. Stir just until the dry ingredients are moistened, and no pockets of flour remain.
- Rest the batter. Allowing the batter to rest for 10-15 minutes helps the gluten relax and gives the leavening agents a head start, resulting in an even fluffier pancake. It’s a small step that yields significant results.
- Keep cooked pancakes warm. As you cook multiple batches, place finished pancakes on a baking sheet in a warm oven (around 200°F / 95°C) to keep them warm and fluffy until ready to serve. This prevents them from cooling down and becoming rubbery.
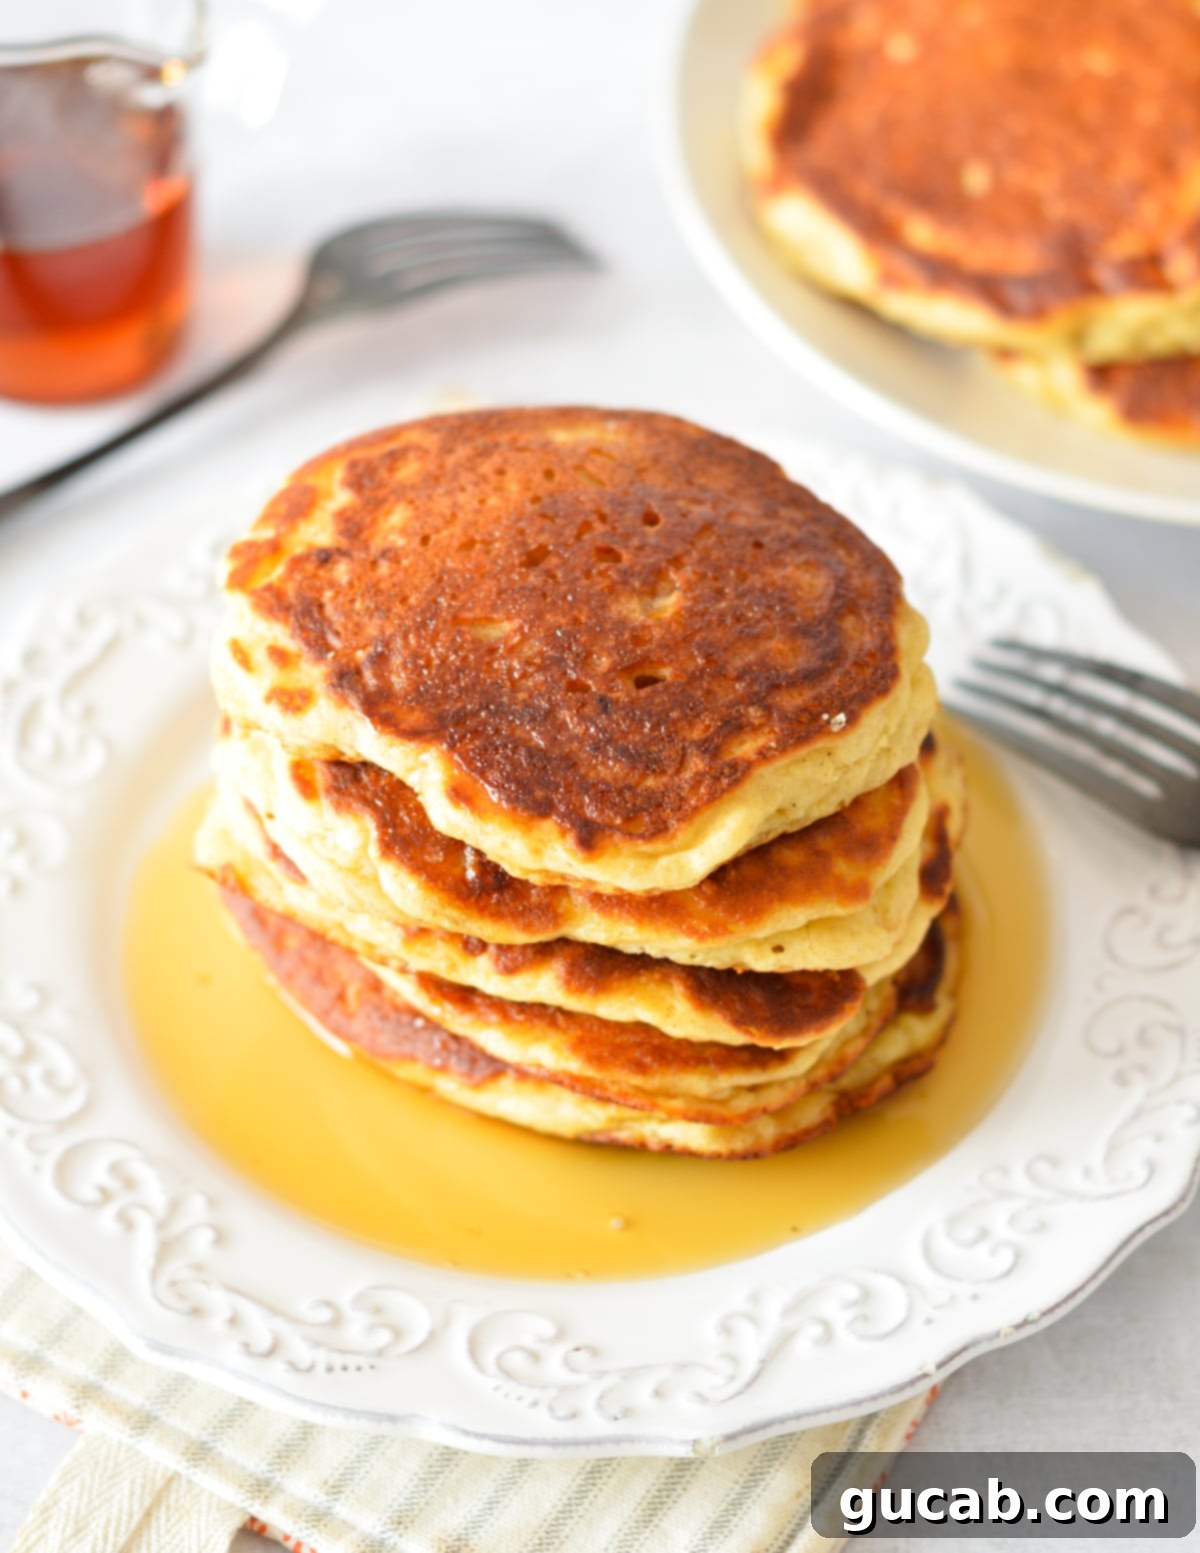
Storage & Freezing: Enjoy Anytime!
One of the best aspects of these honey pancakes is how wonderfully **freezer-friendly** they are! This makes them an ideal candidate for meal prepping. Whenever I find myself with leftover pancakes, I bypass the refrigerator entirely and head straight for the freezer. This smart move prevents them from drying out or, even worse, being forgotten in the back of the fridge.
To properly freeze them, first ensure the pancakes are **completely cool** to prevent ice crystals from forming. Once cooled, you can stack them with small pieces of parchment paper in between each pancake to prevent sticking, though this isn’t strictly necessary if they’re fully cooled. Transfer the stacked pancakes into a large, zip-top freezer bag or an airtight container. Make sure to press out as much air as possible before sealing to minimize freezer burn.
**They can be frozen for up to 6 months**, though in my experience, they never last that long! They’re just too delicious and convenient. When you’re ready to enjoy them, there’s no need to thaw. Simply pop a frozen pancake (or two, or three!) into the microwave and heat in 15-second increments until it’s warmed through and fluffy again. You can also reheat them in a toaster for a slightly crispier edge, or on a griddle over low heat.
A crucial tip for reheating: **Don’t overheat the pancakes!** Microwaving them for too long can cause them to become greasy and tough rather than warm and perfectly fluffy. A gentle, incremental approach is best to retain their delightful texture.
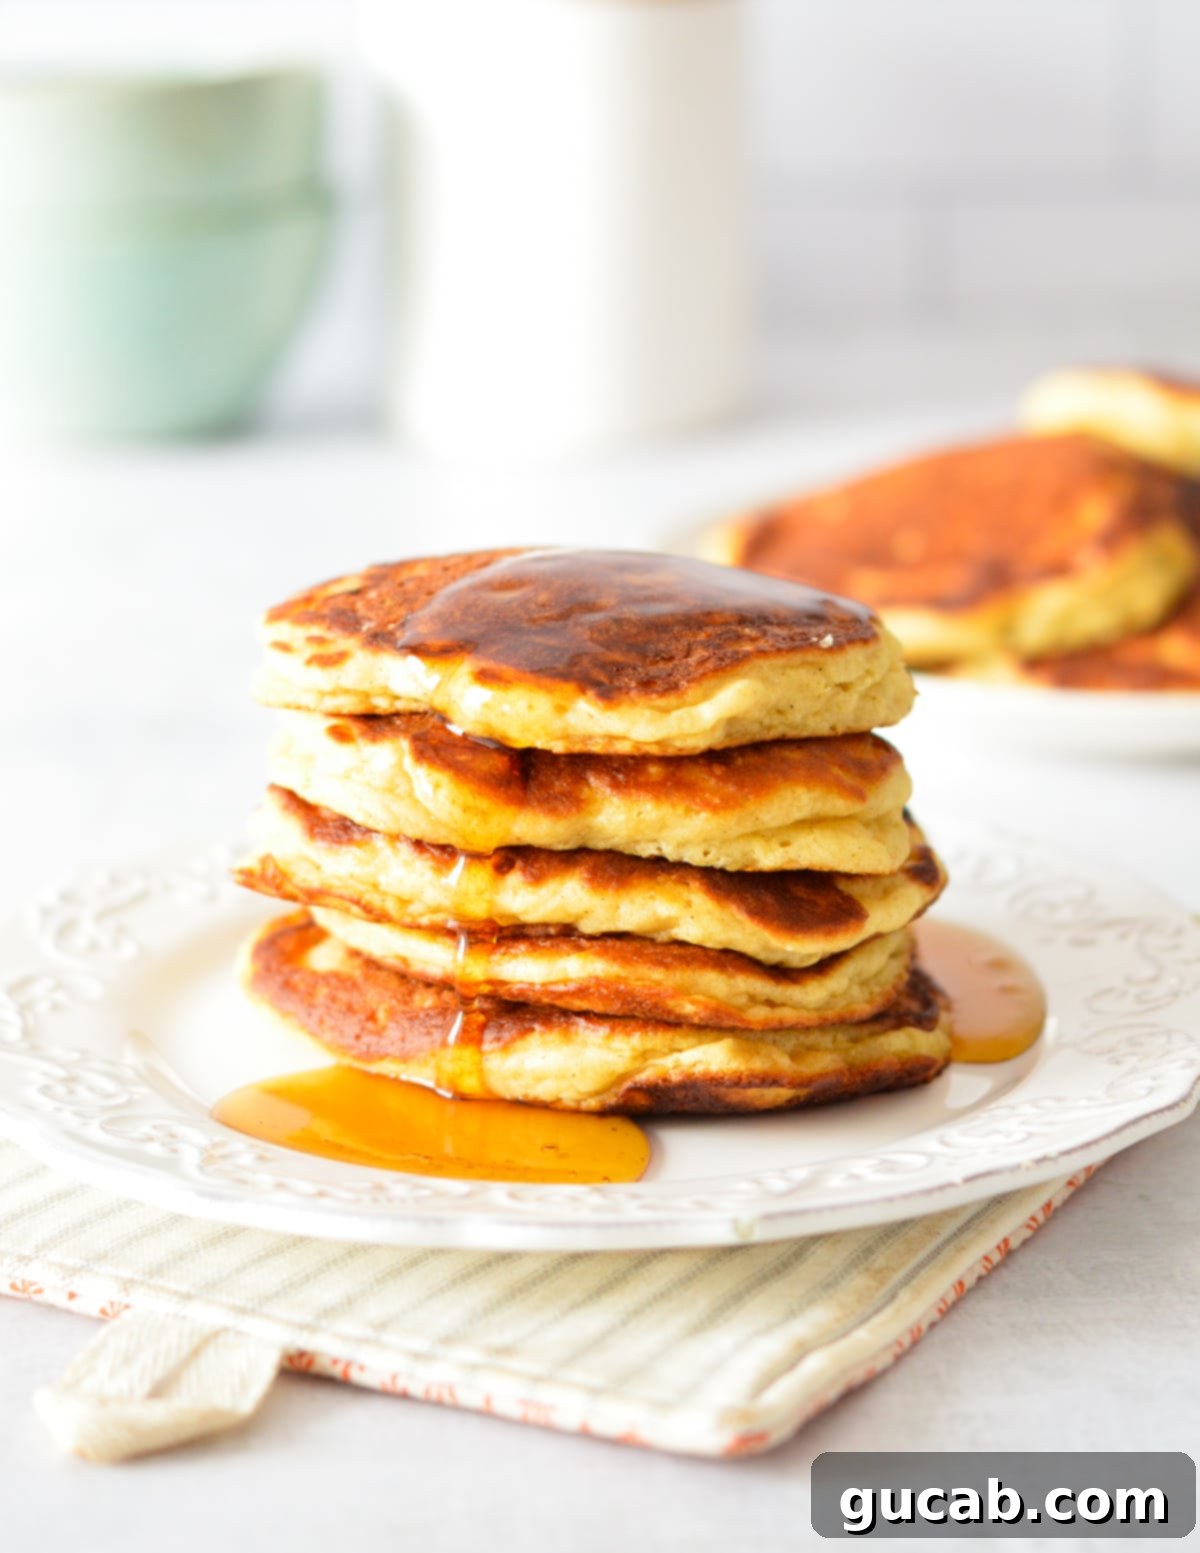
Delicious Variations to Customize Your Honey Pancakes
While these honey pancakes are divine on their own, they also serve as a fantastic canvas for various delicious customizations. Feel free to get creative and make them uniquely yours!
- Gluten-Free Honey Pancakes: To easily adapt this recipe for a gluten-free diet, simply swap the all-purpose flour with a high-quality 1-to-1 gluten-free baking flour blend. Brands like Bob’s Red Mill’s 1-to-1 Gluten Free Baking Flour are excellent choices as they are designed to mimic the taste and texture of regular wheat flour, often without any strange aftertaste. Always check the blend to ensure it contains xanthan gum for optimal texture.
- Endless Toppings & Mix-ins: The topping possibilities are truly endless!
- Sweet Toppings: Drizzle with extra honey or pure maple syrup for a classic touch. Experiment with different nut butters (peanut, almond, cashew) or spreadable creamed honey. A dollop of whipped cream, a scattering of colorful sprinkles, or a generous portion of chocolate chips (mini ones work great as mix-ins too!) are always crowd-pleasers.
- Fruit Enhancements: Fresh fruit adds a burst of flavor and freshness. Think sliced bananas, a medley of berries (strawberries, blueberries, raspberries), or even a warm, homemade fruit compote.
- Crunch & Texture: For added texture, sprinkle on some granola, chopped nuts (pecans, walnuts), or toasted coconut flakes.
- Savory Twists: While typically sweet, don’t shy away from pairing pancakes with savory elements like crispy bacon, a fried egg, or even a sprinkle of sharp cheddar cheese for a unique sweet-and-savory experience.
- Flavor Boosters: Mix a teaspoon of cinnamon or a pinch of nutmeg into the dry ingredients for a warm, spiced pancake. Add a splash of vanilla extract to the wet ingredients for enhanced aroma.
Pancake FAQs: All Your Questions Answered
Is honey good for pancakes?
Absolutely, honey is not just good for pancakes; it’s fantastic! Using honey in the batter instead of white sugar provides a more complex, natural sweetness and helps to retain moisture, resulting in incredibly tender and flavorful pancakes. For an even more pronounced honey flavor, certainly top these pancakes with an extra drizzle of your favorite honey instead of, or in addition to, maple syrup! Consider using a raw local honey for distinct floral notes, or a thick, spreadable creamed honey for a luxurious texture. It pairs wonderfully with a variety of toppings like fresh berries, sliced bananas, chopped nuts, a pat of butter, nut butter, or a sprinkle of crunchy granola.
What kind of honey should I use for honey pancakes?
The beauty of this recipe is its versatility with honey! Any good quality liquid honey will work. For a classic, mild sweetness, clover honey is a great choice. If you want to explore more distinct flavor profiles, try a local wildflower honey for floral notes, buckwheat honey for a bolder, richer taste, or orange blossom honey for a delicate citrusy aroma. Choose what you love!
Why are my pancakes flat or dense?
There are a few common culprits for flat or dense pancakes:
- **Old Leavening Agents:** Baking powder and baking soda lose their potency over time. If they’re expired or old, they won’t produce enough gas to make your pancakes rise.
- **Overmixing the Batter:** This is perhaps the most common mistake. Overmixing develops the gluten in the flour, leading to a tough, dense, and less fluffy pancake. Remember, a few lumps are okay!
- **Insufficient Resting Time:** Resting the batter allows the gluten to relax and the leavening agents to fully activate, contributing to fluffiness.
- **Incorrect Pan Temperature:** A pan that isn’t hot enough can cause pancakes to spread too thin and prevent them from rising properly.
Can I make these honey pancakes dairy-free?
Yes, with a few substitutions! You can swap the buttermilk for a dairy-free alternative like unsweetened almond milk or soy milk mixed with a tablespoon of lemon juice or apple cider vinegar (let it sit for 5-10 minutes to curdle). For the melted butter, use a dairy-free butter alternative or a neutral-flavored vegetable oil like canola or sunflower oil. Ensure your honey is ethically sourced if that’s a concern for strict vegan diets, although honey is generally considered vegetarian.
How do I get perfectly round pancakes?
For uniform, perfectly round pancakes, here are a few tips:
- **Use a Scoop:** A large cookie scoop or a ¼ cup measuring cup helps control the amount of batter.
- **Don’t Pour from Too High:** Pour the batter gently from a relatively low height directly onto the hot skillet.
- **Avoid Overcrowding:** Don’t put too many pancakes in the pan at once, as this lowers the pan temperature and makes them harder to shape.
- **Consider Pancake Rings:** For absolute perfection, use non-stick pancake rings or molds.
More Delicious Pancake Recipes to Explore
If you’ve enjoyed these honey pancakes, you’ll love exploring other pancake variations from our collection:
- Joanna Gaines Best Buttermilk Pancake Recipe
- Thin & Crispy Pancakes
- Fluffy Gluten Free Pancakes
- Cassava Flour Pancakes [Paleo & Gluten Free]
- Silver Dollar Pancakes
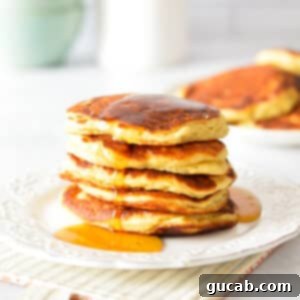
Honey Pancakes
Carolyn
Pin Recipe
Equipment
-
12 inch Nonstick skillet
Ingredients
- 1 cup all-purpose flour
- 1 teaspoon baking soda
- 1 teaspoon baking powder
- ⅛ teaspoon kosher salt
- 5 tablespoons unsalted butter melted but cool
- 1 large egg
- 1 cup buttermilk
- 2½ tablespoons honey
Instructions
-
In a large bowl, combine the all-purpose flour, baking soda, baking powder, and salt. Stir to combine.
-
In a liquid measuring cup, combine the buttermilk, egg, and honey. Whisk to combine.
-
Pour the melted butter and the buttermilk mixture into the dry ingredients. Stir to combine.
-
Heat a 12-inch nonstick skillet over medium-low heat. Let the pancake batter sit for 10 minutes while the pan gets nice and hot.
-
Once the skillet is hot, add a little bit of canola oil to it. Use a large cookie scoop to scoop 3 pancakes into the skillet.
-
The pancakes will spread a little bit as they cook. Cook until the bottom is golden brown and you see lots of bubbles, about 3 to 4 minutes. Flip the pancakes and cook until the center is cooked through, about 3 minutes.
-
Repeat with the remaining batter. Enjoy immediately!
Nutrition
There you have it – a comprehensive guide to crafting the most delightful and fluffy honey pancakes you’ve ever tasted. With their subtle sweetness, airy texture, and incredible convenience, these pancakes are destined to become a cherished part of your breakfast repertoire. Whether you enjoy them fresh off the griddle or from a quick reheat, they promise to bring a smile to your face. So, gather your ingredients, follow these steps, and prepare to indulge in a breakfast experience that’s truly golden and sweet!
