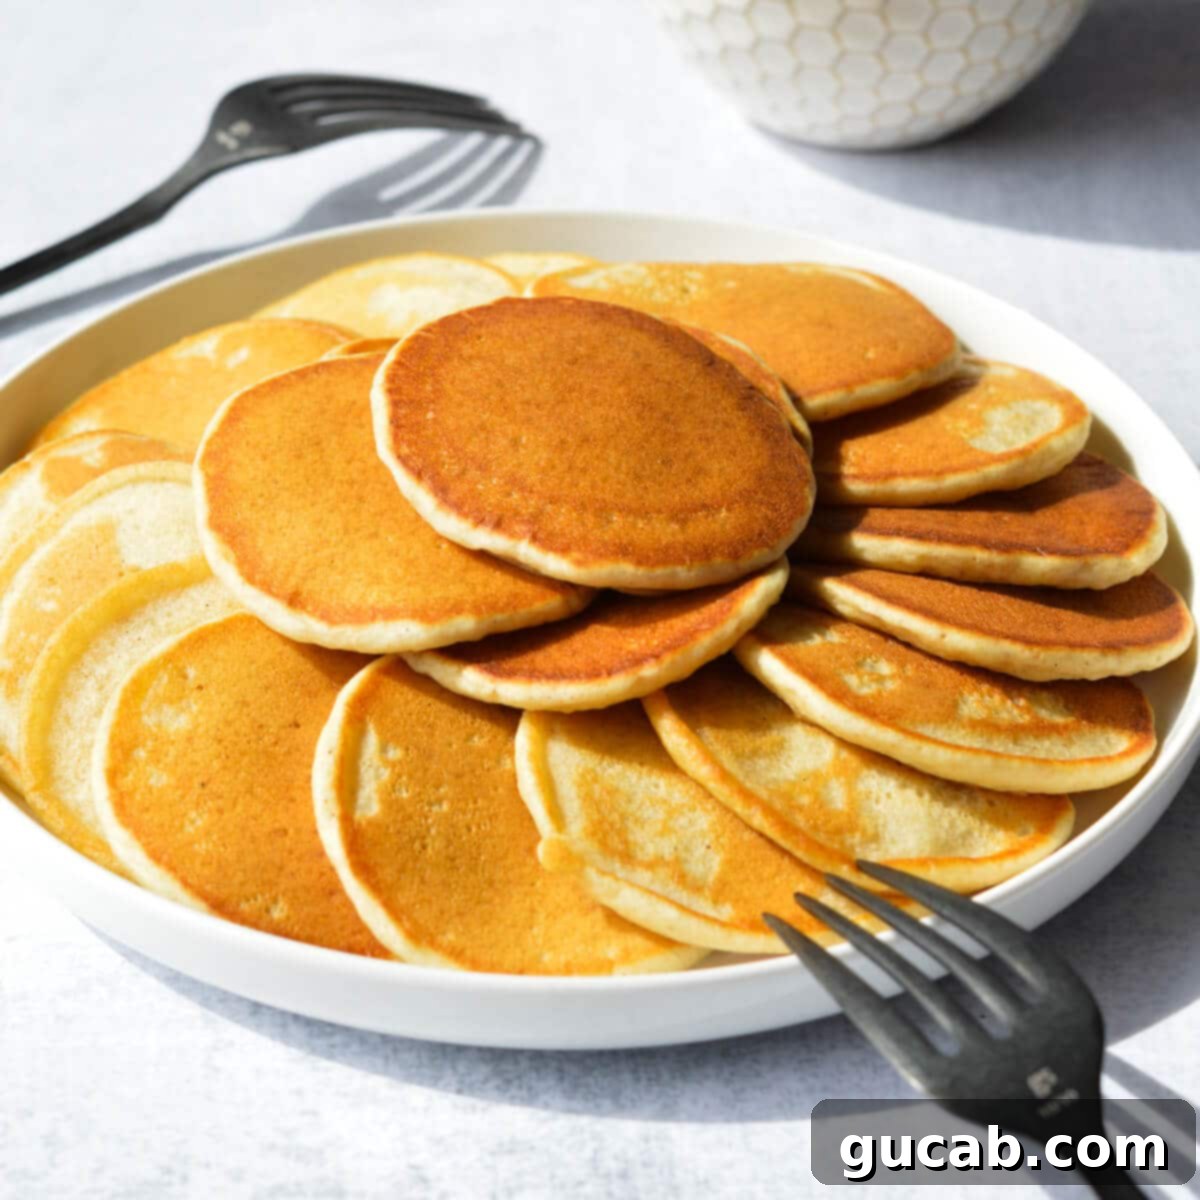
Easy Fluffy Silver Dollar Pancakes: The Ultimate Mini Breakfast for Everyone
Get ready to transform your morning with these incredibly light, perfectly fluffy, and adorably miniature silver dollar pancakes! These tiny delights are an absolute game-changer for breakfast, making every bite a fun experience, especially for dipping. Whether you’re feeding a crowd of eager kids or simply want to add a playful twist to your adult brunch, these mini pancakes are guaranteed to be a hit. They’re so easy to make, and their charming size makes them irresistible!
Why You’ll Fall in Love with These Mini Pancakes:
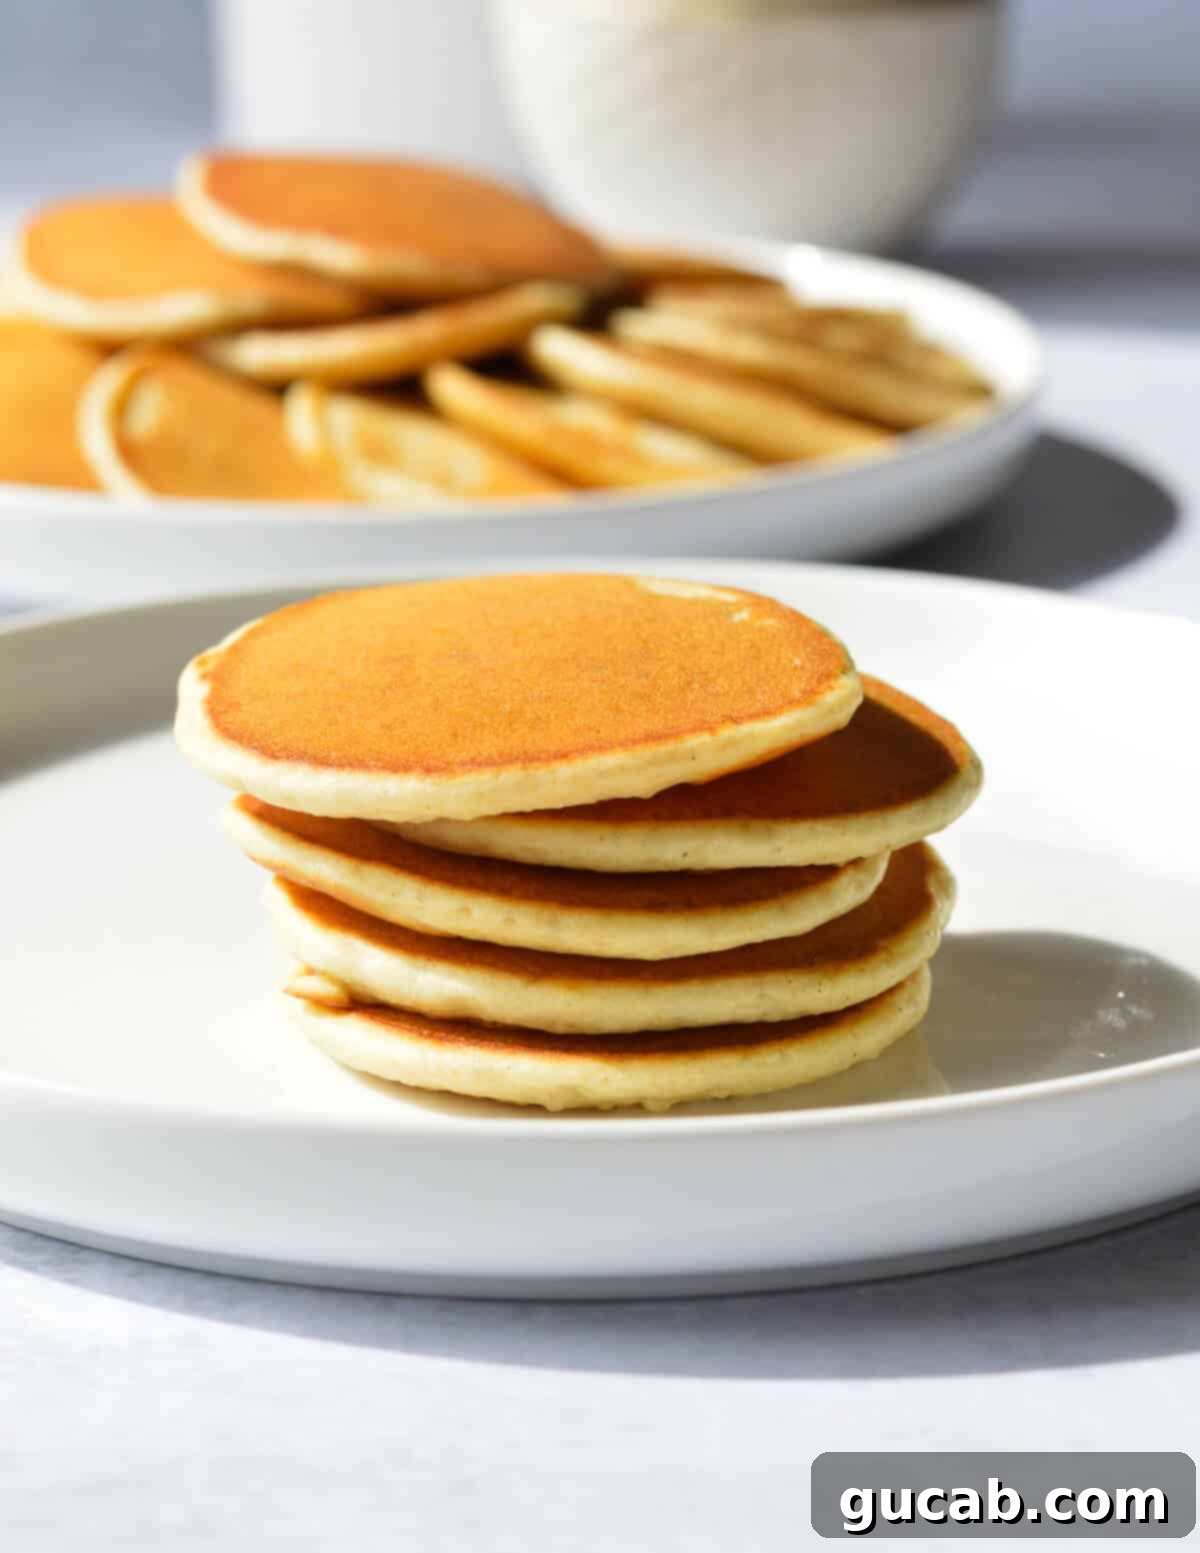
These petite pancakes are more than just cute; they’re a delightful breakfast experience waiting to happen! Imagine a stack of golden, fluffy goodness, each one perfectly bite-sized and ready to soak up your favorite syrup. This isn’t just breakfast; it’s a breakfast mashup that everyone, from the littlest eaters to the most seasoned foodies, will adore.
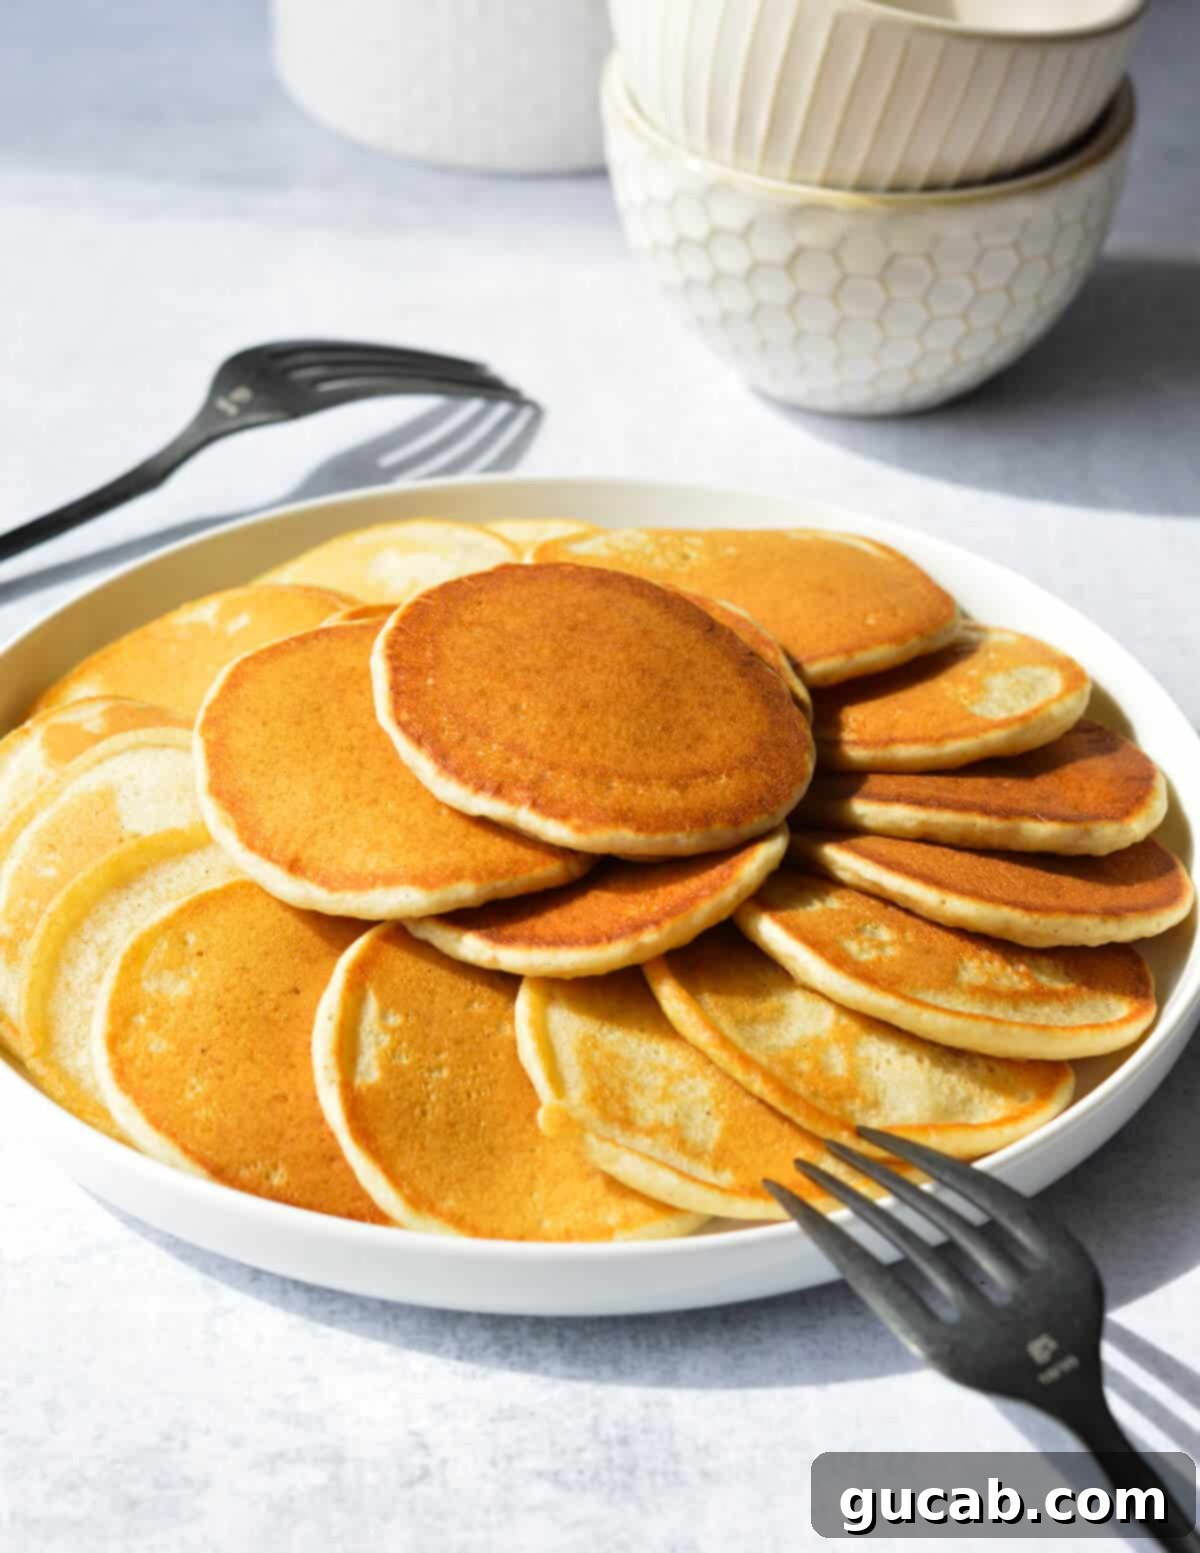
- Adorable & Irresistible: Their small size (approximately 2 ½ inches wide) makes them incredibly appealing. They’re perfect for little hands and add a touch of whimsy to any breakfast spread.
- Perfectly Light & Fluffy: Crafted with precision, these pancakes boast an incredibly light and airy texture. They’re soft on the inside with just the right amount of subtle sweetness, which perfectly complements a drizzle of maple syrup or any other topping.
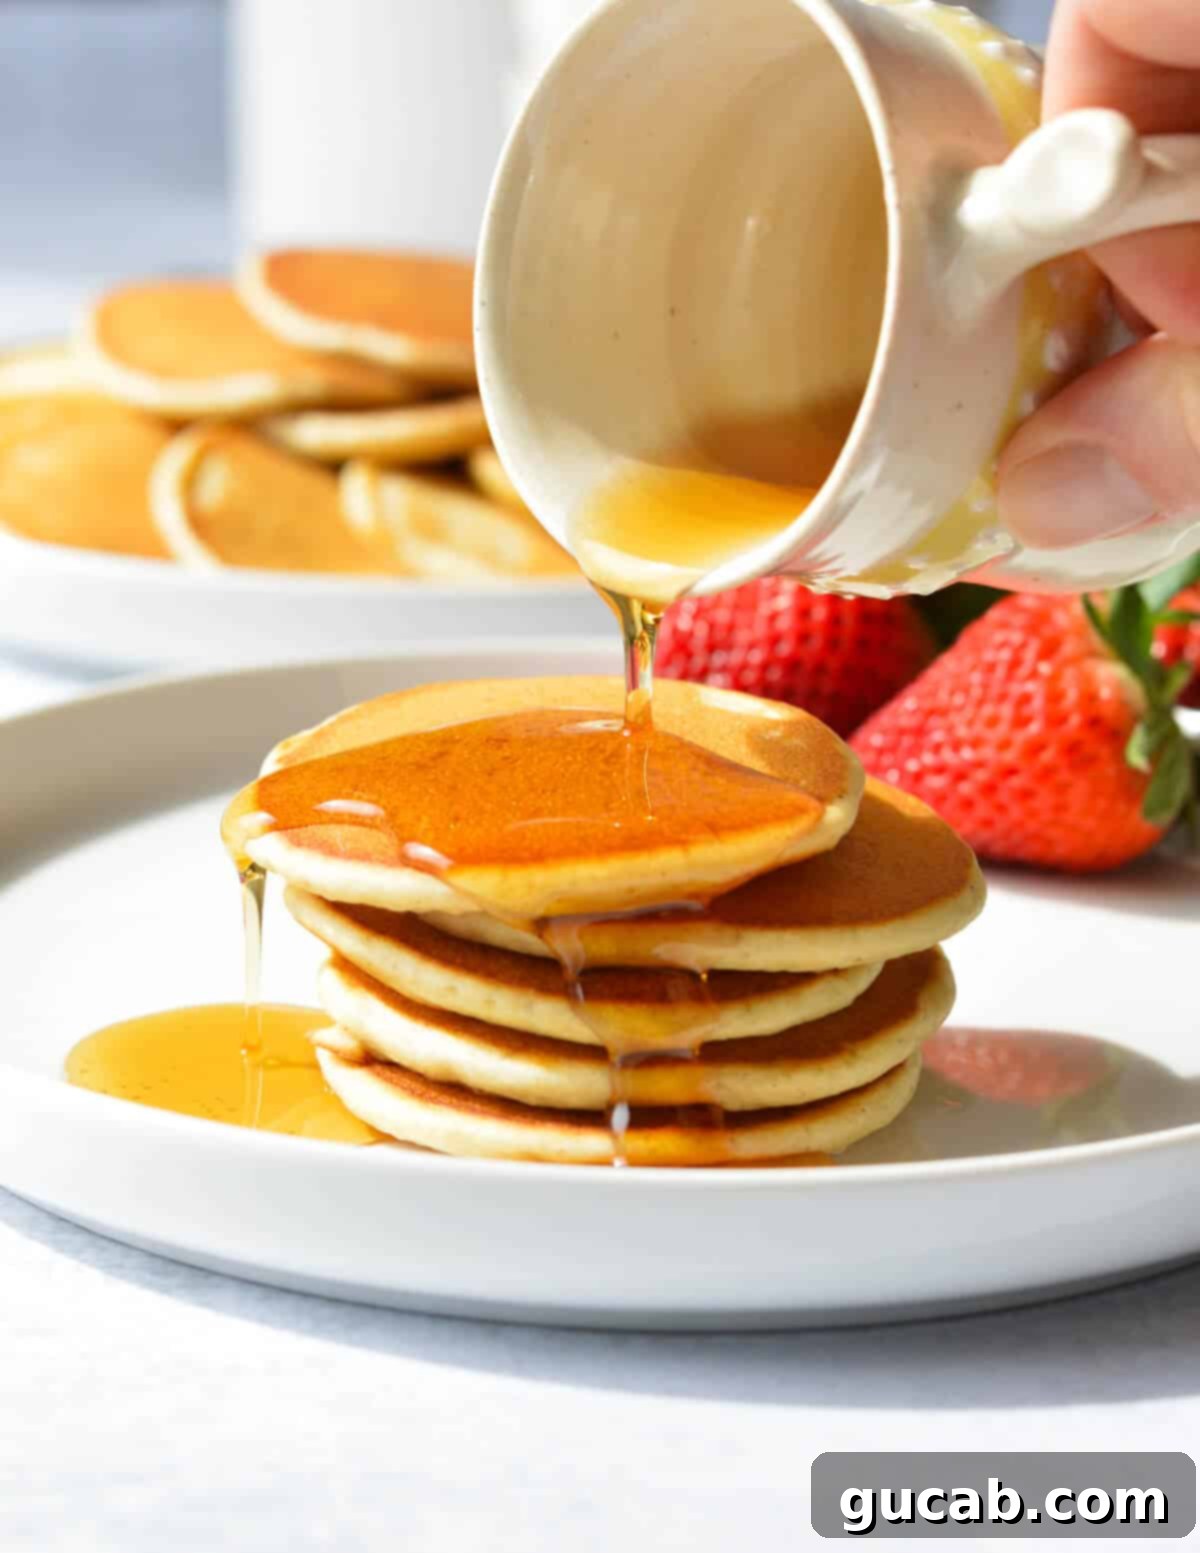
- Ideal for Dipping: The miniature size is not just for looks; it’s designed for ultimate dunking pleasure! Forget struggling to cut large pancakes; these are ready to be dipped into syrup, fruit compote, chocolate sauce, or even a dollop of whipped cream.
- Kid-Friendly Fun: Kids absolutely love these! The novelty of mini pancakes makes breakfast exciting and encourages even picky eaters to enjoy their meal. They’re also great for school lunchboxes or as a fun snack.
- Effortlessly Delicious: While the batter might seem a bit thinner than traditional pancake batter, it’s exactly what gives these silver dollar pancakes their perfect spread and fluffy rise. They bubble up beautifully and cook into golden, tender mini masterpieces.
Key Ingredients for Perfect Silver Dollar Pancakes:
Creating these delightful mini pancakes starts with a few simple, everyday ingredients. Each one plays a crucial role in achieving that signature light, fluffy texture and subtle sweetness.
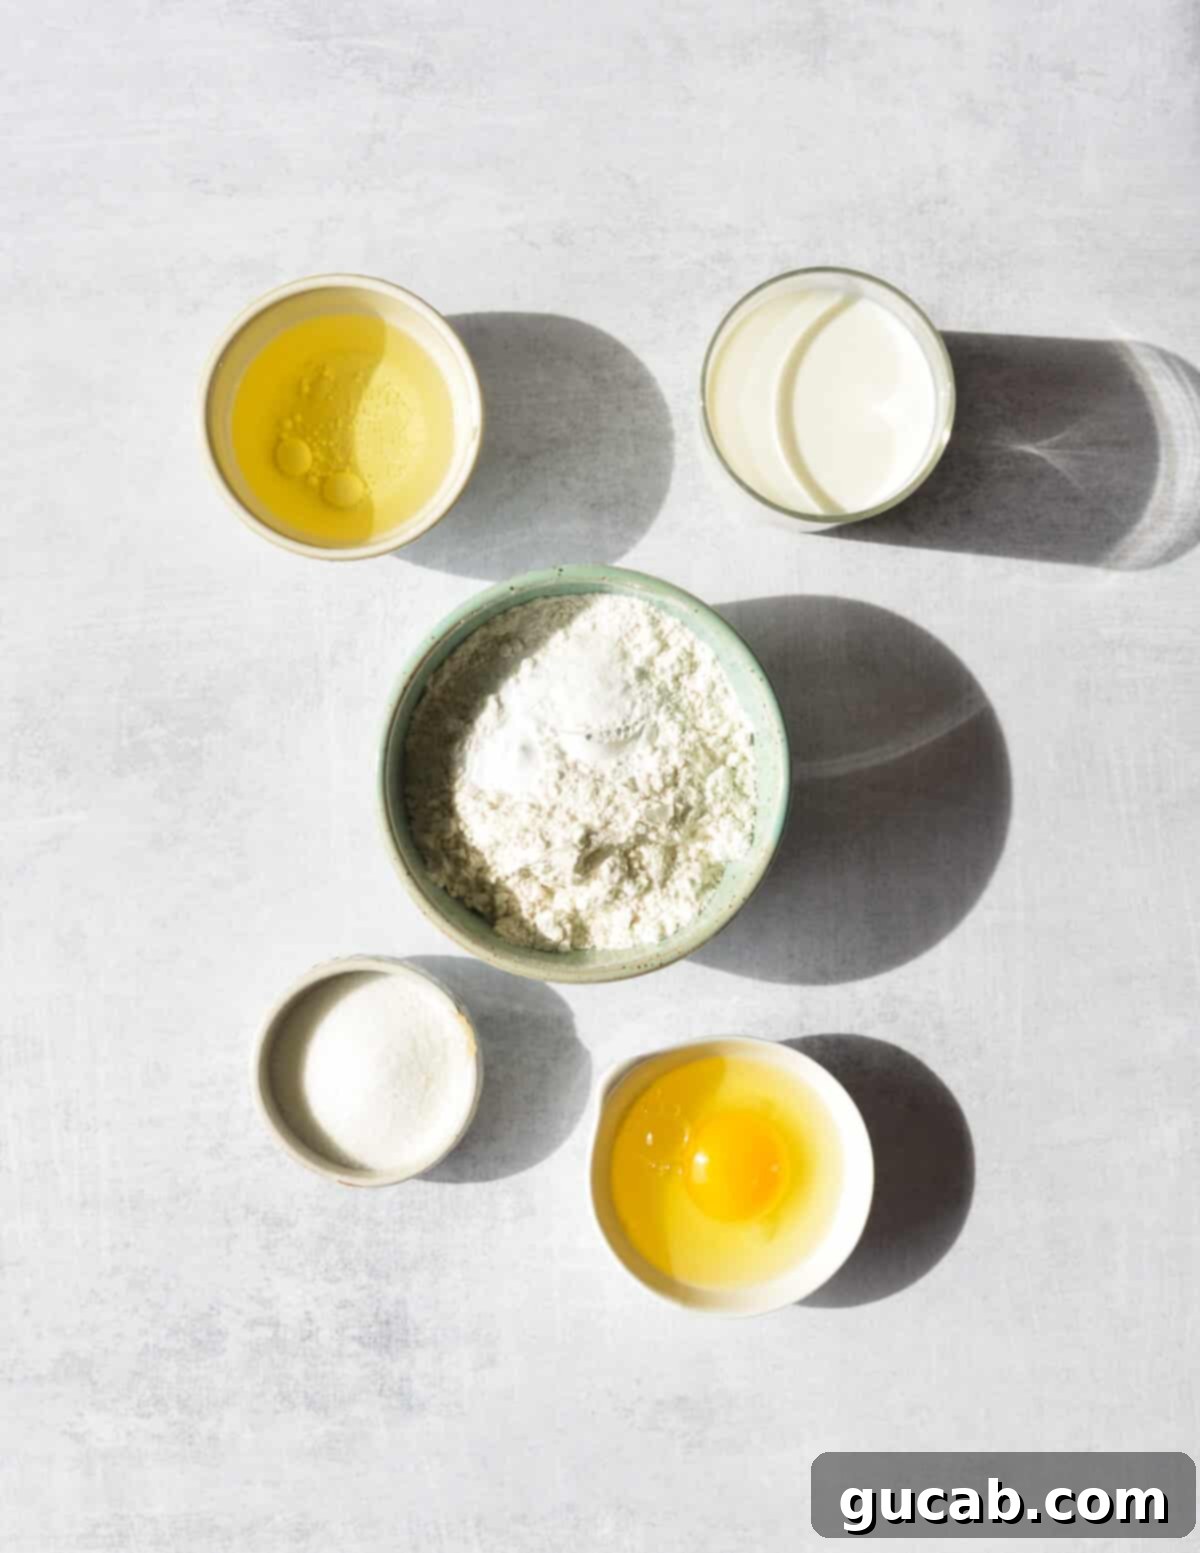
- All-purpose flour: This is the foundation for our light and fluffy texture. It provides the structure while remaining delicate. For those seeking a gluten-free option, Bob’s Red Mill’s 1 to 1 Gluten Free Baking Flour is an excellent swap, ensuring everyone can enjoy these delicious mini pancakes.
- Sugar: Just a touch of granulated sugar provides a subtle sweetness that makes these pancakes irresistible without being overly sugary. It perfectly sets the stage for a generous pour of maple syrup or other sweet toppings.
- Baking powder & baking soda: The secret to truly fluffy pancakes! You absolutely need both of these leavening agents. Baking powder reacts with liquid and heat to create bubbles, while baking soda reacts with an acid (present in milk) to produce even more lift, resulting in that wonderfully airy texture.
- Kosher salt: A pinch of kosher salt is vital for balancing the sweetness and enhancing all the other flavors in the batter. It prevents the pancakes from tasting bland and brings out their richness.
- Egg: The egg serves multiple purposes: it adds crucial structure to the pancakes, preventing them from falling flat, and contributes a rich, tender quality to the crumb. Ensure it’s lightly beaten before adding to the wet ingredients.
- Whole milk: For the ultimate fluffiness and richness, whole milk is highly recommended. Its higher fat content contributes significantly to the tender texture and moistness of the pancakes. Skim milk will result in a less fluffy and drier pancake, so stick with whole milk if possible!
- Vegetable oil: Adding vegetable oil to the batter ensures the pancakes stay moist and gives them a beautiful, even golden-brown color as they cook. If you prefer, you can also use an equal amount of melted butter for a slightly richer flavor, but vegetable oil often produces a more consistently golden exterior.
How to Make the Best Silver Dollar Pancakes: Step-by-Step
Making these miniature pancakes is surprisingly simple and follows a very similar process to traditional pancakes, with just a few key differences to achieve their perfect size and texture. Follow these steps for a perfect batch every time!
1. Prepare the Pancake Batter
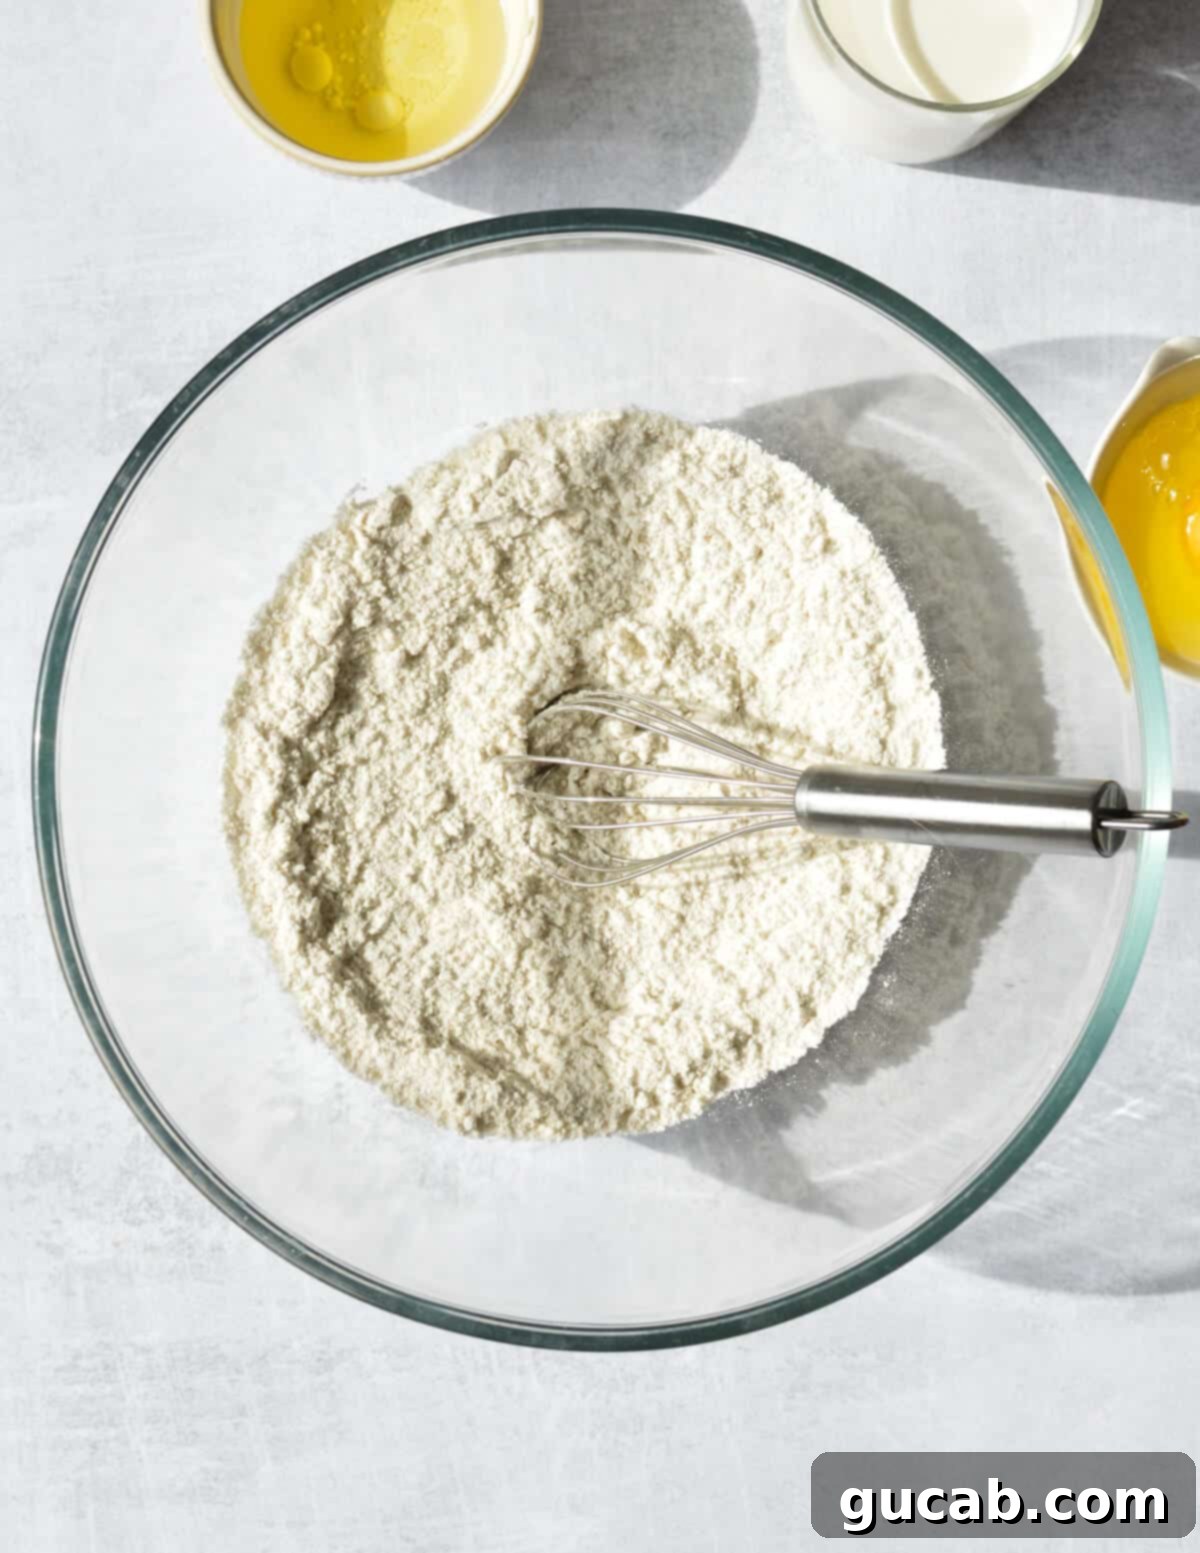
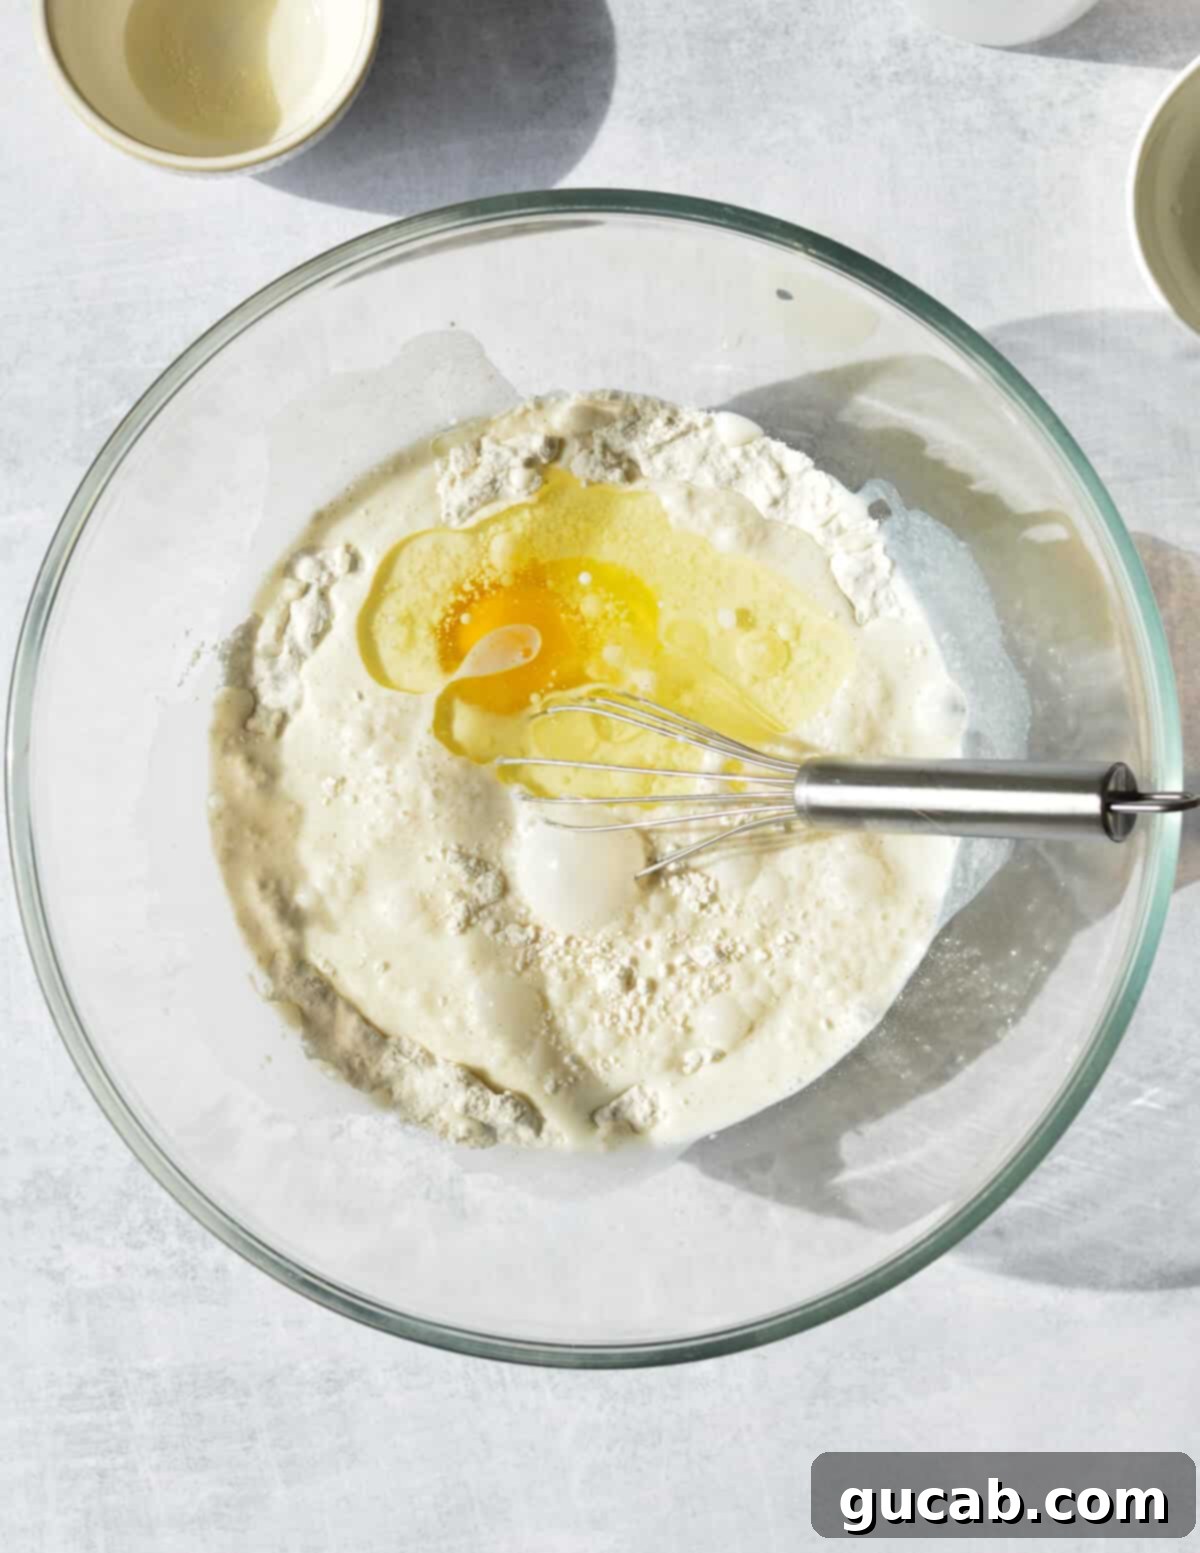
- Combine the dry ingredients: In a large mixing bowl, whisk together the all-purpose flour, sugar, baking powder, baking soda, and kosher salt. It’s important to stir these well to ensure the leavening agents are evenly distributed, which is crucial for uniform fluffiness.
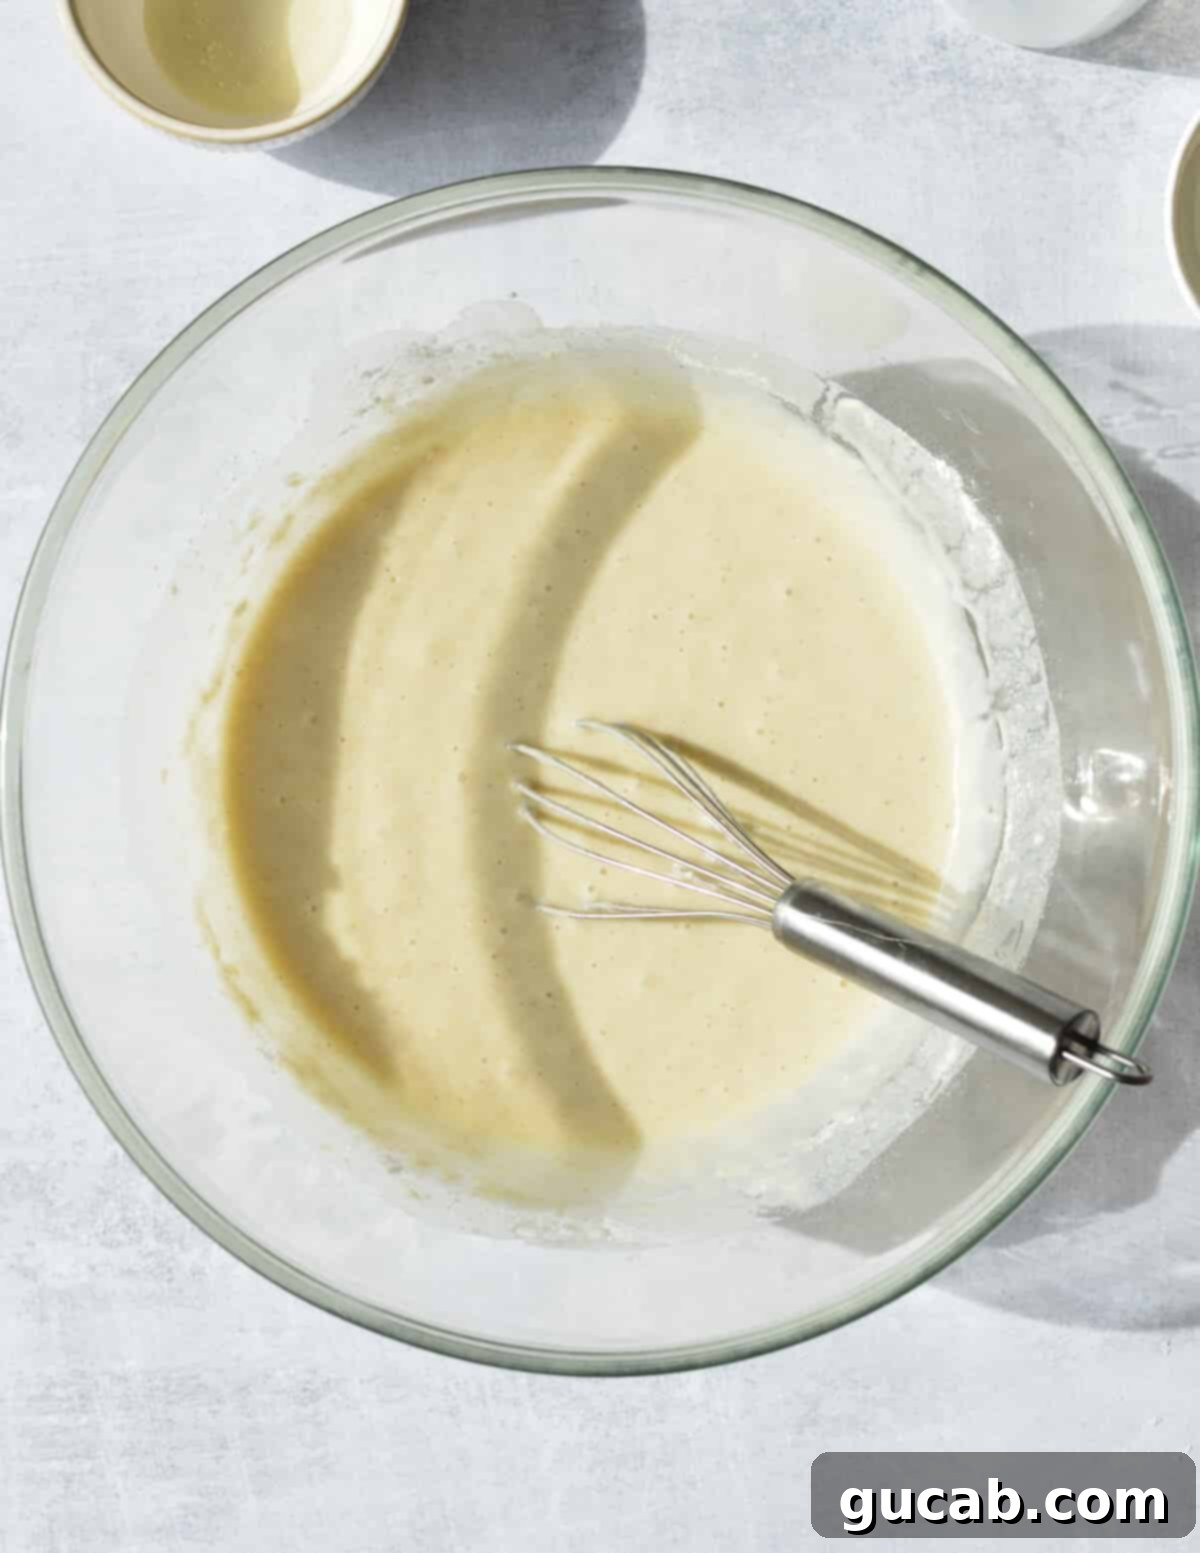
- Add the wet ingredients and whisk gently: Pour in the whole milk, vegetable oil (or melted butter), and the lightly beaten egg. Whisk these ingredients together just until combined. The batter should be on the thinner side; this is intentional! A thinner batter allows the pancakes to spread easily in the skillet, achieving that perfect silver dollar size without becoming too thick or dense. A few small lumps are perfectly fine and even desirable – avoid overmixing, as this can lead to tough pancakes.
2. Cook the Mini Pancakes to Golden Perfection
- Rest the batter: Allow the pancake batter to sit undisturbed for about 10 minutes. This resting period is crucial! It gives the baking powder and baking soda time to fully activate, leading to maximum fluffiness. It also allows the gluten in the flour to relax, resulting in a more tender pancake. While the batter rests, you can focus on heating your skillet.
- Heat the skillet properly: Place a large nonstick skillet or griddle over medium heat. It’s essential that the pan is adequately preheated before you add any batter. A properly hot pan ensures even cooking and a beautiful golden-brown crust. Add just a little bit of vegetable oil (or butter) to the skillet, enough to lightly coat the bottom.
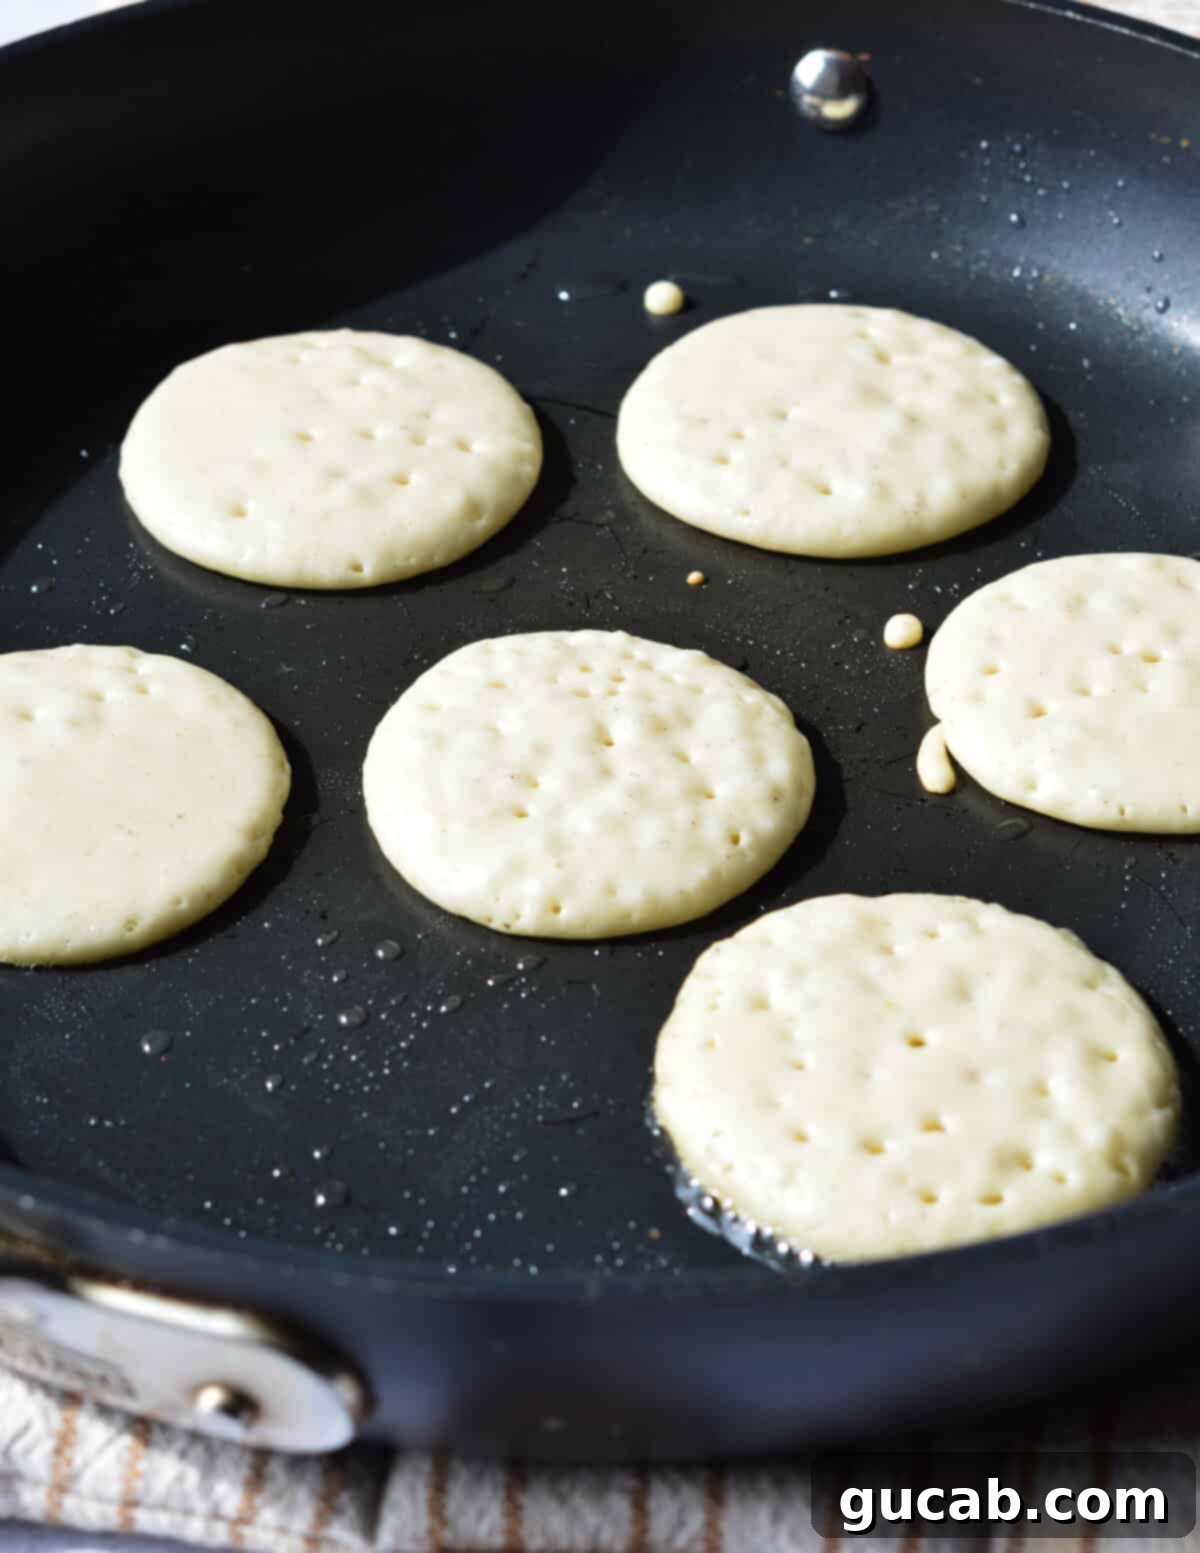
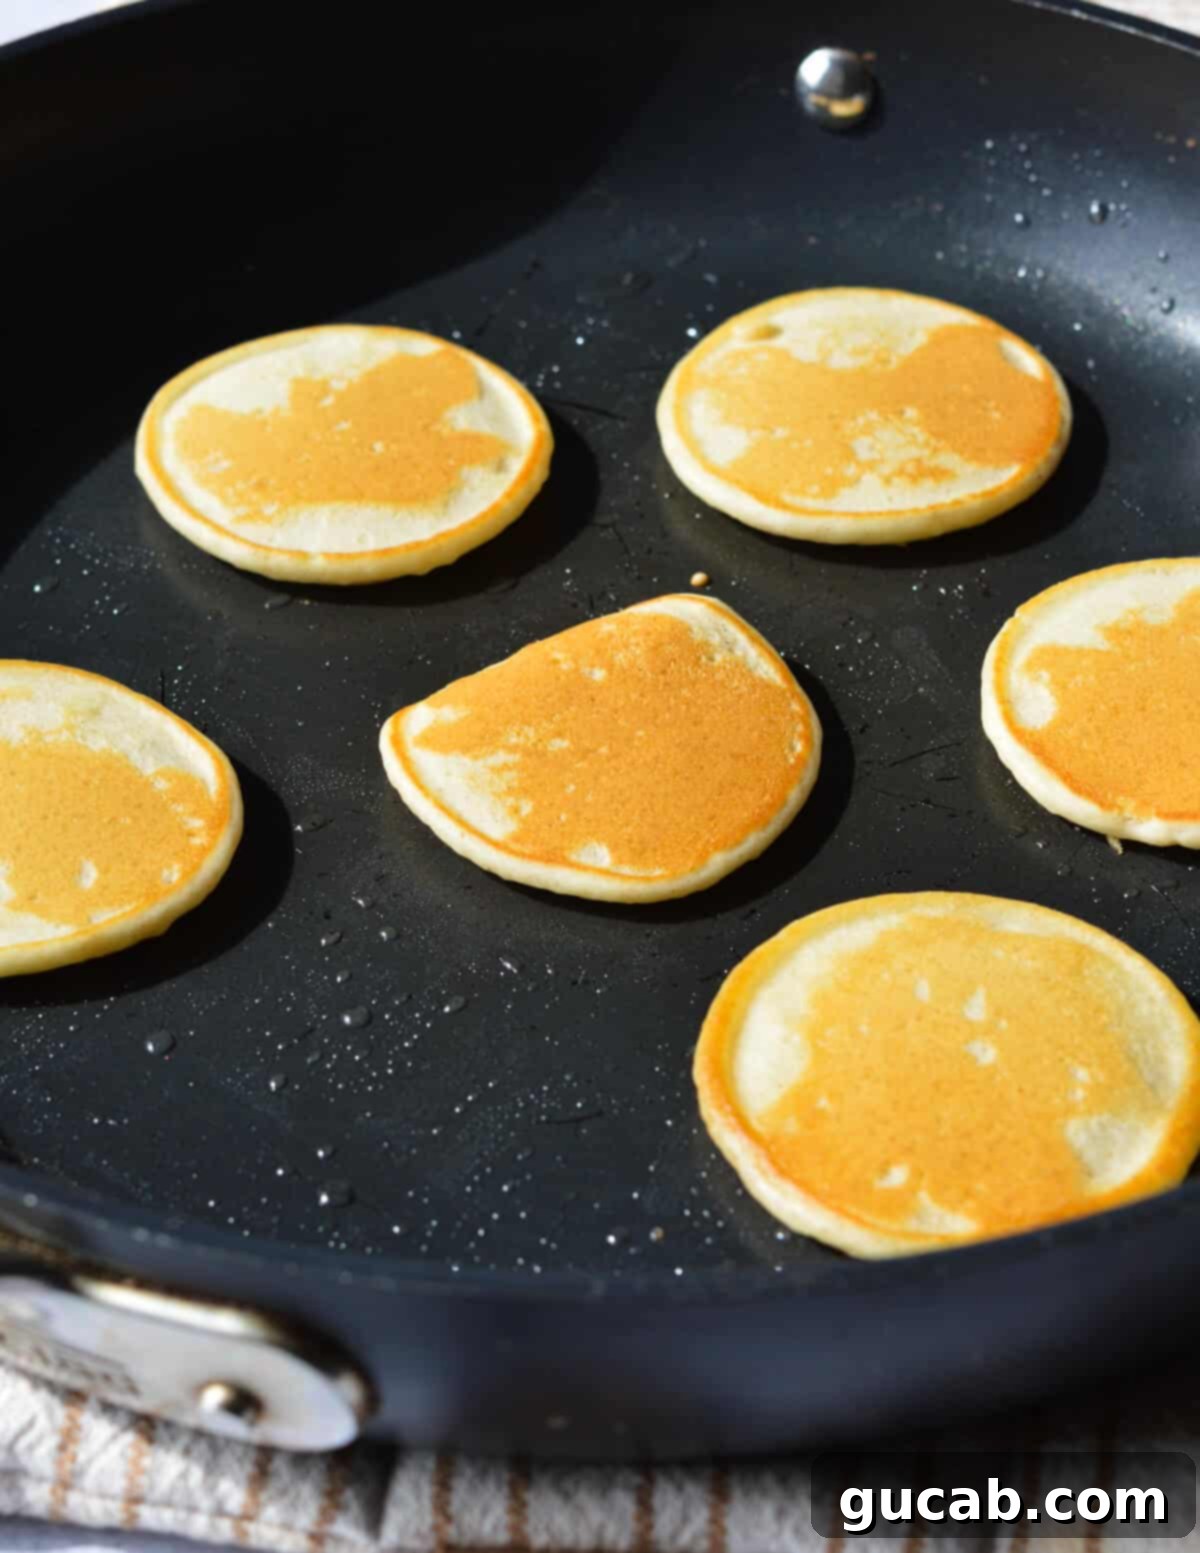
- Portioning the batter: For perfectly uniform silver dollar pancakes, use a standard tablespoon measure to scoop the batter into the hot skillet. You should have enough space to cook 6 to 7 pancakes at a time without overcrowding the pan. Watch as they gently spread to about 2 ½ inches wide.
- Cook until golden: Let the pancakes cook for 1 to 2 minutes on the first side. You’ll know they’re ready to flip when you see plenty of bubbles forming on the surface and the edges appear set. Carefully use a thin-set spatula to flip each pancake. Cook for another 1 to 2 minutes on the second side until they are beautifully golden brown and cooked through. Transfer the cooked pancakes to a plate and repeat the process with the remaining batter, adding a little more oil to the pan between batches if needed.
Expert Tips for Flawless Silver Dollar Pancakes:
Achieving perfectly fluffy and golden silver dollar pancakes is easier than you think, especially with these insider tips:
- Batter Consistency is Key: Remember, the pancake batter should be on the thinner side. This is crucial for silver dollar pancakes because their small size means they need to spread easily when they hit the hot skillet. If the batter is too thick, your pancakes will be small but dense and doughy, rather than light and airy. Trust the process – a thinner batter ensures a beautifully delicate texture.
- Always Preheat Your Skillet: Starting with a hot skillet is non-negotiable for golden-brown pancakes. If the pan isn’t hot enough, the pancakes will cook slowly, absorb more oil, and won’t develop that appealing crisp edge or even coloration. Ensure it’s heated over medium heat for several minutes before adding your first batch.
- Monitor and Adjust Heat: Don’t set your heat and forget it! Pay close attention to how your pancakes are browning. Ideally, each side should take about 1 ½ minutes to become perfectly golden and cooked through. If they’re browning too quickly, reducing the heat slightly will prevent burning the exterior while the inside remains raw. Conversely, if they’re cooking too slowly and staying pale, increase the heat a notch. Consistent monitoring is your best friend.
- Avoid Overmixing the Batter: A few lumps in your batter are completely normal and even preferred. Overmixing develops the gluten in the flour too much, leading to tough, chewy pancakes instead of the desired fluffy texture. Mix just enough to combine the wet and dry ingredients.
- Don’t Overcrowd the Pan: While it’s tempting to fill your skillet with as many mini pancakes as possible, giving them space is important. Overcrowding can lower the pan’s temperature, leading to uneven cooking, and makes flipping much more challenging. Work in batches if necessary.
- Keep Cooked Pancakes Warm: To ensure all your silver dollar pancakes are served warm, you can transfer cooked batches to a plate and keep them loosely covered with foil in a warm oven (around 200°F / 95°C) while you finish cooking the rest.
Storage & Freezing Tips:
These silver dollar pancakes are just as delicious later as they are fresh off the griddle, making them perfect for meal prep or quick weekday breakfasts.
- Storage: Allow any leftover pancakes to cool completely to room temperature before storing. This prevents condensation which can make them soggy. Place them in a zip-top bag or an airtight container, ensuring they are sealed well. They will keep fresh in the refrigerator for up to 3 days.
- Freezing: Silver dollar pancakes are incredibly freezer-friendly! To prevent them from sticking together, first flash-freeze them: lay the cooled pancakes in a single layer on a baking sheet and freeze for about 30 minutes to an hour until firm. Once firm, transfer them to a freezer-safe zip-top bag or airtight container. They can be stored in the freezer for up to 3 months, ready for a quick breakfast anytime.
- Reheating: For best results, reheat frozen or refrigerated pancakes in the microwave in 15-second increments until warm. Be careful not to overheat them, as this can make them chewy. Alternatively, you can pop them into a toaster or toaster oven for a few minutes until warmed through and slightly crispy, replicating that fresh-off-the-griddle taste.
More Pancake Recipes to Try:
If you’ve loved these silver dollar pancakes, be sure to explore more delicious pancake variations from our collection:
- Joanna Gaines’ Best Buttermilk Pancake Recipe
- Honey Pancakes
- Fluffy Gluten Free Pancakes
- Thin & Crispy Pancakes
- Honey Butter
Silver Dollar Pancakes
Carolyn
Pin Recipe
Equipment
-
Large nonstick skillet
-
Large Bowl
Ingredients
- 1 cup + 2 tablespoons all-purpose flour see note for GF option
- 3 tablespoons sugar
- 1 teaspoon baking powder
- ½ teaspoon baking soda
- ¼ teaspoon kosher salt
- 1 large egg lightly beaten
- 1 cup whole milk
- ¼ cup vegetable oil
Instructions
-
In a large bowl, combine the all-purpose flour, sugar, baking powder, baking soda, and kosher salt. Whisk well to ensure everything is evenly distributed.
-
Add the whole milk, vegetable oil, and lightly beaten egg to the flour mixture. Whisk gently until a smooth (but slightly lumpy is fine) pancake batter forms. It should be relatively thin to allow for proper spreading.
-
Let the pancake batter sit and rest for 10 minutes. During this time, heat a large nonstick skillet or griddle over medium heat.
-
Add 1 tablespoon of vegetable oil (or butter) to the preheated skillet. Ensure the skillet is hot and up to temperature before adding any batter.
-
Use a tablespoon measurement to scoop portions of the pancake batter into the skillet. You should have enough room for 6 to 7 mini pancakes per batch.
-
Let the pancakes cook for 1 to 2 minutes per side, or until golden brown with visible bubbles on the surface. Use a thin-set spatula to carefully flip the pancakes and cook for another 1 to 2 minutes. Transfer the cooked pancakes to a plate and repeat with the remaining batter, adding more oil as needed.
Notes
Nutrition
